Star Wars Lightsaber
by rohbhar13 in Craft > Costumes & Cosplay
1027 Views, 12 Favorites, 0 Comments
Star Wars Lightsaber

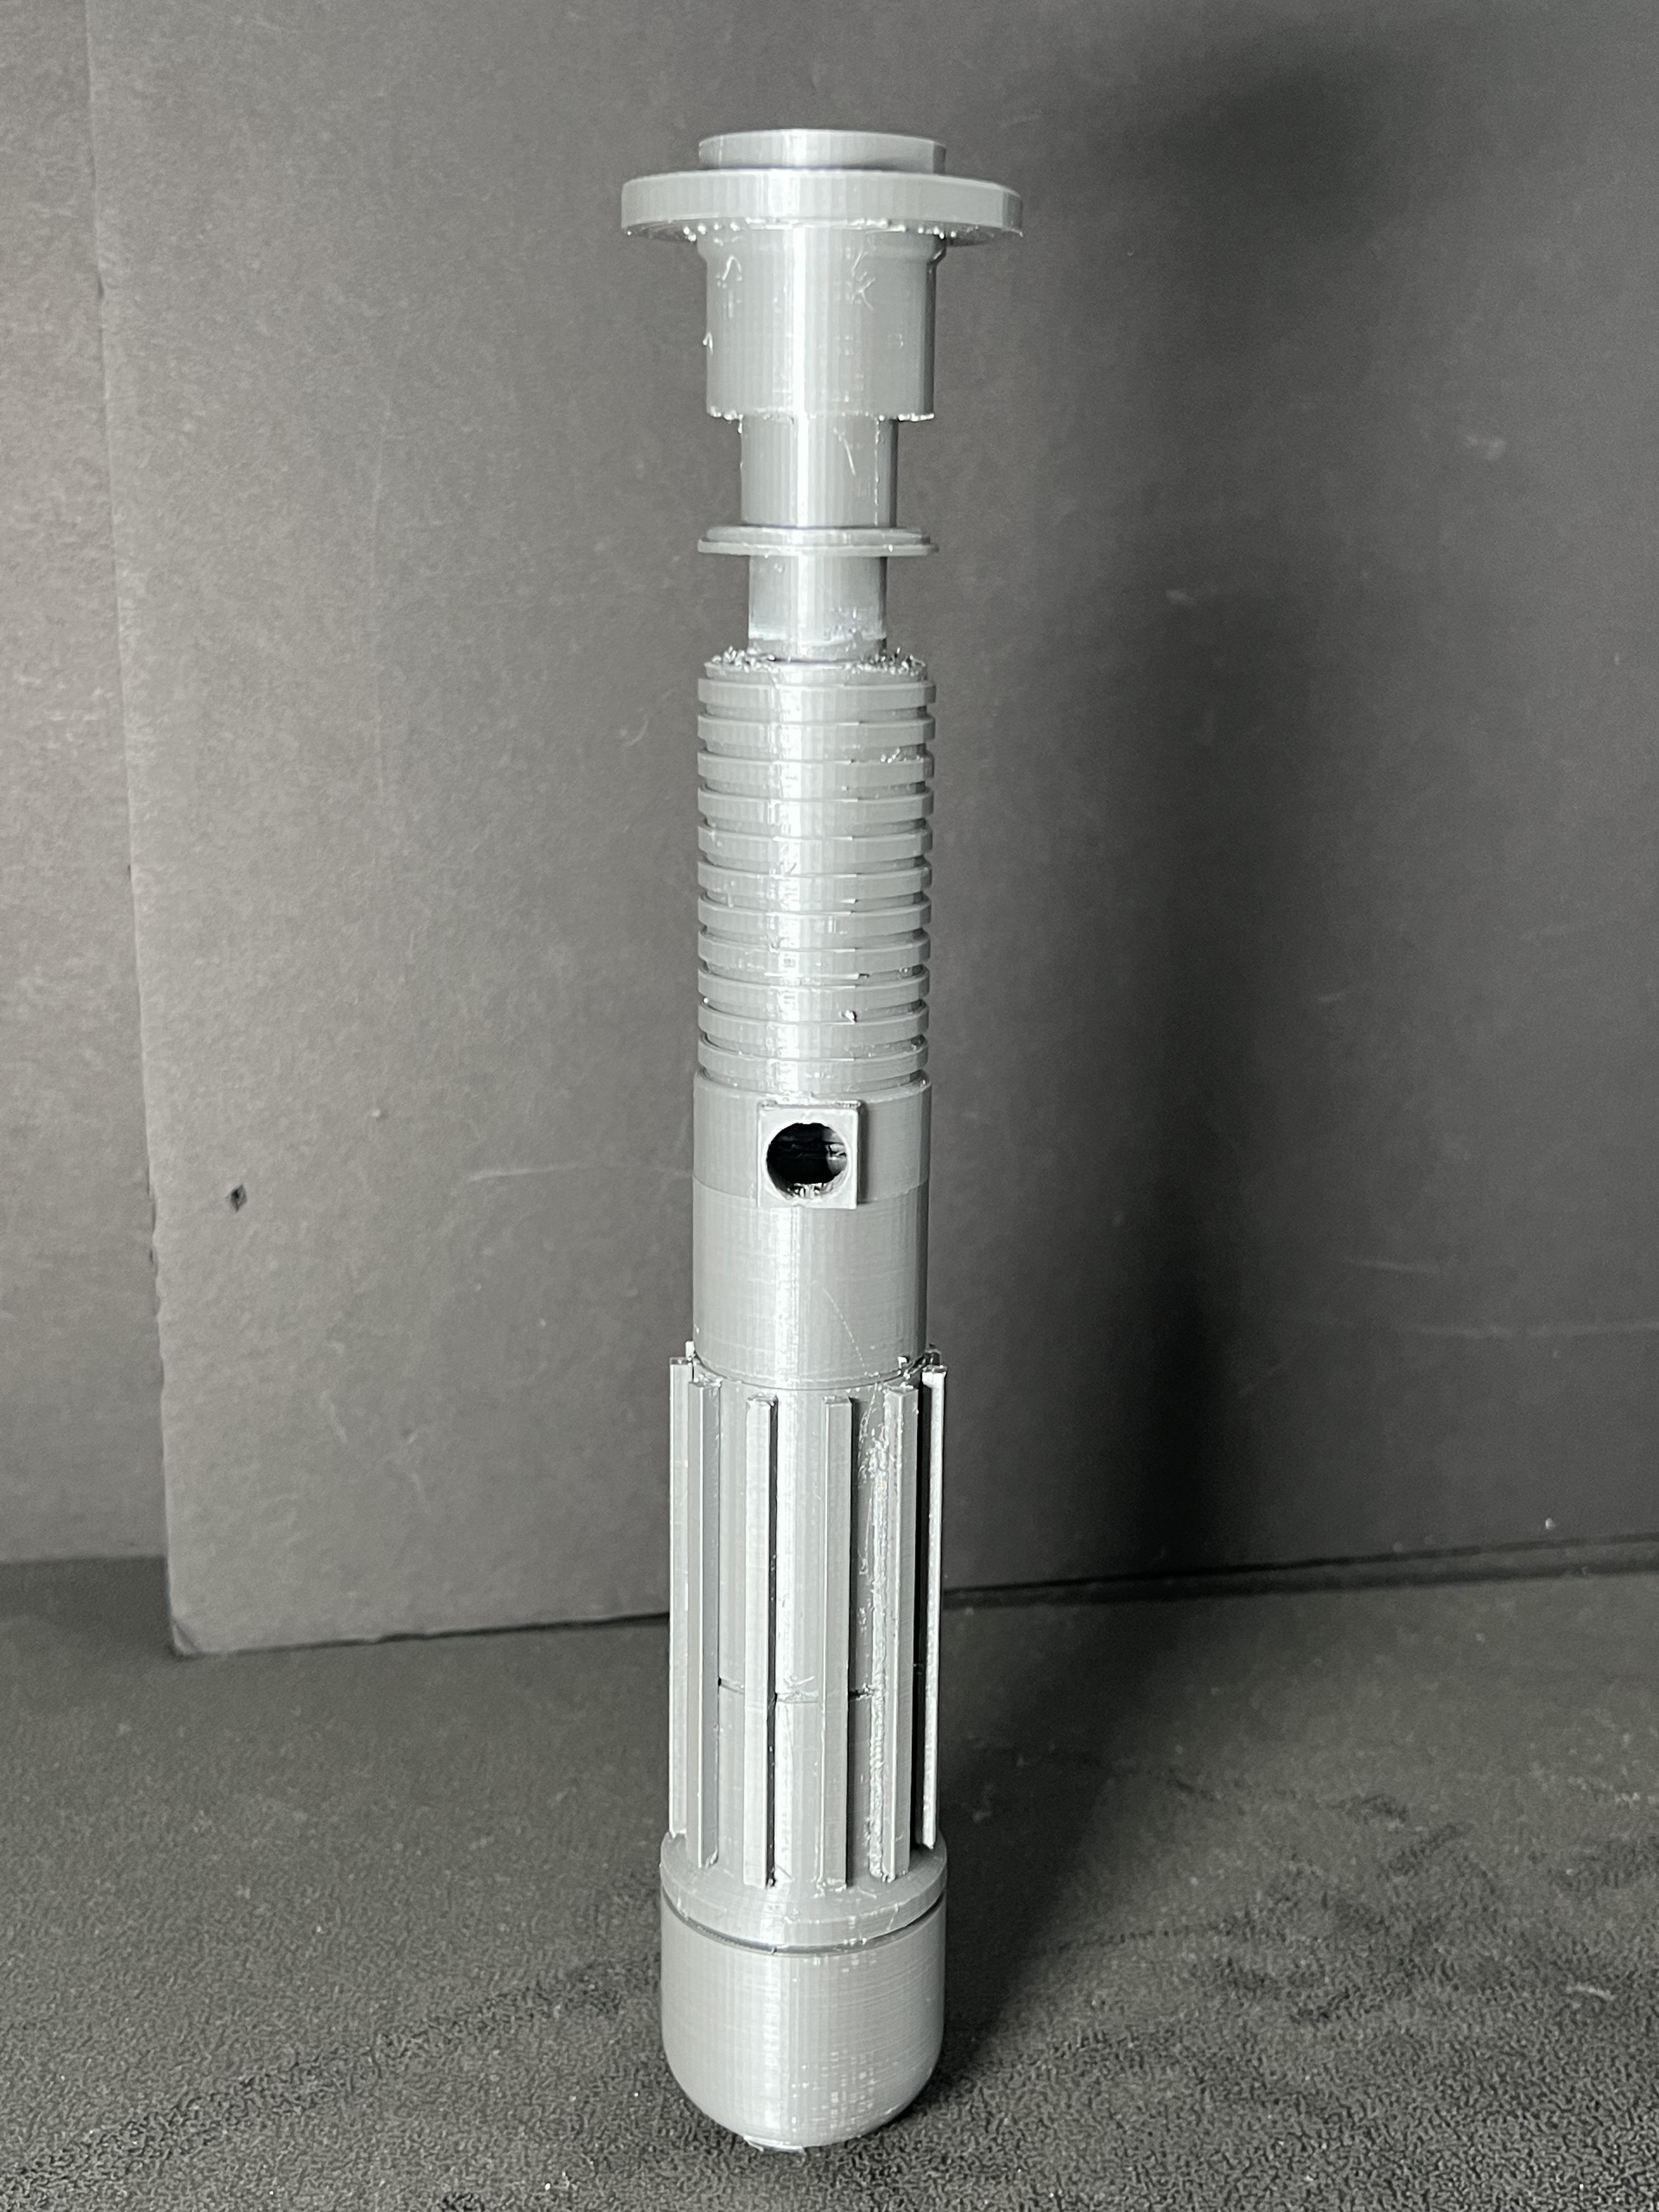
Hello, my name is Rohan Bhardwaj, and I am a student from Irvington High School. I made this lightsaber in my engineering class with the help of Ms.Berbawy. This lightsaber will have a light-emitting blade, along with a hilt that will hold your electronics and allow you to utilize the saber. The lightsaber used by Luke Skywalker and some of my personal preferences will serve as inspiration for the hilt.
Supplies
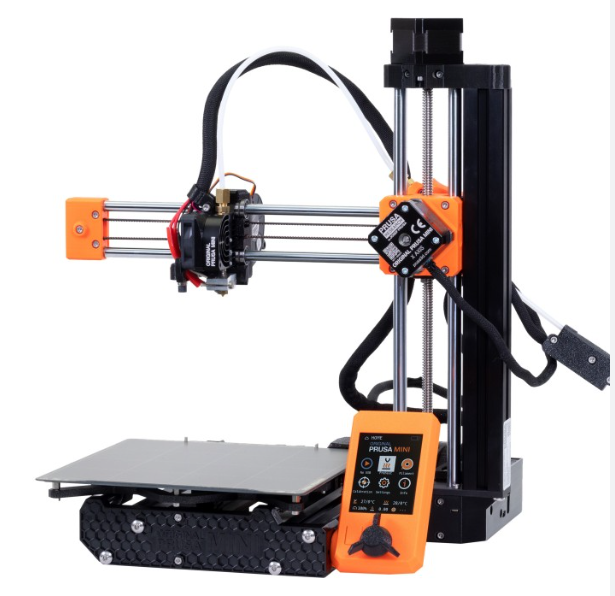
- 3D Printer (I used a Prusa i3 Mk3s+)
- Prusa PLA filament
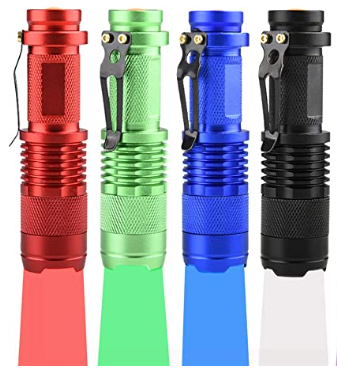
- Flashlight
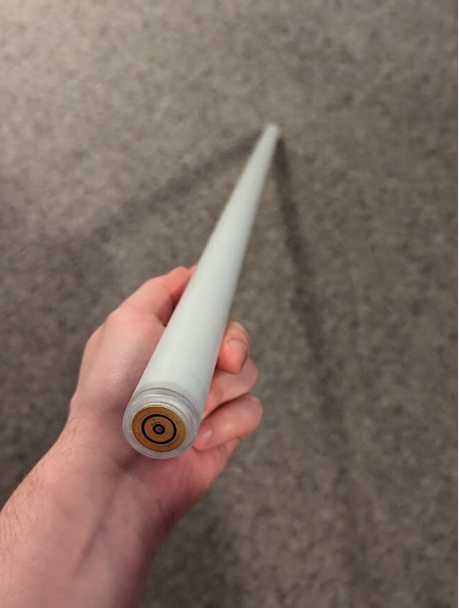
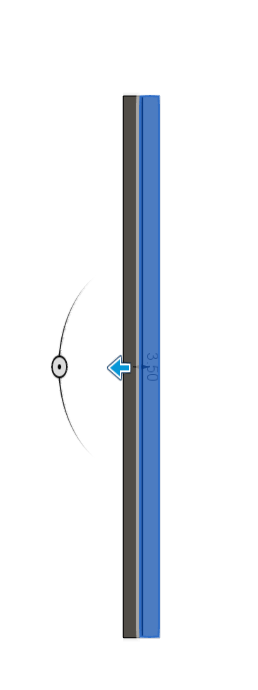
- 36" or 40" clouded lightsaber tube or neopixel blade,
- Soldering station
These supplies can be bought from Prusa, Adafruit and Amazon.
Make Hilt Design
You could make a variety of hilt designs on Fusion. Find a model of a saber like Luke or Anakin Skywalker's online, or make your own.
Create the Hilt
A sketch can be made on any plane and is the basis for the hilt.
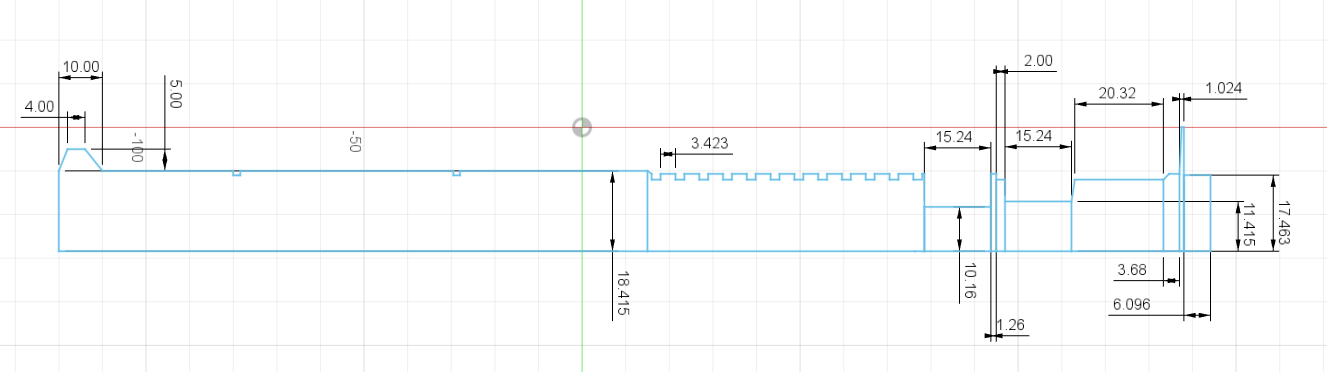
Create the overall sketch by first deciding on the diameter of your hilt; the length of the hilt is also up to you, but it should be between 10 and 12 inches.
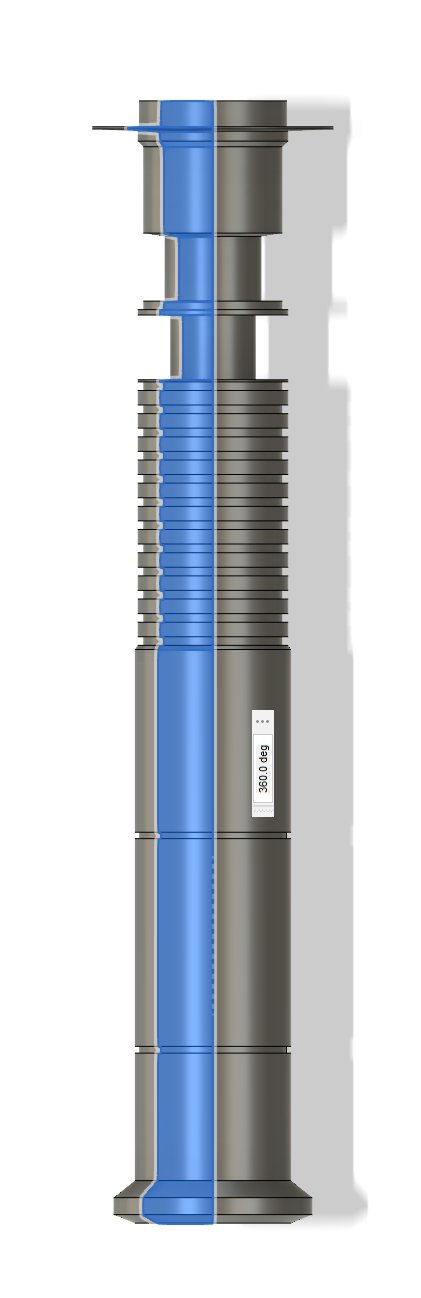
Simply revolve the sketch around the center line to form the hilt, but be sure to select the entire sketch by pressing the Ctrl key; otherwise, the complete sketch won't be able to be revolved.
Dimensions for my hilt:
- Width from the bottom is 18.415 mm
- First ident from bottom is 10.16 mm wide and 15.24 mm long
- Second Ident from the bottom is 11.415 mm wide and 15.54 mm long
- last indent is 17.463 mm wide and 20.32 mm long
Extruding and Adding the Grip
Now you can color the hilt using Fusion 360 colors if you want to see how it could look like as a finished product, (is not necessary).
But once that is done make sure to use the extrude command to hollow out the inside so that you are able to house the electronics as well as to connect the blade.
Make sure when extruding the inside that the walls are not too thin because they will not print well. Make sure that if extruding does indeed make the walls thin, then extrude in multiple different places separately in order to have stronger and thicker walls.
After that make a rectangular sketch, (size is up to you), and extrude it 3.50 mm.
This will be the grip on the bottom of the hilt.
Once that is done simply add them along the entire bottom piece of the hilt by duplicating them using the circular pattern function under create.
Once that is done, they should be evenly spaced along the linear axis that was used when revolving.
Making the Threads and Cap for Bottom Portion

After adding the grips, we can now construct the cap for the bottom piece and create the threads.
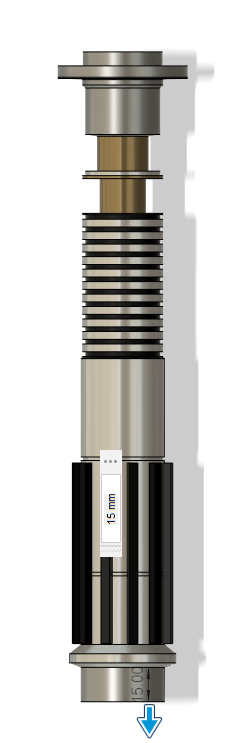
You must first extrude the bottom piece 15 mm in order to allow space for the threads. Once that is finished, simply select threads under create.
Then to create the threads, use the thread setting.
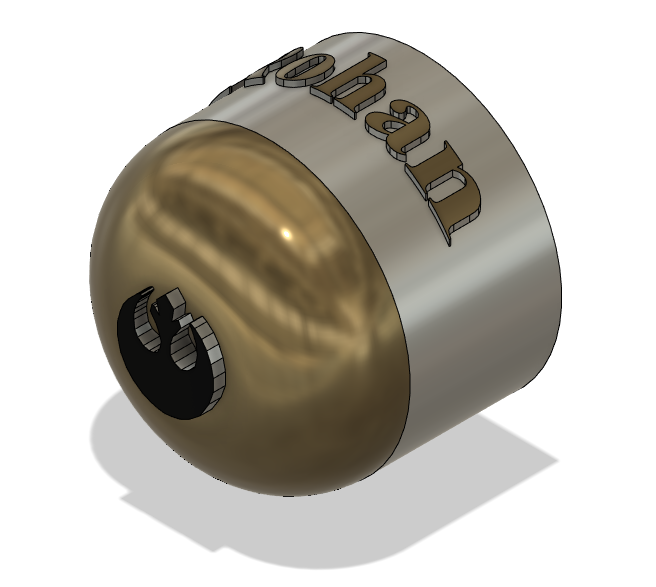
For the cap, you will need to draw a sketch in which the diameter is the same size as the hilt and extrude it by 40 mm. After that, simply fillet the top portion of it to your preferences.
You can choose the color of the cap and even add lettering, which is what I chose to do by adding my name.
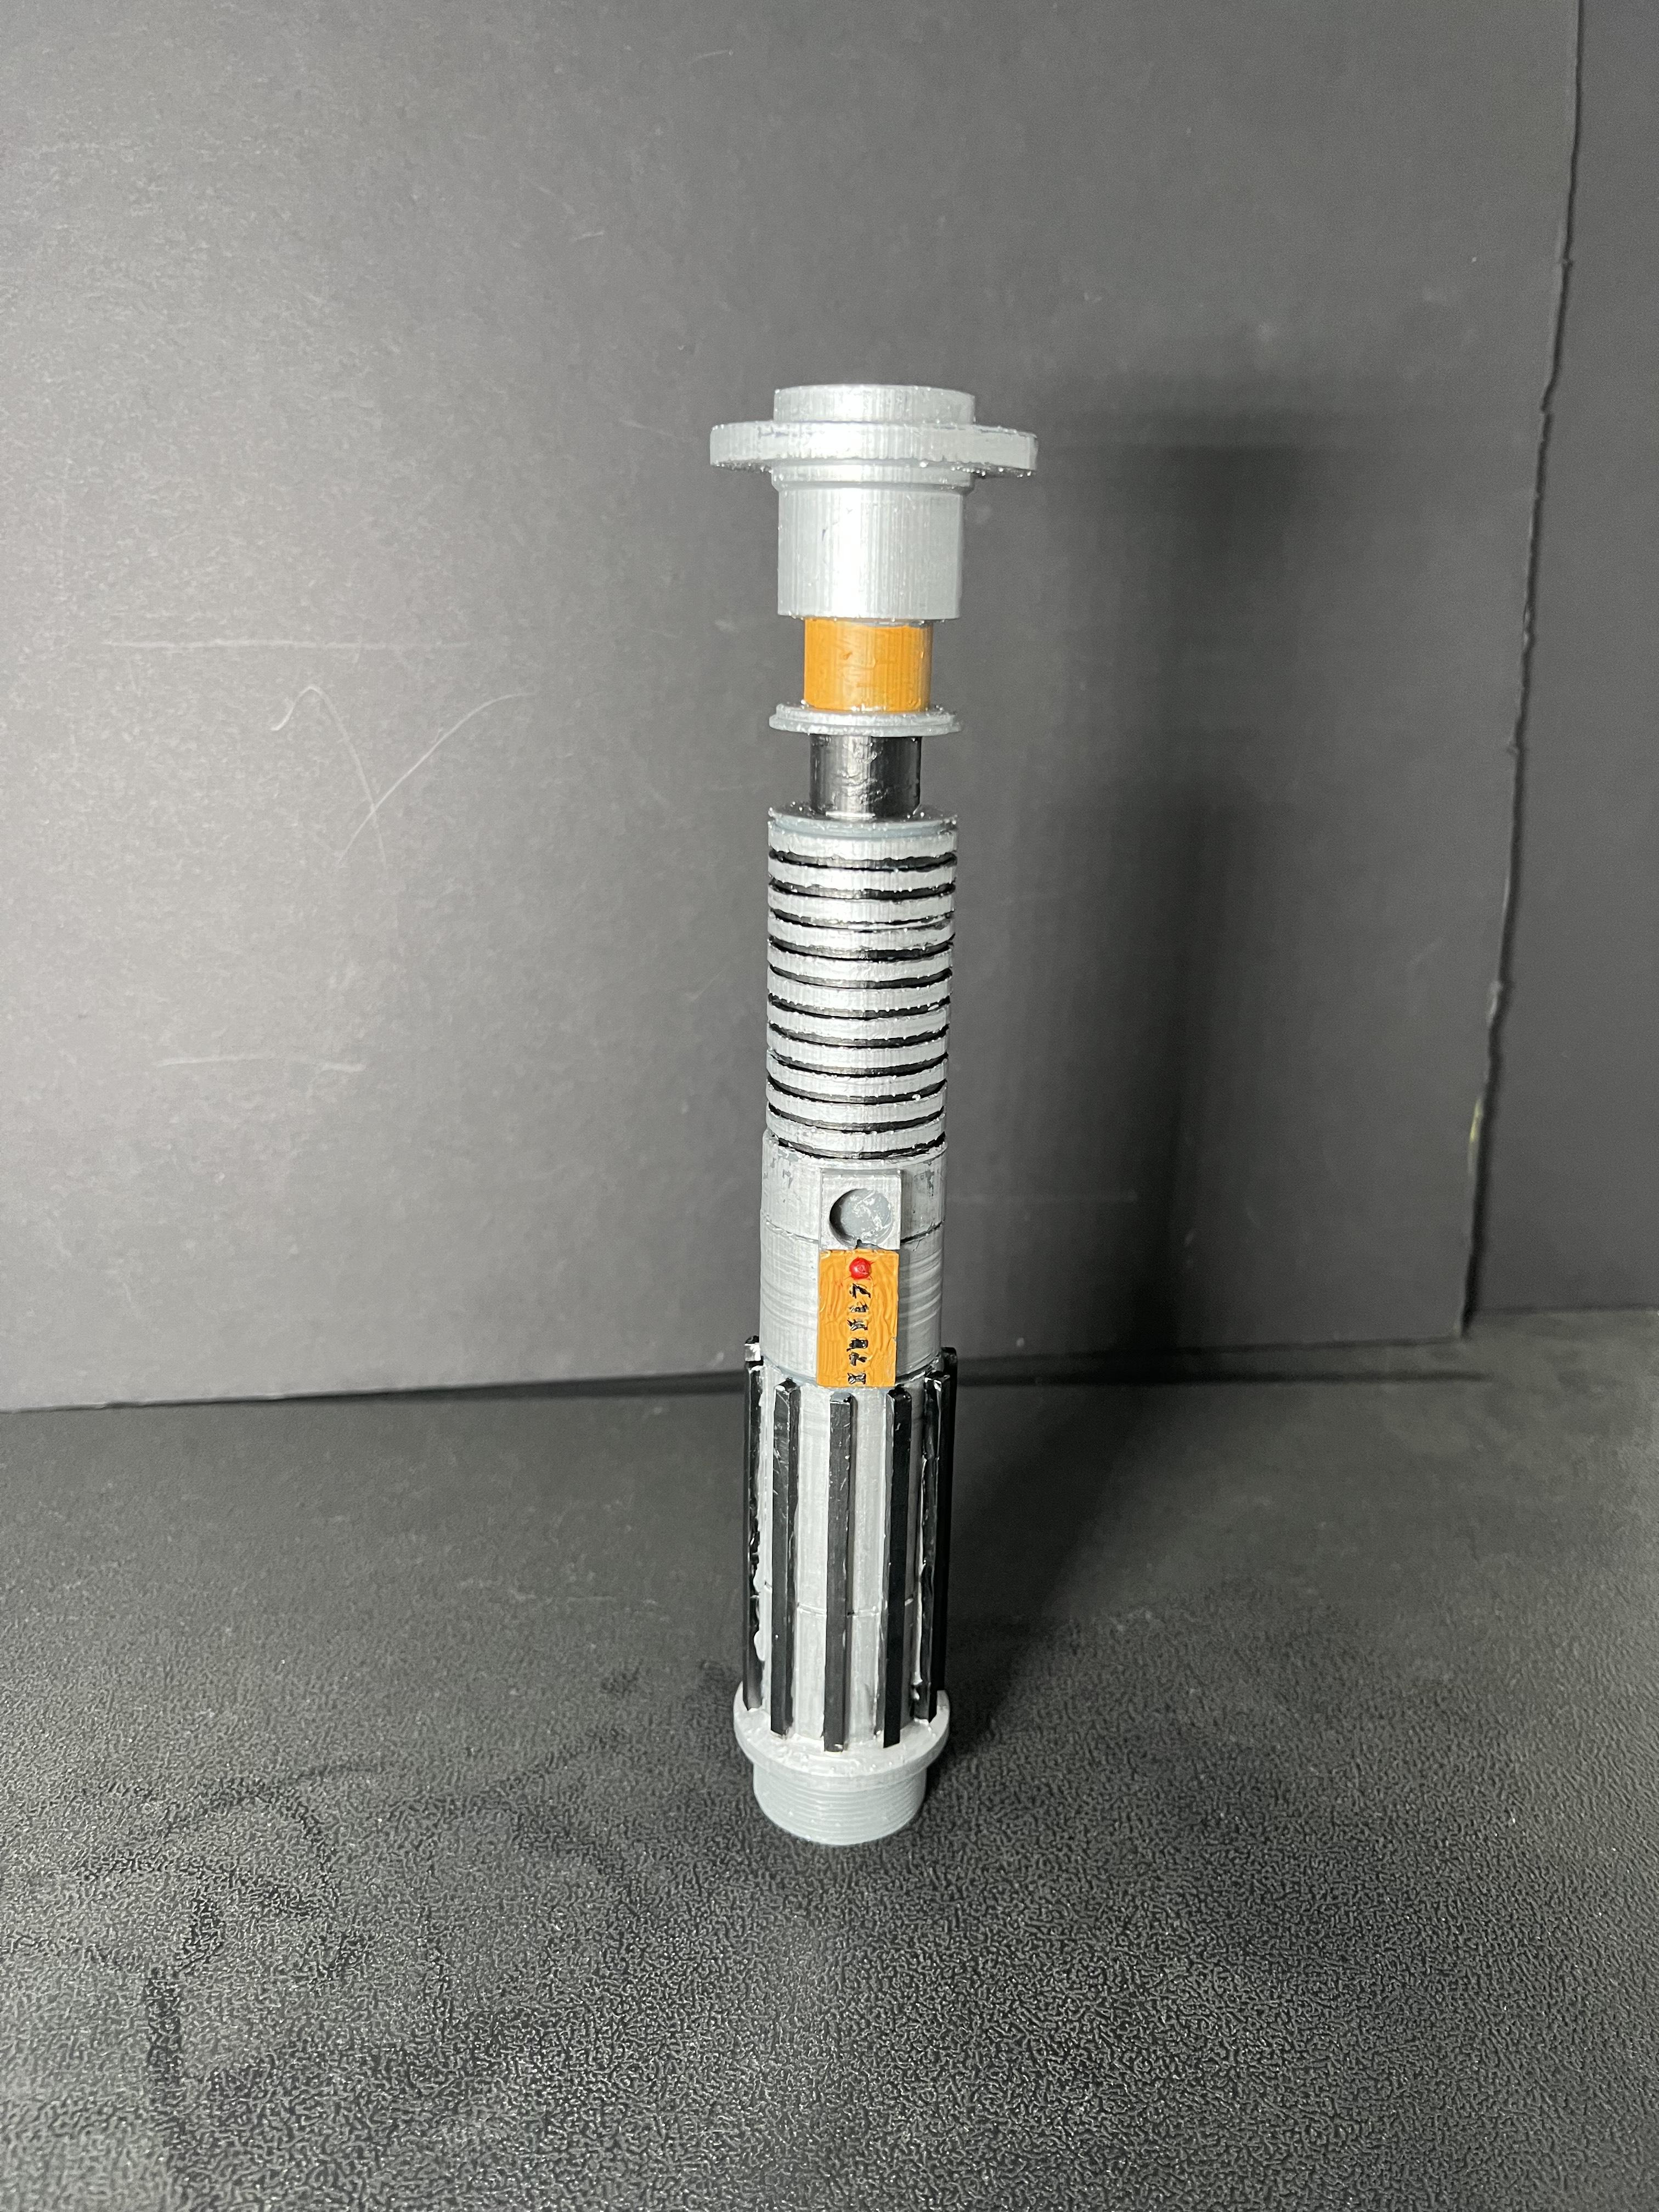
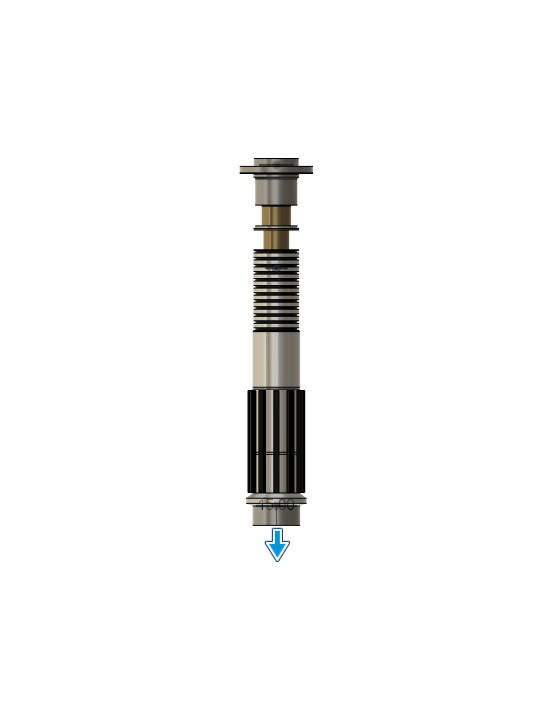
The last picture is what it should look like with the color as well as the inclusion of the threads and cap.
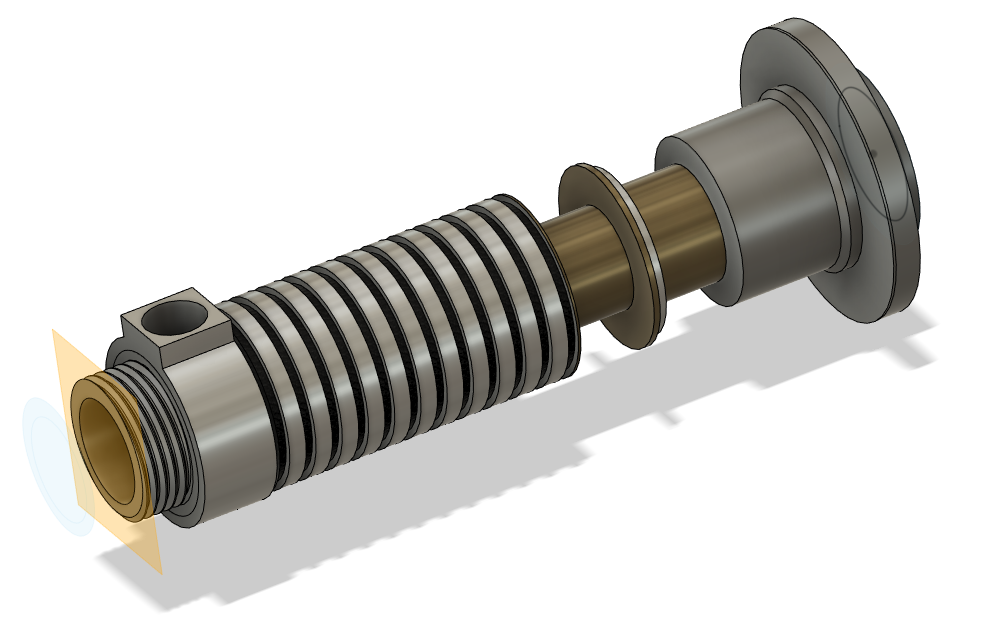
Separating the Pieces

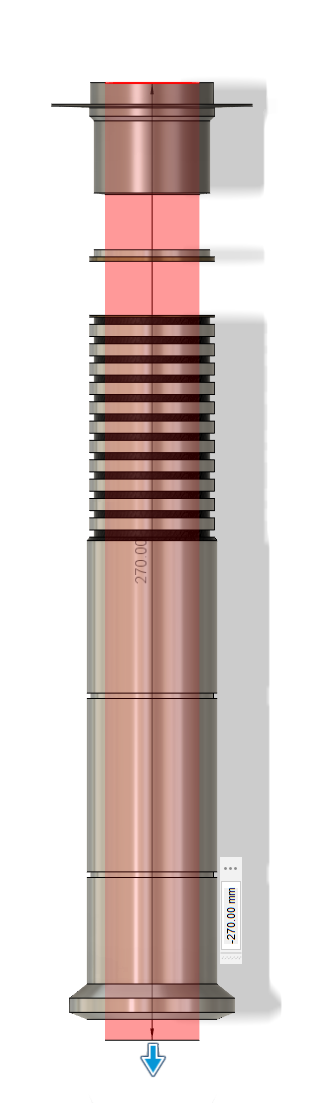
Now comes the somewhat difficult part where we have to split the hilt in order for it to fit while printing on the Prusa Mk3 or Prusa Mini.
All that is needed to split the part is creating offset planes in the middle of the hilt in order to make it smaller for it to fit.
The go under modify and use split body and simply split the part into 2.
Now you should have 3 parts, the cap, the bottom piece, and the top piece.
Adding More Threads and Other Details

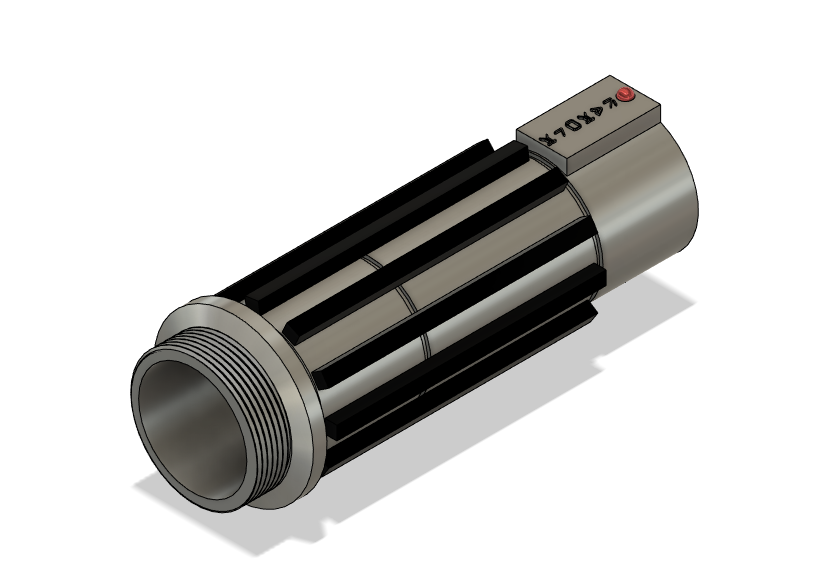
After splitting the bodies, just add some other minor details starting with the threads.
On the bottom of the top piece add another extrusion and again create threads. Make sure when adding threads, that you make it 3d or physical in order for them to actually show up.
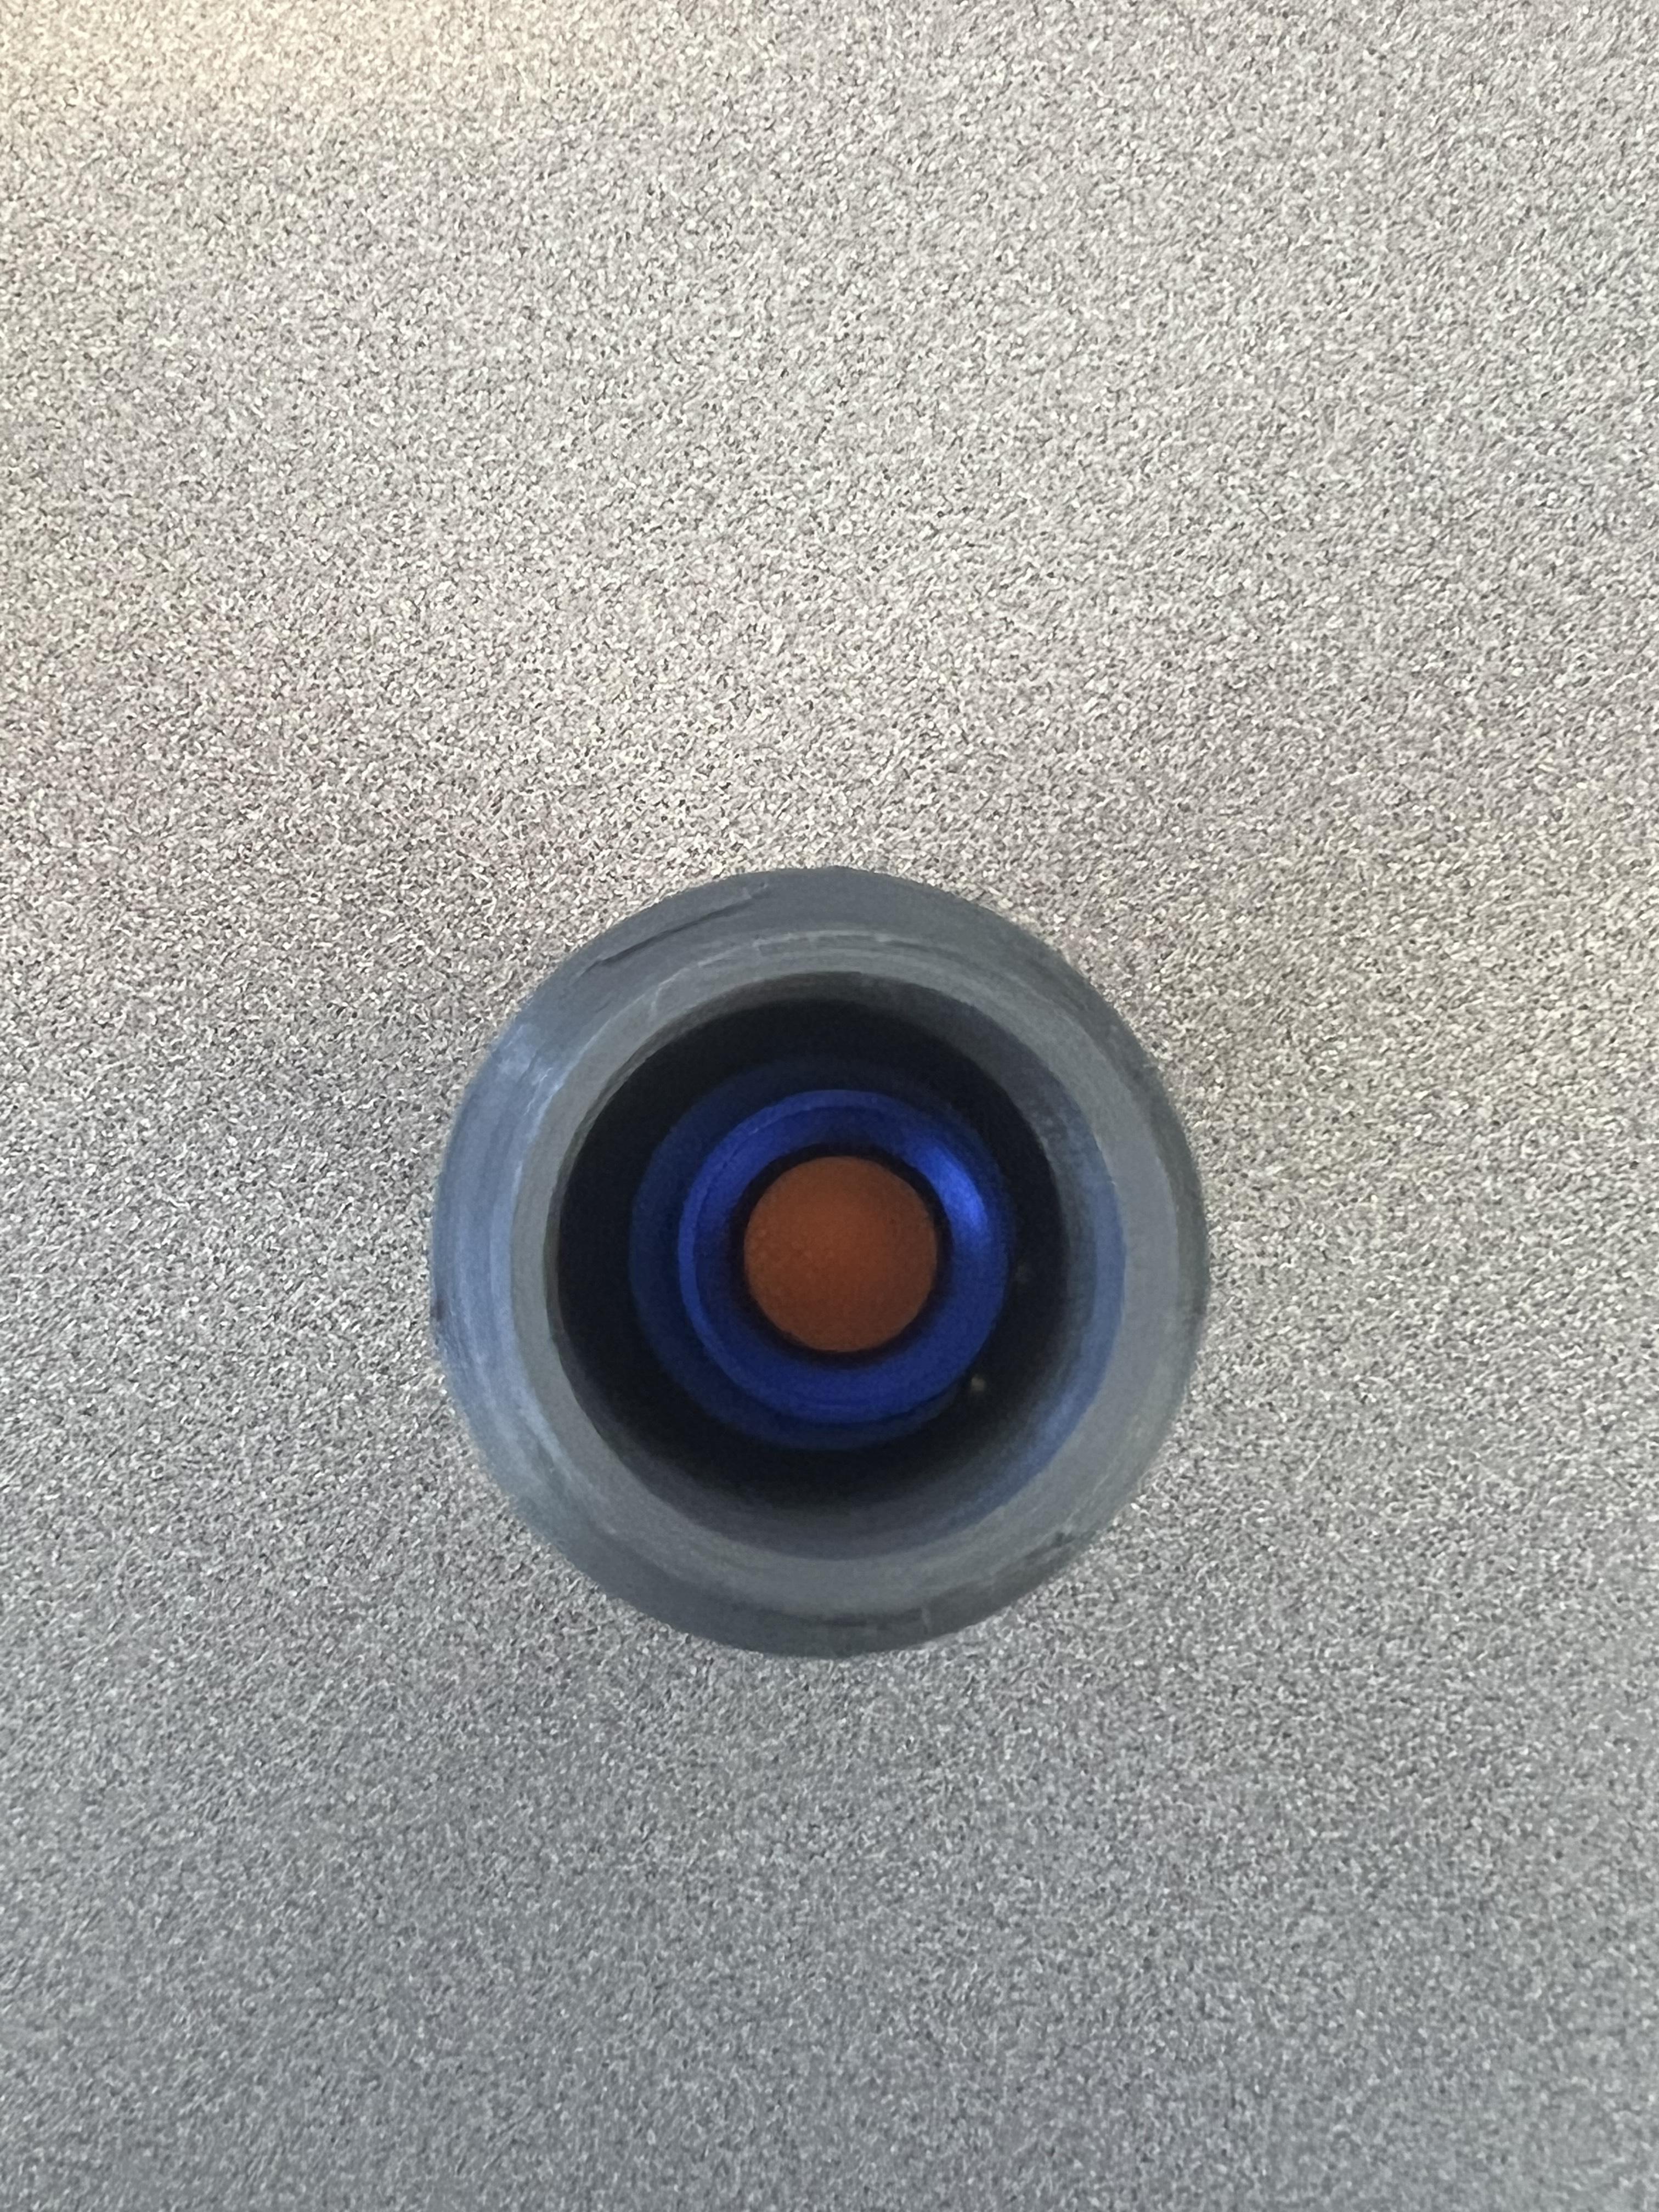
After that create a hole on the top piece for the button to fit into and extrude downward as a cut to make it hollow.
On the bottom piece, simply create another sketch and extrusion on the top part of it and then you can add some random star wars text and other minor details you might want (see image).
Uploading the Design Onto the Slicer
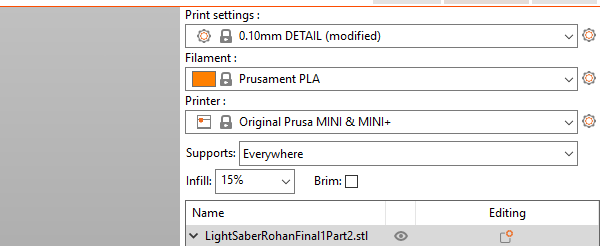
Once done with creating the hilt in Fusion 360, we are going to use Prusa slicer, an app that helps us slice the print and allow it to be ready for 3D printing.
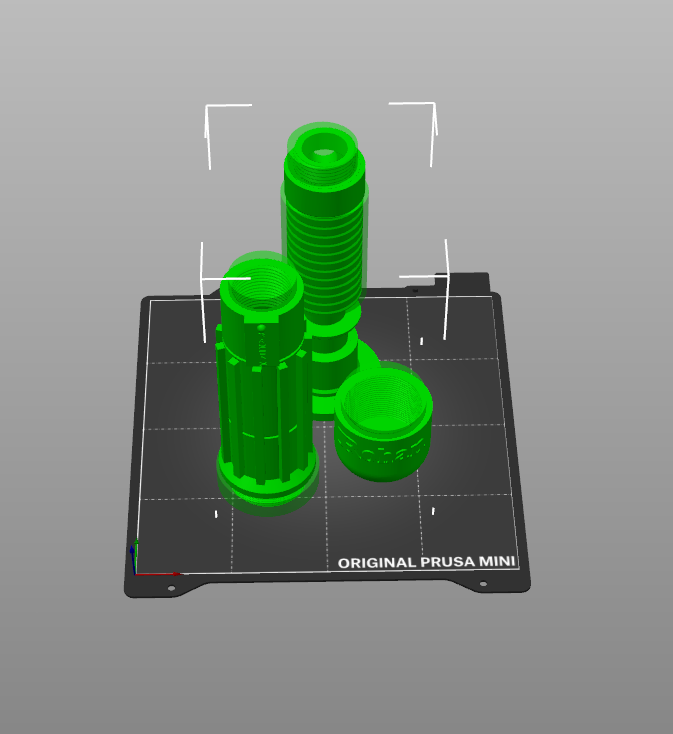
In order to import it onto the slicer, you must first download the project file from Fusion 360 as an stl or f3d file.
You must then format and arrange the 3 pieces making sure they do not touch and that they are fully on the build plate. I added support blocker around all of the physical threads and the middle portion of the top part of the hilt so it would print with smoother edges. Speaking of supports, they will need to be everywhere.
When the print is finished simply use needle nosed pliers, a dental tool or a smaller, sharper object to remove the support material.
Final Part

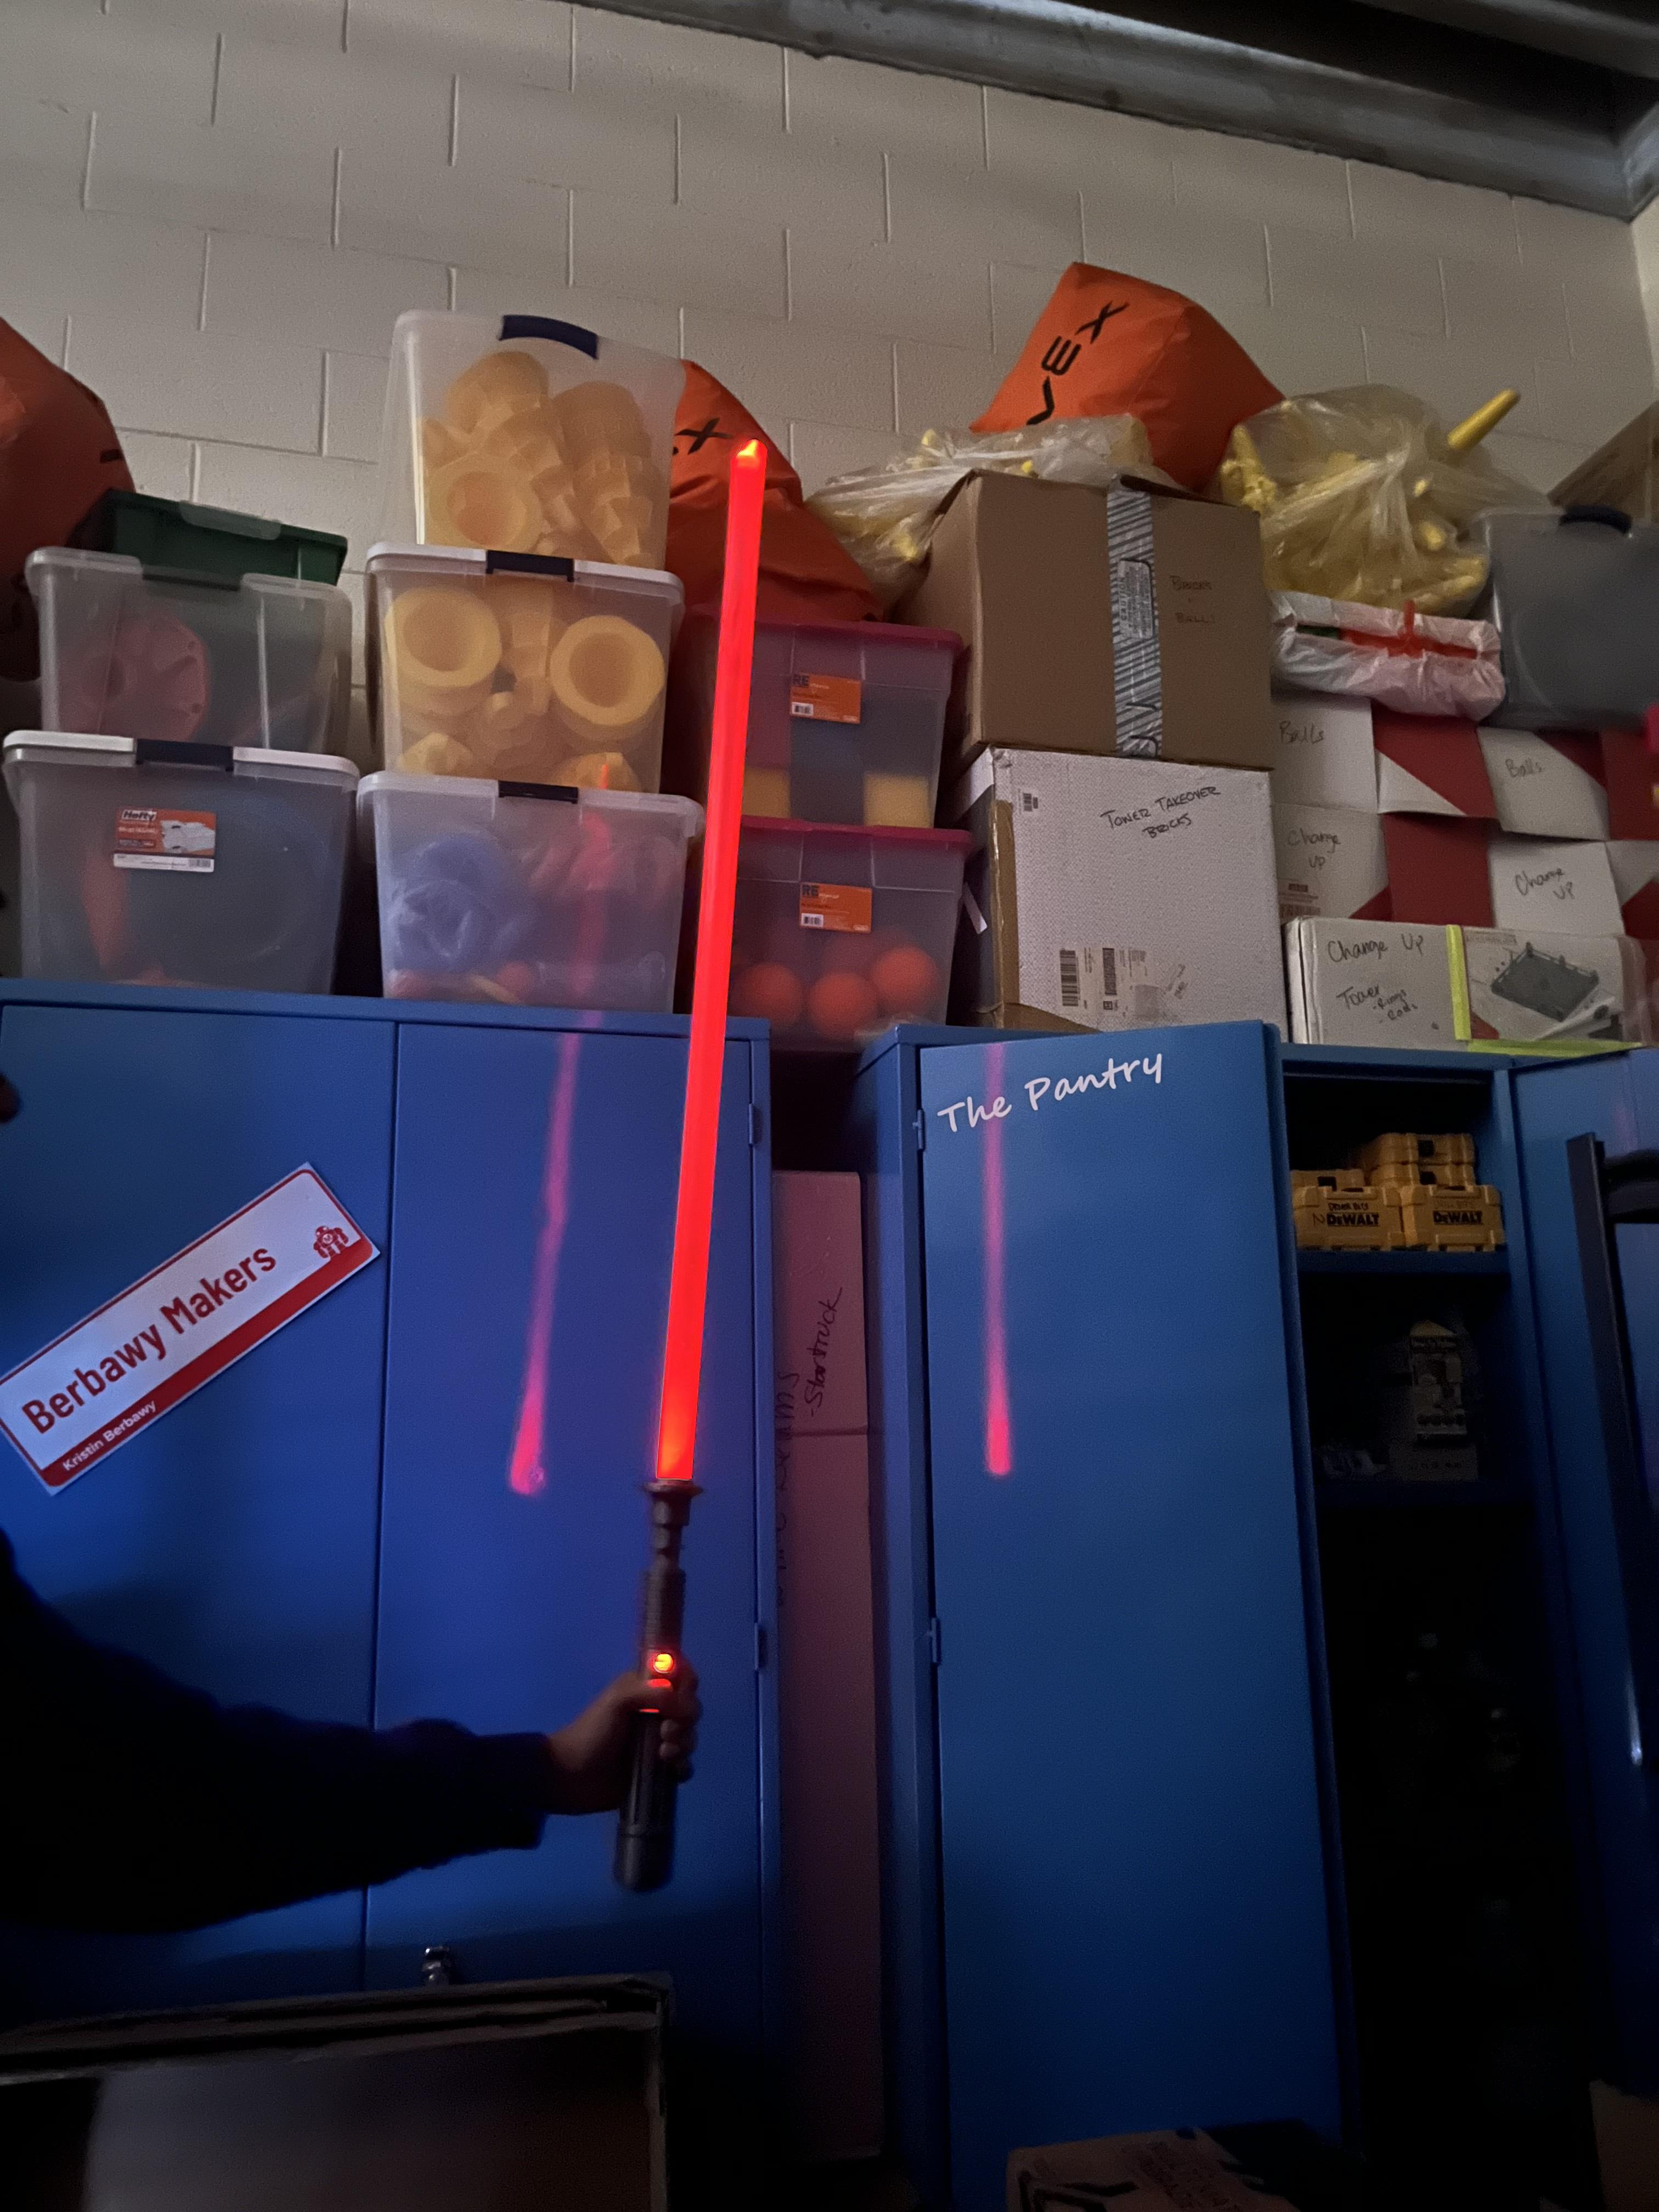
After the print, all that needs to be finished is the lighting.
For the lighting simply use the flashlight and add it into the hilt from the bottom by unscrewing the hilt. Once that is done enclose your hilt by adding the blade and you are now ready to start your training!!!