Star Wars Key Holder Using Tinkercad
by JPGrox in Living > Organizing
32618 Views, 109 Favorites, 0 Comments
Star Wars Key Holder Using Tinkercad
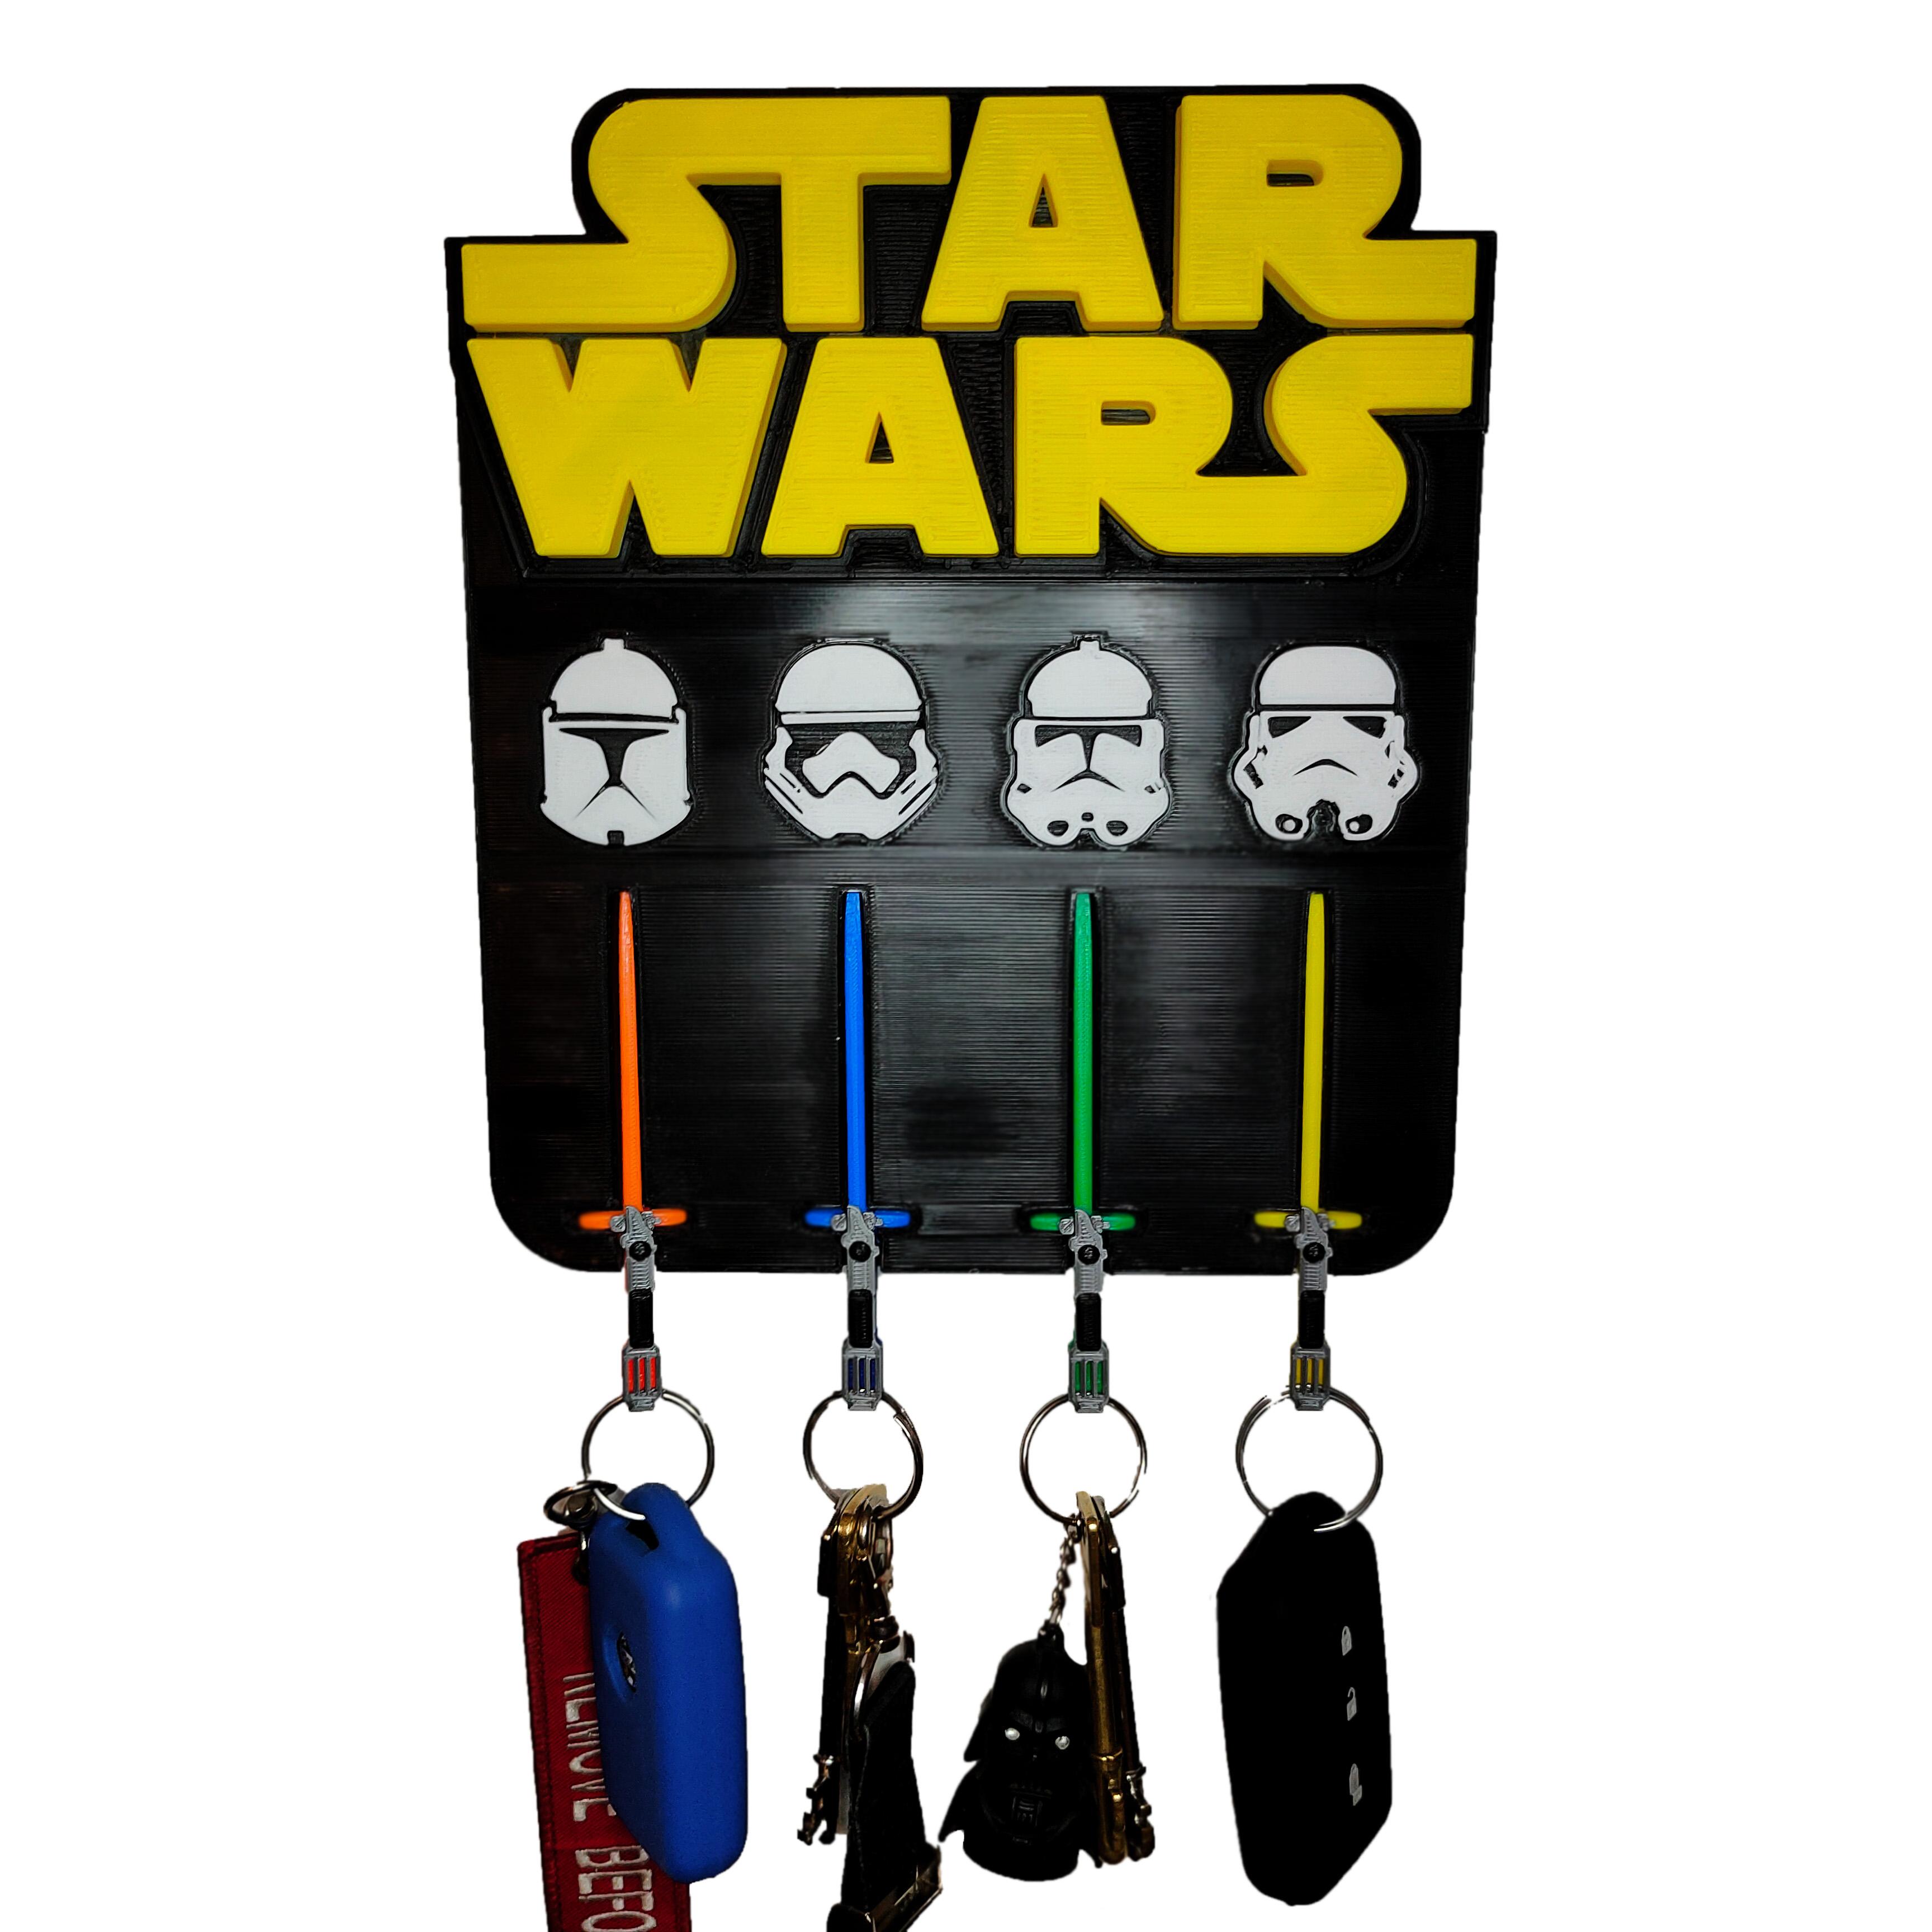
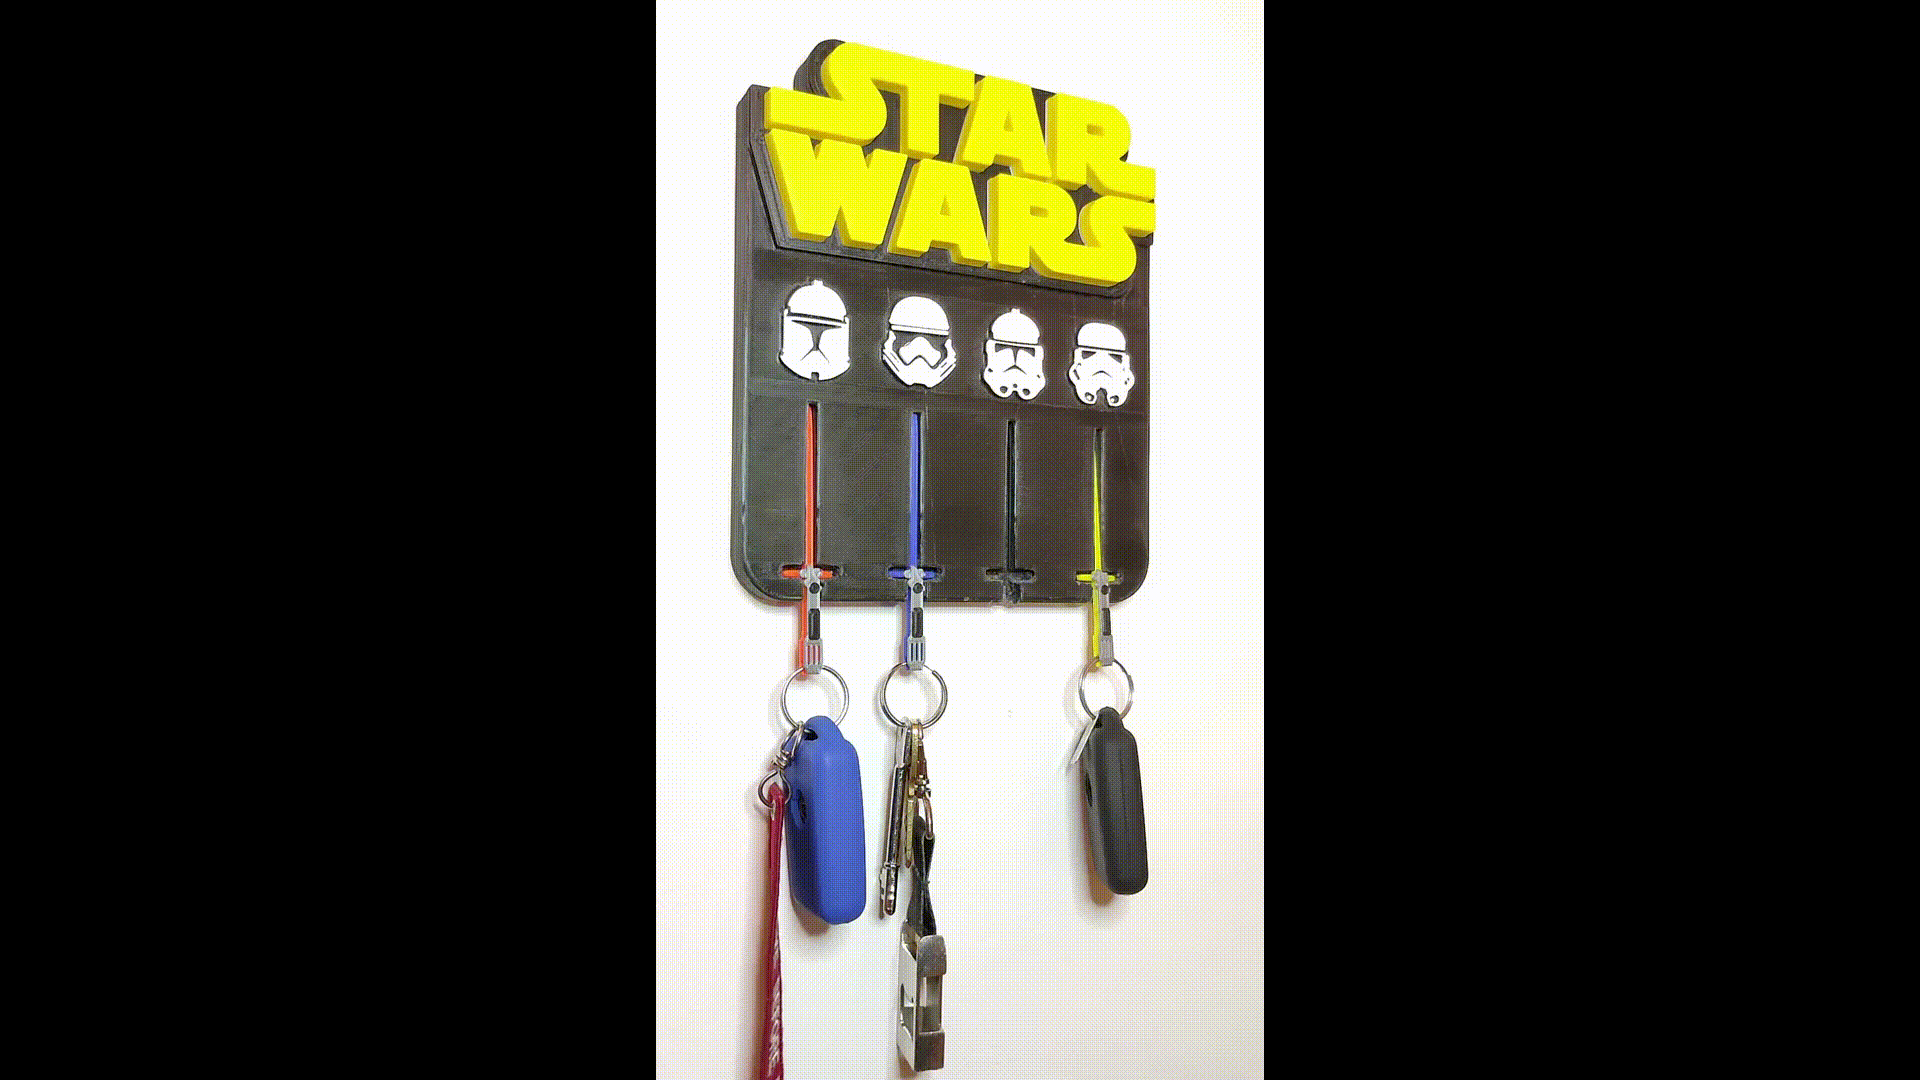
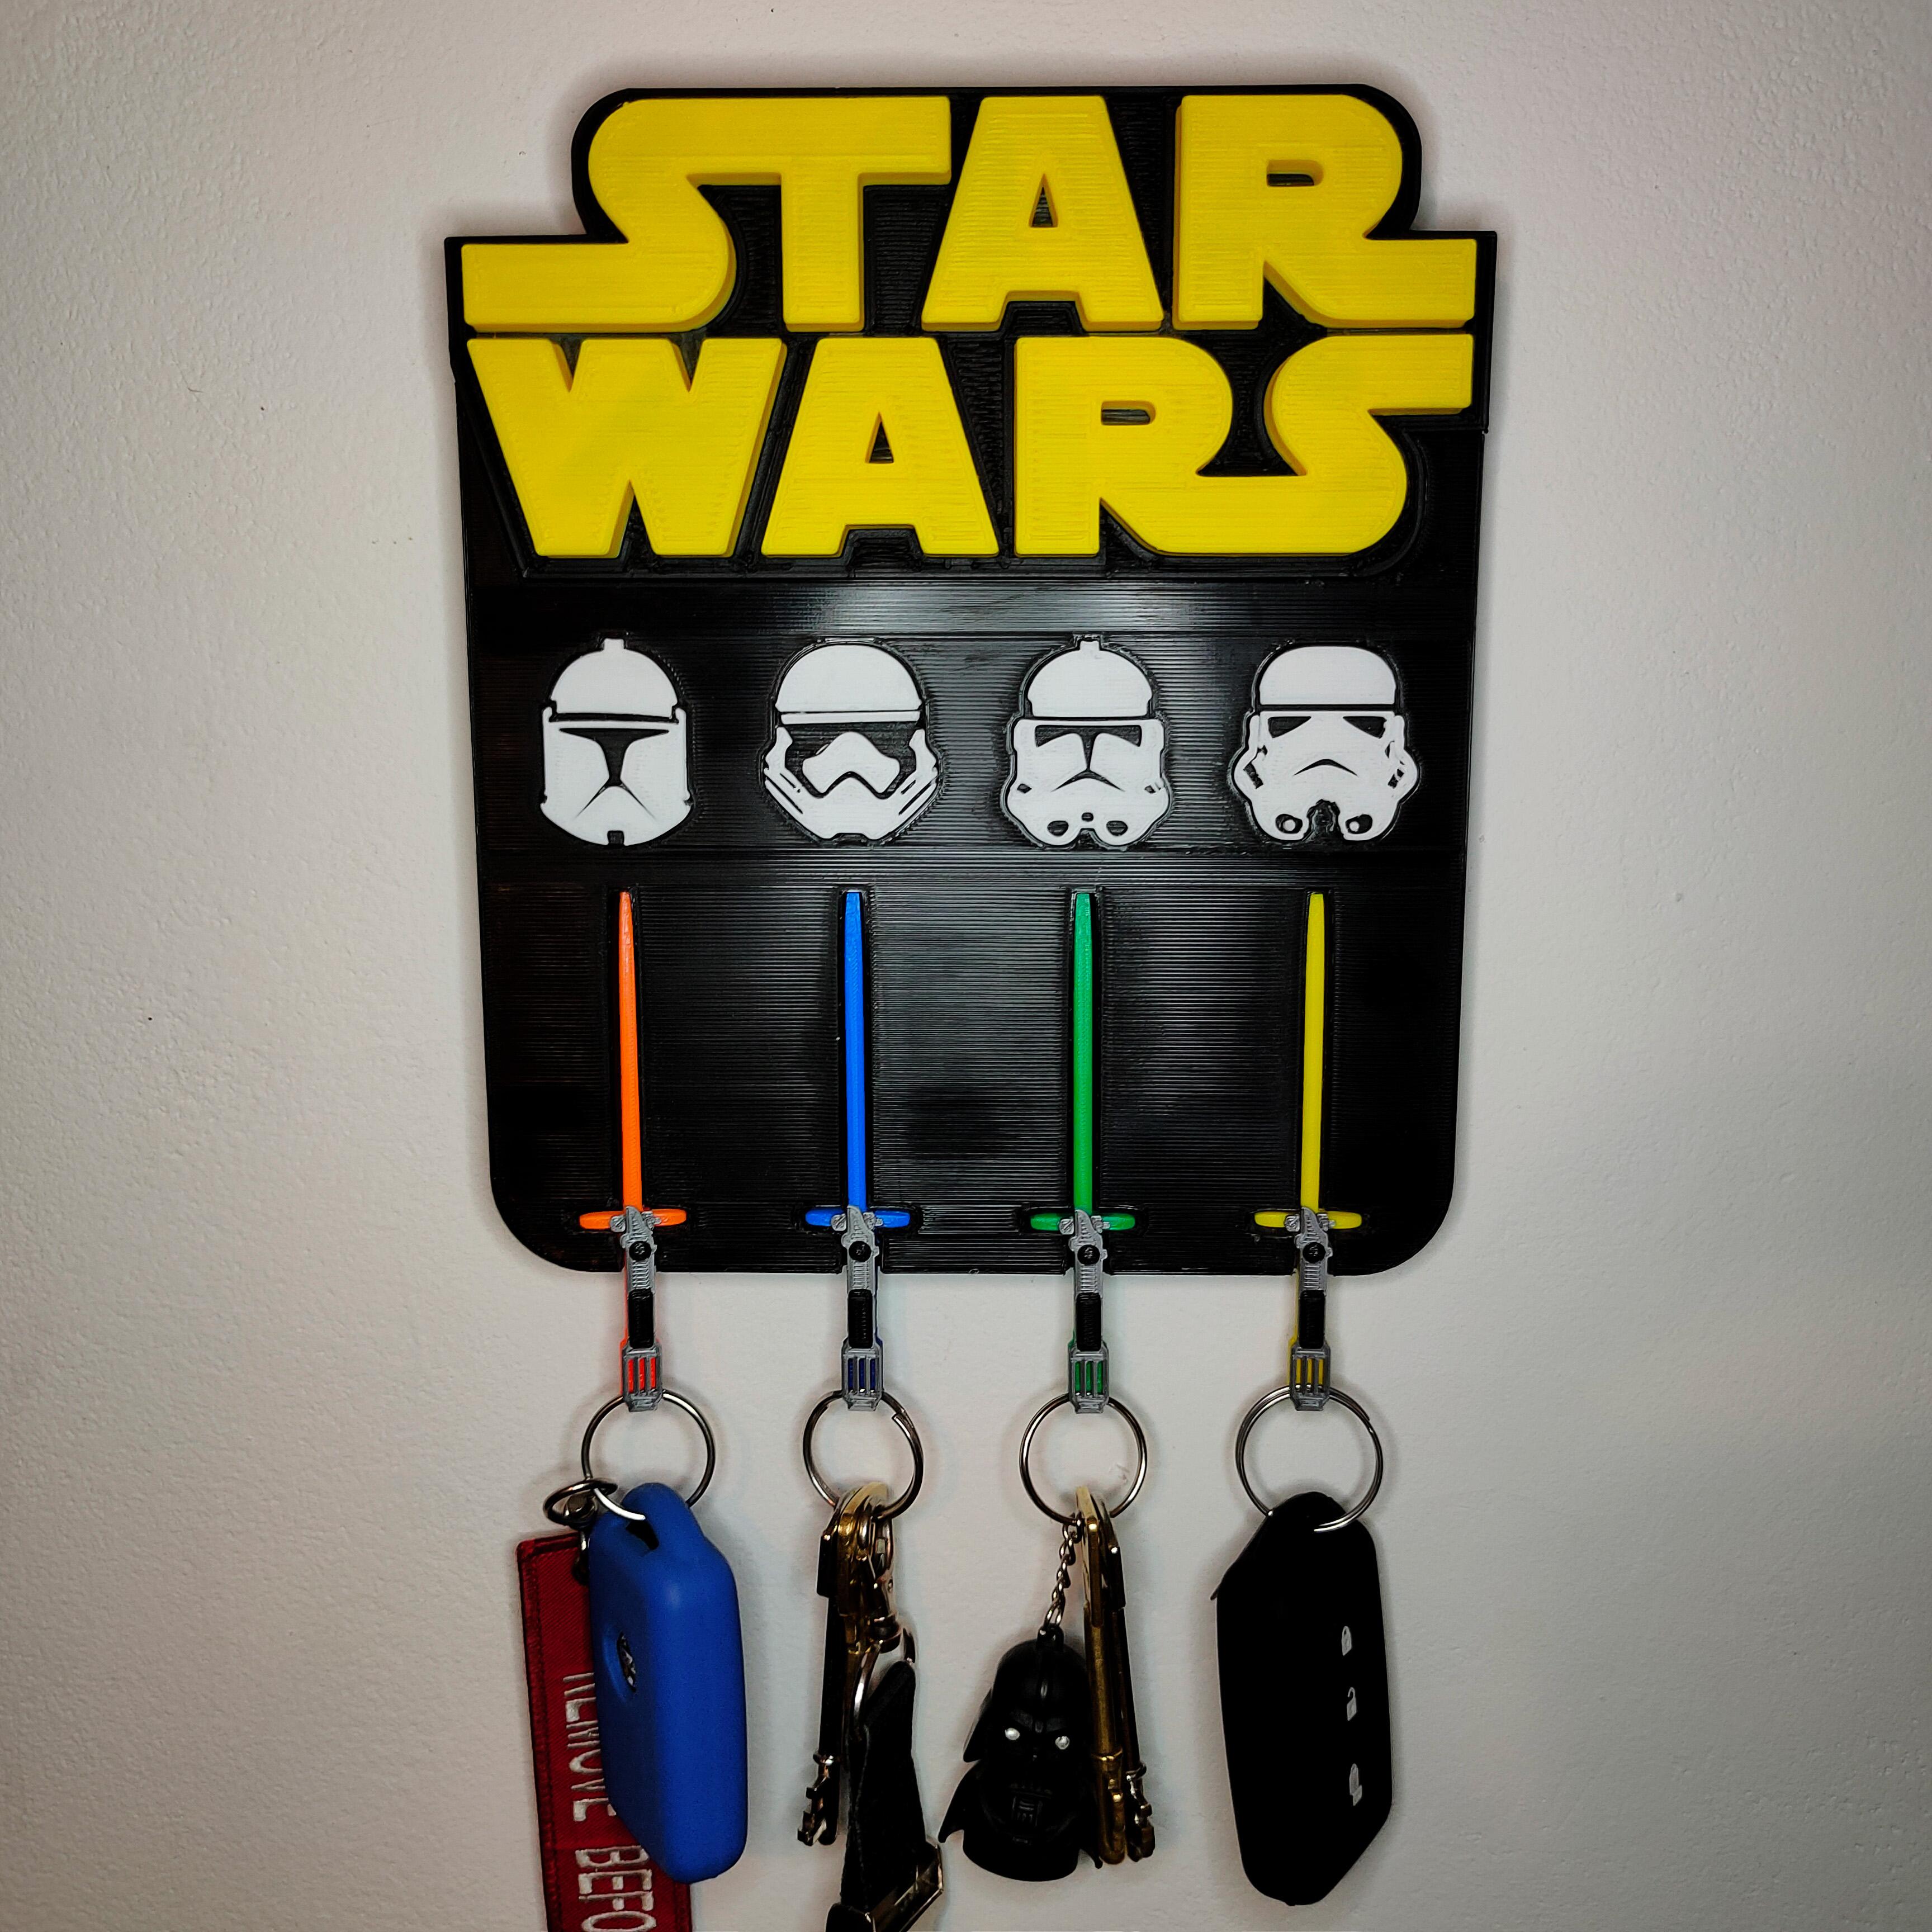
Hey guys! I came up with this 3D printed decorative wall mounted key holder with 4 lightsaber keychains.
This key holder will show my friends that the Force is with me so that I never lose my keys!
I designed entirely using Tinkercad and and I'm very happy with the result! .
Fix it on the wall and it's sure to grab the attention of guests entering who will be full of smiles and praises!
Here is how I designed it. At the end you can also find the finished STL files
Supplies
- 3D Printer
- Plastic filament (PLA, ABS or PETG)
- Double-sided tape OR 2xM6 screws
-
Some keys
Looking for Images for Our Design
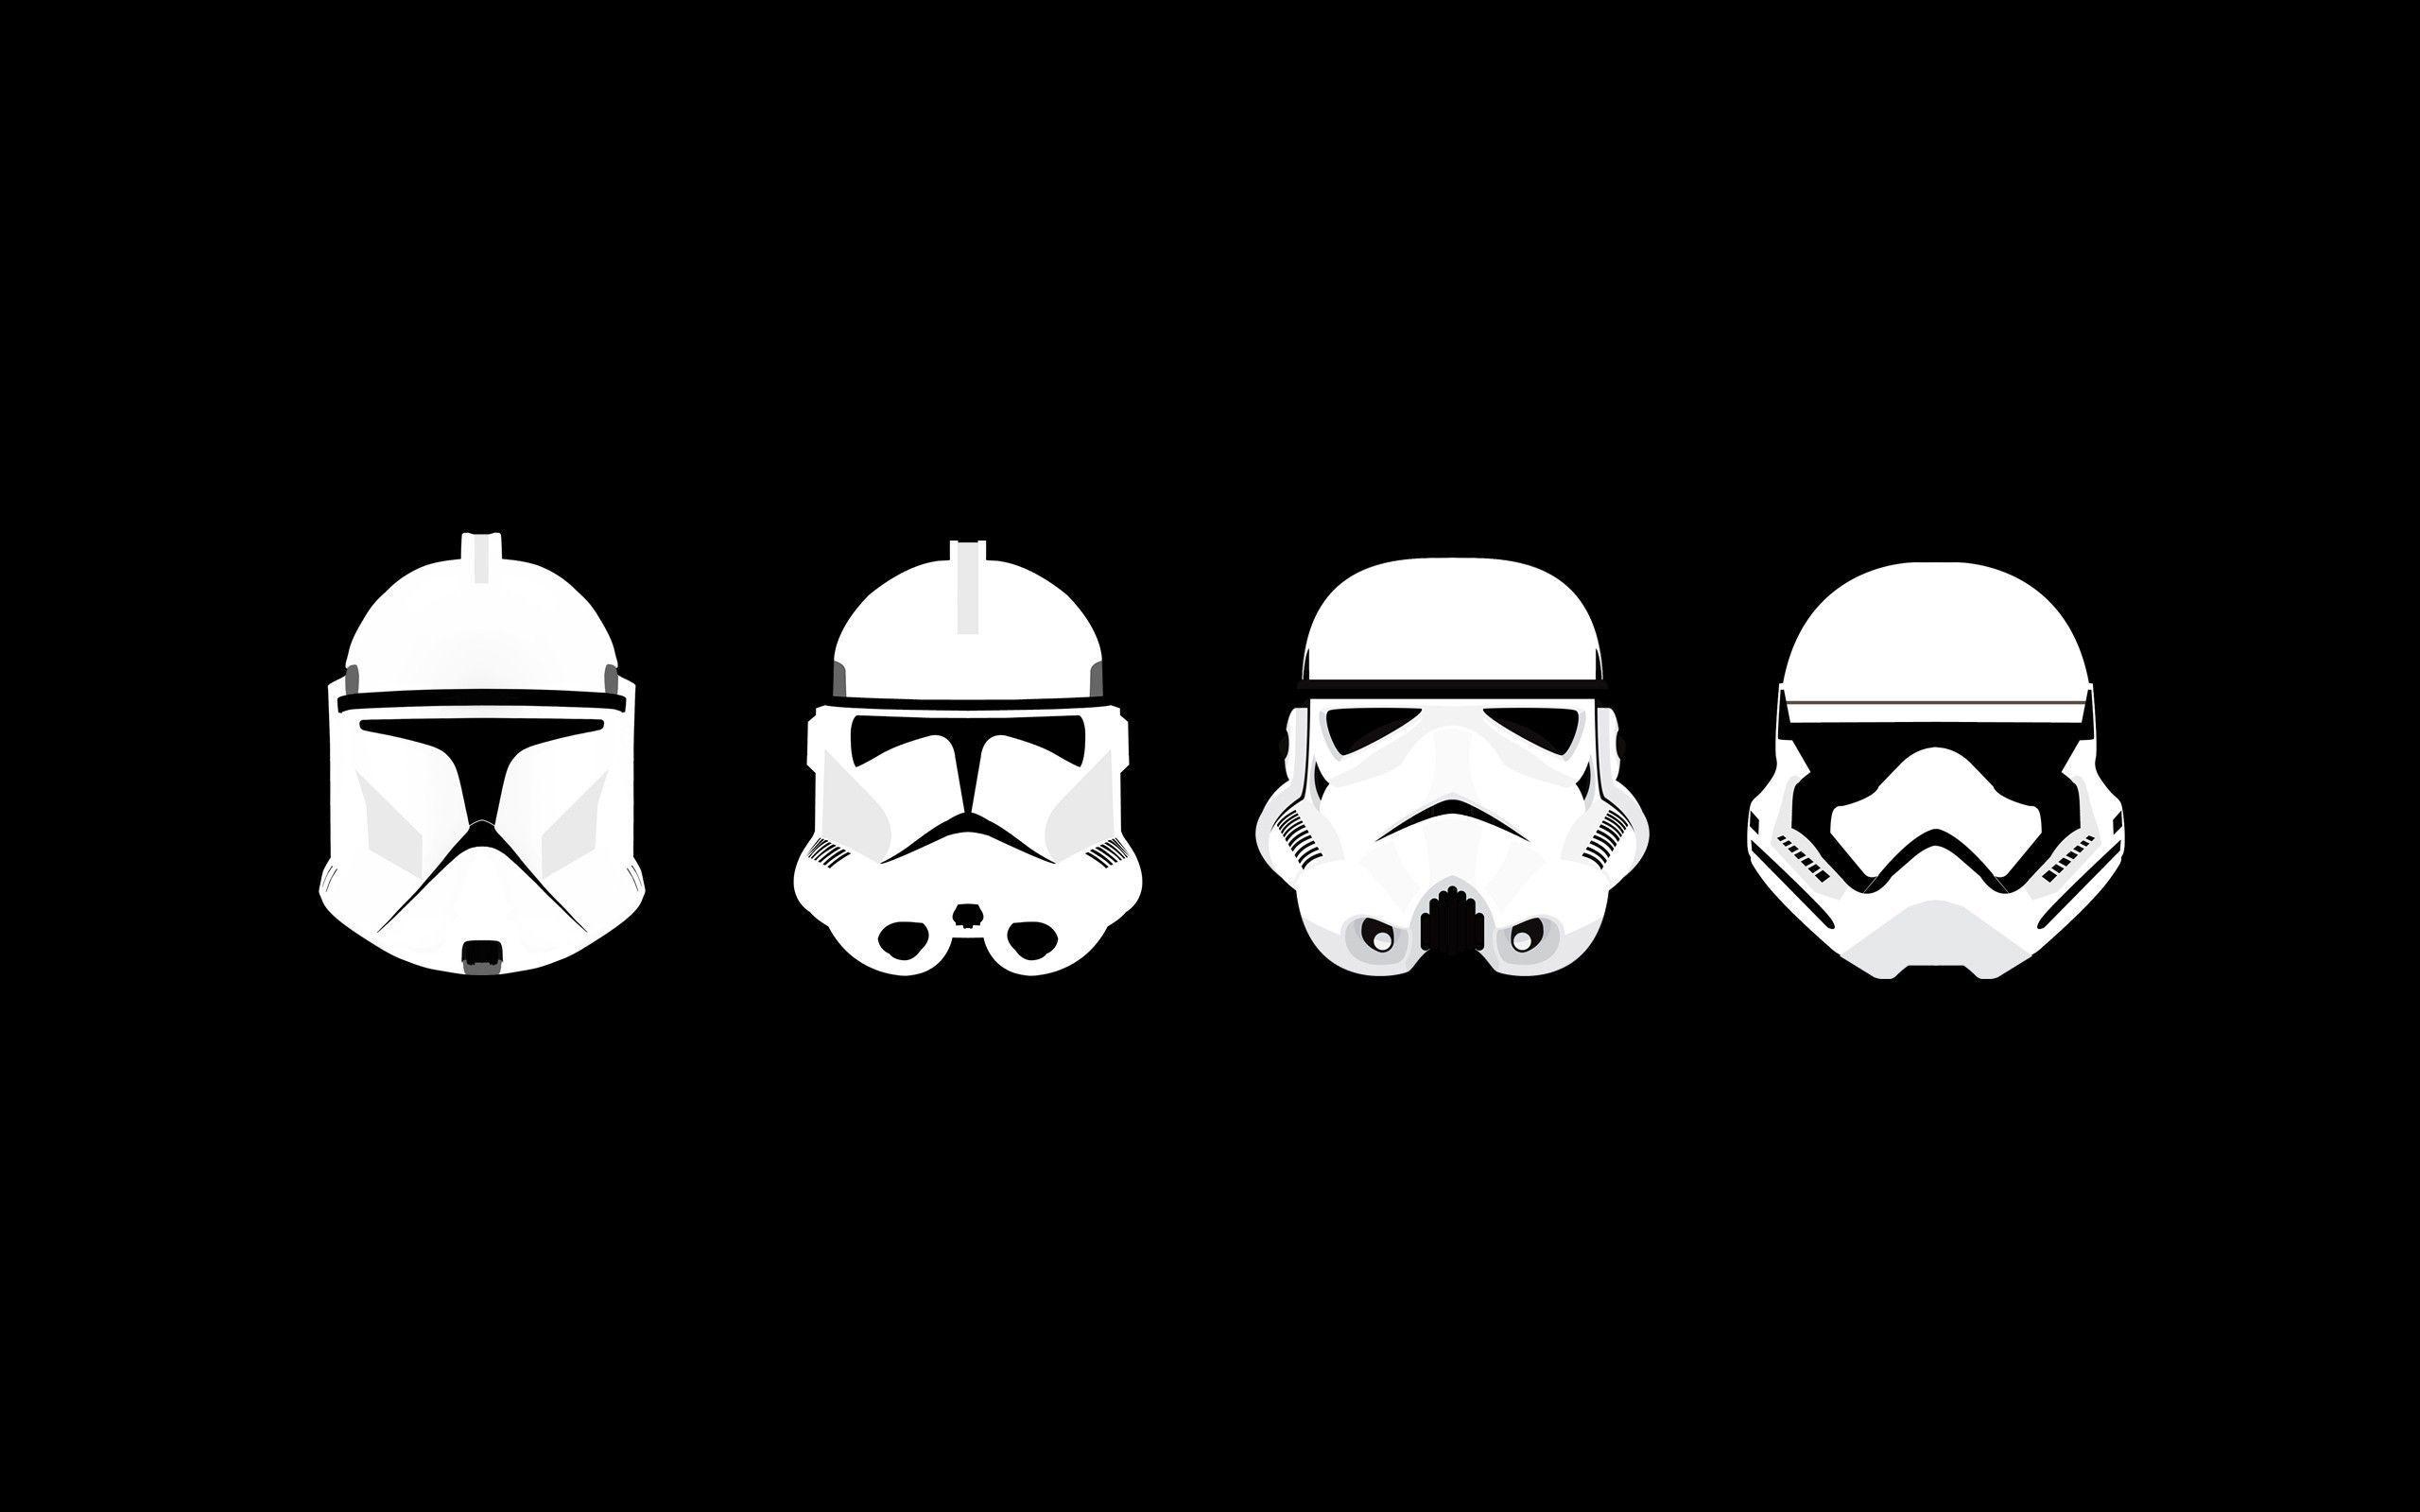
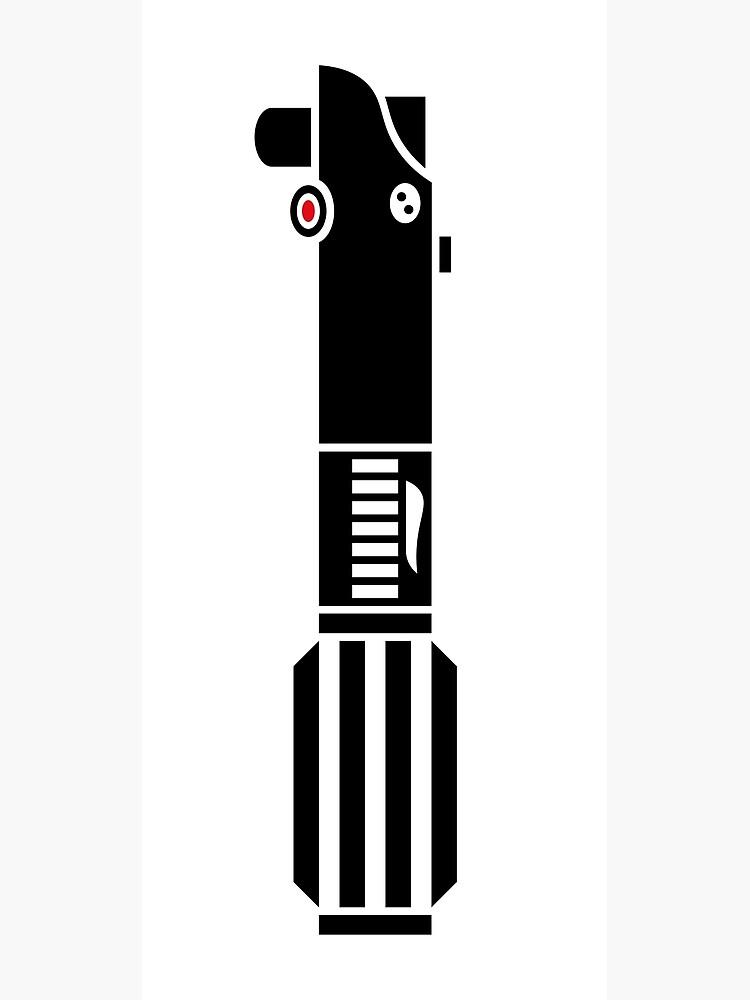
First step is pretty straight forward, I google some Star Wars images that I like. In my case I'm going with the classic Star Wars sign, the four phases of the Storm Troopers designs and a light saber model that I love!
Converting Those Images to Tinkercad Language
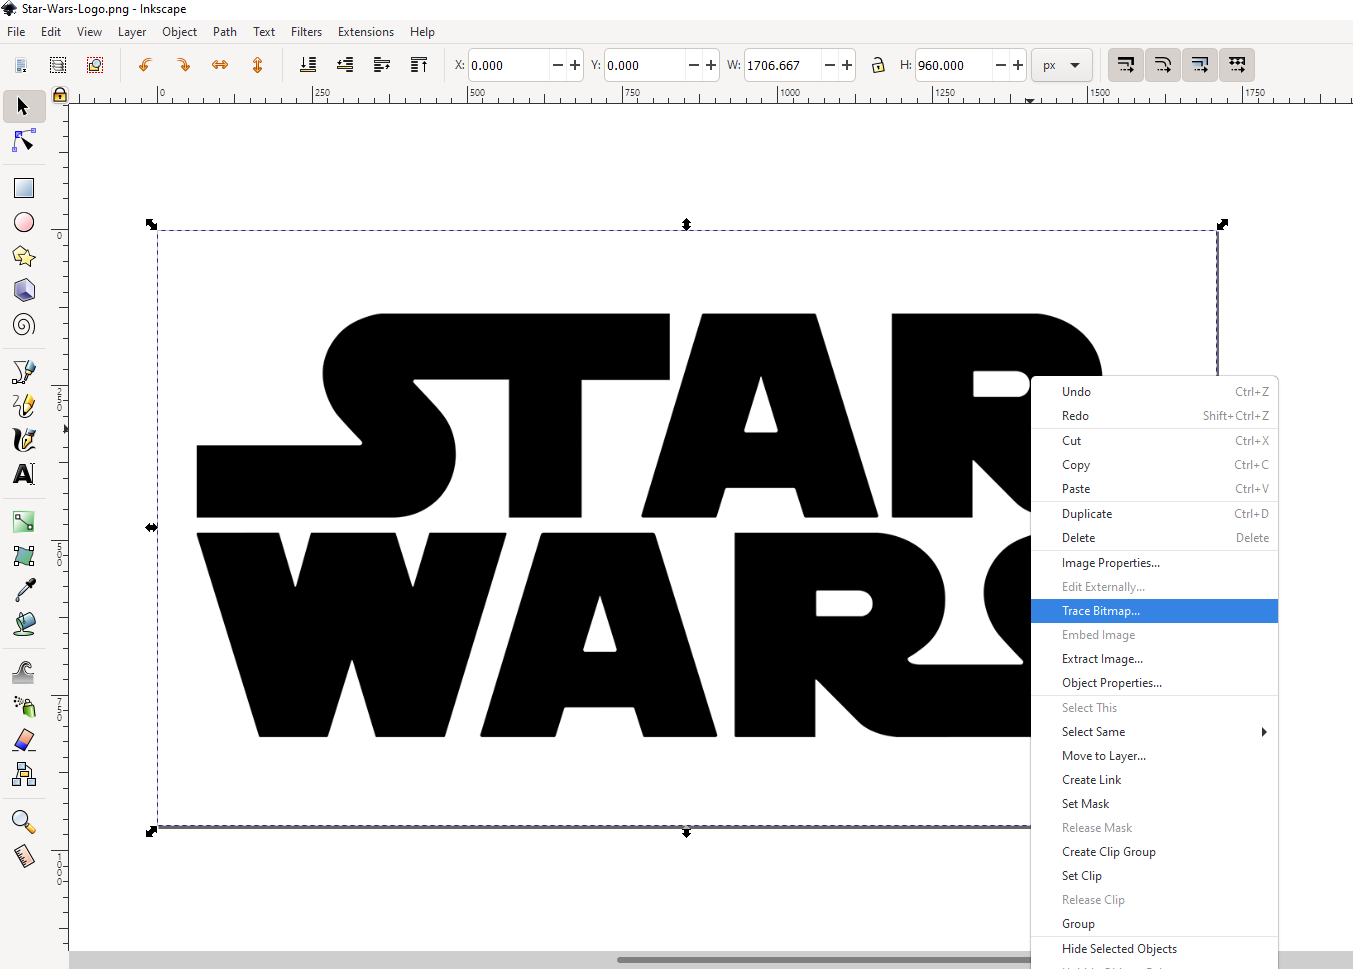

In order to import these images to Tinkercad We have to convert them from an image file (JPG, PNG, etc.) to SVG format.
To do this I use a program called Inkscape, It's free and very easy to use.
Basically you have to open every picture you want to convert with this program.
Once open You'll right click the picture and select the option "Trace Bitmap...".
A side window will open, and here you can set the "Brightness threshold" which basically means how many pixels will be considered 'white' during the convertion. In this case, since this is a simple image with only one color (black), any threshold will give pretty much the same result, so We'll go ahead and click Ok.
Now We'll have both images, one on top of the other, so We can erase the old JPG or PNG image and keep the new one (make sure you are erasing the old one!).
Now We can go ahead and to the same process for every picture. For the 'four phases of the Storm Troopers' image, I also had to tick the 'Invert image' option, so the faces become objects instead of the background.
After this We can save each picture as an SVG file.
Importing the SVG Files to Tinkercad
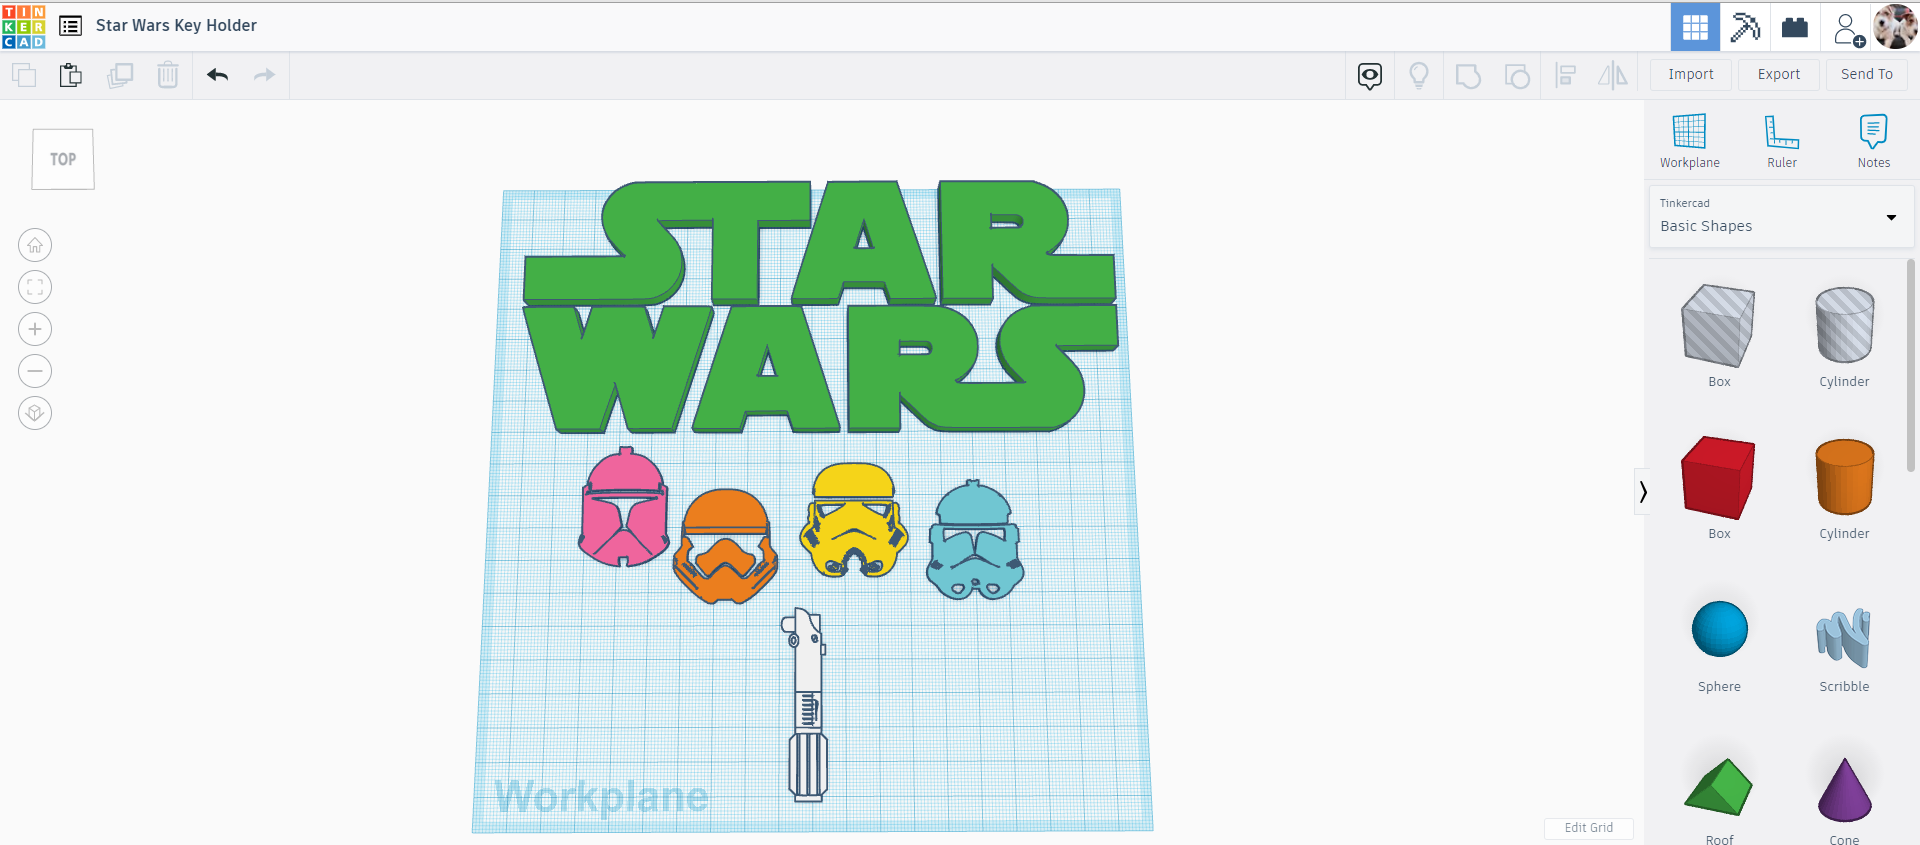
These new SVG files can be imported to Tinkercad using the 'Import' button, located at the top right of the program.
All the pictures We chose on Step 1 will now be spread on the Workplane as a body.
Completing the Lightsaber
Since I only imported that cool looking hilt (lol!) I will now design the blade.
For this I'll add 2 boxes from the Basic Shapes library, then size them and place them forming a 90° angle. This will help the keychain remain locked inside the keyholder!
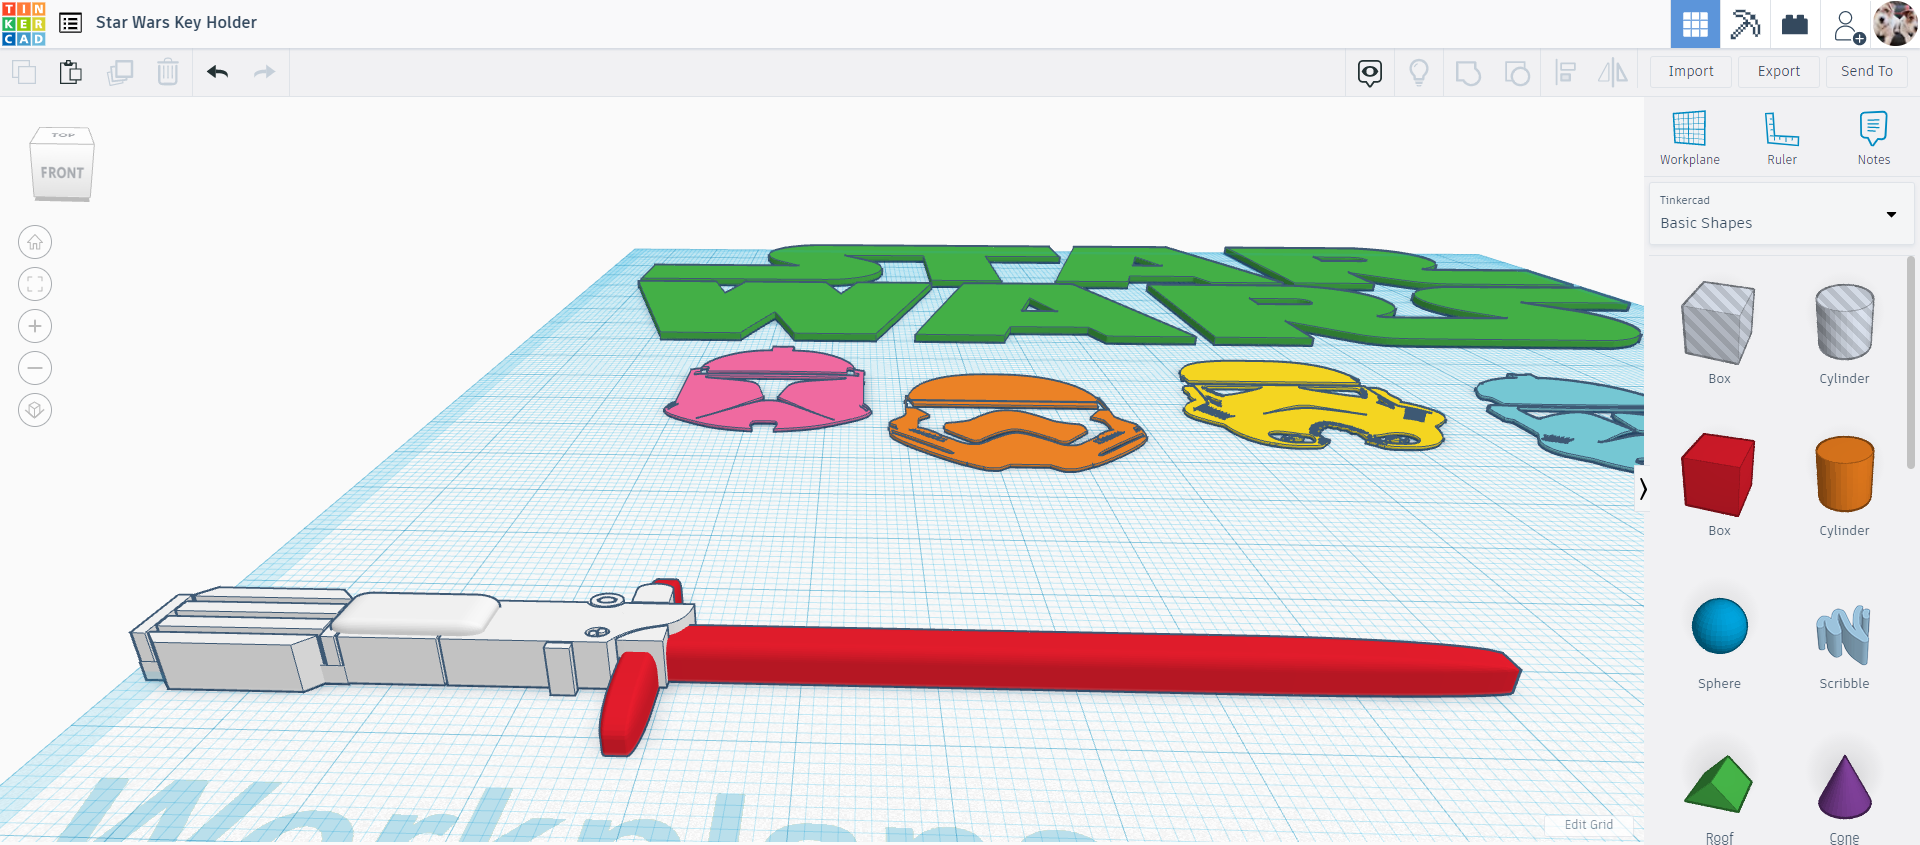
Adding Details to the Lightsaber

I'm planning on printing this lightsaber using different colors, so to make it stand out I'm going to add some details using a box and a cylinder.
Also, I'm adding a small cylinder at the bottom of the hilt, so I can hook a split ring to it.
Designing the Keyholder Backplate
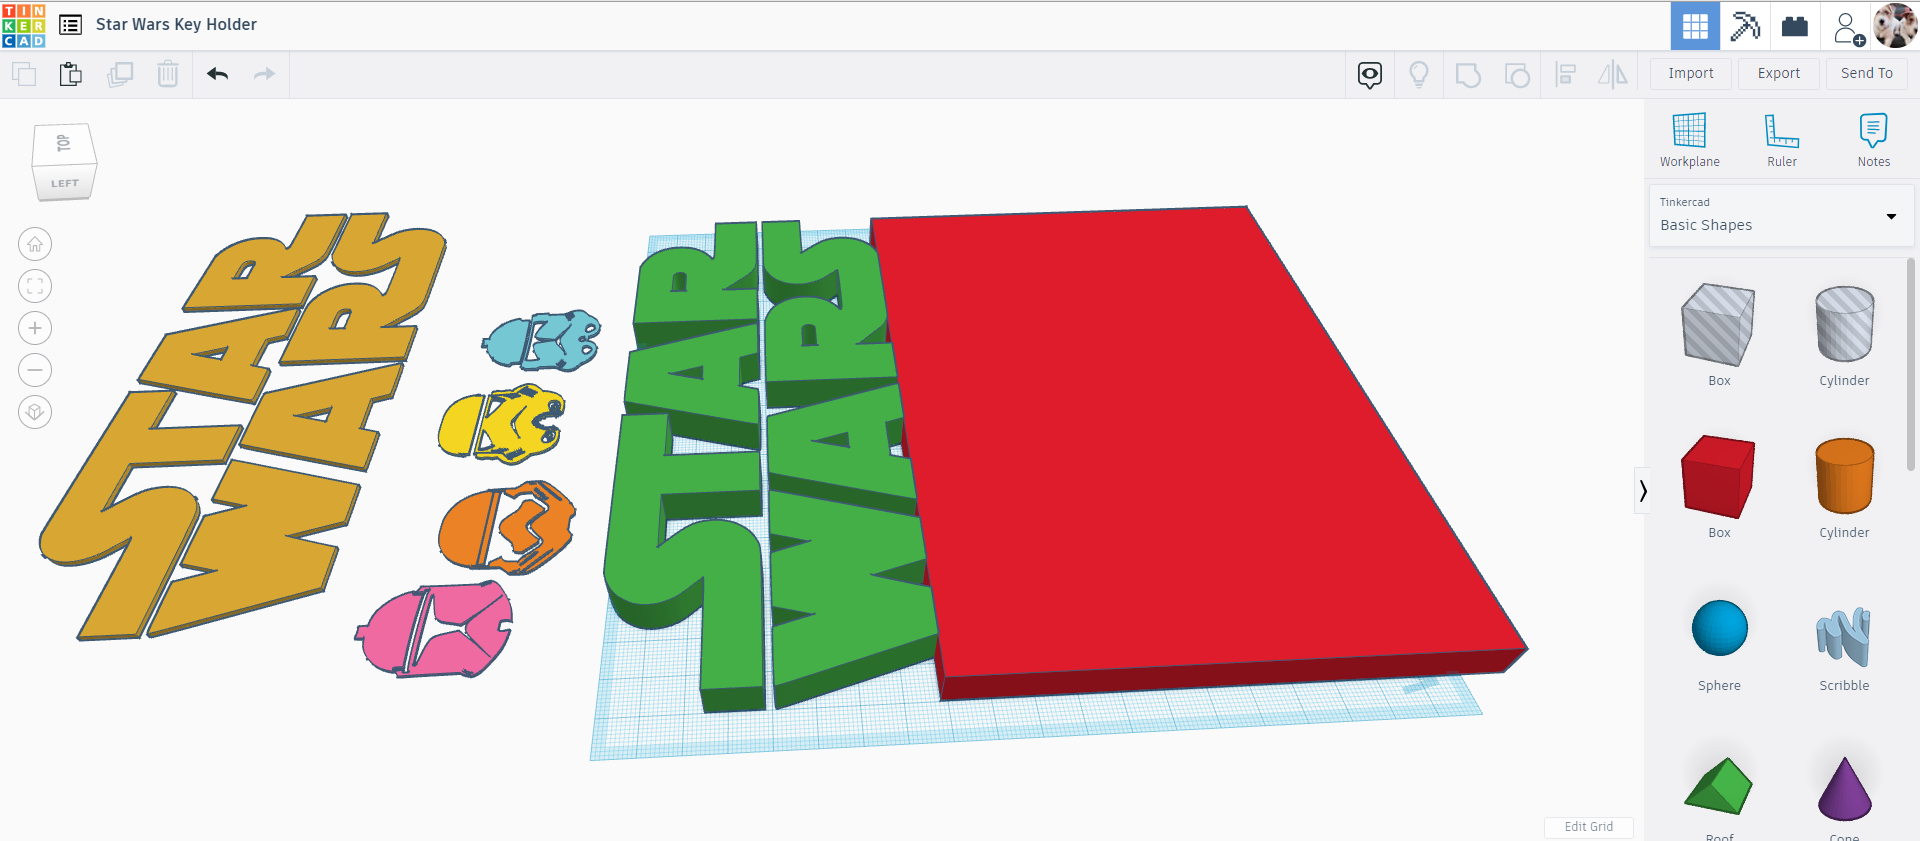
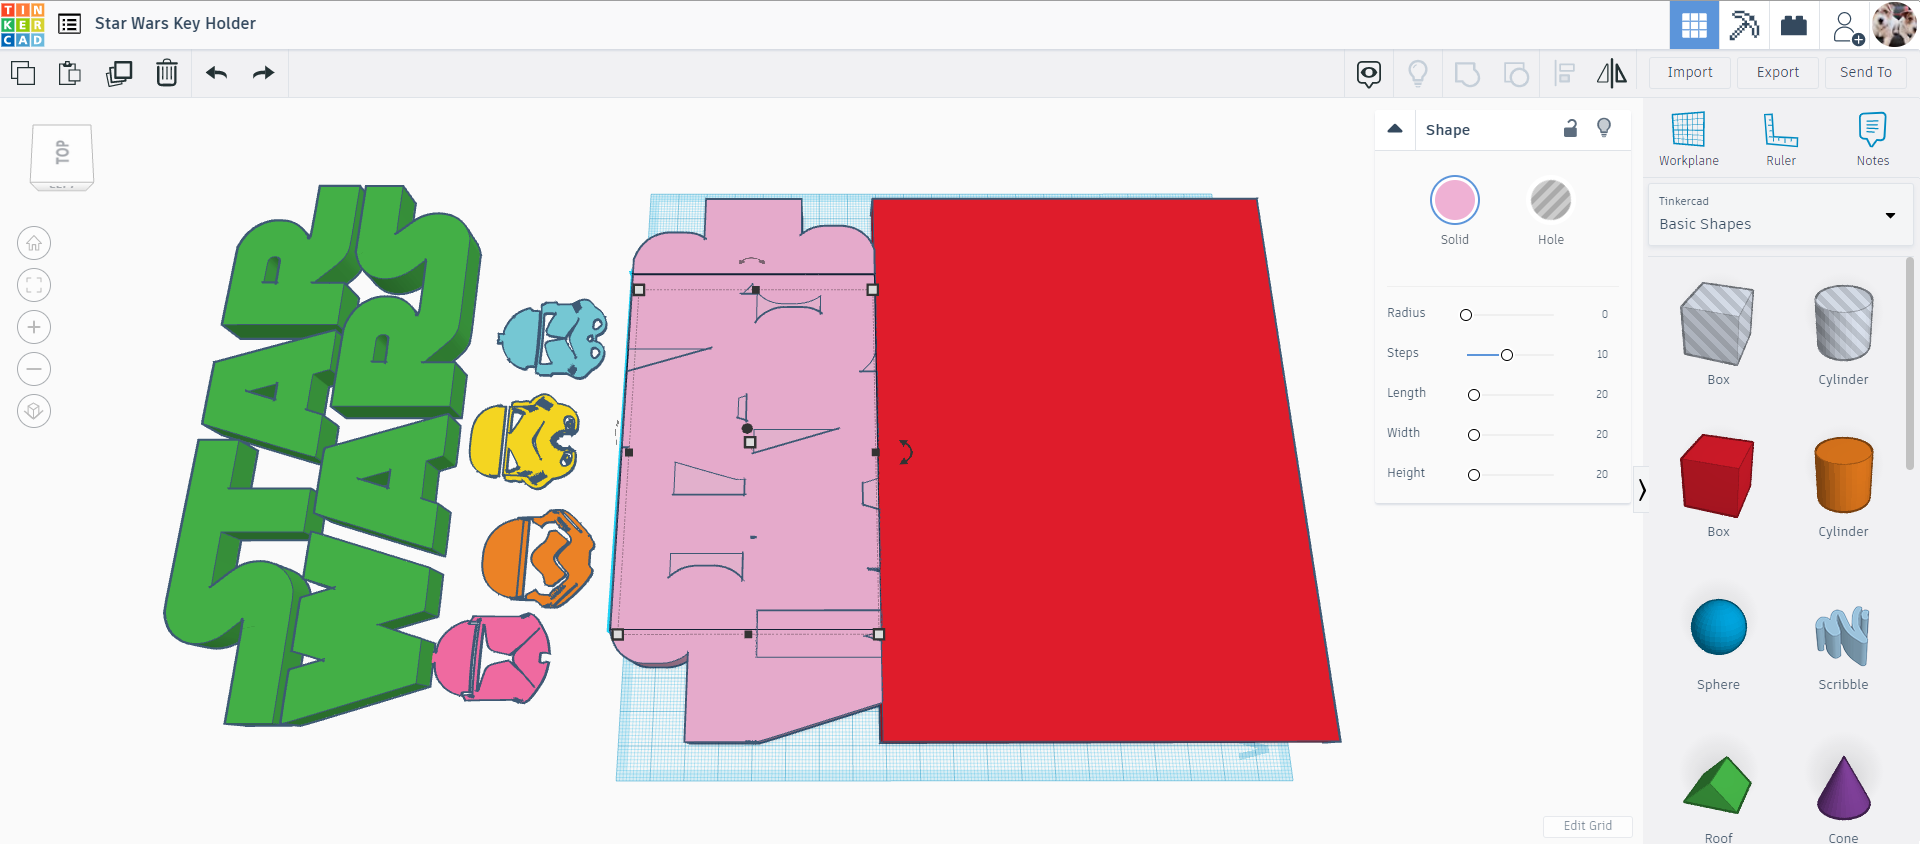
To design the backplate I added a box that is the same width as the Star Wars sign. This is what lightsabers will hook to.
I also duplicated the Star Wars sign since I'll place one in the background and one in the front. The one in the back I want it to be completely solid, so I'll group it with a box, to fill in all the holes between the letters.
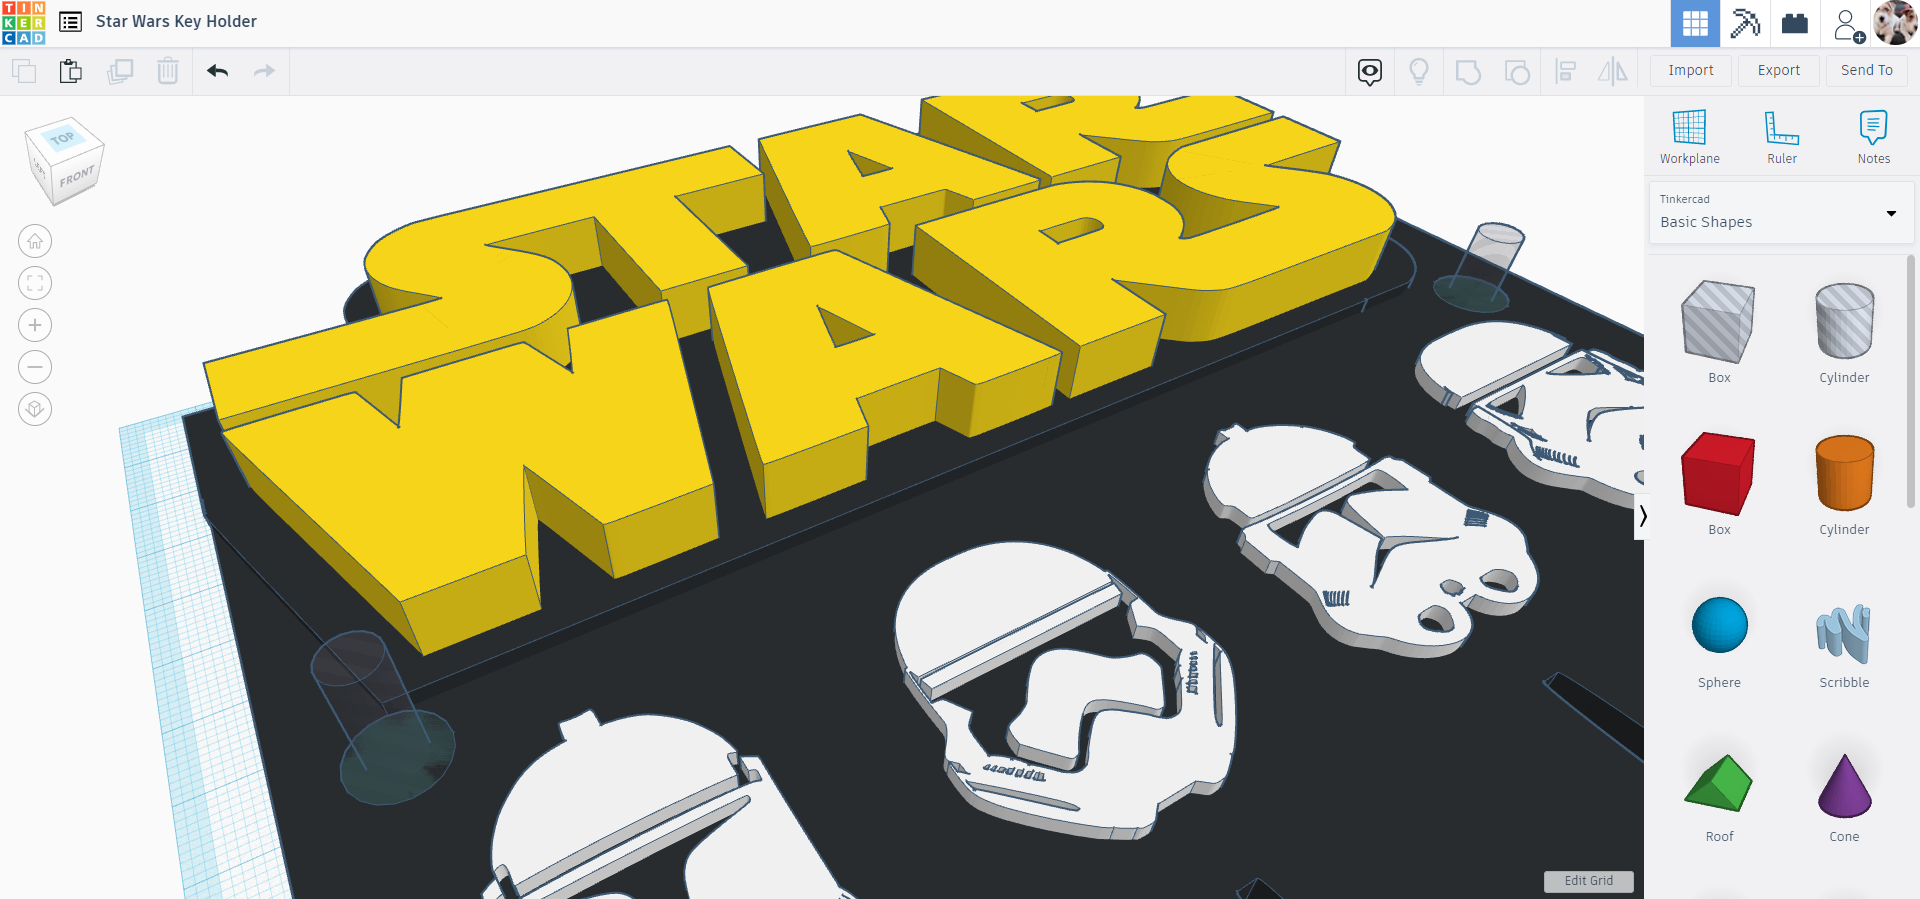
Placing All the Parts on the Backplate
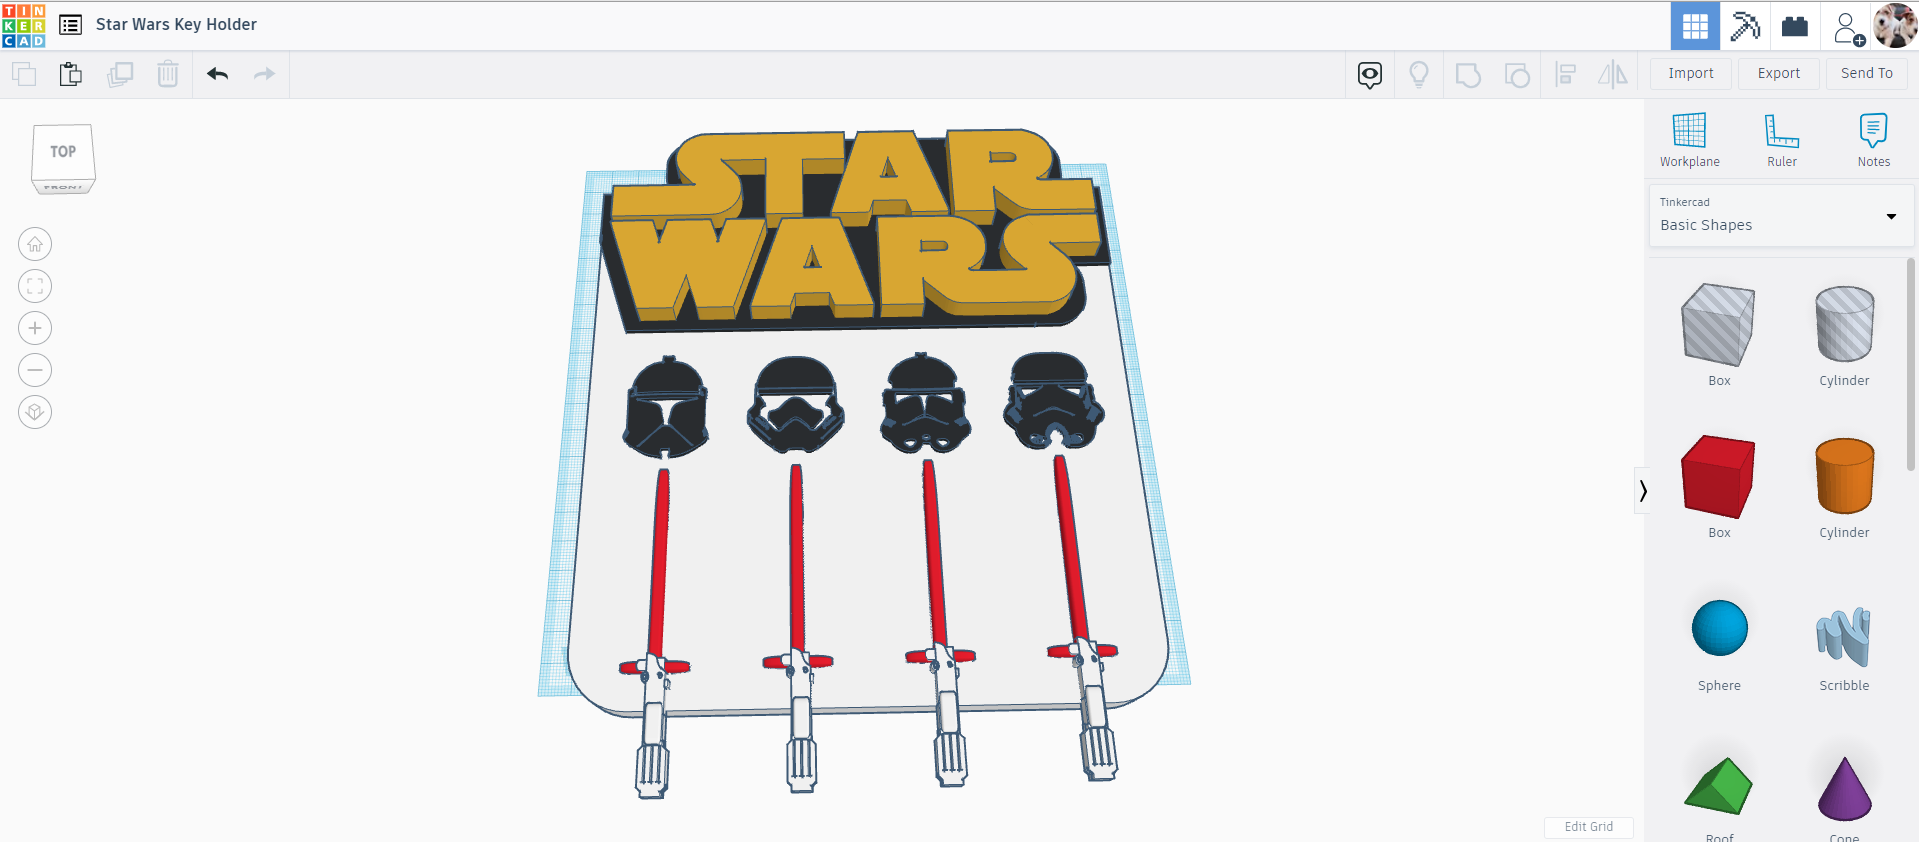
Now that We have all the bodies for the design, We can place them where We'd like them to go.
I aligned the lightsabers so they are all equidistant with enough room for the keys that will hang from below
Creating Compartments for the Lightsabers
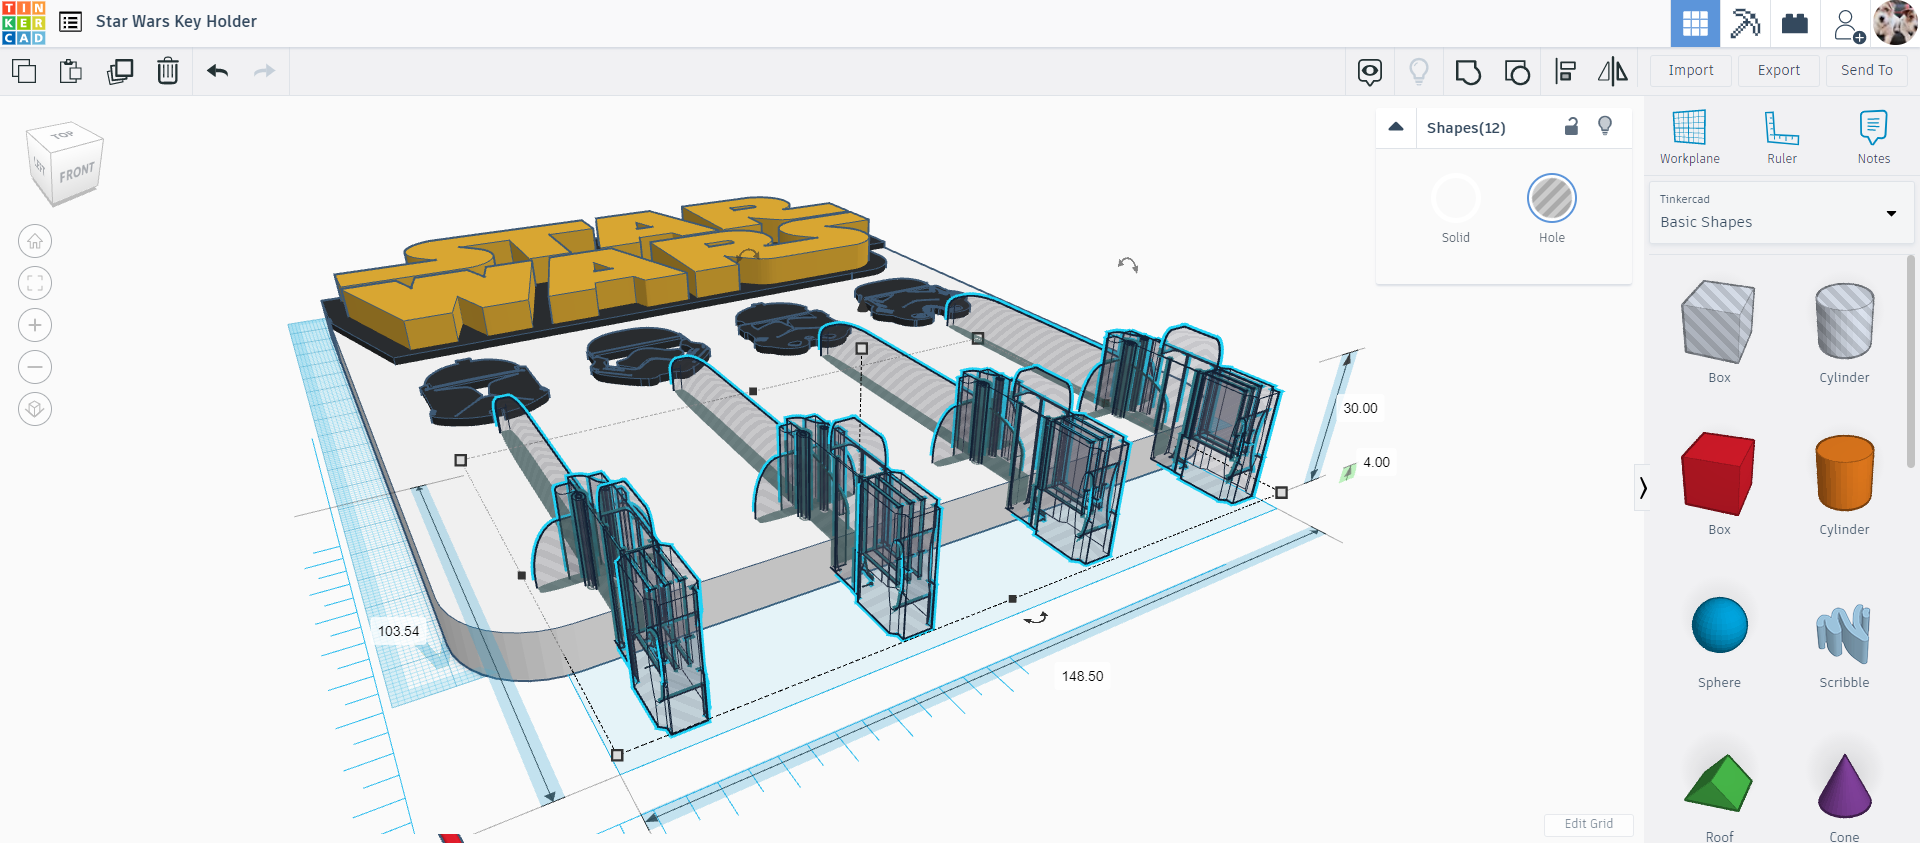
To make room for the lightsabers to fit in, it is necessary to oversize the ones that are going to be hollowed out in the base.
In my case I added about 0.8mm for each side of the lightsabre.
Adding a Lock for the Lightsabers
I don't want the lightsabers to fall from the key holder once they're carrying the weight of the keys, so I added a small box to work as a lock at the top of the lightsaber compartment.
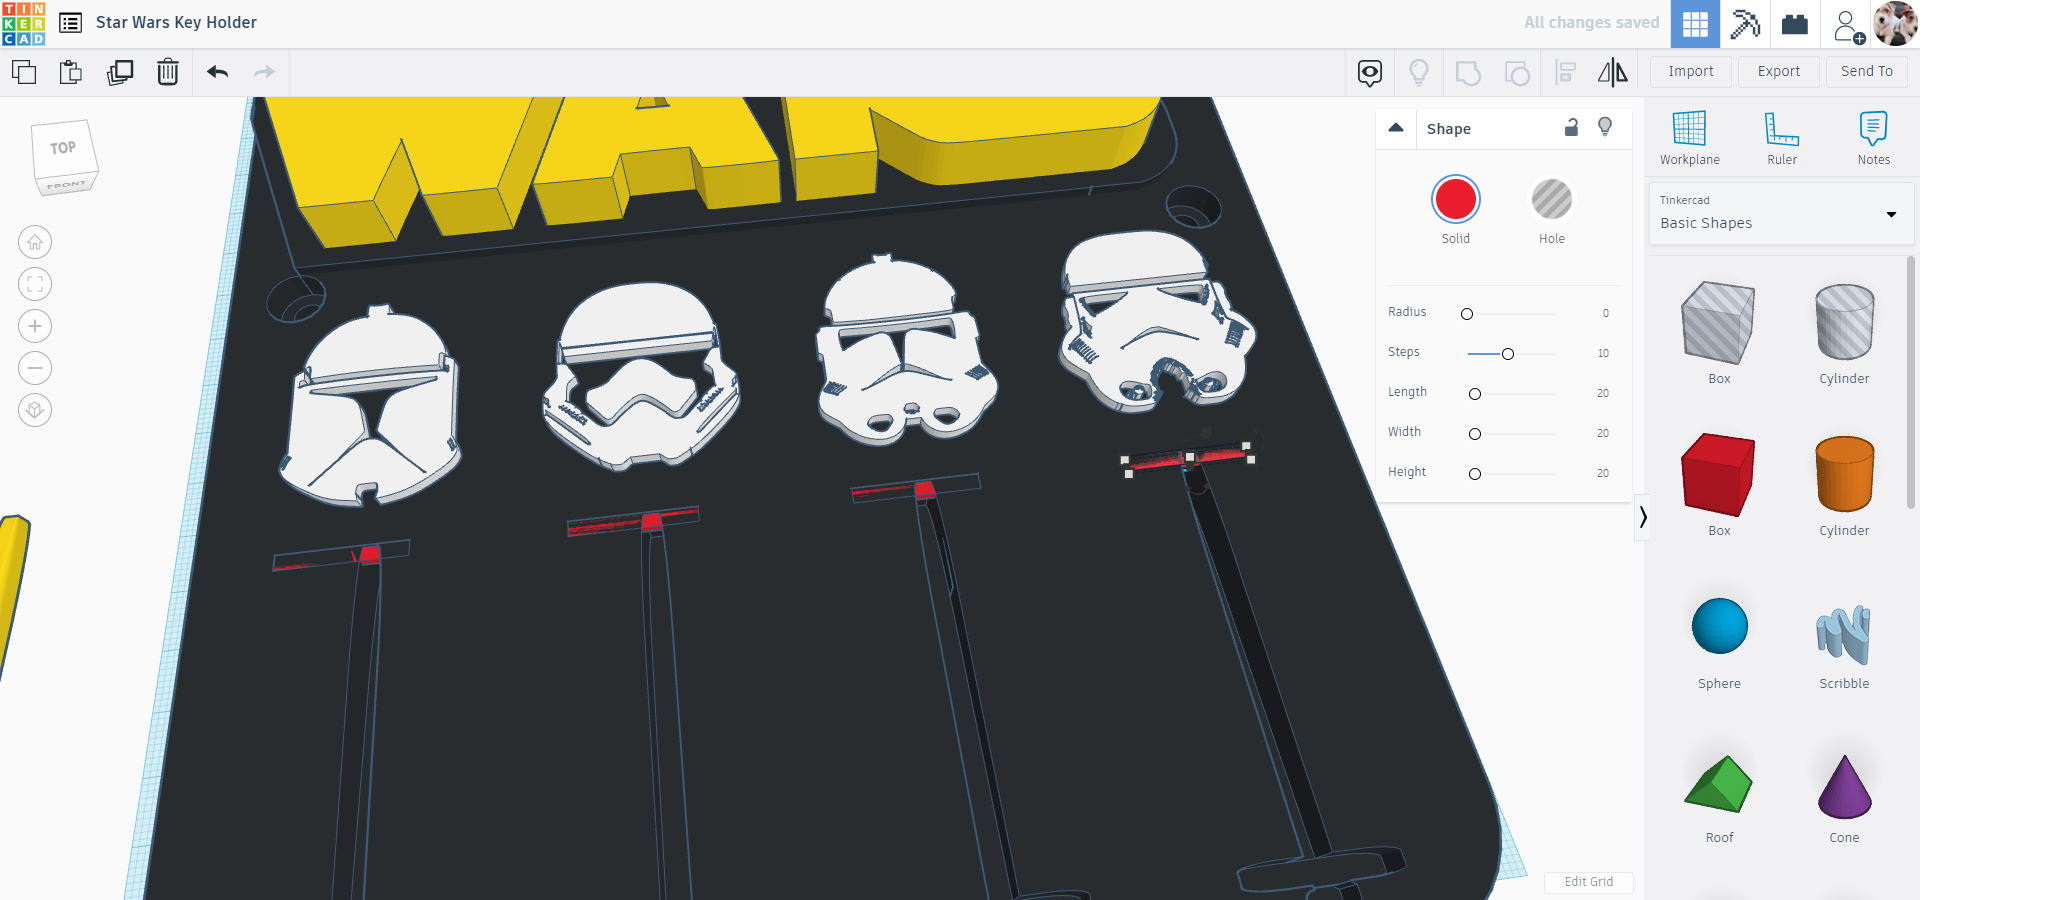
Adding Mounting Holes
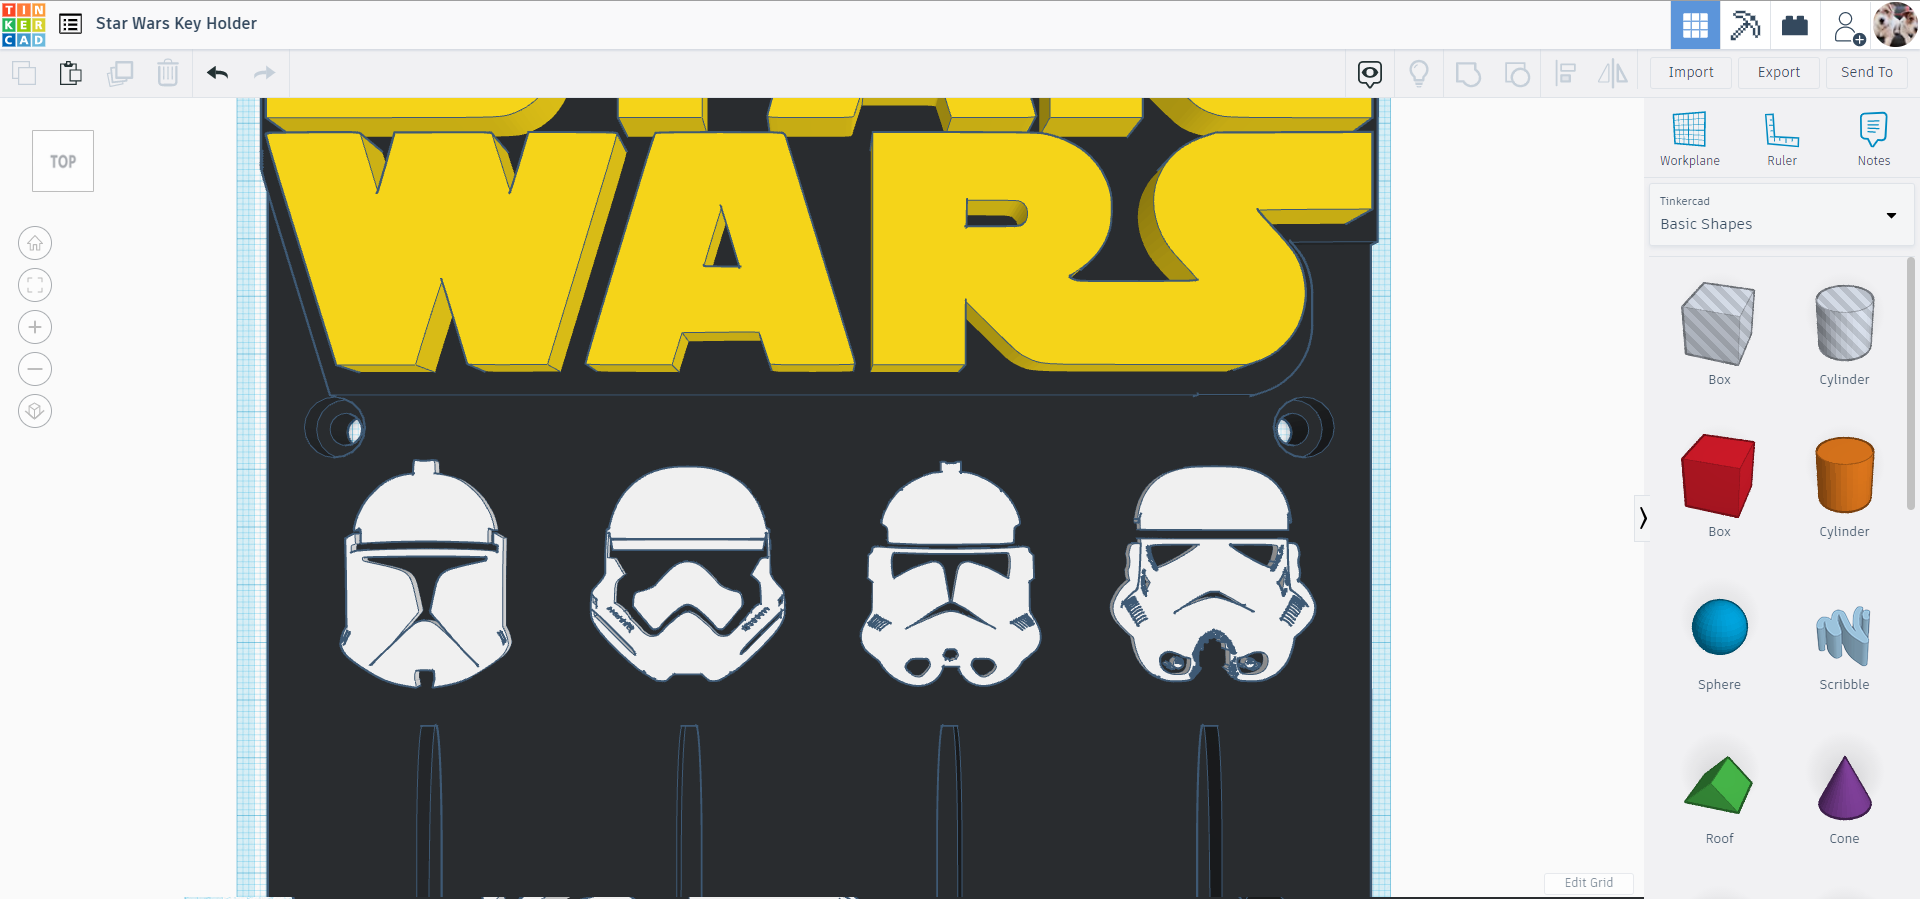
This step is optional, I'll be using double-sided tape to mount it, but I thought it would be a good idea to give the option of these mounting holes for those who prefer this method.
This is done by using a Cylinder for each side. I made them to work with M5 screws. I also added a second cylinder on top to hide the screw head so it's even with the surface.
We Are Ready to Print!
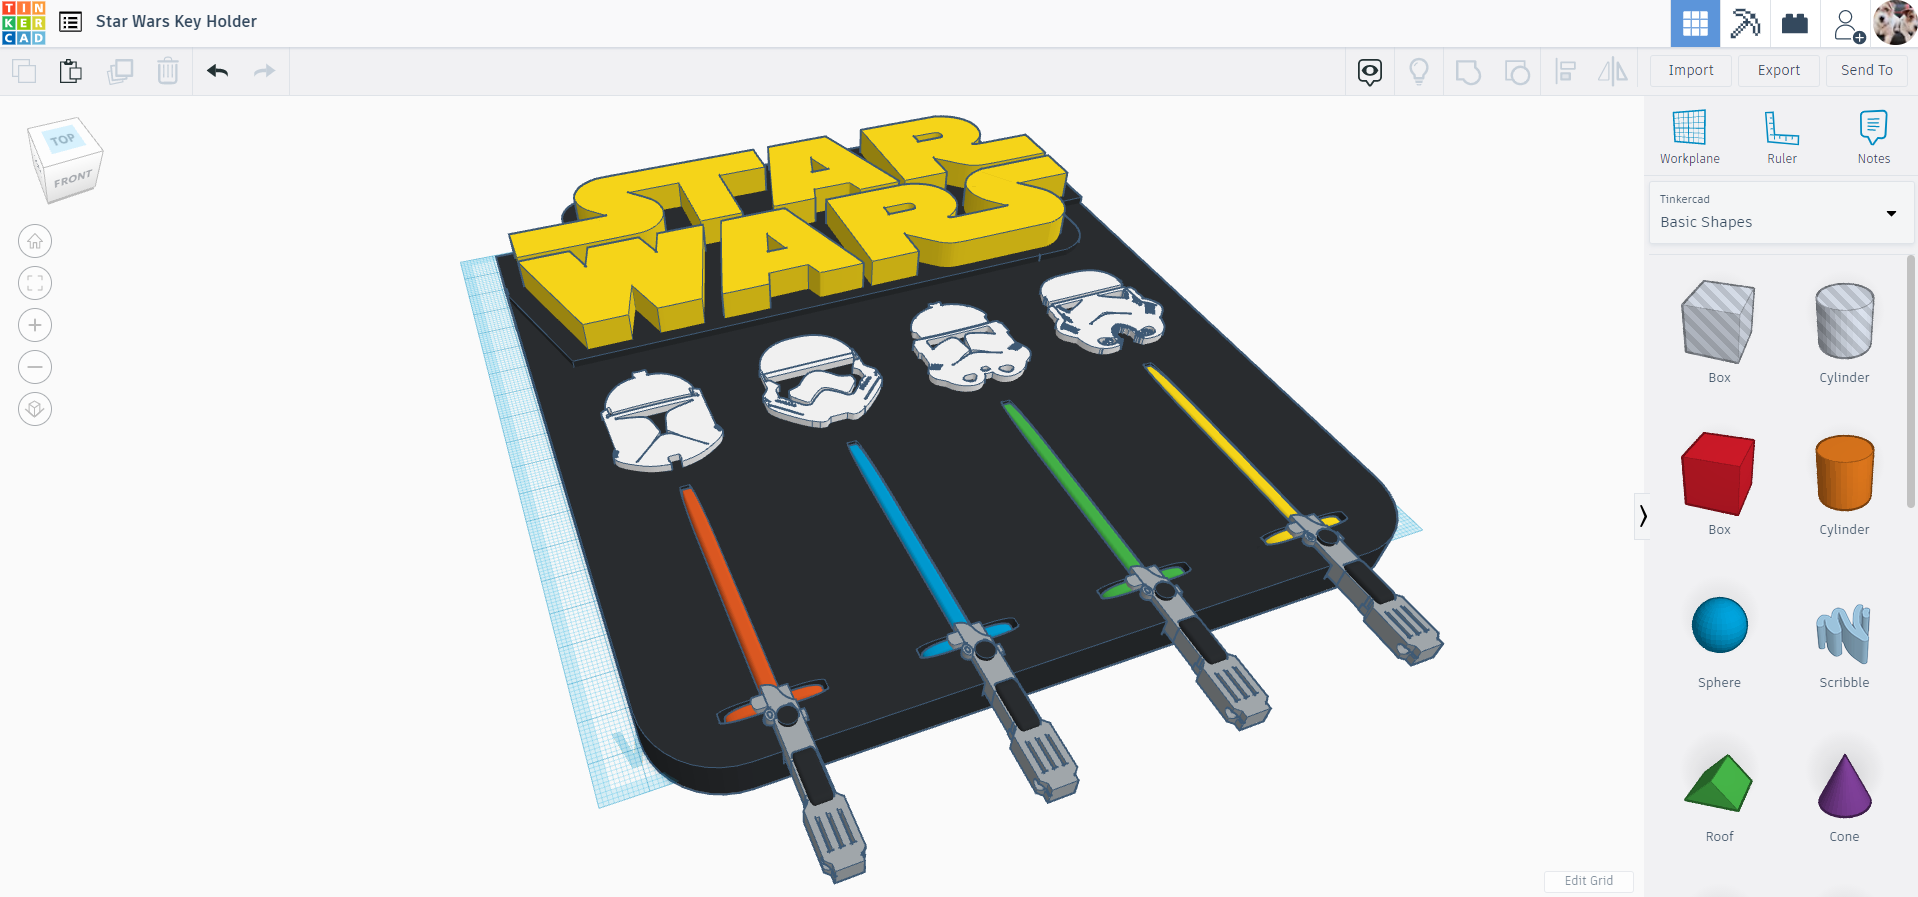
I inserted the lightsabers in their slots and made sure they'll fit nicely! Let's slice each part and print them!
Print Time!

Print settings are standard. The only thing to consider is to set the pauses at the correct layer numbers in your slicer program.
In my case I use Cura and I did this by using the 'Pause at height' plugin.
Fixing the Key Holder to the Wall
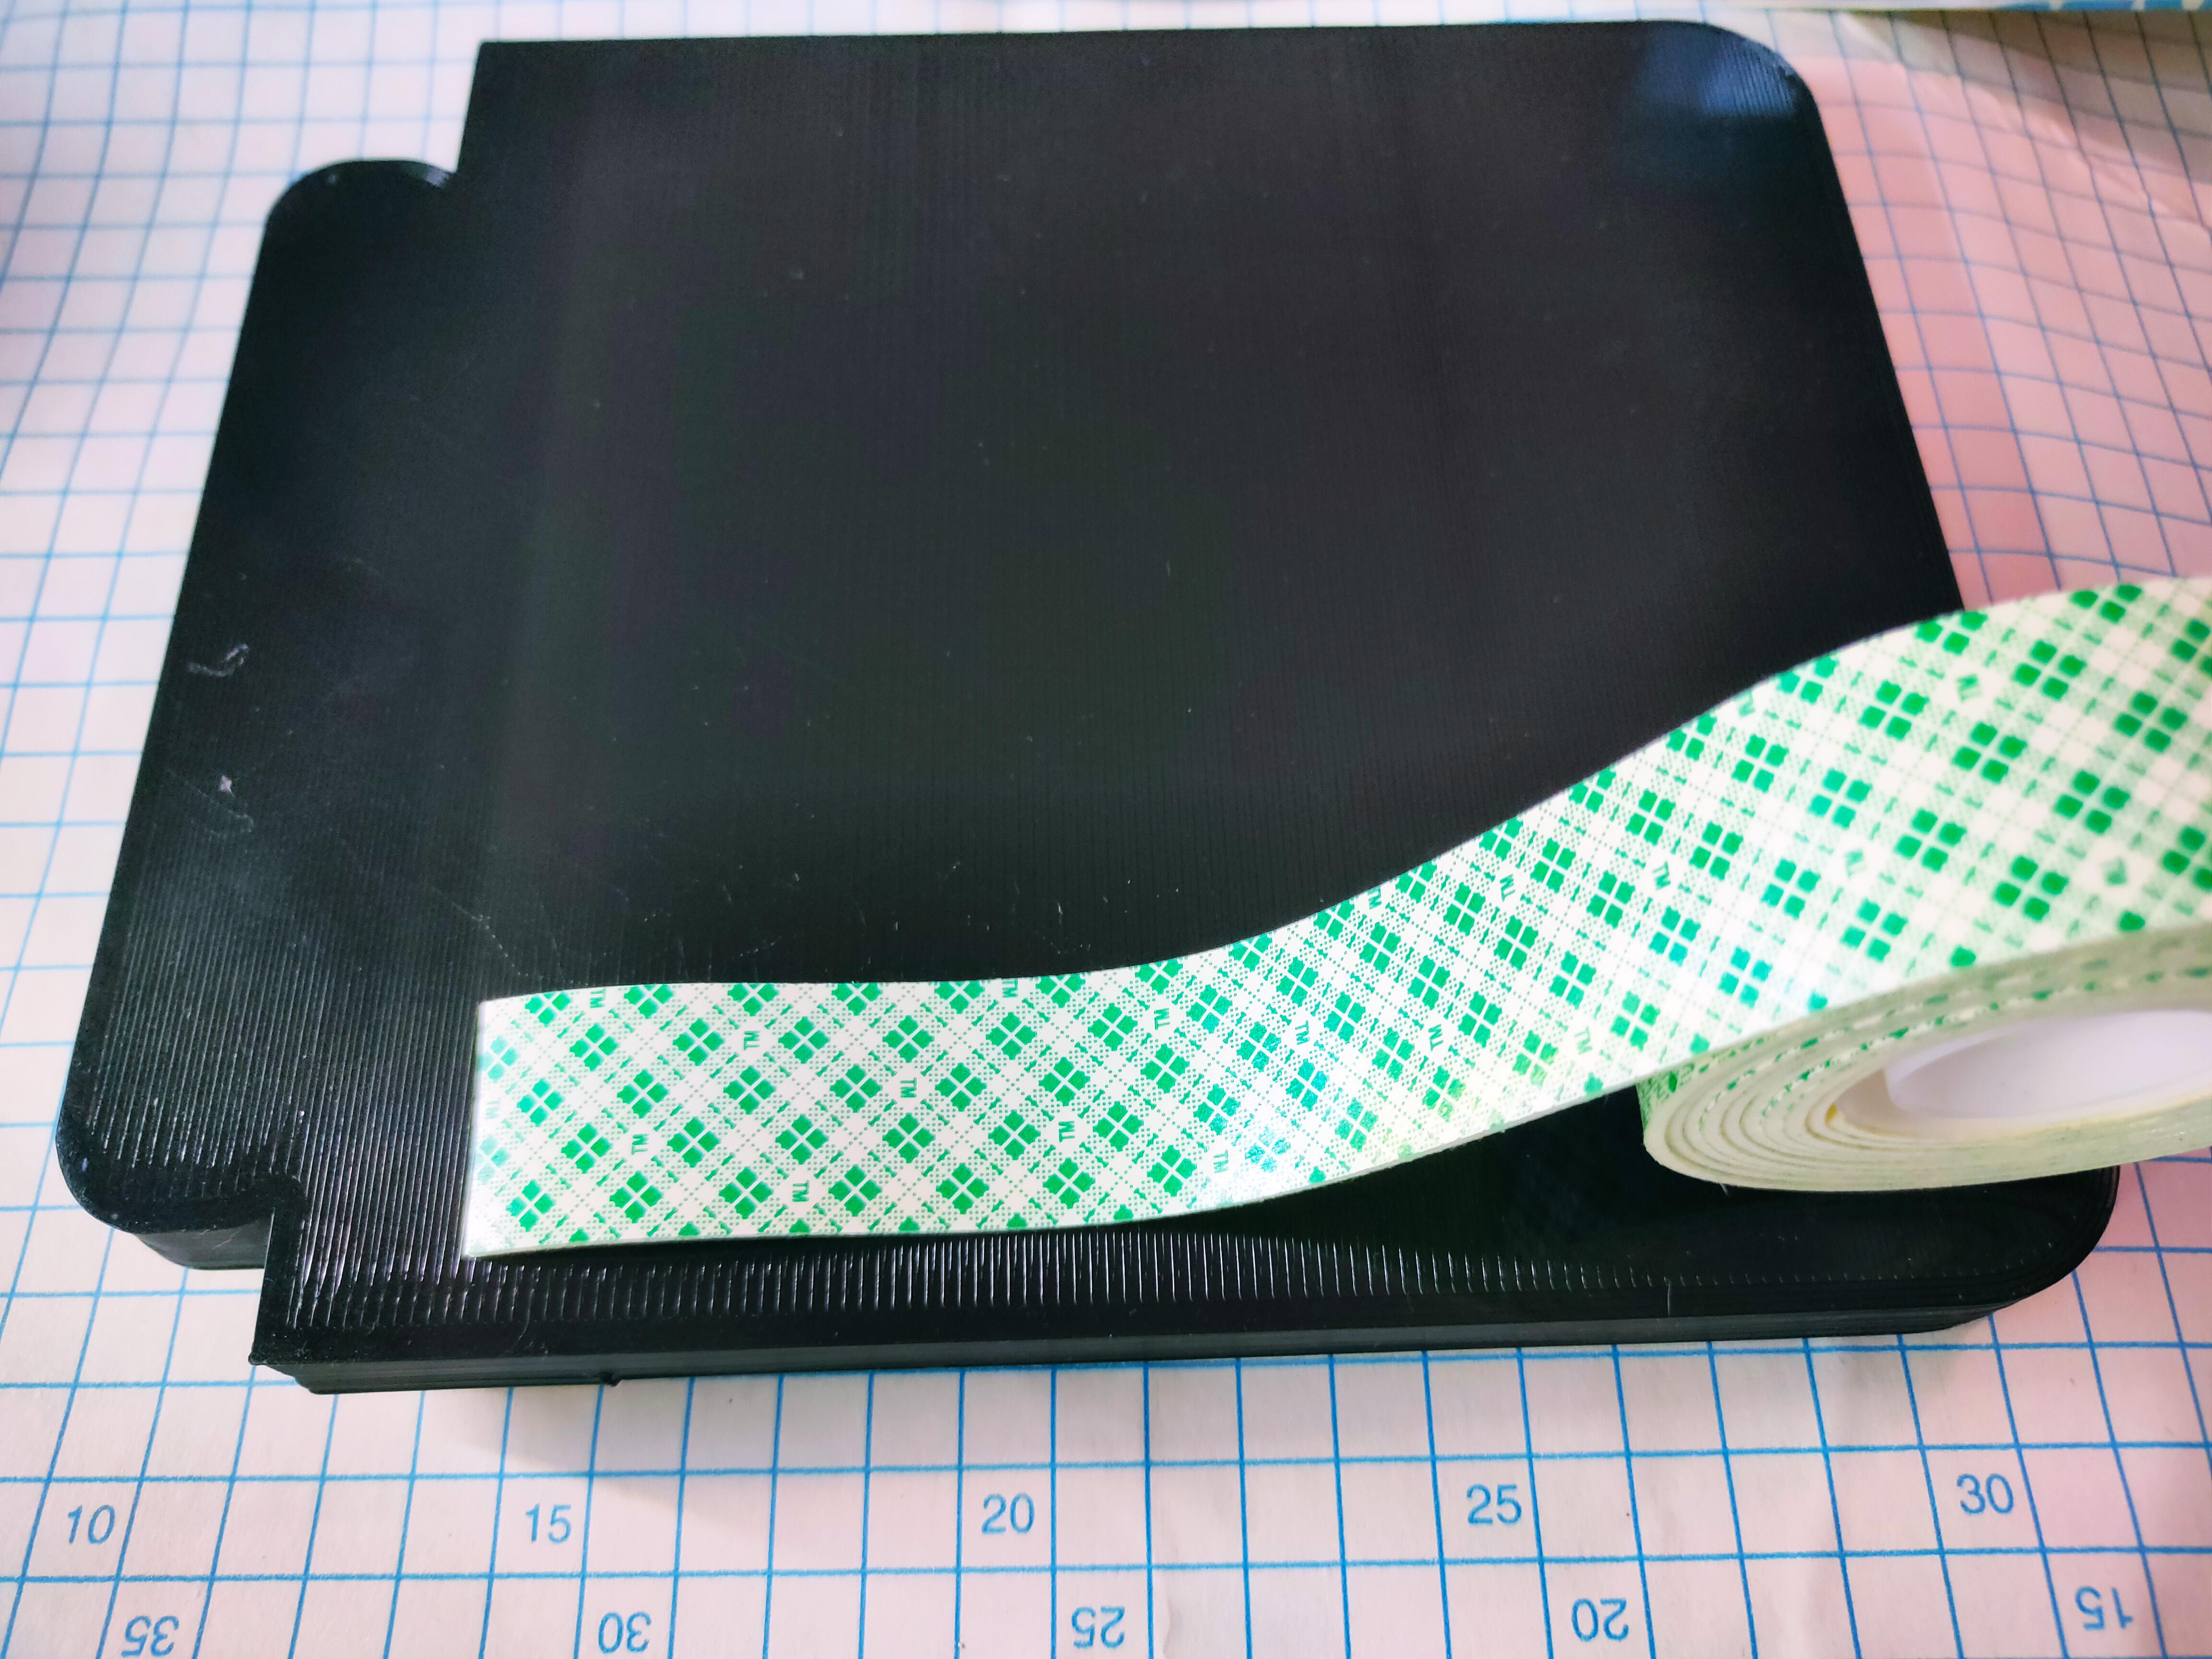
You can choose to either go with screws or double-sided tape. I went for the latter, adding a strip of tape on each side.
Let's Try It!
And now let the force prevent you from losing the keys!
Here are the finished STL files: