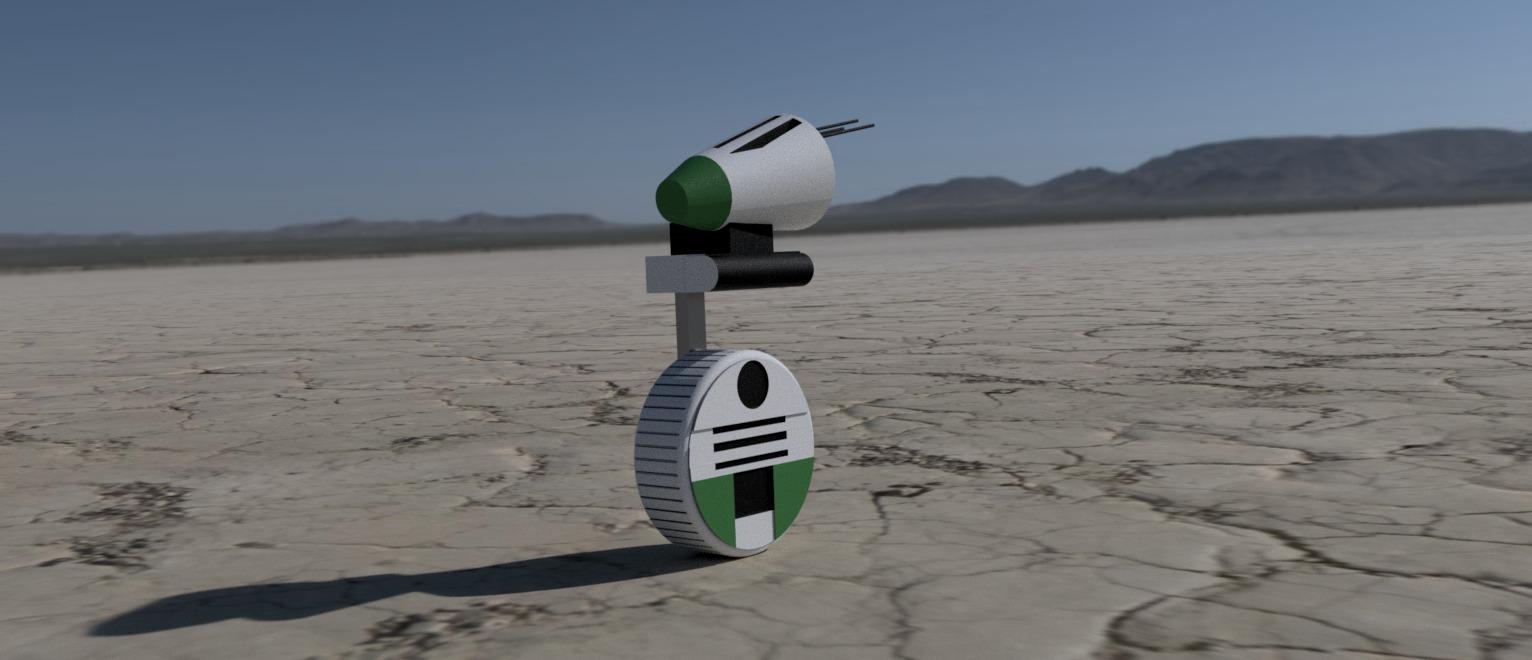
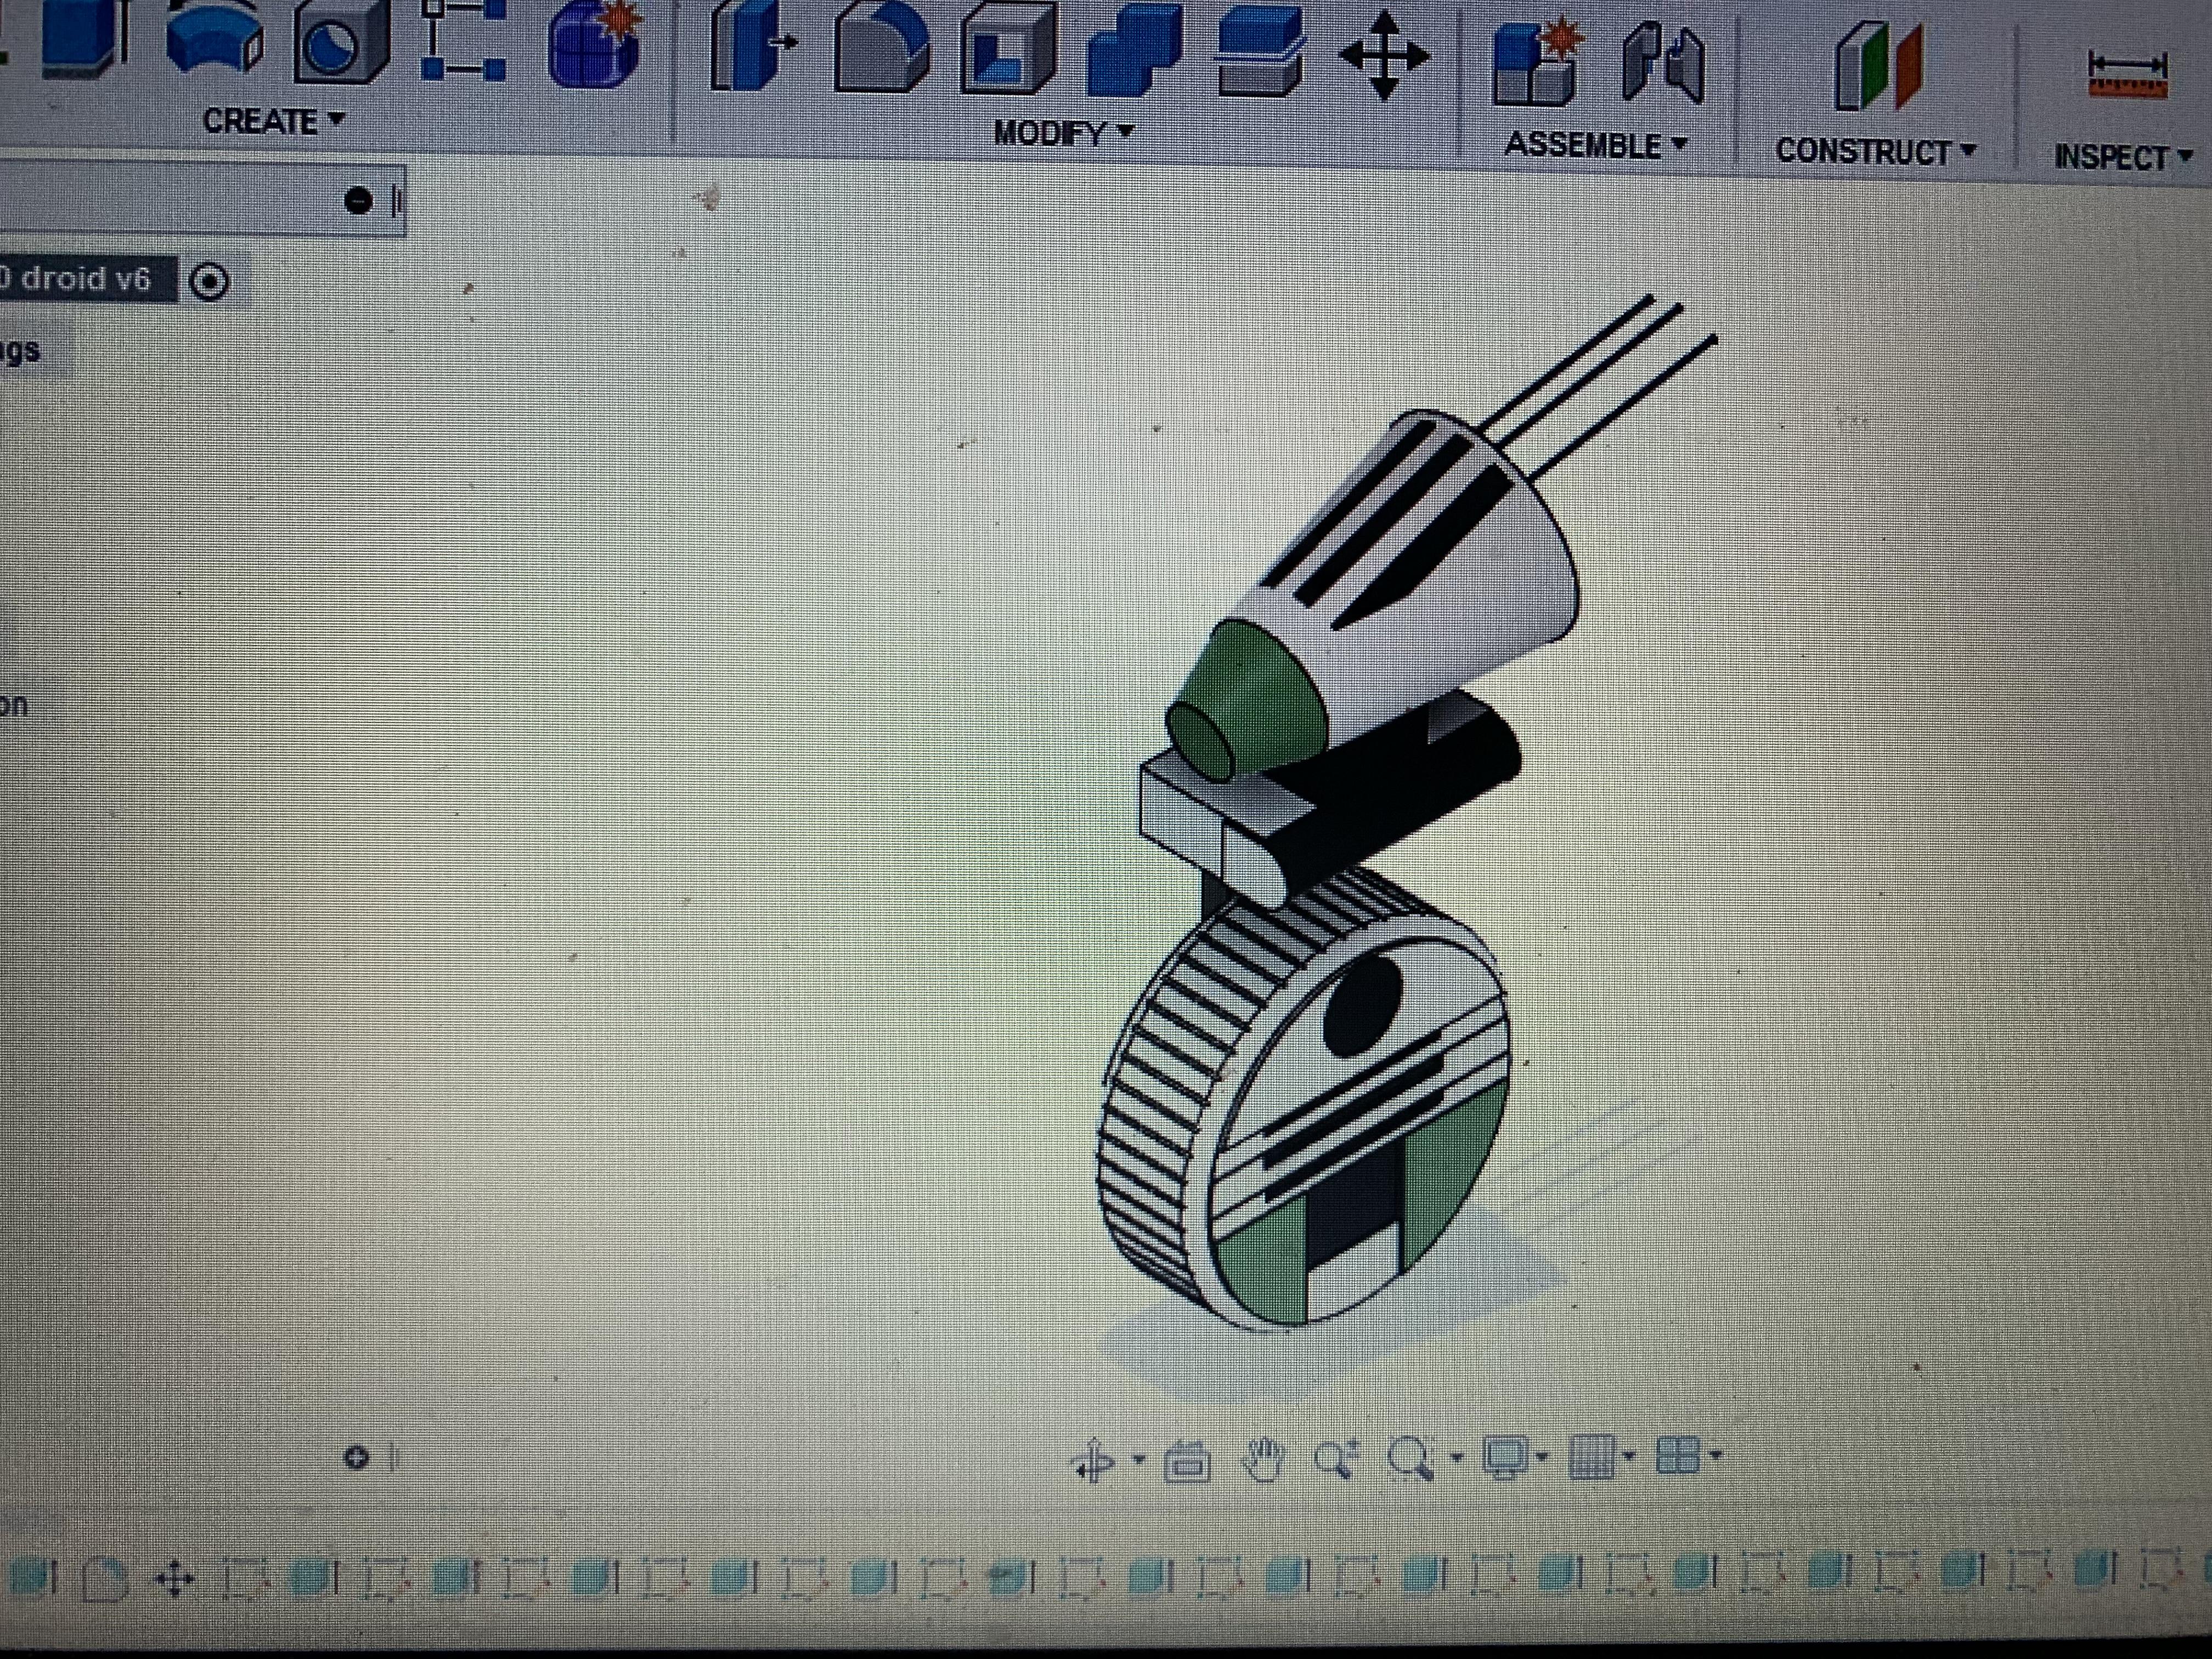
Star Wars D-0 Droid.
.jpg)
My name is Ezra Zucker and I am a freshman student at Rambam Mesivta. For this project I built the D-0 droid from star wars. This year I learned How to use Fusion 360 for the first time. And learnt lots of new skills. The main skills I learnt for this project was How to use Fusion 360, how to use tools such as pattern, Fillet, and changing the color. Here are the steps I used to make this project.
Below is the link to my project on Fusion 360 if you want to check it out for yourself.
https://a360.co/3qHJsjO
Supplies
Computer.
Fusion 360 software.
Wheel
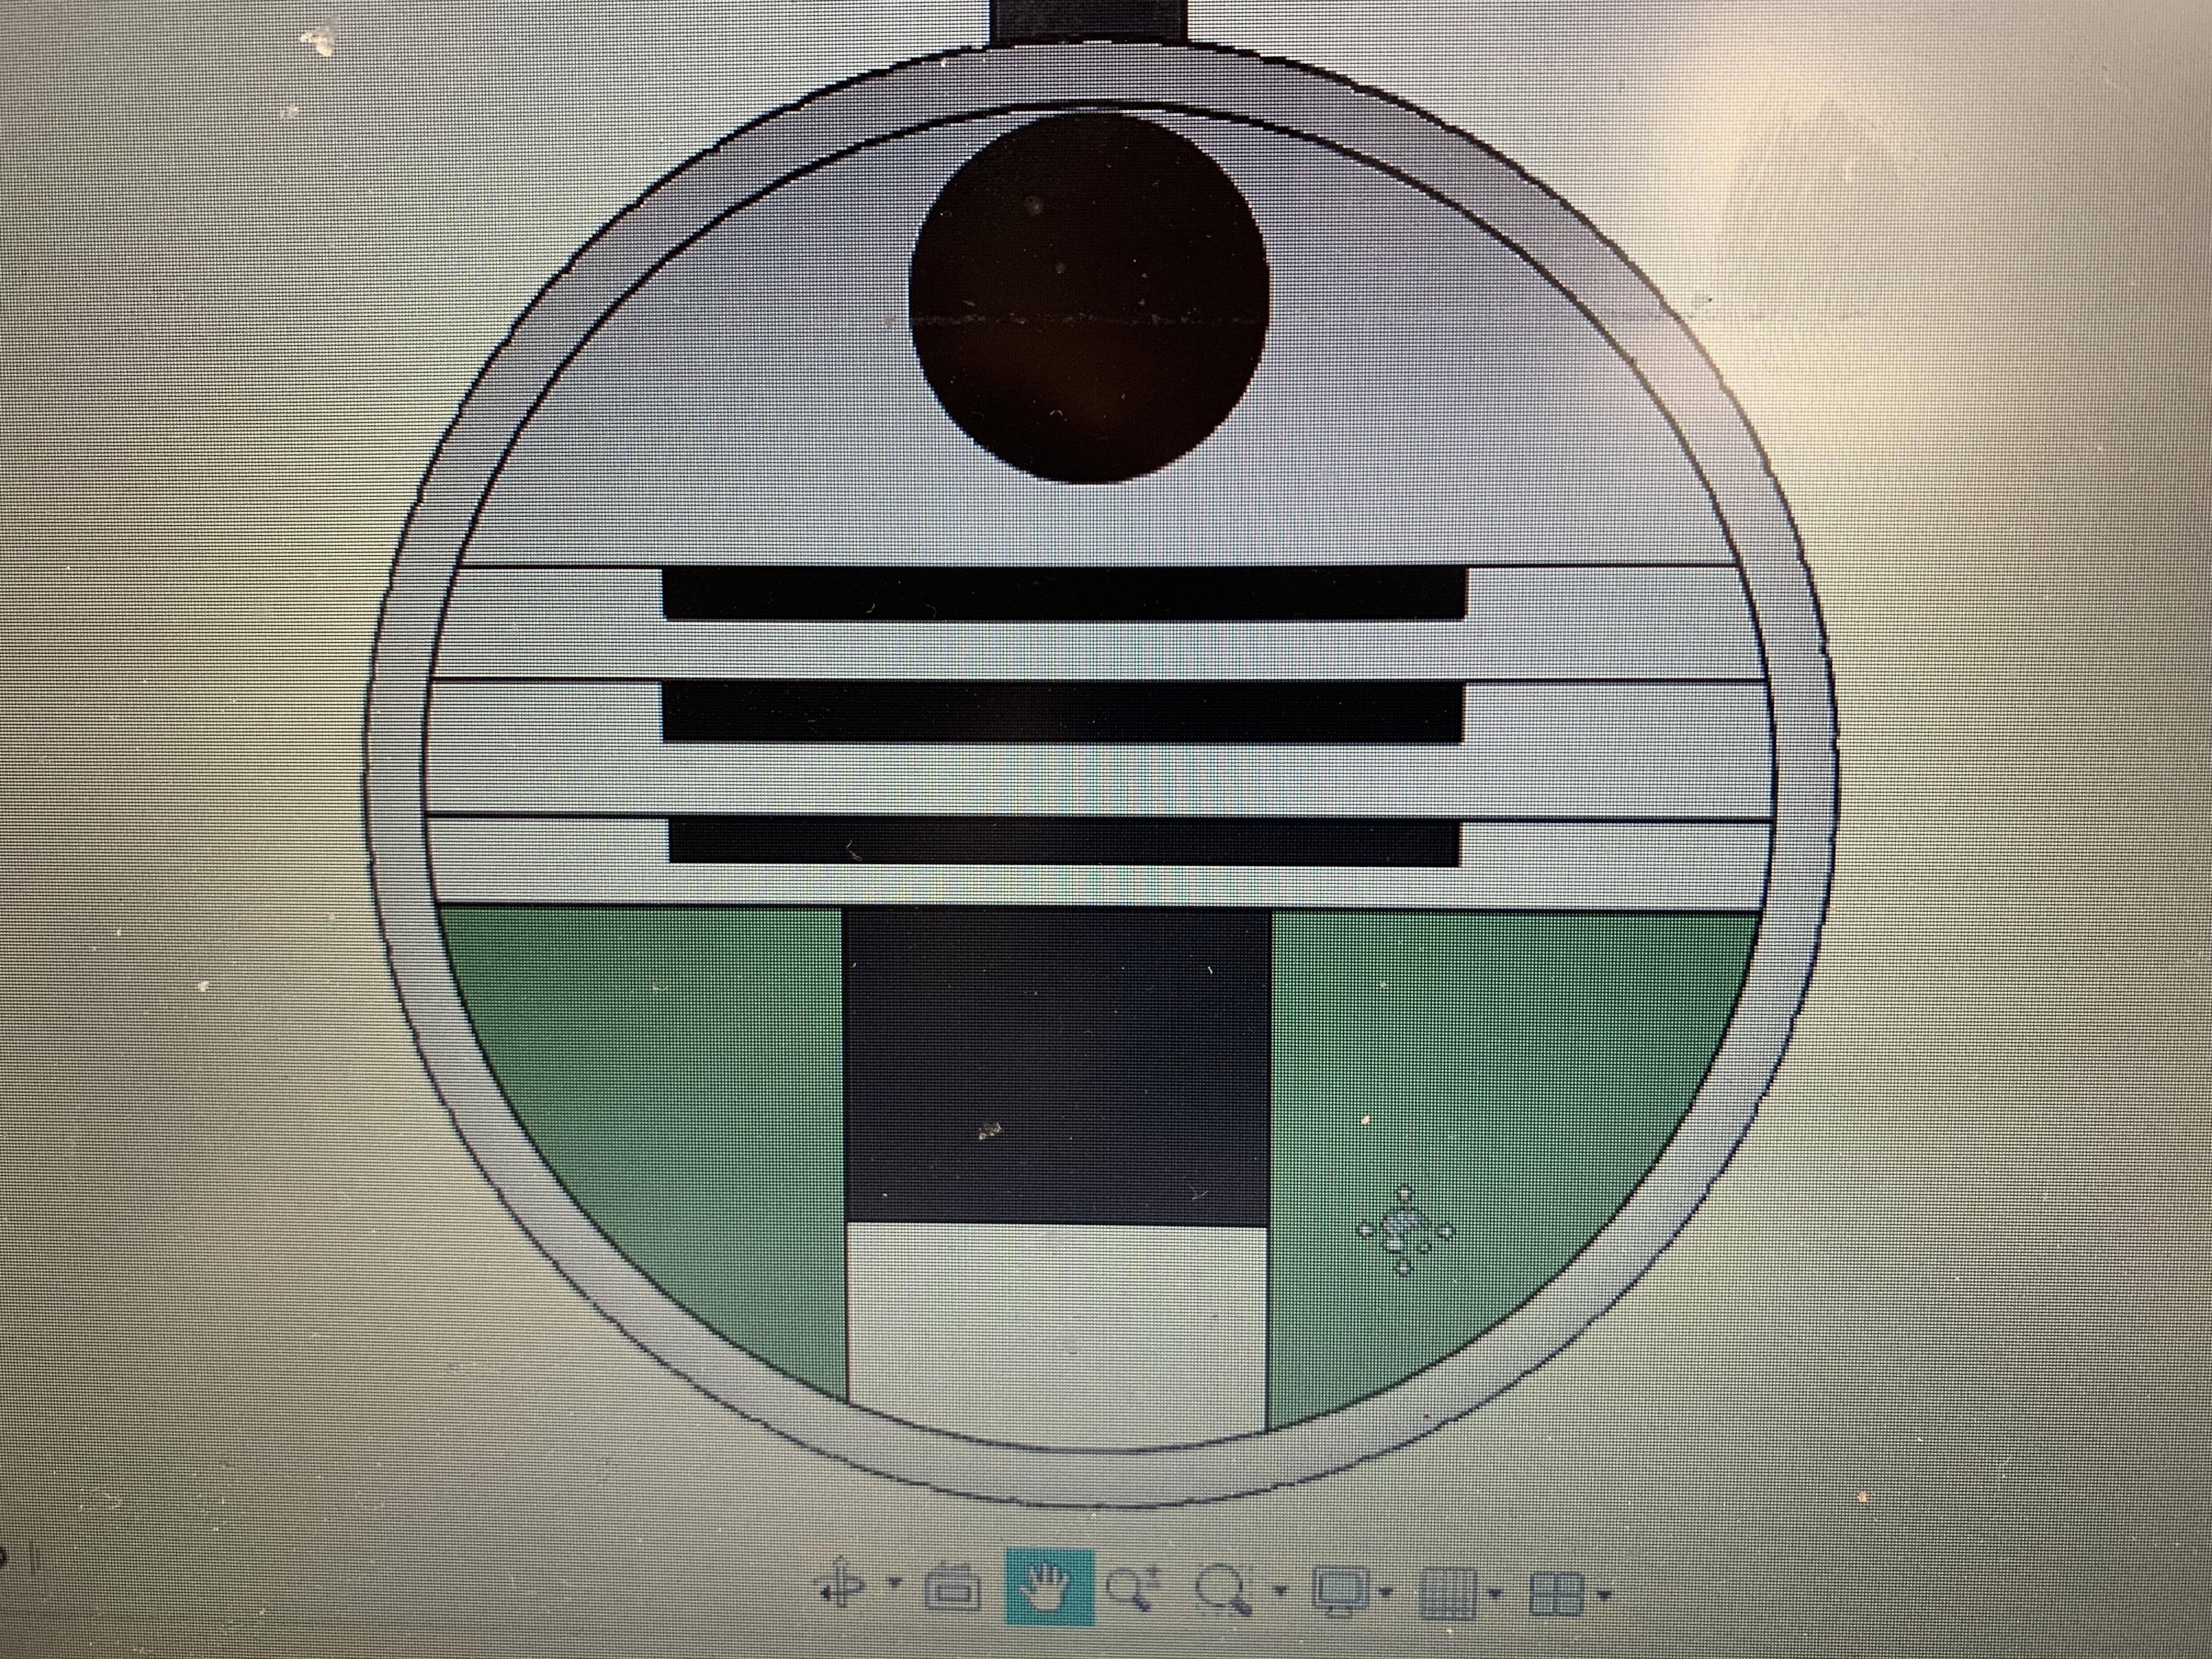

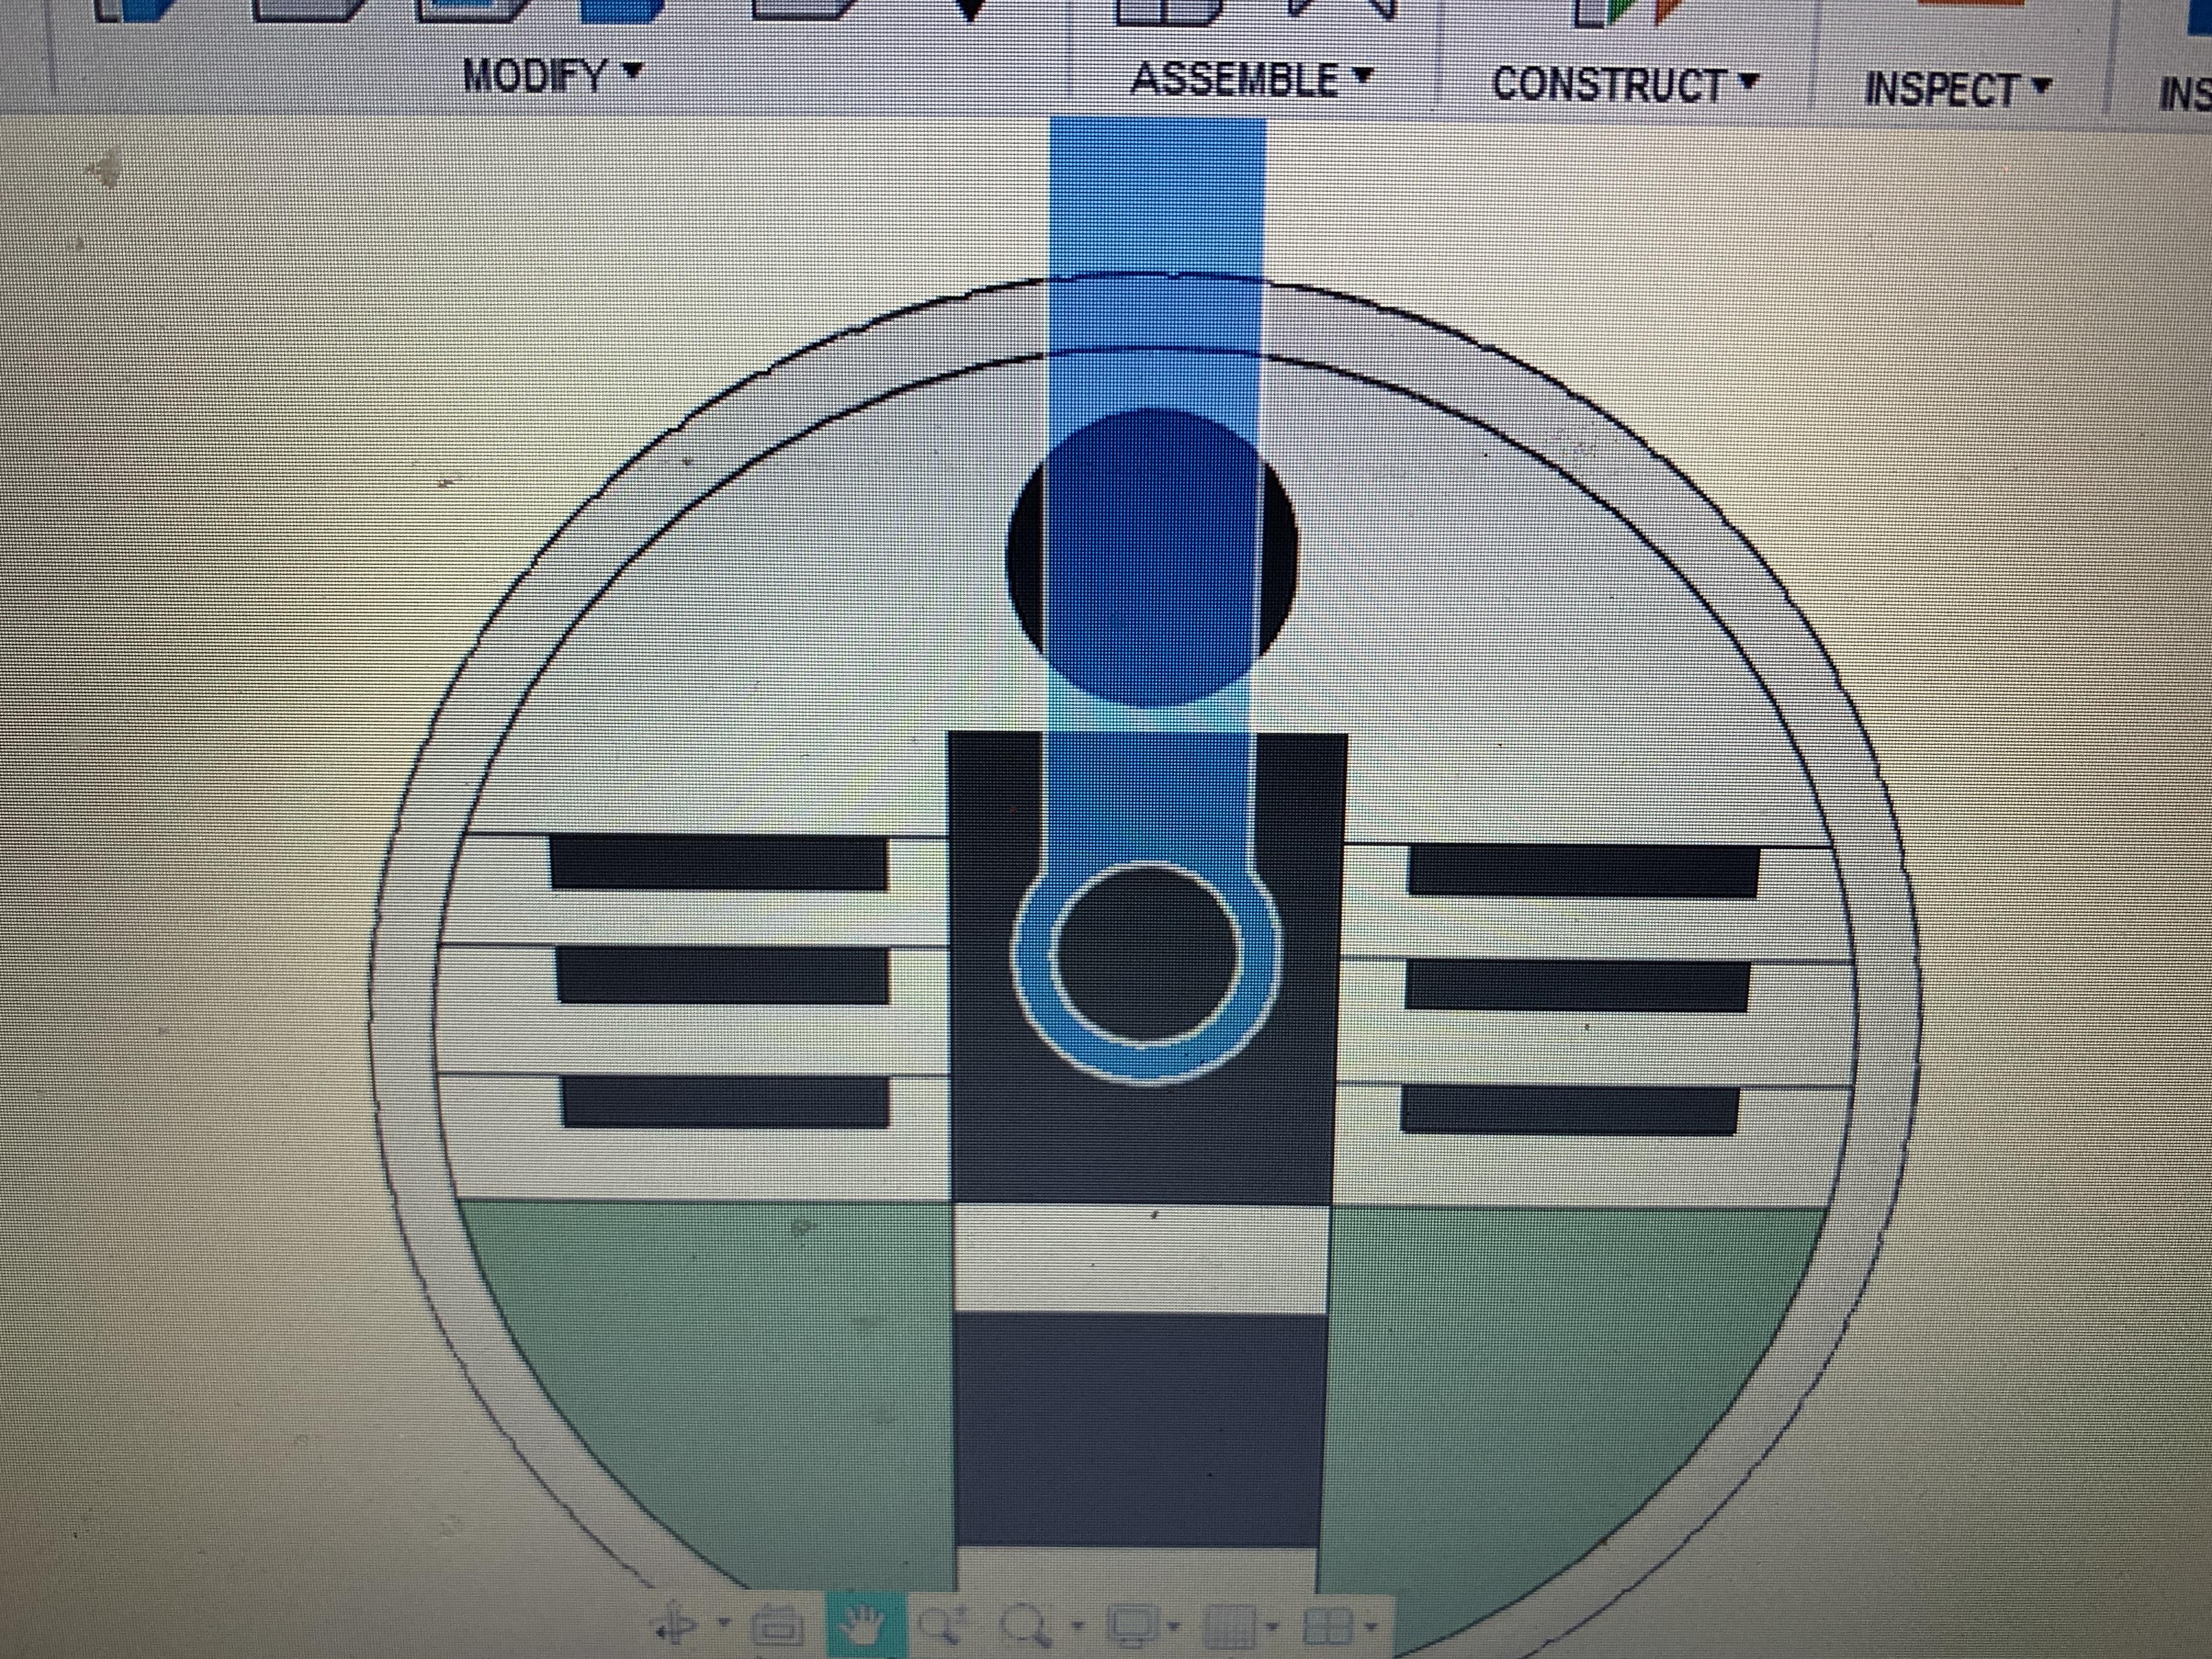
Sketch a circle and extrude it.
Round out the edges using the Fillet tool.
Use the pattern tool to create tracks around the wheel.
Then use the sketch and extruding tool to make the designs on both surfaces of the wheel.
Head and Neck.
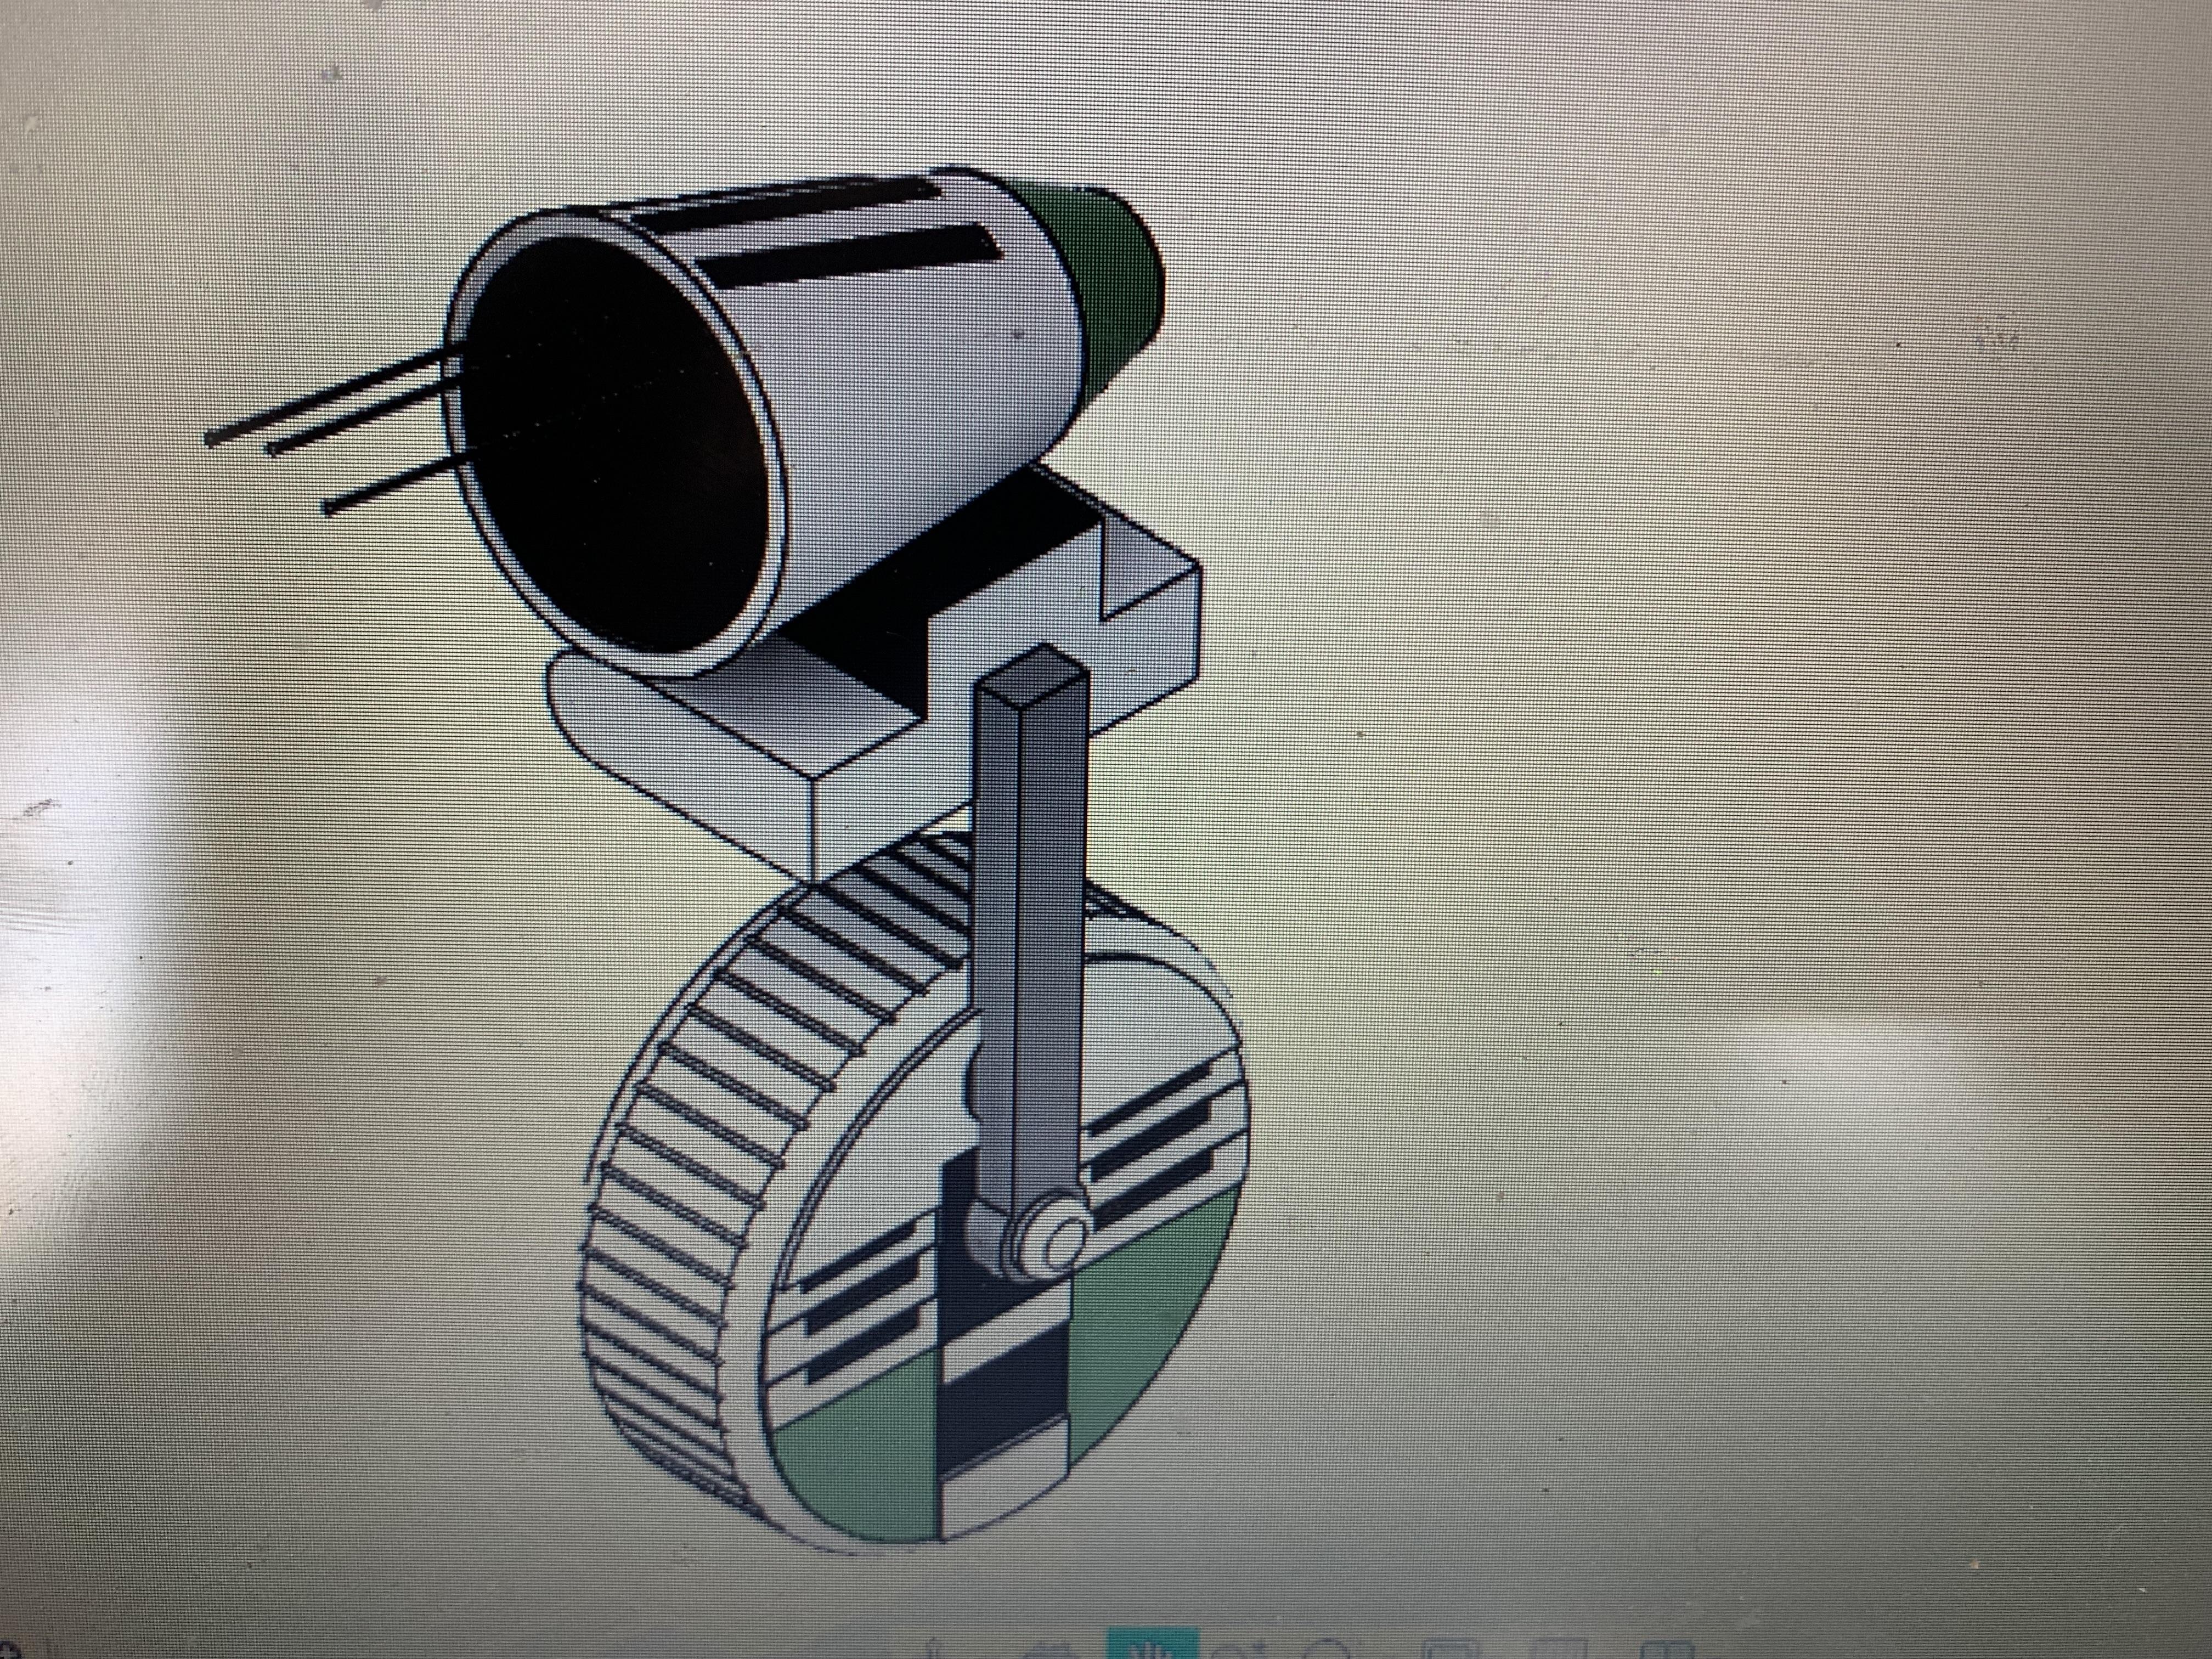
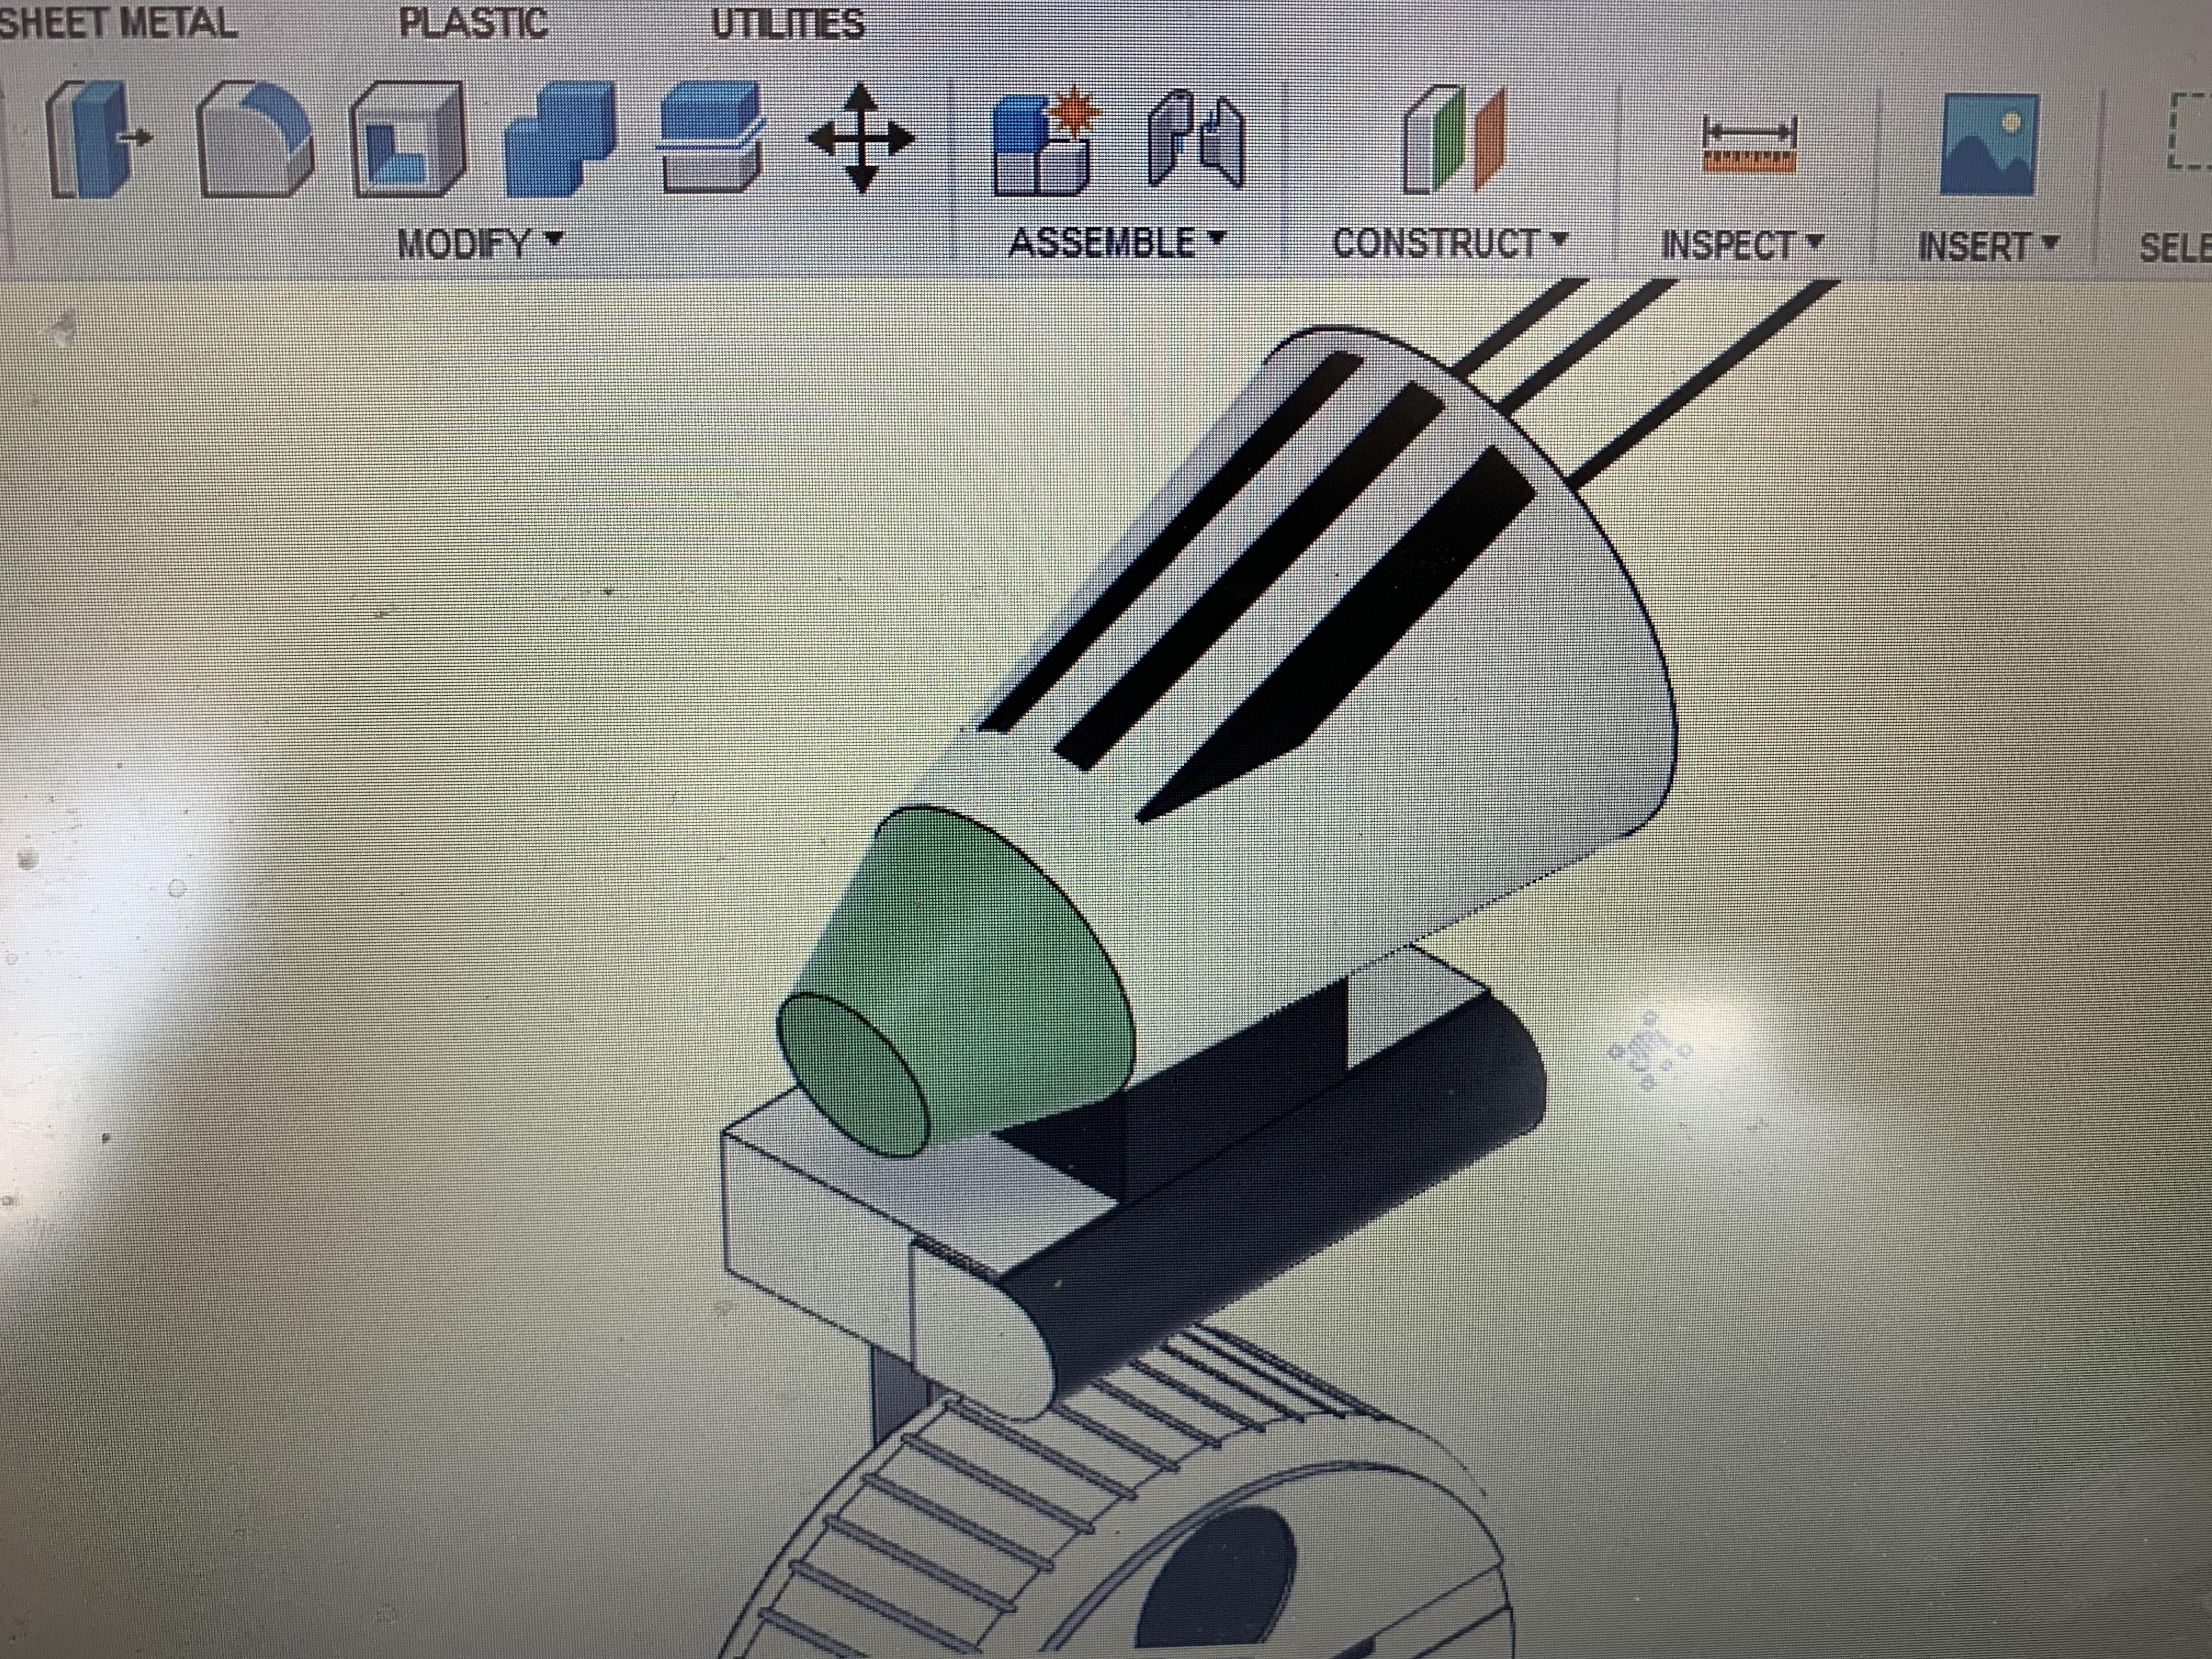
Sketch another circle and extrude it separate from the rest of the creation.
Extrude it to about the length of the wheel.
Narrow down one side of the sphere to create a cone shape similar to the head of the droid.
Use the extrude tool to cut down the tip of the cone to make it flat. Then make a smaller cone to go on that flat surface.
Make a stick with a circle on bottom and put it on one side of the droid.
Sketch out a rectangle. Extrude it and round out one side using the fillet tool.
Place the droid head on top of this piece. Then attach it to the top of the stick connecting the two parts of the droid.
Extrude 3 rectangles into the top of the head.
Finishing Touches.
Use the combine tool to make it all one body.
Click the modify button and then appearance.
Make sure it is set to faces and not bodies.
Make the faces the correct colors to match the droid.
Use the extrude tool to make antennas on the back of the head.