Stand Up Laser Cut Plaque
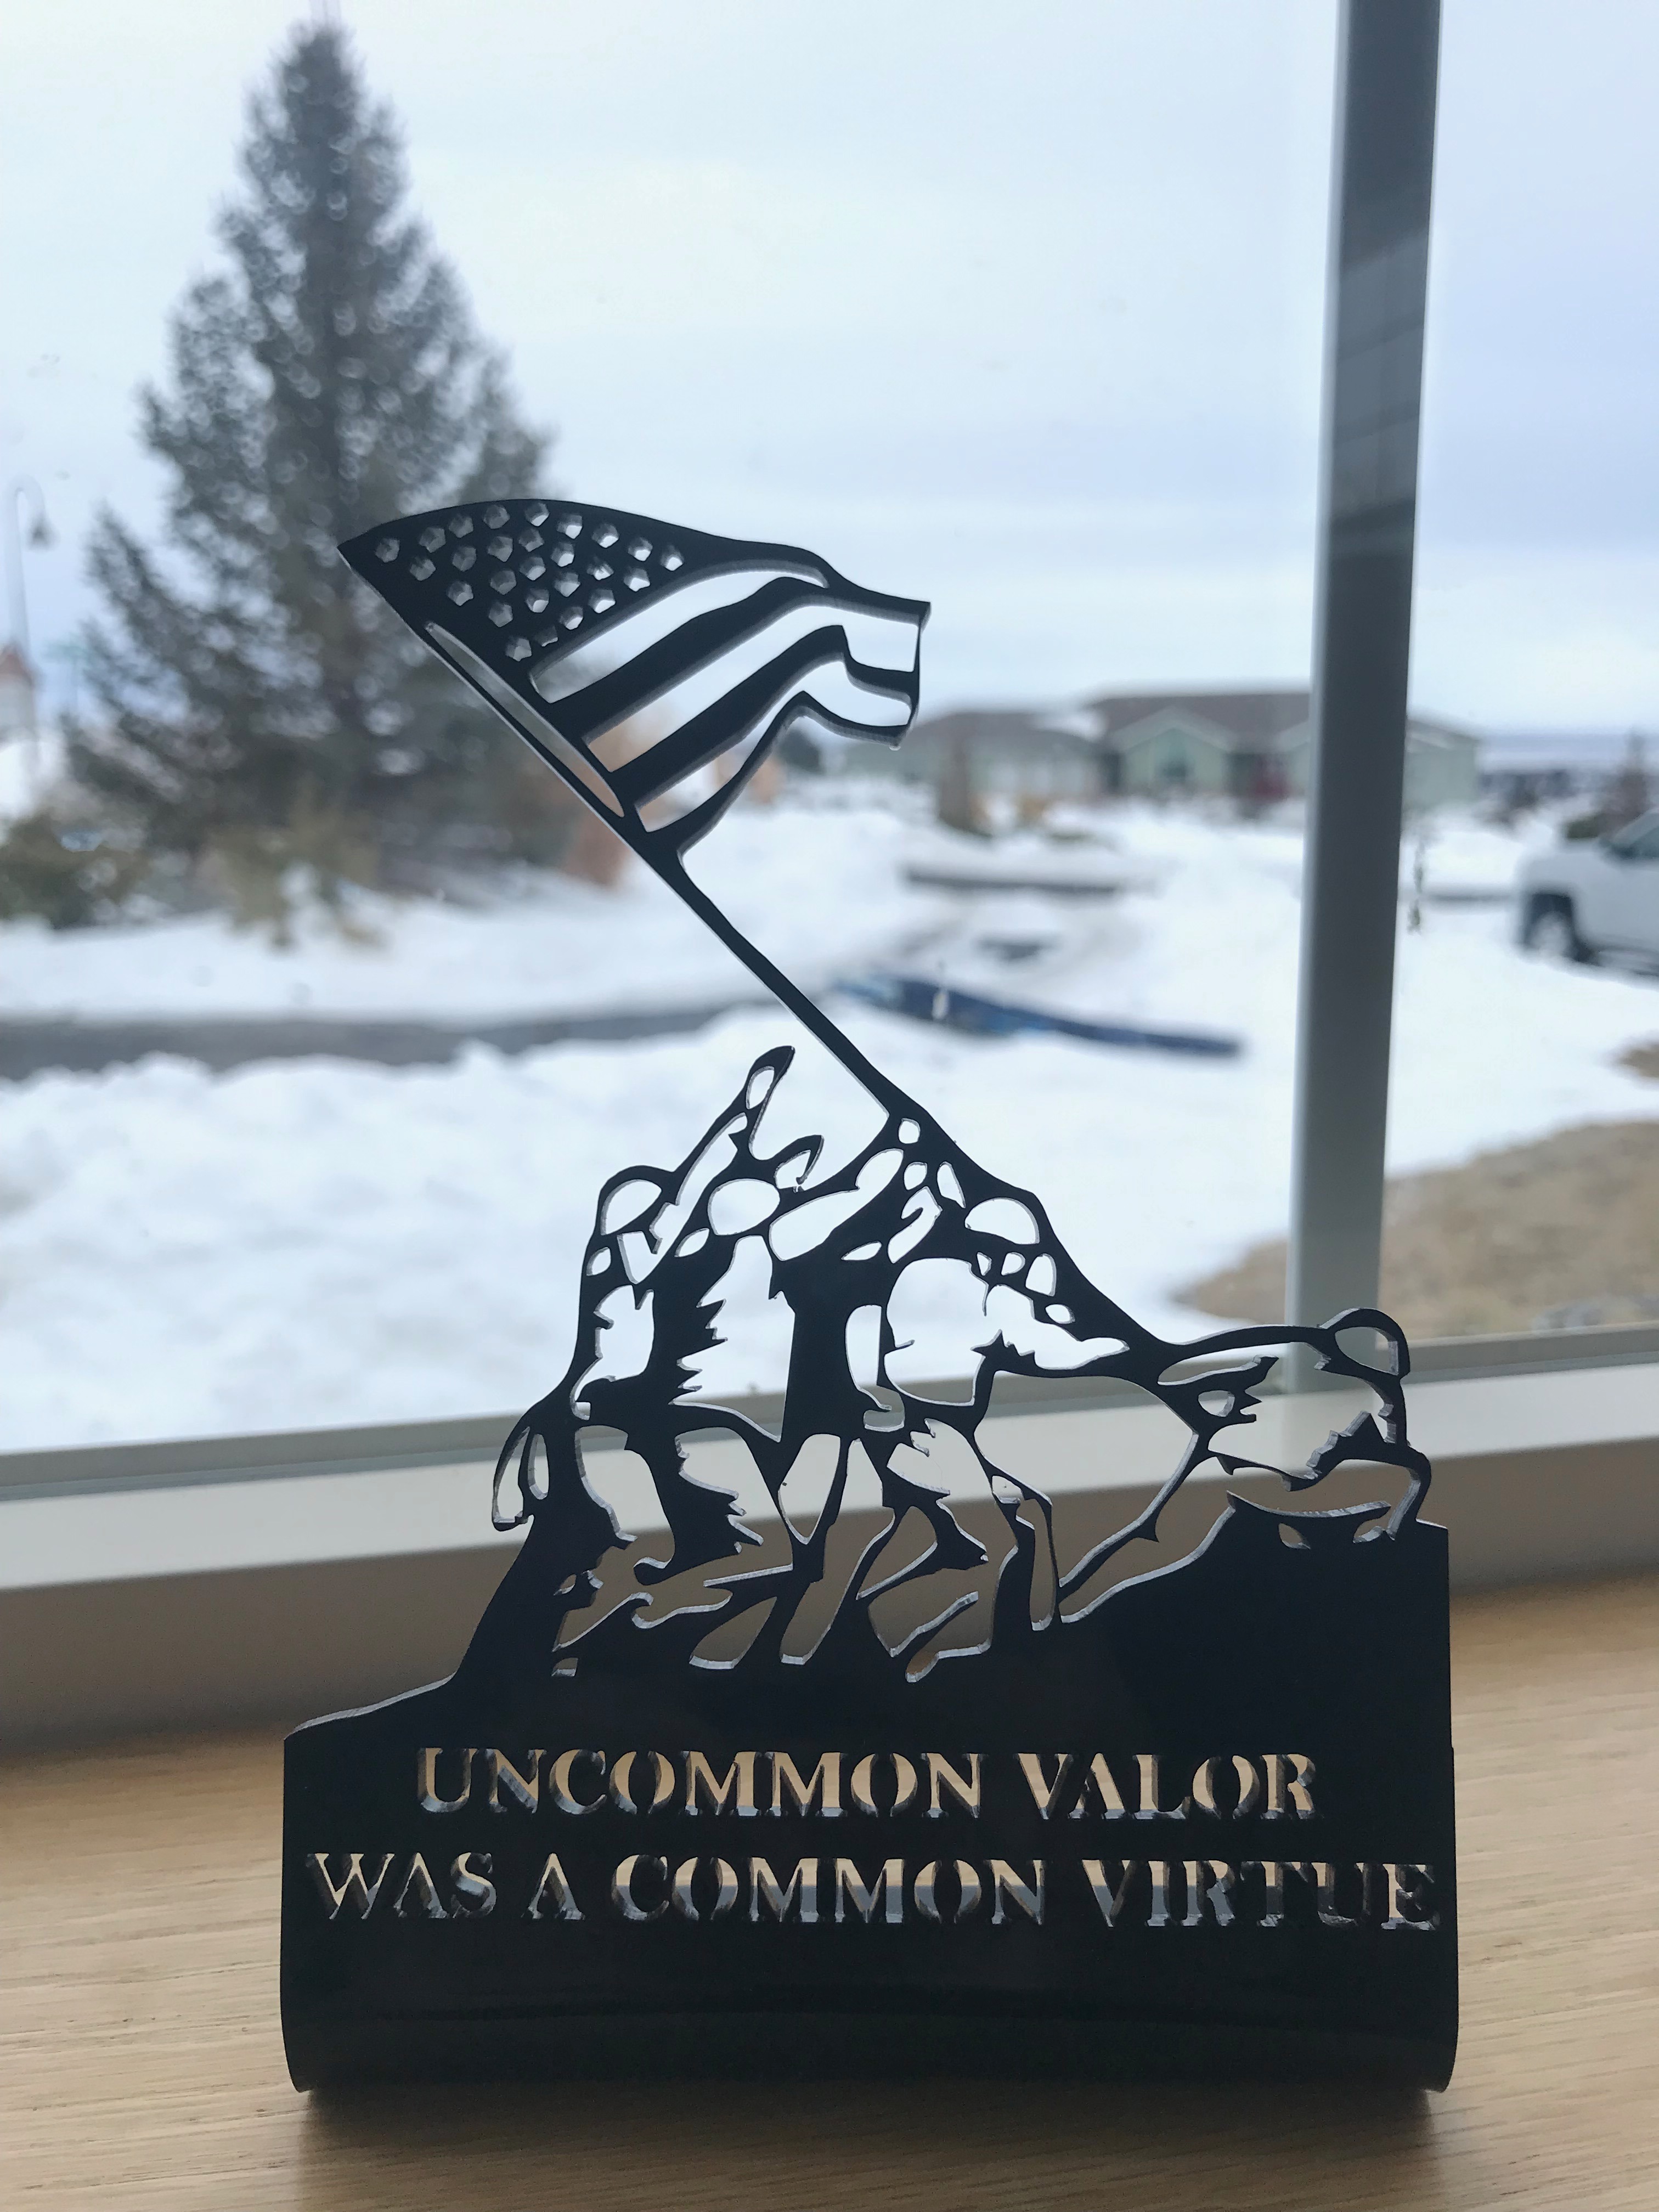
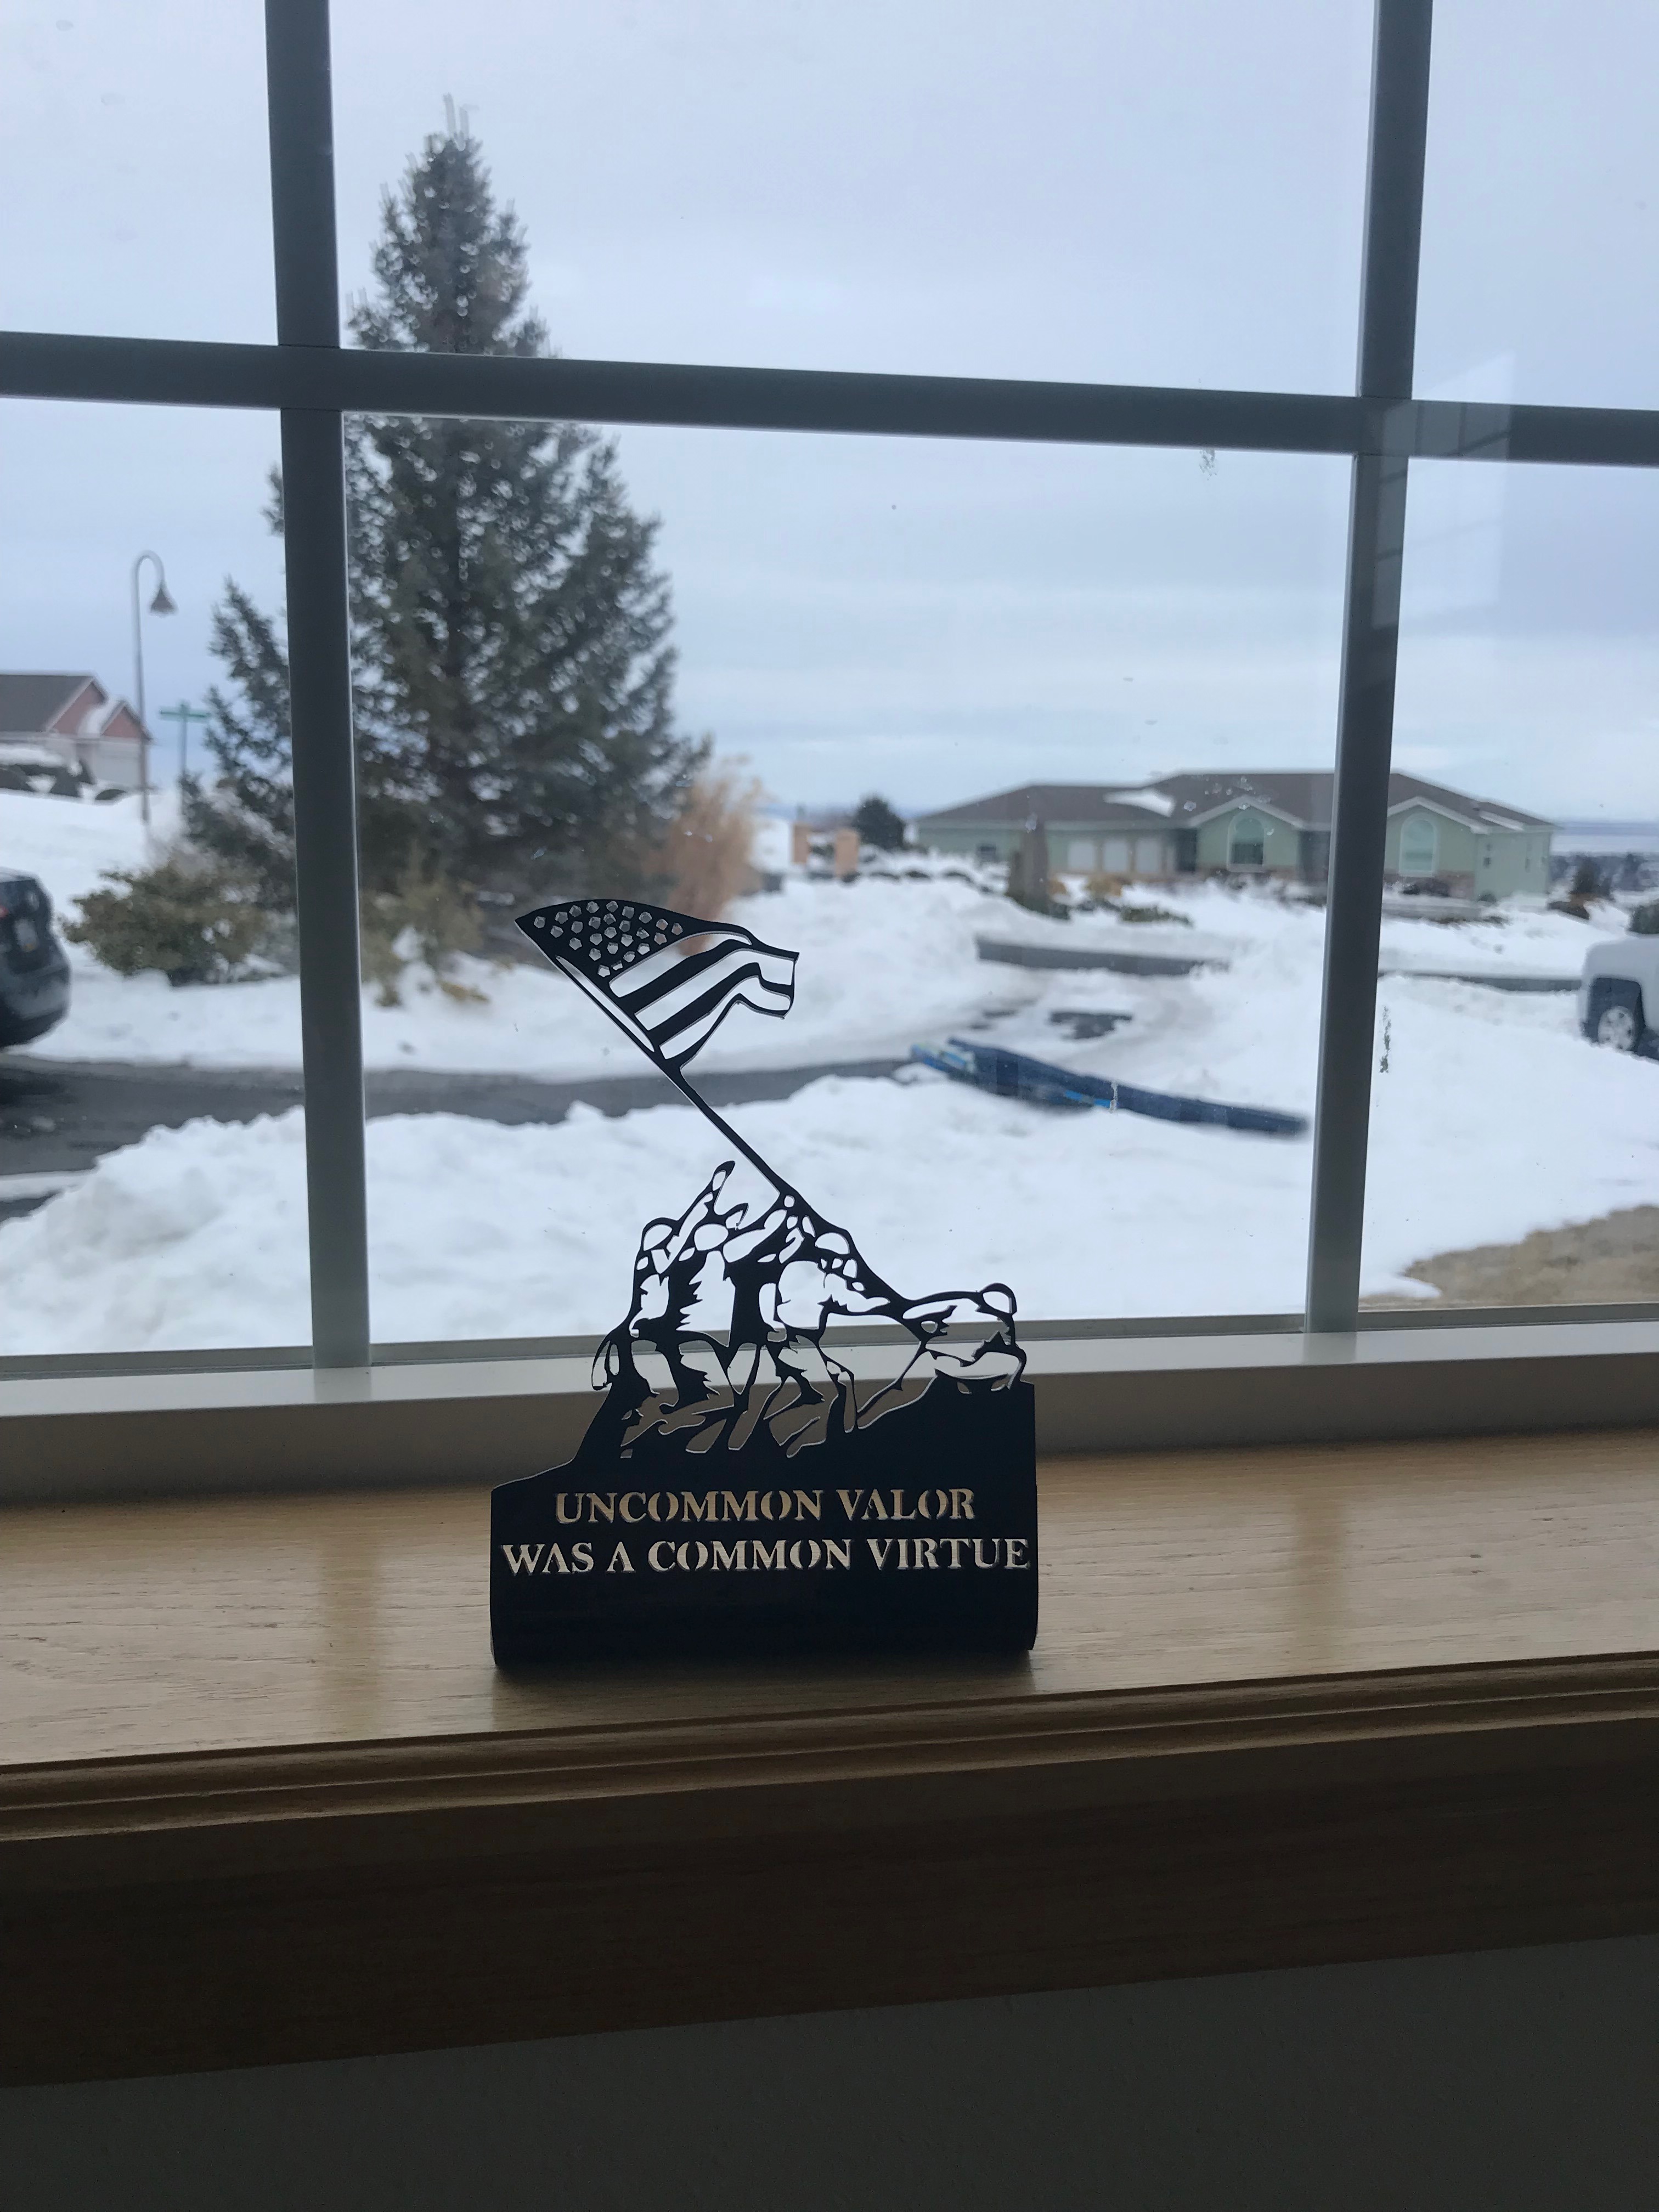
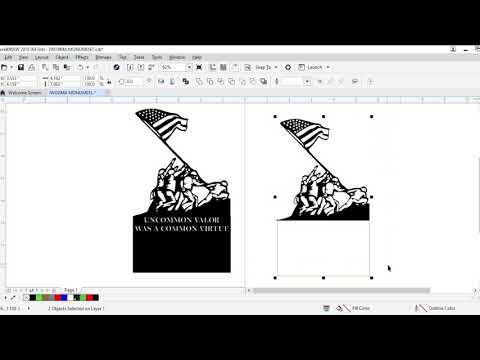
I had the opportunity to borrow a CNC laser cuter and decided to make this Iwo jima memorial for a friend. I have had a lot of experience with Coreldraw so this project was a blast. I do not have a laser cuter so I was grateful I could use this one in this project. This project is great for anyone looking to get into laser cutting or projects in Coreldraw.
Choosing the Right Image


When choosing the image, search for an outline of the image you are looking for. When choosing an outline you must make sure that all the lines are connected. If they are not connected, then when you cut out your image instead of being one solid piece, some parts of your image will just fall off. Keep in mind that when tracing, it will not always trace super small detail, so make sure your picture is as simple as can be. In the first picture you can see that all the lines are connected so it will cut out in one piece. In the second picture the lines are not connected, so it will fall apart when done.
Importing an Image
.png)
 - IWOJIMA MONUMENT.cdr_ 2_18_2019 12_22_24 PM.png)
 - IWOJIMA MONUMENT.cdr_ 2_18_2019 12_25_24 PM.png)
 - IWOJIMA MONUMENT.cdr_ 2_18_2019 12_25_29 PM.png)
I use CorelDraw for this project but if you do not have this program I have also used Inkscape, a free CAD software, and it works just as well.
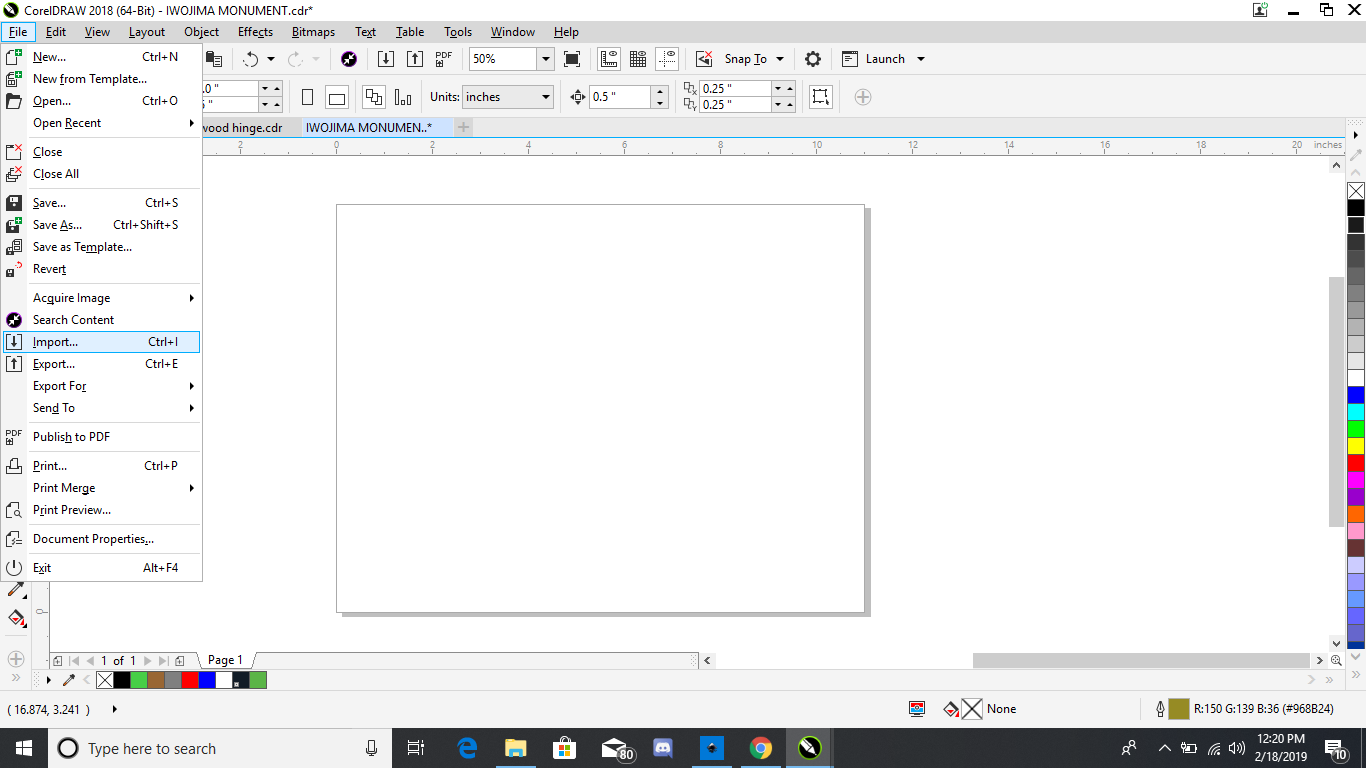
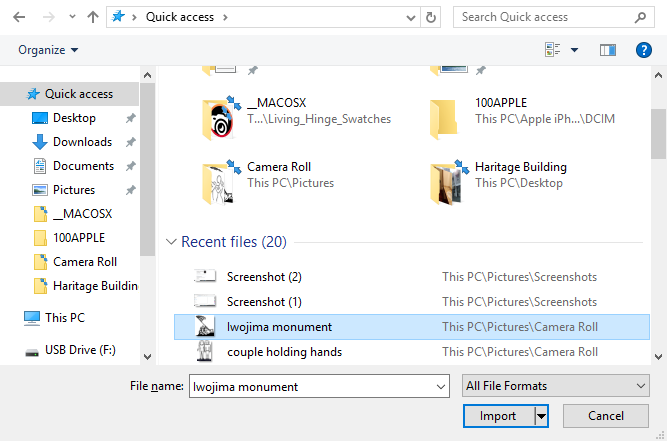
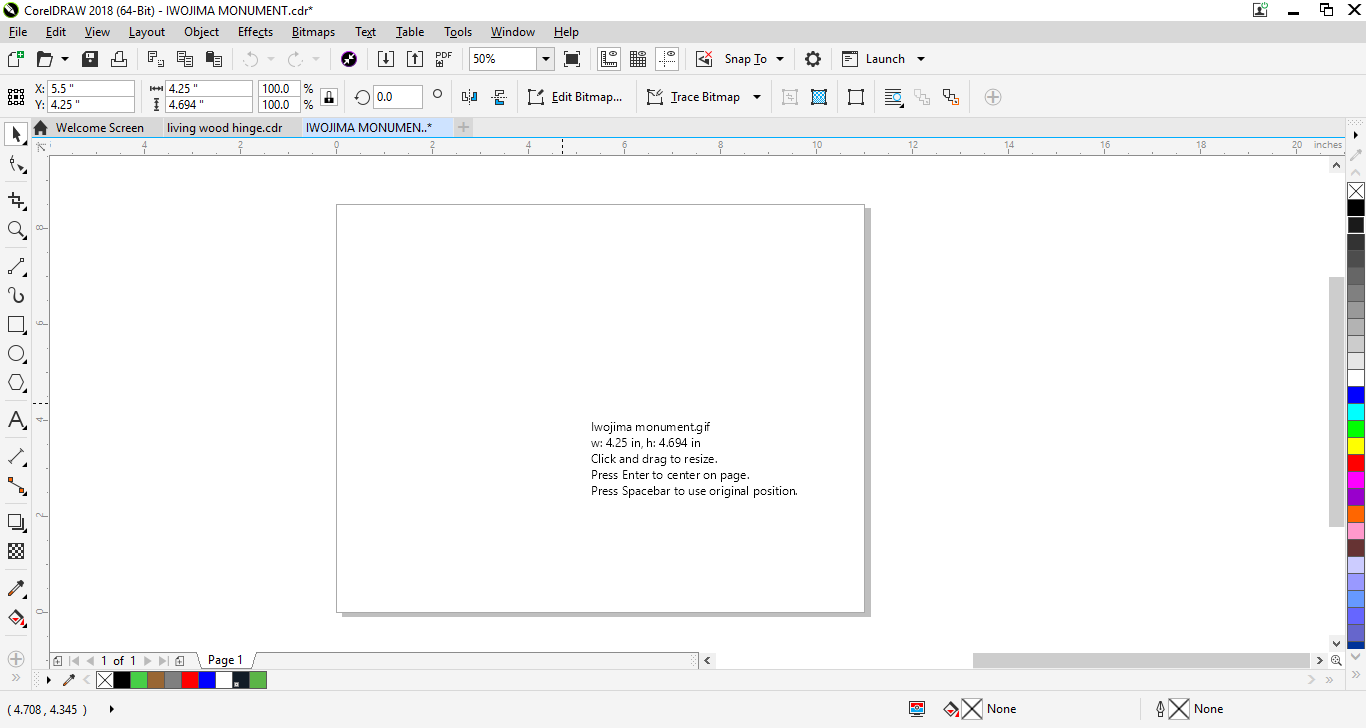
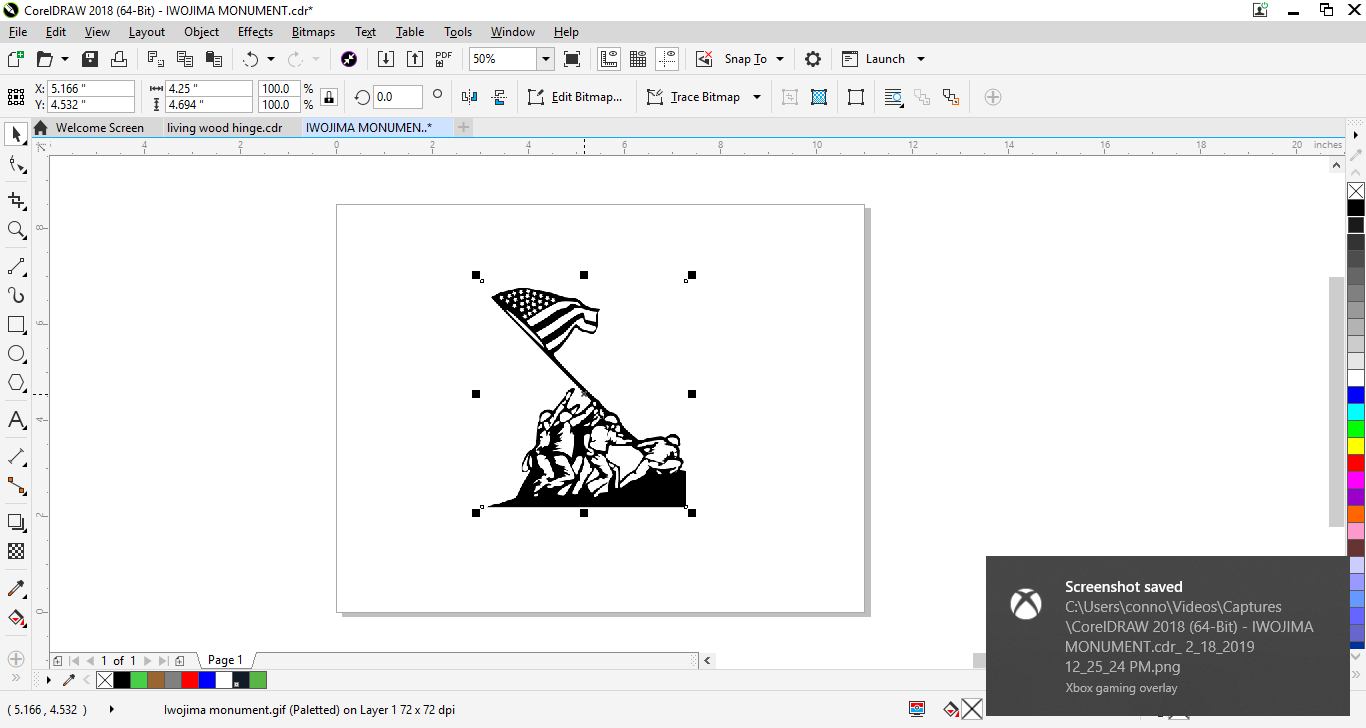
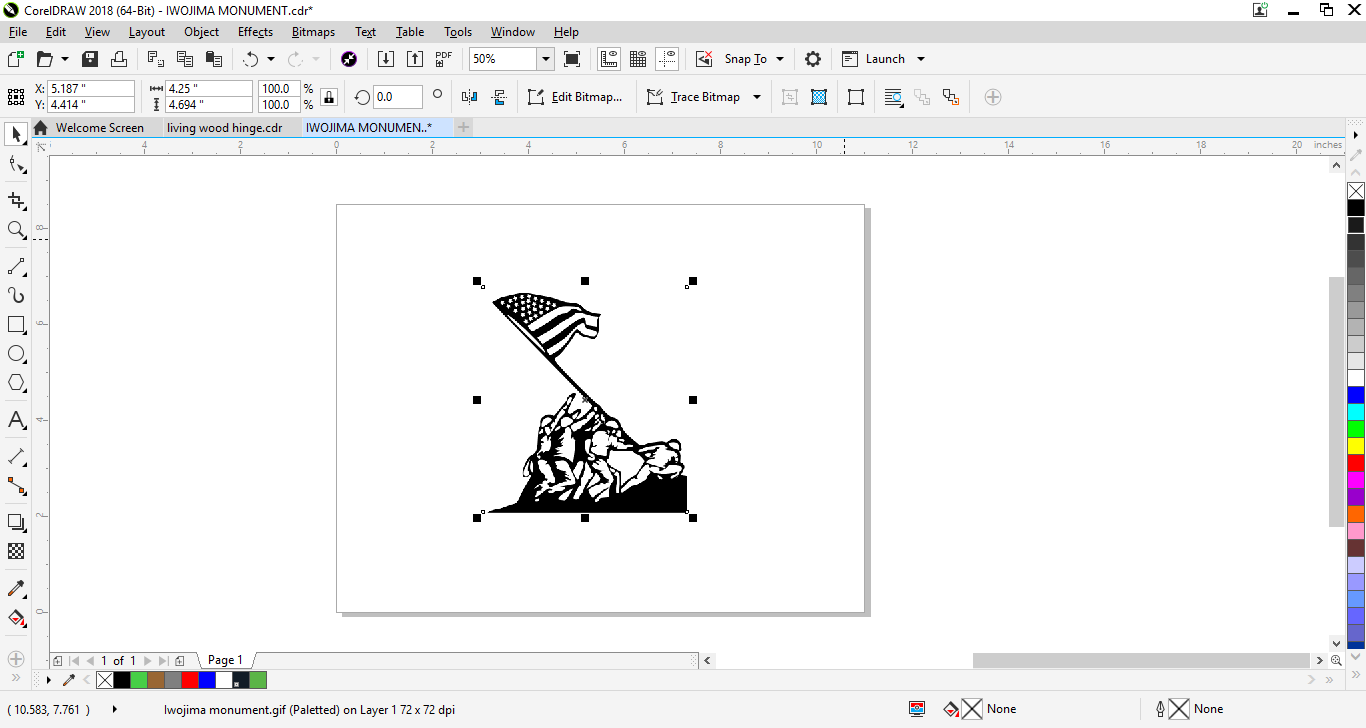
When importing an image, make sure you have a quality image saved on your computer where you can easily find it. Then in the top right hand side, click the File button, then scroll down and click on Import (you can also use the shortcut ctrl + i to do the same thing). Then you must find your file and double click it or select it and press the Import button. Then click where you would like your picture to be on your document.
In Inkscape importing a picture is done the same way.
Tracing Bitmap
 - IWOJIMA MONUMENT.cdr_ 2_18_2019 12_34_49 PM.png)
 - IWOJIMA MONUMENT.cdr_ 2_18_2019 12_37_57 PM.png)
 - IWOJIMA MONUMENT.cdr_ 2_18_2019 12_36_02 PM.png)
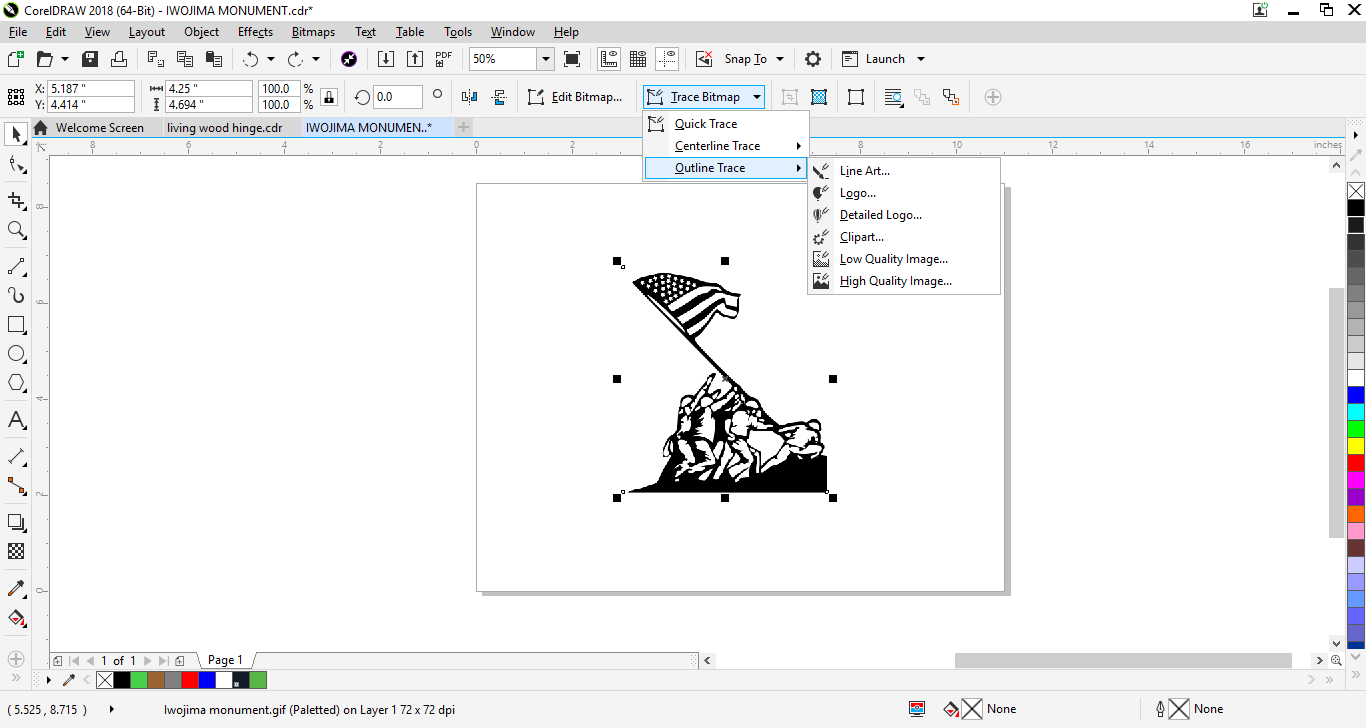
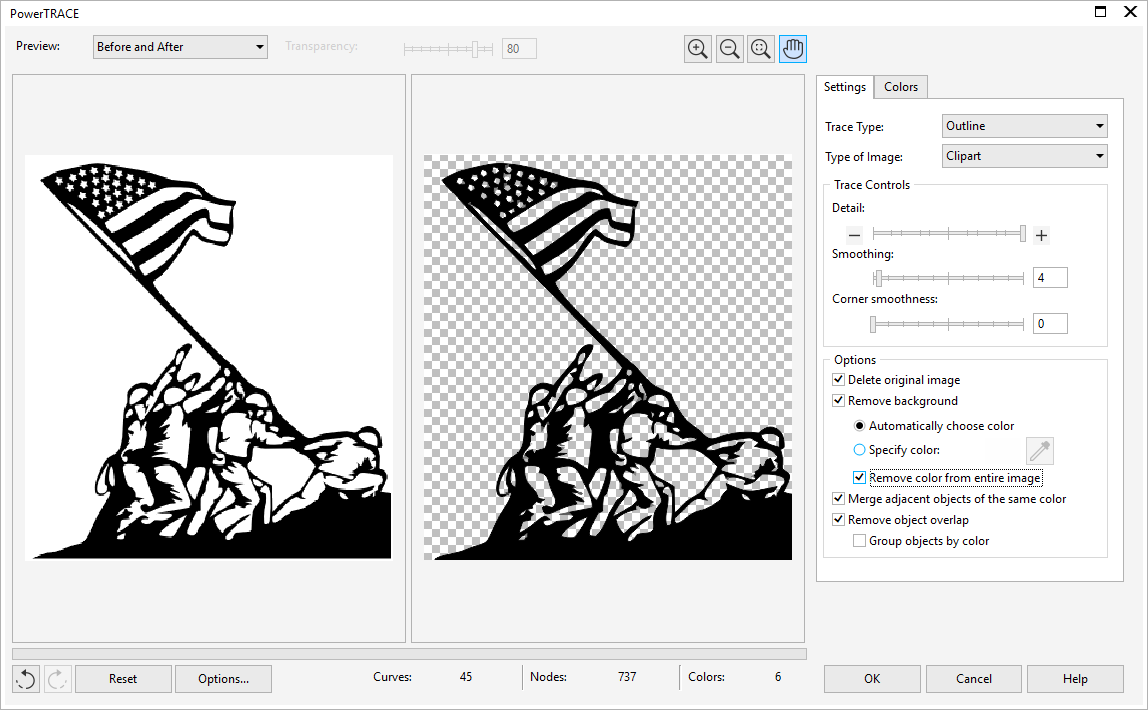
To trace a picture start by clicking Trace Bitmap. Under that select Outline Trace then Clip Art. Once your power trace window pops up you can move your Detail, Smoothing, and Corner Smoothness dials to your liking (I had detail all the way up and only 4 on smoothing). Then make sure you select Delete Original Image, Remove Background, Automatically Choose Color, Remove Color from Entire Image, Merge Adjacent Objects of the Same Color, and Remove Object Overlap. Then click OK.
Once your image is traced there will be some grey spots where you have to merge them to the original image. Start by clicking off the image then selecting it again. You then have to break apart the image using the Break Apart button. While everything is still selected, click the Merge button.
In Inkscape trace bitmap is under the Path tab then press OK. I do not have grey spot problems in Inkscape
Adding the Base
 - IWOJIMA MONUMENT.cdr_ 2_18_2019 1_01_05 PM.png)
 - IWOJIMA MONUMENT.cdr_ 2_18_2019 1_01_52 PM.png)
 - IWOJIMA MONUMENT.cdr_ 2_18_2019 1_02_08 PM.png)
 - IWOJIMA MONUMENT.cdr_ 2_18_2019 1_02_21 PM.png)
 - IWOJIMA MONUMENT.cdr_ 2_18_2019 1_03_21 PM.png)
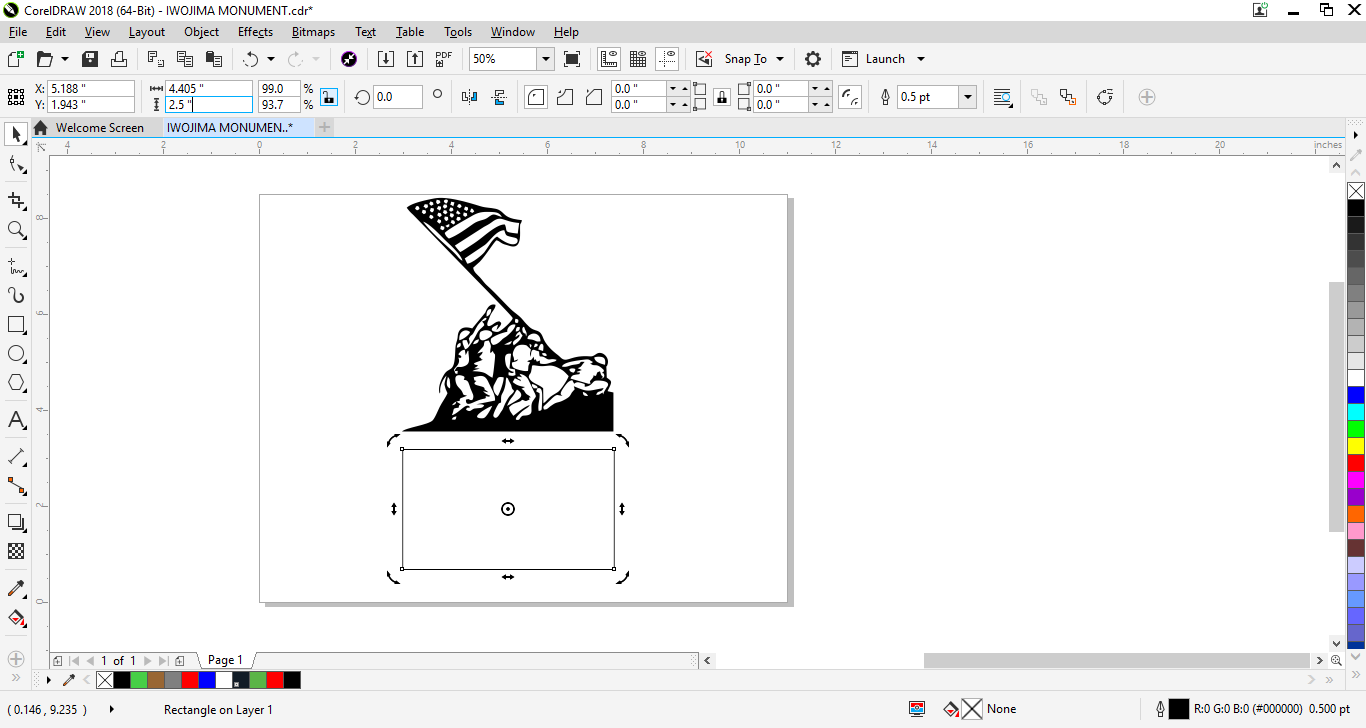
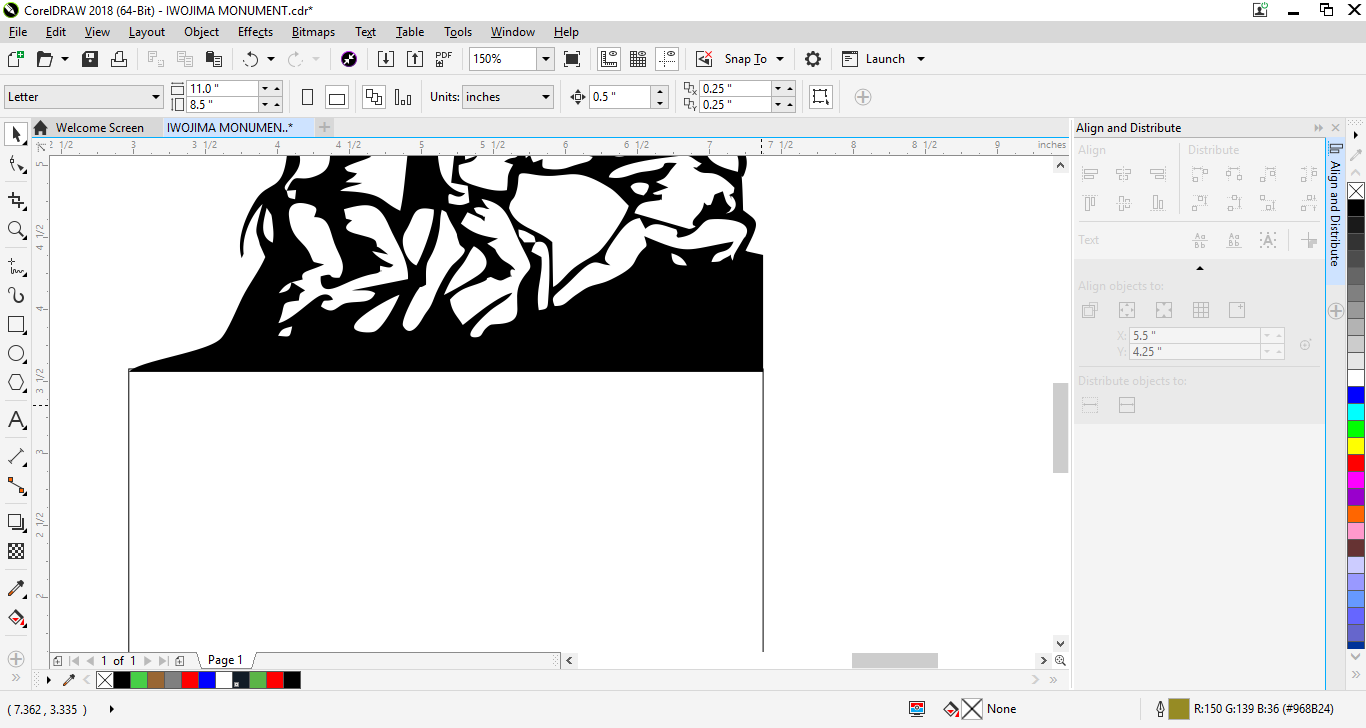
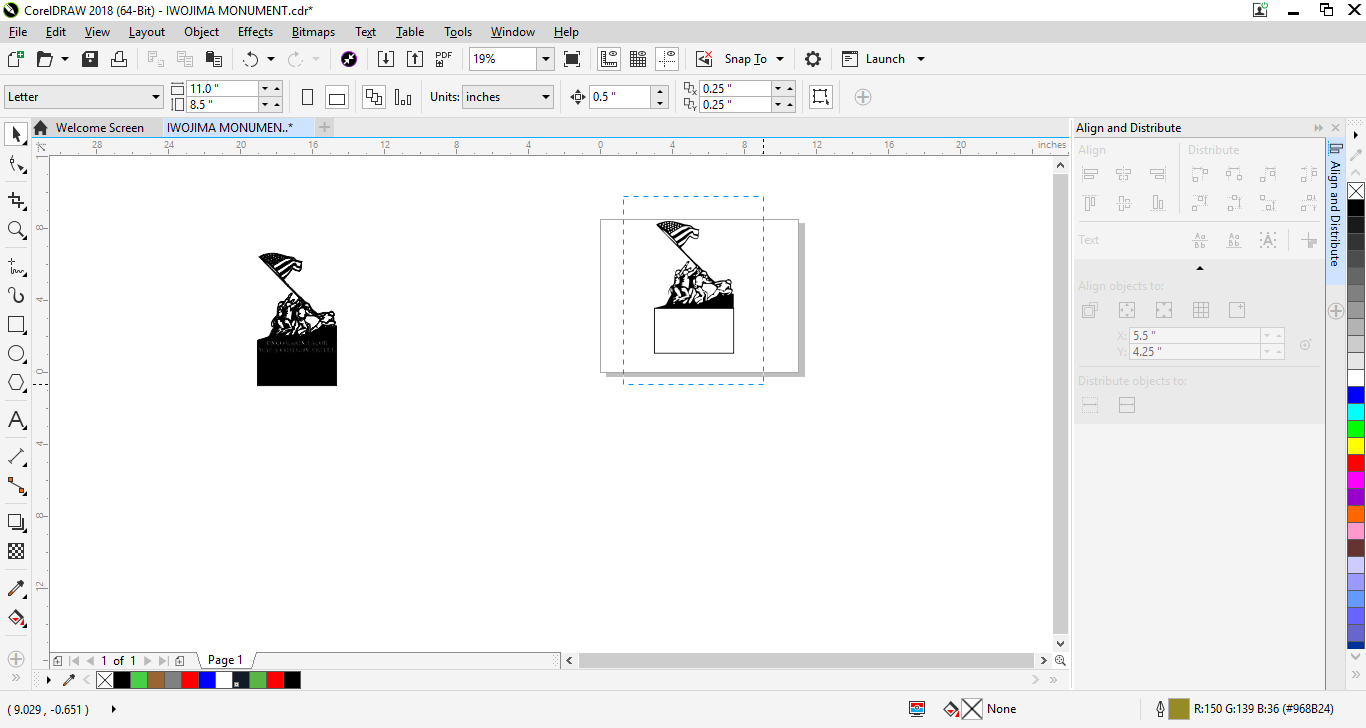
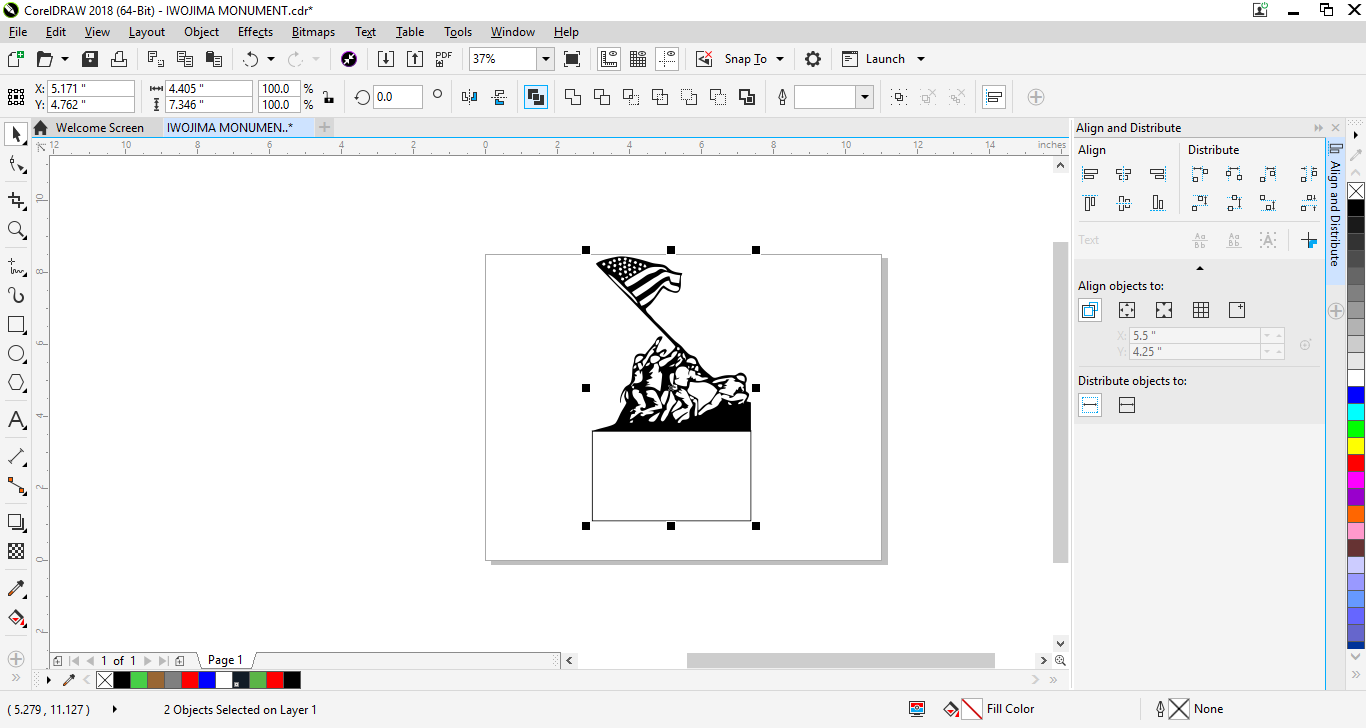
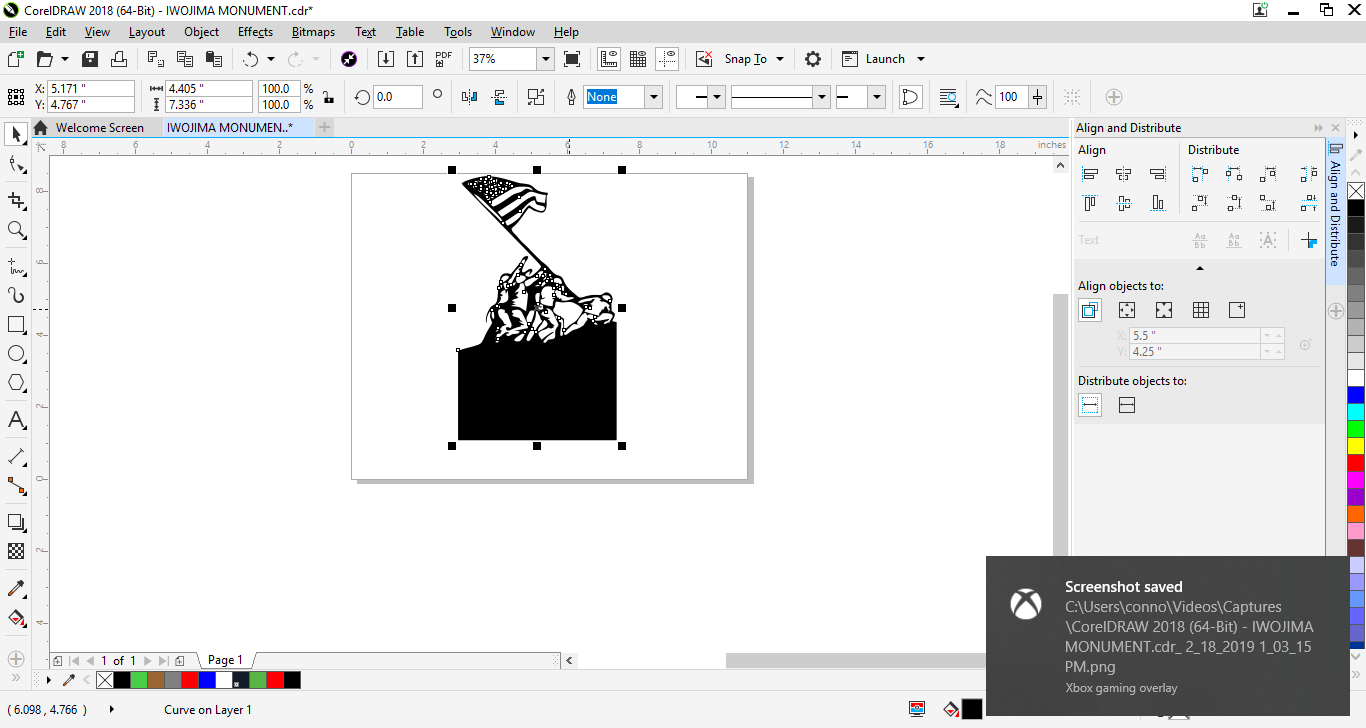
Now that your picture is all ready, you can add the box for your text and the base. To create a box, select the Box Tool on the left hand tool bar and click and hold and drag your mouse to create a box (it does not matter what size). Then select the box and on the top left hand side make sure the lock is open and resize the box by clicking in the number input box and deleting the old size and typing the new size. Since my project was 4.405 inches wide, I made my box that wide and I made it 2.5 inches tall so that I have room for text and the bend for the base. By selecting the Mouse Tool (the first tool on the left hand side tool bar), you can select the box and drag it under your picture and make sure it overlaps some. Then click and drag your mouse around the box and picture, making sure the whole picture and box is in the dotted box. Then release your mouse and this will select the box and picture. While they are selected, click the Merge Tool on the top middle tool bar. This will merge your picture and box into one object.
Creating the Quote
To write text, you must select the "A" Tool on the left hand side tool bar. Then click anywhere and using your keyboard type your text. Once you have written your text, you can edit the font and size using the top tool bar. It works just like Microsoft word. Then you must select the Mouse Tool and right click the text and click in the menu Convert to Curves. This will change it from text to shapes.
The problem with some lettering like O,A,D,R,B, etc is since they enclose a shape the middles fall out. One way around this is to create a small rectangle and make a bridge from the inside of the shape to the outside and use the Remove Top from Bottom tool. The removed piece will keep the middle from falling out. This is optional and with this small lettering it is not recommended for inexperienced people.
Once your lettering is finished, center it right below your picture and then select all and then click Remove the Back from the Front. Then your lettering will be removed from the base.
When centering your text, you can right click the bucket on the bottom and change the fill to white so you can see the text over the black.
Cutting Out
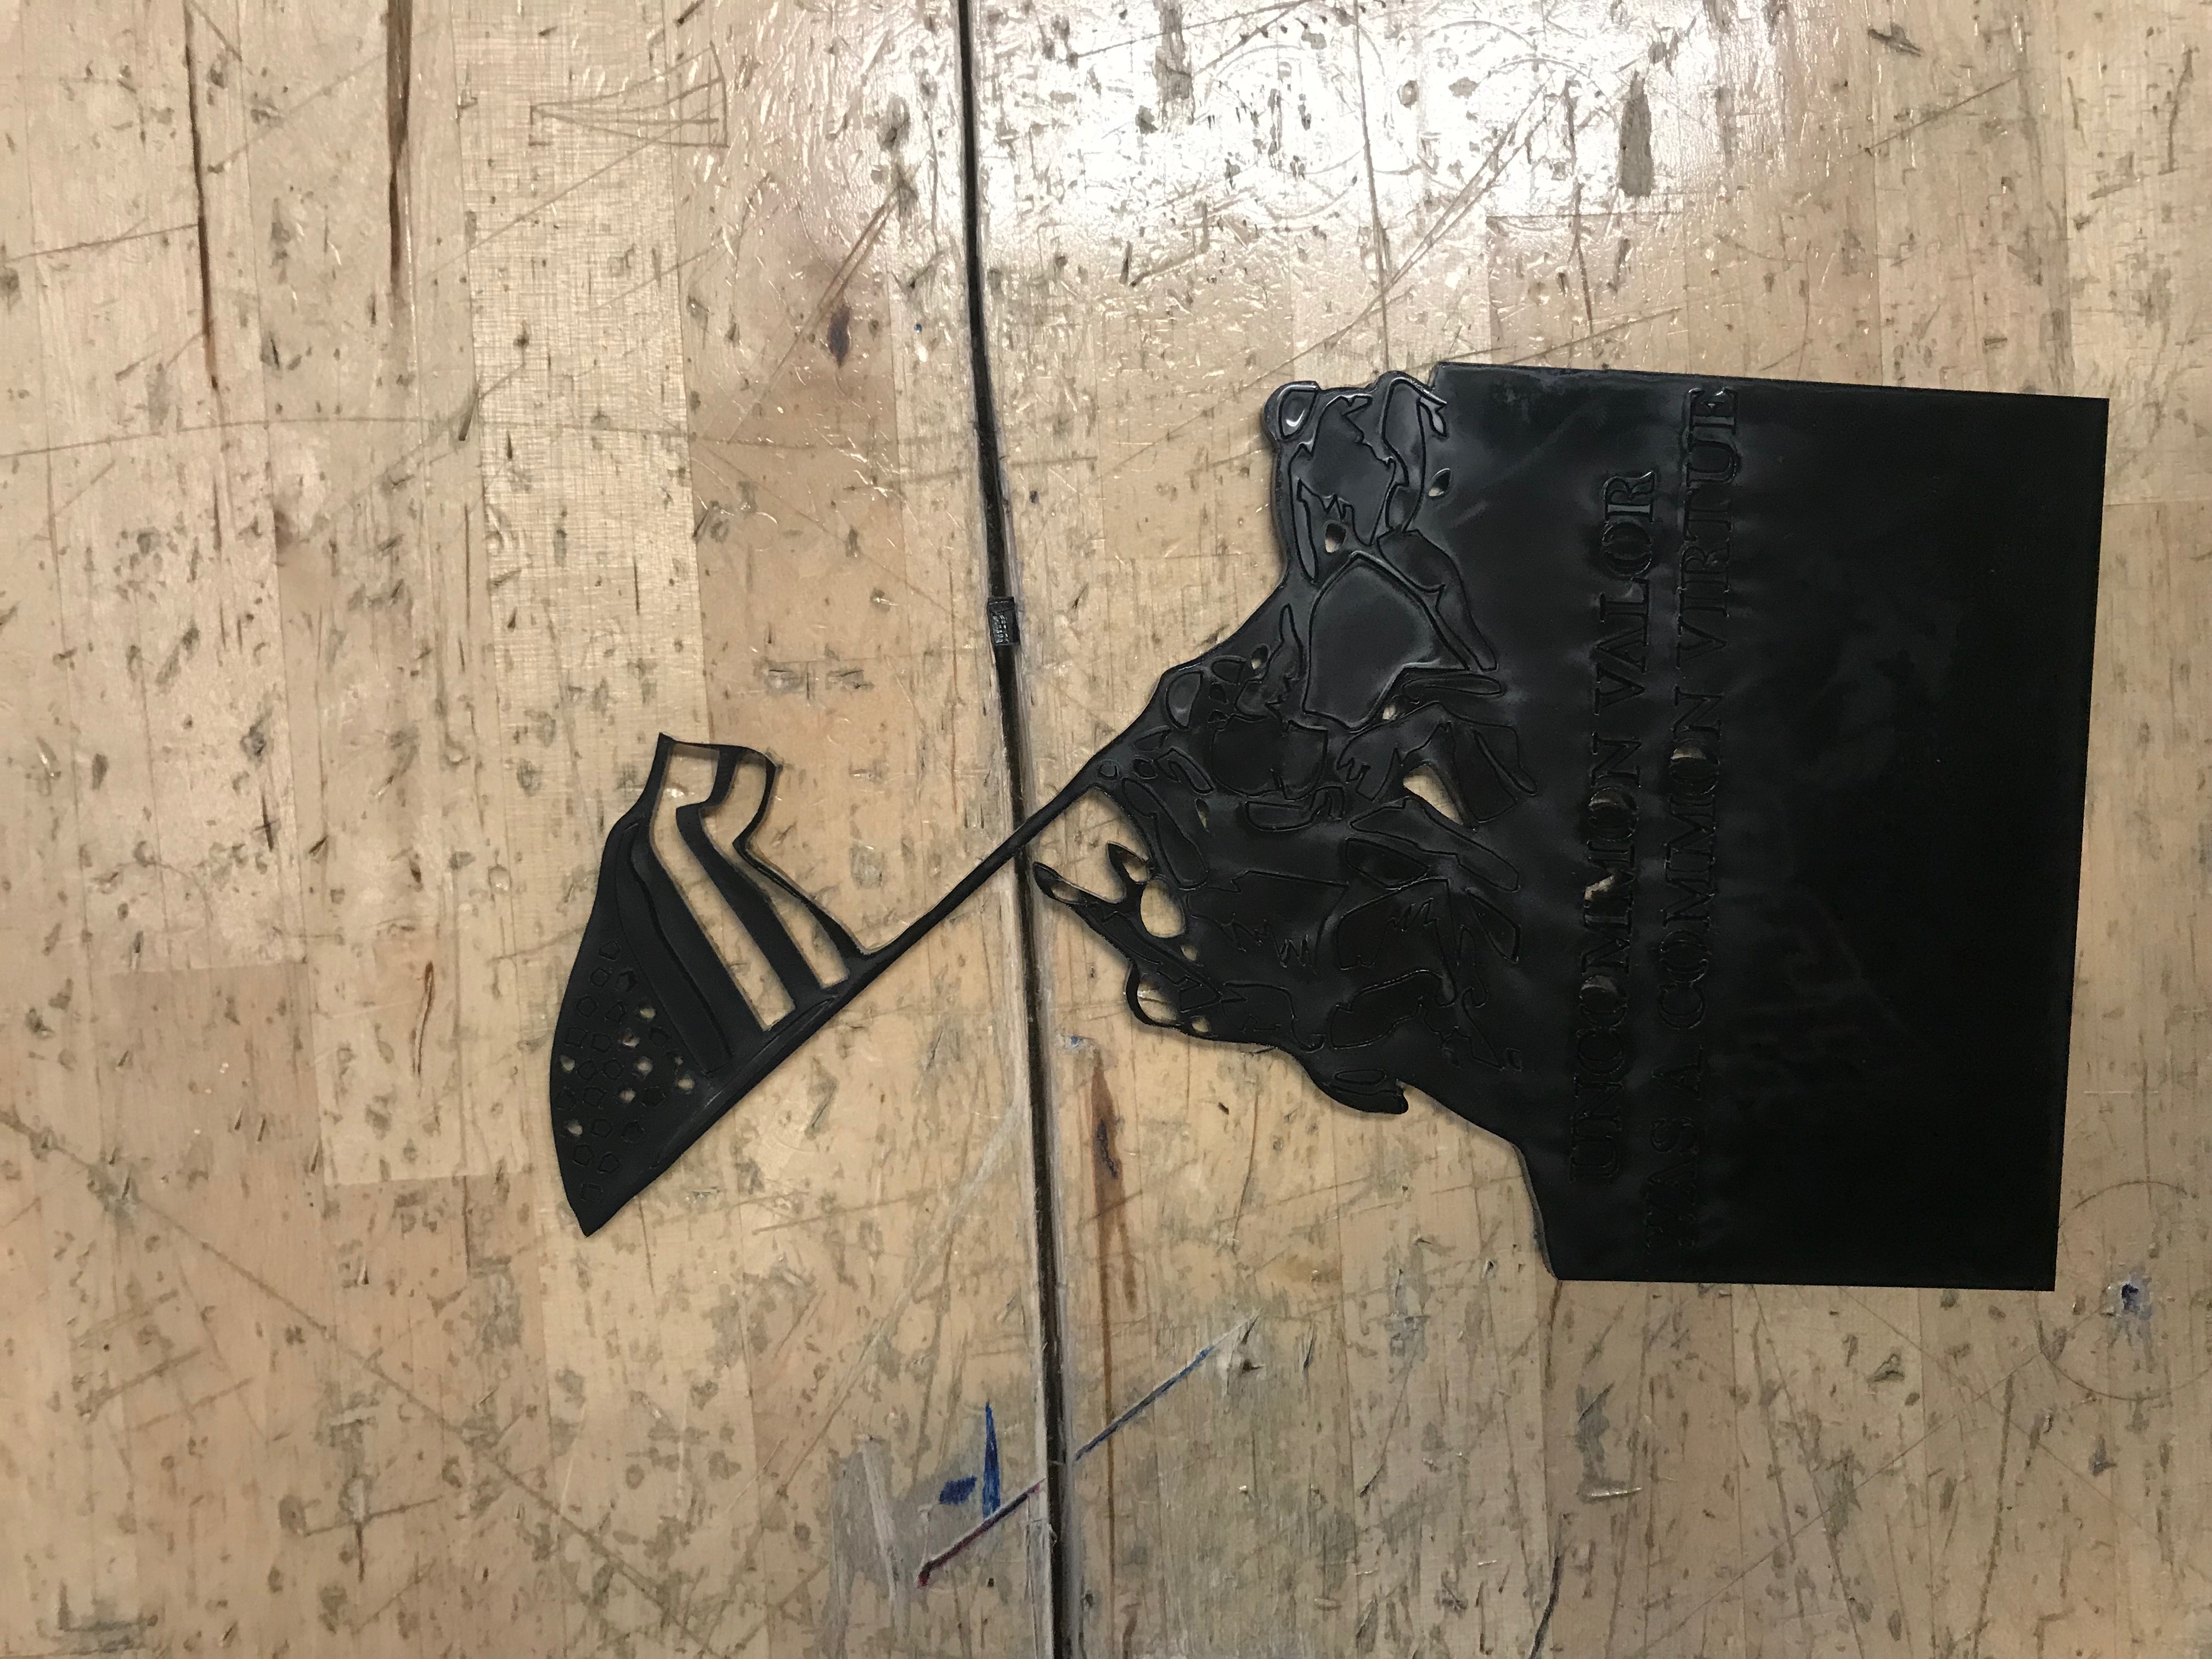
When cutting out, your line size must be hairline and you must remove your fill (it may look weird after your fill is removed) Depending on your laser there will be set instructions for that laser. I cut my 1/8 inch acrylic with 5 passes at a lower setting. Once cut out I used an exacto knife to push out all the small pieces. Since this project is so small, it is important that your laser cuts all the way through your acrylic.
Bending
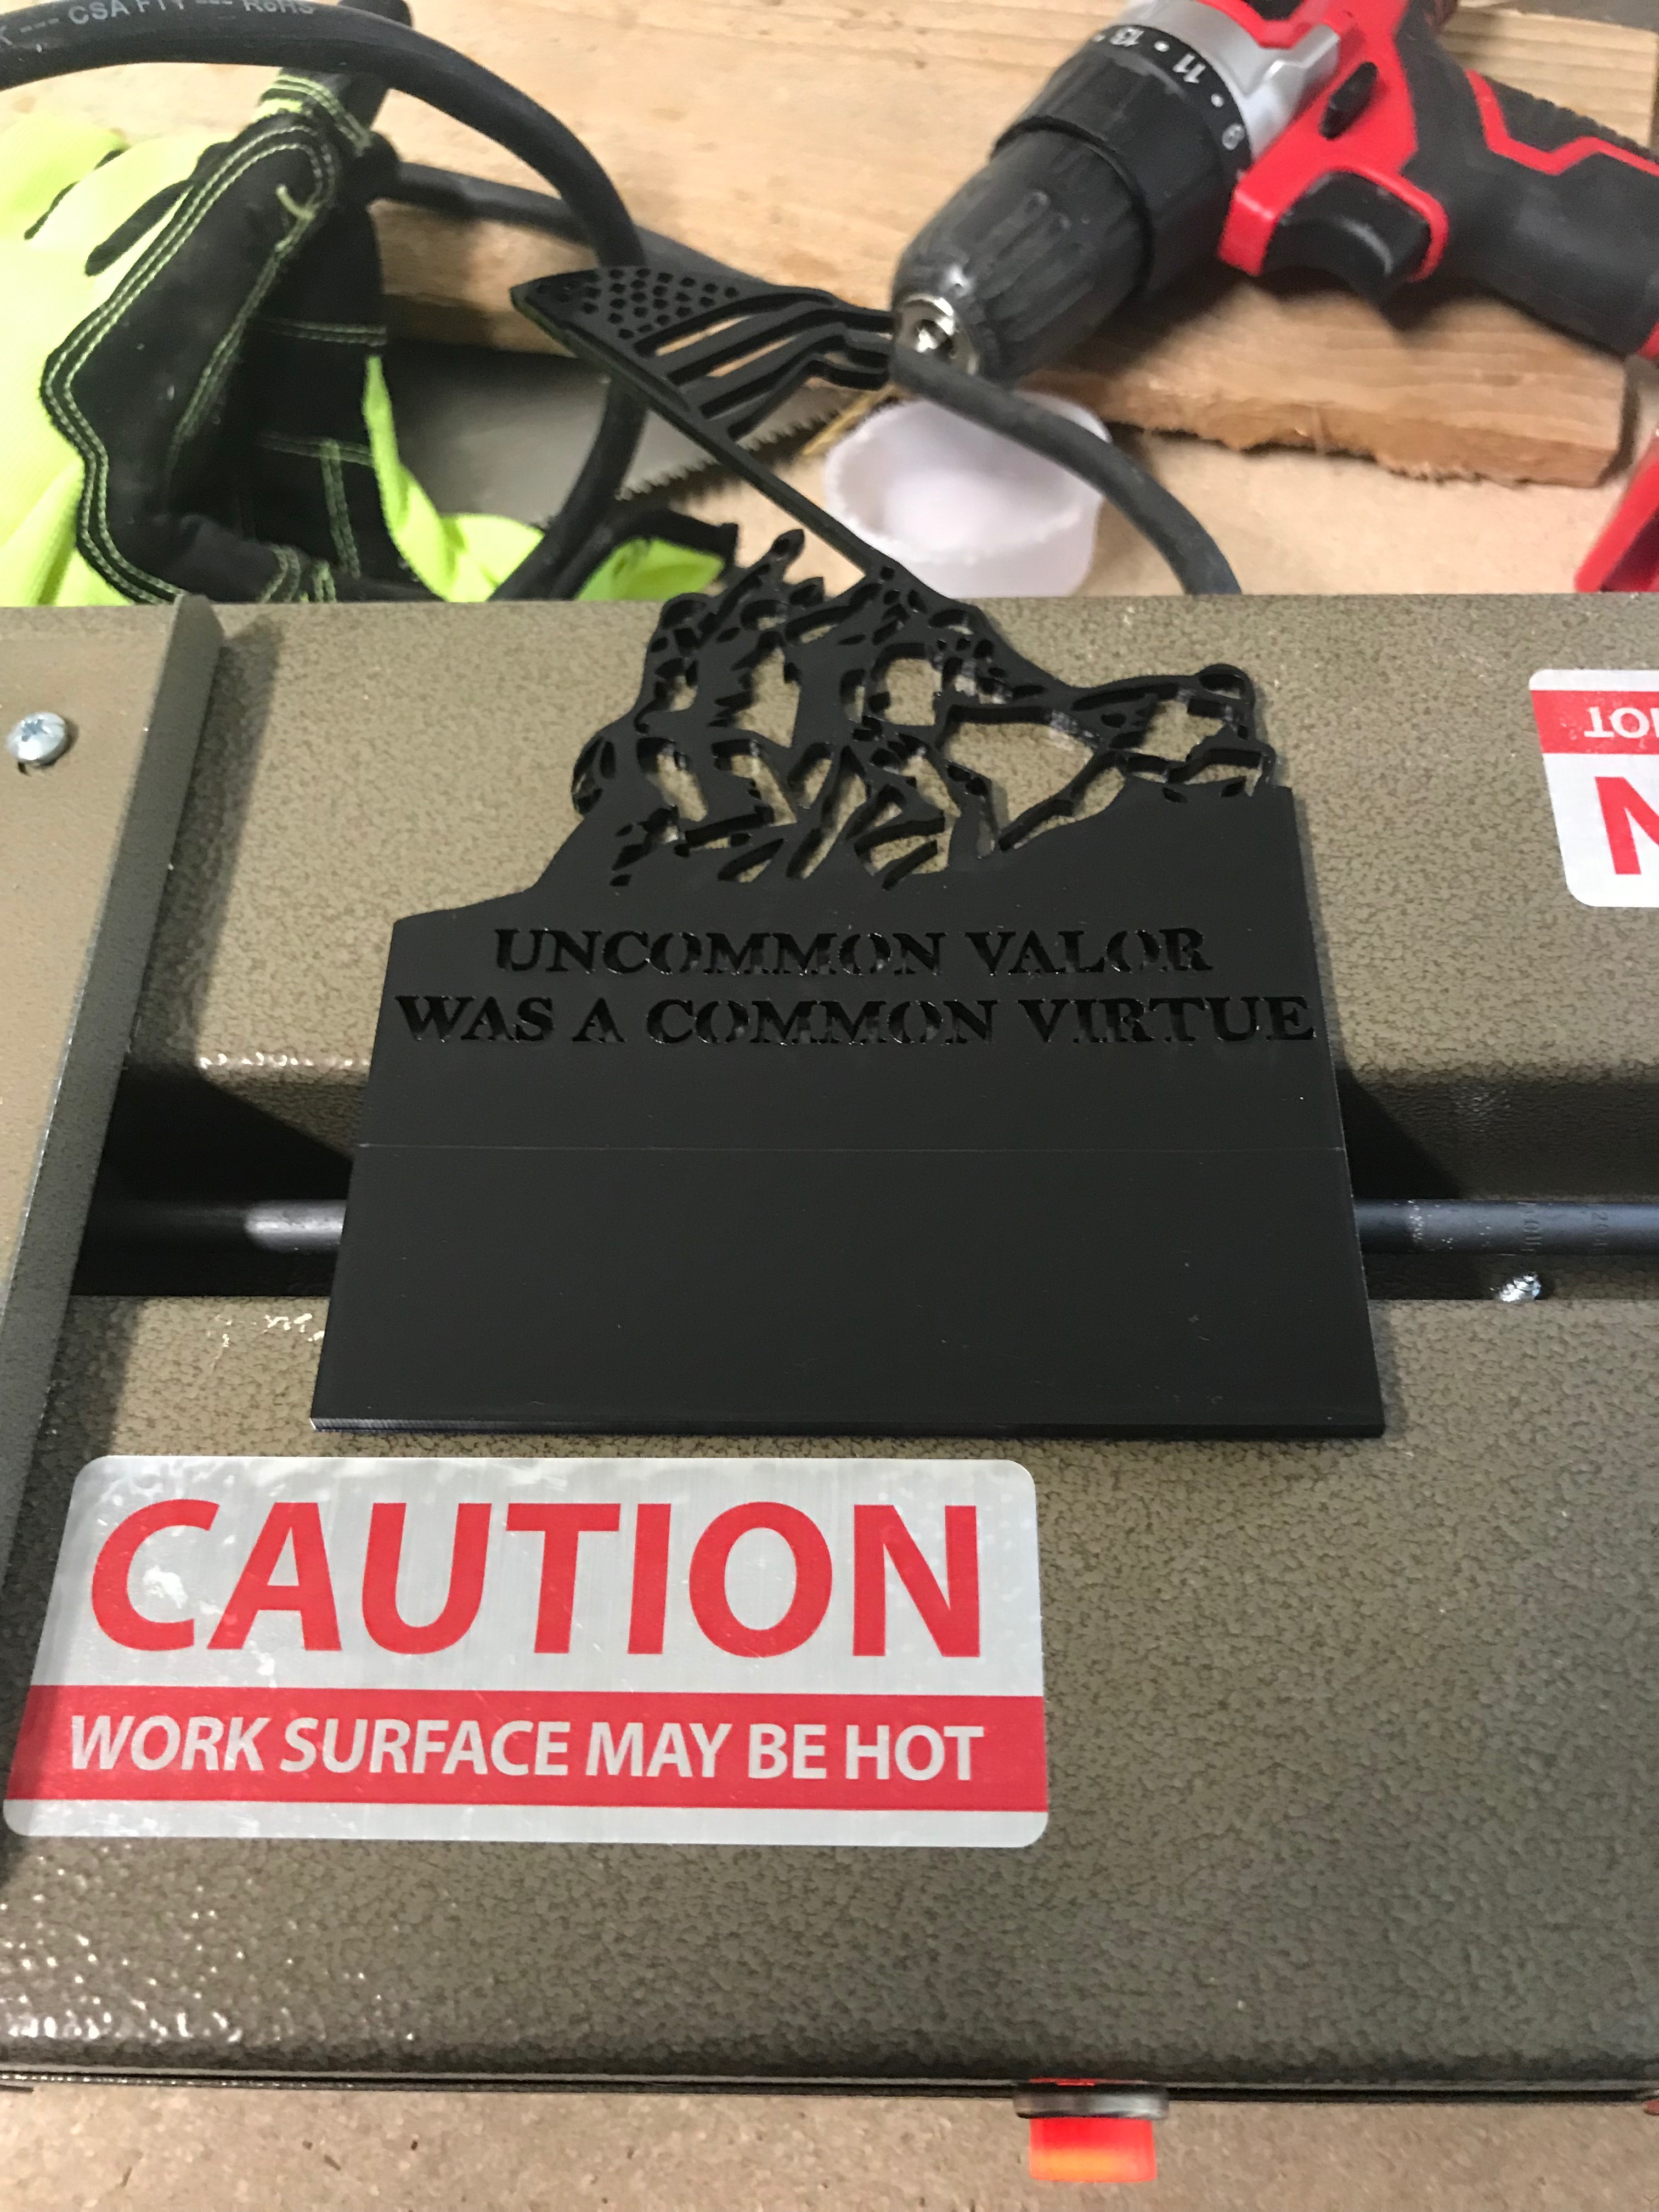
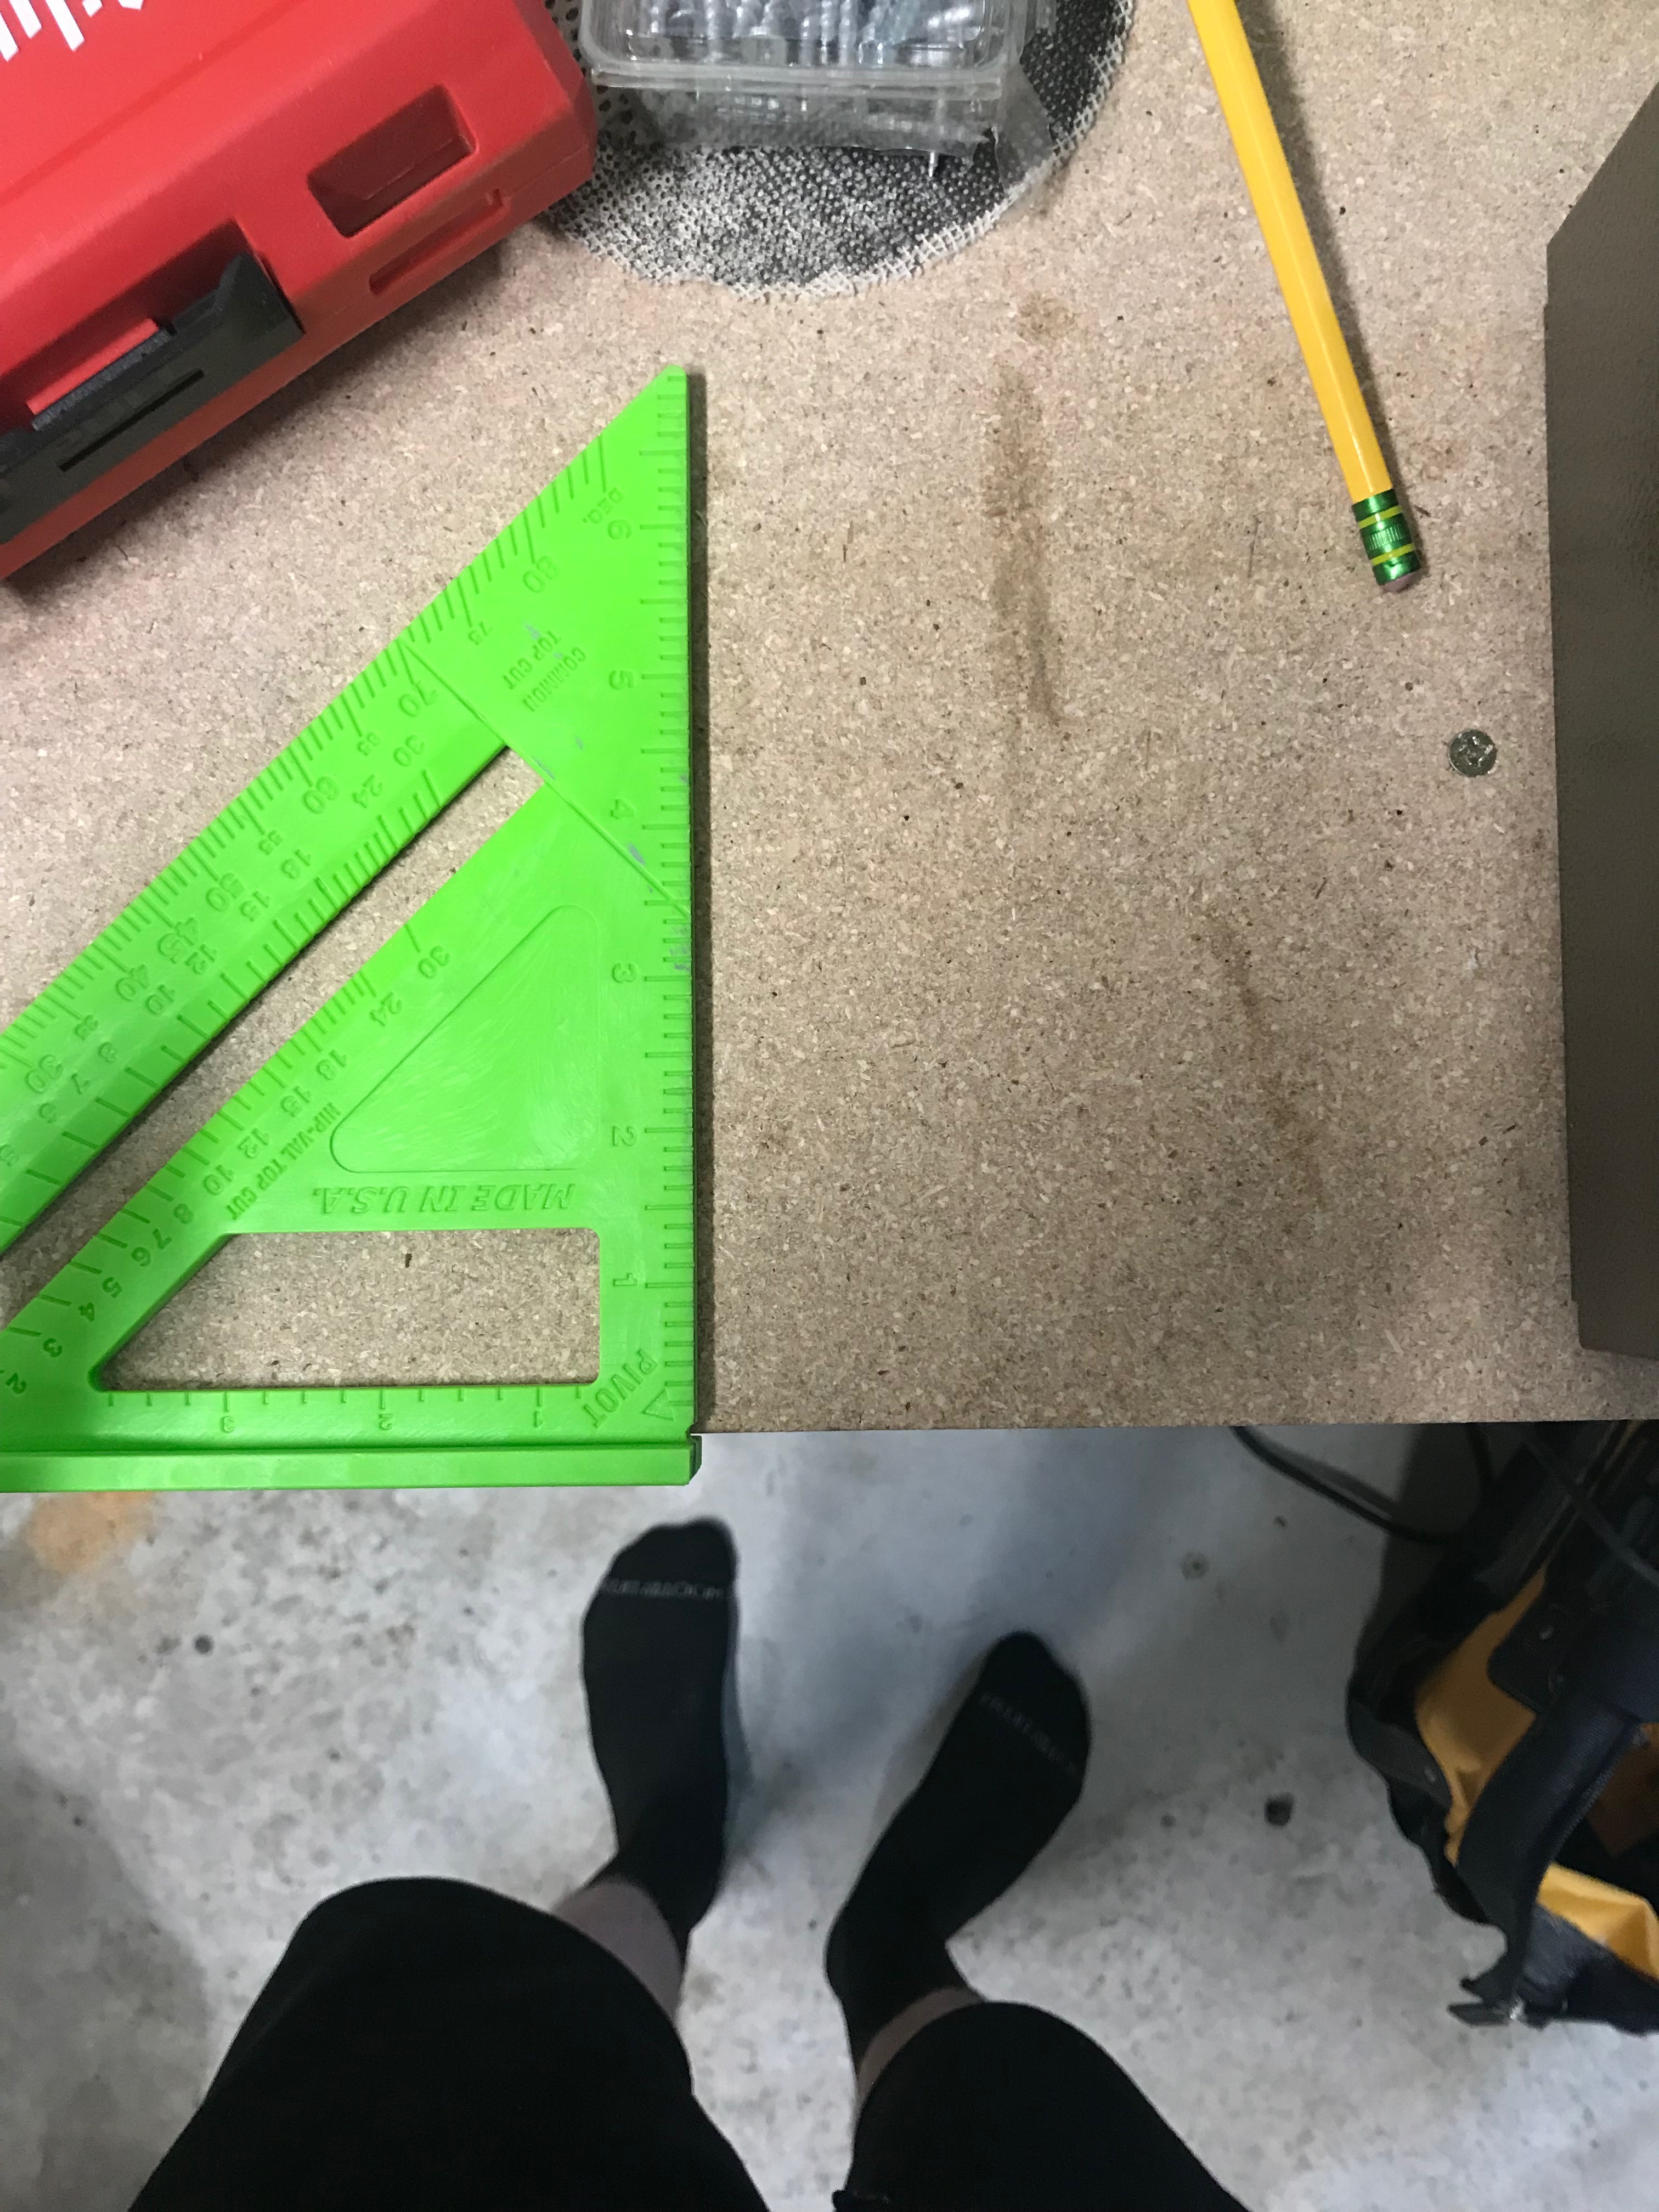
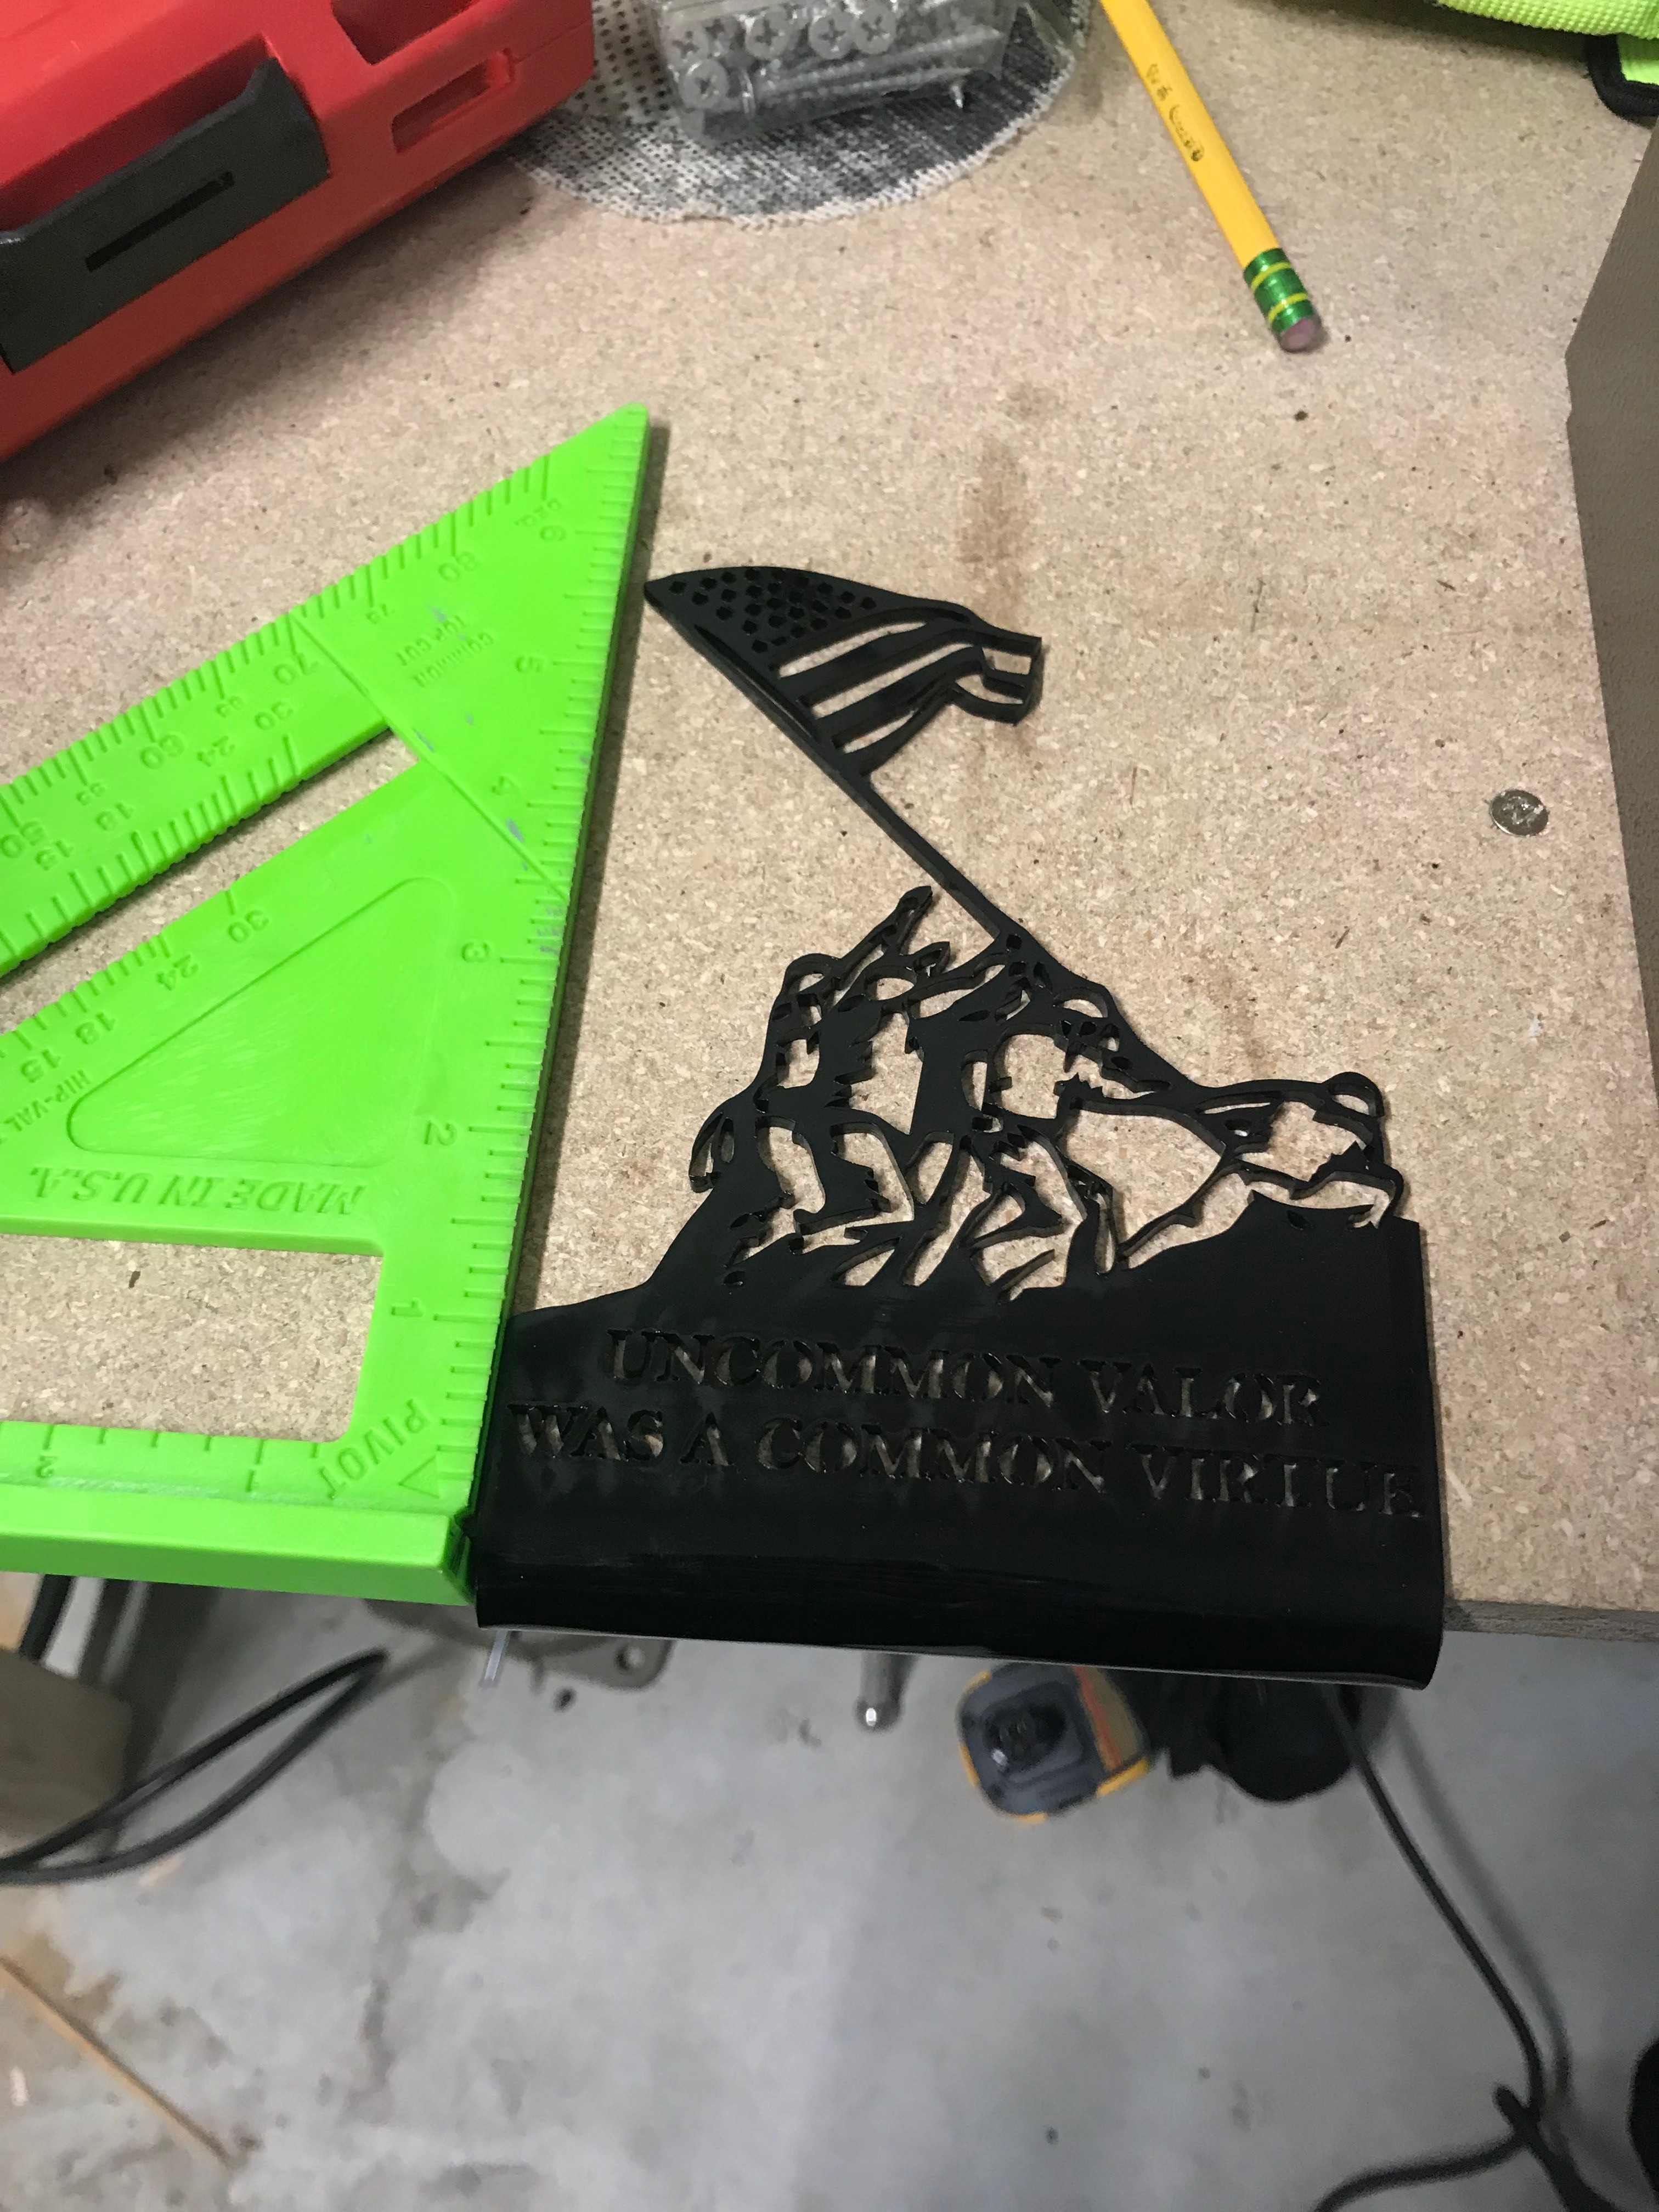
When making the final bend in your project, draw a line across your plaque making sure to leave a quarter inch above and at least 1.5 inches below so that when you bend you do not distort the lettering and have a long enough stand.
I borrowed an acrylic bender which has a rod that heats up so that you get a sharp bend. I heated it for about 2 minutes and then using a speed square clamped to a table so I knew I was bending it straight across. I bent it to about an 80 degree angle. You can also use a heat gun. Just bend it lower so you do not warp the lettering. Once you have bent it there is some time to work with it while it's still hot. Take this time to double check your bend by standing it up and fixing accordingly.