Stainless Steel Gate for Workshop
by AMbros Custom in Workshop > Metalworking
16287 Views, 80 Favorites, 0 Comments
Stainless Steel Gate for Workshop
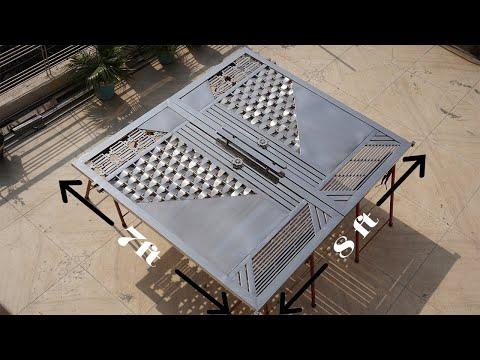

Hi everyone, This Instructables is very close to me as it's my first project for my new workshop. Recently with the help of family I got land and constructed a workshop on it and it requires an entry gate since it was covered from all three sides with other buildings. The one side needs to have a door and I wanted that door to look best as possible as I can and I wanted to make it more complex. Being a stainless adding these details is going to increase the time if I kept on adding details and that is because each weld needs to grind out to make it flush with the rest of the surface. This build definitely tests my skills to the ultimate level. To be honest, being a Stainless guy I made a lot of stainless build in the past with a stick welder but I think this one isn't possible with that. For inspiration, I saw many pictures and chose a stainless steel weaving pattern and a Japanese-style box design for that. For the rest of the design it's pretty much normal but the box design and the weave pattern is the difficult one. Overall said this is definitely a complex project for me but I think it's definitely worthy enough for the setup. Definitely, there are so many things which I learned from other YouTubers and I mentioned some of them here like Pacific tig arc welding, welding tips and tricks, the fabrication series, I highly recommend you guys to go visit their channel and there is a ton of good information you can learn from these guys. If you guys have any suggestions or any critic please leave them down in the description section.
Supplies
Tools and Materials used
Material used.
For this particular door build, I want all the material to be made out of stainless steel and I am definitely been aware that being such a build there is going to be a lot of thermal warpage in it.
1. 11⁄2" X 3" rectangular tubing for the mainframe
2. 1" X 2" rectangular tubing for middle braces and all the main structures for the inner design.
3. 1" square tubing for the area around the sheet has been installed.
4. 1⁄2" square tube for small details inside the gate.
5. 3⁄4" X 1⁄2" square tube for the Japanese square type design.
6. 1" round section
7. 18 gauge matte finish stainless steel sheet.
8. 16mm rod is used to anchor the gate in the floor with other accessories which come up in a set of two.
9. Big heavy-duty door hinges for both the top and bottom sections. Both have different designs.
10. Lock to lock the door when nobody is in the shop. The size of the gate is 8ft X 7ft. To make the door easier to swing it's made in two sections. 4ft X 7ft and 4ft X 7ft.
Tools needed.
Well to be honest it would be good to have as many tools as possible as you can for metalworking if you wanted to build all of the things from scratch. But definitely, there are some basic tools that You need to have or I used during this build.
1. Angle grinder
2. Chop saw
3. Die grinder
4. Cut off disk
5. Grinding disk
6. Flap disk
7. Scotch Brite wheel
8. Buffing wheels
9. Polishing compound
10. Die grinder wheels
11. Pickling agent
12. Tig welding set
13. Welding glove
14. Welding helmet
15. Tig welding rod
All the material used for the door is belongs to 304 grade which is ideal for external use. There might be some tools that I may forget during this write-up but as I said earlier, whatever tool makes your work faster and easier to use.
Material Cutting


The first thing to do is to cut down some 3" X 11⁄2" rectangular sections for the main frame of the doors. The process of cutting is done on the chop saw. It's definitely seems that chop saw make the work easier but these cutting saw are not good at all and never giver you perpendicular cuts. Since the joint is a miter joint that's why I need to cut down 4 lengths of 7ft long and 4 lengths of 4ft long. There are some horizontal sections needs to be installed In the inside area of the frame having length 31⁄2' long, and there are 4 of these cuts down. Then there are 4 of vertical pipe section needs to be installed in the inside area where are doors going to be installed. Always make sure in metal working to keep your cuts as precise as possible. The more precise you go the better it will be, because stainless warps a lot once you start the welding and if they are cut slightly short then chances are that you might ended up with a crooked sides.
Tack Welding the Main Frame


Once the basic structure of the mainframe is cut down I started the process of tacking down the material to its place but to be honest it's not really that much easy to do because I didn't have any workbench and holding these pieces into square shape took a lot more effort to do. To ease my work I placed them onto the sawhorses and with some clamps loosely locked them down to their place. Then I started measuring the diagonals. In these kinds of larger builds speed square or any other type of squaring tools doesn't tell you better alignment and the same thing happened in this case. Since all the pieces have been cut down separately that's why chances are pretty high that they all have small margins of error. In the diagonal messing method I found one diagonal is 2 mm less than the other one but in such a large build that difference isn't gonna do much of a problem. But once the gate is finished I found that the error has been eliminated to 1 mm more. This is actually happening due to the shrinking property of welds.
To provide a flat reference surface since I didn't have a large welding table I decided to clamp the sides with some flat leftover stock and made all the joints completely parallel and flush and then started the tack welds. Once the tack welds are done onto one side I flip the piece and tack onto the backside as well. Since both the doors are mirror images of each other that's why the process is almost the same. For the second door, I placed it on the first one and then lock it down to its place with the help of clamps and then tack weld them also. During all of these scenarios, I always make sure that during the tracking process the pieces are remain as flat as possible and the job remains completely square.
To tack weld, the vertical 1" X 2" member is used 1⁄2" thick MDF piece as a spacer and used to maintain a fixed distance between the pipes. I used this spacer onto the top and bottom areas because I have to tack weld onto these areas only.
Bottom Diagonal Member
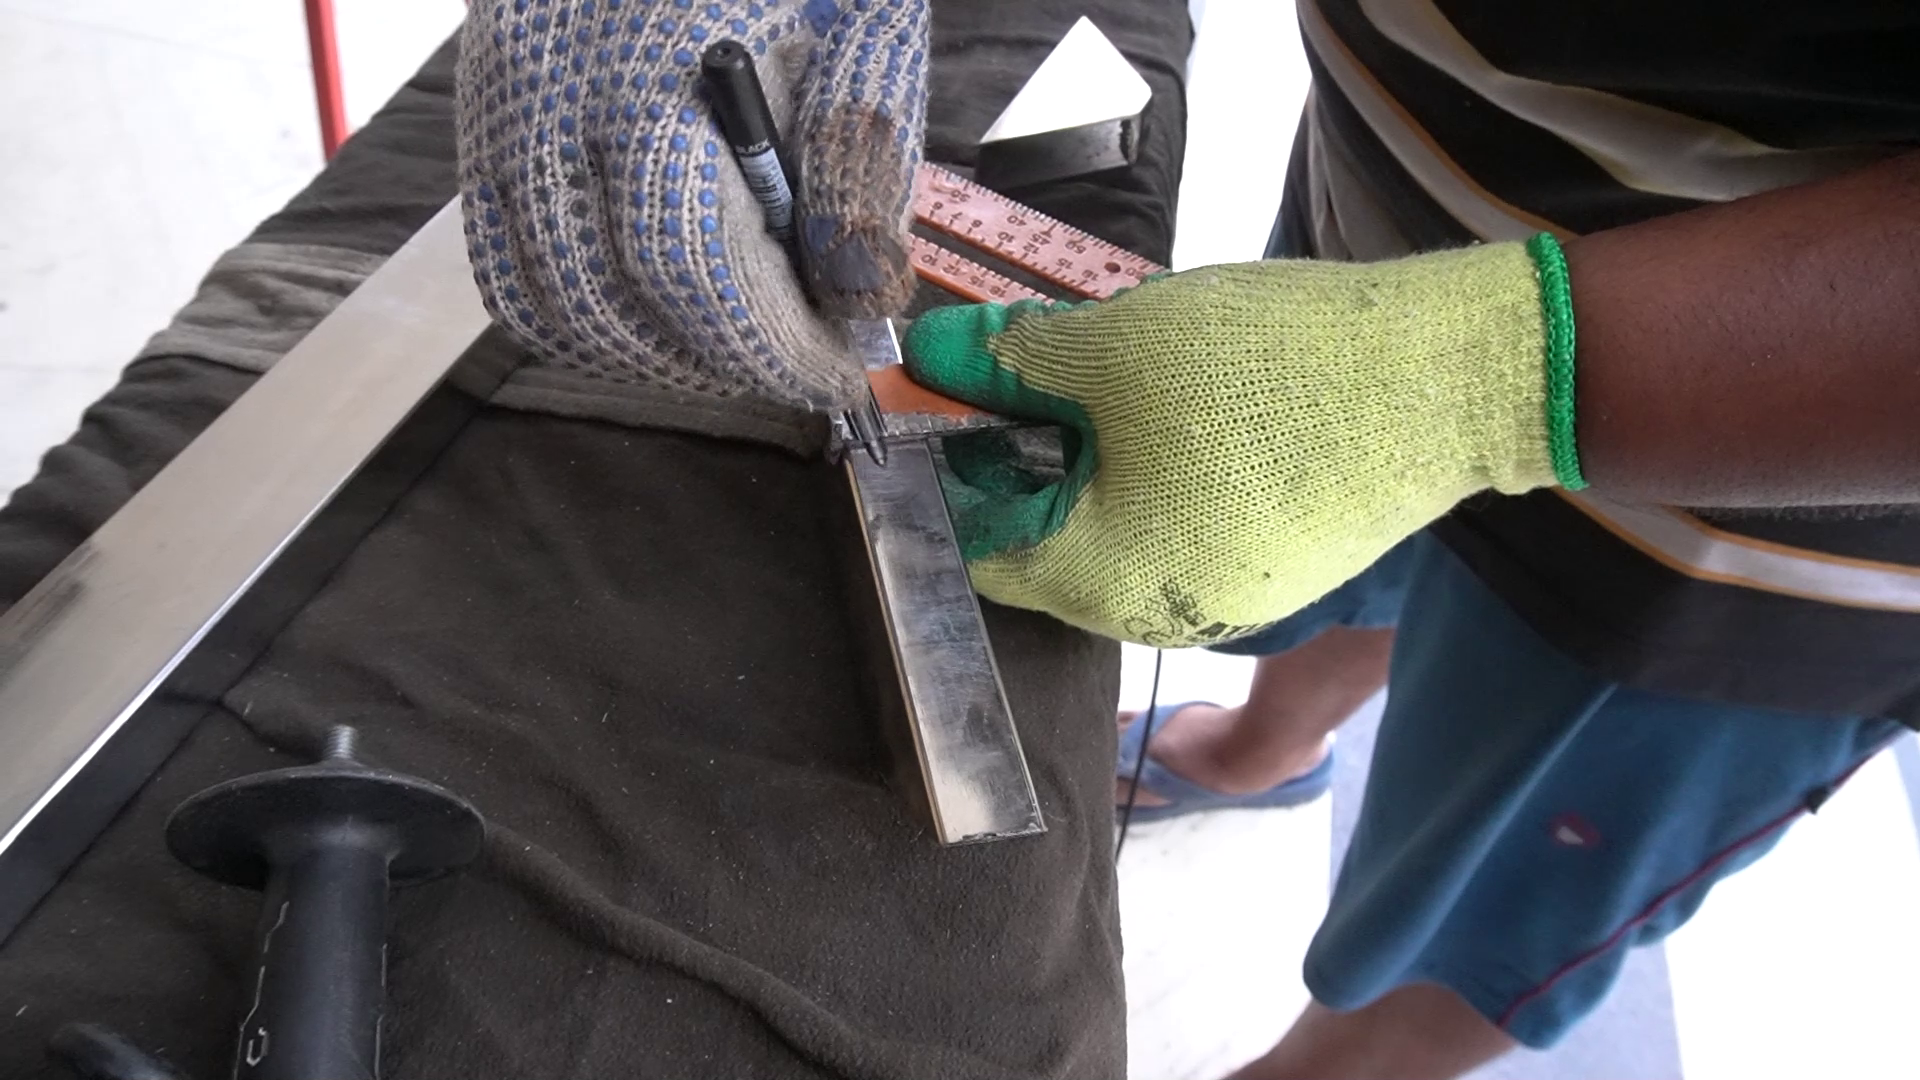
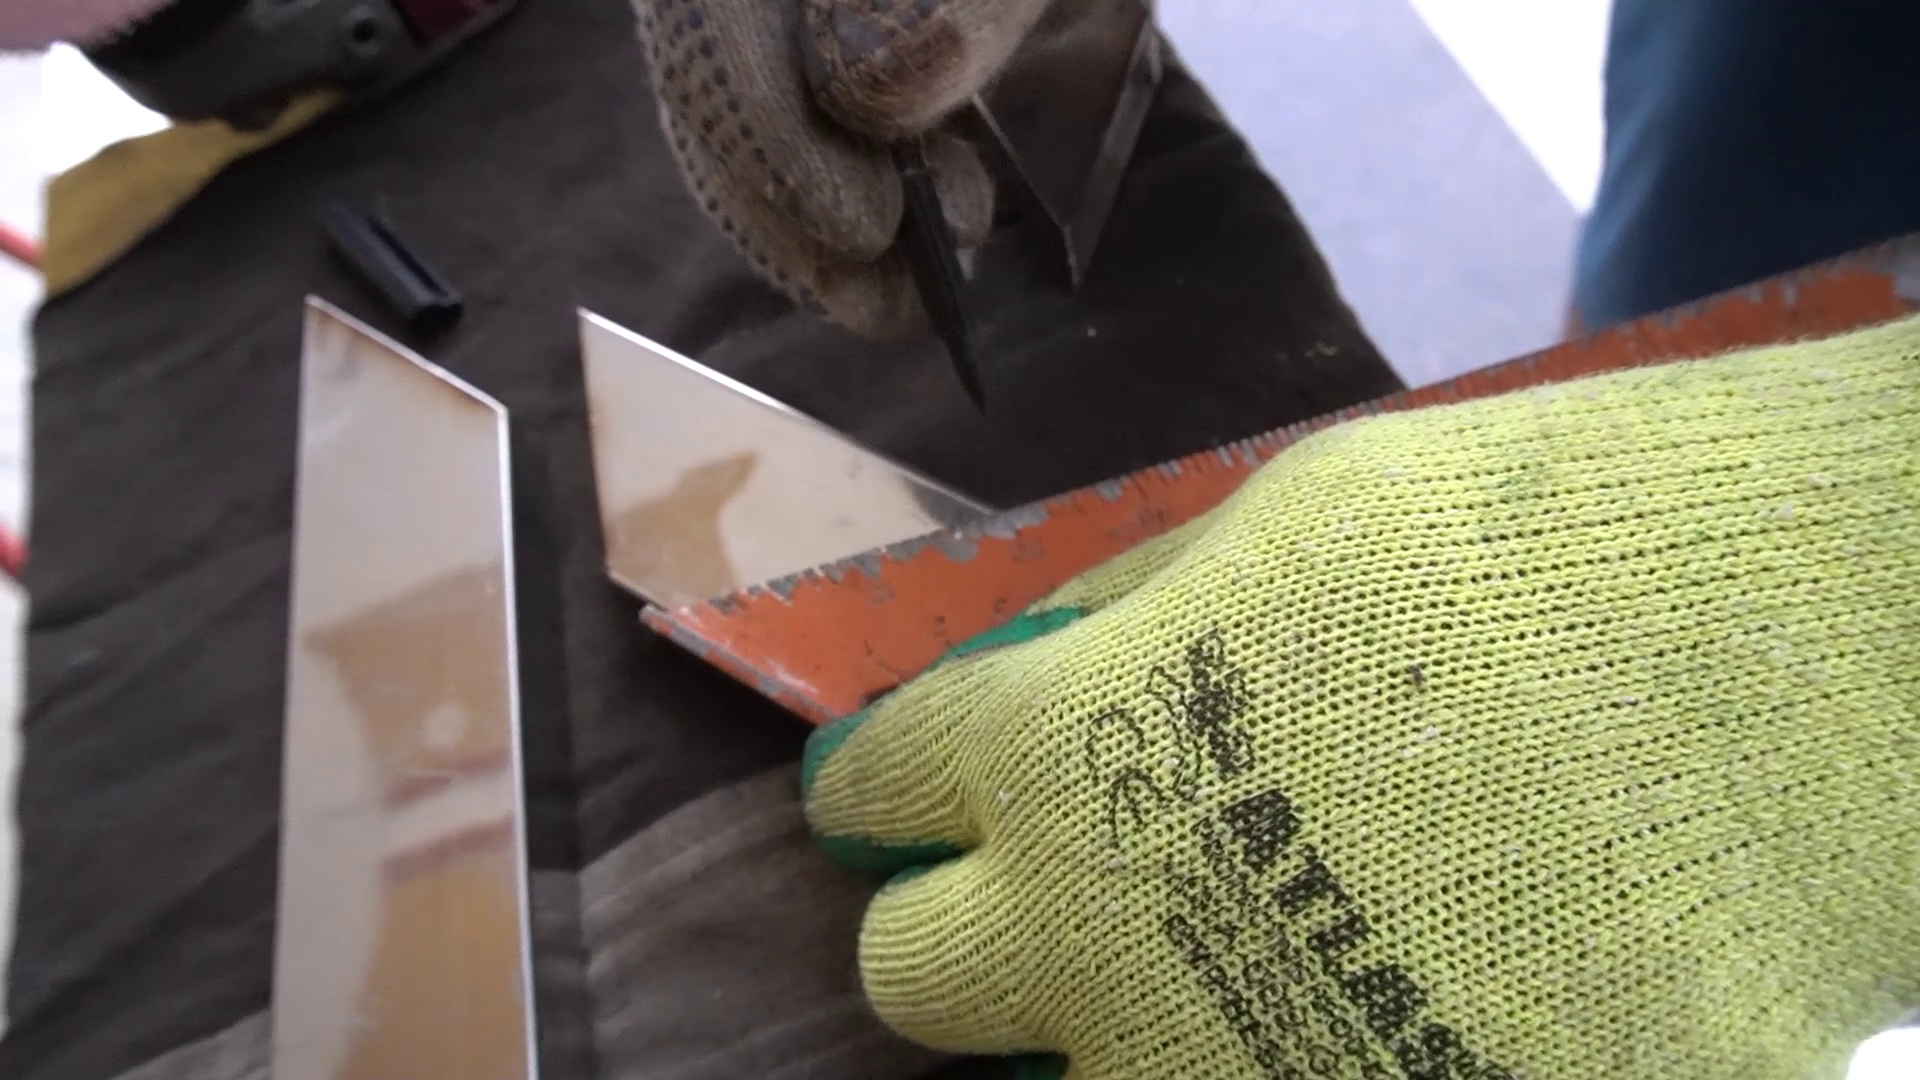


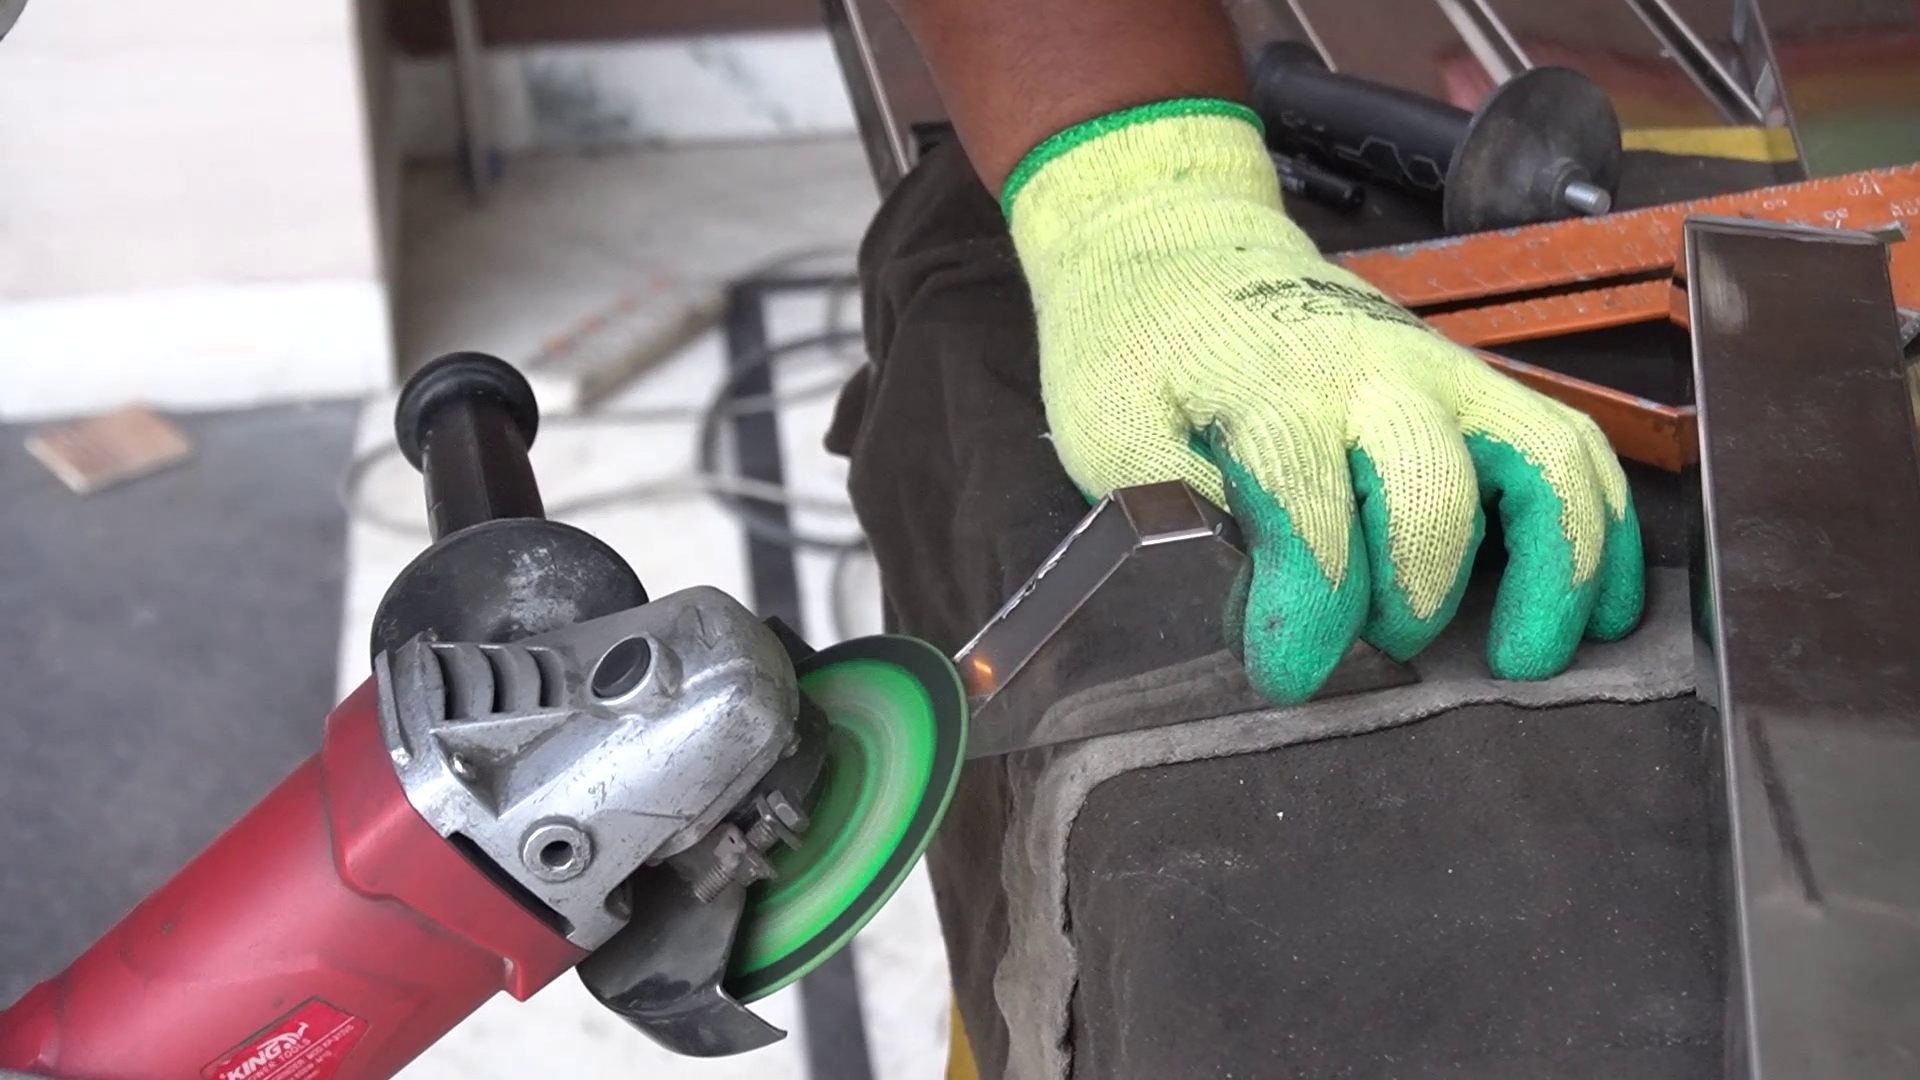


For the design area on the bottom, I used a 1" X 2" piece and cut it at an angle of 45° and then placed a spacer in it so that I am able to get an exact length. Then I mark the distance where I need to make a cut. There are 3 of these diagonal members and the other 3 are in the other diagonal position. Once they are cut out to the required length I tack weld them permanently to their place.
Constructing a Screen in the Bottom Area.




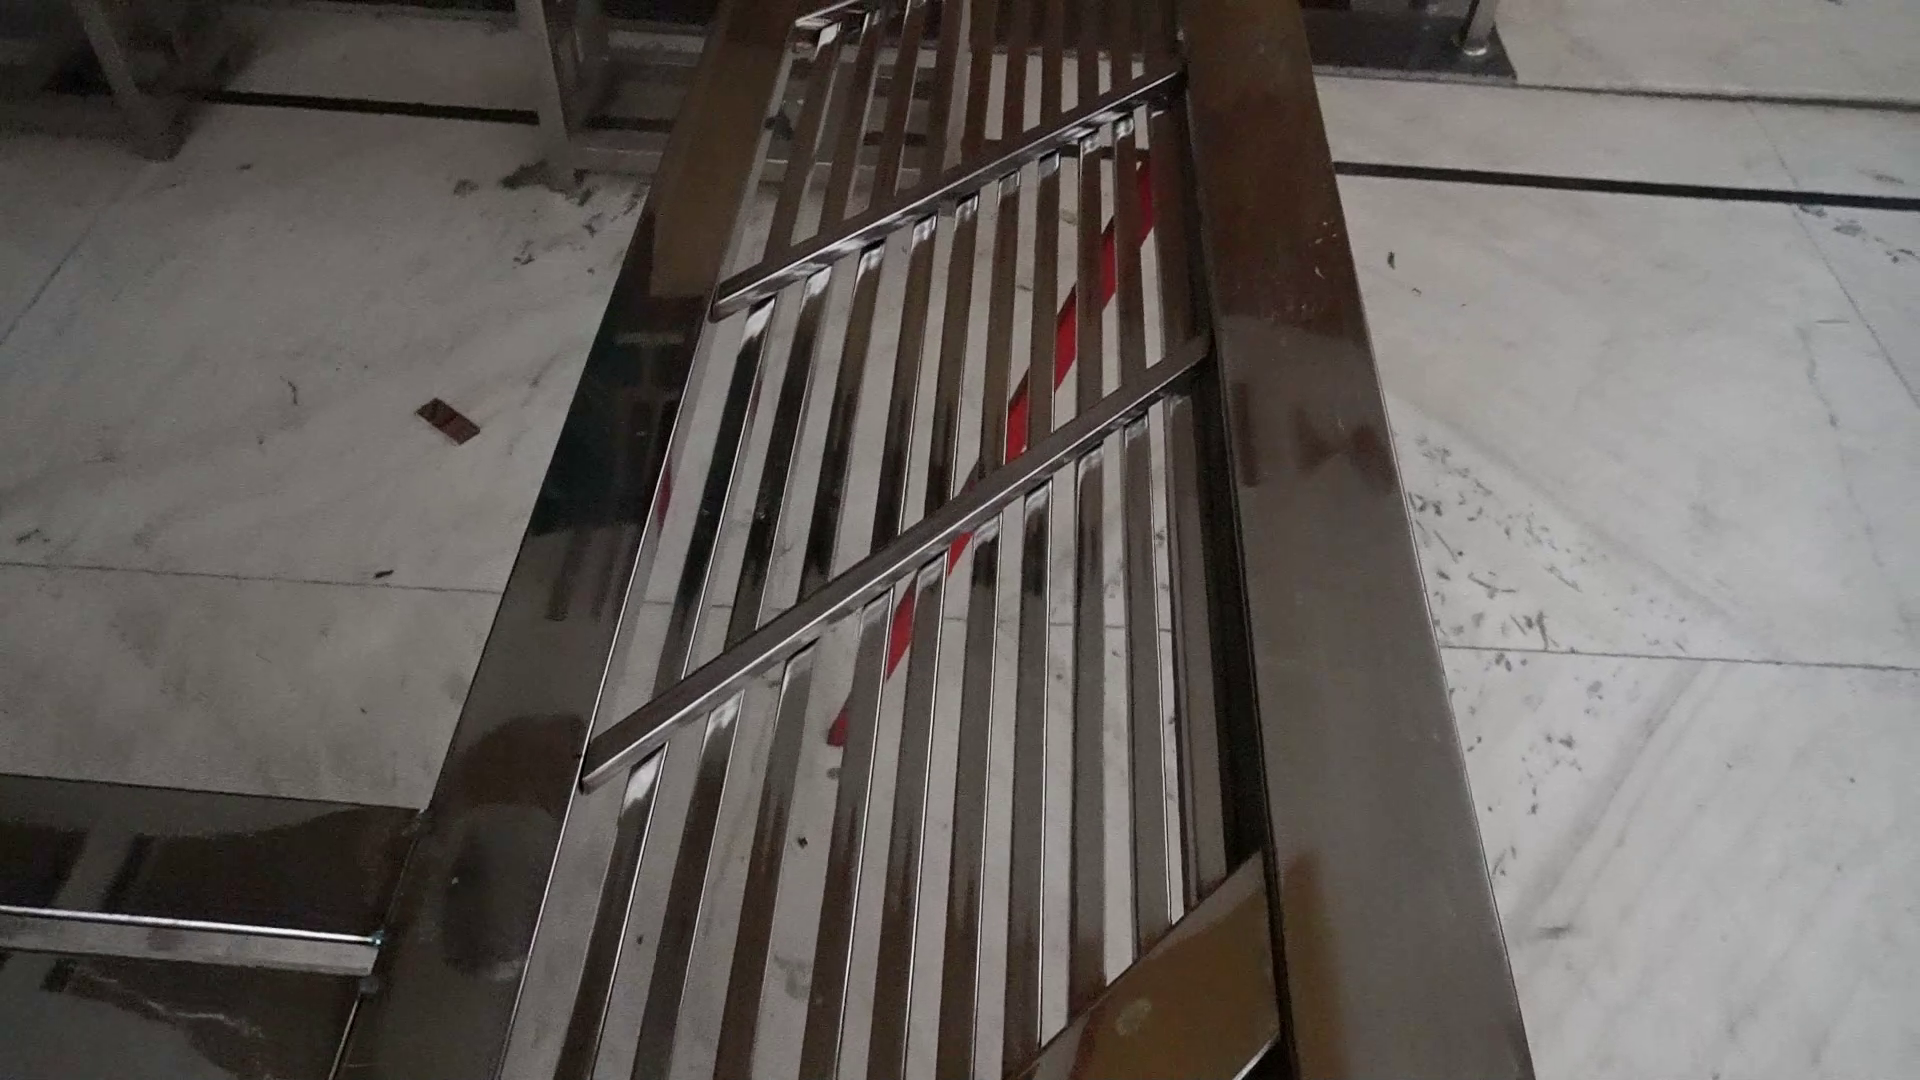


For this, I used a 1⁄2" square section of pipe. If the diagonal 1" X 2" sections are mounted correctly then the middle distance is absolutely perfect and comes up the same. I measure that distance and made a test fit to see whether it remain parallel throughout the same or not, luckily it went out perfect so I cut out all of them onto a chop saw for faster cuts. Once the pieces are cut out I made one side completely flush to the front side so that I give a smooth transition. Then I made a tack weld and proceeded for the next operation. To space them equally apart I used the same 1⁄2" thick piece of MDF and used it as a spacer to space them equally apart. To remove the flex I also tack weld 2 parallel members at the backside also which are able to provide structural rigidity to the bottom screen.
Weaving Pattern
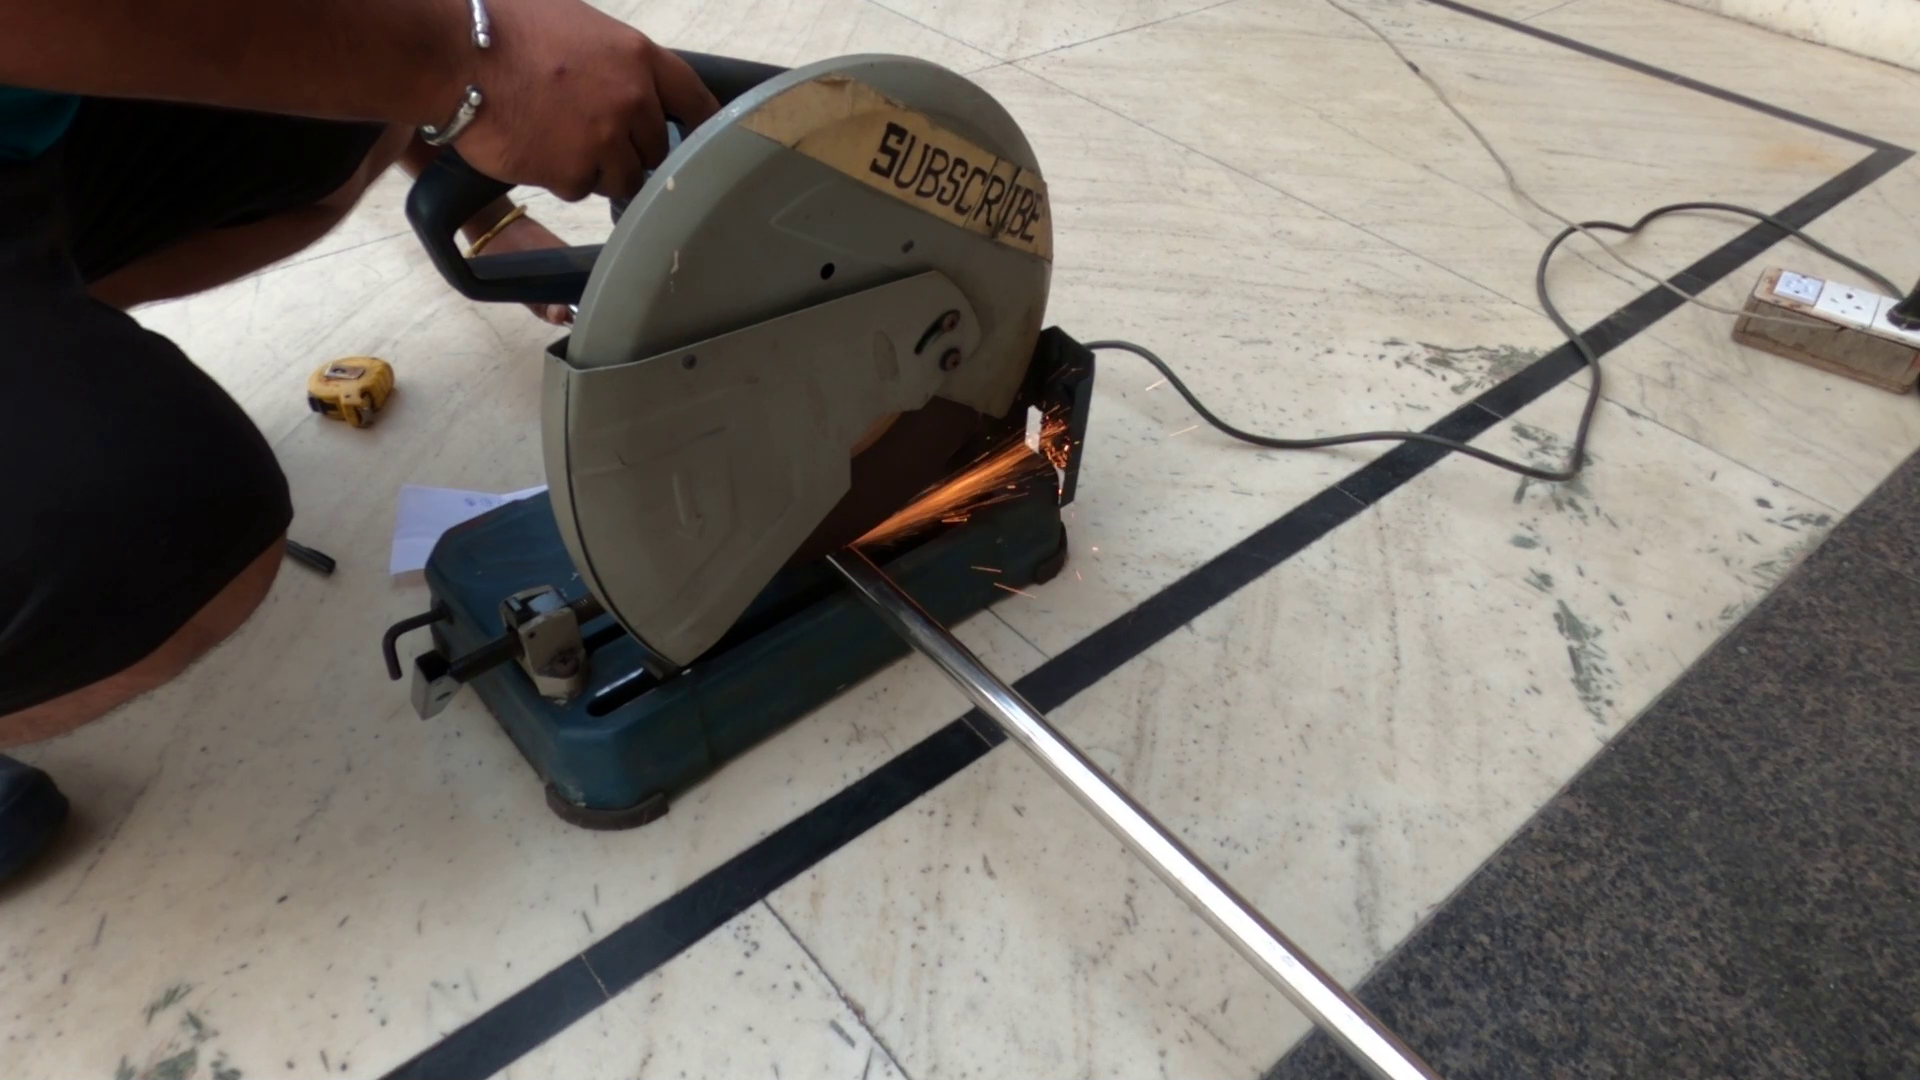


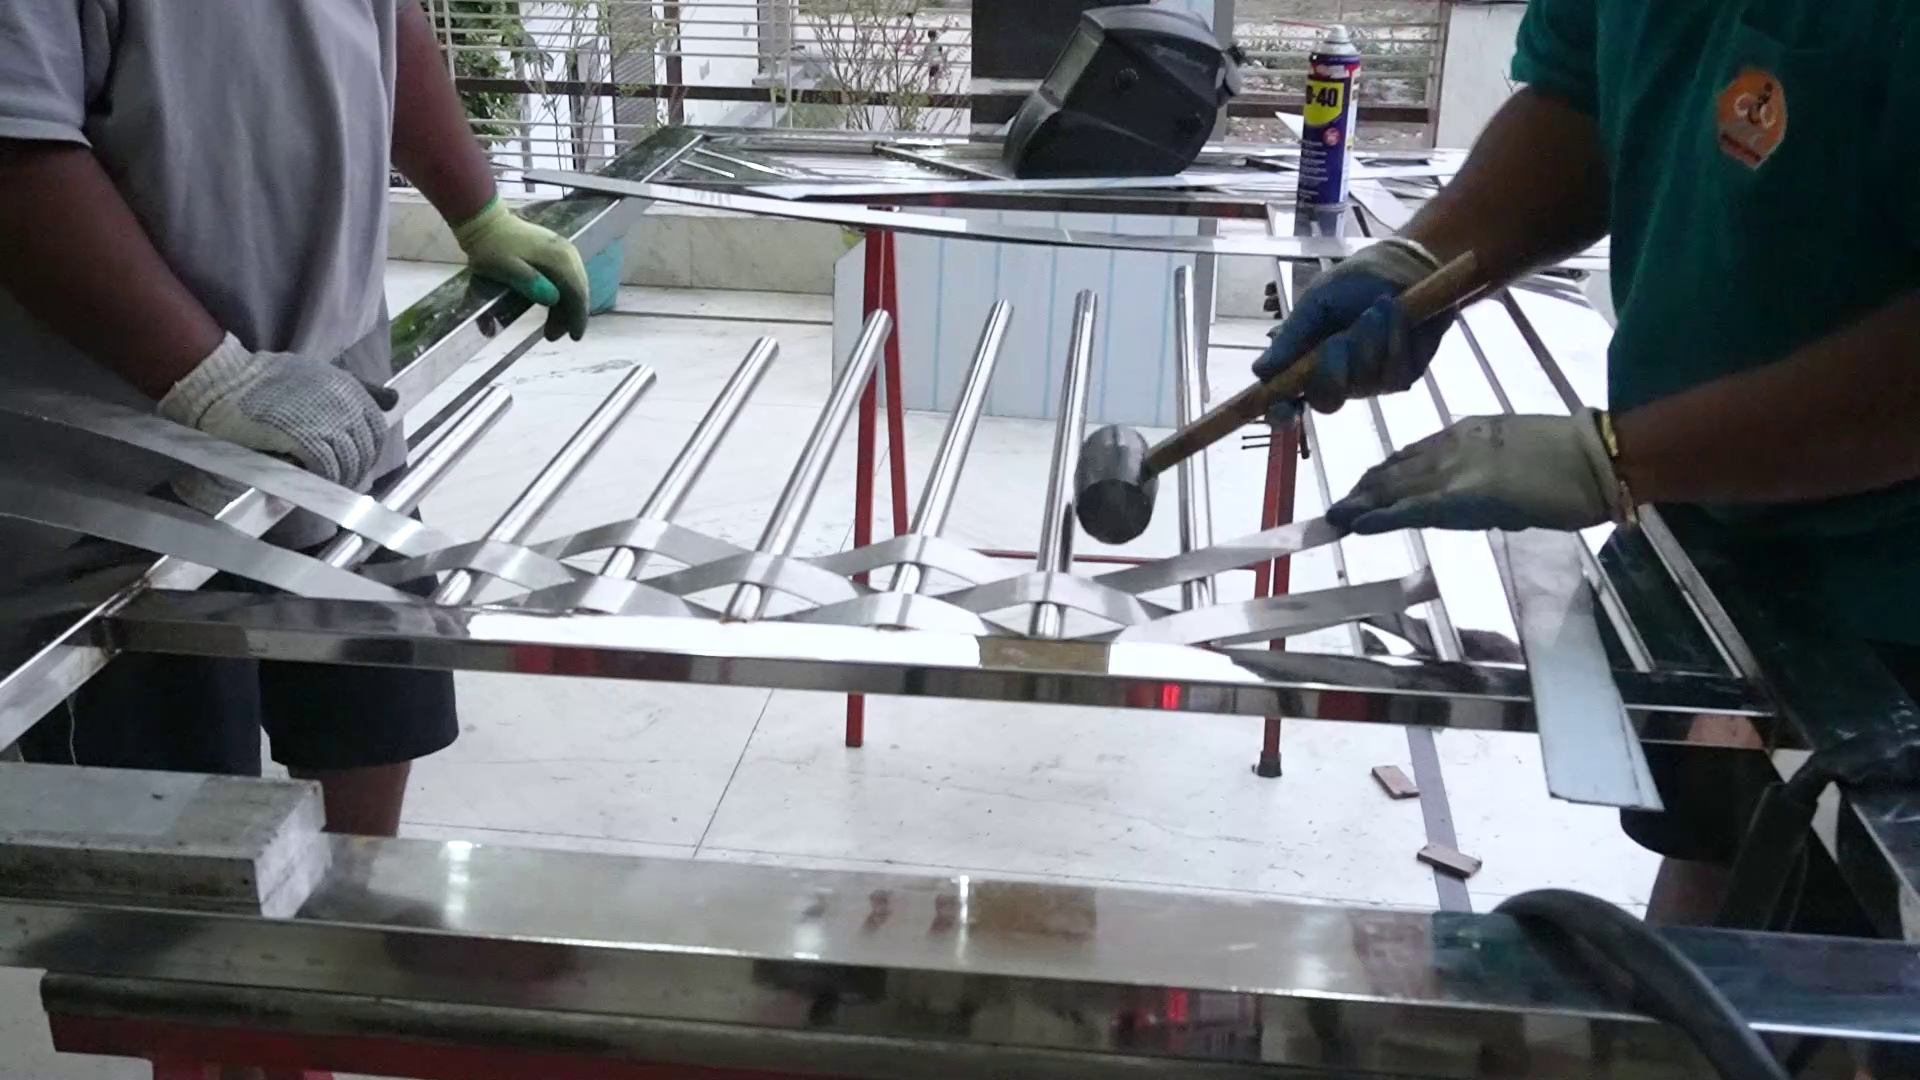


This is the part that was most crucial for me because I never build such a design in any of my builds and the plan was to make it half the way and the other half is going to be covered with a stainless sheet. To ease the process and to find out how much length is needed to a particular area I made a sketch infusion which eases the work a lot. The overall length is kept a tiny bit longer than the required one to give a little bit room for margin of error. All the pipes are of different lengths because the design is gradually decreased or increased depending upon what perspective you are looking for. since there are multiple pieces that's why I choose a chop saw to cut the material. The space between the round pipe is around 3". Once the pipes are cut out I made a hold down the platform to keep the pipes at the horizontal level because it's not feasible to hold them in mid-air by holding them just with bare hands. I first made a tack weld and then made a complete weld once I am completely satisfied with the position. Since the other end is completely unsupported the material moves a lot during the welding.
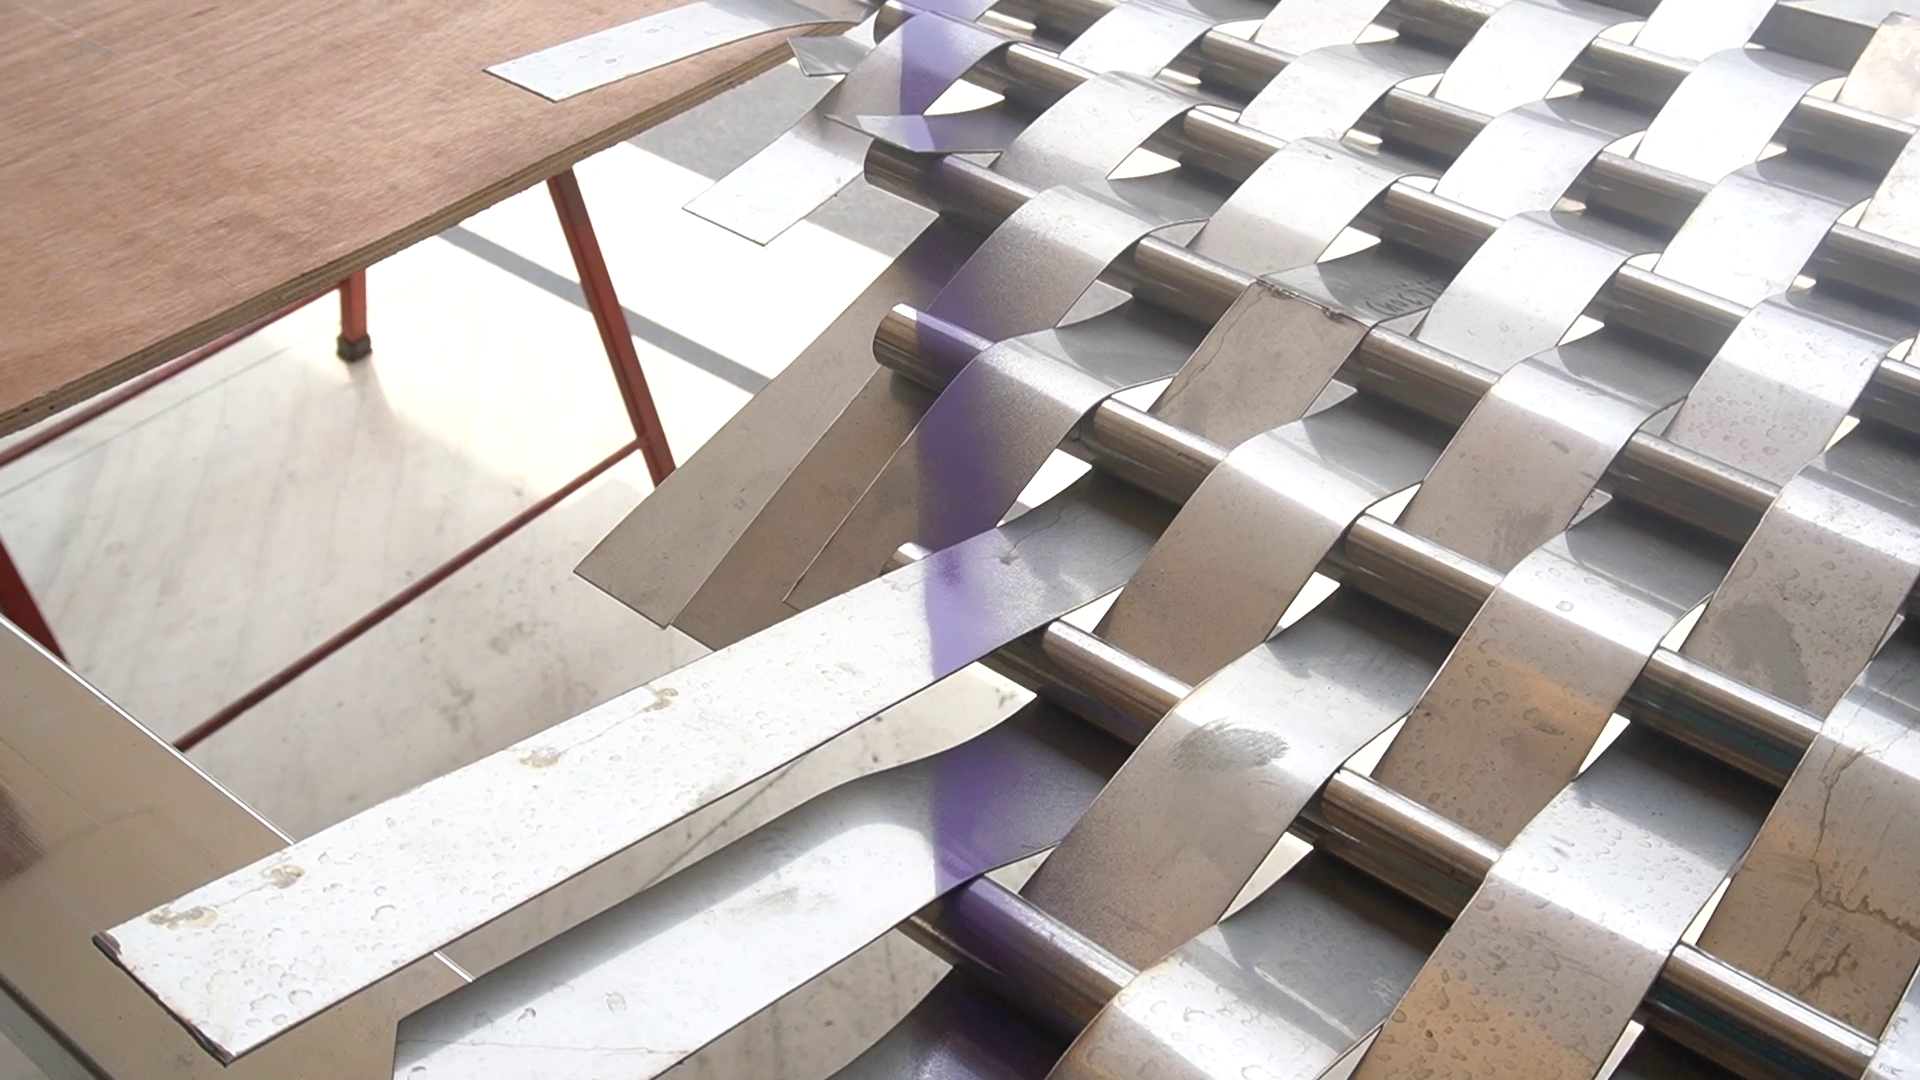
Once the pipes have been welded to the correct order it's time to weave stainless inside these pipes. You can definitely be able to decrease the distance up to some extent but I found that 3" is sufficient enough distance to provide you flexibility during this weaving process. All of these pieces having a width of 50 mm. Which I found to be good enough to give a nice weave design but I definitely planned to go with 75 mm wide strips, which are then gonna make a square type of pattern compared to the rectangular look. To cut down the strip I use an angle grinder and a line which I made by taking a reference from the factory edge. Once the one cut is made I mark the distance from the top edge and the bottom edge and then make a straight line with the help of a straight edge guide. With the angle grinder, the accuracy will definitely be going to have affected but if you want accurate results then you can go with a laser to cut down the strips. Once I have the material I started the weaving work.
To do the weaving first place the strip in front of the pipes. From here after placing it onto the top of the round pipe by keeping it slightly downward direction so that when you reach to the entry of next pipe enter from the downward side by keeping it in an upward direction so that when you reach the next one it will ease the work. Being using an 18 gauge sheet. It gives you enough room to bend the sheet in the desired position and also able to bend it back. You need to repeat this step until the pipes get covered and then push it forward. This process is much easier by keeping the other end opened otherwise weave it like a coat is not possible with metal sheets so thick. During this process, I apply a little amount of wd40 onto the strip and use some mallet blows to push it forward. Also, make sure to alter the pattern when inserted another strip. In my case, I kept the length a bit longer probably due to the longer length leftover piece they are cut out but one more thing is that I wasn't able to calculate out the entire length of the strip used by this pattern. Once the strips get inserted the pattern starts to taper out and those leftovers are sufficient enough to fulfill that space. During the weaving process, you can notice the amount of flexibility these pipes have but once that open-end gets closed its becomes completely rigid and robust. The weaving pattern is definitely not easy to do and often requires another person so that the strip is able to slide uniformly throughout the entire path other wise the magnitude may vary and using a rubber mallet is a lot more helpful in the earlier stage as the flexibility is very less in first few inches. One thing here to note down is that after every cutting process it's absolutely mandatory to deburr the edges. I am not mentioning that thing throughout the build but if you wanted to have nice weld joints then doing this process will provide you much more perfection in your work.
Cover the Remaining Half With a Sheet.


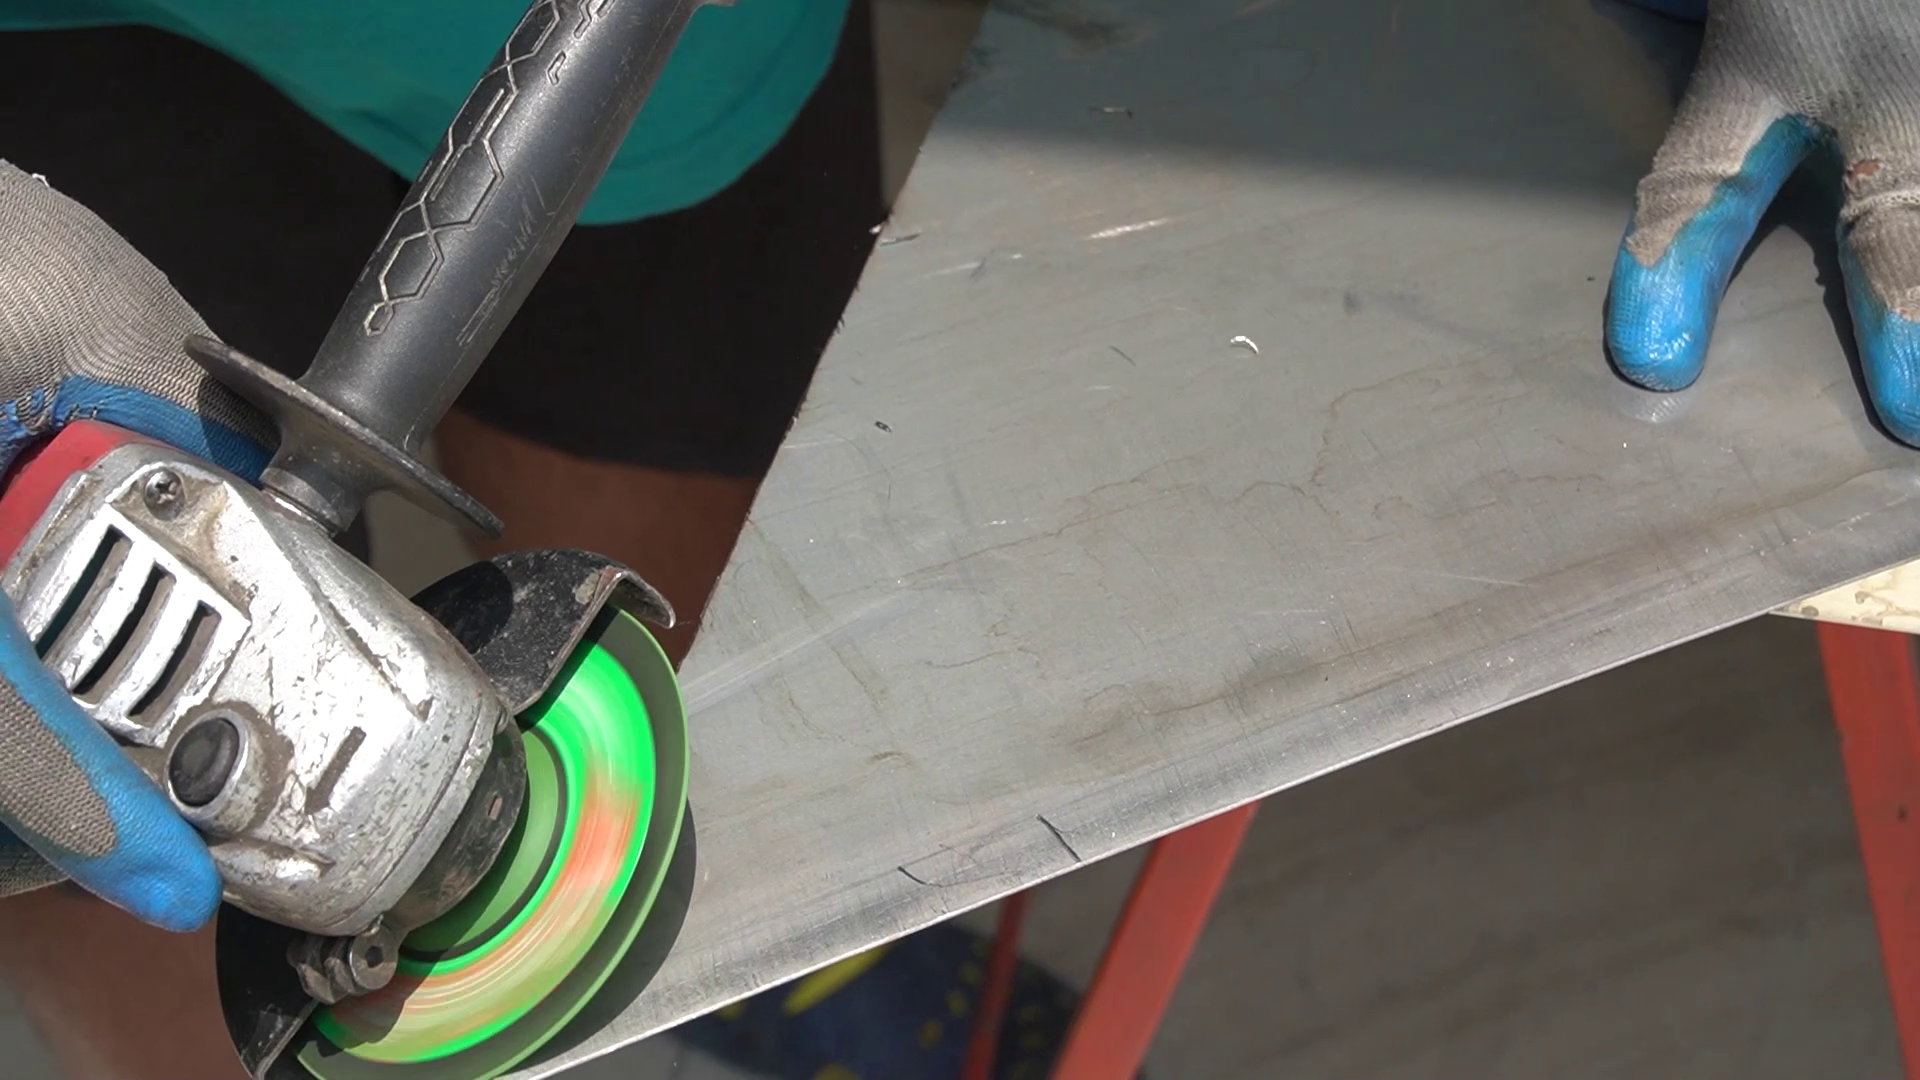





To cover the remaining half with the sheet first of all I draw the layout onto a piece of stainless steel sheet which is 18 gauge thickness. Then with the help of an angle grinder, I cut it into two halves. There are some burrs left on the sheet after the angel grinder which I need to remove with an angle grinder. The layout of the sheet has been already made into the fusion 360 and the cutout portion comes up exactly the same.
Once the sheets have been cut out, I placed them onto the gate because I have to cut down those strips to the exact shape of the sheet so that they all can fit together seamlessly. To do that I aligned the sheet onto the door and then spray paint over the surface of the uncovered area was then cut it out with the help of an angle grinder.
To lock down the sheet to its place I need 1" square pipe which has to be installed at an angle I took the measurements and then transfer them onto the pipe and from hereafter cut it with the angle grinder. Then I place it onto the top of the mainframe to check the exact angle. Although it's easy to do it by checking the length in the cad file, that also gives the exact length and angle required for this particular piece. The round pipes are definitely a tiny bit here and therefore I have to use wood and mallet to align them properly. By aligning them one by one I tack weld them. Some of these pieces also required clamping force to make them completely flush to the surface. Once they were locked down to their place I made a complete weld. I also need to cut down some extra strips left out on both sides.
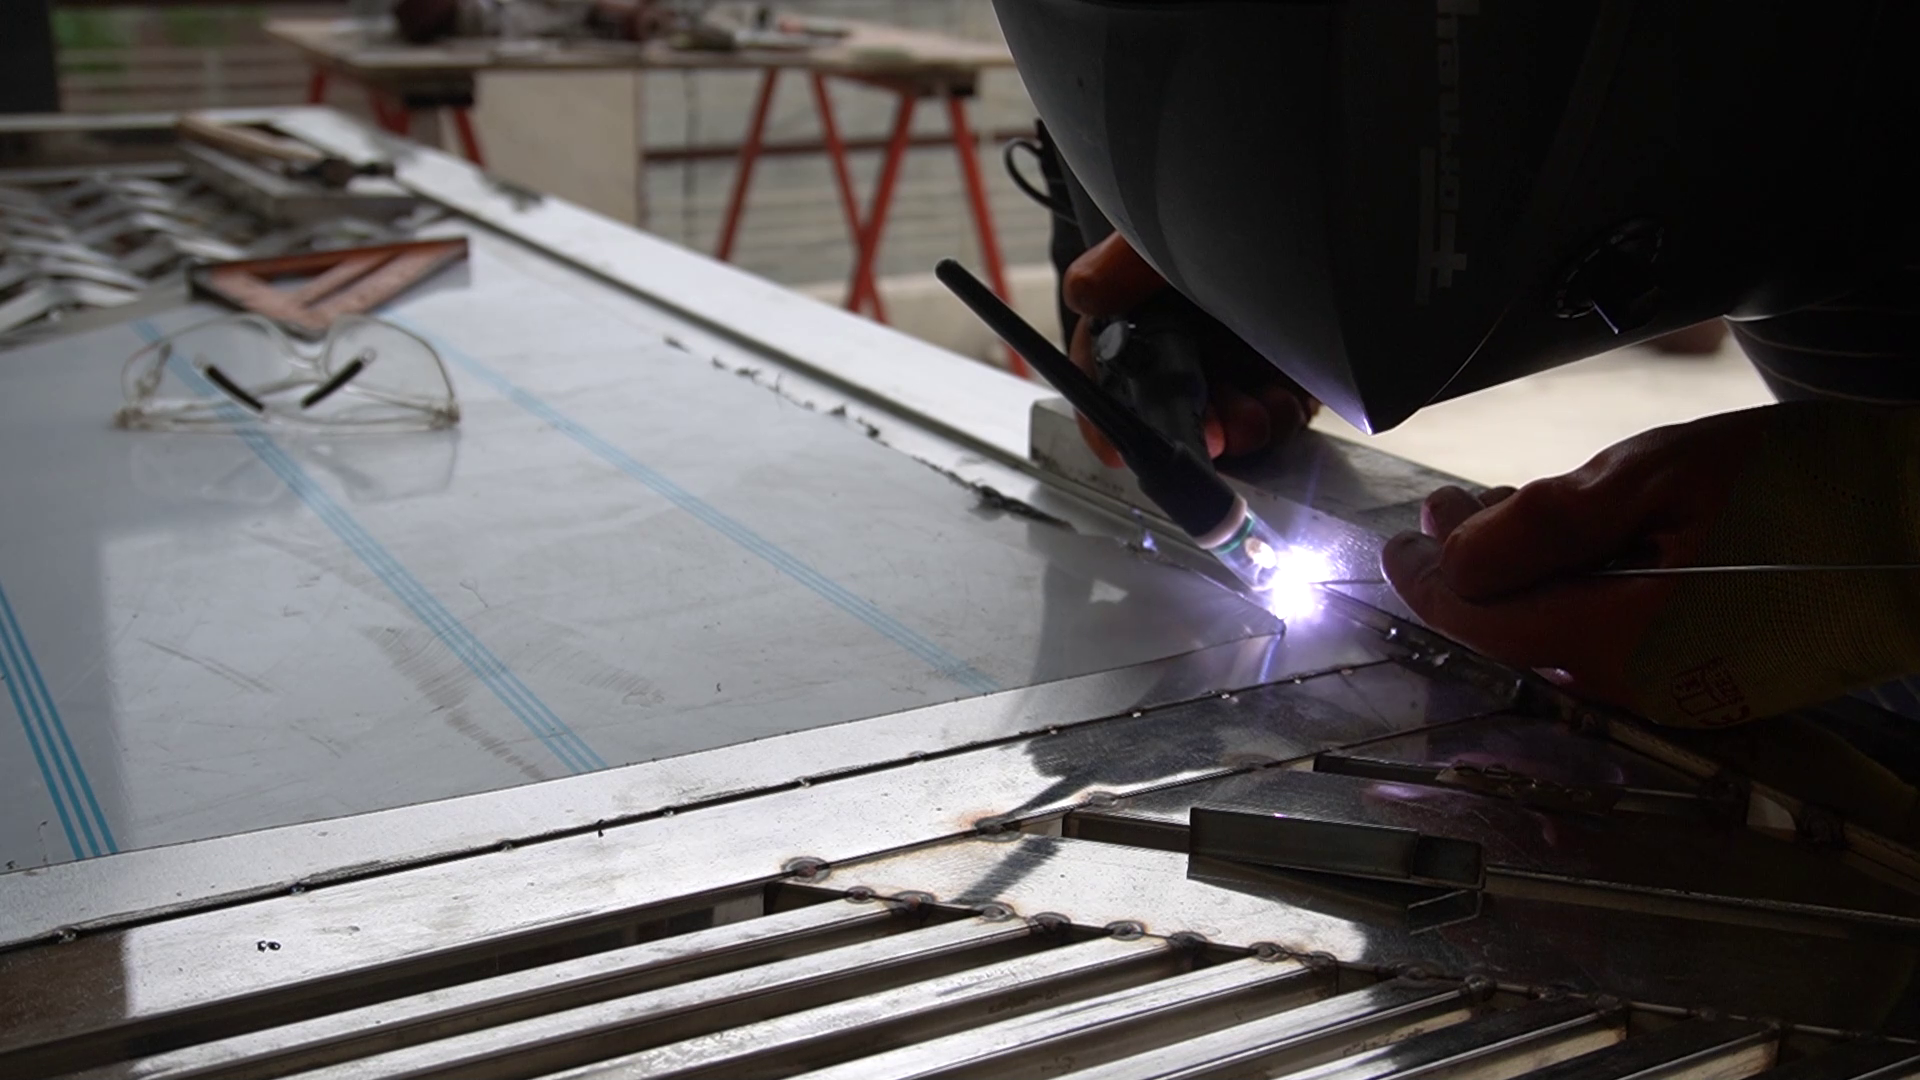
To prevent that big sheet from sagging inward I have to weld a small stretcher piece in the middle which also going to provide structural strength to the gate. Once the base frame for the sheet has been ready I place the sheet over the top align it carefully and then Tack weld it onto the gate. During this, it's absolutely mandatory to prevent heat buildup in the sheet. The plastic sheet around the boundary has been removed to prevent blackening and lock the sheet to its place.
Sheet for the Top Area


There is a design at the top in which the sheet has been installed and the process is again the same as the bottom ones. First, draw the layout and then cut it into equal halves, and then cut down the sheet. I also cut down the pipe with some spacer, so that it provides some structural stability to the sheet and made the welding easier to do.
Material Cutting and Welding for the Box Design for the Top.


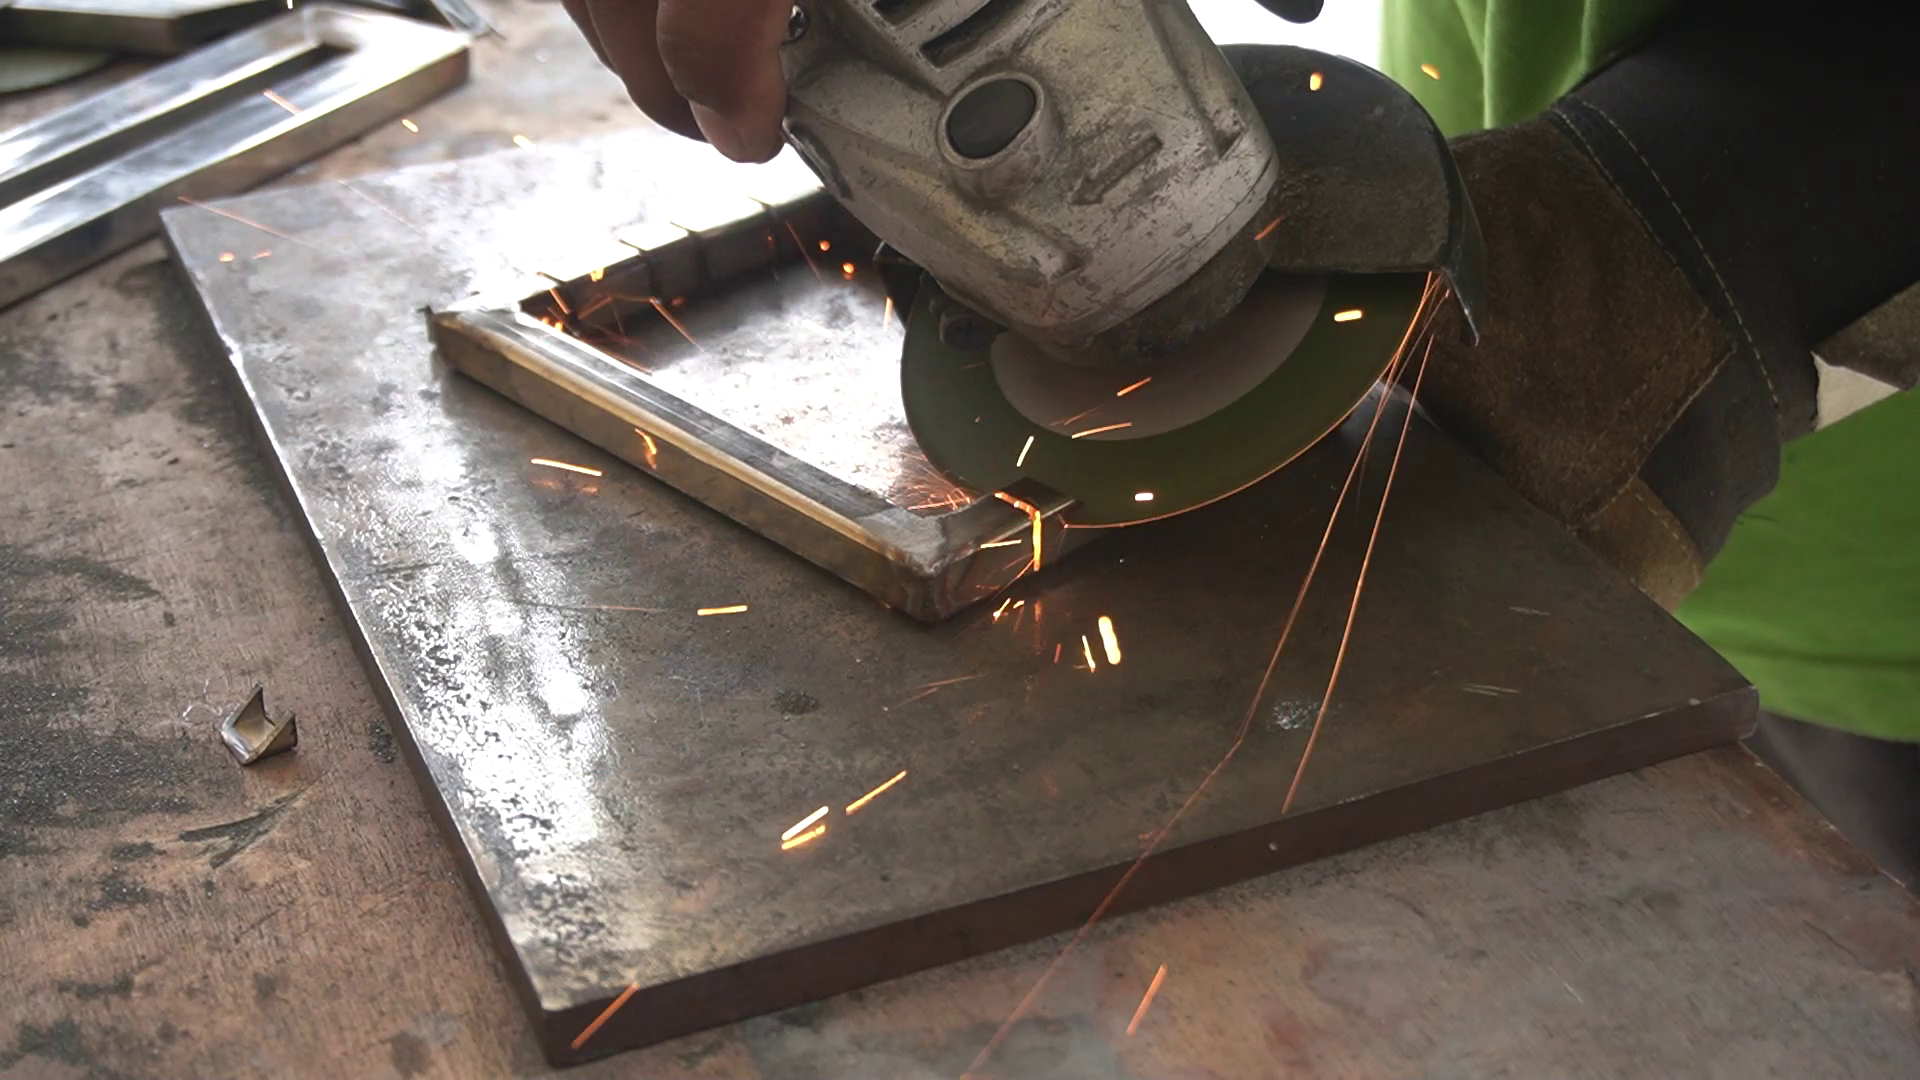


The top area has a slightly different design and the inspiration took from Japanese screens and I wanted that in stainless steel. There are two different dimensions of pipe with which I made two different rectangles. Since there is repeated cut in the design that why I made a fixture so that I am able to repeat the process. I cut down all the pieces and deburr them and start them for the welding.
I didn't have a welding table and since this is a small job I placed it onto the metal plate and then tack weld the pieces together to make a rectangle. Once the tack weld is made I completed them with full weld. For the next process, these needed to be completely flat so I decided to do some cleaning work with a 120 grit flap disk.
For the next step, I need to fuse them together, and to do that I place them over one another by keeping them in the center then I mark the line and cut it with an angle grinder so that they can fit inside one another. From here after I clamped them onto the plate tack weld first and then made a complete weld. This is definitely a tedious job because in this particular design there are a lot of cuts and grinding and this has to be repeated multiple times. I didn't show the grinding process but it's necessary to do them first because later on in the process once these pieces get joined it's difficult to grind all of them.
Installation on the Top Area.


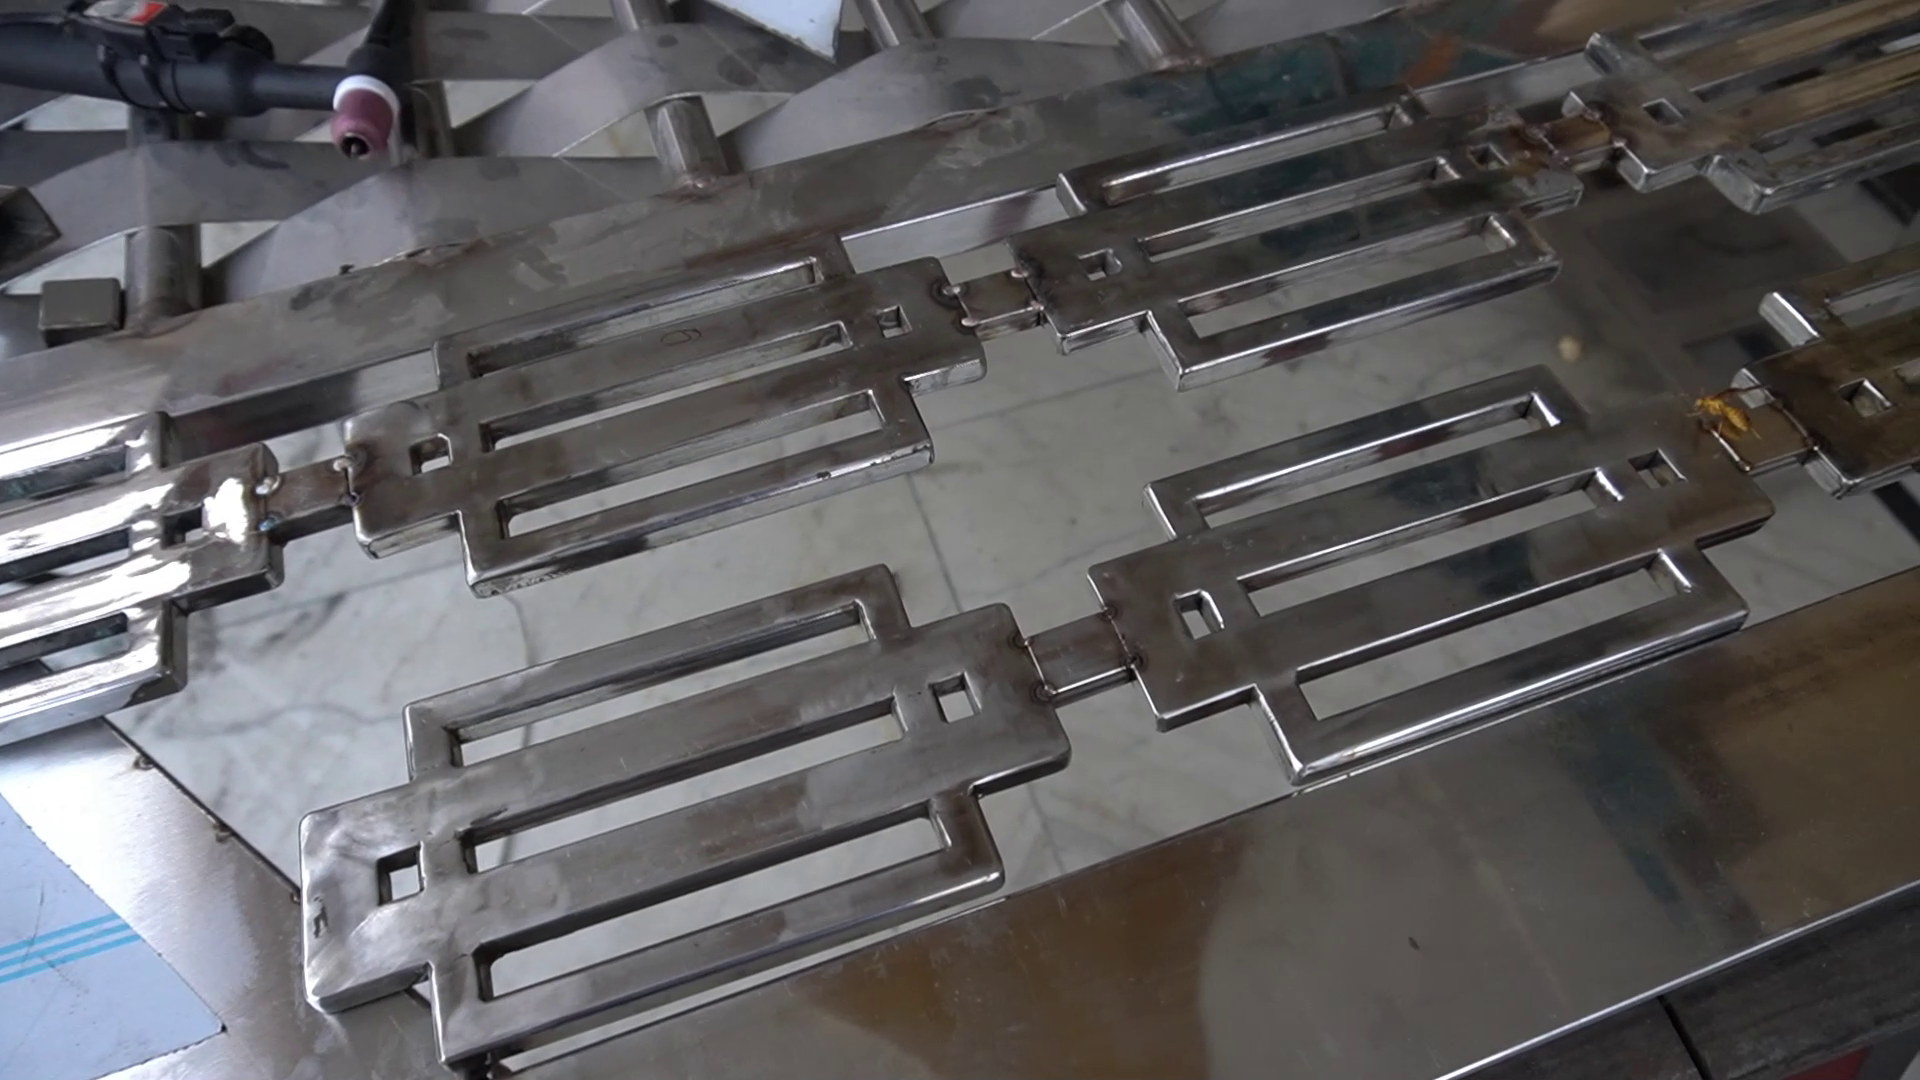


To install these rectangular pieces onto the top I need to first join them together. I cut down some spacers place them over the flat surface and then clamped them securely so that I am able to tack weld them. Then I flip the entire piece and tack weld on the backside. After that I placed it onto the gate and align it. It shows that how much material I need to cut out to make it fit in the area. I marked that line and cut it with an angle grinder. Once it's set I made a complete weld. To increase the strength of this design I need to weld a small 1⁄2" square section. To keep them in the same plane I need to clamp them down and then start the weld and this technique works really well.
Full Weld
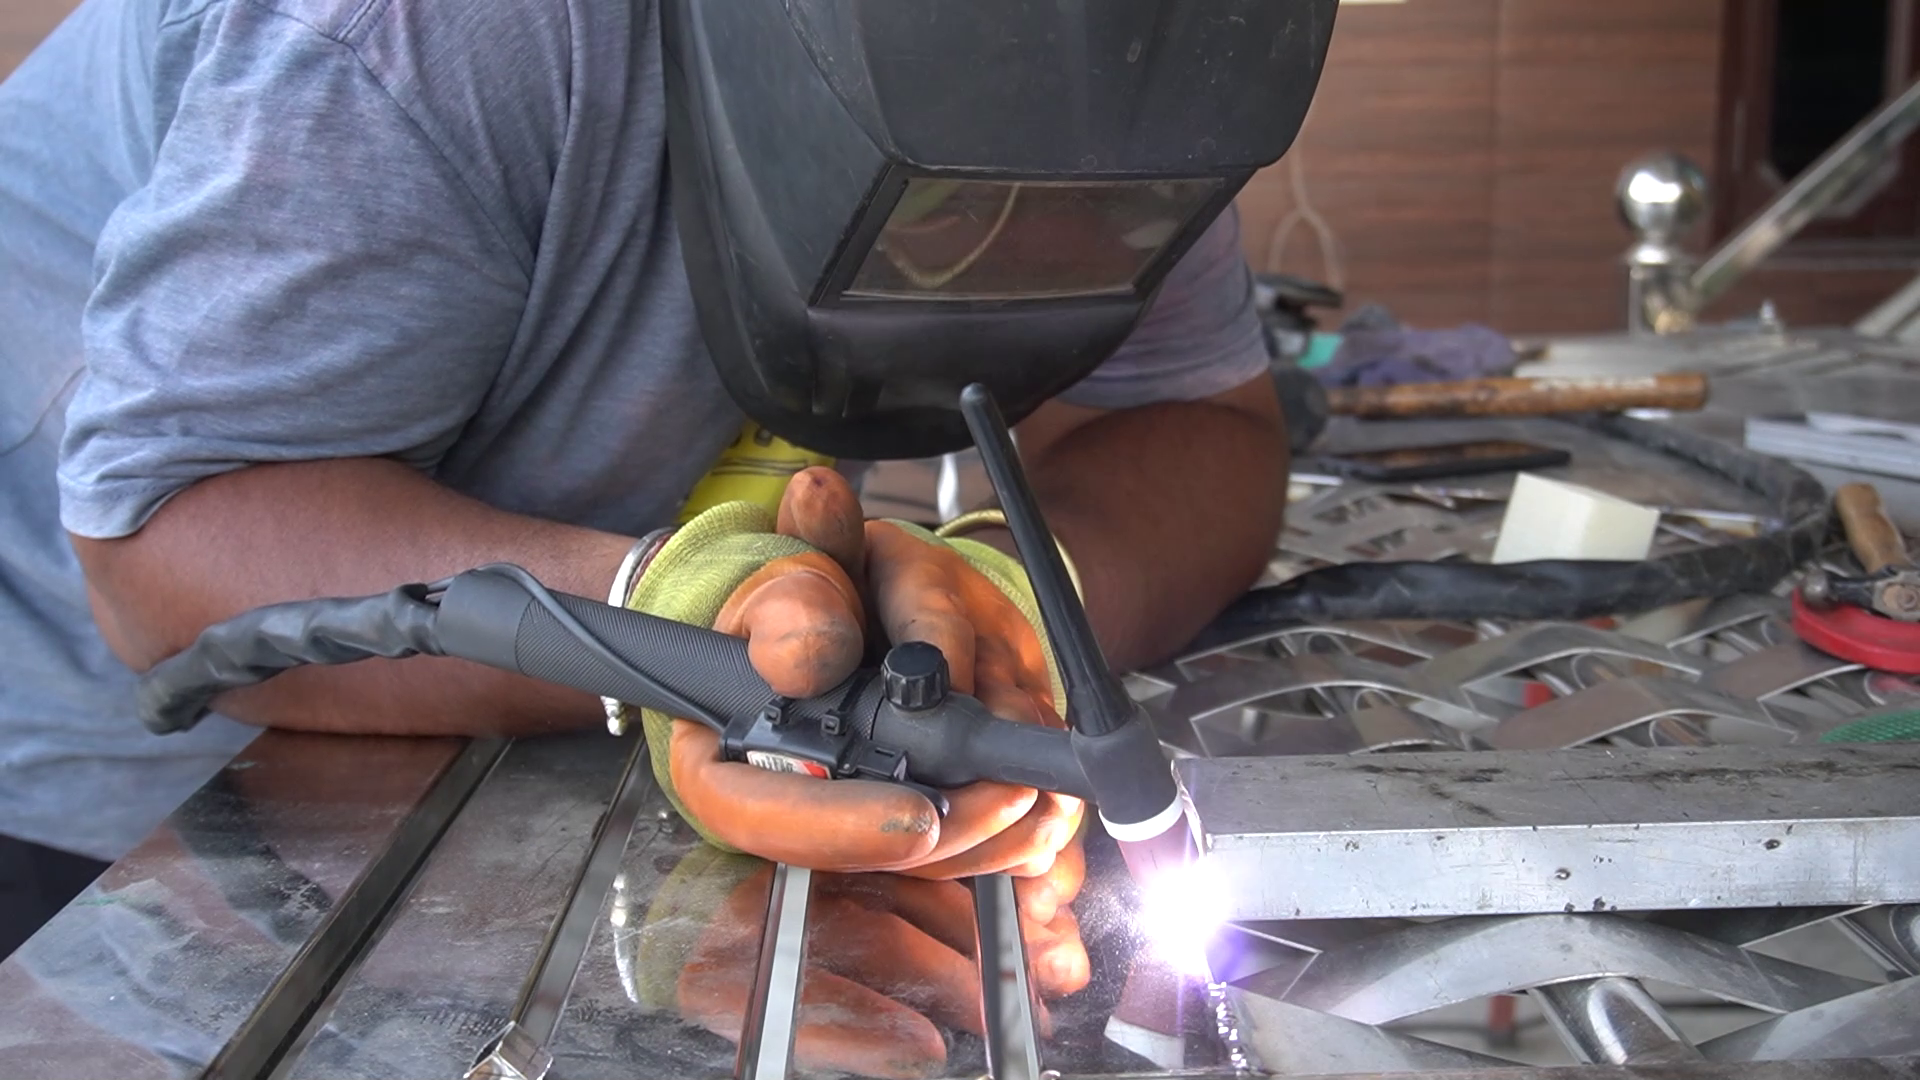


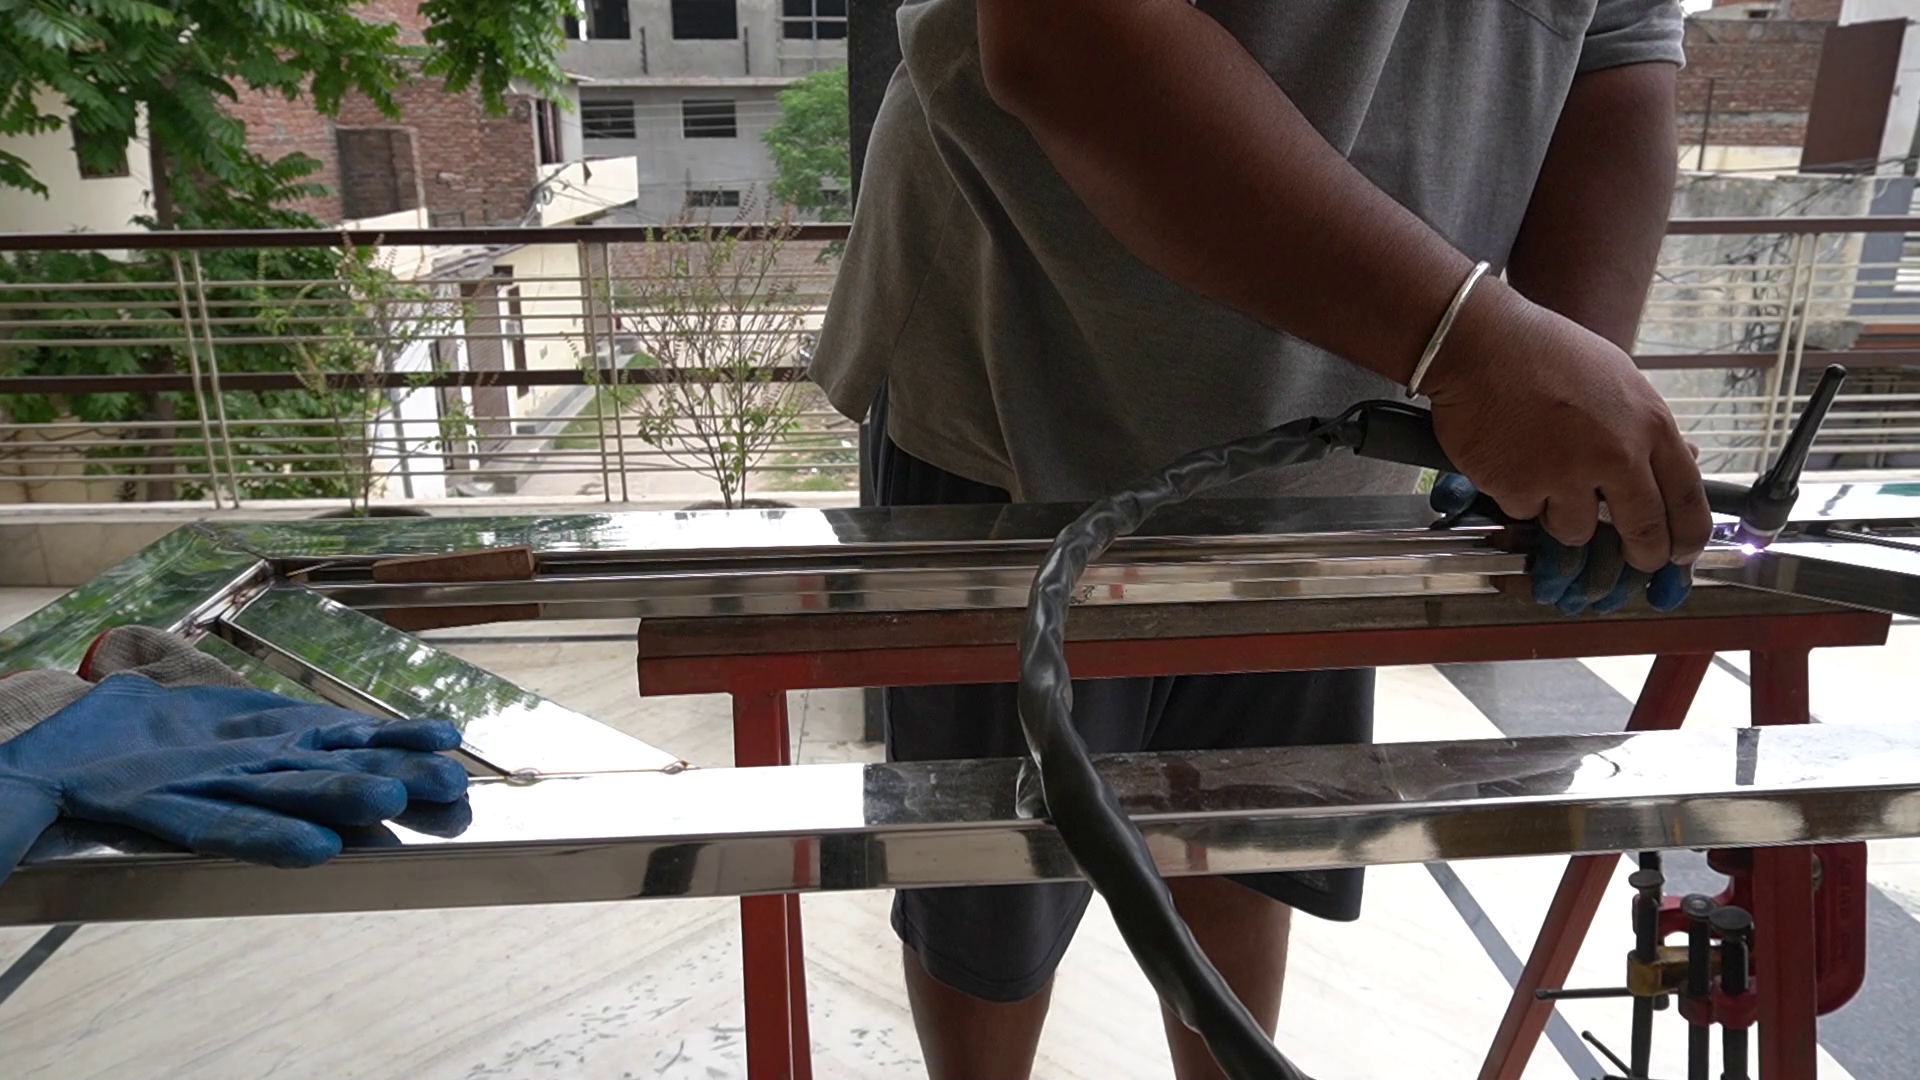
Once the basic tracking work is finished I start the full weld. On the sheet area, I use fusion welding without any filler rod with pulse welding feature into the machine. That leads to the success of welding sheets to the mainframe. There are many places where it required a fillet weld with a filler rod. During all this continuous weld I use 2 blocks of aluminium and one aluminium plate which act as a heat sink and helps to pull out the heat from the stainless and prevent the warping to a greater extent. I am still an amateur in tig welding so it's good to follow those people which I mentioned earlier.
Cleanup the Welds
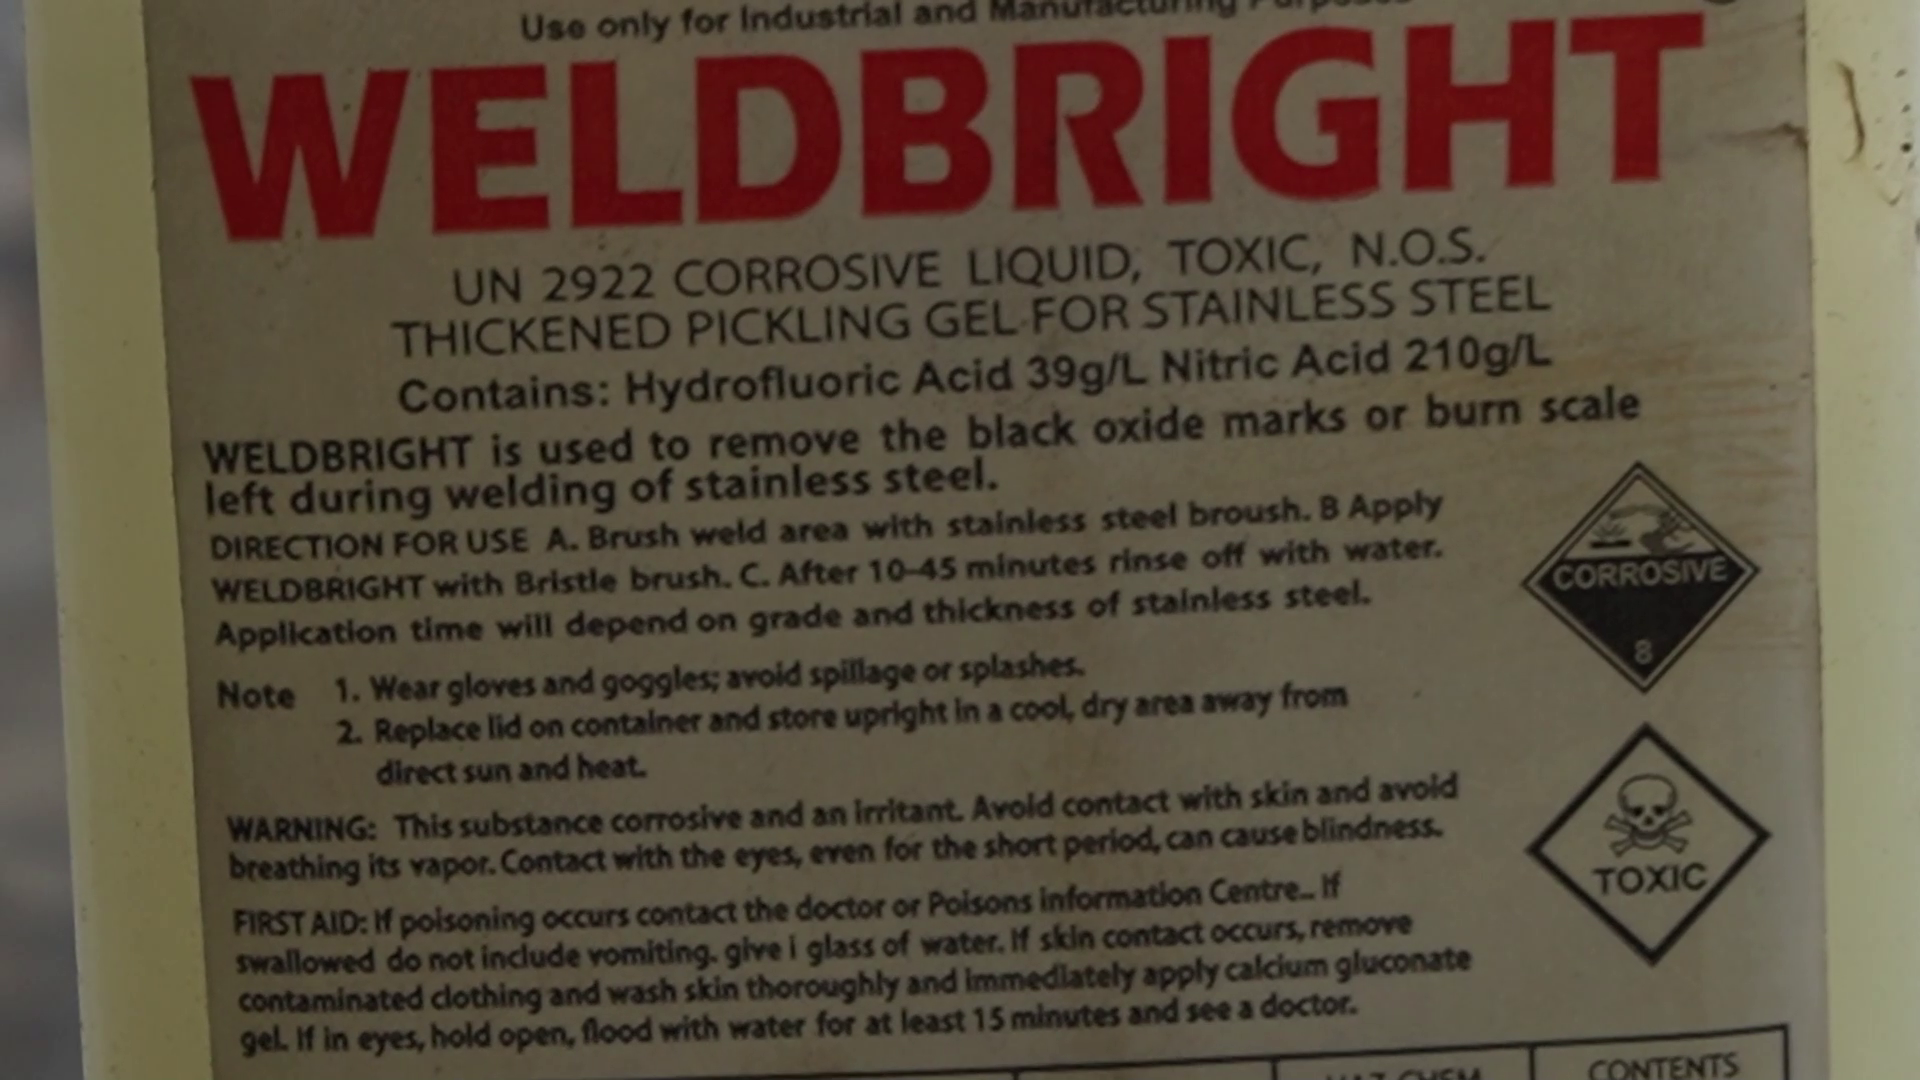


Once the major welding work is finished it's time to do some cleaning and for that, I used a pickling agent and applied it onto the surface of the welded area, and left it for 20 minutes. The pickling agent did a phenomenal job onto the sheet area where it's very difficult foR me to grind down. From thereafter rinse the entire gate with water and allow it to dry and start my preparation for the grinding and polishing work.
Grinding and Polishing


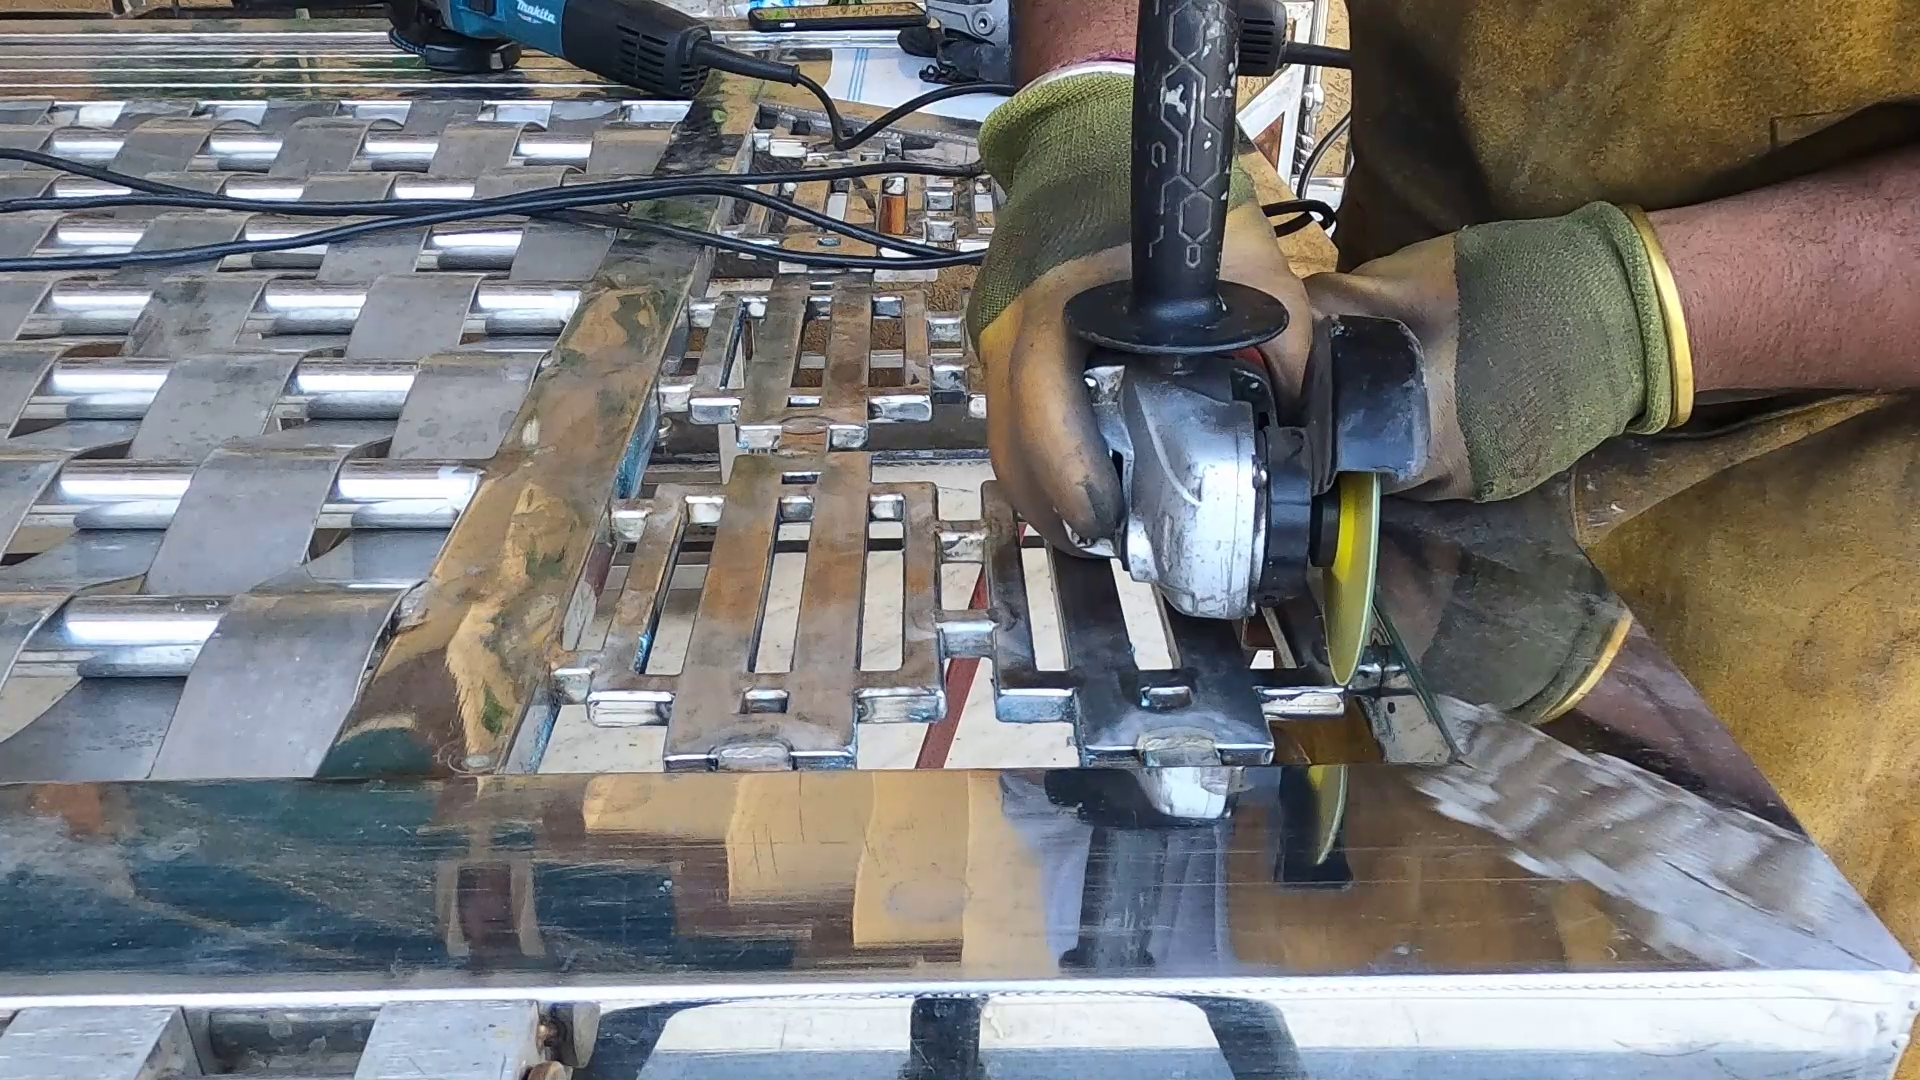


Once the cleaning and drying are done I started the polishing process and there are 8 different types of flap disk, scotch Brite wheel, and buffing wheel and paste used to accomplish this big task. The total polishing work took 9 days of intense work to bring it to the final stage. Usually, flap disks need to be used in an almost flat position but for my build, I used them in a vertical position. Definitely, it's not ideal for flap wheel and it will deteriorate a lot more faster but for me the situation I have and also to prevent the area around that weld from grinding using it vertically is the only option. And it worked very well. For the sheet area, I used a flat stock of metal bar and used it as a fence, and use the grinder in a vertical position to grind out the excess weld. For the tapered sheet area, I used my new die grinder to make it smooth. Since it's a brush finish stainless that's why I need to kept those lines to follow. It's indeed a very slow and tedious job because there is no chance of a mistake and if somehow the bit slipped it's going to made huge damage to the overall aesthetic.
Door Hinges and Other Anchoring Rods.

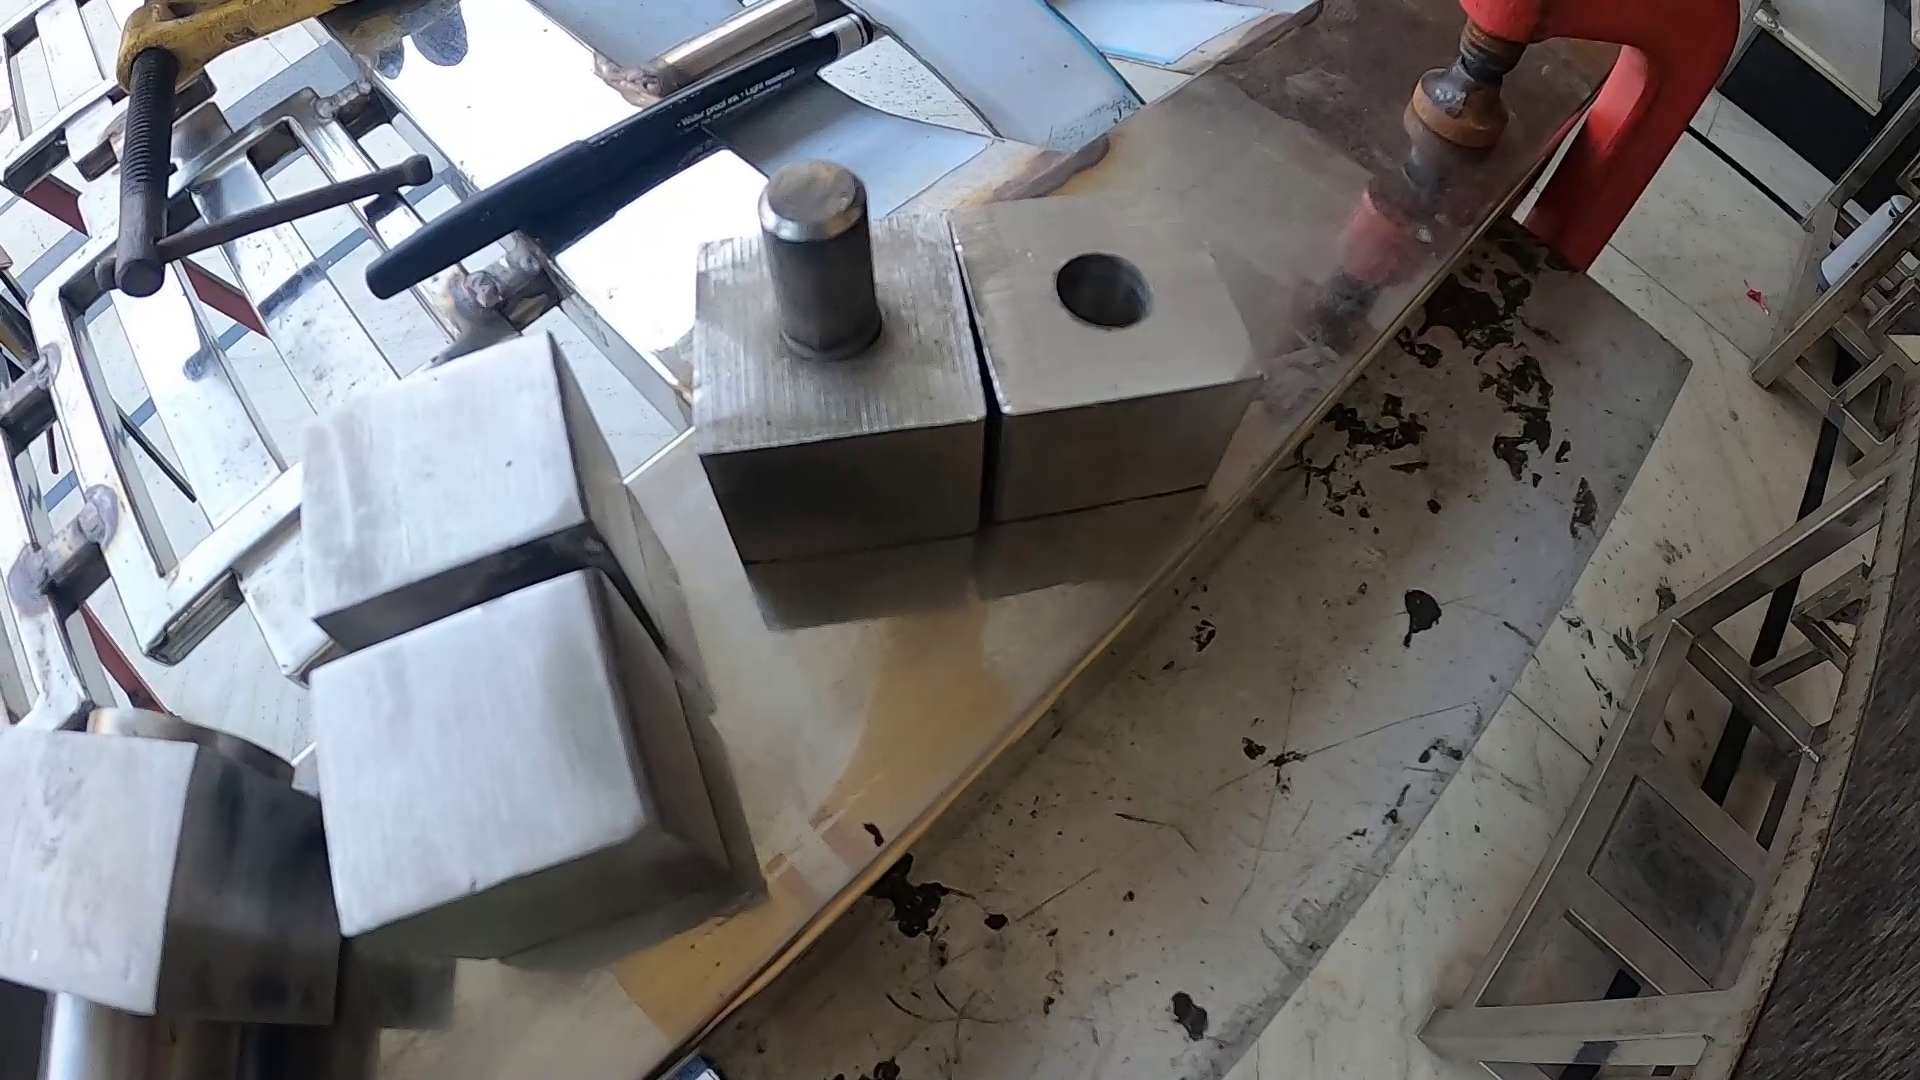
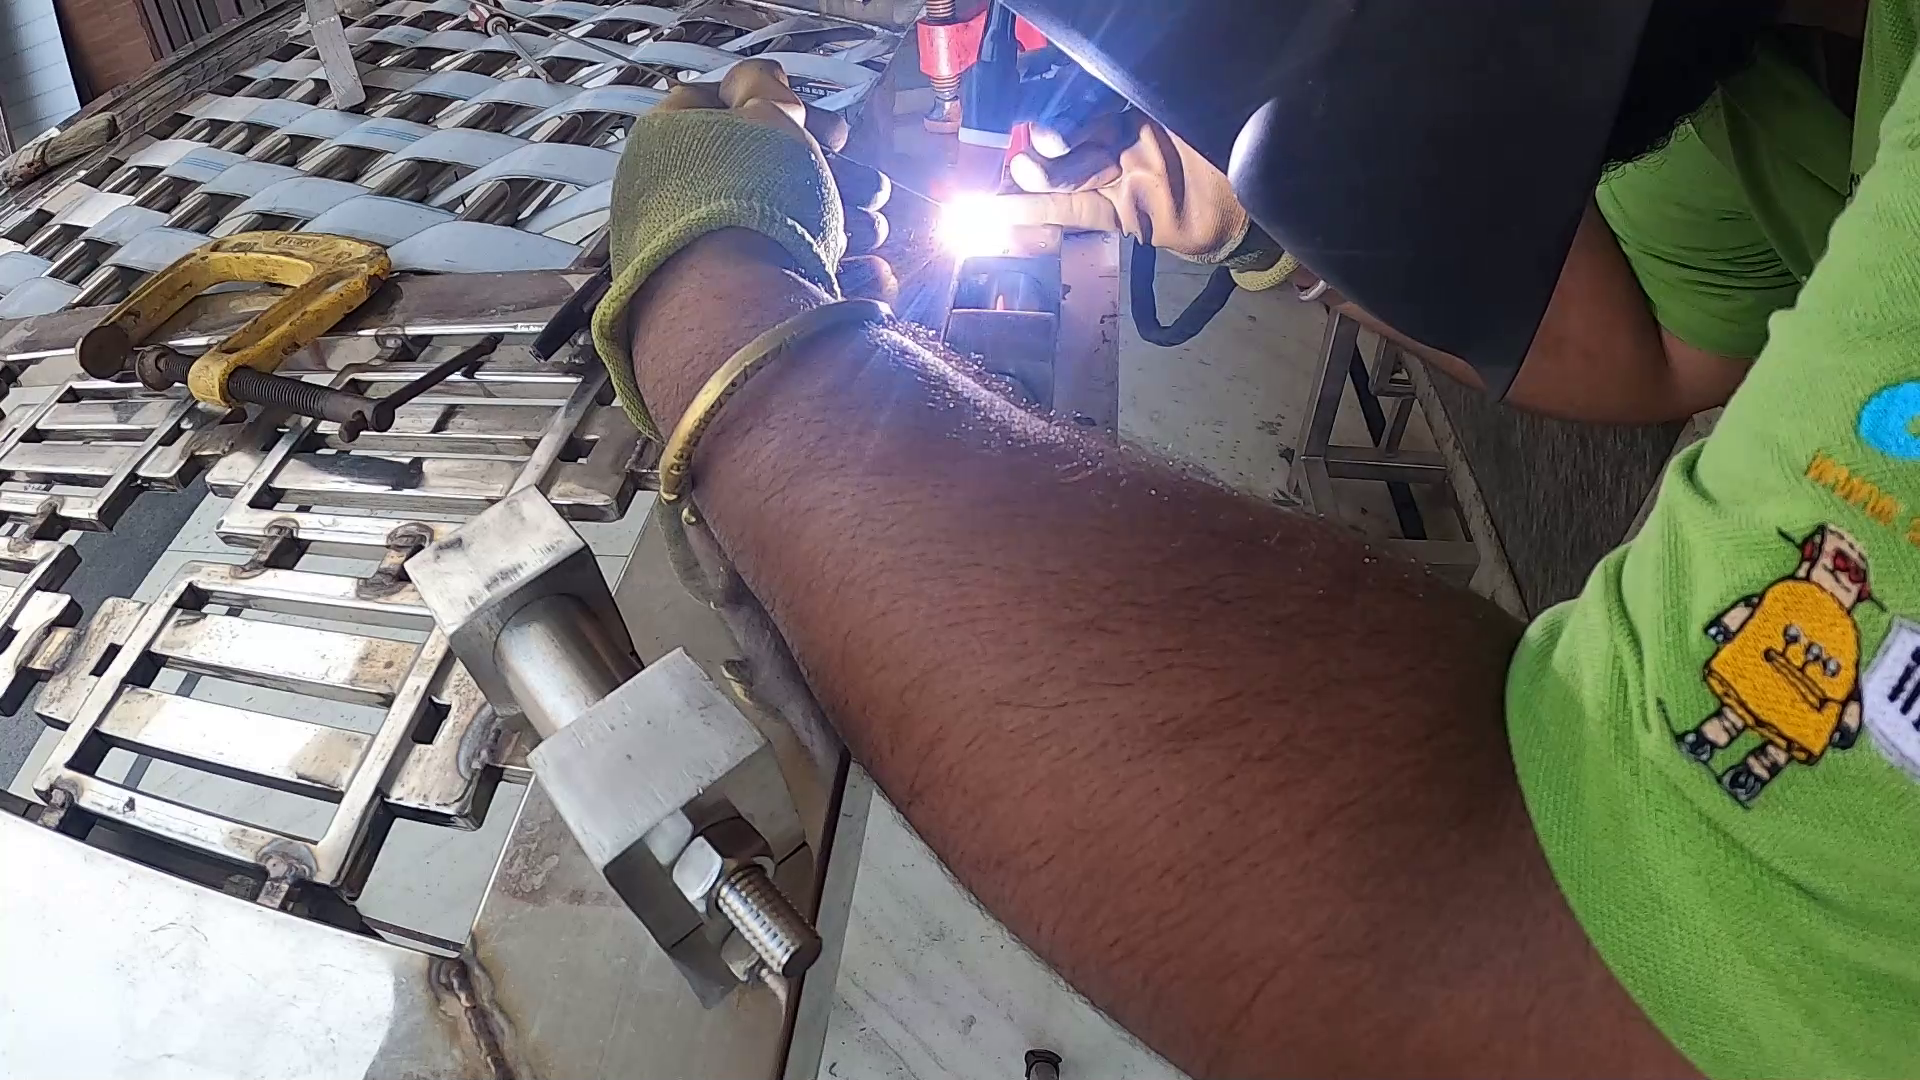
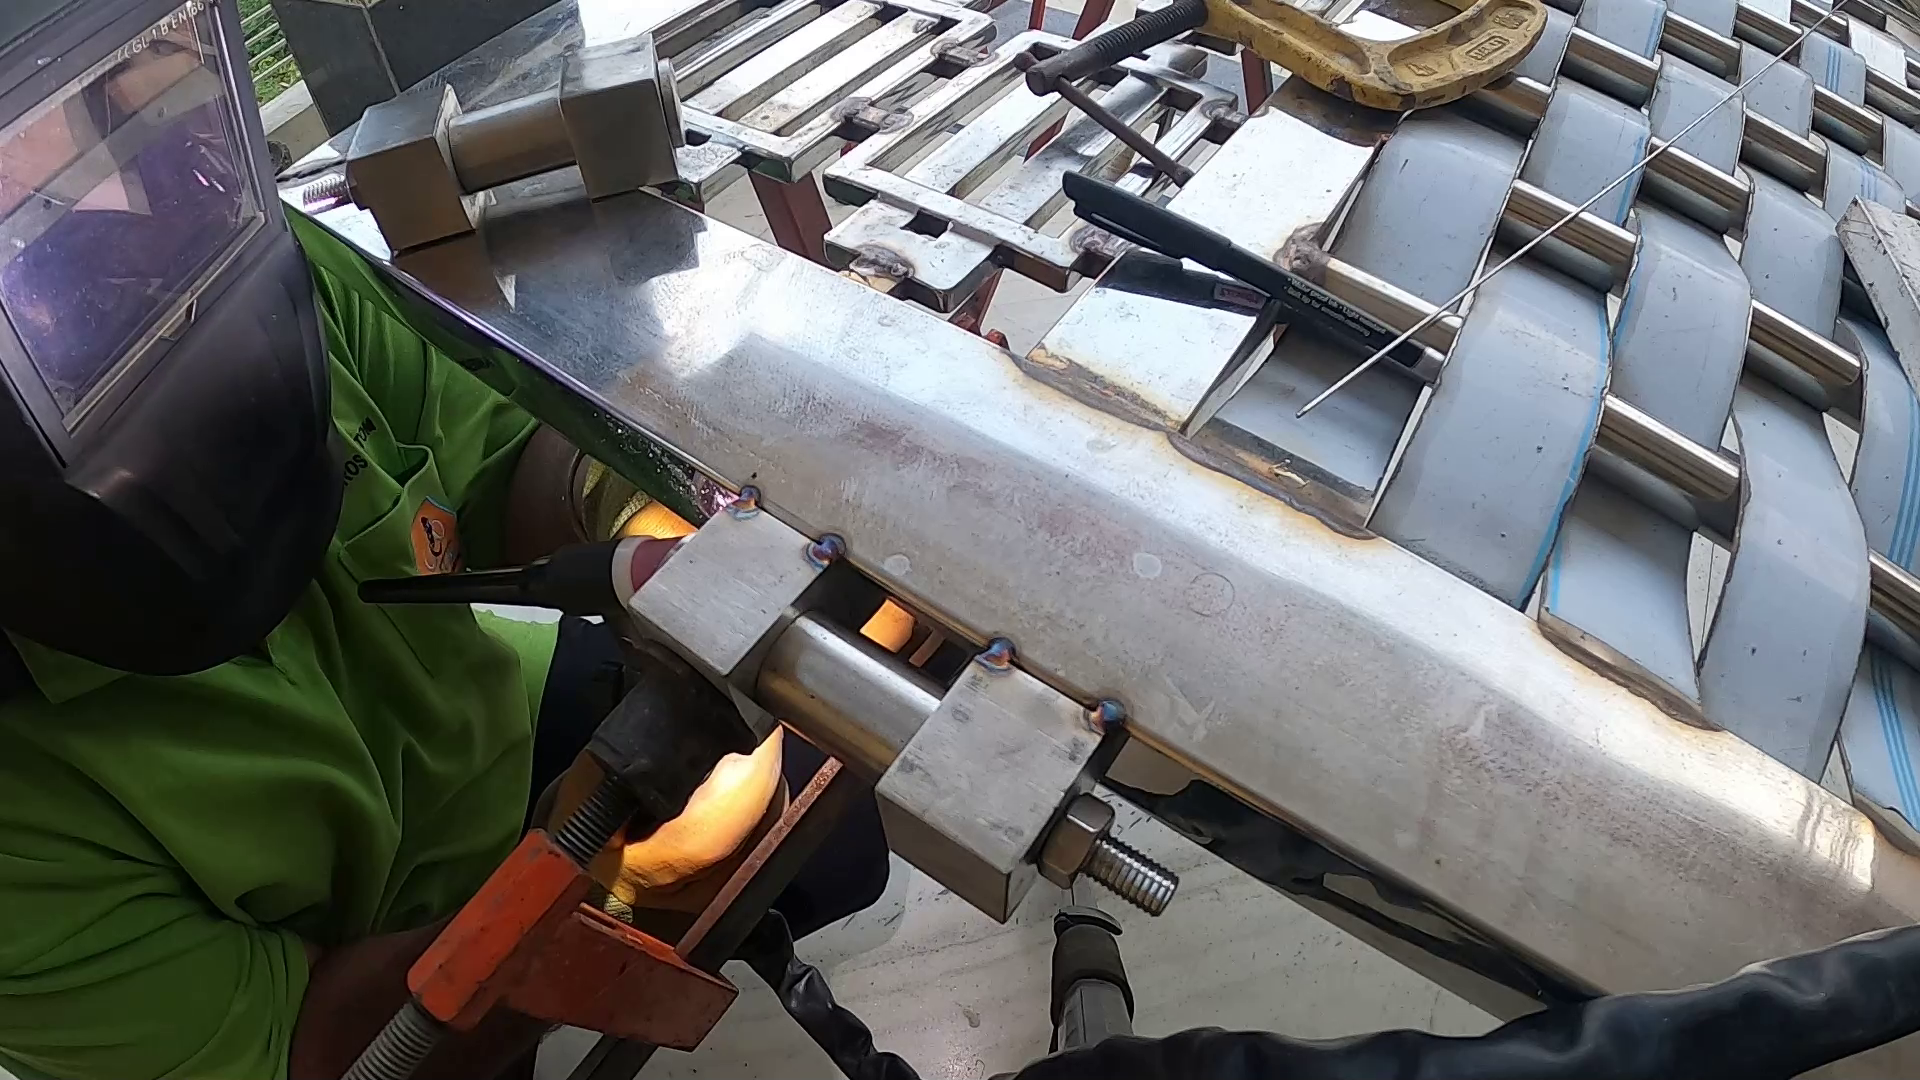
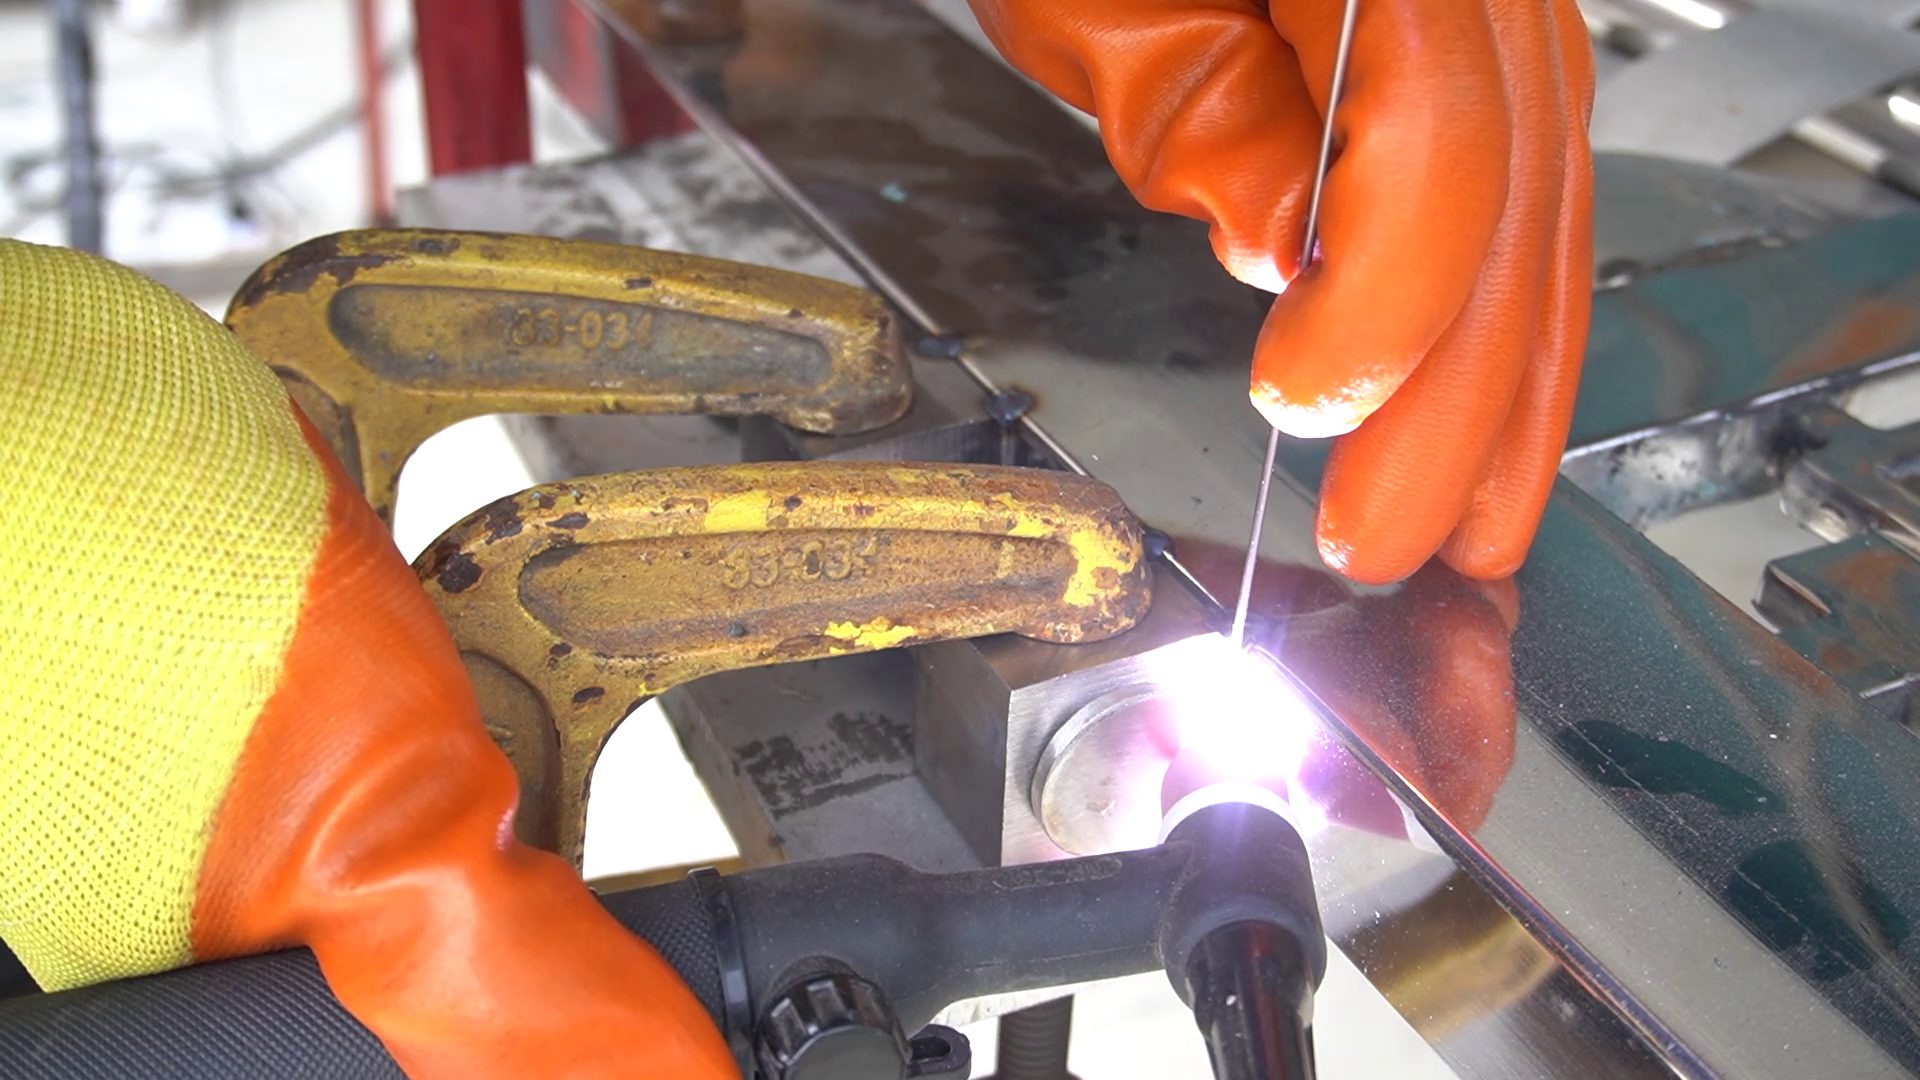
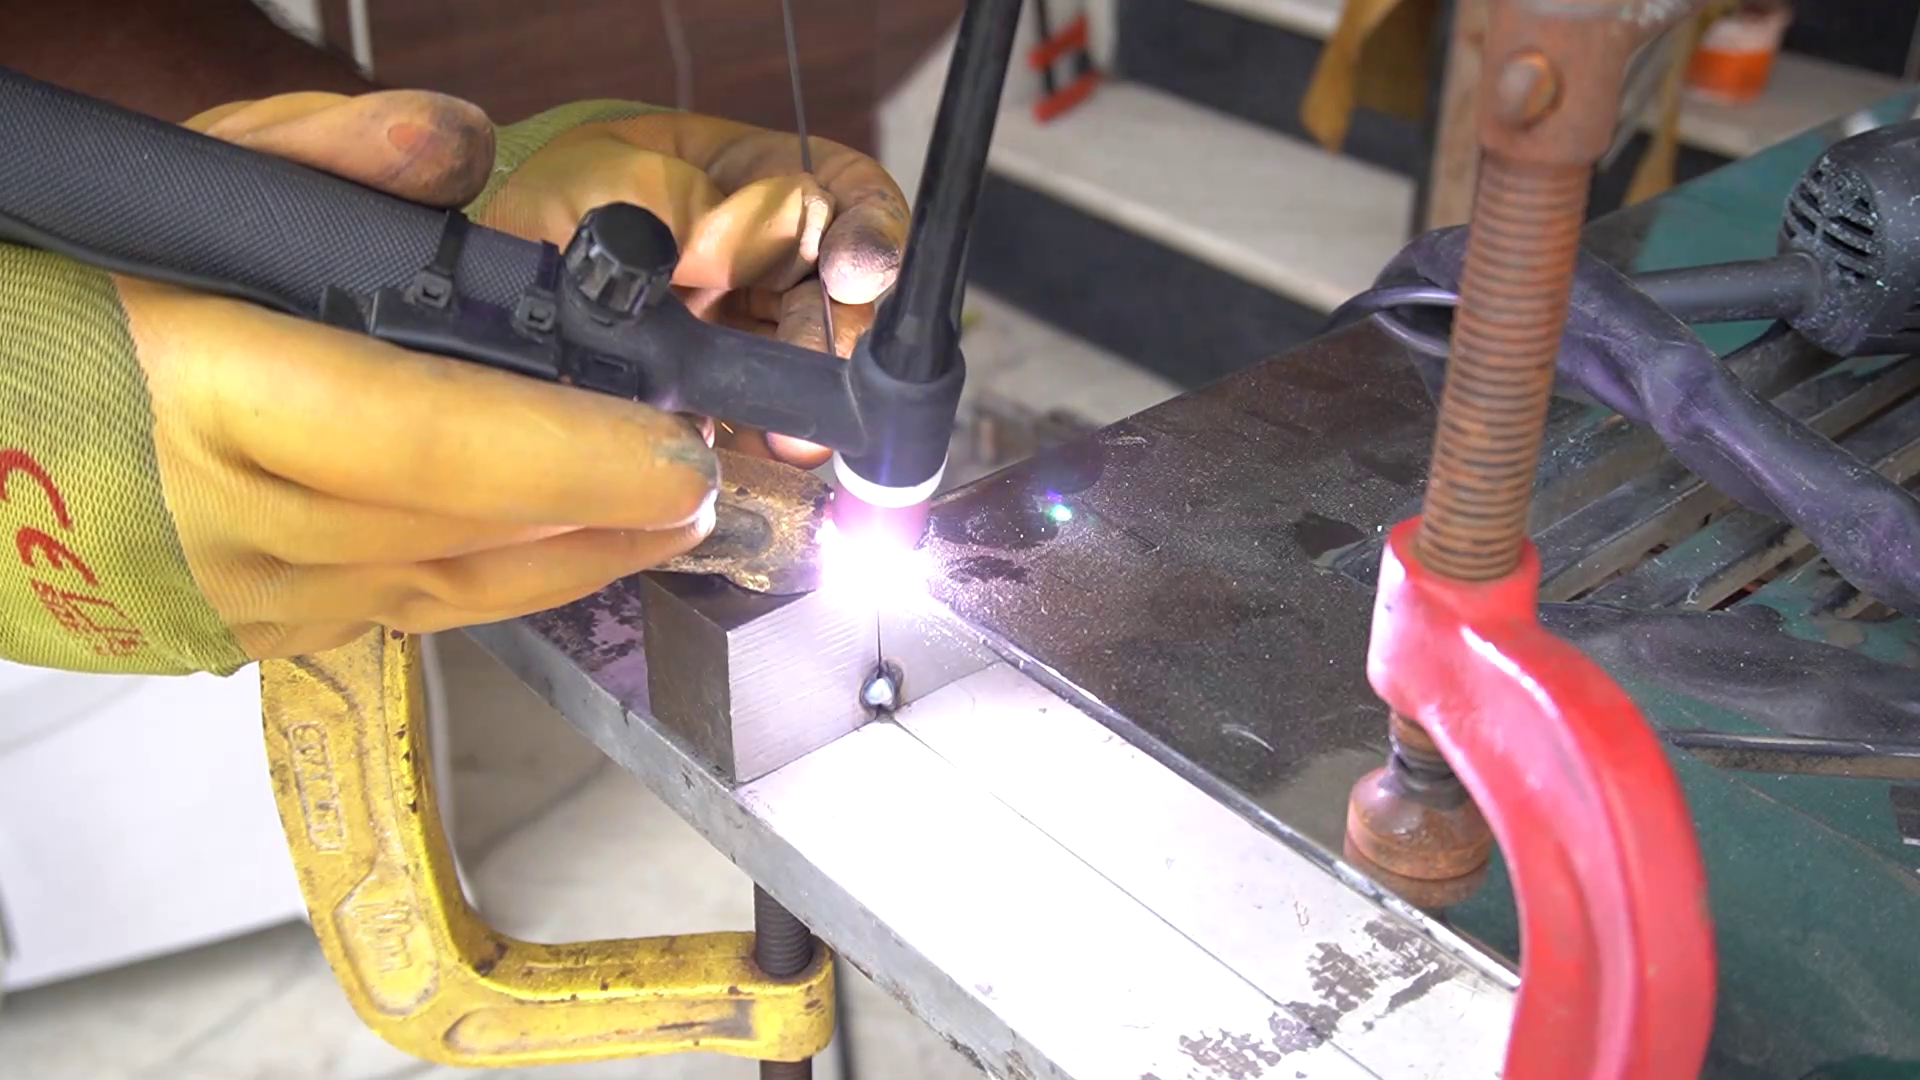

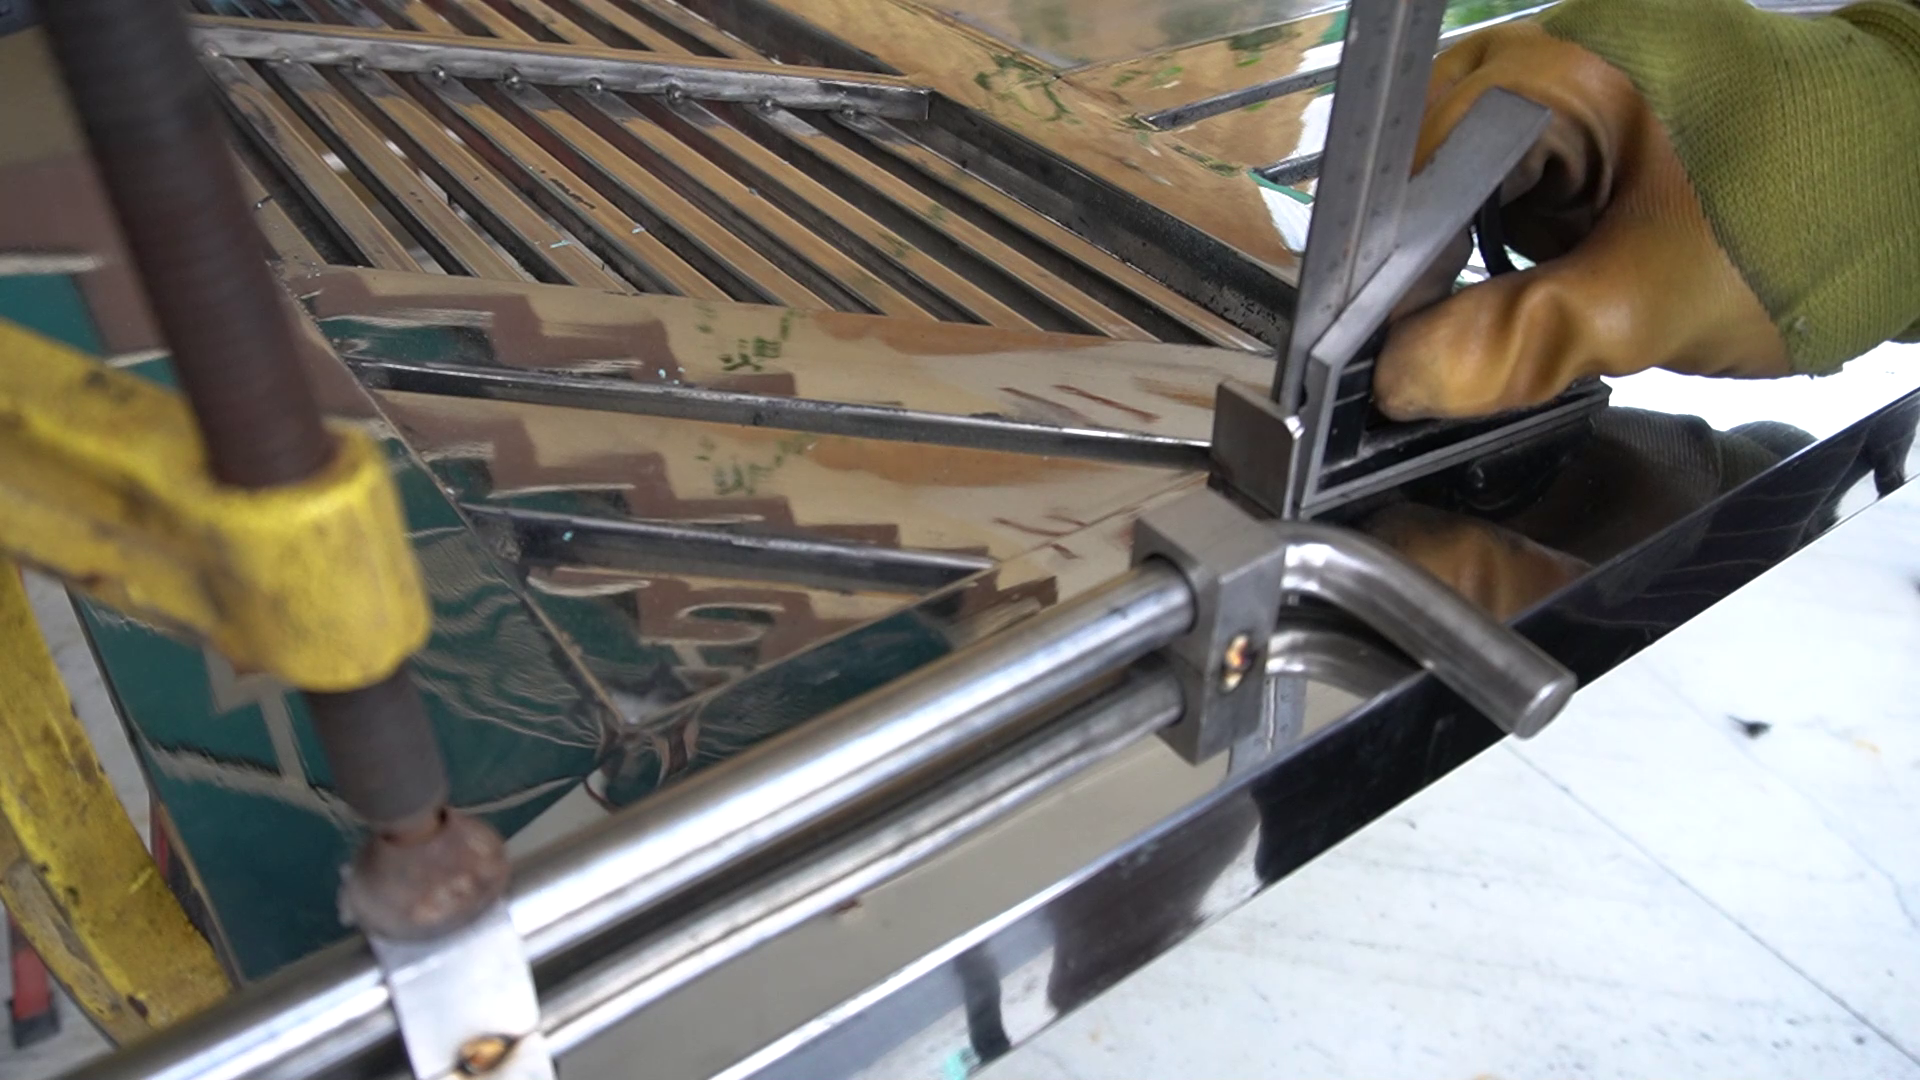


To hang the door wee need to weld hinges and for this particular gate, both the top and bottom hinges are different because it's a heavy job and welding wall-mounted hinges on both sides is not a good idea. I clamped a flat aluminum stock to the bottom and then made a tack weld. Keeping them straight and having a sufficient gap is absolutely necessary to have effective movement of the gate. There are some ground anchors welded to the bottom of the gate to lock the door more rigidly to the ground when no one is in the shop. There are two round handles mounted to either side of the gate with a small bearing inside it which gives a smooth rotation while locking the door. Along with these things a door lock is also installed which can be used from both sides. It actually locks the angle to its place and also prevents door movement.
Making the Door Handles


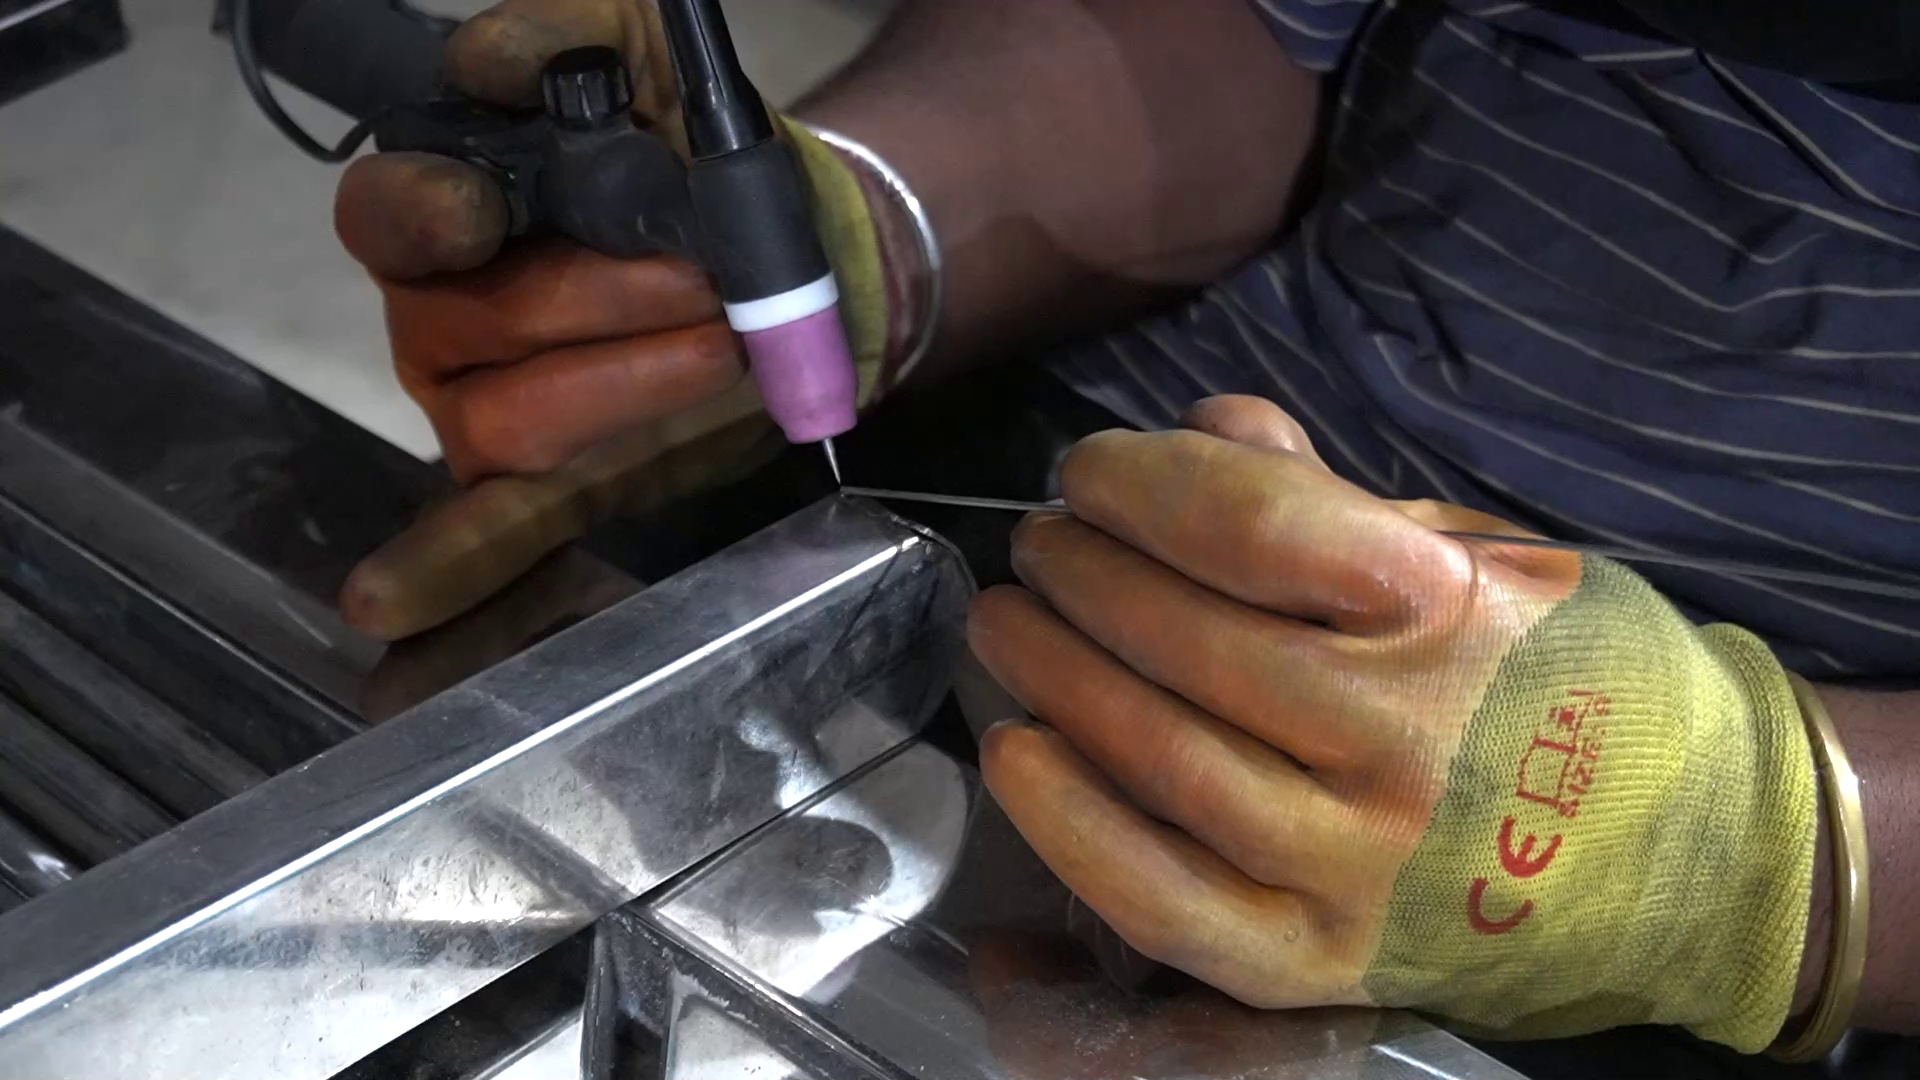


From the start of this build, I wanted to make my own door handles. The plan was to make it more difficult but I gave up that plan and went with this simple design which I found after the installation to be more elegant. I used a 1"X2" rectangular profile and made a fillet onto both the ends and welded around pipe at the back to lift it slightly upward. The finishing process is almost the same as what I did for the main door. Mounting onto the door is very simple just mark the center point and space it equally apart from both the ends and weld it to its place.
Final Shots

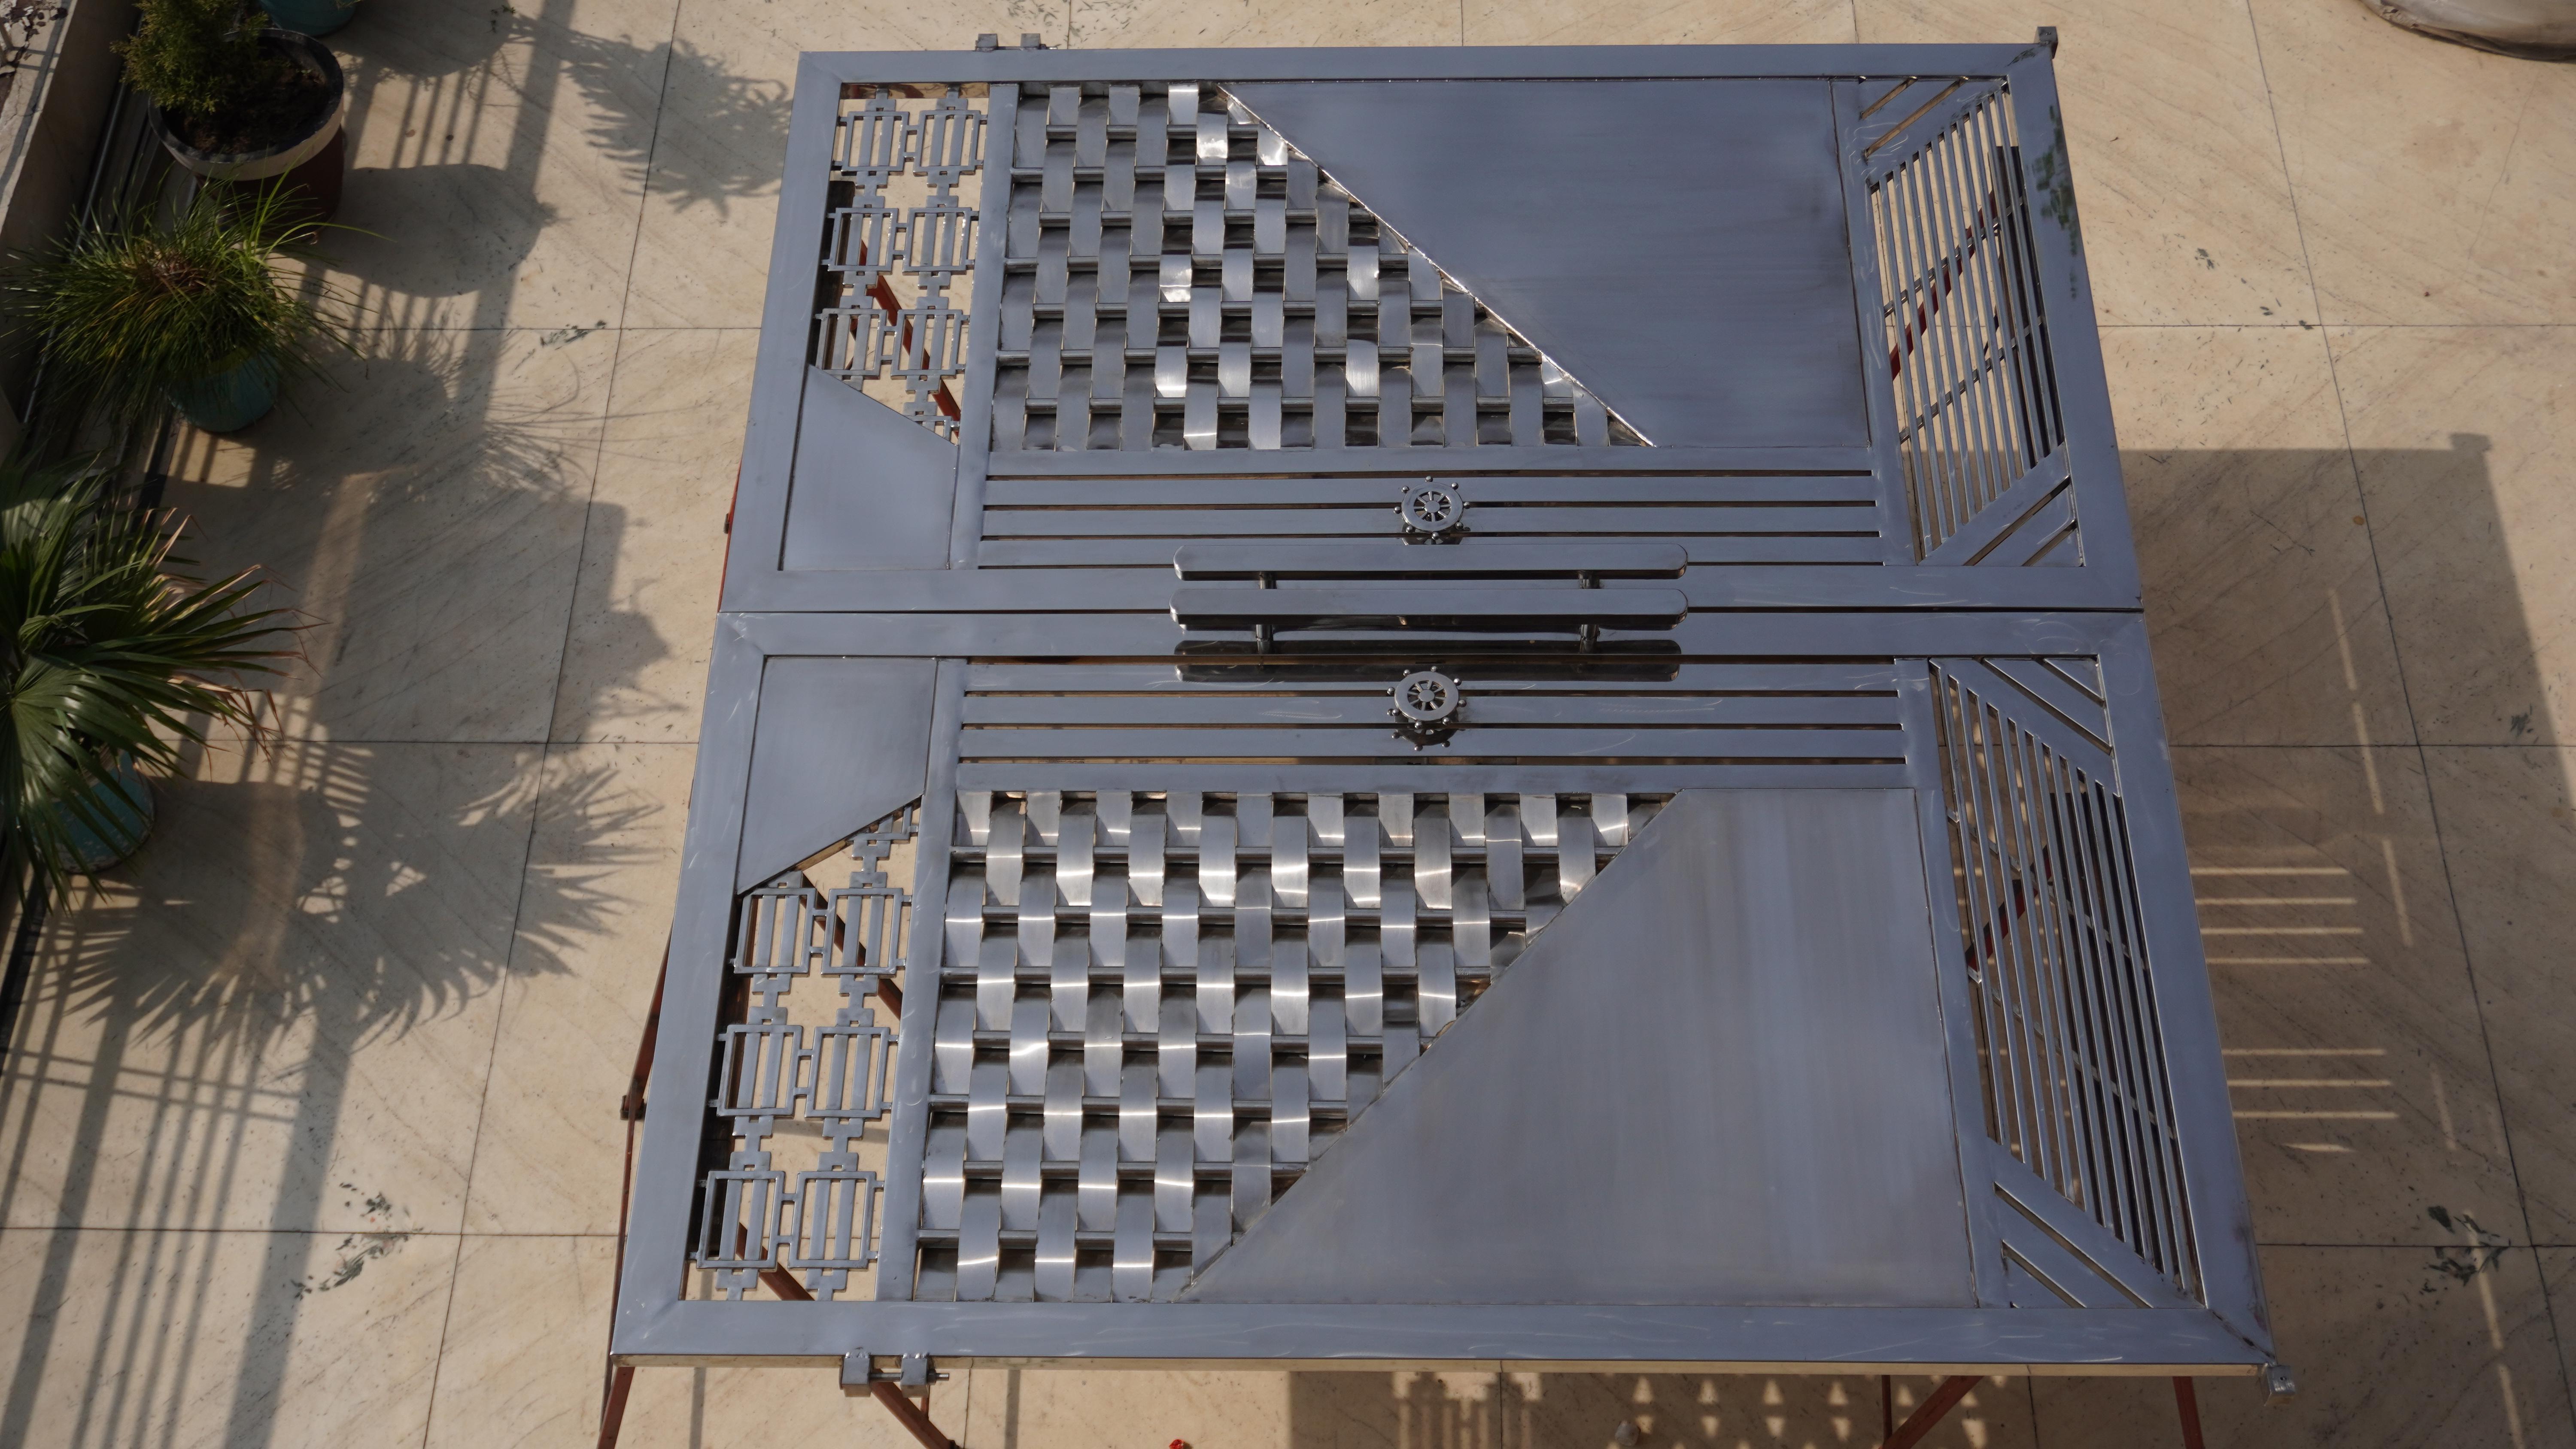


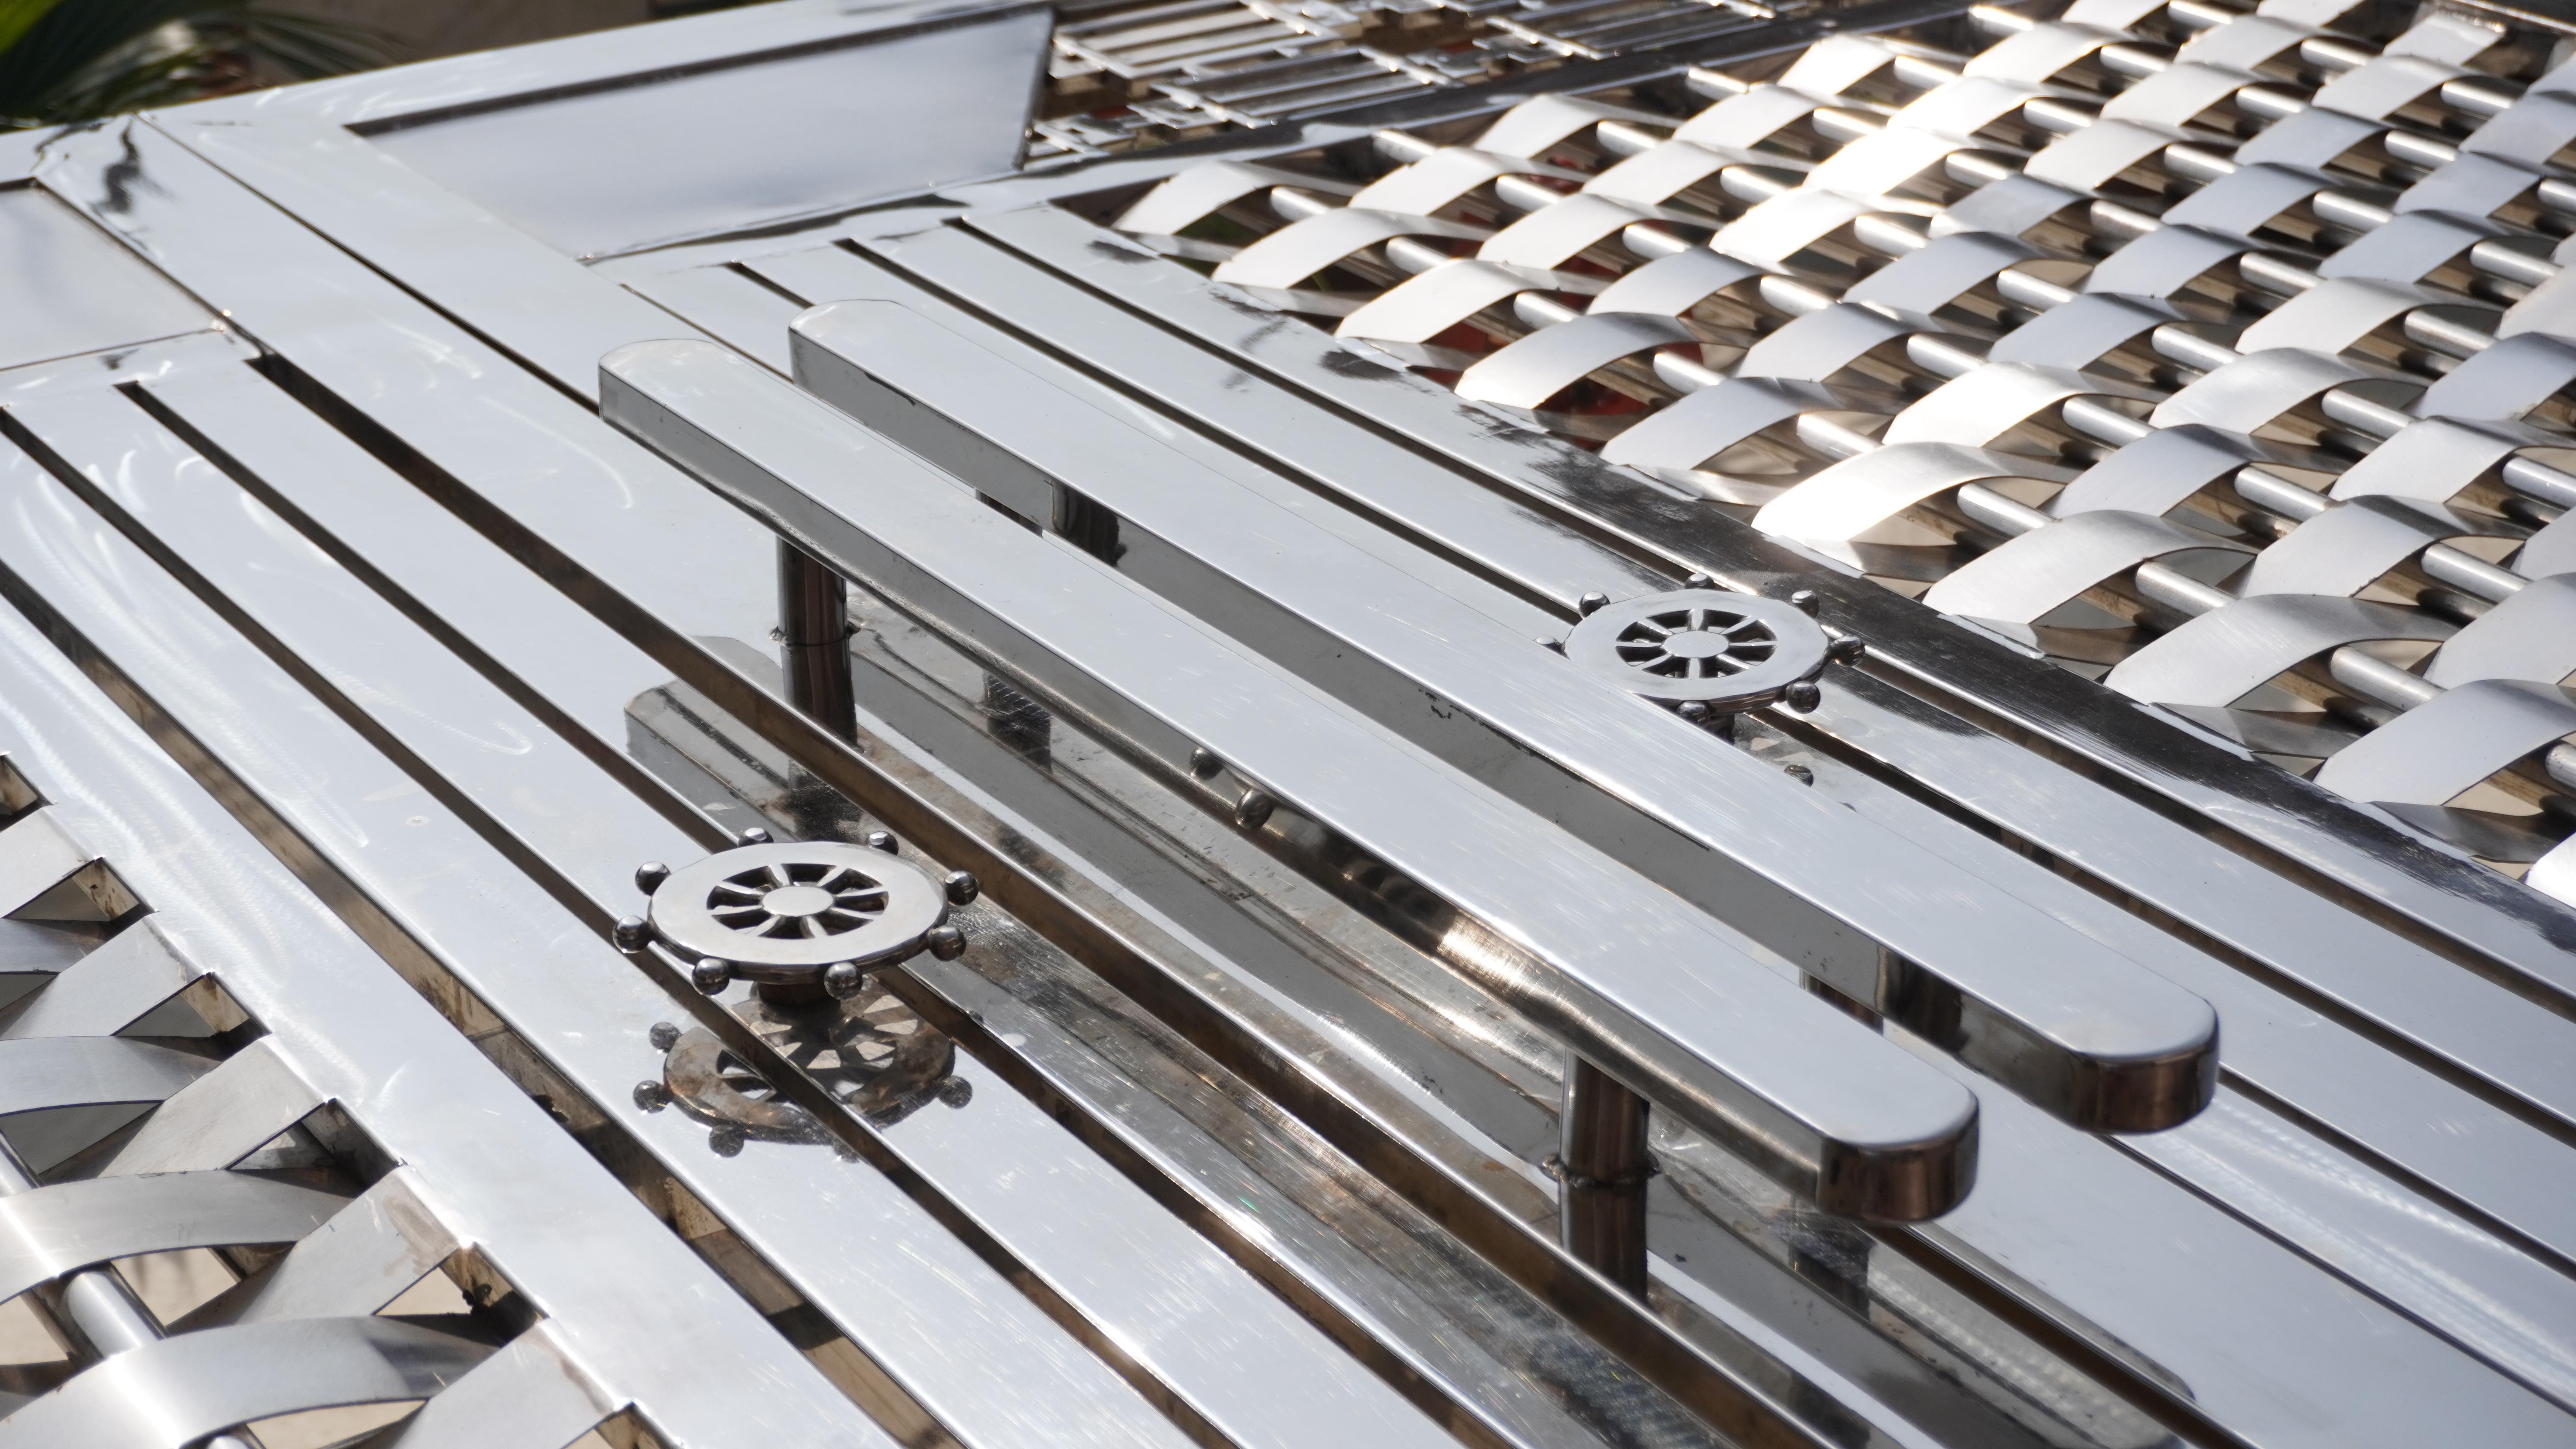

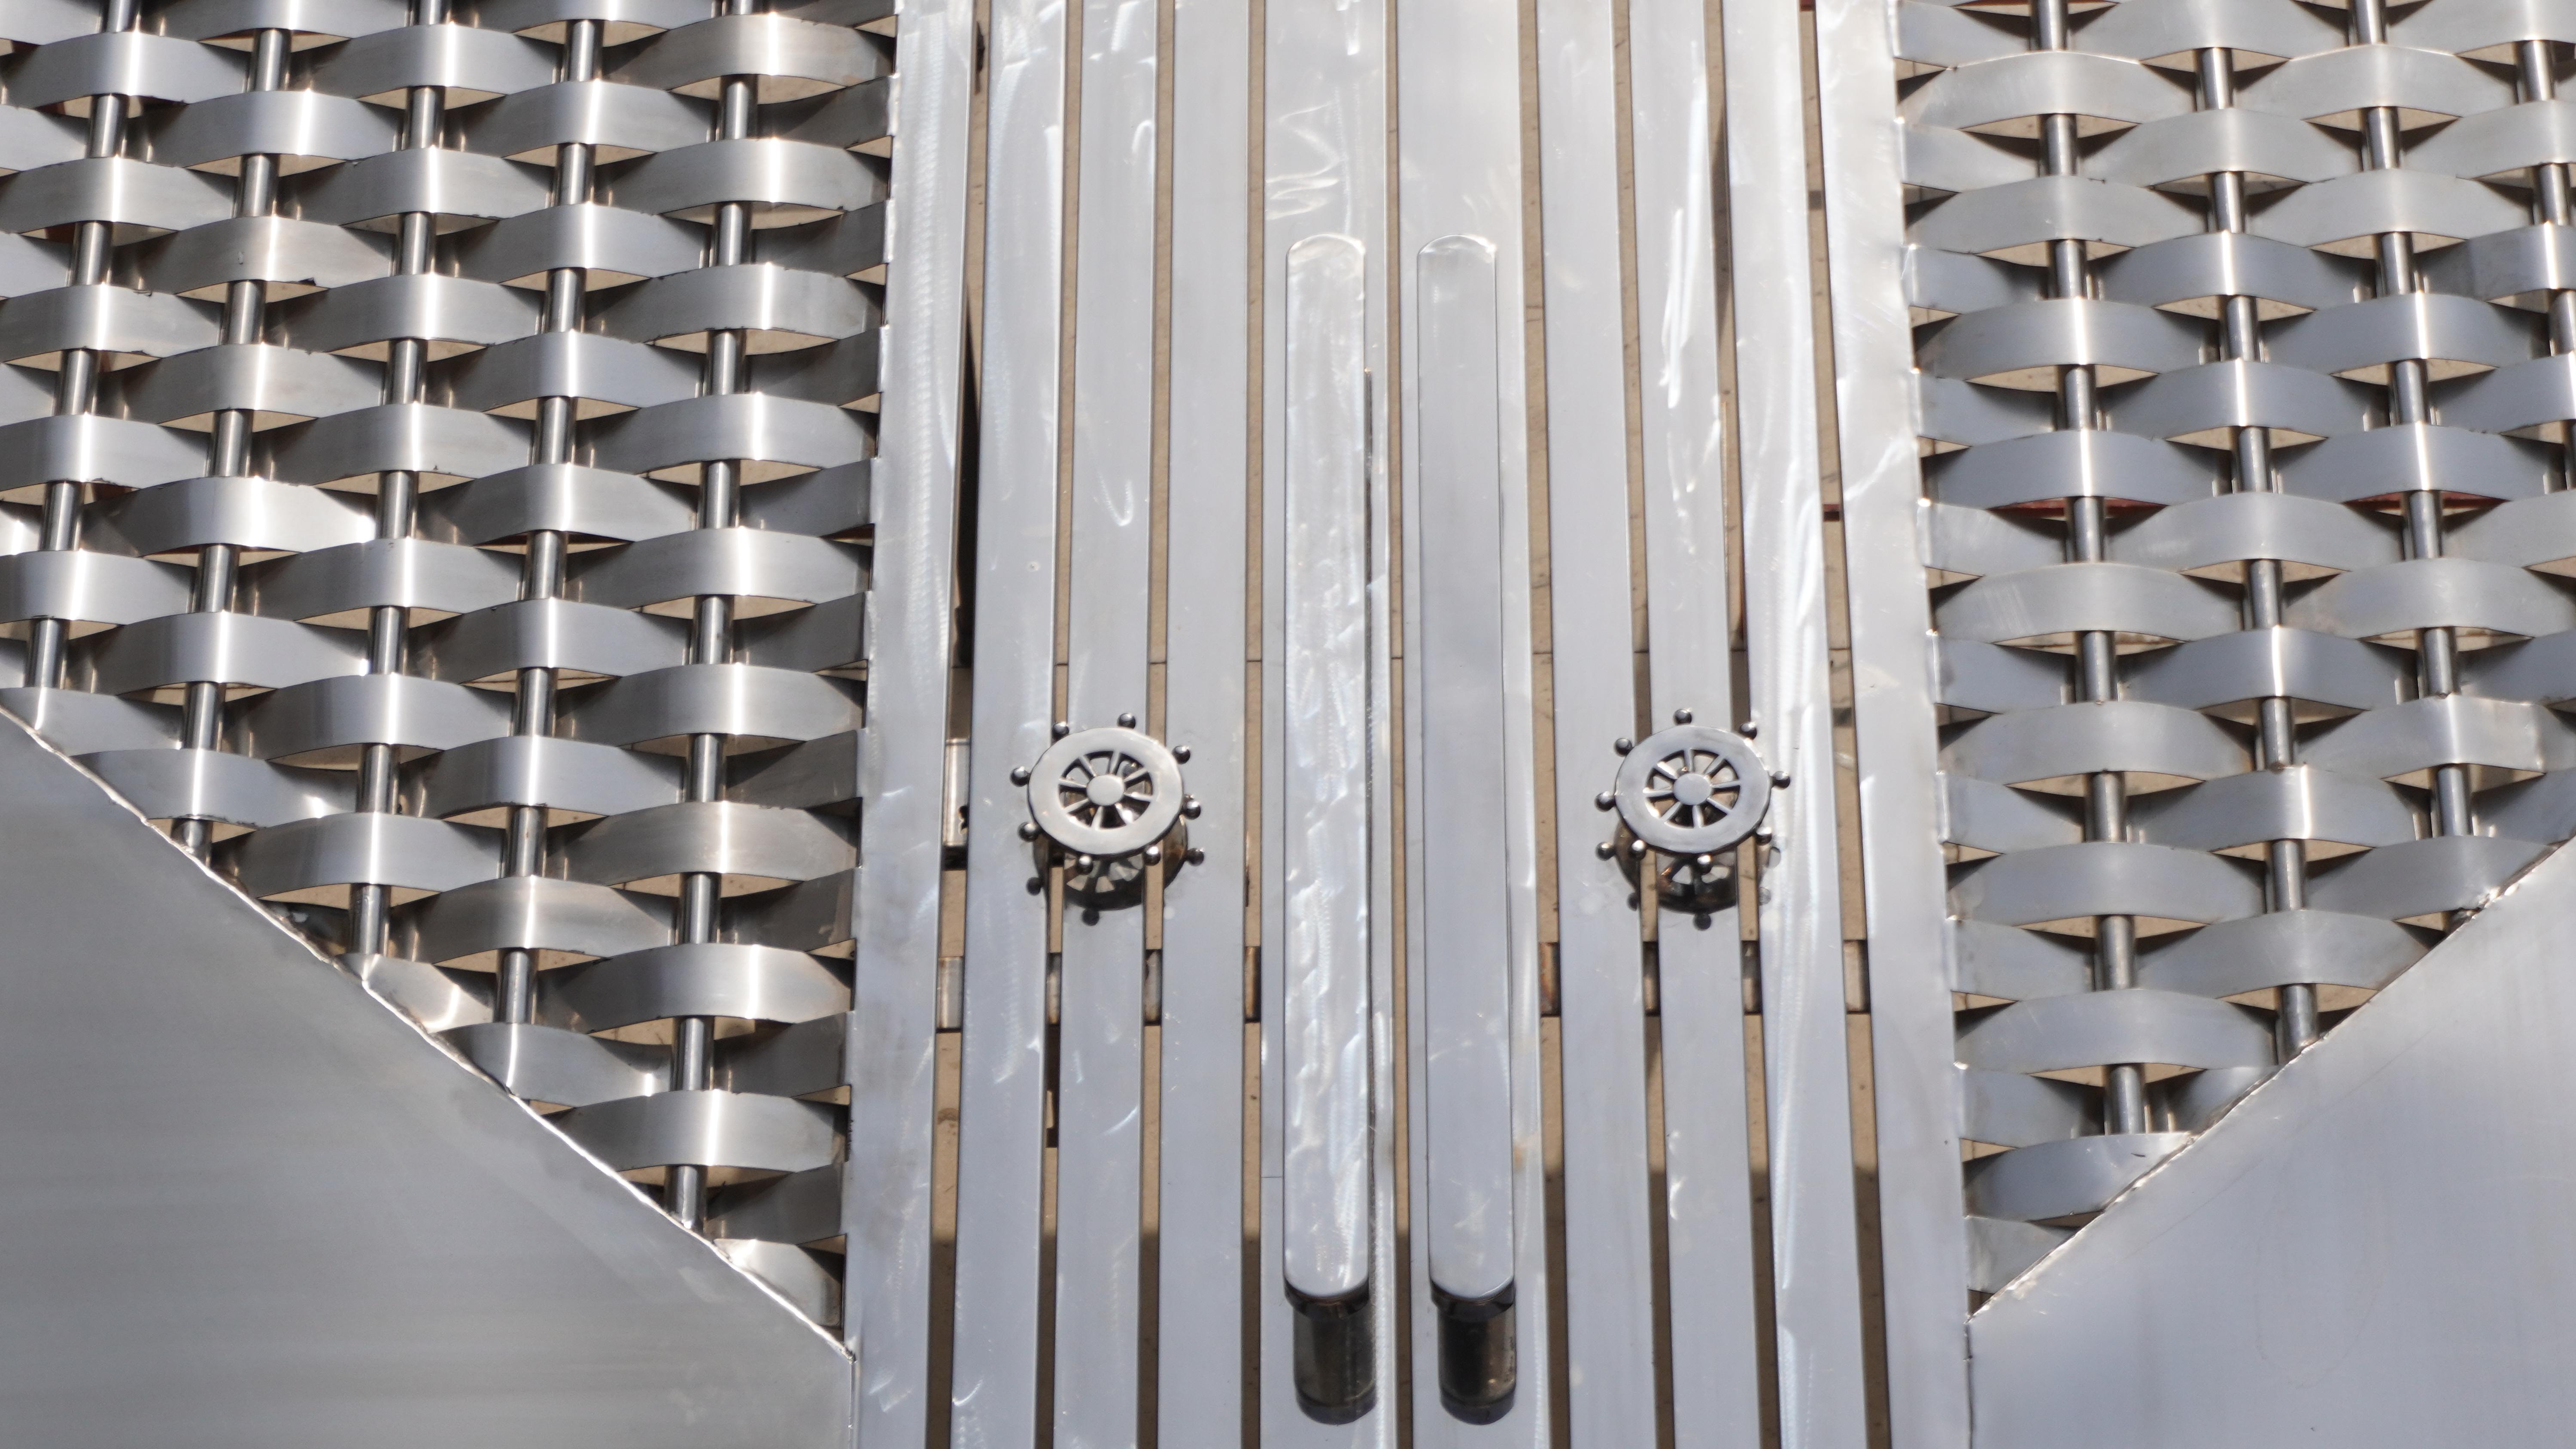
So this is the final look of the door and before installing it in the workshop I need to wrap it with plastic so that dirt and cement do not get deposited on the door and ruin my work. Cement is pretty hard to remove if gets cured onto the surface. Definitely shared your valuable feedback with me that how you liked this design and what improvement I should need to make to build it better than this one.