Stained Glass Inequality
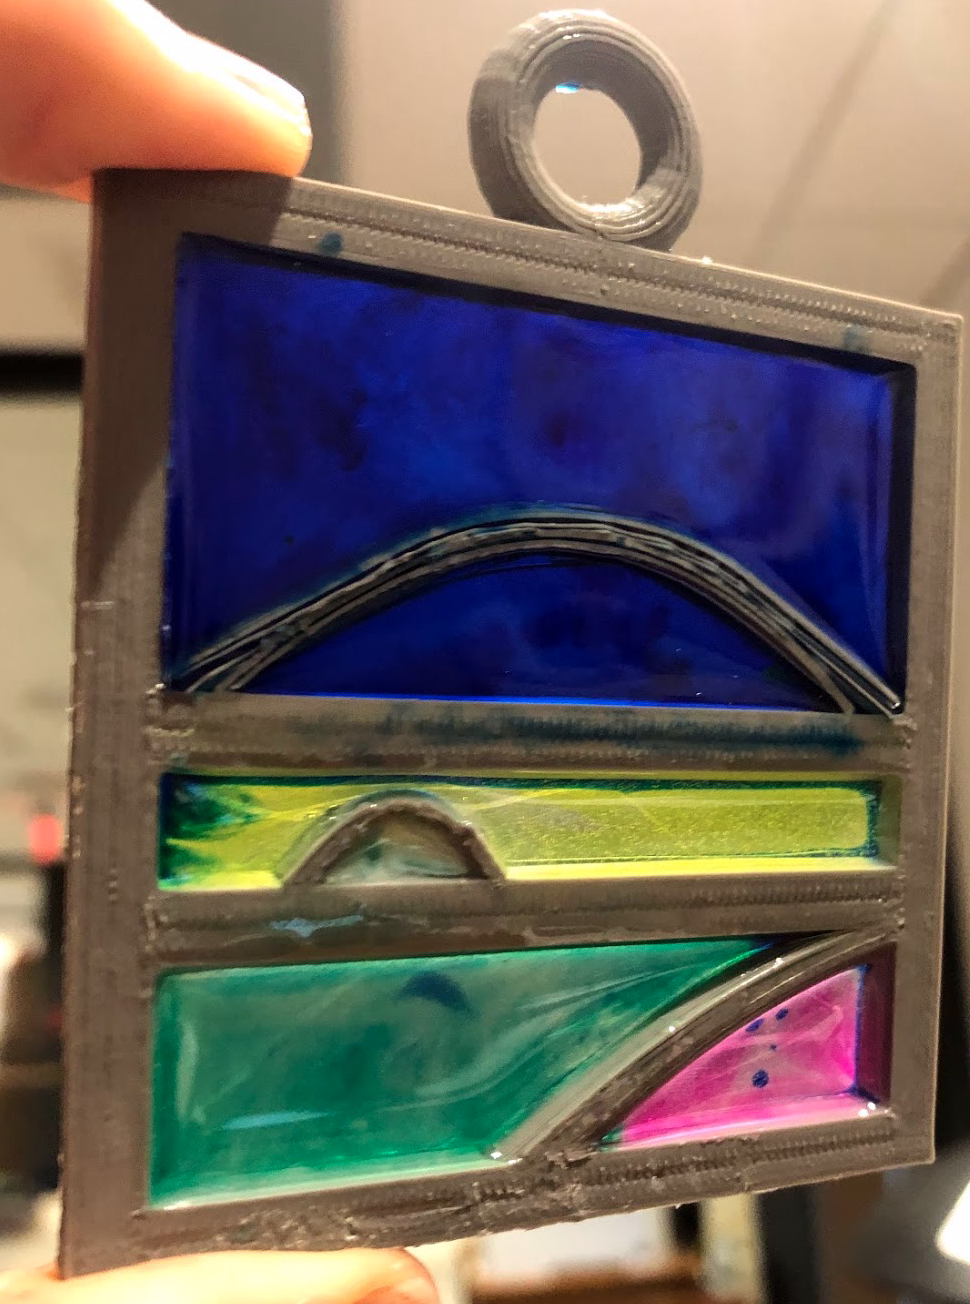
In this Instructable, you will use the Desmos graphing calculator to create different inequalities to design shapes that we will then turn into a printable file for the 3D printer and then fill the design with colorful epoxy resin to create a beautiful stained glass piece.
Supplies
Computer with internet access.
Desmos account.
Tinkercad account.
3D Printer
PLA Filament
Silicone work mat
Duct tape
Epoxy Resin
Resin Pigments
Draw in Desmos With Inequalities
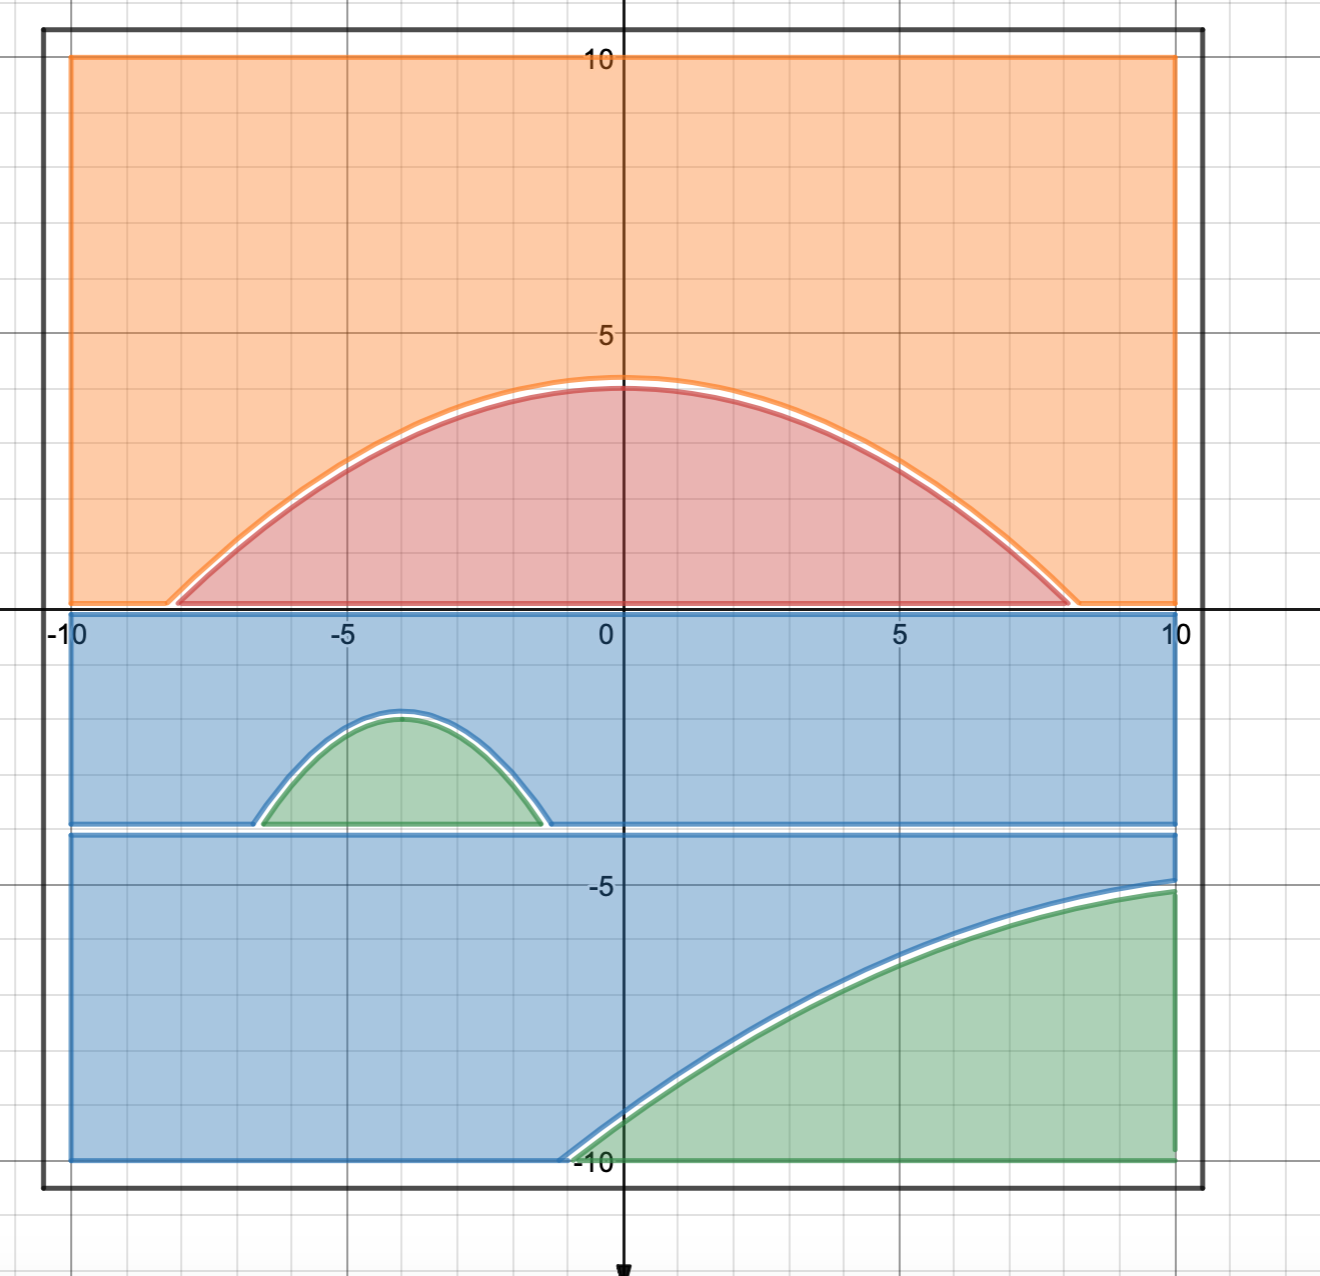
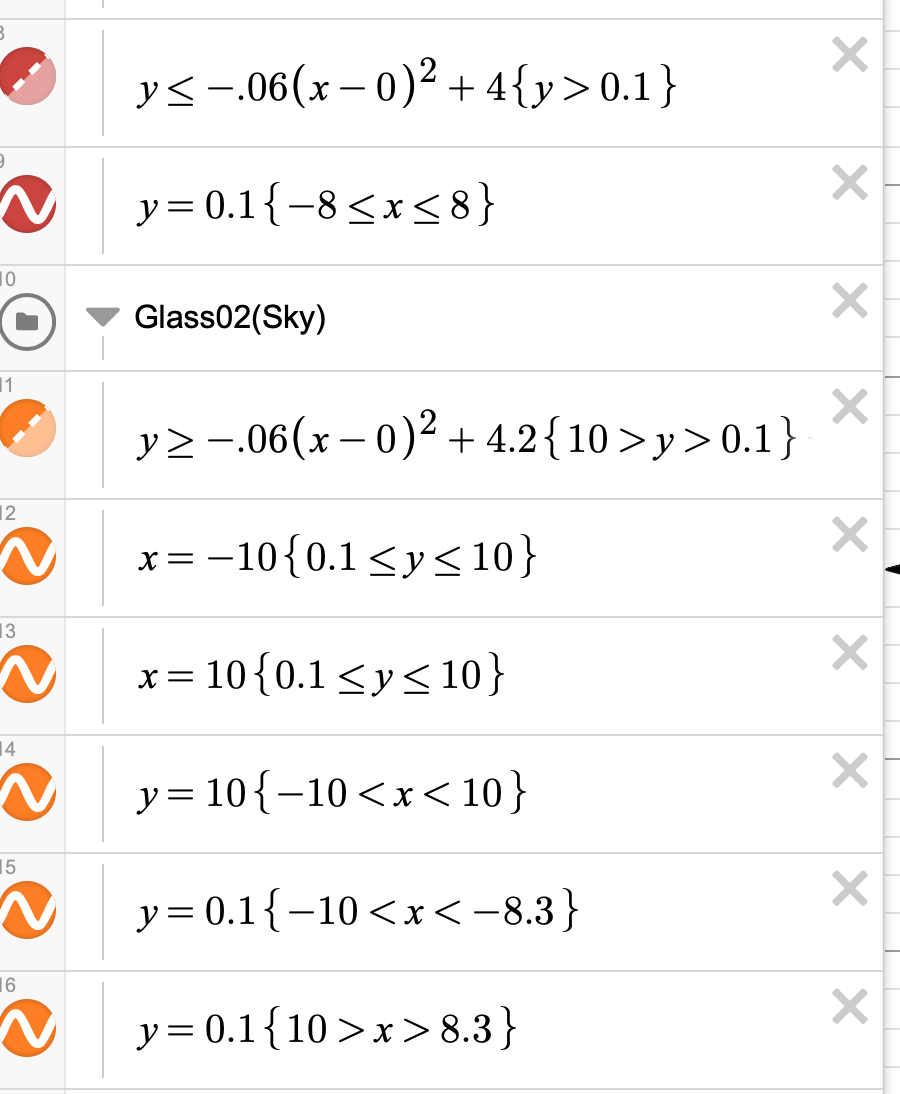
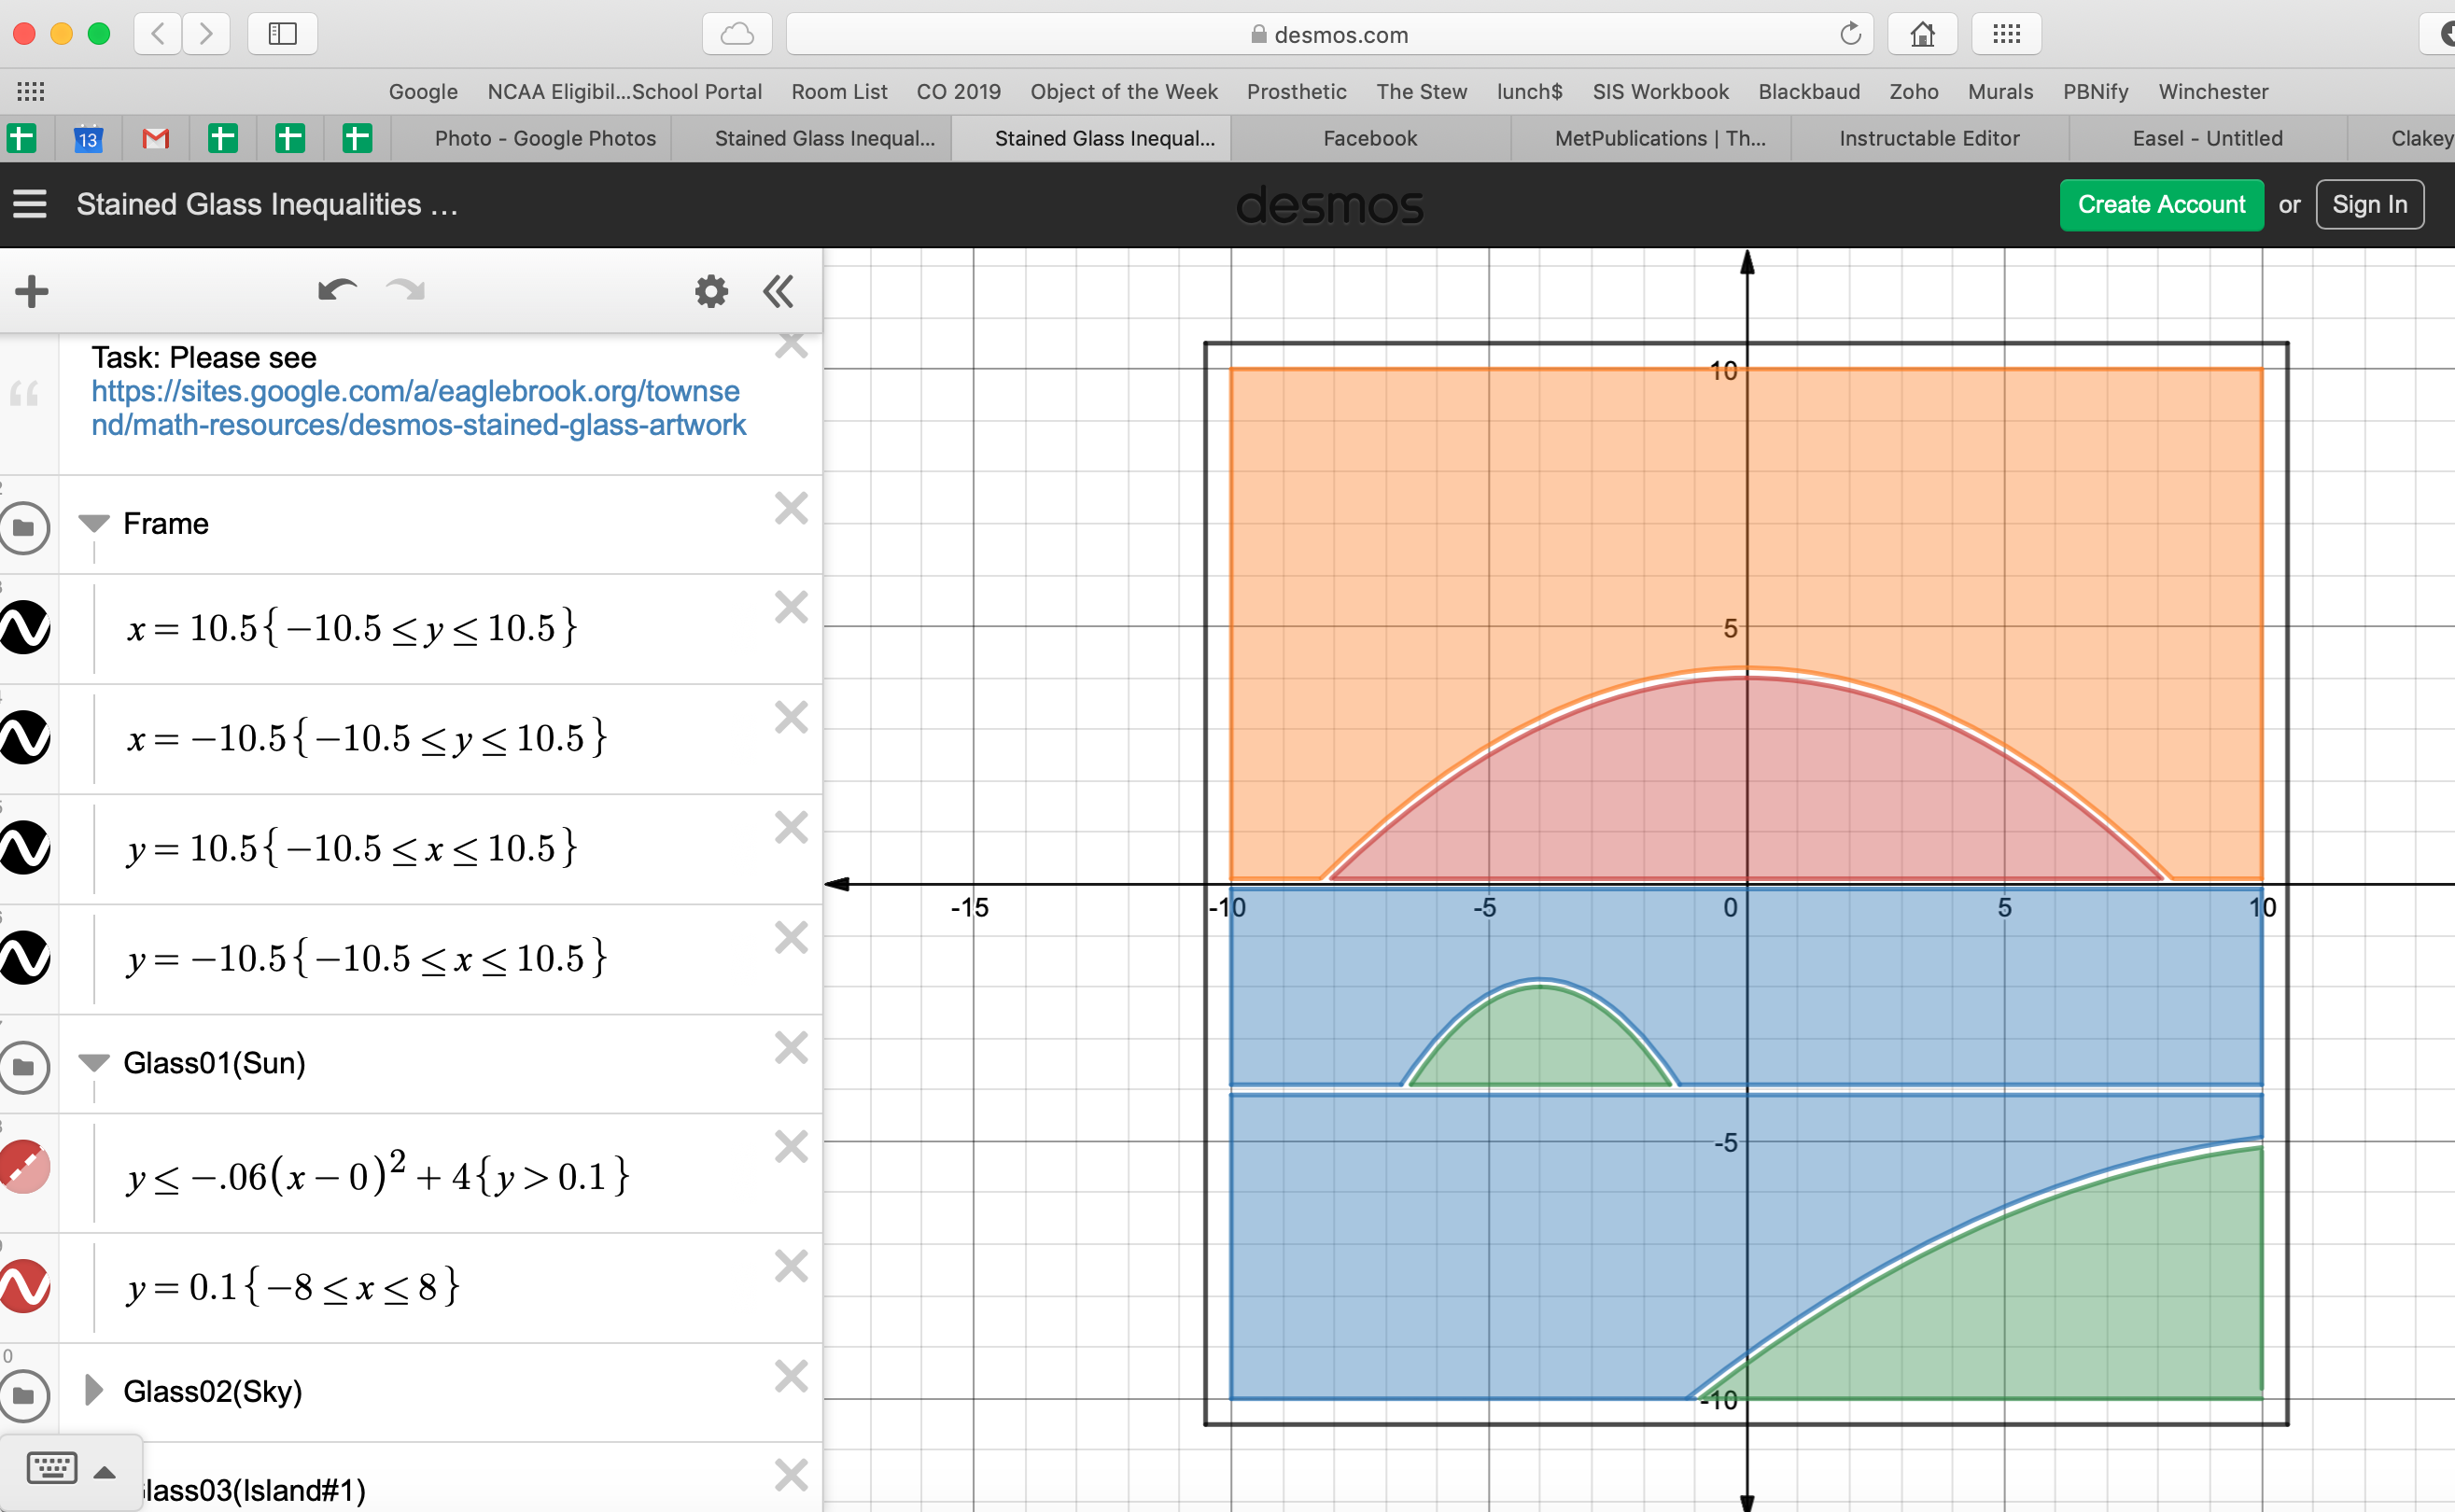
This was an assignment for a ninth grade Algebra II class. Students were asked to go to Desmos and write inequalities to display different images using parabolas, lines, and filling them in with different colors.
Task:
(Phase1) Using Inequalities in https://www.desmos.com/calculator, design a digital Stained Glass image and then (Phase2) print a 3D-printer version.
Phase 1 (Digital Stained Glass):
Start with this given frame. Rename it as "Stained Glass Inequalities (Lastname, Firstname)"
Make sure you are logged in using your username.
TIP: When you are happy with a change you make, use Save feature. If you make subsequent changes you are unhappy with, simply close the browser tab and don't save the changes. Then reopen your previously saved file. That is like a giant Undo feature!
Change the Signature
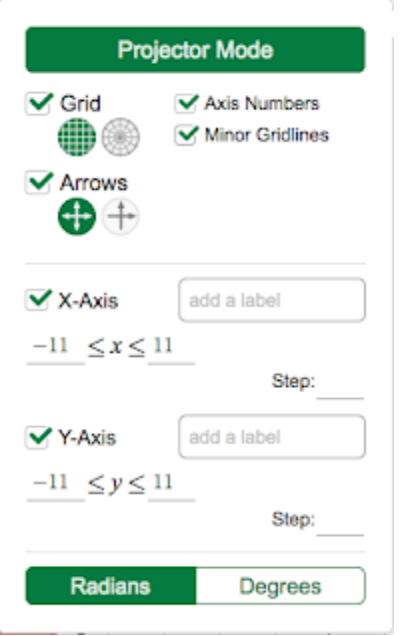
Change the signature (found within Labels folder) to your Lastname, Firstname. You may move the signature wherever you'd like, but the text must fit inside the frame. Zoom settings must be the same as the given frame. If they accidentally change, click the Settings wrench in top right corner and set as follows:-11 to 11 on X-Axis-11 to 11 on Y-AxisUse "Zoom Square" to make grid square-like:
Glass Pieces
You must use between 4 and 6 different "pieces" of glass of different colors
A "piece" of glass is an inequality with borders on all sides.
A "piece" of glass is not just a line or point.
Each "piece" must have a labeled point on it.
Each piece's label must reside within the "Labels" folder
Glass must be organized into folders titled Glass01, Glass02, Glass03, Glass04, etc.
Glass pieces may not touch or overlap (if they did, it would not 3D print on a flat surface!)
Glass pieces may not extend outside of the -10<>10 range for both X and Y axes.
Desmos Drawing
For ideas on using Desmos tools, please see "Townsend 10by10"
TIP: "Perfect is the enemy of the good."
Know when your work is good enough!
Turn Your Desmos Drawing Into a 3D Design
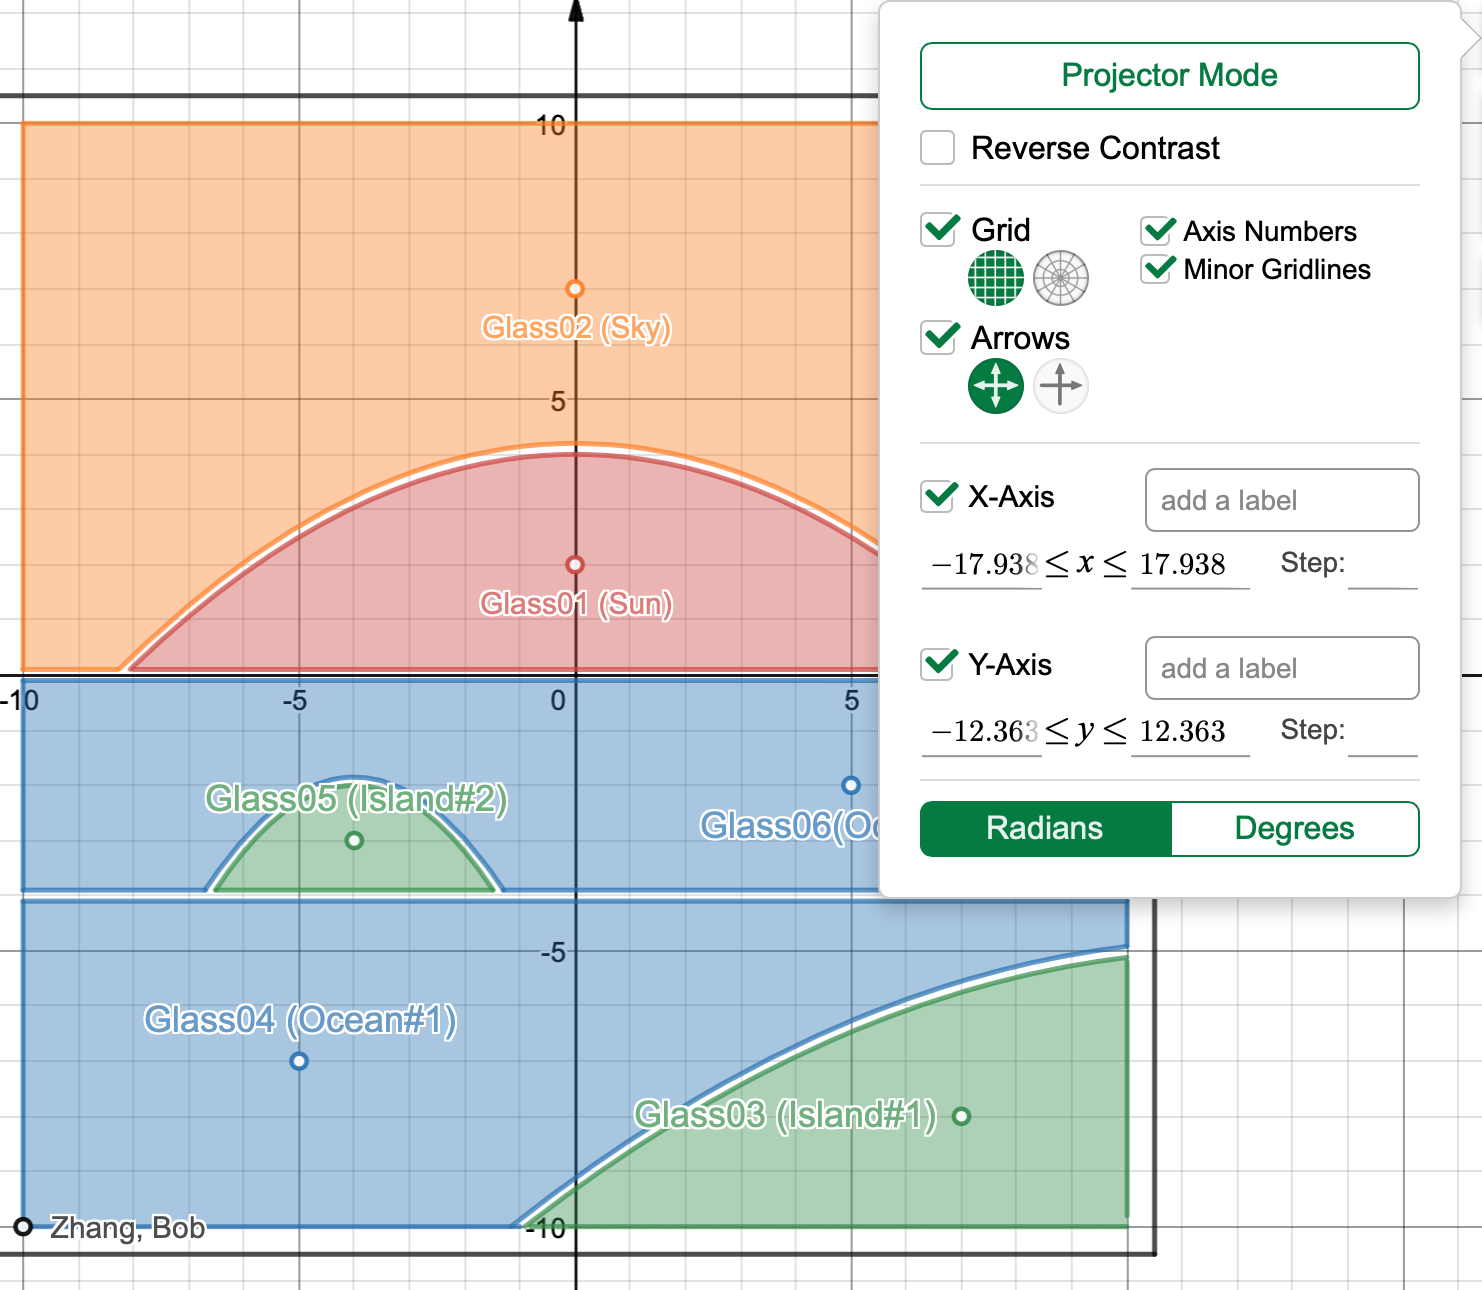
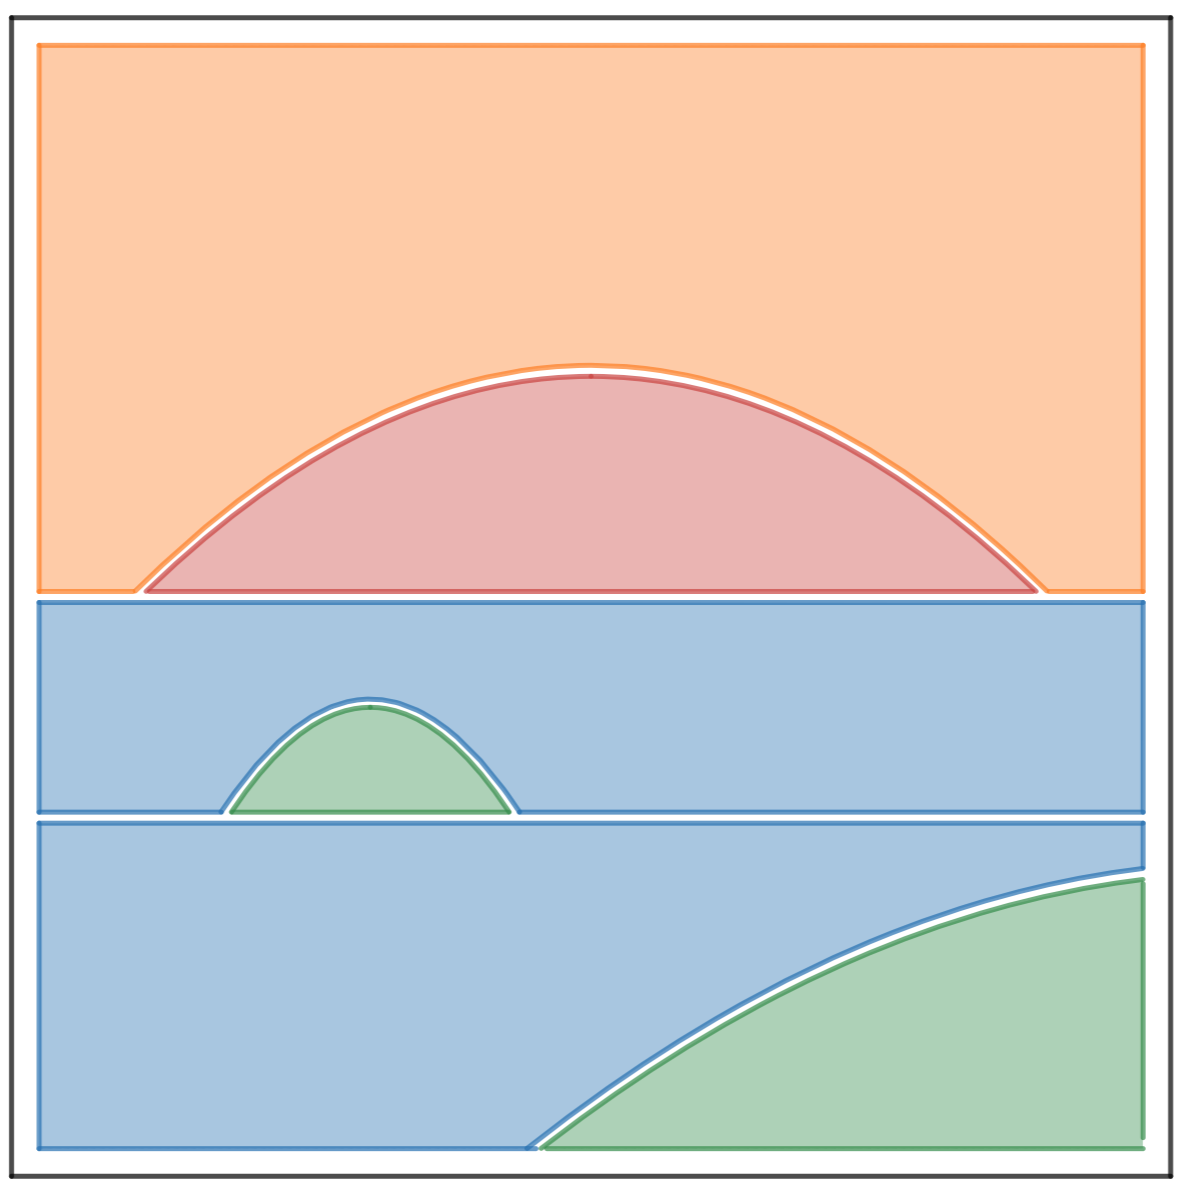
Turn off all of the labels by un-clicking the boxes of labels in the upper right hand of the Desmos drawing. Once the labels are all turned off, you should just see the image on your computer. Take a screenshot or save the image to your desktop.
Upload Your Screenshot to an .SVG Creator
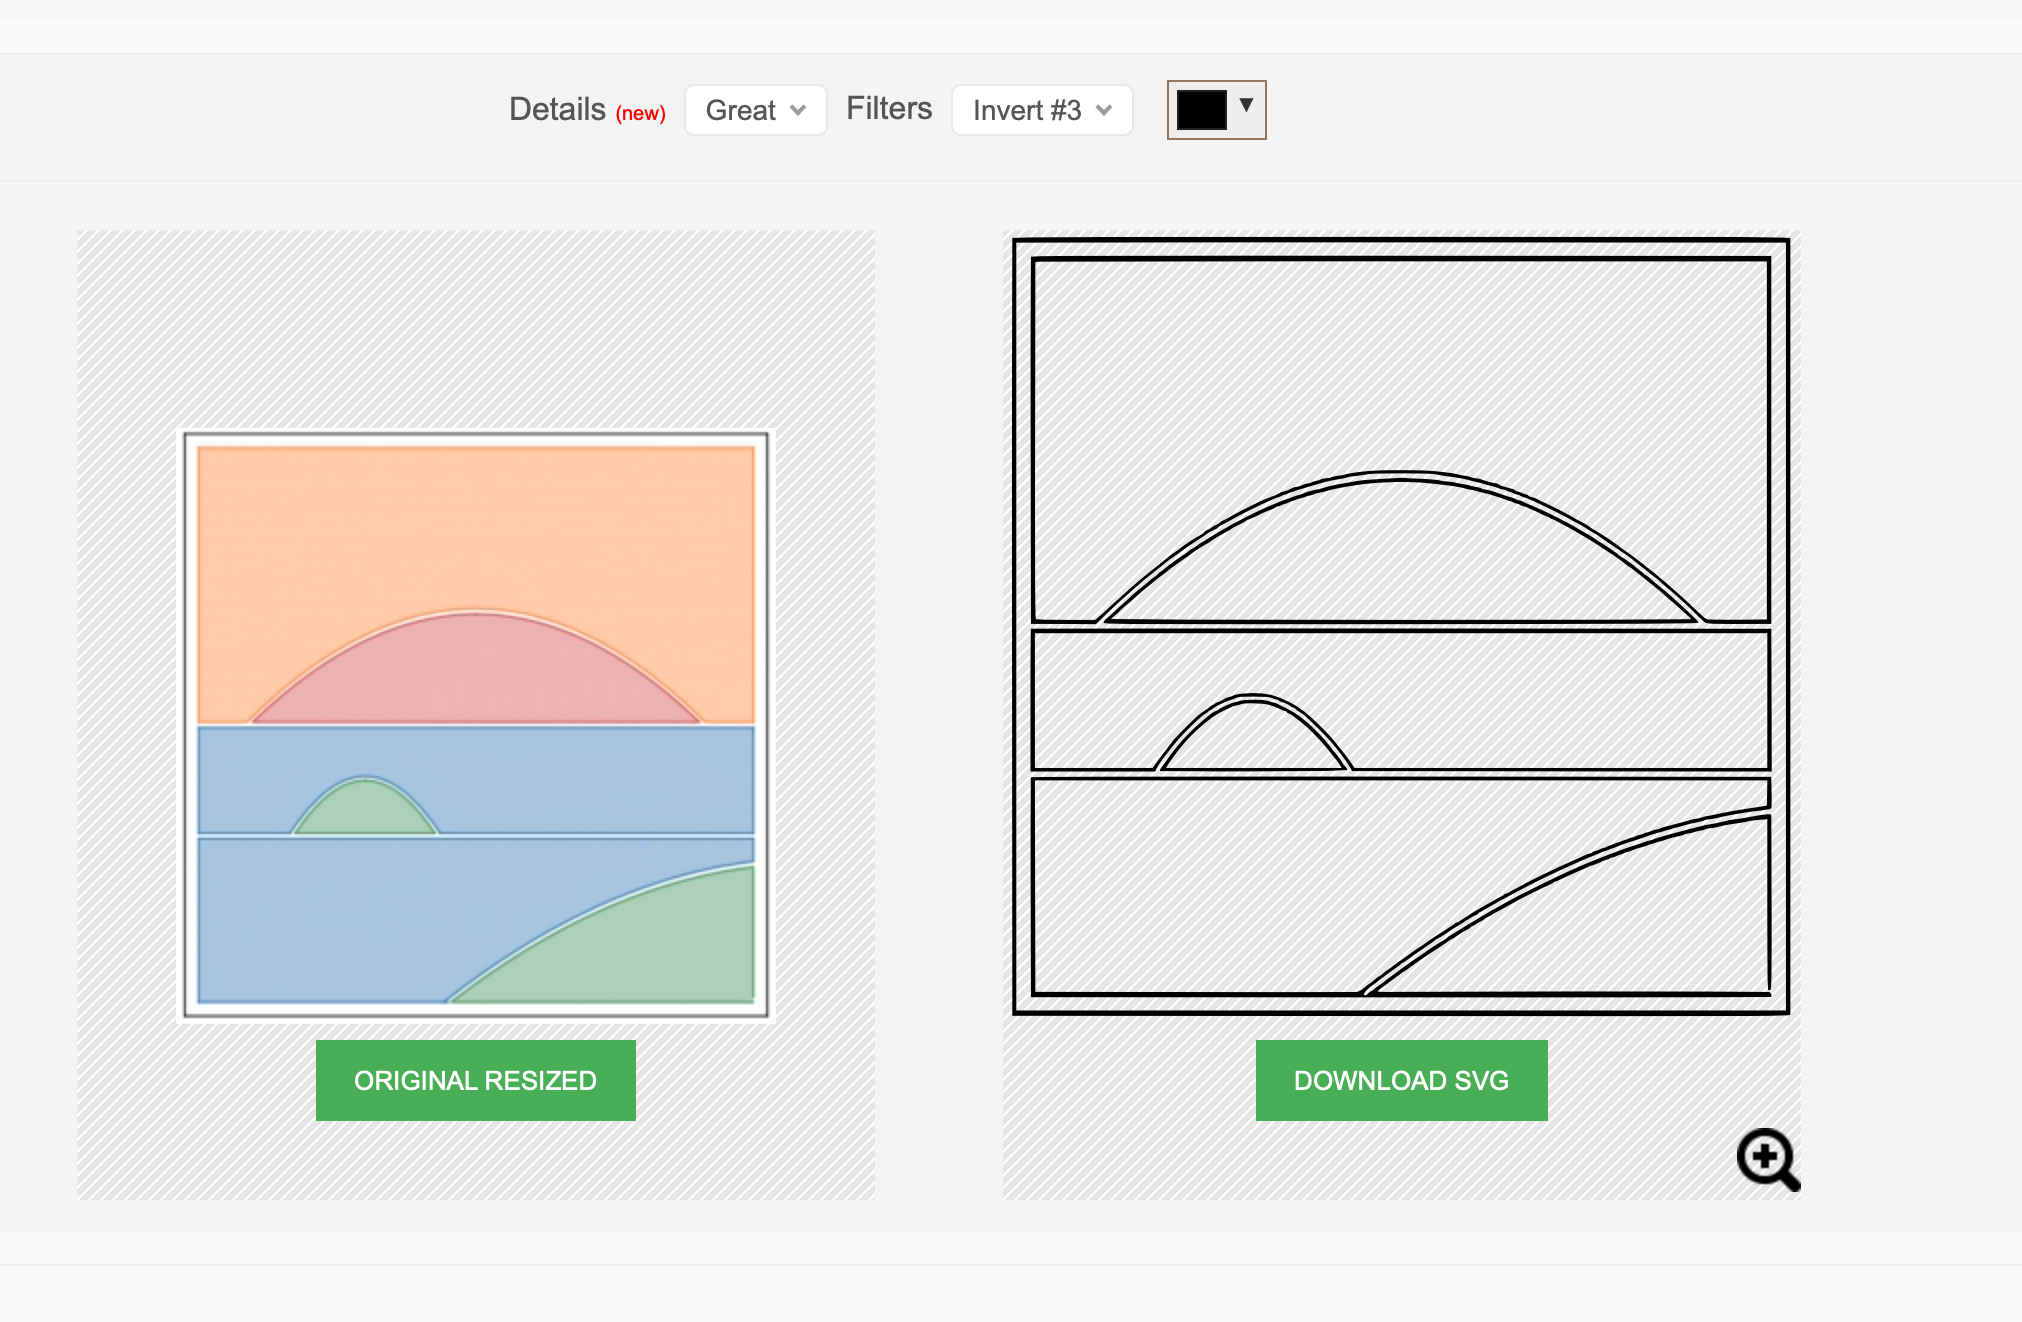
Open a new tab on your browser and navigate to www.picsvg.com
The .svg creator allows you to choose different thicknesses and contrasts. Select the one that looks the best. I chose invert #3 and then downloaded the .svg file to my computer.
Import the .SVG to Tinkercad
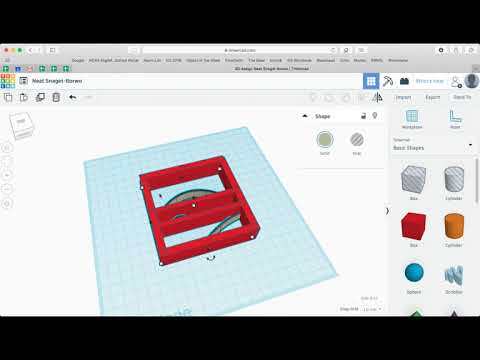
Import the SVG and change the dimensions to 10% of the size that you've created. Reinforce the straight lines, especially the border on the outside with boxes and add in a taurus for a place to hang the stained glass from.
Send Your .stl File to Your 3D Printer
Insert the .STL file on your 3D printer software and print the file.
Pour Epoxy Into the Design

Tape your project securely onto a silicone sheet with duct tape. Tape around the outer edges to hold the epoxy into the design.
Create multiple colors of epoxy resin depending on the amount of colors you would like to use with your design.
Mix the 2 parts of the epoxy together and then pour into the different parts of your design.
Let the epoxy dry for 24 hours and remove. You will have a beautiful stained glass image of your inequality!