Stage Video Monitor Box
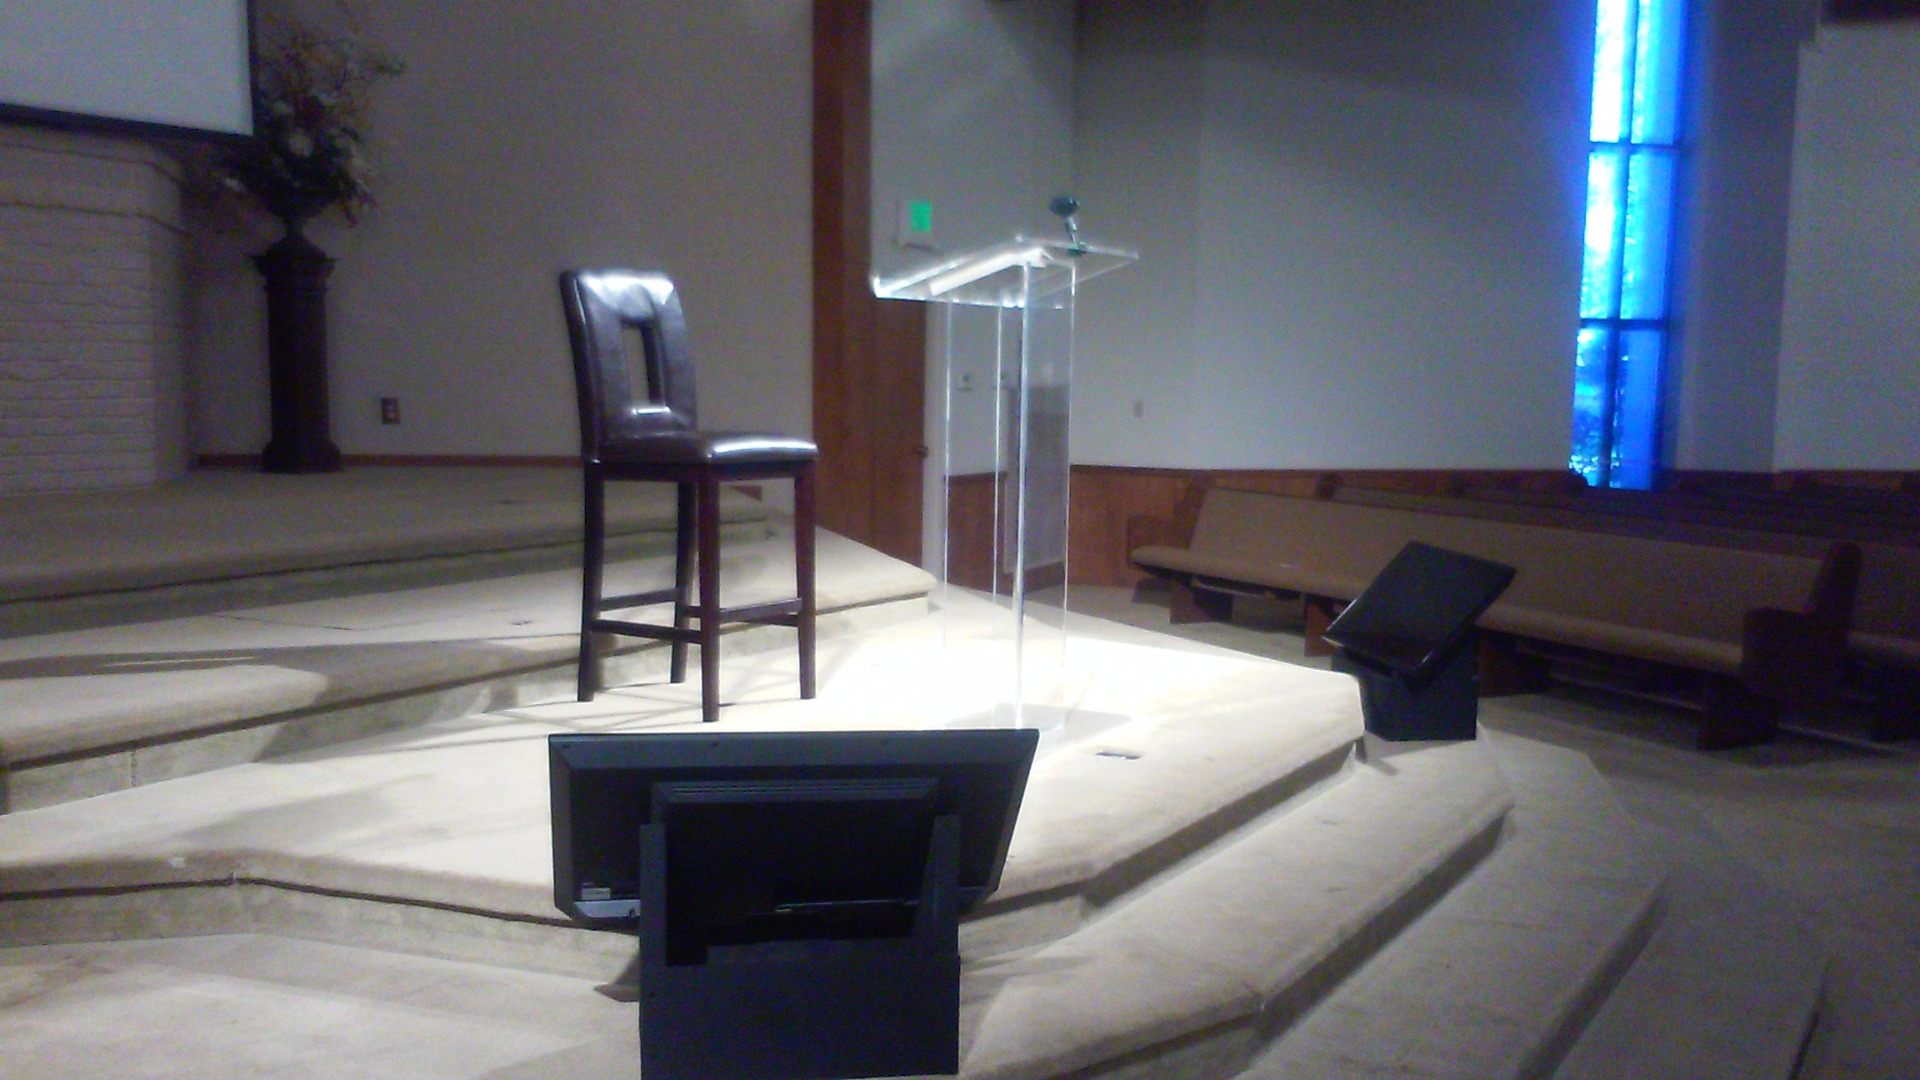
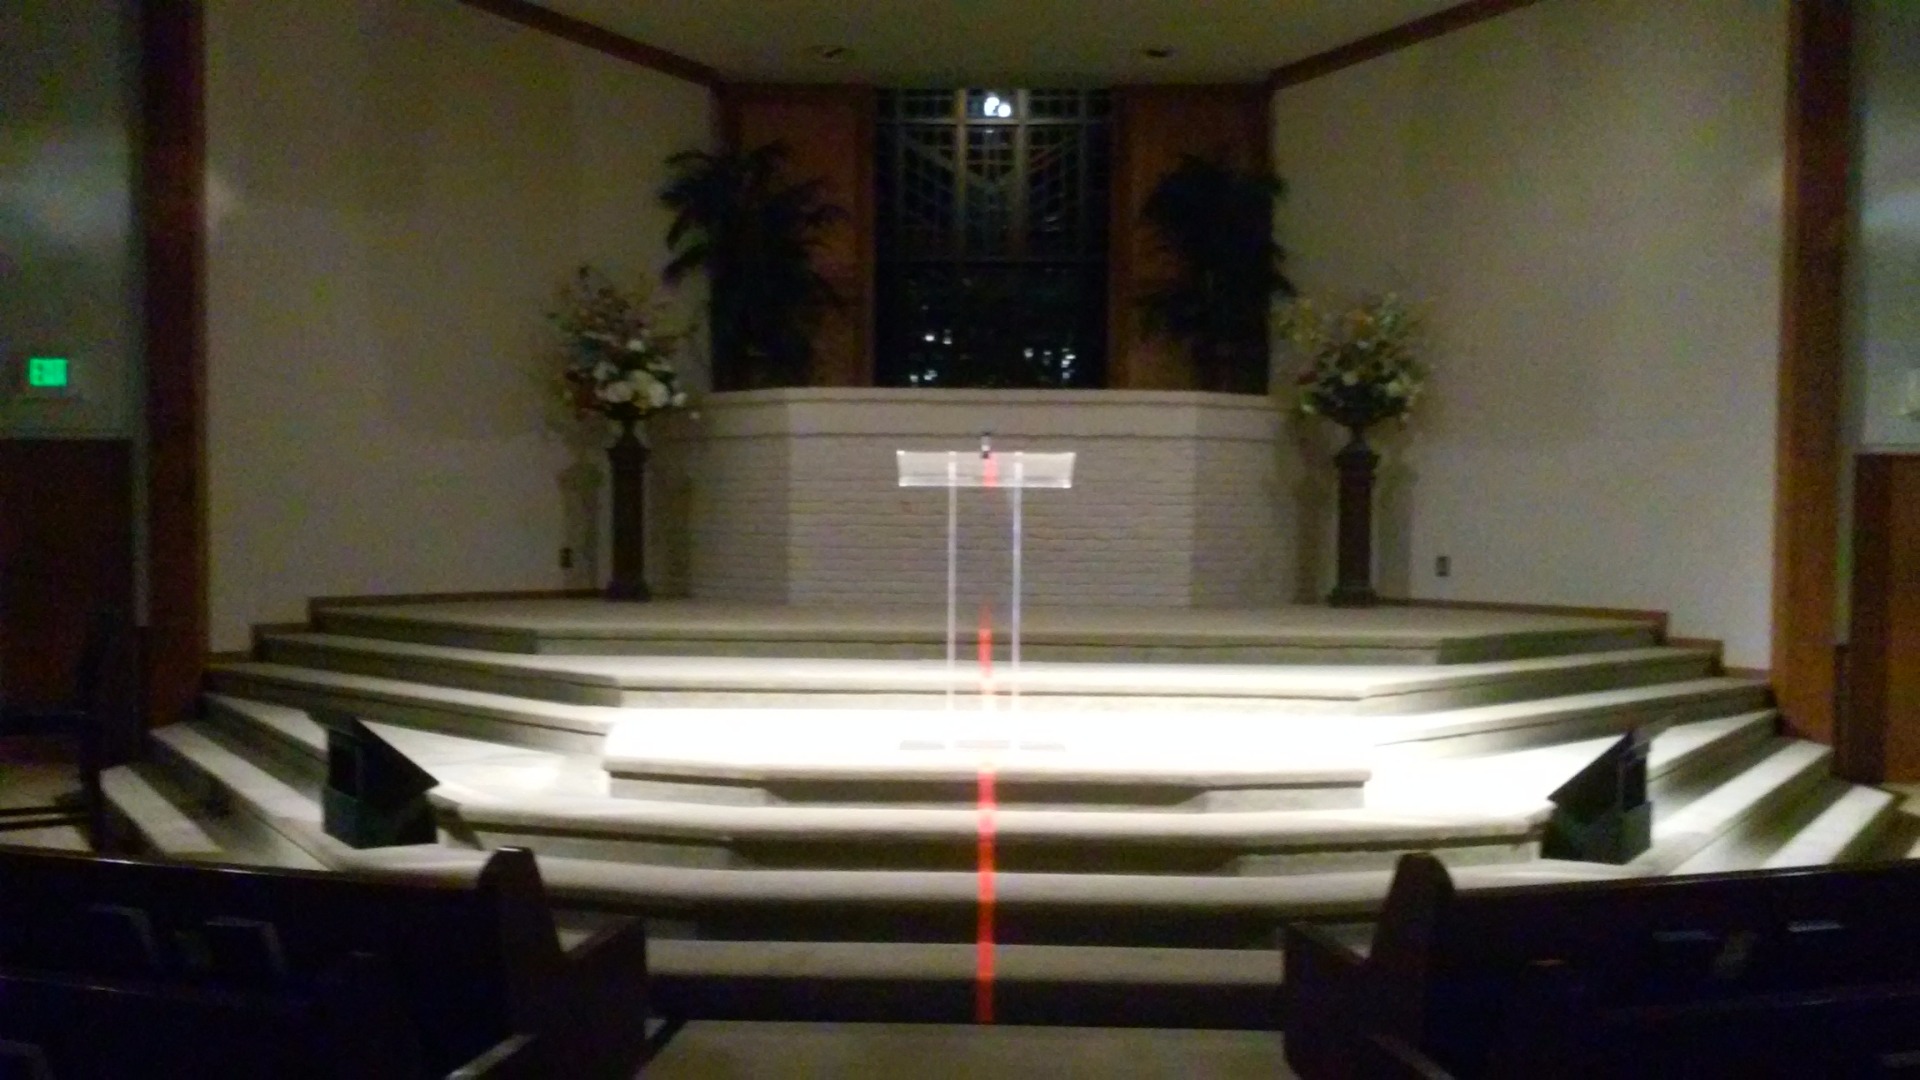
So you've decided to upgrade your stage with a video monitor. There are many benefits to doing so. Now, that speaker, teacher, or minister is able to interact with the audience while keeping an eye on notes, the time, or perhaps a presentation bullet list.
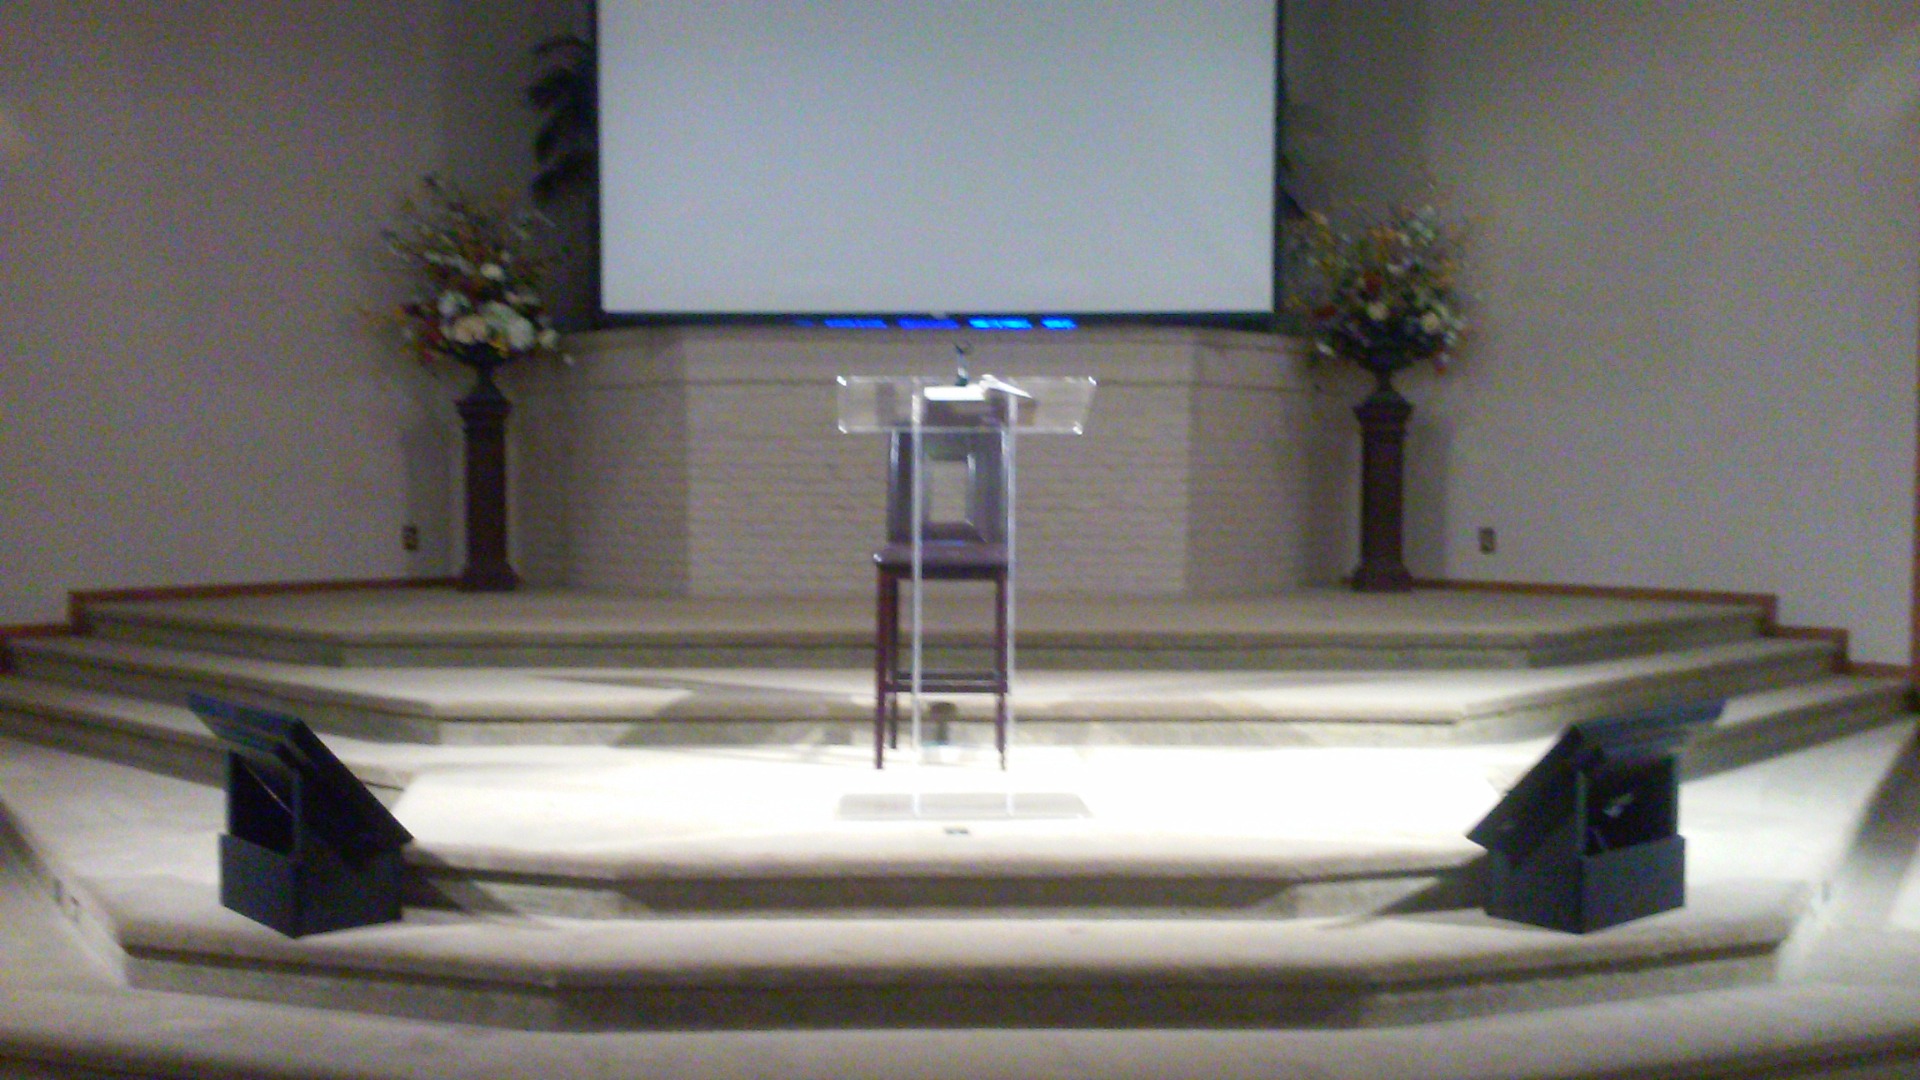
Before beginning, know that each stage has its differences and challenges to overcome. As you can see from the picture, the stage I work with is no exception. The box I built is really just to give users a basic idea. It can be molded changed or modified to fit different scenarios. It was designed to sit a step down from the speaker.
As always, I'm happy to answer any questions and if I've left something out, comment on this and I'll add it.
Gather Supplies
- 8 - 1.5 in deck screws (#8)
- Flat Black Spray Paint
- 1x8x48 @ HD
- 2x10x48 @ HD
- 1/8 drill bit
- Pencil
- Power Drill
- Electric Jig Saw
- 4 - Clamps (optional but makes the job super easy)
I had everything as scrap in my garage so no money was spent on any of the above items.
Draw It Out.
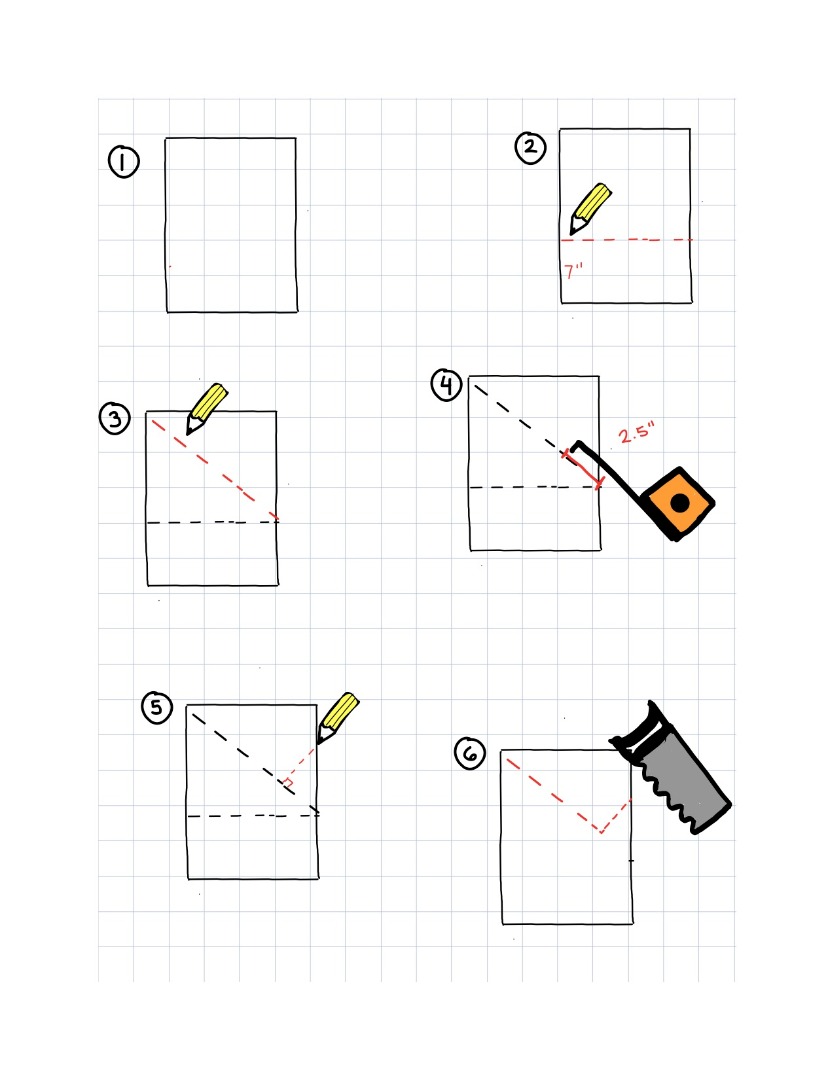
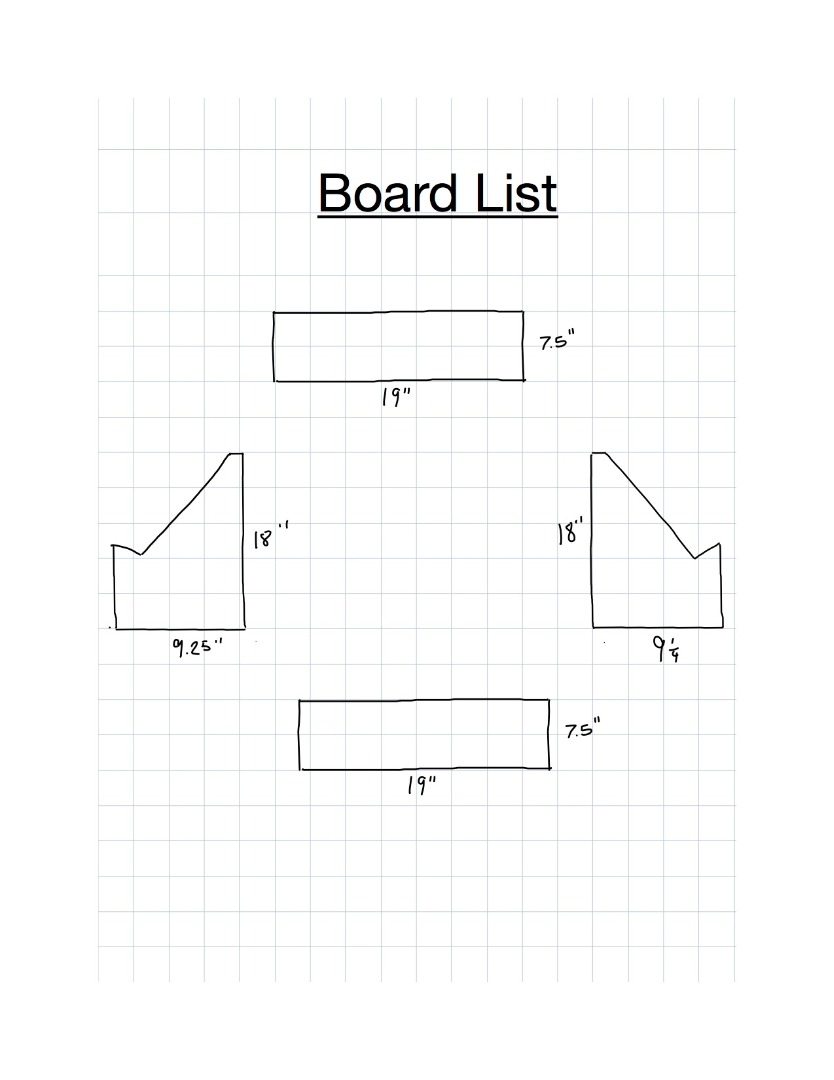
I've always had difficulty imagining projects without a drawing. While some aren't like this, drawing it out helps me explain it and see the flaws before I build it. The picture is a guide of steps on how to trace the lines exactly as I did to achieve identical results.
The monitors pictured are 32inch flat screens. Since the shelf is 19 by 12 inches, the smallest it will hold is a 28 inch. This is the time to make adjustments.
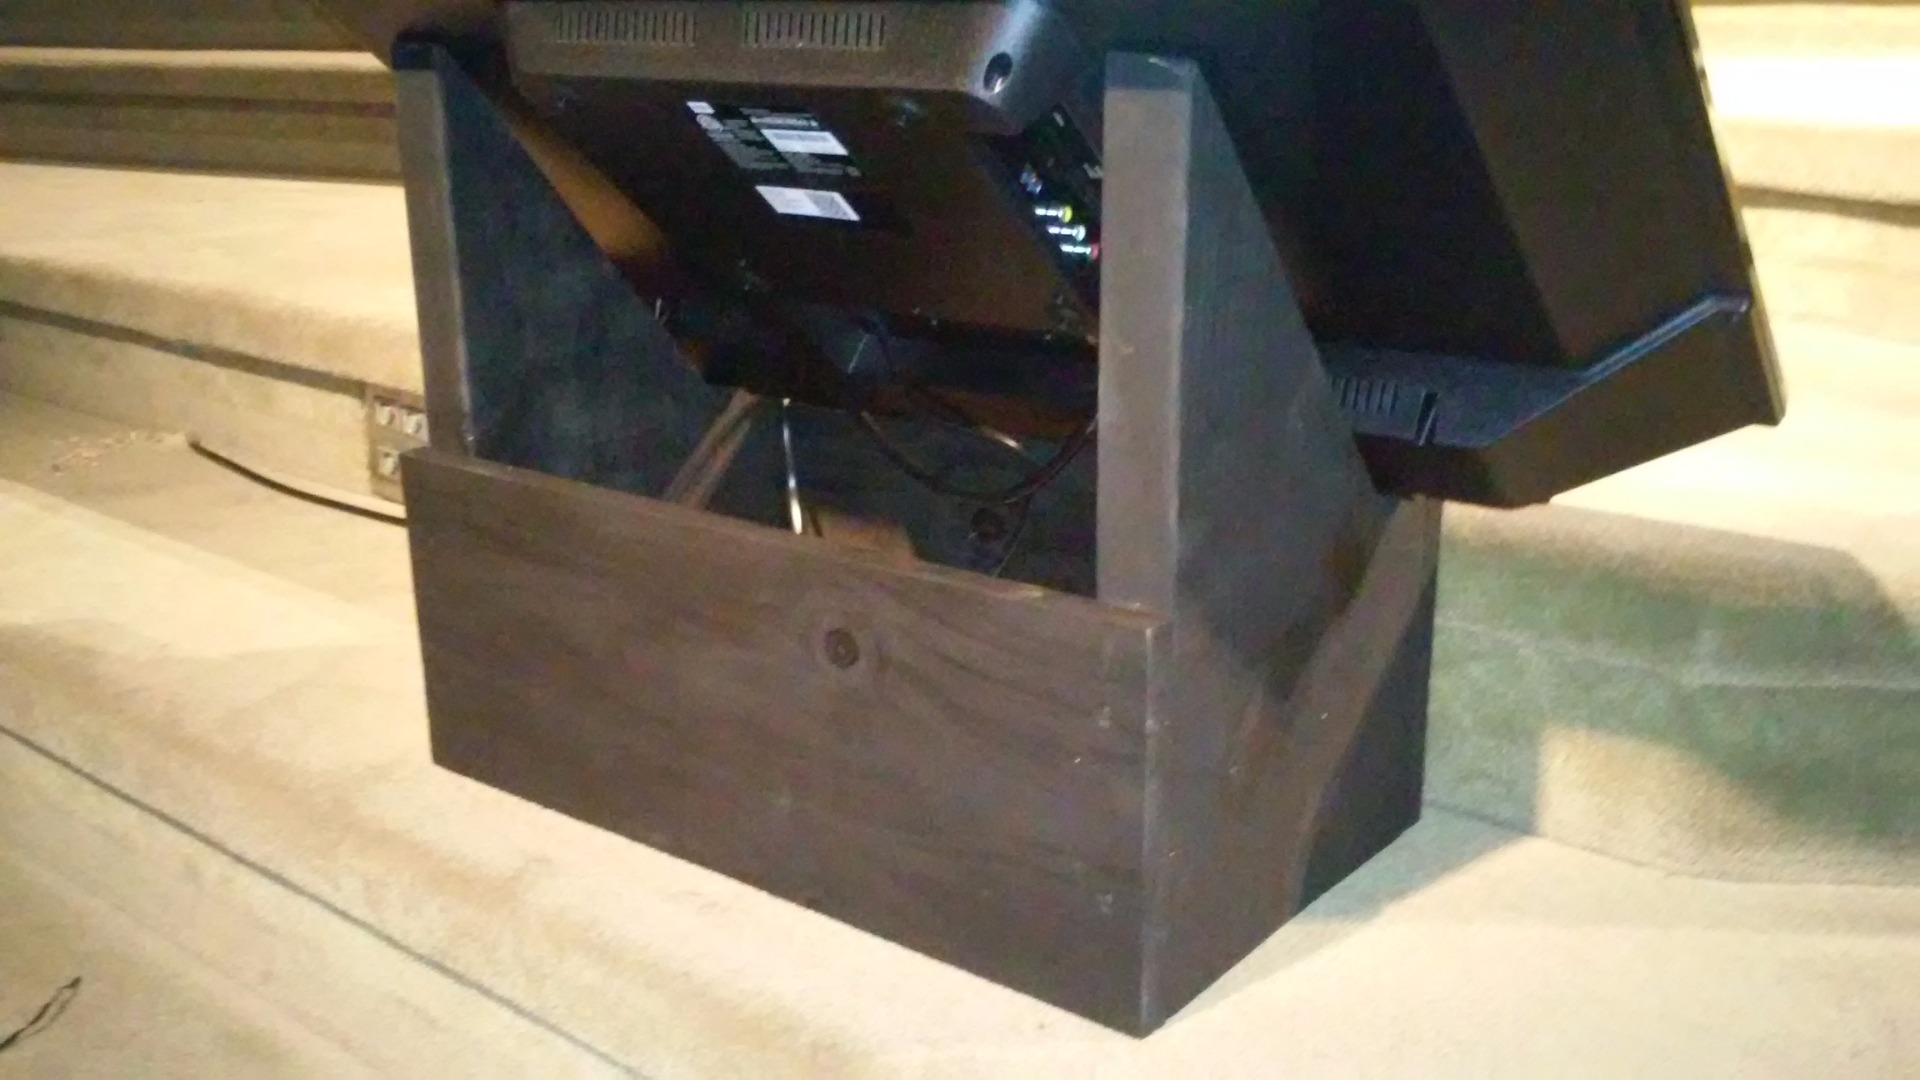
Note: Be sure to account for the exact shape of the monitor. Our monitor was slightly thicker on the bottom and therefore did not have a flush fit in the stand. The black paint hides these imperfections.
Cut Out the Pieces.
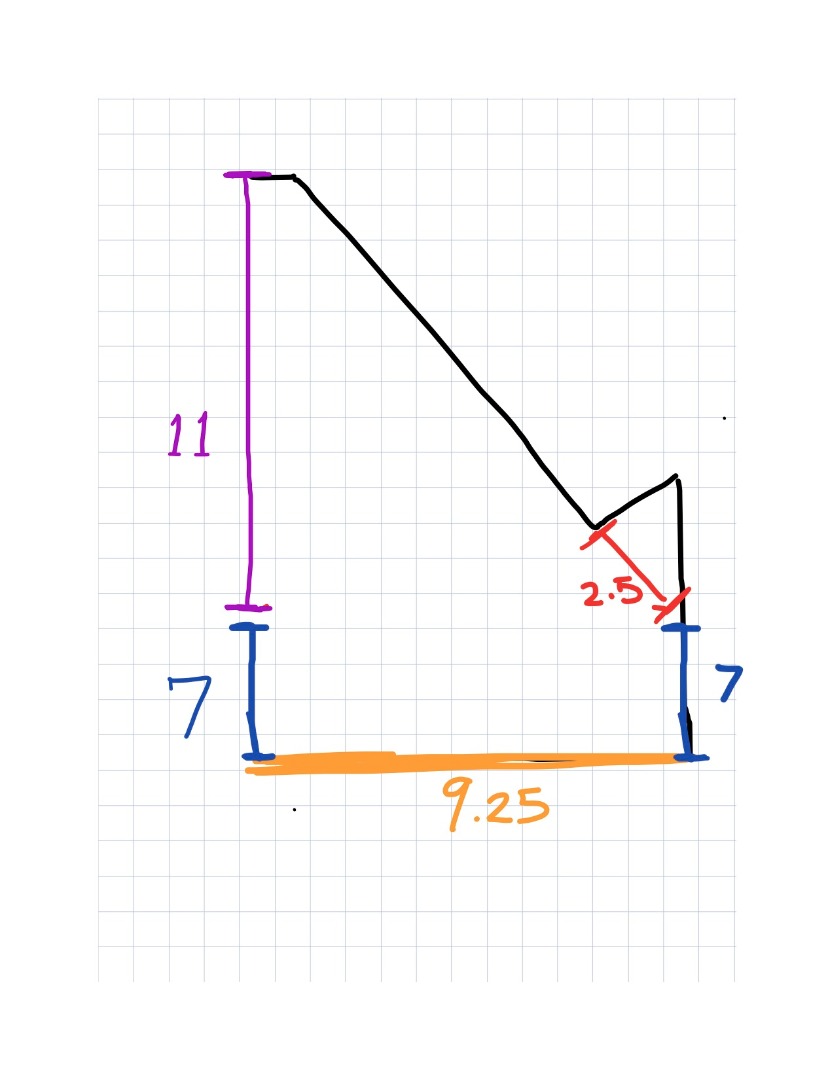
Darken all final lines with the pencil and use the jig saw to cut out the pieces. Secure pieces to a good table top with the clamps to allow for safer cuts.
I didn't include pictures to cut the front and back pieces but it's pretty self-explanatory.
Note: If using a jig saw it's good to wear eye protection.
Set It Up.
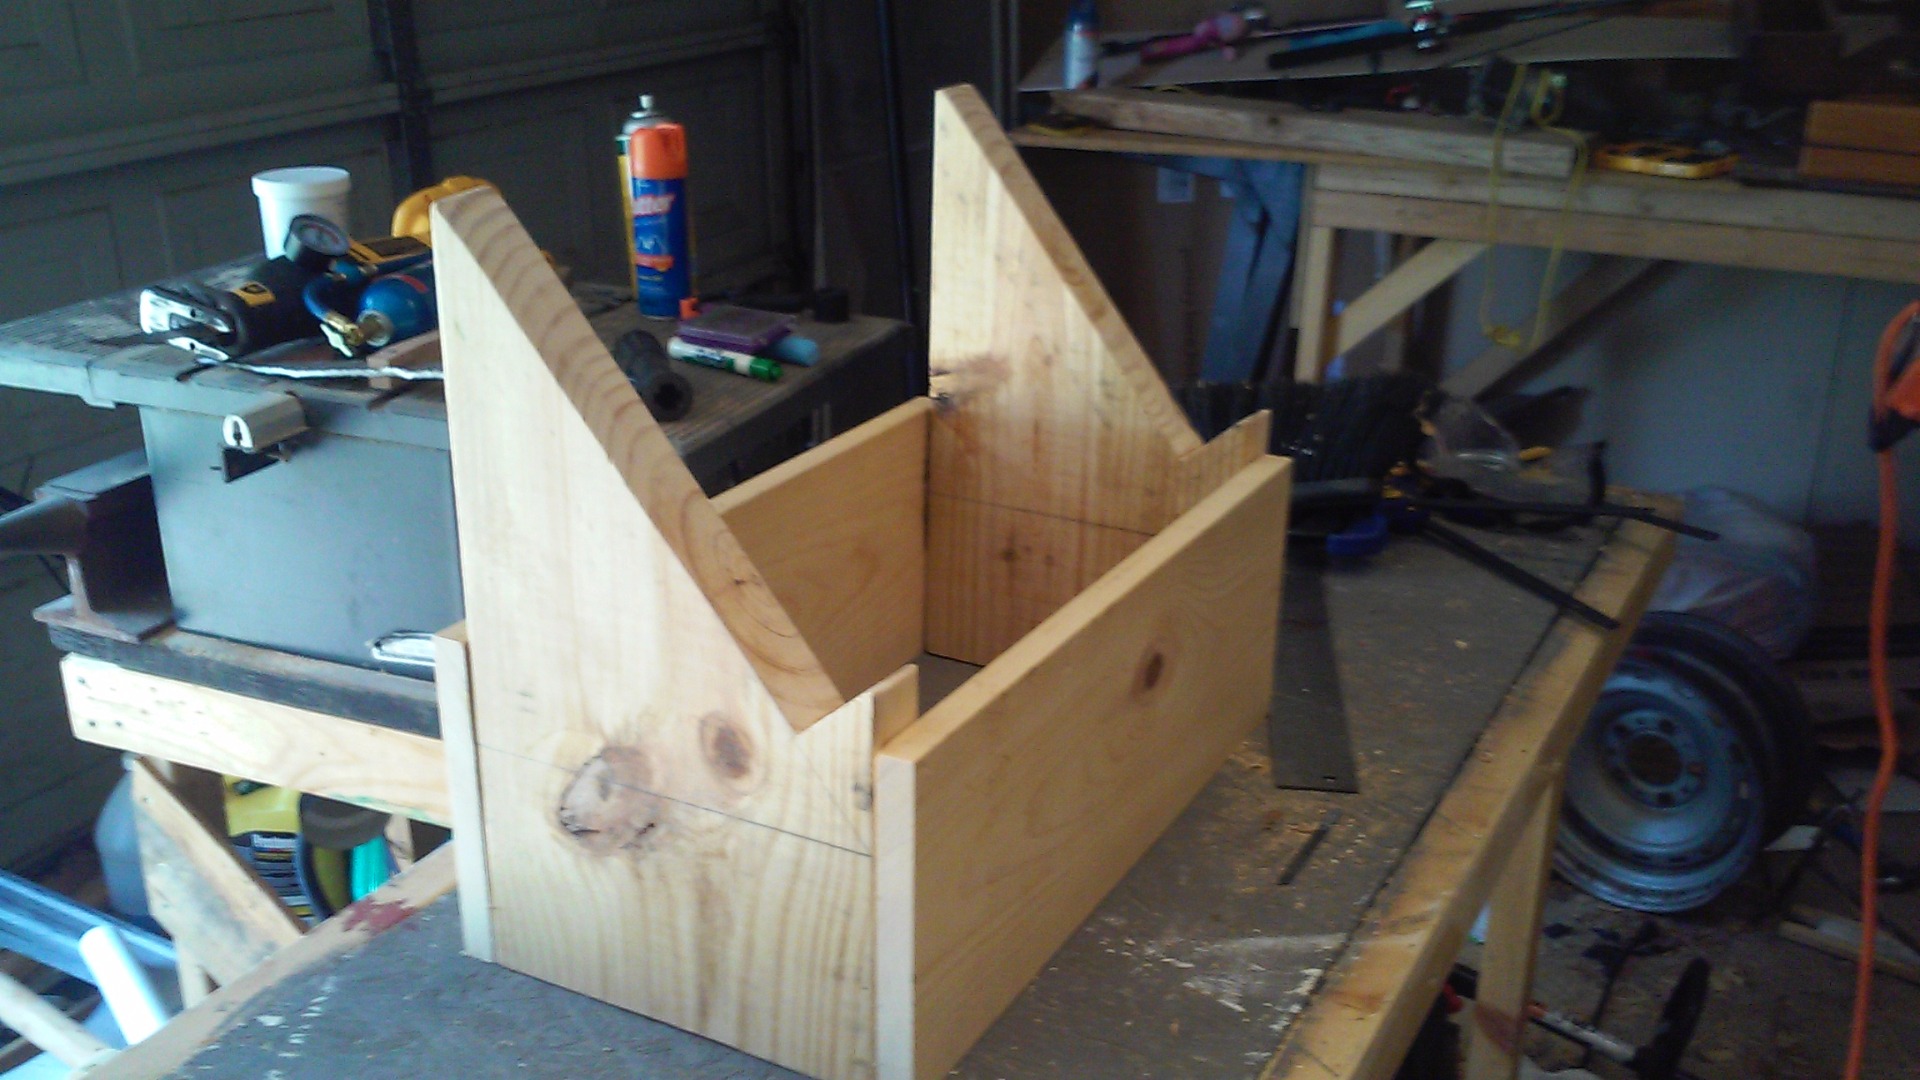
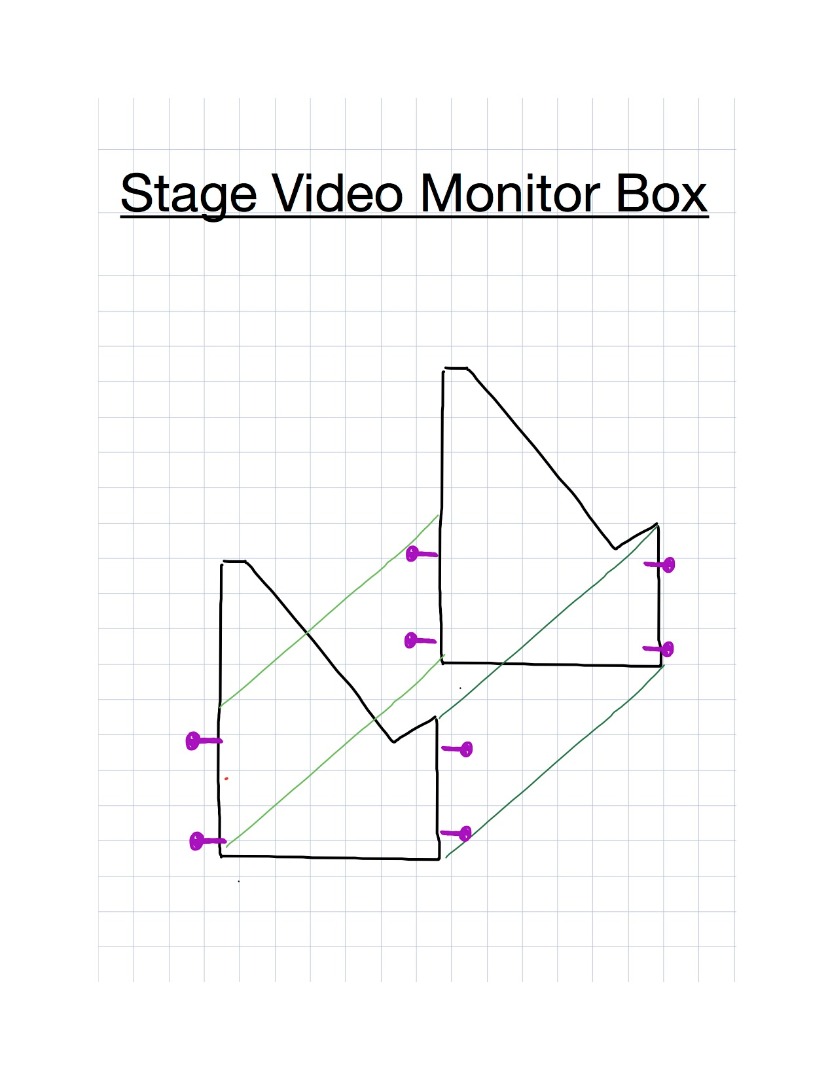
Using the clamps, setup the boards like the picture. Place the clamps so that the boards are flush, flat and square. Placing the clamps at the very top and bottom allow for pilot holes to be drilled without distorting the box.
After drilling pilot holes with the drill bit, place the screws as shown.
Sand the edges to so that the box won't chip when bumped and apply the flat black spray paint. Allow time for the paint to dry.
Note: Placing two clamps on each side relatively tight makes this much easier.
Add the Video Monitors.
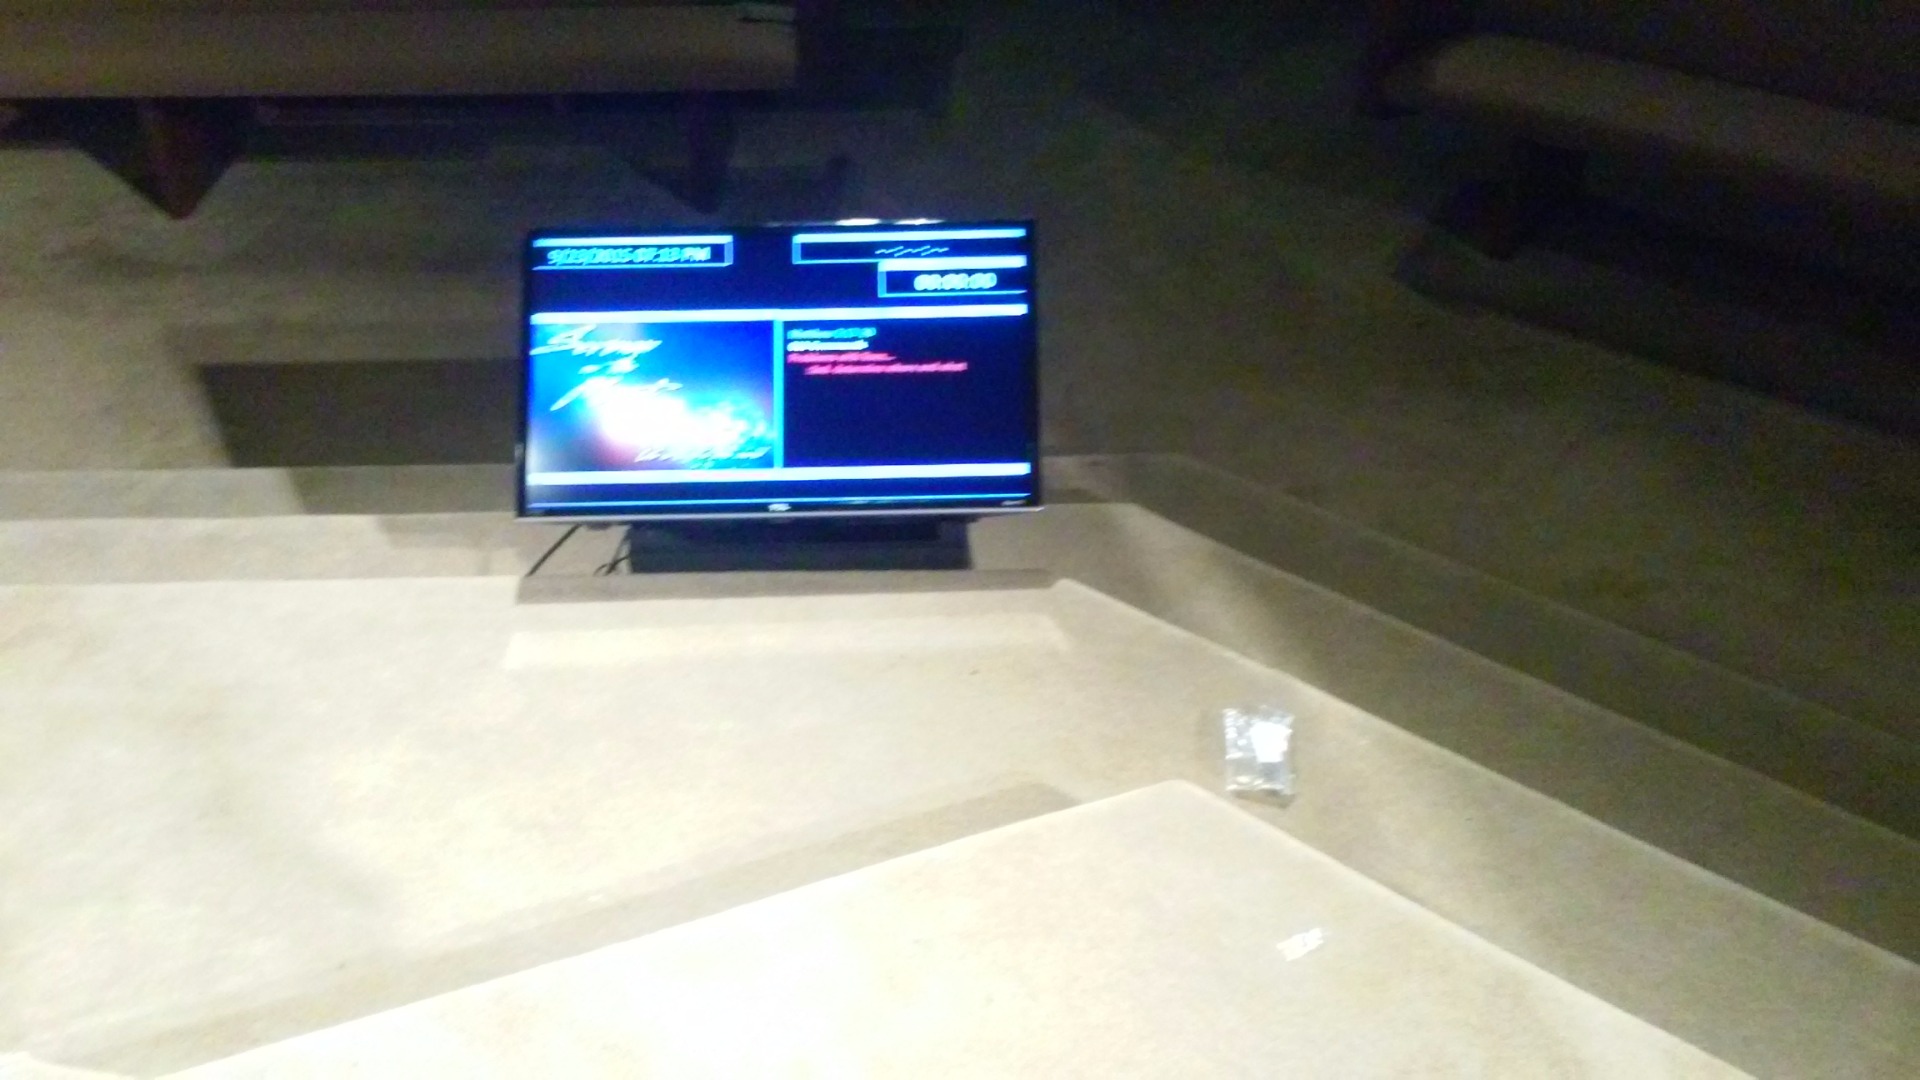
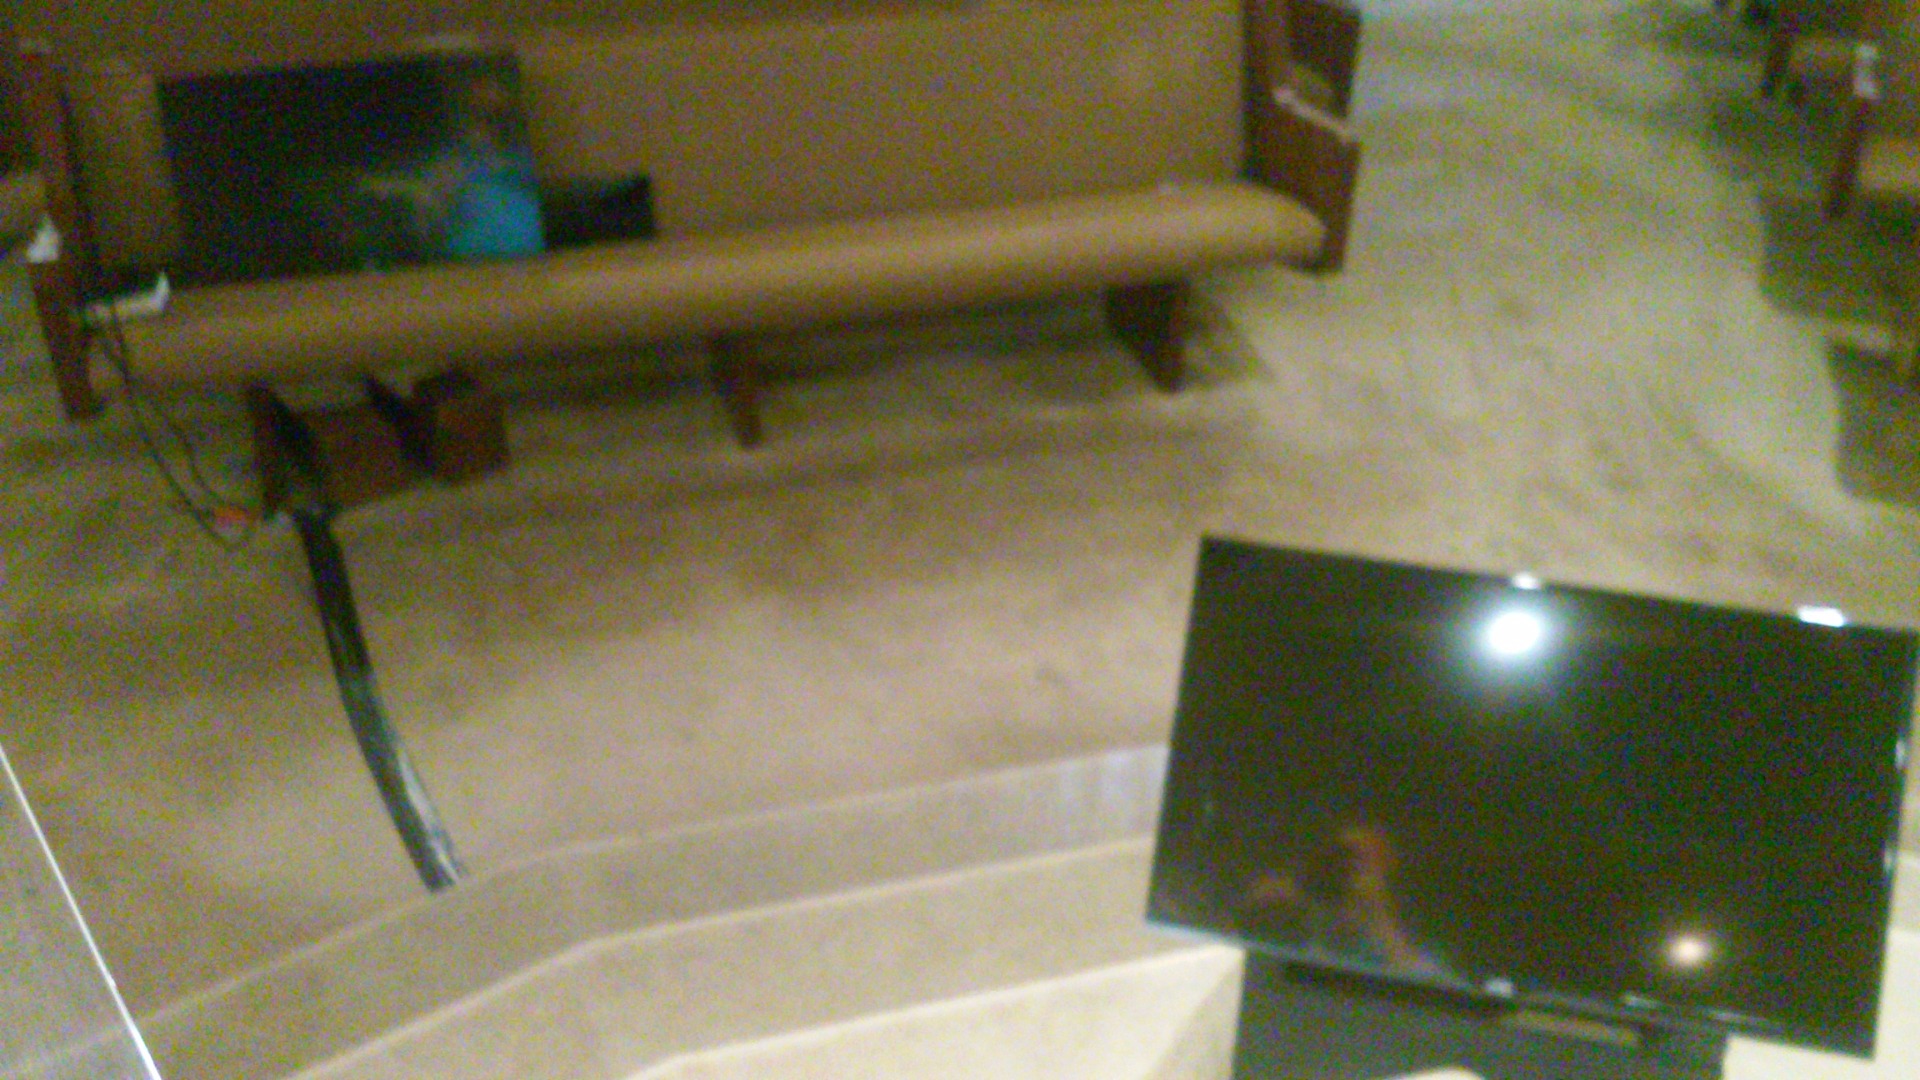


Position the monitors so that they sit in the middle of the box and set them on stage.
Now sit back and enjoy your future presentations!