Spooky Dragon Eyes From Plastic Bottles
by Randomona in Living > Halloween
6265 Views, 108 Favorites, 0 Comments
Spooky Dragon Eyes From Plastic Bottles


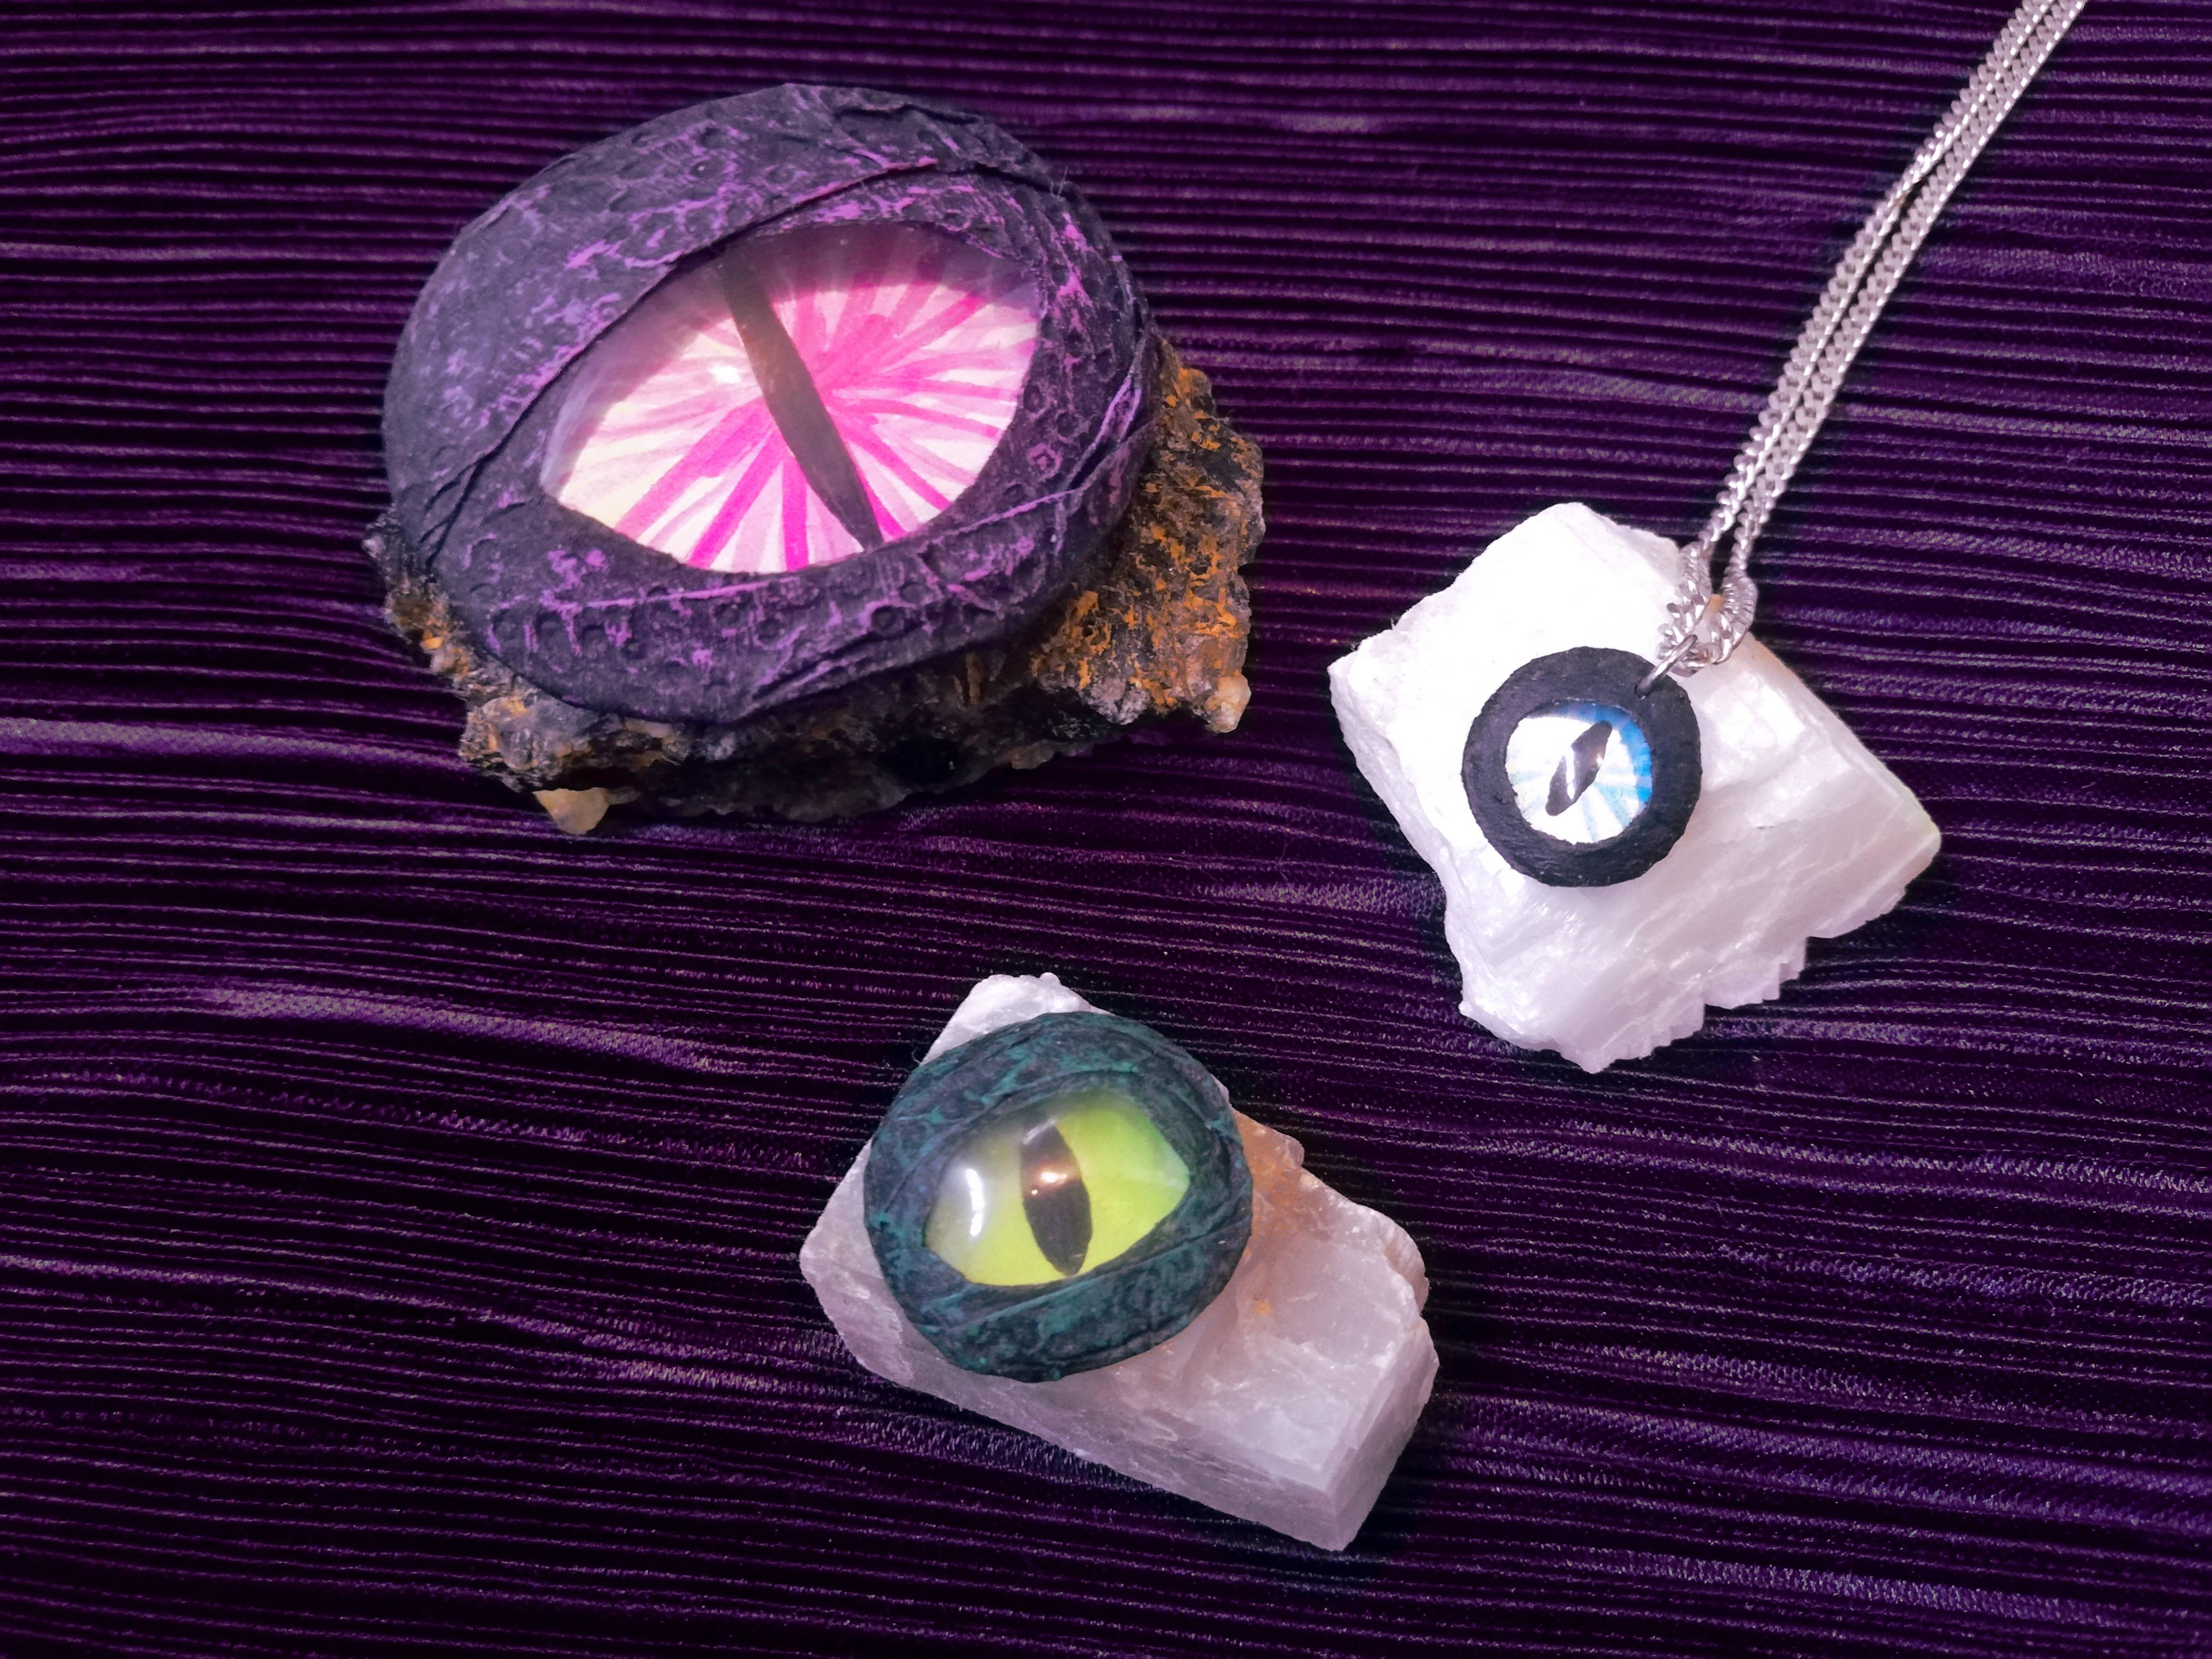

Hello guys!
Today we will make spooky dragon-like eyes that you can use for Halloween crafts, decorations, jewelry and more. And they're made from plastic bottles and soda cans, so they won't cost you much - if anything at all!
Supplies
- Plastic bottle
- Soda can
- Tape
- Paper towel or napkin
- Paint and paint brush
- School glue
Optional:
- Sharpies
- Toothpick
- Needle
Creating the Eye Lens


First, cut off the foot of a plastic bottle and try to make it as symmetrical and flat as possible in order to create a plastic dome - i.e. the eye lens!
For bigger eyes, you can also find other round parts on your plastic bottle - normally the top parts of bottles have curved bits that work well for that. As long as the plastic is even a tiny bit domed, it will create the effect that we want!
Creating the Iris


Next, you'll need to cut a piece of a soda can so it fits right under the plastic dome. You can find nice colors on the outside or use the silver inside. Straighten the metal with a round object like a pen.
More Iris Techniques

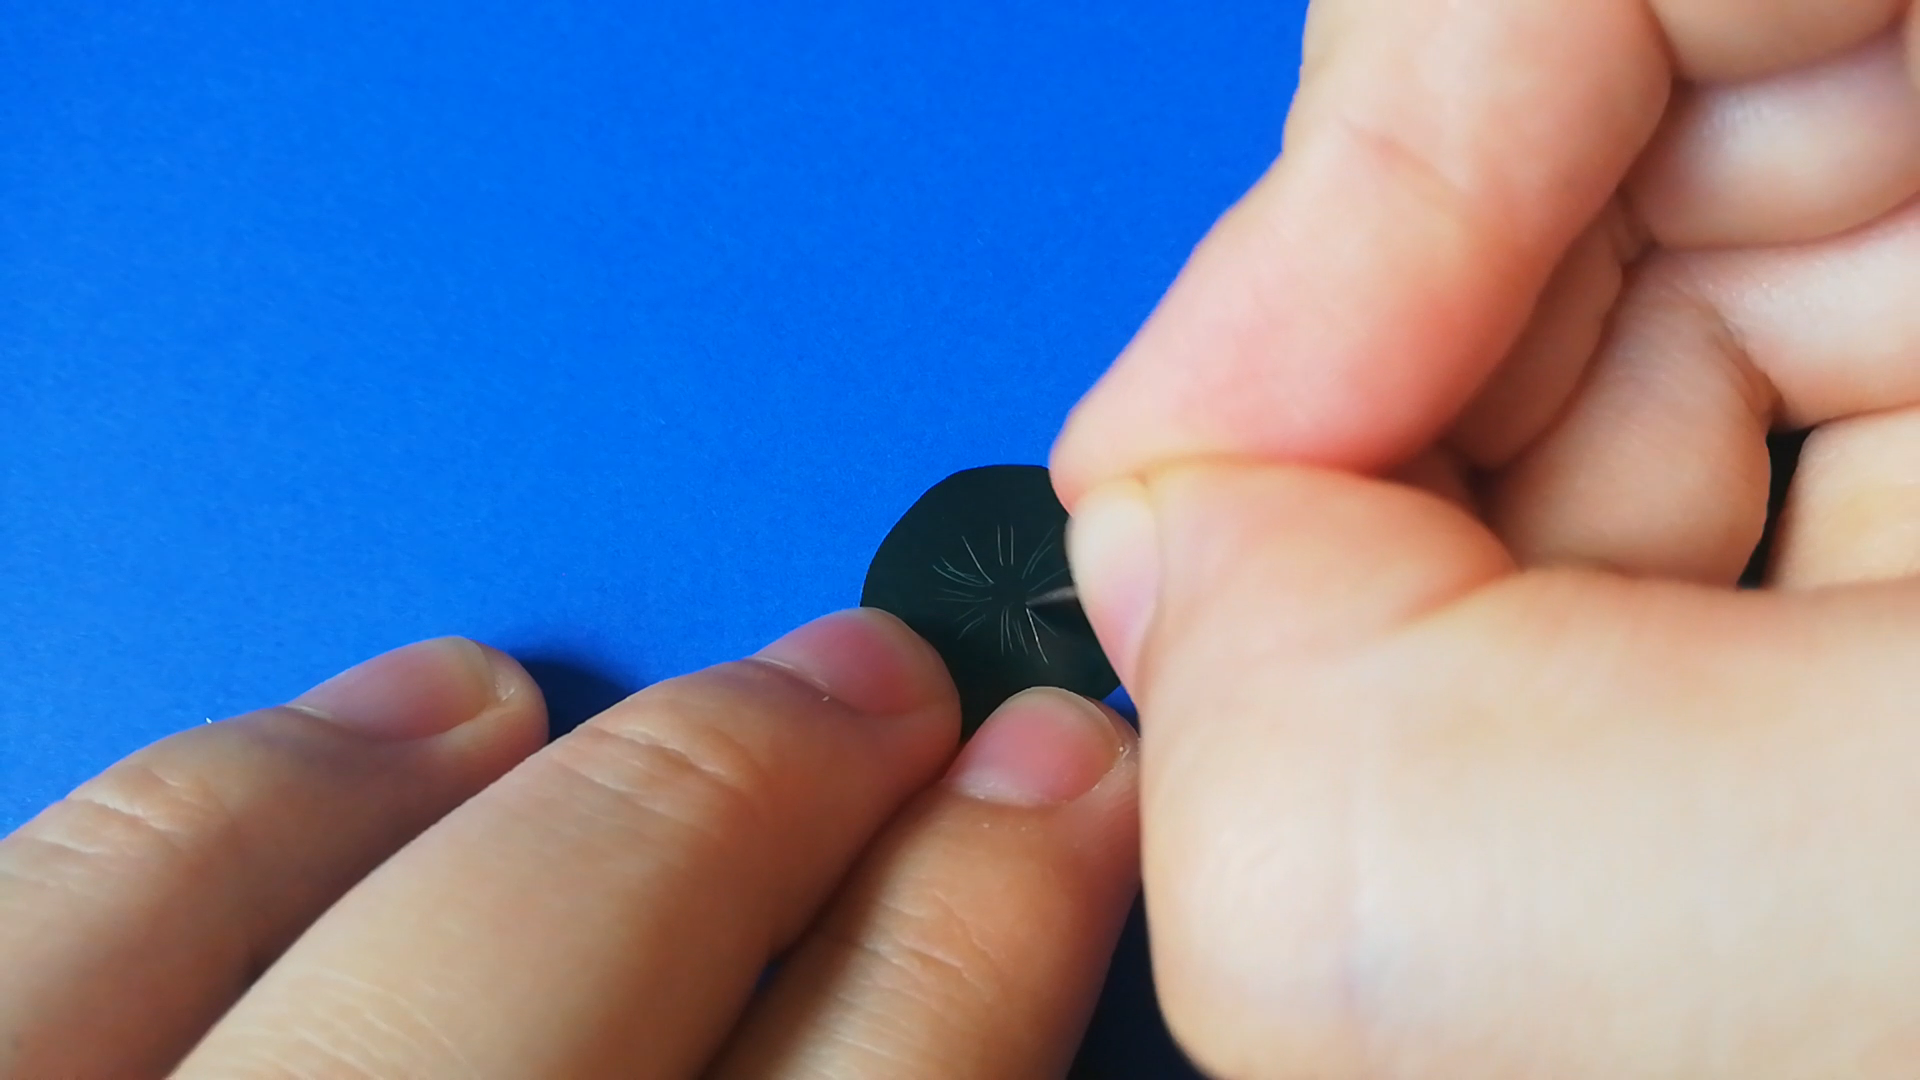


You can also use Sharpies to make the iris colorful.
Another technique that I recommend on dark colors: Use a needle to scratch lines on the metal - it will make the pupil pop and also creates a beautiful and realistic effect!
Creating the Pupil


For the pupil I use black acrylic paint since it is matte and opaque. I like to paint it on the metal, but you could also paint it inside the plastic dome.
Pupil on metal: creates an effect where the eyes follow you a bit
Pupil on plastic: the pupil stands out and looks even more creepy to me, but it will cast a shadow which is less realistic
Taping
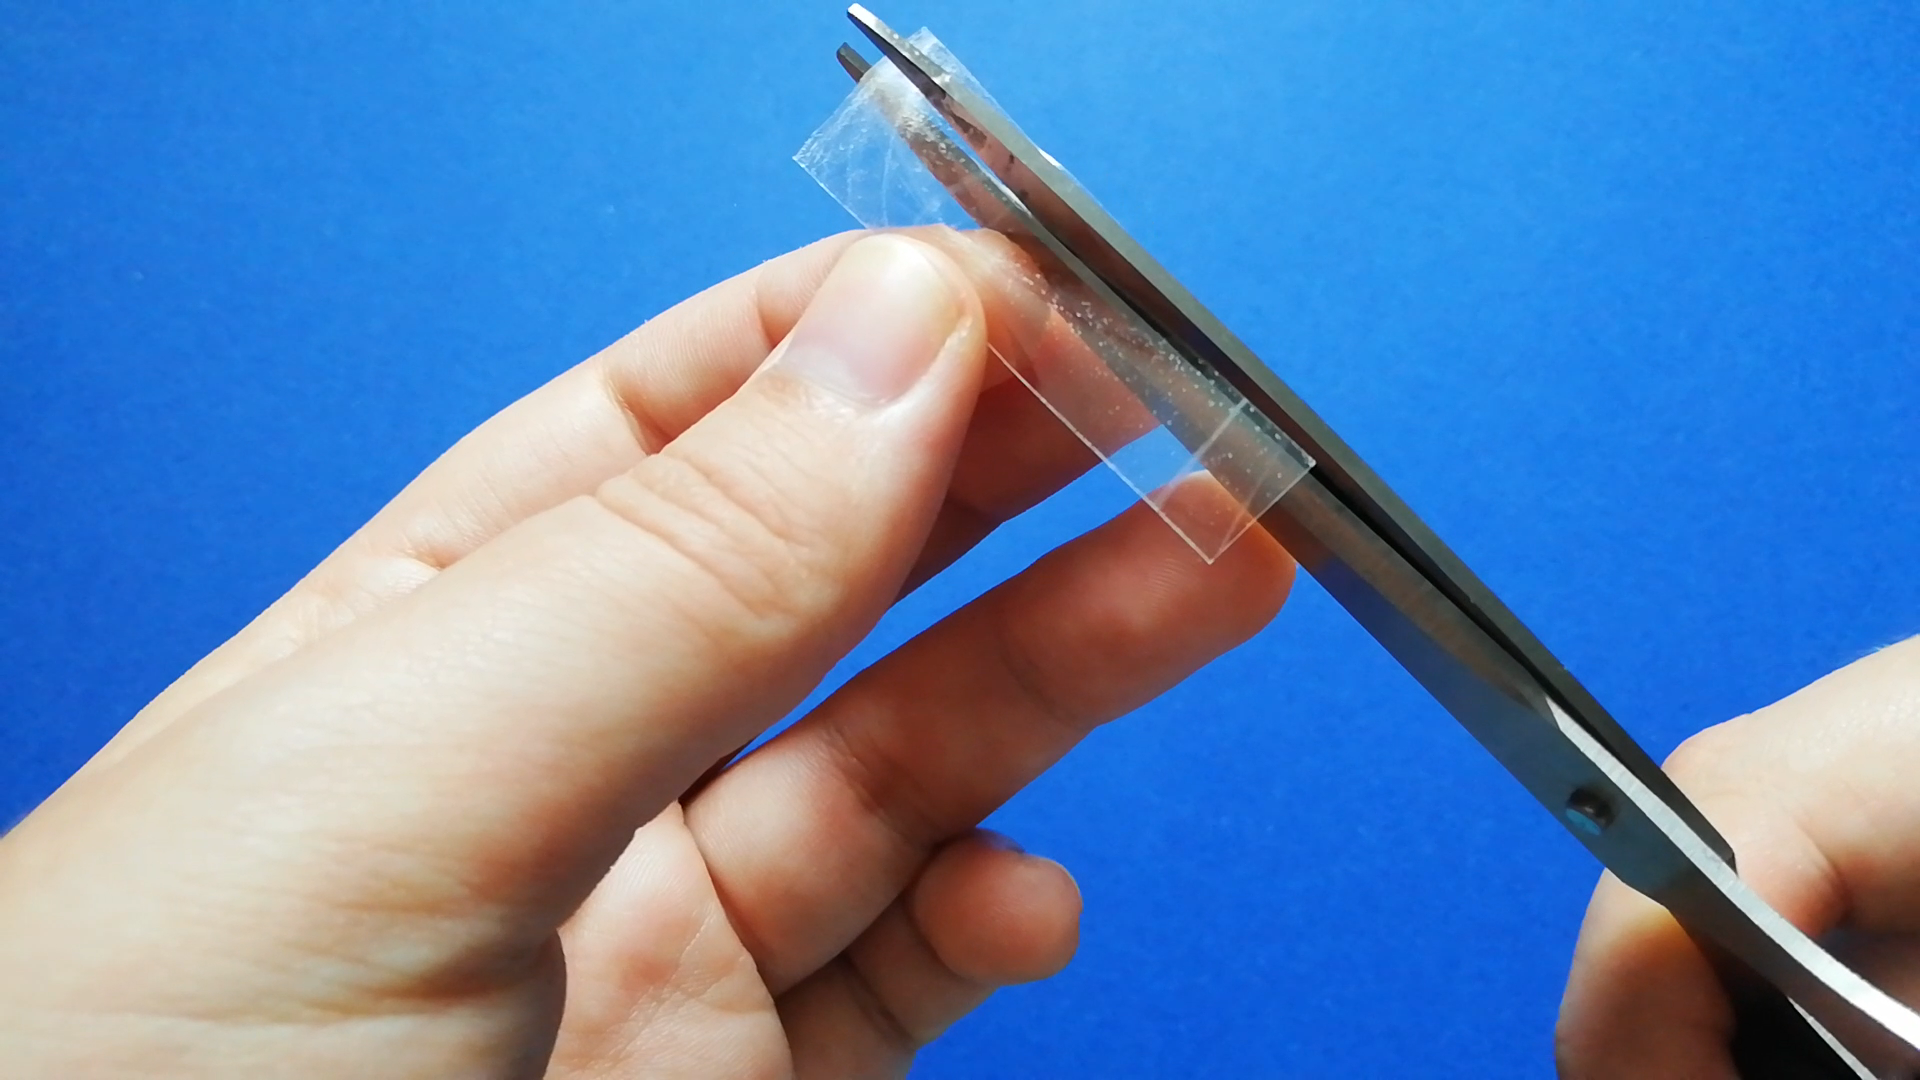


Now you can assemble everything with thin strips of tape (I take a normal sized tape and cut it into 4 strips). I put the tape about where the eyelids will be.
Making the Eyelids

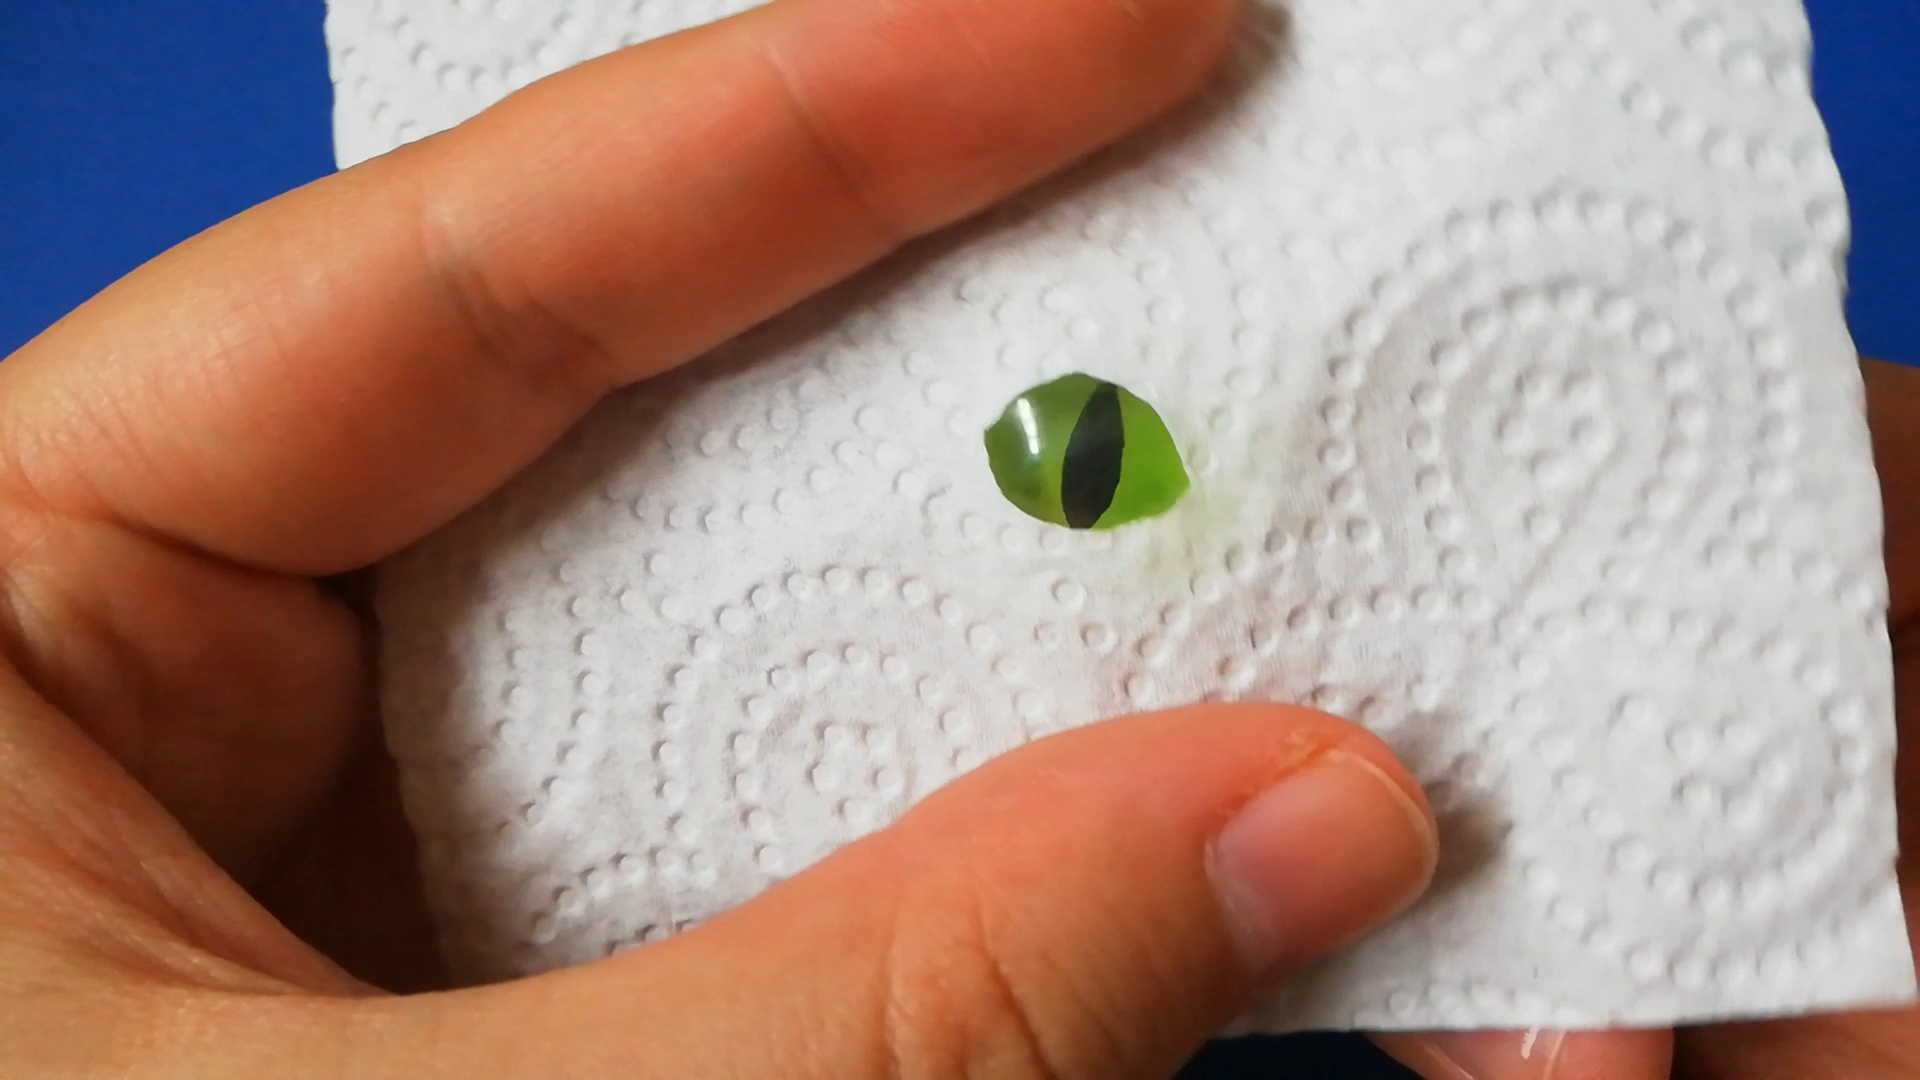

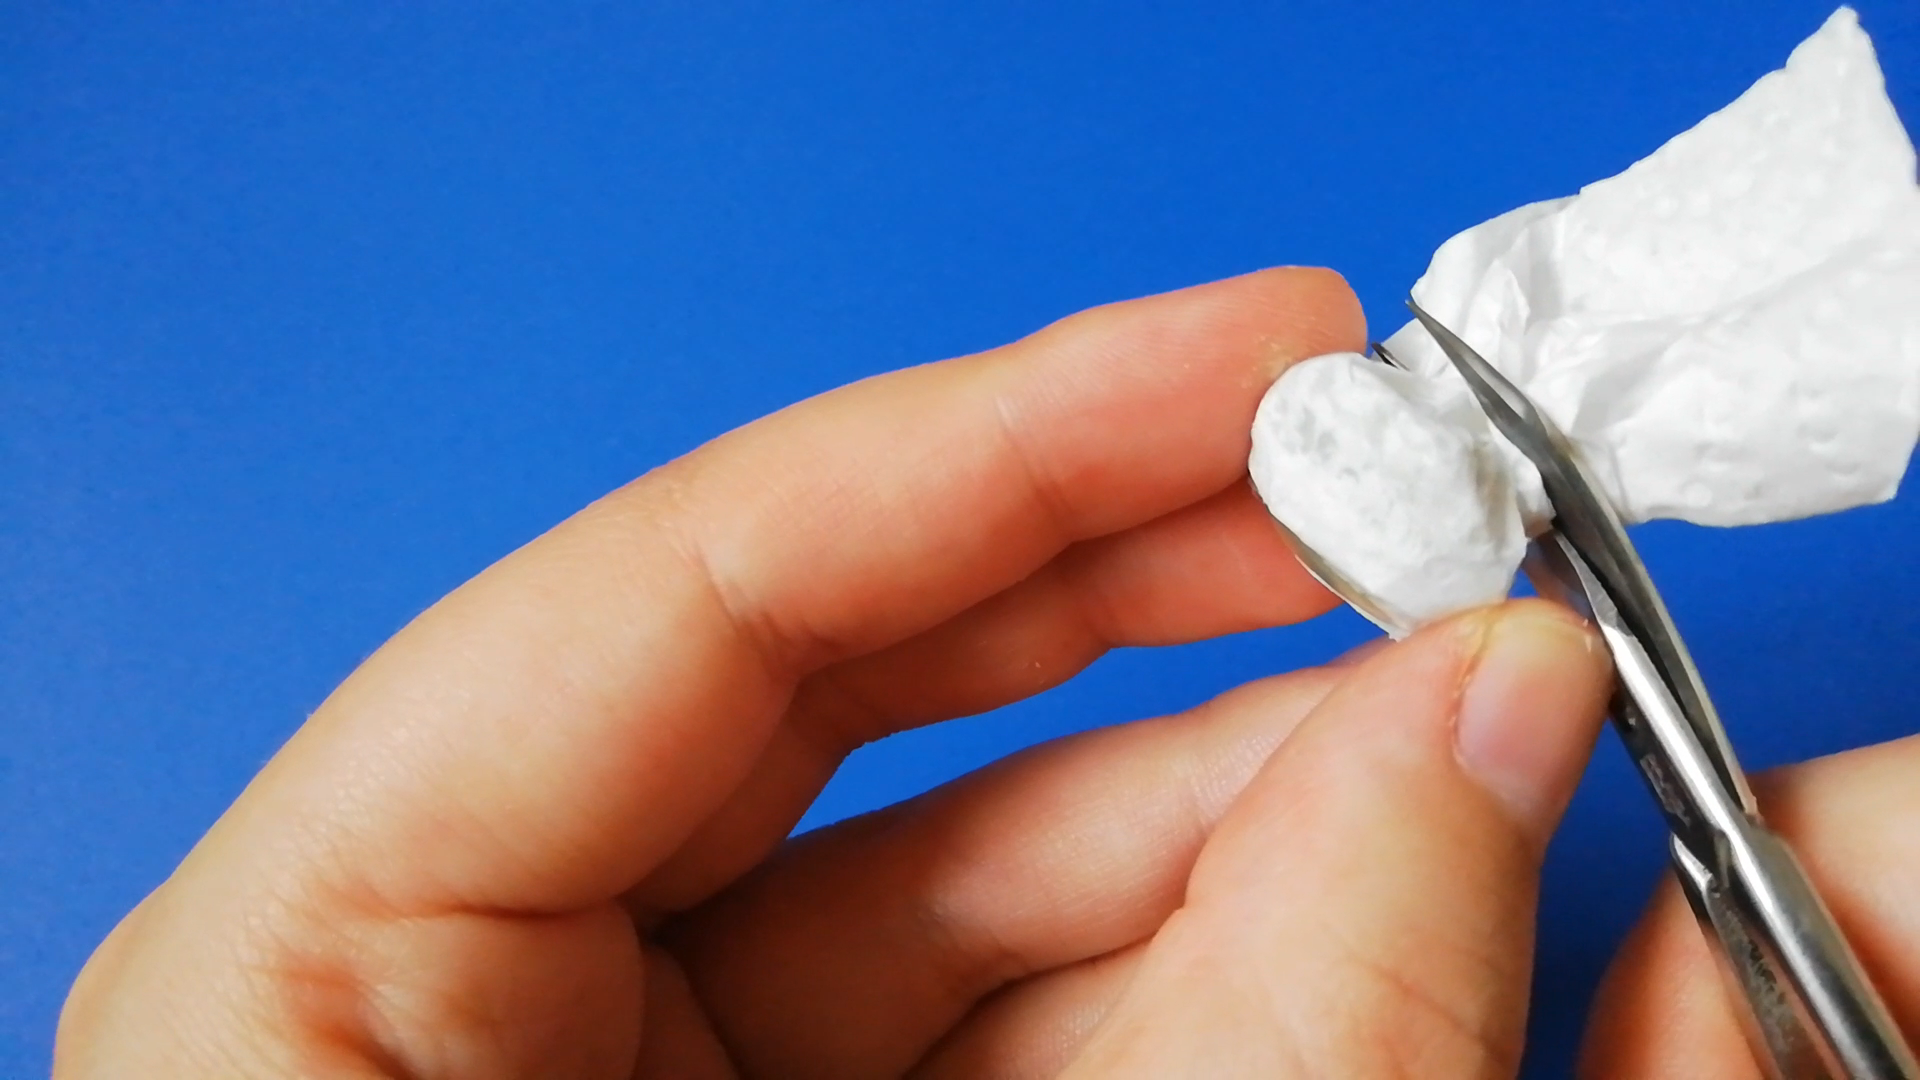


To make the eyelids, you can use a paper towel or a napkin - the thicker it is, the better it works for making eyelid folds.
Cut an eye shaped hole into it and see how big you want it to be. Then apply glue with your finger or a brush and stick it to the eye. If you want, you can create folds to make the lids more realistic. Then trim the paper towel and glue the rest to the backside.
Painting the Eyelids


Now it's time to paint the eyelids! Whatever paint you use, make sure the paint is not too wet.
I like to paint on a second color with a dry brush and only a tiny bit of paint for some more dimension.
And if you get any paint on the eye apple, you can easily scratch it off with a toothpick once it's dry (it's kinda satisfying :p)
The Eyes in Use
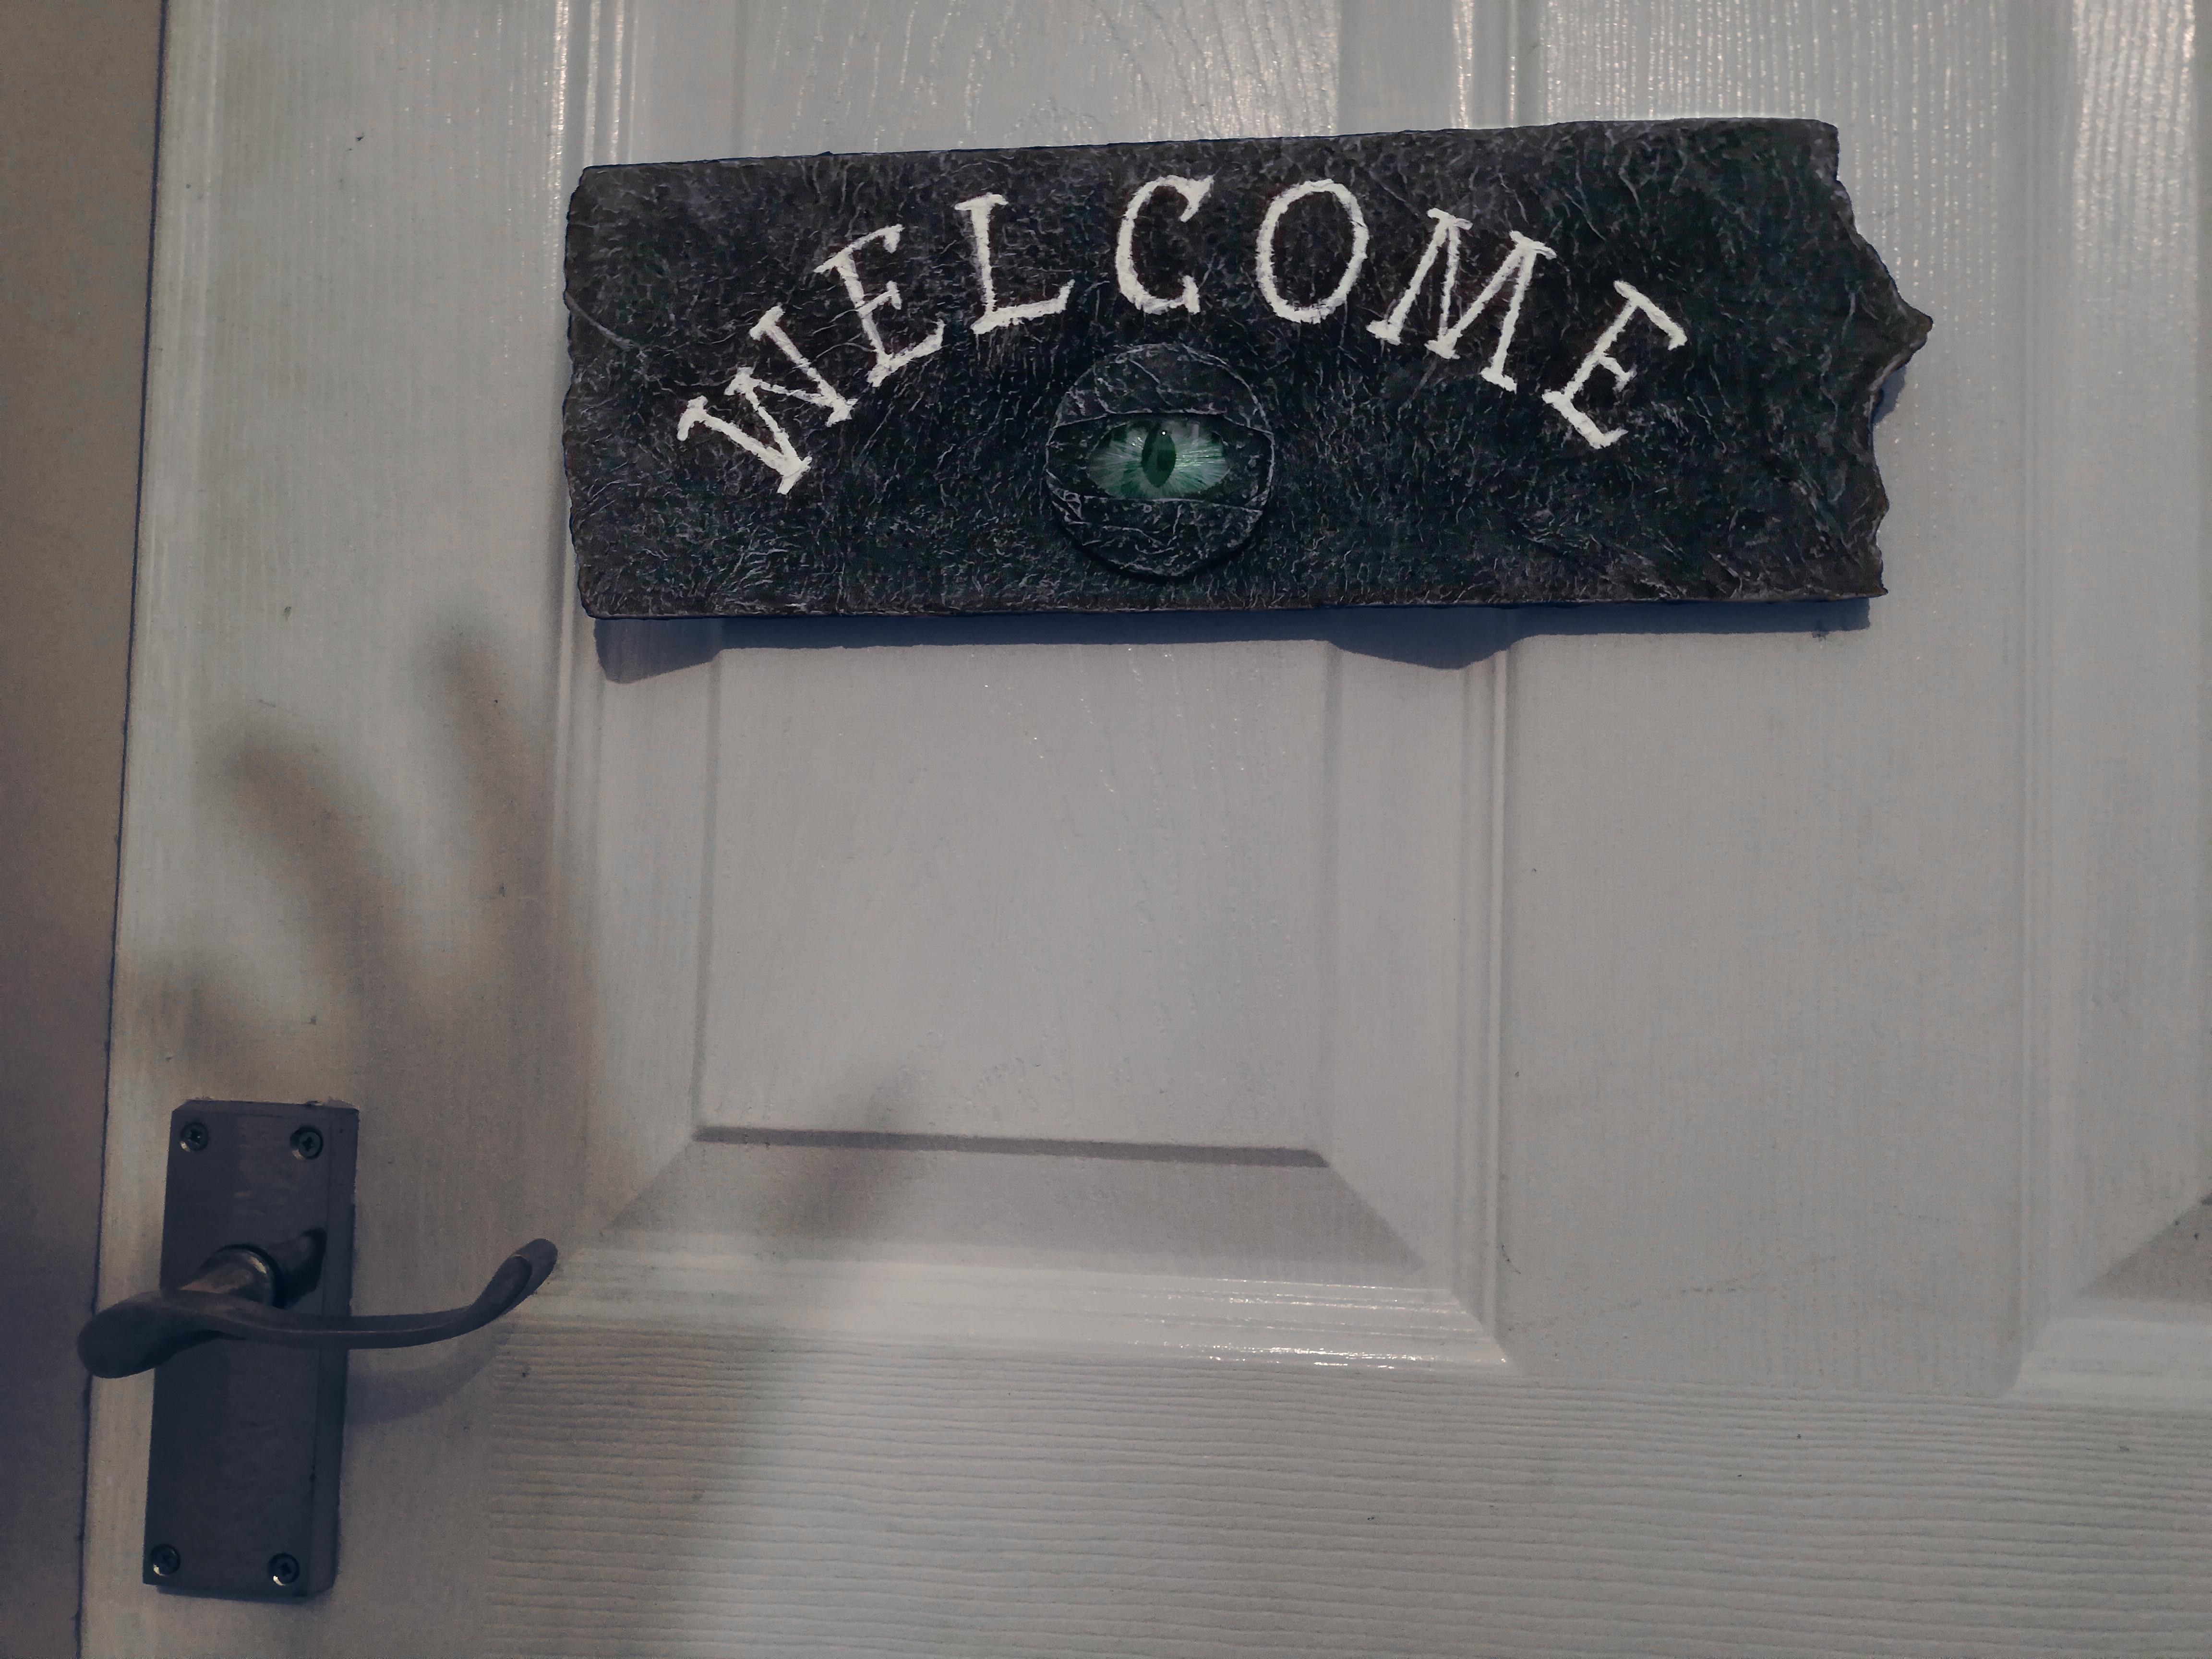

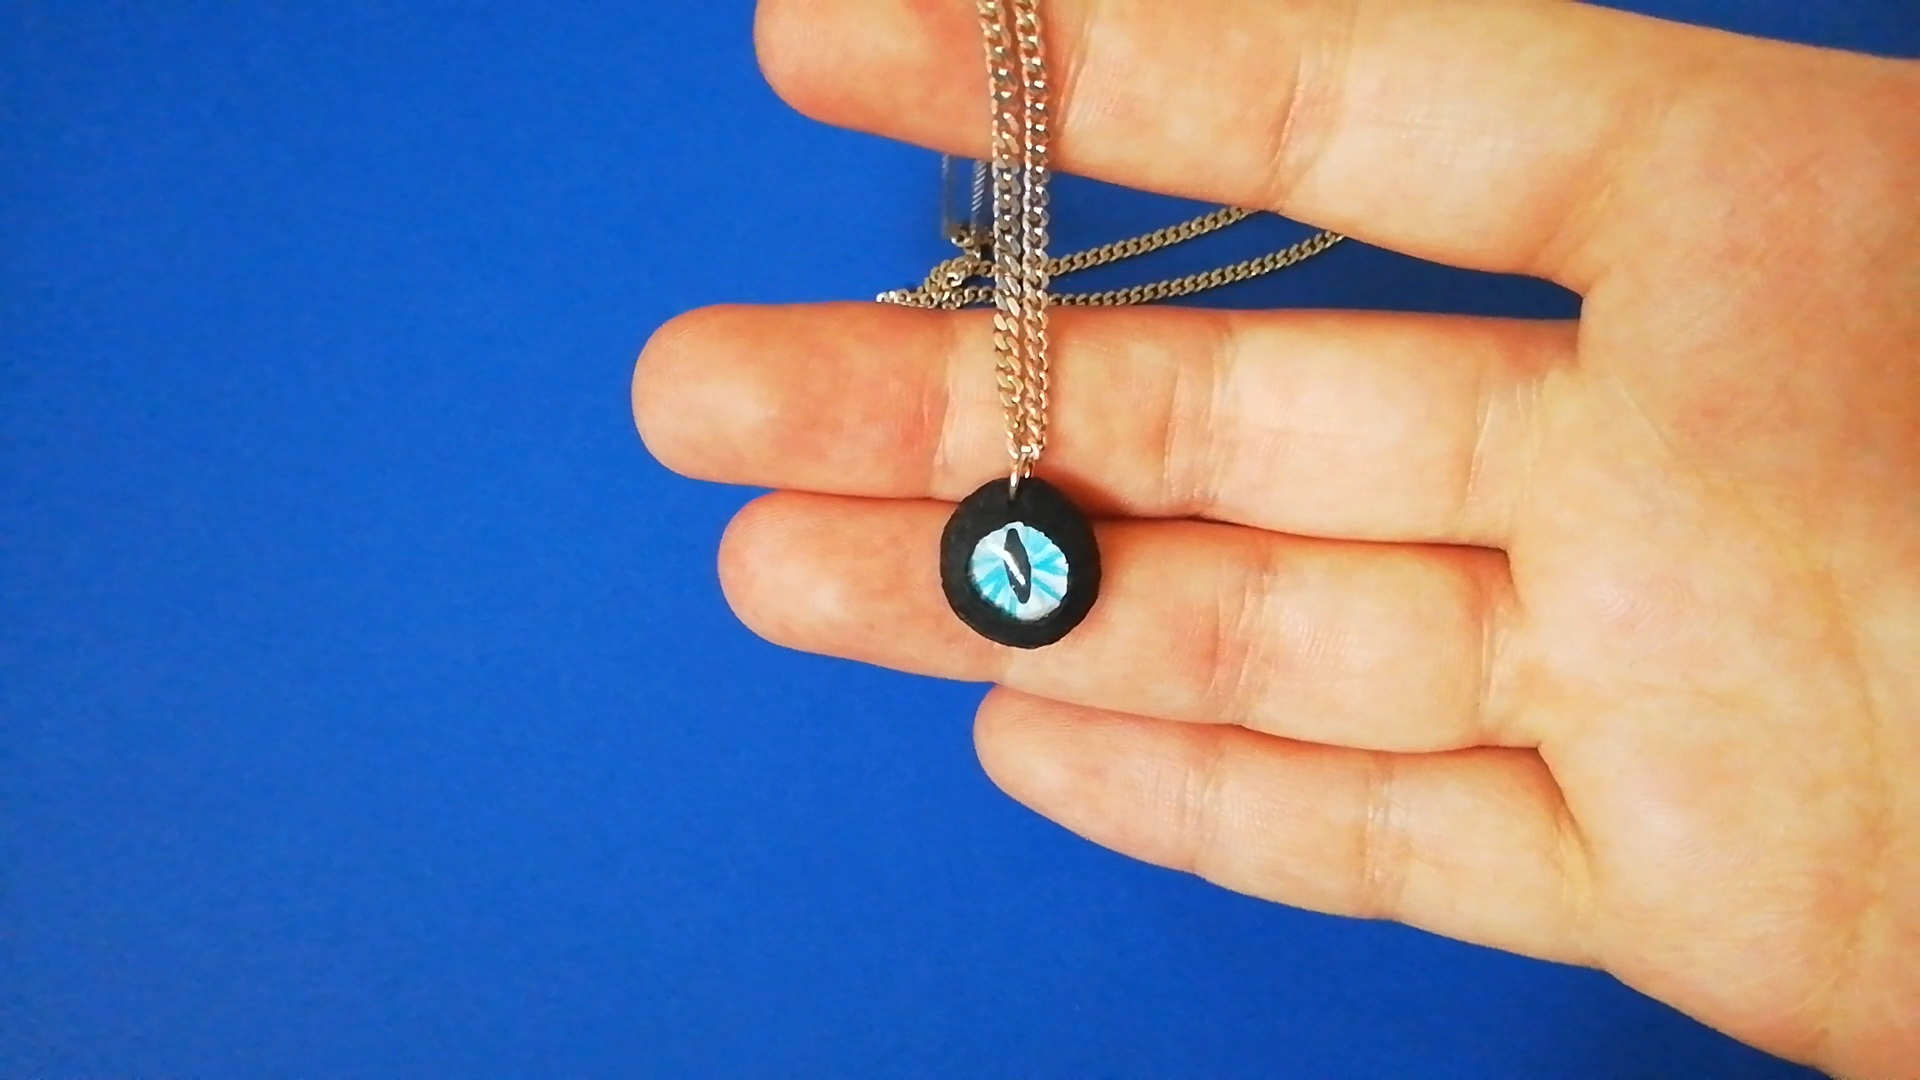

The eyes can be used for many things:
- The door sign is made from styrofoam and coated with napkins and paint. I matched it with the eye that I put on it.
- Fot the bottle I attached the eye first and then covered the rest with napkins and paint.
- Poke a hole in the eye (ouch) and make jewelry!
More ideas:
- Put an eye on a book
- Use the eyes in masks for costumes
- What would you do with the eyes?