Split Photography With an Analog Camera
by derte84 in Circuits > Cameras
5944 Views, 8 Favorites, 0 Comments
Split Photography With an Analog Camera
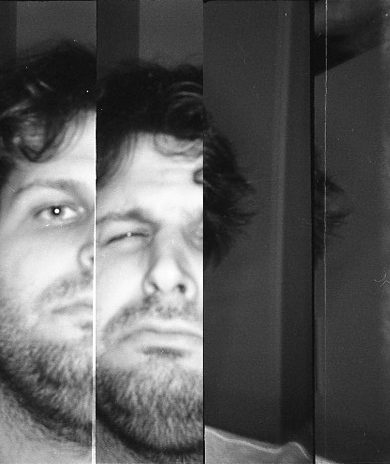
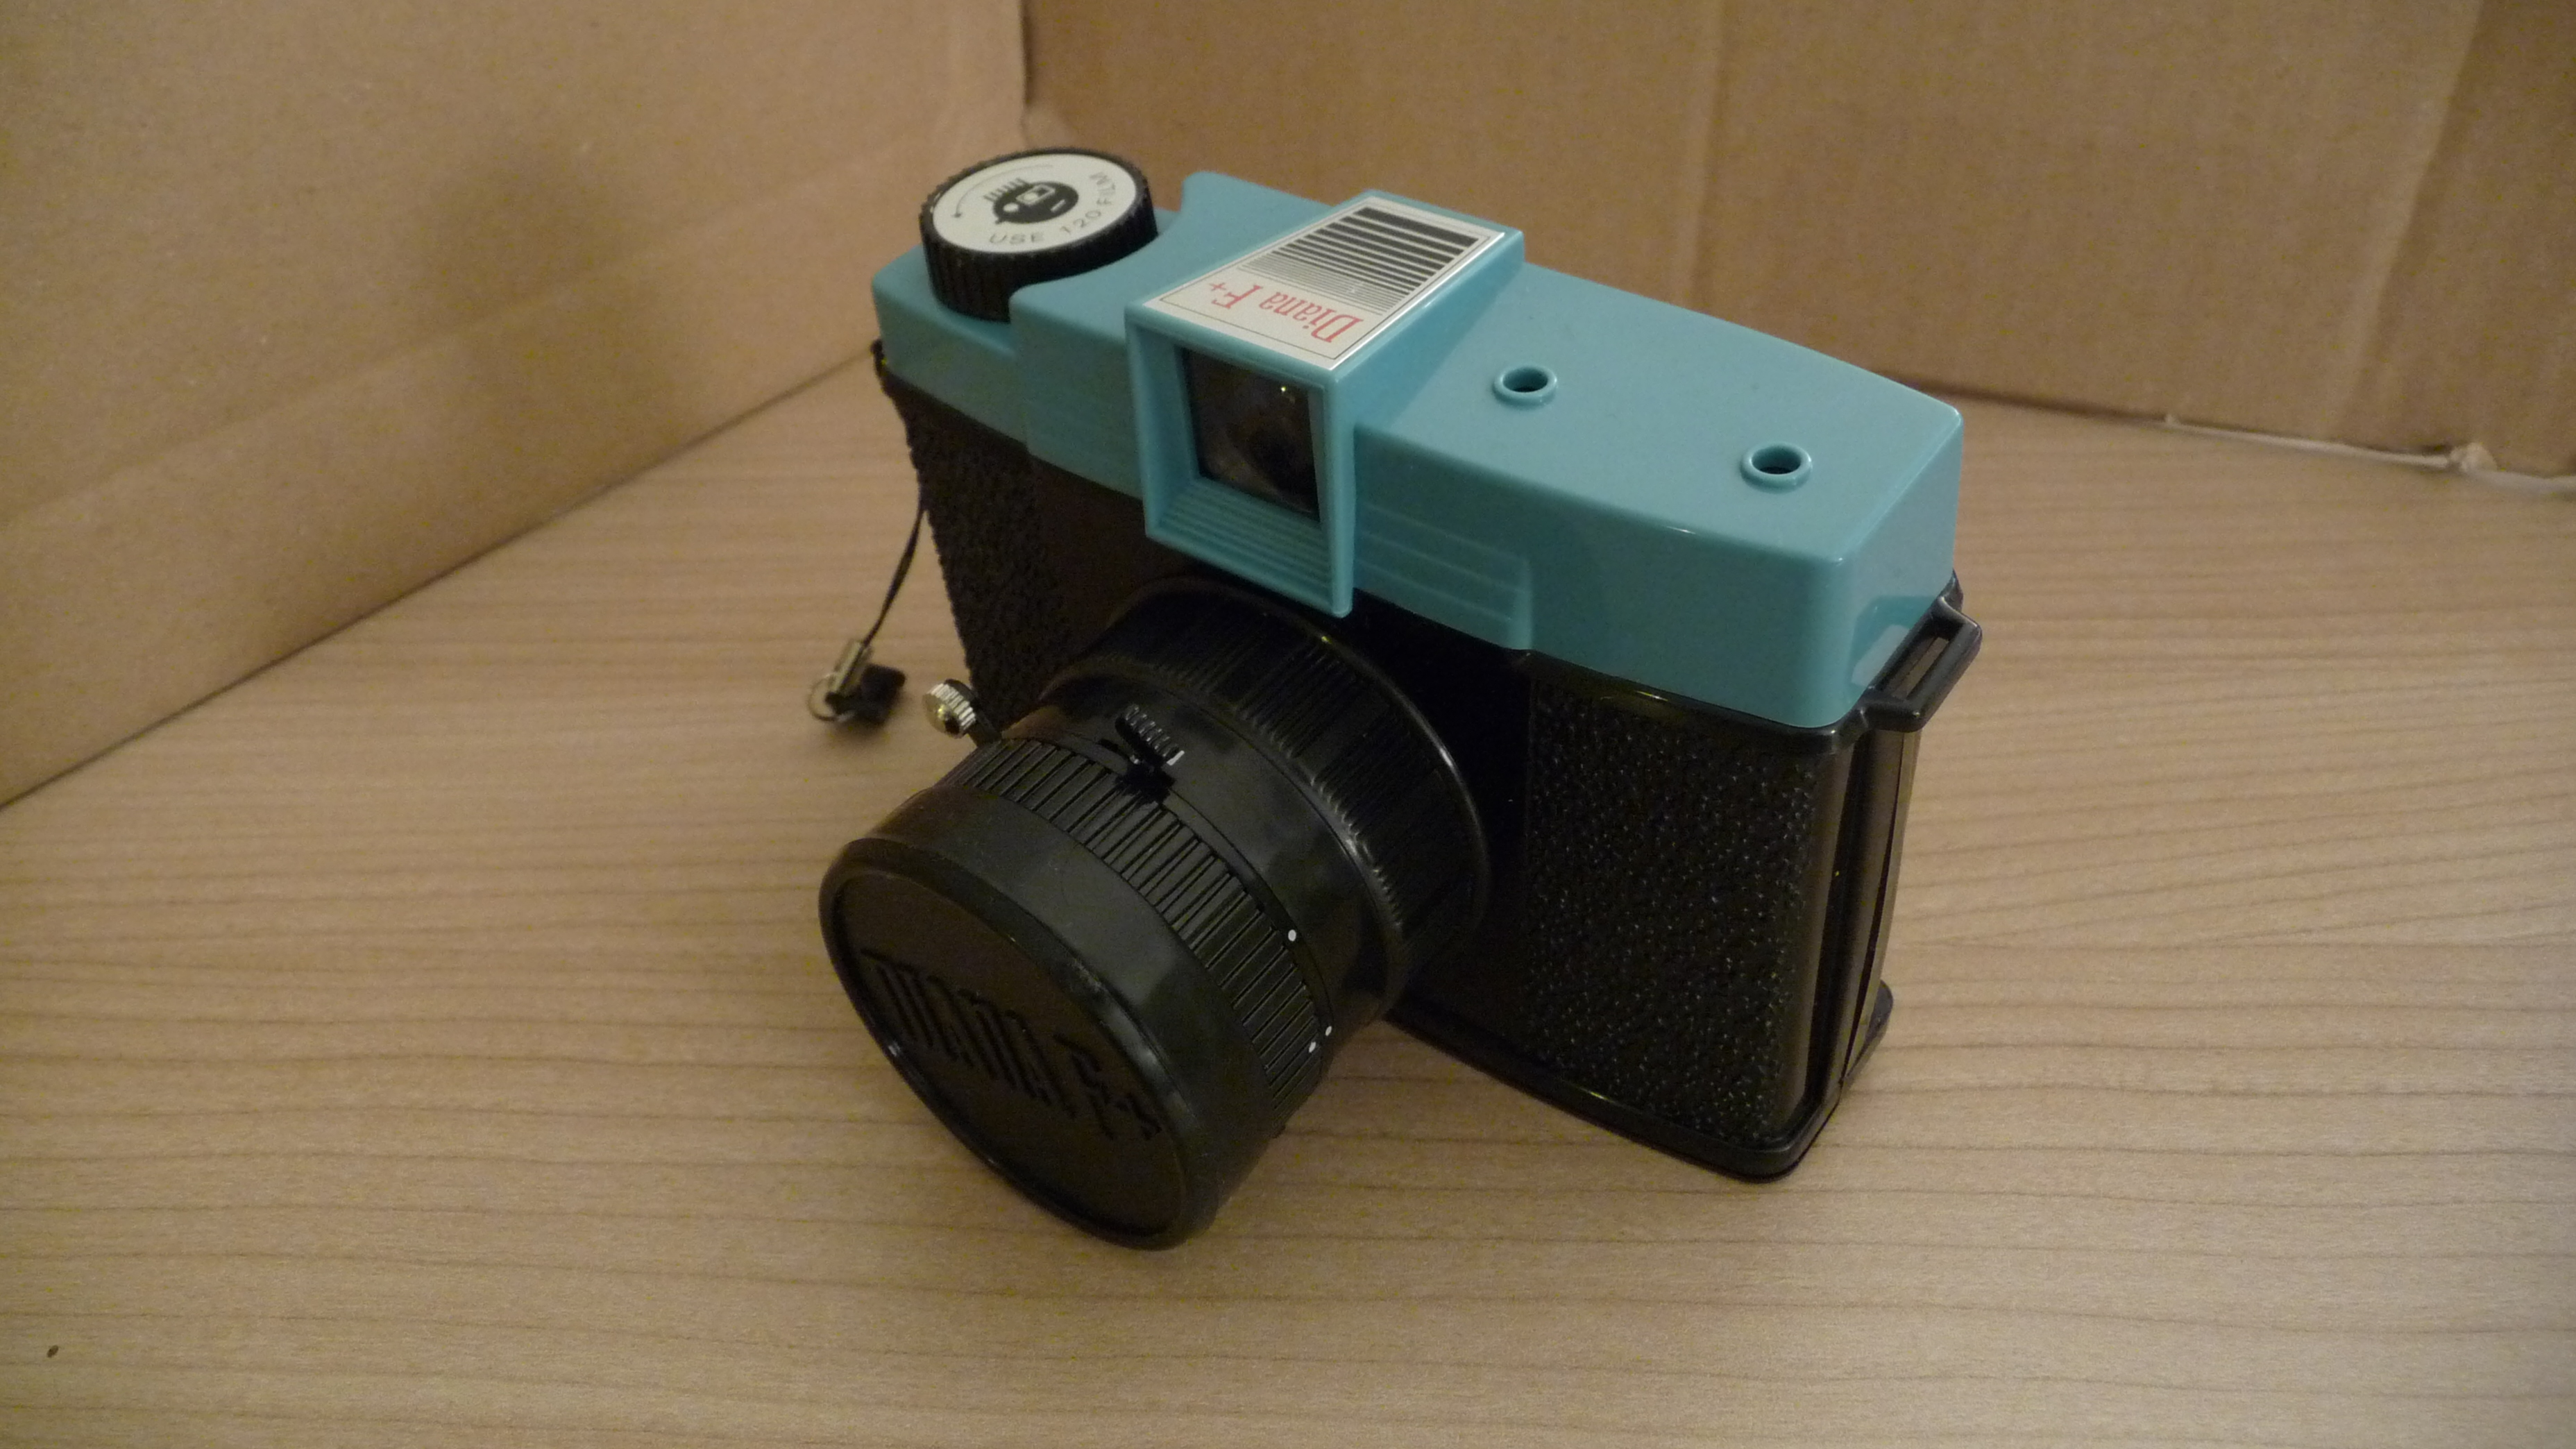
In this instructable, I'll show you how to (temporary) modify an analogic camera (I used a Diana F+) in order to take some beautiful split photos.
A split photo is composed of 2 different photos merged together. The split wil be made by 4 vertical interleaved bars
Cut the Mask
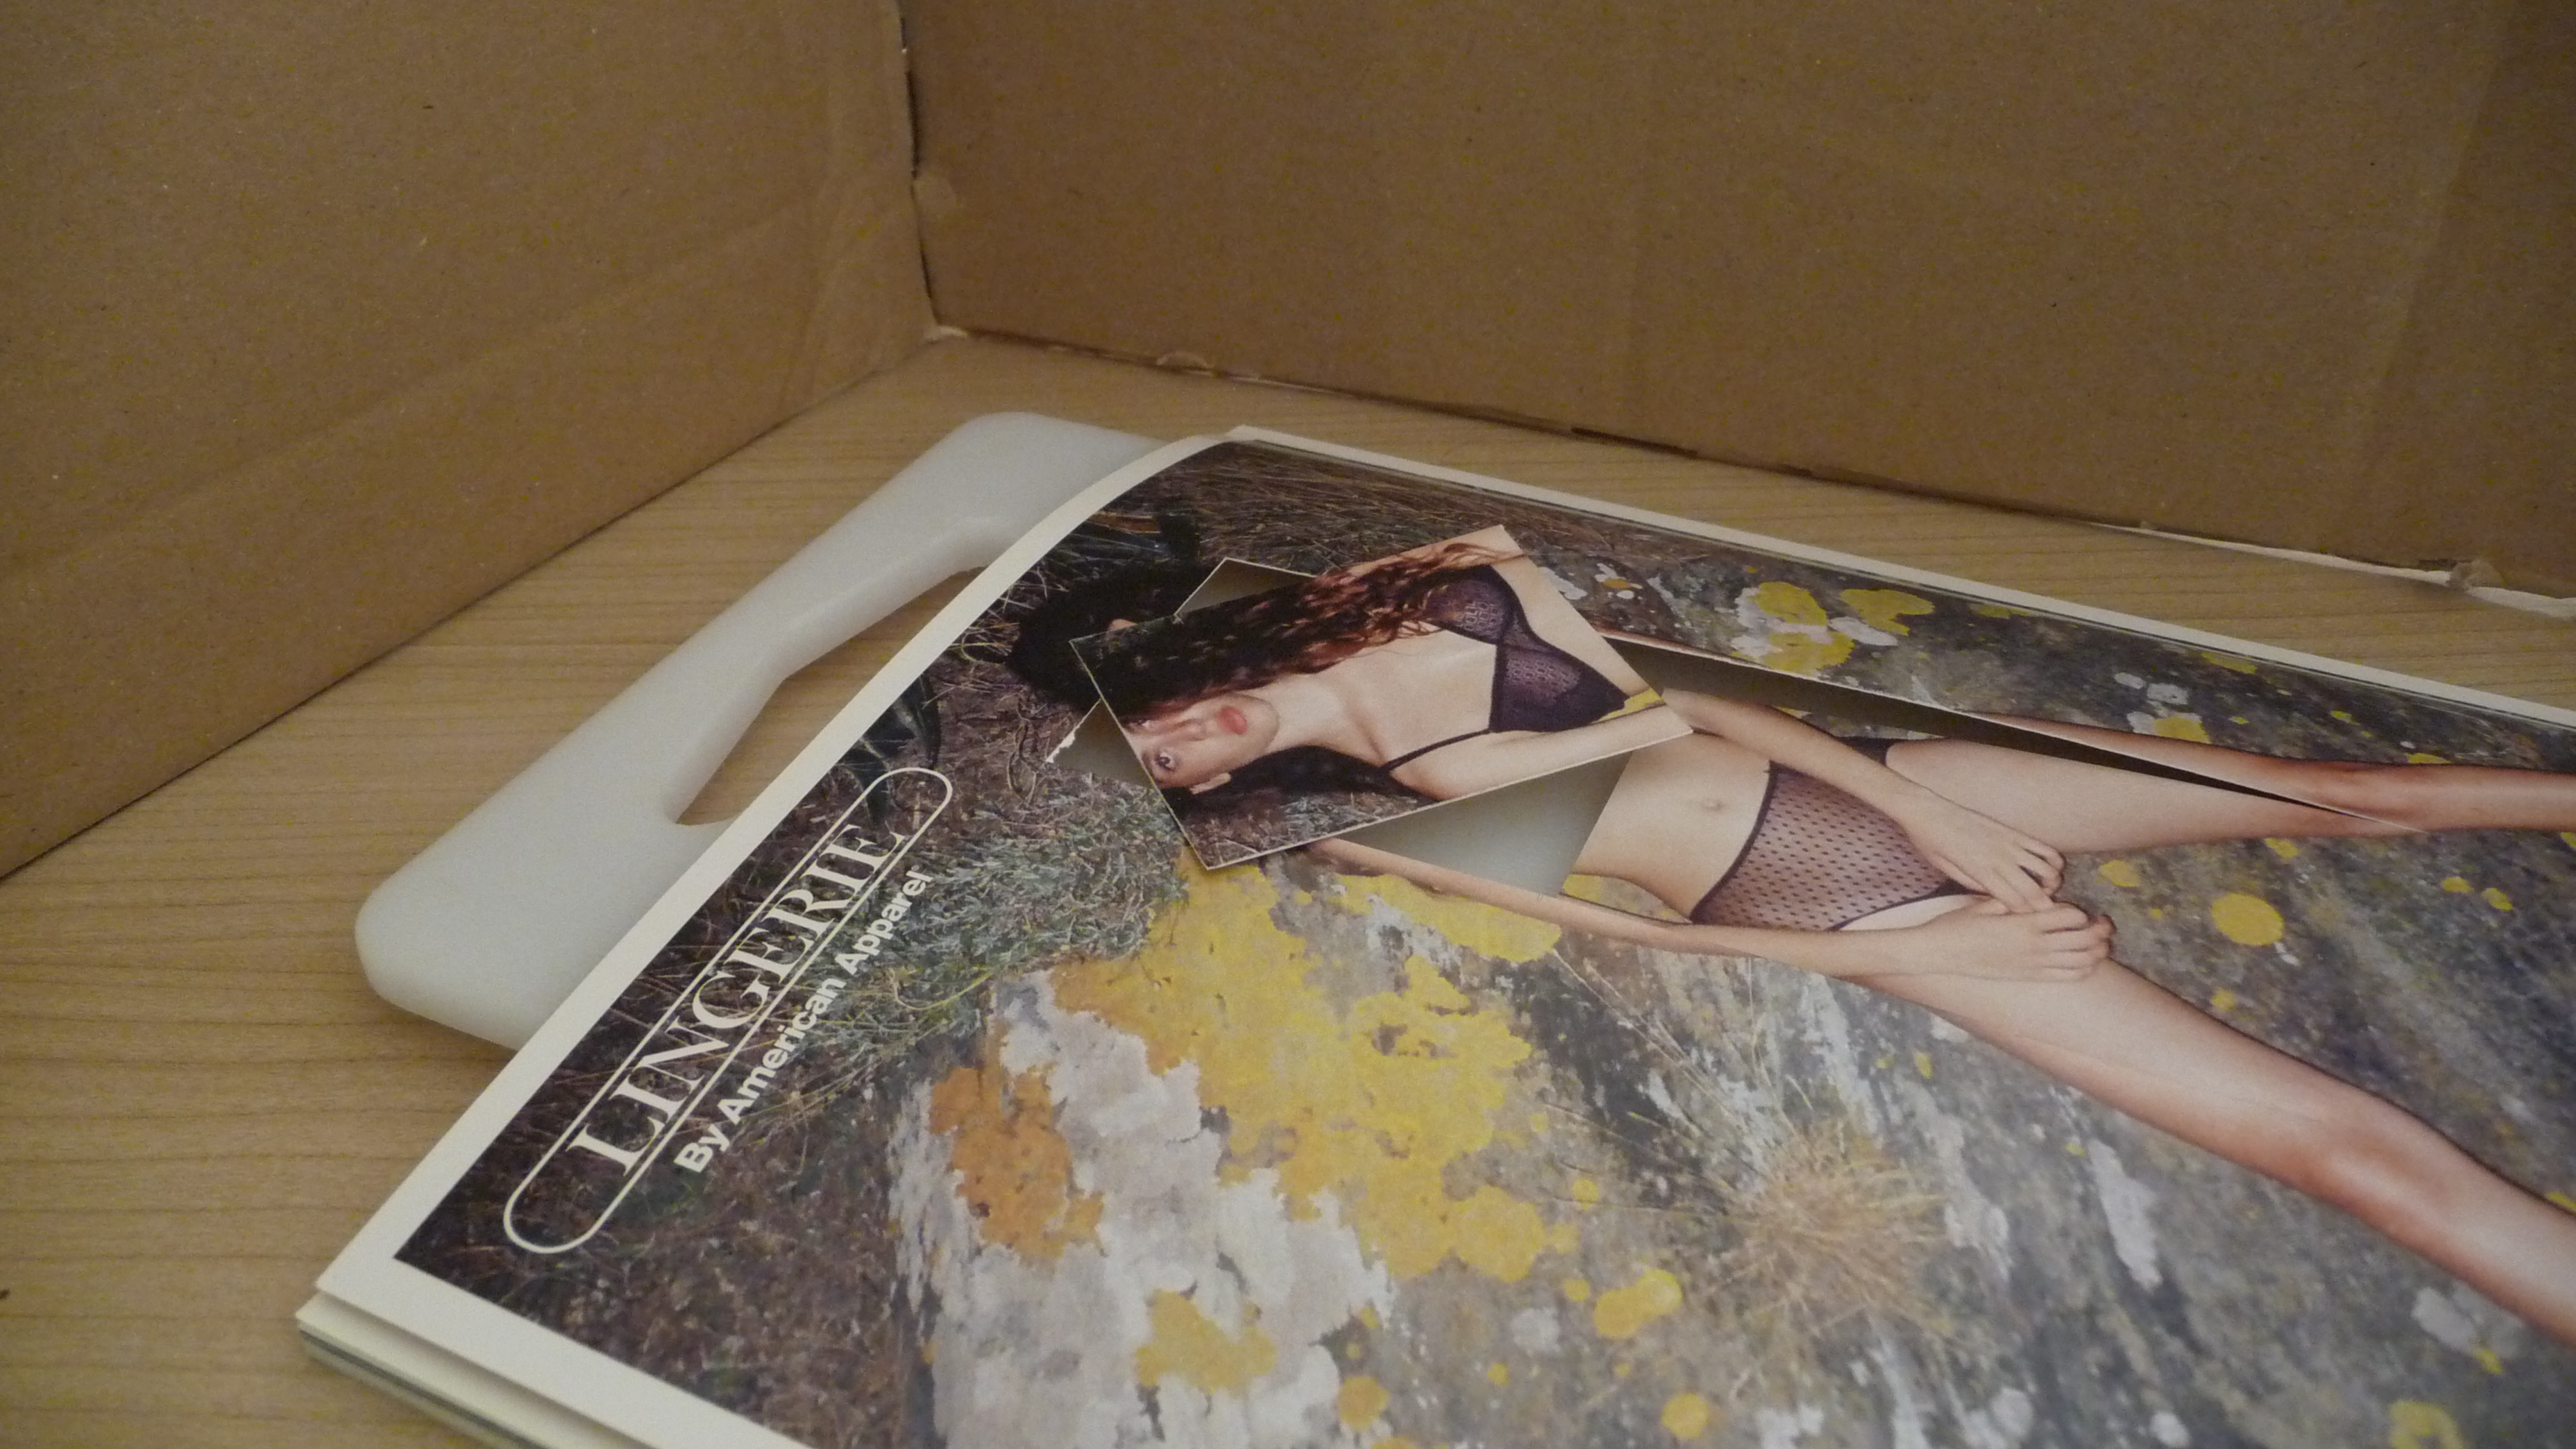
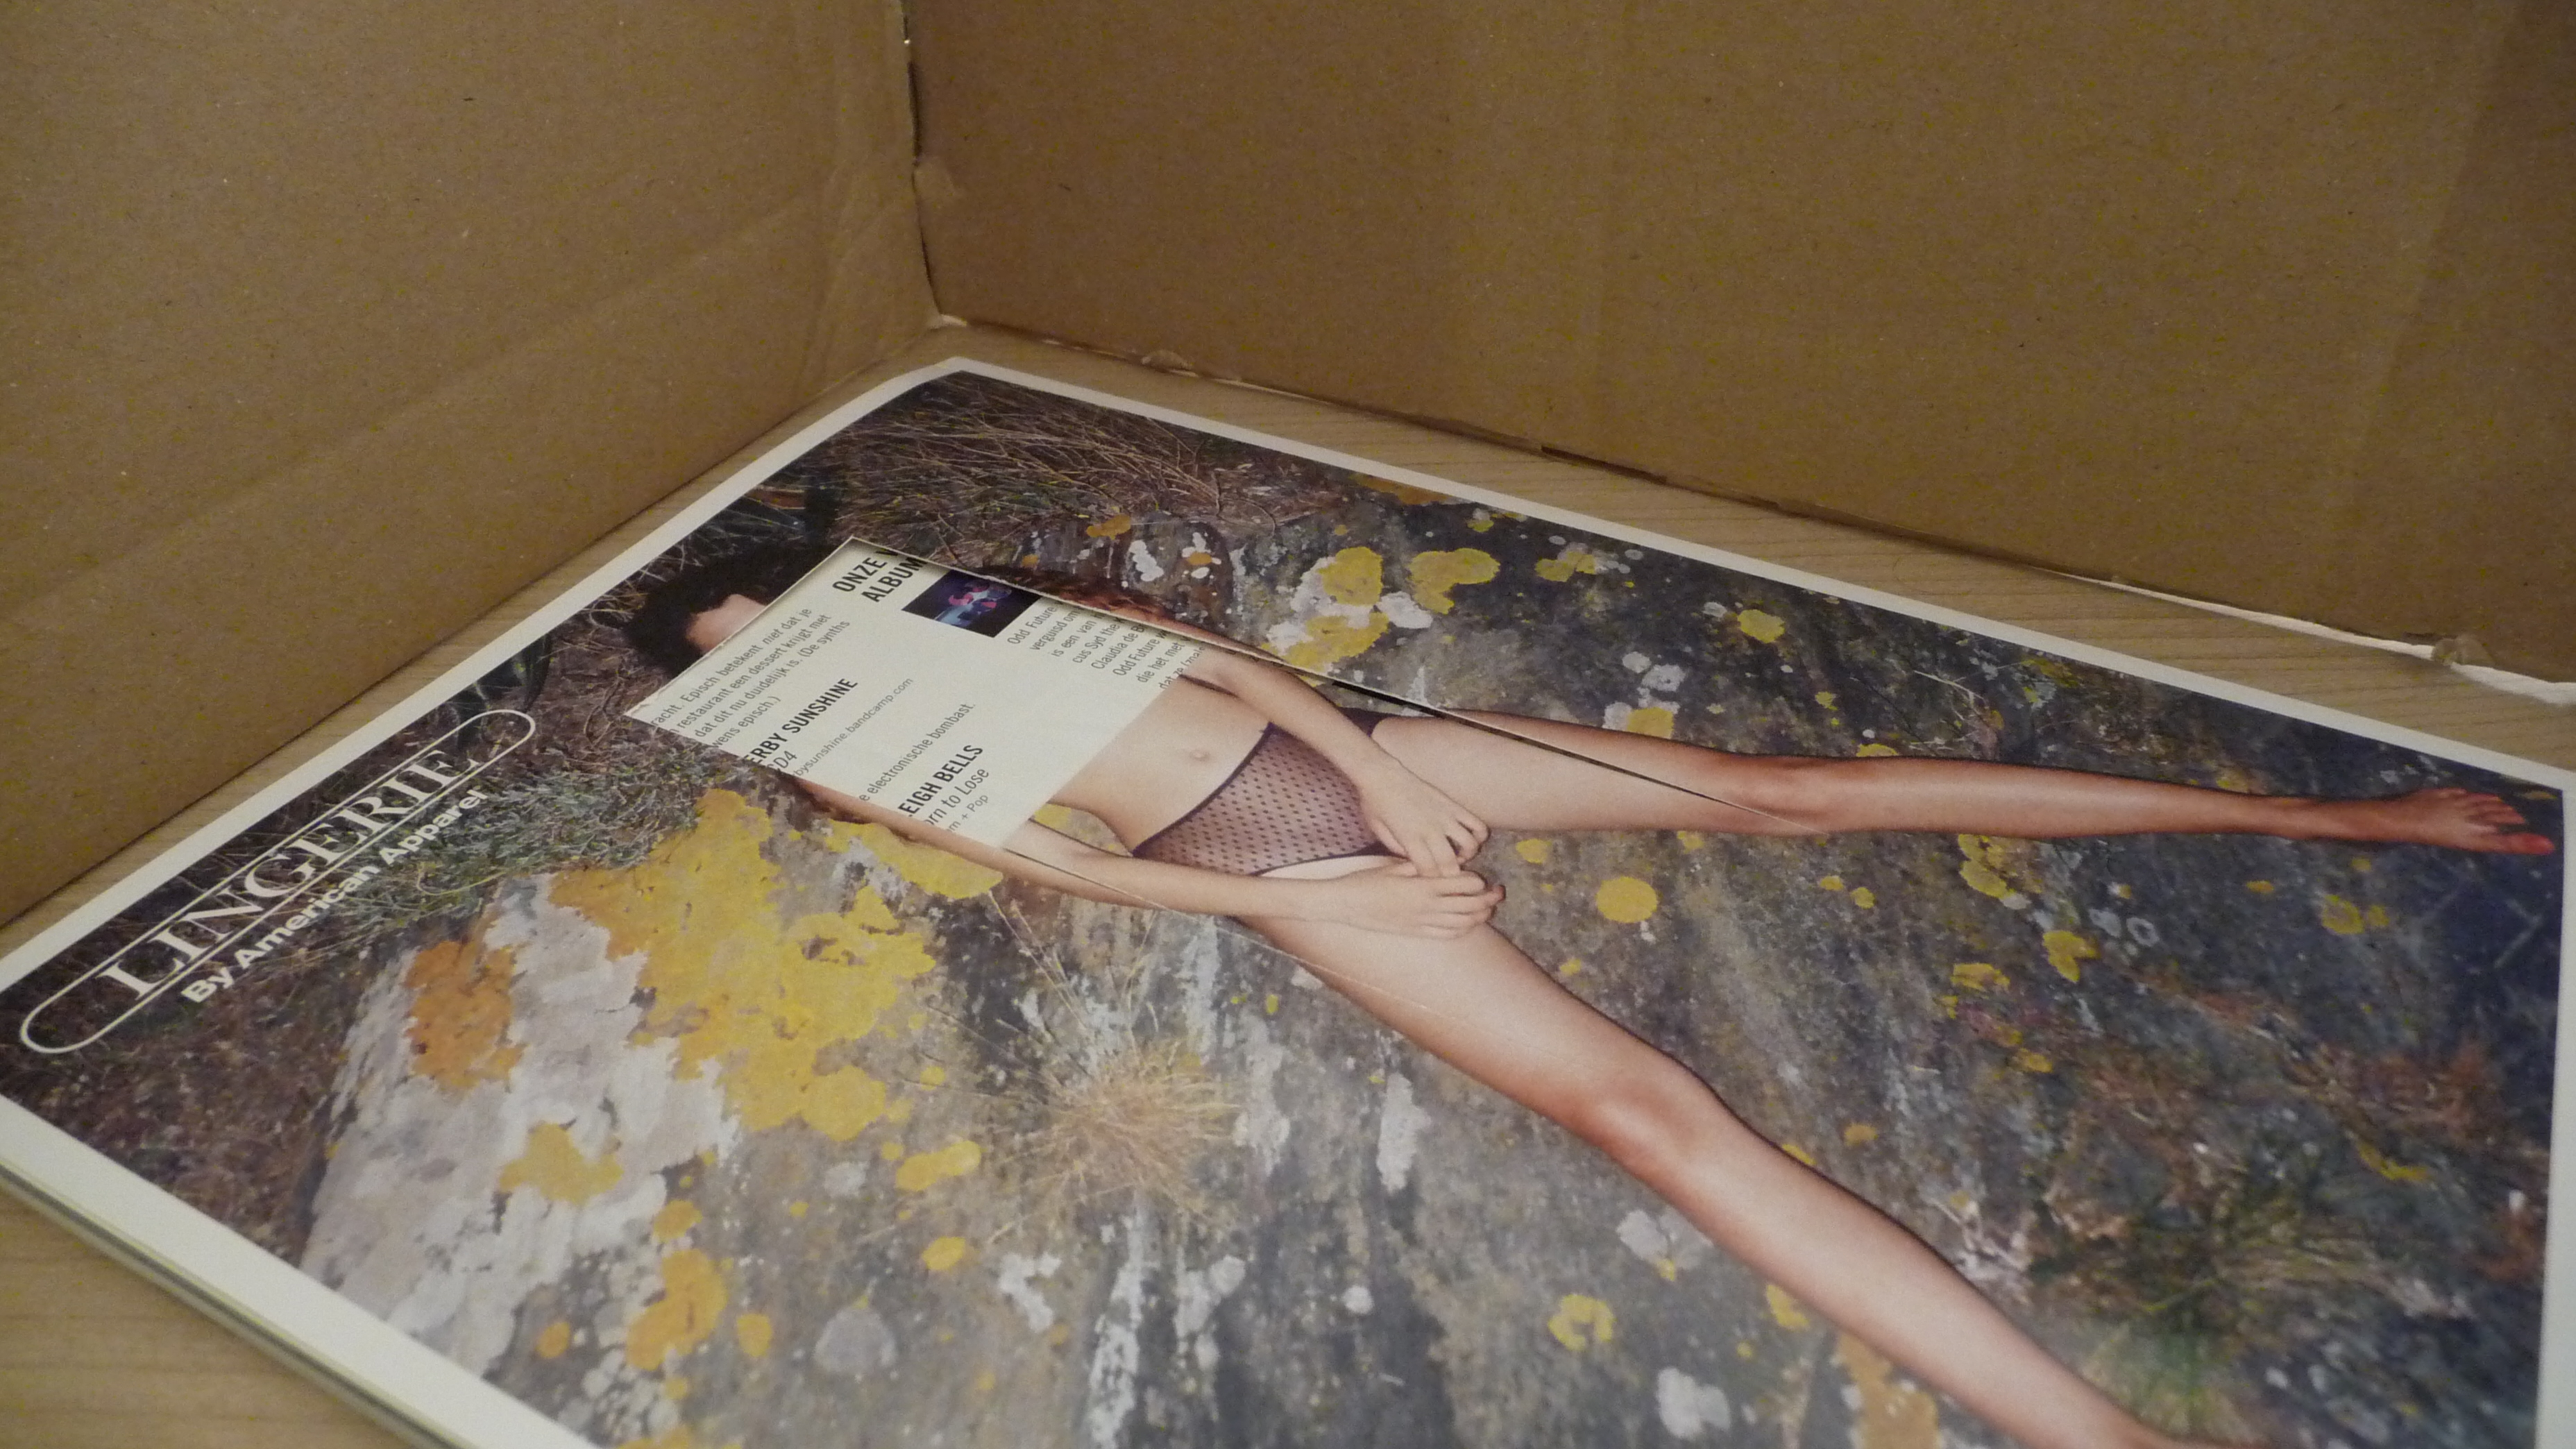
In order to make a split photo you need to create a mask that will be placed between the film and the light.
I decided to sacrifice the back cover of the latest VICE magazine to make this mask for 2 reasons:
To cut a precise shape, I used the frame adapter provided with your Diana F+ as a guide for cutting
I left a bit of paper on the two sides in order to fold them down so that they will be firmly fixed with the frame adapter.
I decided to sacrifice the back cover of the latest VICE magazine to make this mask for 2 reasons:
- the thickness of the cover is just right
- it’s free
To cut a precise shape, I used the frame adapter provided with your Diana F+ as a guide for cutting
I left a bit of paper on the two sides in order to fold them down so that they will be firmly fixed with the frame adapter.
Make the Wings
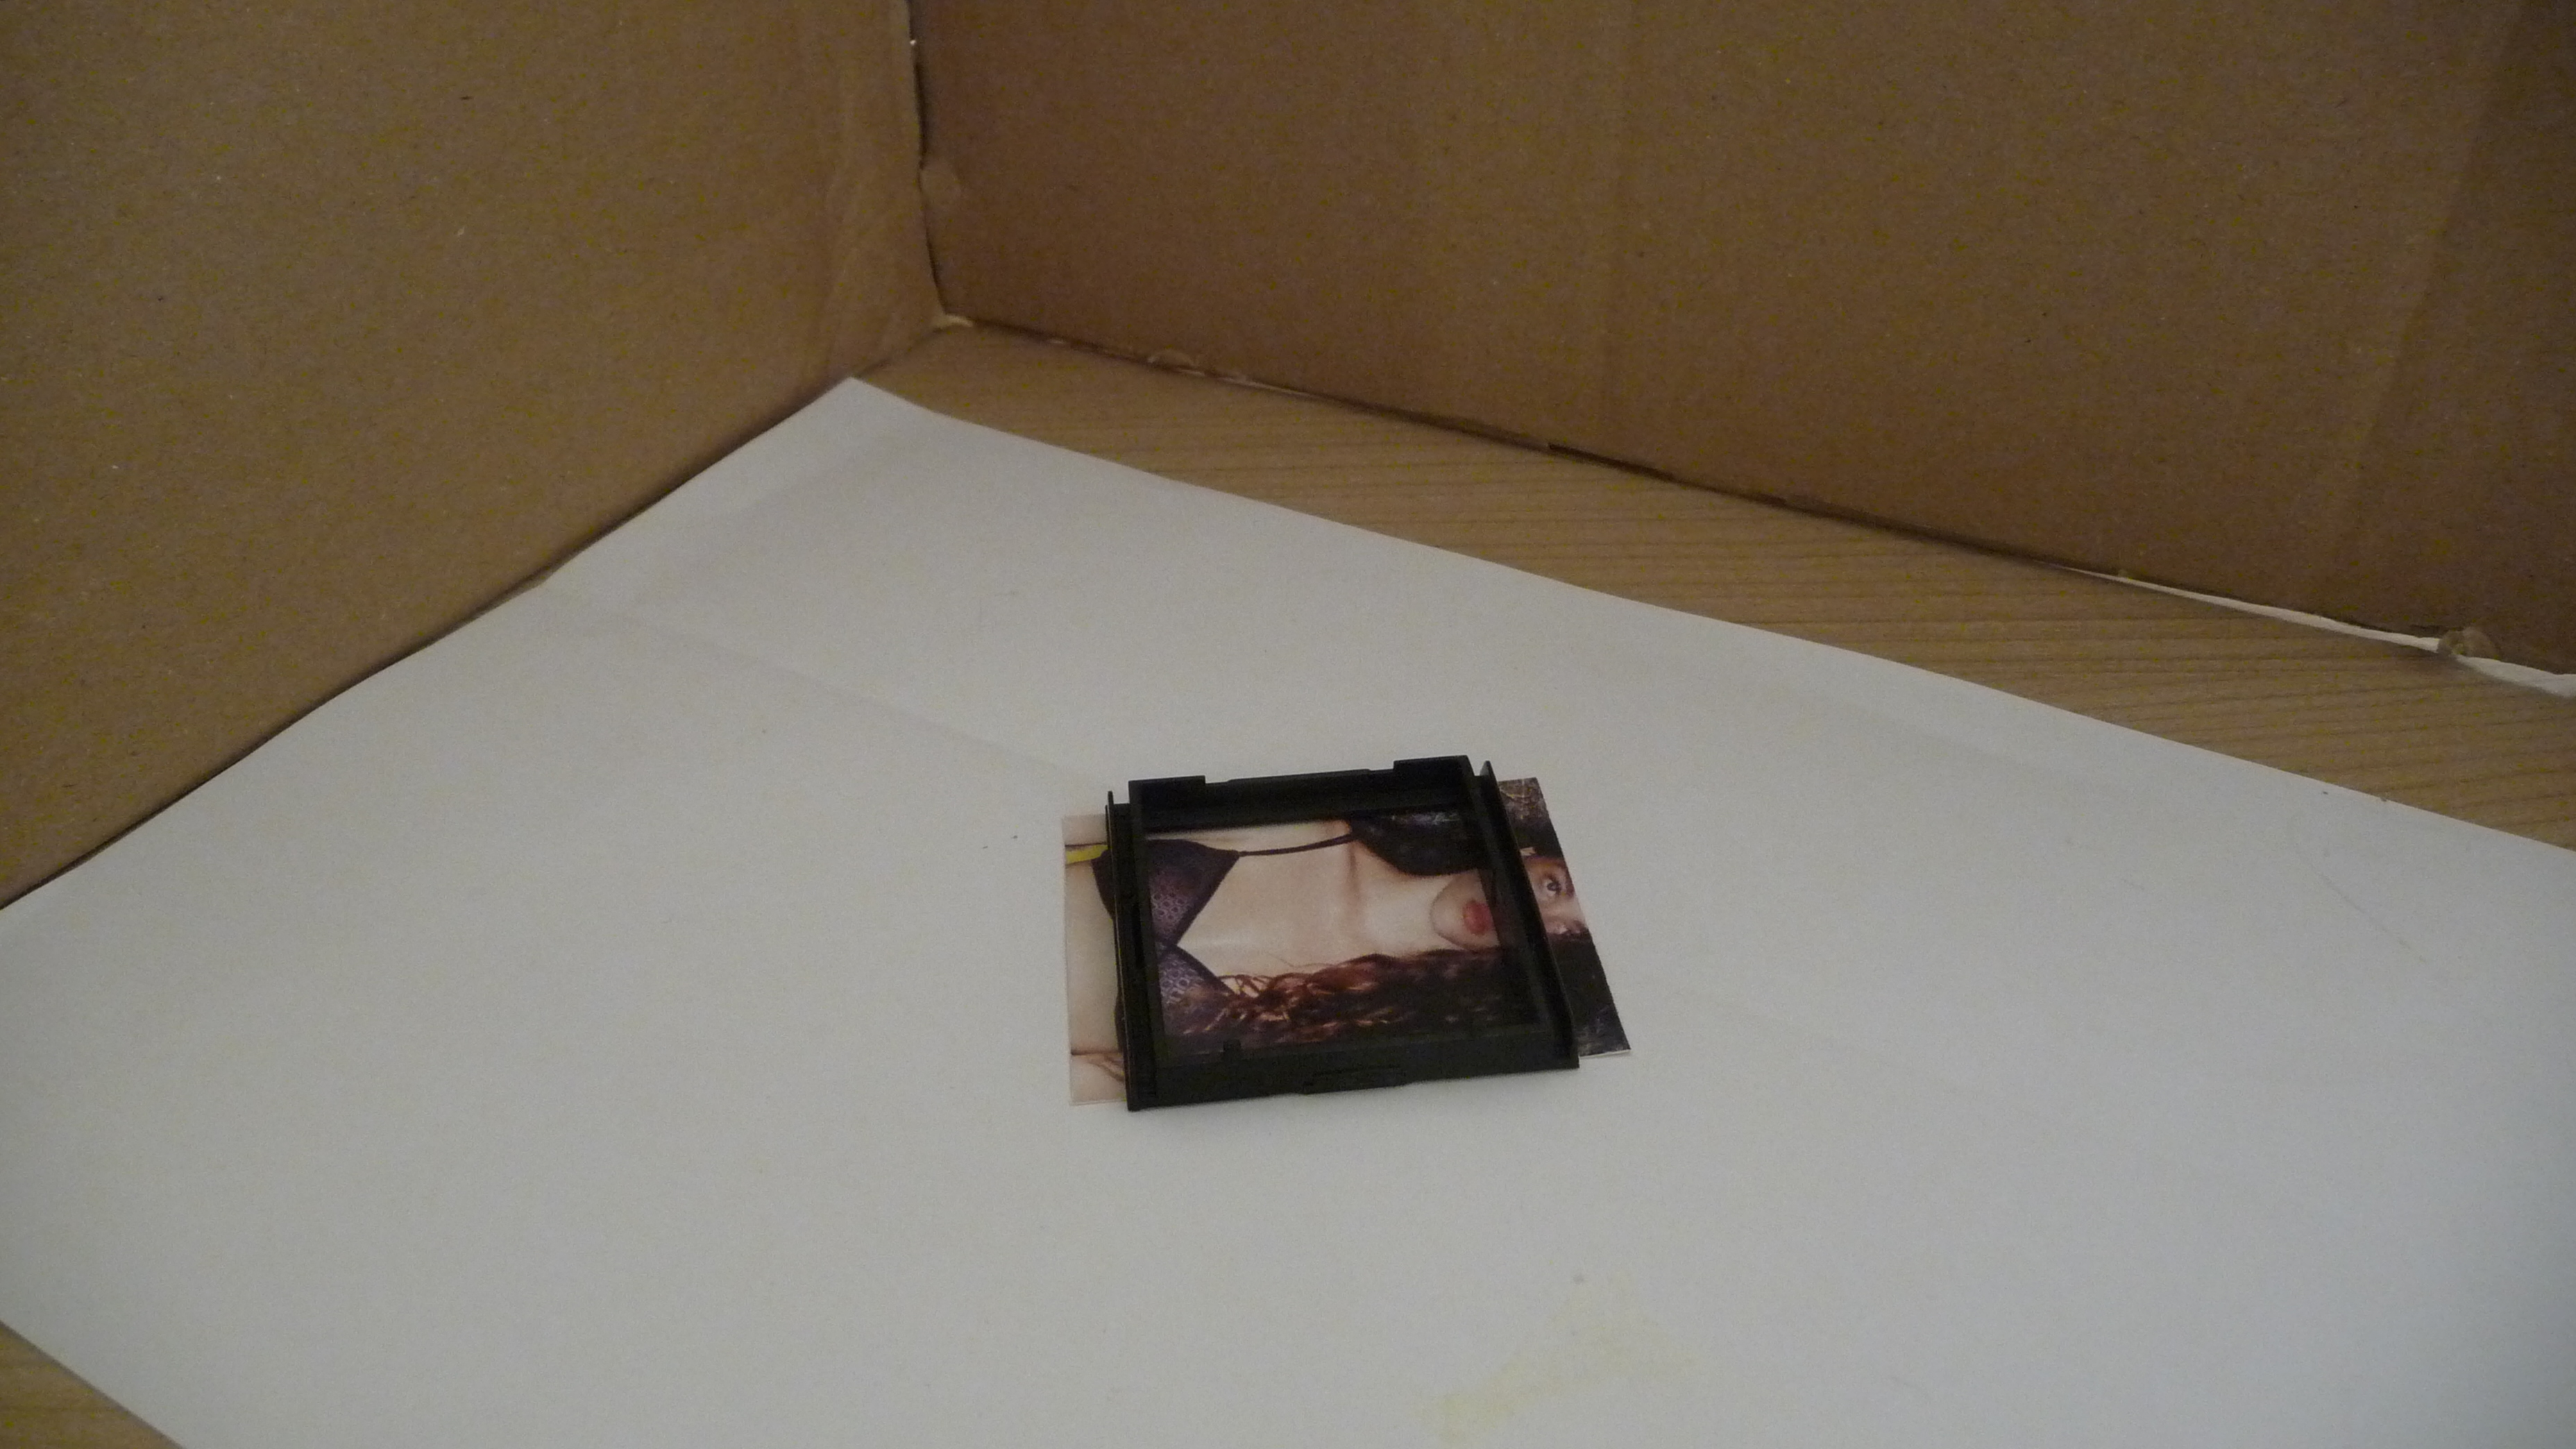
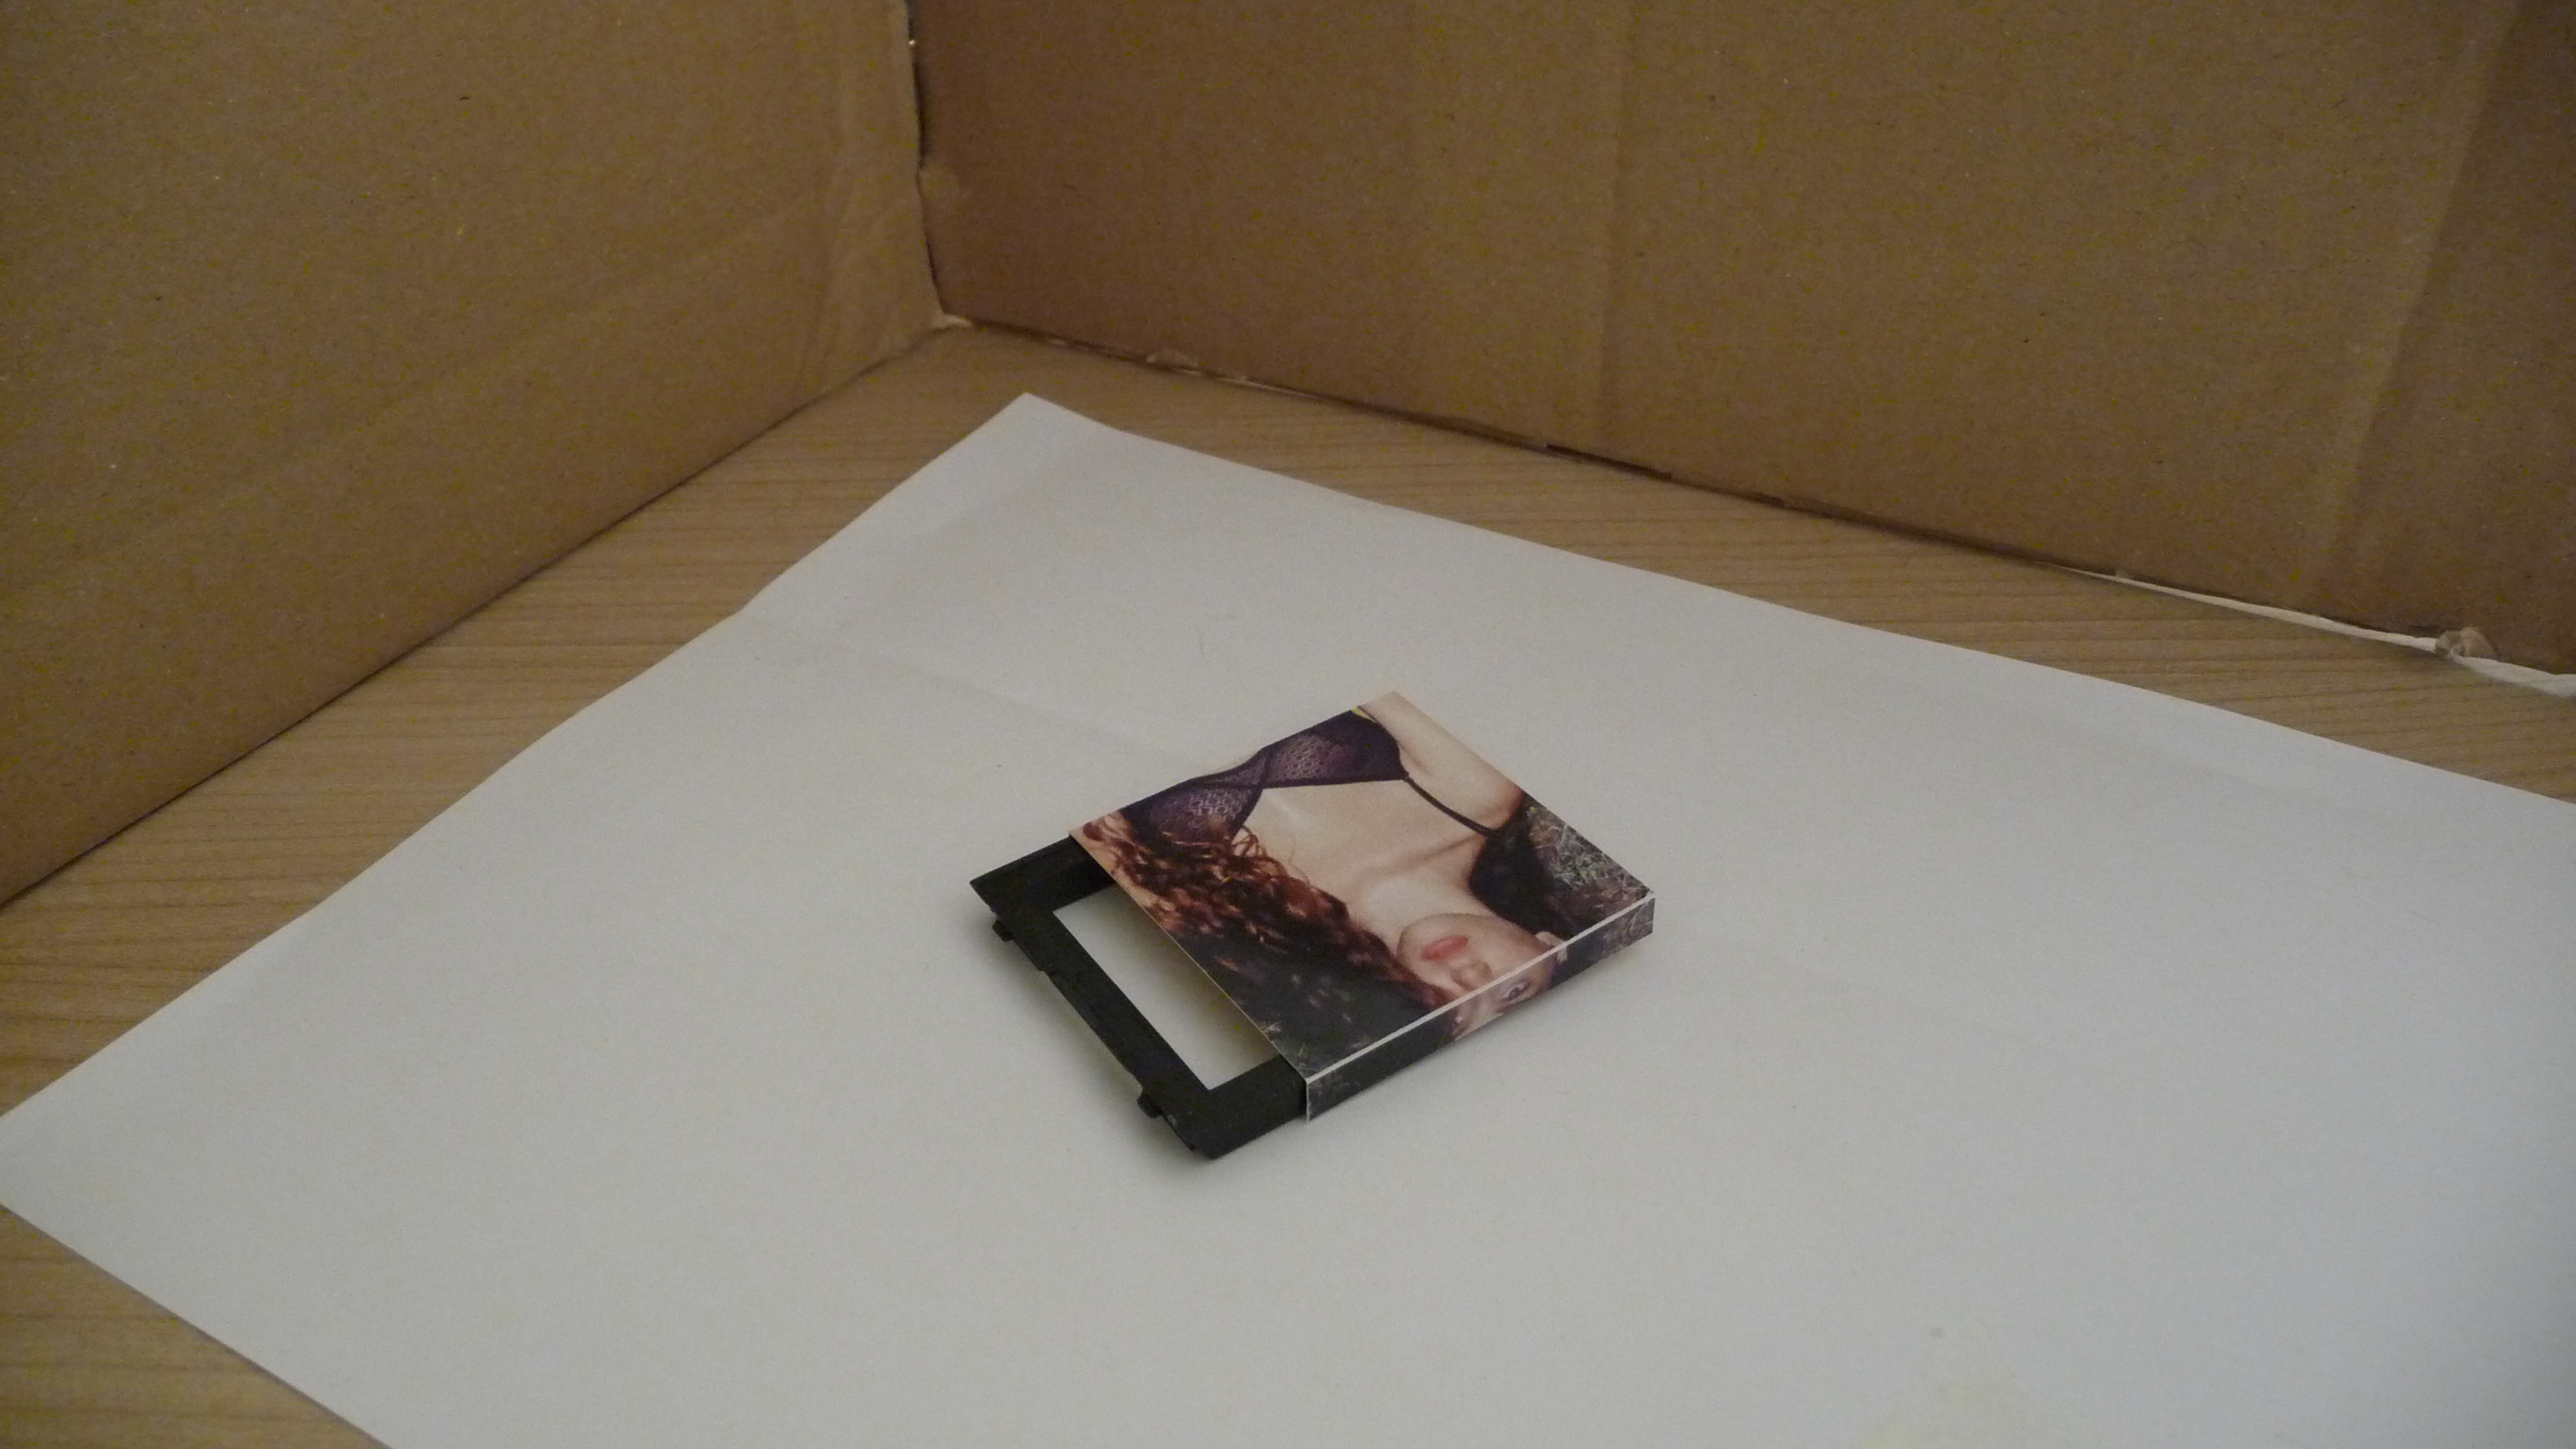
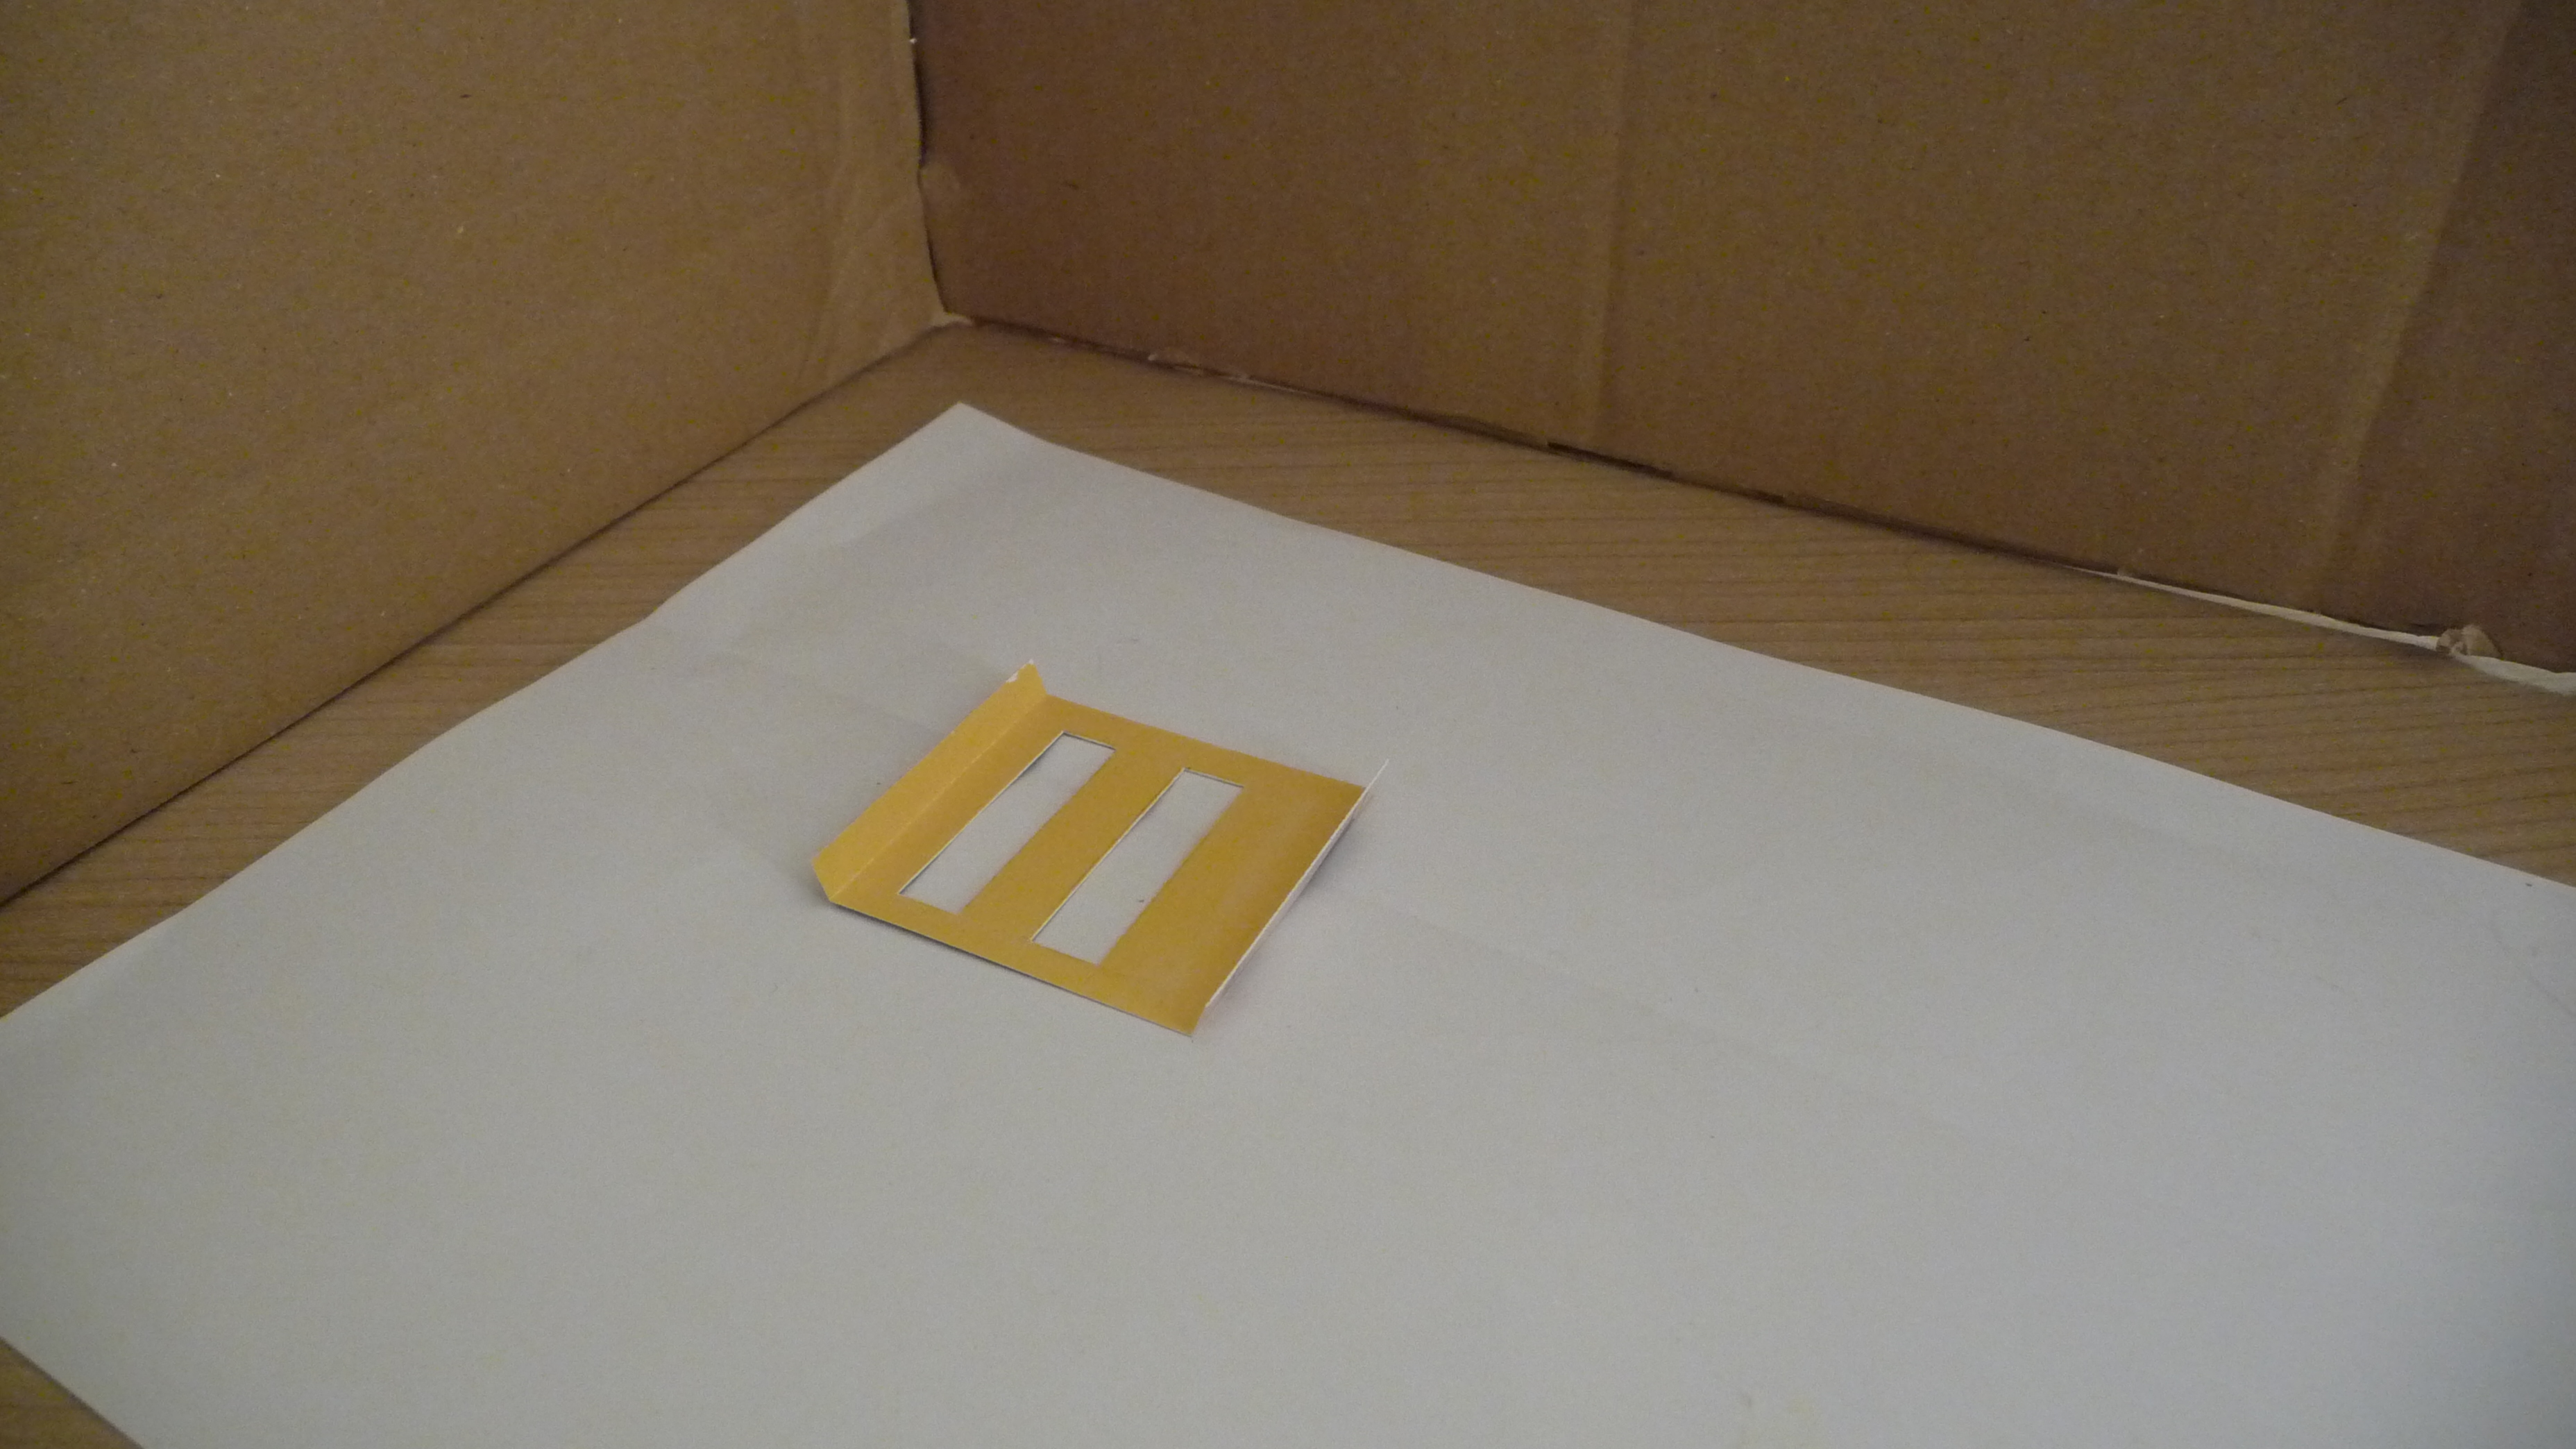
With the help of a cutter and using again the frame as a guide, I scratched the paper to better fold the due small wings on the side.
Cute the Bars

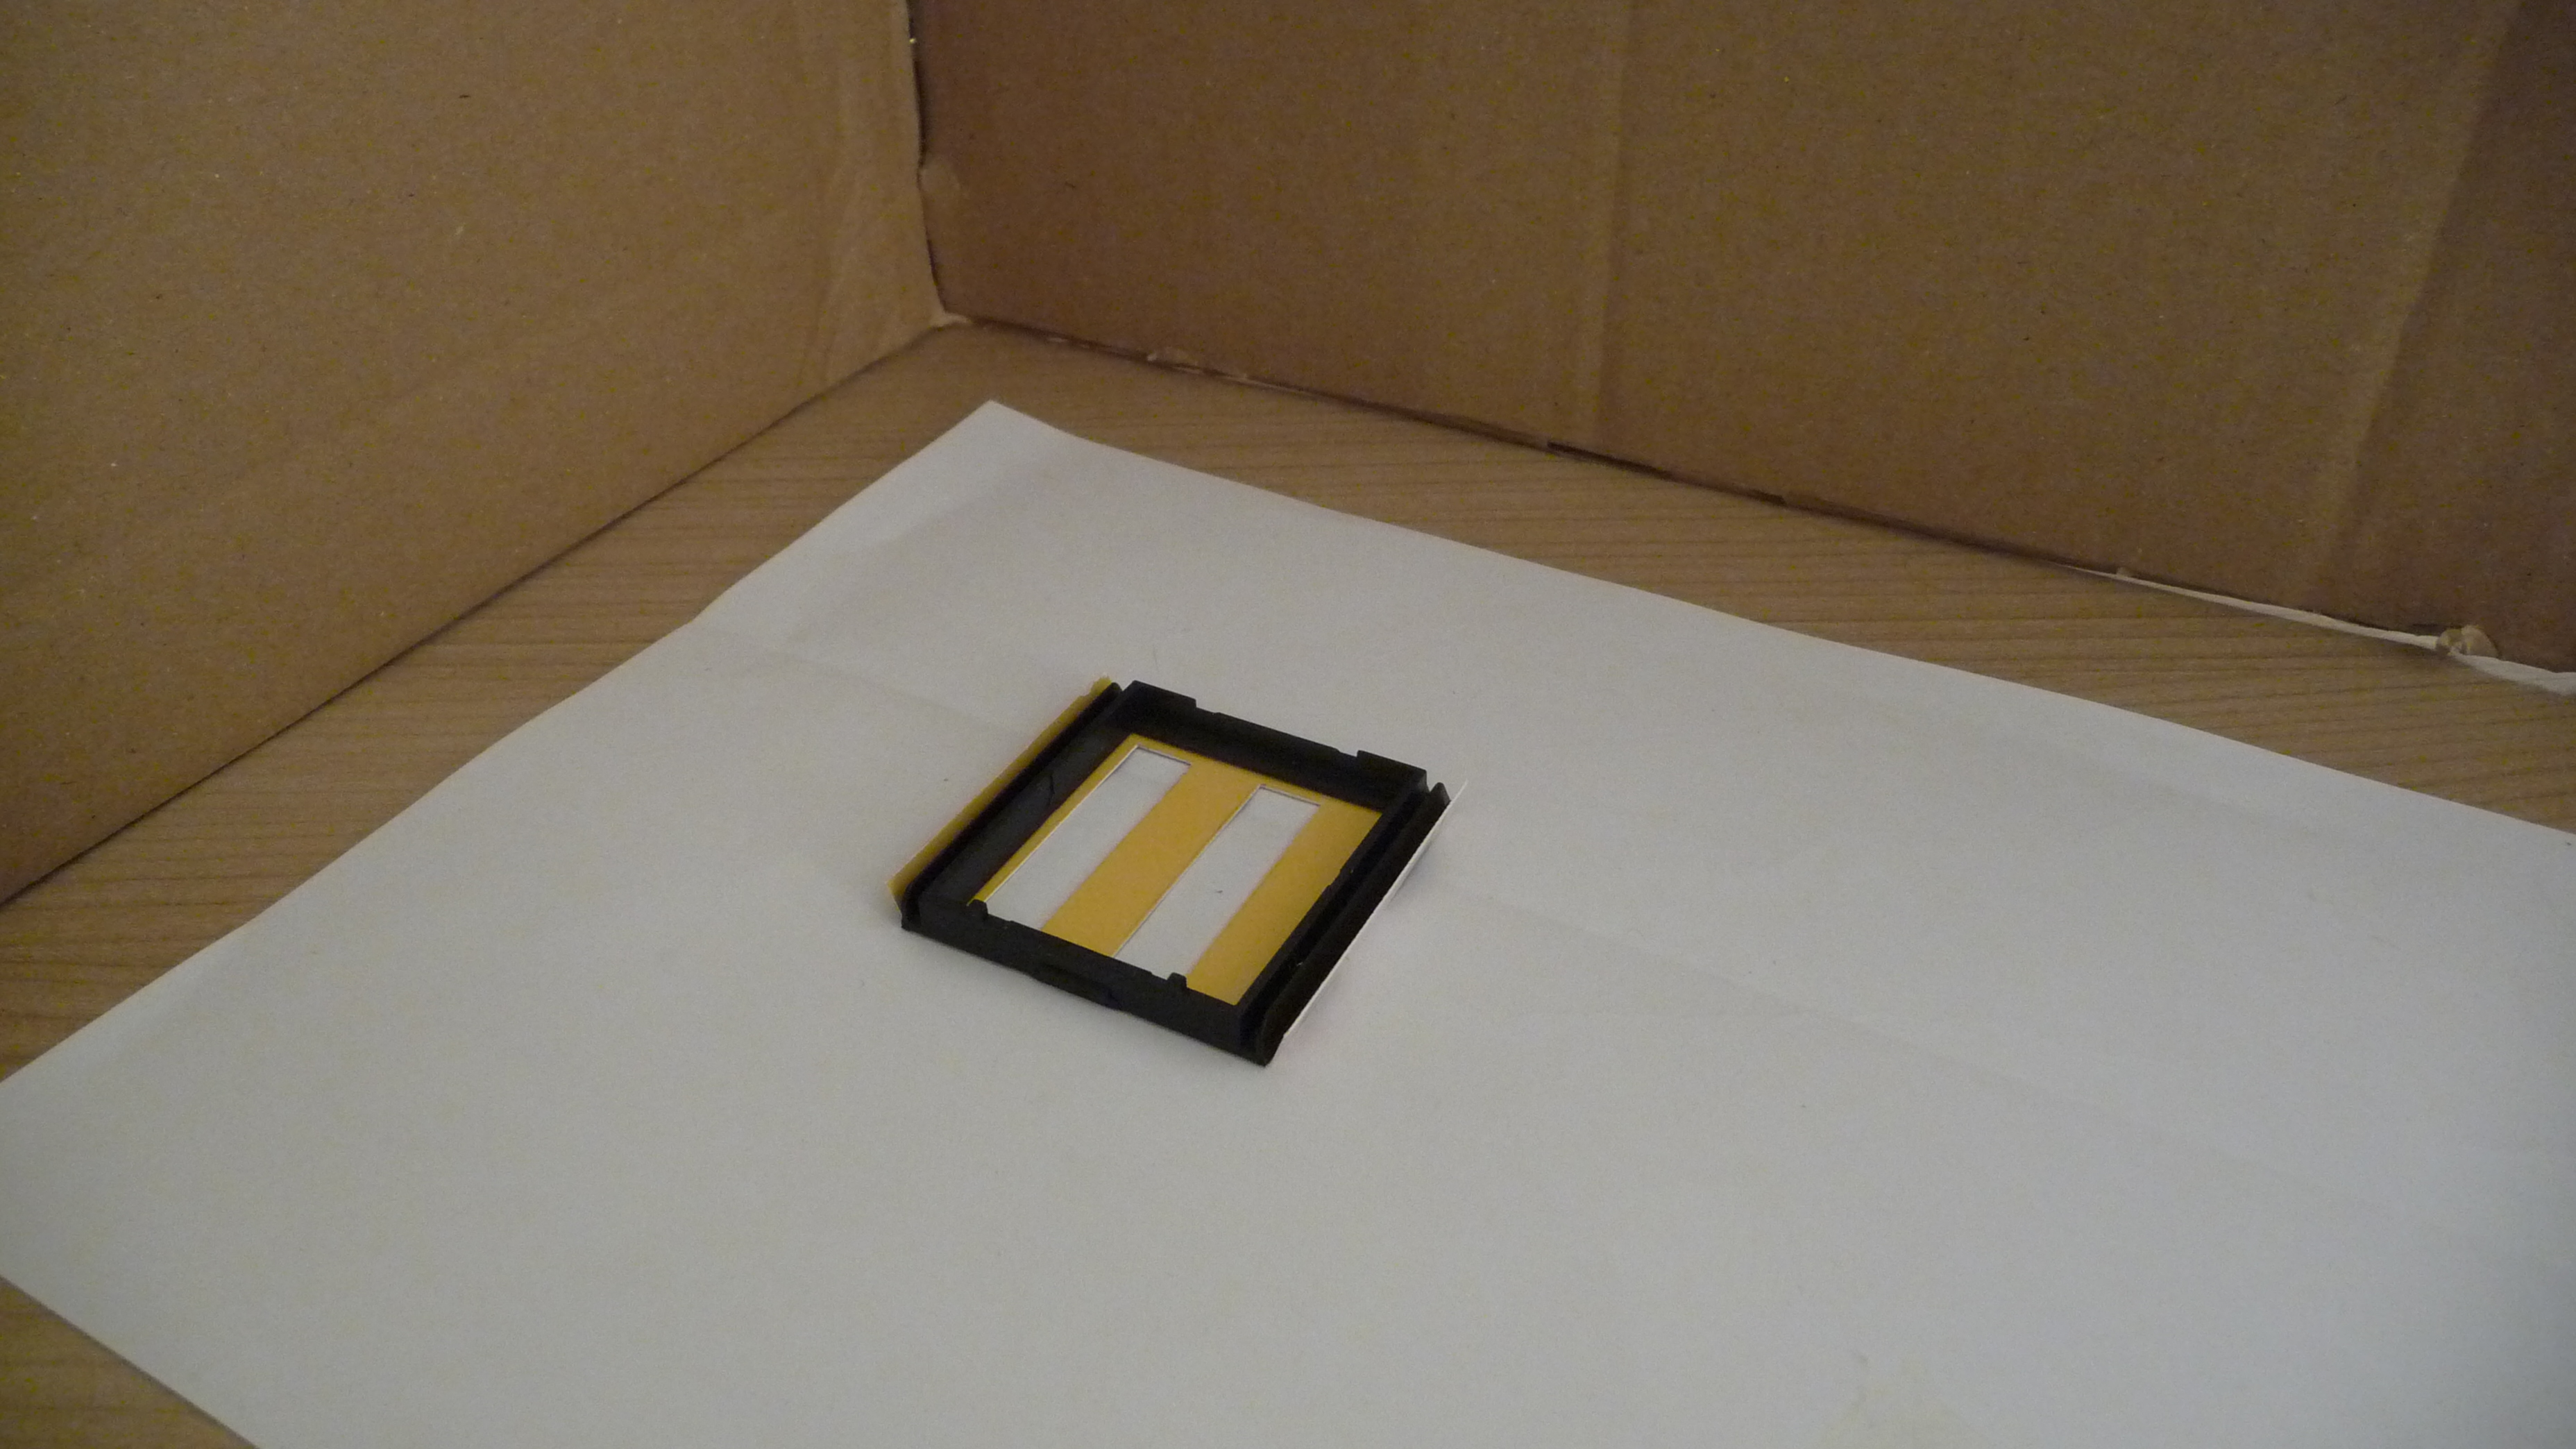
Once the paper mask is ready we need to cut out the 2 bars where the film will be impressed. Since the frame is 4 centimeters large, I cut out two 4×1 cm rectangles. Take note that our holes in the mask will be 1 cm large.
Mount the Filter
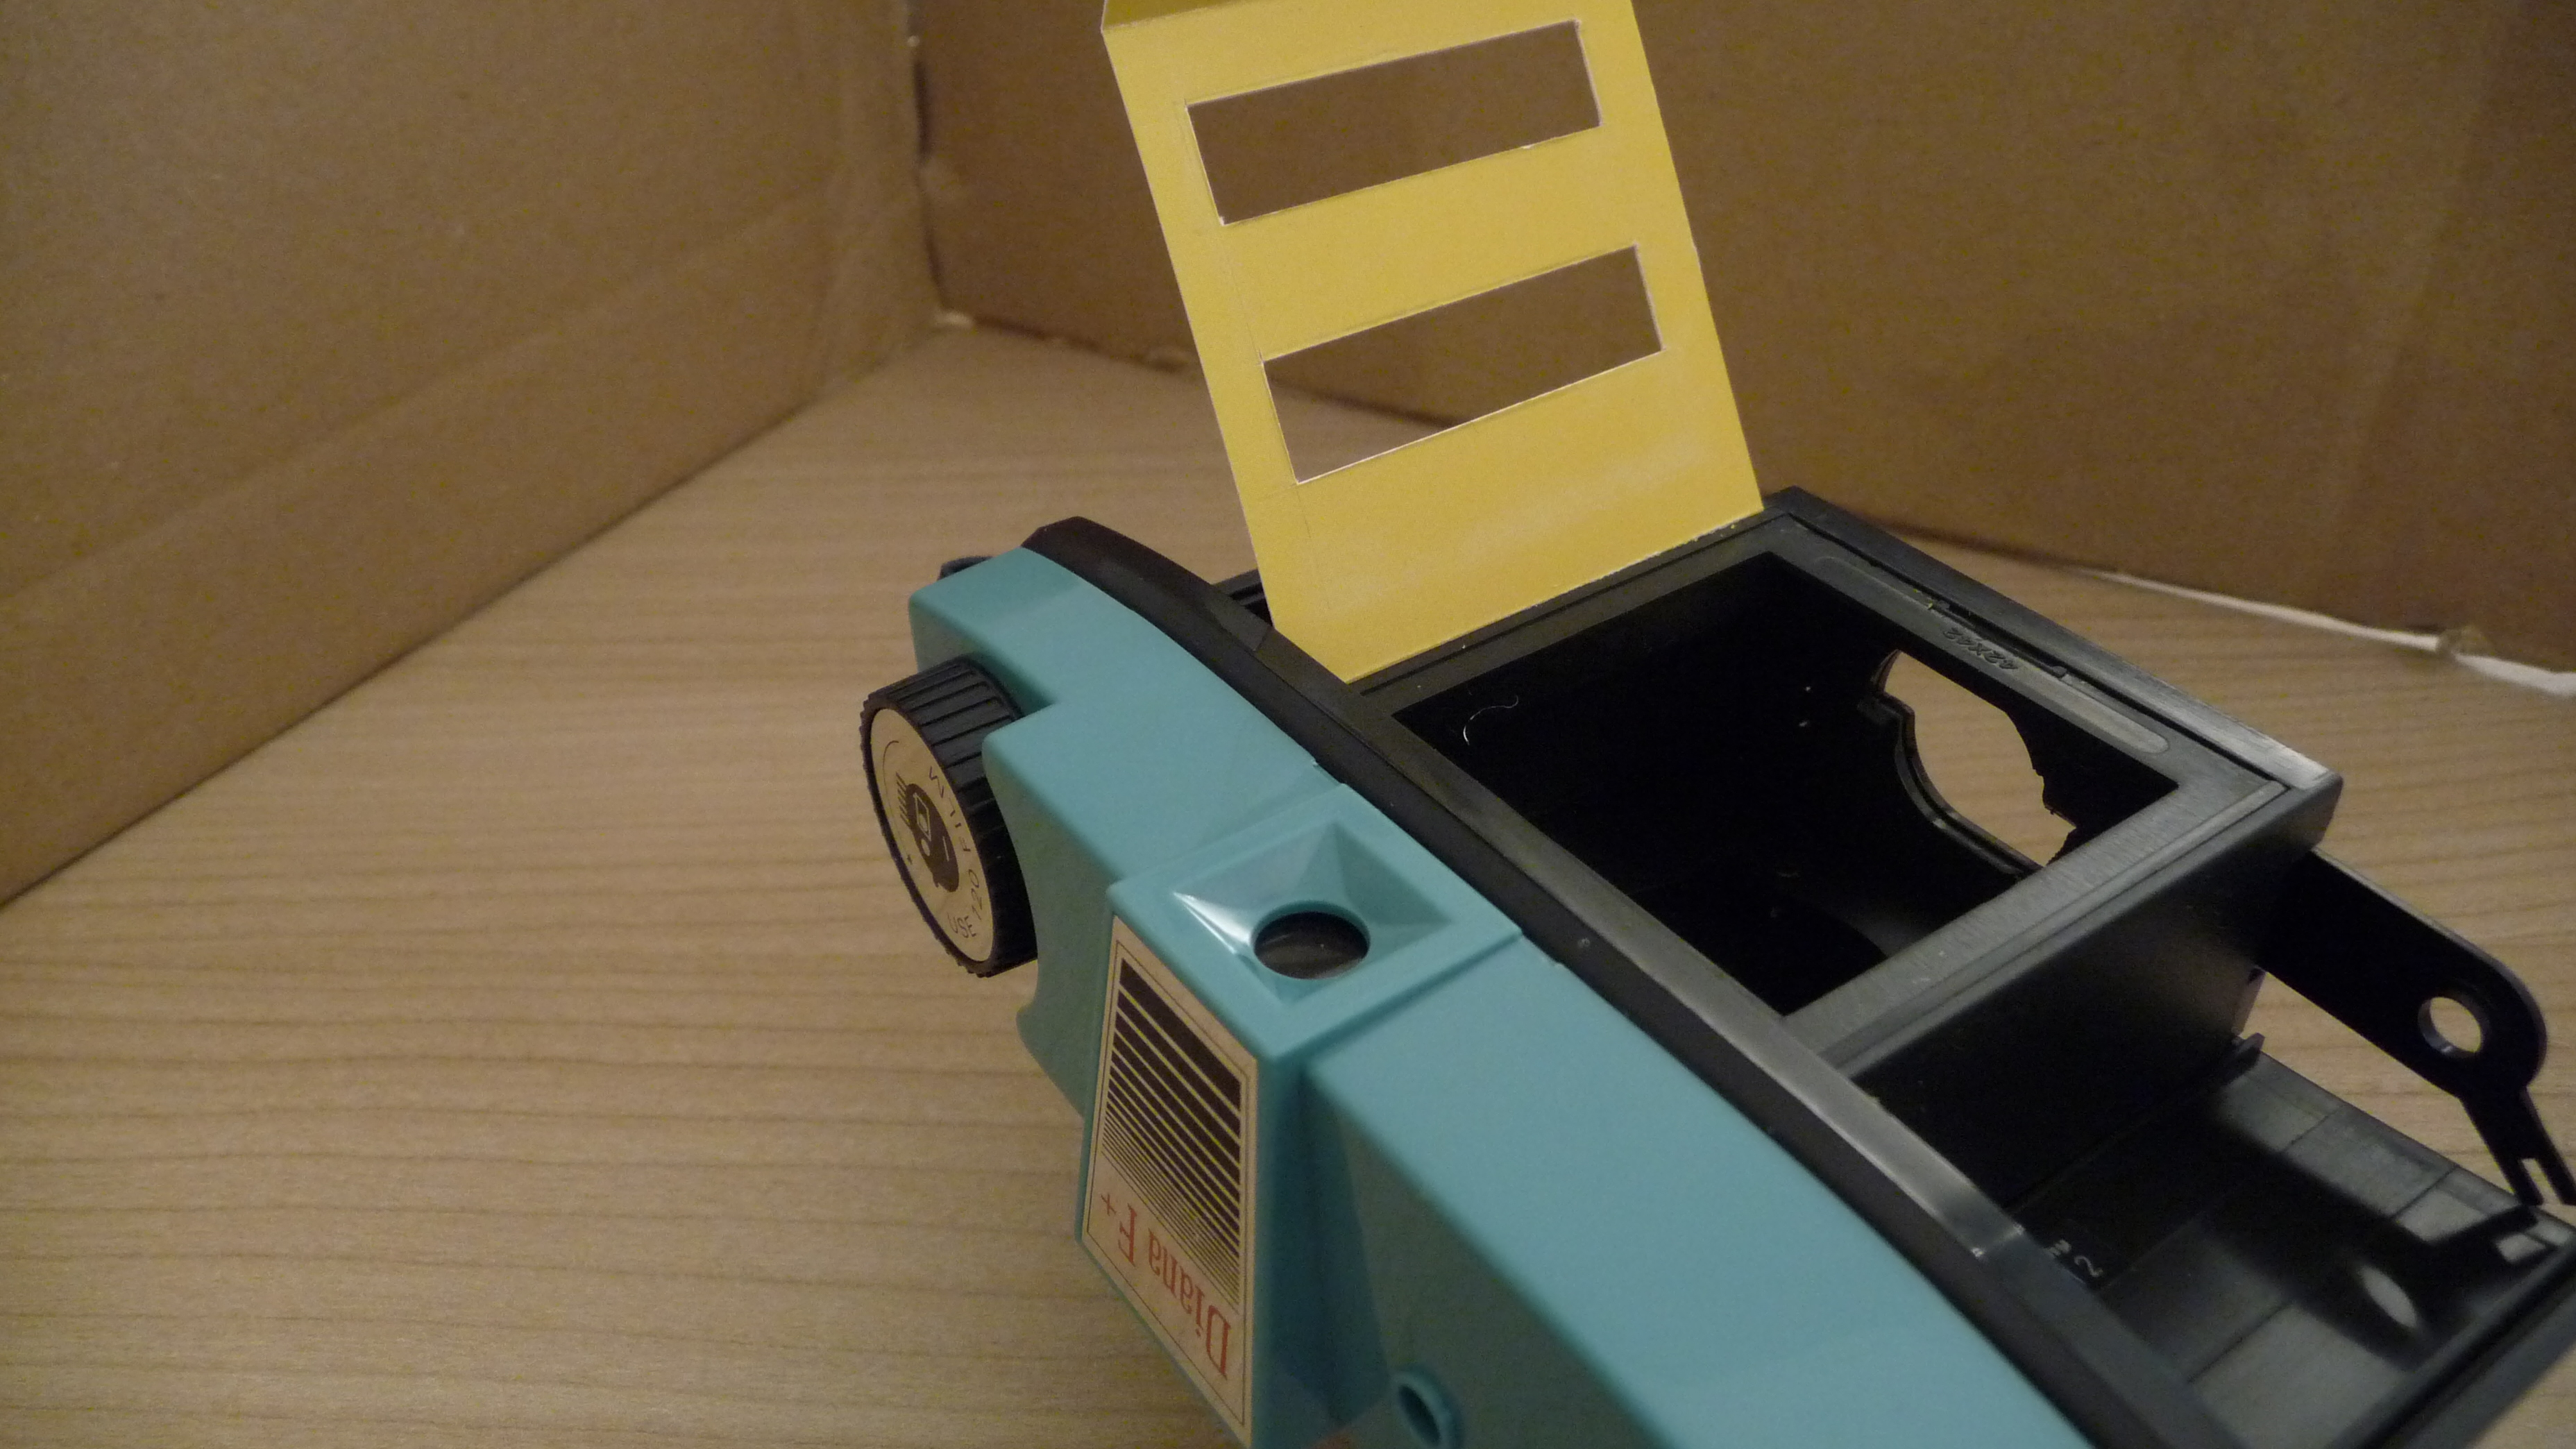
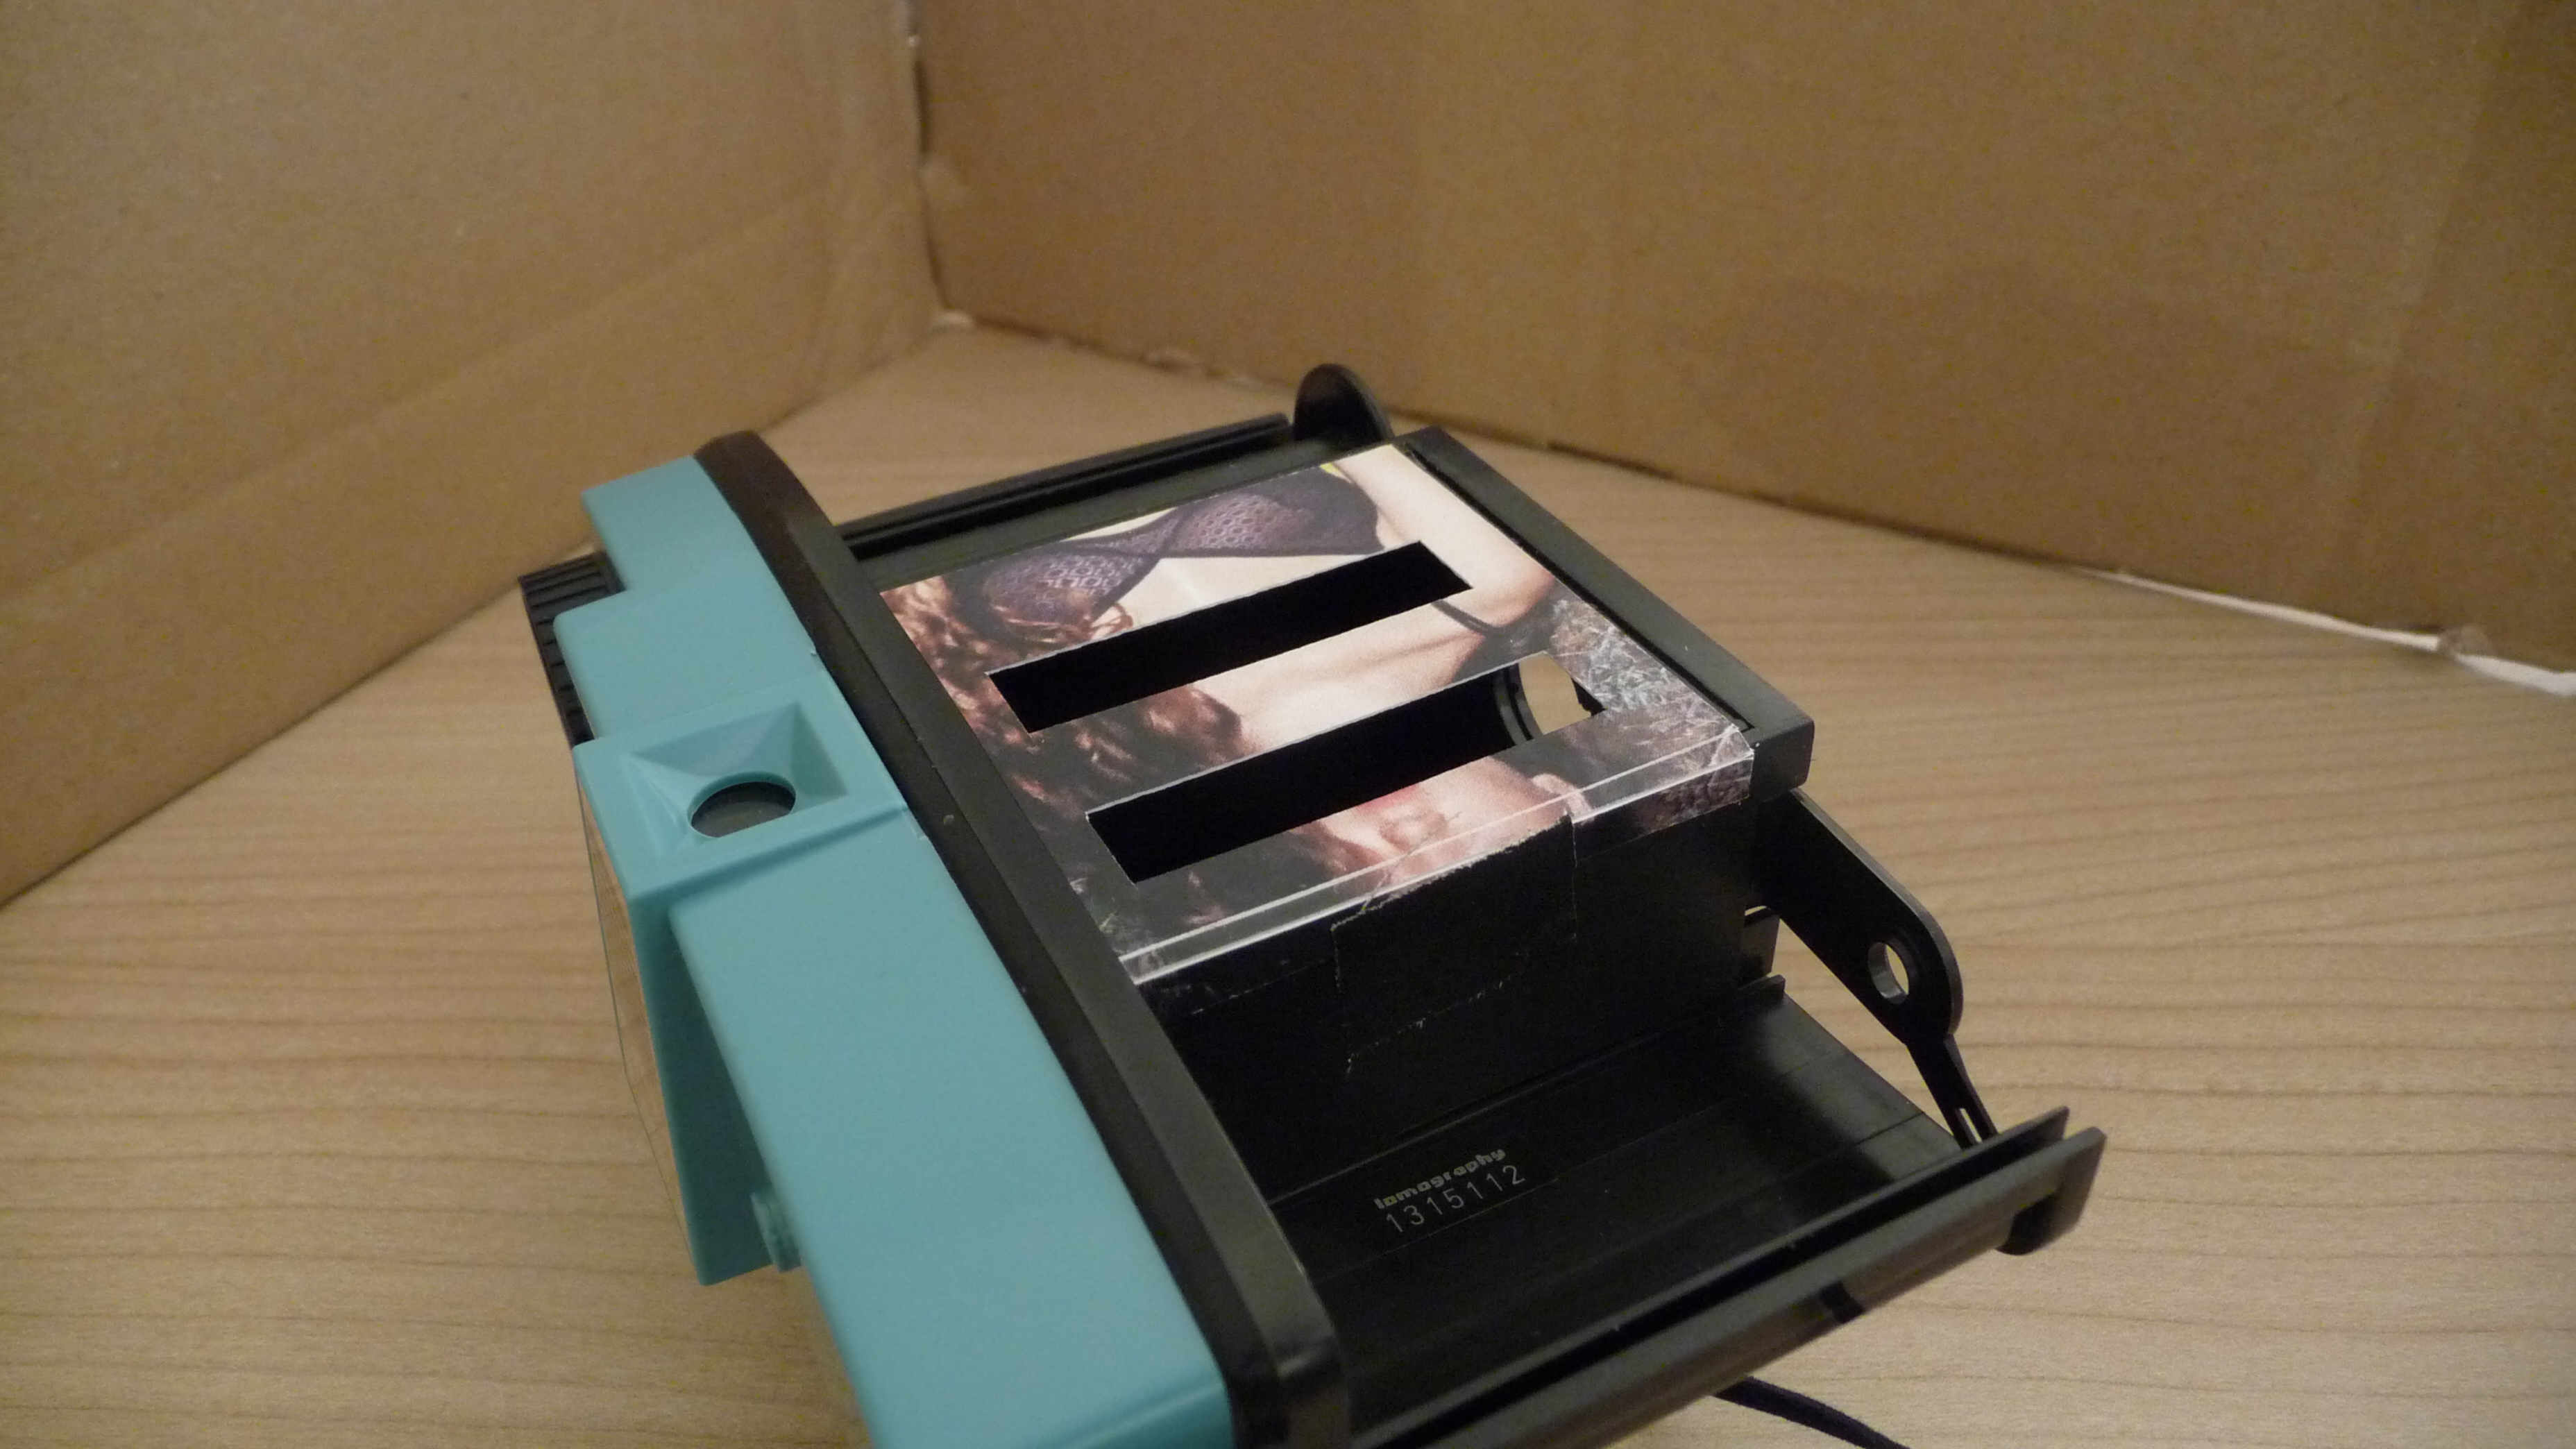
Now, put the mask on the frame adapter and push the adapter into its place on the camera.
The paper should be thin enought to fit in the gap between the adapter and the light chamber.
The paper should be thin enought to fit in the gap between the adapter and the light chamber.
Add the Film and Prepare the Camera for the First Shot
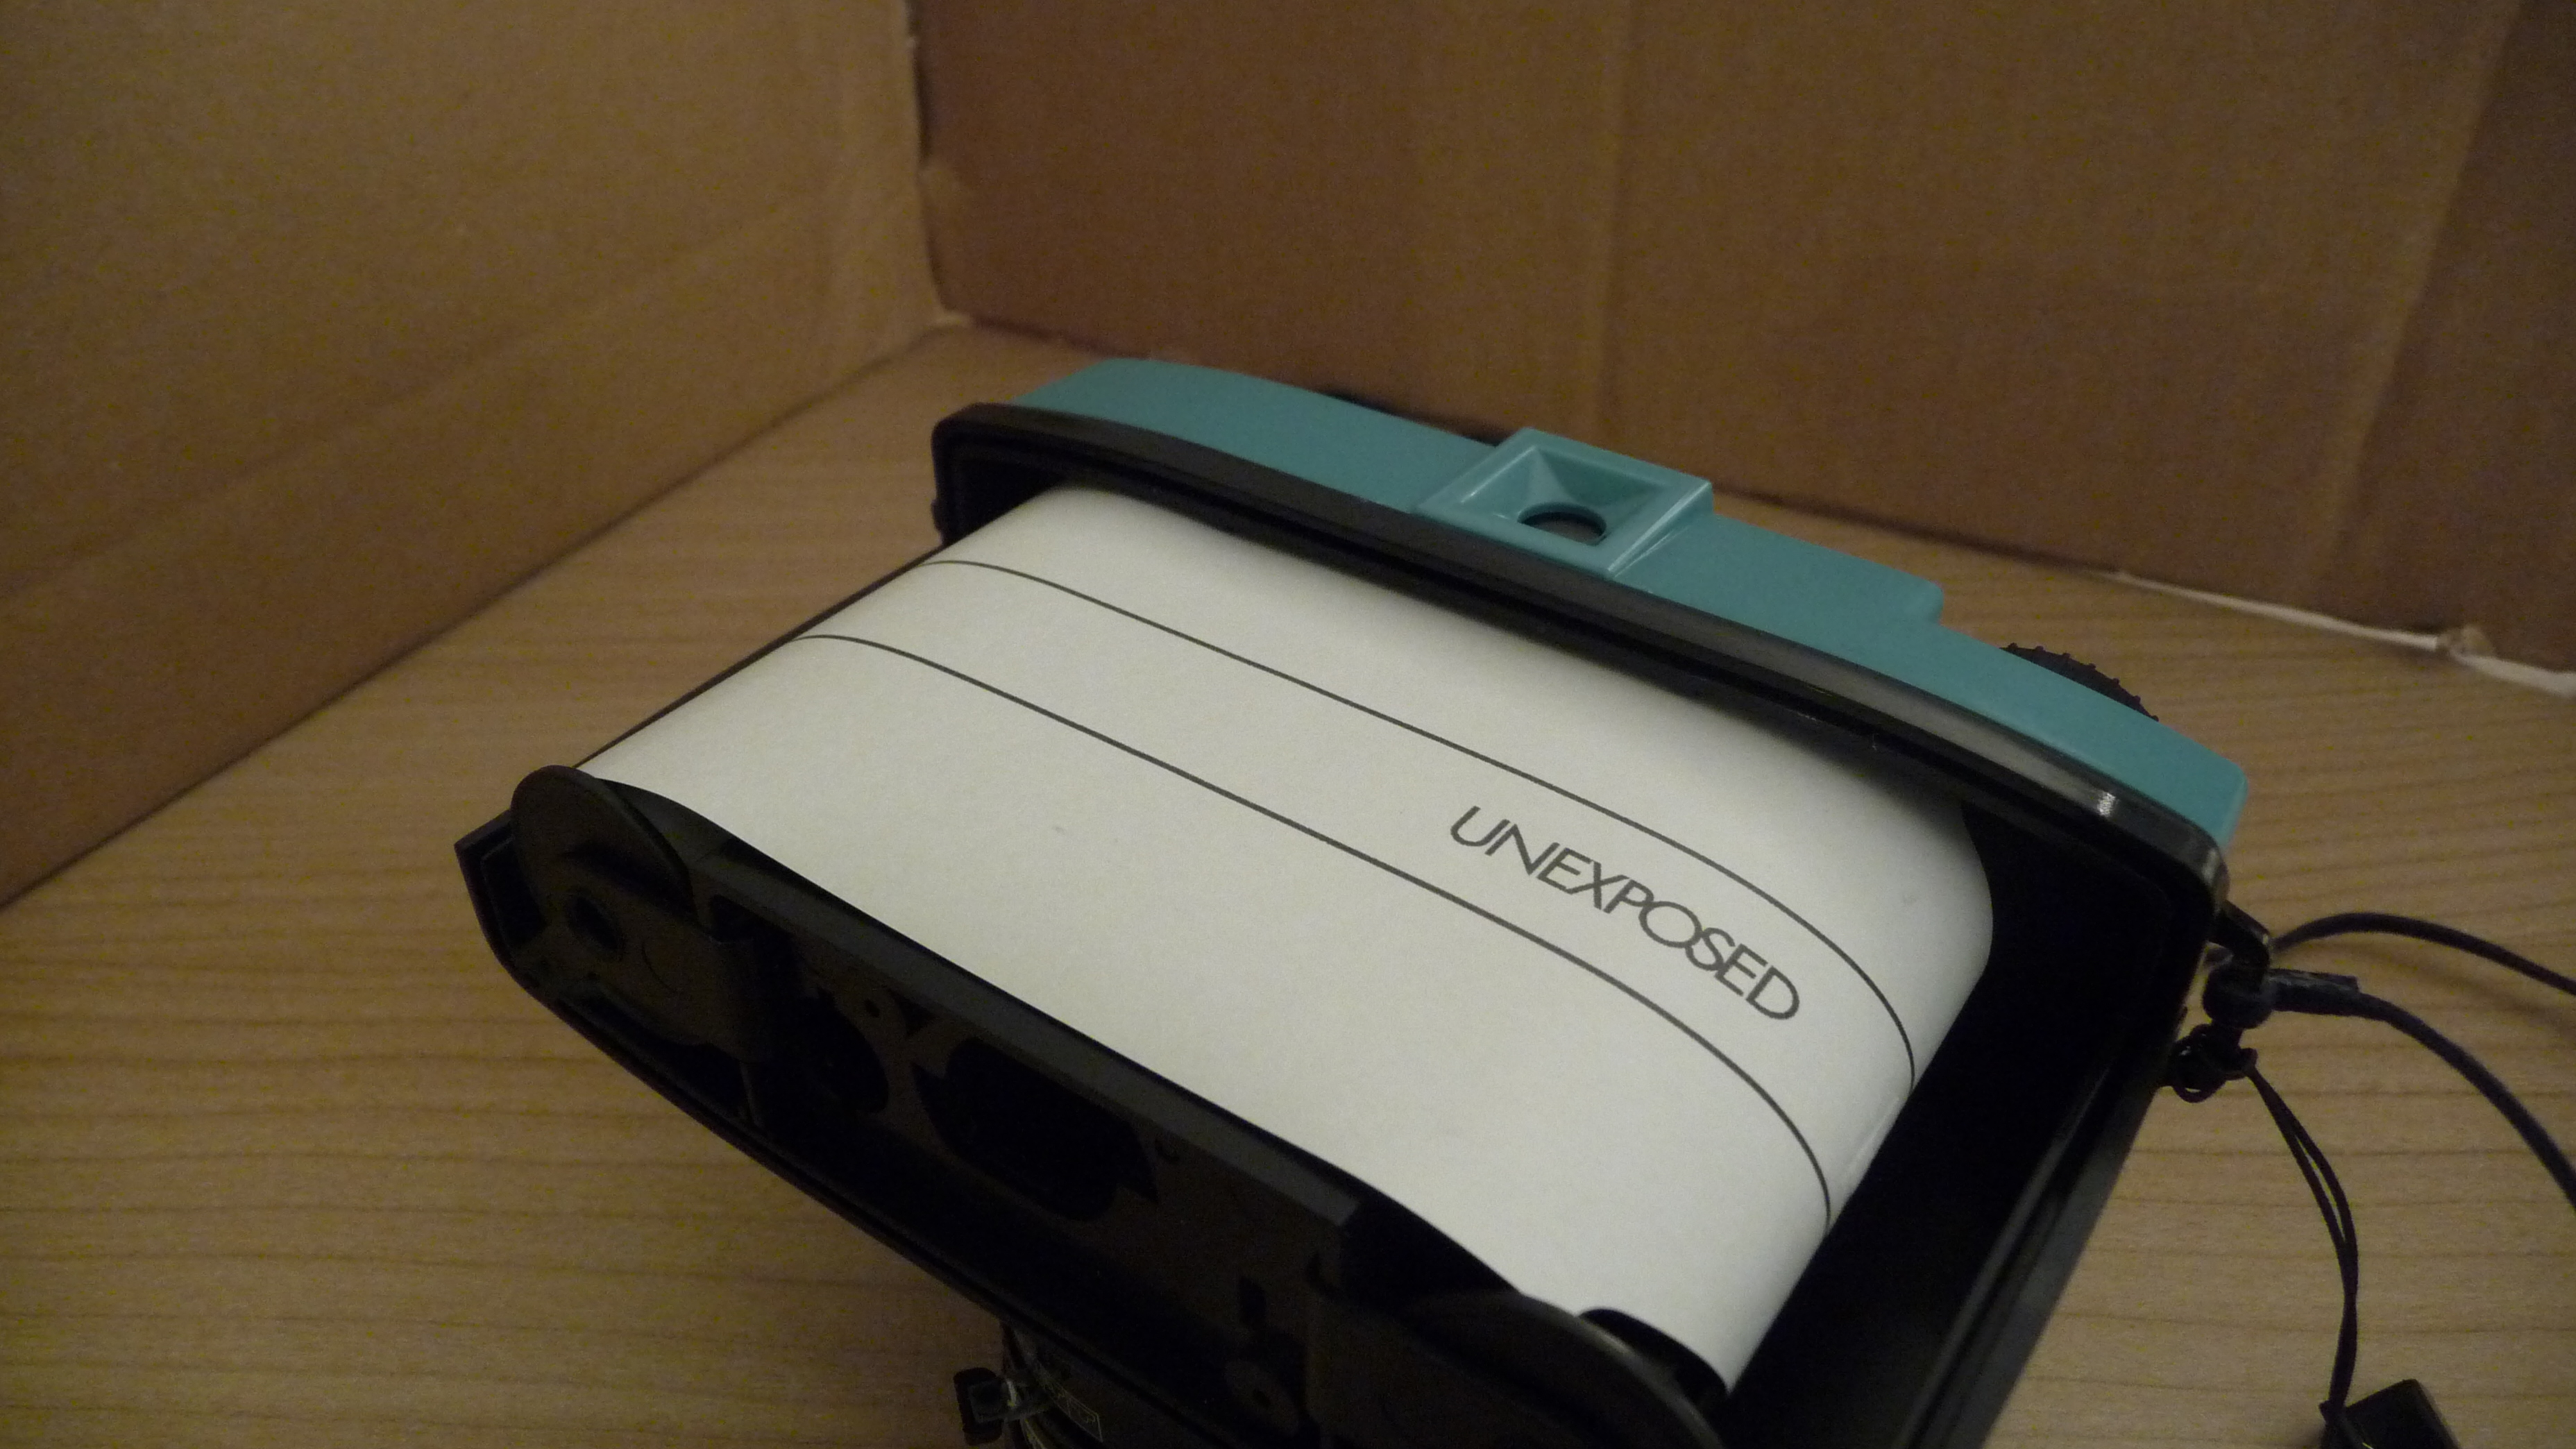
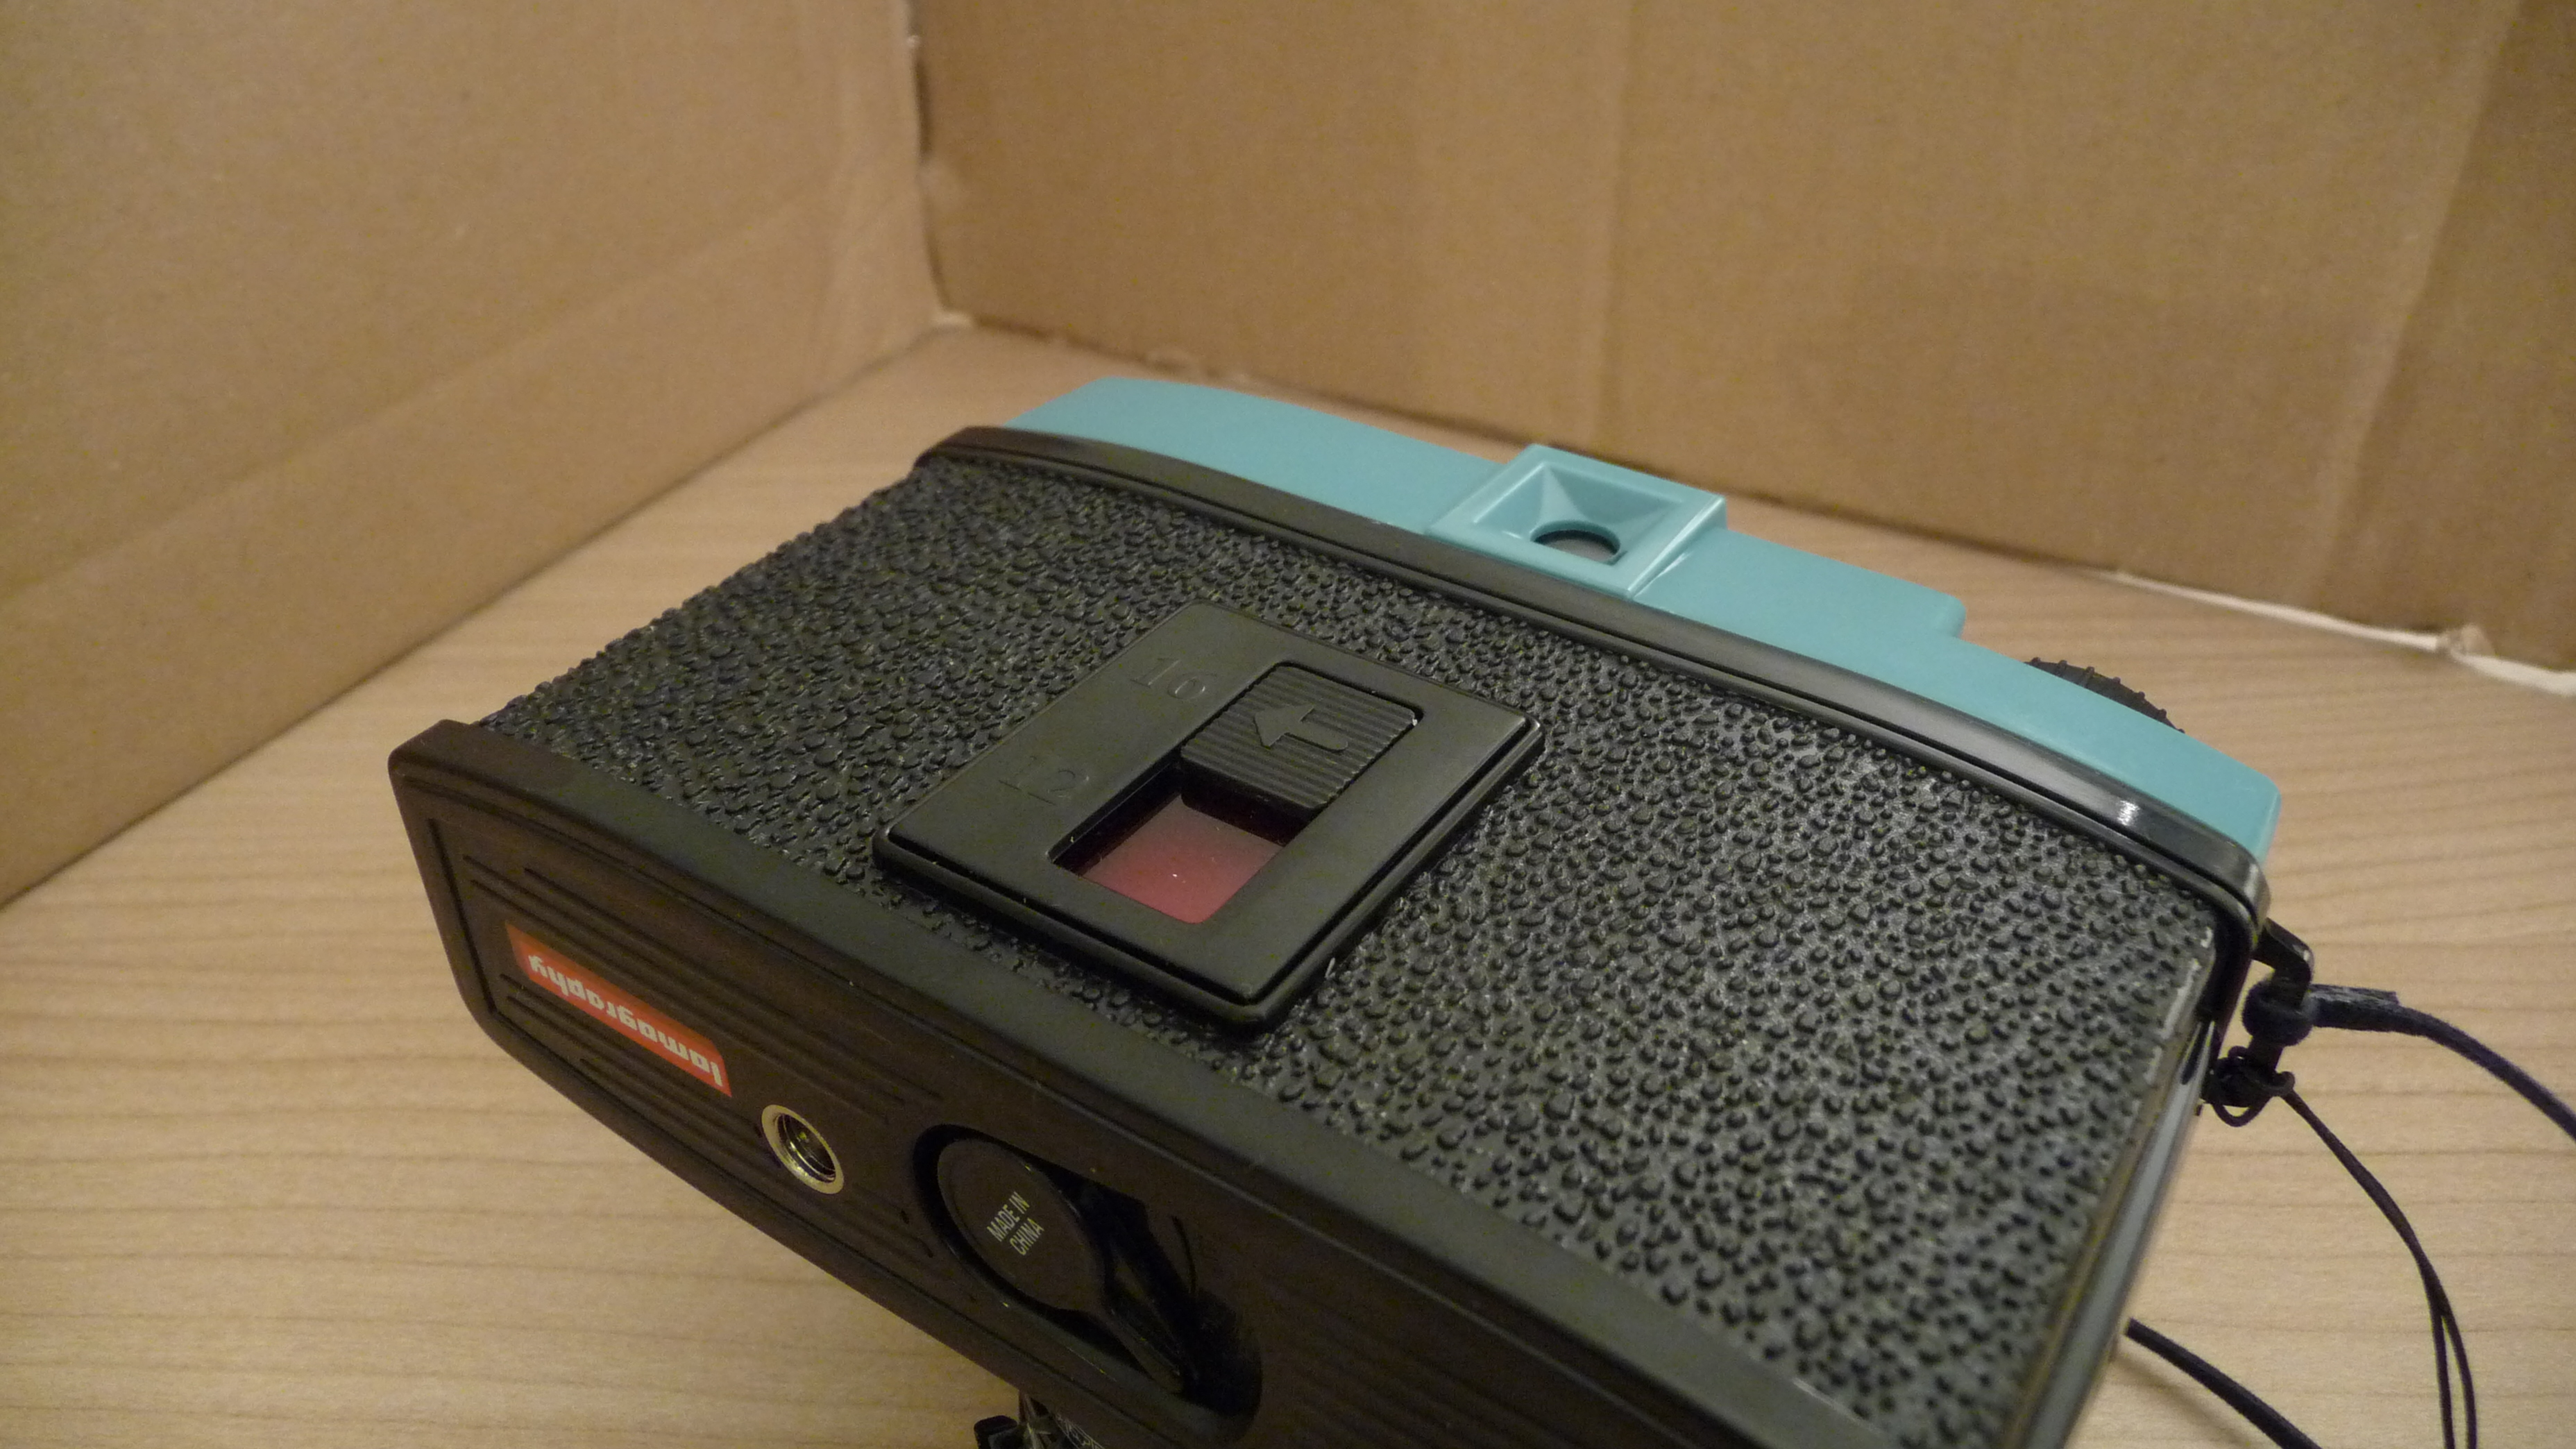
Now, as usual, put the film in your camera and close the case.
Turn the film-advancing wheel until you see the number 1 of the film.
Congratulations, you successfully impressed one frame.
Turn the wheel until you the the number 2 on the back window of the camera.
Now, you’re ready to take your second slit photo.
Turn the film-advancing wheel until you see the number 1 of the film.
Now, only 2 stripes (out of 4) of your photo are impressed on the film. Turn the film-advancing wheel slowly until you move forward the film of 1 centimiter (you should hear between 12 and 14 clicks).Shoot the first photo.
This will impress the other half of the film.Now, shoot another photo.
Congratulations, you successfully impressed one frame.
Turn the wheel until you the the number 2 on the back window of the camera.
Now, you’re ready to take your second slit photo.
Creativity Explosion!
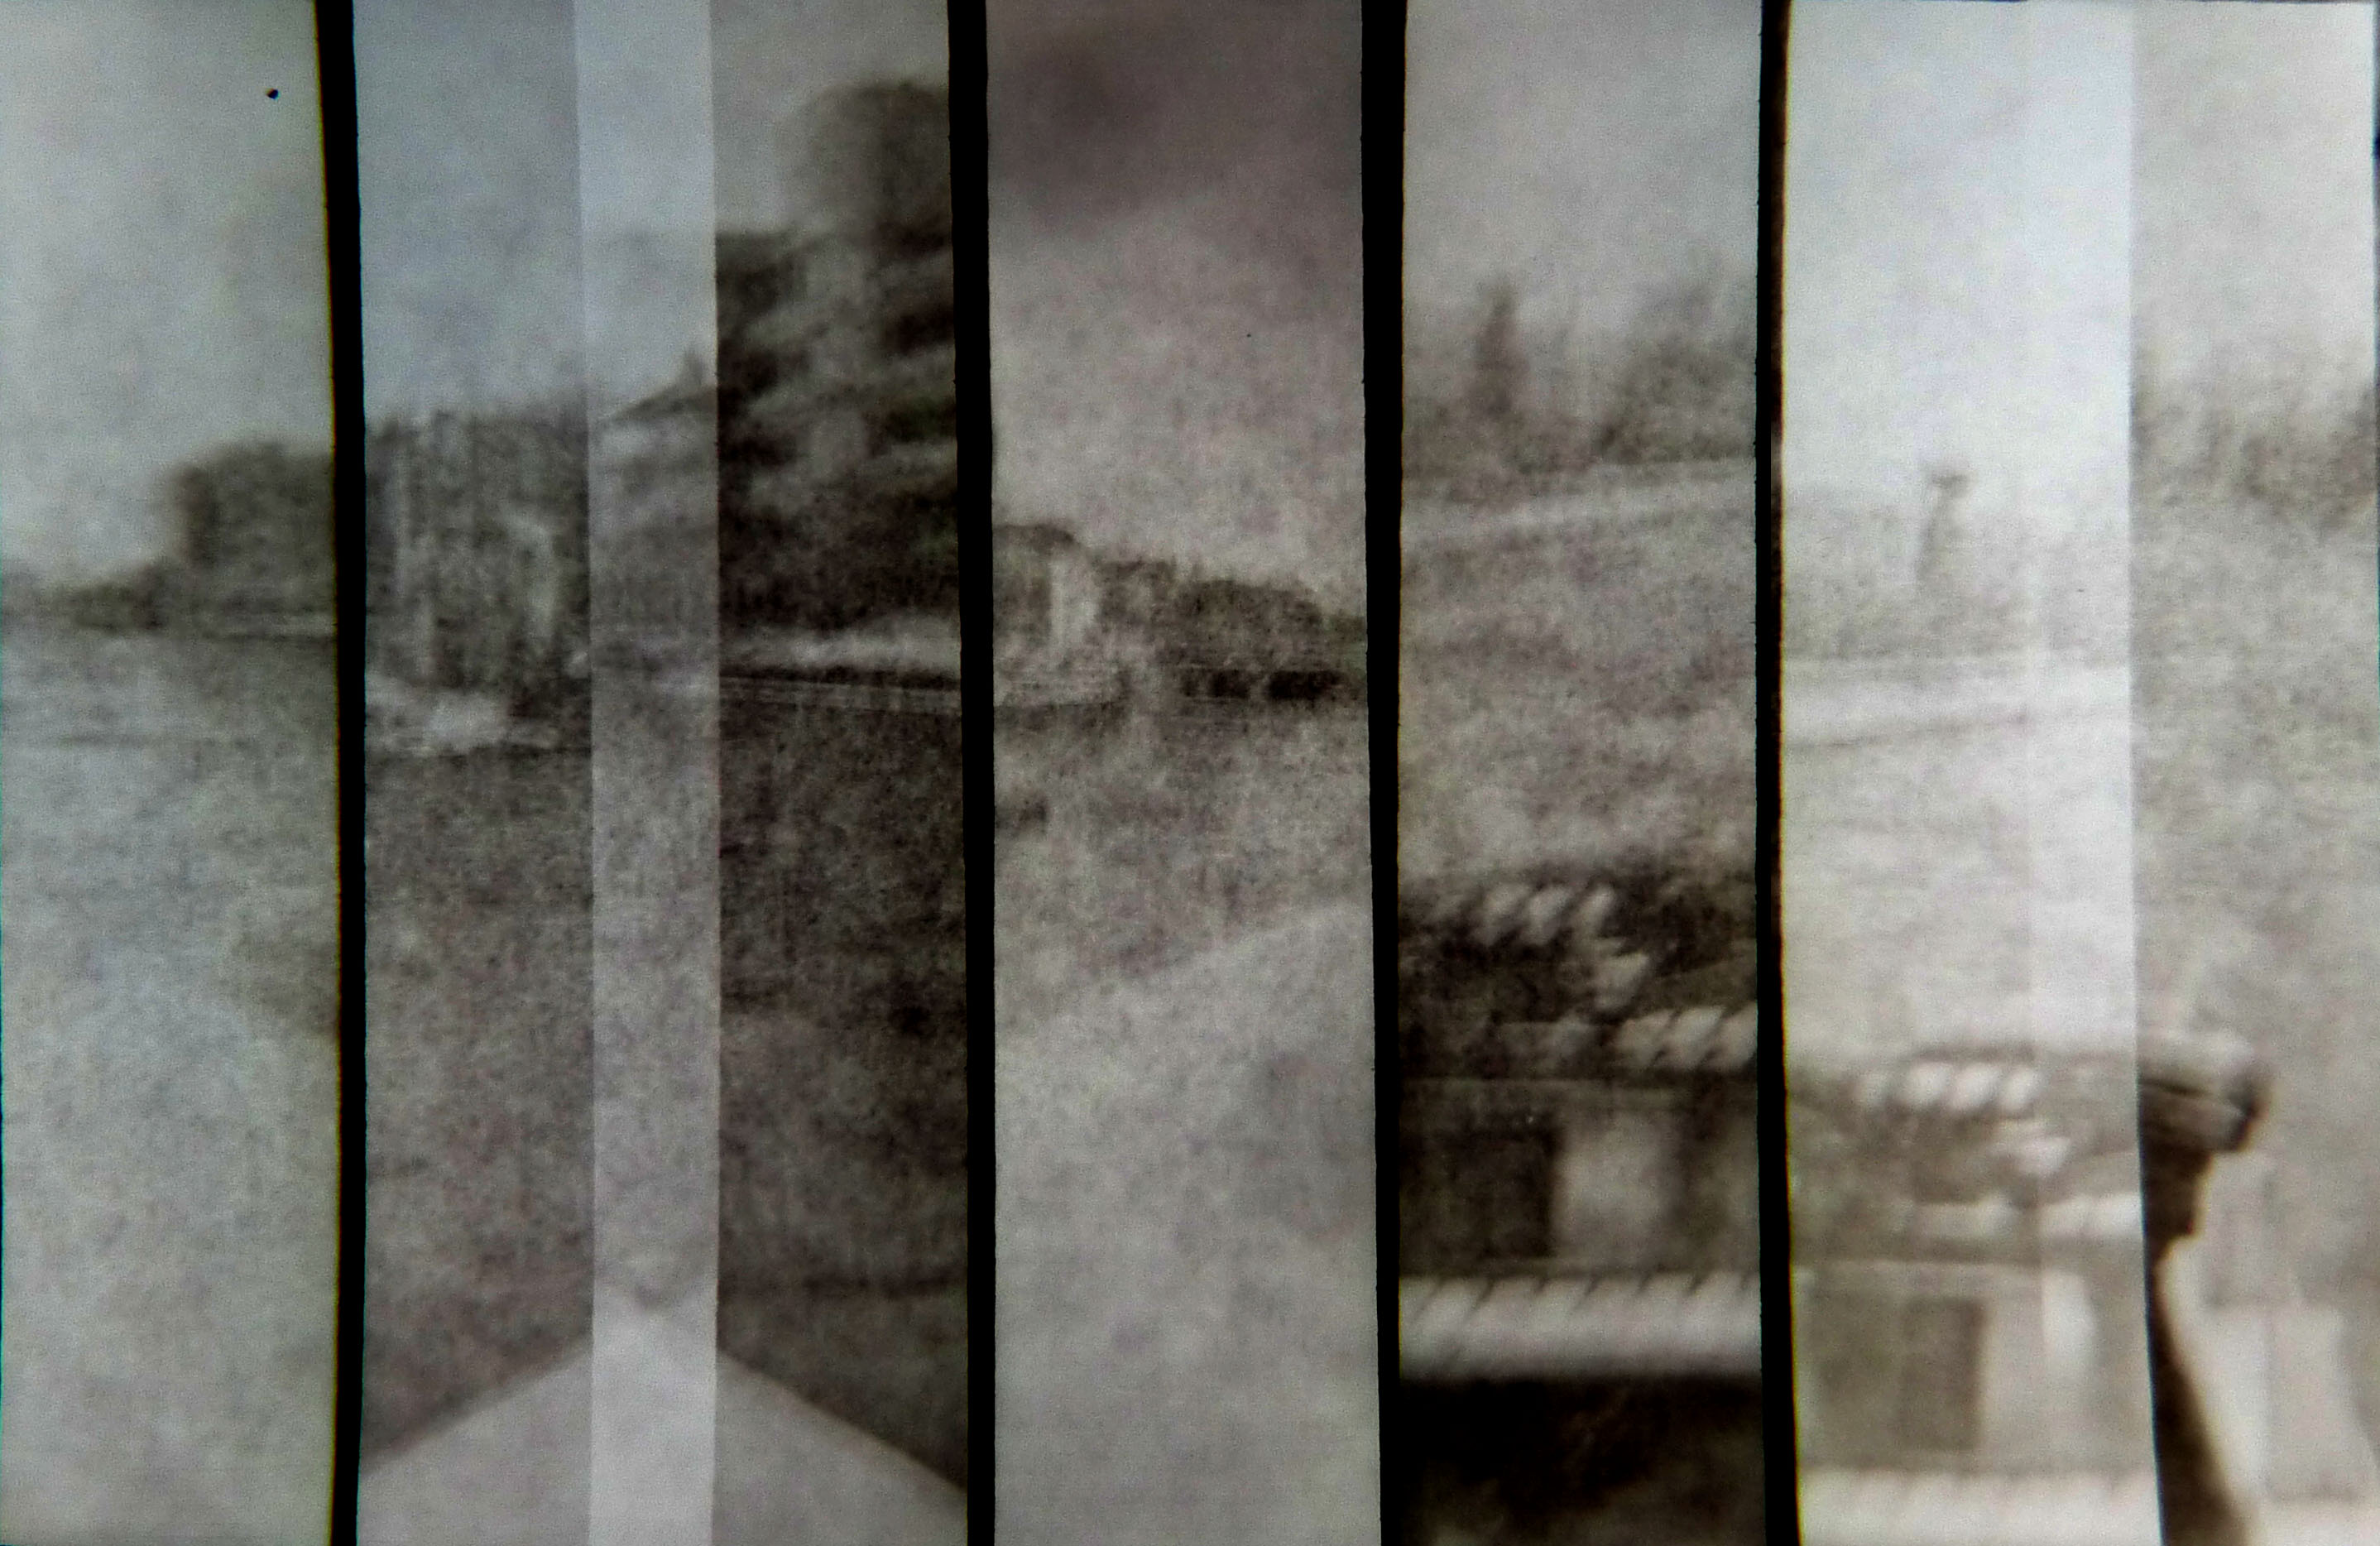
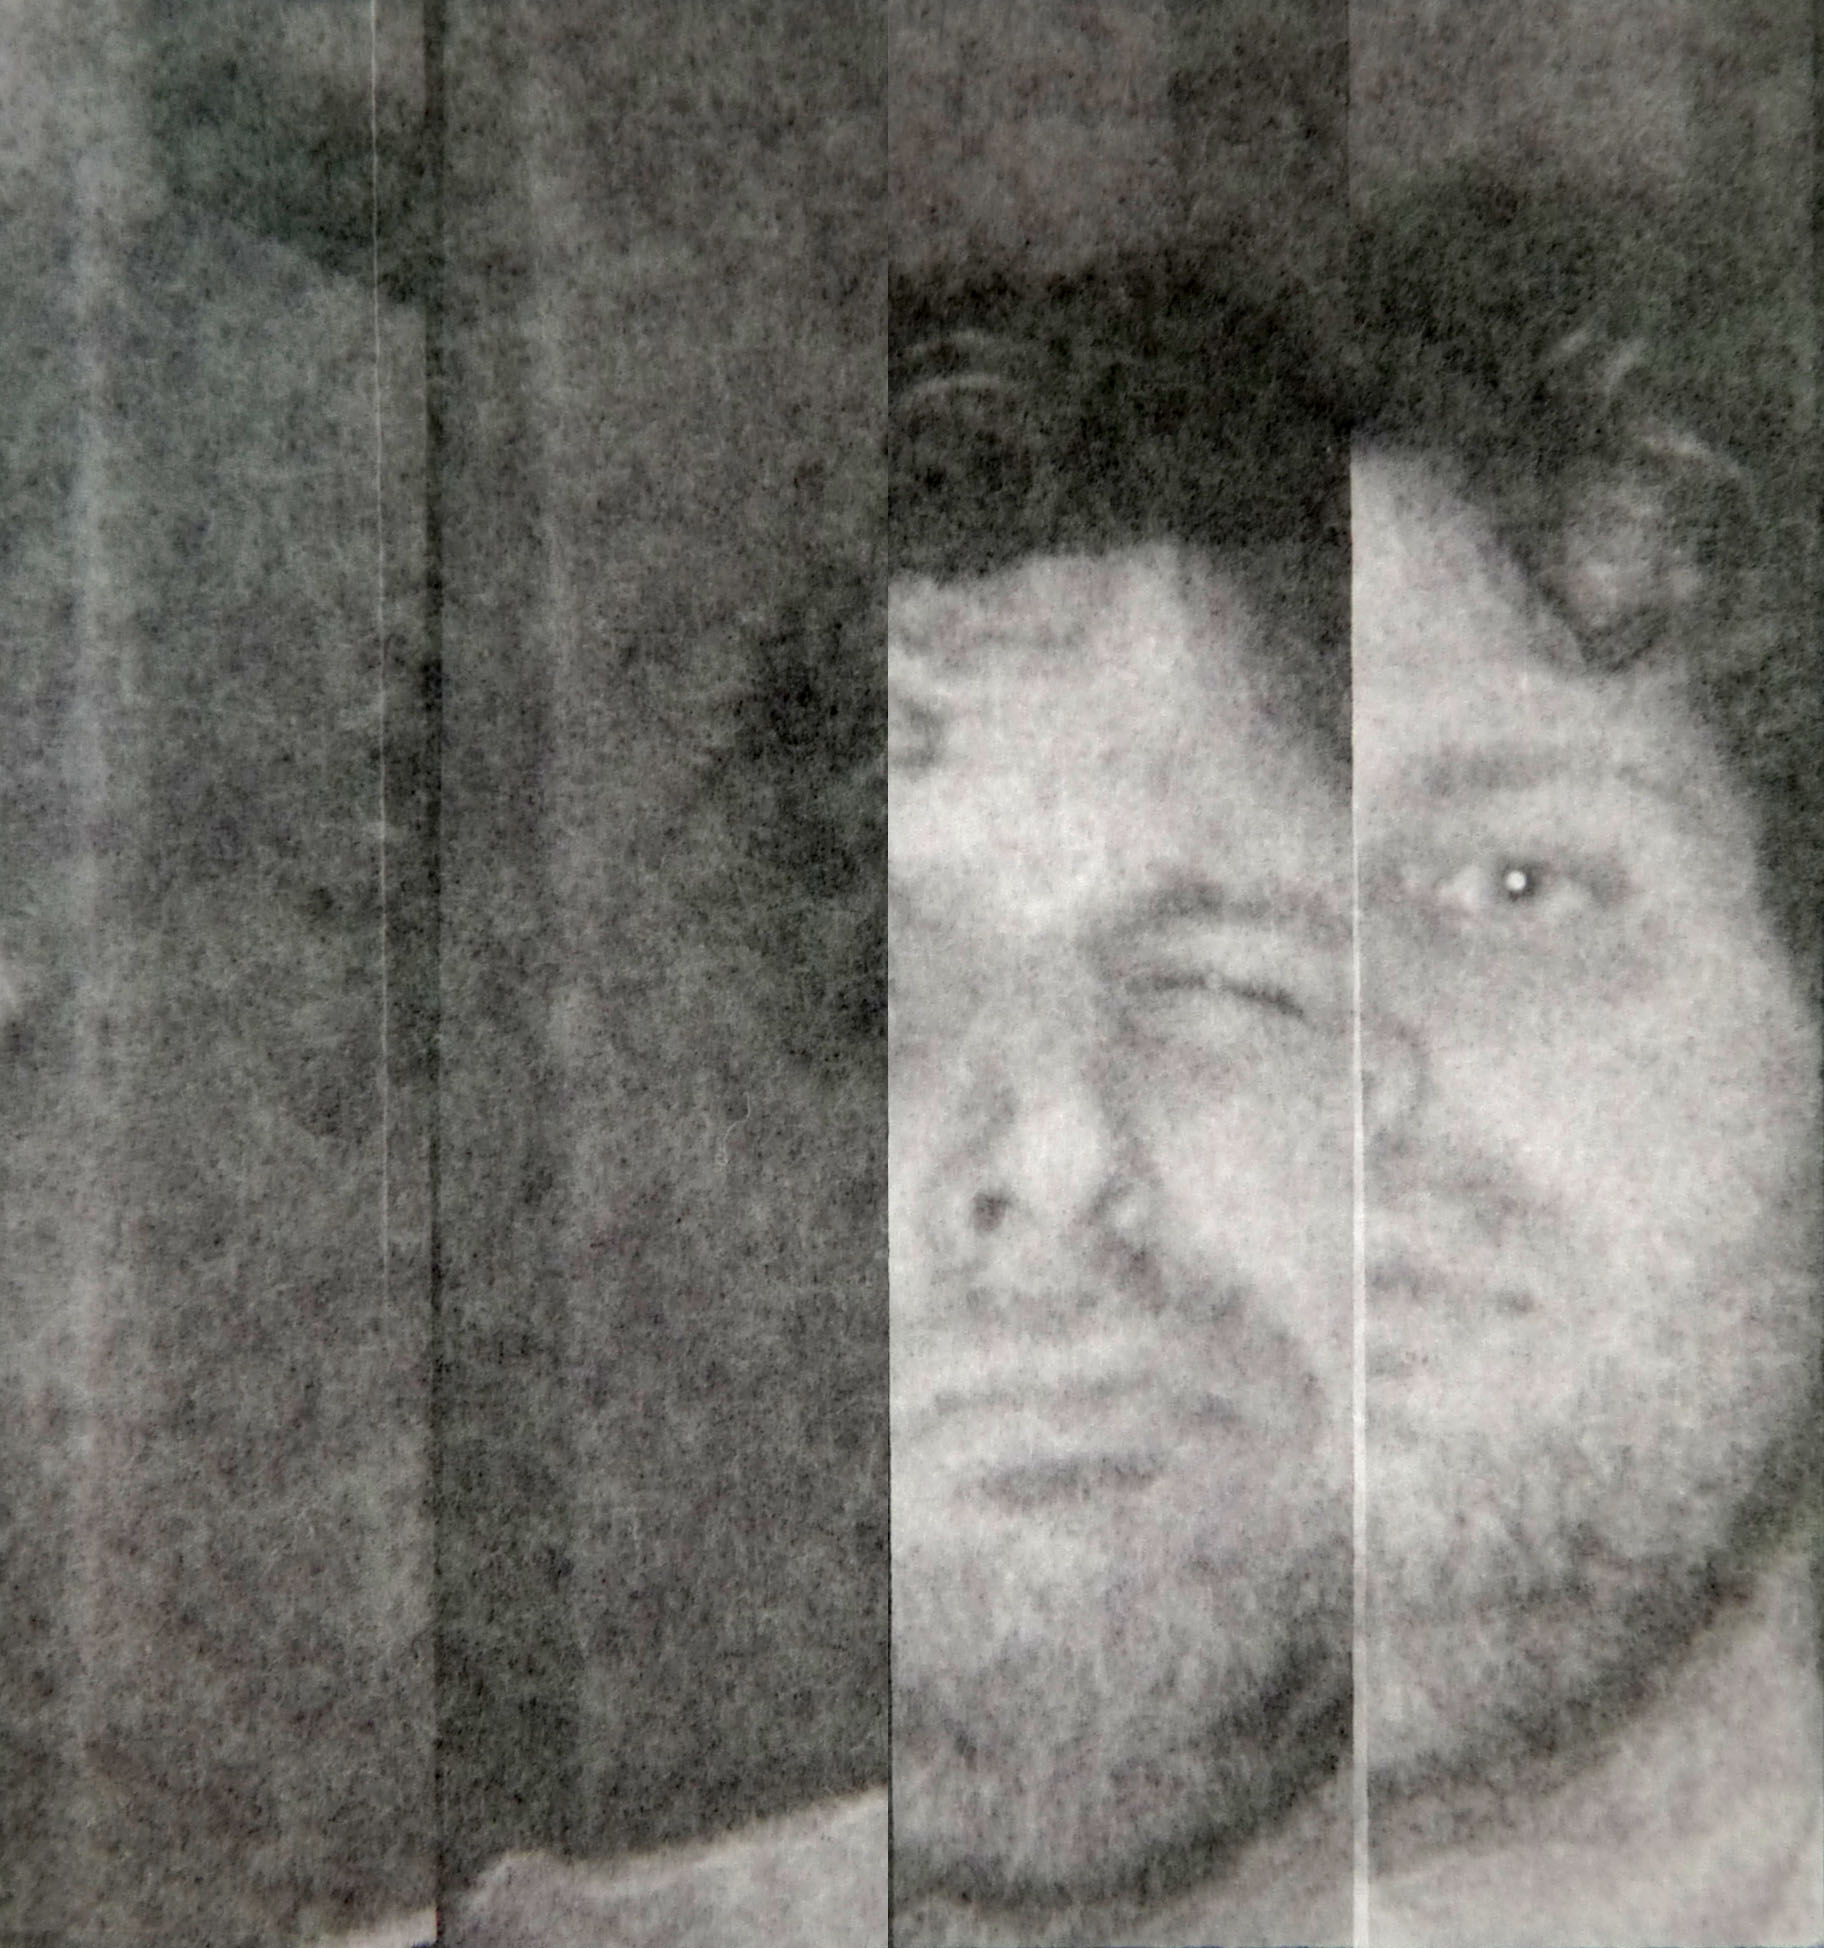

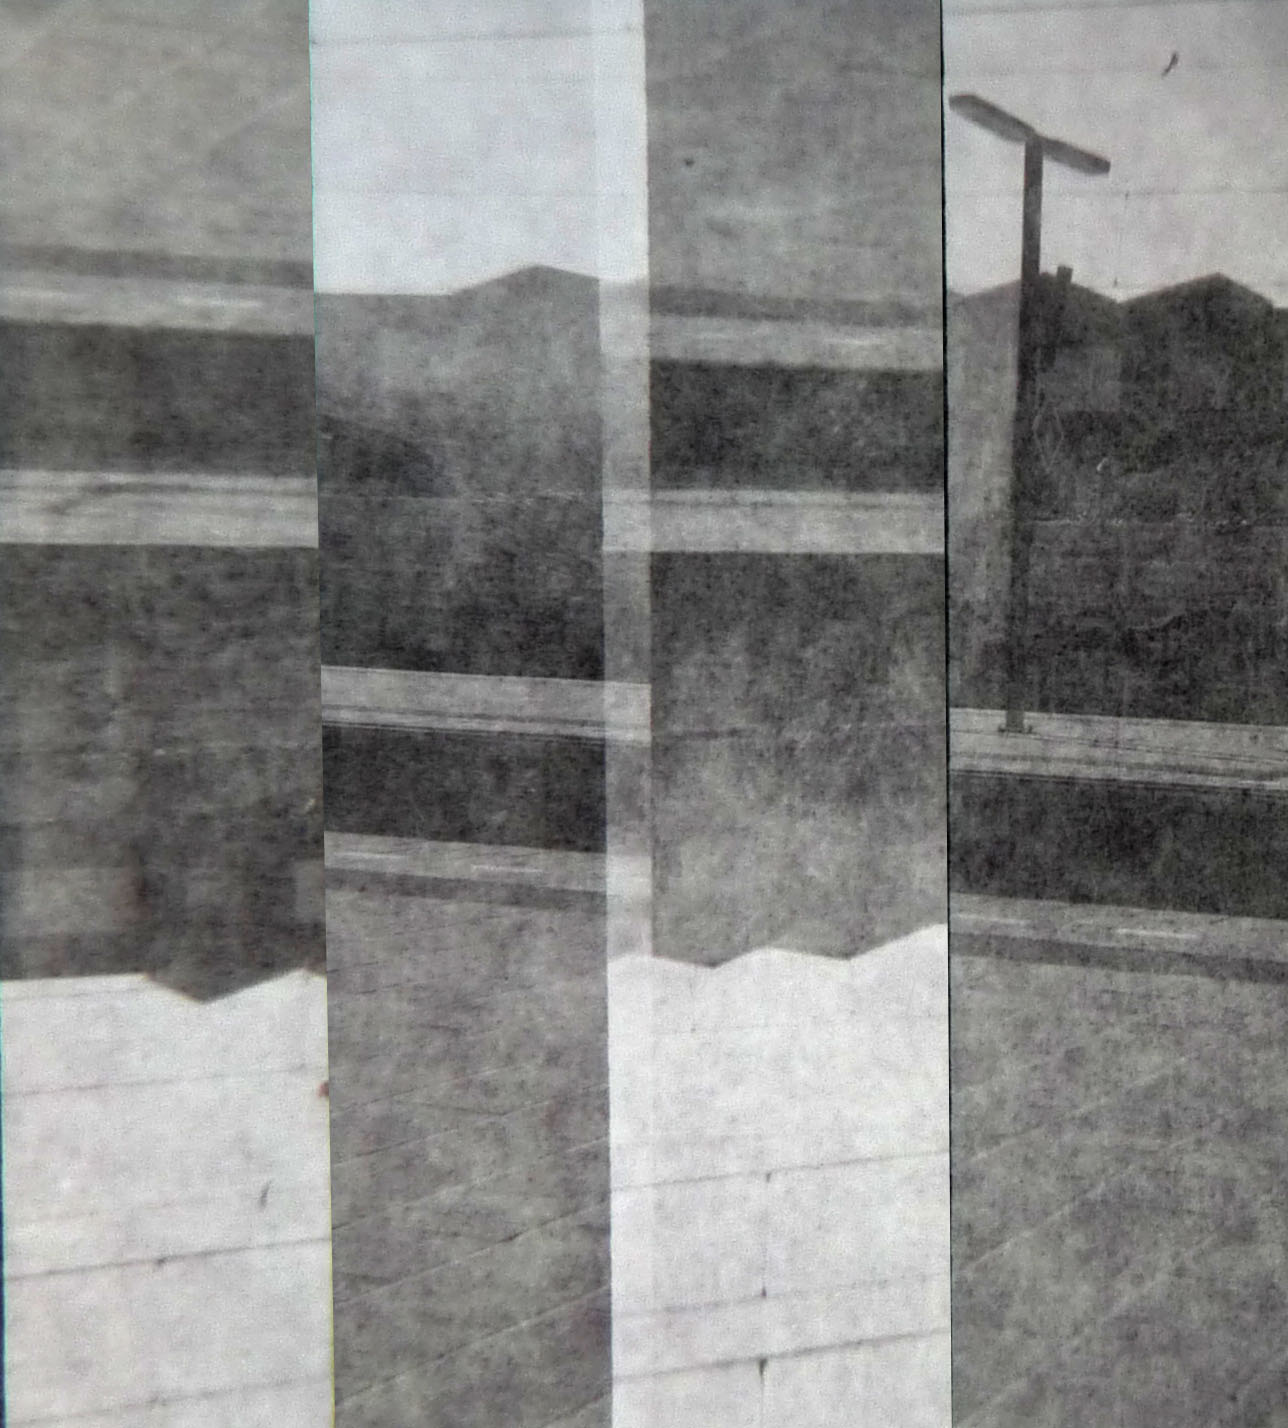
I took some photos and the results are quite interesting. The only problem is that if you don’t get the right offset the resulting size of the image will be non-standard and the photographer (at least mine) cannot use his expensive machine to print them (they are automatic).
You can start to explore the possibilities of slit photography. I tried to have different exposure in the same photo but it didn’t work (no valid photos to show, sorry).
I also tried to depict the same subject with different expressions, results were promising.
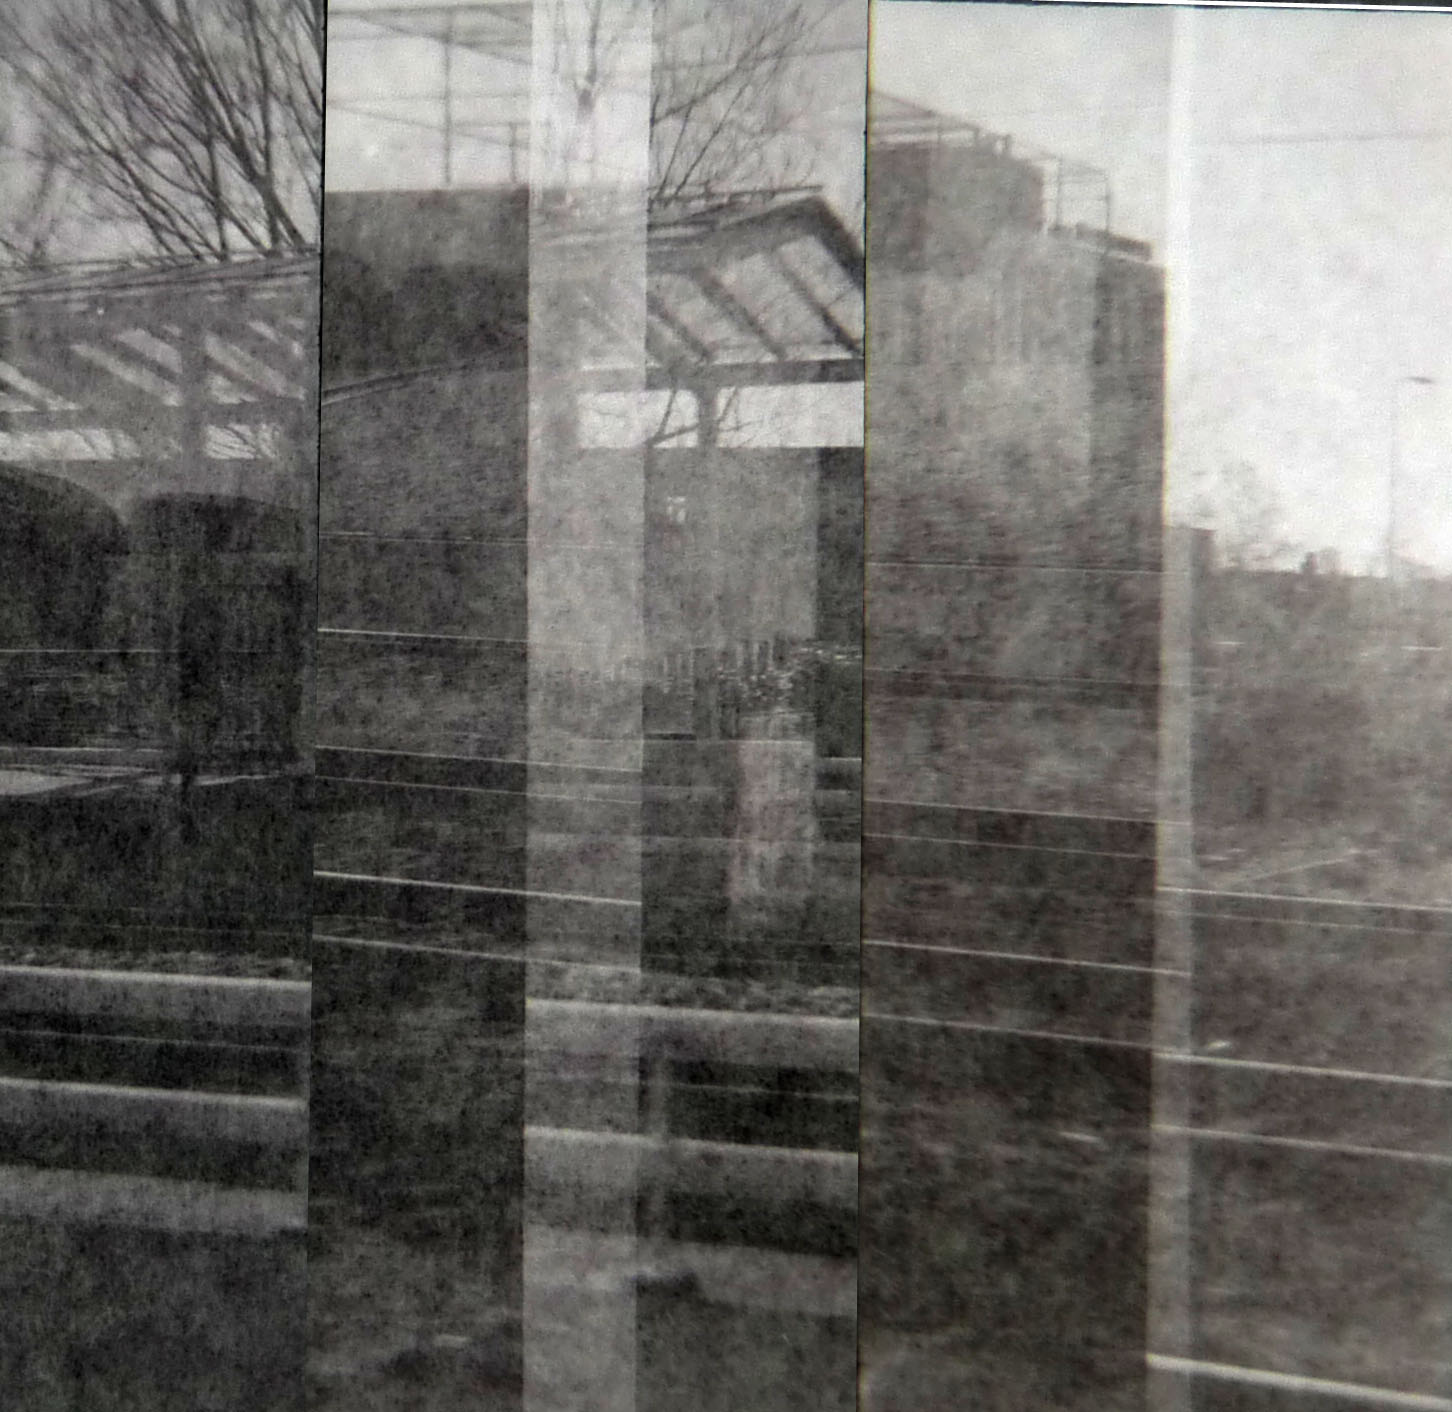
I also tried to take some sequence photos on a moving train. I found the result quite nice.
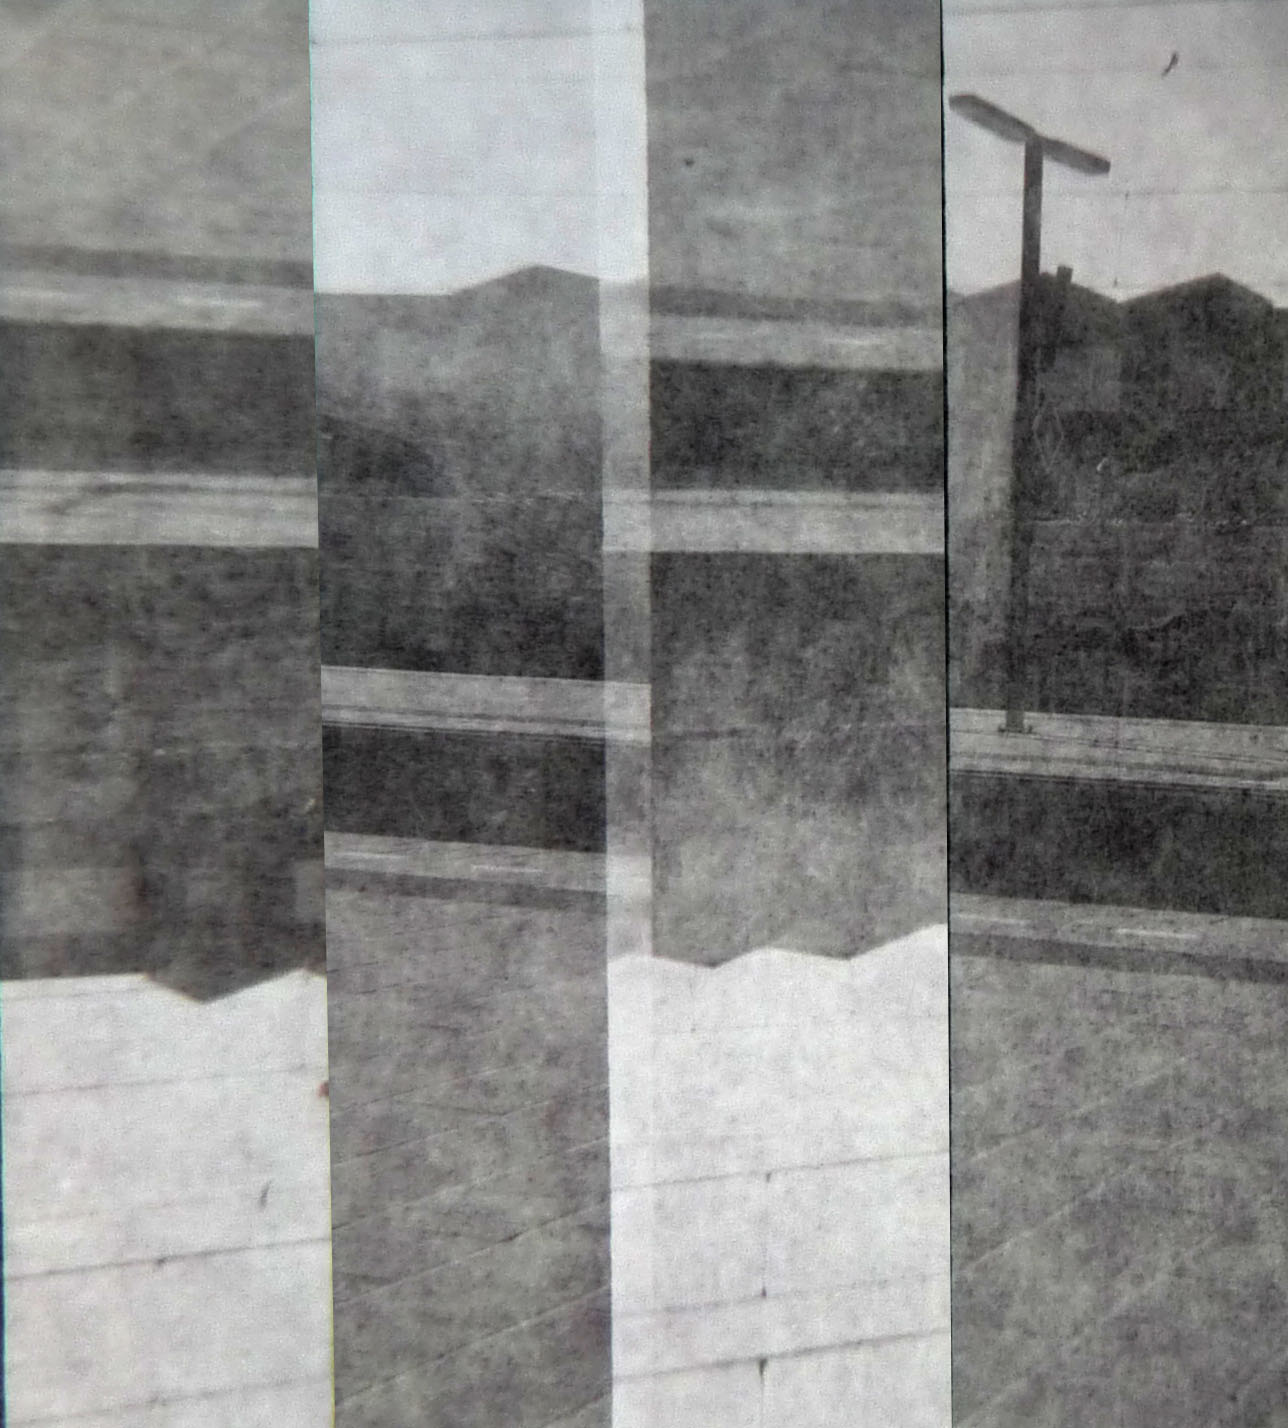
Finally, I tried to have half photo upside-down. The result are quite confusing. Maybe next time I’ll try with a color film.
Buy a Proper Scanner

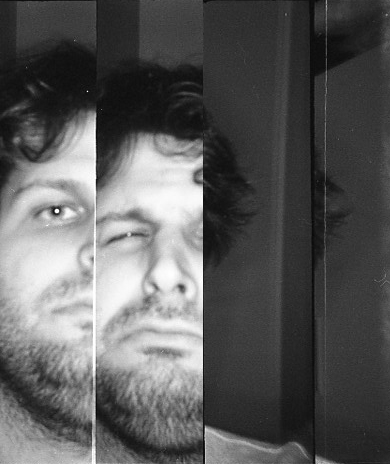
Last tips: if you're really into analog photography think about buying a proper scanner.
At the end you will save lot of money: developing the film is quite cheap but printing the photos is more expensive (and you lose quality)
Just to show you the HUGE GAP I asked to a friend to scan a photo with his Epson perfection V500 photo film scanner. You can see the difference on the two images in this step: it doesn't seem the same photo!