Split-Etched Acrylic Postcard - Optical Trickery
by fungus amungus in Craft > Paper
32813 Views, 60 Favorites, 0 Comments
Split-Etched Acrylic Postcard - Optical Trickery
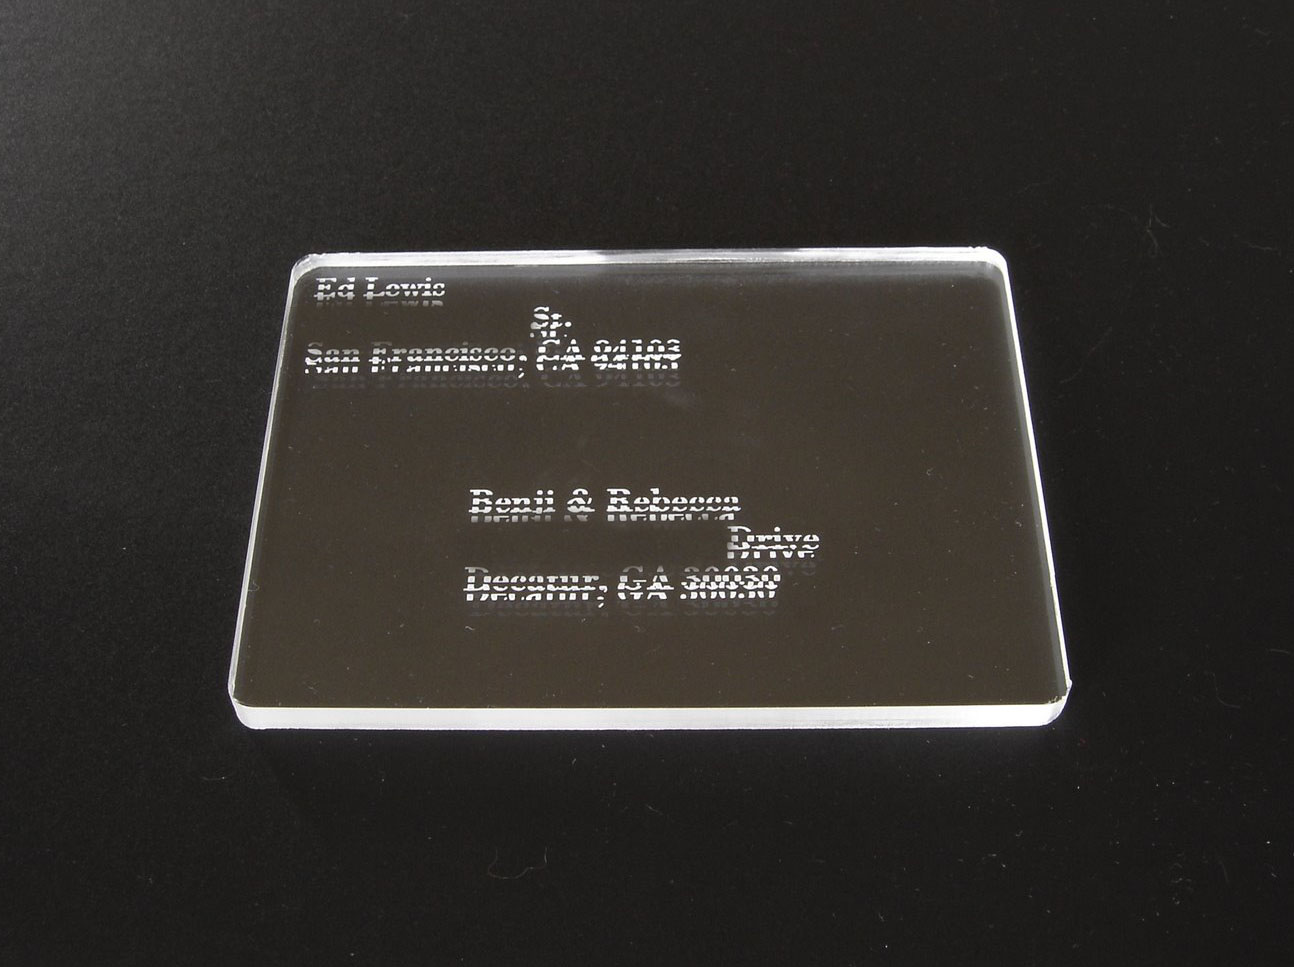
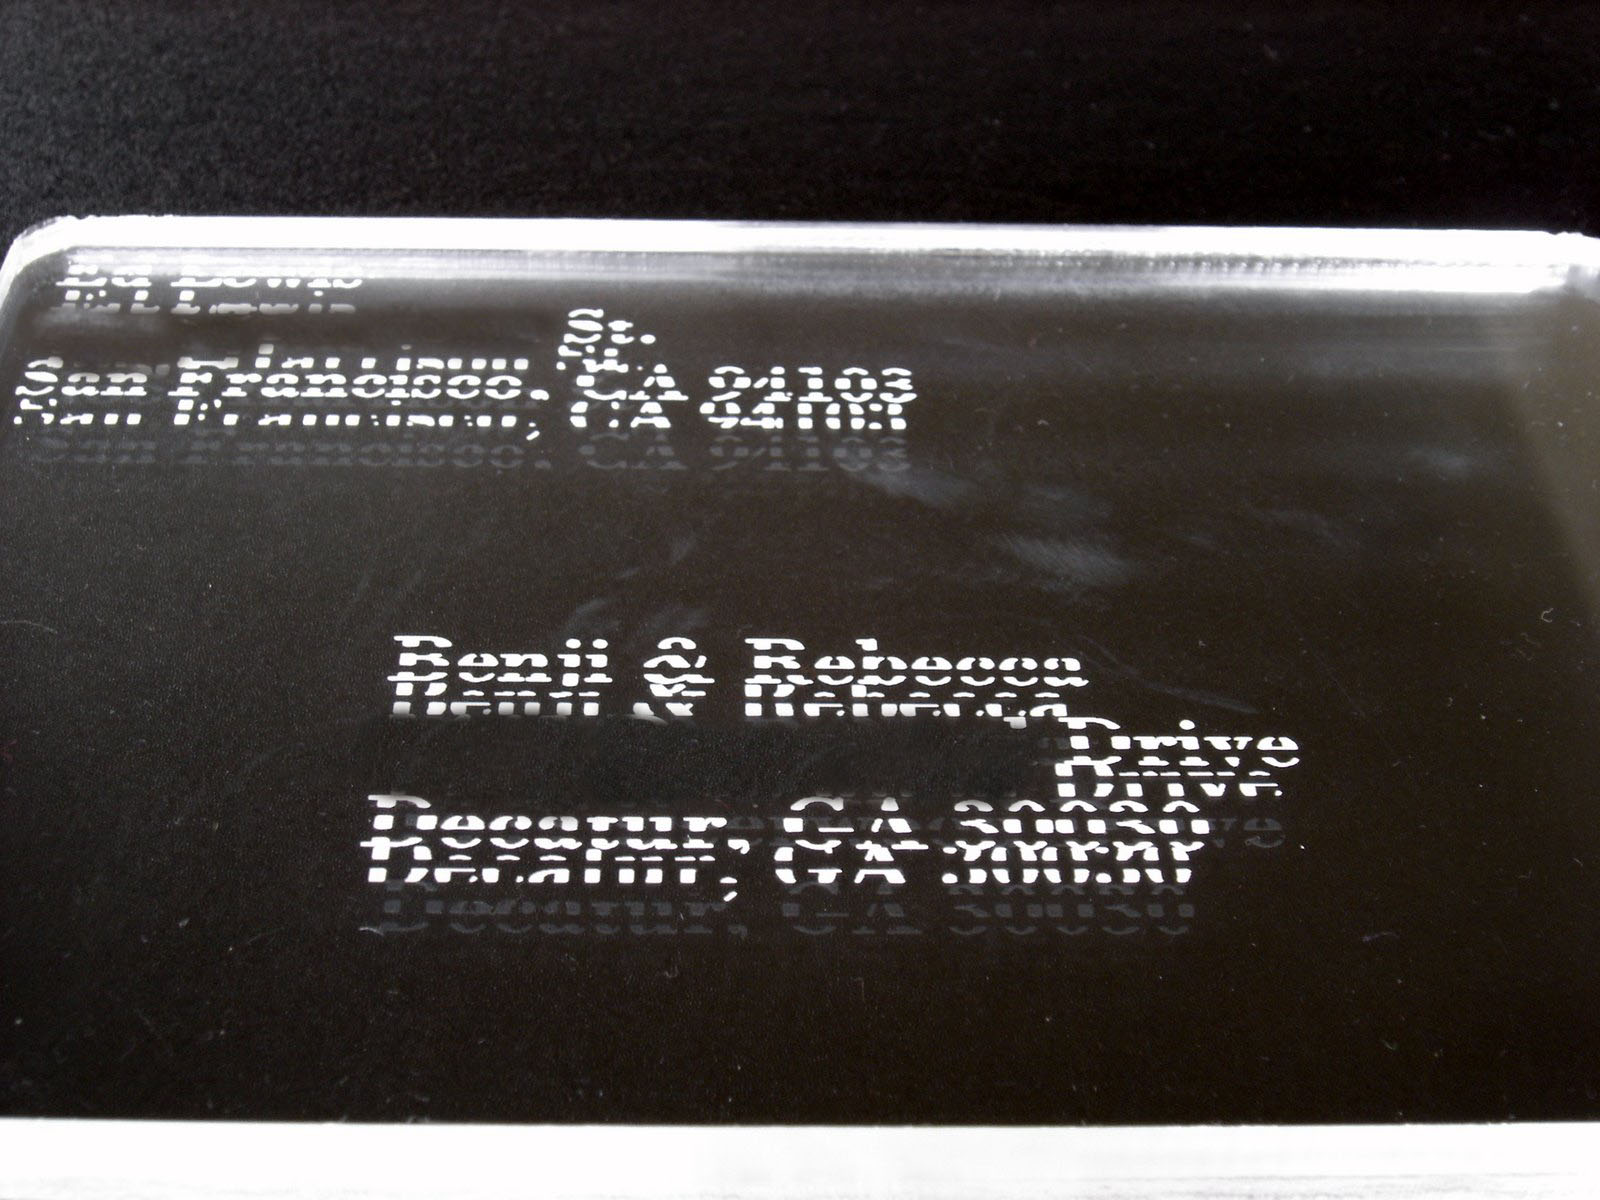
If the postal workers don't hate me now, this laser-etched piece might turn them to the dark side. If I'm lucky they'll have a fondness for optical tricks and get this postcard to the right place.
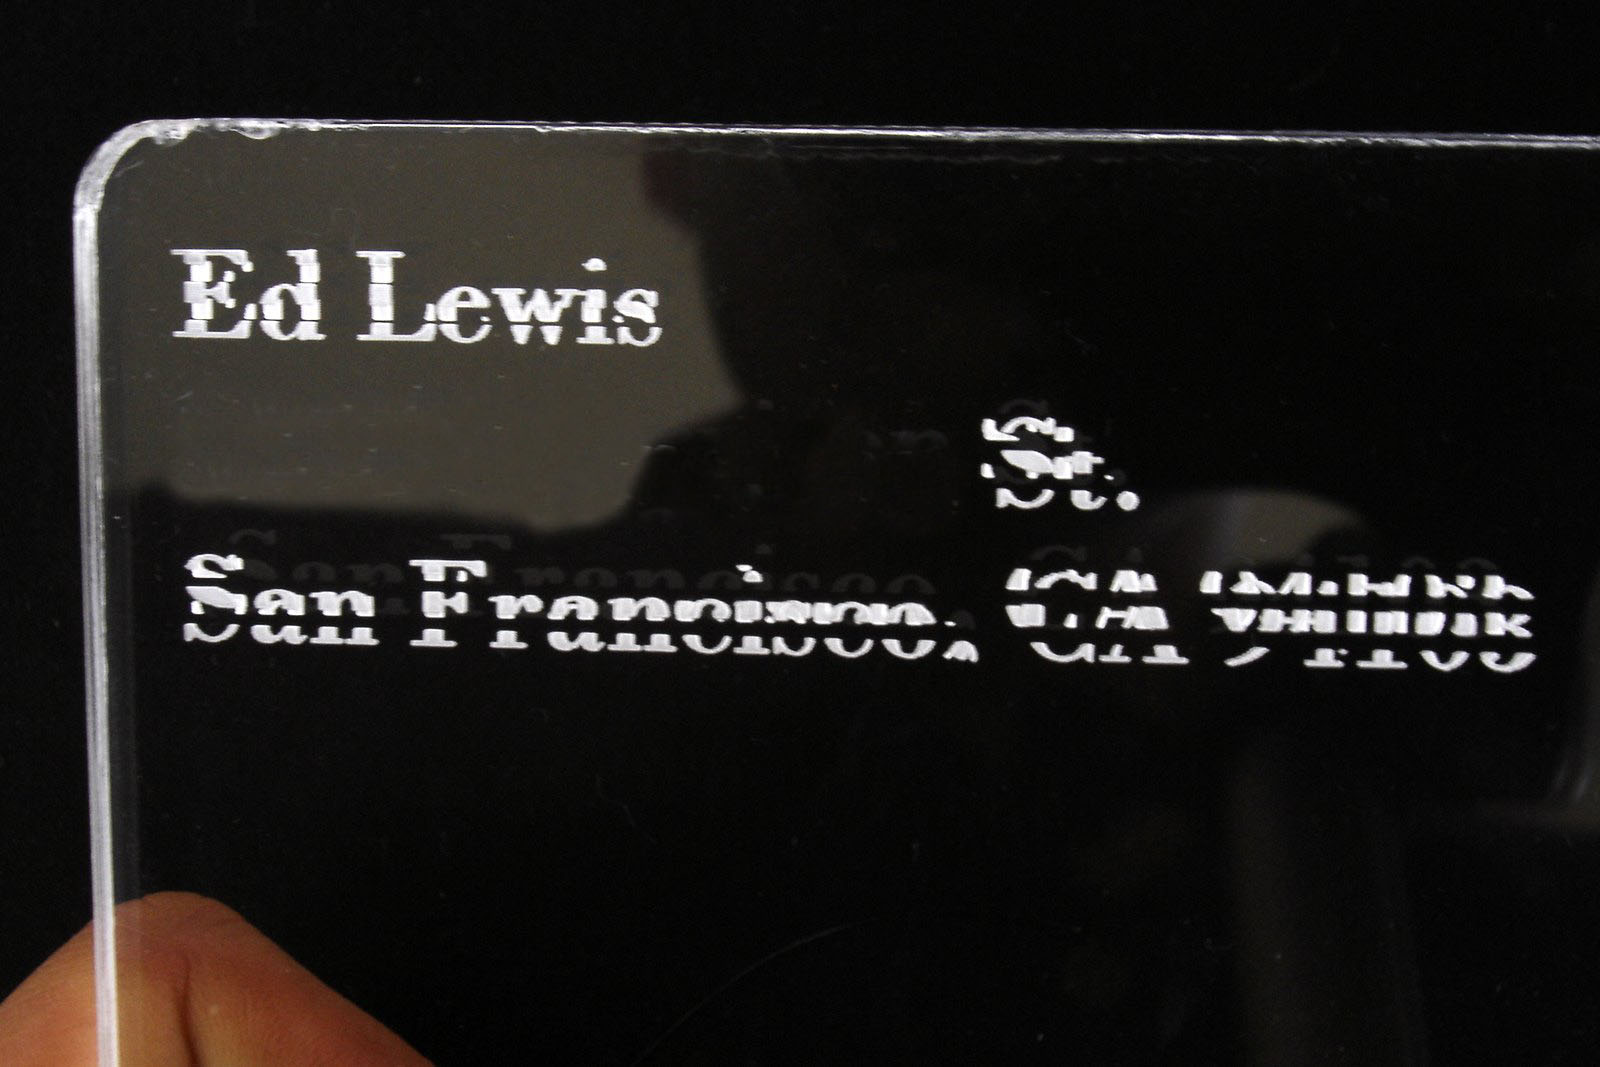
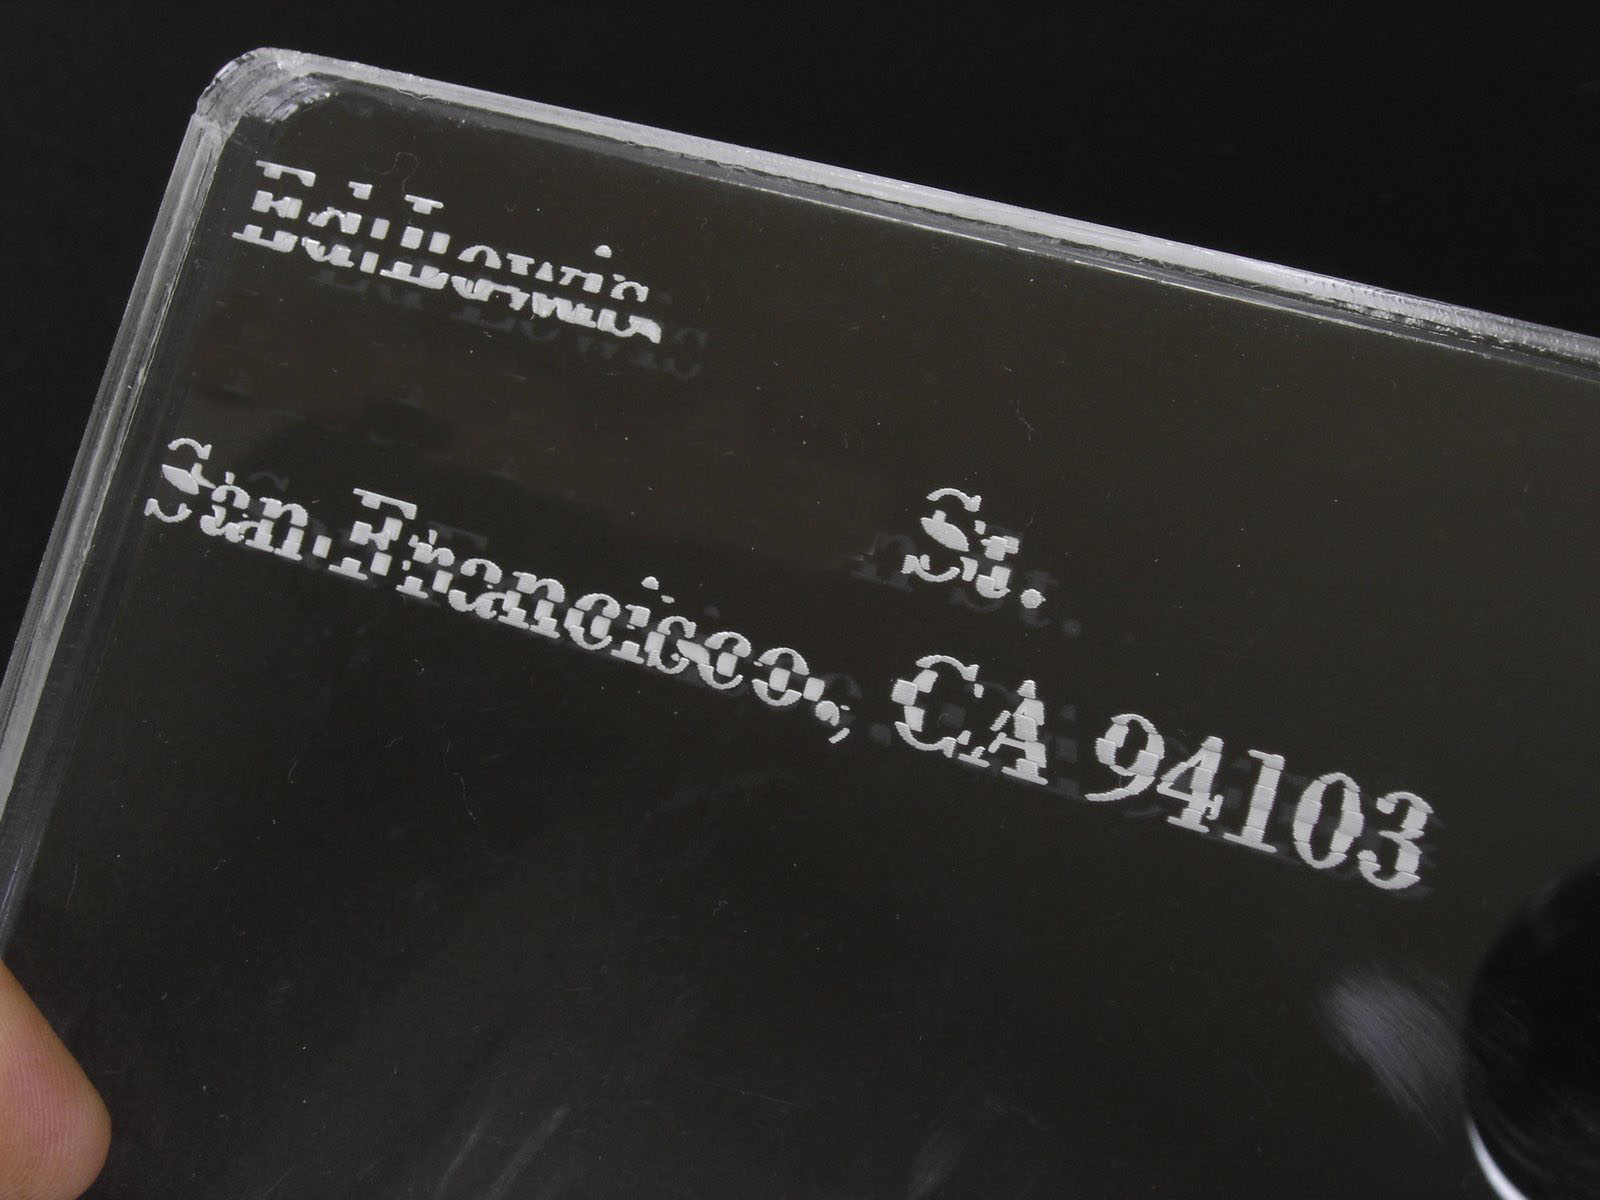
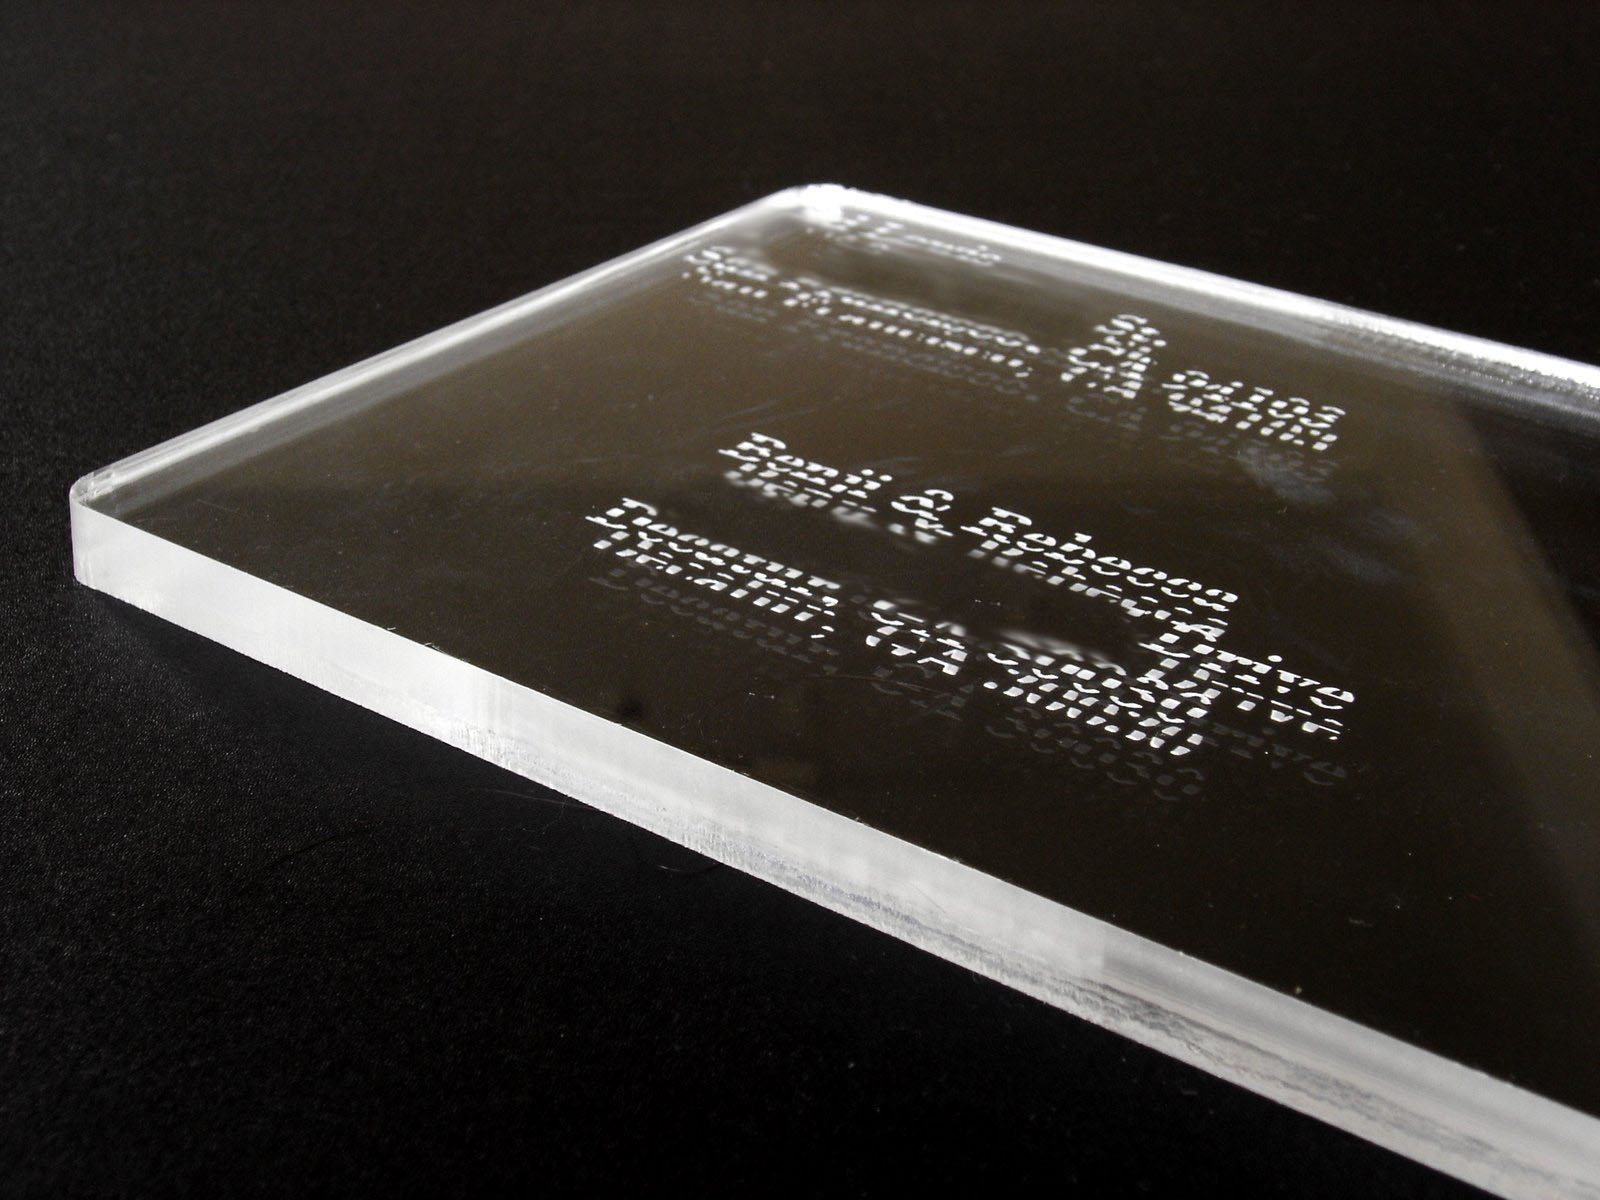
On this thick piece of acrylic I sliced up the addresses into two images and etched each one on opposite sides. the only way to look at the thing and make any sense of it is to close one eye and carefully move it around to change the angle.
With no changes to the bottom image in terms of distortion or size it's impossible to line up the front and back to make the whole address "pop" into view. You can't even get a whole zip code to line up just right. And yet it's still readable if you put just a tiny bit of time into it. So it should make it through. I even put Priority Mail postage on this one for an extra boost through the system.
Make the Postcard Design
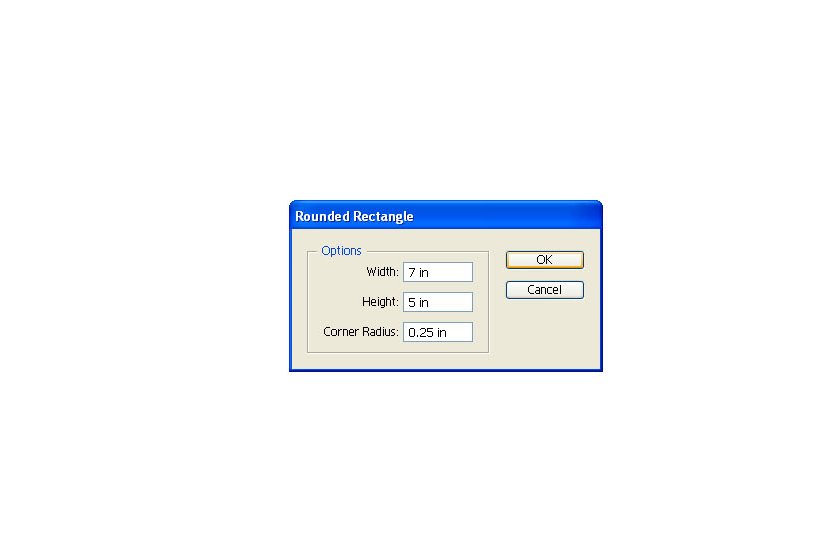
For all the steps here, I used Illustrator CS2, but this is very simple stuffe and can be asily done in other graphics programs.
This card is a little bigger than normal at 7x5, but the rounded corners will make it a bit friendlier. Don't want anyone to poke themselves with this thing, right?
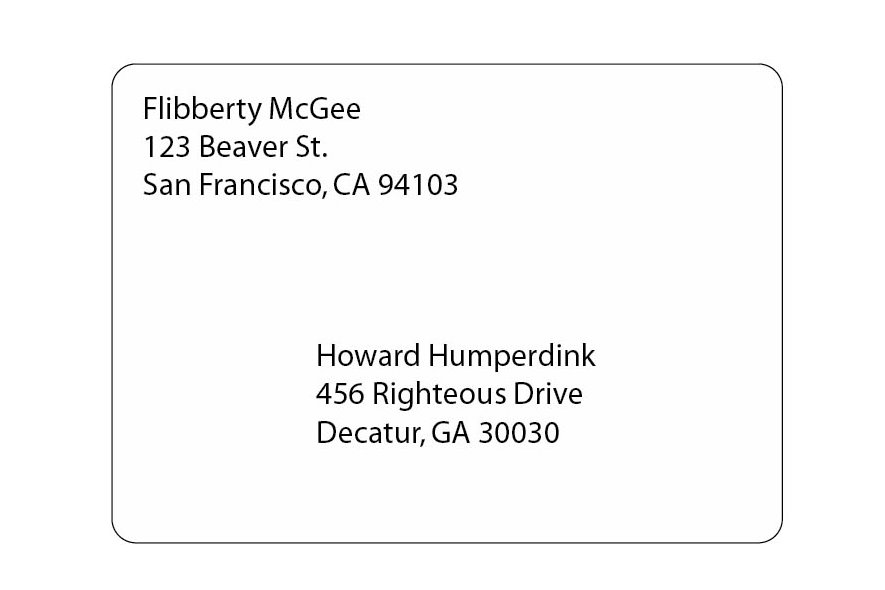
Now just plop in the addresses. Good old Flibberty and Howard get to resume their communication in this example. Thanks, guys!
This card is a little bigger than normal at 7x5, but the rounded corners will make it a bit friendlier. Don't want anyone to poke themselves with this thing, right?
Now just plop in the addresses. Good old Flibberty and Howard get to resume their communication in this example. Thanks, guys!
Create a Slice
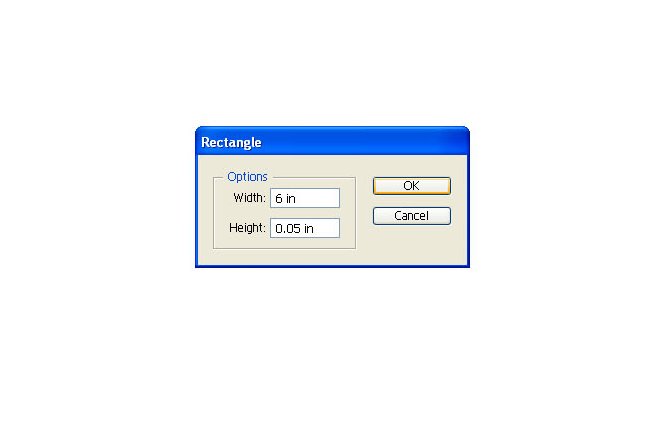
I figured that a .05-inch slice would be great. No reason, really, it was just a guess. I thought that would truly be pushing it, but after seeing the results I could probably have gone to .02-inch slices.
Creating a slice is as simple as creating a new rectangle. Make it wide enough to vey comfortably fit each of the addresses and set the height to .05. Keep the fill color black for now as it will make the next few steps a lot easier.
Creating a slice is as simple as creating a new rectangle. Make it wide enough to vey comfortably fit each of the addresses and set the height to .05. Keep the fill color black for now as it will make the next few steps a lot easier.
From One to Many
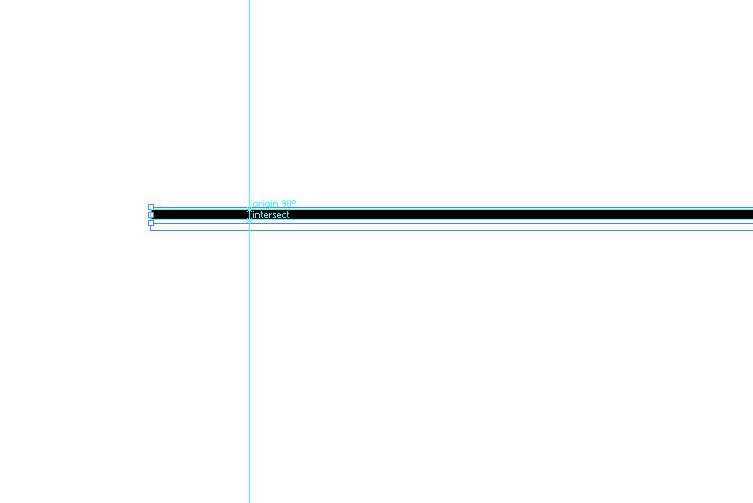
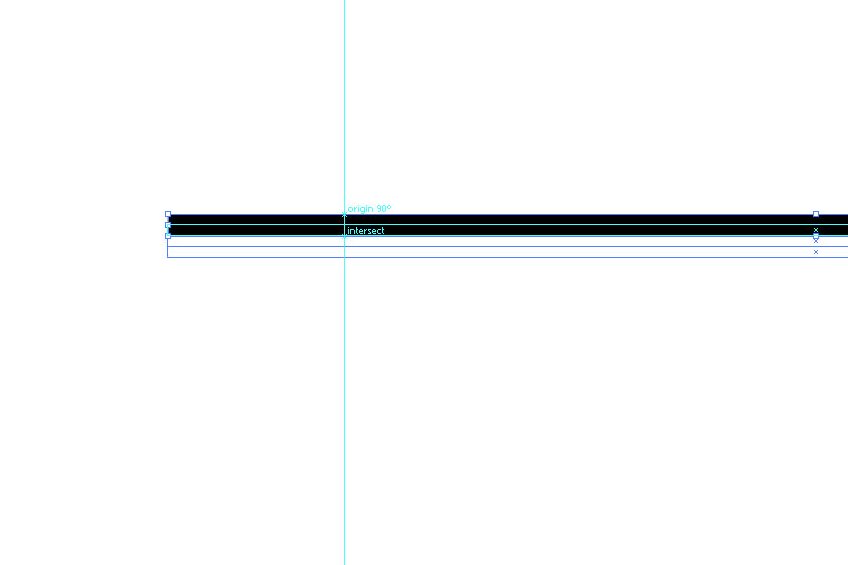
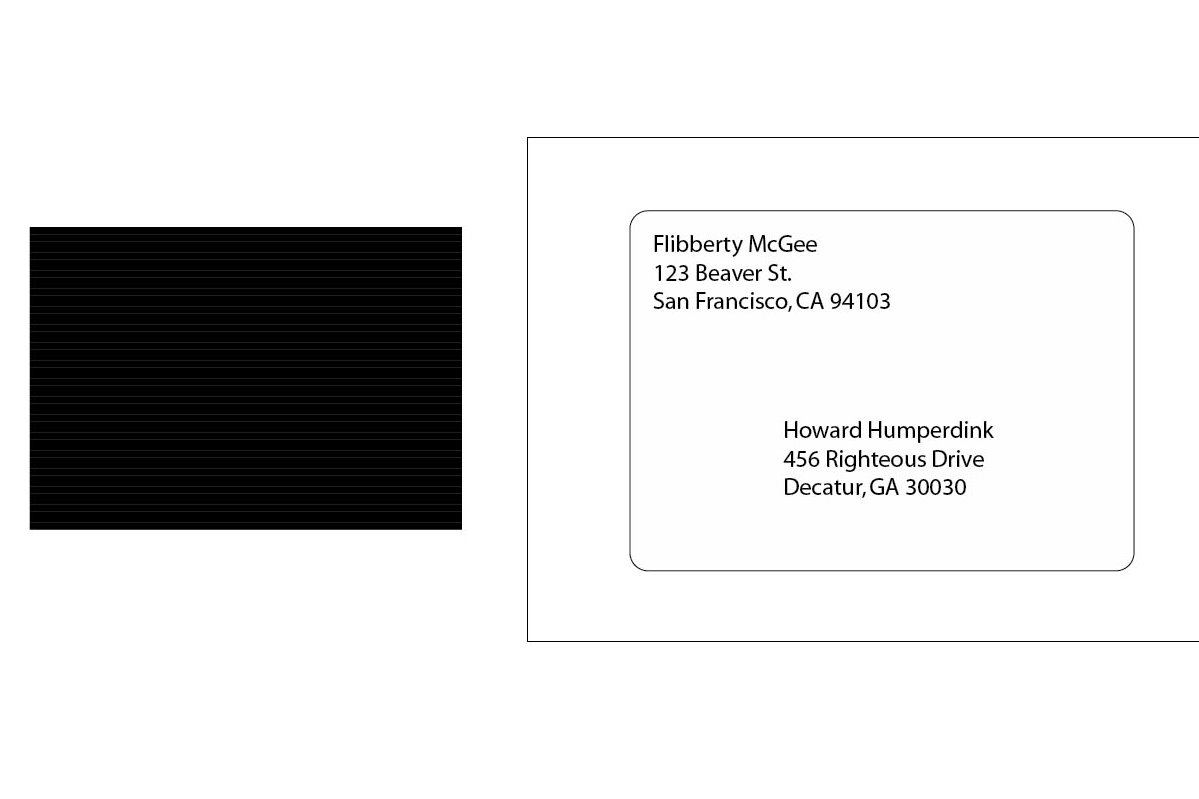
Select the slice and make a copy of it by alt-clicking (other software/OS X will vary) and dragging it down. With luck or guides you'll have the new slice right below the first.
That go over just fine? Great! Now select the whole bunch and repeat until the pile is bigger than both addresses combined.
That go over just fine? Great! Now select the whole bunch and repeat until the pile is bigger than both addresses combined.
Cut Out Every Other Slice
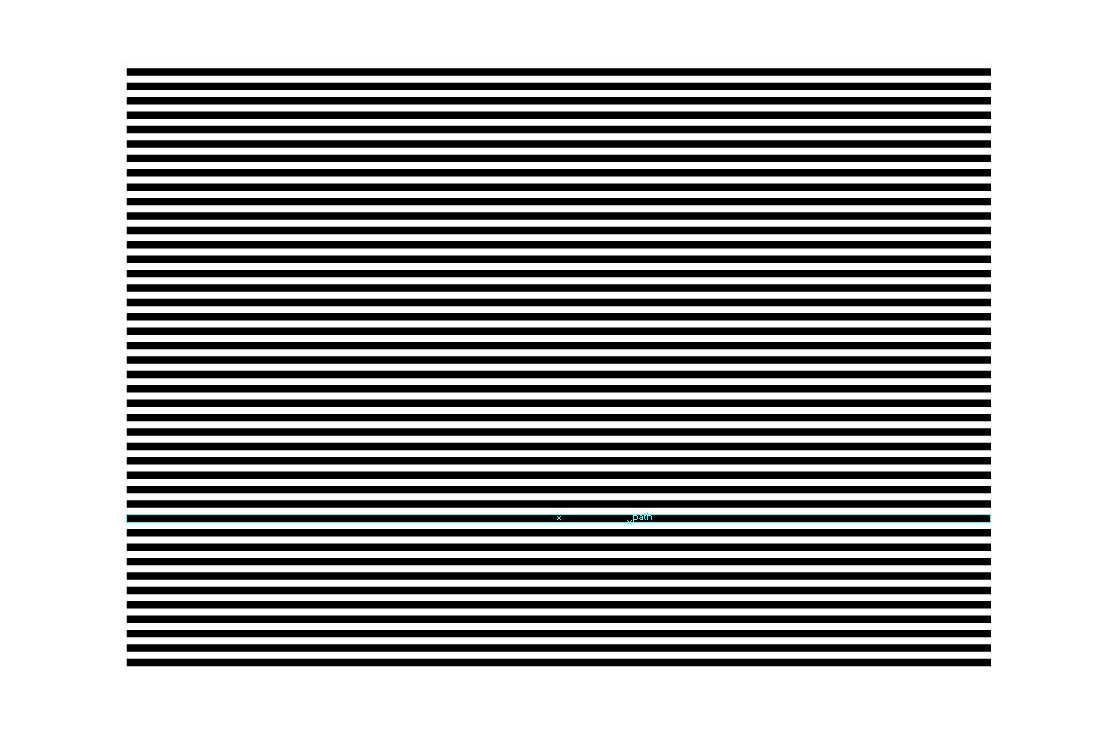
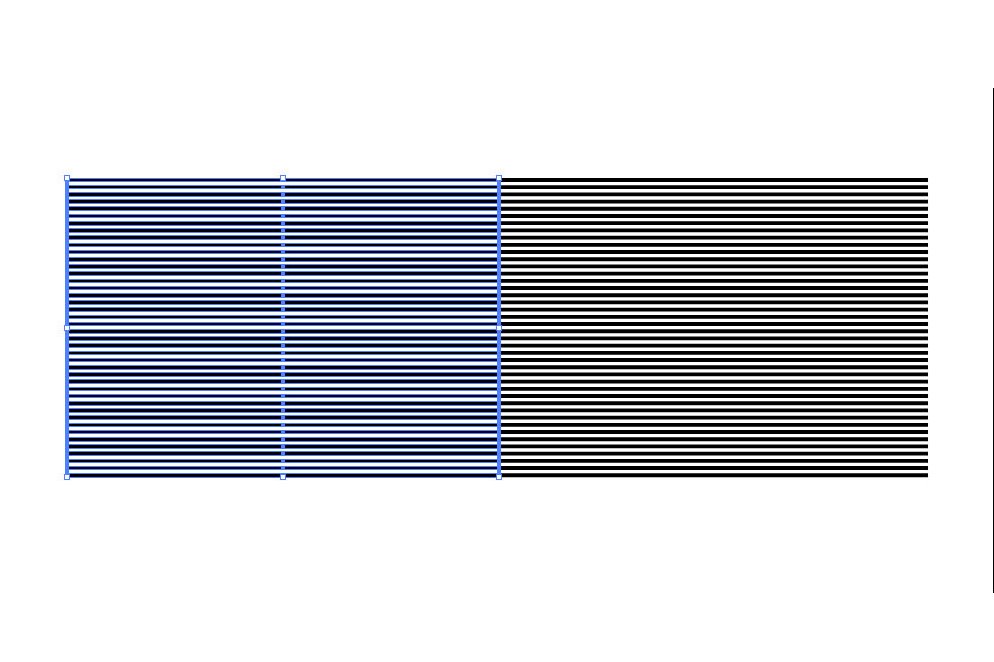
Go through the pile of slices and cut out every other one. Click and delete until you get this lovely pattern.
You could also incorporate this step into the previous one to save some time. I'll do that next time when I create smaller slices. For now this didn't take too long. Less time than writing this paragraph, that's for sure.
You could also incorporate this step into the previous one to save some time. I'll do that next time when I create smaller slices. For now this didn't take too long. Less time than writing this paragraph, that's for sure.
Copy and Slide Down
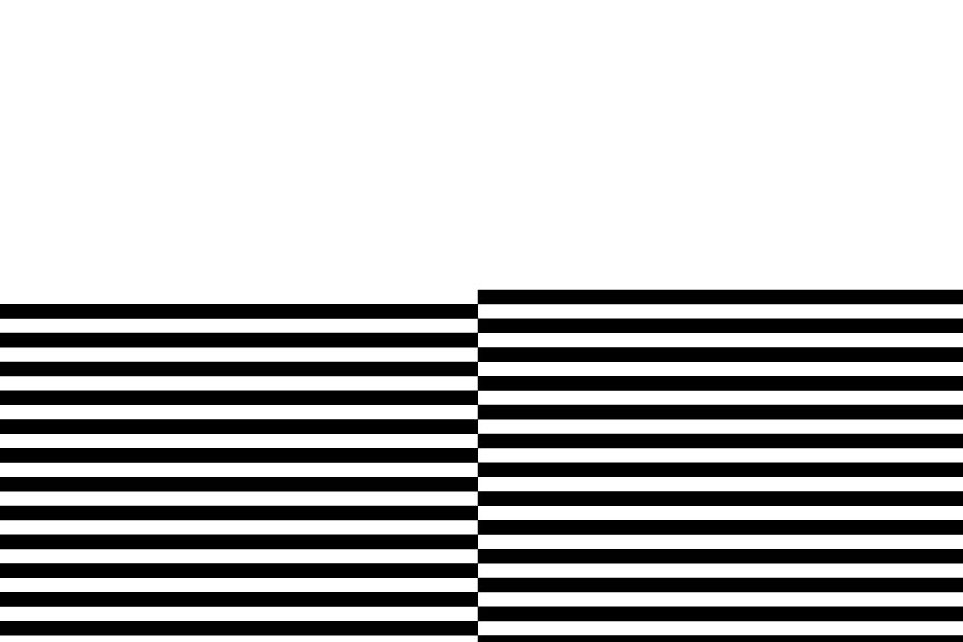
Now select the whole group and copy and slide it over to the side, either direction is fine. Once the new group is right next to the original one, drop it down the height of one slice.
You should now have two patterns that are offset by .05 inch.
You should now have two patterns that are offset by .05 inch.
Get the Addresses Ready
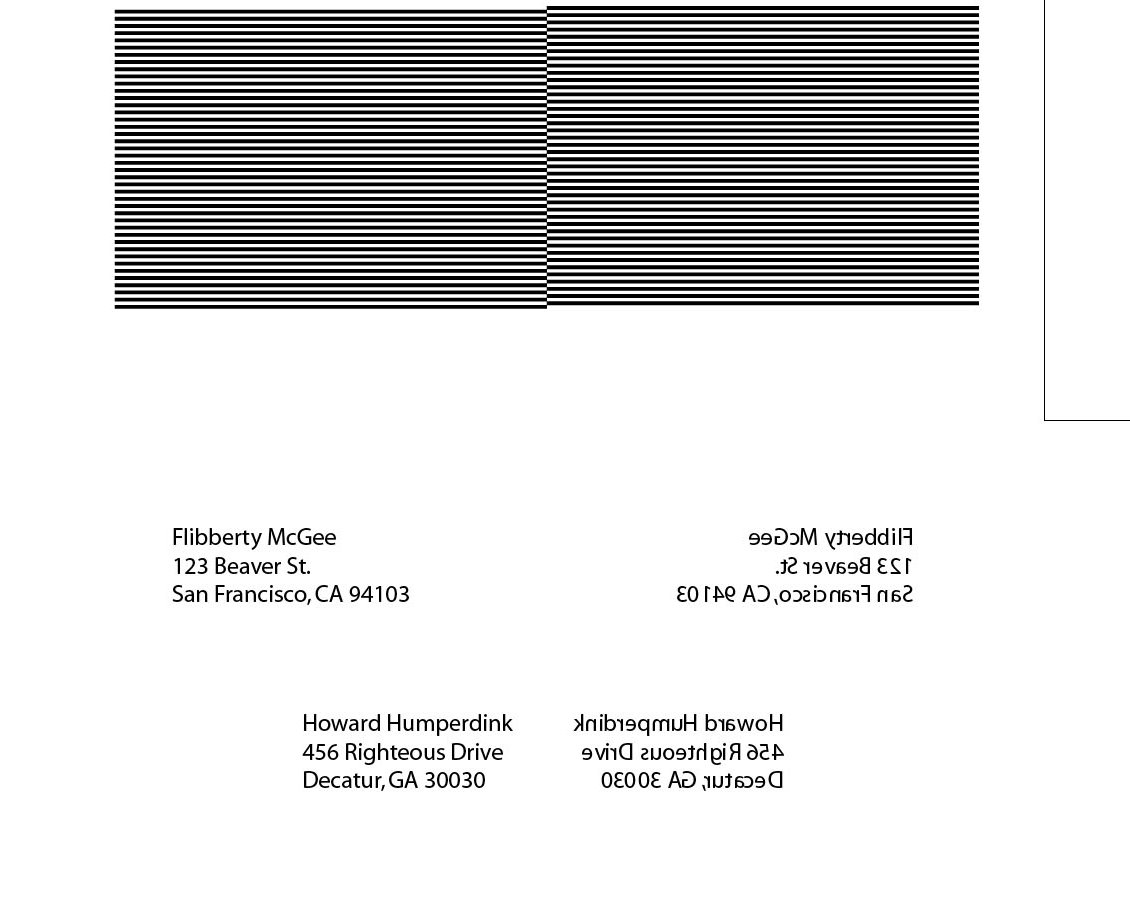
Copy the addresses below the pattern. Now copy them again, lfip them, and shift them over to the right WITHOUT moving them up or down. In Adobe programs this is done by holding the Shift button. Messing up this step will ruin the whole effect. But relax, it's easy.
Bleach the Sucker
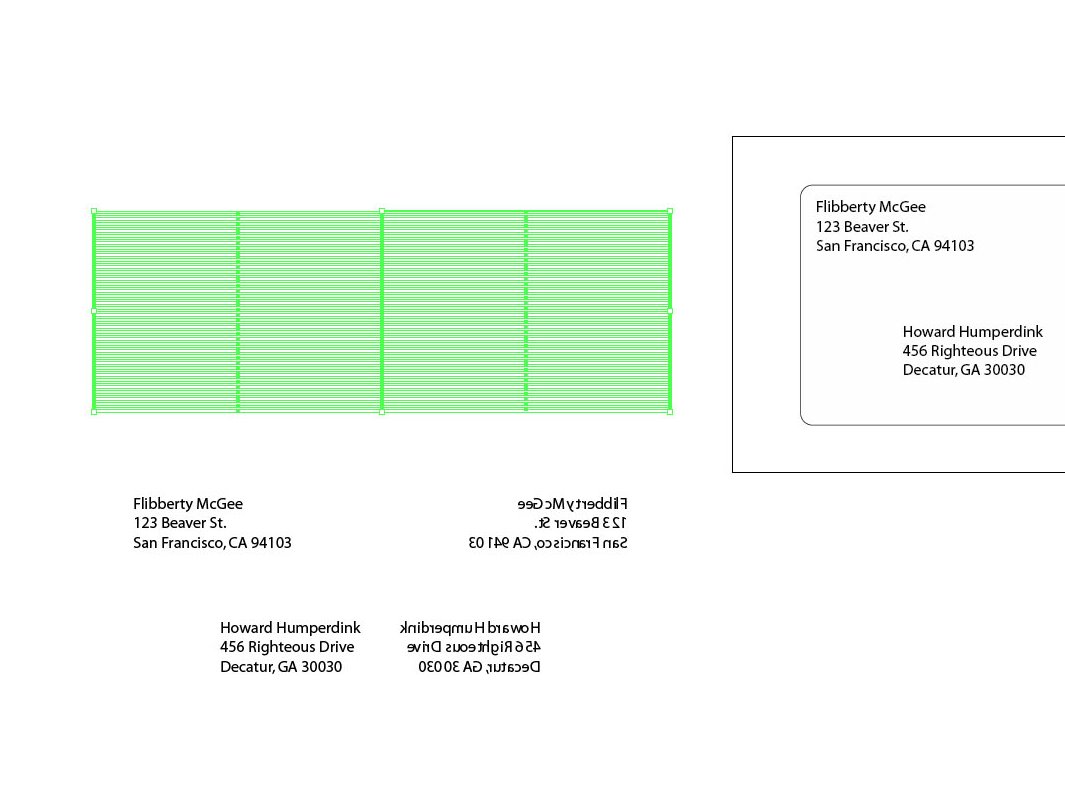
Select the group of slices and change the fill color to white.
If you haven't done so already, separate the different groups into individual layers with the slices layer on top.
If you haven't done so already, separate the different groups into individual layers with the slices layer on top.
The Cover-Up
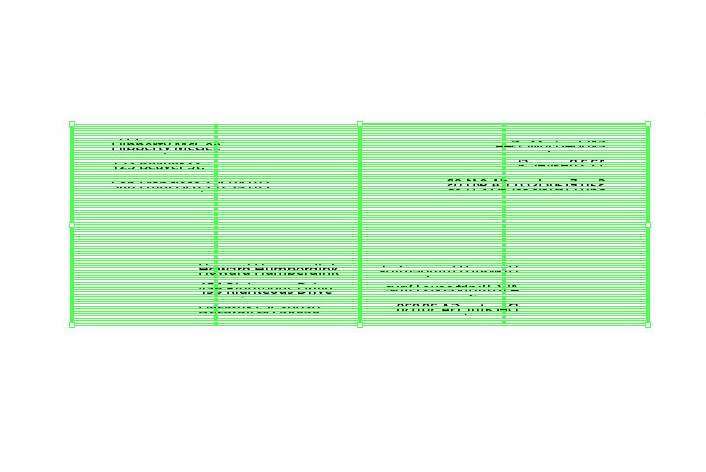
Drop the slices down over the addresses.
Sliced Up
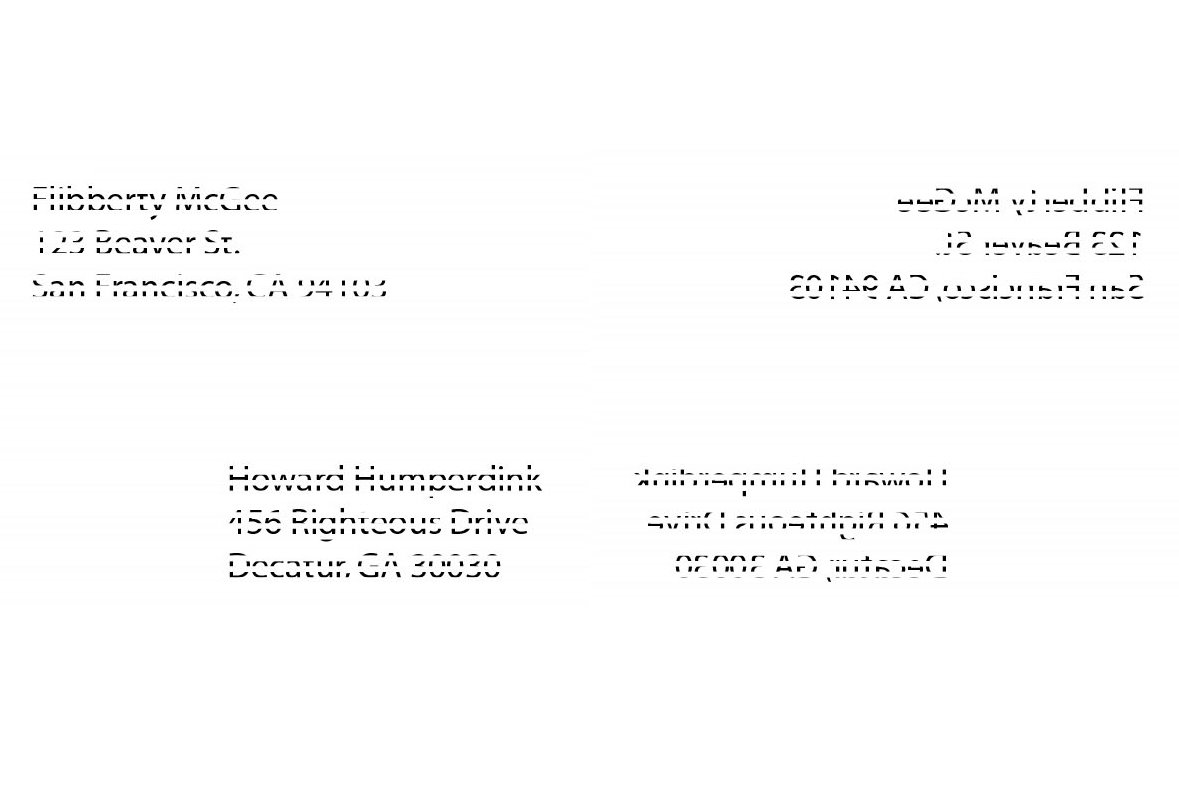
Now de-select the slices and you have your new addresses to be etched onto the acrylic. The left pair goes on the top and the right pair goes on the bottom.
Etch and Cut


Getting the alignment right for the addresses is tricky since a shift of a few millimeters will ruin it. After a couple of tries I was able to get a card with the etched pieces close enough to complete the effect. It's still not perfect so I'll try it again.
So my advice for anyone who would actually go though with this is... good luck! Results will vary with different machines and enjoy some trial and error. I would have made more, but I only had so much acrylic to work with. That's what I get for buying the cheap scraps at Tap Plastics.
So my advice for anyone who would actually go though with this is... good luck! Results will vary with different machines and enjoy some trial and error. I would have made more, but I only had so much acrylic to work with. That's what I get for buying the cheap scraps at Tap Plastics.
Success!
It took a week even with the Priority Mail postage, but the card made it. Of all the things I've sent, this one surprised me the most. But it's out there in Georgia with my friends who occasionally break out their digital camera.
So no pics yet, but someday soon I will convince them.
So no pics yet, but someday soon I will convince them.