Spiral Ring
.png)
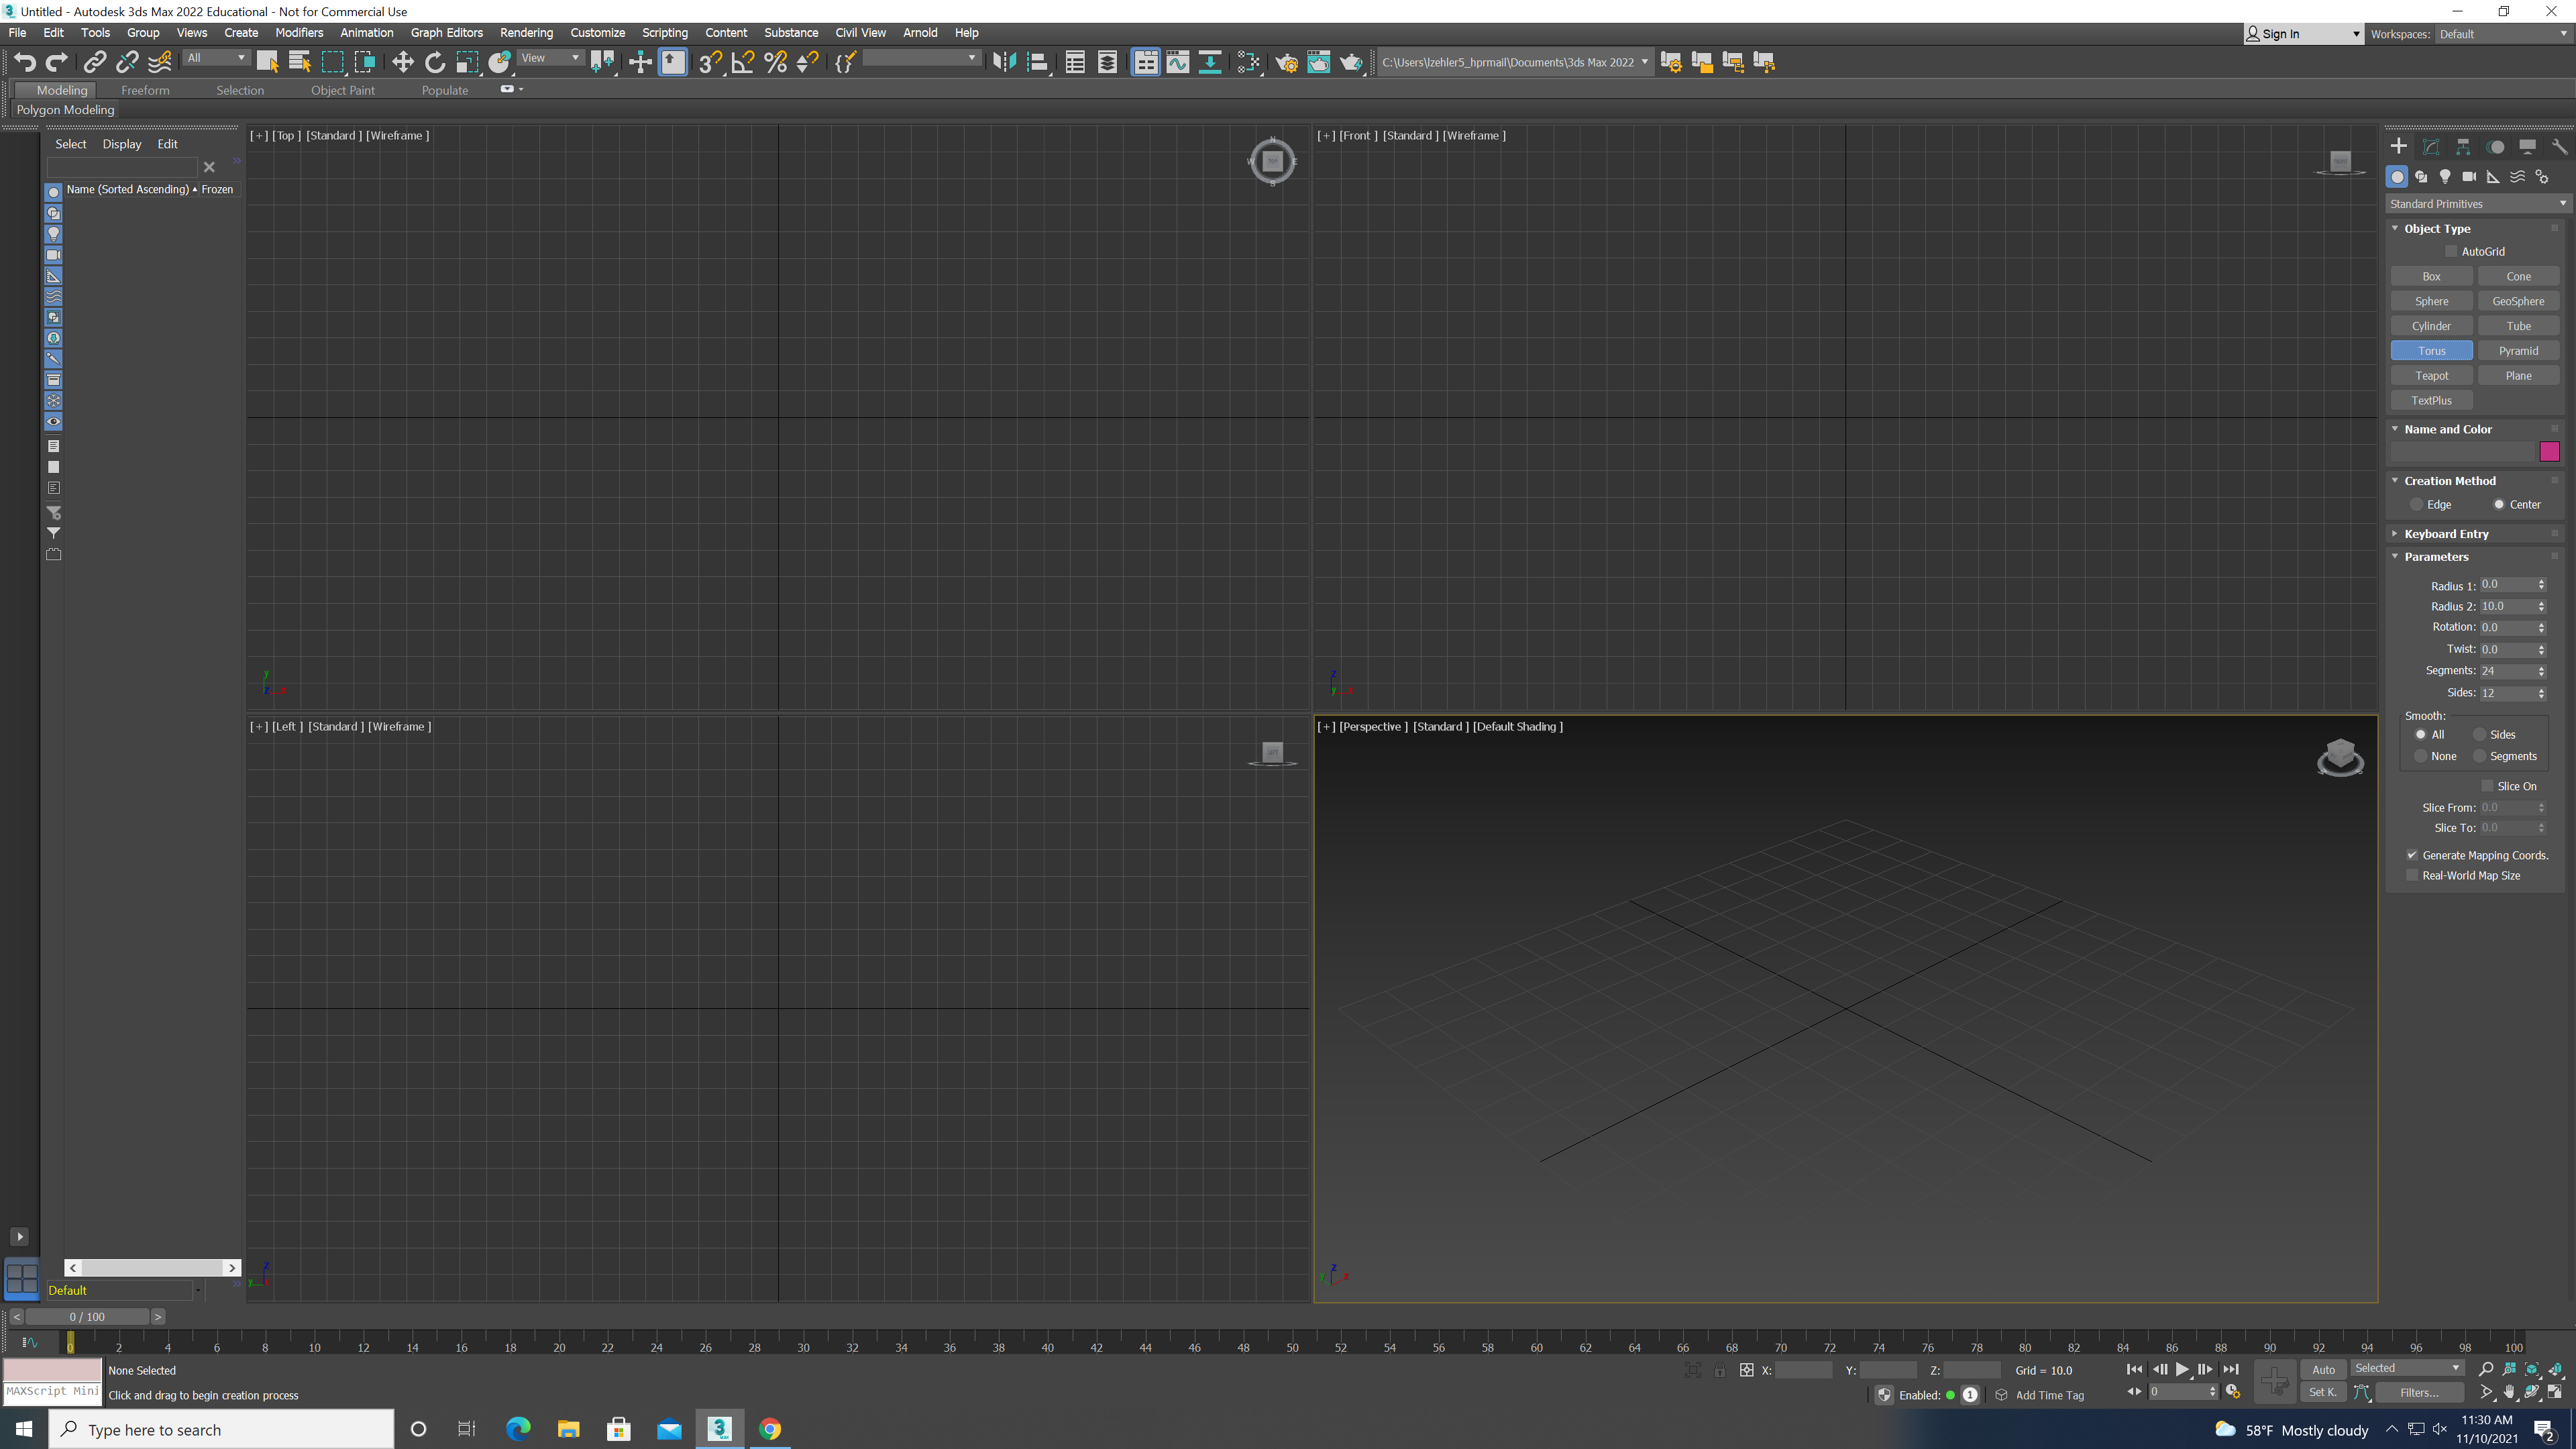
For this project first load up 3d auto max and click on torus
.png)
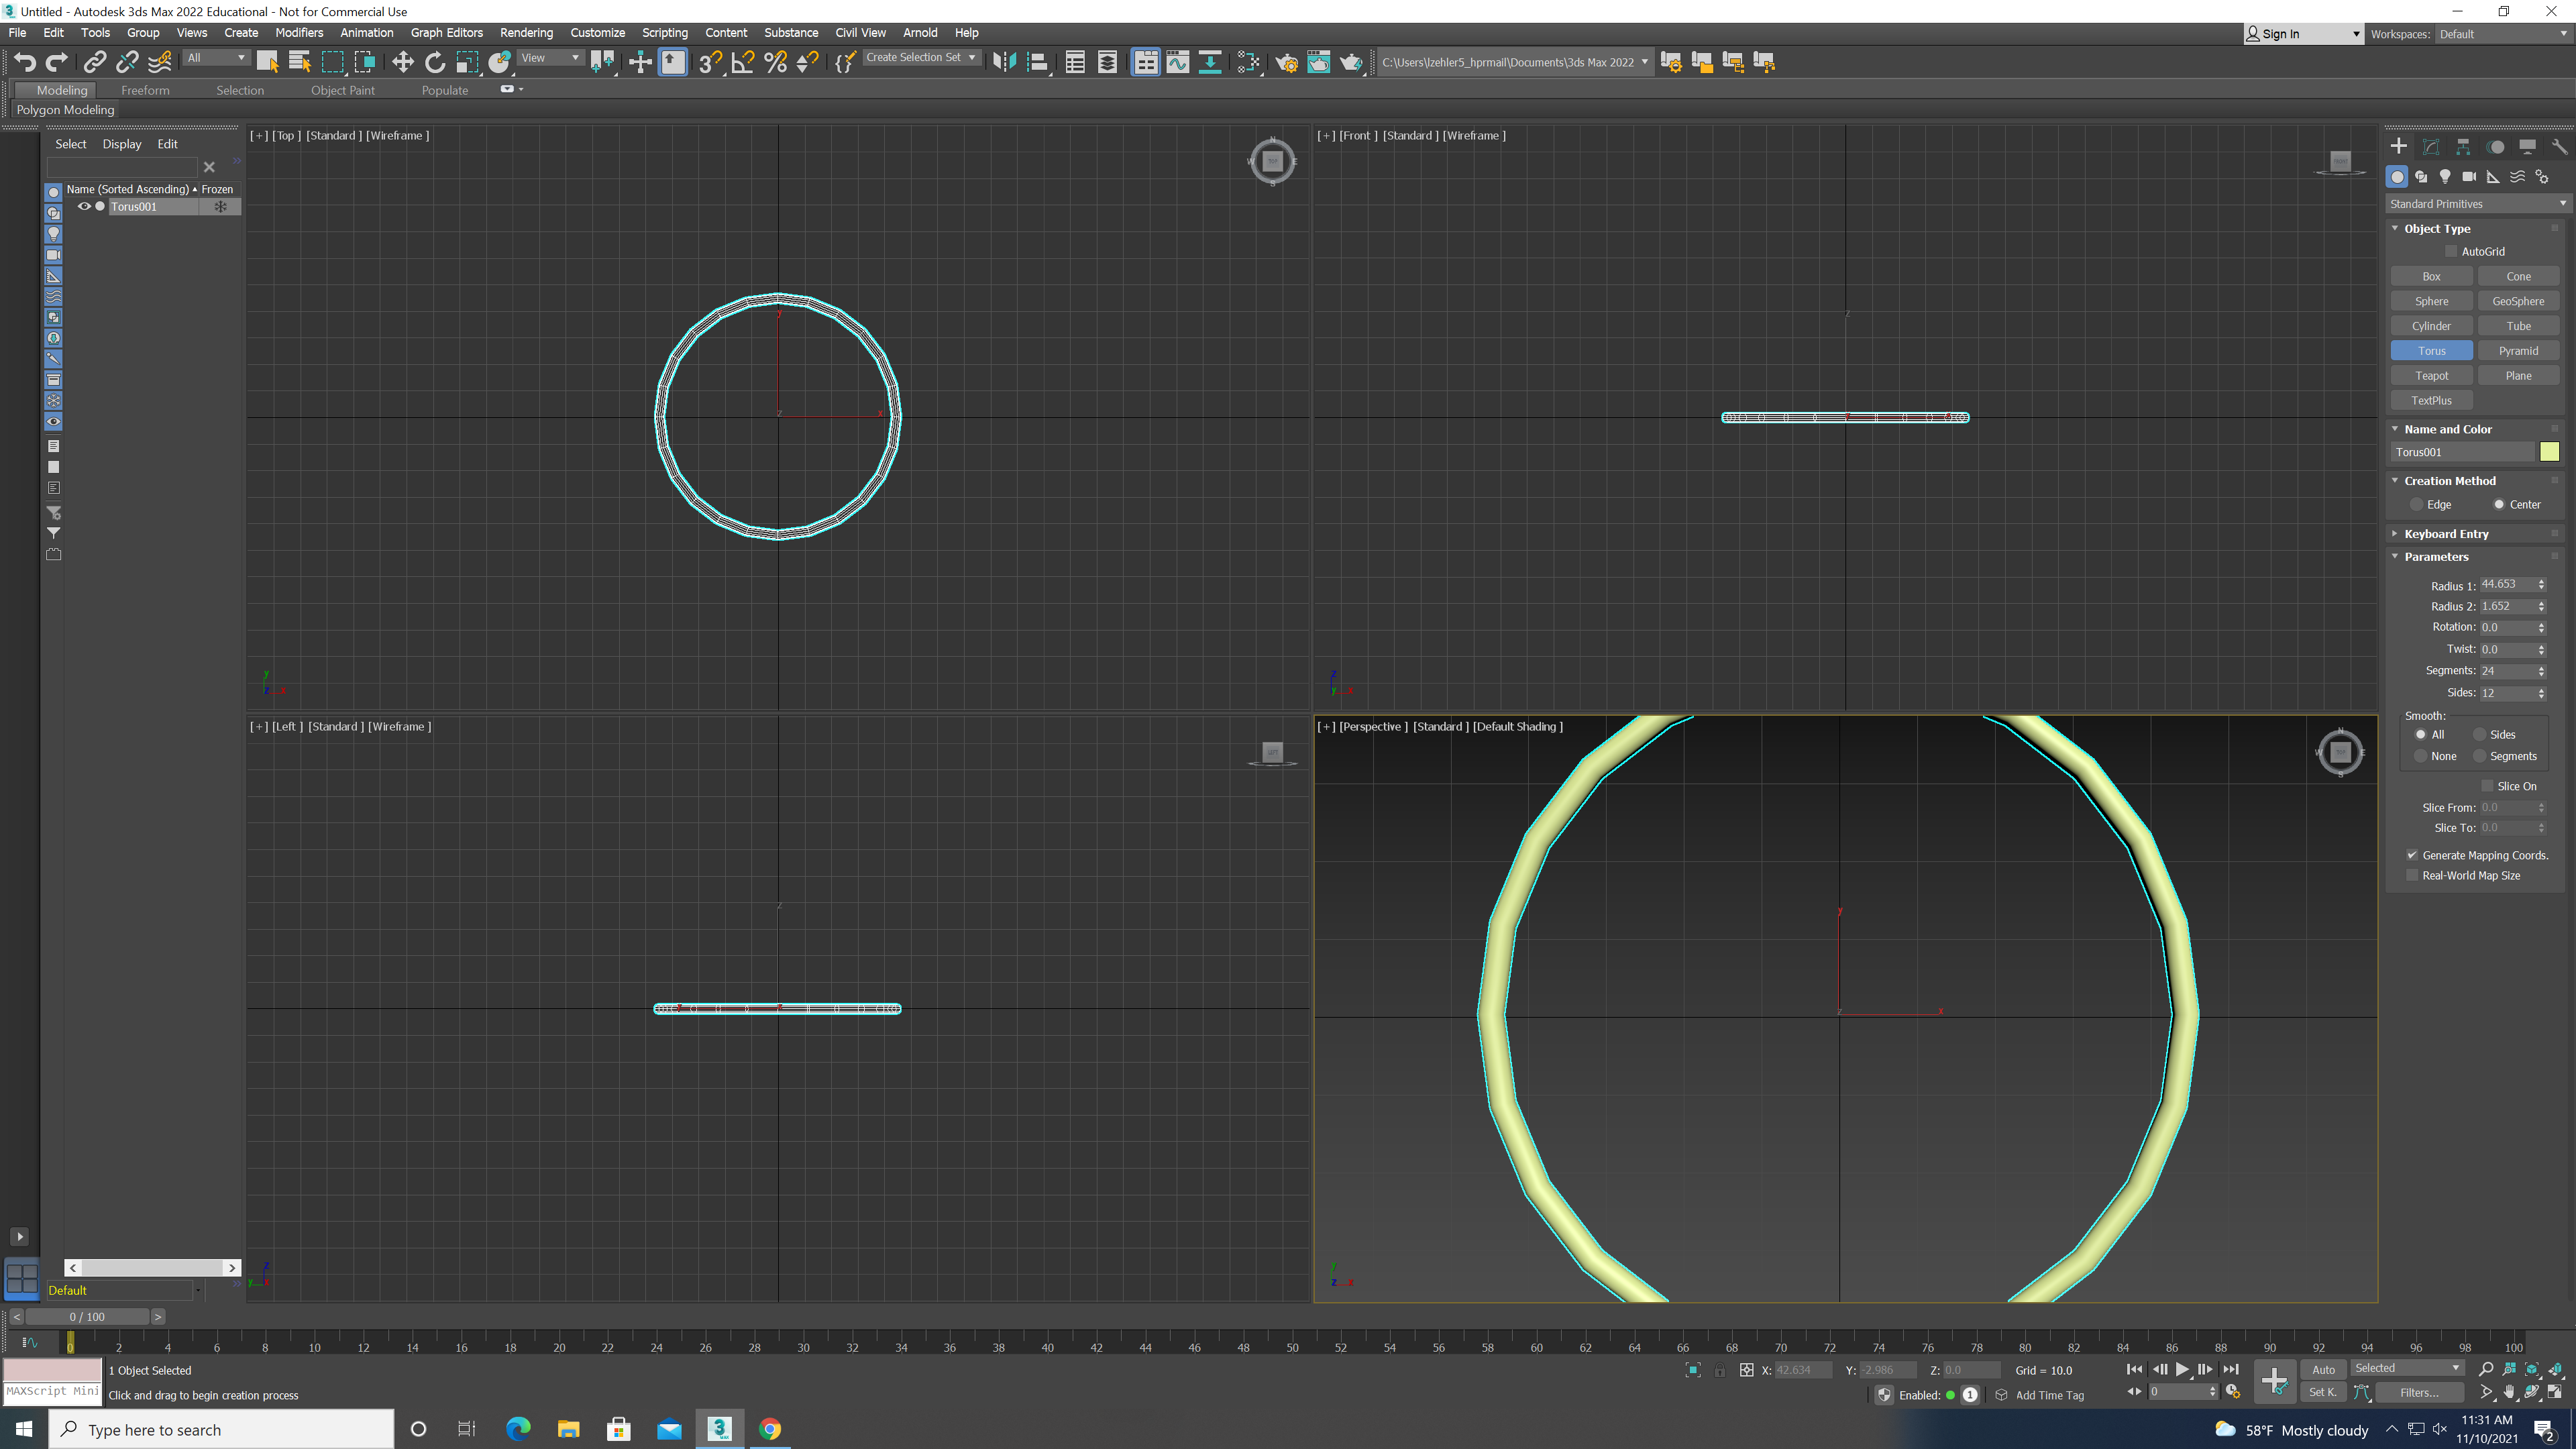
Next click in the middle of the graph and expand the circle
.png)
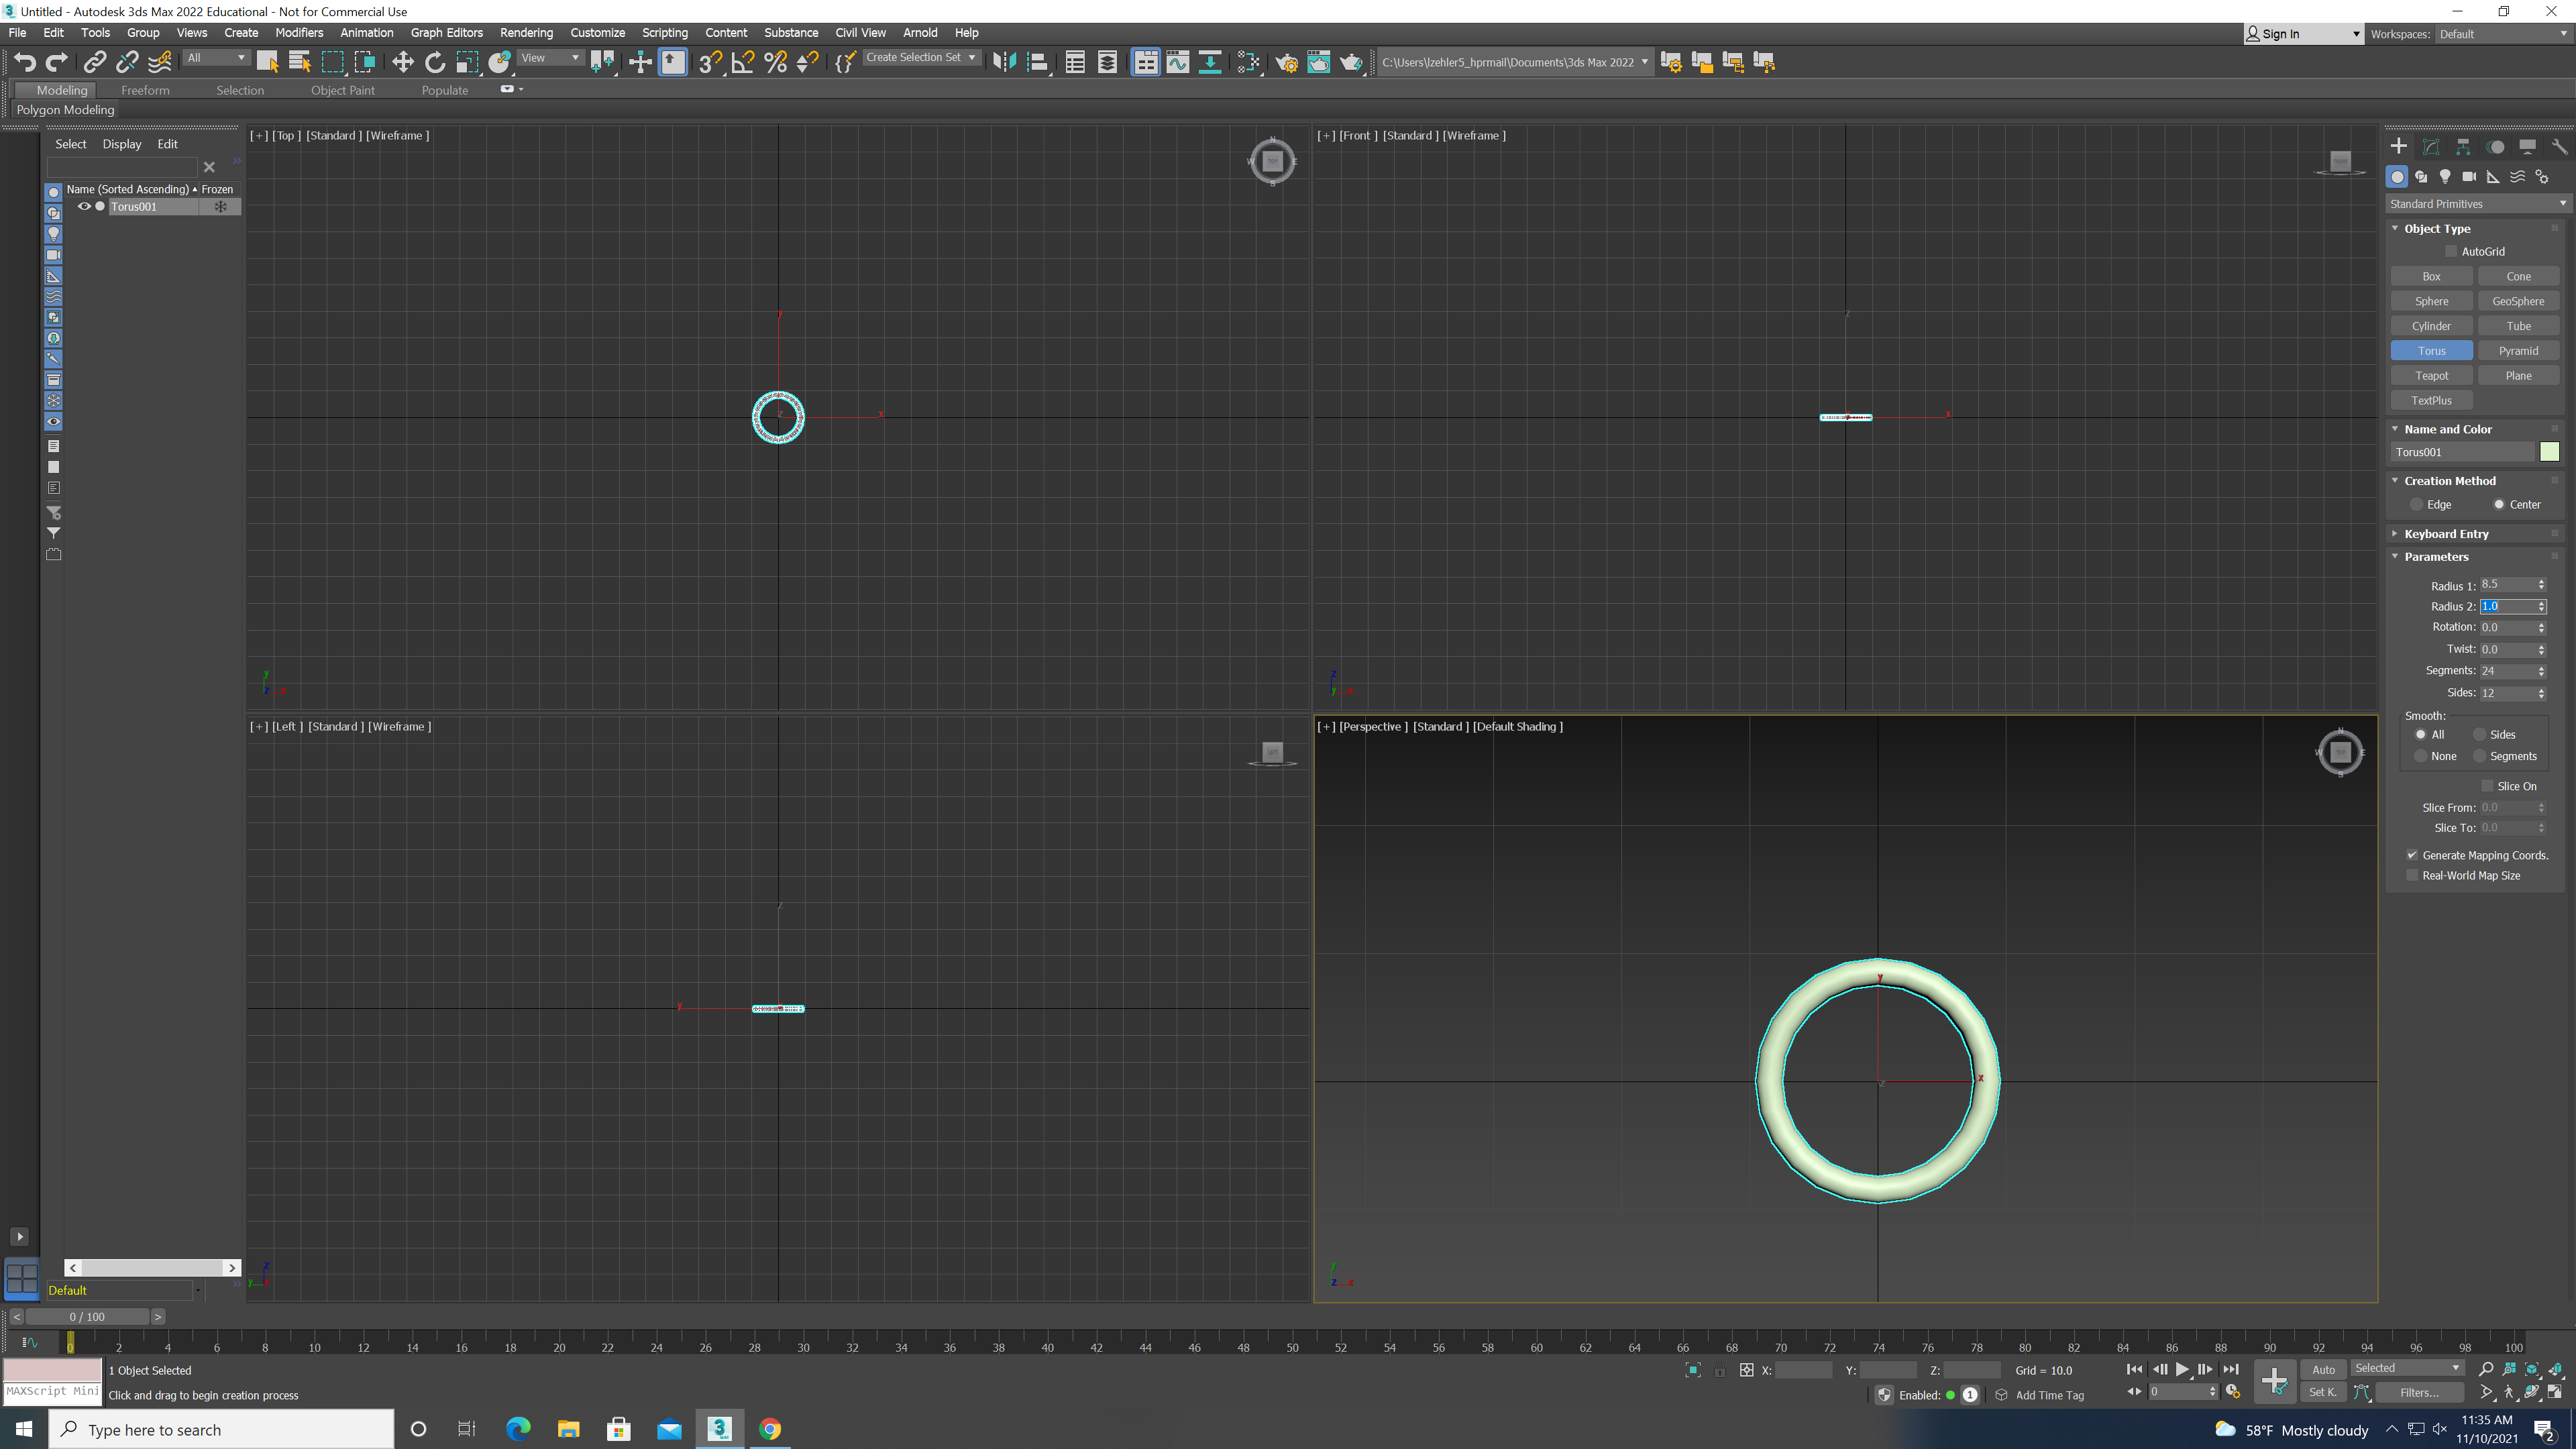
Edit the size with the dimensions for your ring size
.png)
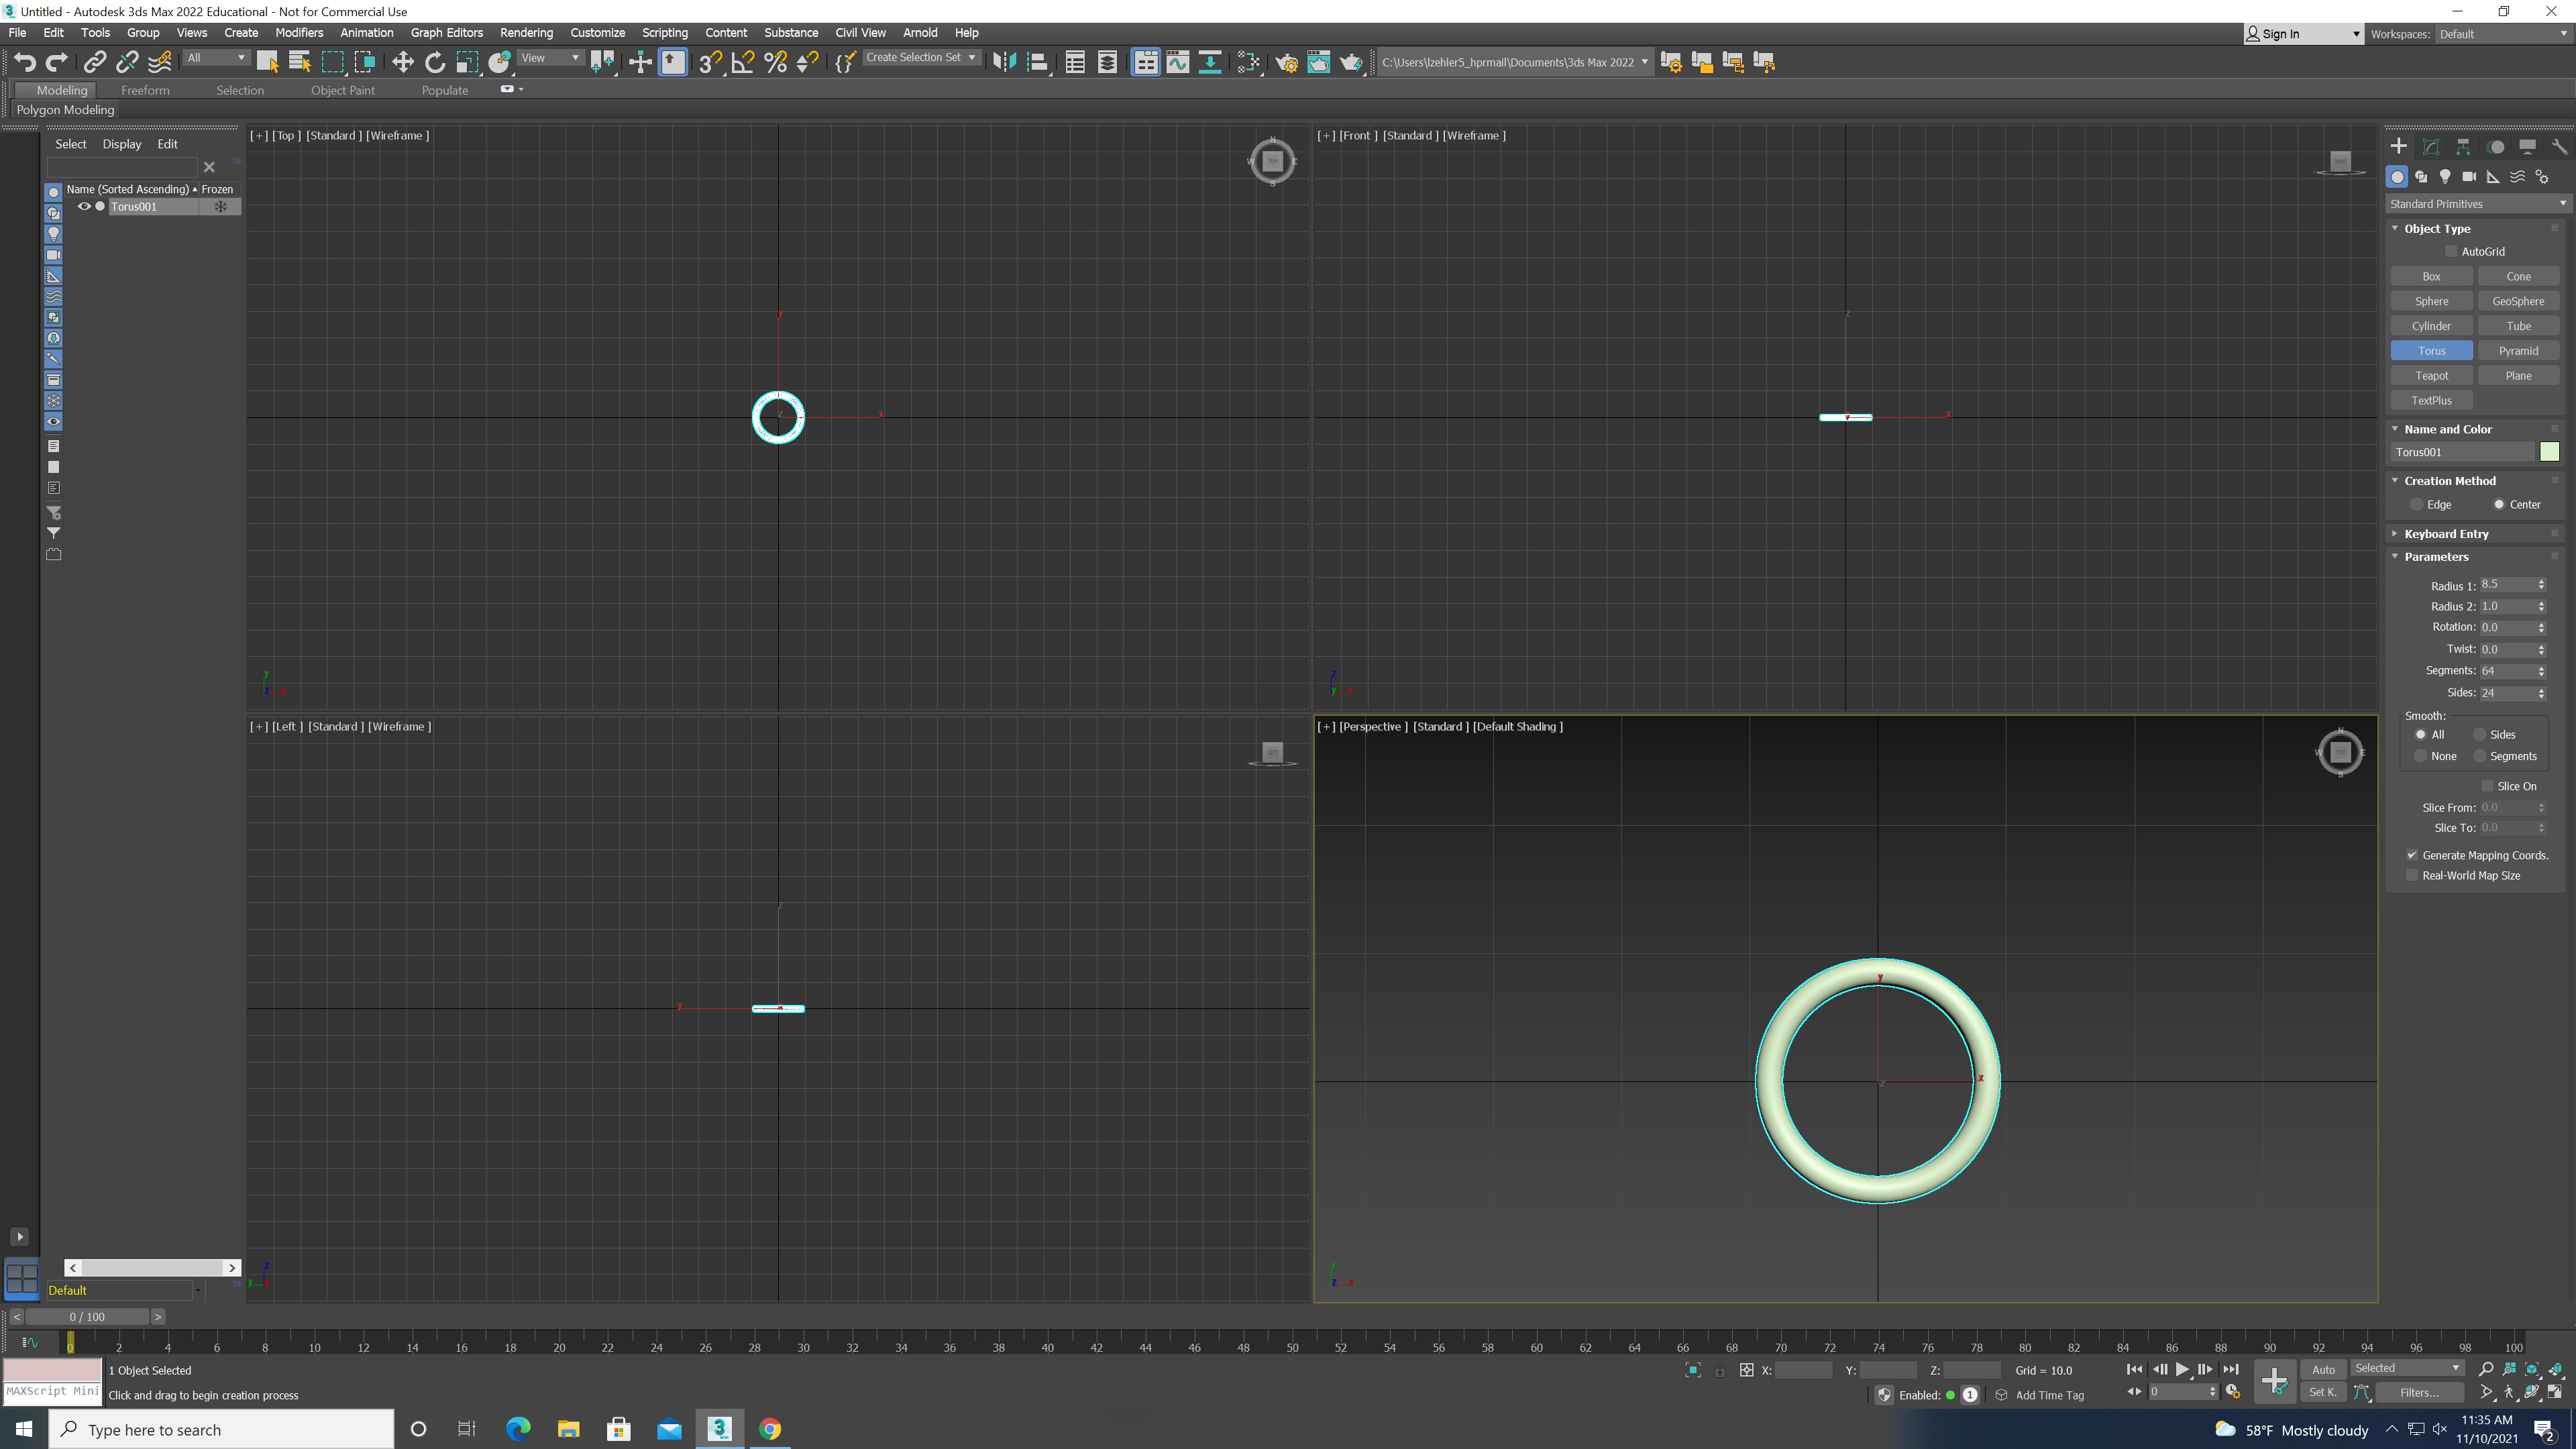
Next below the radius options there are two named segmants and sides put segmants to 64 and sides to 24
.png)
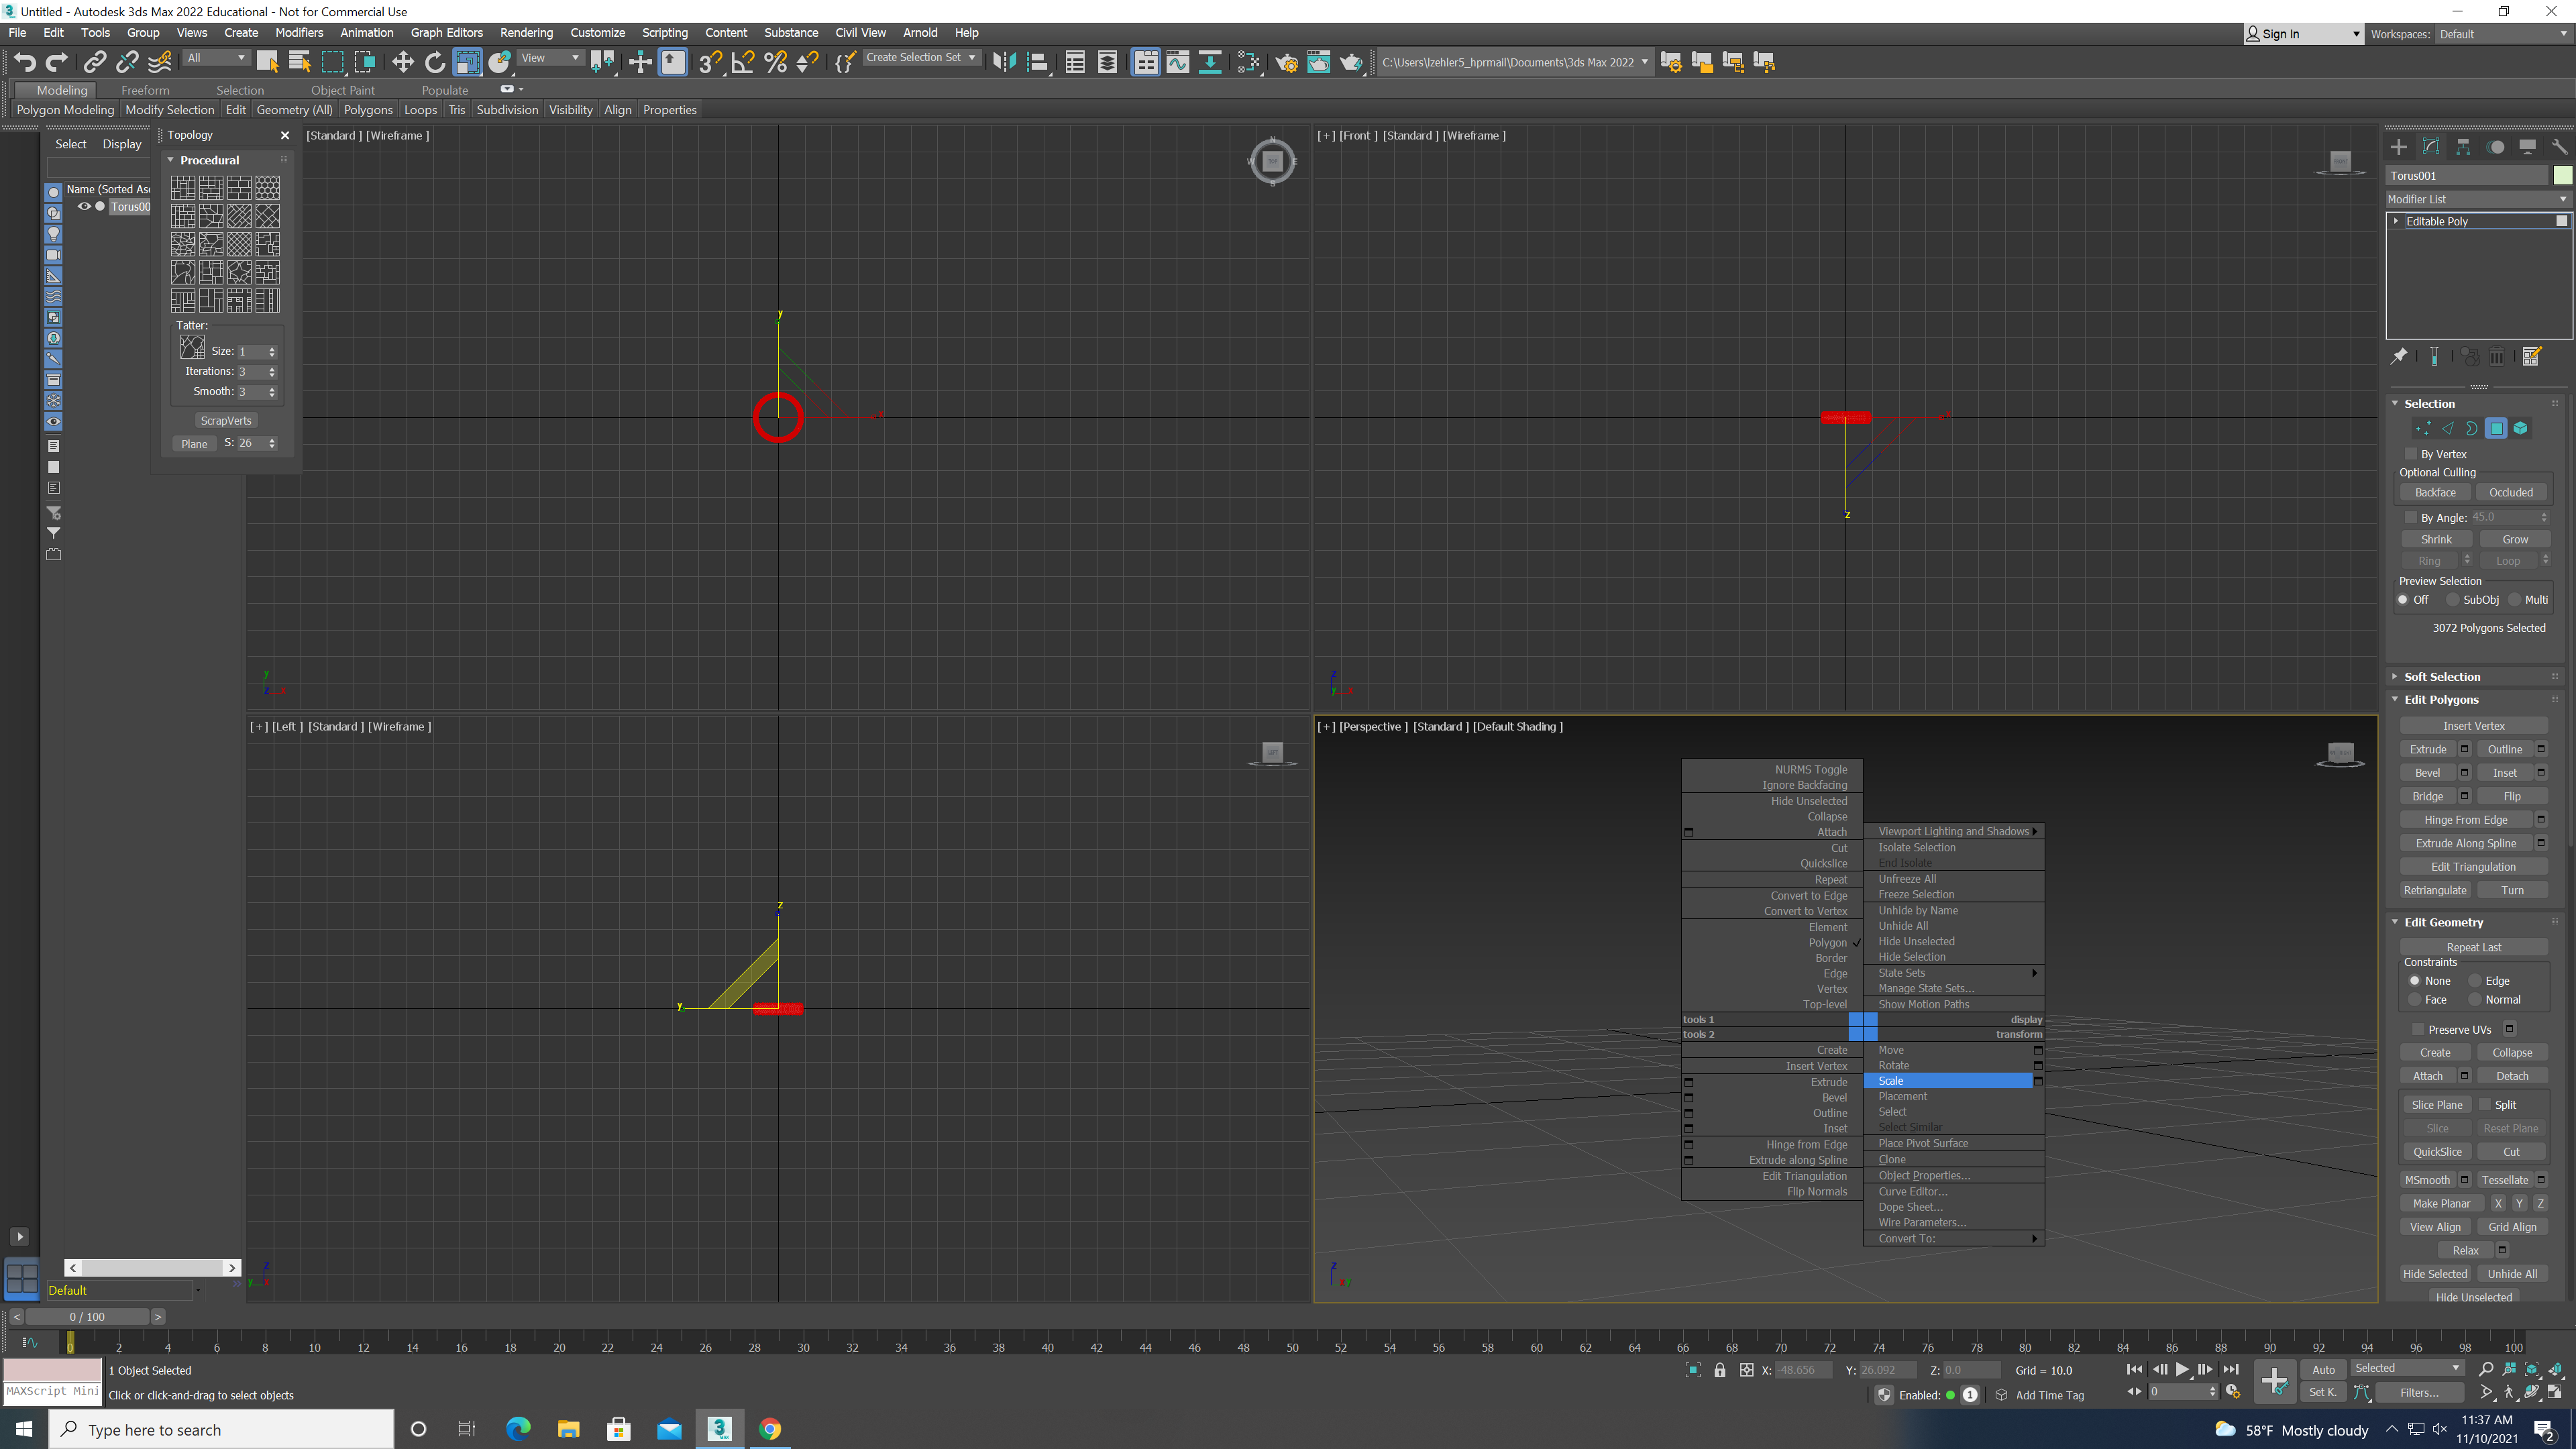
Right click on the torus, and click on Scale which will make you able to adjest the height to your preference
.png)
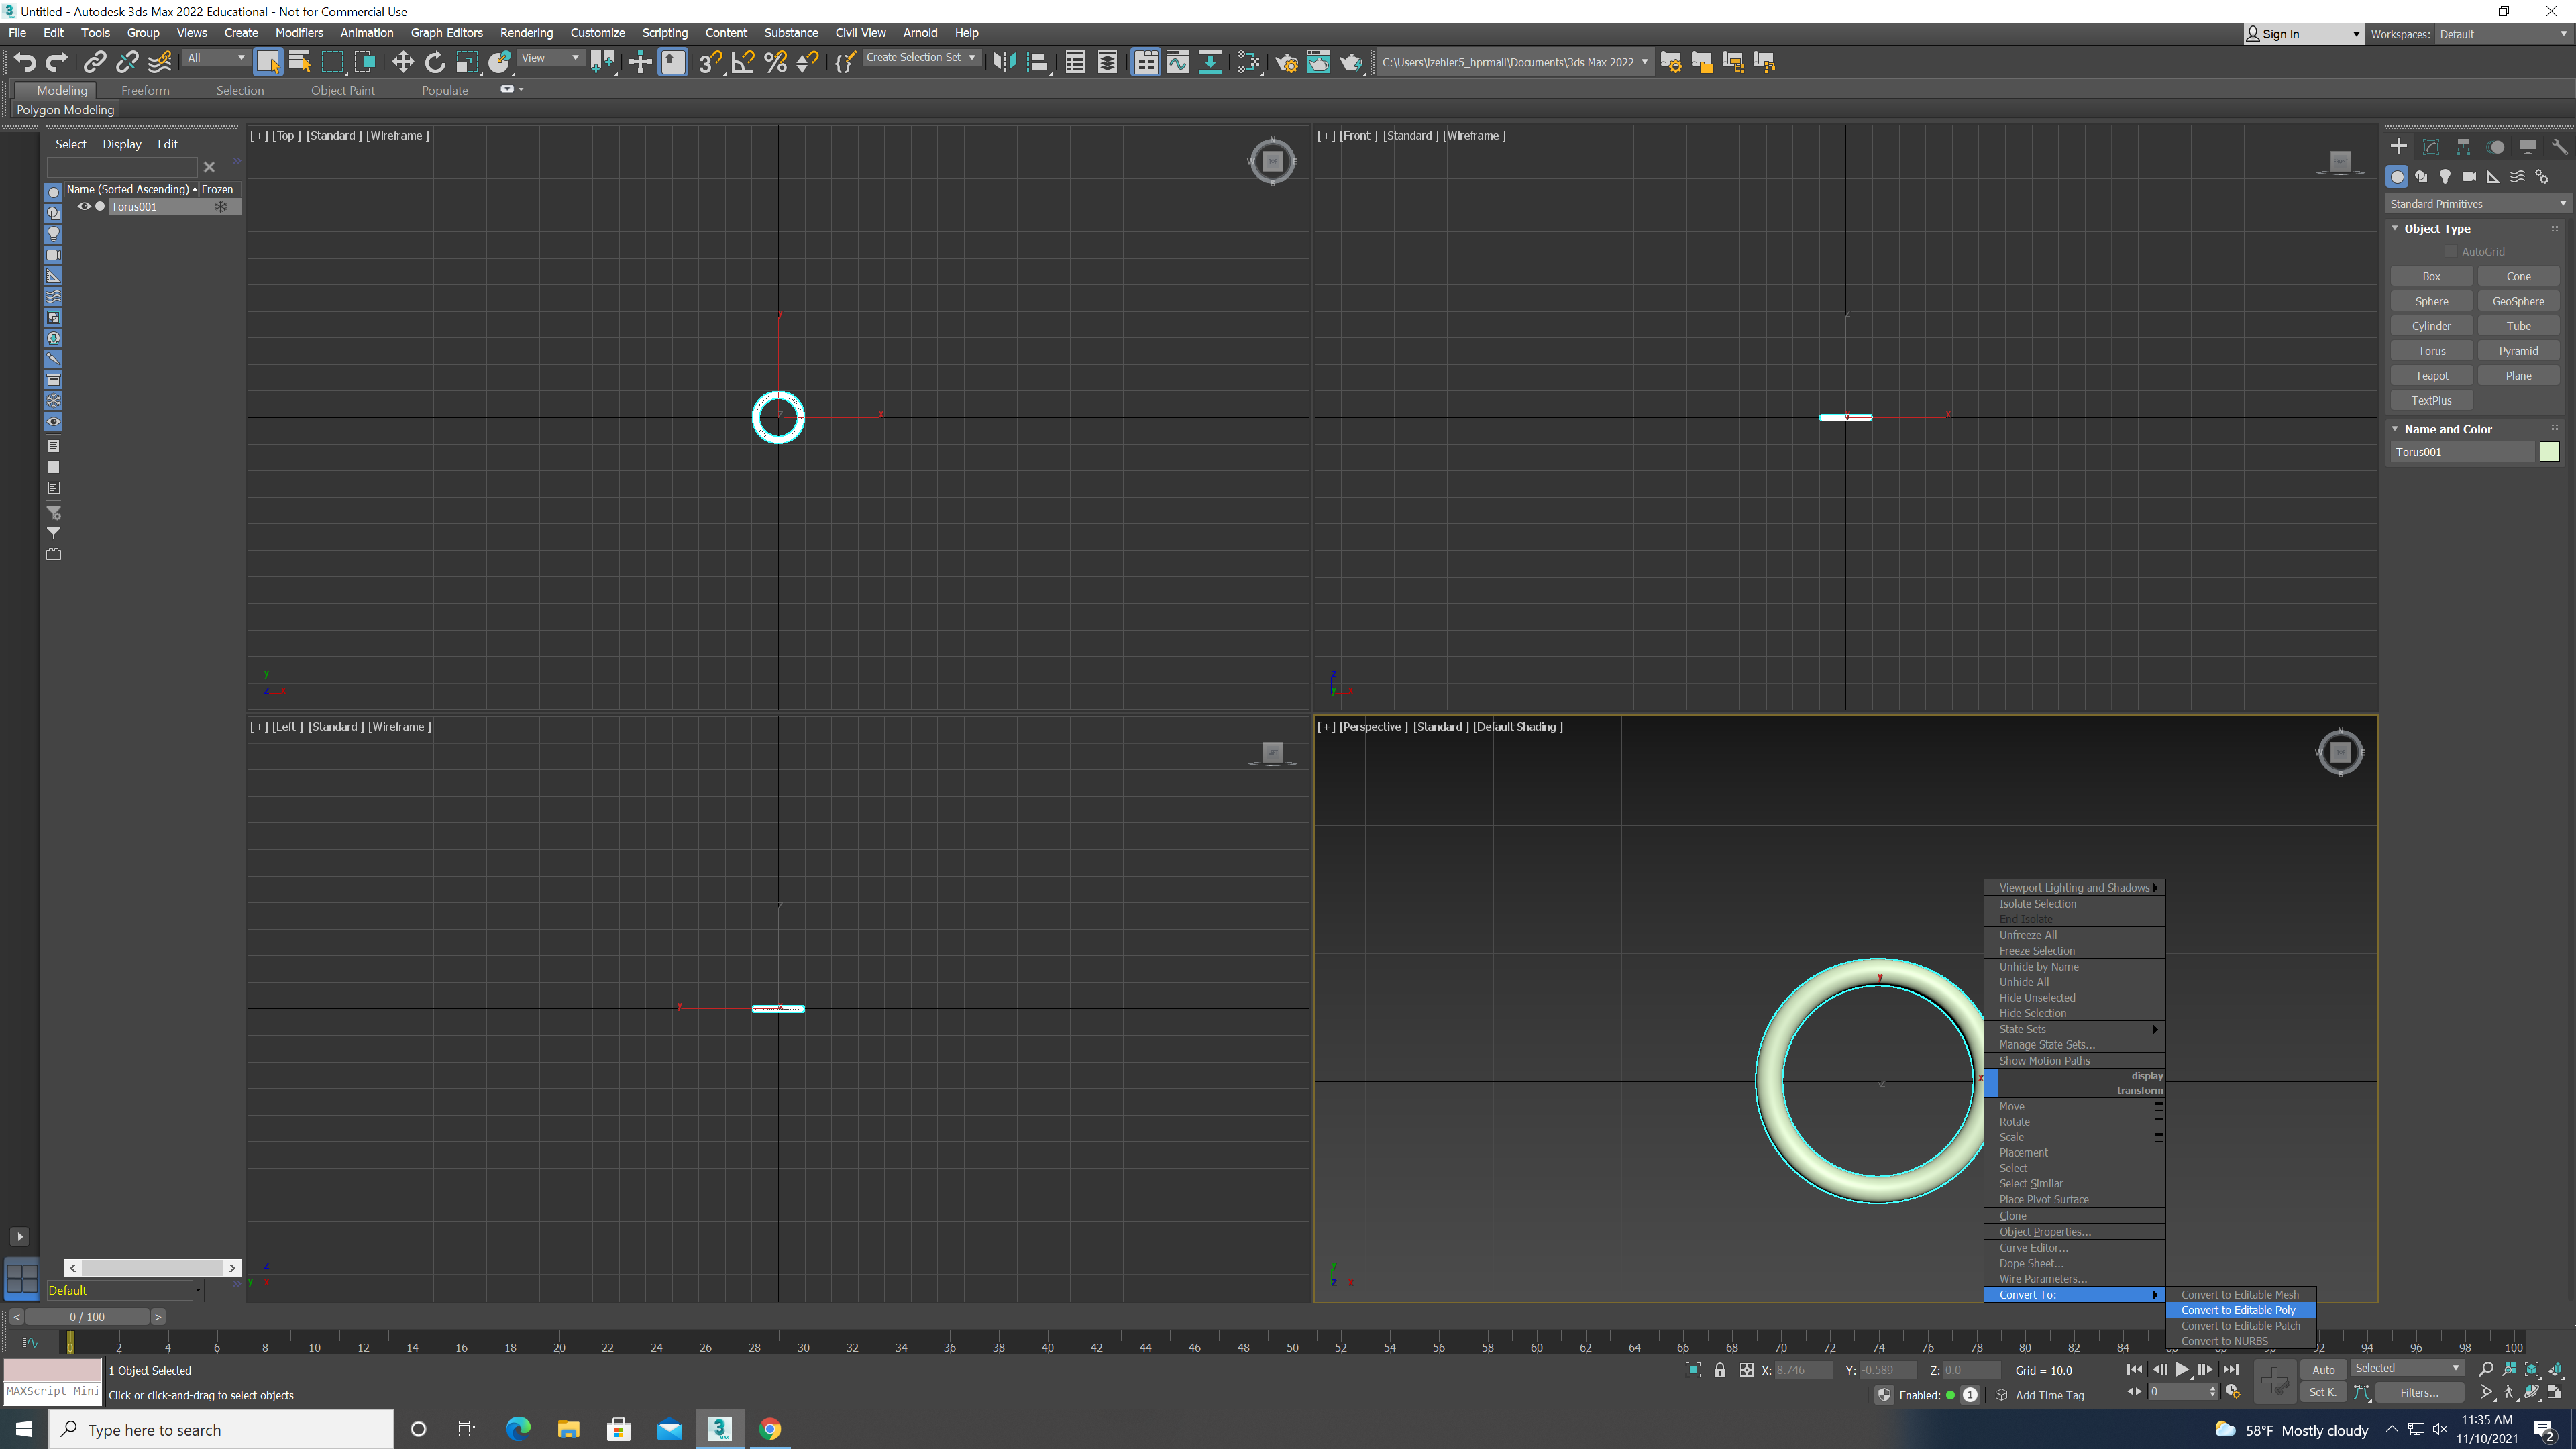
Right click your torus at the bottem click convert to and make it editble poly
.png)
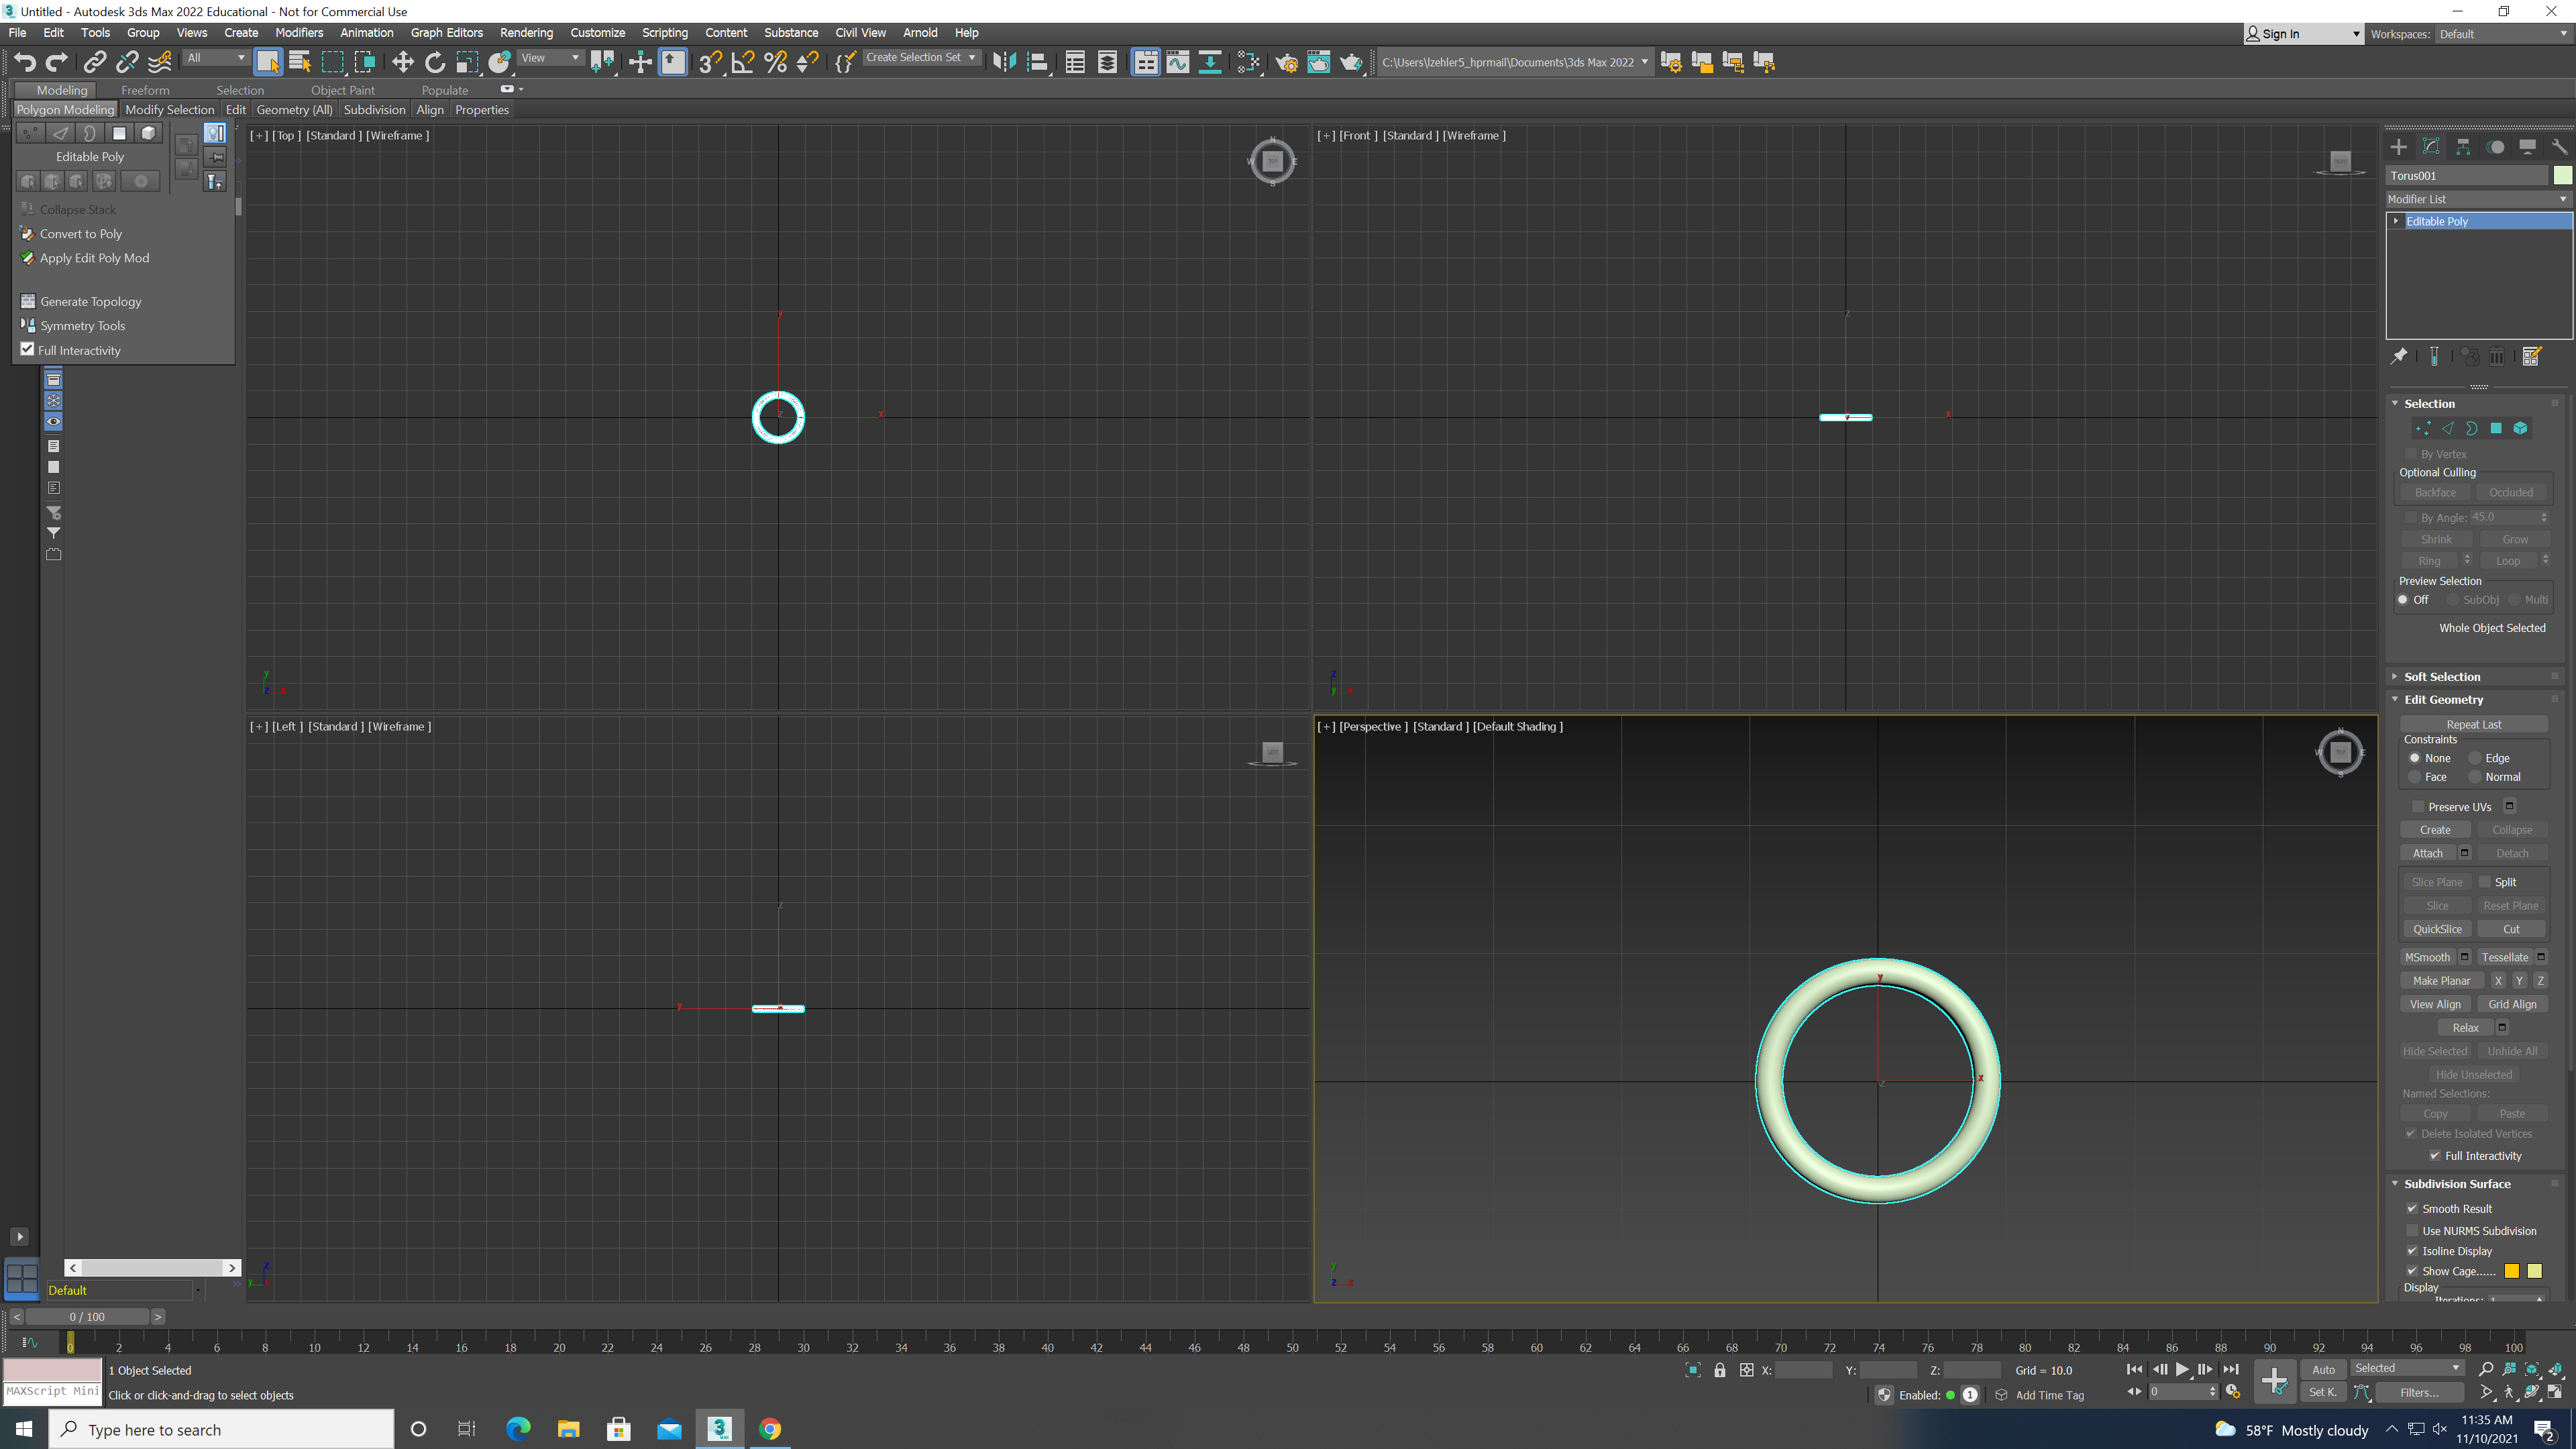
On the top left of your screen click polygon modeling.
.png)
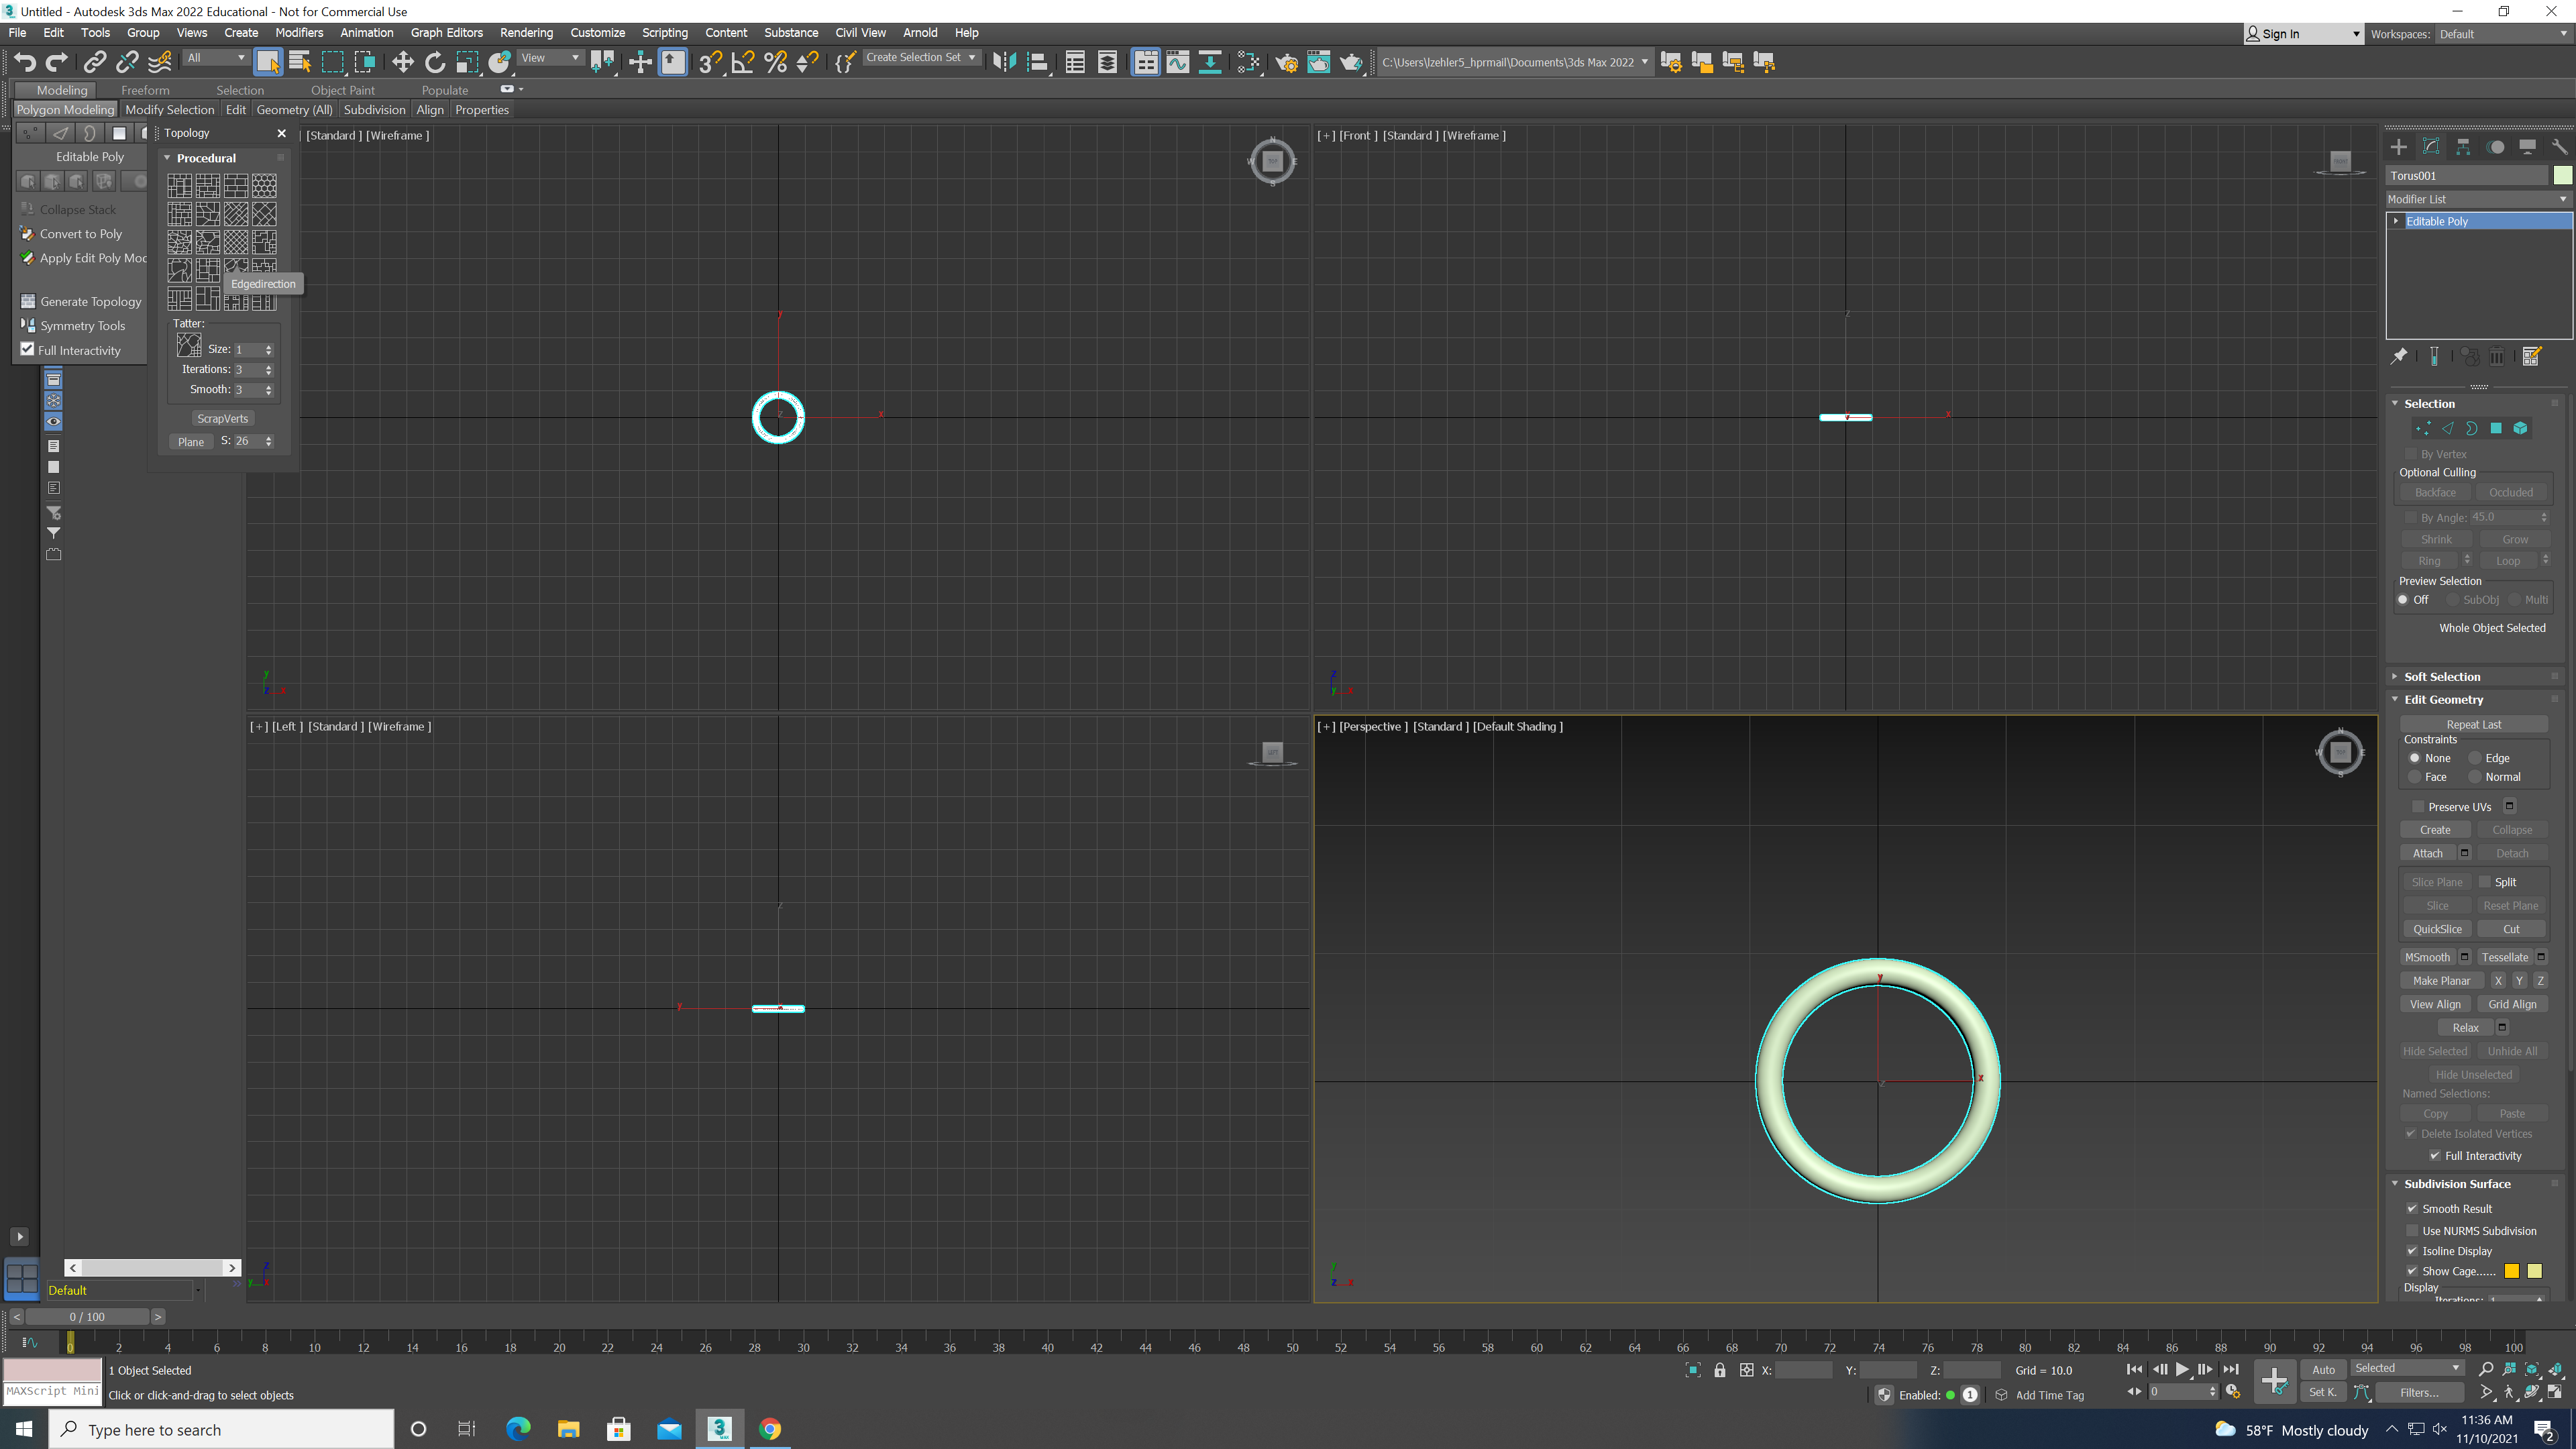
After you do that click "Generate topology" and after click "edge Direction"
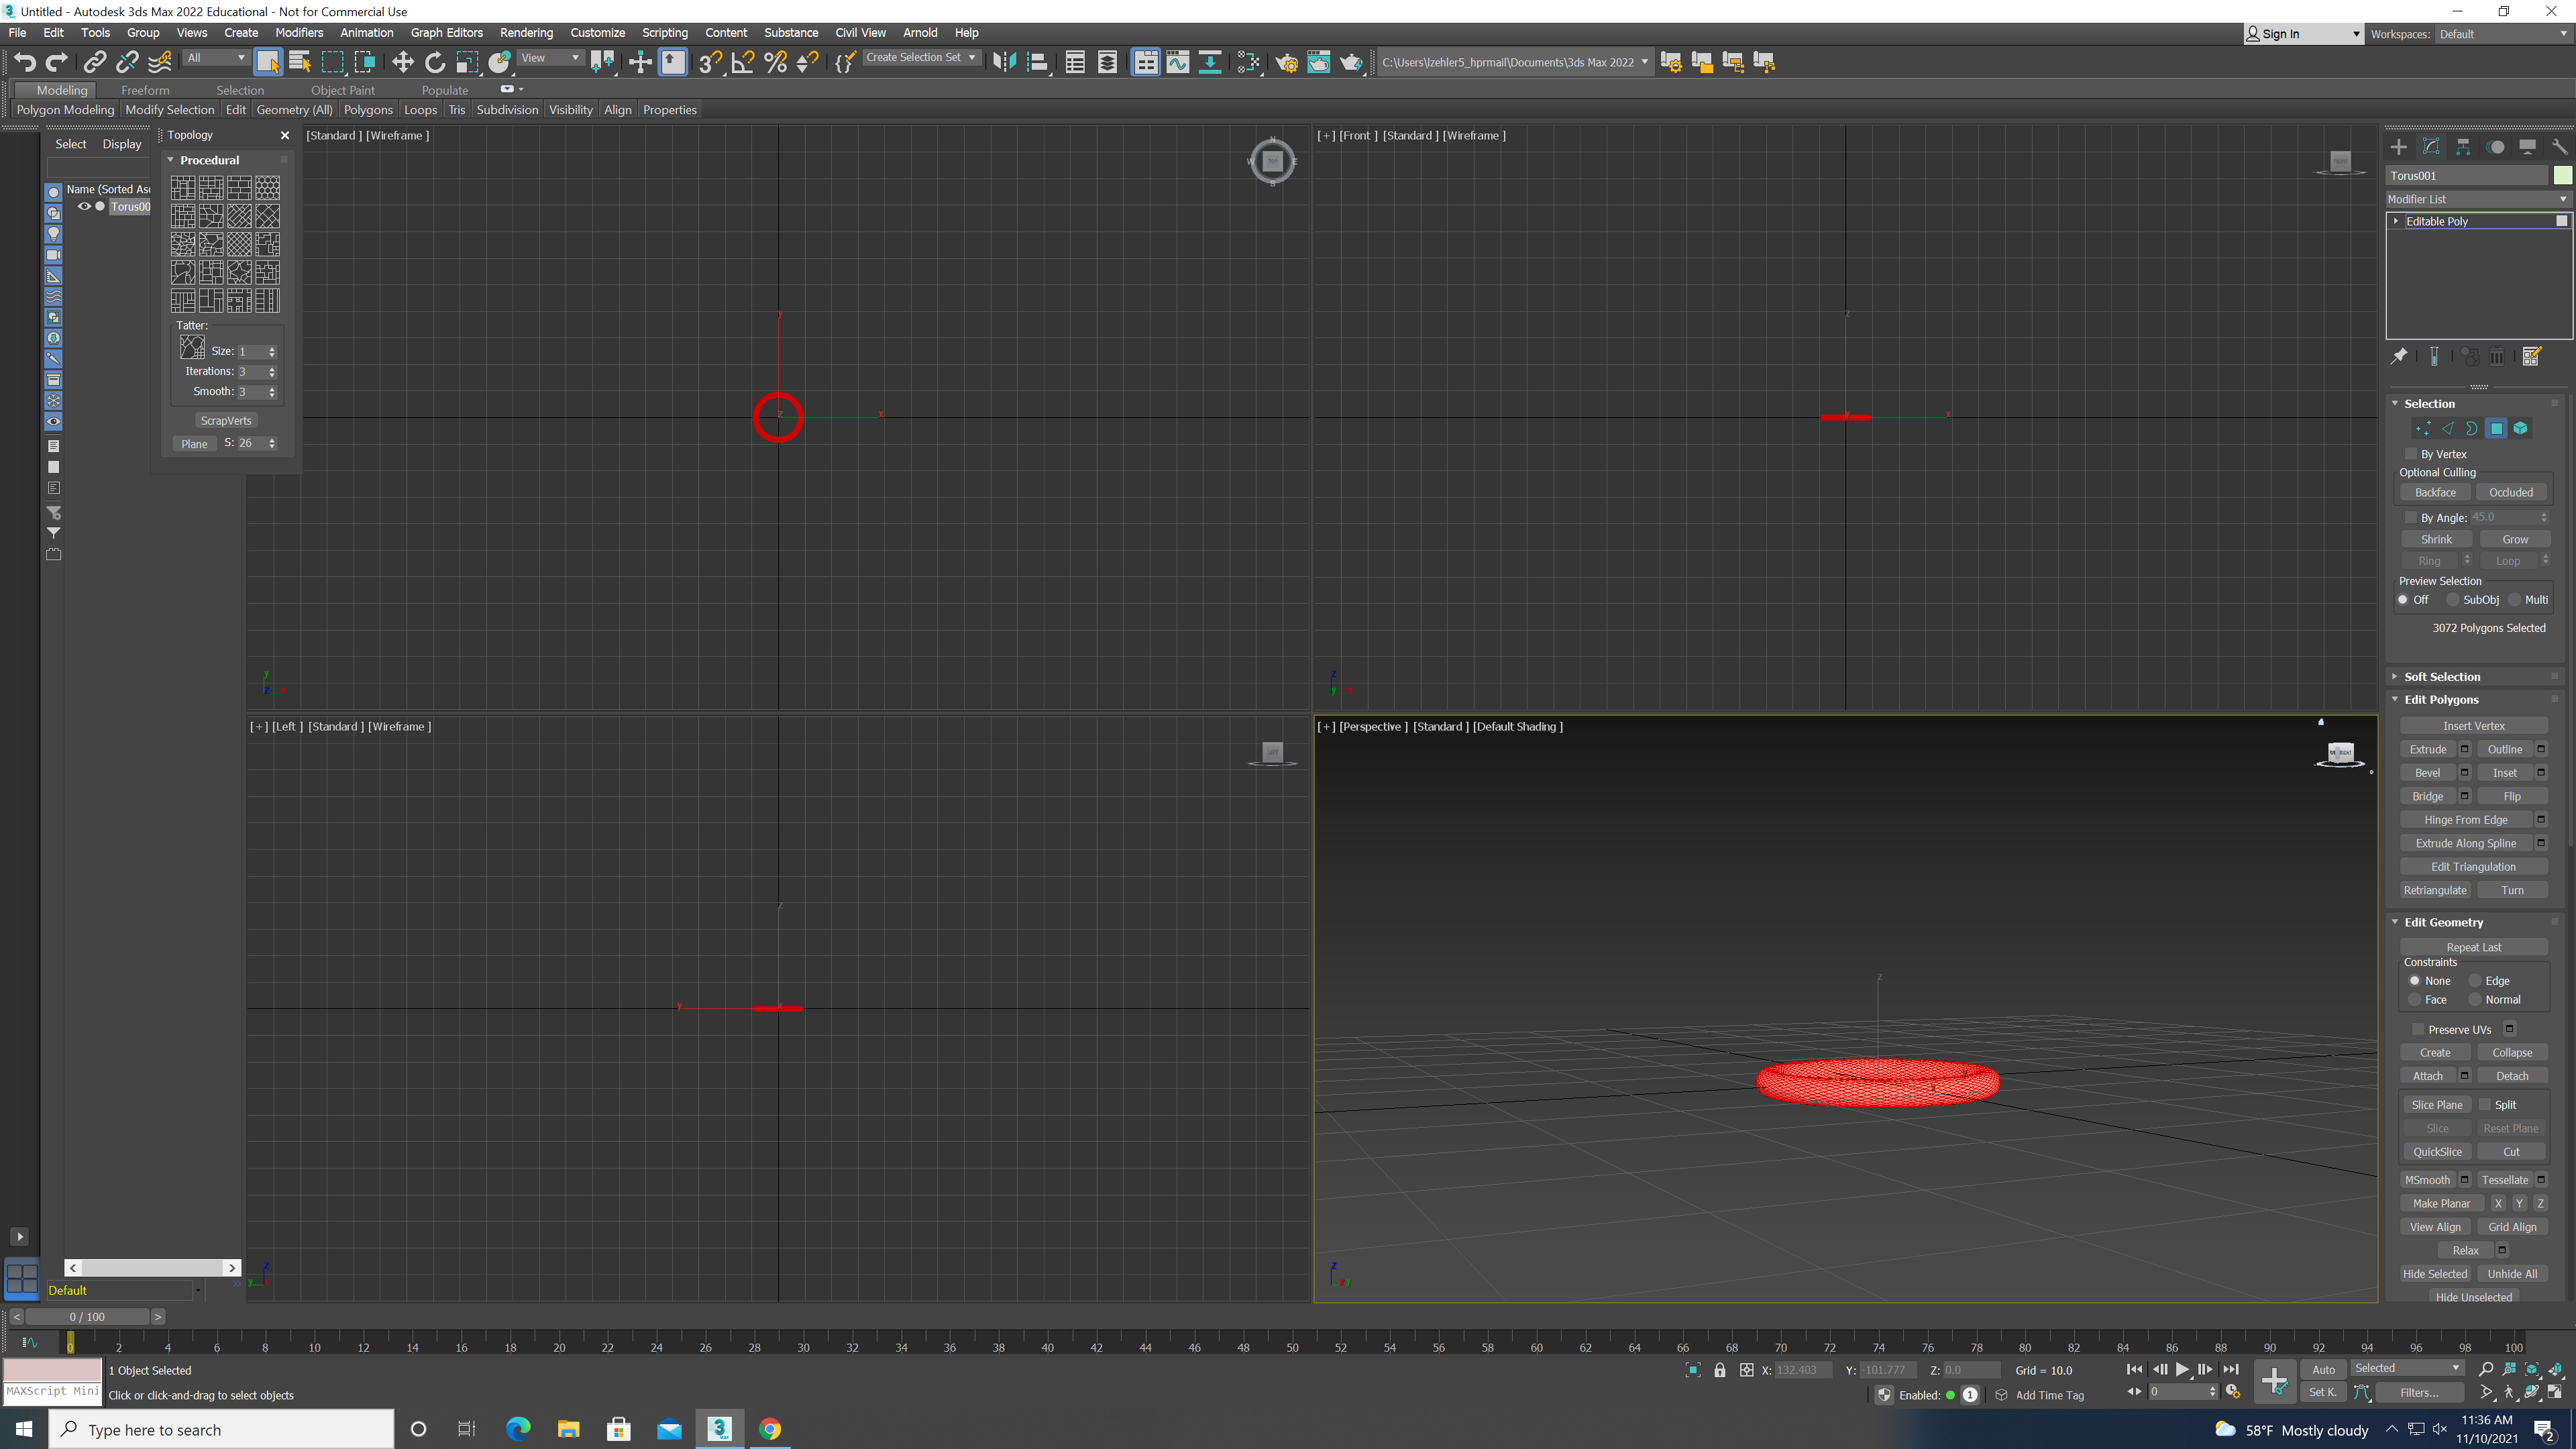.png)
Now that you have changed the direction of your lines, click the square on the far right of your screen
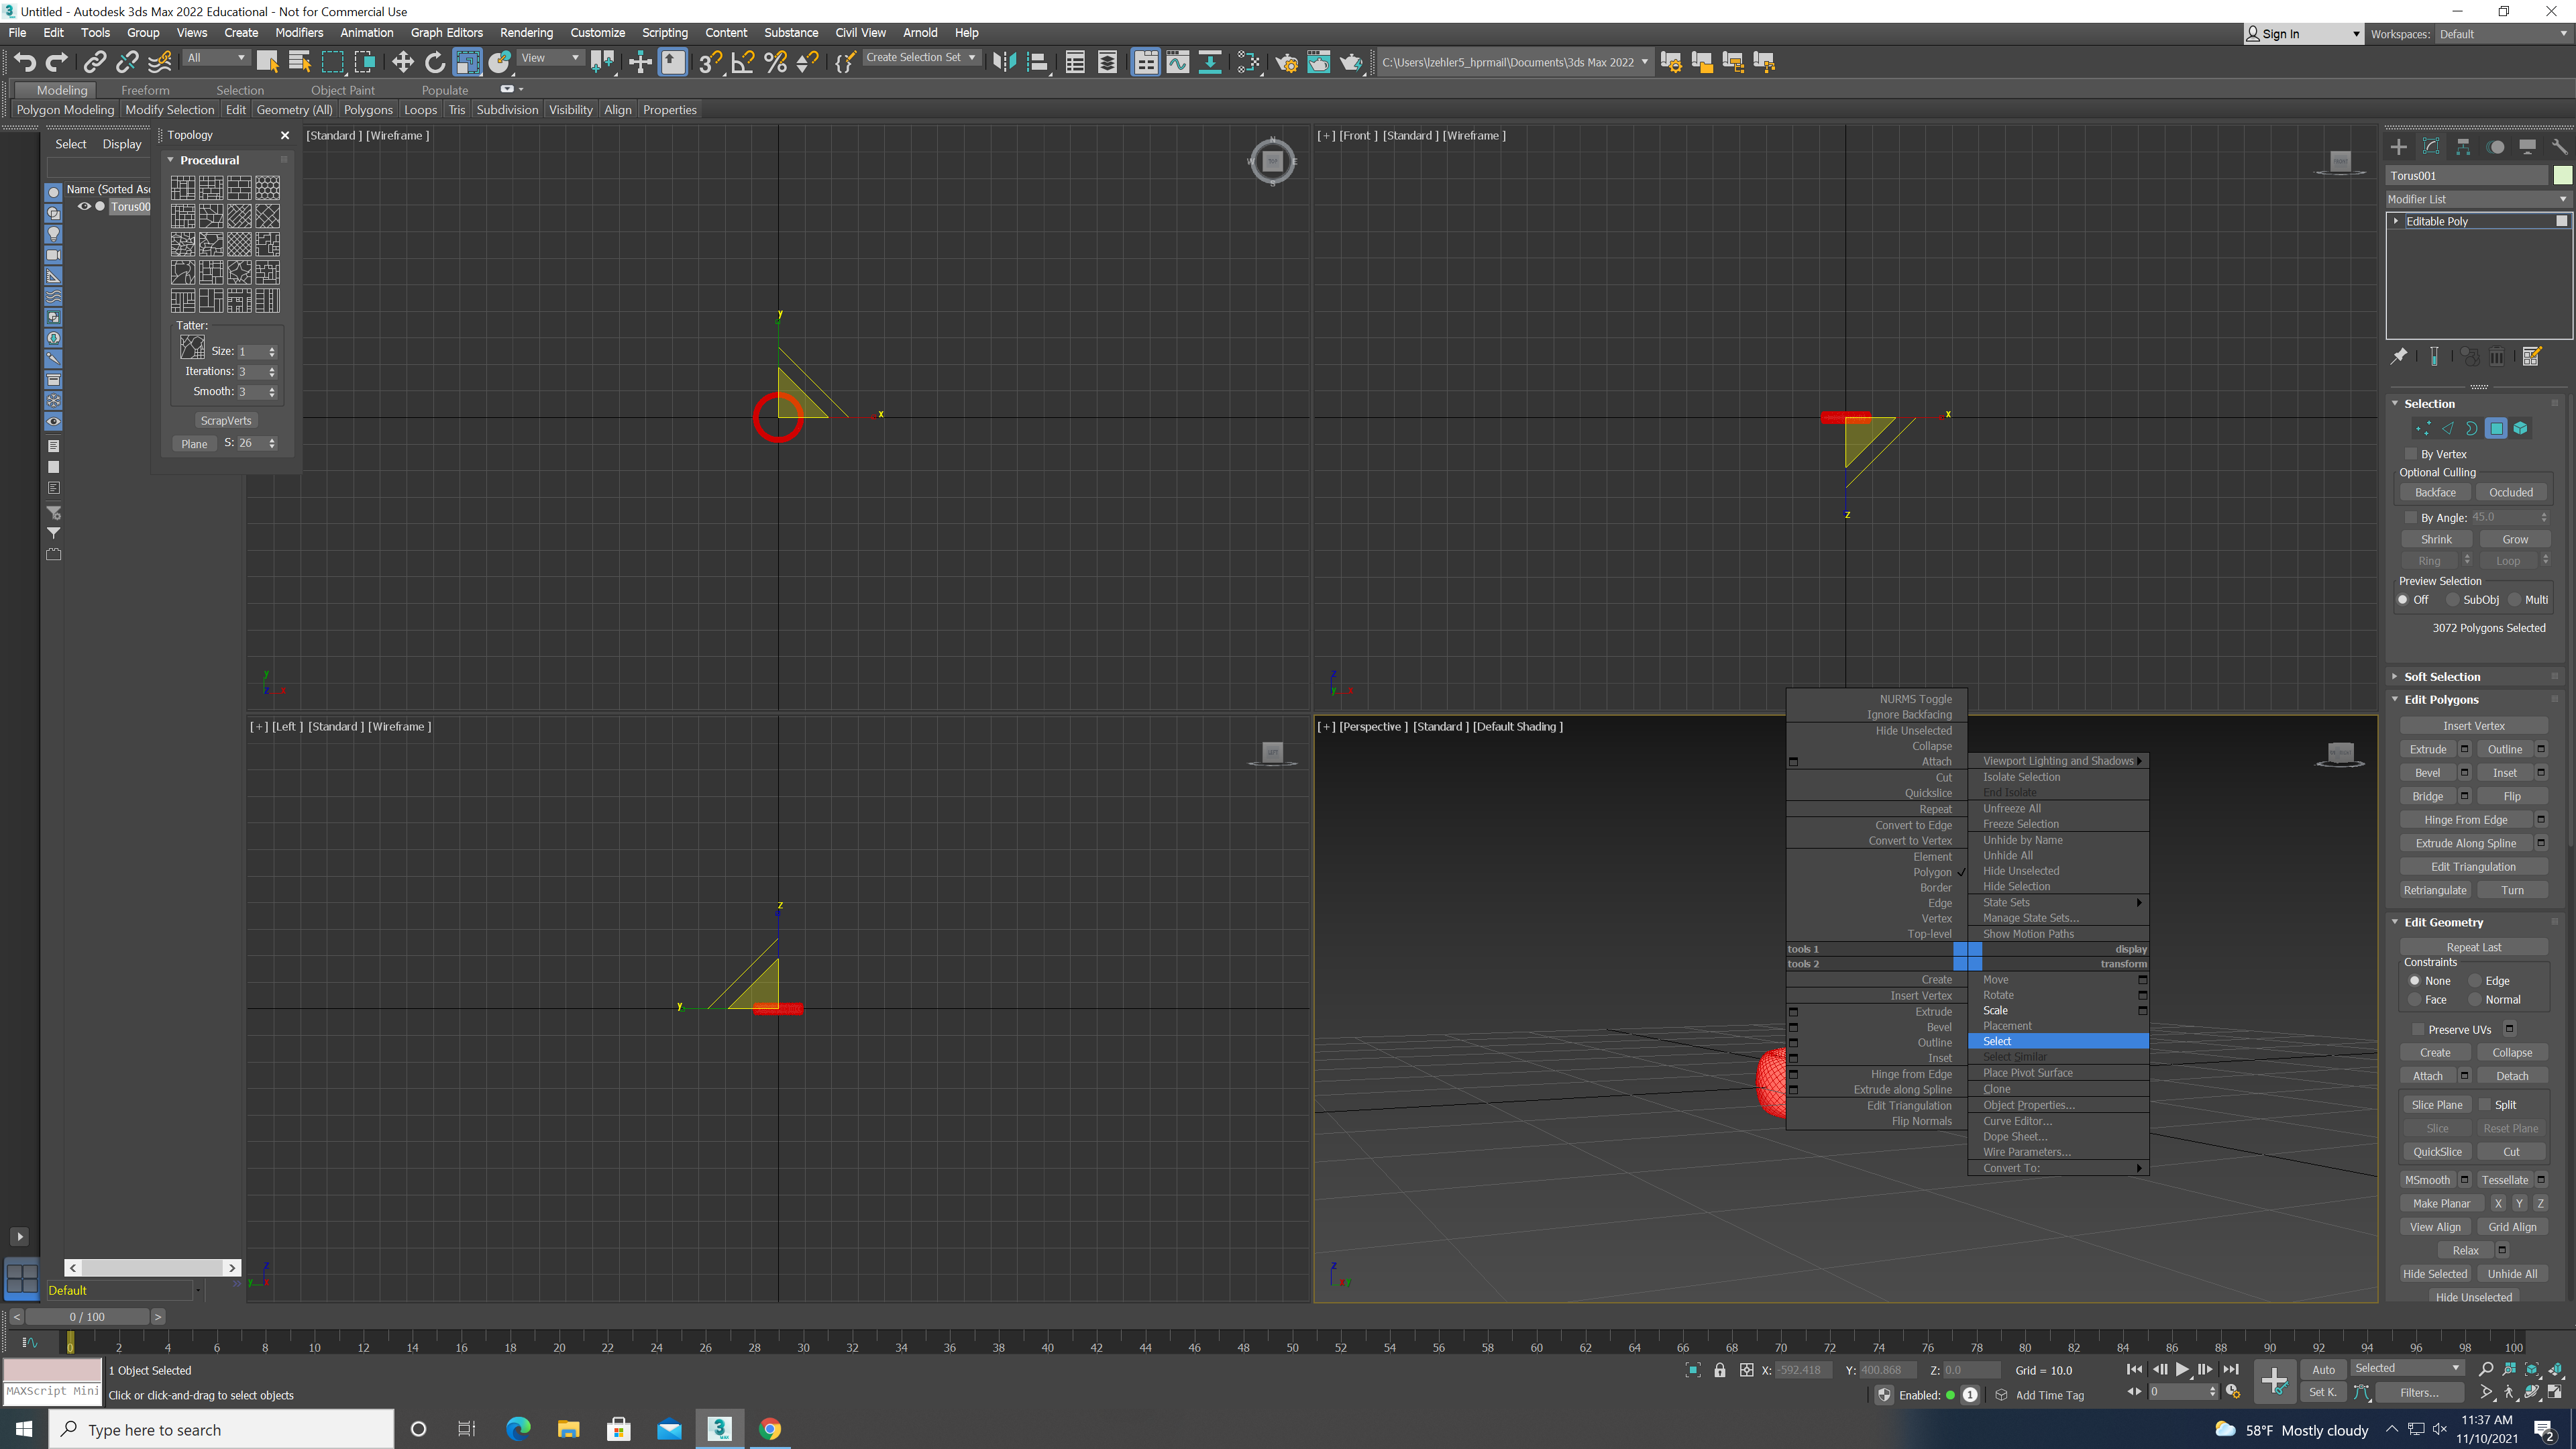.png)
Once again you must right click, but then click on "select"
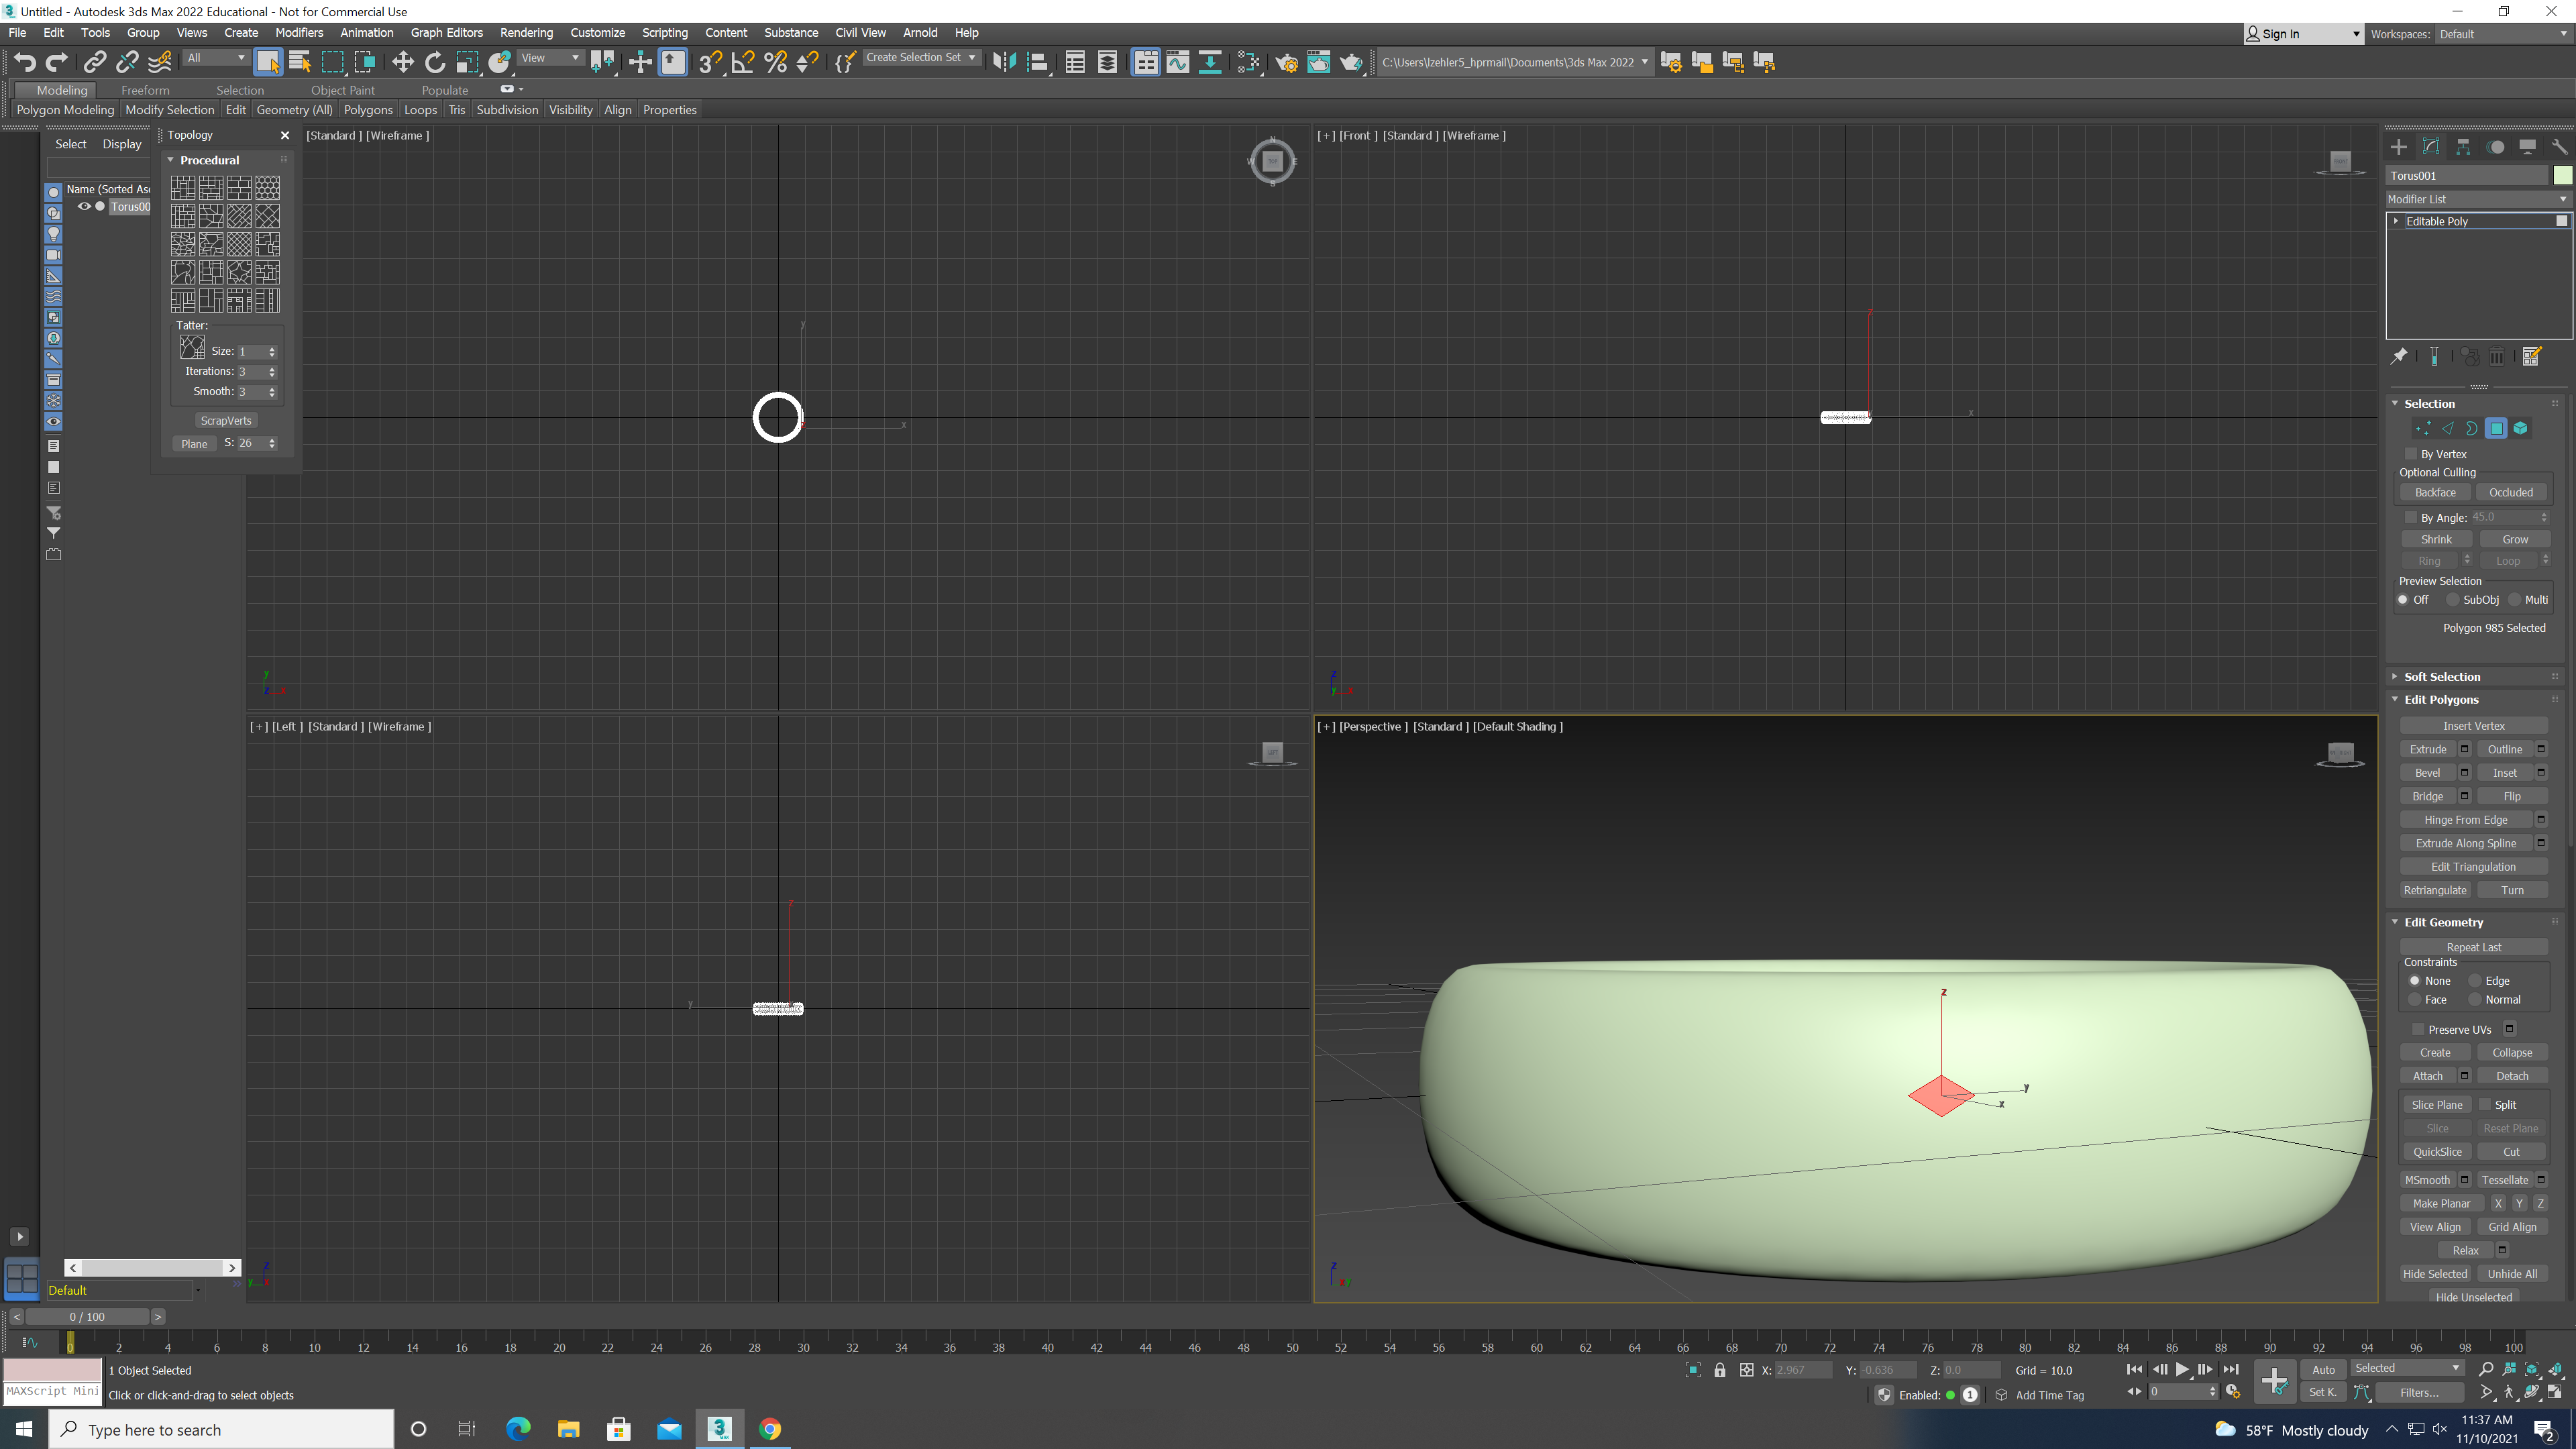.png)
Click once anywhere on your torus
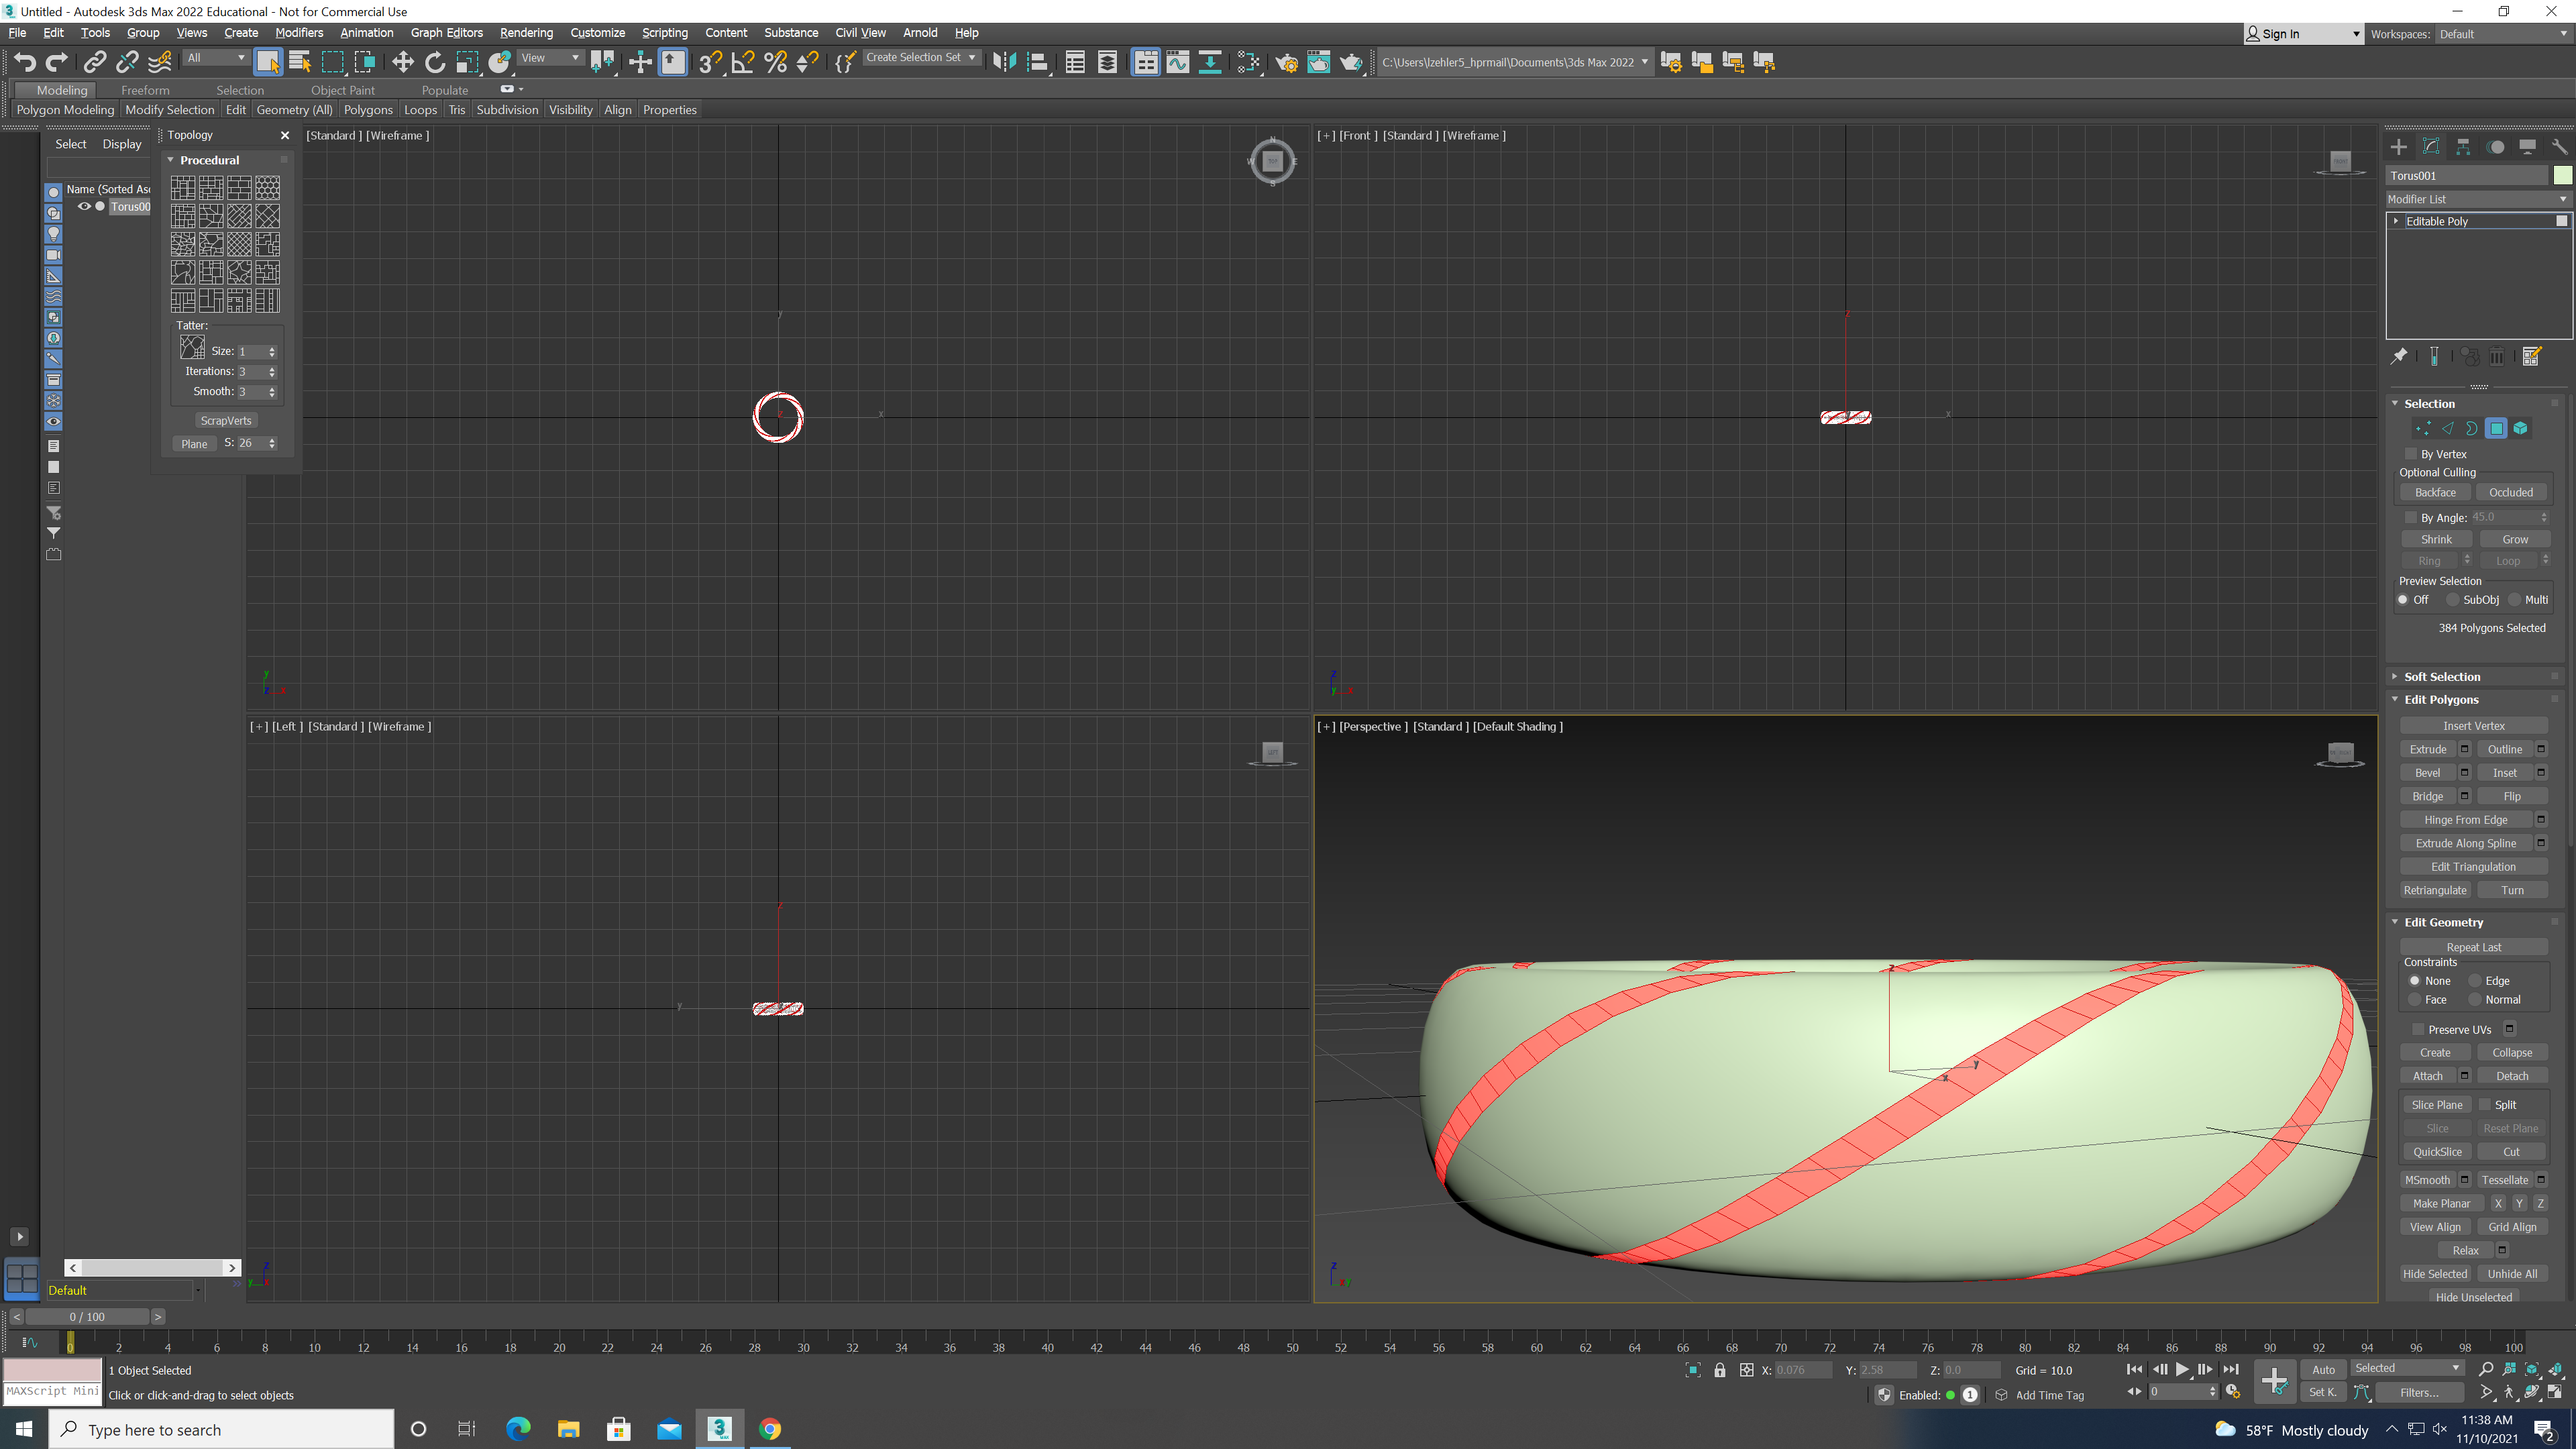.png)
Now while holding Ctr double click diagnal of where you originaly clicked and it should make a line.
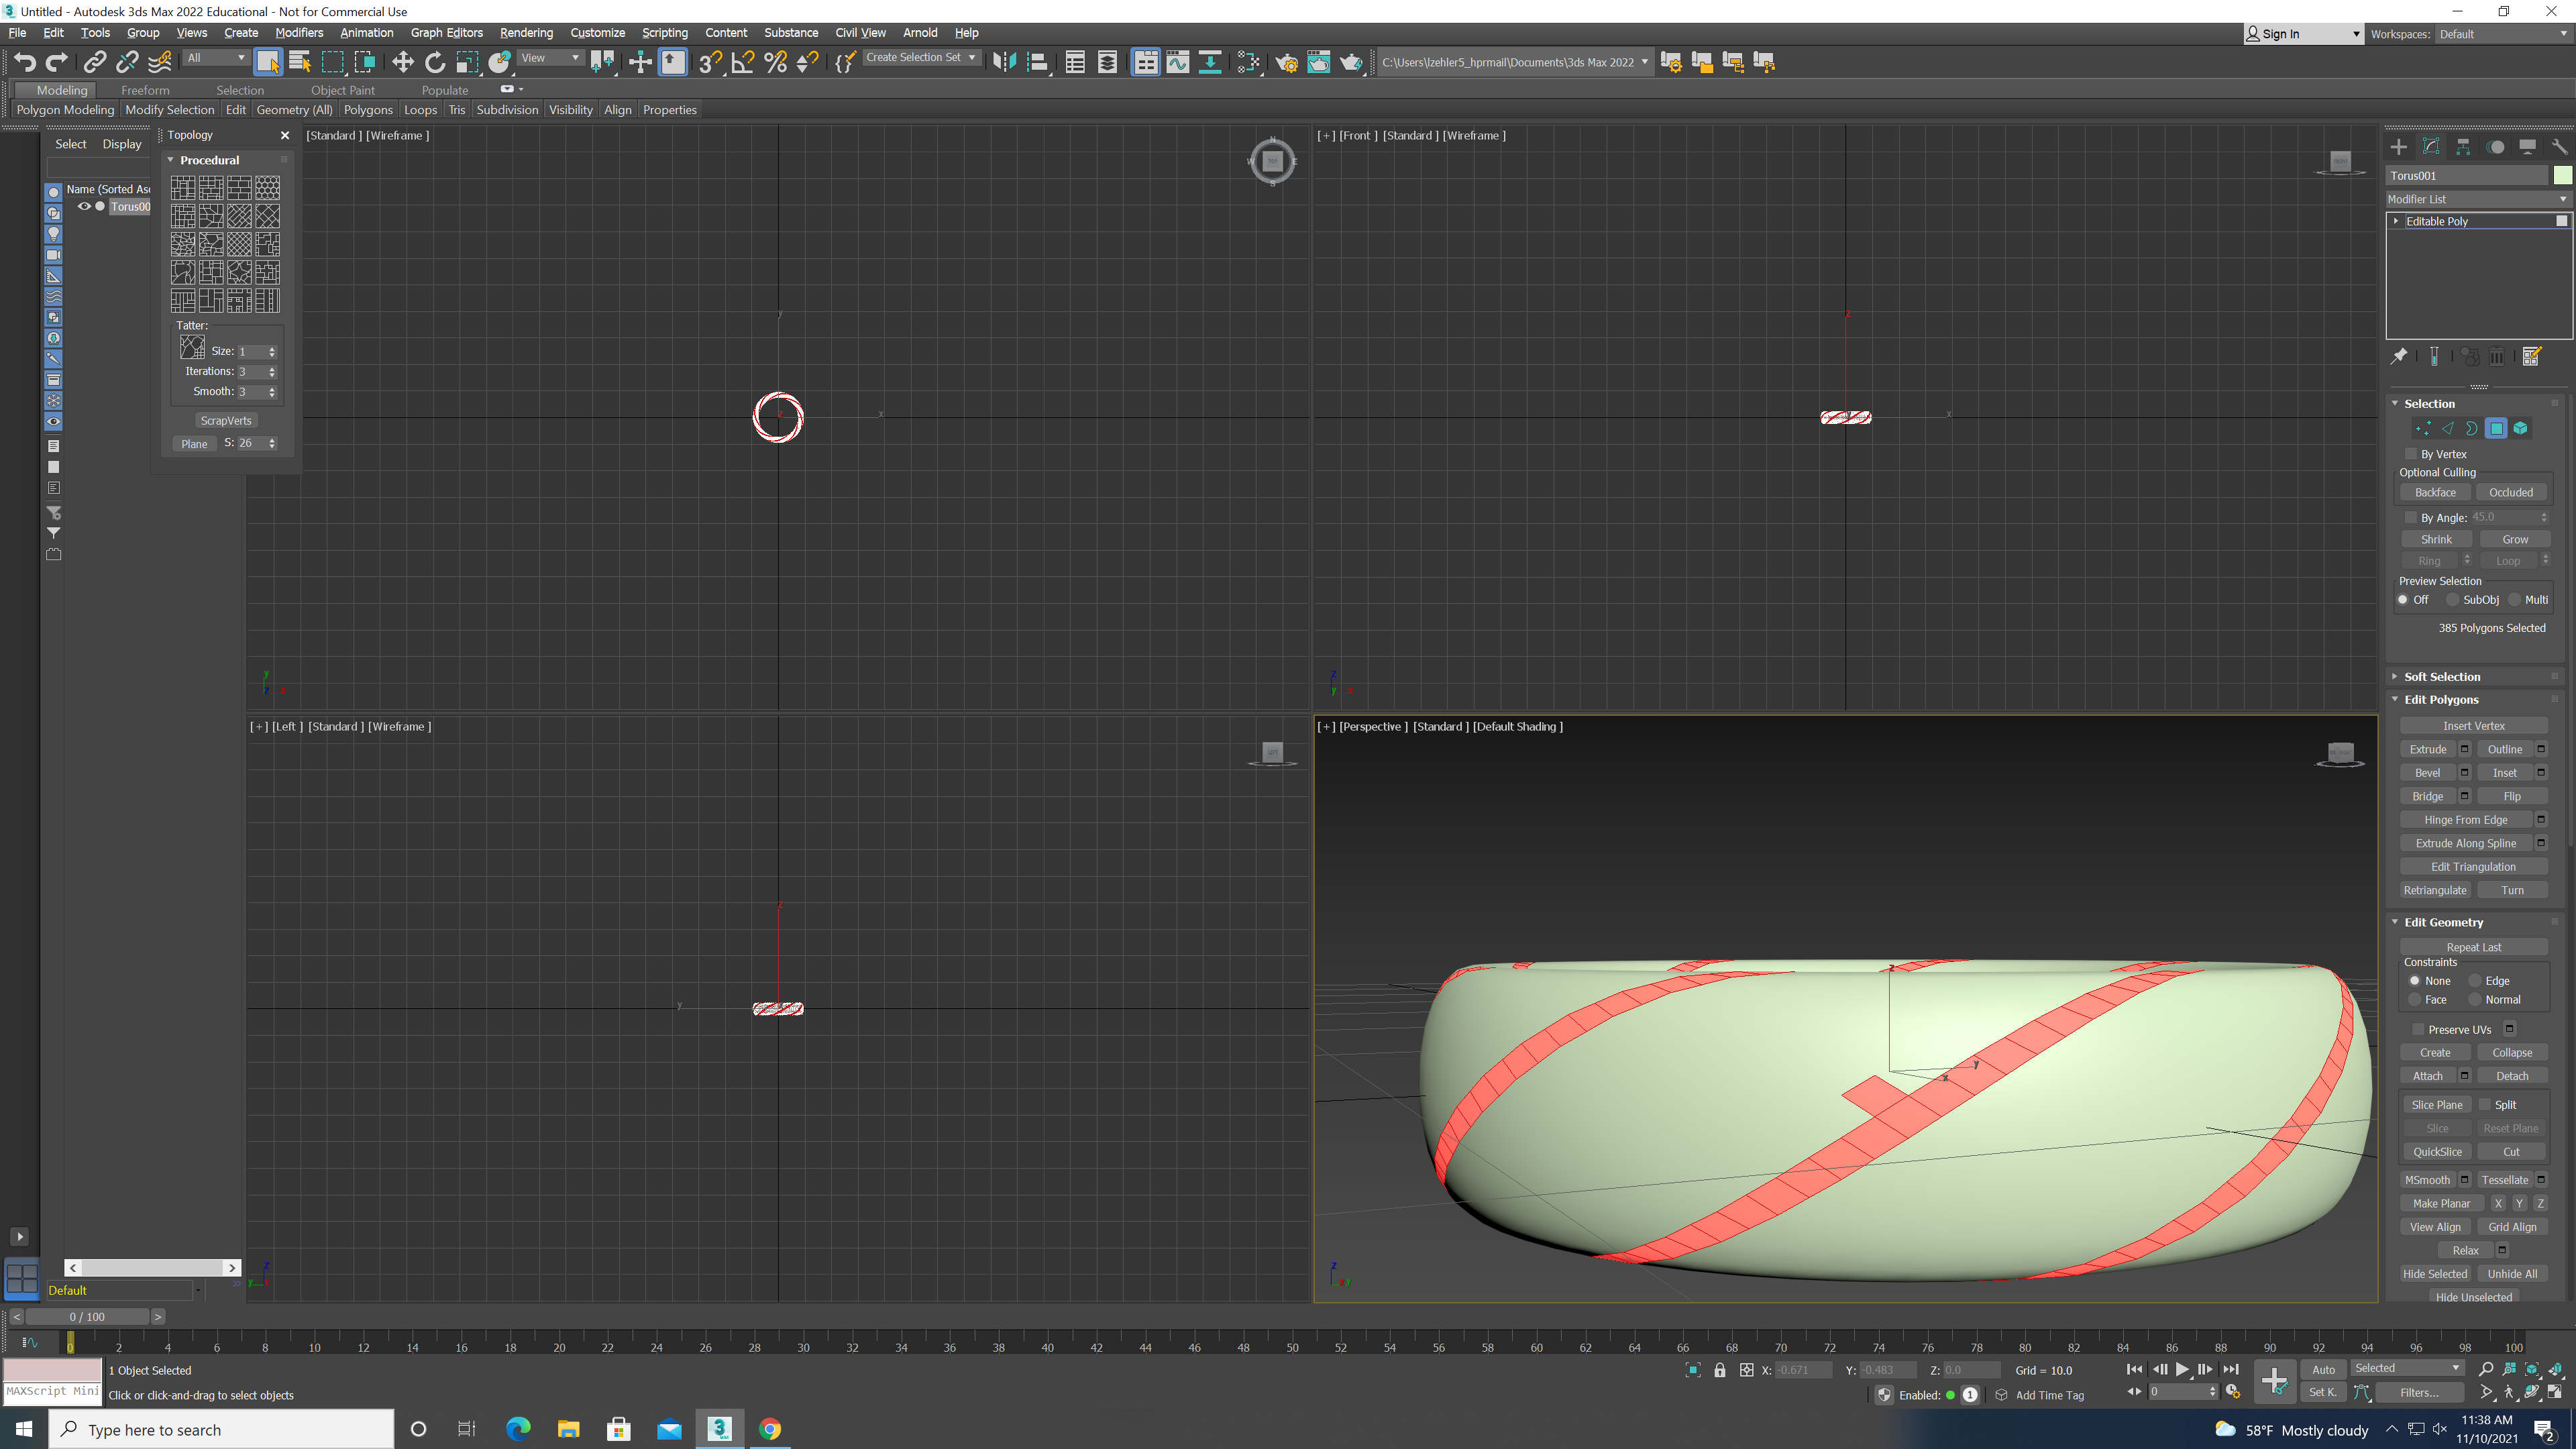.png)
While still holding control click next to your line
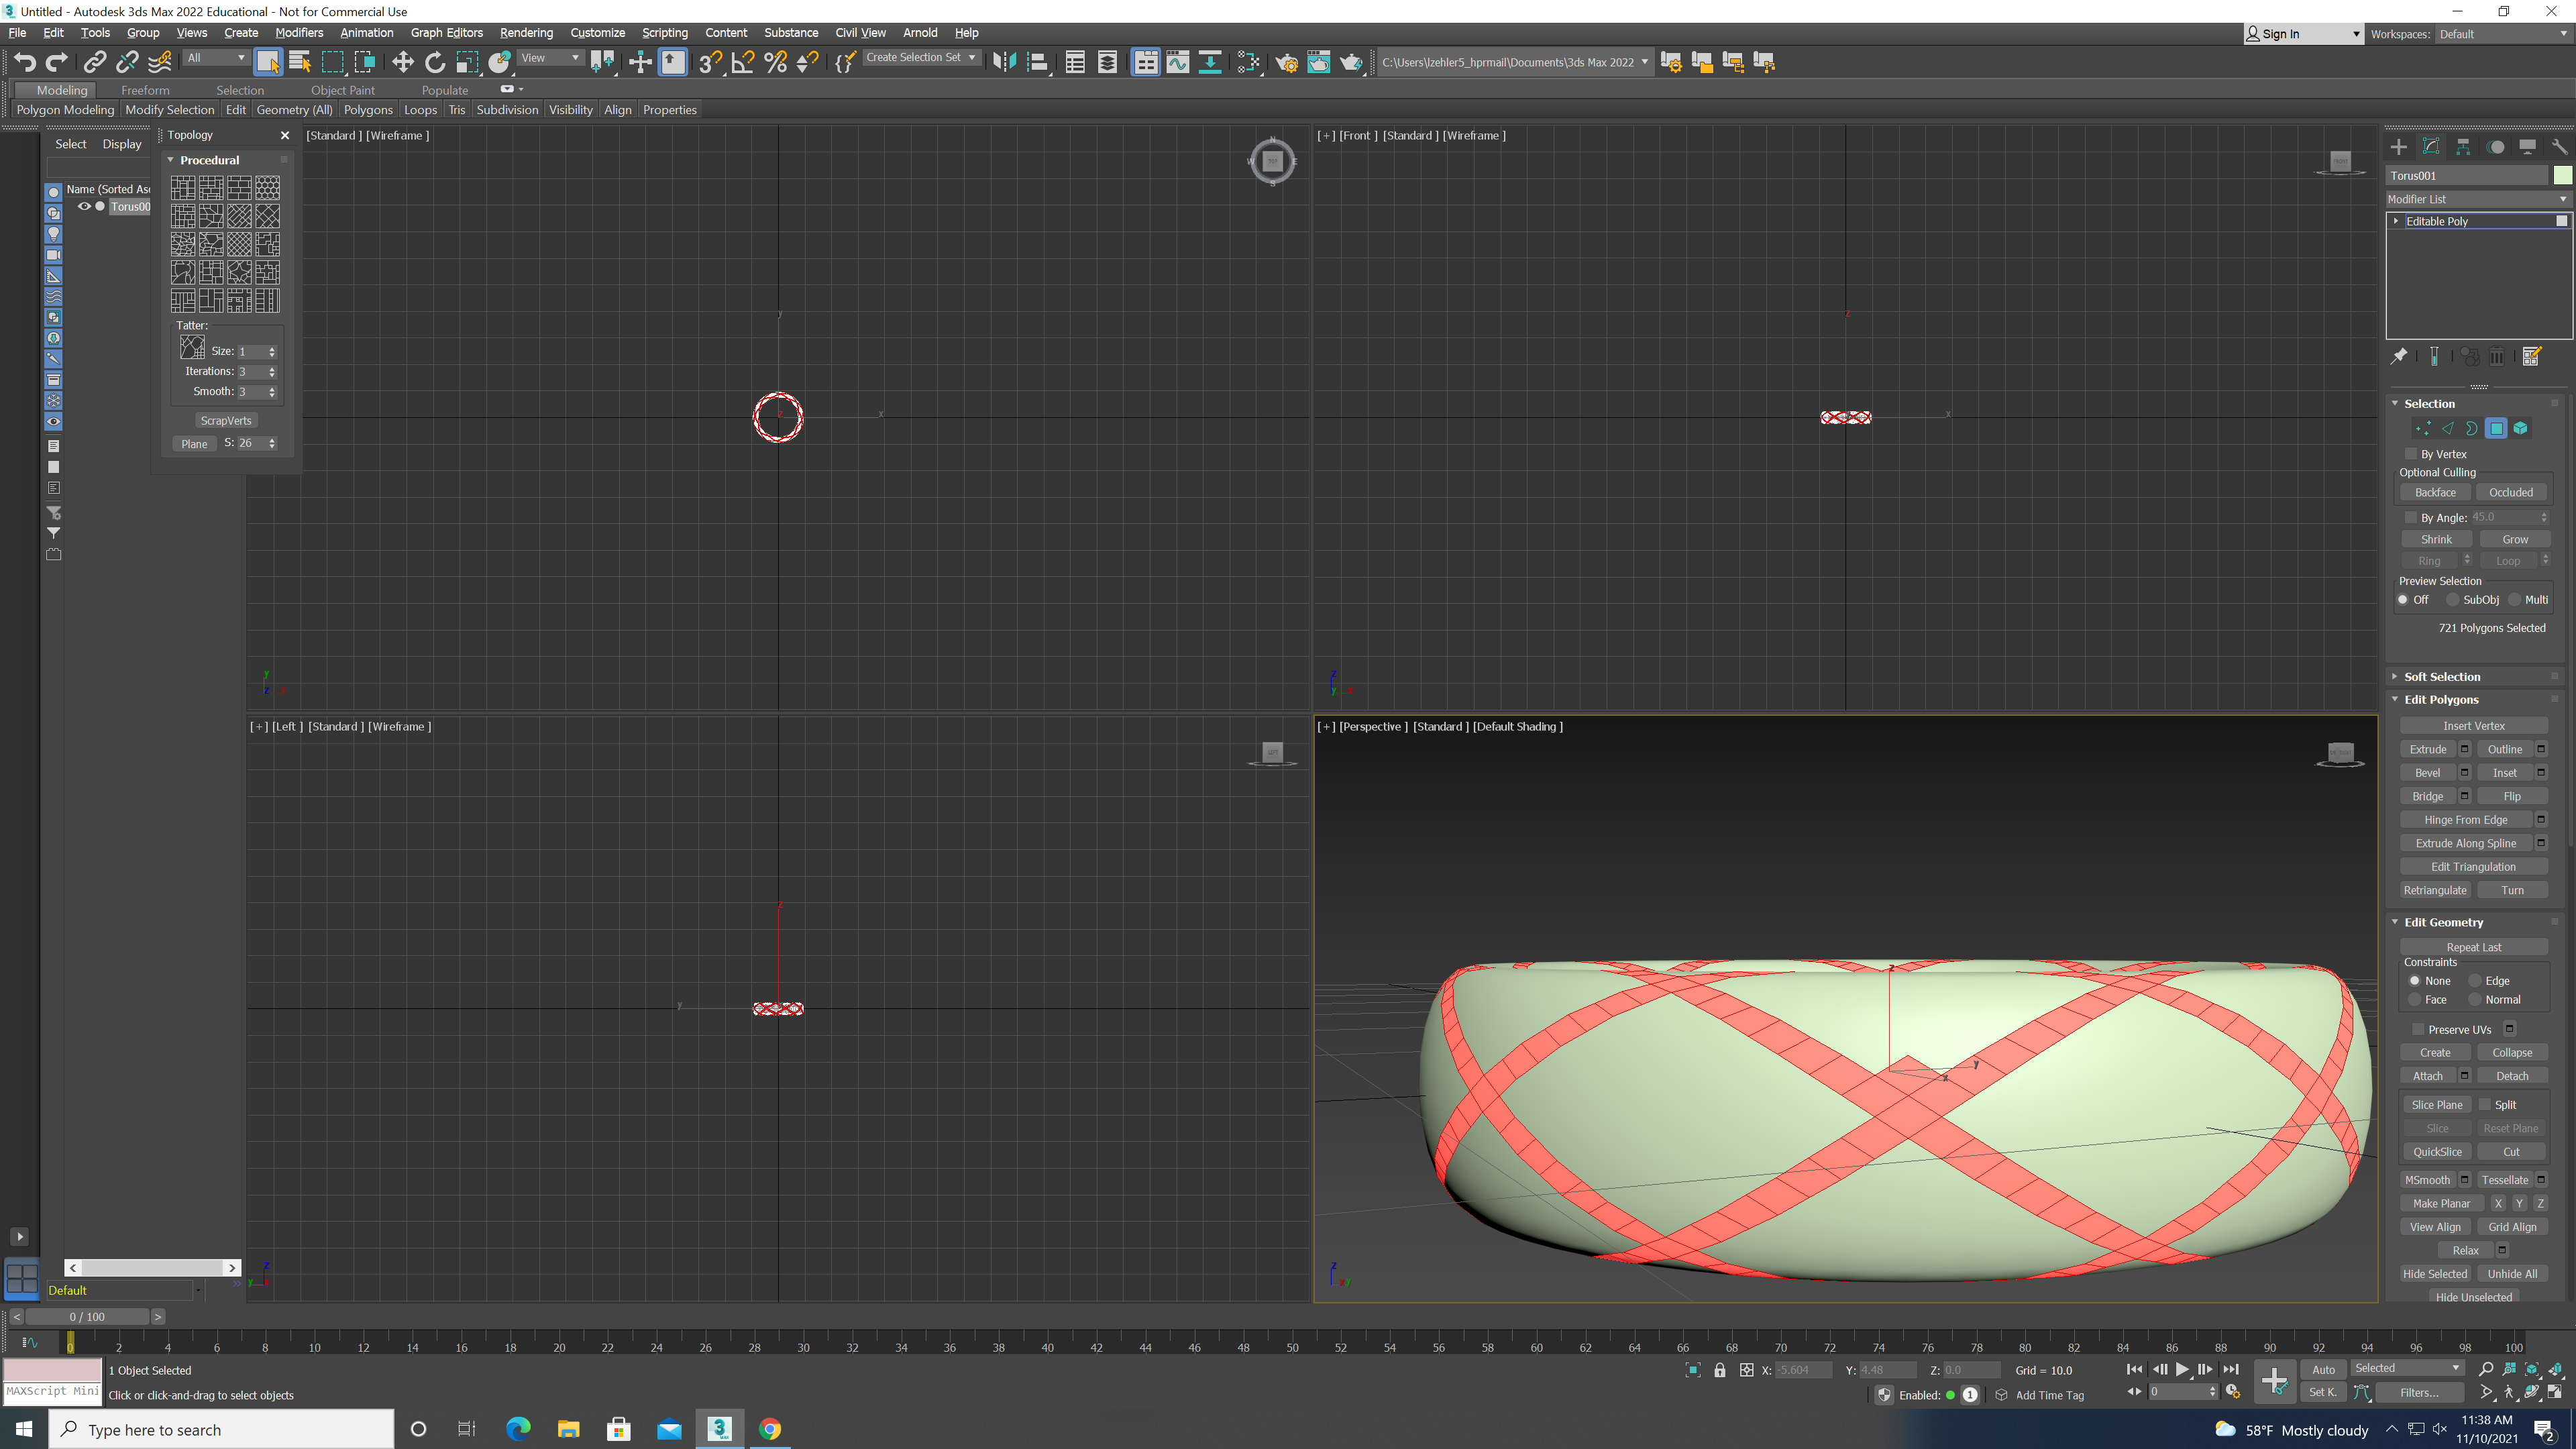.png)
Then double click diagnal of that line again,you can make your lines thicker by repeating previous steps
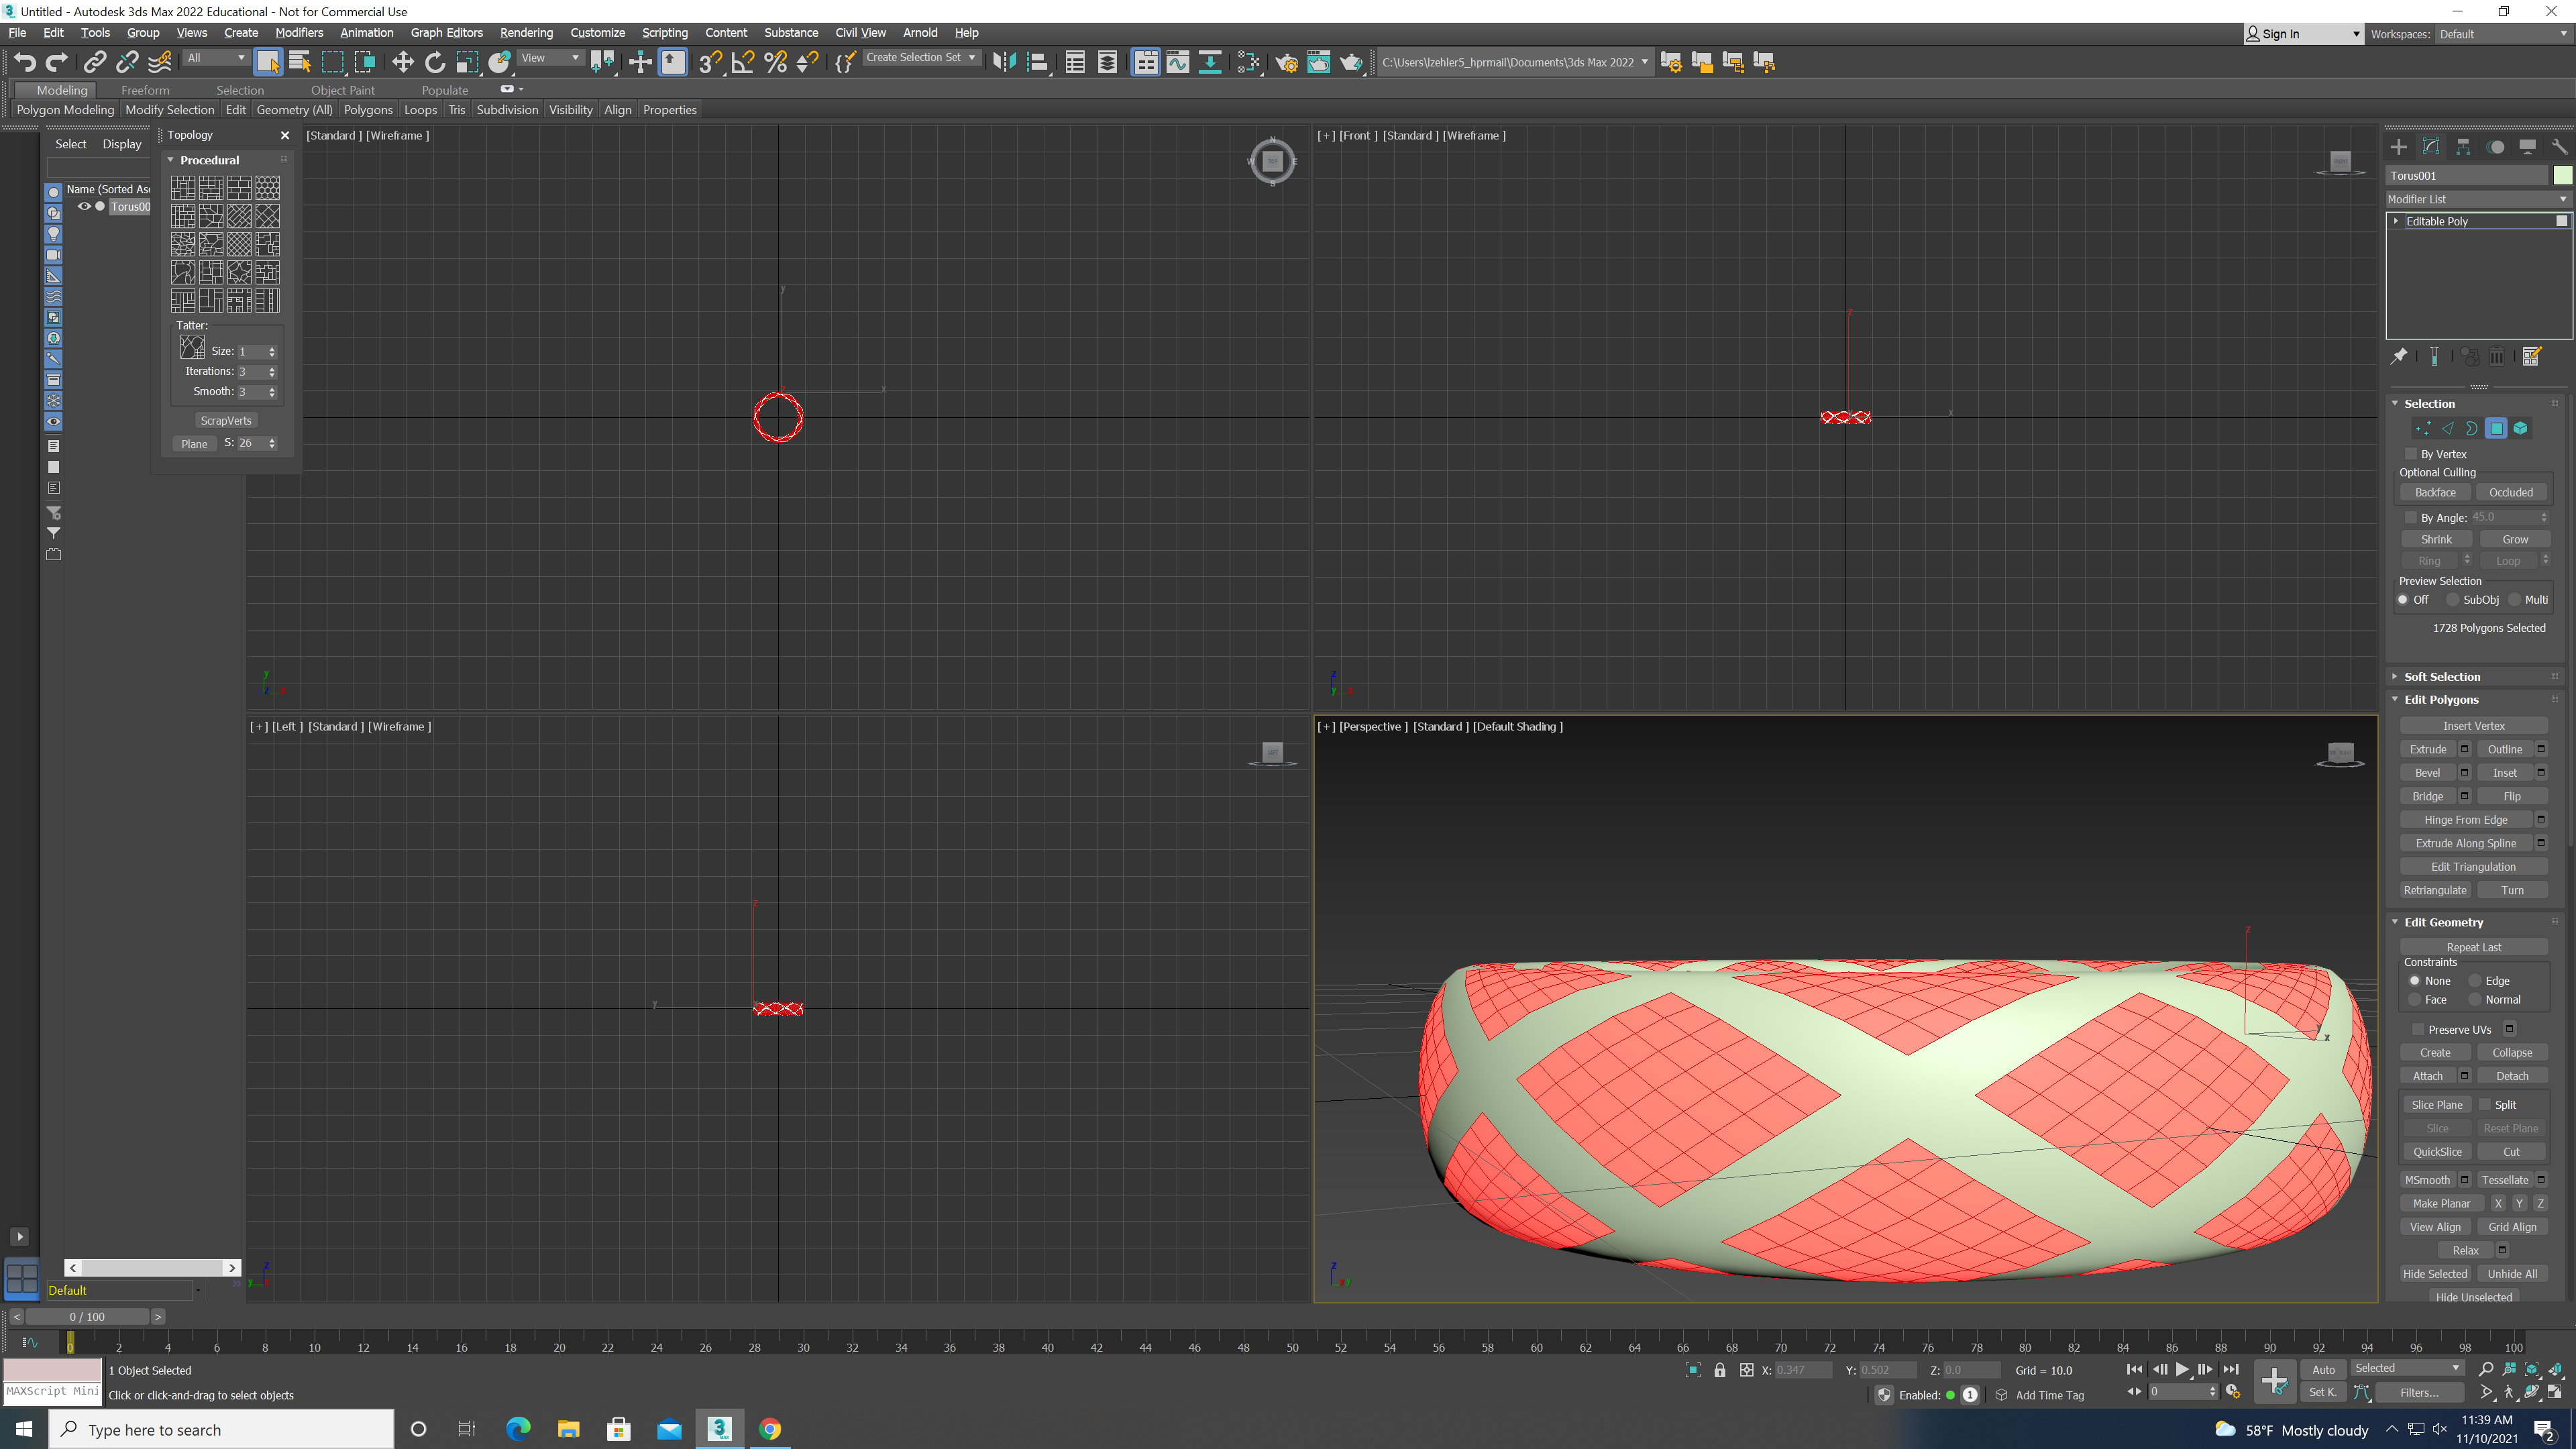.png)
Next you must click CTR and I at the same time
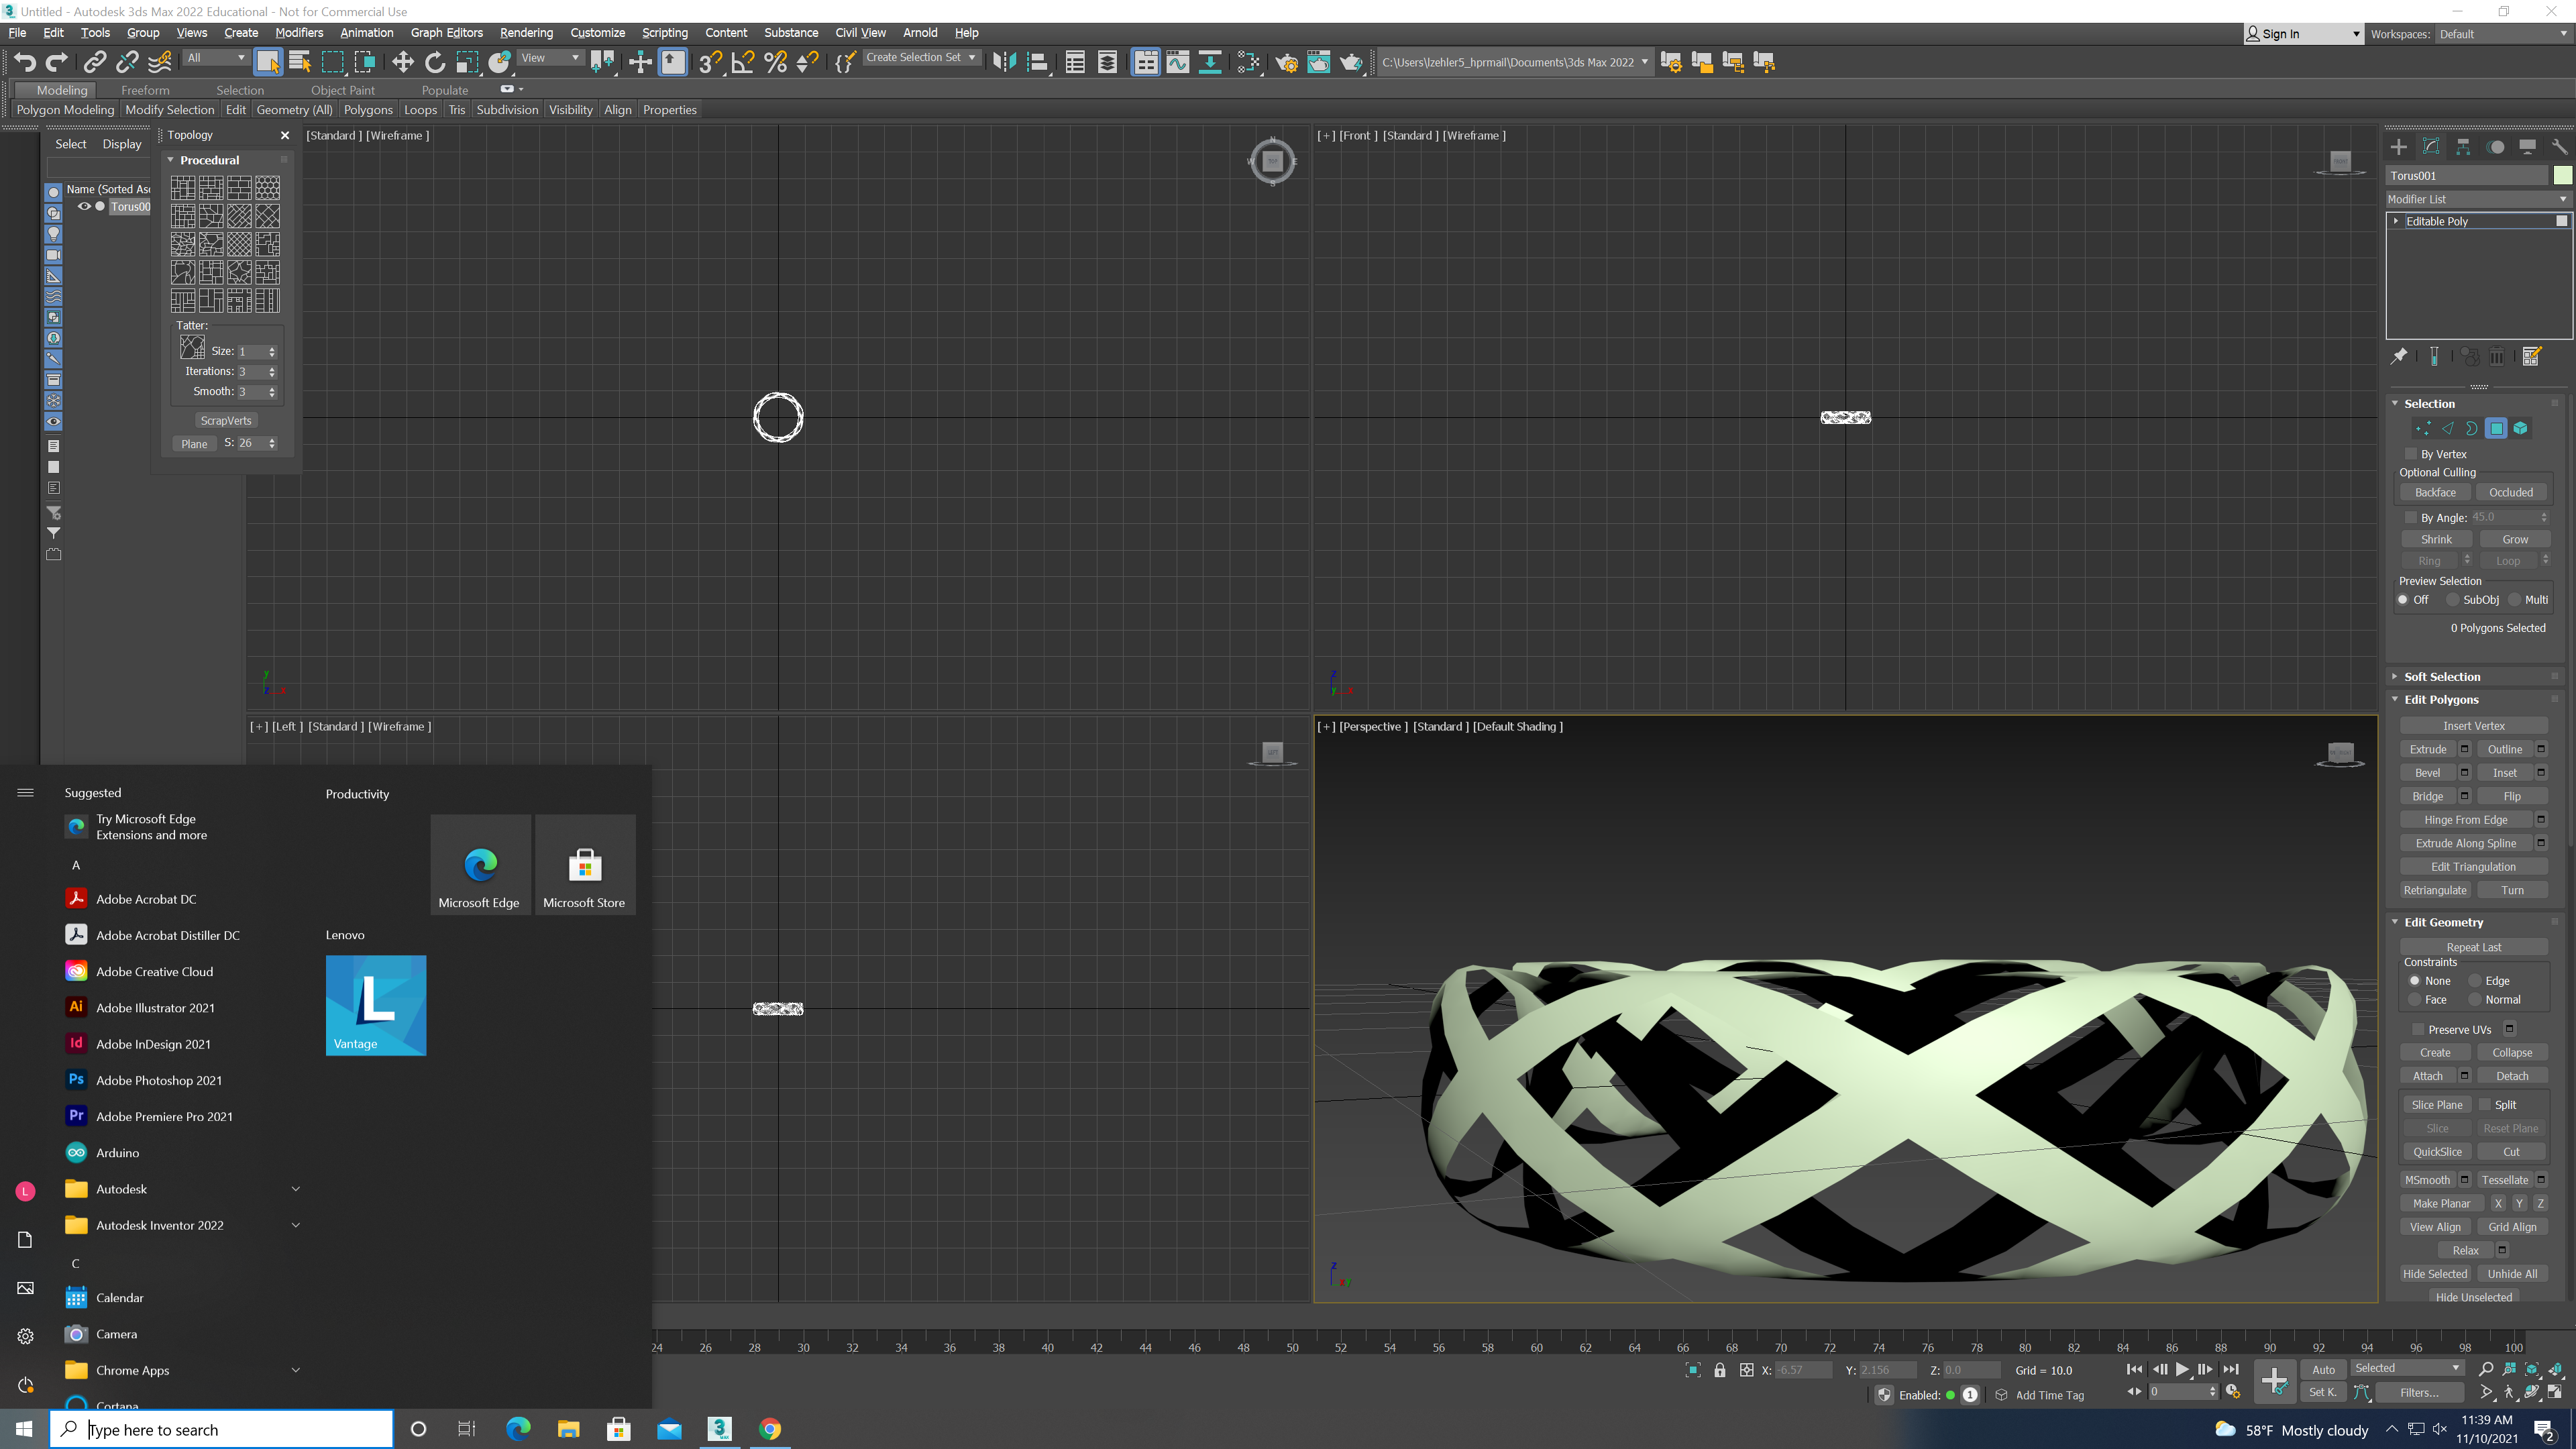.png)
Next click delete on your keyboard
.png)
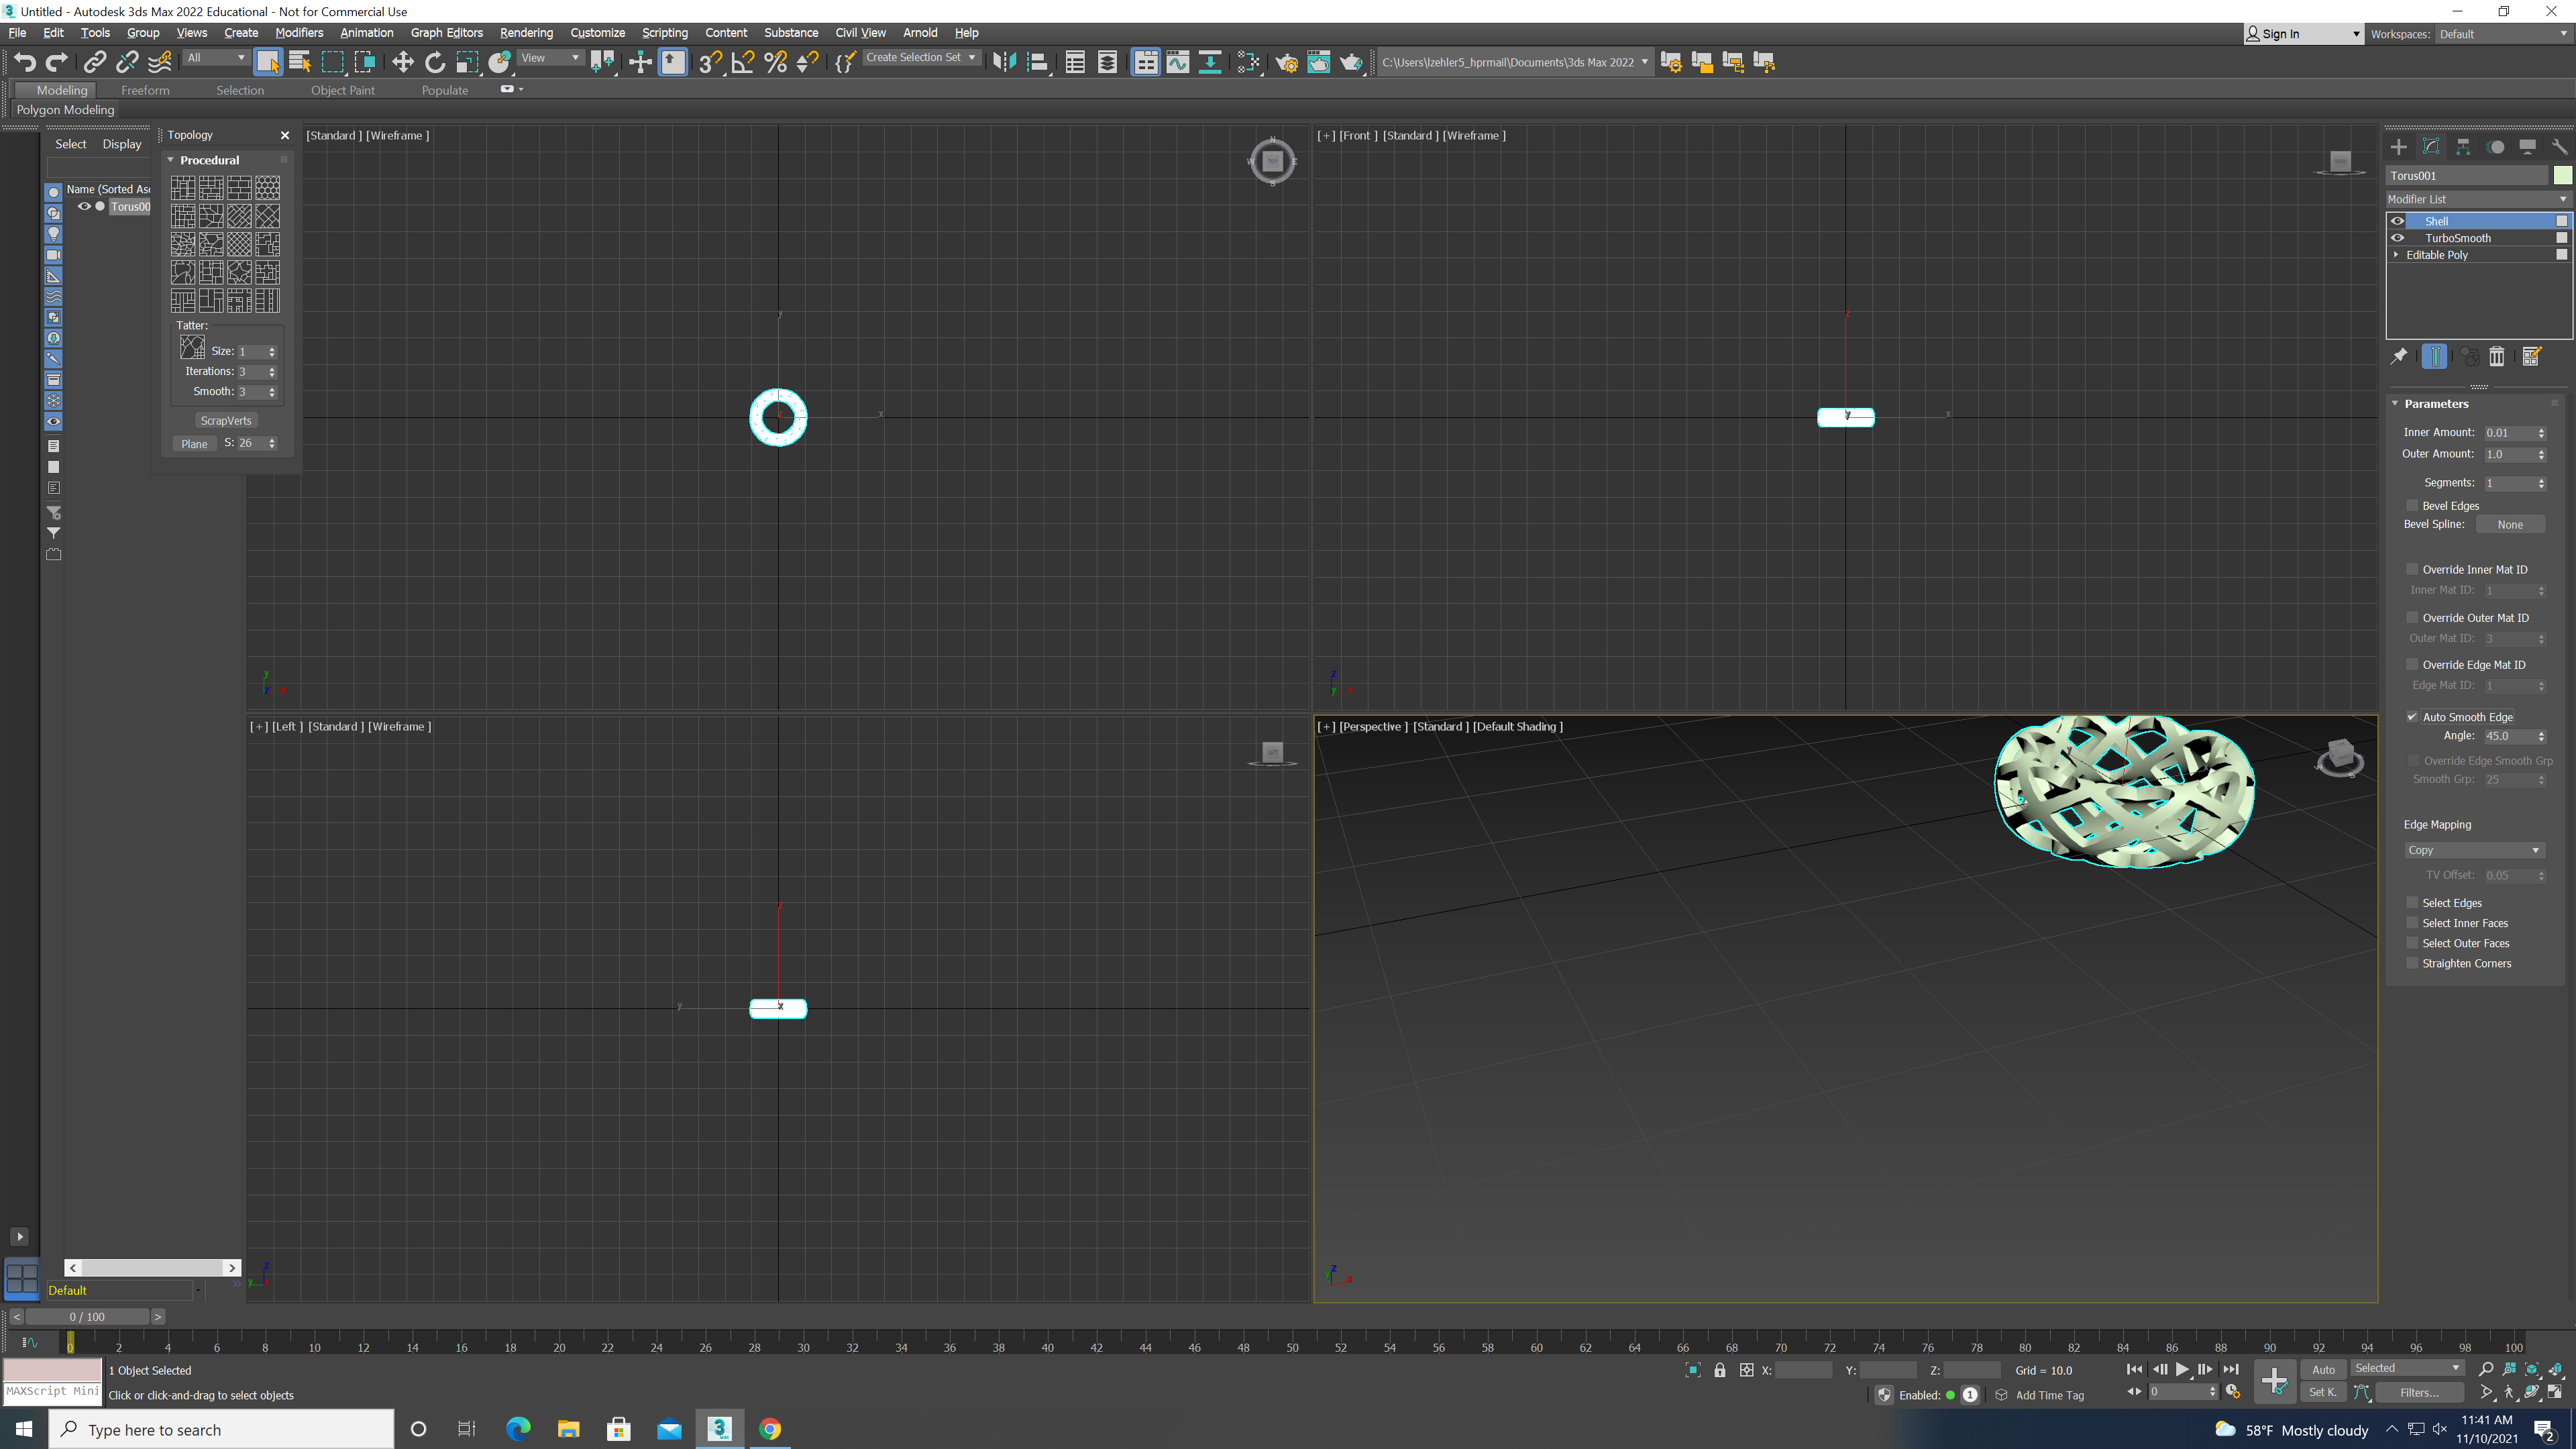
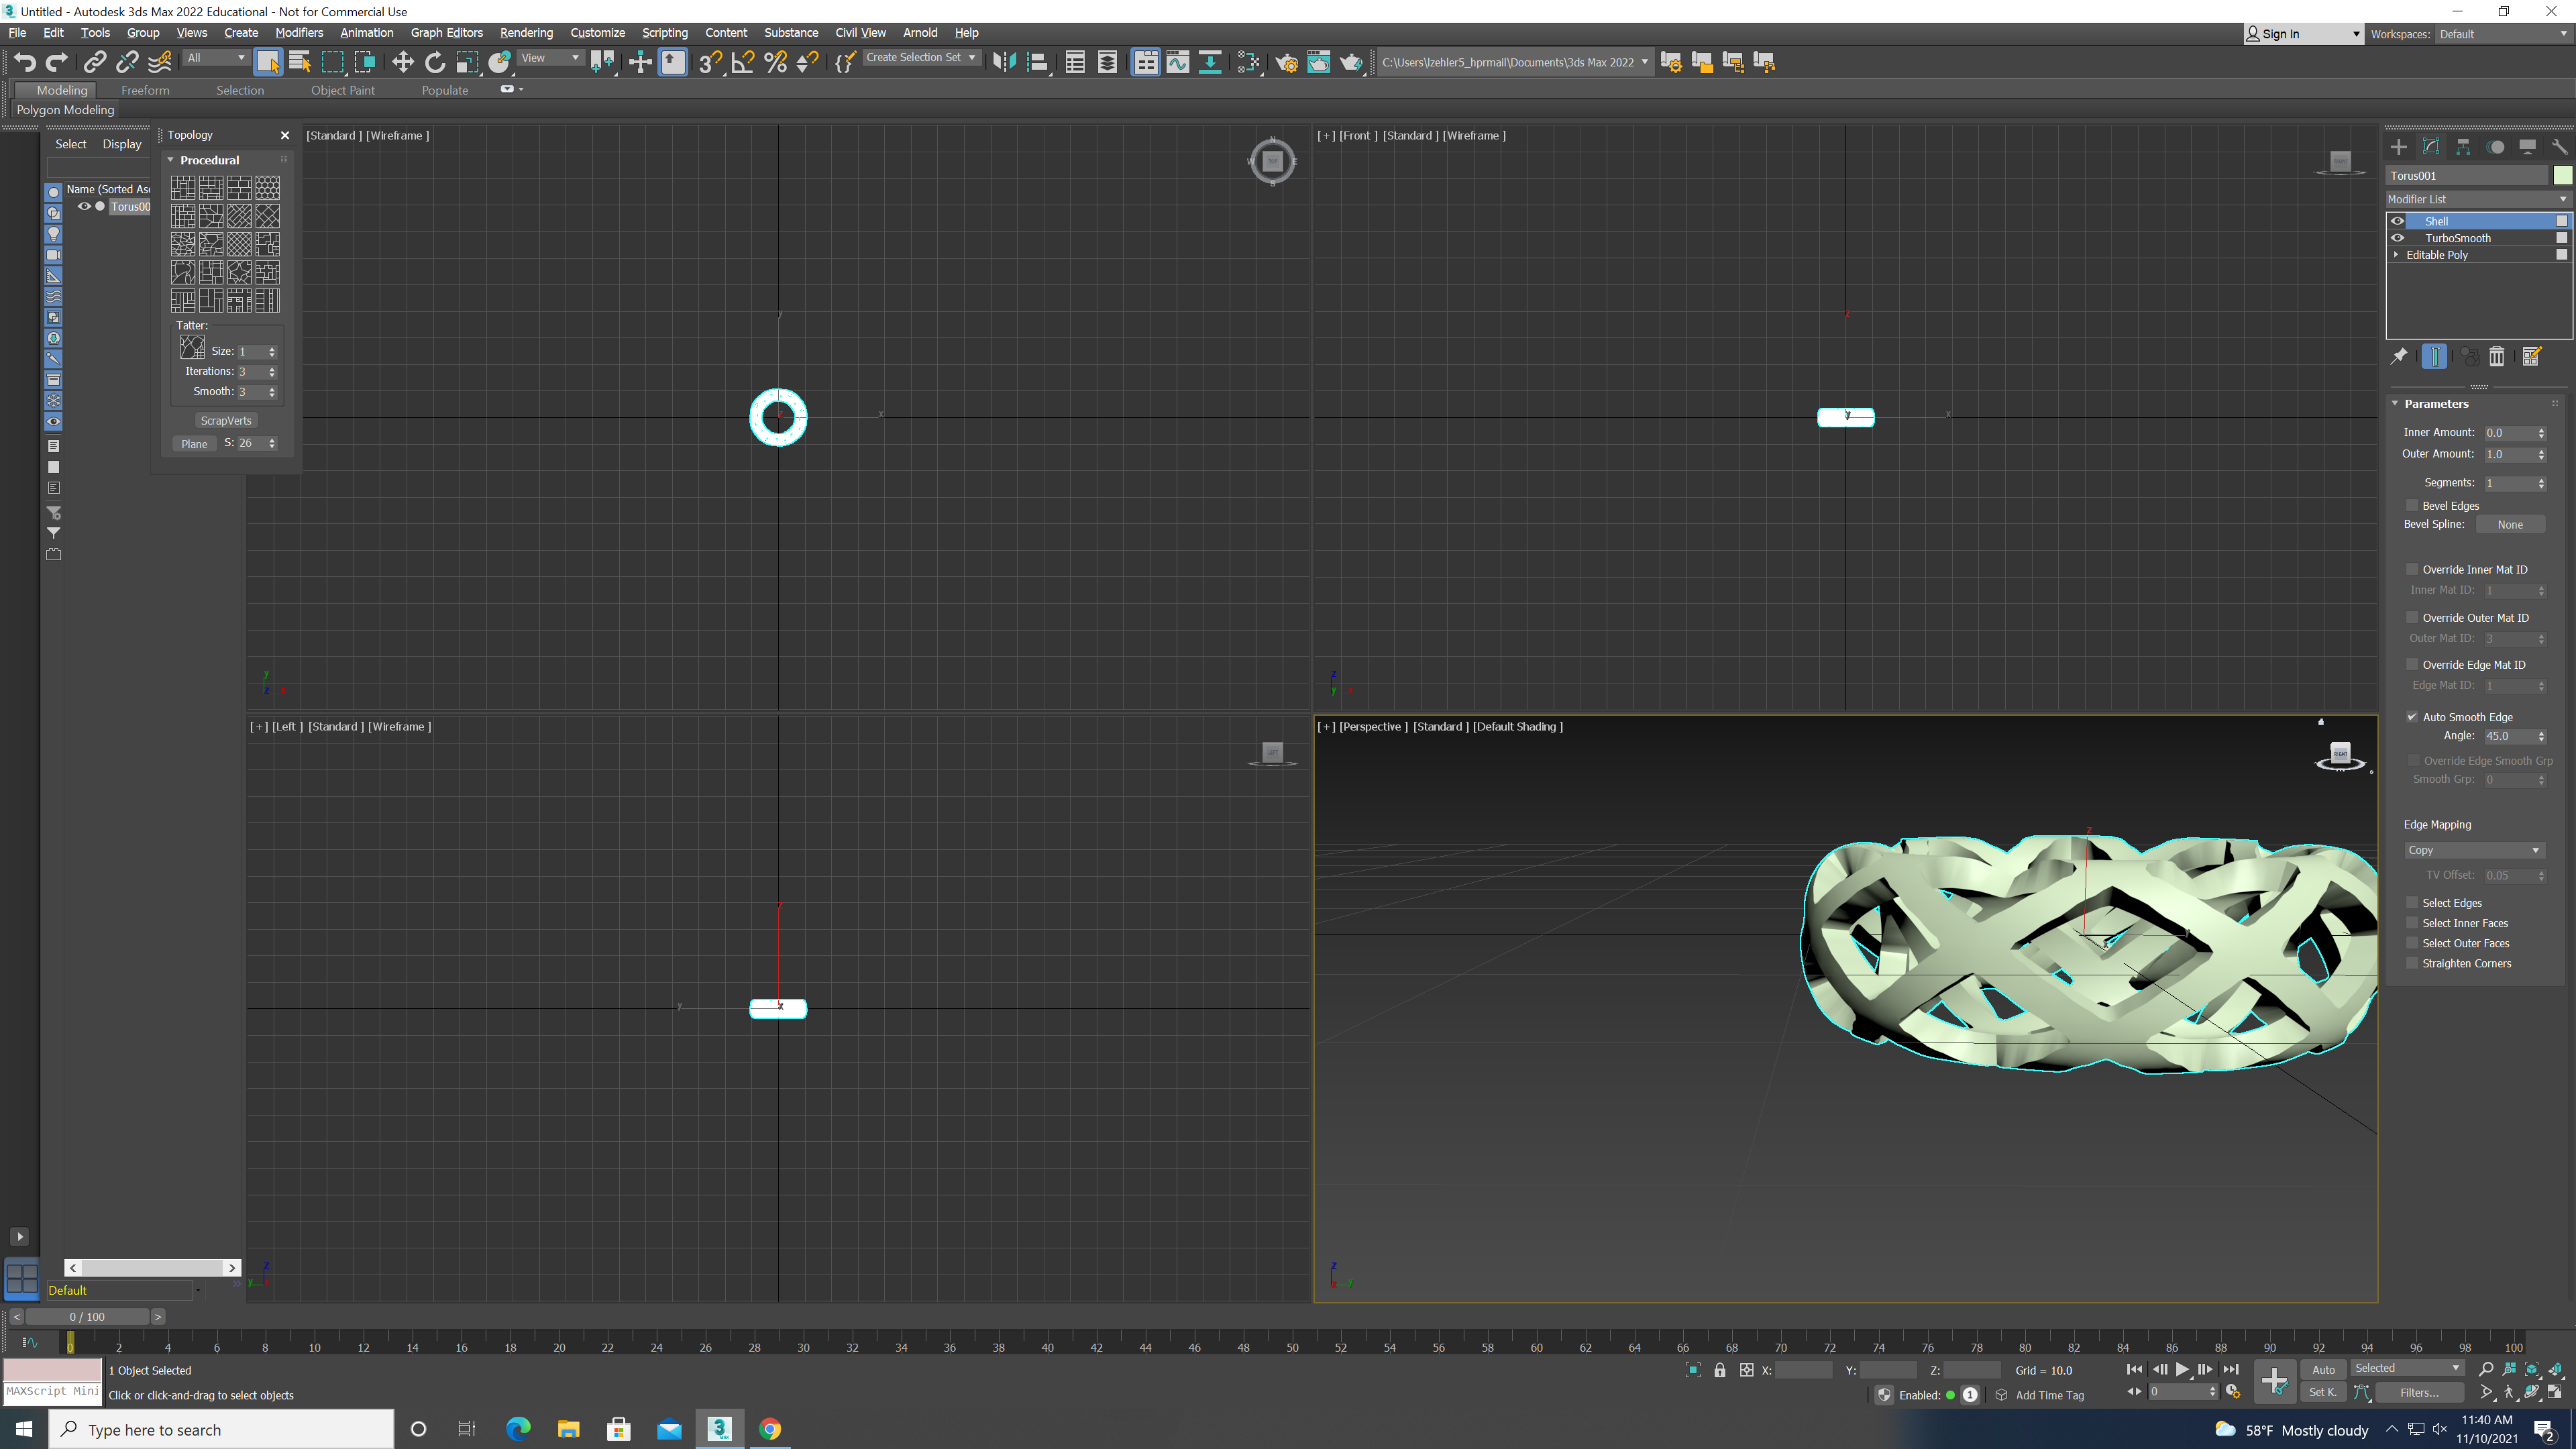
On the top right of your screen Click modifiers and use Turbosmooth and shell
.png)
After that is all finished transfer the file to whichever app you wish to use to 3d print your project