Spinning UFO
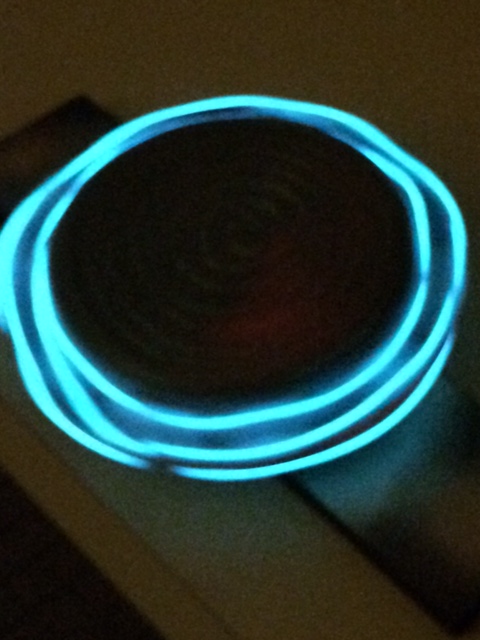
In this project, we will use a LittleBits motor, light wire and Arduino board to make a UFO spin and light up.
Total Build Time: 70 minutes
· UFO painting & construction: 25 minutes
· LittleBits motor & LED assembly: 20 minutes
· Arduino coding: 10 minutes
· Testing: 15 minutes
Gather All the Parts Needed for This Project.
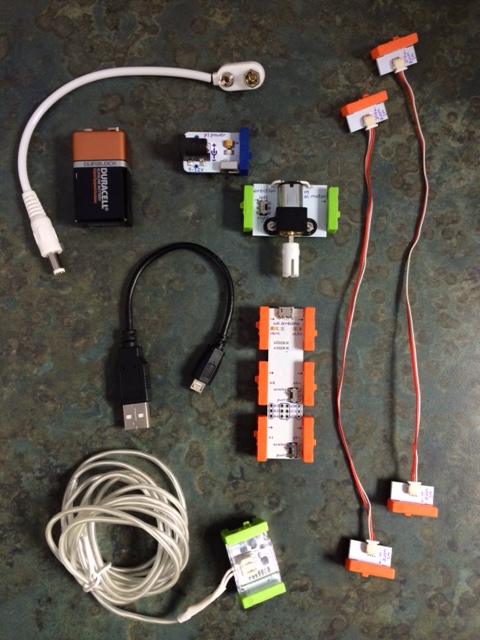
LittleBits:
· (1) 9v battery and connector cable
· (1) power supply
· (1) LittleBits Arduino board
· (1) DC motor
· (1) Light wire
· (2) connector wires
UFO Parts:
· (2) Paper plates
· Wooden plank (with hole cut for motorMate)
Tools:
· Drill and drill bits
· Glitter Glue
· Spray Paint
· Duct Tape
Build the Base.
Build the base.
Use the drill to cut a hole in the piece of wood to fit the motorMate portion of the DC motor.
Note: You can use any piece of wood that you’ve got lying around. You just need to have a solid base to secure the UFO to.
Cut Holes
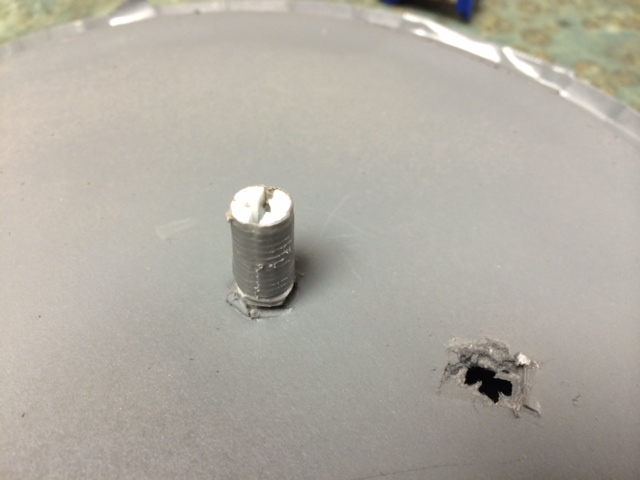
Cut one small hole in the center of one of the paper plate for the motorMate and another small hole near it for access to the power switch. (You can attach the power bit to the motor and place them on the plate to figure out where to cut the holes.)
Spray Paint
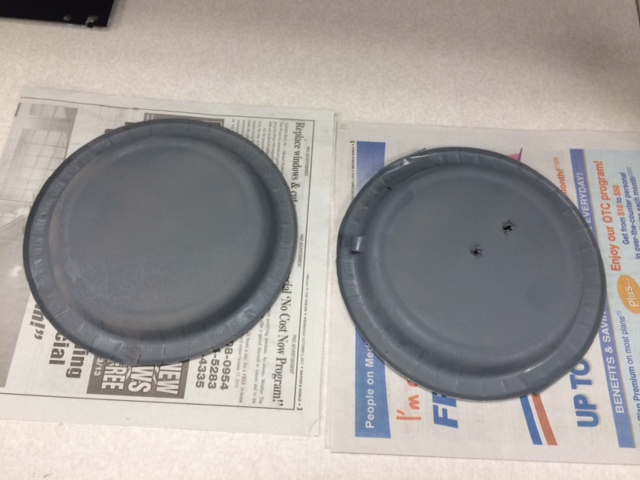
Go outside and spray paint the paper plates. We used a basic grey colored spray paint. (We only spray painted the outside of the paper plates, but would recommend spraying both sides.)
Stabilize
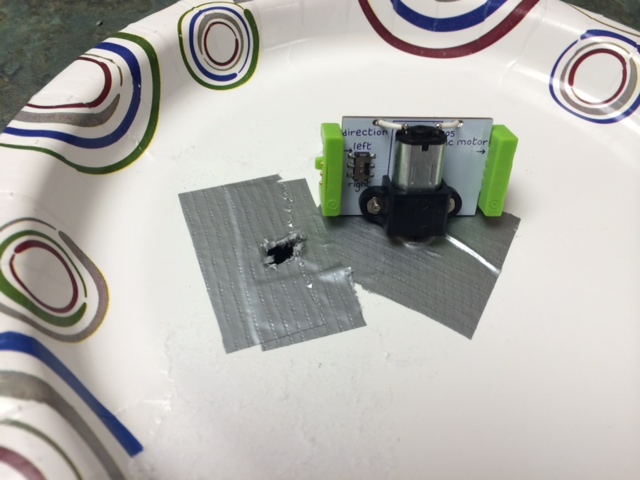
Use duct tape around the holes on the inside of the plate for stability.
Connect the Power
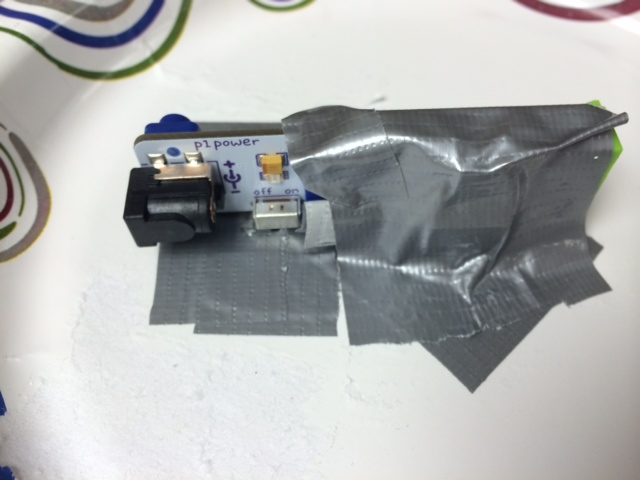
Connect the power to the DC motor and secure them to the plate with duct tape.
Upload Code to Arduino
Code the Arduino for the light wire. We are going to code the LittleBits Arduino board so that the light wire flashes. In the Arduino software, you’ll need to Leonardo as your board. Below is the sketch to create the blinking light:
/*
Blink
Turns on an LED on for one second, then off for one second, repeatedly.
This example code is in the public domain.
*/
int led = 1; // Define the pin the LED is plugged into
// the setup routine runs once when you press reset:
void setup() {
// initialize the digital pin as an output.
pinMode(led, OUTPUT);
}
// the loop routine runs over and over again forever:
void loop() {
digitalWrite(led, HIGH); // turn the LED on (HIGH is the voltage level)
delay(1000); // wait for a second
digitalWrite(led, LOW); // turn the LED off by making the voltage LOW
delay(1000); // wait for a second
}
Make sure your LittleBits power supply is turned on and connected to the Arduino. Upload your code.
Connect Arduino, Motor, and Light Wire
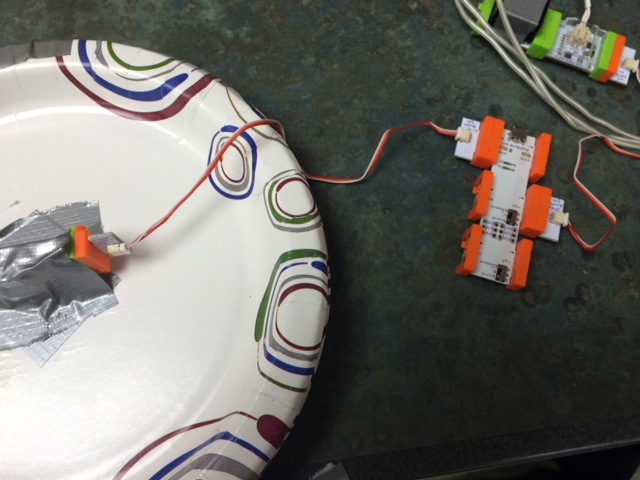
Connect the little bits Arduino board to the DC motor using one of the connectors. Use another connector to connect the Arduino board to the light wire.
Connect the Battery
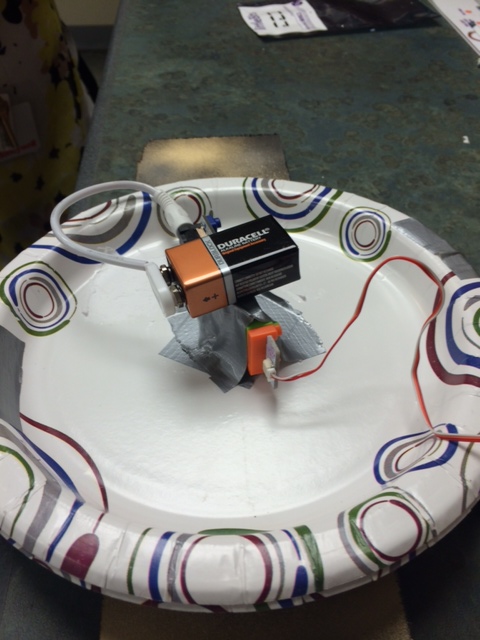
Connect the battery to the power and place the battery on top of the DC motor little bit. This is necessary to keep the weight balanced in the center of the plate.
Place the Arduino board, connectors and light wire on the plate, near the center. Keep in mind the weight distribution, as the plate will not spin correctly if the weight is off center.
Secure Little Bits
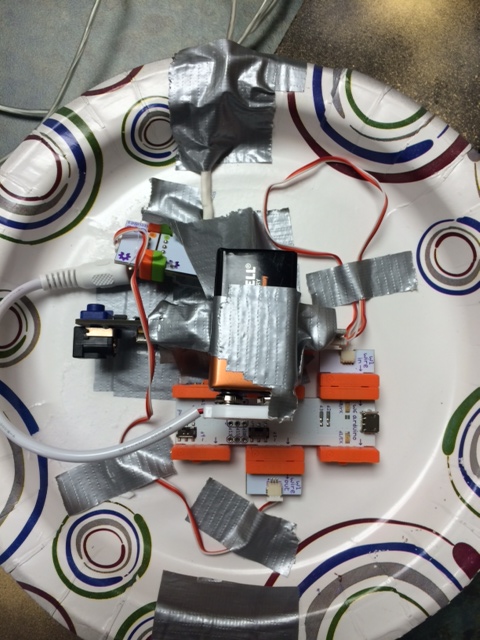
Secure all of the pieces to the plate with duct tape (Don’t worry, this is inside the UFO so no one will see it when you’re done.)
Assemble
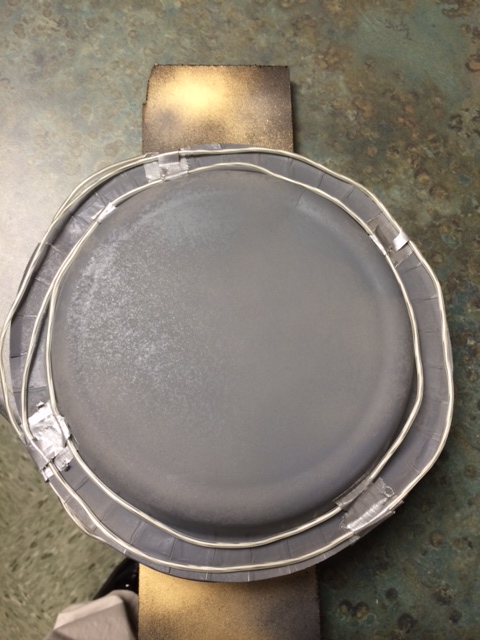
Put the other paper plate on top and secure with duct tape. Next, run the light wire around the exterior of the plate, securing it every few inches with duct tape. Put the MotorMate bit into the hole you drilled in the board.
Decorate the UFO
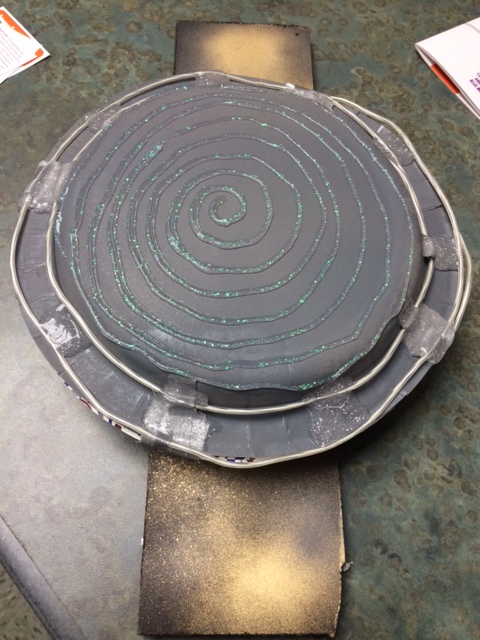
Decorate the UFO. We used glitter glue, but you are welcome to use anything you can think of to create cool designs!
Secure & Balance the UFO
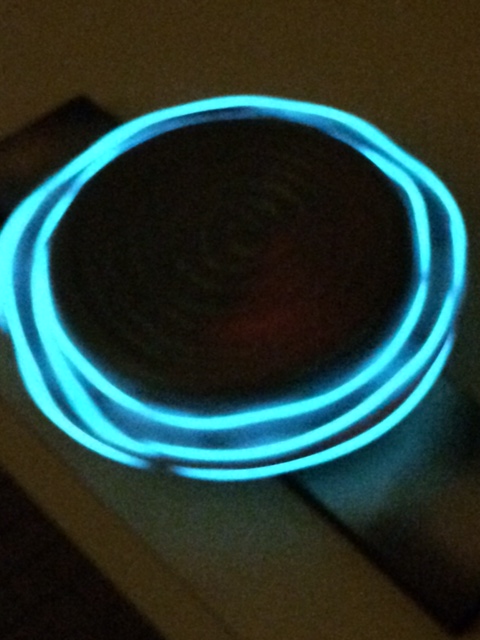
Make sure the UFO is secured to the board and balanced. Turn the power switch on underneath the UFO. You should have a spinning, blinking UFO powered by LittleBits and Arduino.
Note: If you want the light wire to blink differently, turn off power and tweak the Arduino code.
Created by Chris Brackett, Taynisha Berenguer, and Onika St. Louis