Spinning Top
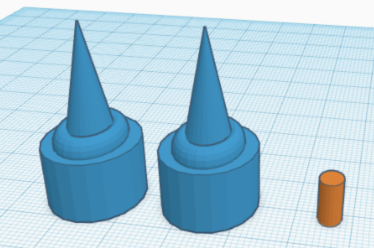
Thinking about toys that I played with when I was younger. I thought about the toy called Beyblade. I played with this toy a lot when I was younger. I decided to create a similar Beyblade on tinkercad. Tinkercad is an easy and simple software to use to create different things. This project can be done at any age as long as you know how to use a computer and the tinkercad software. When creating the Spinning Top I made it a bit different than a Beyblade to try and make the project more interesting and different. If you are looking to create a toy that you can spin I would recommend trying creating the spinning top.
Supplies
Computer/Charger
Internet
Tinkercad Softare
Create a New Sketch

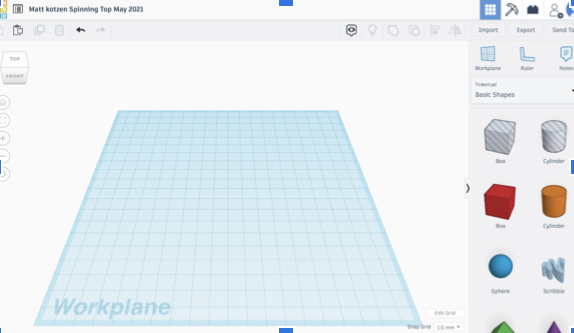
First, you should create a new design by clicking the big blue button. Then change the name of the design so you know what its called and you will stay better organized if you ever need to go back and find what you created.
Example: Name, Last Name, Date, Version
Start With Base by Adding Cylinder
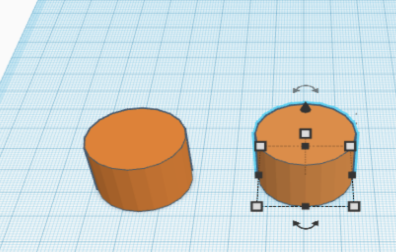
Second, you should add 2 cylinders to the workplace. An important thing to keep in mind. You want to make sure they are the same length and width or else this project will not work. An idea is to add 1 cylinder to workplace and make the size you want then copy and paste to make the second cylinder.
Add Another Cylinder
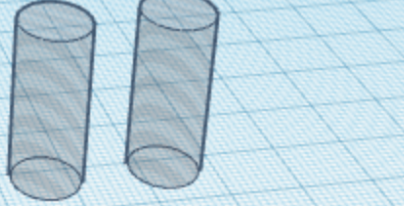
Third, you are going to add another cylinder to the workplace. For this cylinder you are going to want to make a lot skinner and taller because you are going to use these cylinders as a whole. I recommend only making 1 cylinder that skinny and tall then making it a hole then copying and pasting which gives you two small cylinders that is holes now.
Aligning Small and Big Cylinder
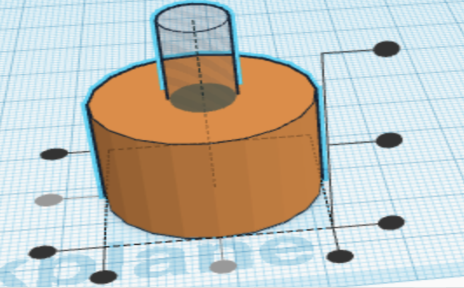
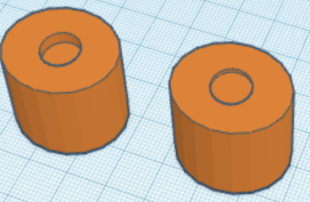
Fourth, you will take the small cylinder and align it with the big cylinder. Align both sides so they are in the middle and even. You should do this with both big and small cylinders.
Note: This hole will be used to attach both sides together so it's important they are the same size. In the second picture, you can see the cylinders combined together with a hole.
Adding the Torus to Cylinder and Aligning
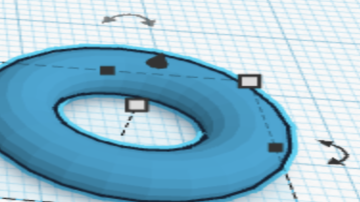
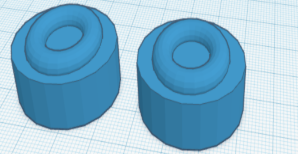
Step 5, add two torus to the workplace. Make sure they are both the same size because you are going to align them. After the torus is the same size they need to be aligned. When aligning make sure both sizes are placed in the middle on top of the torus.
Adding Cone to Cylinder and Torus and Aligning
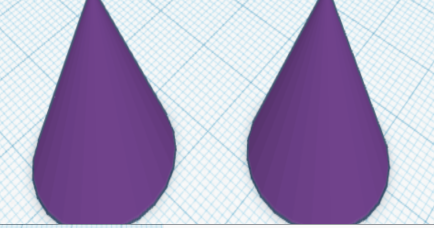
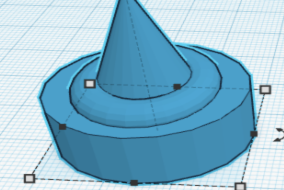
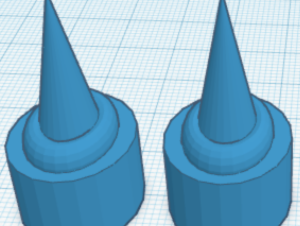
Step 6, add two cones to the work plane but make sure they are the same size. Then click the align button and put a cone on top of the cylinder and Tours. See pictures for how it should look. The cone should be pointy so you can give it a good spin.
One More Cylinder
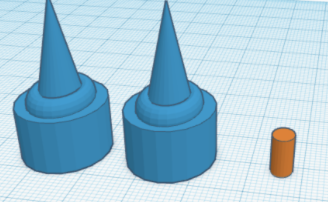
Step 7, create 1 more cylinder. This cylinder will be used to keep the spinning tops together. You want to keep in mind that it should be the same size as when you made the whole in the cylinders at the beginning of the project. There are two ways to do this part keep the cylinder separate or attach the cylinder and make 1 piece. I choose the first option. Please see the picture to see how the cylinder should be.