Spider-Man Wall Art - Limited Tools
by danthemakerman in Craft > Art
5661 Views, 77 Favorites, 0 Comments
Spider-Man Wall Art - Limited Tools

I made this Spiderman wall art for my son’s 6th birthday. It not only was one of his presents but we also used it to play a Spiderman version of pin the tail on the donkey. In this case the spider emblem was the target. I would like to thank my brother who is an amazing artist and helped me out by adding some of the black details in the original drawing. If you like comic book art check out his deviant art page here: http://jmqrz.deviantart.com/ he is self taught and one of the best in my opinion. I would also like to thank my buddy Peter, who hooked me up with a bunch of particle board sheets, one of which I used in this project. Here is the link to video if you'd like to see the process:

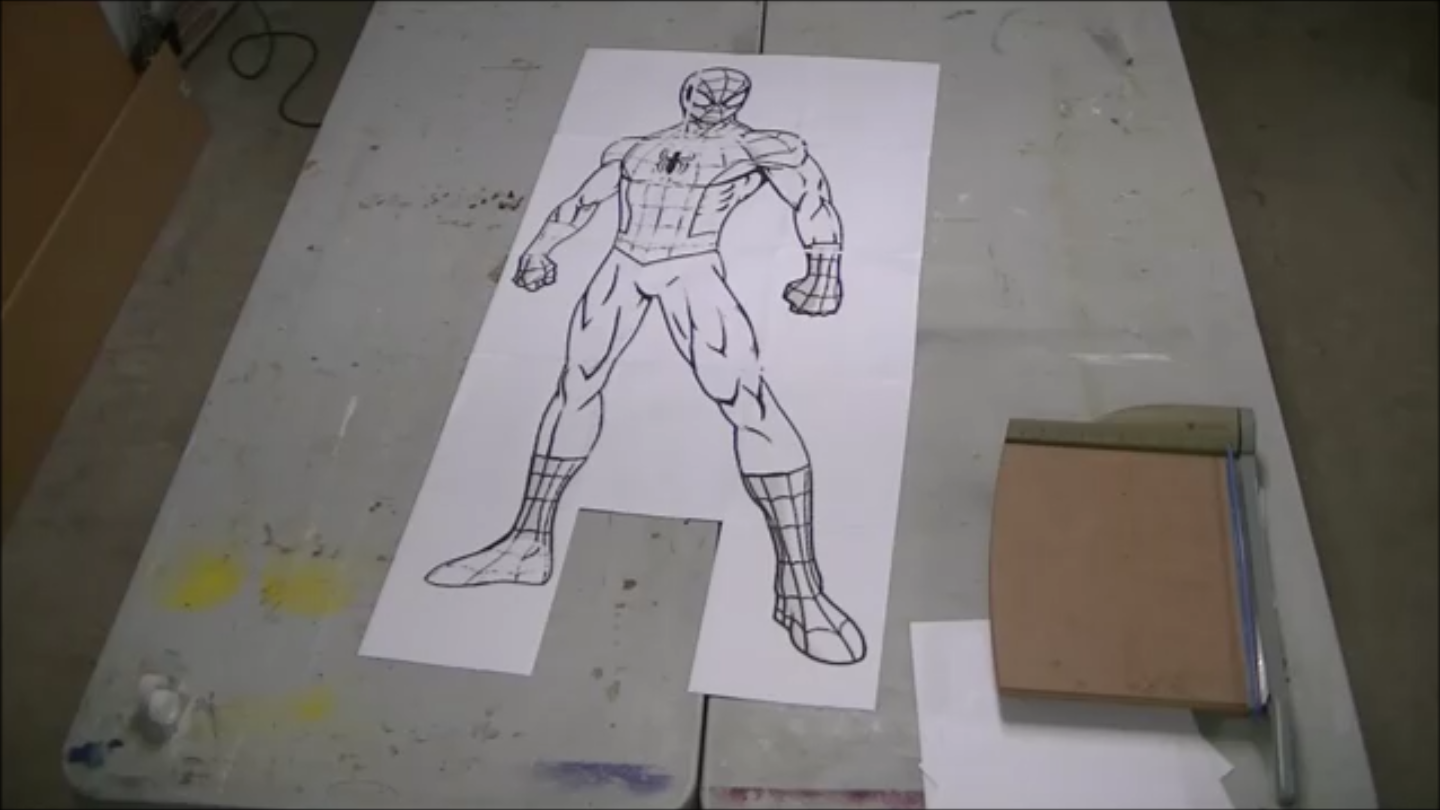
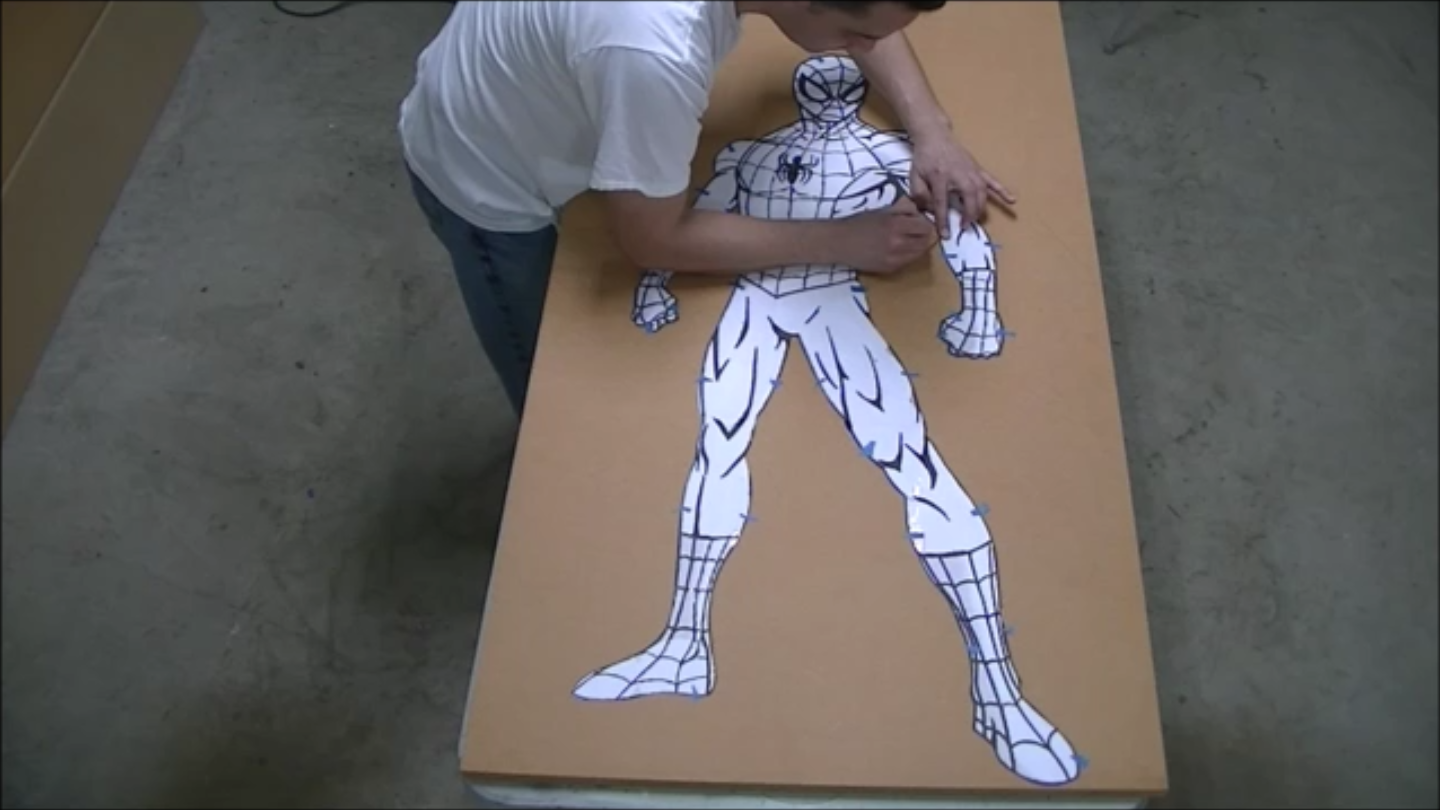
Here I am taping together the large print out which will be my template. I used a light box to make it a little easier to line up the pages but it isn't necessary I've done this before with out a light box.
I printed this out from MS Paint. When printing from the "Paint" program there is an option to print the piece on multiple pages (File>Print>Page Setup> Fit to:.) which will automatically enlarge the picture. You just have to choose how many pages you want the piece to print on as in fit to 2x2 or 3x3 or 4x4, etc., so a 4x4 print will yield 16 pages you have to tape together.
There is also a little math involved when you are trying to figure out the size of the final piece before you print it on multiple sheets. If the original image is 5 inches wide and you print it 4x4 or 16 sheets then your final enlarged print will measure 20 inches across. Were as a 5 inch wide image you print on a 2x2 or 4 sheets will measure 10 inches across
You can also increase the size of your image in MS Paint. First you want to go to the "View" tab and check the rulers box. This will let you see how big your image is and will give you an idea of how big you want to make the final image. Then you go to the "Home" tab and resize the image. You can increase the size here by entering a number greater than 100% in the horizontal and vertical boxes. This does take a little trial and error sometimes to figure out how big you can go. The rulers will help you see what size the image is after you enlarge it. I usually try to make the image as big as possible on a 8.5x11 inch file in MS Paint since that is what I will be printing out on. The more space you take up on the 8.5x11 sheet of paper the more efficient your printing will be.
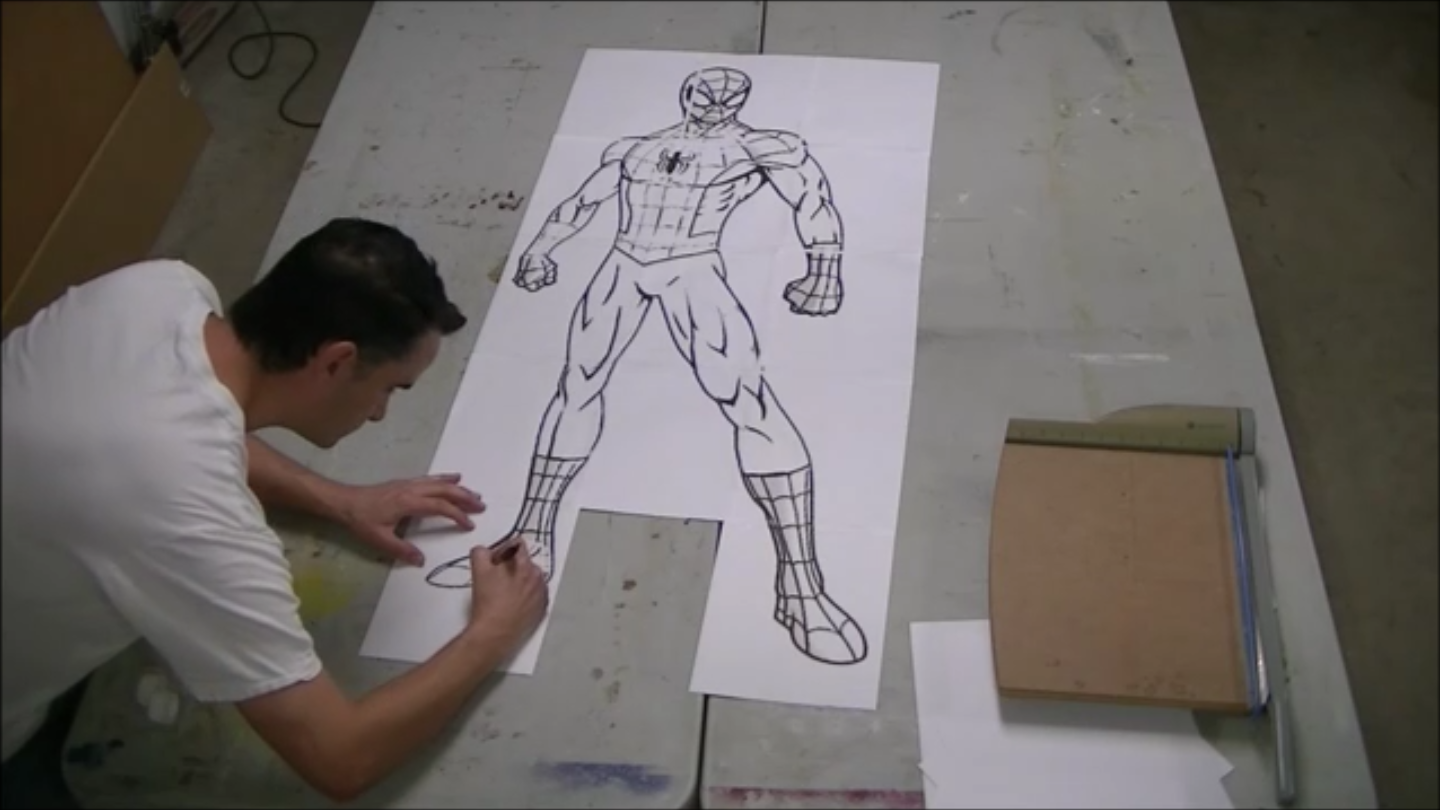
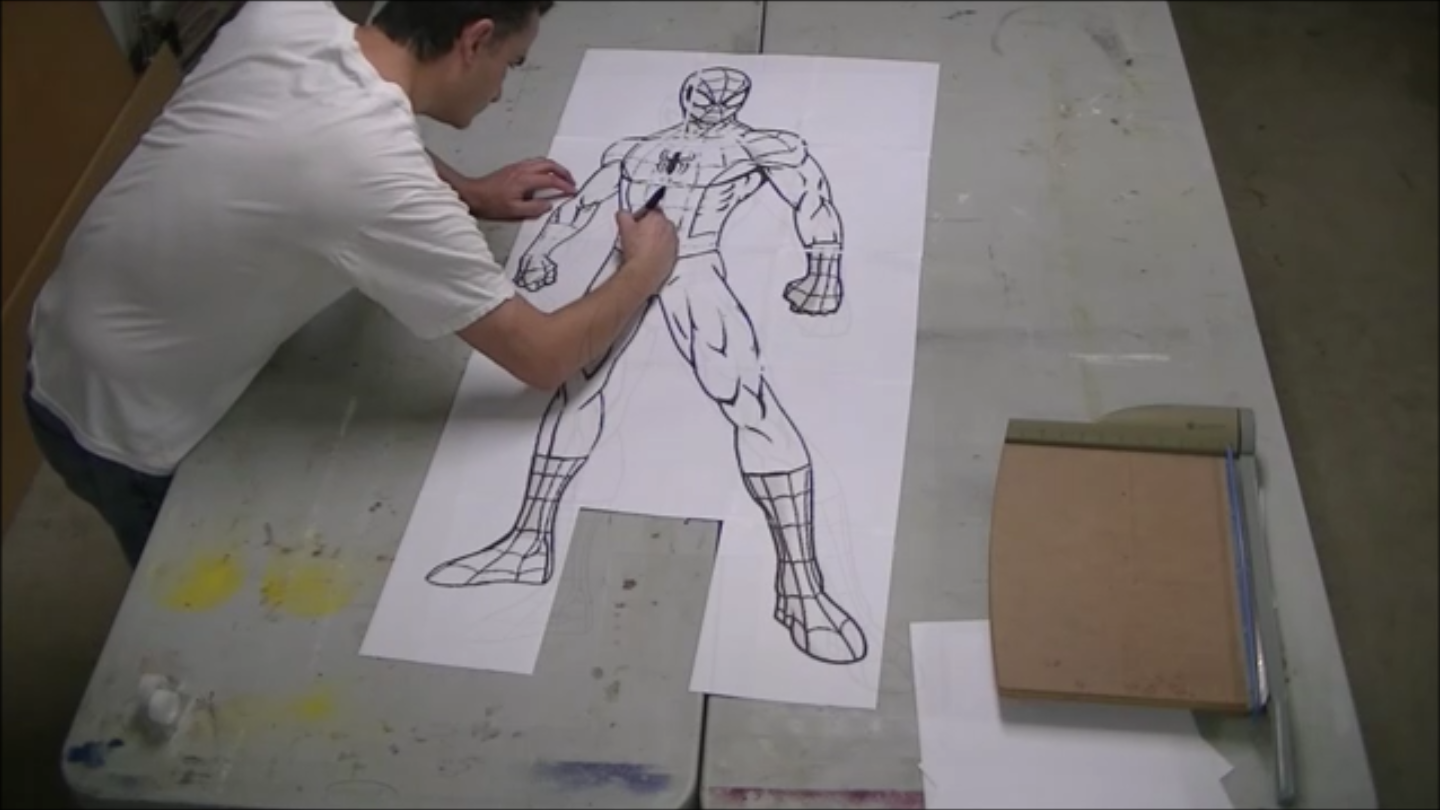
In this step I am defining the black lines with a Sharpie marker since when you enlarge the image you get some pixilation. Defining the black lines here helps in a later step.
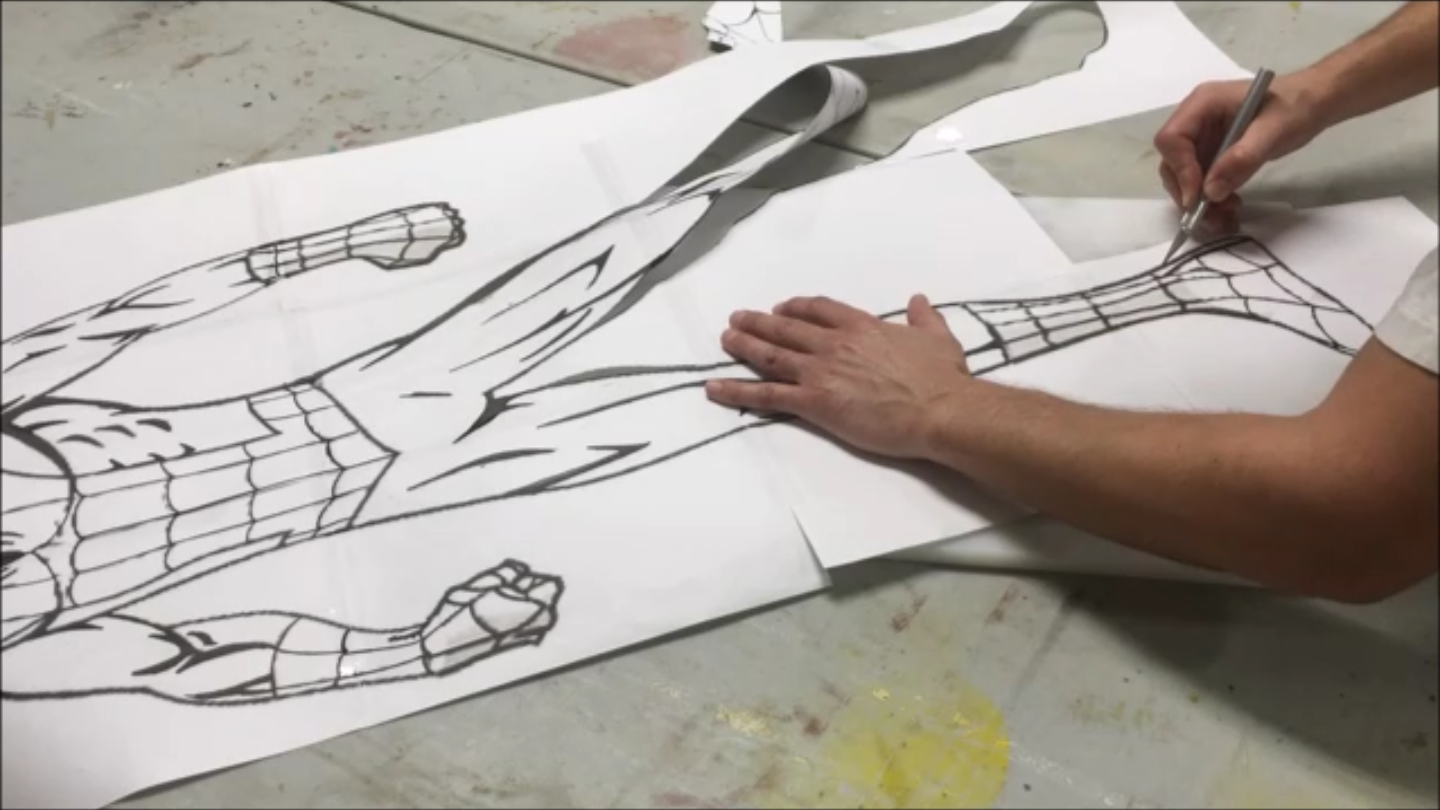
Cut out the template using an Exacto knife or other very sharp razor. I use a cutting board as a backer to cut the template on so I don't ruin my work surface.
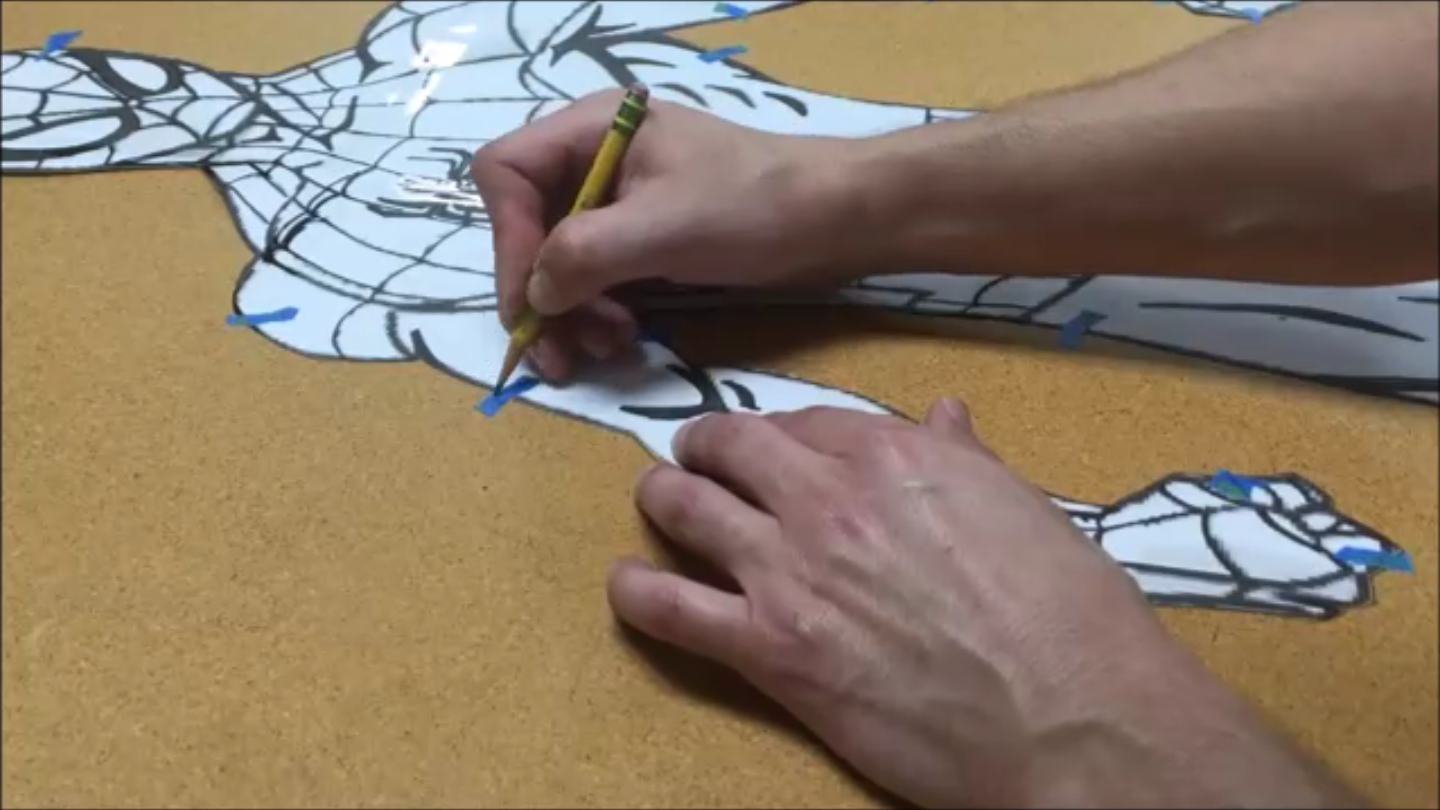
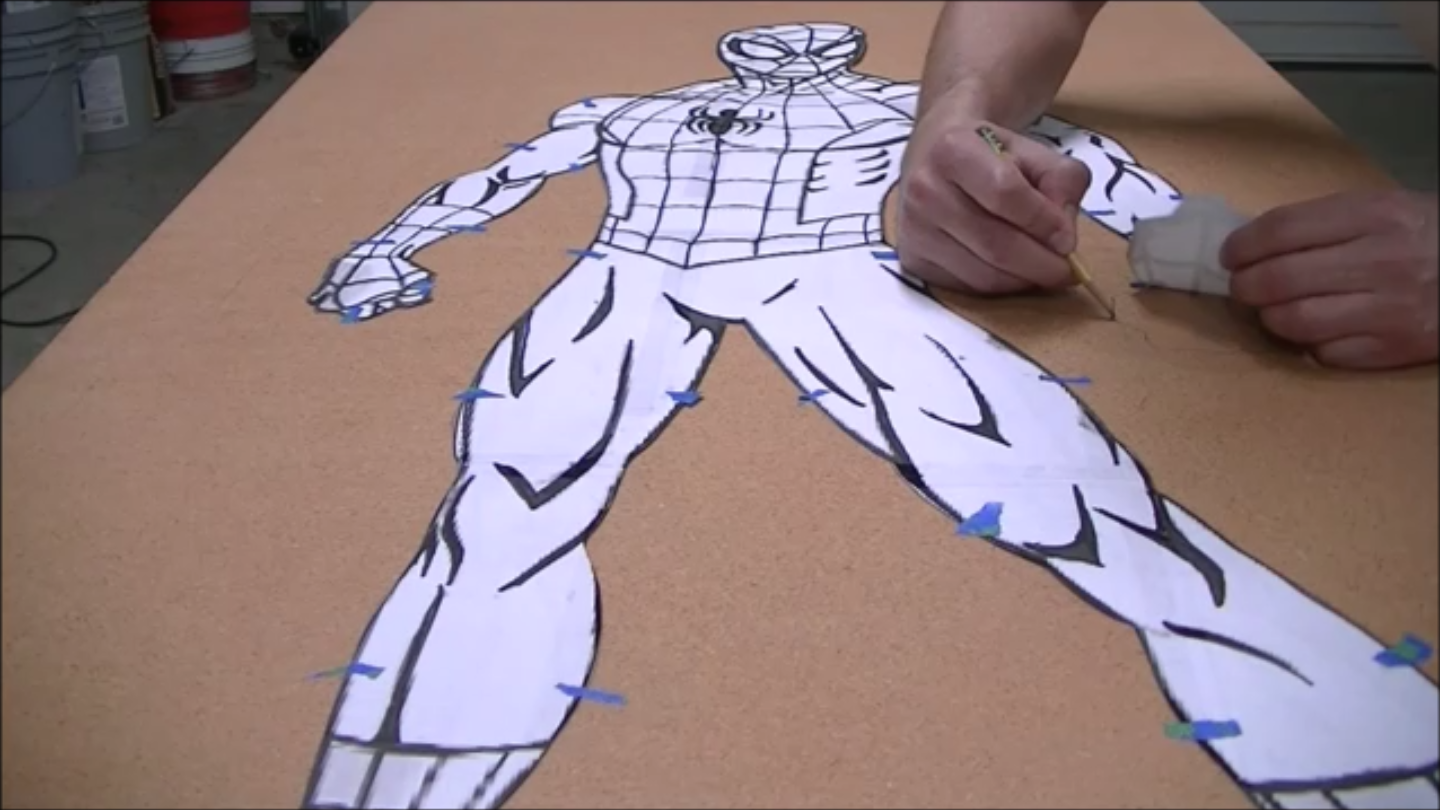
Once I finish cutting out the template I take small strips of blue masking tape and attach the template to a piece of particle board or you could use MDF for this as well. The tape is there to hold the template in place while I trace around it with a pencil. Once I finish tracing I remove the template and fill in any gaps that were left due to the tape blocking the pencil.
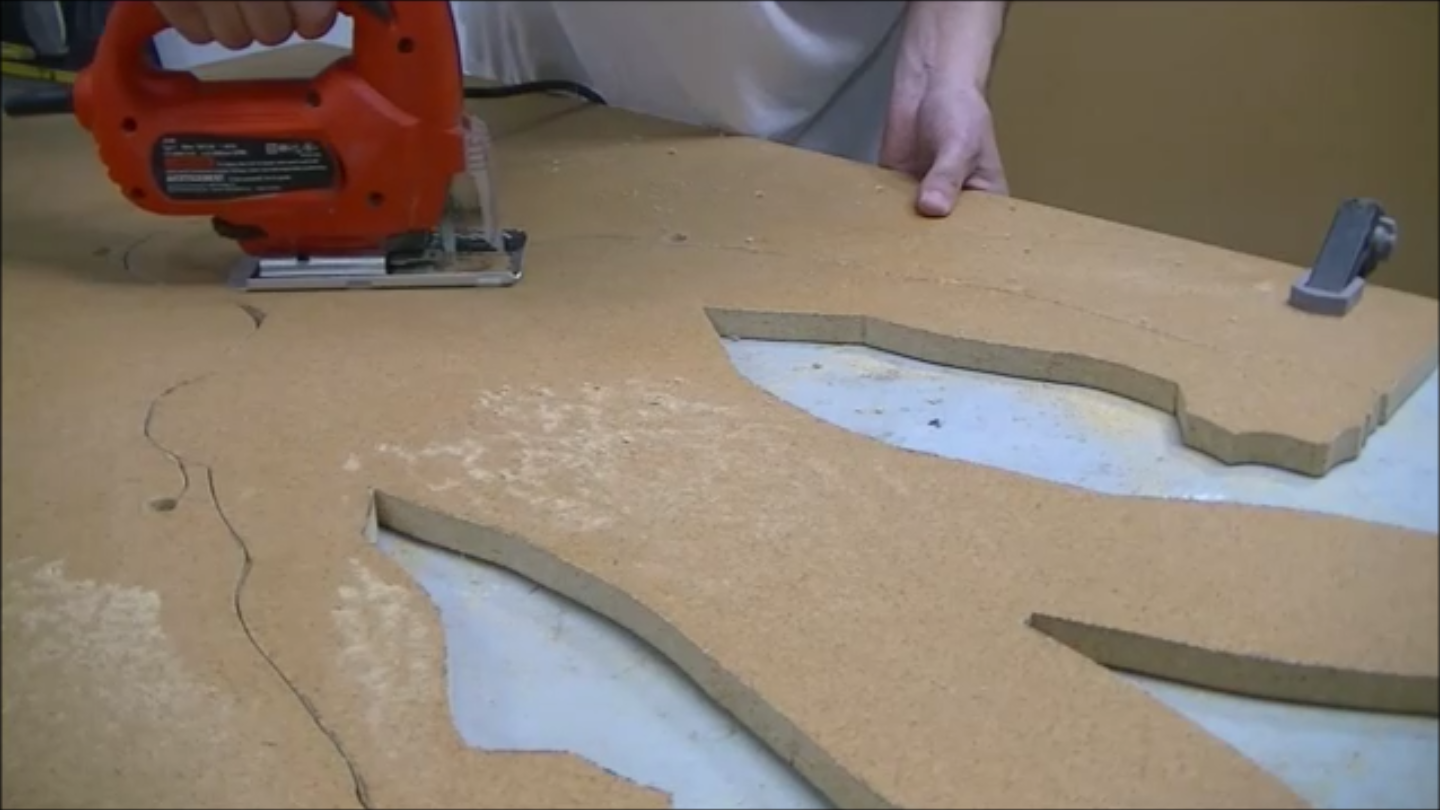
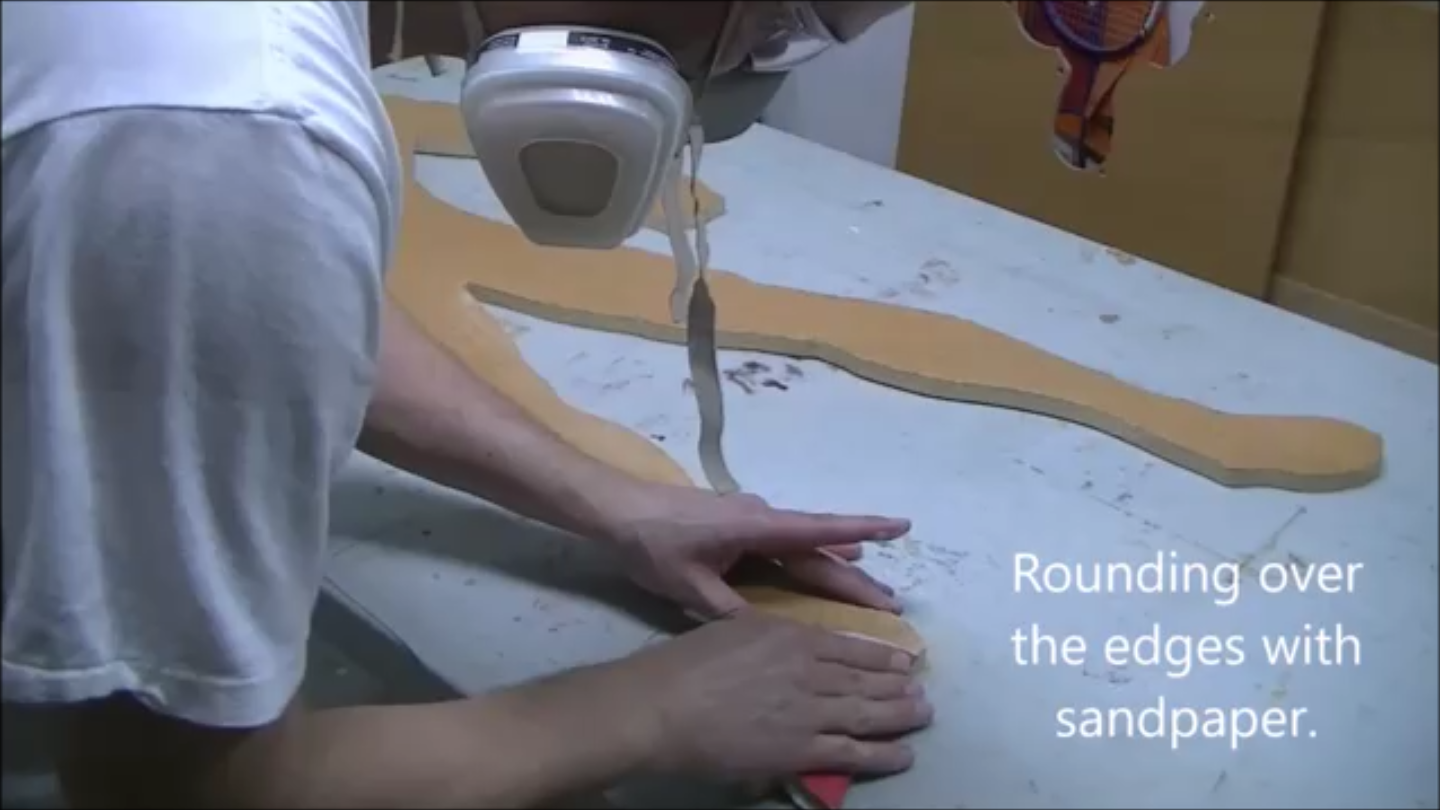
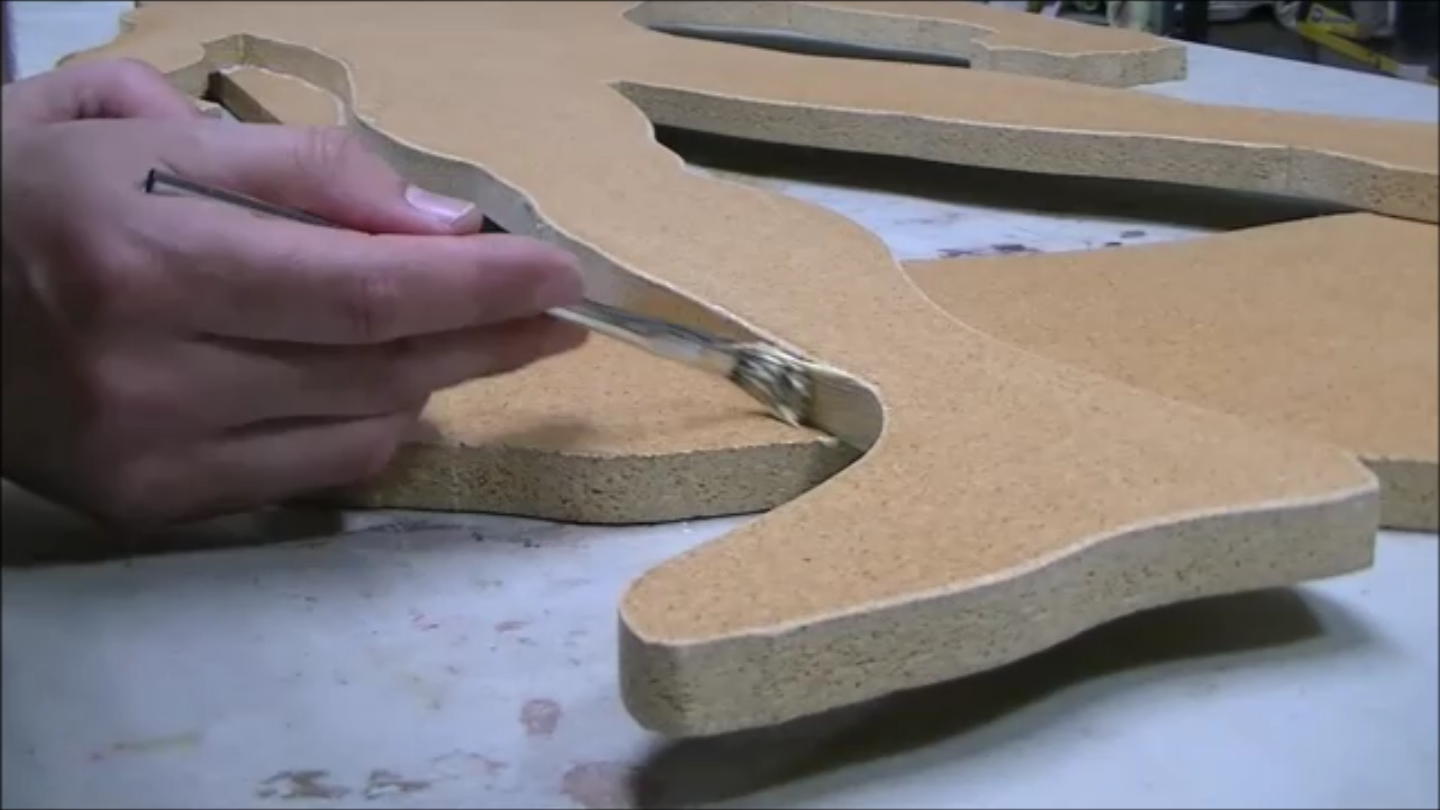
Now you are ready to cut out the template. I use a jigsaw to cut out the shape, make sure to secure the particle board with clamps as you cut out the silhouette. I then rounded over all the edges with some sandpaper by hand this is just to knock down the edges. Then I seal the edge using a paint brush and wood glue, this will help the paint adhere to the edge better. If you don't seal the edge, when you paint it it will continue to absorb the spray paint.
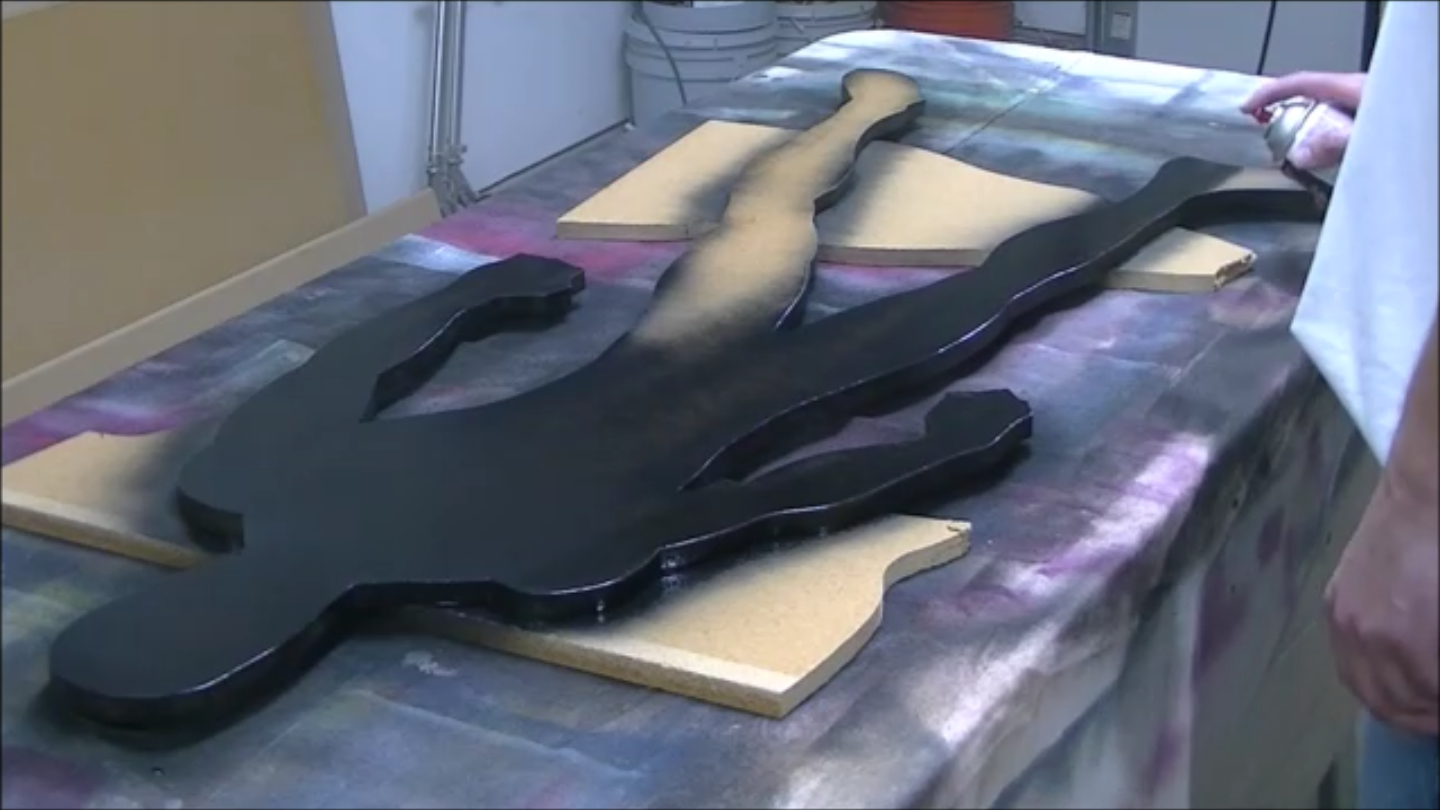
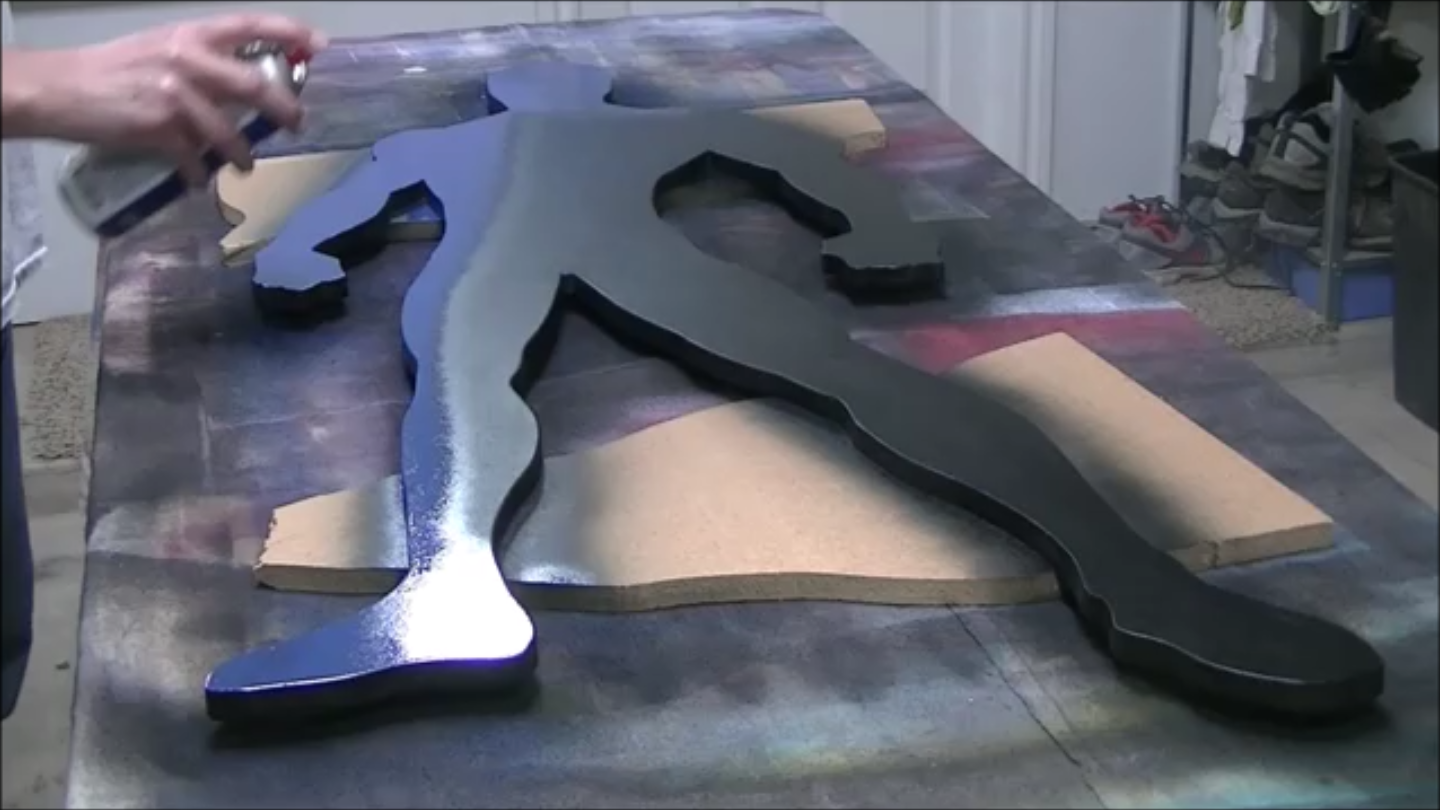
Next comes paint, first the primer I used black spray paint primer for this part. Then I spray the whole silhouette blue.
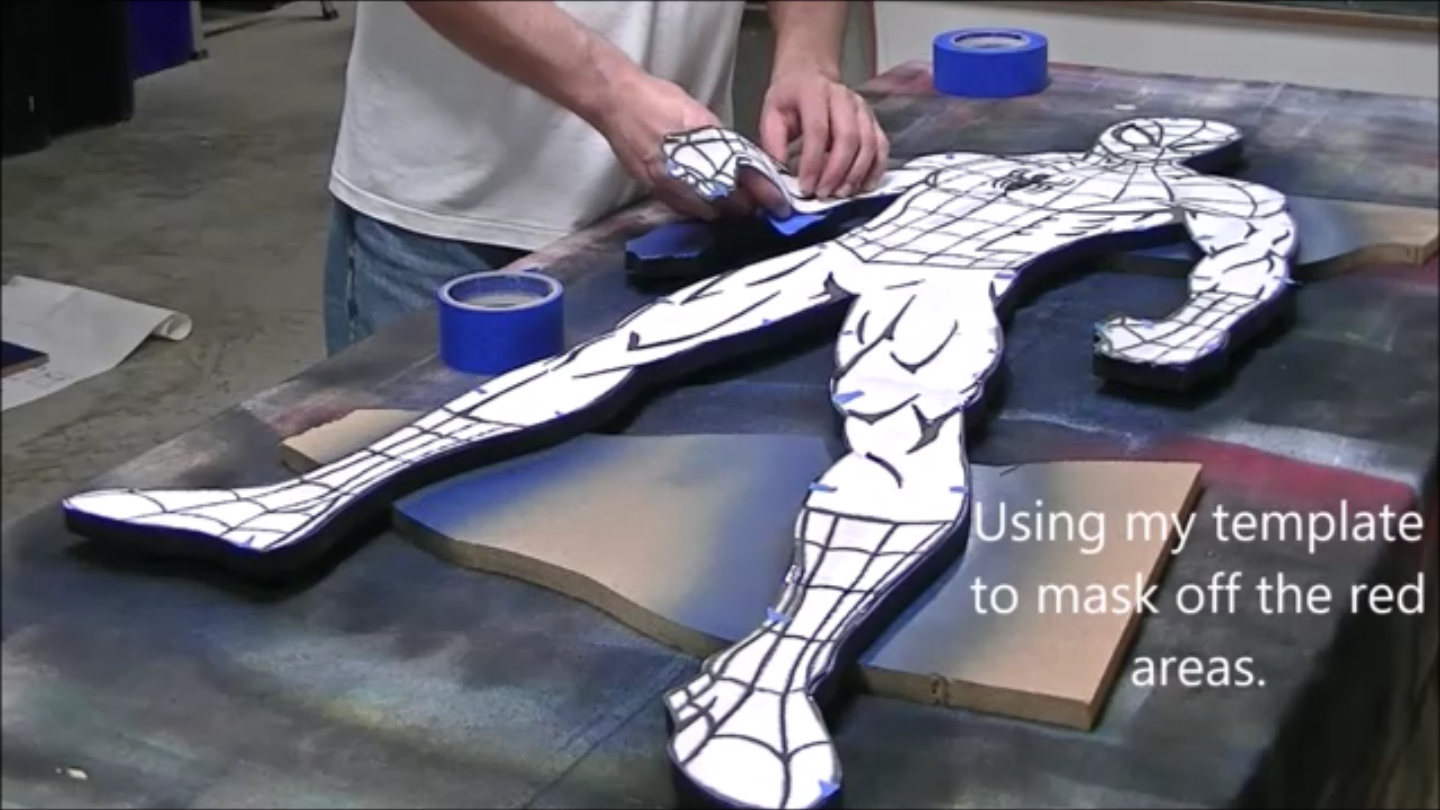
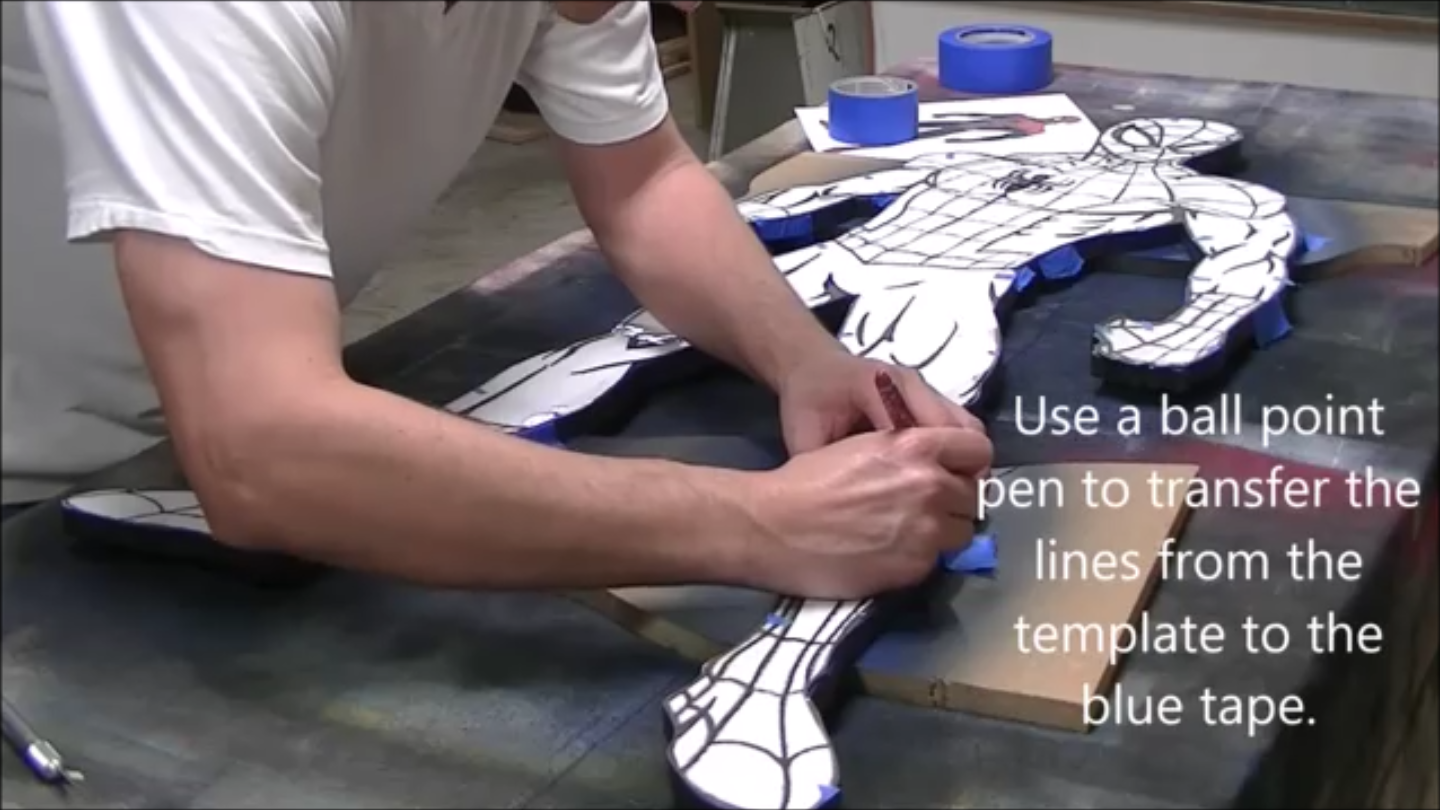
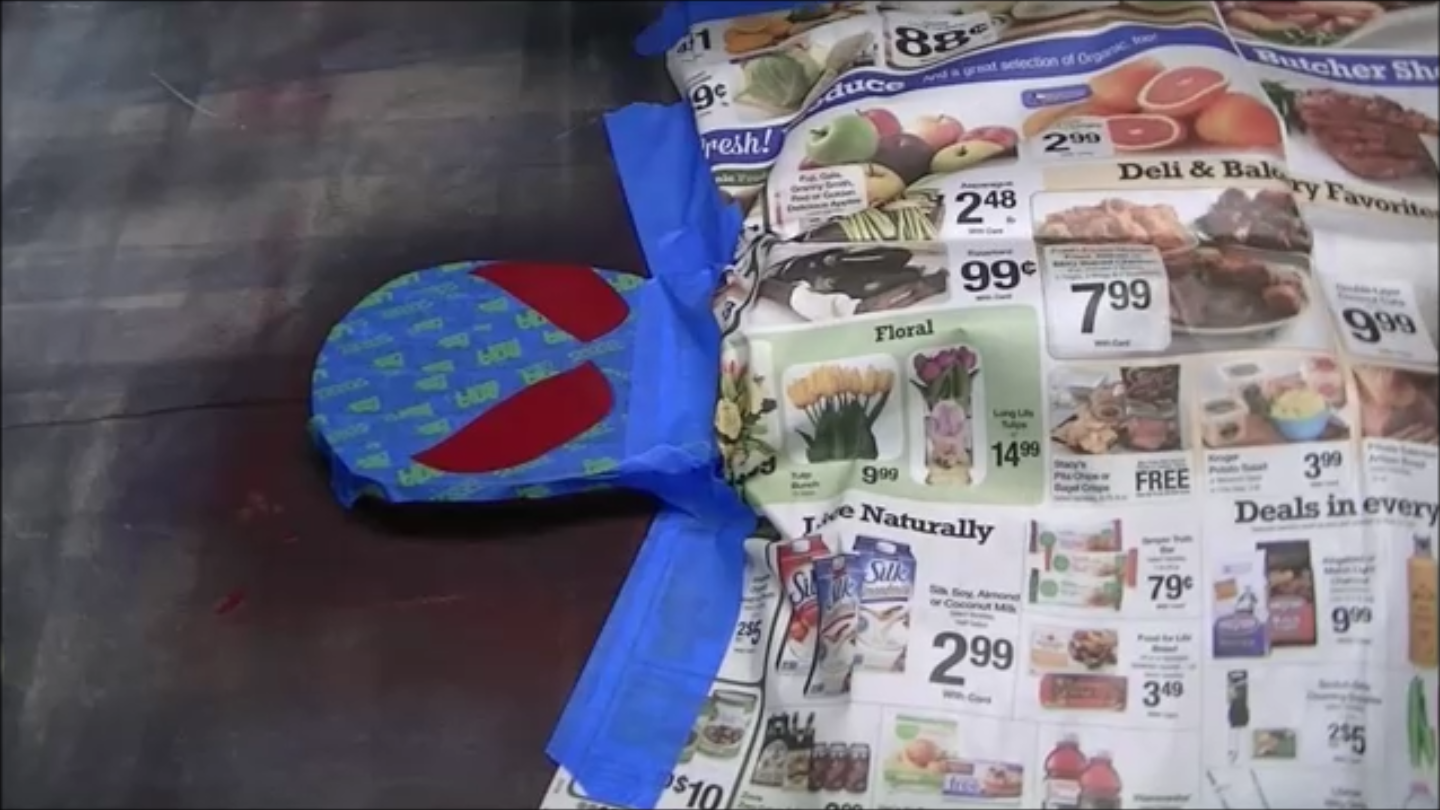
Once the paint is dry I start the process of masking off the parts that will be red. I place blue tape where ever there is a transition of color from blue to red. Then I use a ball point pen to trace over those transition lines. I use firm steady pressure to trace the transition lines.
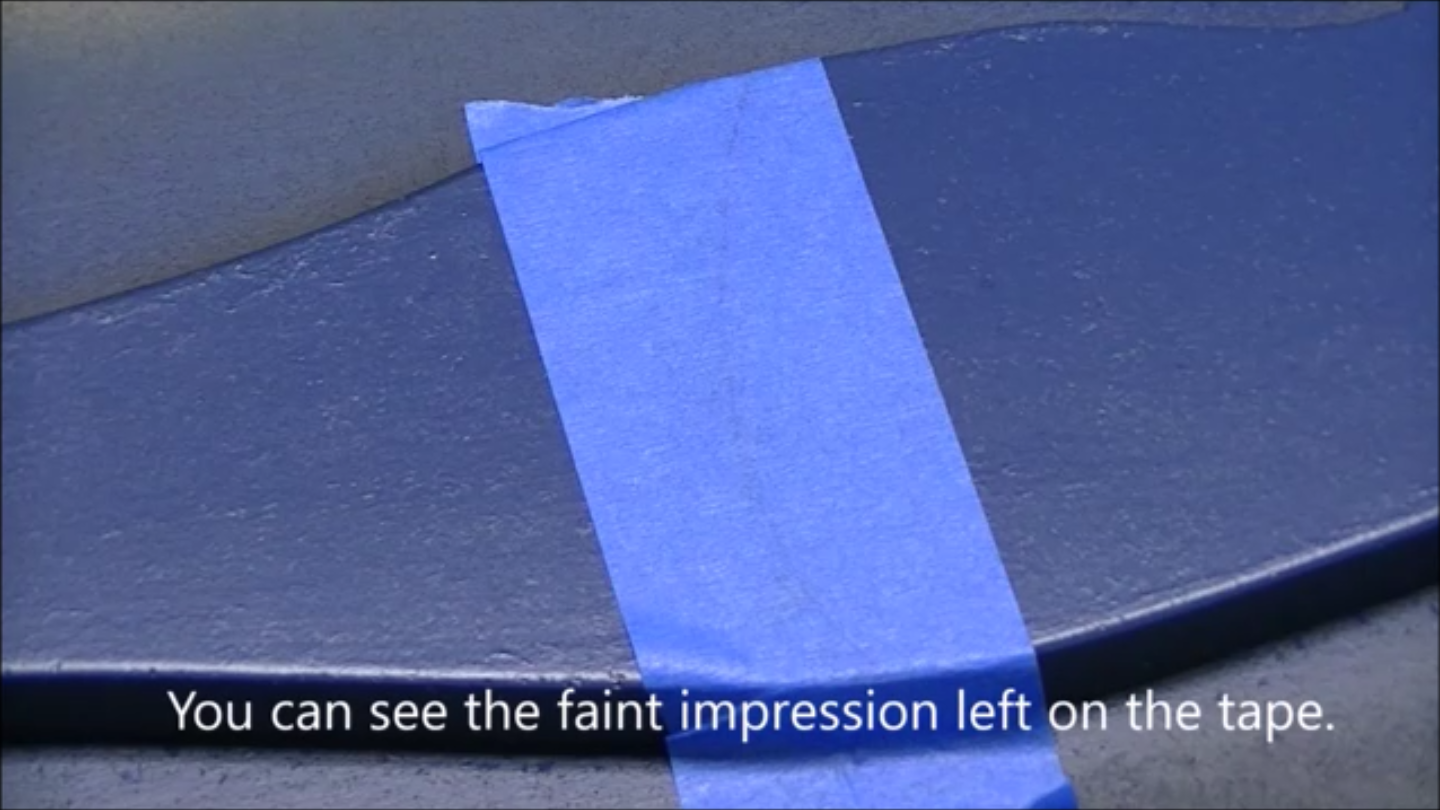
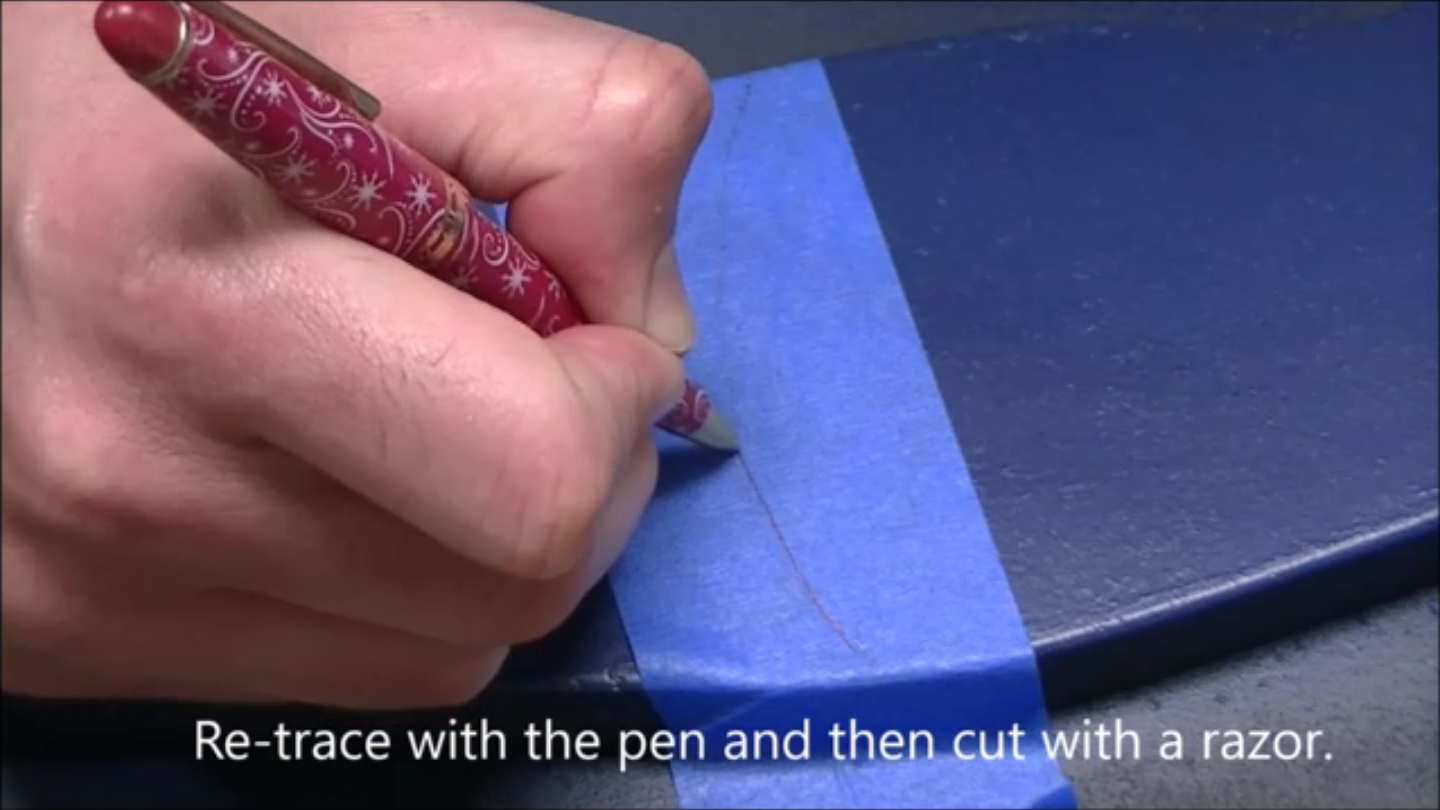
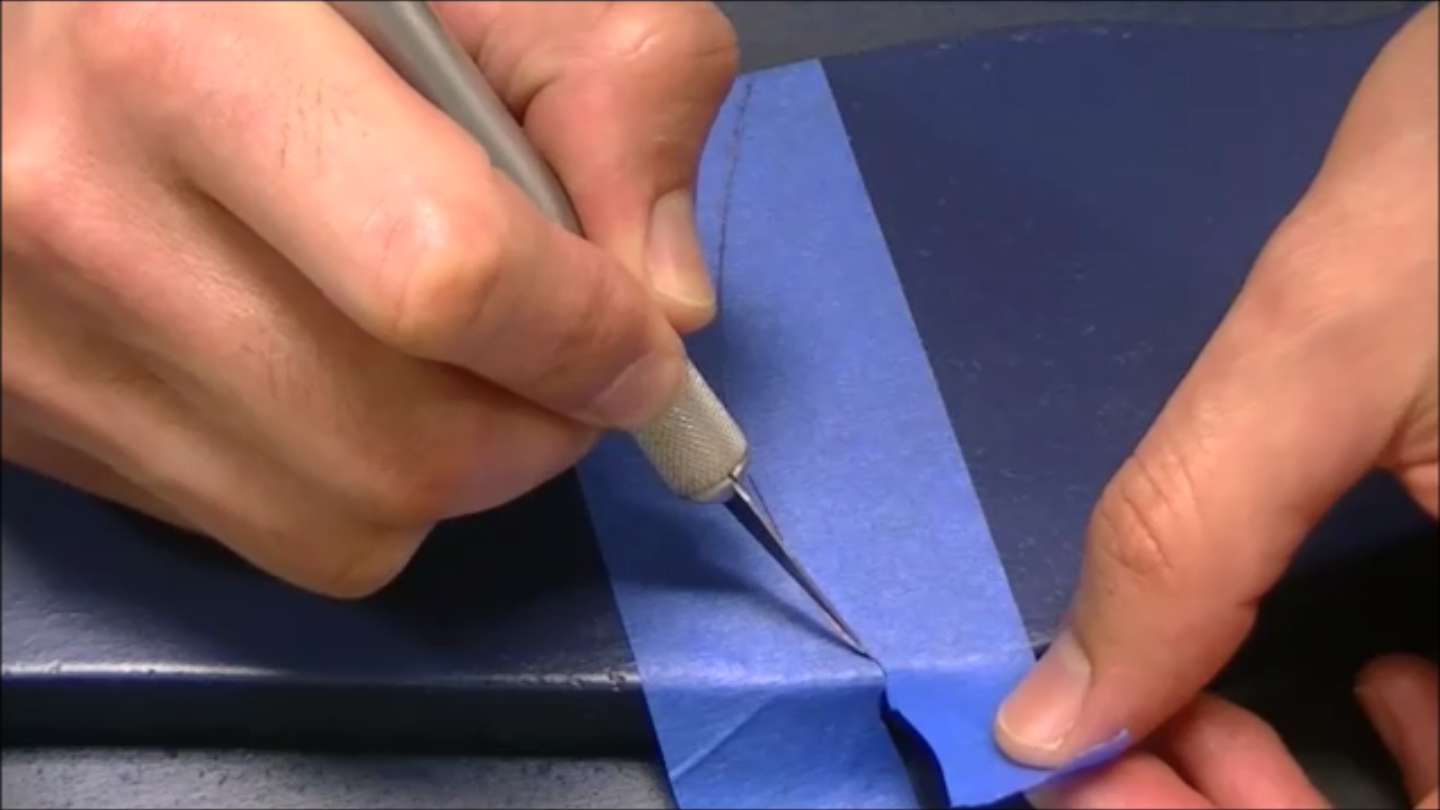

Tracing the template leaves an impression on the blue tape that you can then trace with a pen. Then you can cut it with your Exacto knife and pull the tape off. This is how you make the perfect transition lines in order to mask off the areas you don't want to paint red. When cutting with the knife you don't need to press too hard to cut through the tape you just need to apply slight pressure.
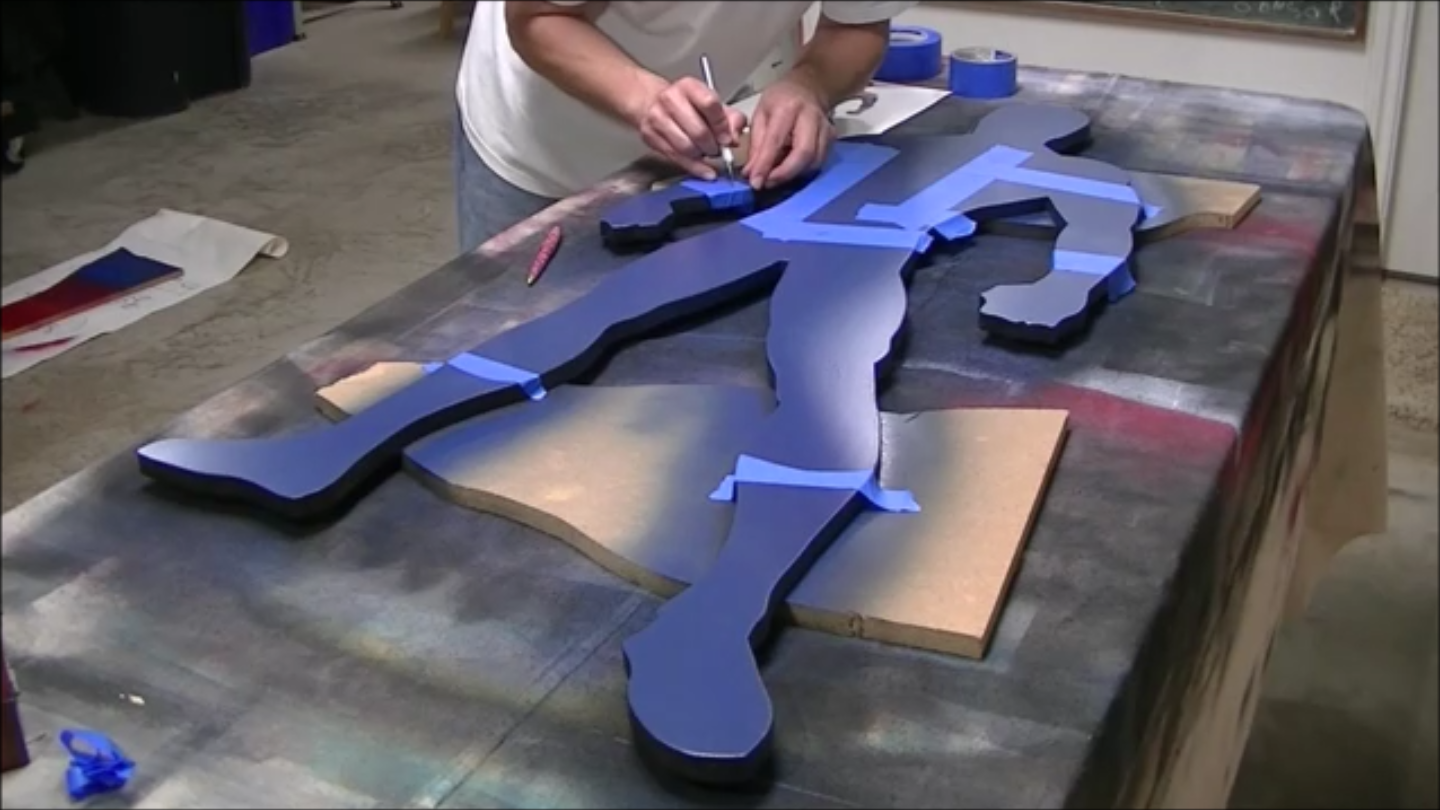
You re-trace the blue tape with a ball point pen and then cut all the lines to define your transition lines for masking off the blue areas.
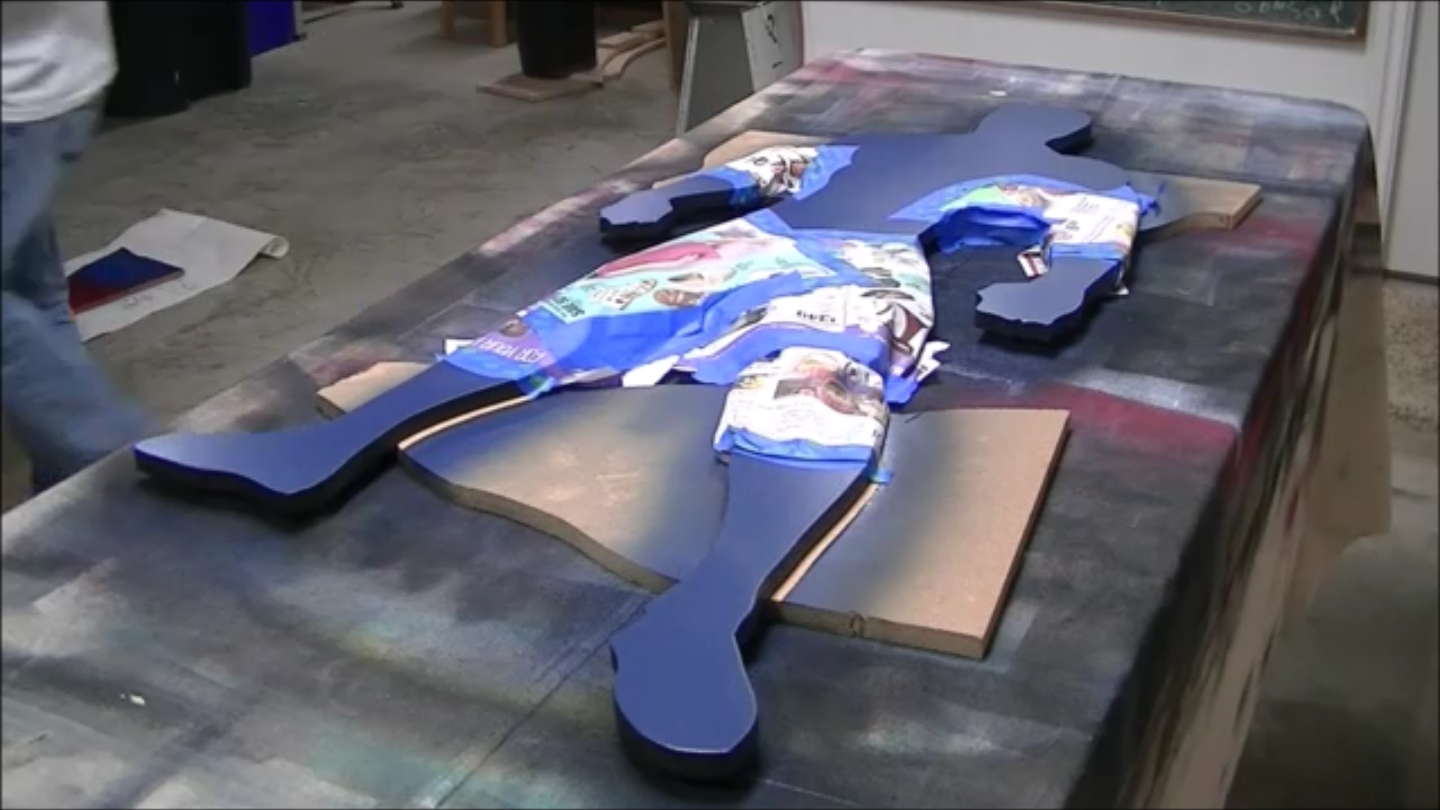
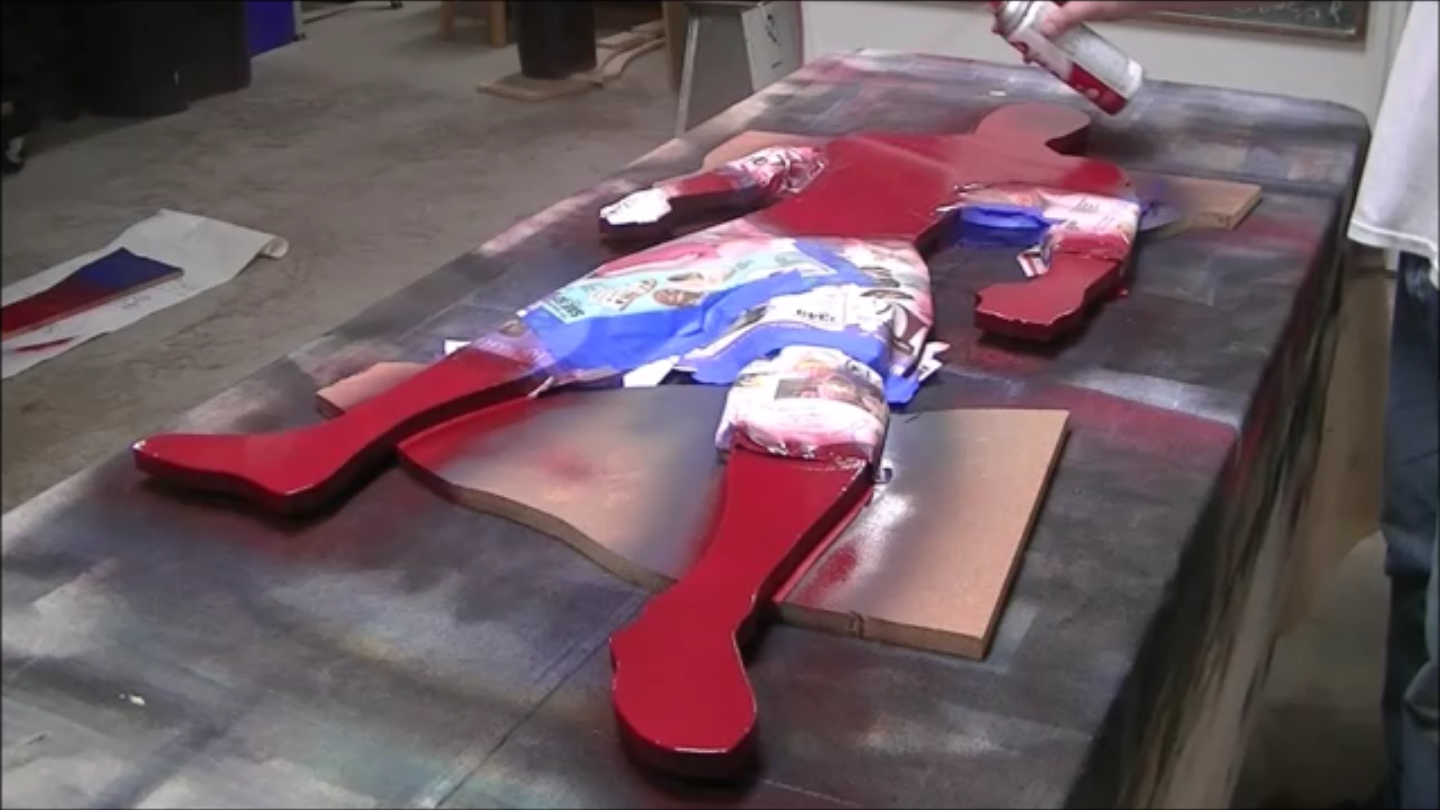
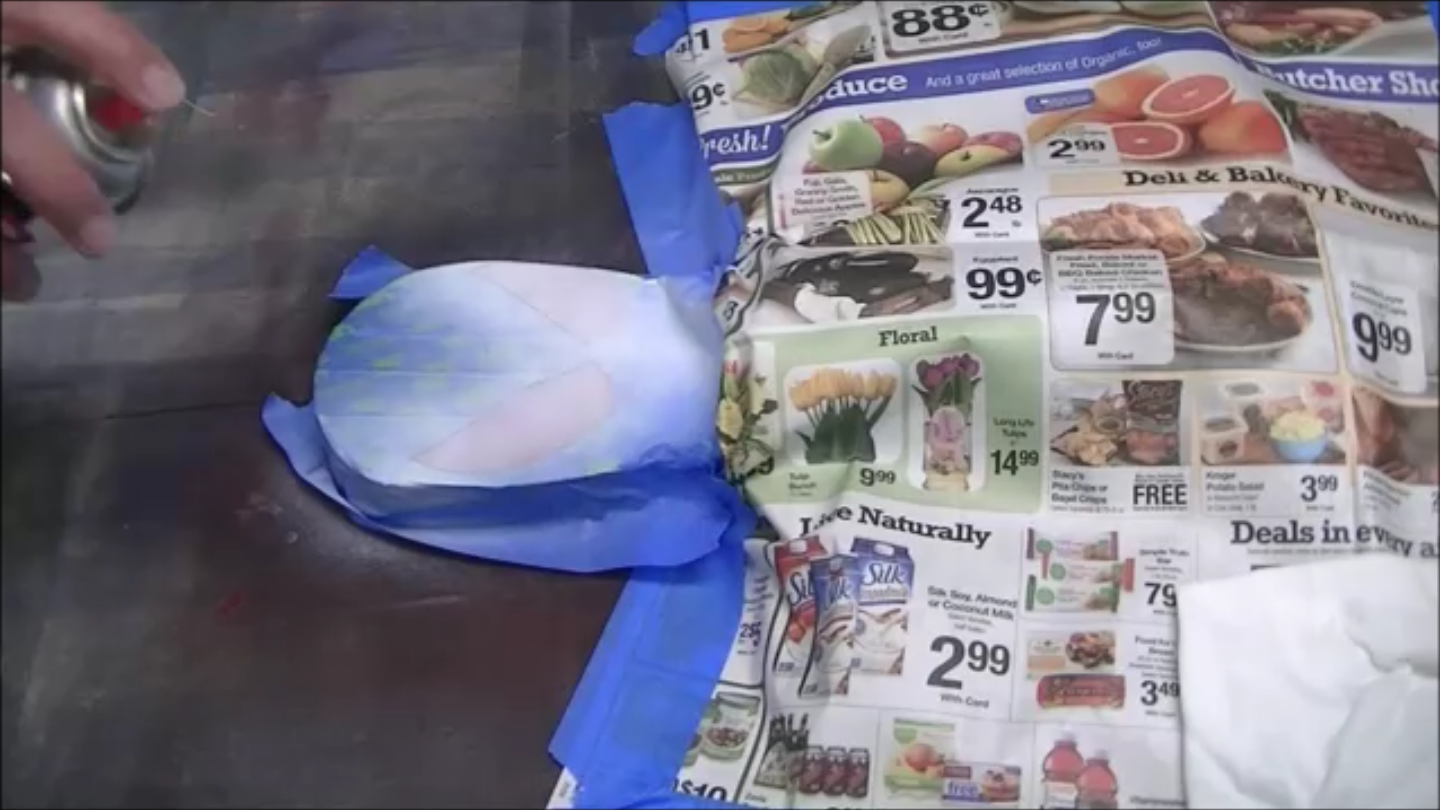
Now you can mask off the blue areas and spray the red paint.
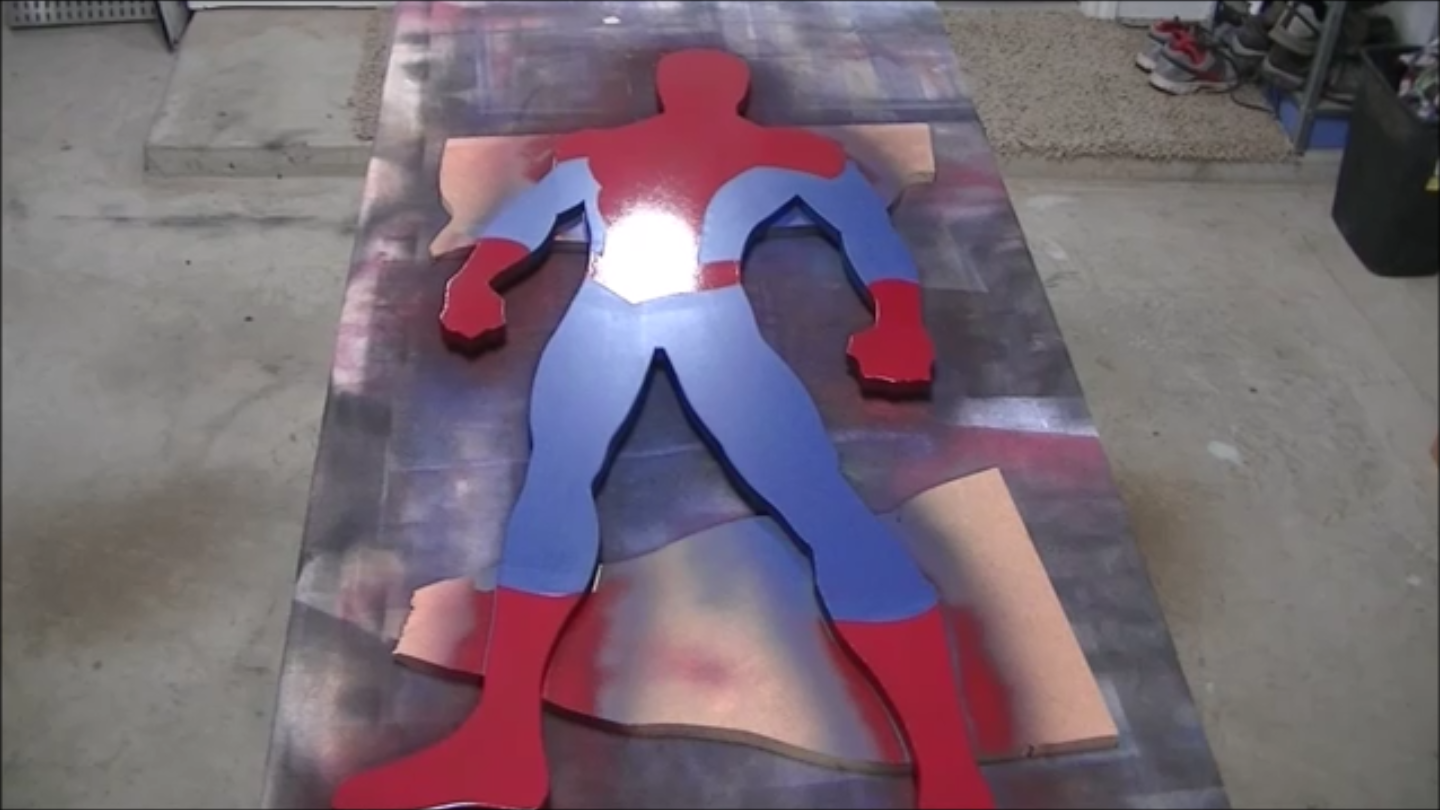
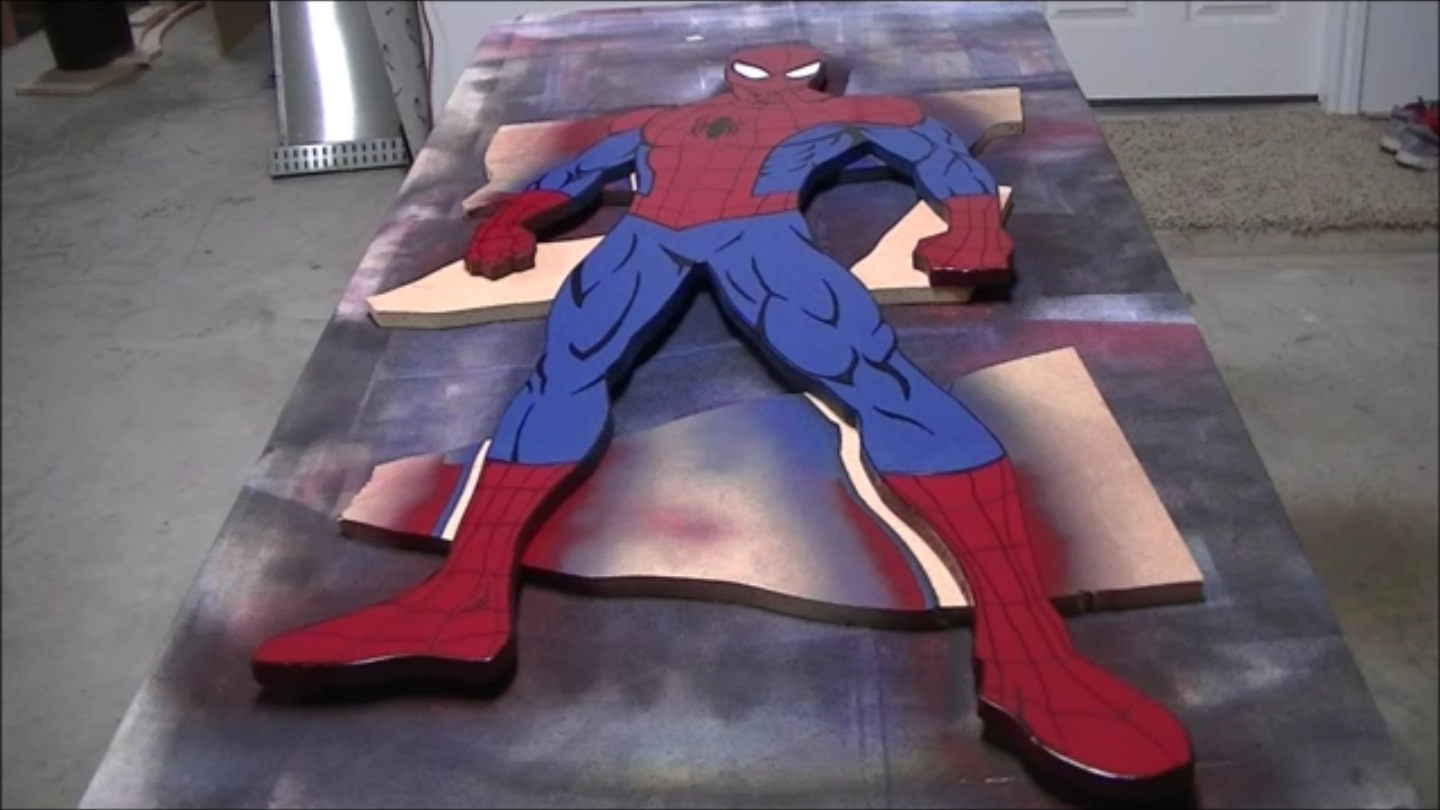
This is what it looks like once you take all the masking off.
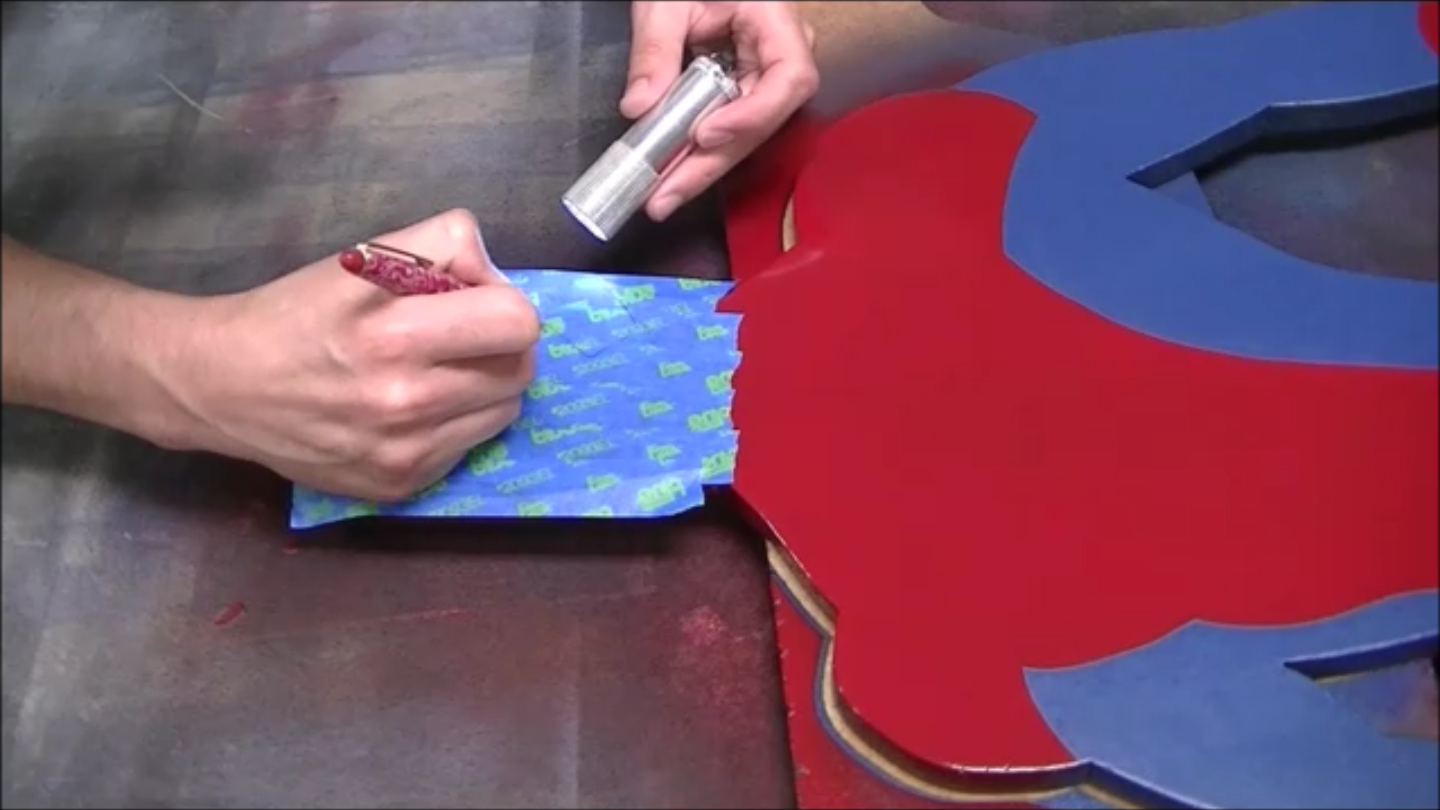
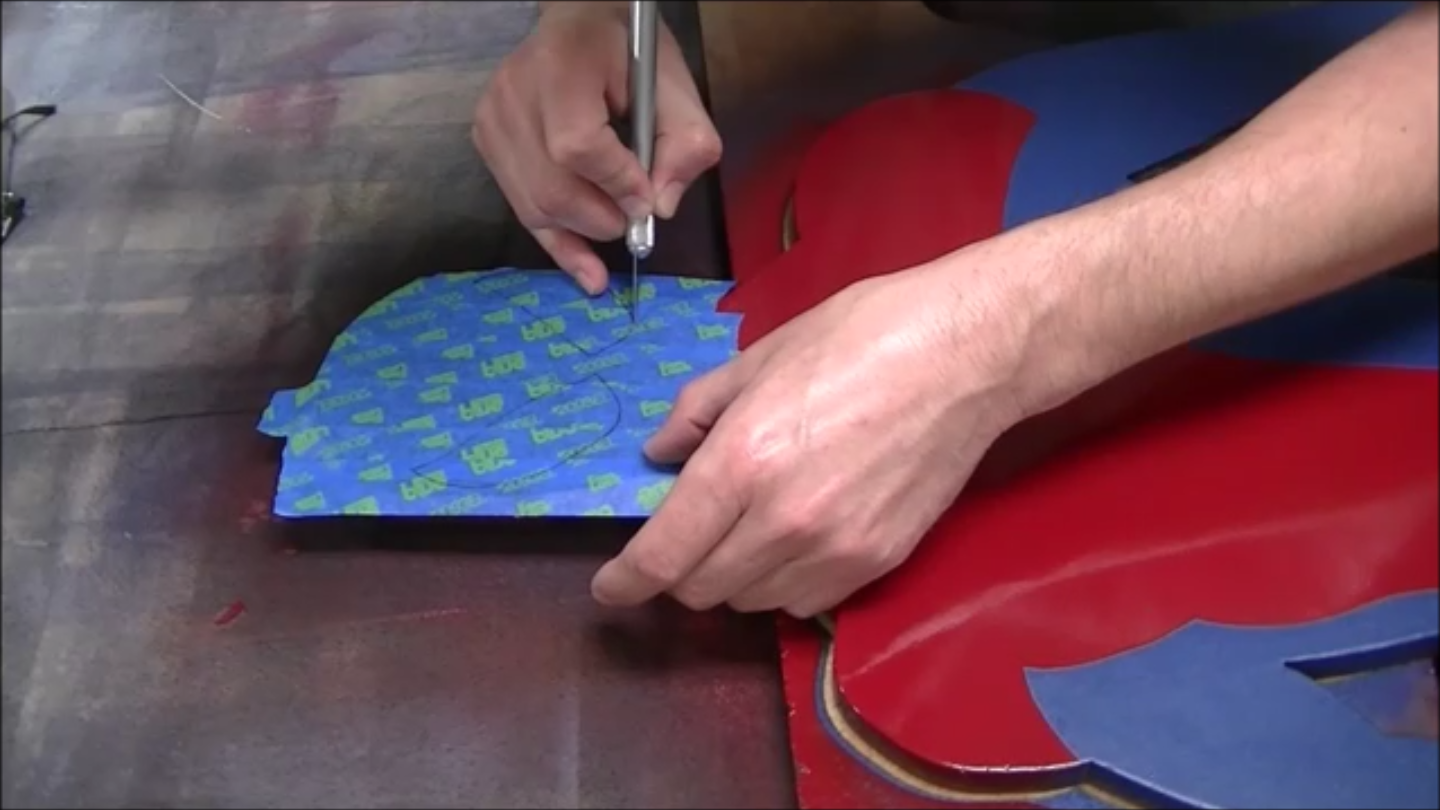
Its the same process for the eyes but in this case I used a tape with wording on it which made it difficult to see the impressions left by the ball point pen so I used a flashlight to help me see the lines for re-tracing. Once the lines were traced I cut out the eyes.
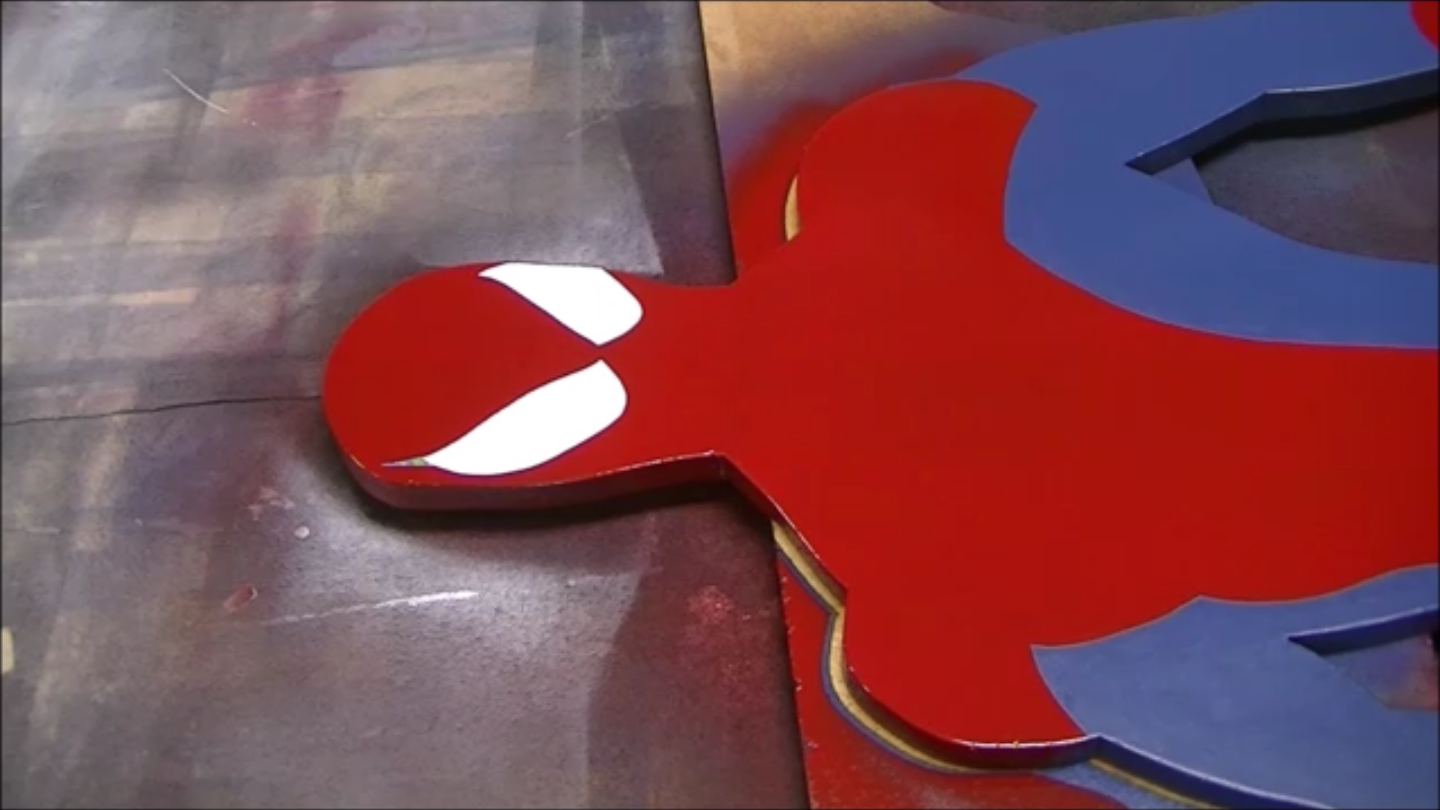
Here are the eyes all cut out, masked off and painted.
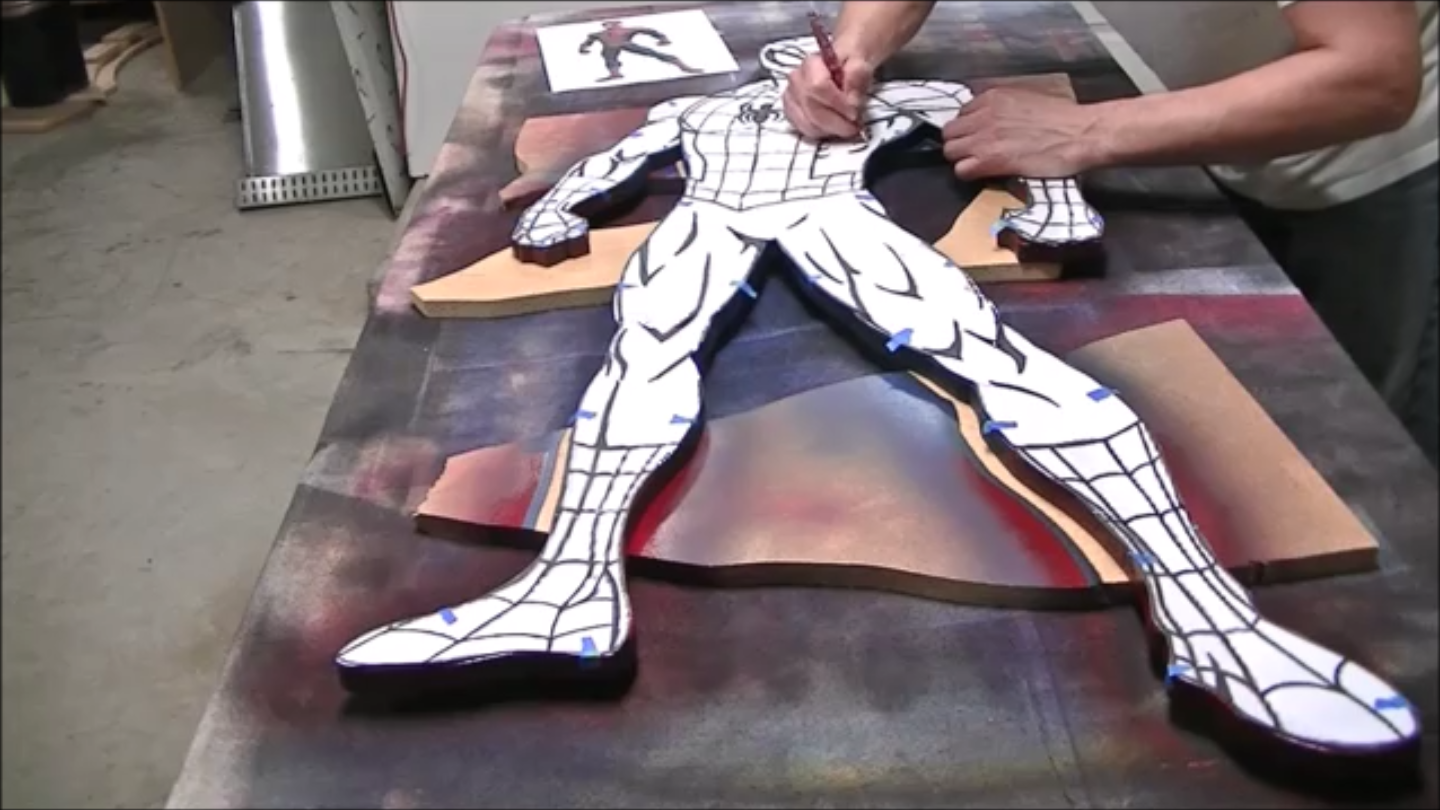

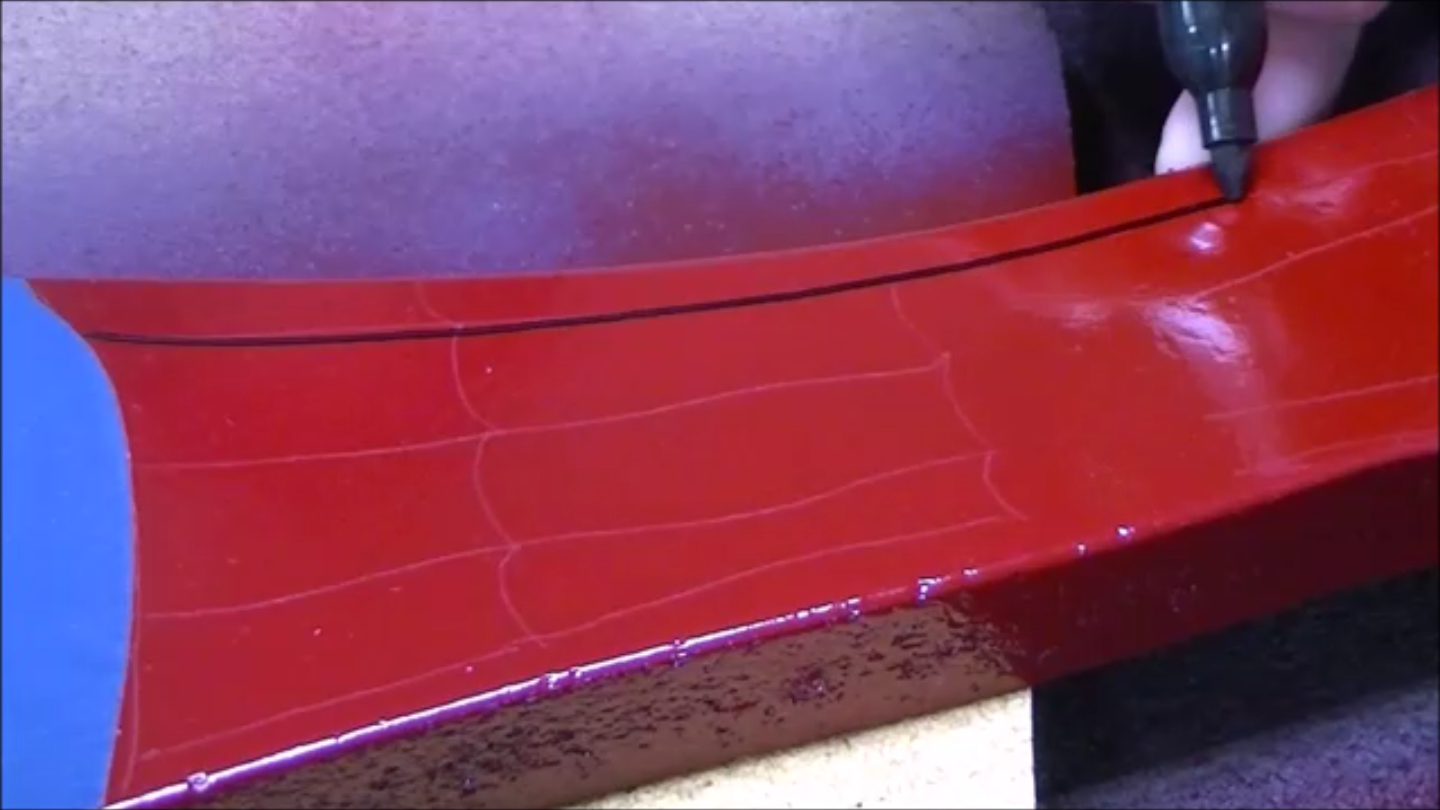
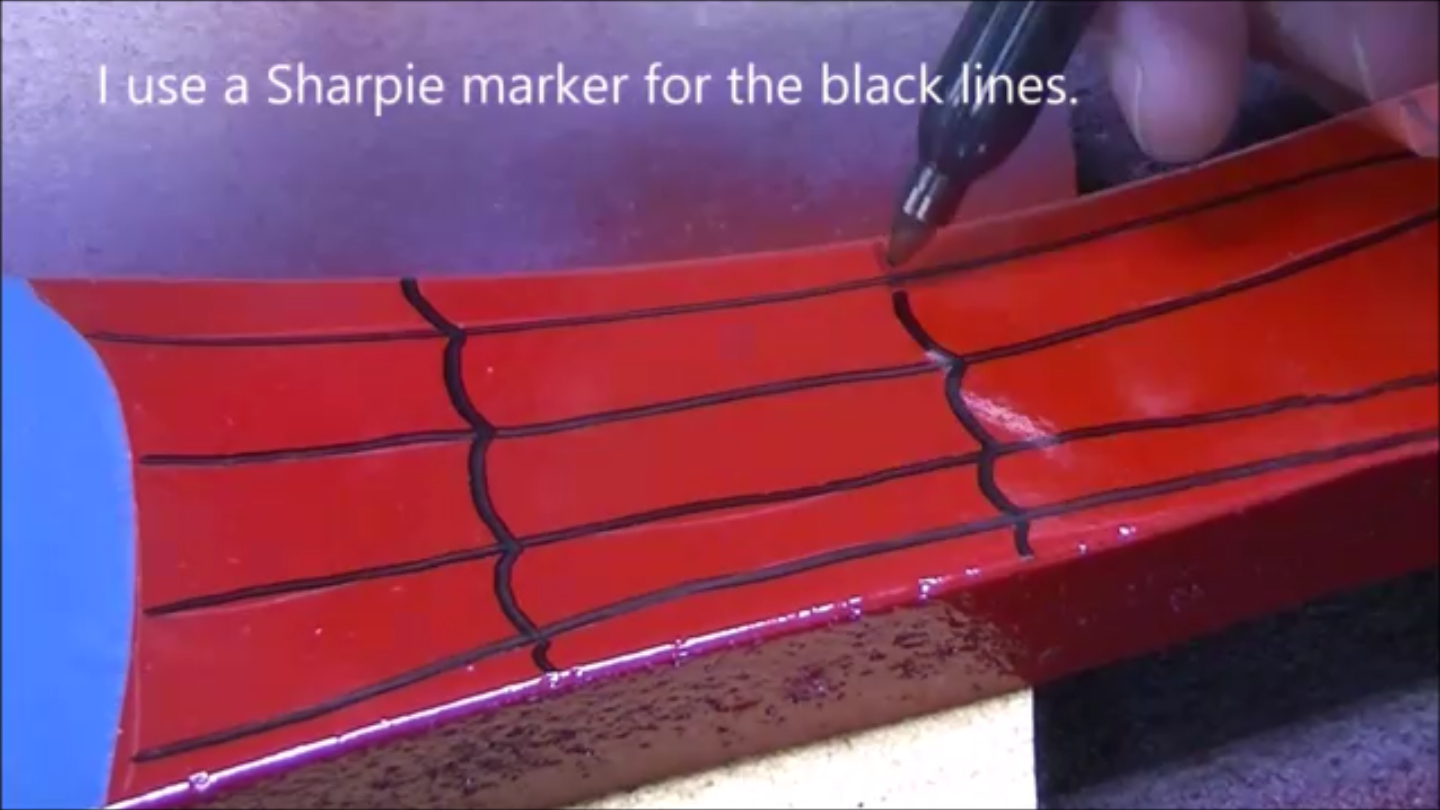
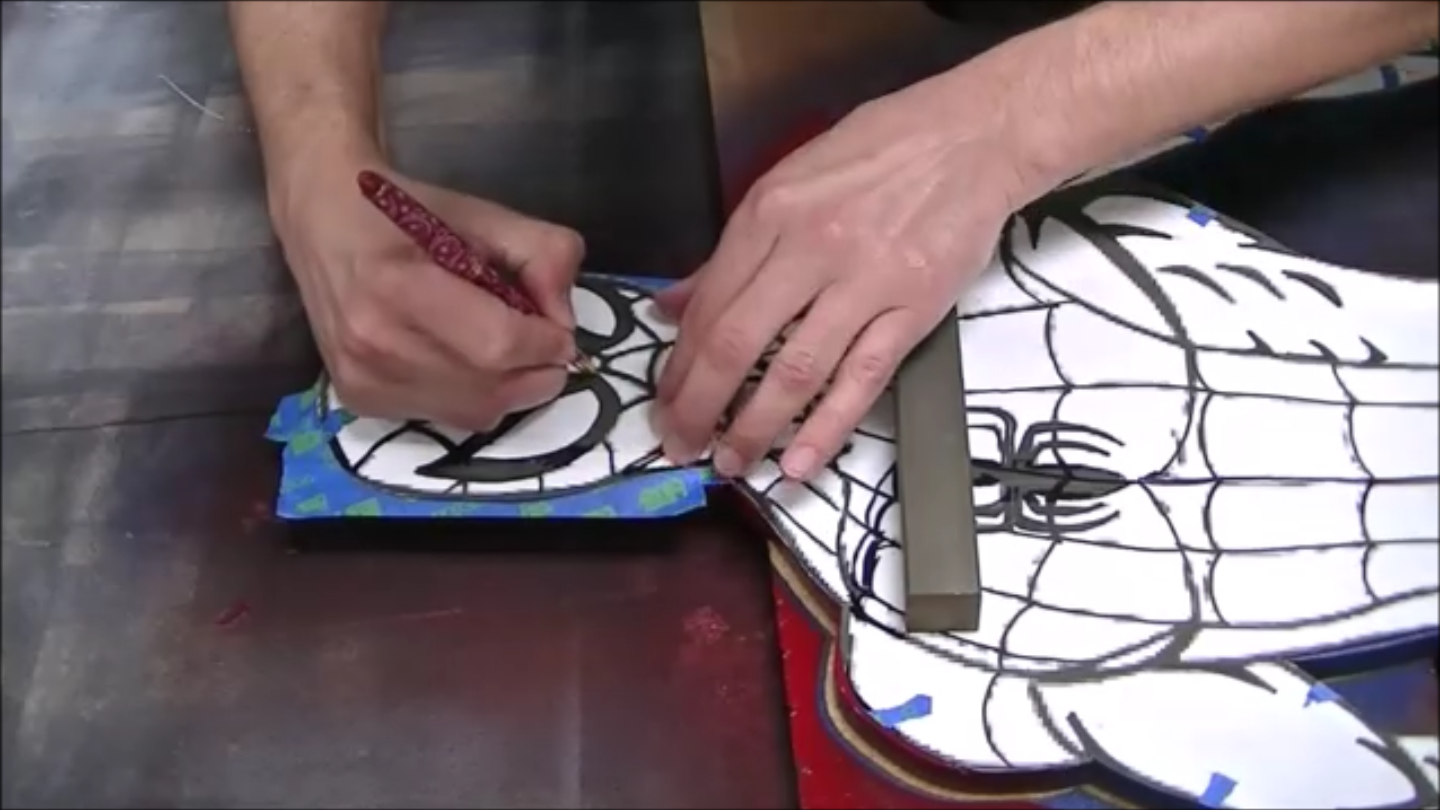
To add the black details you place the template back on the silhouette and tape it down so that it doesn't shift around. Then you use the ball point pen to trace all of the black lines. For the parts that had large black areas I just traced the perimeter of that particular shape. When you are done tracing you take off the template and you have faint impressions left in the paint from the ball point pen which you can now trace. I use a few Sharpie permanent markers to trace the lines and add the black details to the silhouette. I only used the markers for the black portion of the silhouette.
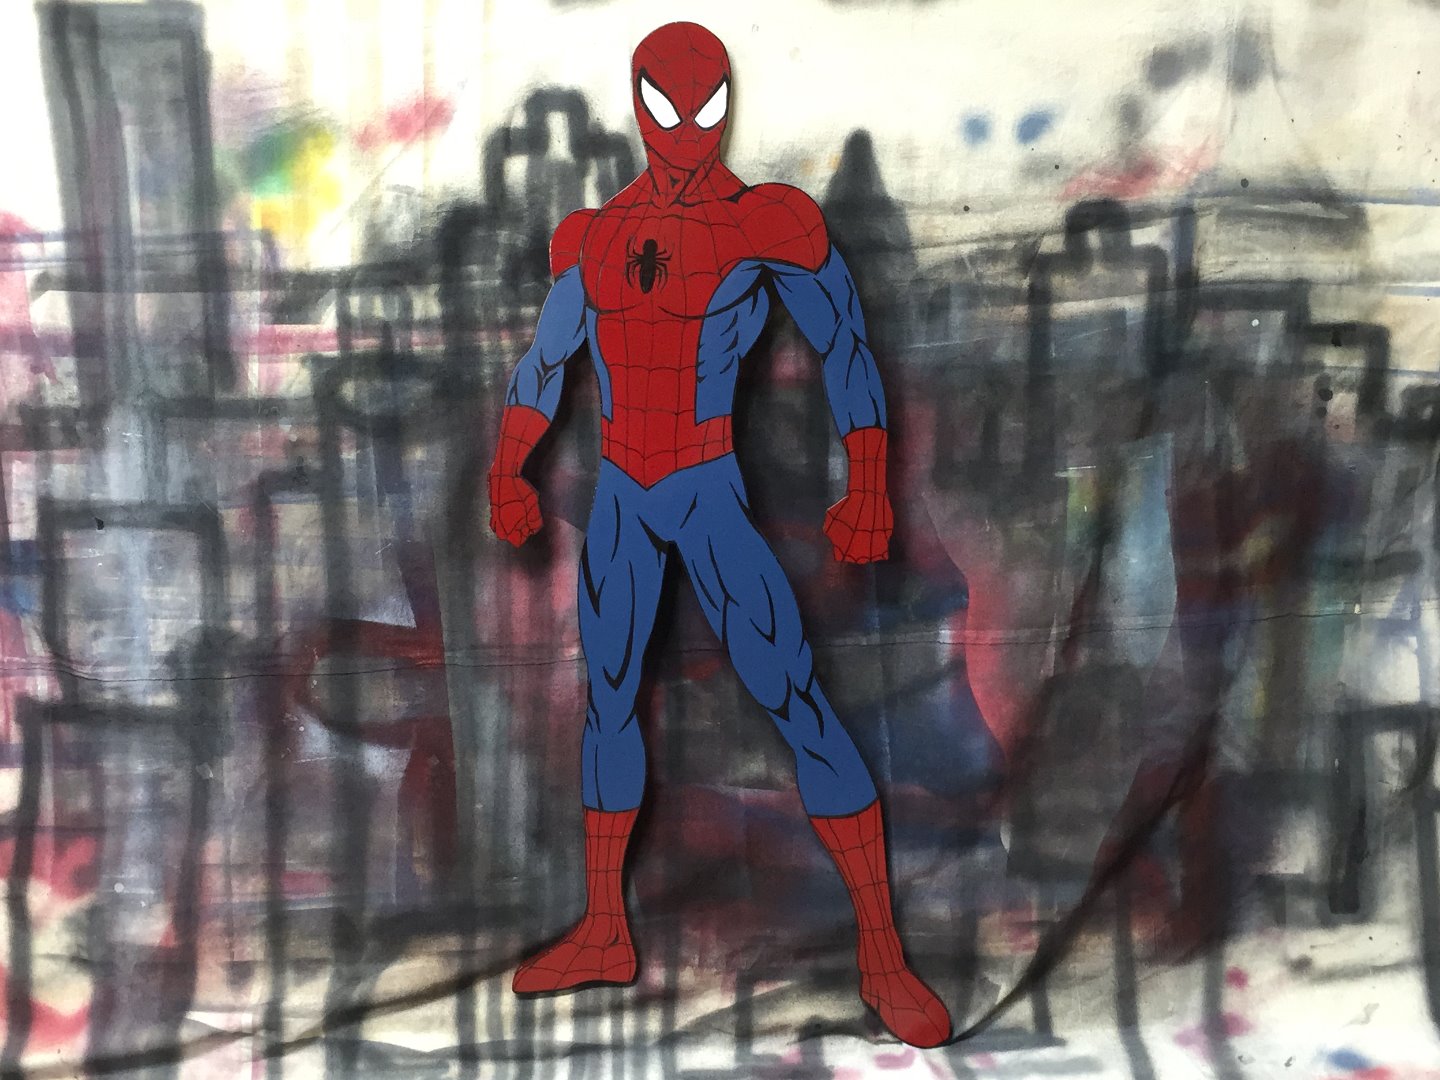
All done. I use a couple of D-hangers type hooks to hang it on the wall. I hope this inspires you to make your own version.