Spider-Man Vinyl Tray Cover
by Makeademic in Living > Decorating
1388 Views, 3 Favorites, 0 Comments
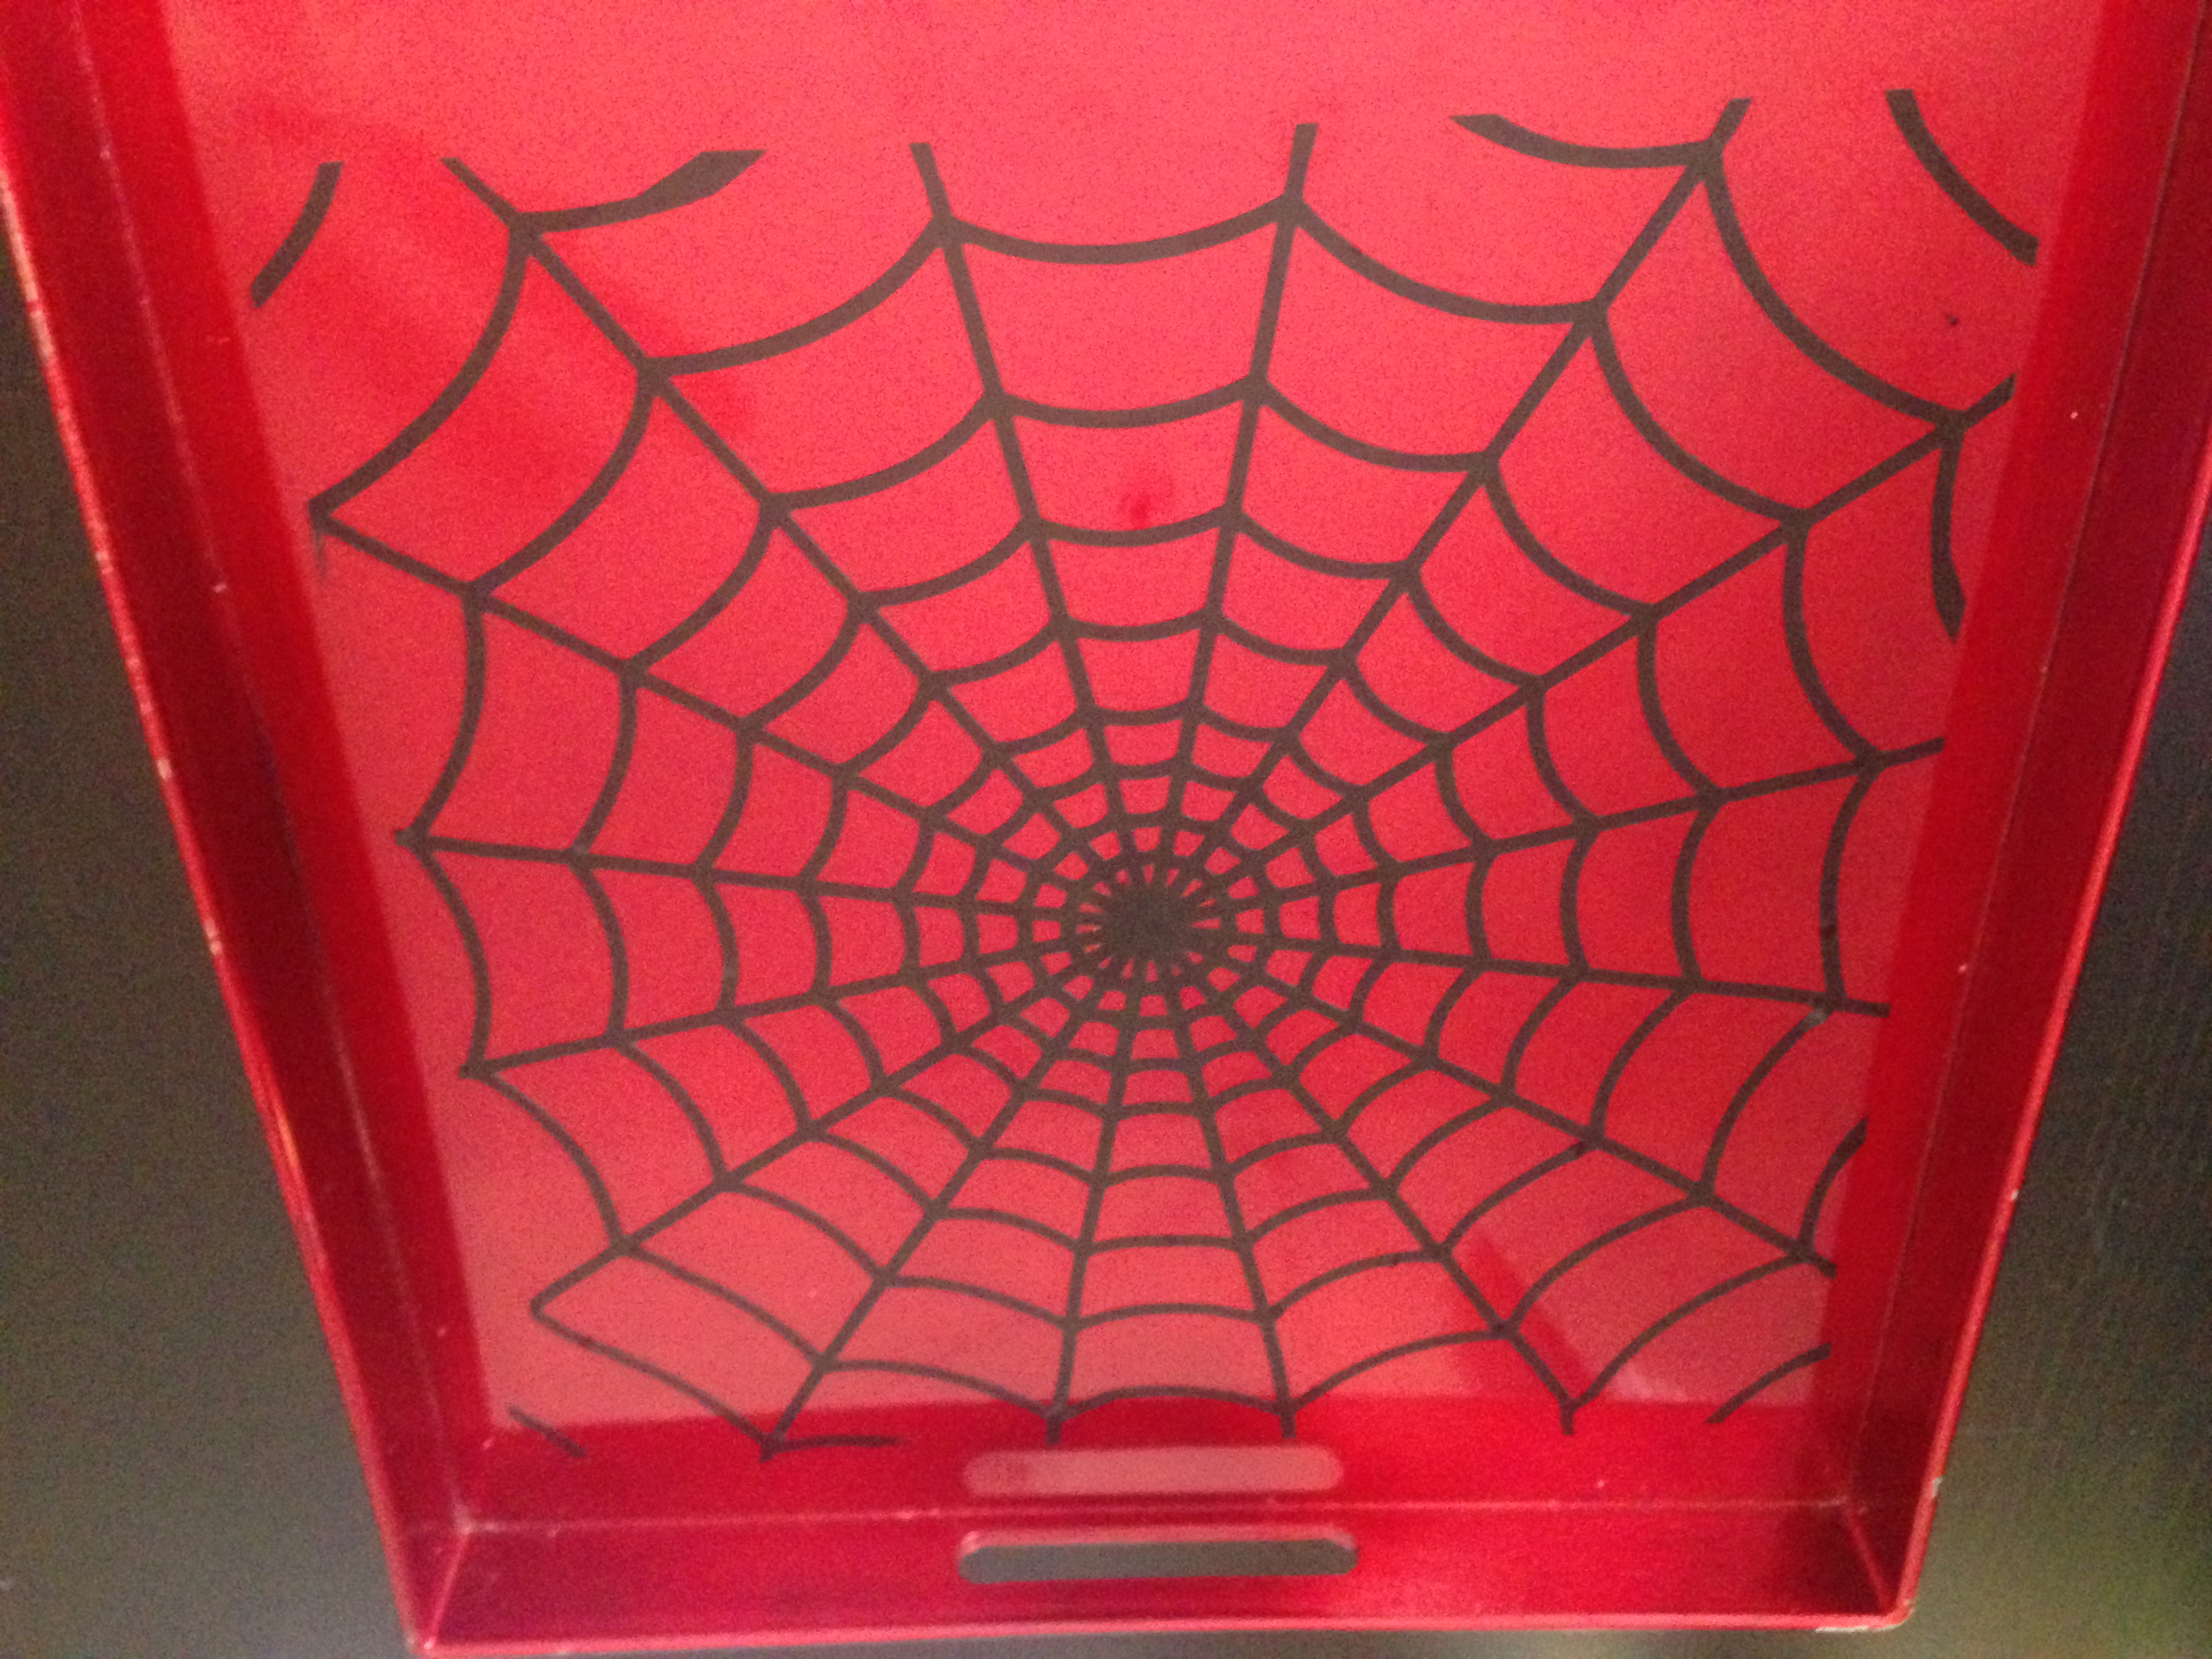
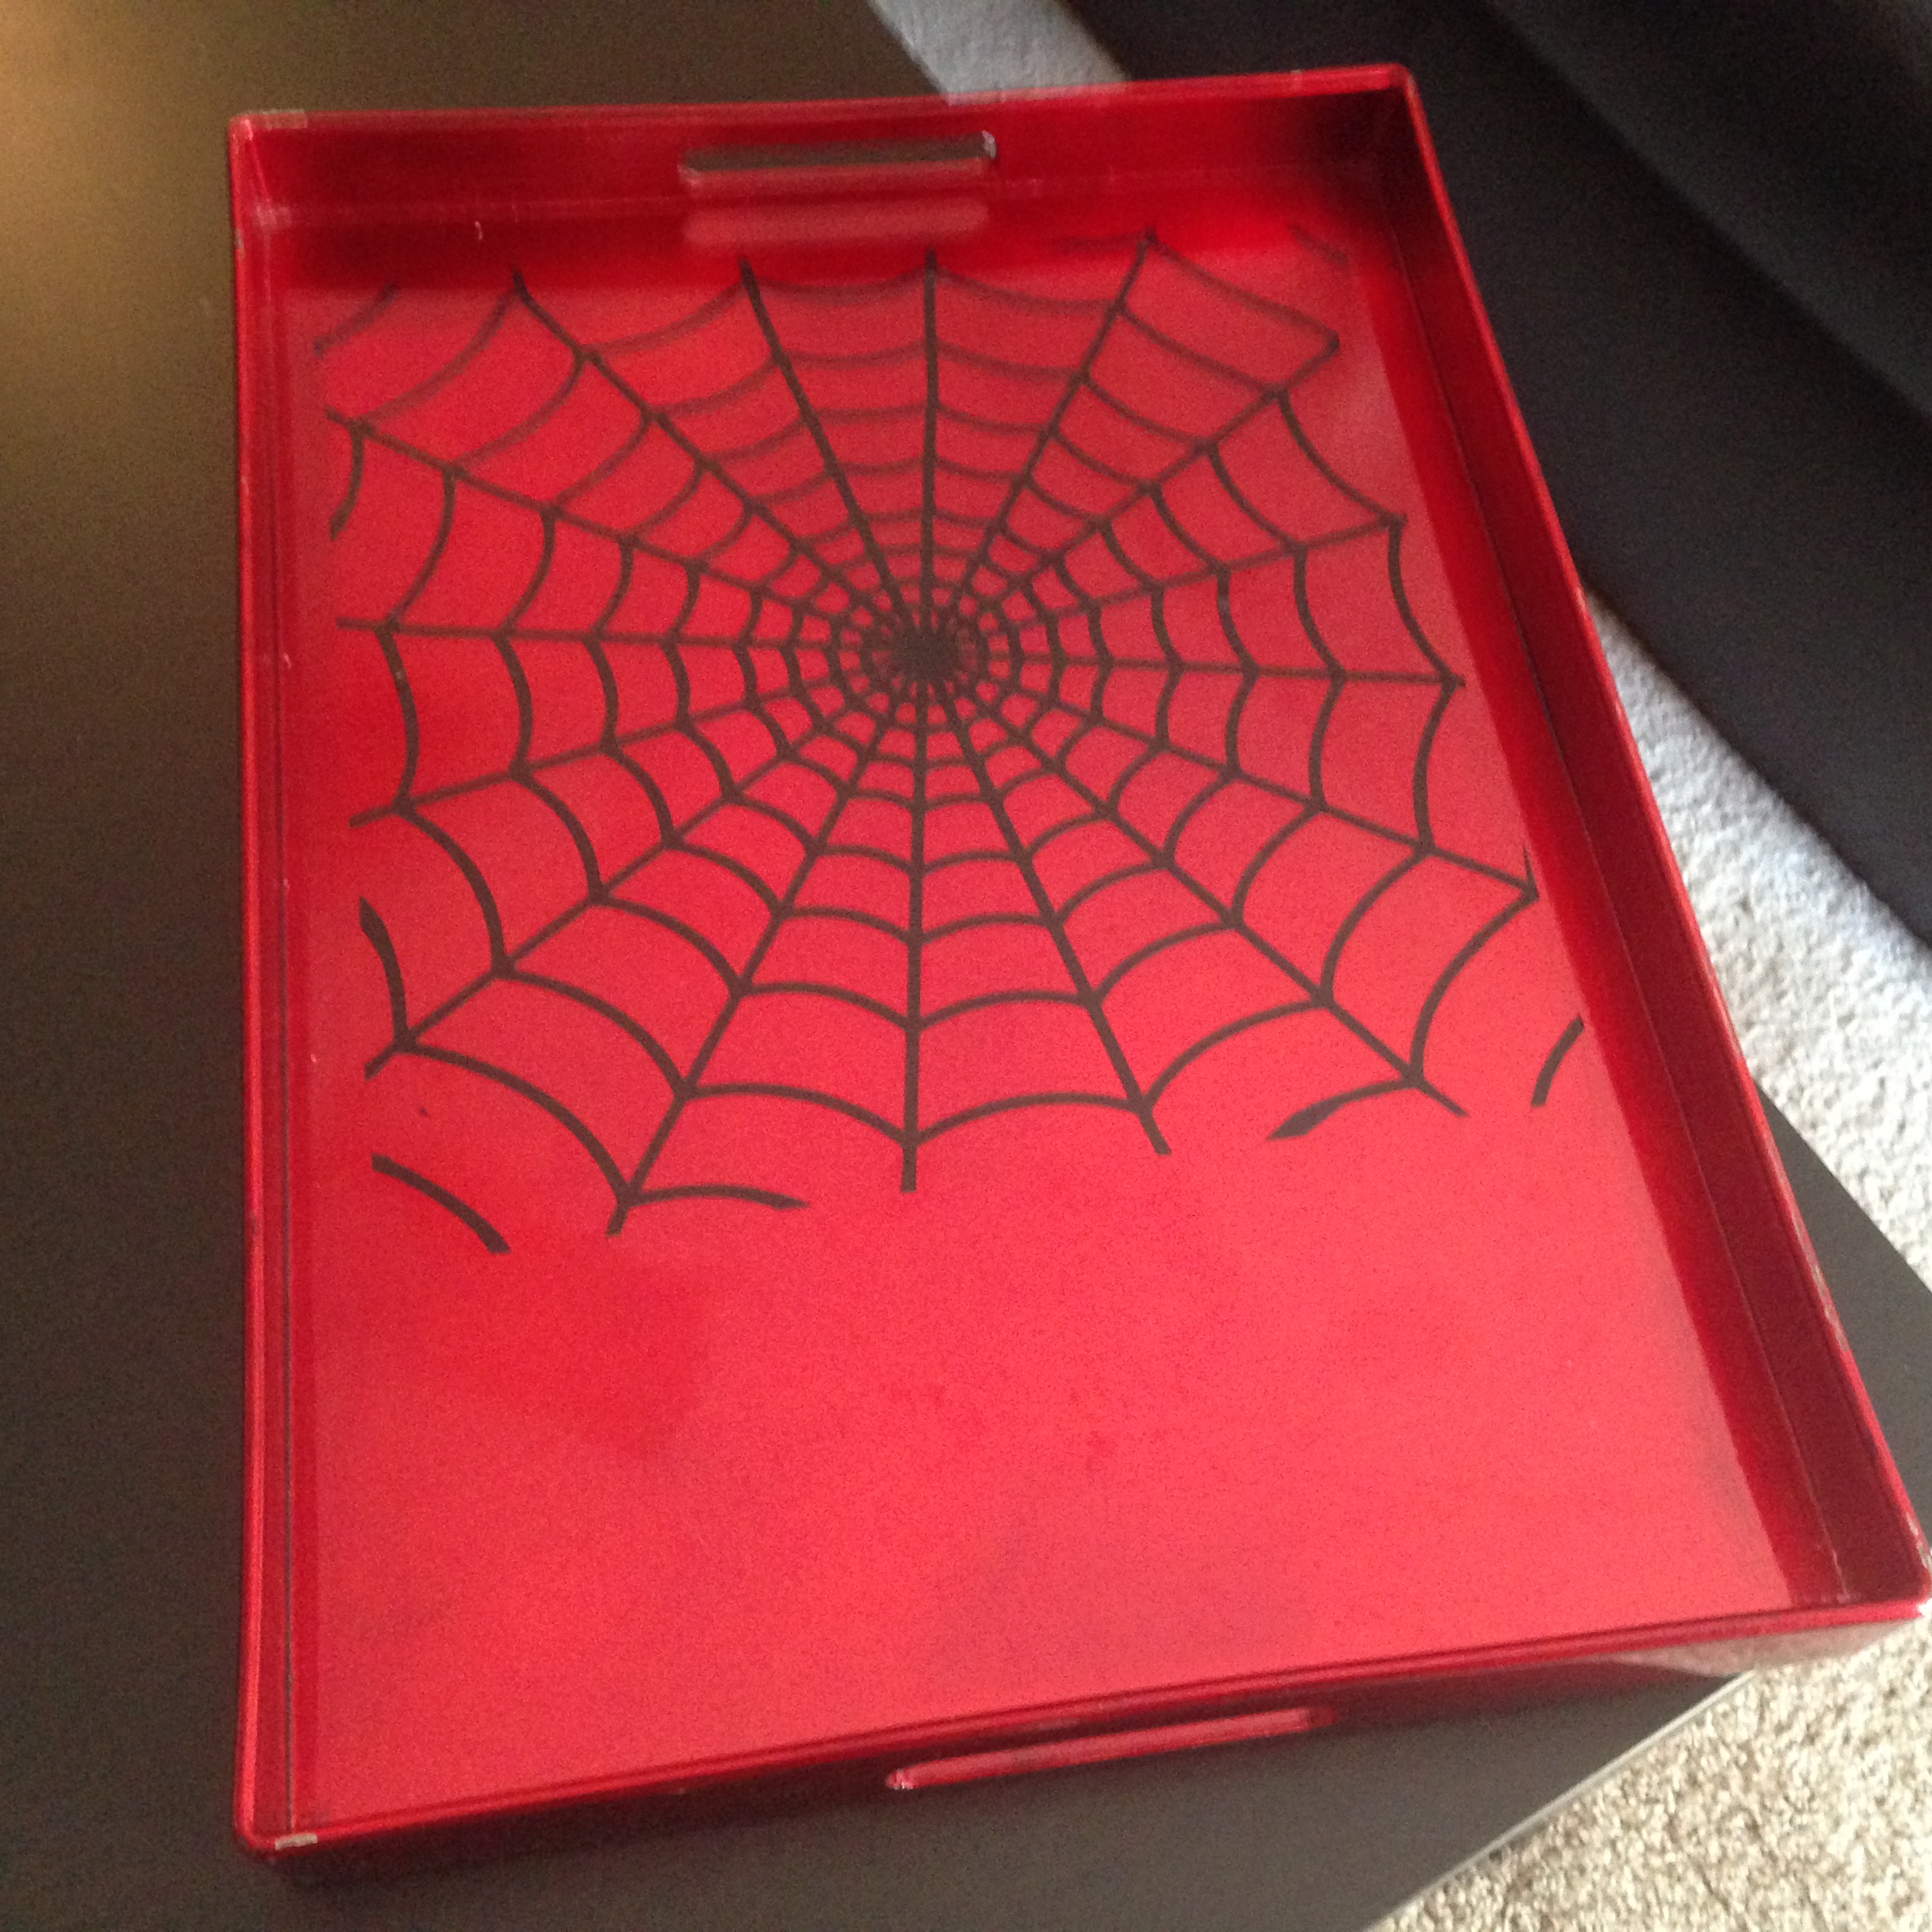
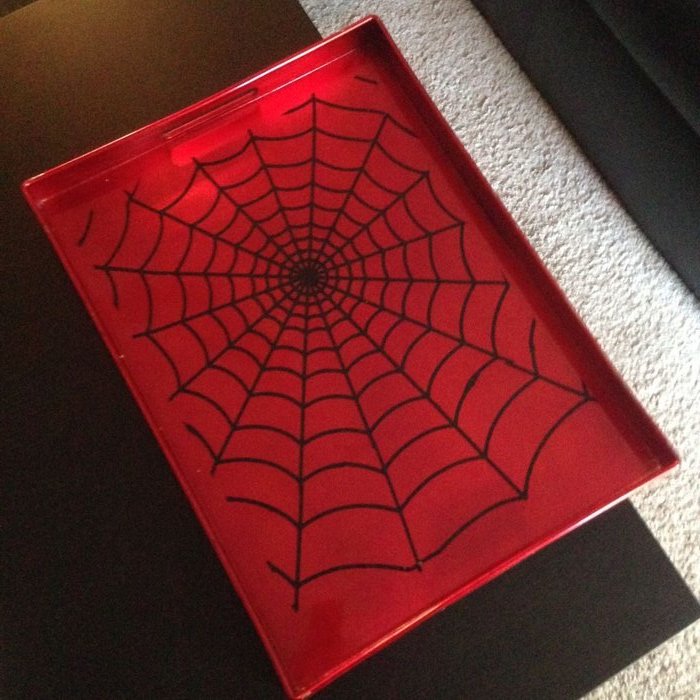
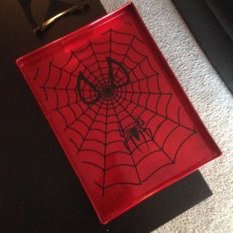
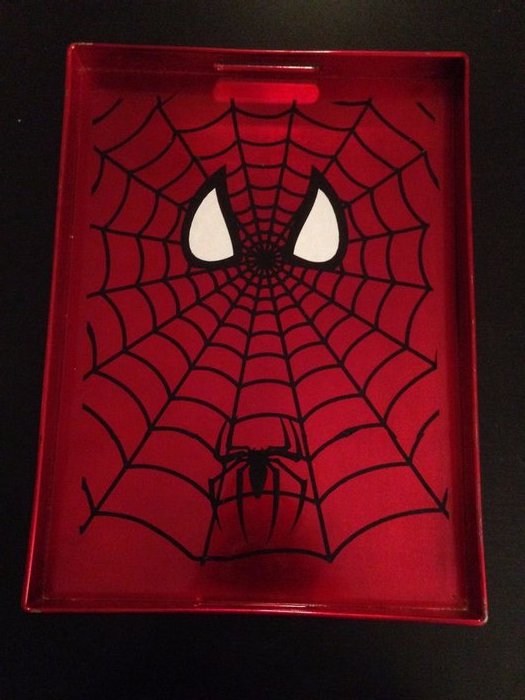
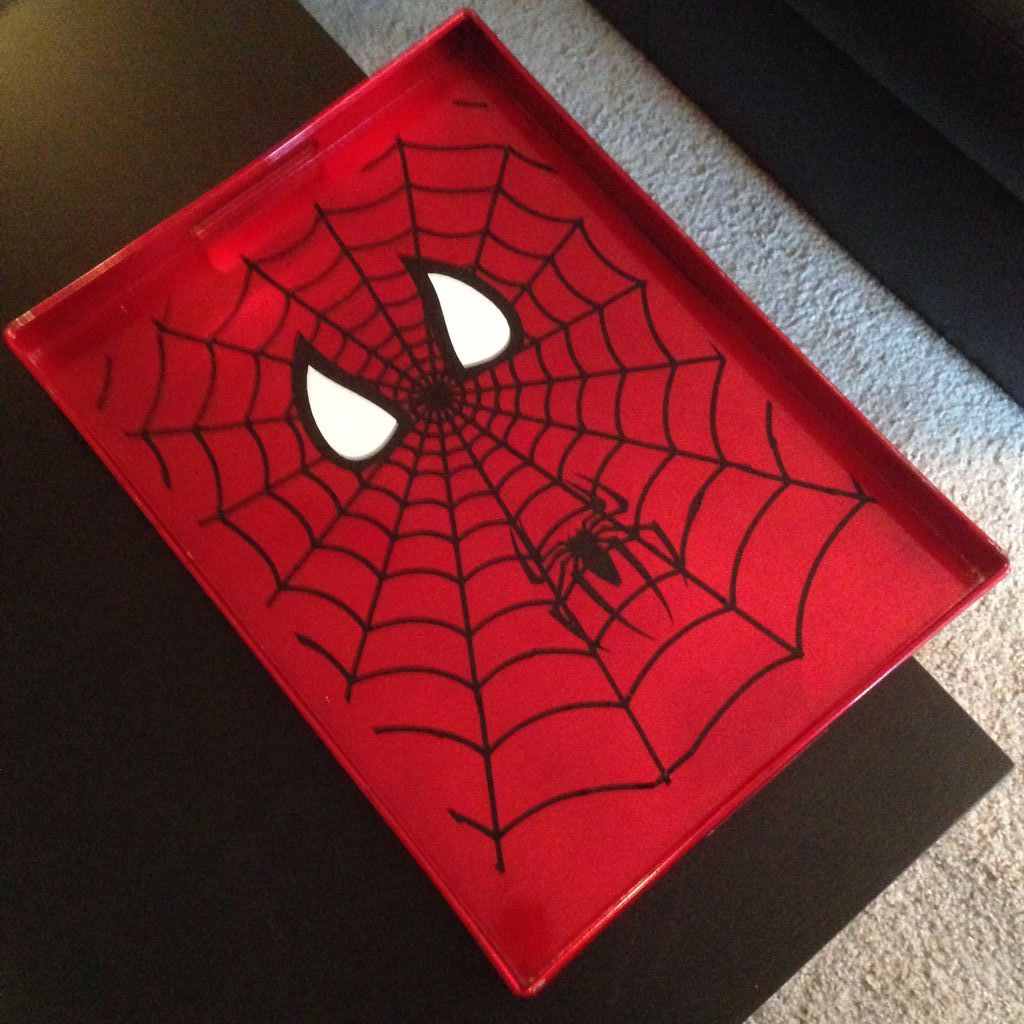
Spider-Man Vinyl Tray Cover
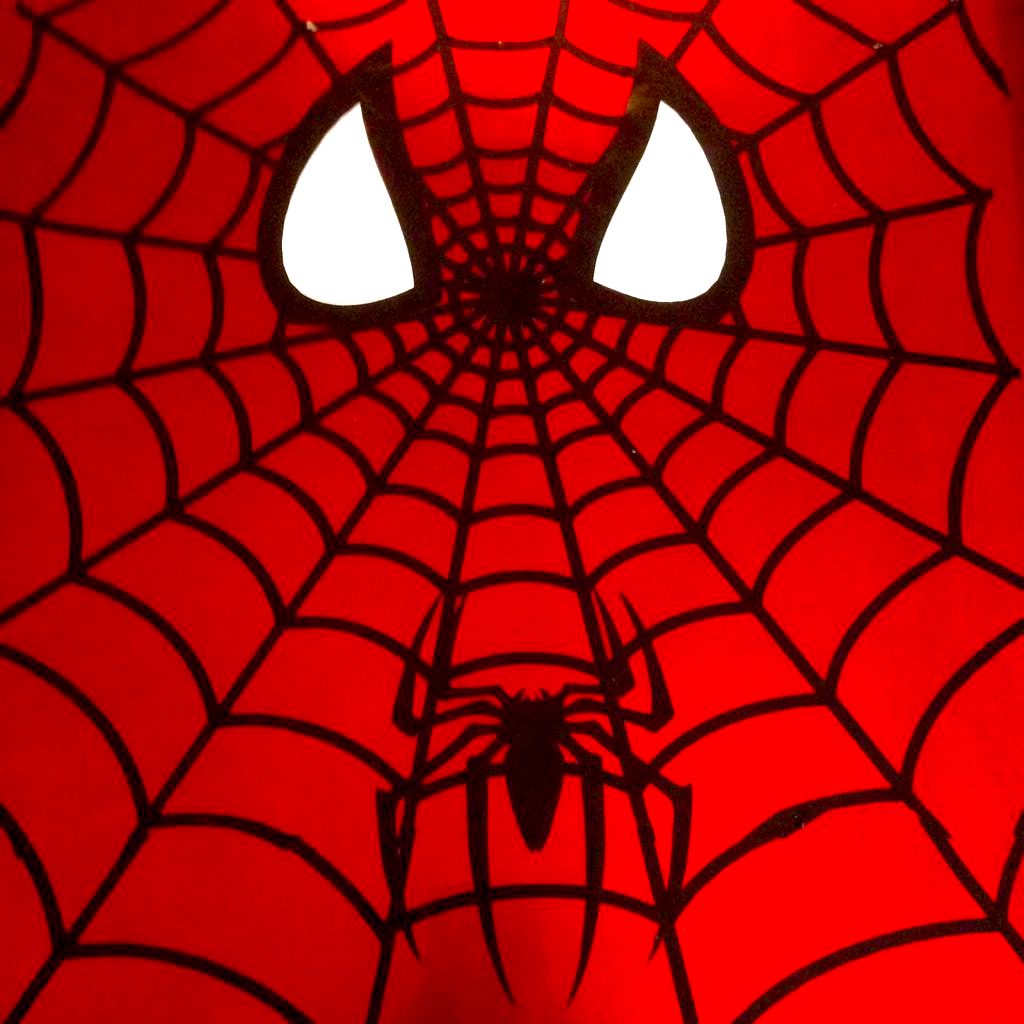
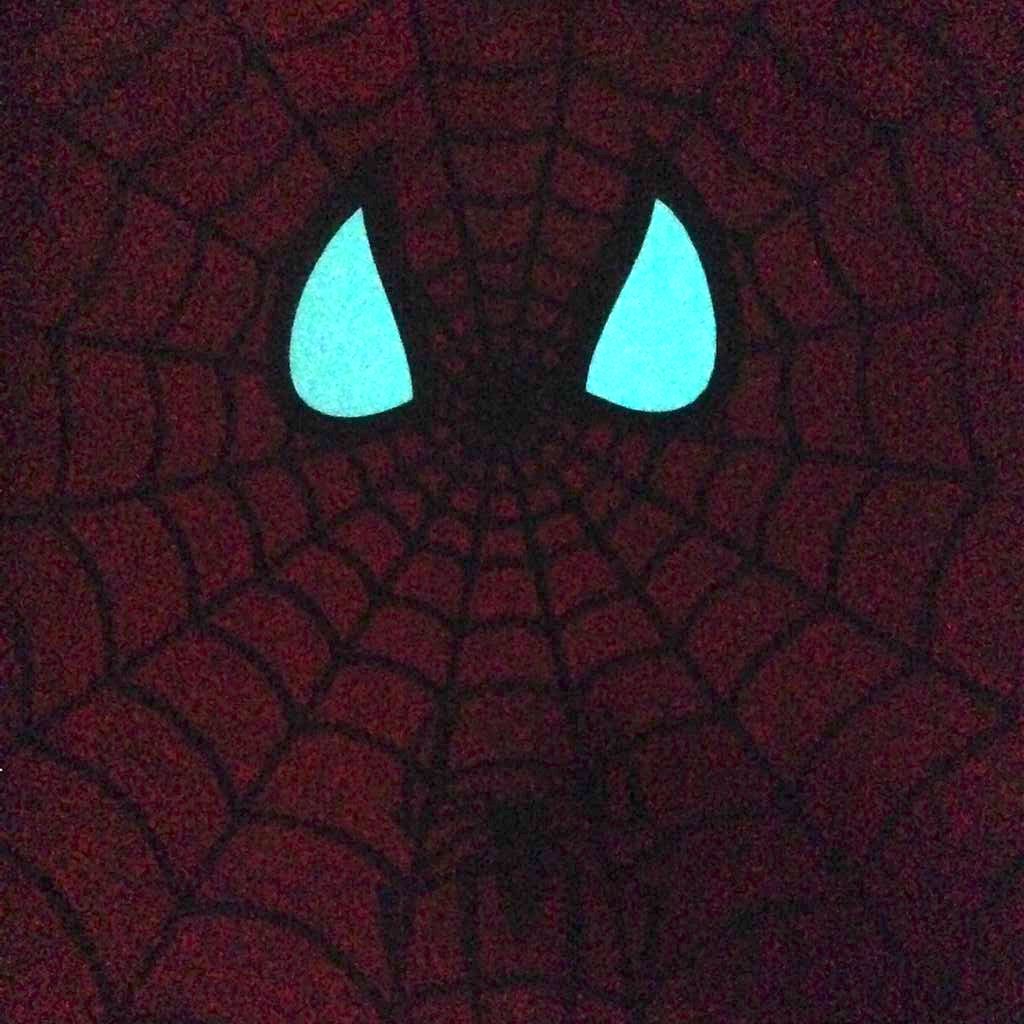
I love decorating our home with beautiful metallic accents, but I especially love when we can sneak in some of our nerdy interests! This is a tutorial on how to use vinyl to personalize your dinner tray with your friendly neighborhood Spider-Man (complete with glowing eyes!)
Gather Supplies
For this project, you will need,
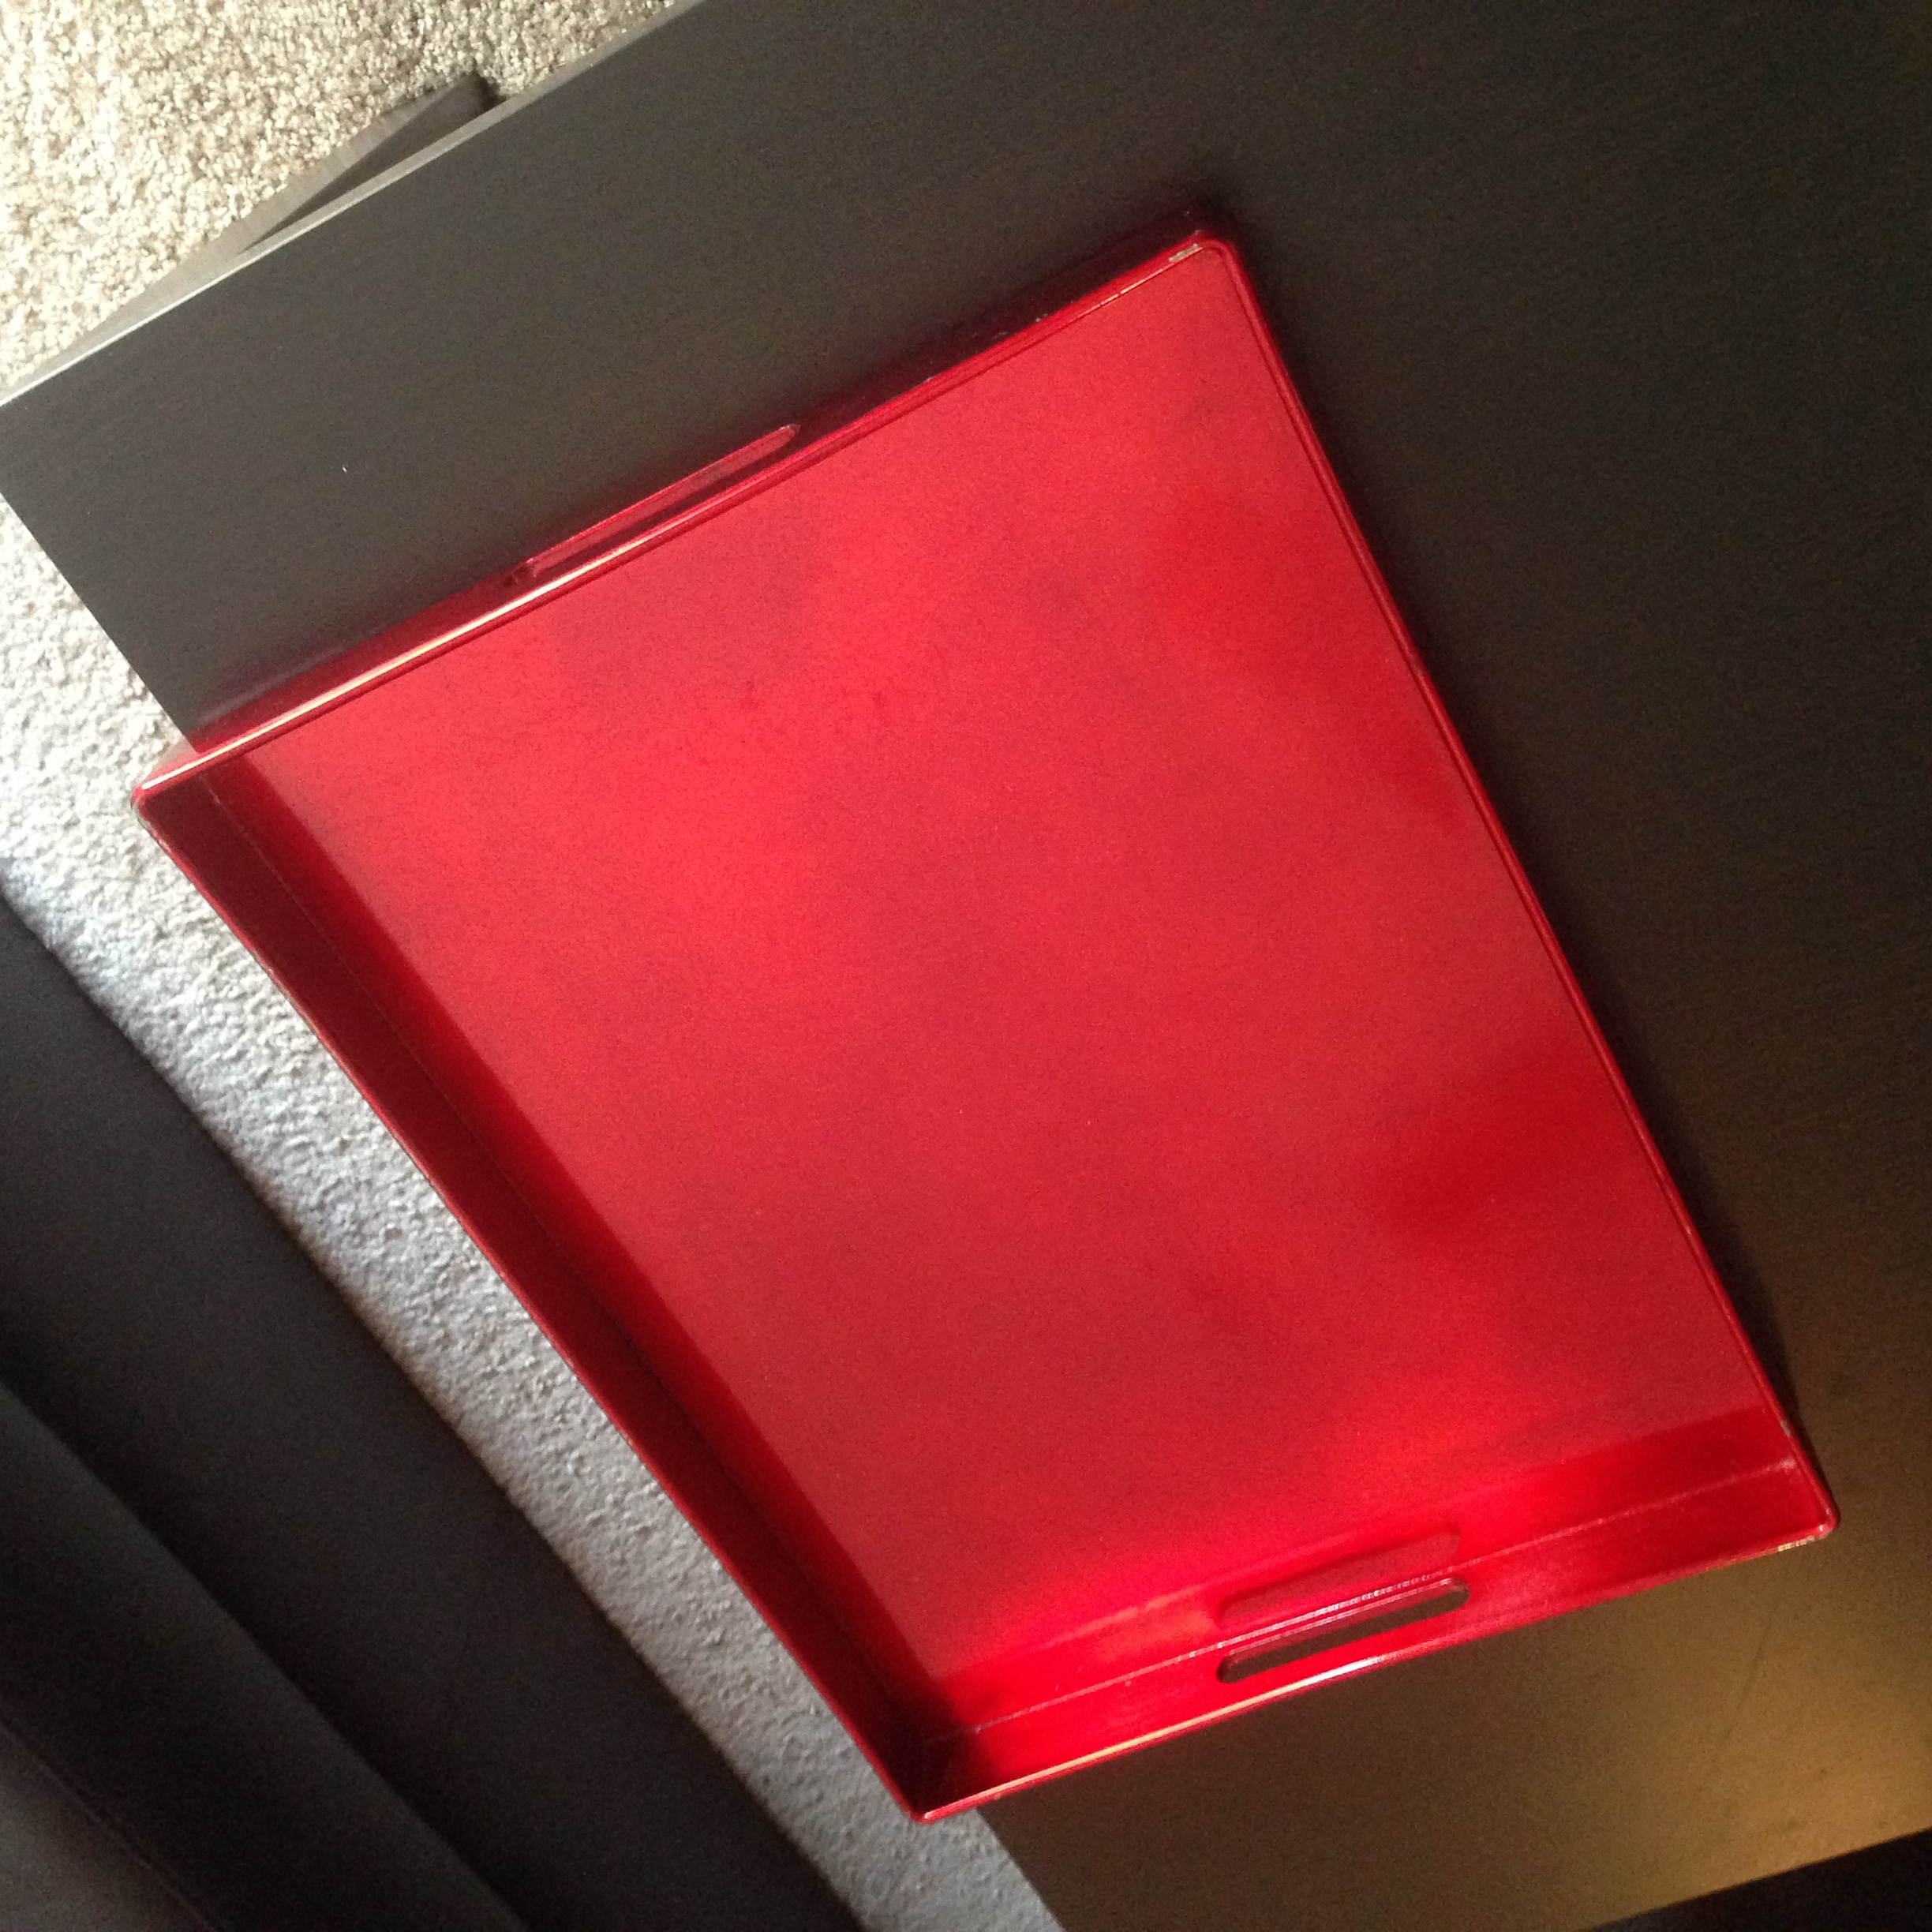
- Tray
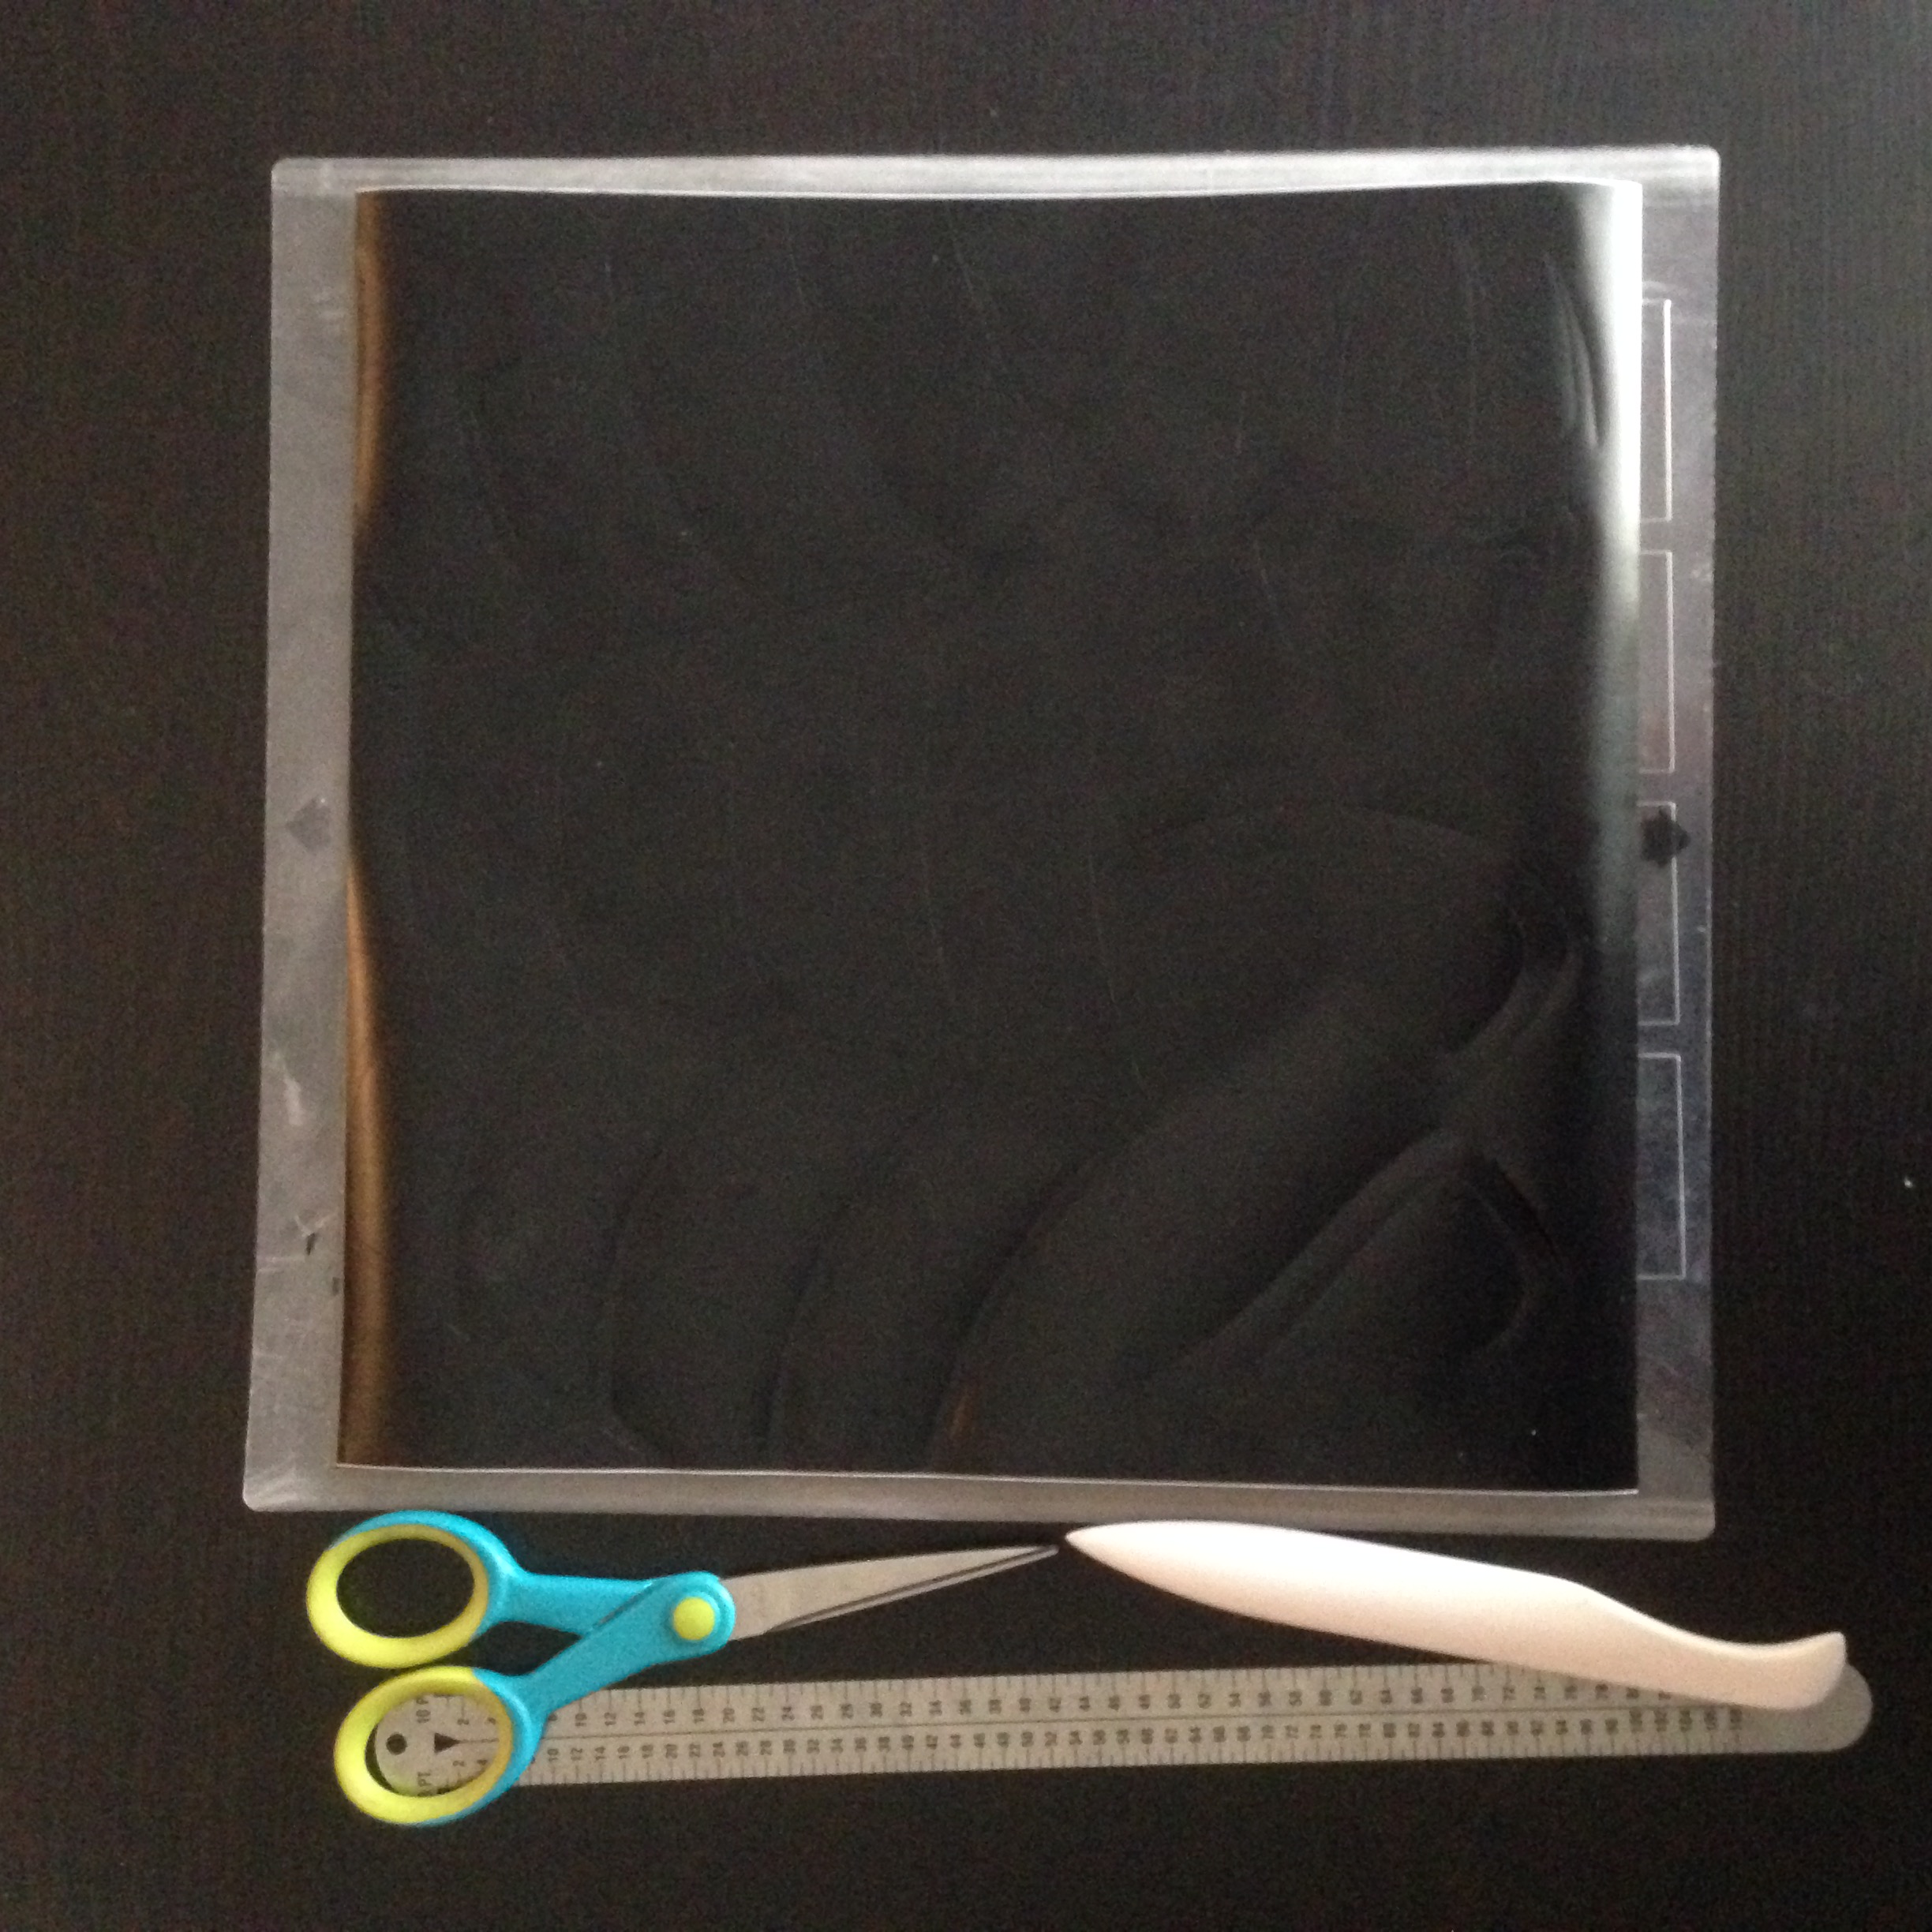
- Ruler
- Scissors
- Bone folder
- Vinyl
- Silhouette Cameo
- Computer with Illustrator
Design in Adobe Illustrator

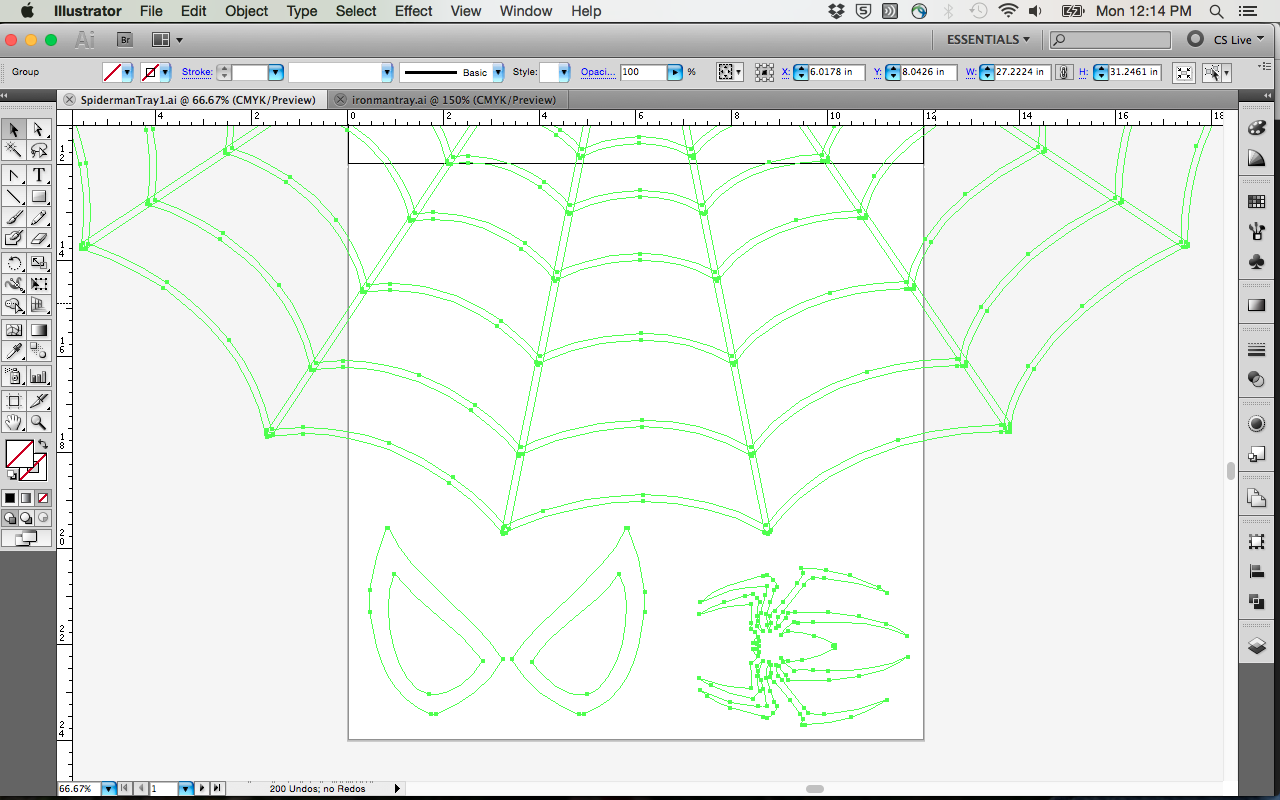
- Make your artboards the size of your vinyl.
- Make your design in Illustrator as paths with no fill, no stroke.
- Ungroup everything and release all compound paths.
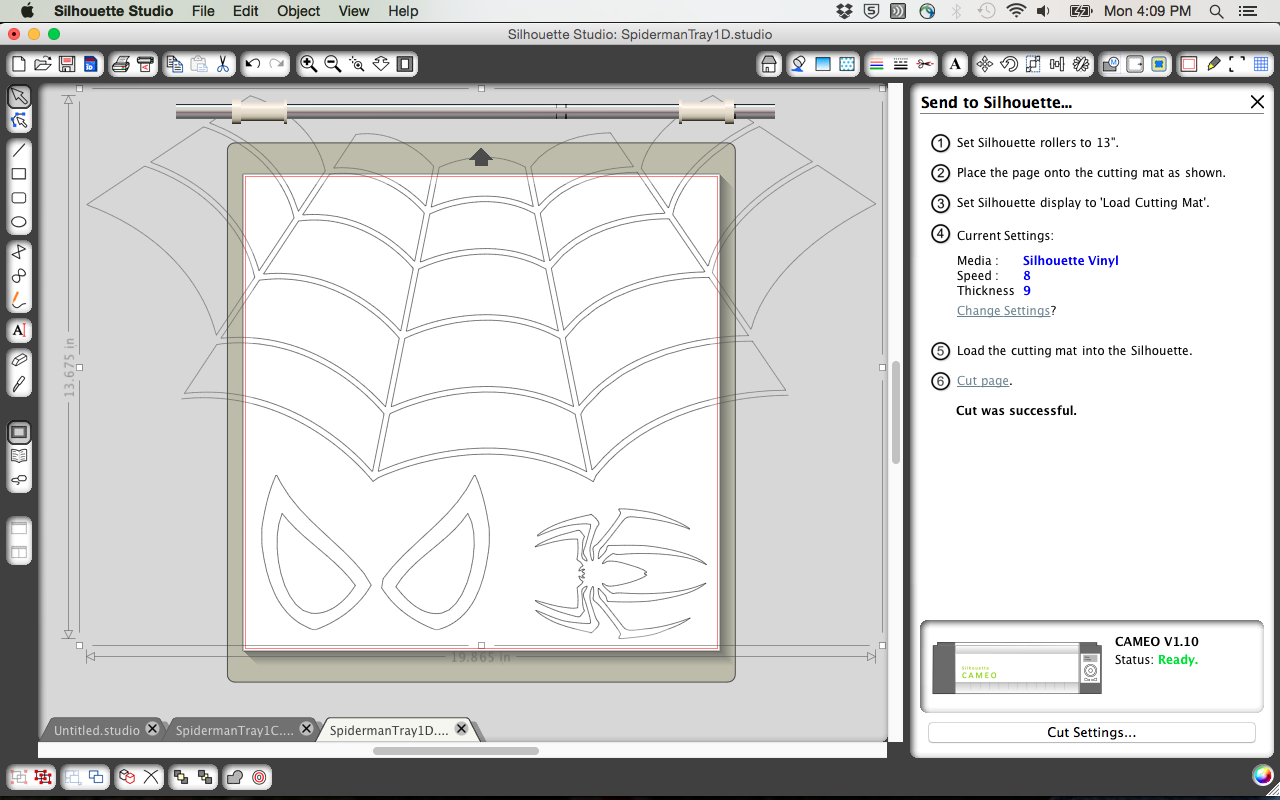
Export DXF to Silhouette Studio
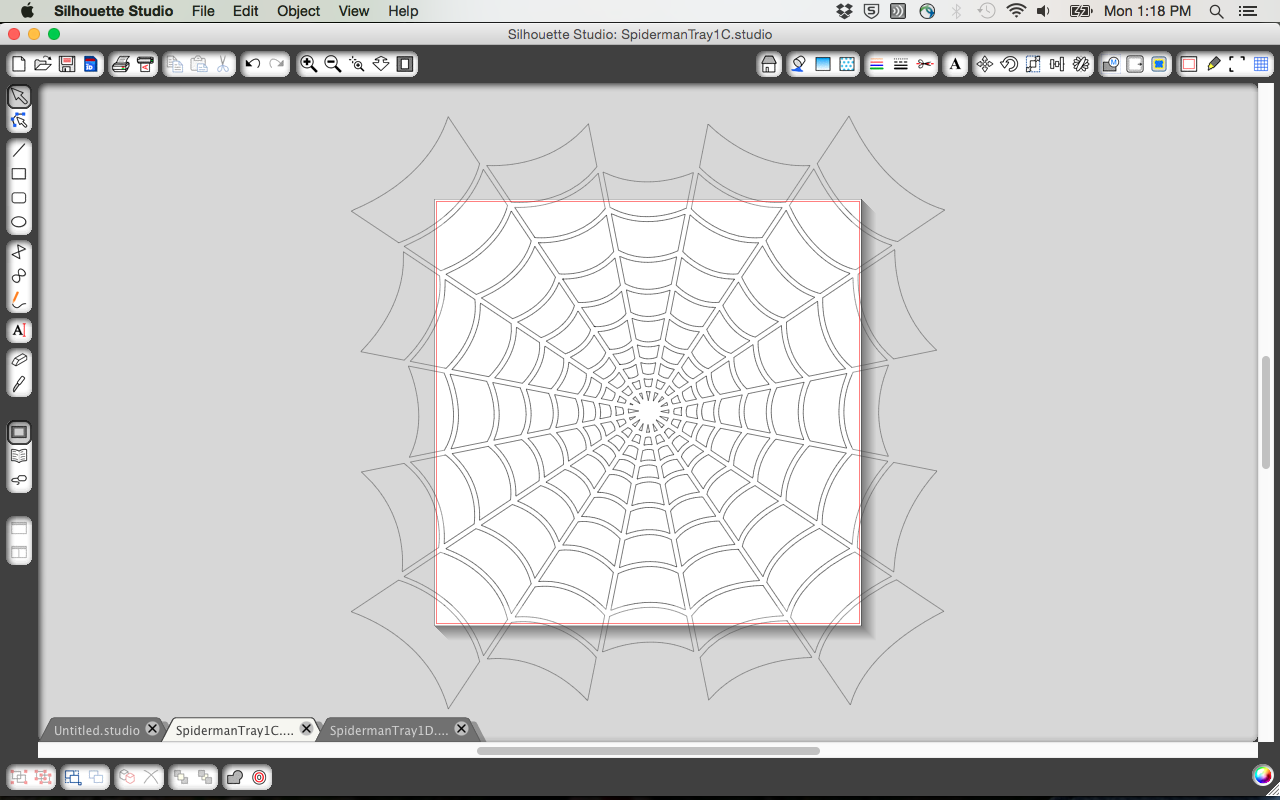
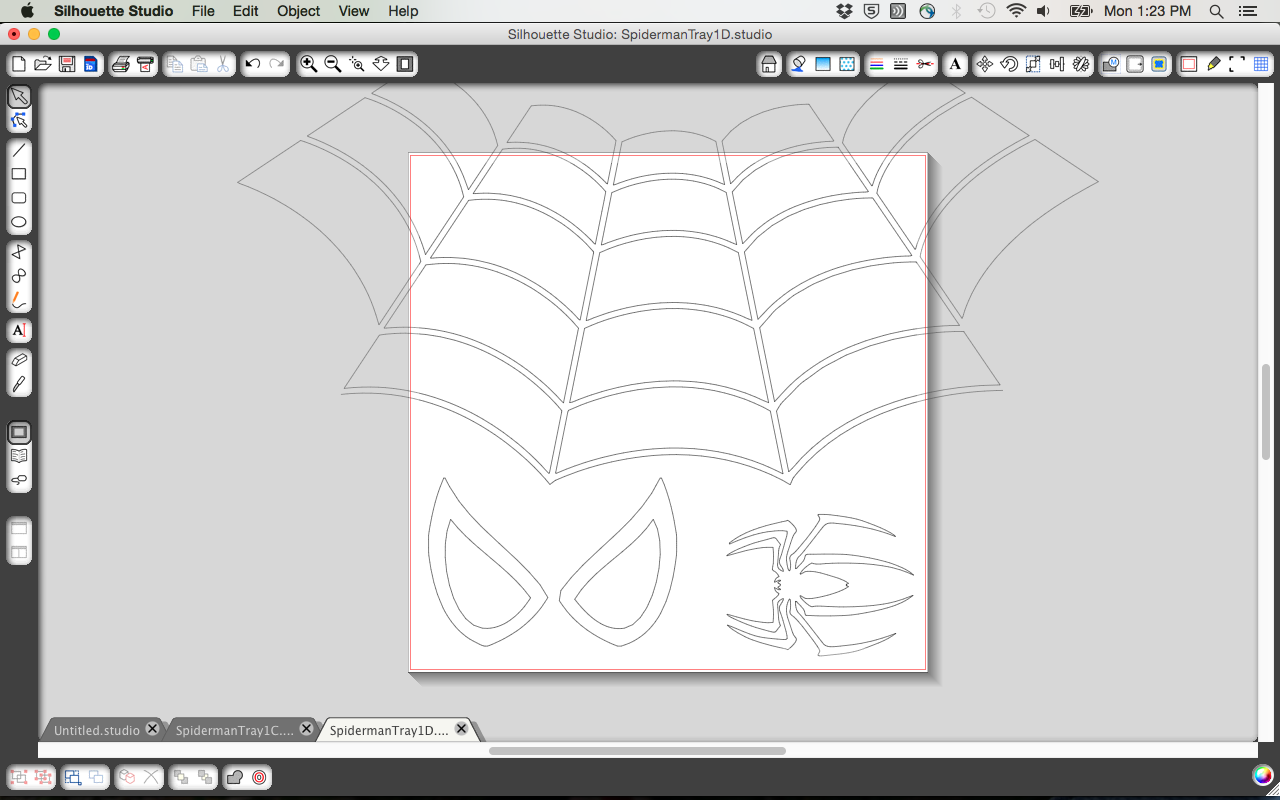
- Select File>Export
- Select Autocad Interchange file (.dxf)
- Open Silhouette Studio
- Open your DXF file and it should appear as gray lines as the right size
Adjust Silhouette for Cut Settings
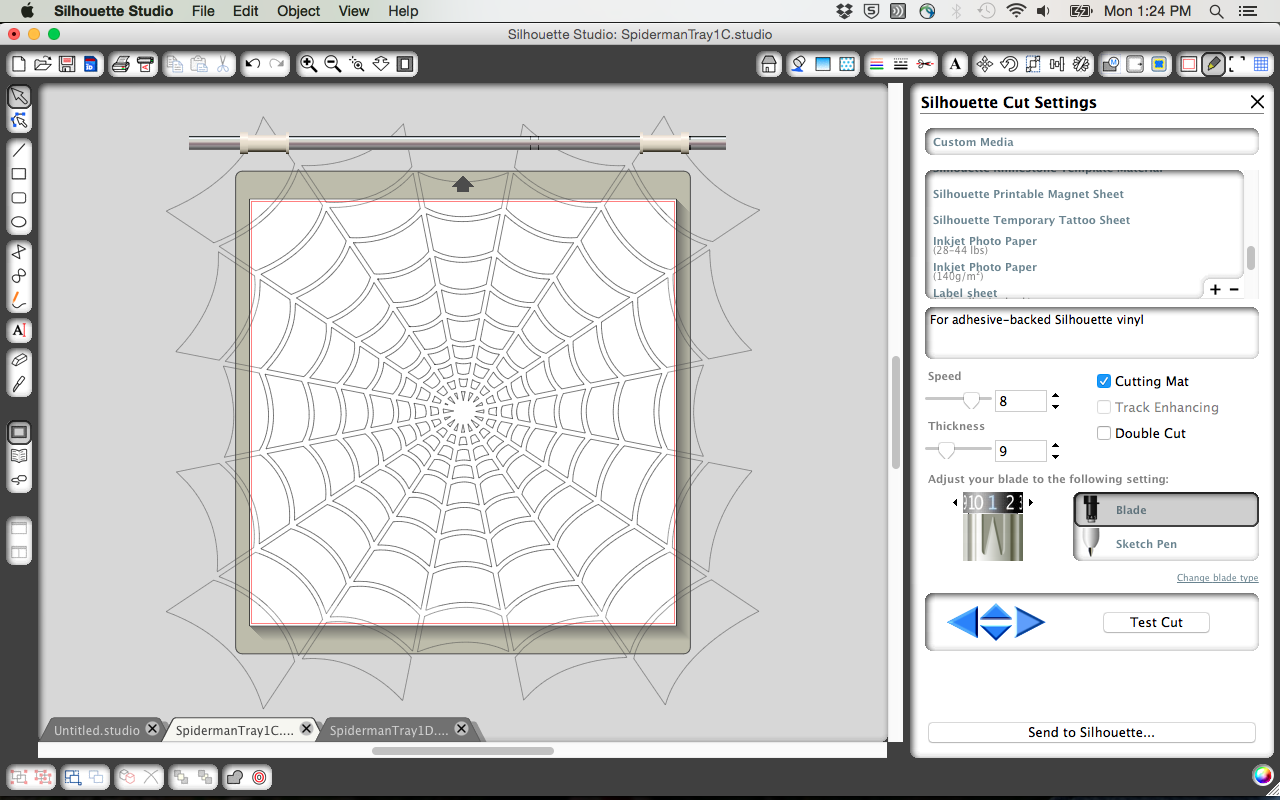
- Adjust cut settings for adhesive-backed vinyl.
- Make sure Cutting Mat checkbox is selected
- Readings will likely be: Speed 8, Thickness 9, Blade 1
- Select the Cut Page button
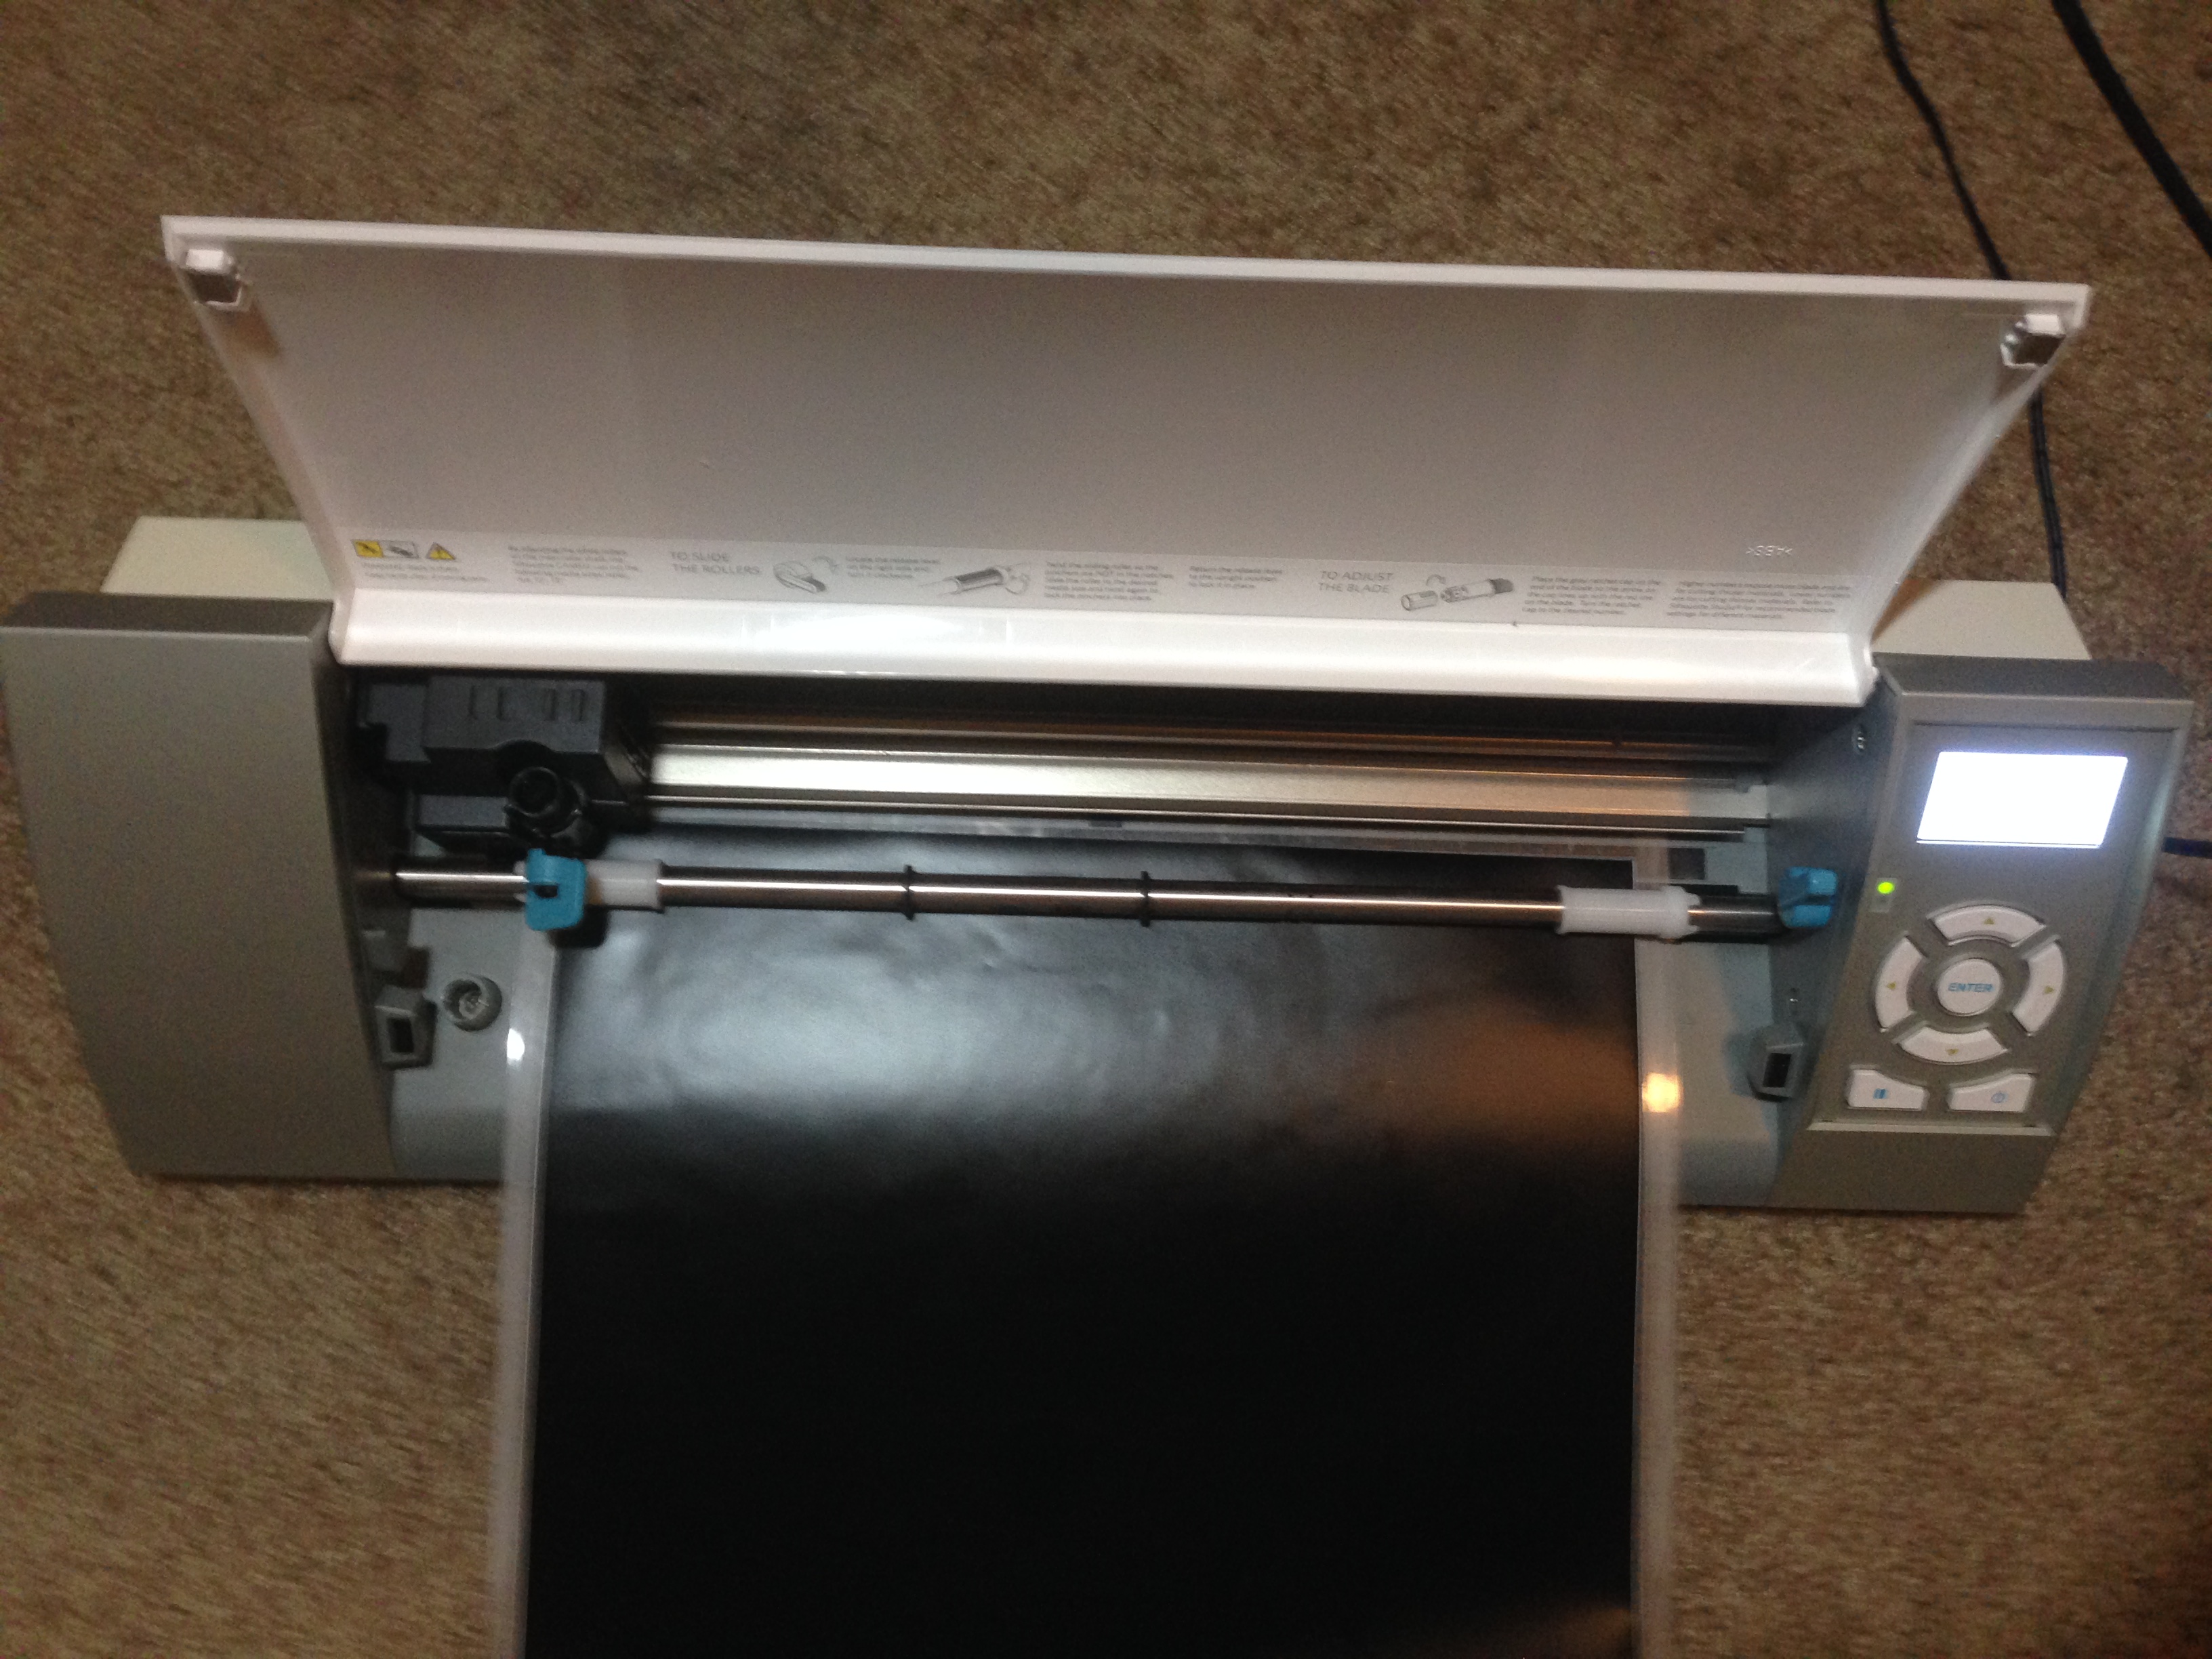
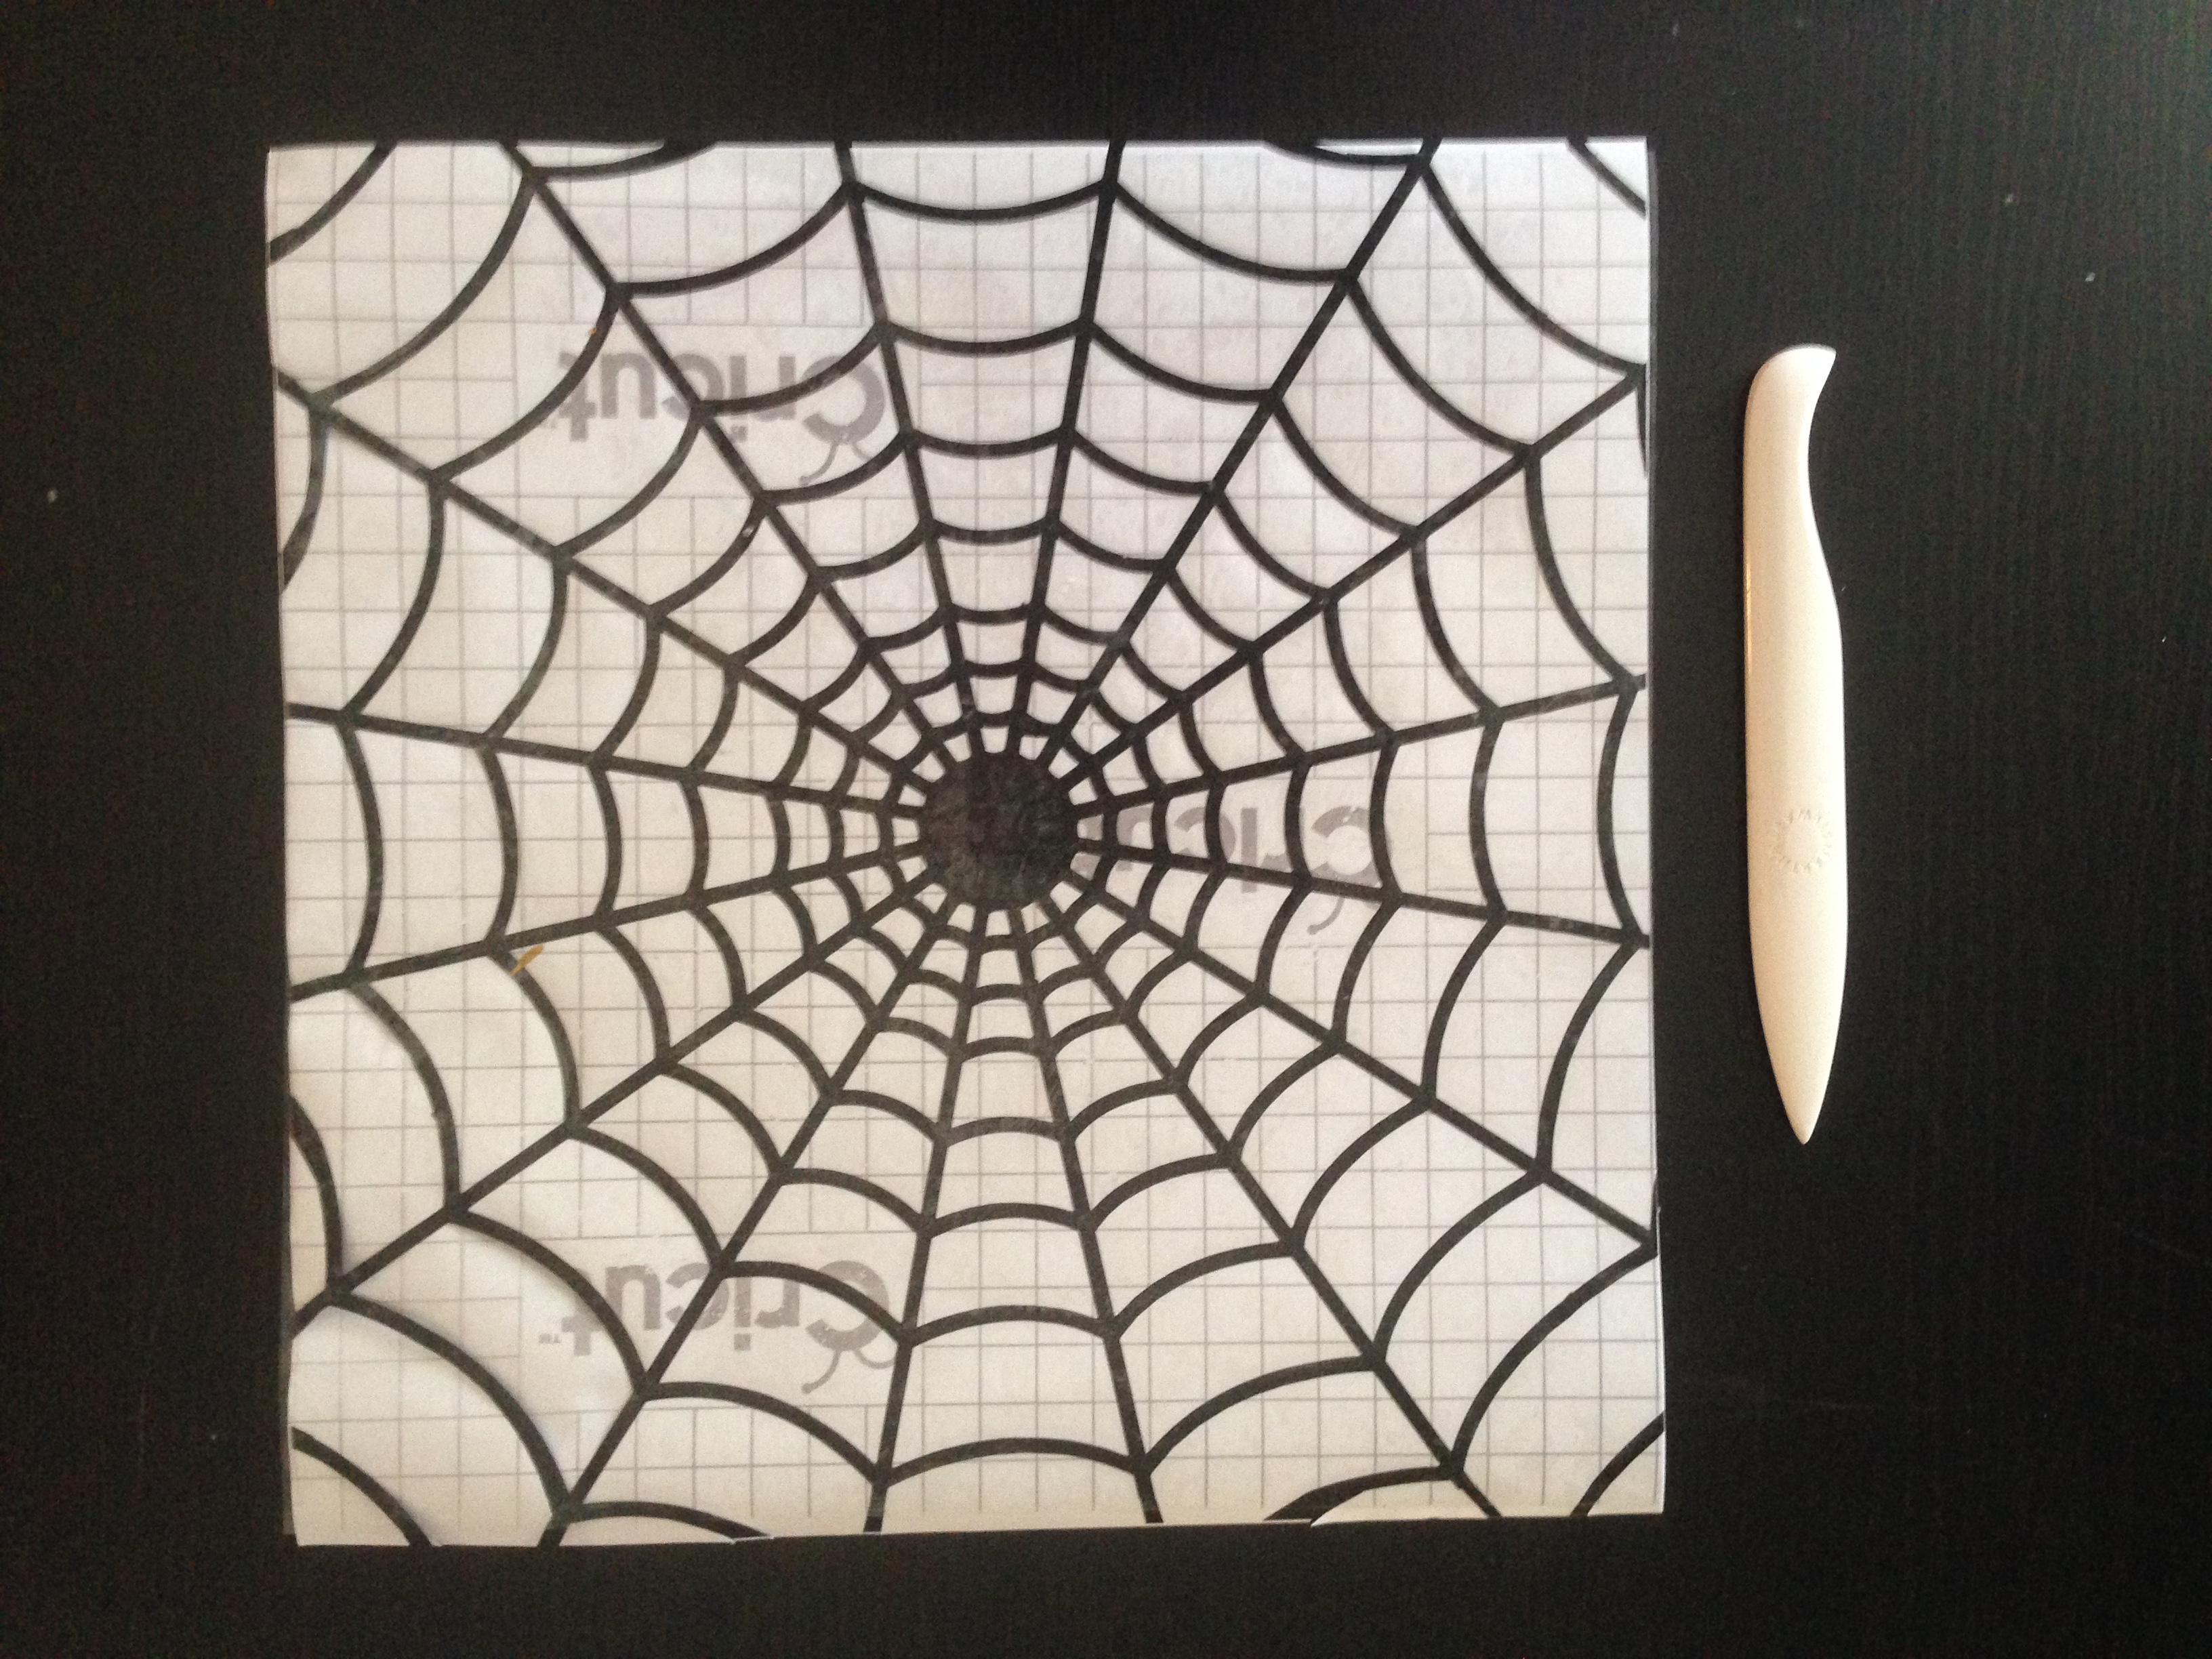
Prepare Vinyl on Cutting Board and Cut
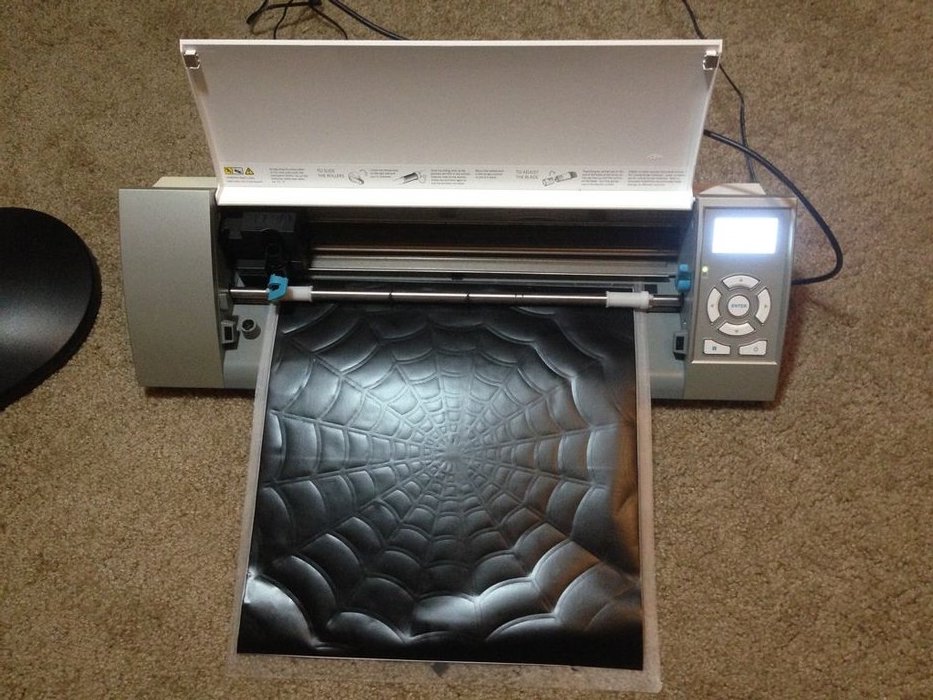
- Line up your vinyl to your cutting mat.
- Load the mat on the machine by aligning the mat with the white rollers, selecting ‘Load Cutting Mat' from the machine, and pressing the ‘ENTER' button.
- This process is slow, especially on such a big design, so be patient. Make sure your machine is on a flat surface without any obstructions nearby as the mat is fed to the front and back of the machine.
Weed Design (Remove Excess Vinyl)
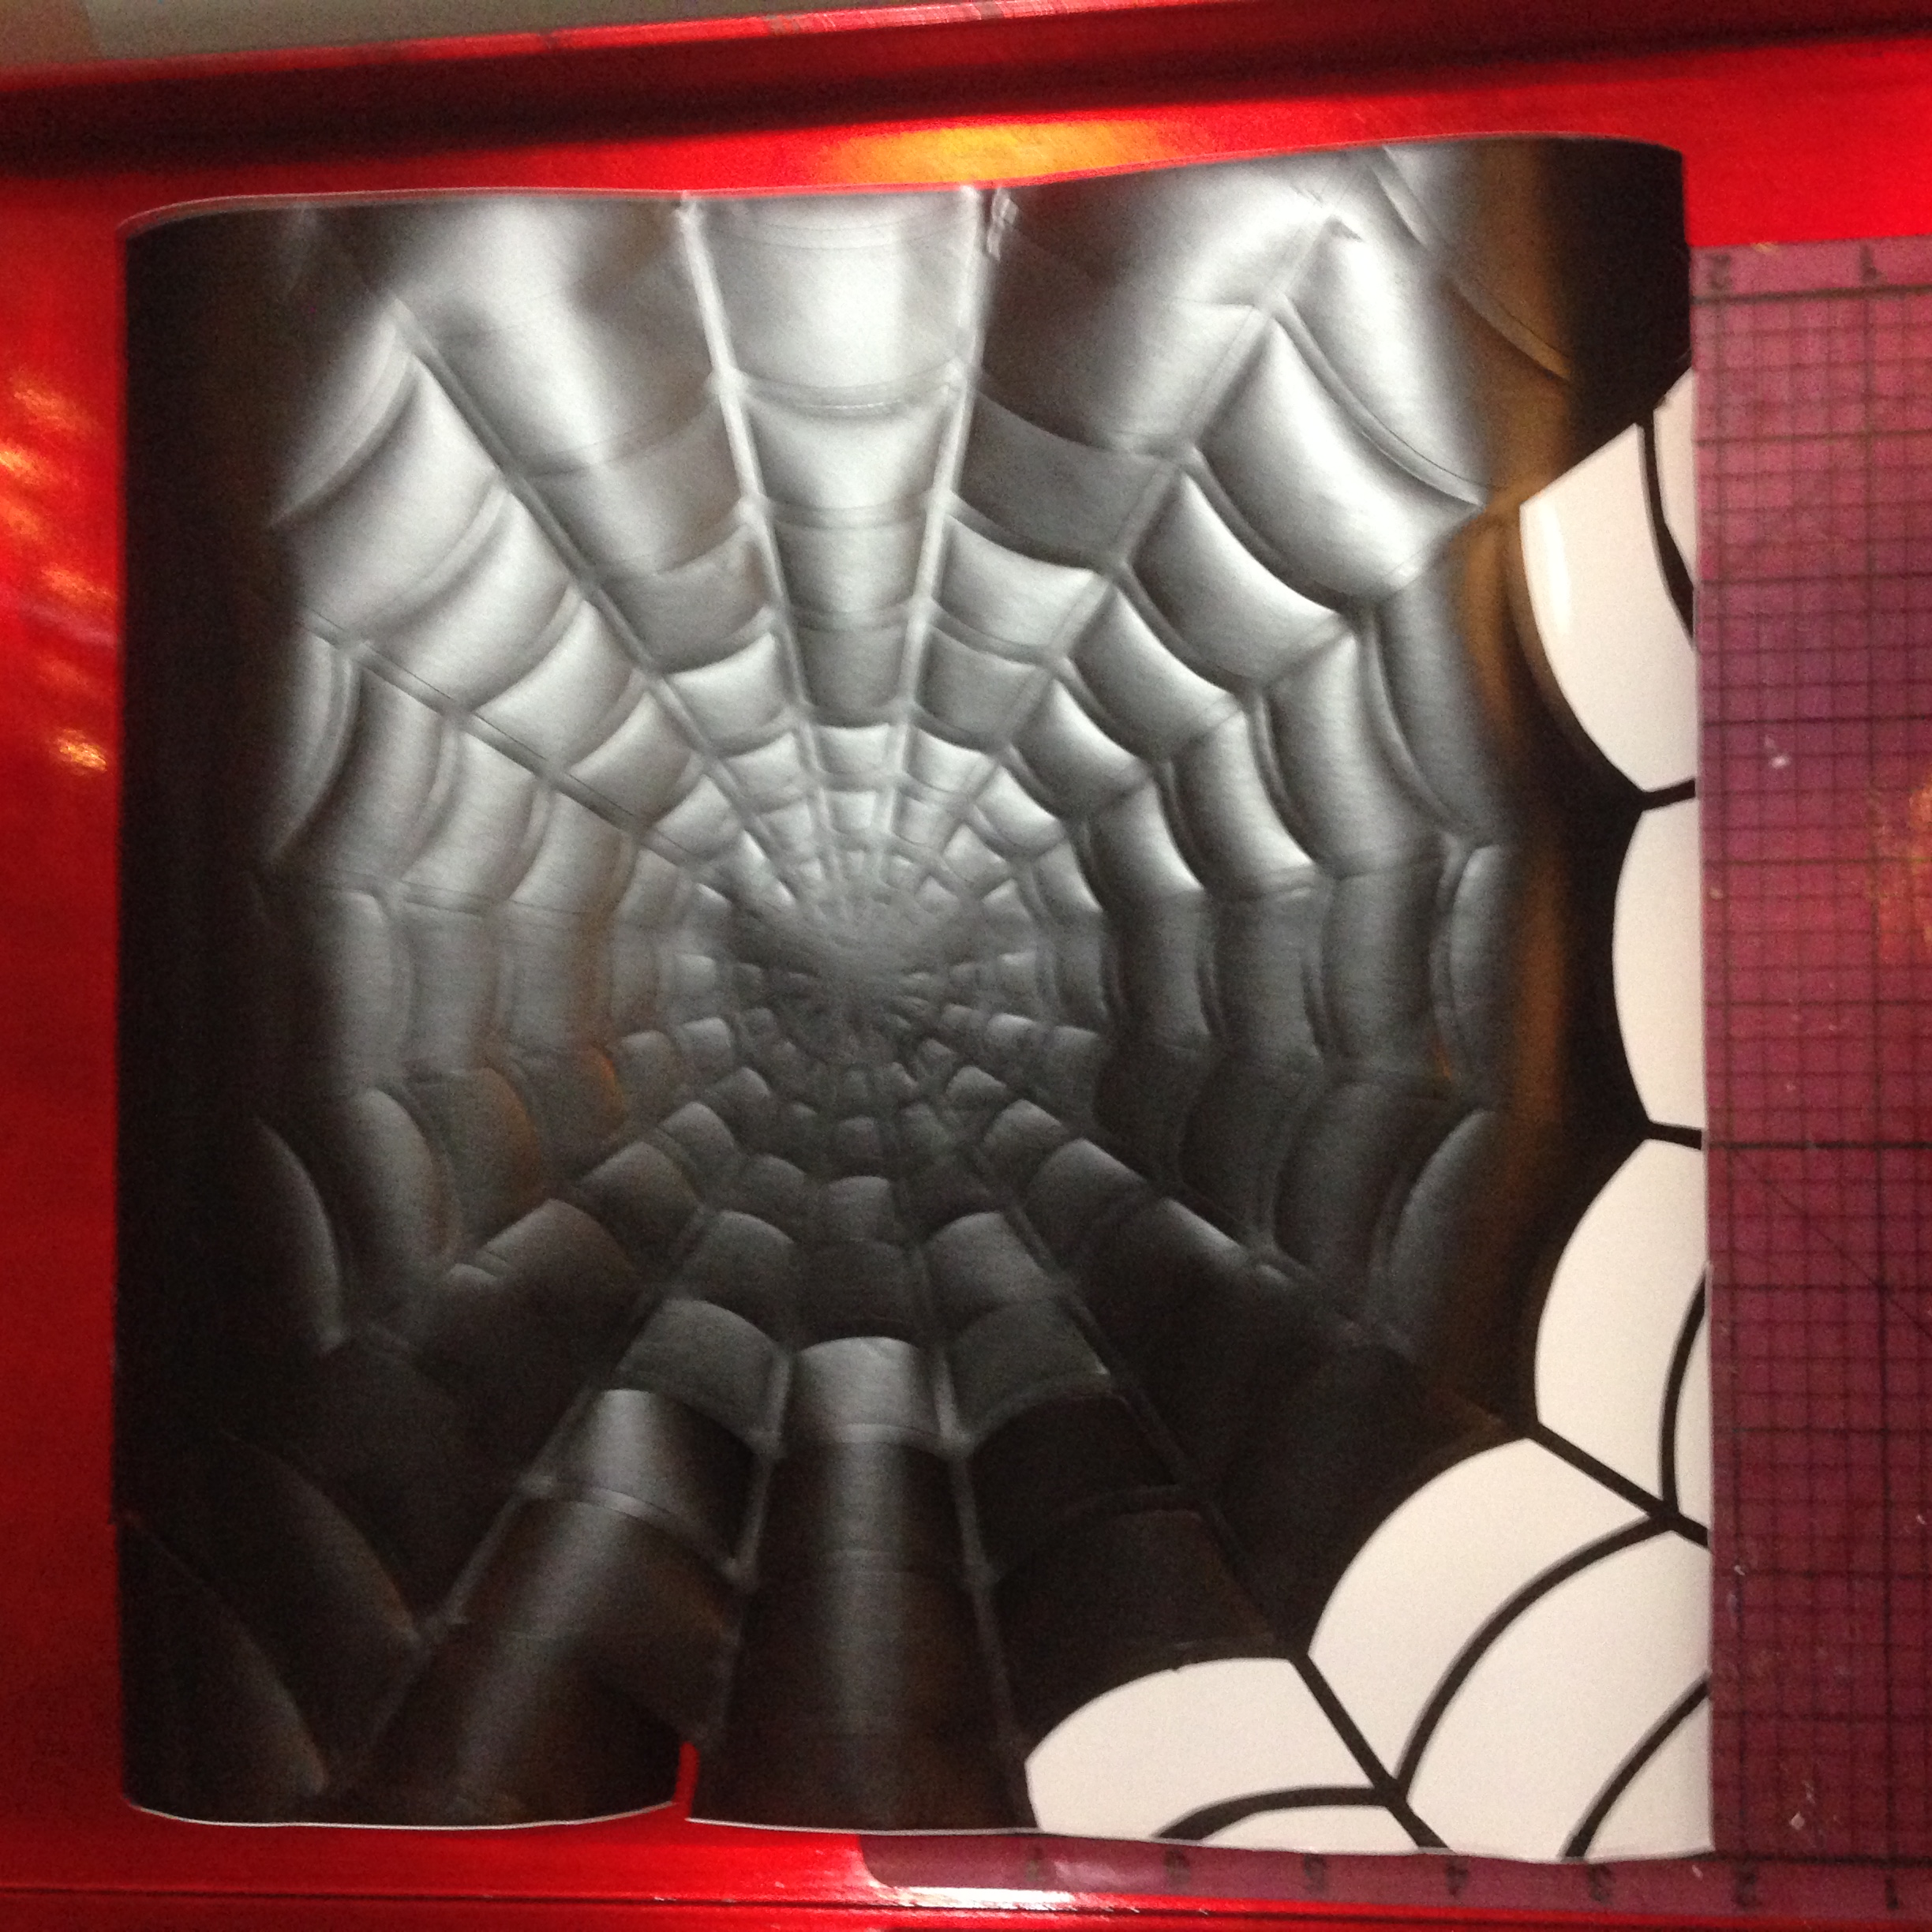
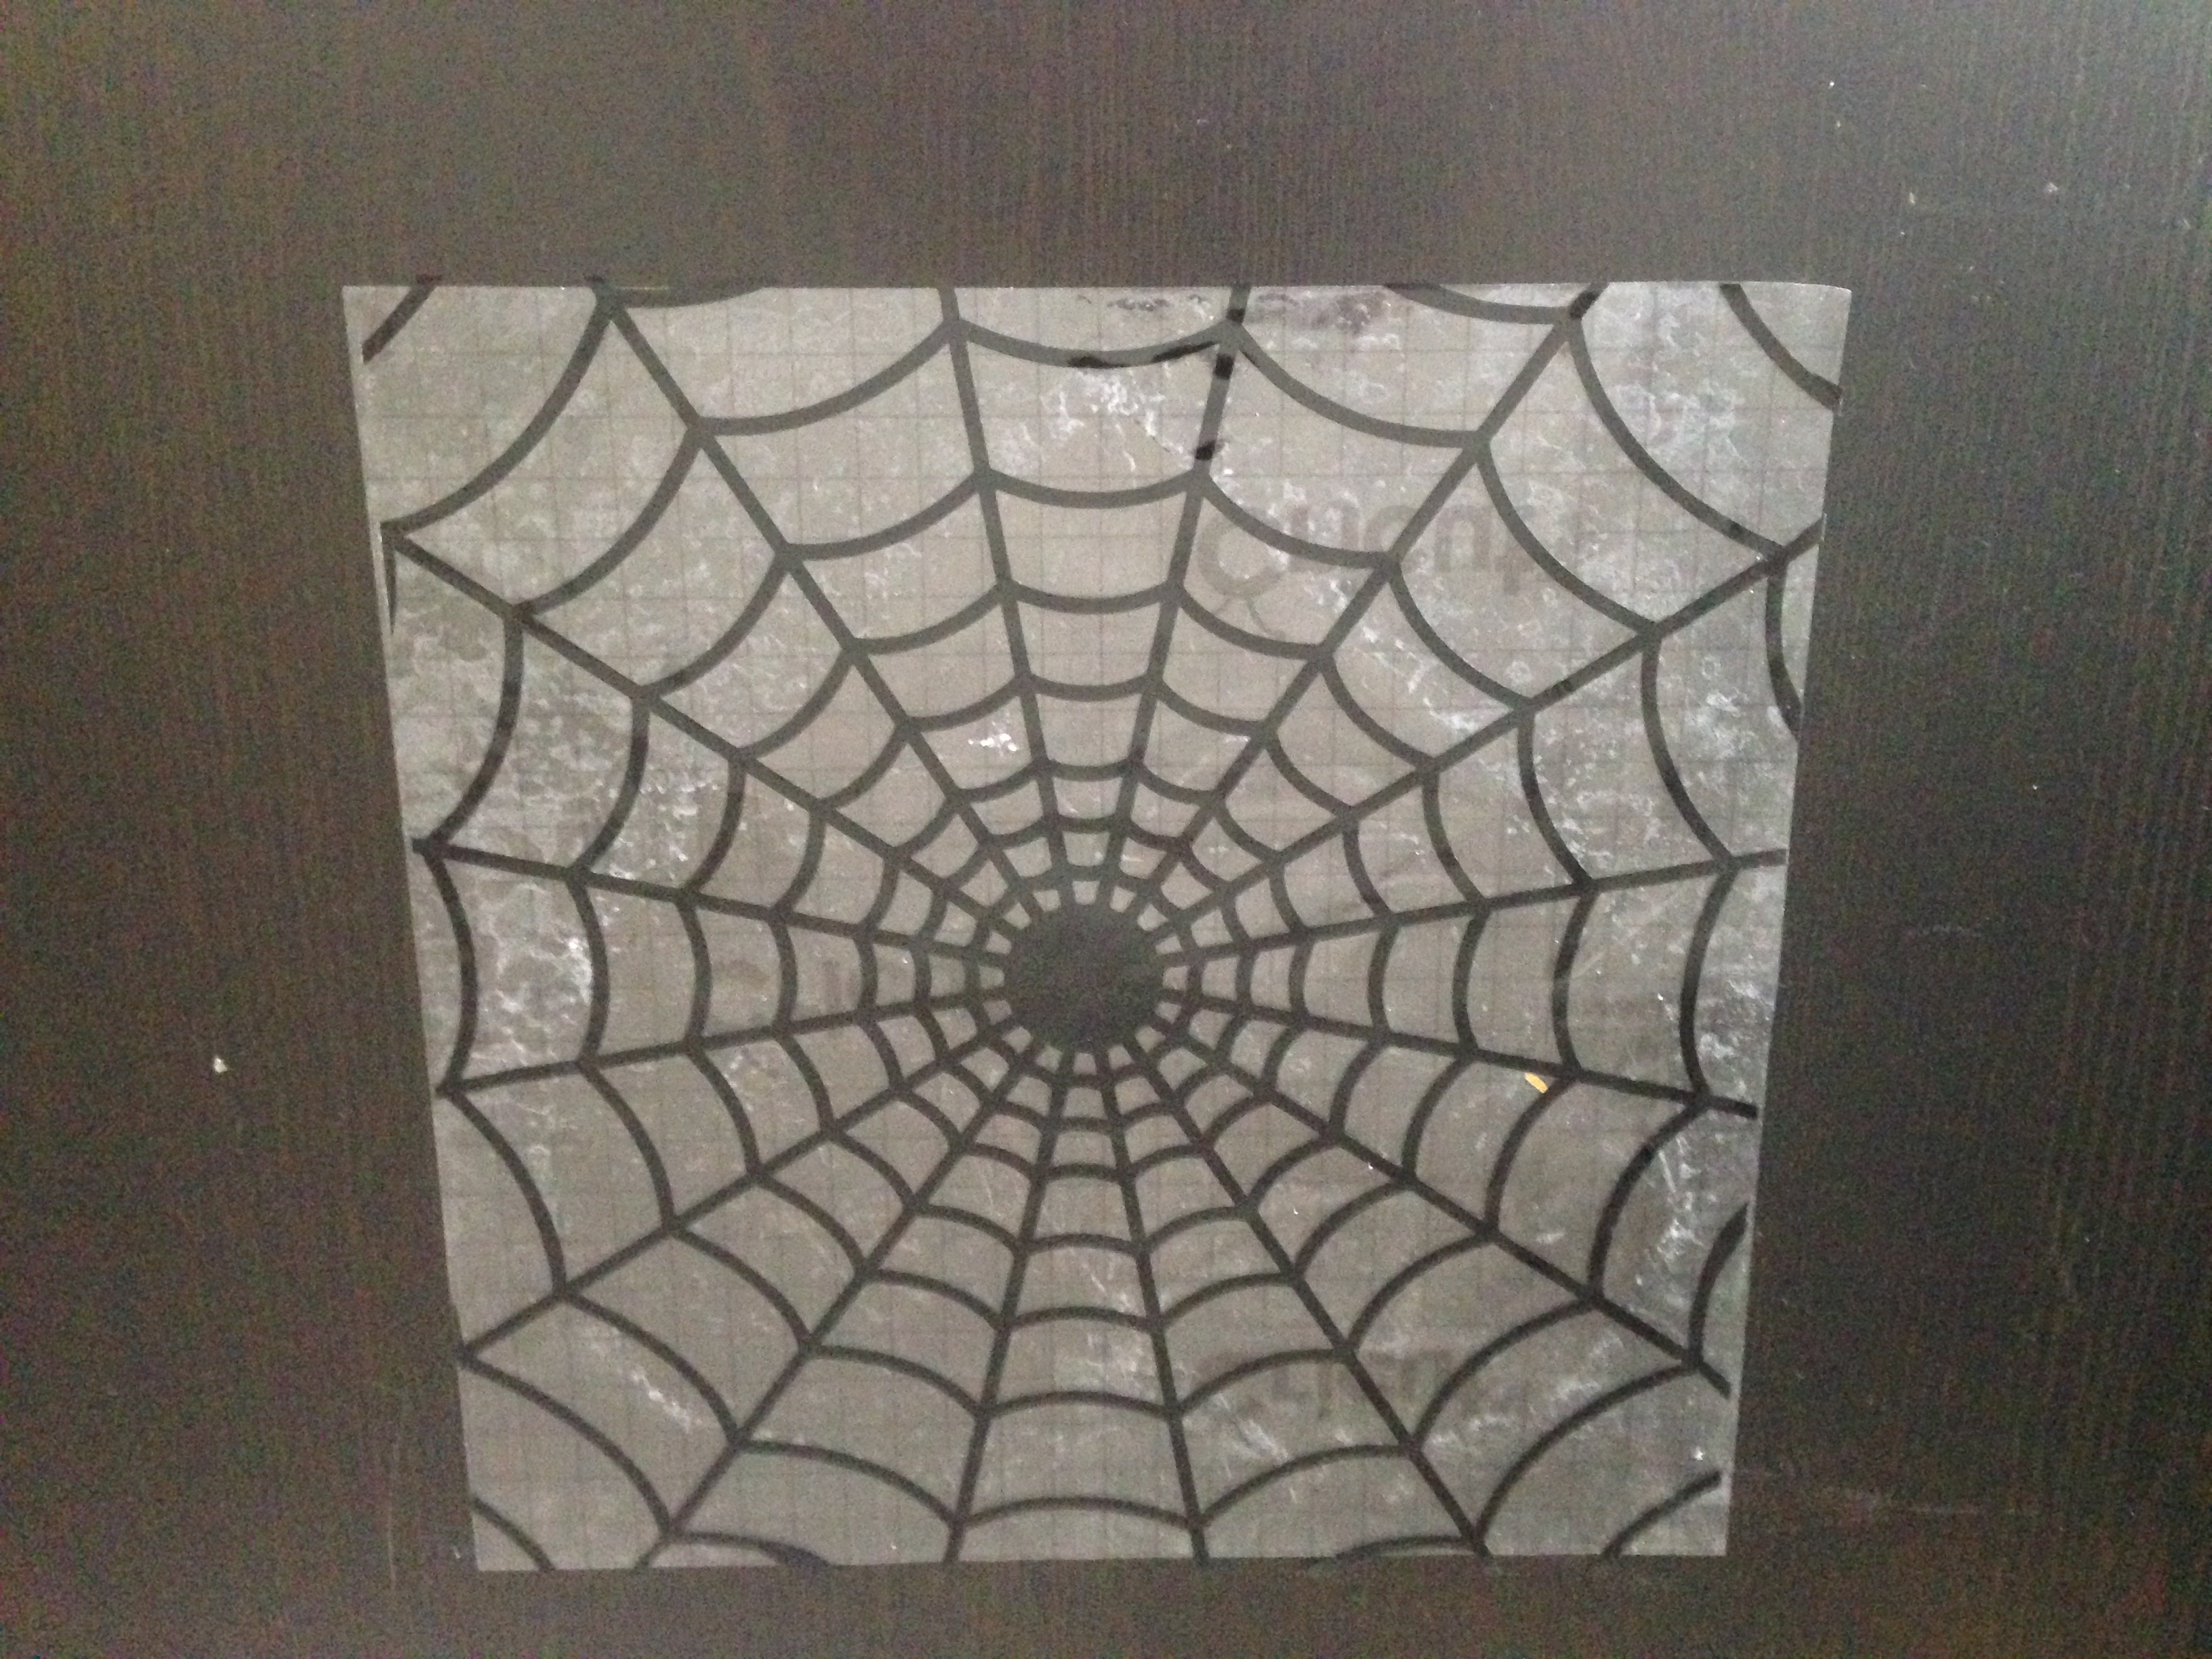
- Gently remove the excess vinyl that is not part of your design.
Place Design on Transfer Paper and Remove Backing
- Carefully transfer the vinyl design to transfer paper and remove the original backing from the vinyl.
Transfer Design and Peel Away Transfer Paper
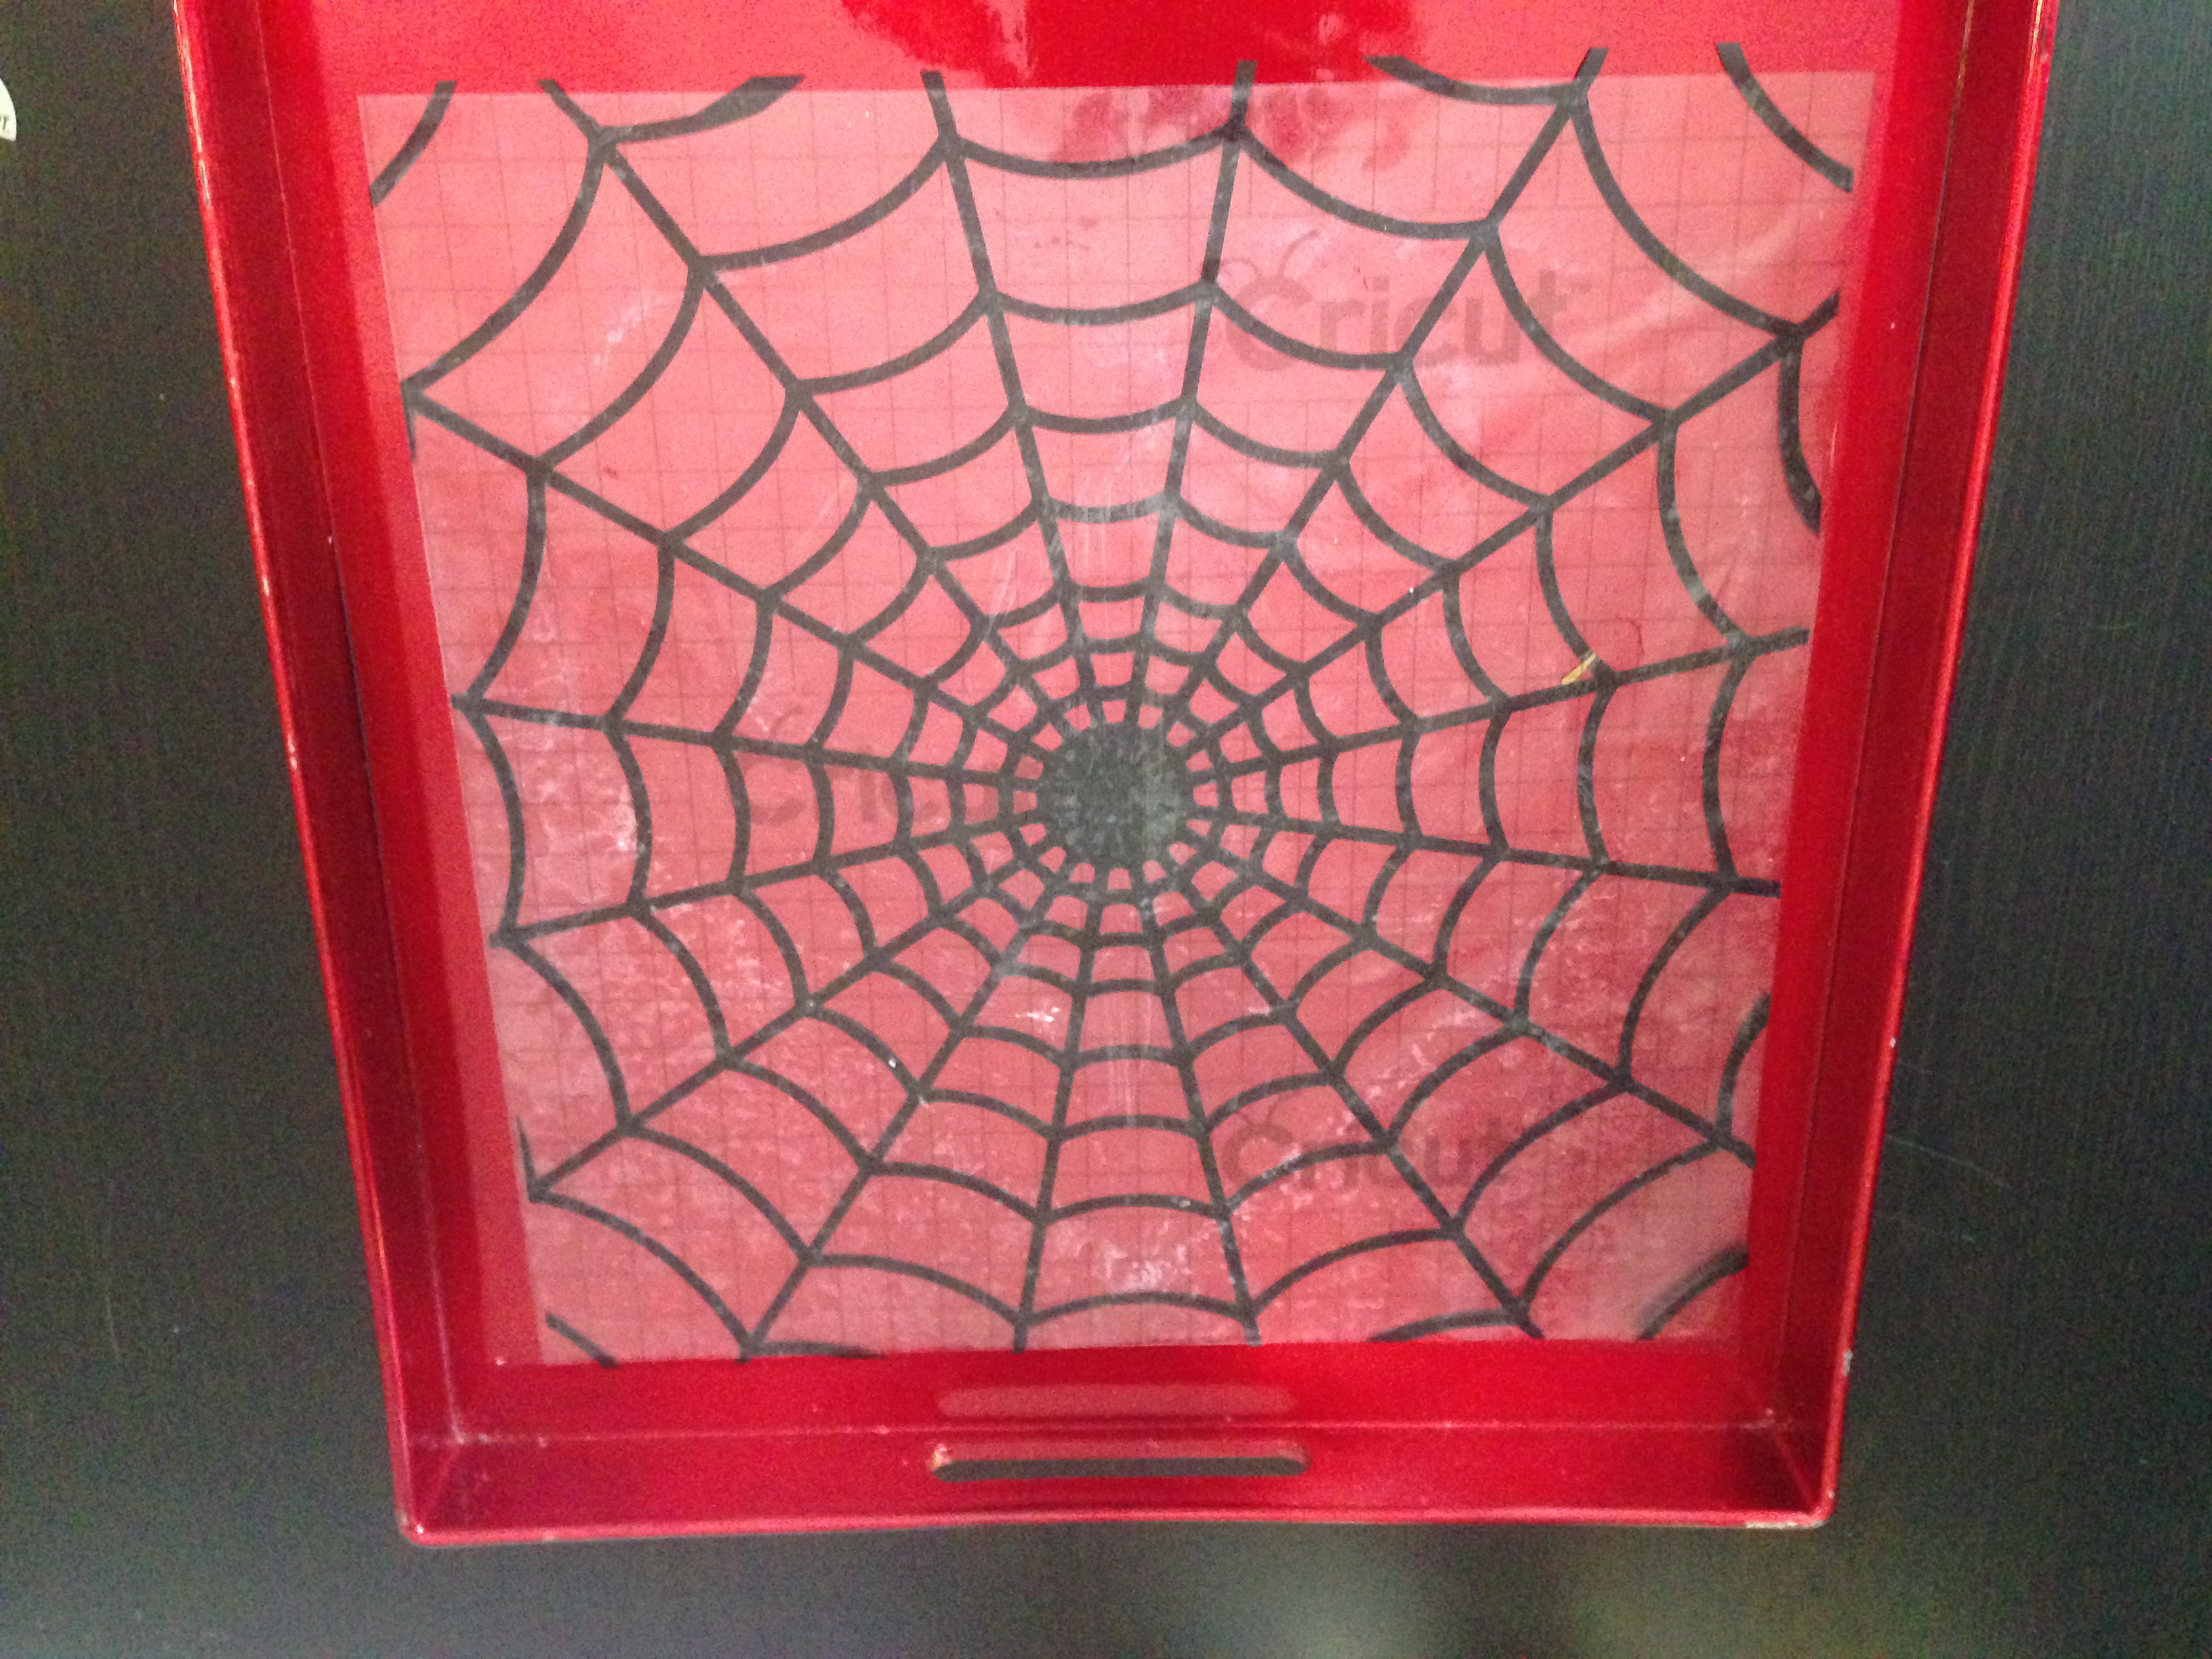
- Transfer the design to your tray surface and burnish the design with a bone folder.
- Gently peel away the transfer paper, leaving your design on the surface.
Final Touches
- Align the extra designs.
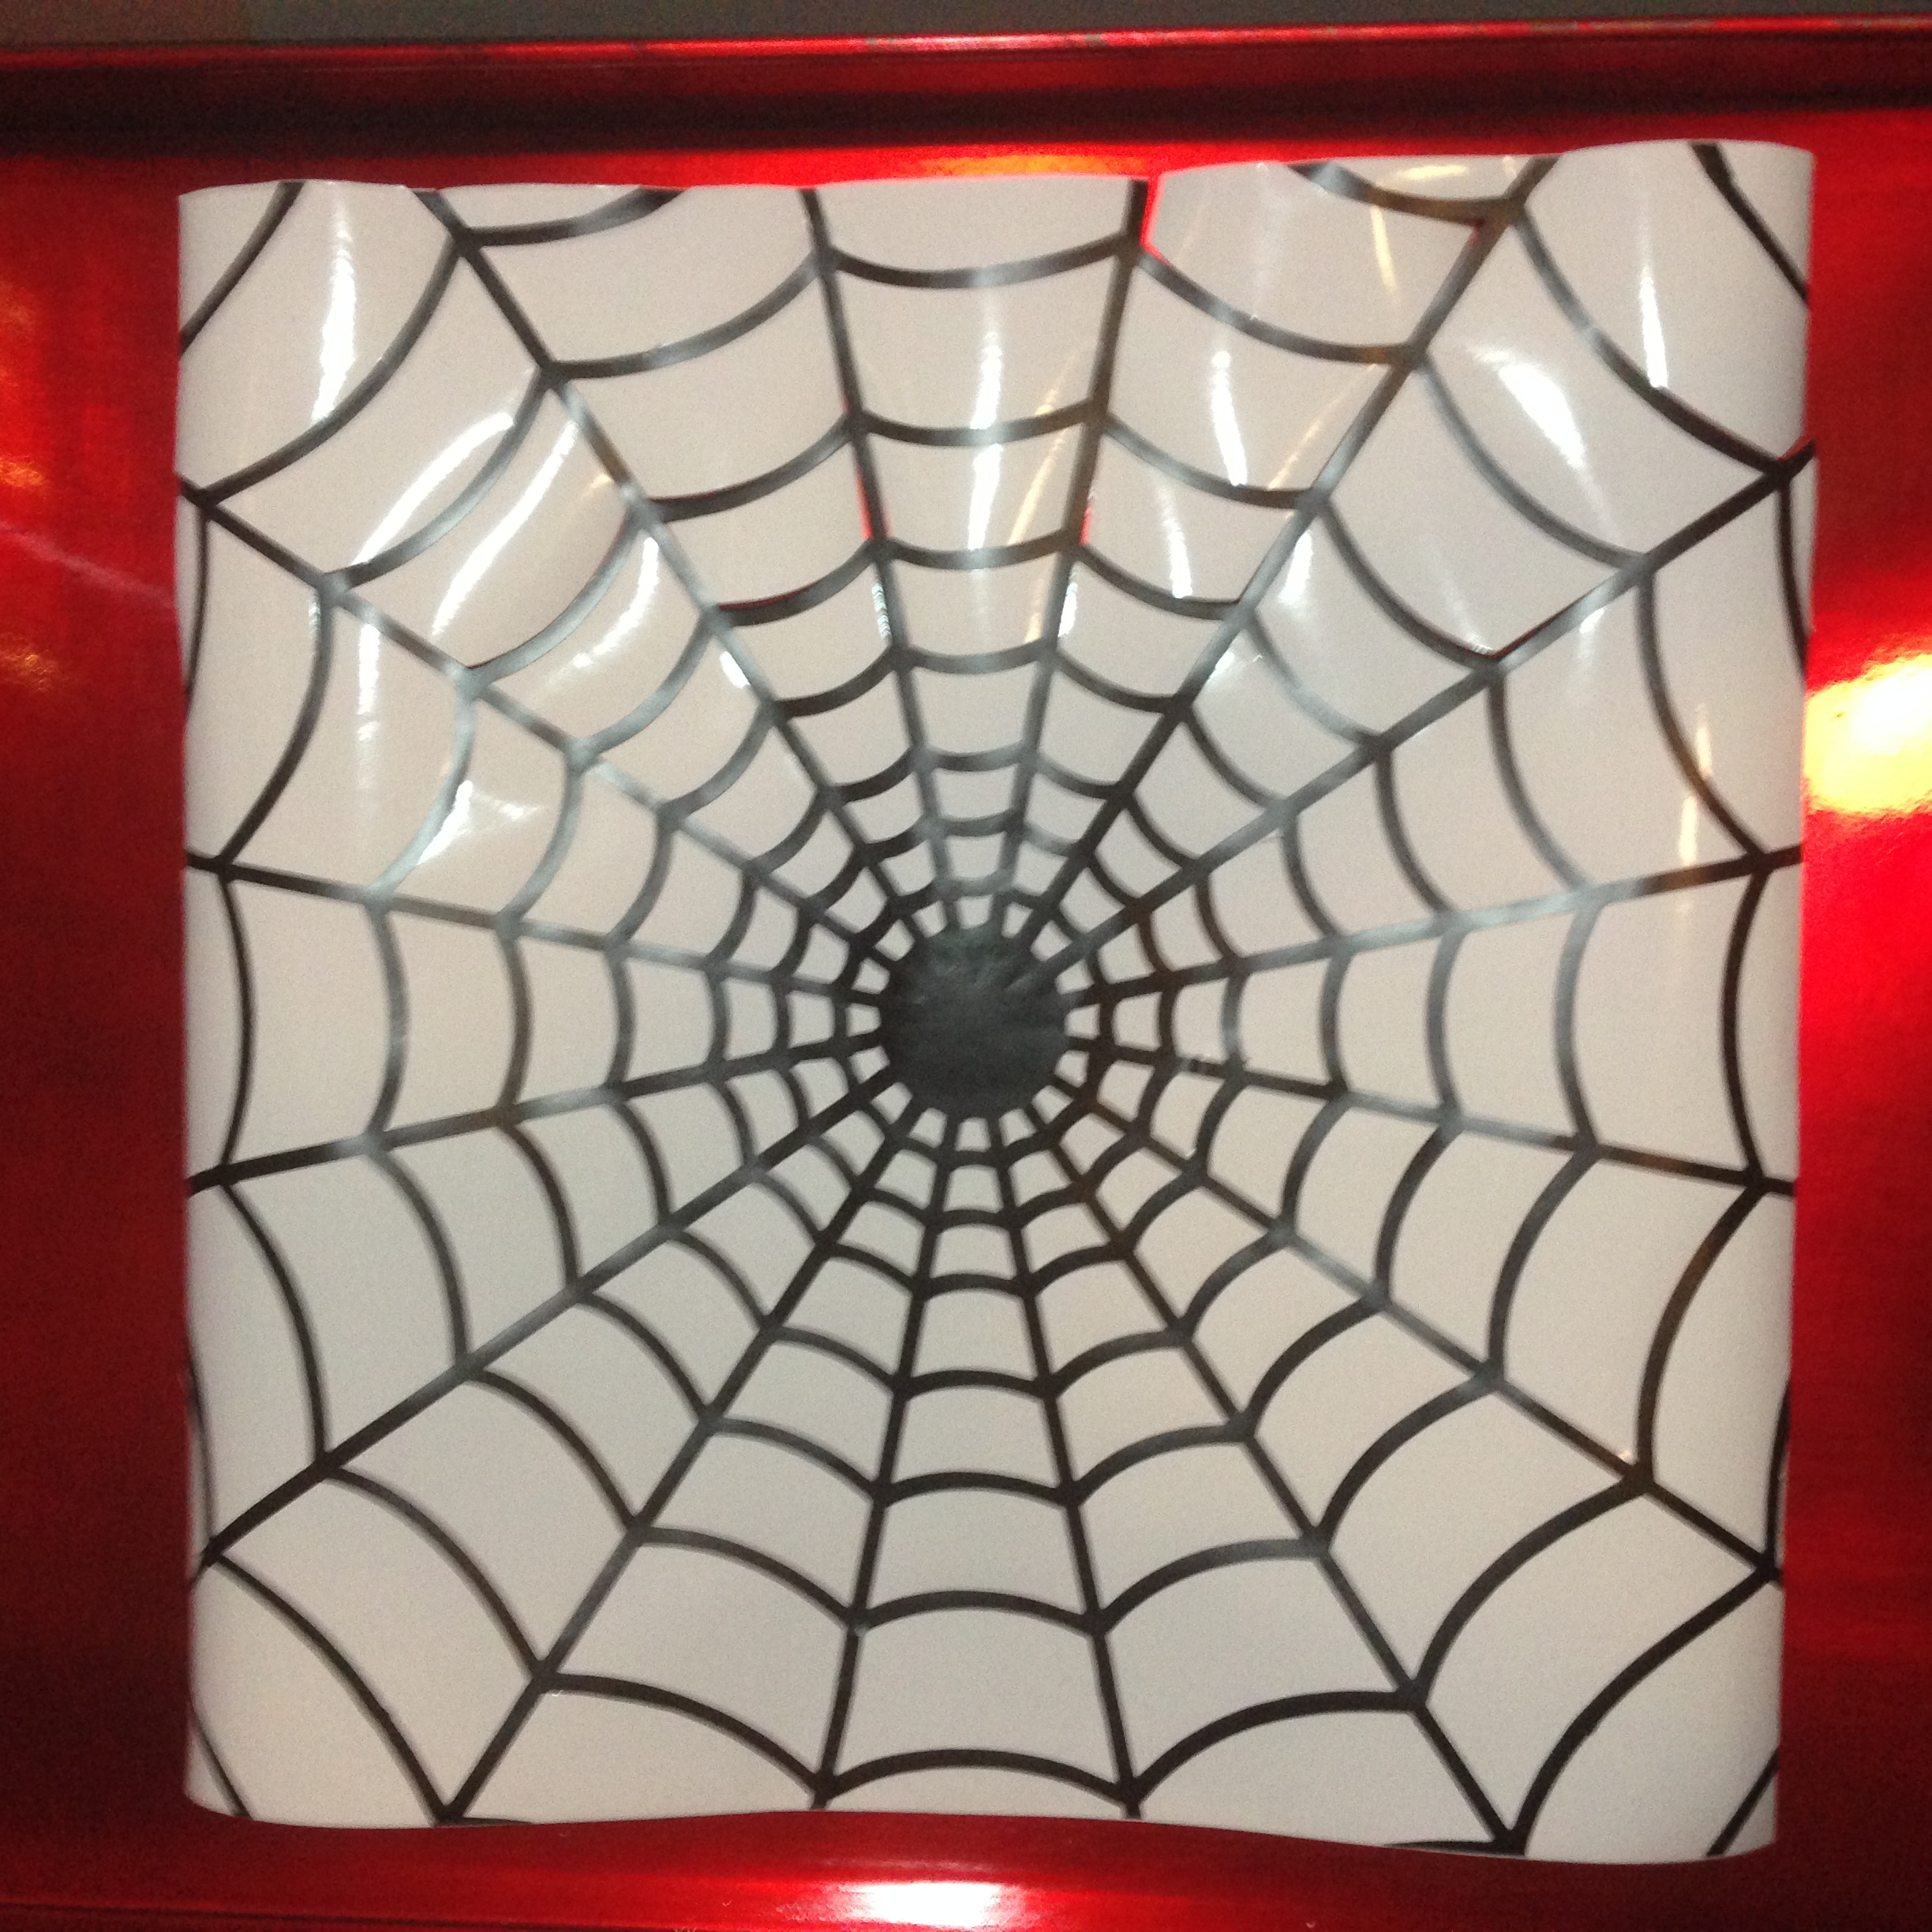
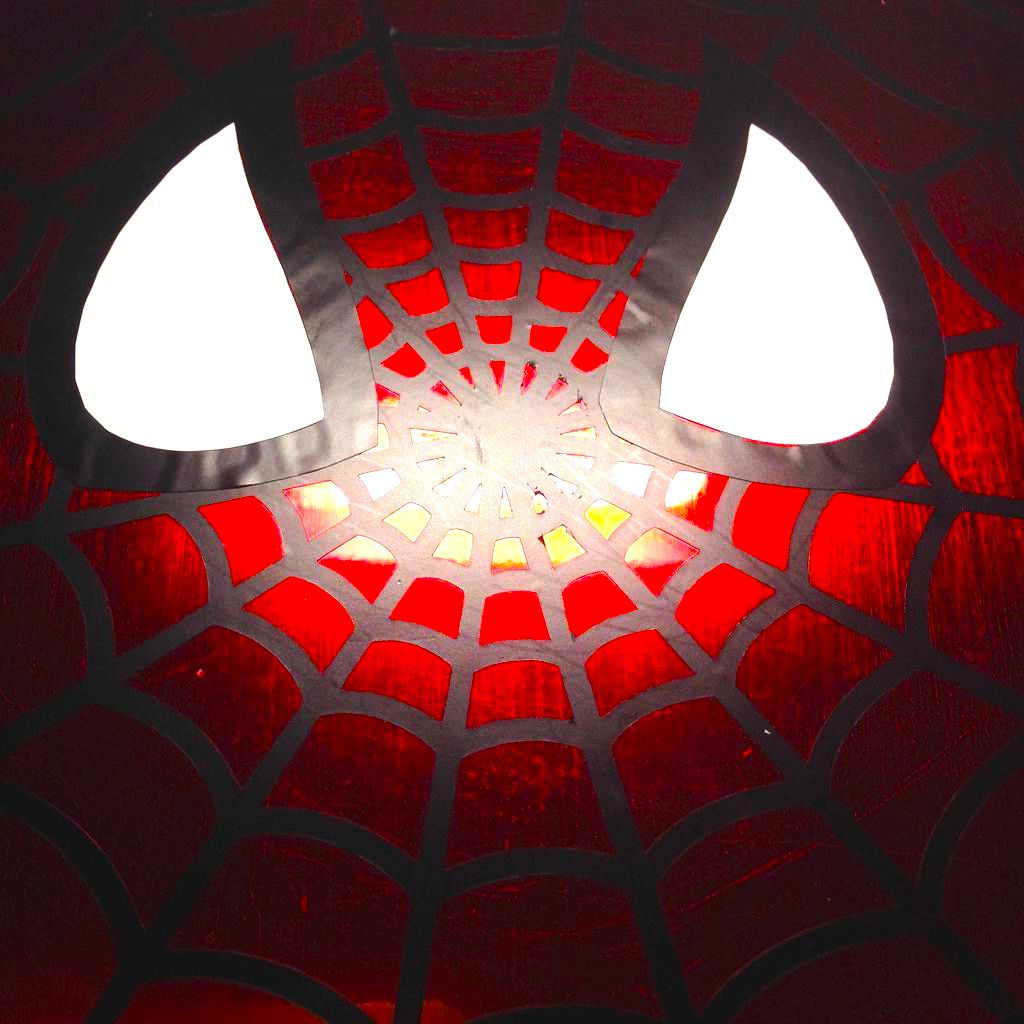
- I wanted this minimalist design to have just the spider web, spider emblem, mask, and glowing eyes.
- I found blue glow-in-the-dark vinyl from a car supply store online.
- Place a protective layer of 20 gauge clear vinyl to protect your design from crumbs, spills, etc.
- Bask in the glow of your nerdiness.