Speedometer Longboard With Website
by DaanC6 in Circuits > Raspberry Pi
1155 Views, 7 Favorites, 0 Comments
Speedometer Longboard With Website
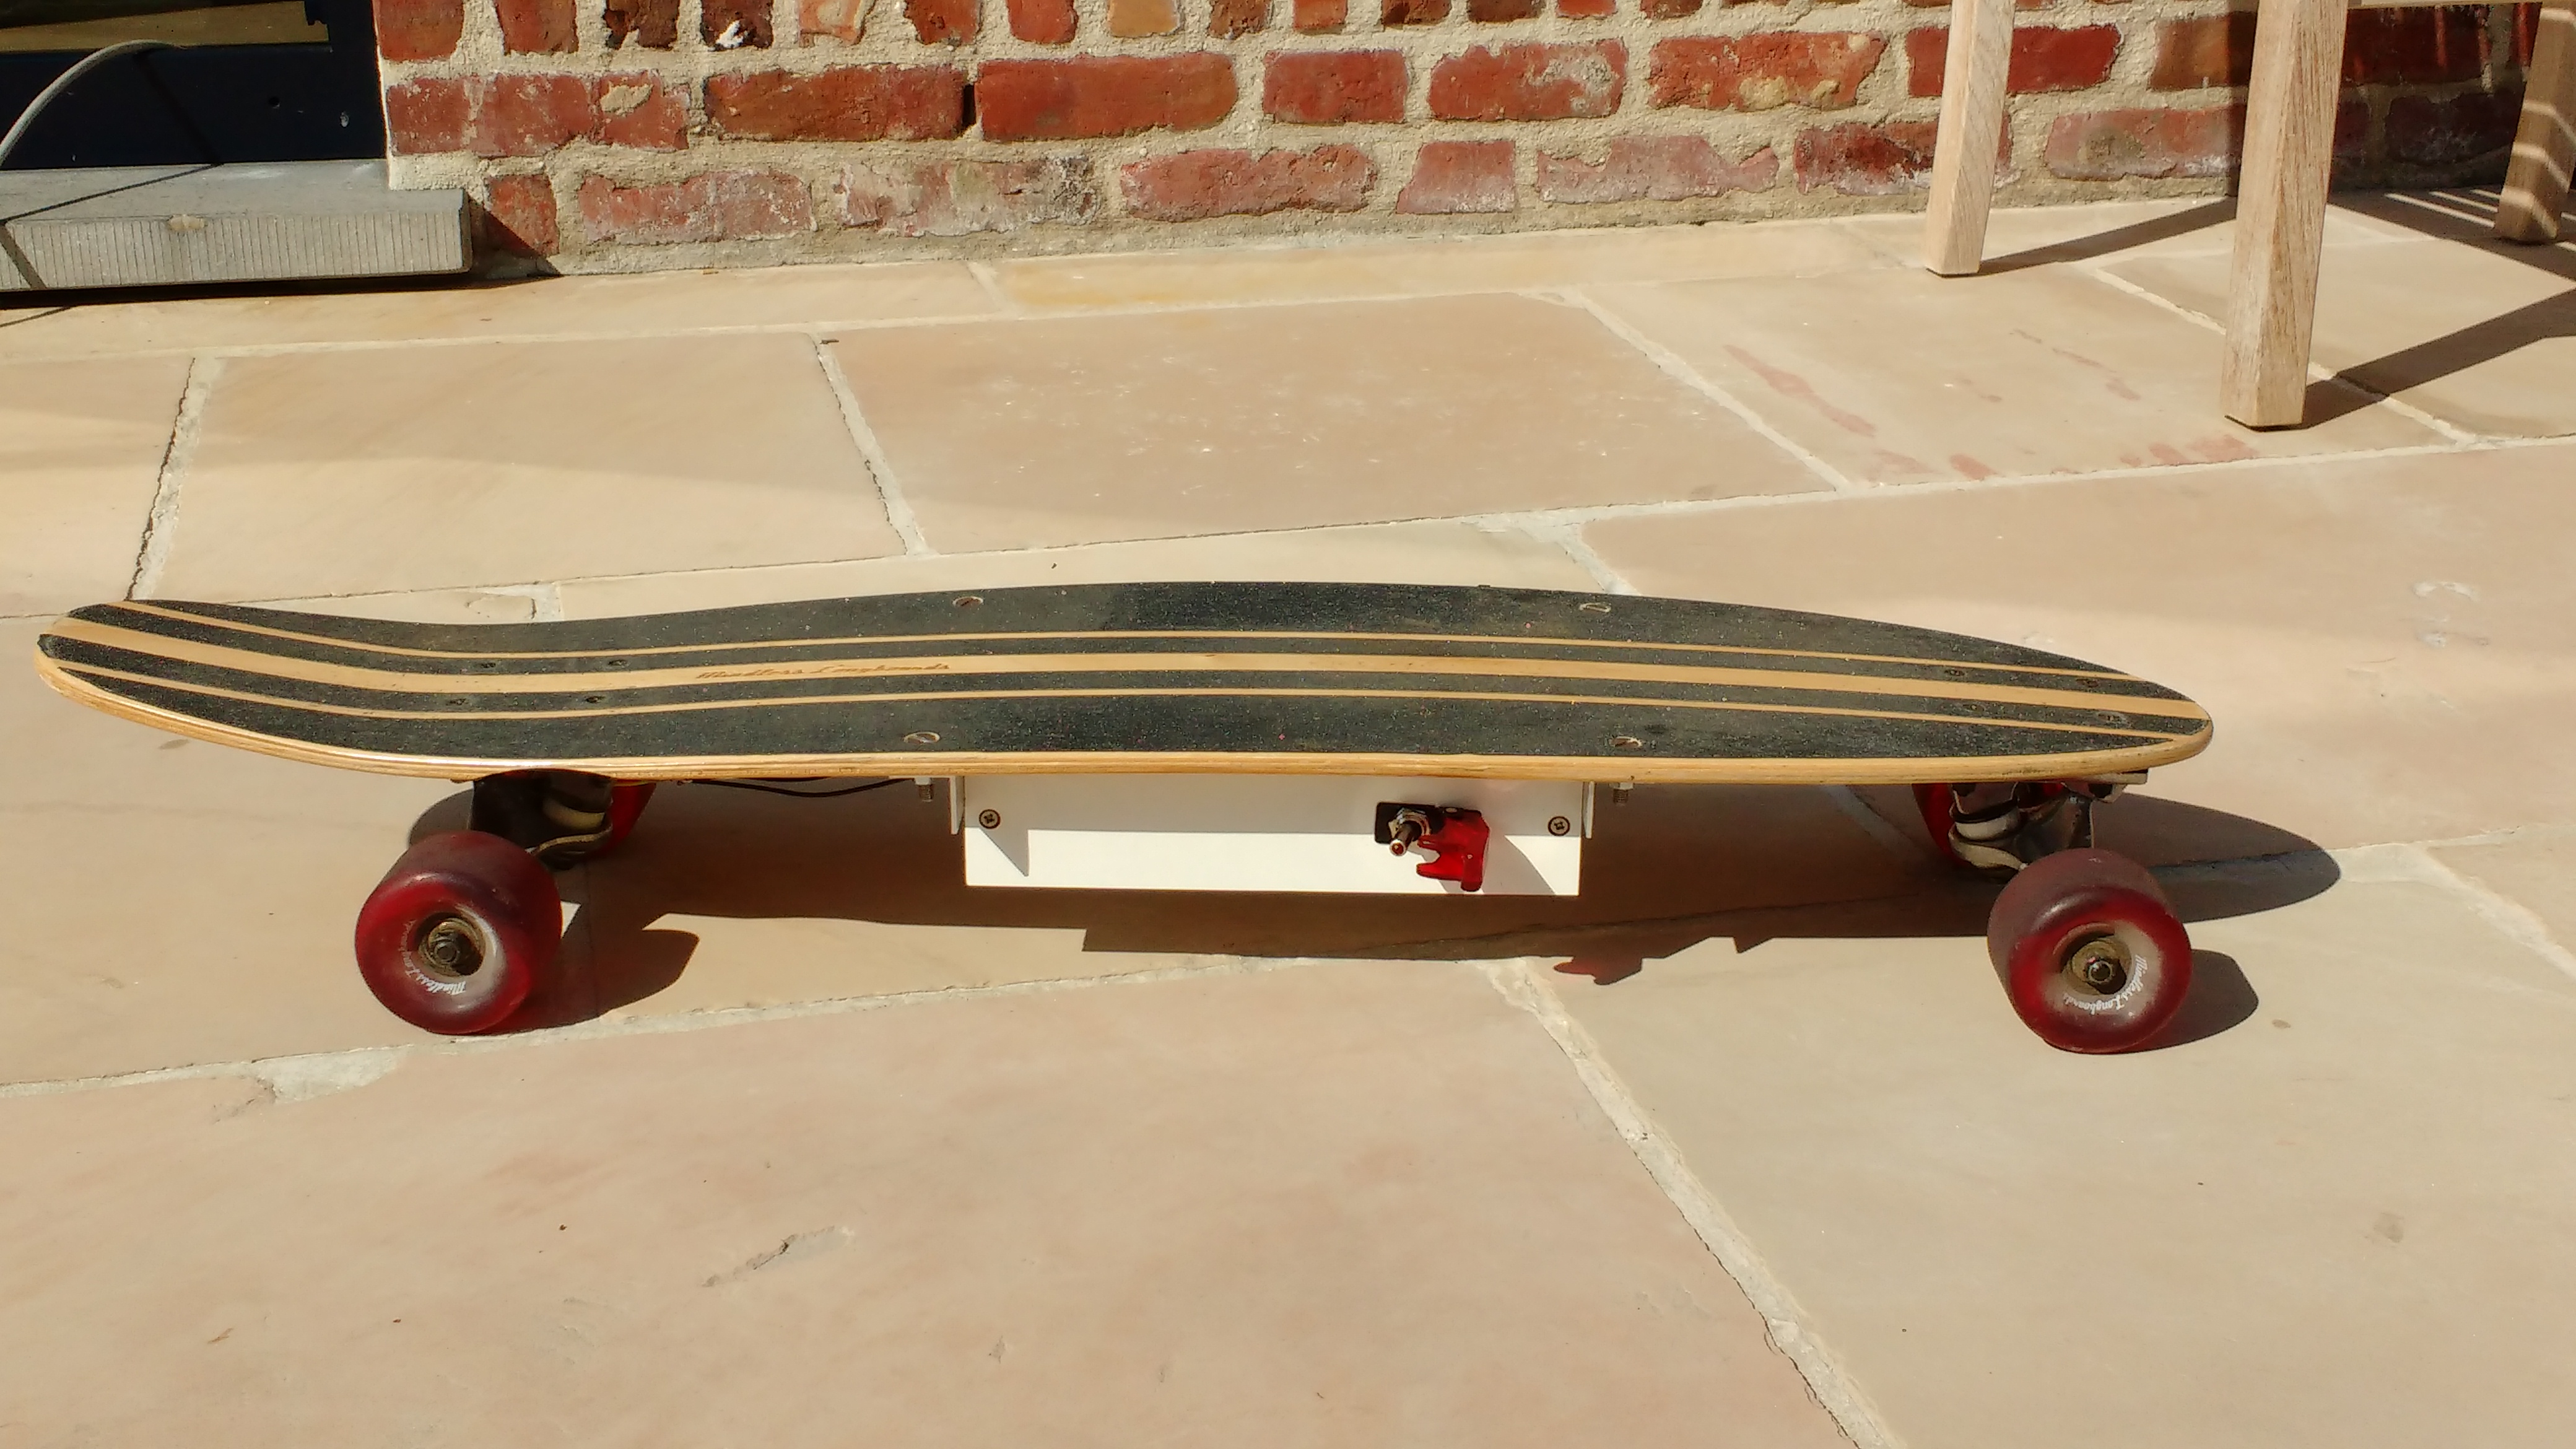
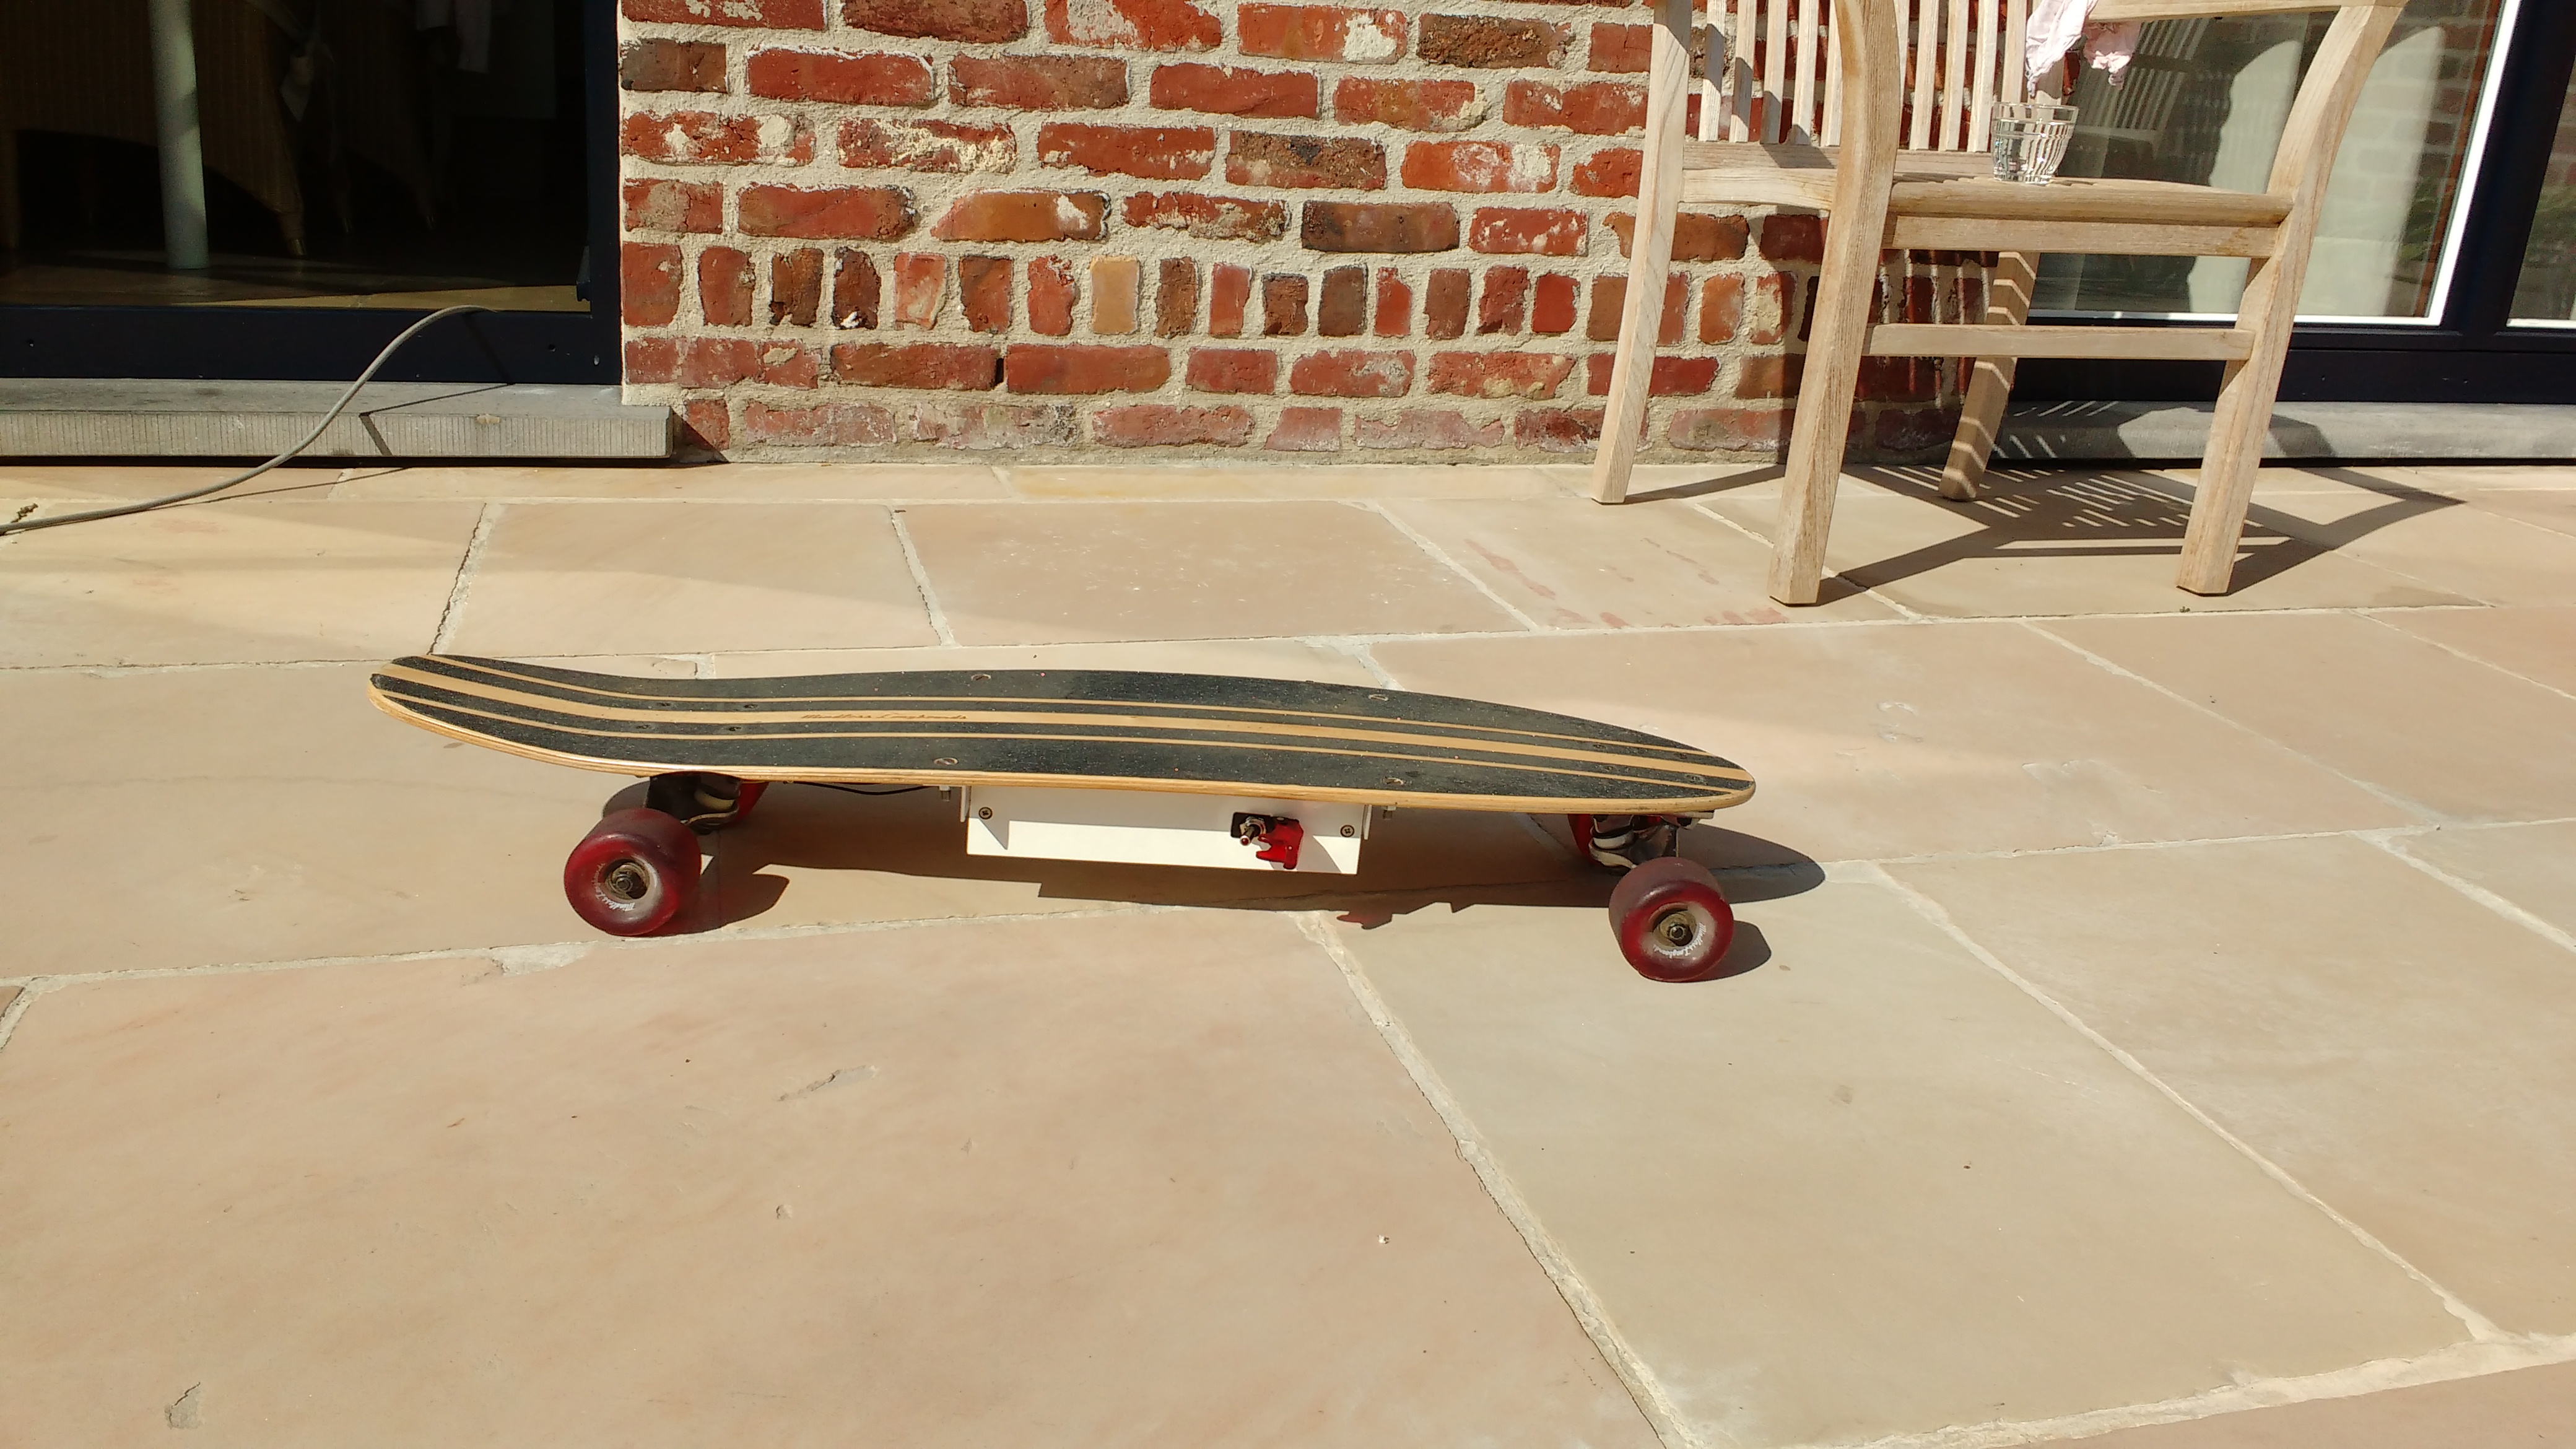
I love longboarding but I never know how far and how fast I was going. When I searched the web i couldn't really find a solution to my problems so i decieded to take the bull by the horns and make it myself.
What to expect for this project:
- Realtime monitoring speed, distance, traveltime
- Rides saved in database
- Data overvieuw on the website
All the files needed are placed on my github account.
Materials
Tools
- Drill
- Countersink
- 3mm head
- 14mm head
- Wood saw
- Iron saw
- Soldering iron
Materials
- Long/skateboard
- Raspberry pi (3 model B recommended)
- Hall effect sensor
- Magnet
- Piece of wood
- Angle iron
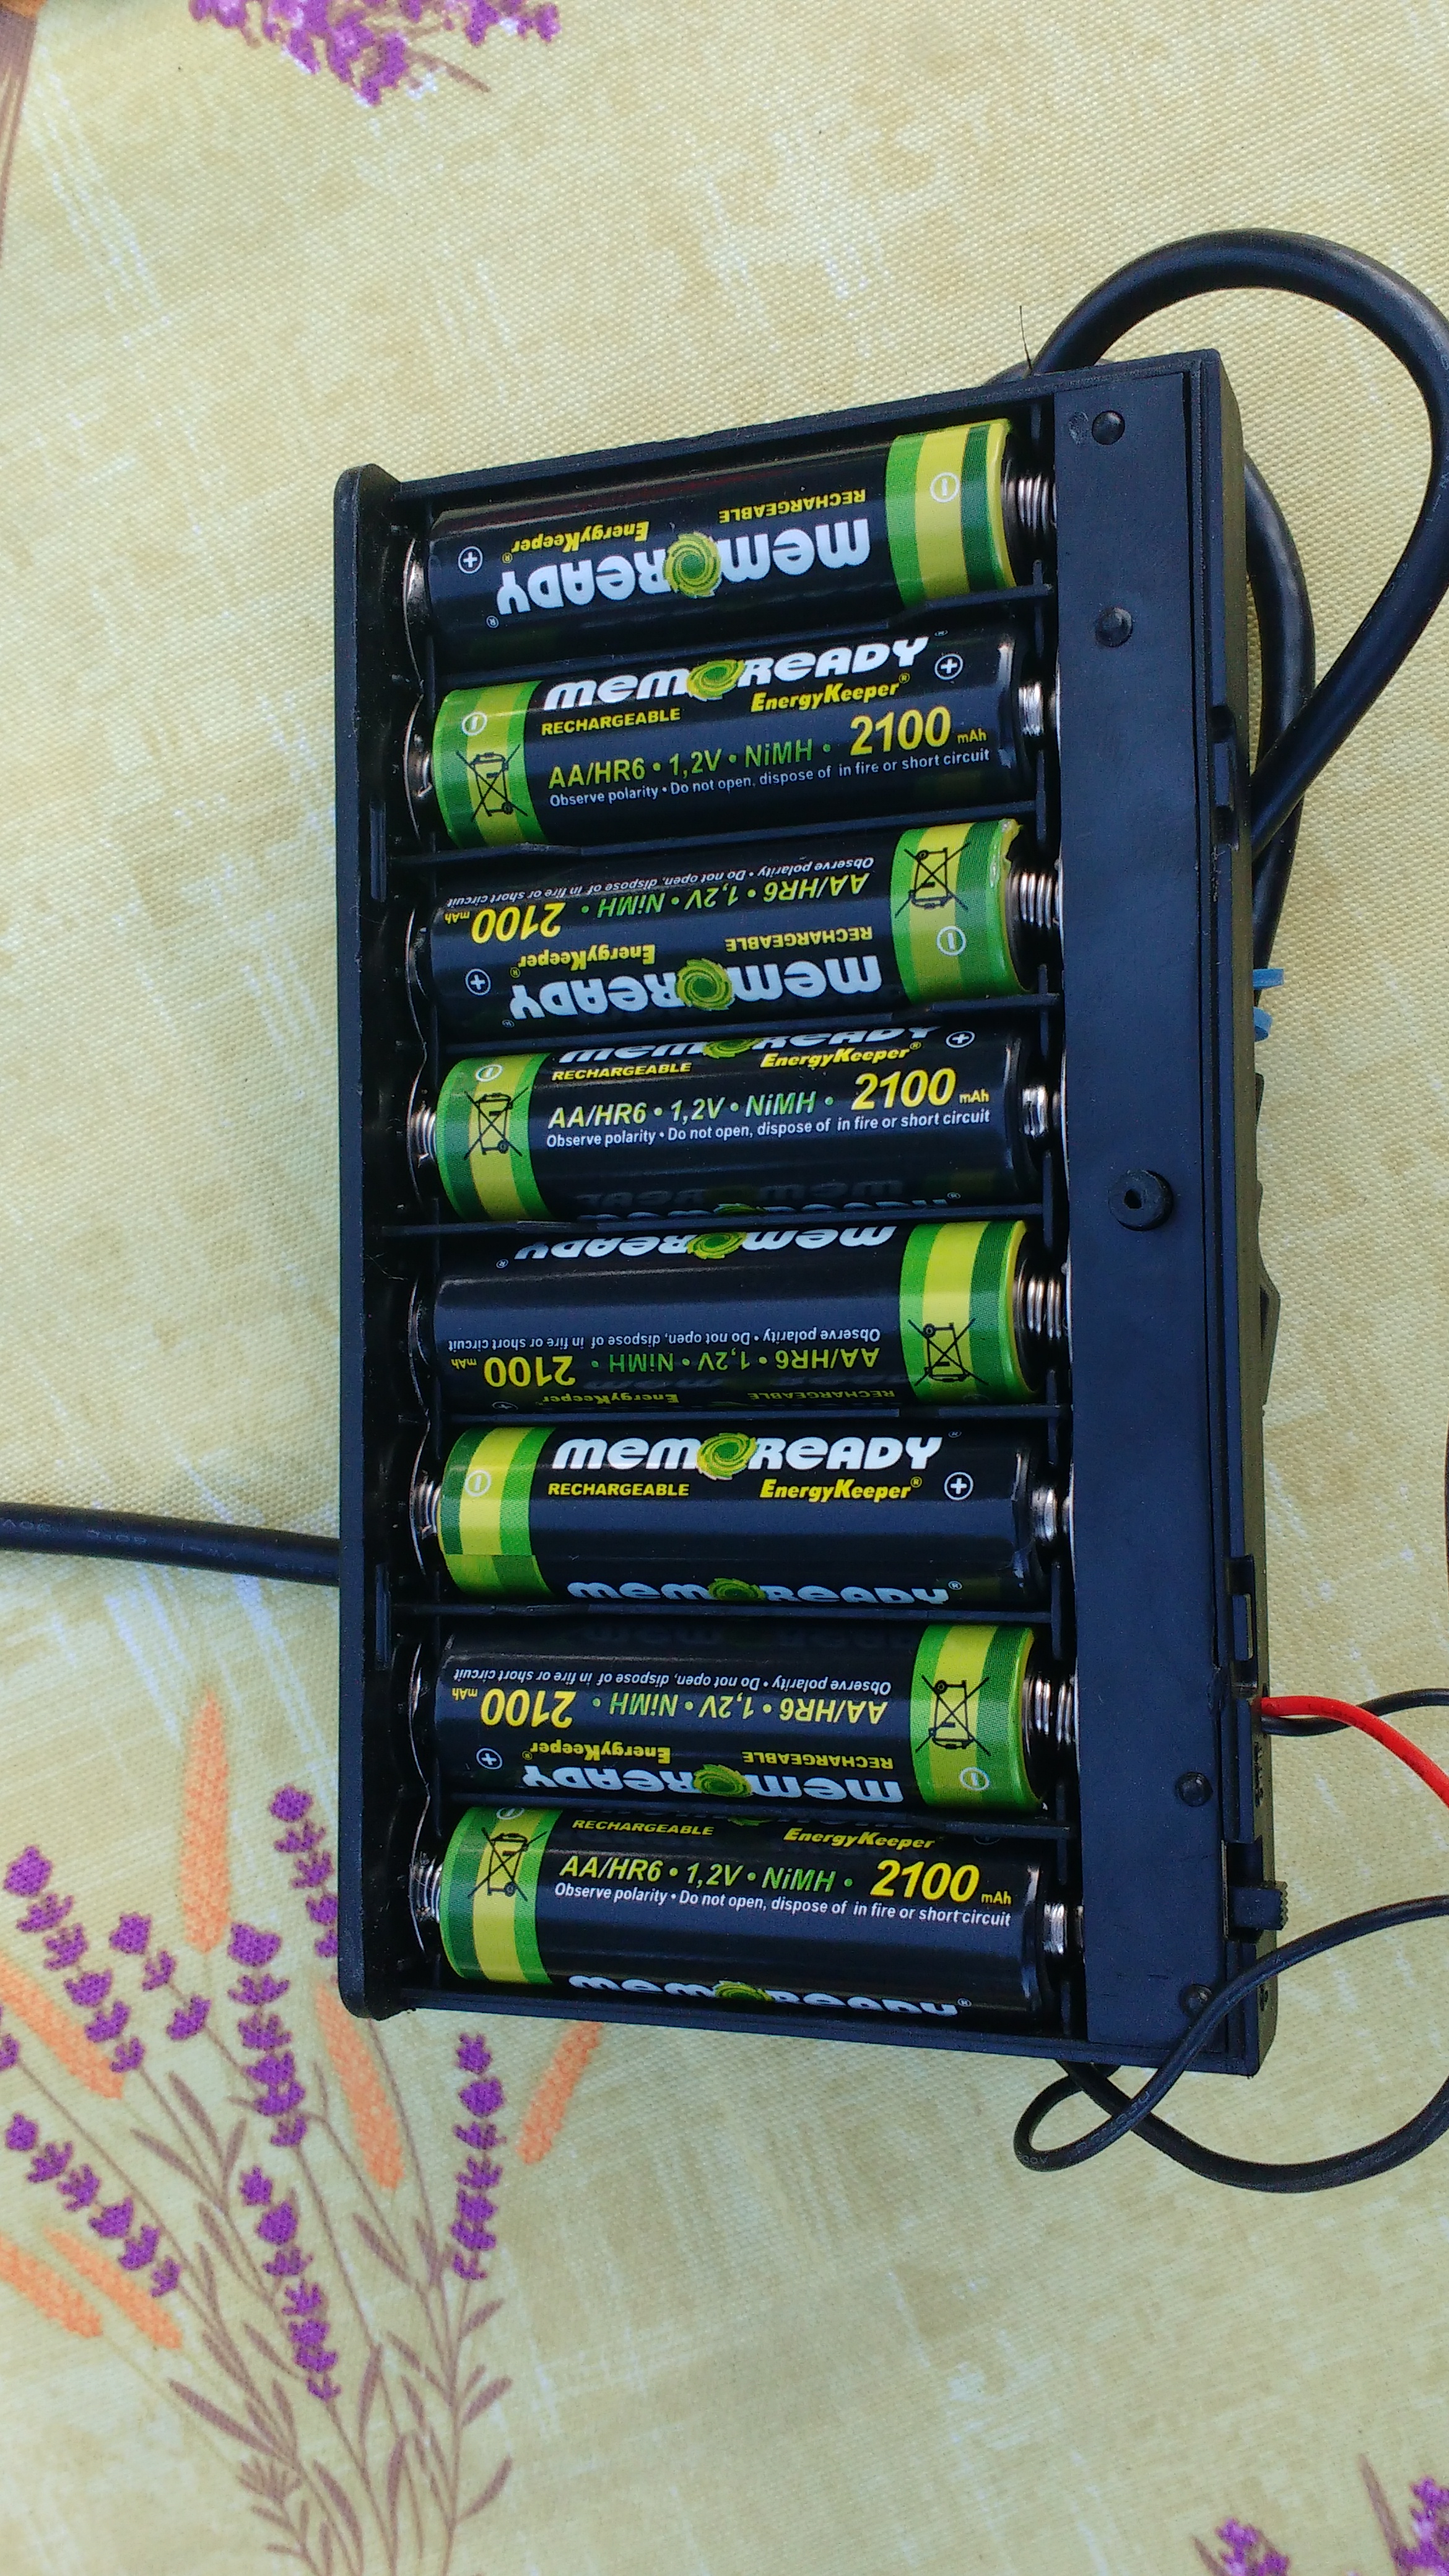
- Battery holder
- 8 AA batteries
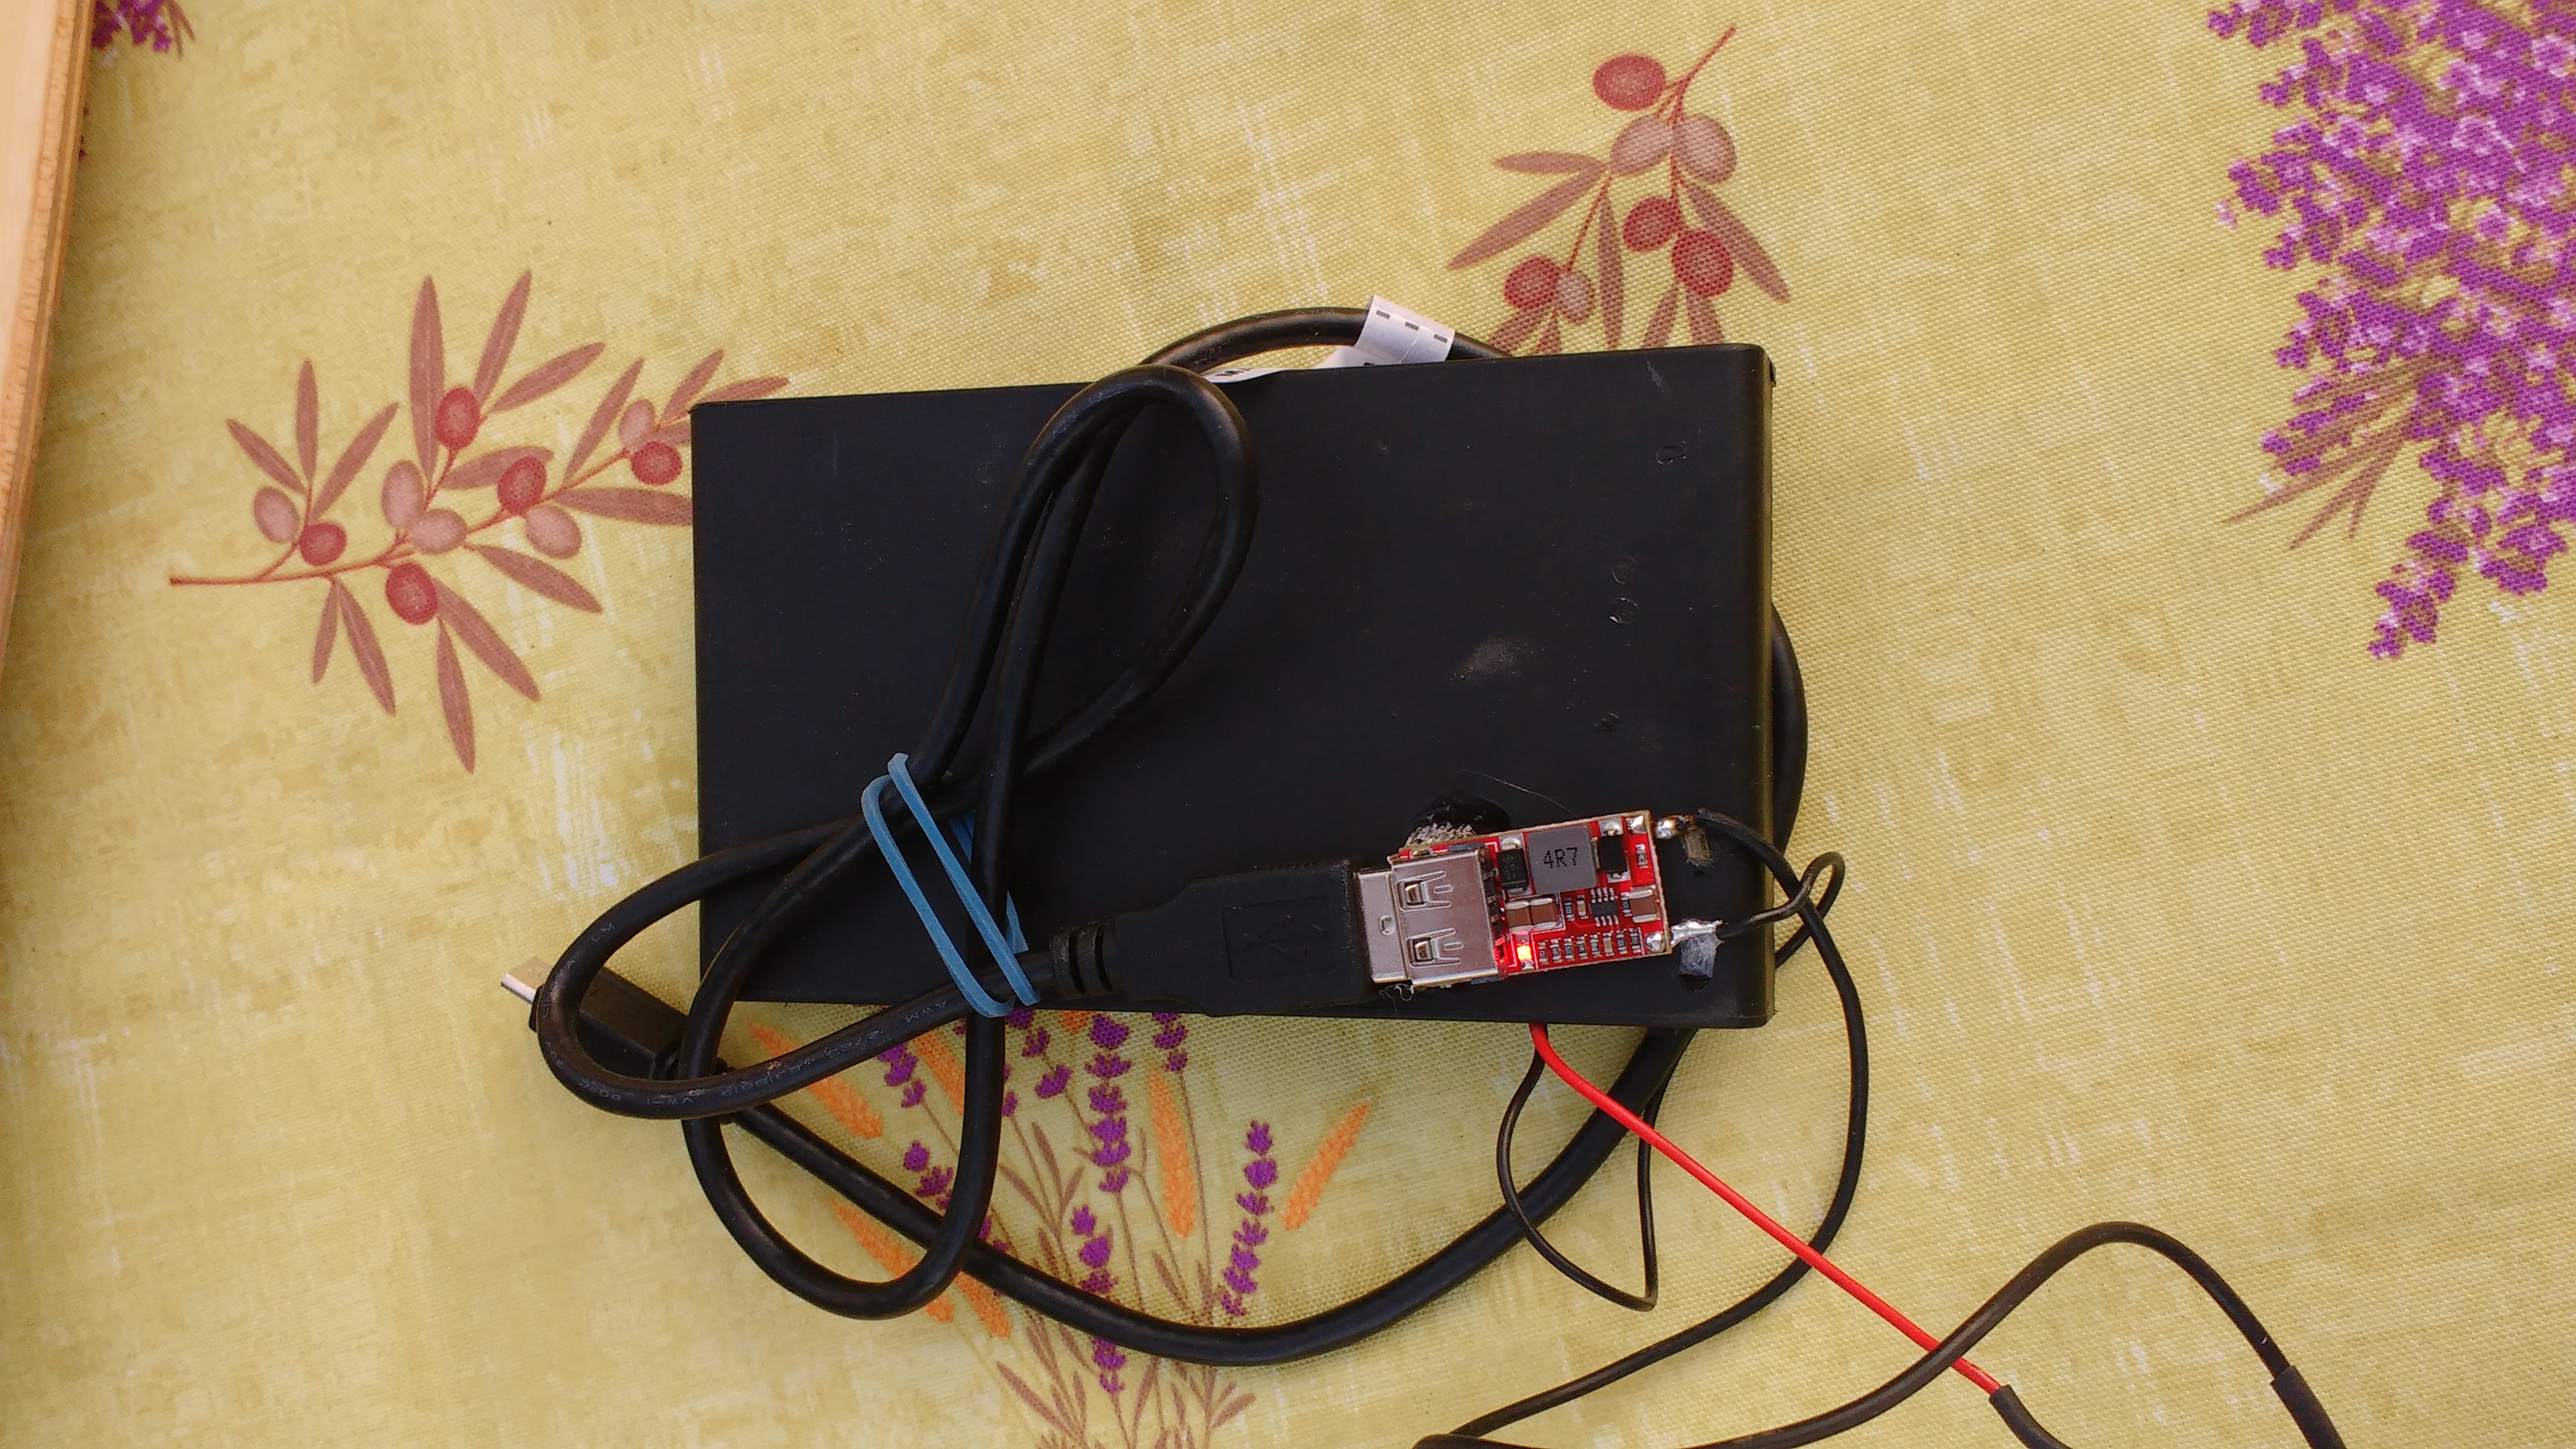
- 12V to 5V DC converter
- Switch
- Realtimeclock
- 10K resistor
- 3 jumper cables (all female)
- 4 6m screw + head
- 1 screw at least 5cm long
- normal wood screw
- Tl lamp holder
- 2 rubber band
- 1 zip tie
Downloads
Adding Magnet to Wheel
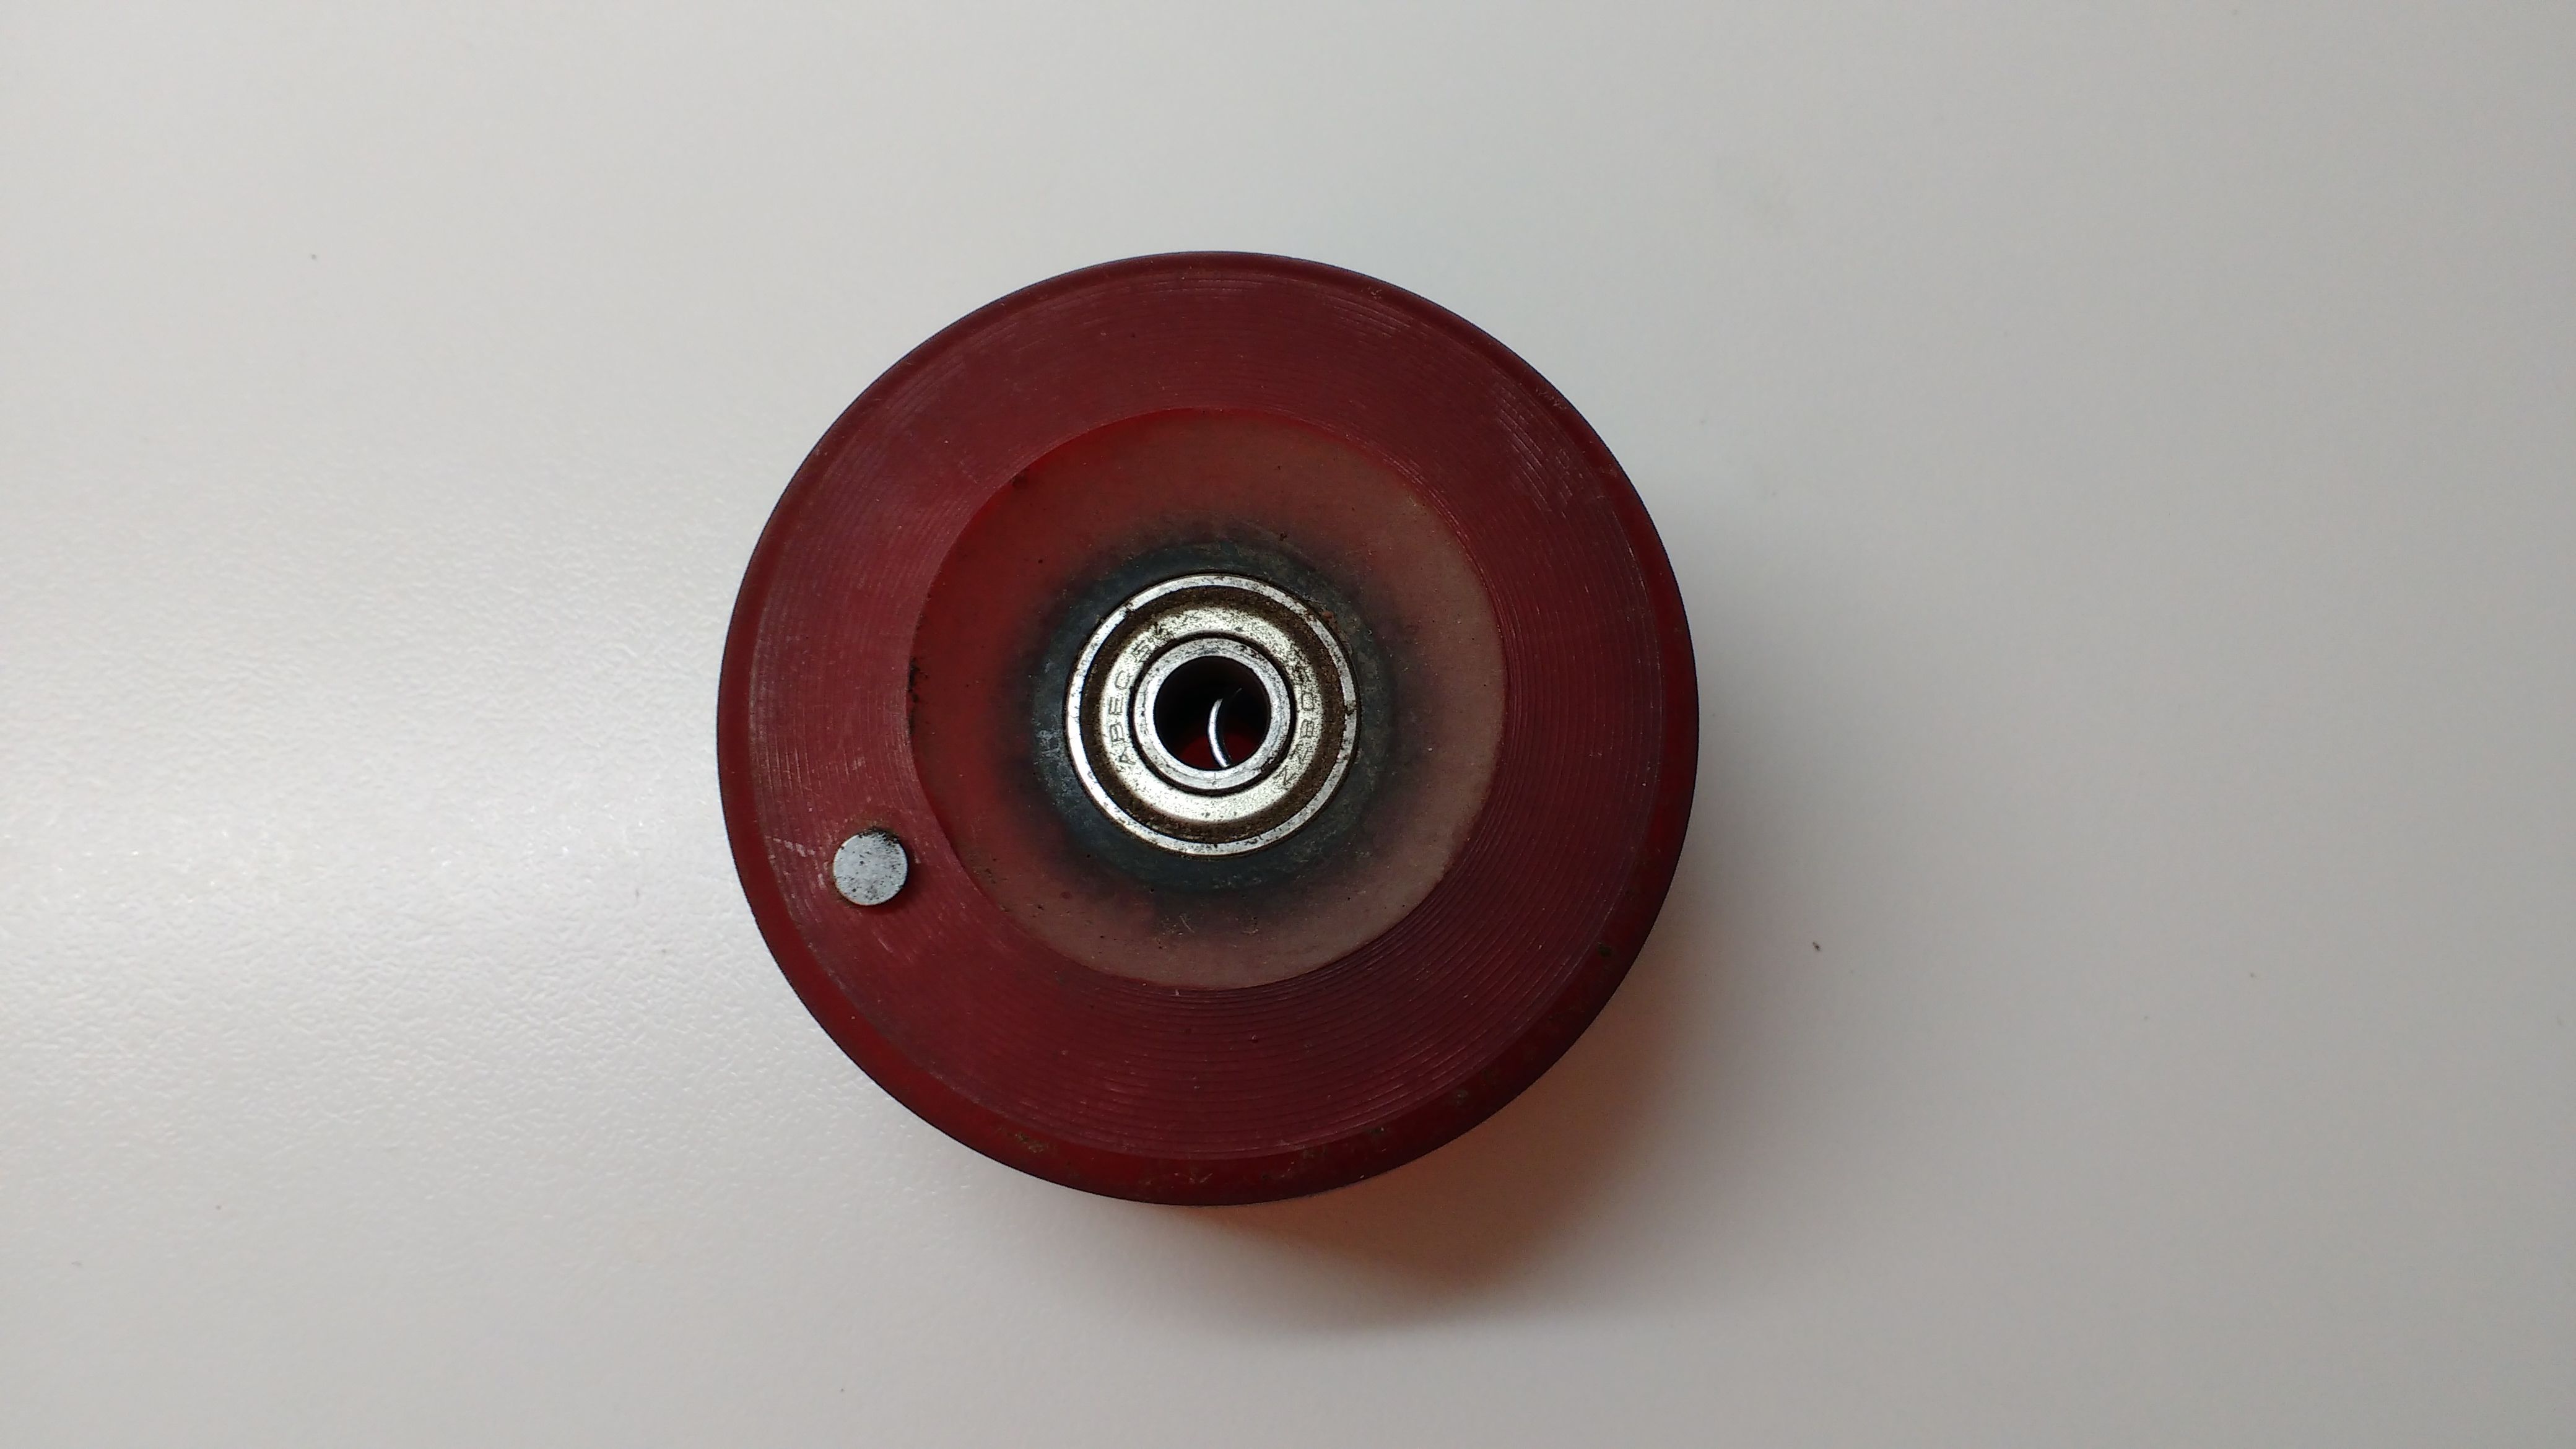
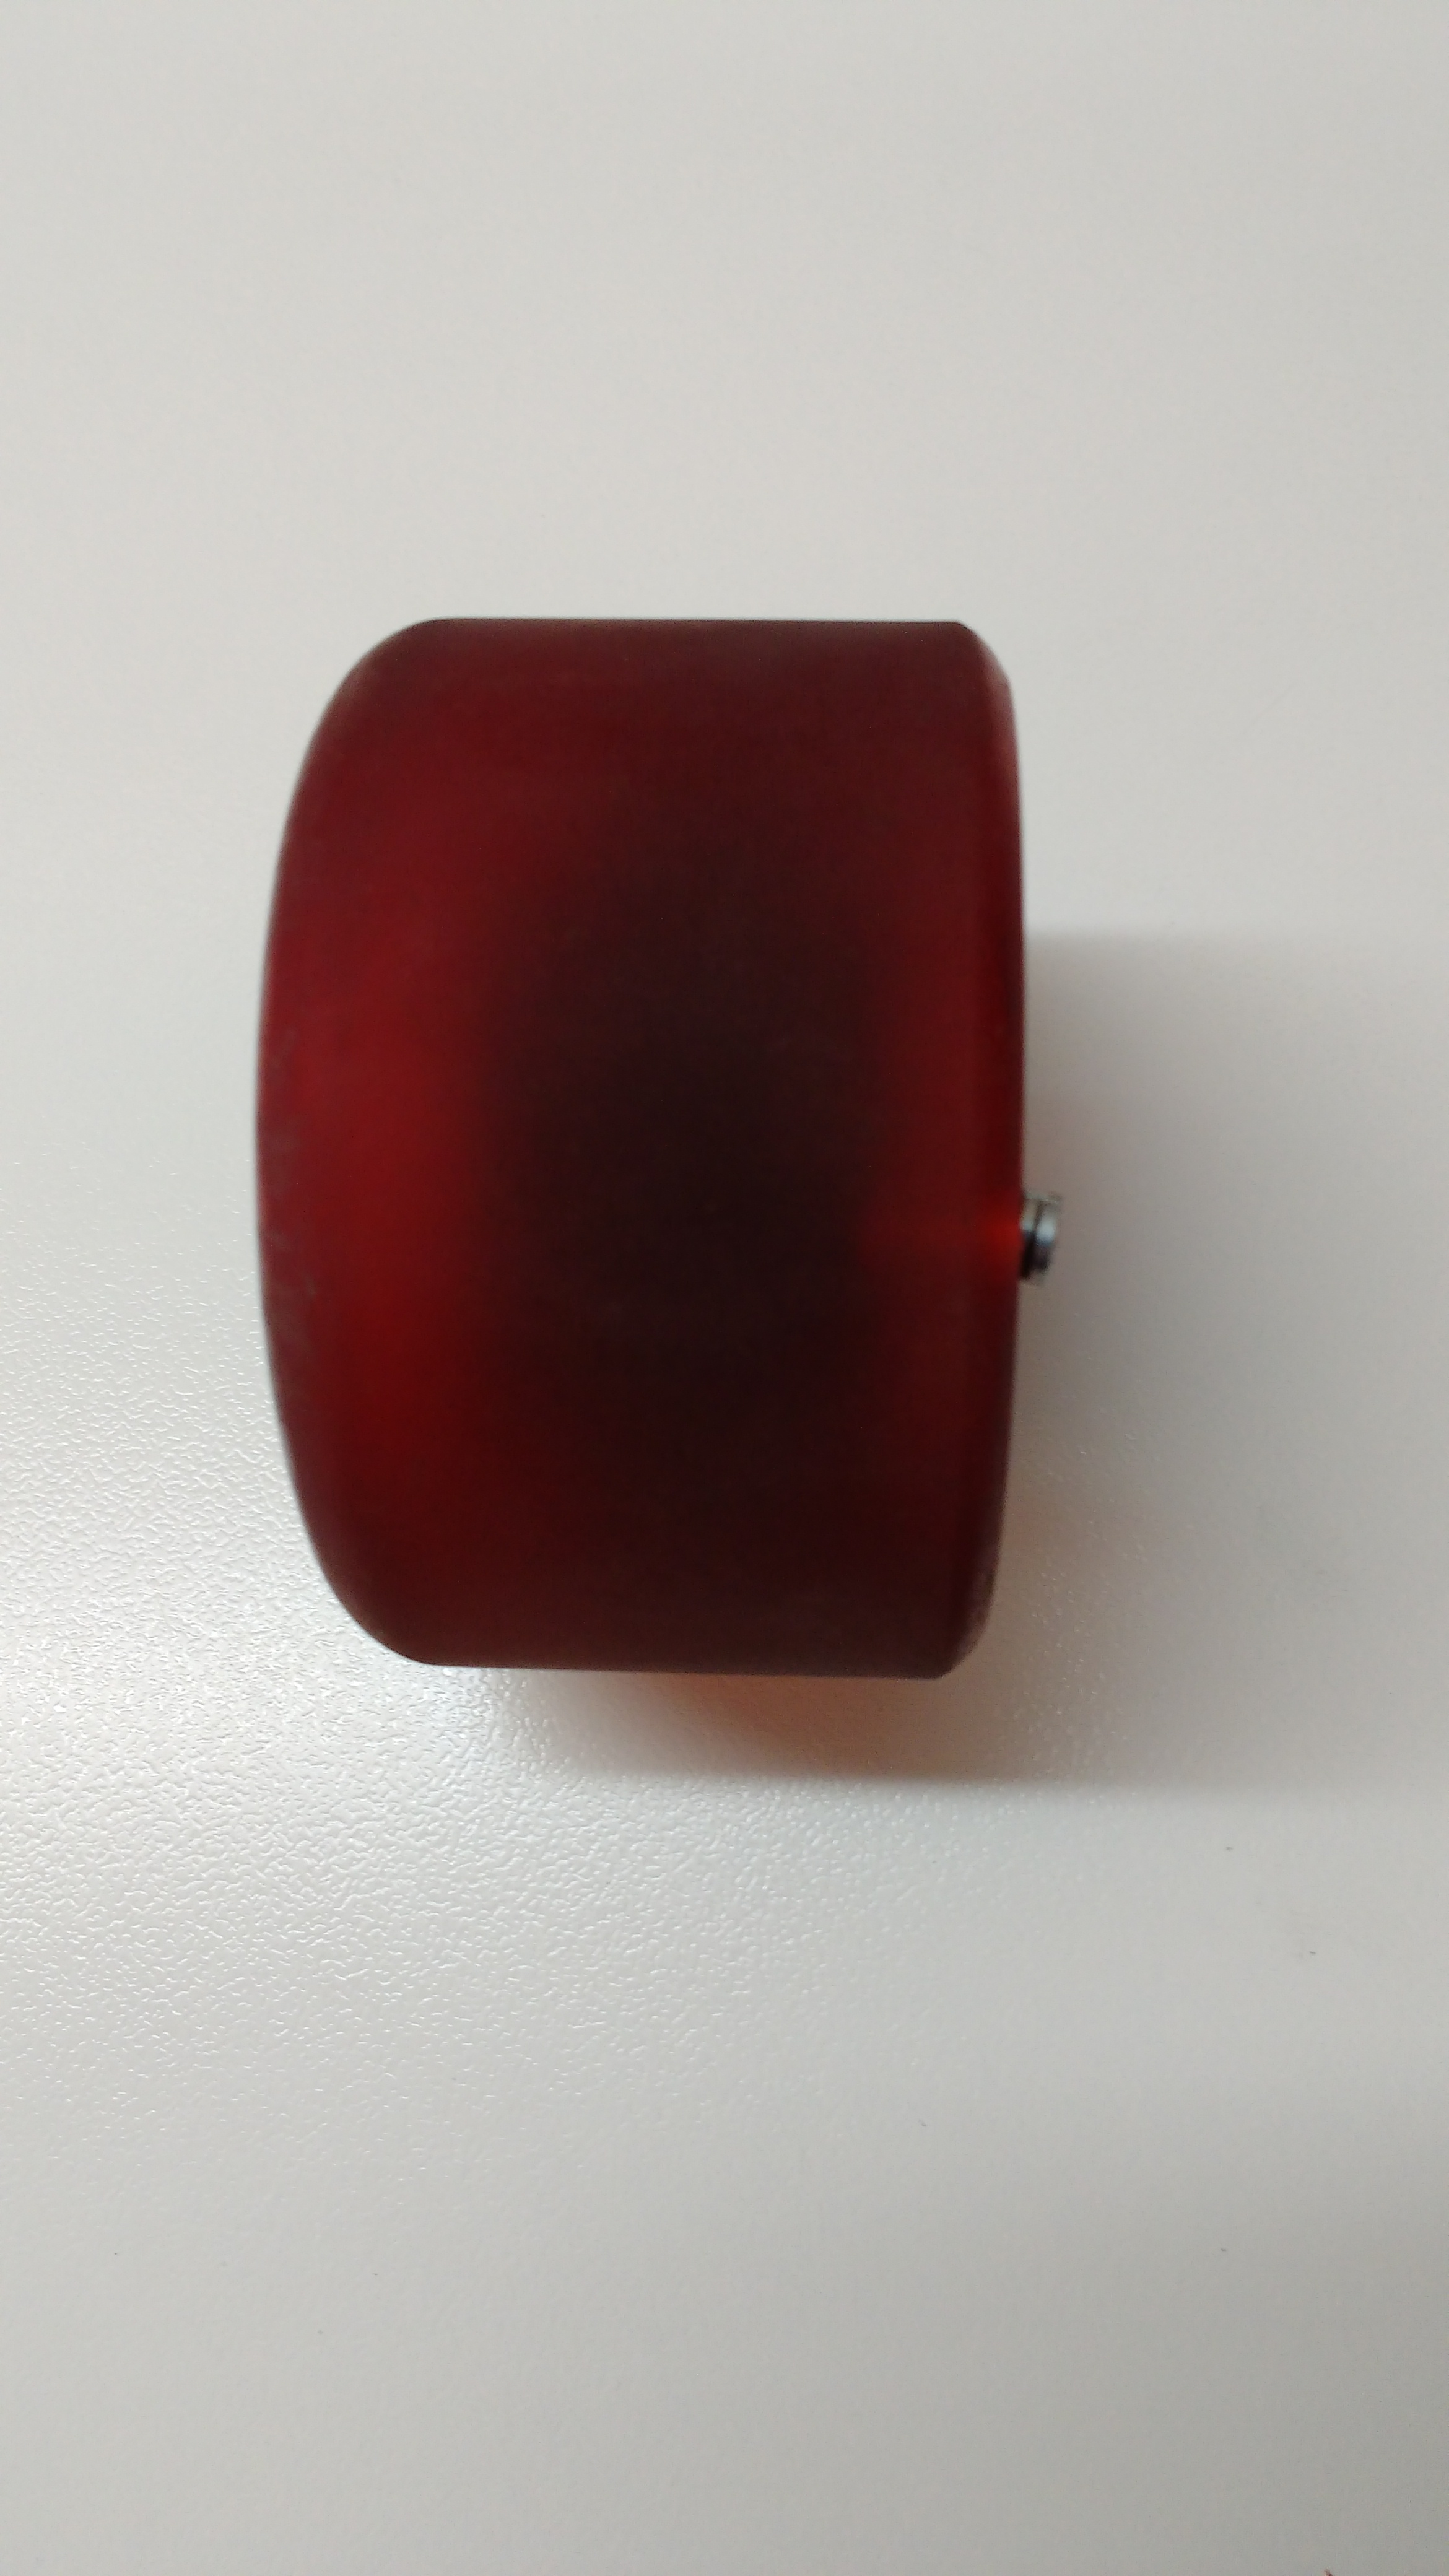
Drill a hole matching the width of the magnets into the wheel. Place the magnets inside the hole. Make sure the magnets are stuck into place. Use some glue if you are not sure that the magnets wont come out.
Wiring Up the Raspberry Pi
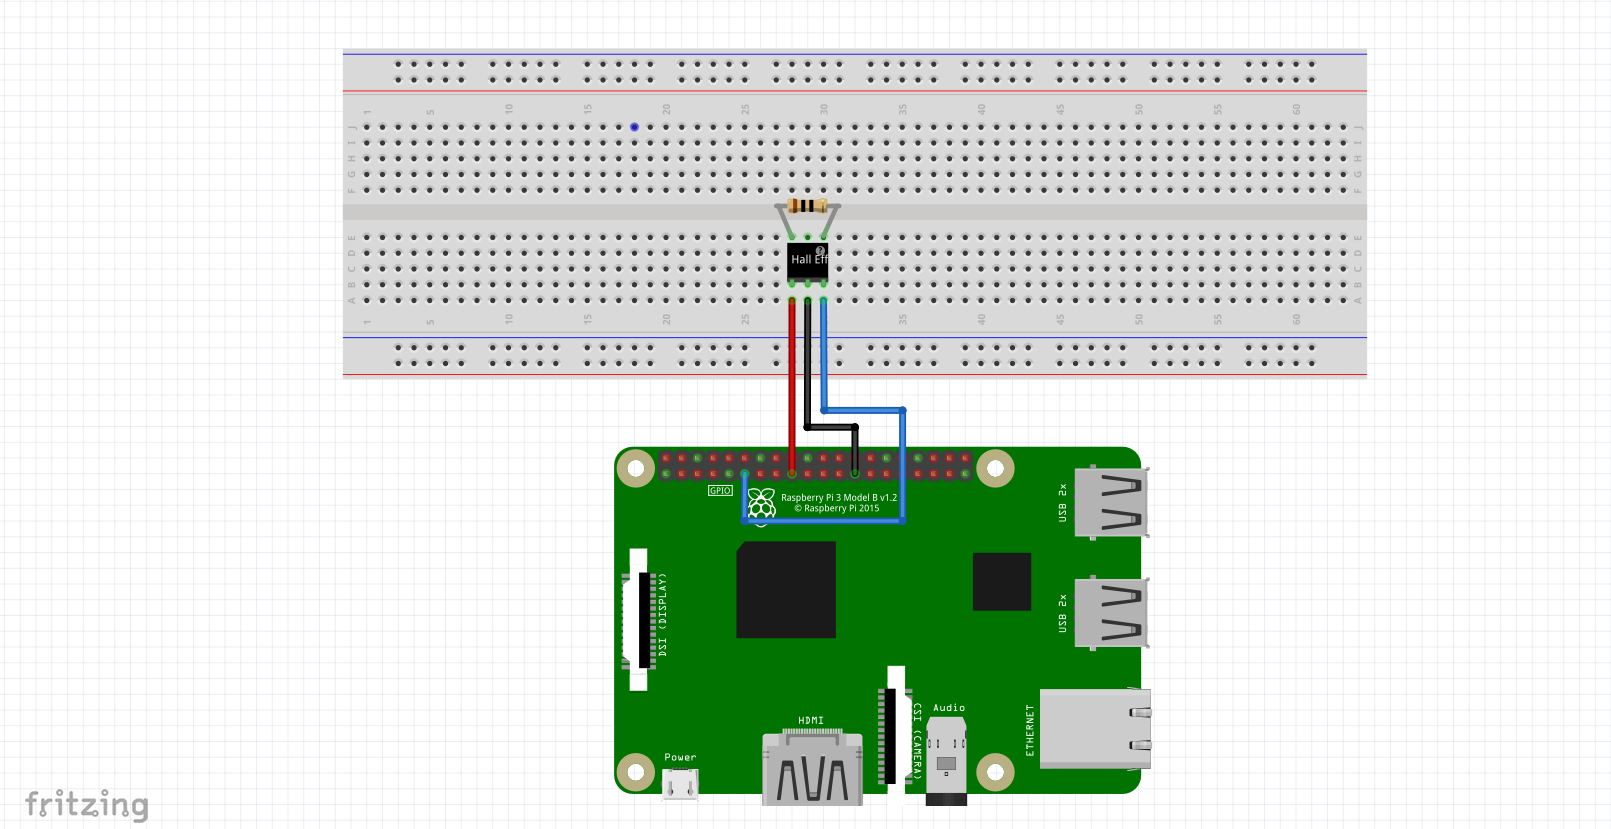
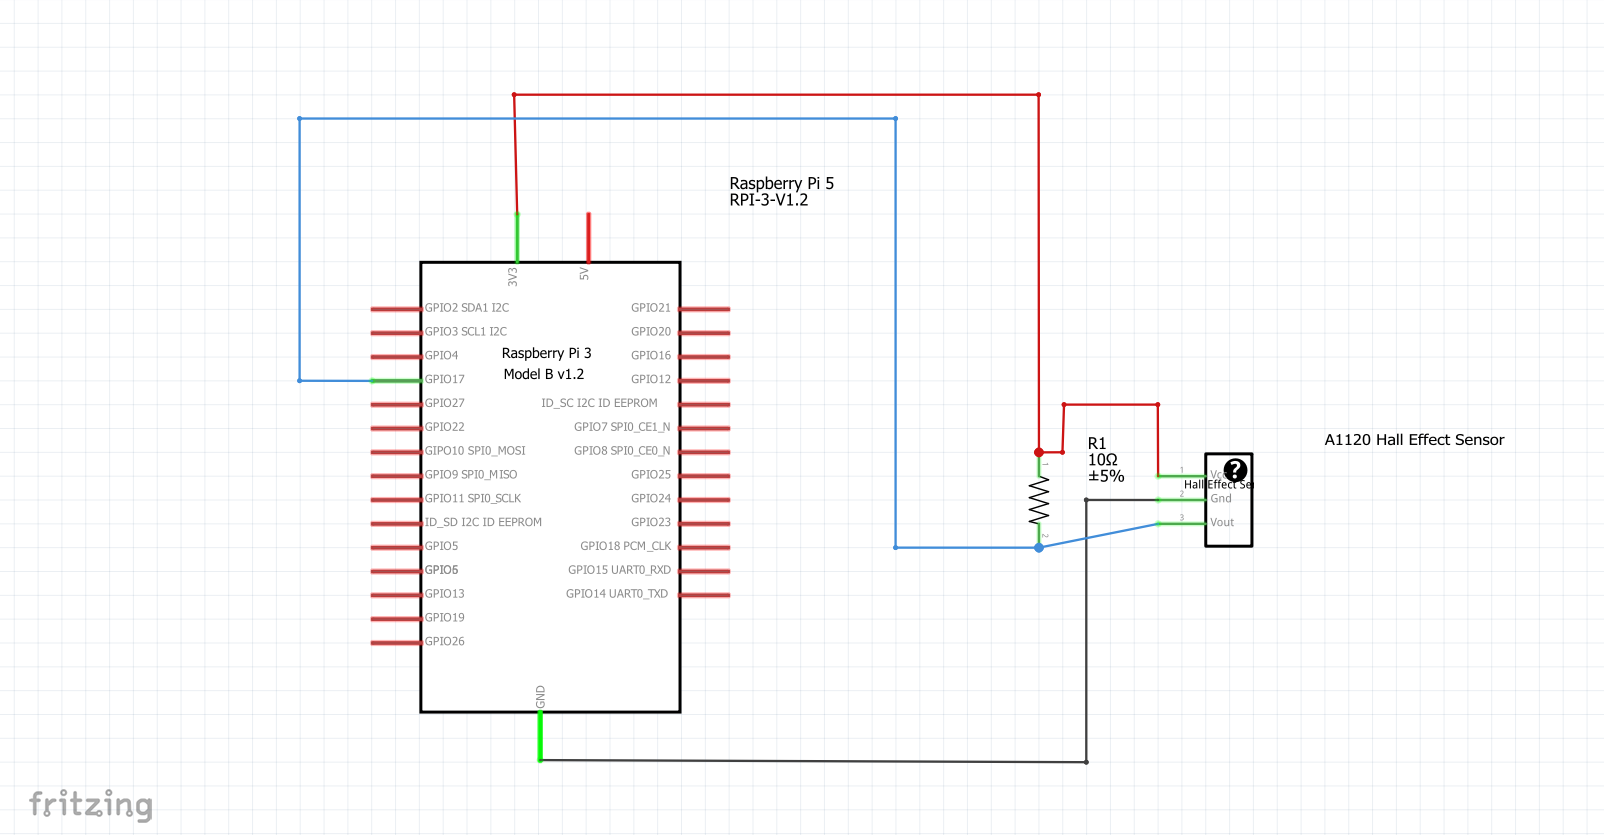
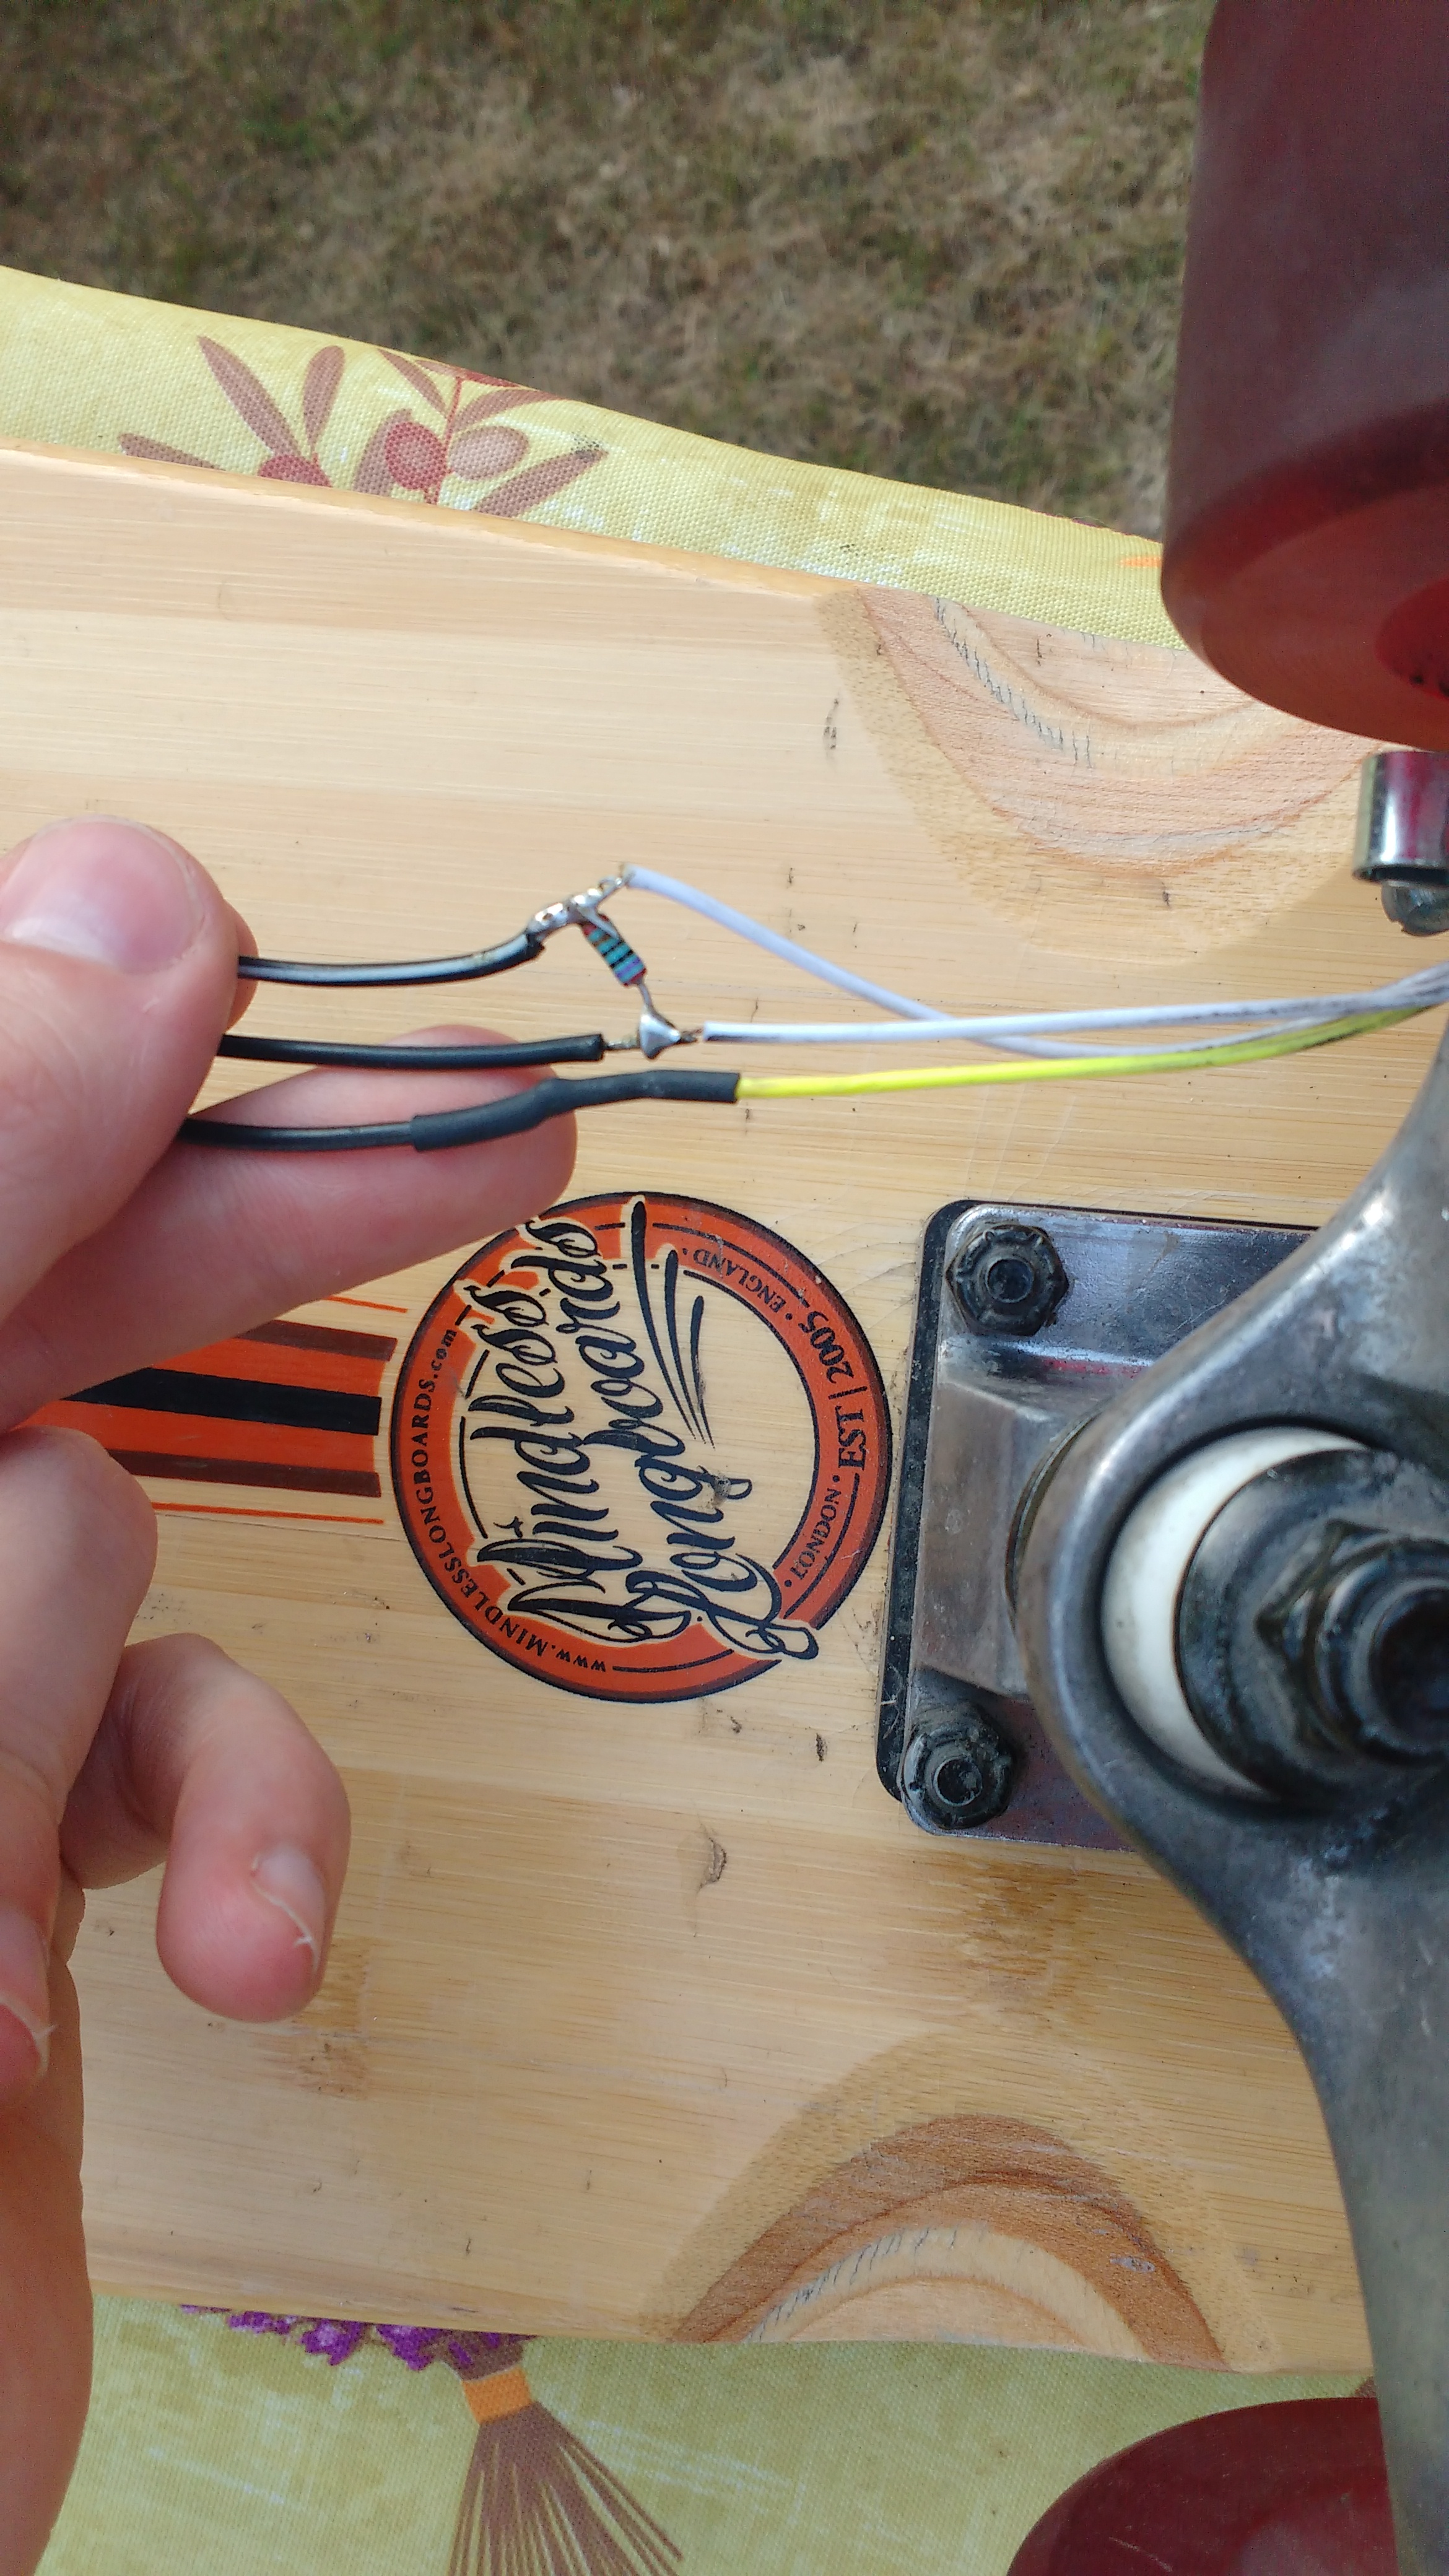
Cut 2 jumperwires in half and solder the 10k resistor in between. Connect the soldered wires to the 3.3volt and gpio17 pin on the raspberry pi. Connect the third wire with the ground. Now connect the hall effect sensor in right order to the wires.
Downloads
Attaching Sensor to the Trucks
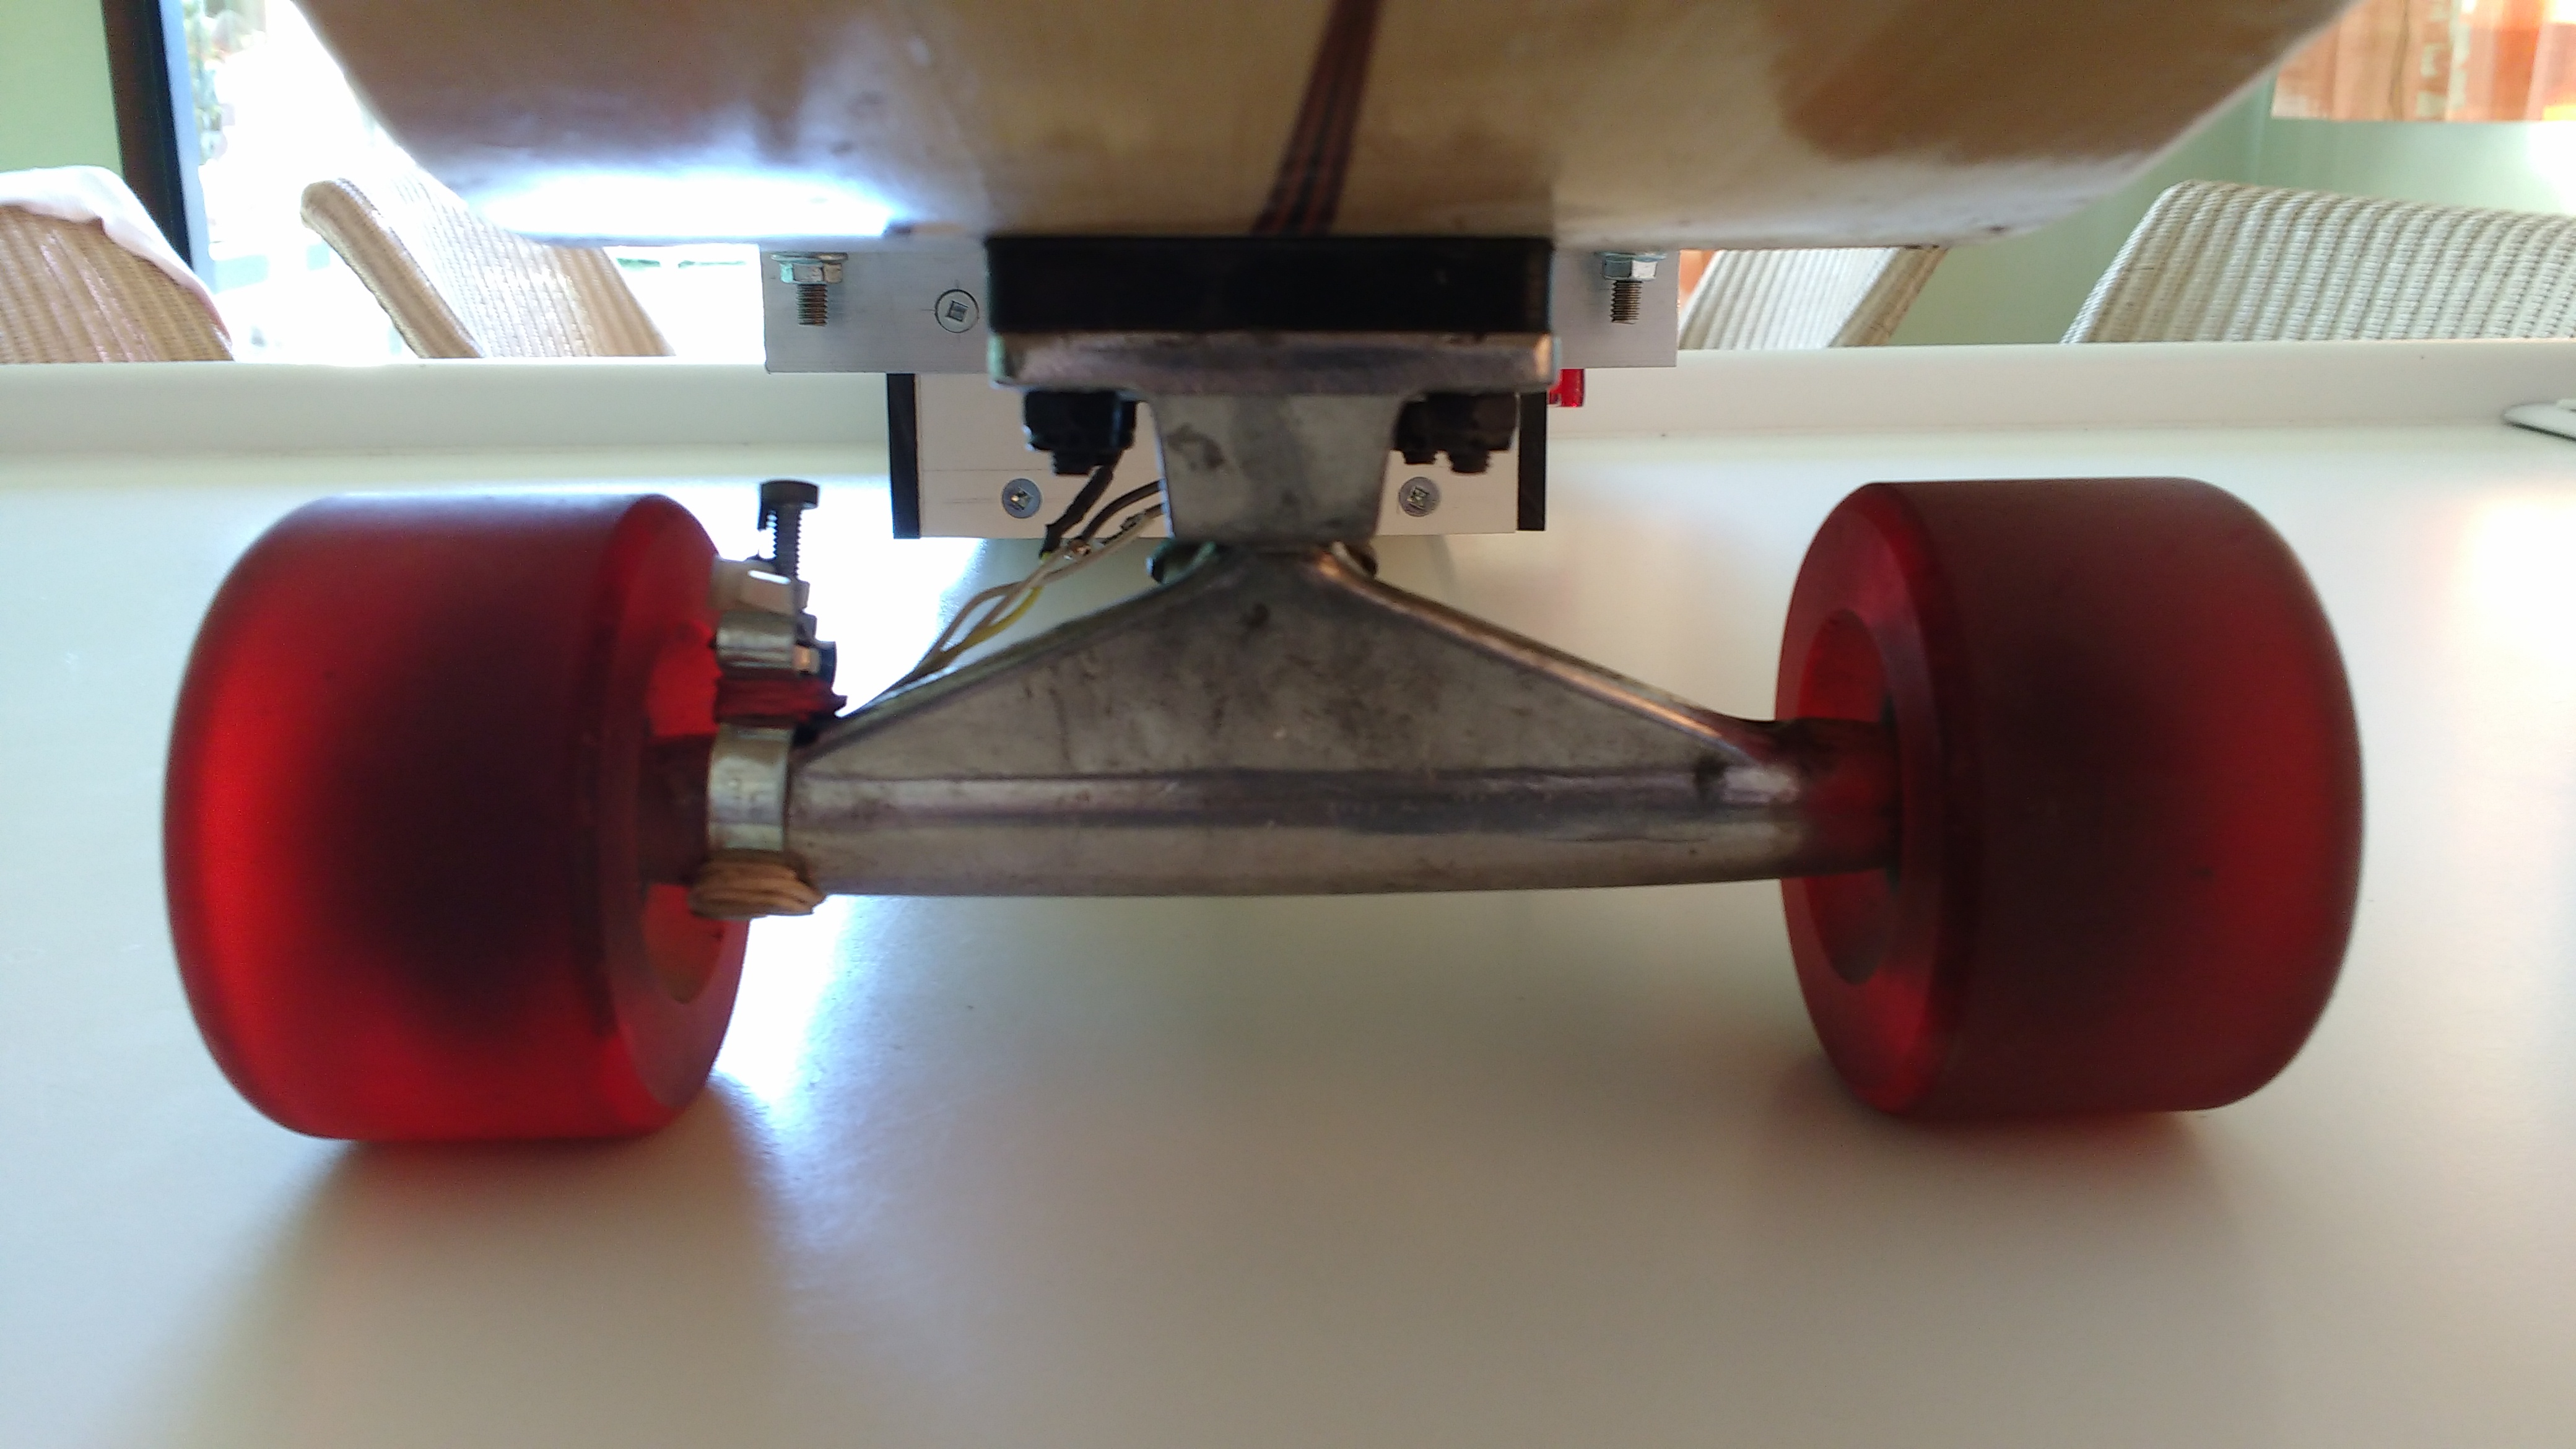
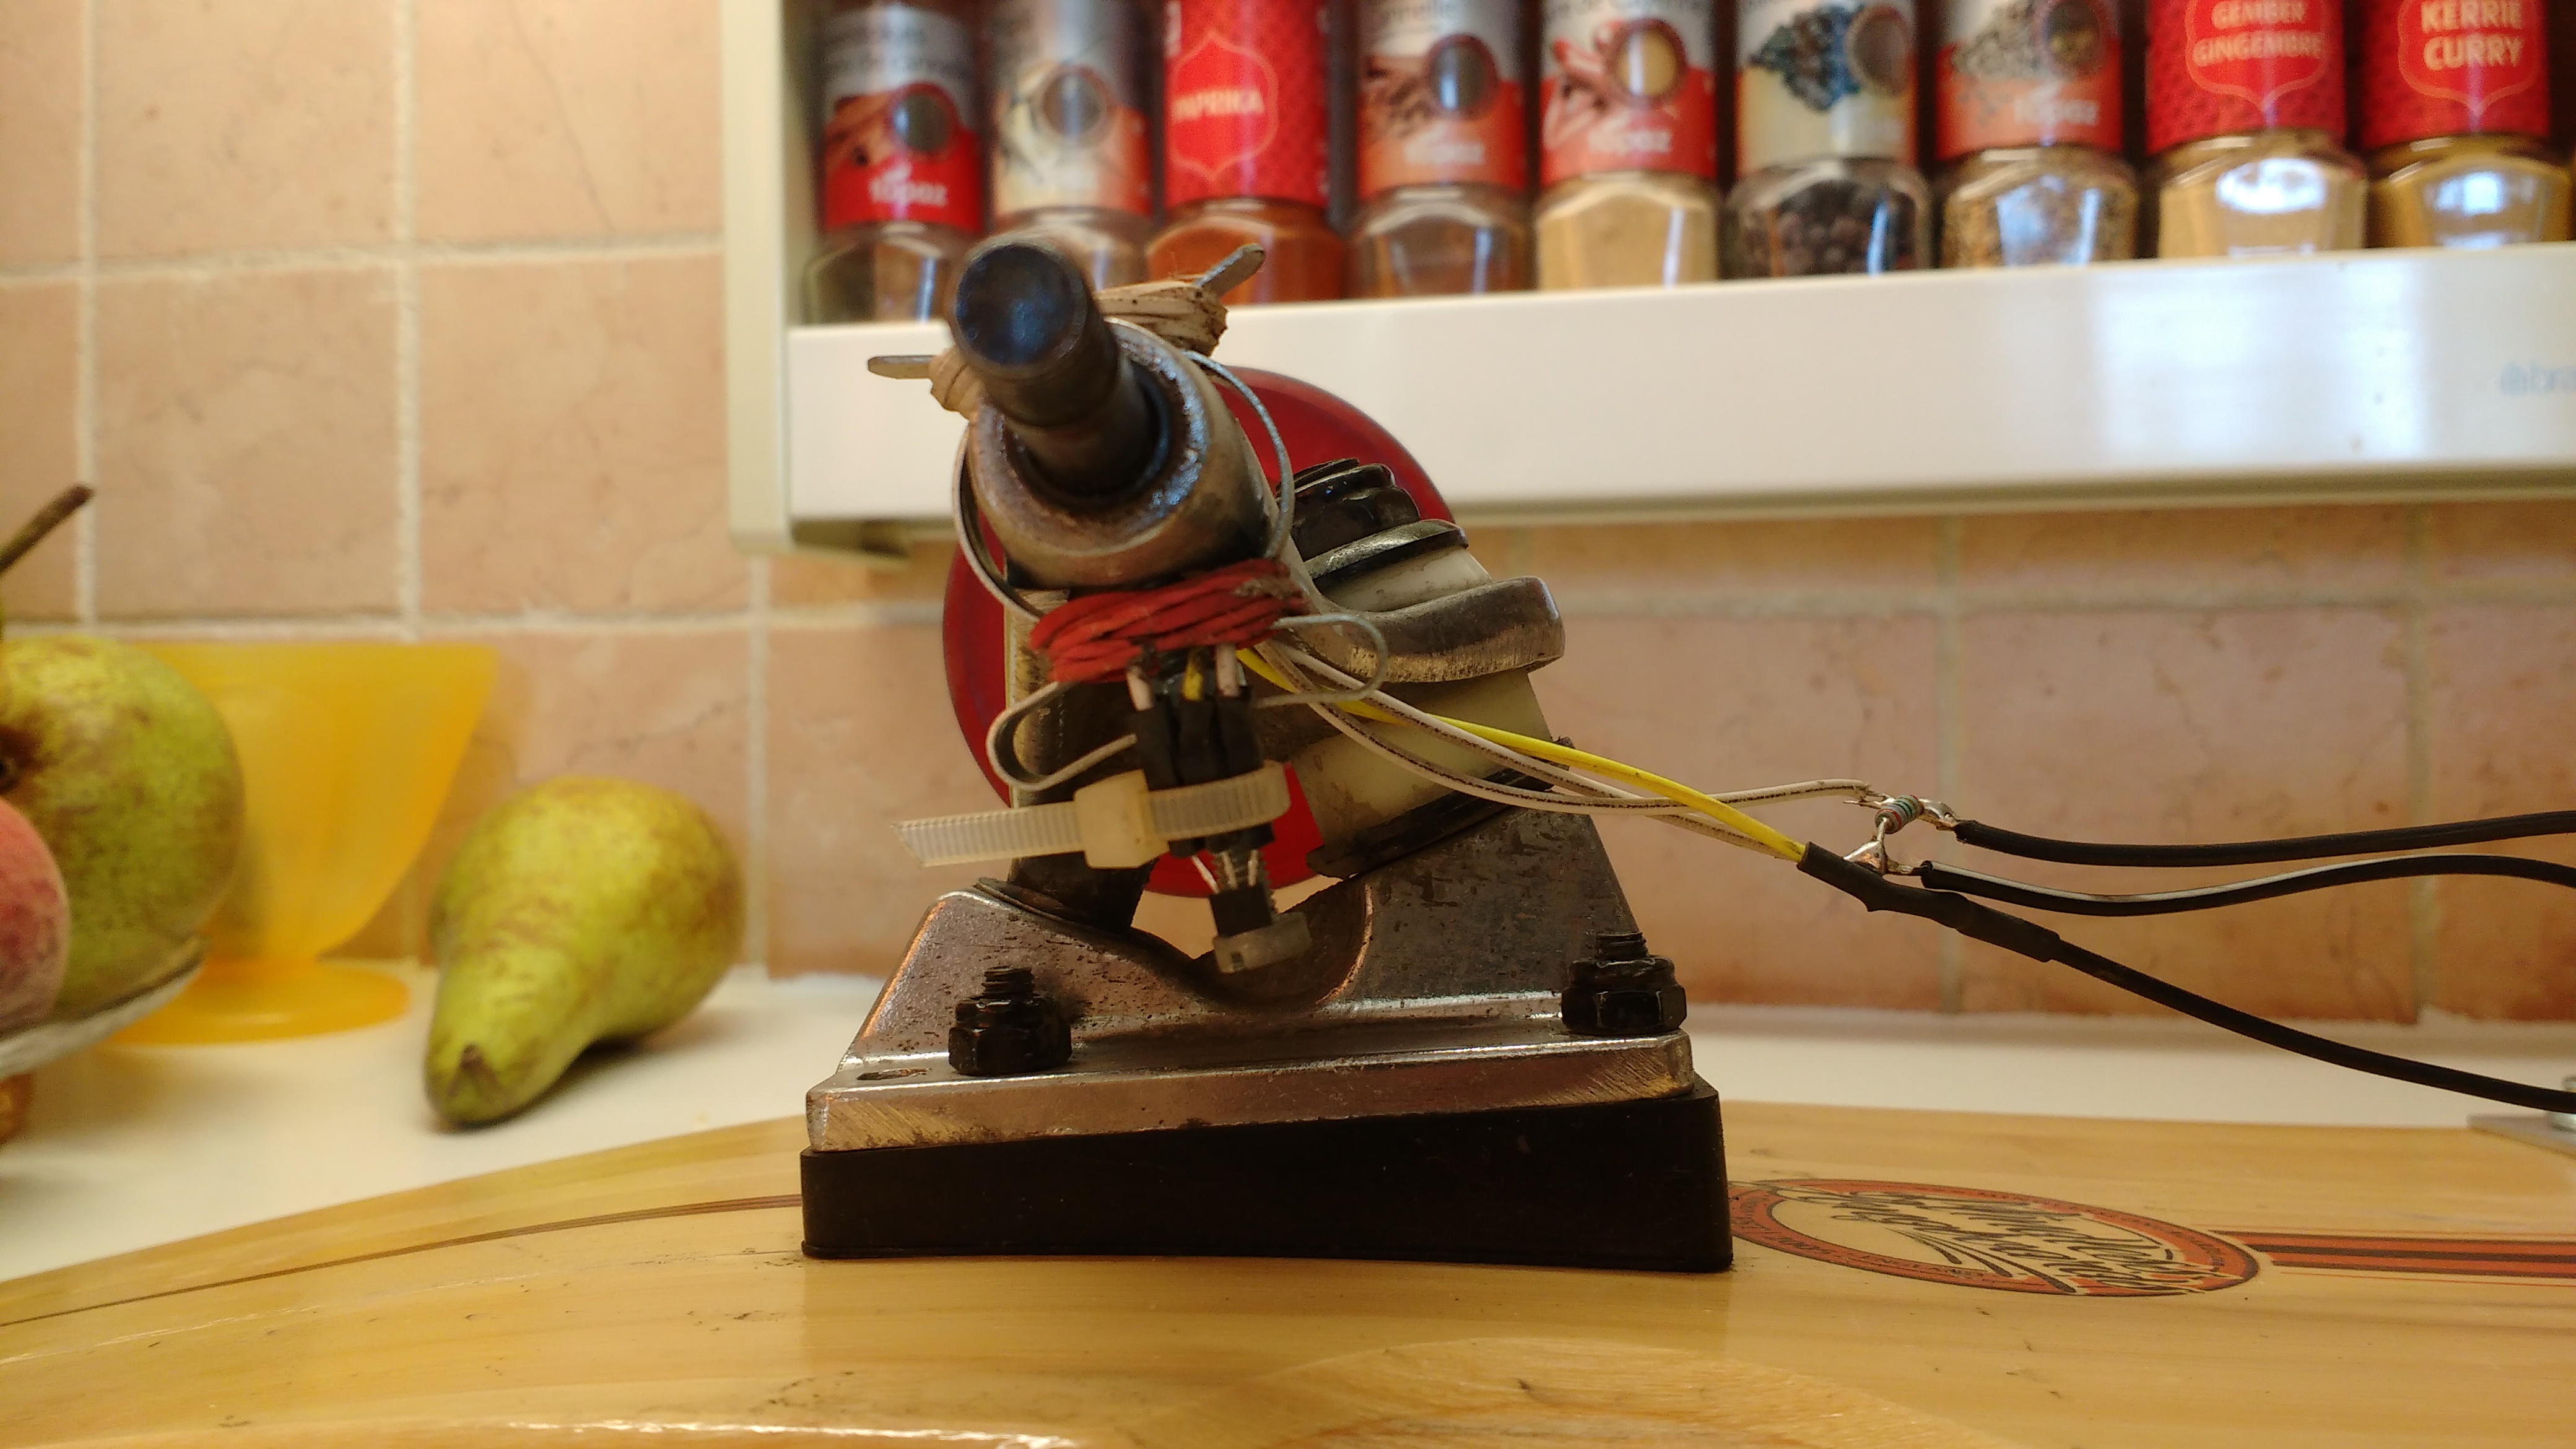
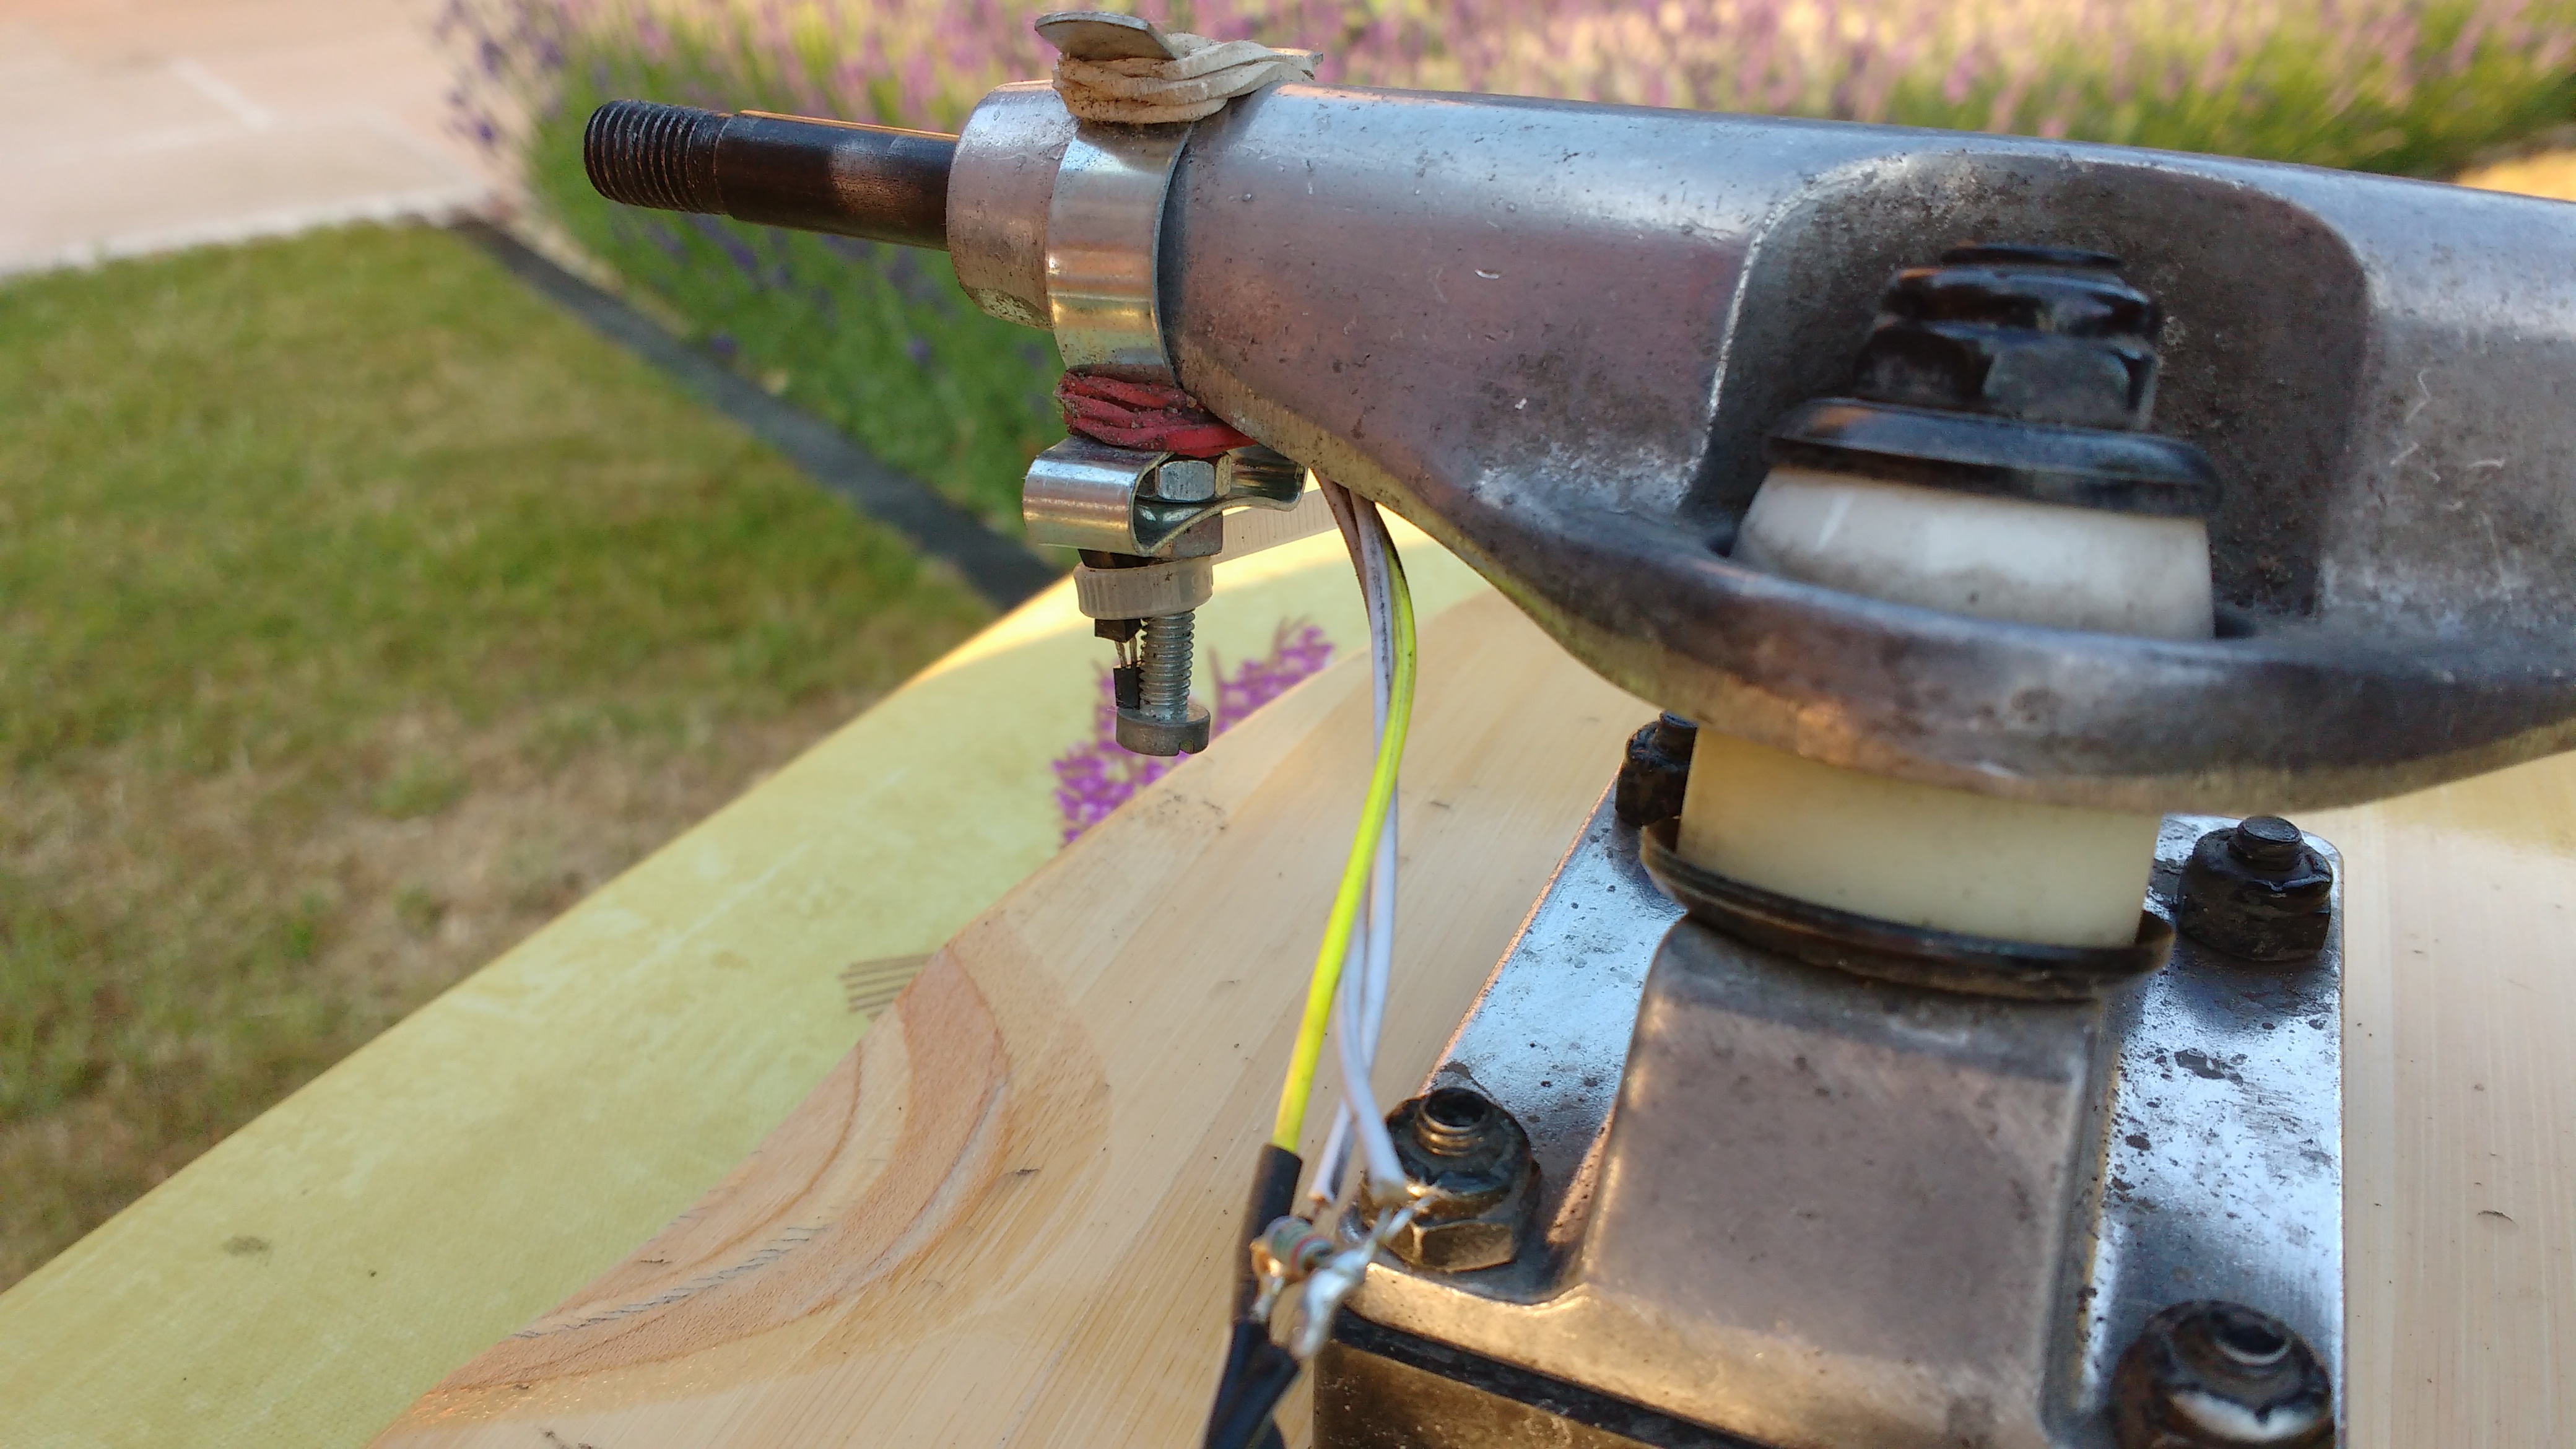
Take one of the trucks off the board.
Drill a hole 5mm away from the edge of the truck that can fit the 5cm long screw. You don't need to drill all the way through, 5mm into the truck is enough. Take the tl lamp holder and place it onto the truck. Line up the holes. Take 5cm screw and the 2 nuts, place the nuts on each side of the tl lamp holder and screw in the 5cm scew as far as you can. You can add a rubber band around the end for extra stability.
Now zip tie the hall effect sensor a the end of the screw, as close as possible to the magnets.
The Powerbank

Creating the Case
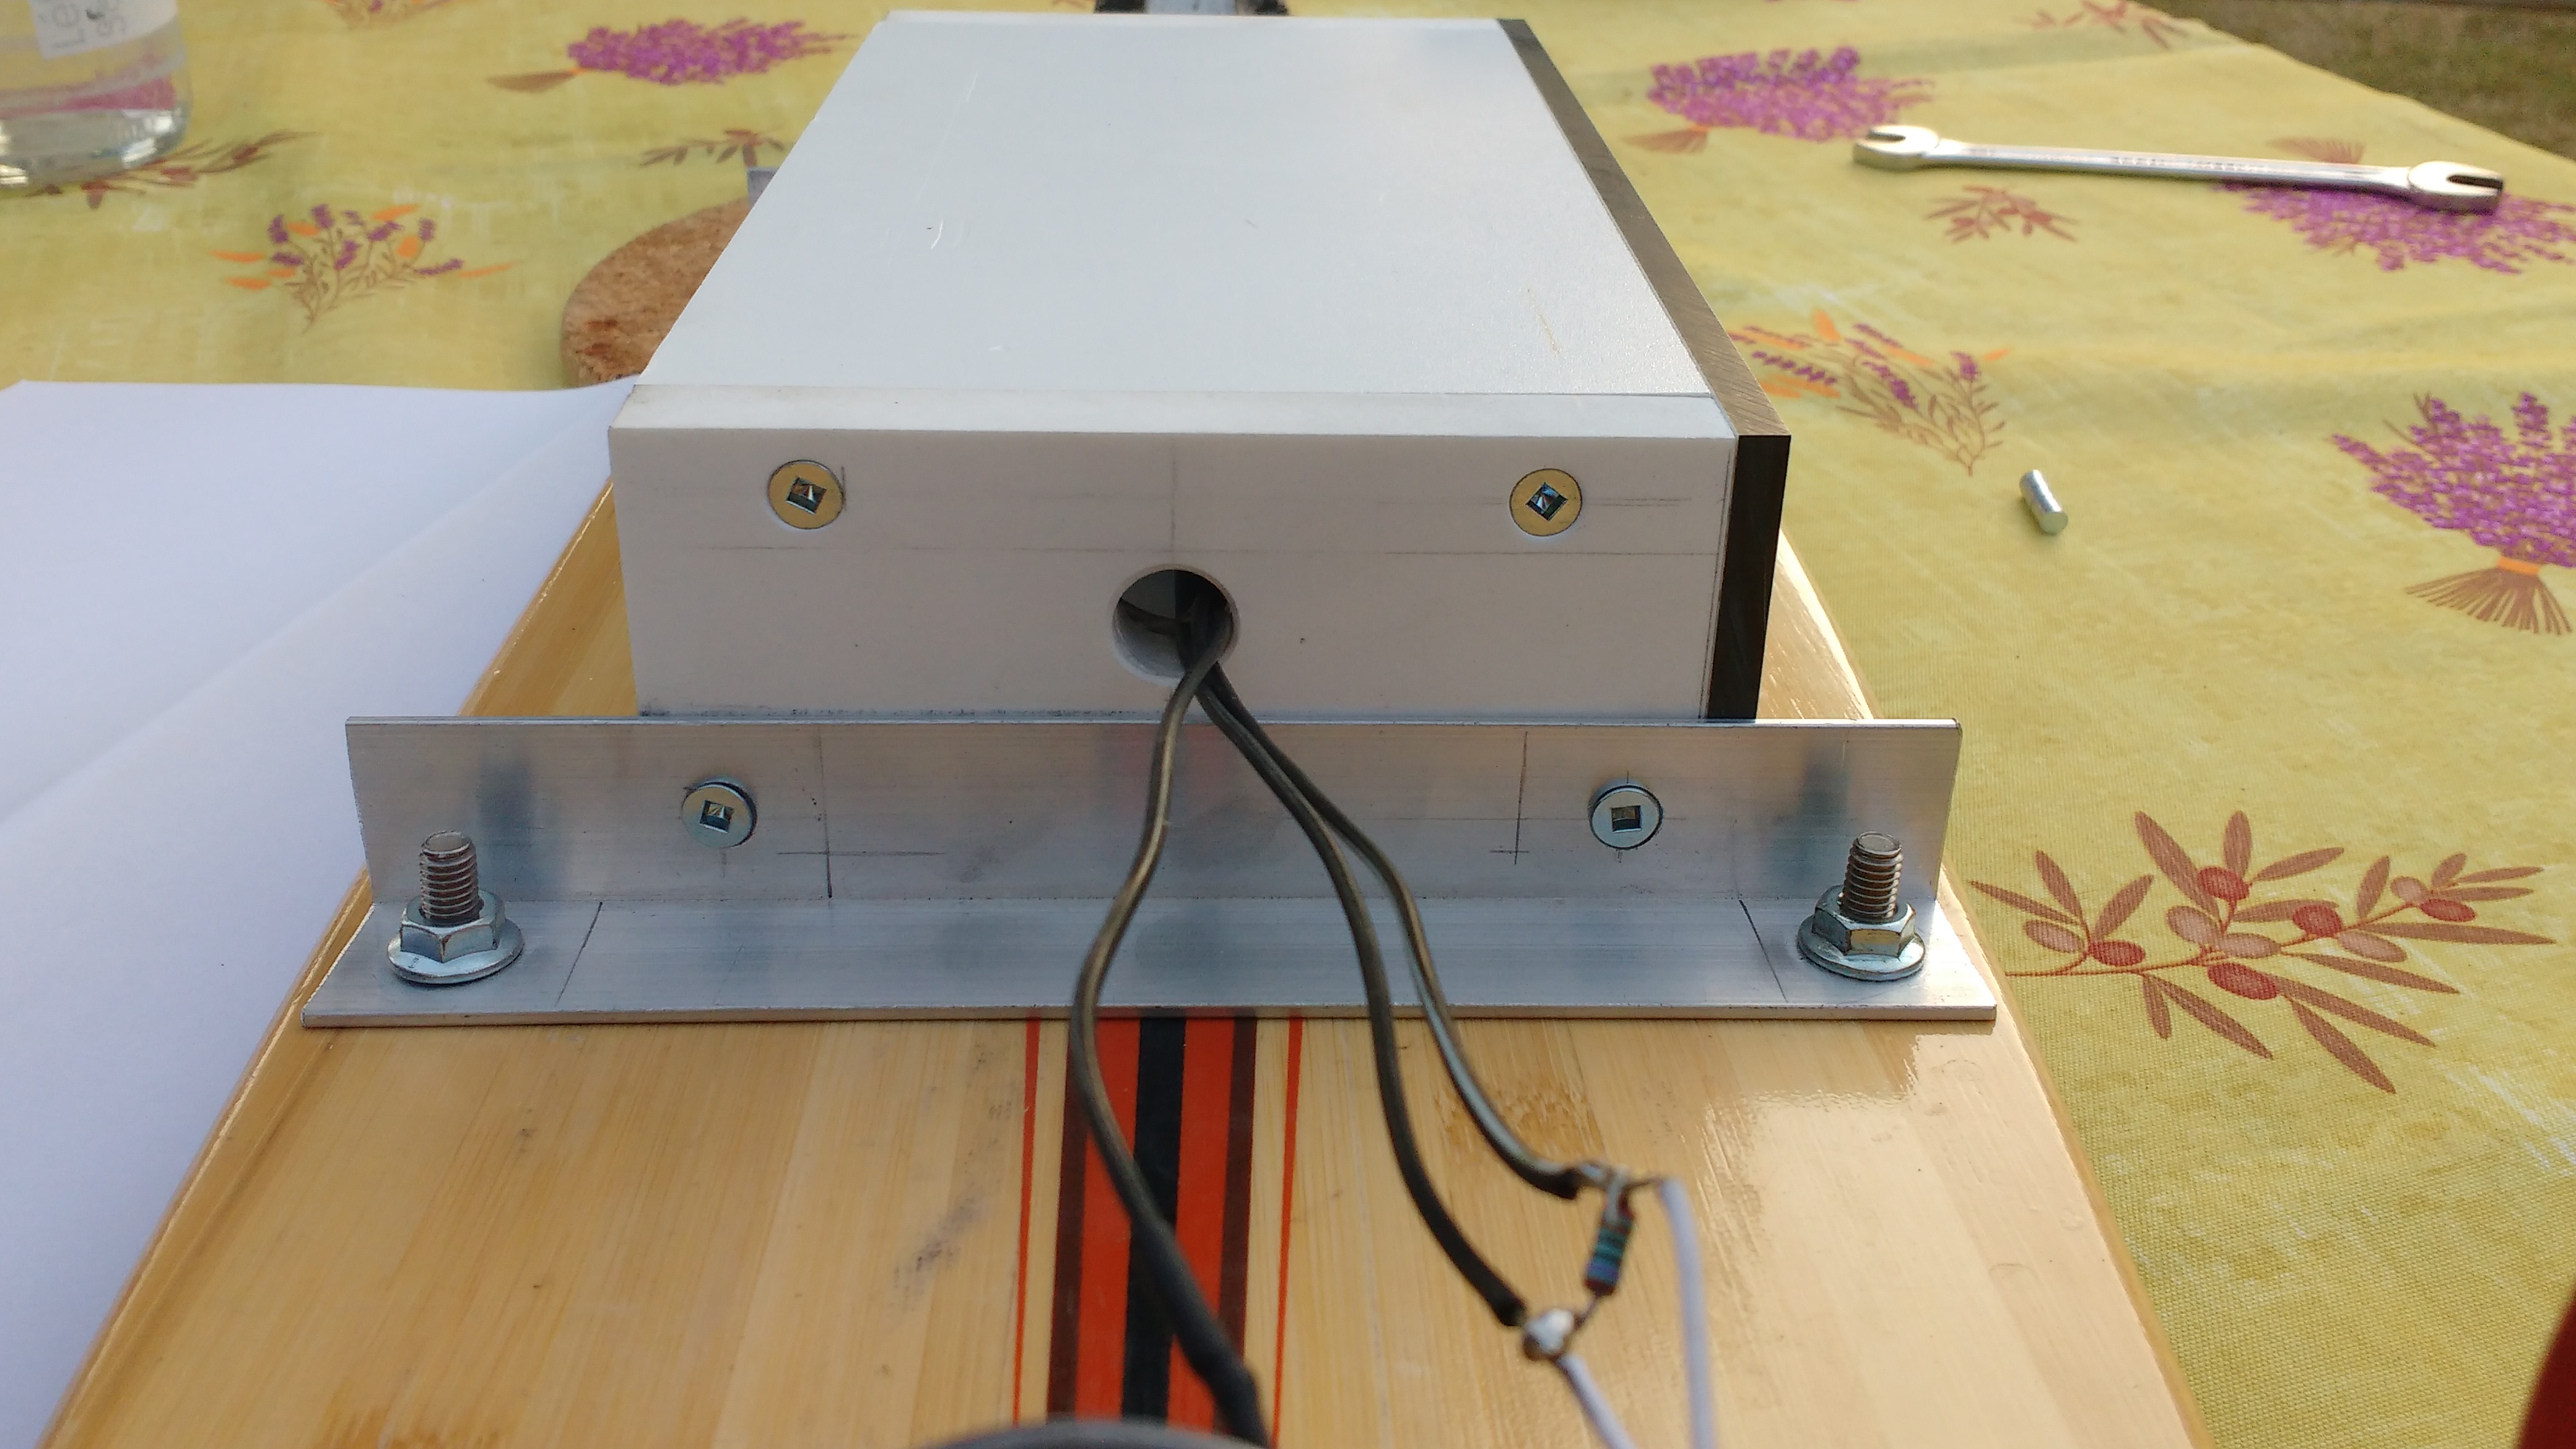
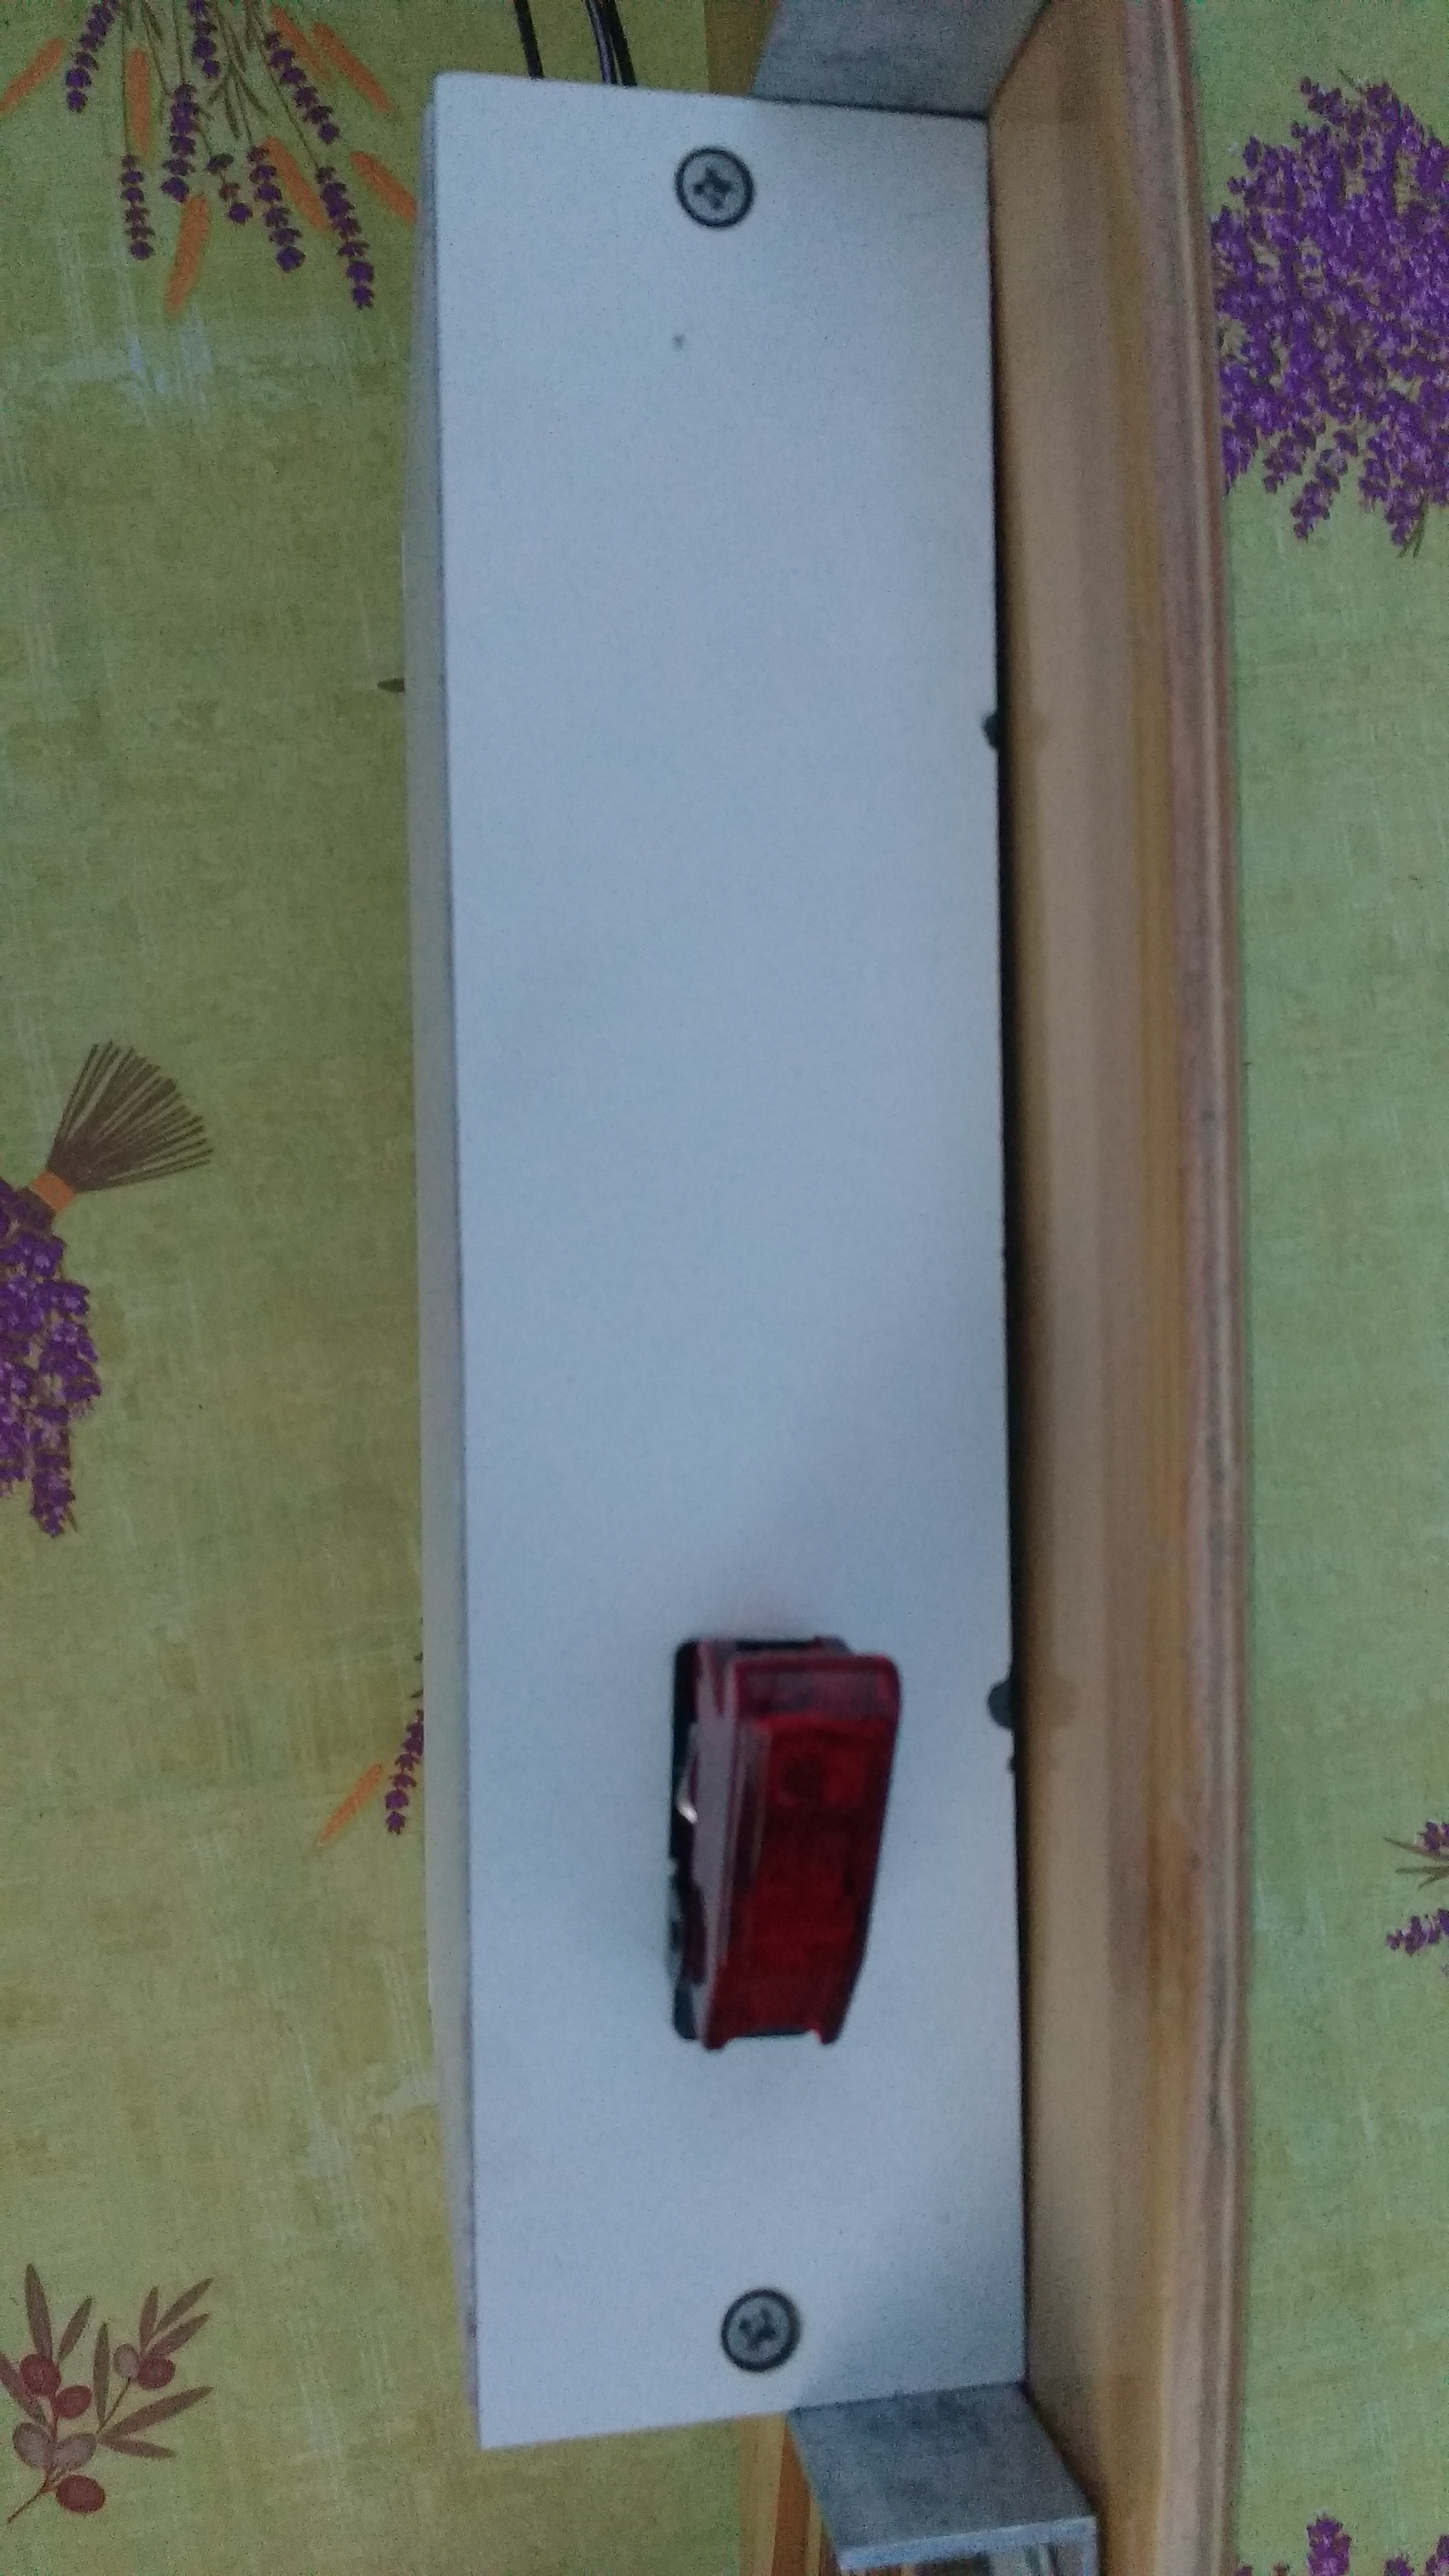
This step will be different for everyone.
Just make sure the battery pack and the raspberry pi will fit.
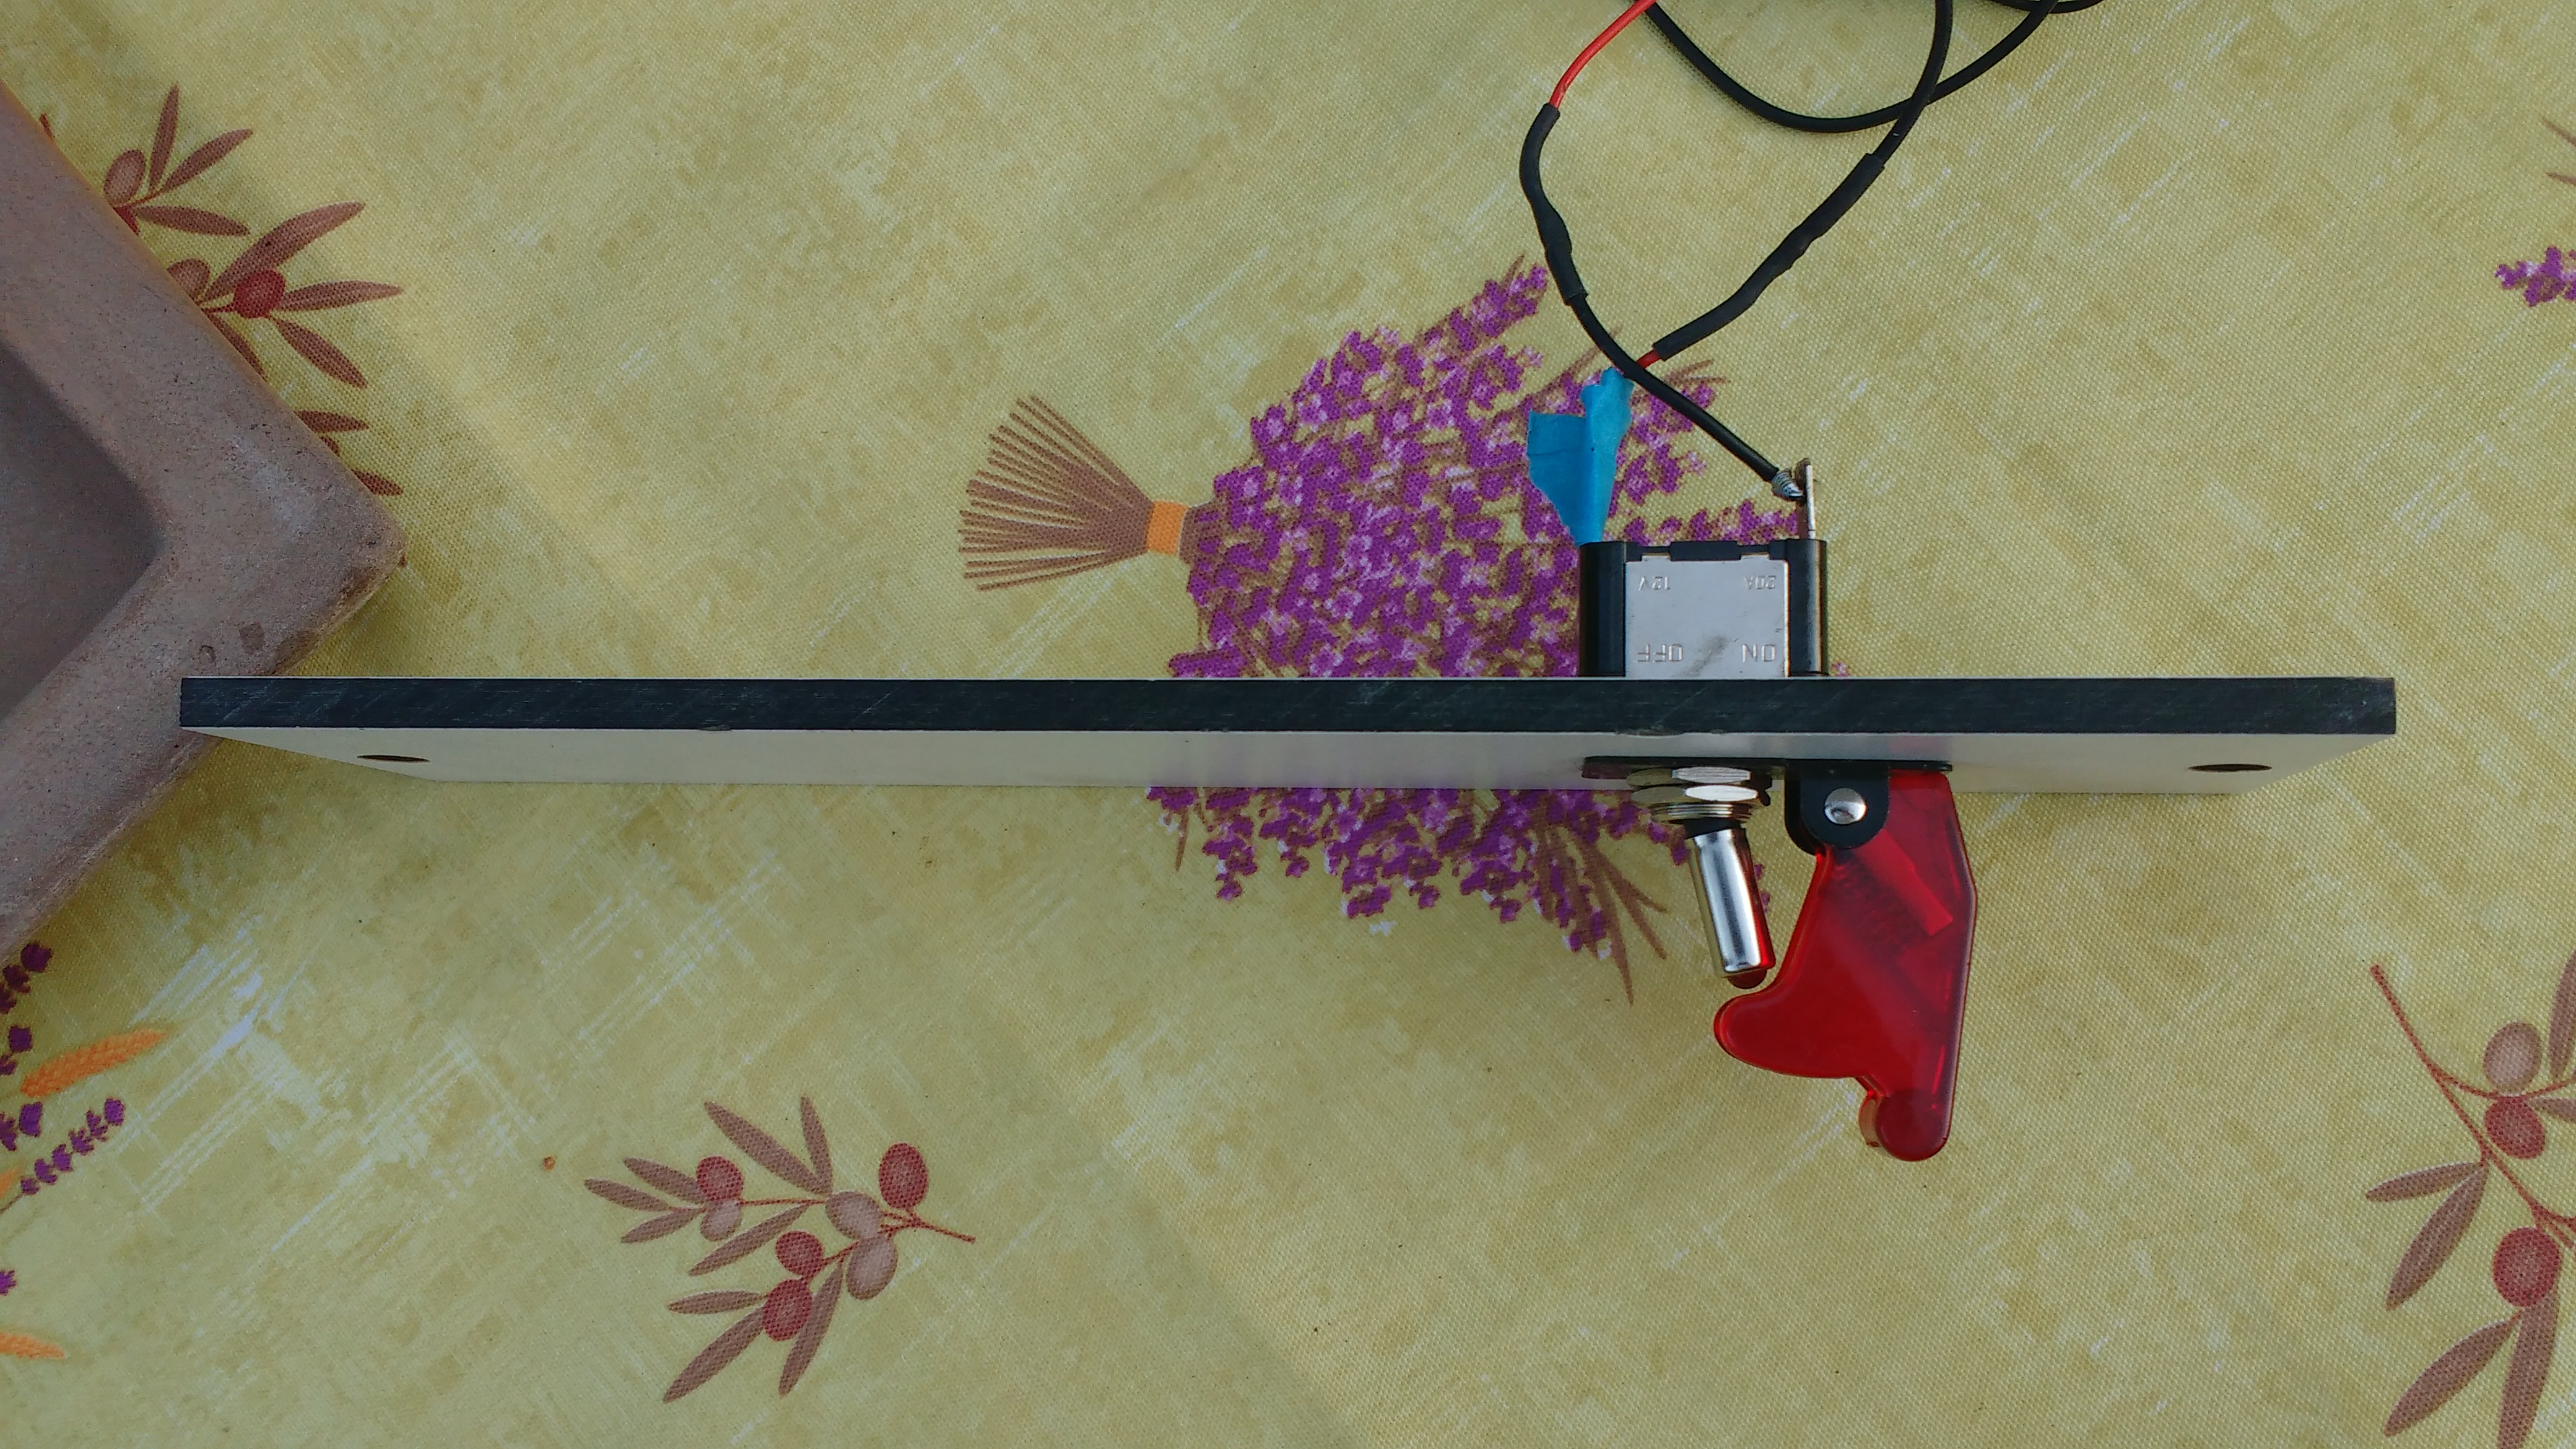
Once the box is finished drill a 14mm hole in the back and 1 side of the box. The hole on the back is for the wires from the hall effect sensor. The hole on the side is for the switch.
Attach Case to the Board
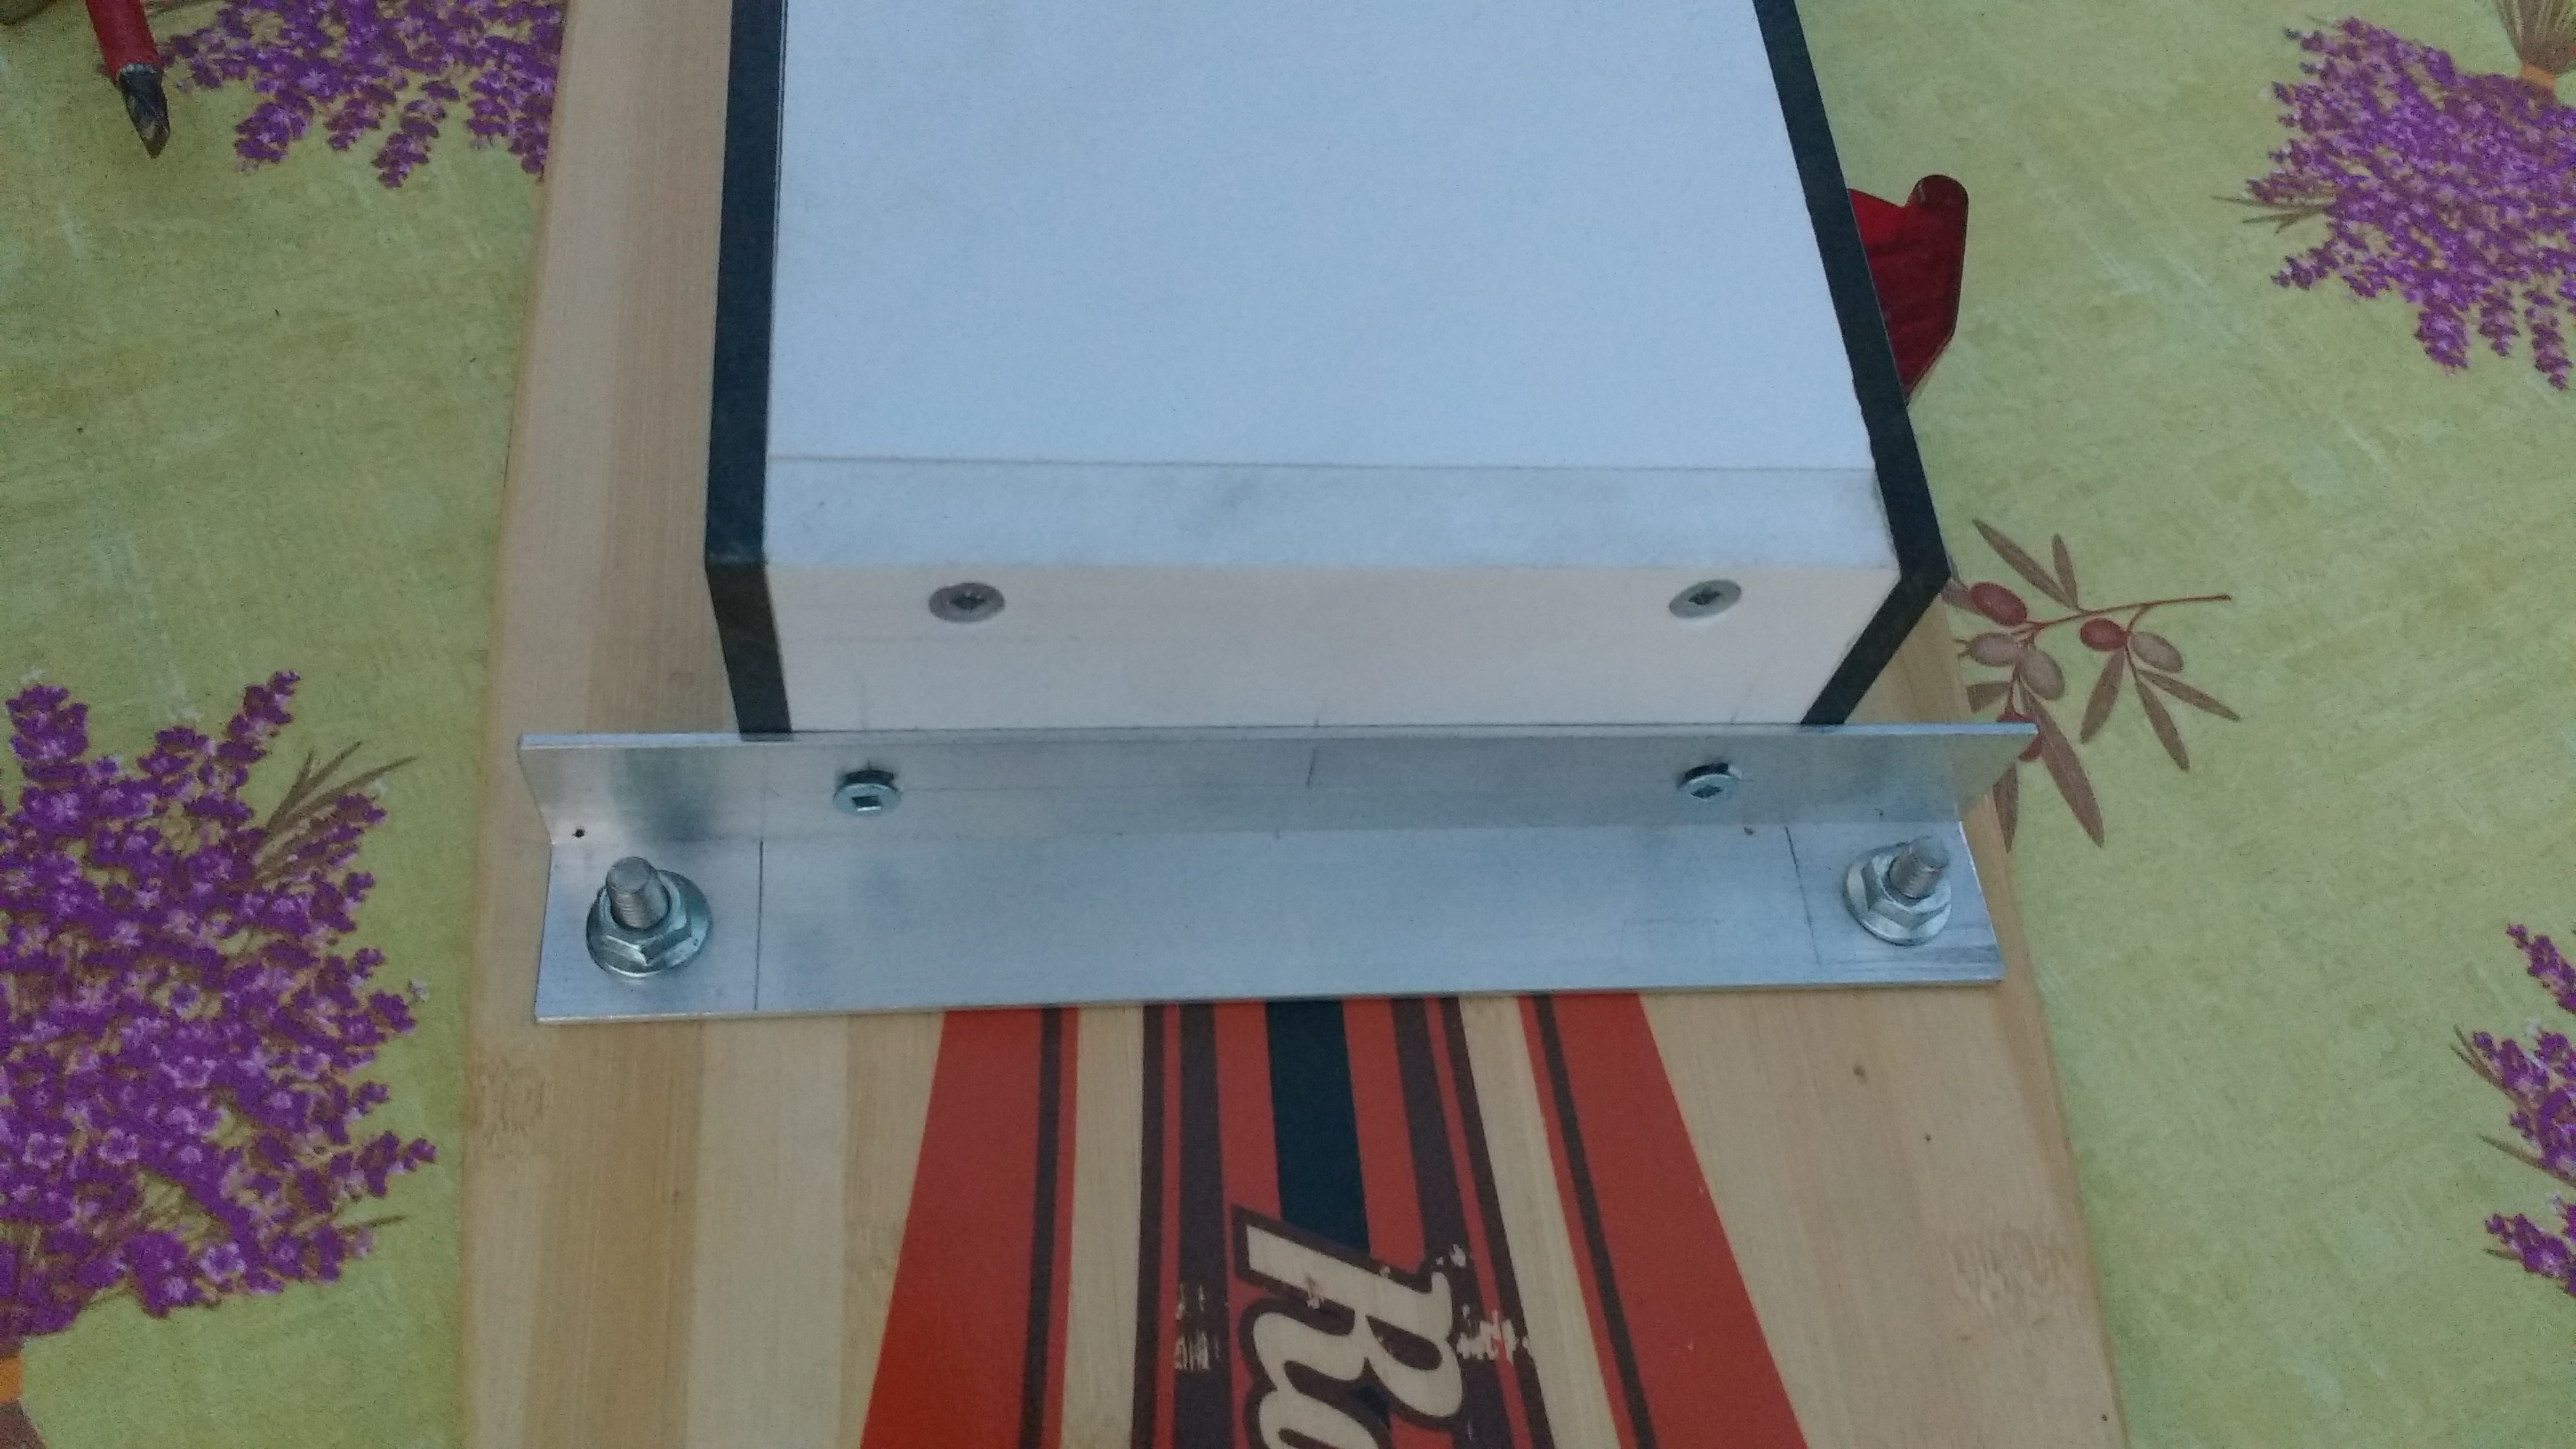
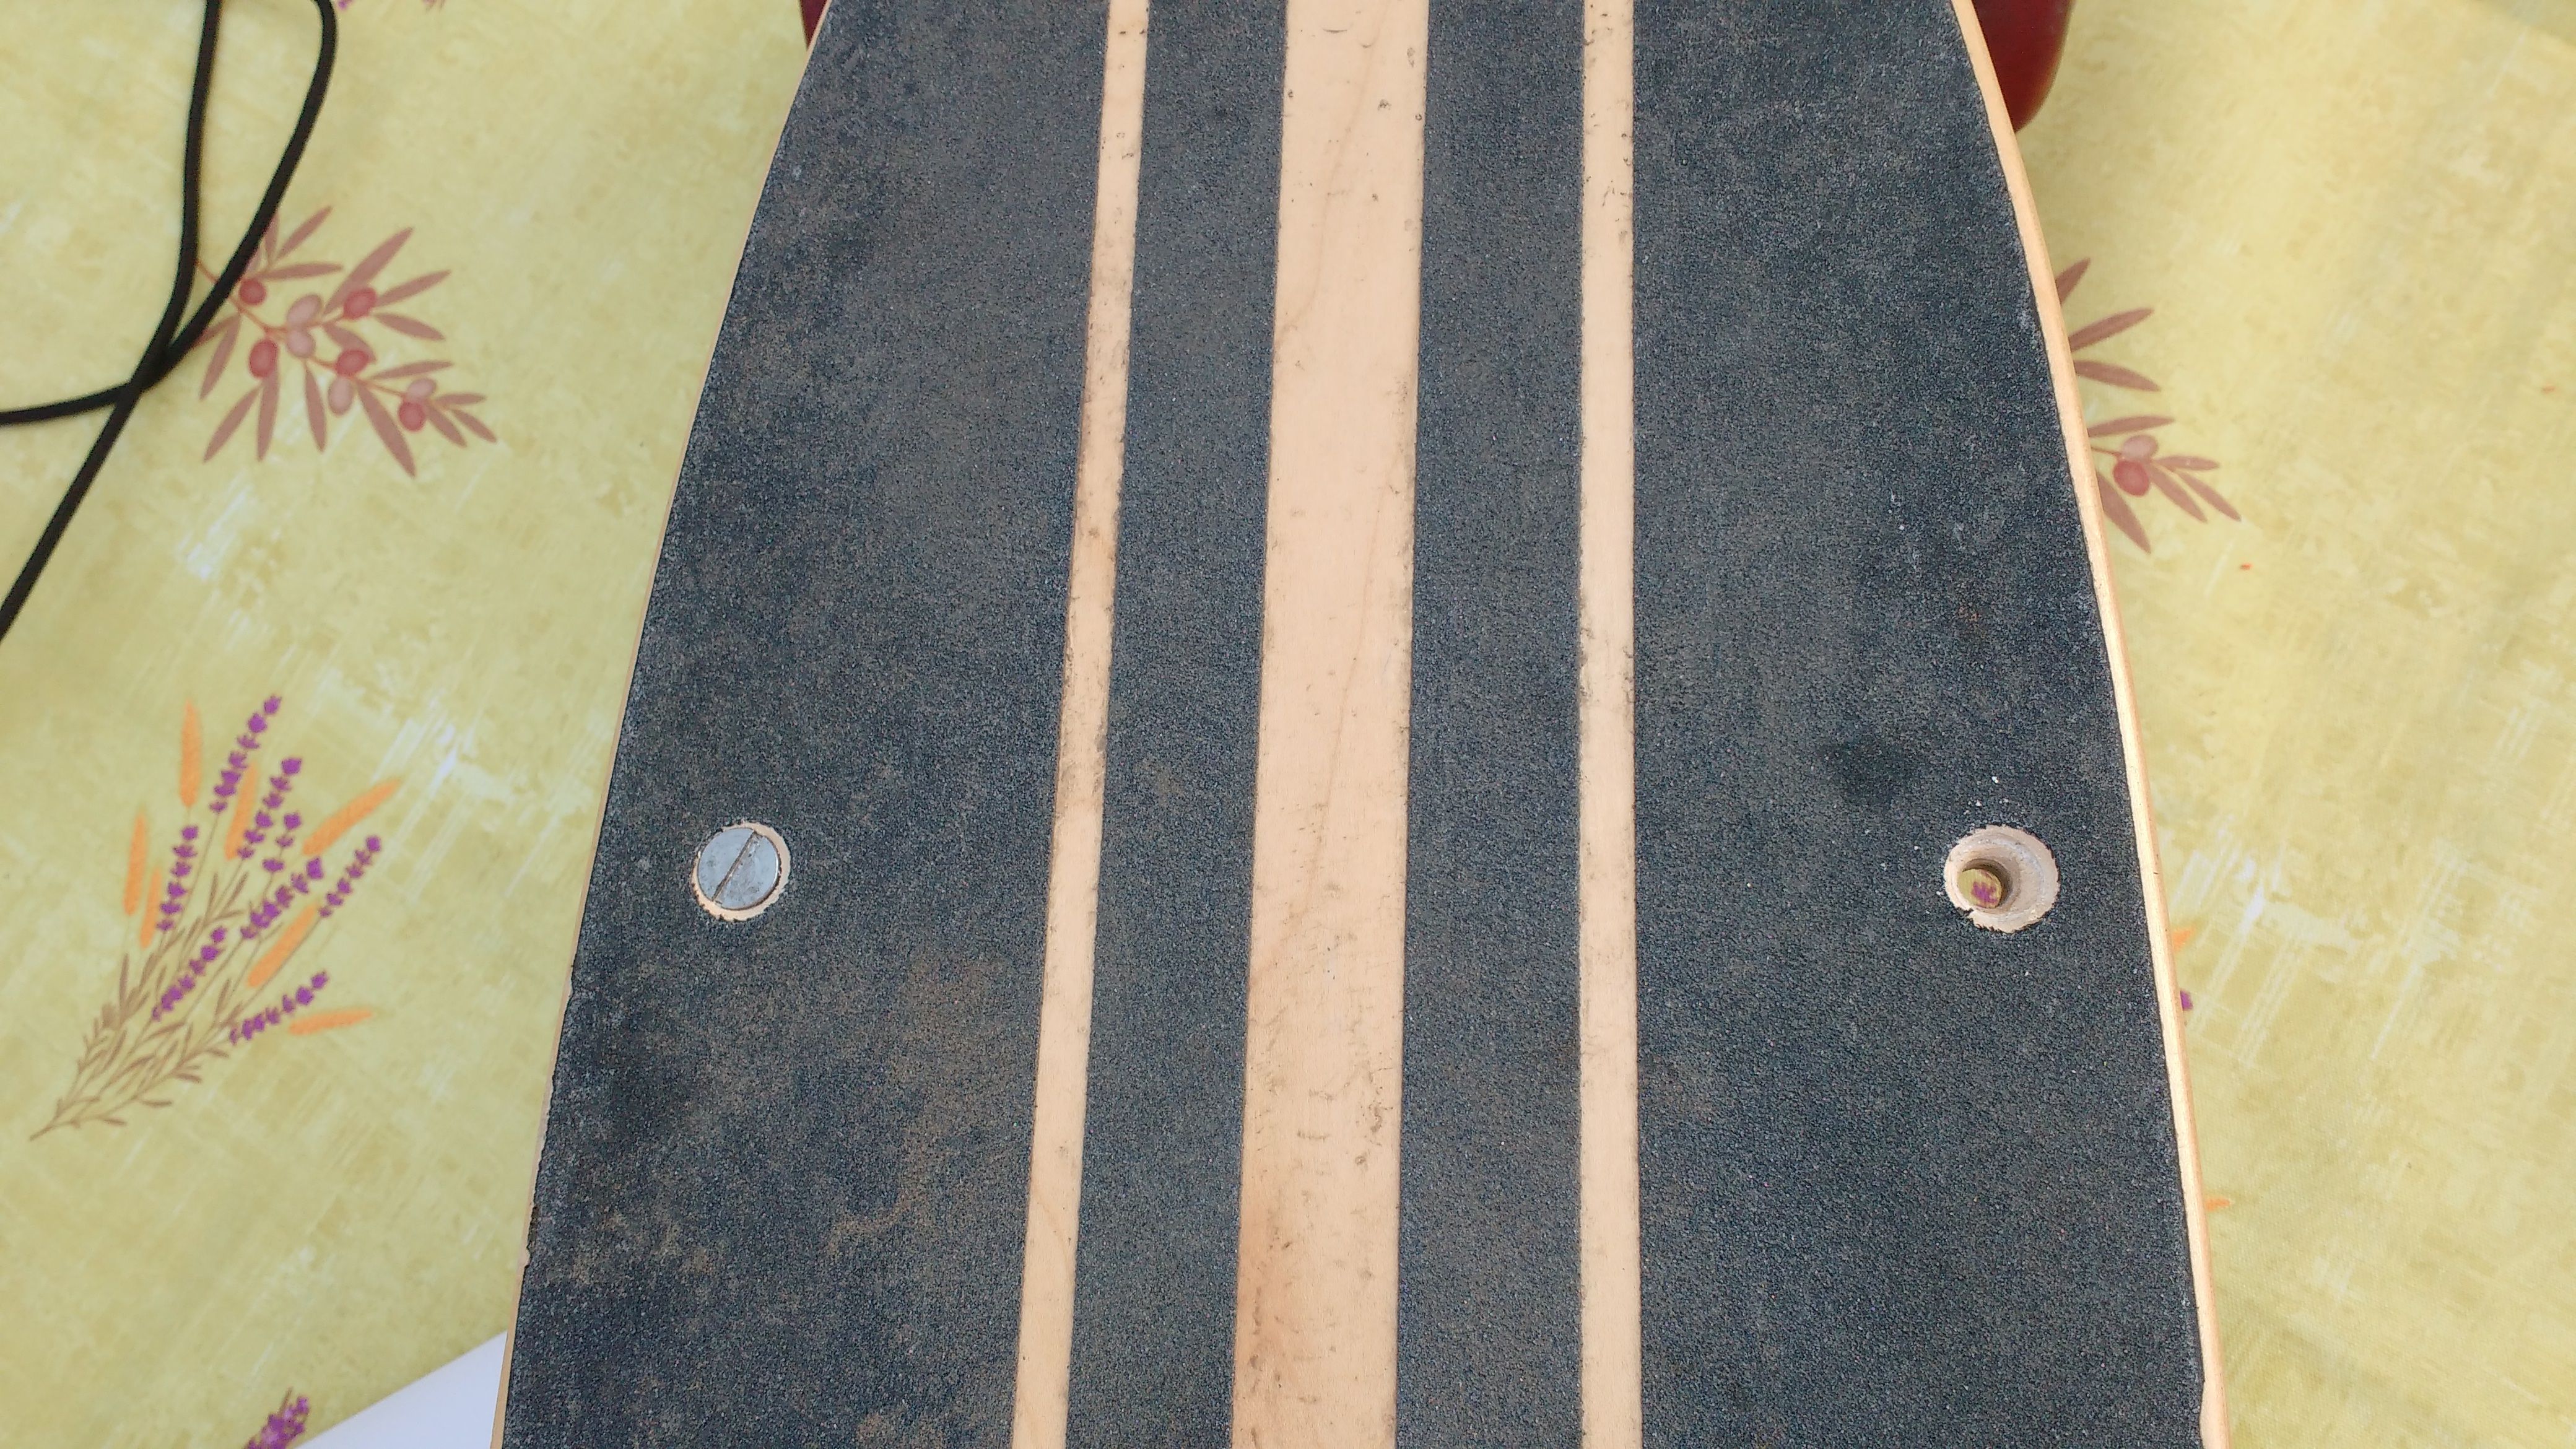
First measure the width of the board and cut the angle iron to it.
Lay the casing onto the board in the right place and sandwich it by the angle irons. Carefully drill through the iron and into the board. Now place a screw into the holes and secure with a nut. To prevent the screws from sticking out of the board use a countertip.
Now drill a hole from angle iron into the casing and secure with screws.
Install the OS


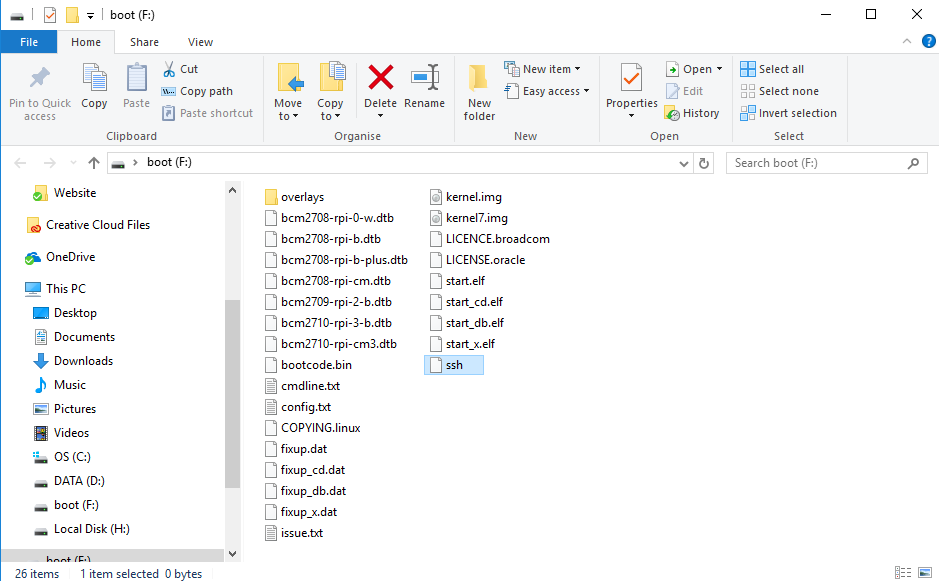
To run software on the pi we need an operating system. For this I used Raspbian Jessie because this is most appropriate for the raspberry pi. I used the version without GUI because I’m familiar with linux. If you aren’t familiar with linux I would recommend to use the version with Pixel.
https://www.raspberrypi.org/downloads/raspbian/
Once you have downloaded the operating system you need to write it to an SD card. For this you can choose out of 2 different programs.
- Etcher: Etcher
- Win32 Disk Imager: Win32 Disk Manager
The programs work very similar.
- Select the image of raspbian jessie
- Make sure the sd card is selected (sd card must be 4GB or larger)
- Write to disk and wait until its finished
- If you use the version without GUI you need to use ssh, this is disabled by default. To enable ssh you need to create a file name ssh without extension in the boot directory. Just create an empty txt file and name it ssh, after that remove the extension
- Insert sd car into raspberry pi and connect the pi to the internet
To setup the software we need to login to the system. By default the username = pi and the password = raspberry
-
GUI, justlogin in login screen. Now open the terminal
-
Without GUI
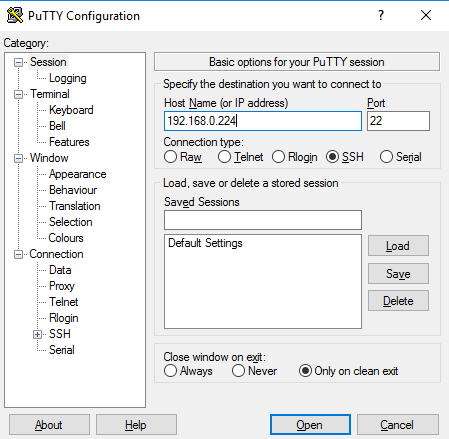
For logging in over ssh you need a linux terminal. On windows you can use putty for this. putty
Before we can setup the connection we need to know the ipadress of the pi. To know the ip address you need to log in your router and search by connected devices for the ip address of the pi.
To make sure we have the latest version use this code. This process can take a while.
<p>sudo apt-get update && sudo apt-get upgrade</p>
Installing the Website
Now we will install the website.
First we need to have an directory to put the files in.
sudo mkdir /var/python
The copy the project from github we need to install git
<p>sudo apt-get install git</p>
Clone the website
sudo git clone <a href="https://github.com/daanclaerhout/SpeedometerWebsite.git">https://github.com/daanclaerhout/SpeedometerWebsit...</a> /var/python
Check if the files are copied
<p>ls -a /var/python</p>
In order to use the website completely we need full ownership of directory
<p>sudo chmod 777 /var/python -R</p>
To run the site we need to install some extra packages. To do that we use a command called pip. If pip isn't installed run this command first.
<p>sudo apt-get install python-pip</p>
Install the packages.
<p>sudo pip install mysql-connector==2.1.4</p><p>sudo pip install flask</p><p>sudo pip install flask-wtf</p>
Starting the website on boot:
sudo nano /etc/rc.local
Add the following line above "exit 0"
python /var/python/Website.py &
Installing the Database

To save the data from your rides we need a datasbases. I used mysql-server for this.
Install:
sudo apt-get install mysql-server
Raspbian will ask if you want to install mysql-server. Type 'y' and enter. Mysql will now install. After 30seconds a blue screen will pop up asking to set a password for the root user. I used root as password for this project.
If you want to use an different password you need to change the password in the file named DbClass. In order to do that use this command.
<p>sudo nano /var/python/DbClass.py</p>
Now Mysql-server is done we can install the database.
First we need to login.
mysql -u root -p
After you logged in you can install the database.
<p>source /var/python/speedometersql.sql</p>
After the install is done type exit to leave mysql.
Install the Hardware Clock
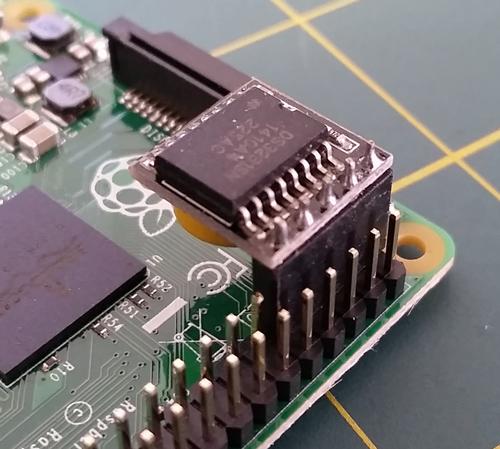
Since the Raspberry Pi 3 doesn’t come with a battery-powered real time clock, it will only show the correct time once it has Internet connectivity (thanks to the NTP daemon). Because your Pi will not be connected to the Internet, you need to add a hardware clock to set the current date. Here’s how to add a DS3231 real time clock GPIO module to the Pi:
First we need to enable I2C.
<p>sudo raspi-config</p>
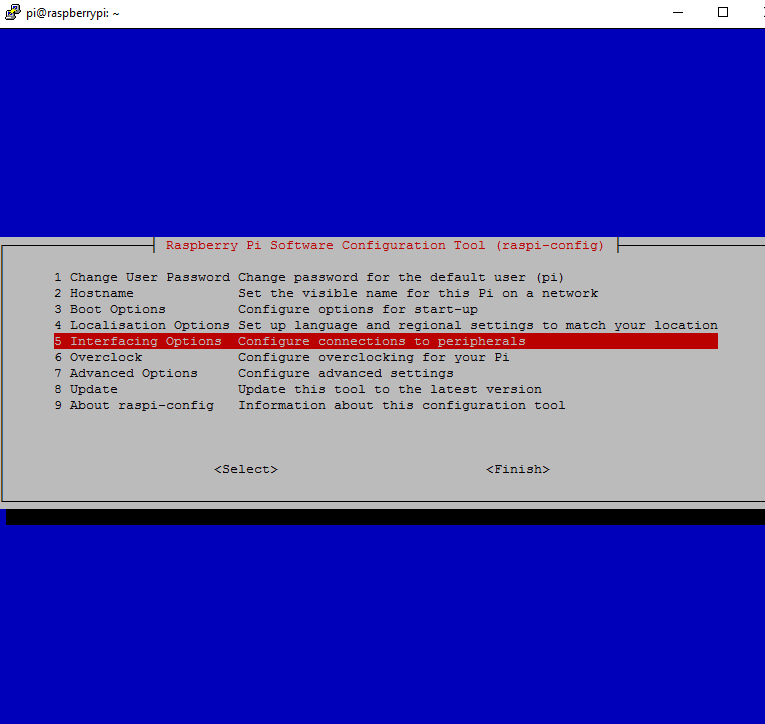
After executing the command above a blue screen will pop up.
First select 5: Interfacing Options, then P5: I2C.
Raspbian will not detect the hardware clock by default. We need to edit /etc/modules in order for raspbian to detect the clock.
sudo nano /etc/modules
Add the following lines:
i2c-dev
rtc-ds3231
We also need to edit /boot/config.txt
sudo nano /boot/config.txt
Add the following line at the end of the file.
<p>dtoverlay=i2c-rtc,ds3231</p>
We don’t need fake-hwclock anymore:
<p>apt-get purge fake-hwclock</p>
Set your time zone using:
<p>dpkg-reconfigure tzdata</p>
Write the system time to the RTC module using:
<p>hwclock -w</p>
Edit /etc/rc.local and add the hwclock command above the line that says “exit 0”:
<p>/sbin/hwclock -s</p>
Reboot
If the hardware clock keeps resetting:
<p>sudo nano /etc/init.d/hwclock.sh</p>
Set HWCLOCKACCESS to no:
<p>HWCLOCKACCESS=no</p>
Creating Wifi Hotspot
Remove WPA Supplicant to avoid errors:
sudo apt-get purge wpasupplicant
Install dhcp server:
sudo apt-get install isc-dhcp-server
Configuration dhcp server:
sudo nano /etc/dhcp/dhcpd.conf
Add the following lines at bottom file:
subnet 10.10.0.0 netmask 255.255.255.0 {
range 10.10.0.25 10.10.0.50;
option domain-name-servers 8.8.4.4;
option routers 10.10.0.1;
interface wlan0;
}
To create a hotspot we need hostapd.
sudo apt-get install hostapd
Configuration hostapd:
sudo nano /etc/hostapd/hostapd.conf
Add the following lines to the file:
Change the ssid(name of wifi) and wpa_passphrase(password) to whatever you want.
interface=wlan0
driver=nl80211
ssid=SPEEDOMETER
hw_mode=g
channel=11
wpa=1
wpa_passphrase=SPEEDOMETER
wpa_key_mgmt=WPA-PSK
wpa_pairwise=TKIP CCMP
wpa_ptk_rekey=600
macaddr_acl=0
Configuration wlan0:
sudo nano /etc/network/interfaces
Add or edit the following lines:
auto wlan0
iface wlan0 inet static
address 10.10.0.1
netmask 255.255.255.0
To start the network on boot we need to edit rc.local once more:
sudo nano /etc/rc.local
Add the following line above "exit 0":
hostapd -B /etc/hostapd/hostapd.conf
Reboot
If the hotspot doesn't work you can use the following line to check for errors:
sudo hostapd -d /etc/hostapd/hostapd.conf
Using the Website
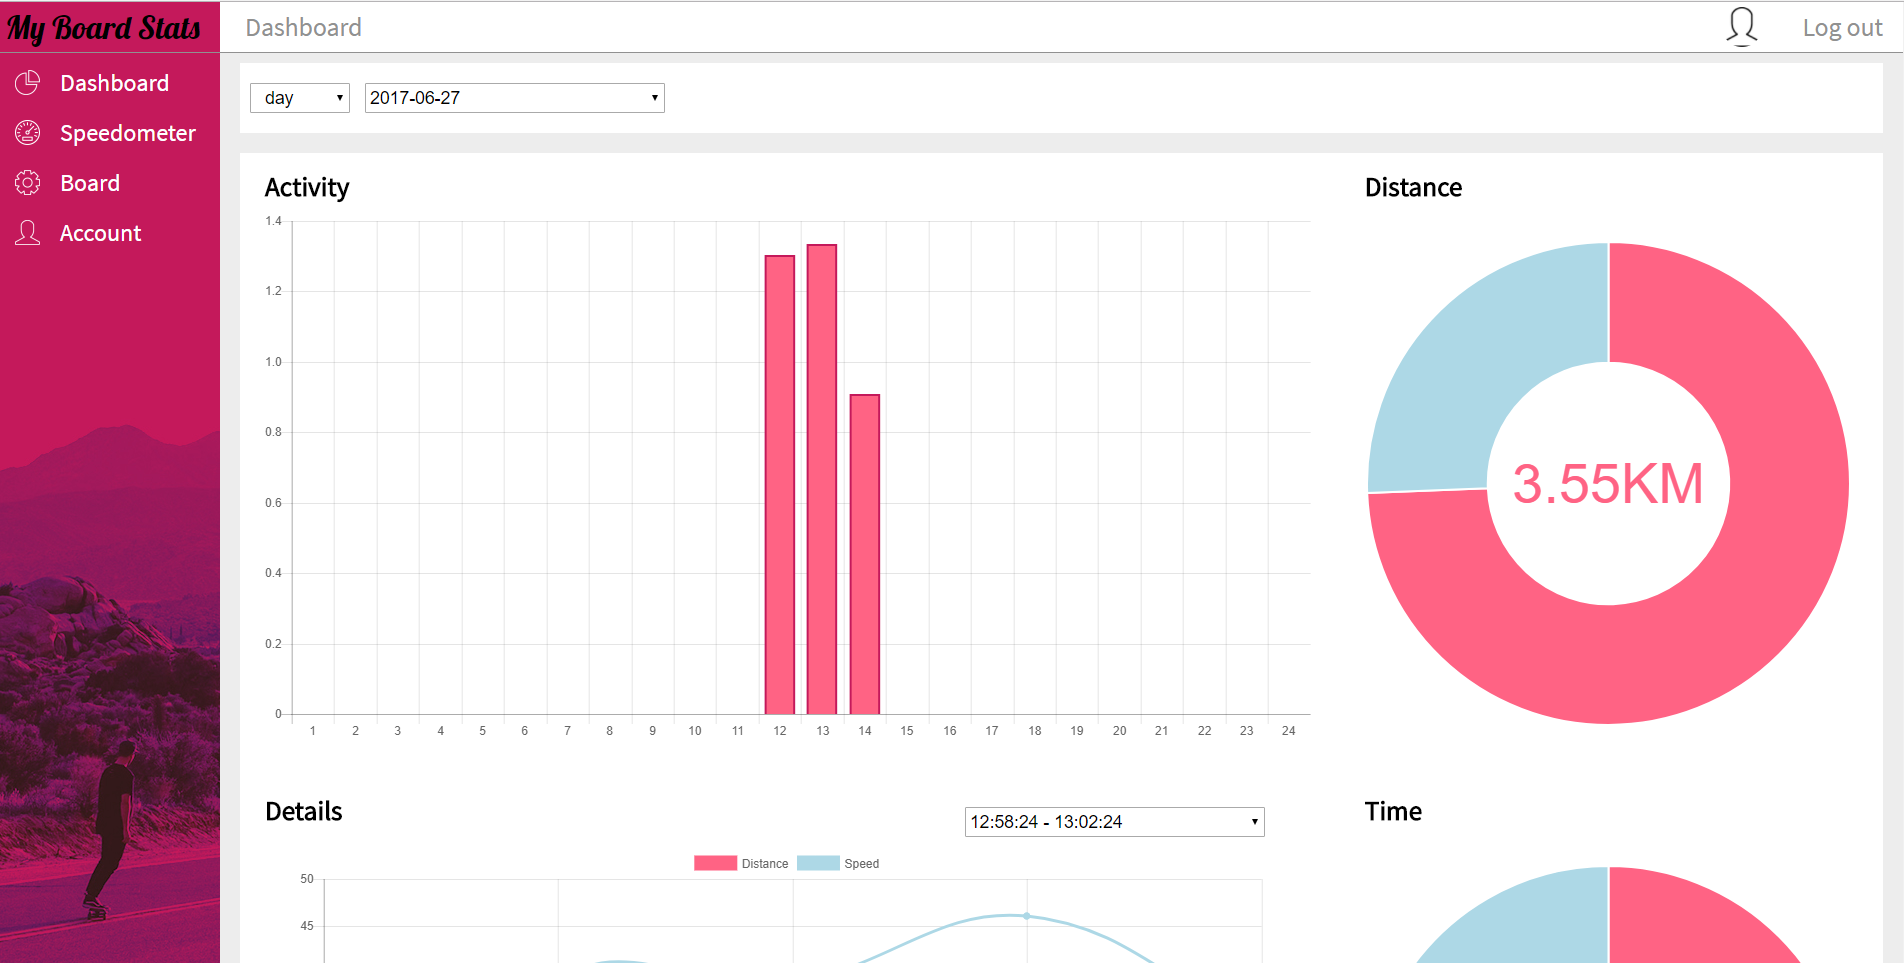
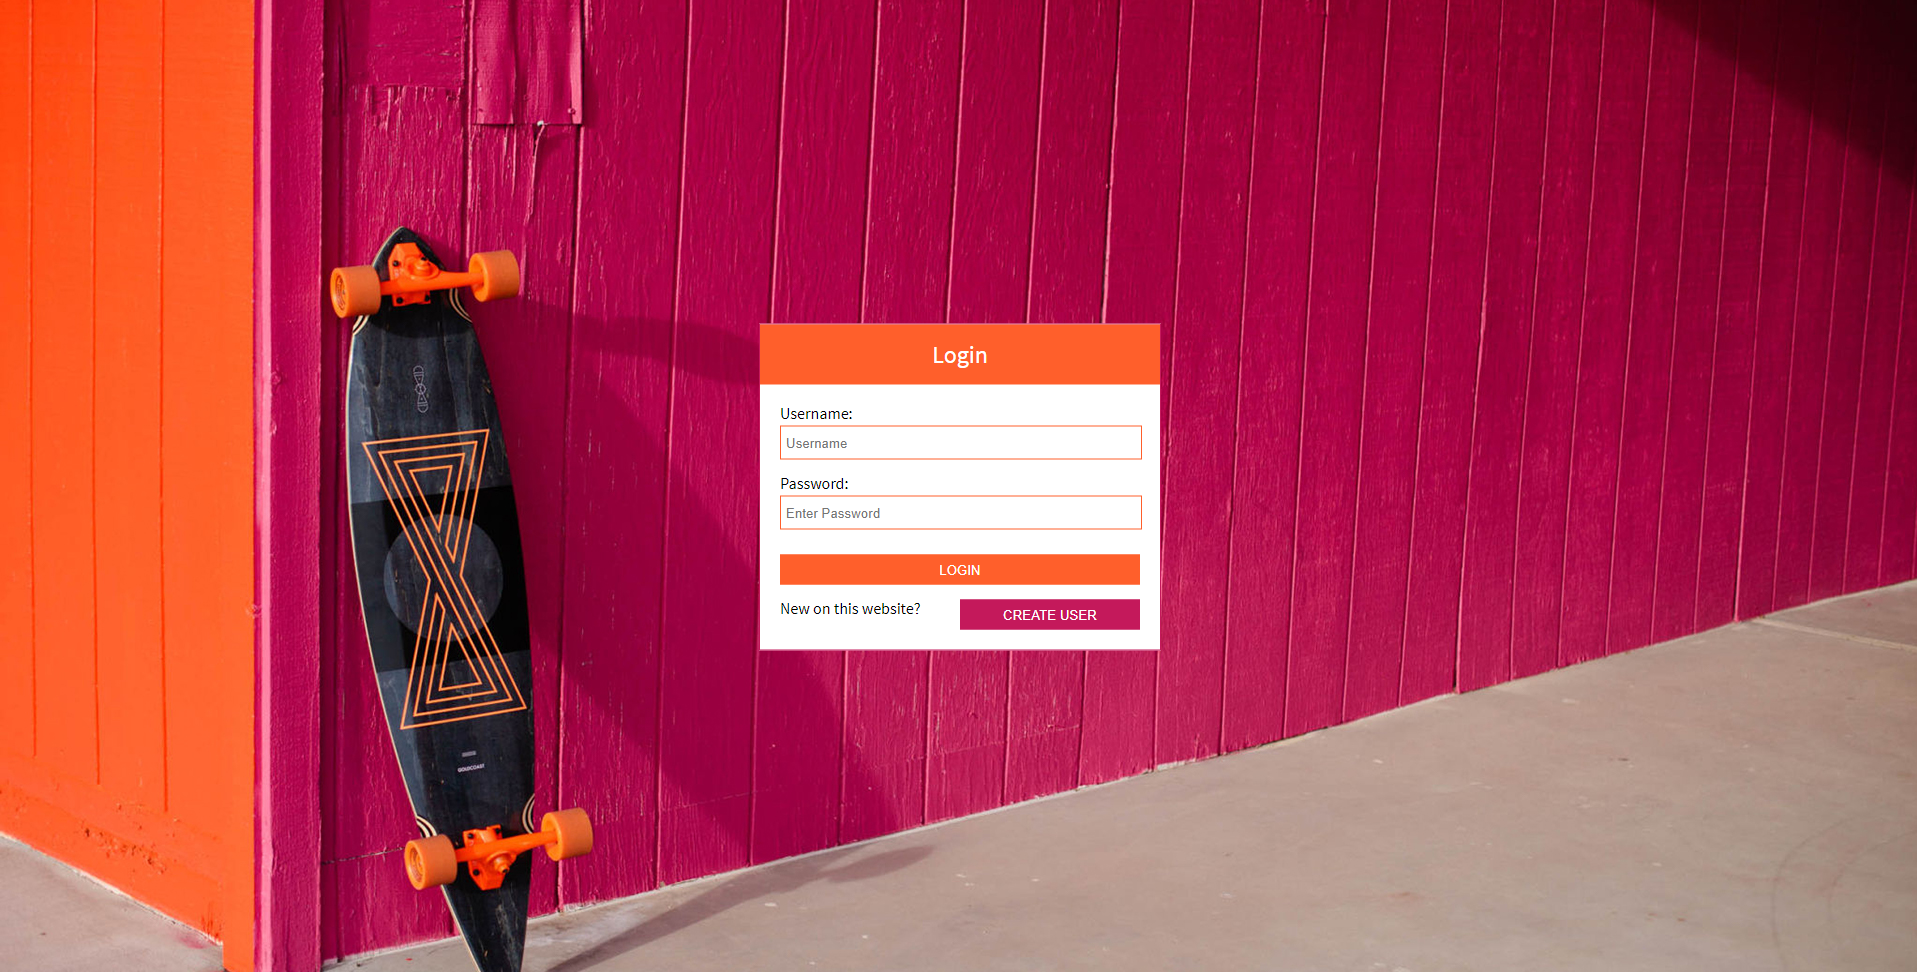
Connect to the hotspot. Once connected surf to 10.10.0.1:9000.
If you installed everything correctly a login page will pop up.
Once you created a user or you are logged in, don't forget to create a default board or the sensor will not register.
Have fun!