Special Place Box Frames
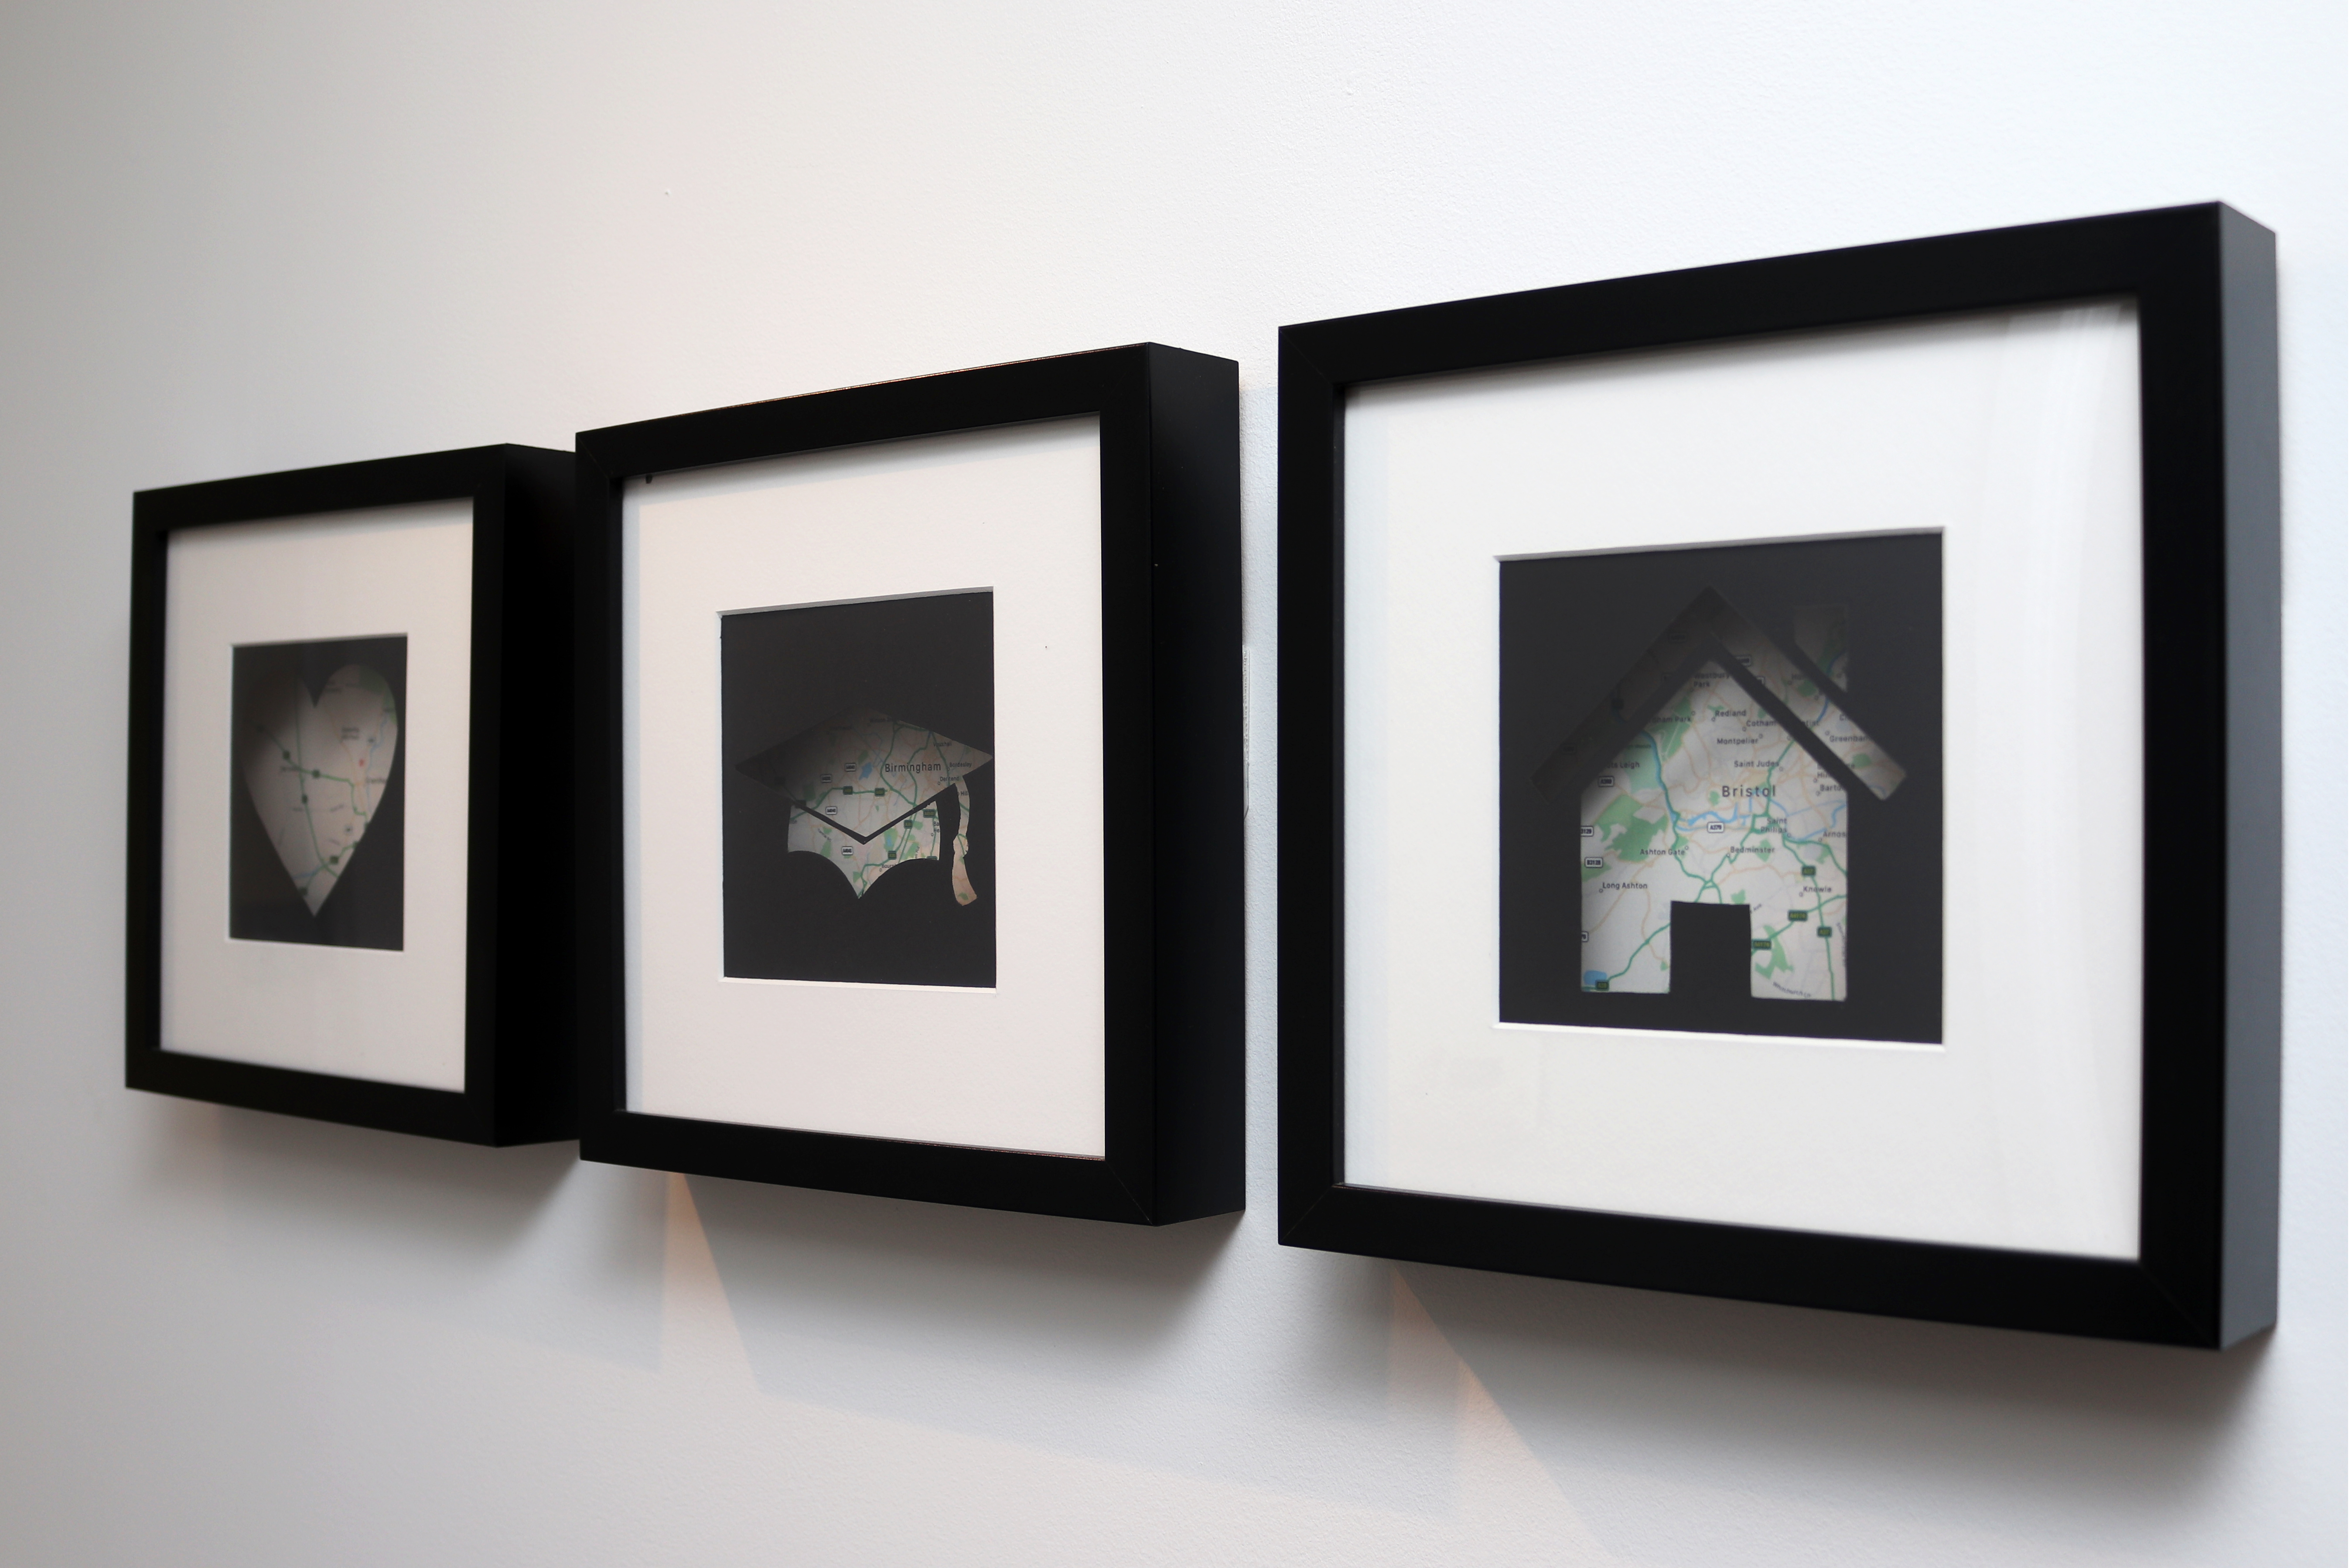
I designed these frames to help remember some key moments in my life - my first home, my graduation, and meeting my partner. I'm sure that as time goes on I will add more frames to commemorate more life events happen! I have had these hanging in my hallway for over a year now so I thought I would take the time to write them up as an Instructable so you can make them too.
In this Instructable I will cover how to create the frames pictured above to help remember a special place or moment, using easy to source parts and tools. This will include some basic image editing to generate your maps and the black masks, some careful paper cutting with a stencil and scalpel, and assembly.
Supplies
- Ikea RIBBA Box Frame
- Scalpel - I like the Swann Morton no3
- Tape
- Masking Tape
- Black card / Thick paper
- Printer or Photo Printing Service
- Photo editing software to create the mask and map - I like Affinity Photo
Generate a Map of Your Special Place
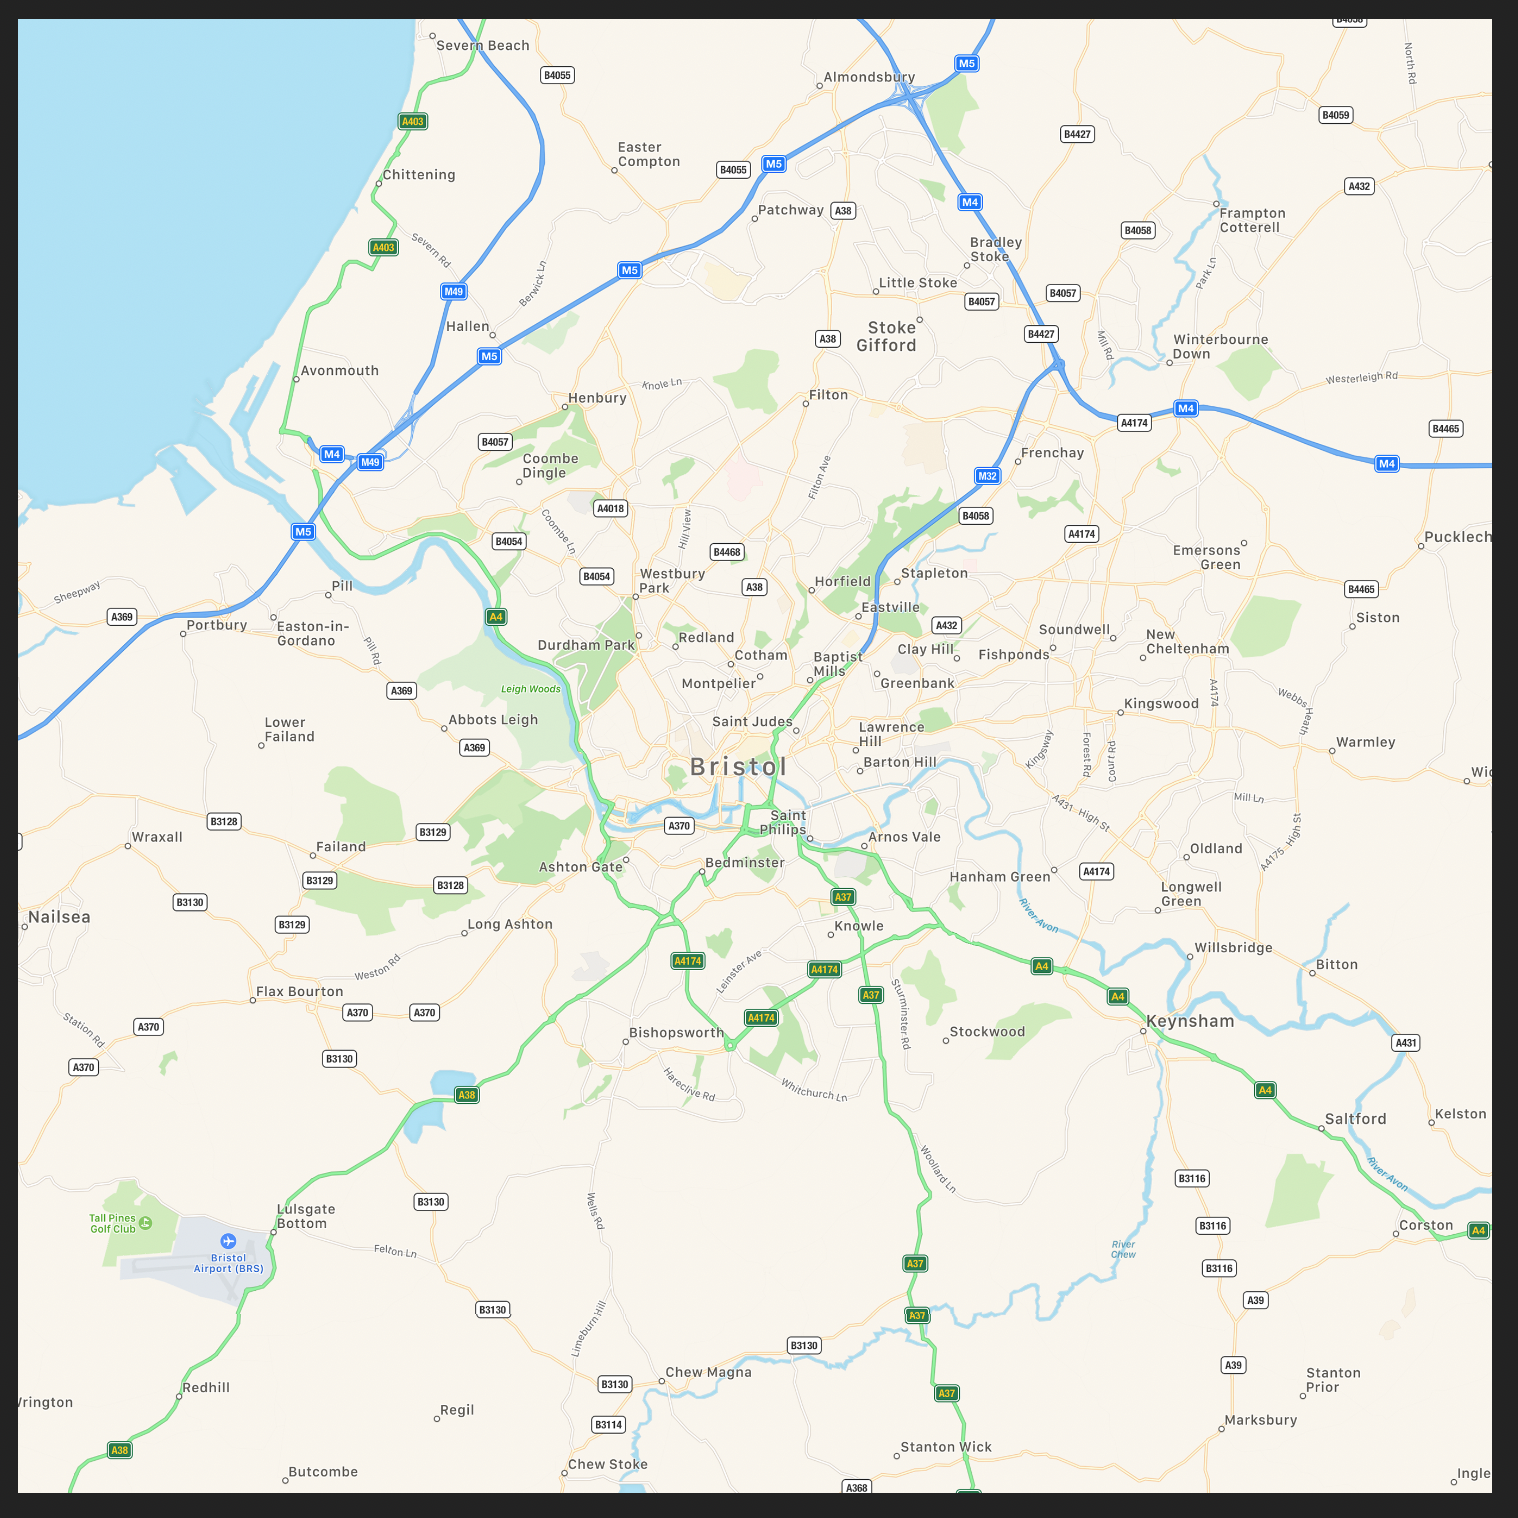
The first thing to do is find a map that features your special place! I used a screenshot of Apple maps to create my maps but you could use any online mapping service like Google Maps, OS Maps, or do something different like using the Tube Map for your city! Different services will offer different styles so its up to you to pick what suits your style. Be creative!
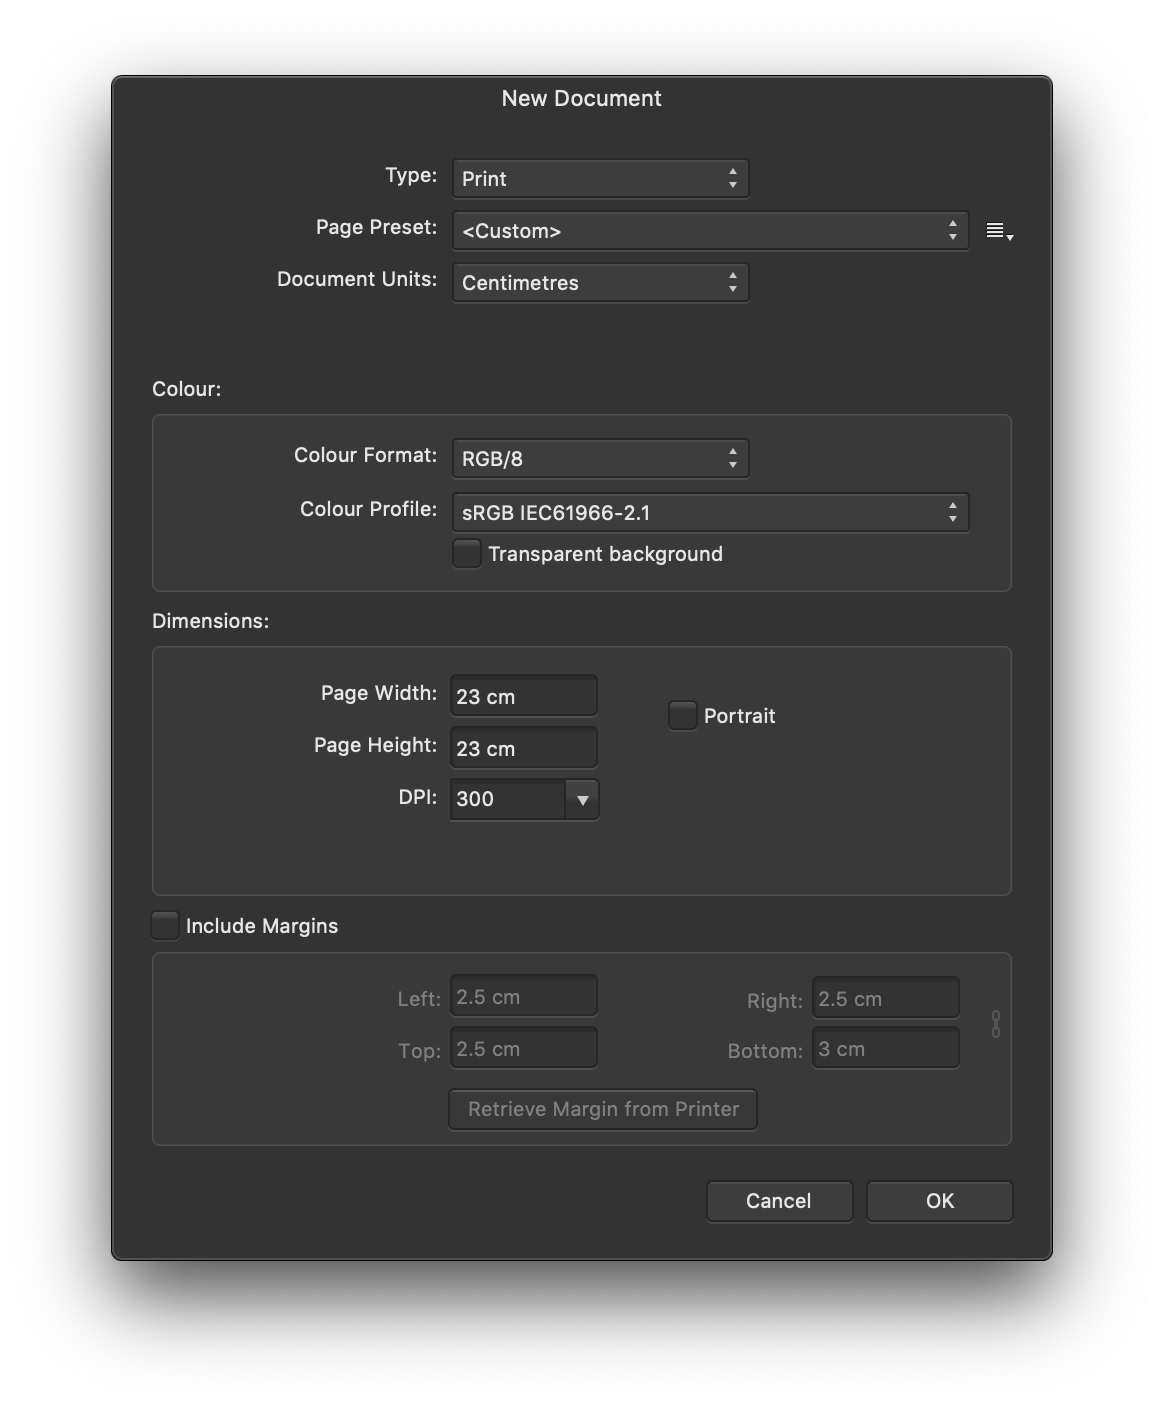
Once you have your maps start by creating a 23 x 23 cm canvas in your chosen photo editor with a DPI of 300. This creates a canvas the correct size for the frames and with a DPI suited to printing. Drop your map into the centre so that it fills the canvas.
Generate the Mask Stencil
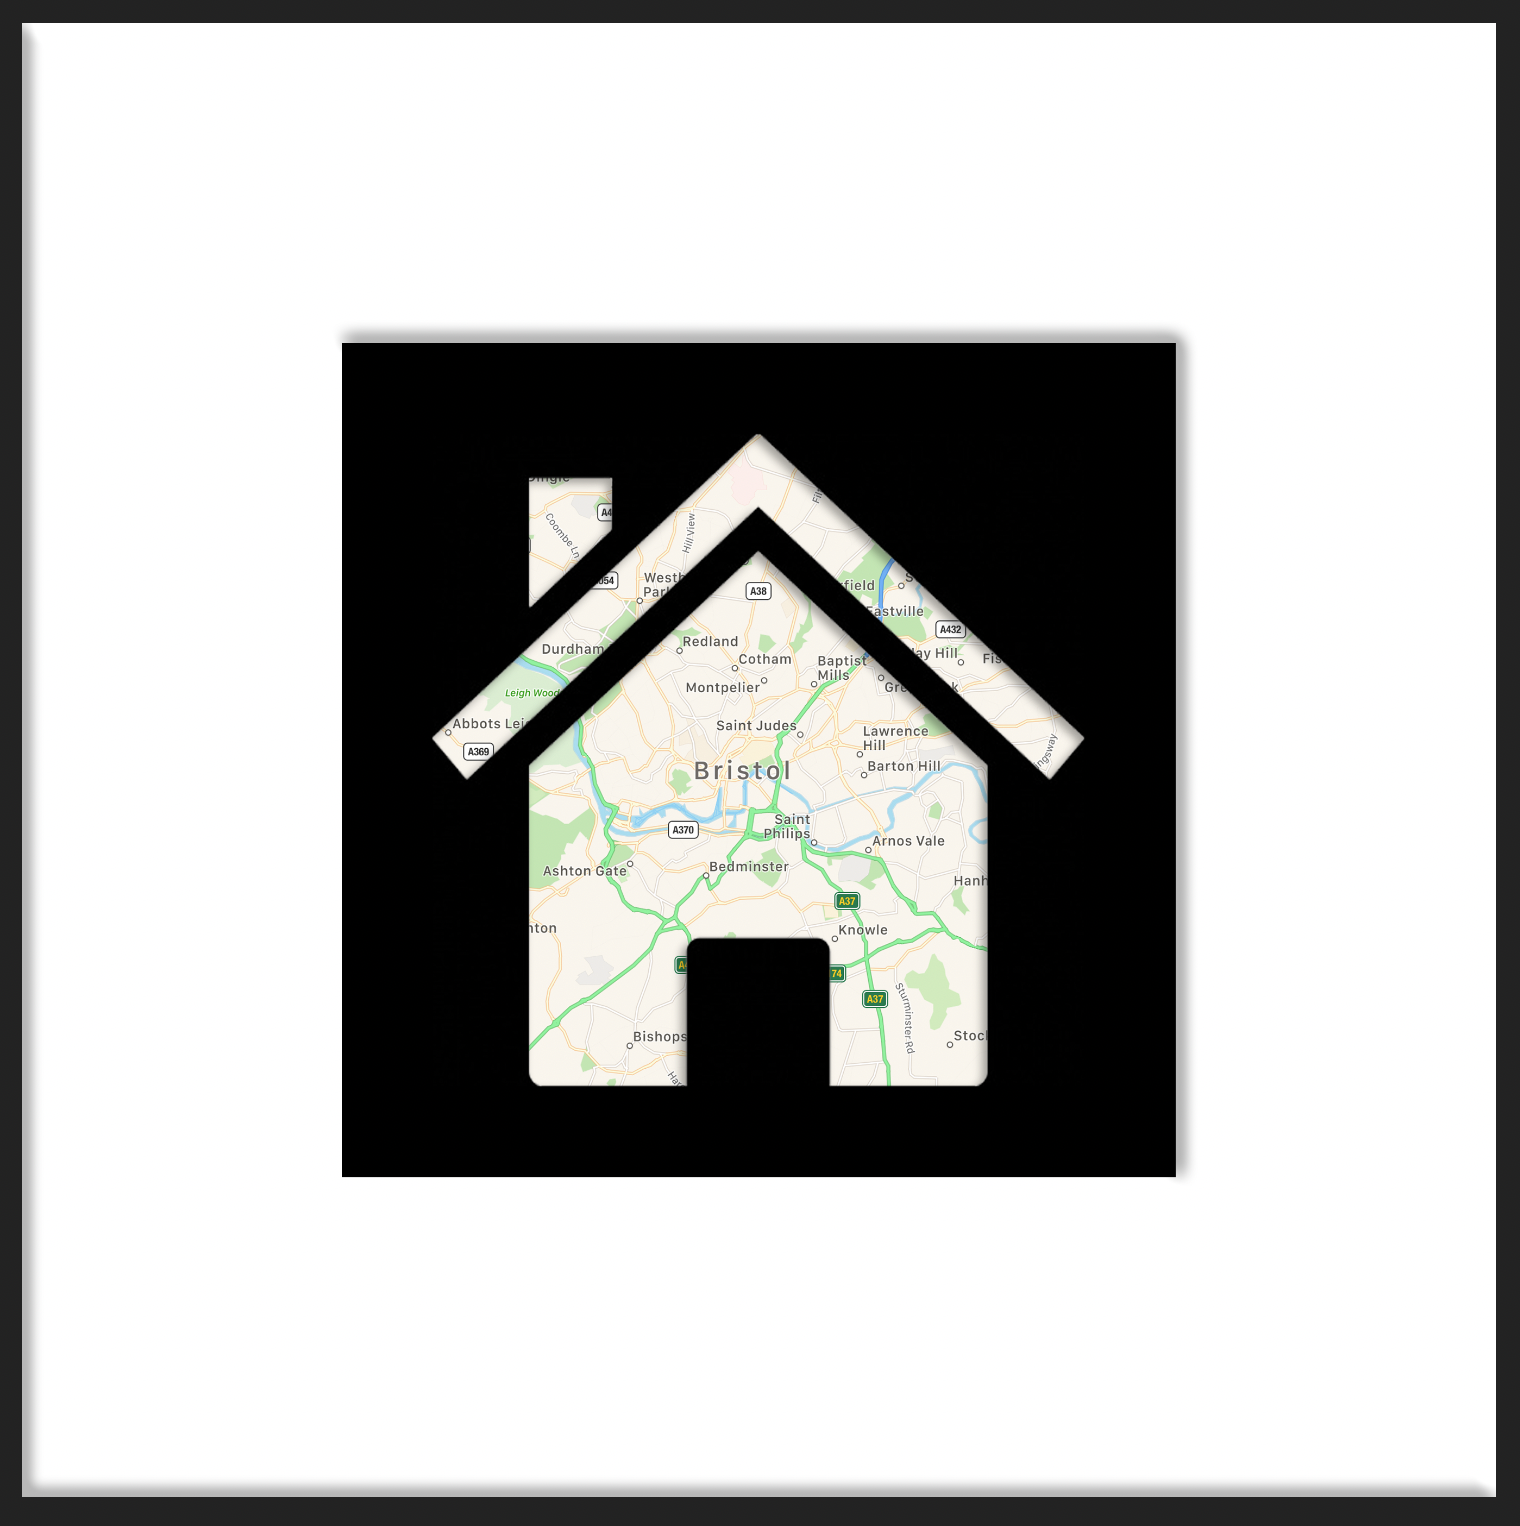
Now we need to create a stencil which we will cut out of black card to create the silhouette. I chose shapes that were related to the place on the map with each one signifying a special moment. For example I used a house to show where our first home was, a heart to show where I met my partner, and a mortarboard for where I got my degree. In a series we made for a friend we used a wedding cake for where they got married and rings for where they got engaged.
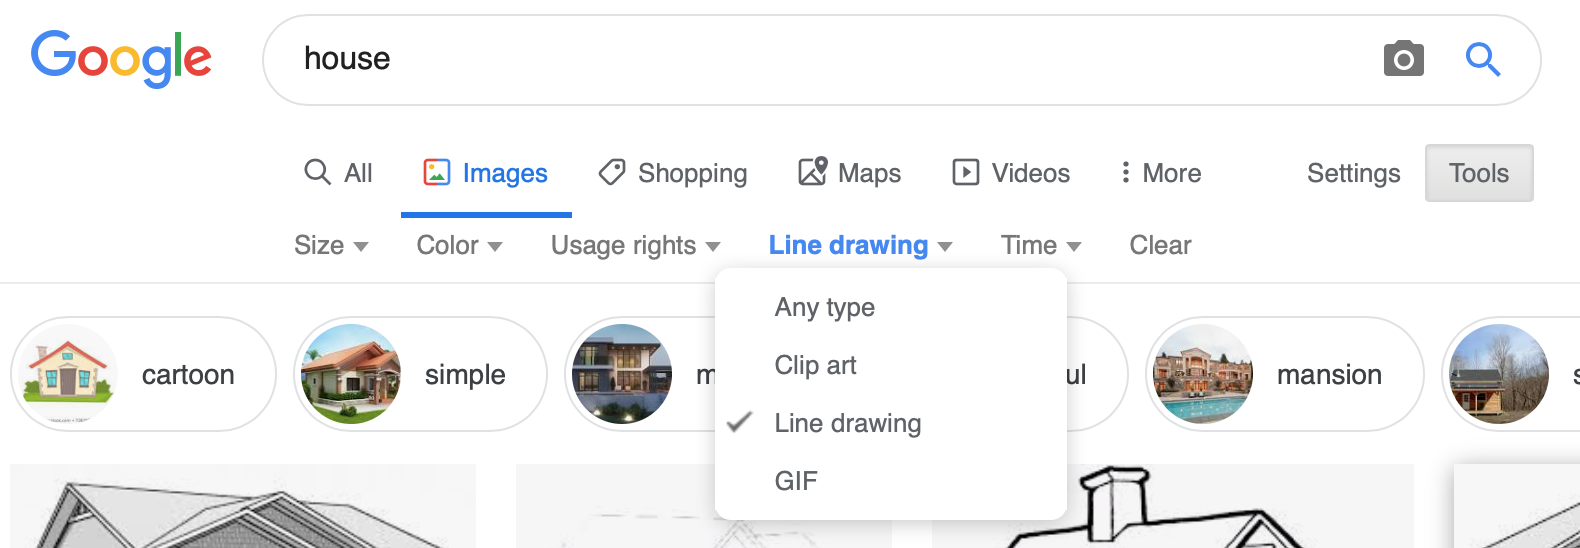
You can either create your own line art or you can find an image on google to save you some time. You can search google for line art images using the 'Line Drawing' type under ‘tools’. The key thing to look for is simple shapes - remember you will have to cut this out by hand so dont make it too complicated! I found that straight lines were much easier than curved lines. Also be cautious of shapes that wont be connected to anything once you’ve cut out the rest of the image.
Once you have your line drawing drop it onto your canvas in your image editing program. Position the stencil however you like but remember it must sit within a 13 x 13 cm square in the centre because of the of the white mounting. Duplicate the line drawing and use the fill bucket to fill the outside of the shape with black so that it looks like the silhouette but keep hold of the scaled line drawing to save you some ink when you come to print it.
Take a moment to make sure your map and mask are aligned in the frame as you want. It may help to create a white layer to simulate the mounting. (its a 13 x 13 cm square in the centre)
Print!
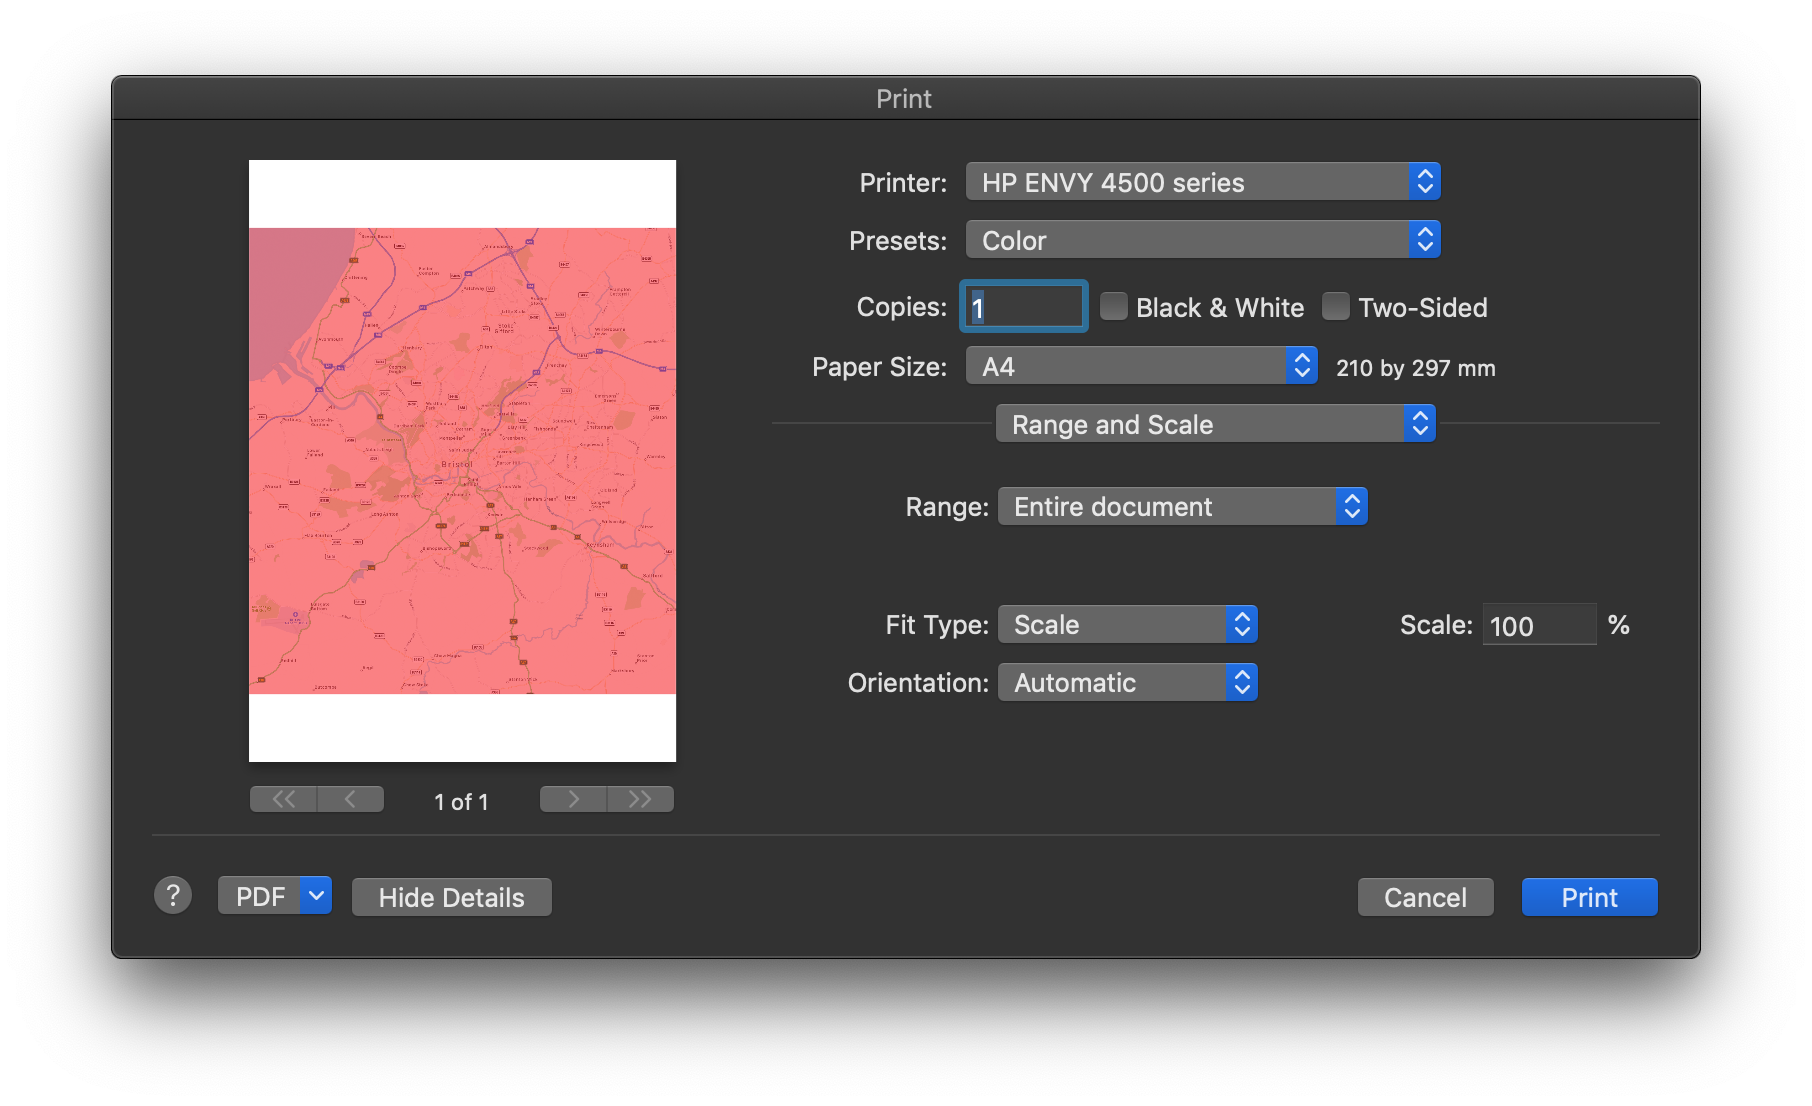
Now we need to print out the map and the stencil to create our frame. Unfortunately the frames are just slightly larger than an A4 printer can handle so you have three choices: Find someone with an A3 printer, have your maps printed by a photo printing service, or print the maps on an A4 sheet and glue them centrally to the backboard.
To print the map hide all of layers except the map and hit print or export to an image for sending to other people. Make sure you set your printer not to scale the image when printing or it will come out the wrong size!
To print the stencil hide all of the other layers and print the line drawing. Again ensure your printer is not set to scale the image. Since you are only going to be using this stencil to cut out the card you can fit this onto a single A4 sheet. You may want to print a couple of copies of the stencil incase the next step goes wrong!
Cut Out the Map and Mask
Cut the map to size using a pair of scissors.
Cutting out the masks requires a scalpel and quite a lot of patience. How complex you made the shape determines how difficult it will be.
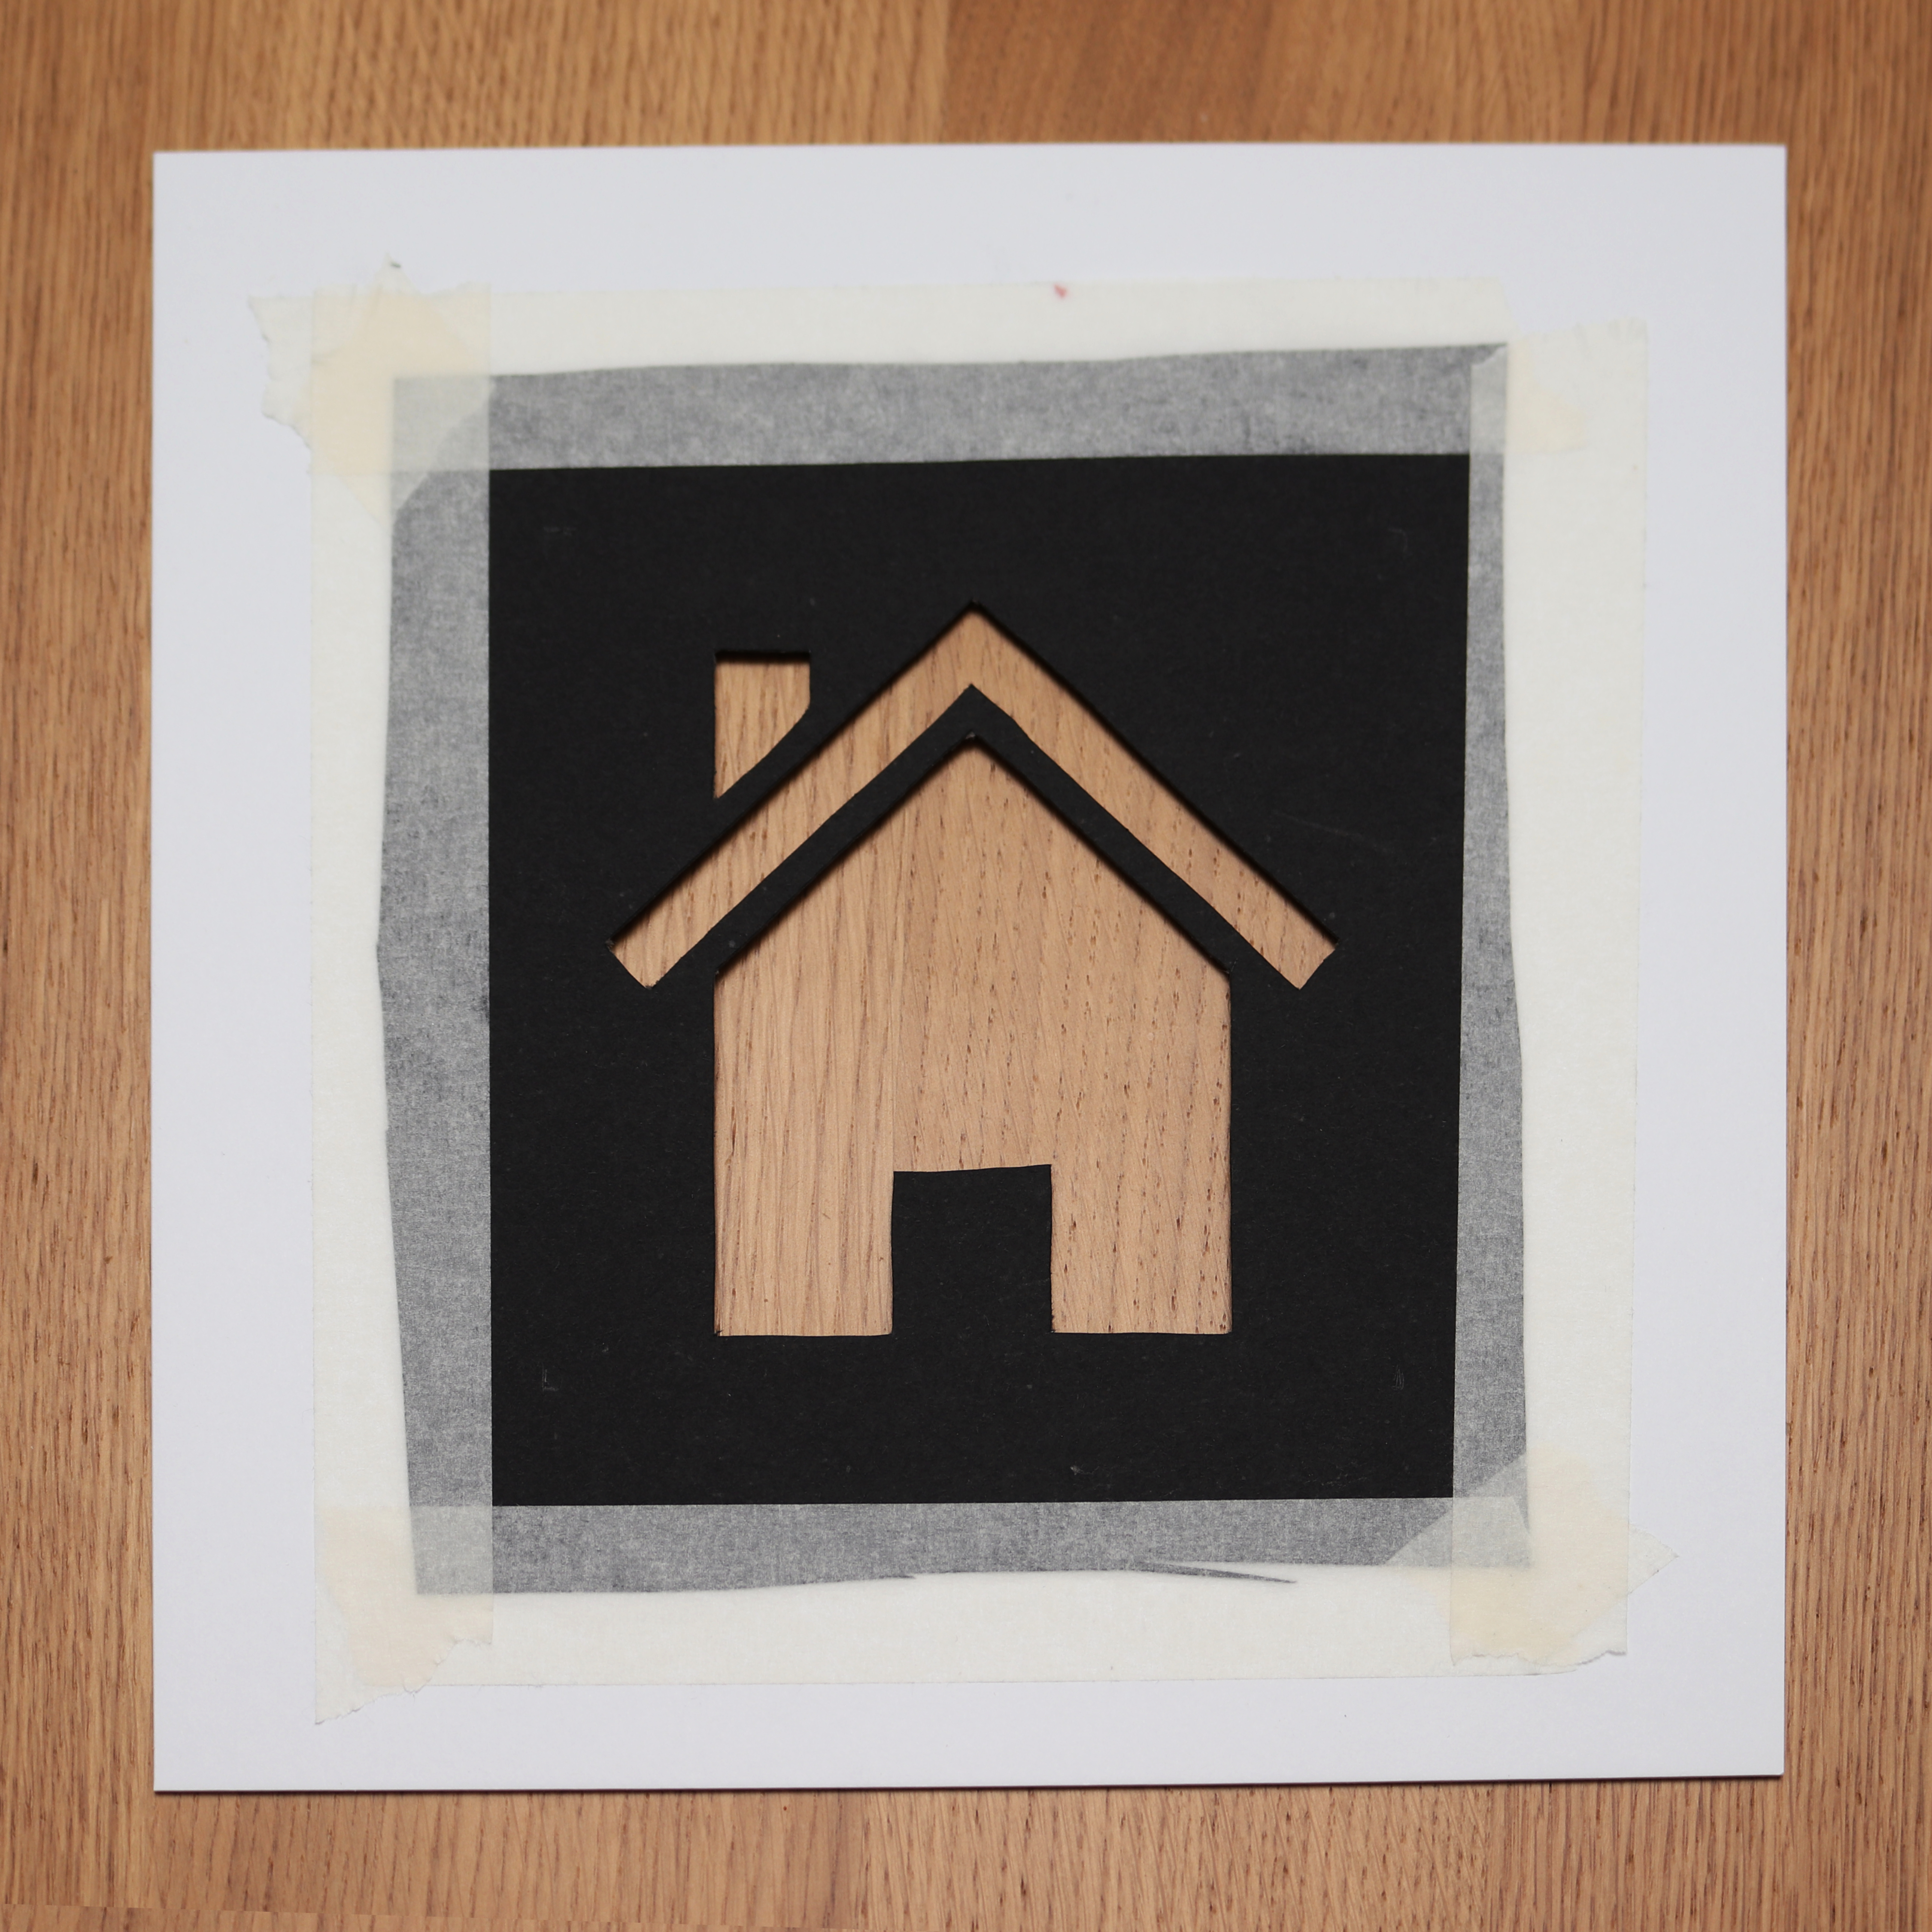
Start by removing the excess paper from the printed stencils with the scissors and then hold it down to the black card using some masking tape. Masking tape is ideal as it wont leave a residue or damage the card when it is removed. Trace the stencil with the scalpel, cutting through both the stencil and the black card. You may want to use a cutting board underneath to protect your table.
Then use the scissors to trim excess card and then stick the mask down to the back of the mounting card using tape making sure it is straight.
Assemble the Frames
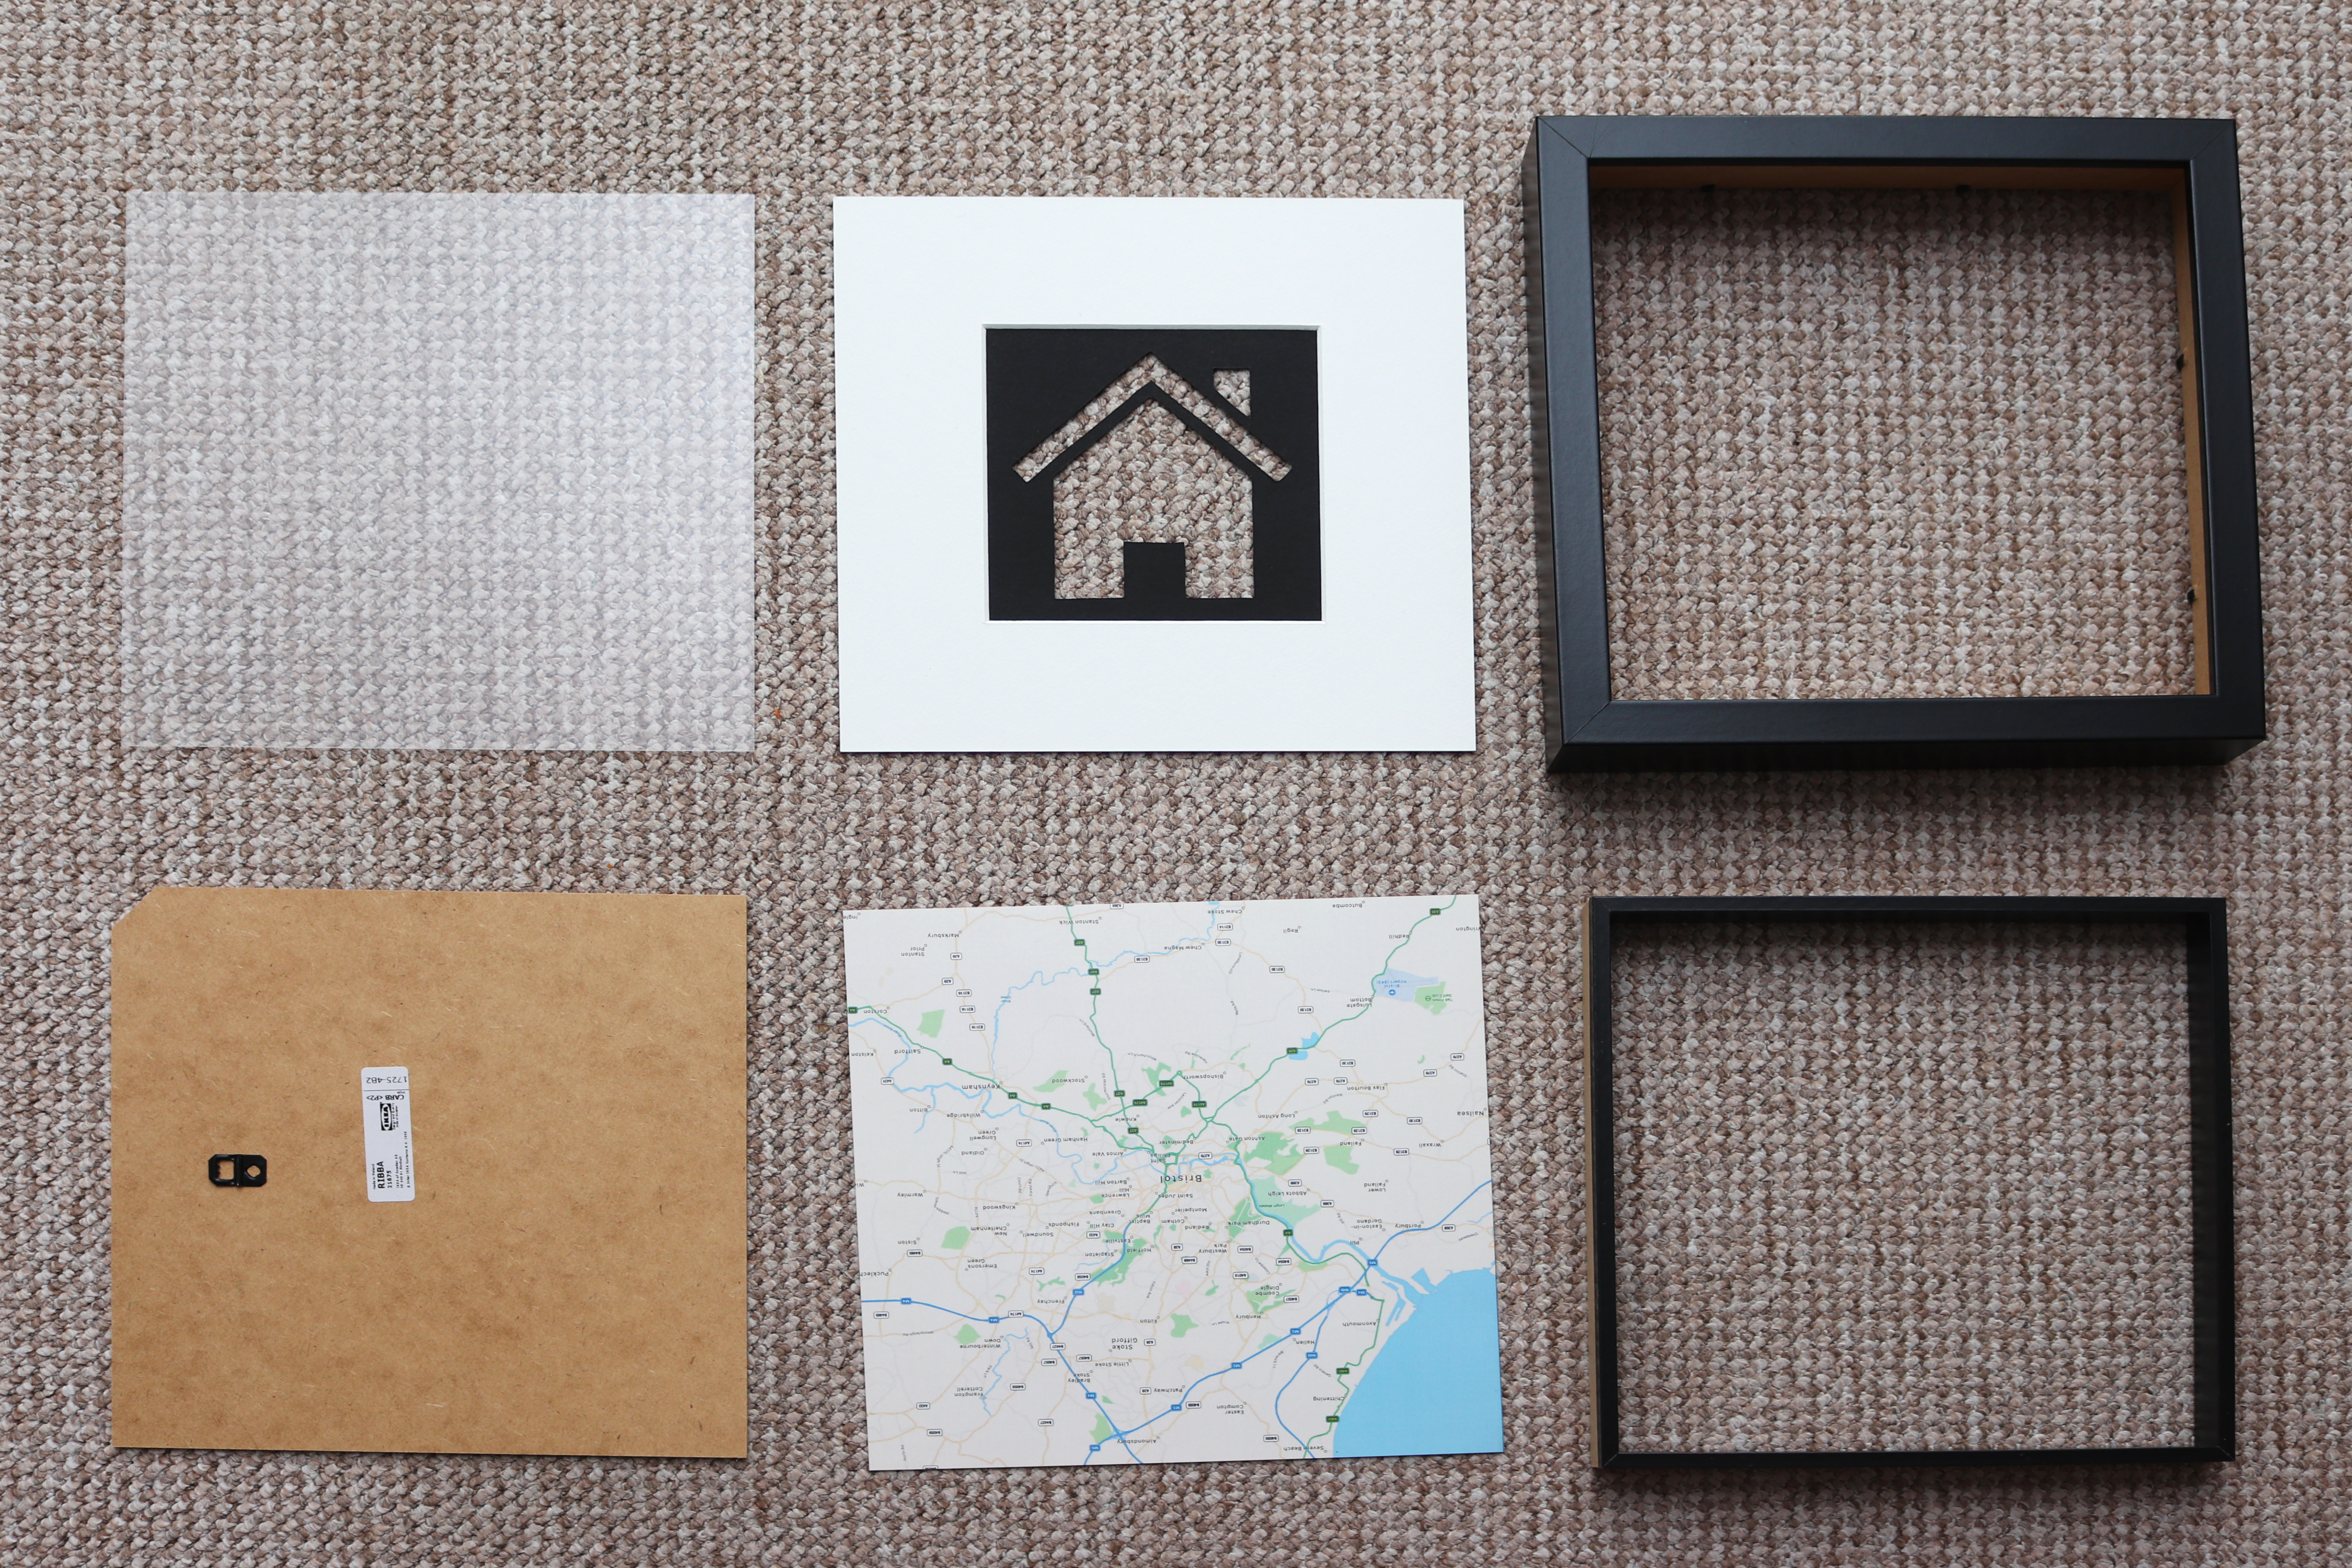
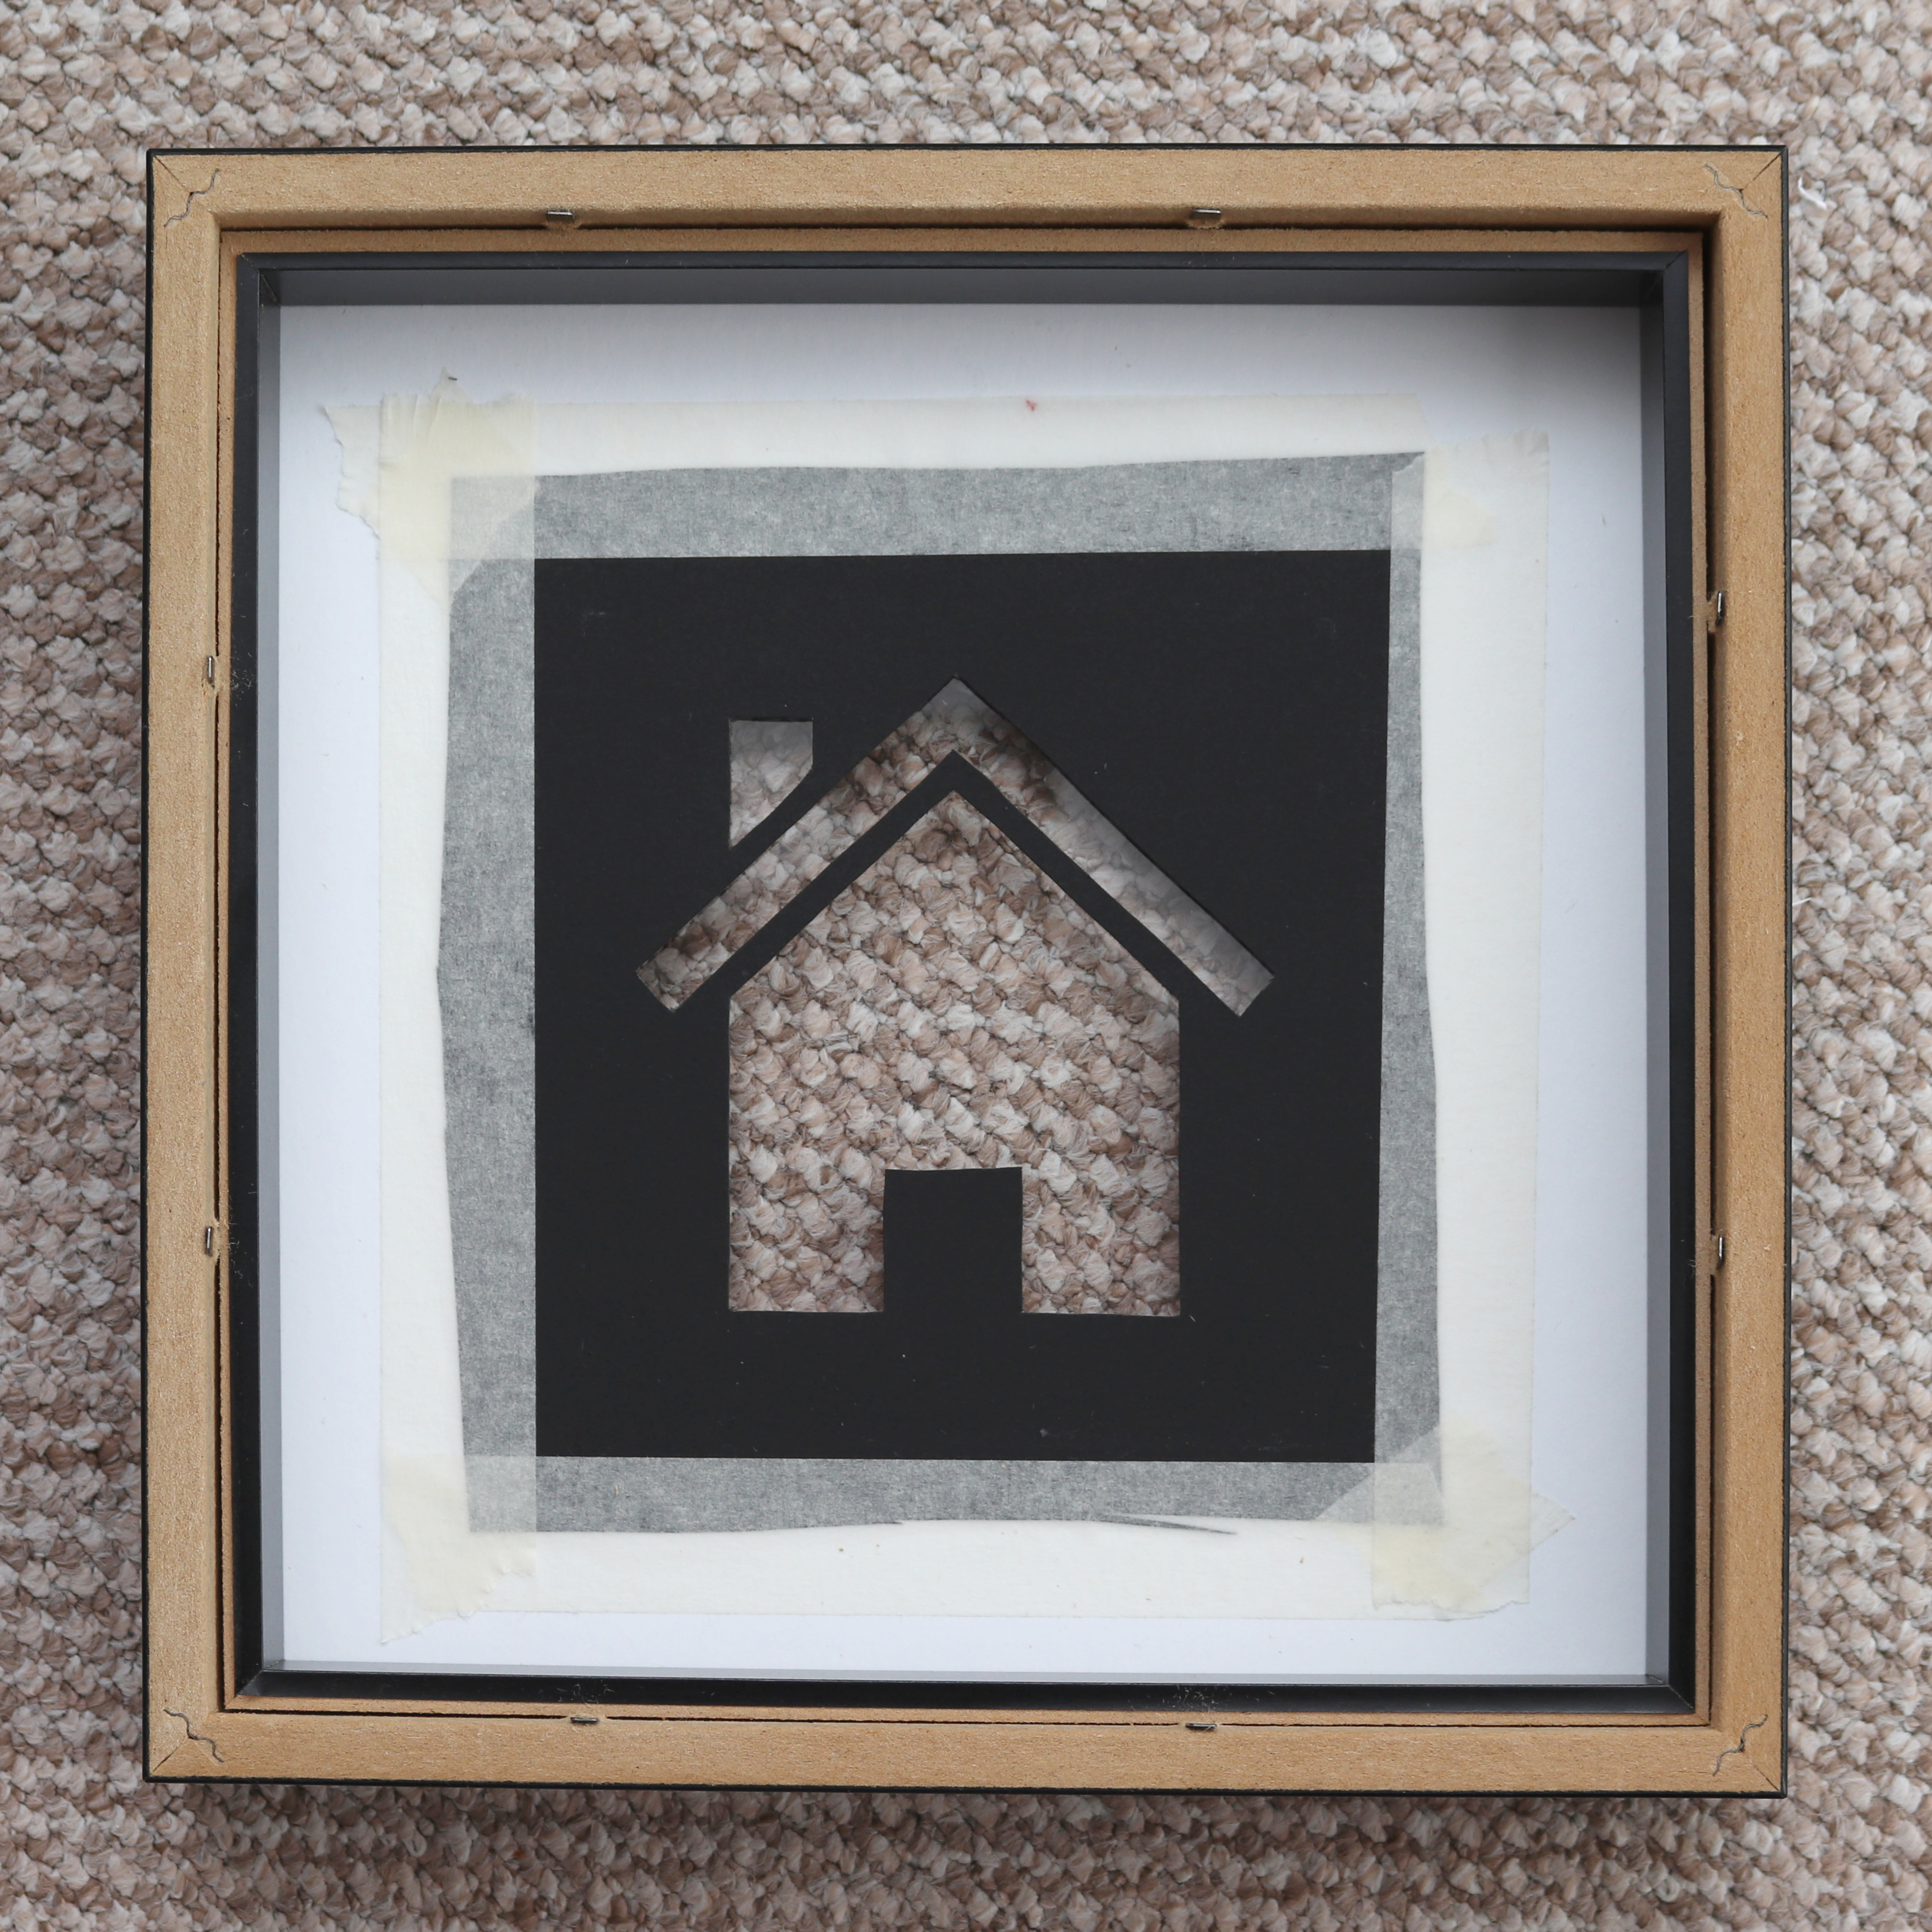
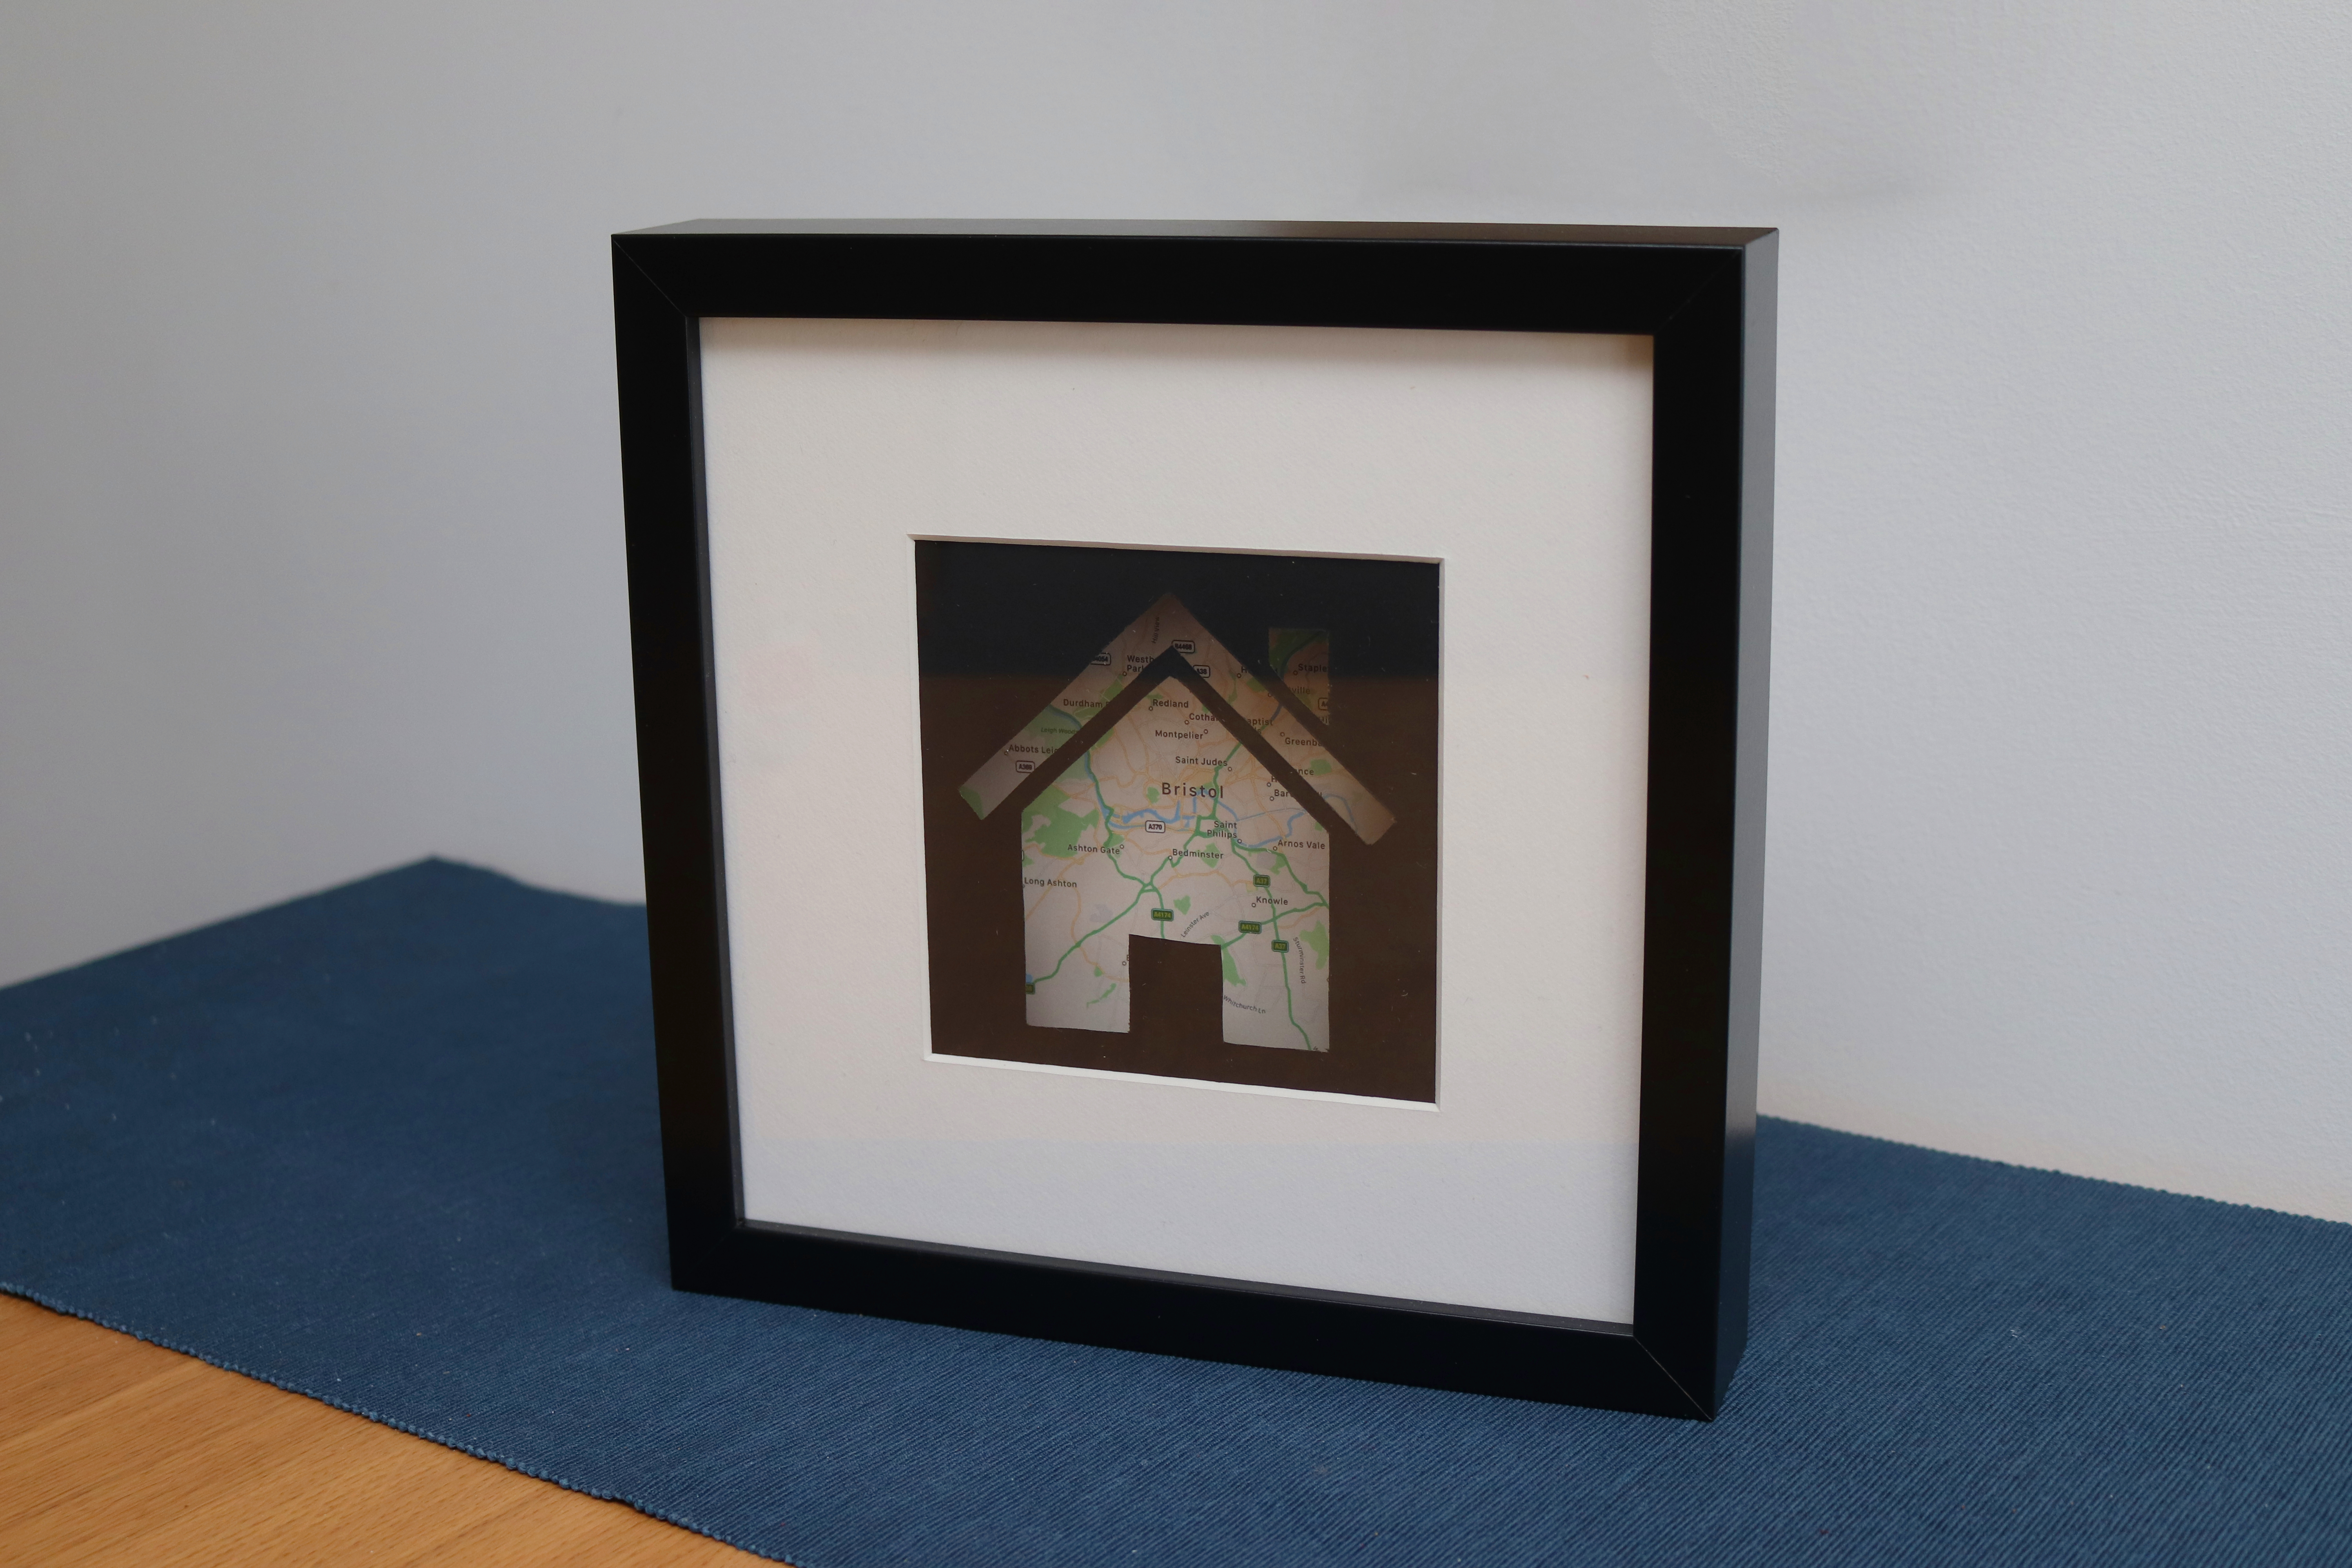
Its time to assemble the frames!
- Start by removing all the parts of the frame and the protective film from the glass of the frame.
- Drop the glass into place followed by the mounting card with attached mask.
- Next add the spacer from the frame.
- Finally add the map and backing board.
- Crimp down the retaining tabs to hold the frame together.
Finish

Thanks for reading through this Instructable! I hope it has given you some ideas / guidance to create your own map based artwork or helped to remember special times / places in your life.
All that is left now is to hang the frames on the wall. I originally hung mine using picture hanging strips but due to the thin bezel on the back of the frames they unfortunately fell down so I recommend hanging them on a nail if at all possible!
There are so many ways you can add your own personal touch to this project to make it your own and I would be interested to see what you come up with! A key way to make the whole process easier would be to use something like a cricut (which many people have recommended to me but I have never tried myself) to cut the masks. Being able to automate the cutting of the stencils would likely reduce errors and help give an overall cleaner finish but they aren’t cheap machines!