Spark.io Alarm Clock With Mood Light
by hackbp in Circuits > Clocks
2049 Views, 14 Favorites, 0 Comments
Spark.io Alarm Clock With Mood Light
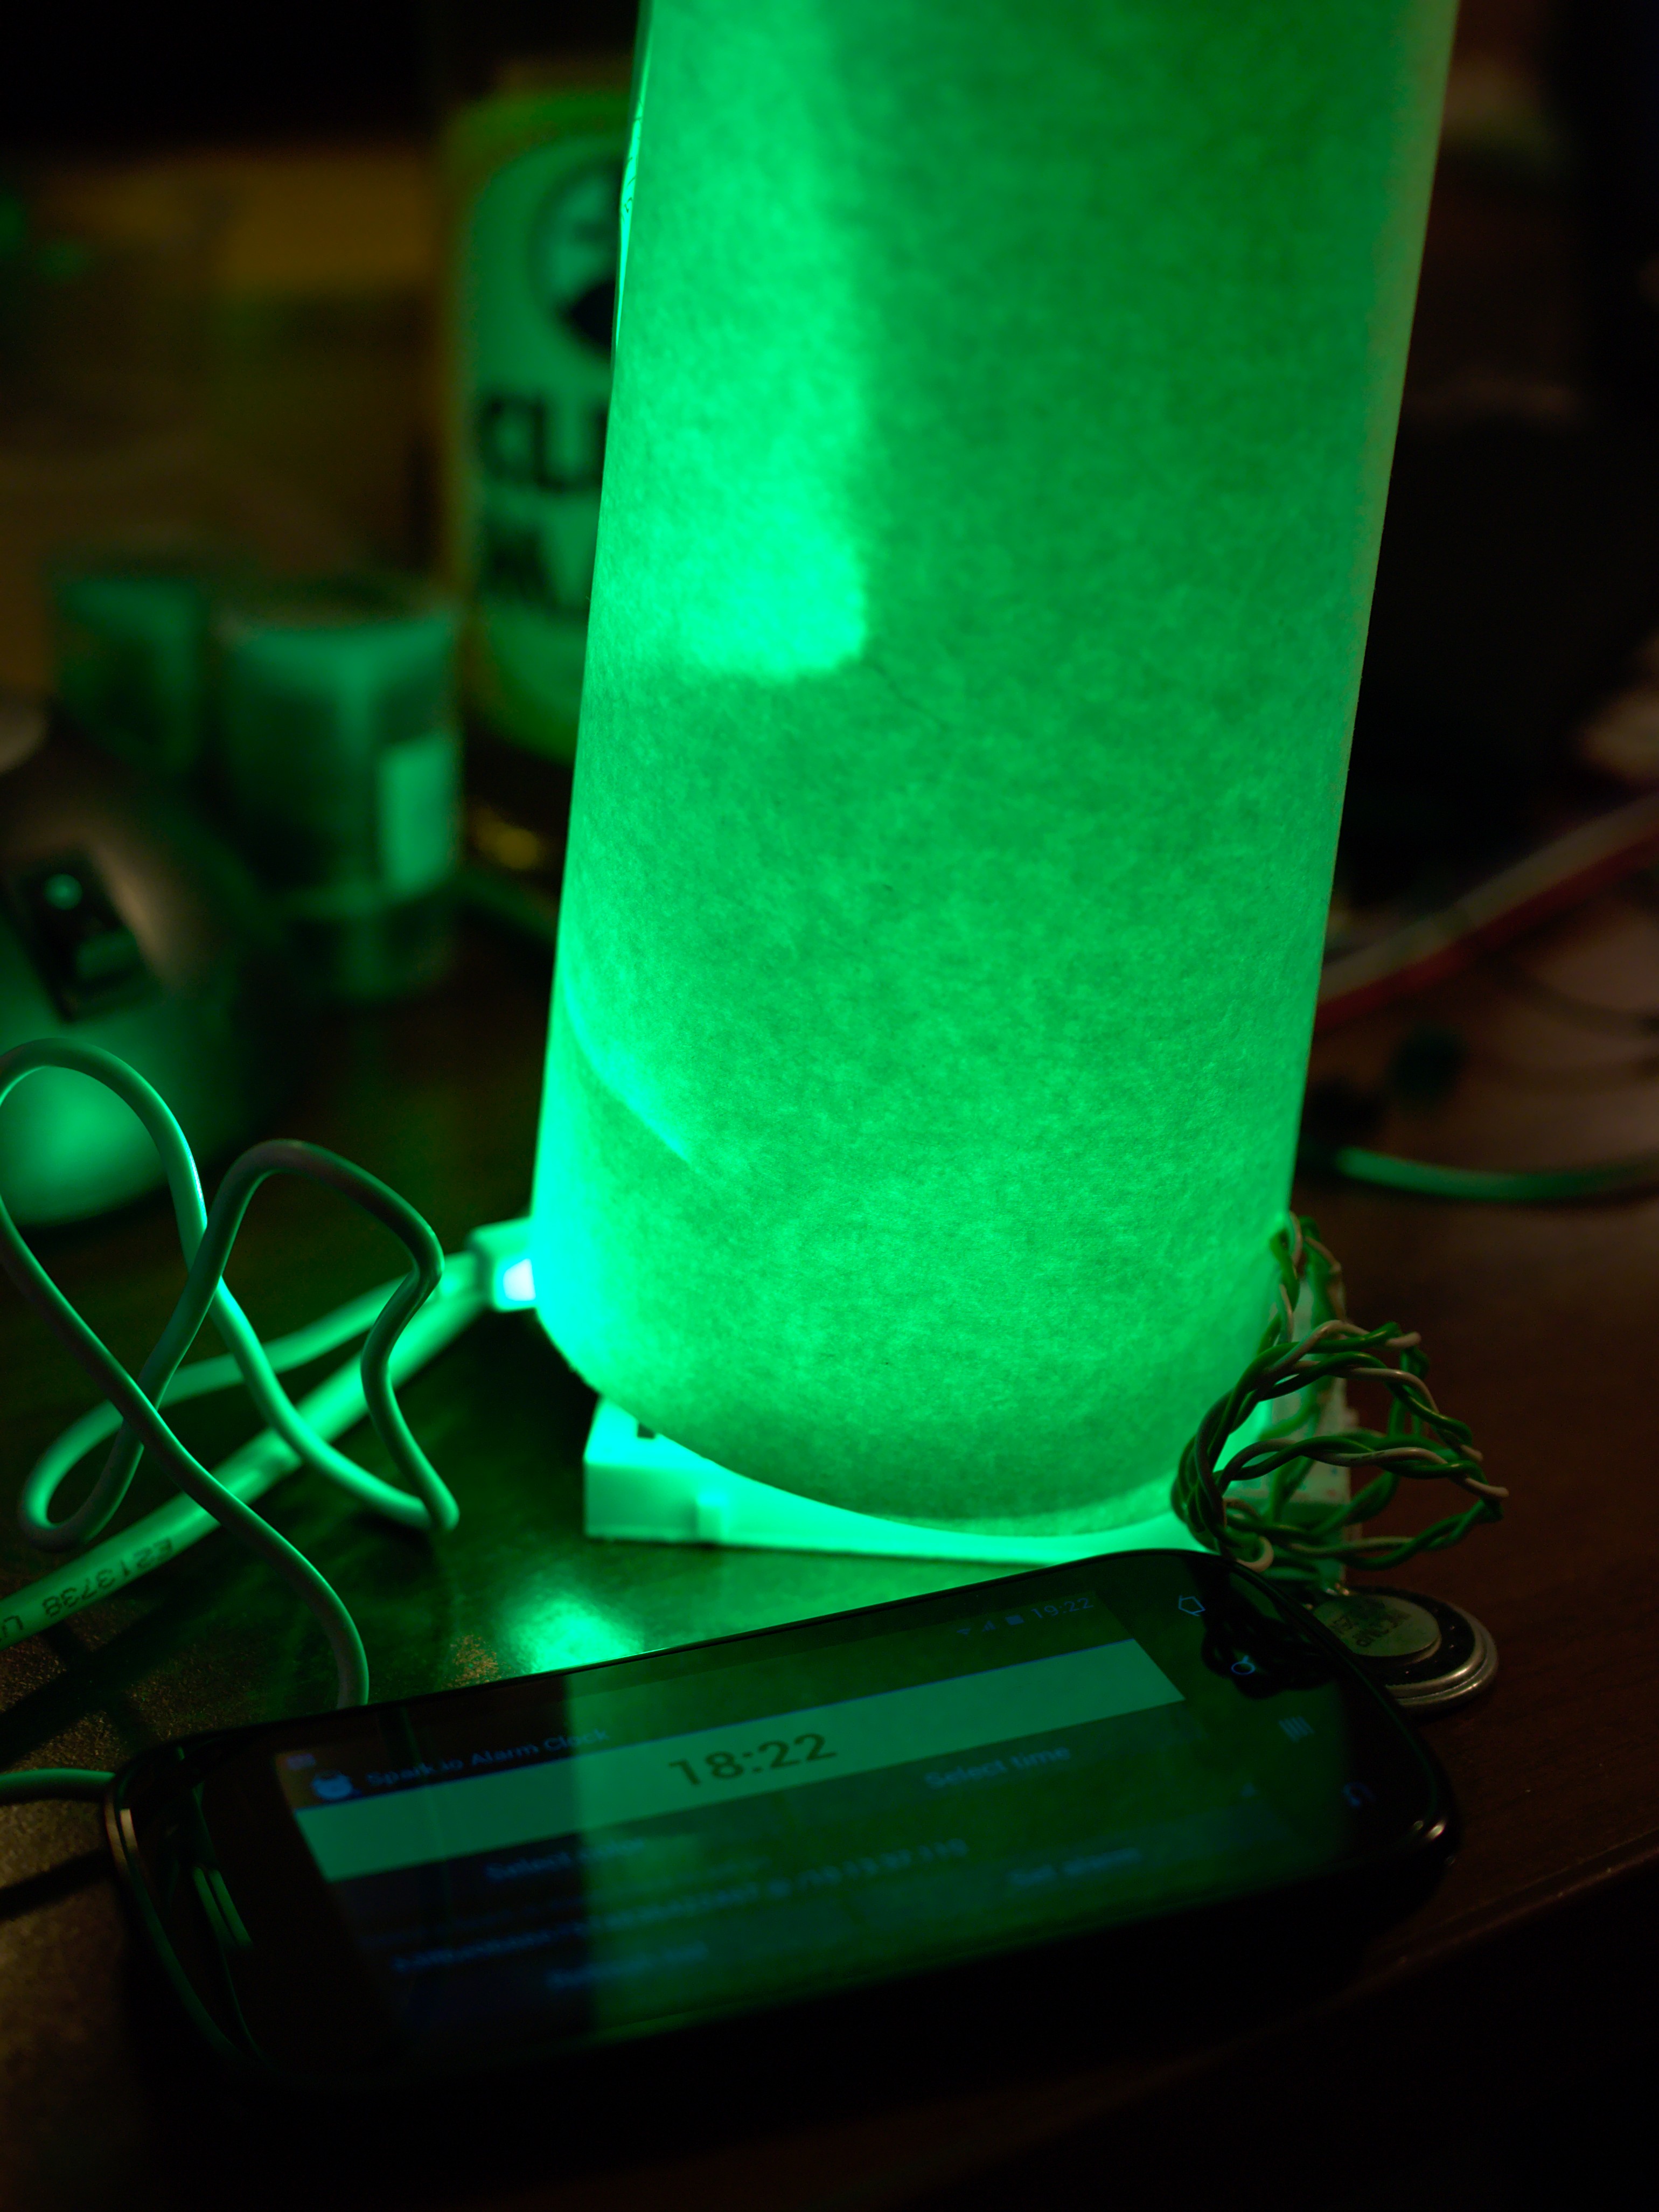
The Spark.io Alarm Clock can be useful if you have to wake up at such a time that your room is still dark. When the alarm you set is due, the mood lamp fades to the color you selected and when it's fully lit, a song is played on a tiny speaker. Since the Spark.io uses Wi-Fi, the alarm can be set on a rich and friendly UI (smartphone, tablet) and time is automatically synchronized via the Spark Cloud.
You can see it in action on our YouTube video.
Playing the Song on the Spark Core
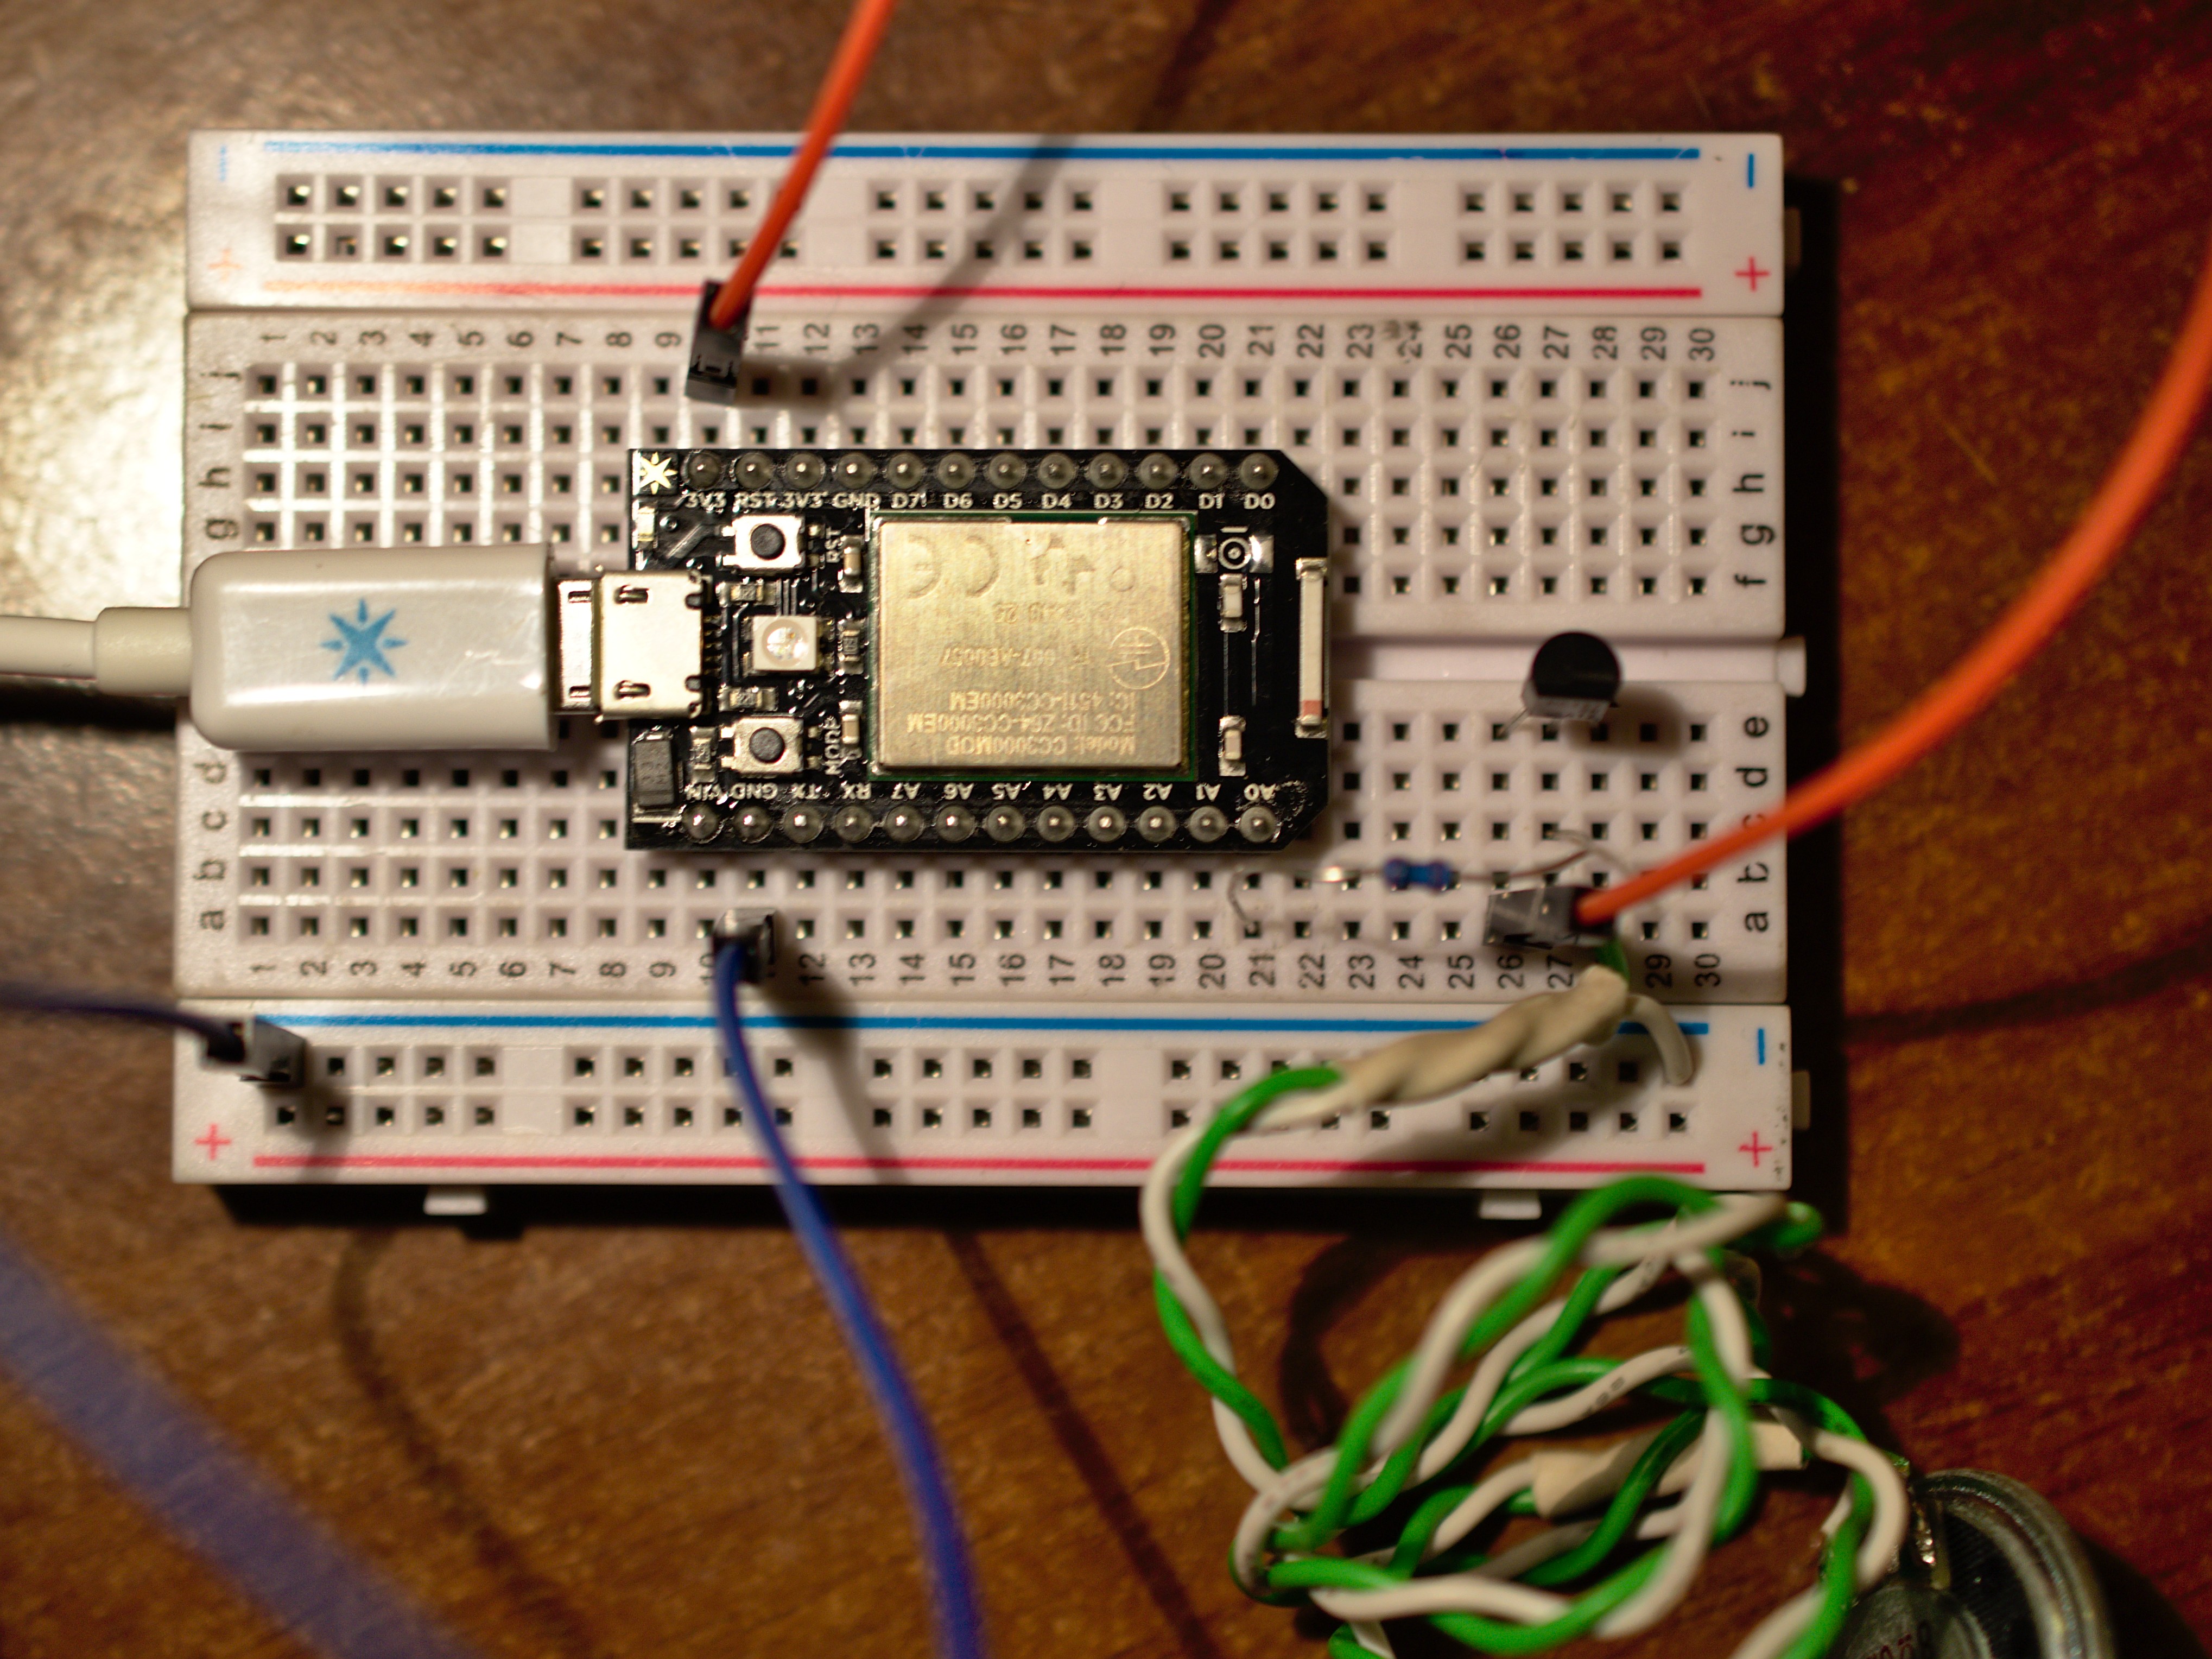
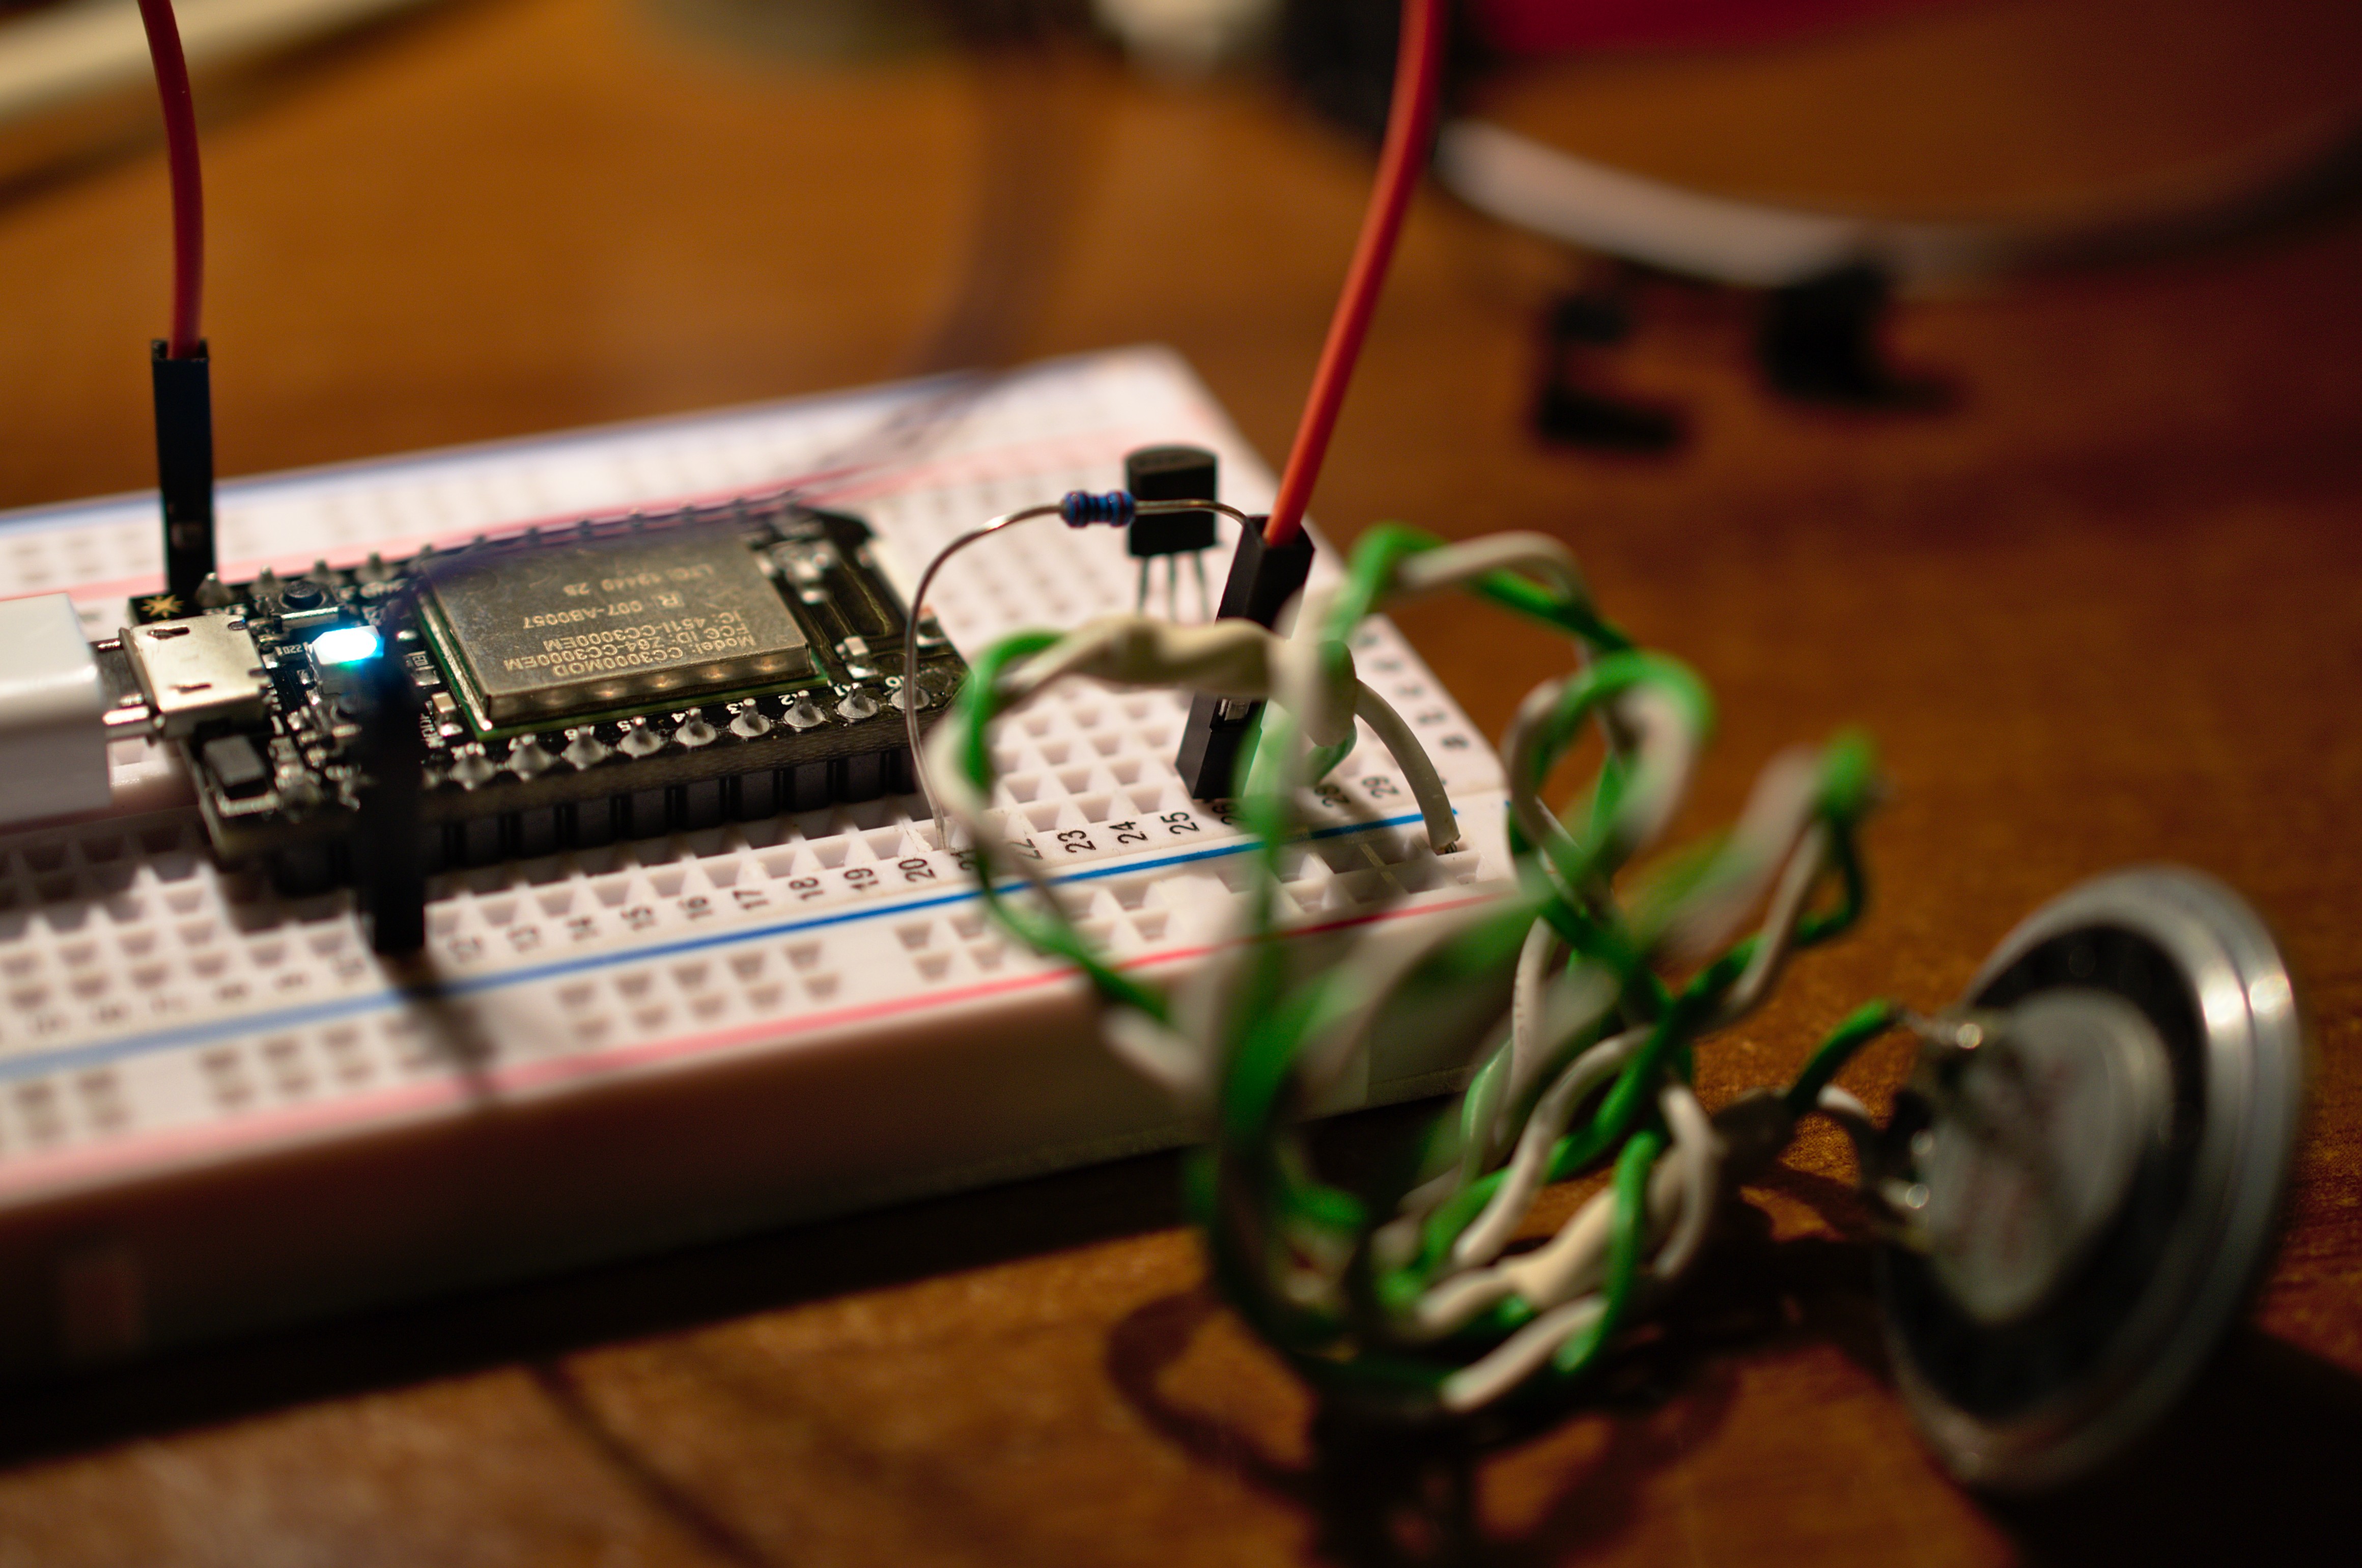
You'll need three additional parts for this:
- a small speaker for emitting the song,
- a general purpose NPN transistor to protect the I/O pin (any one will do, we used BC-183)
- a 100 ohms resistor for limiting the current
Connect these like the photos above:
- the collector is connected to the 3.3V pin (there are two of them, any one will do)
- the base is connected to the A0 (analog 0) pin via the resistor
- the emitter is connected to the positive (usually red) wire of the speaker
- the negative (usually black) wire of the speaker is connected to the GND (ground) pin (there are two of them, any one will do)
You can test this setup with the tone example in the Spark docs; it should play a simple melody after having connected to the Spark Cloud (breathing cyan), to repeat, just press the RST (reset) button. If the voice is too loud, you can put a series resistor between the positive wire of the speaker and the emitter. If you use a variable resistor (also known as potentiometer) you'll have a volume control knob.
Spark Button and Firmware
The firmware that runs on the Spark.io can be found in our GitHub repository, for most purposes, this can be used directly, but if you'd like, feel free to customize it, you can even publish or sell your version, since it's under MIT license.
The simplest way is to copy the source code from GitHub into the web IDE, follow the instructions on the Spark.io documentation to claim your device and register an account if you don't have one already. You'll need the Spark Button CPP and H (header) files as well, in the web IDE you can find it in the libraries section.
If you're using the command line version, use the compile and flash commands to compile the firmware and flash to the device, or you can download a precompiled firmware from our GitHub releases page.$ wget https://github.com/hsbp/spalarm/releases/download/v1.0/spalarm-firmware-v1.0.bin
$ spark flash your-device-name spalarm-firmware-v1.0.bin
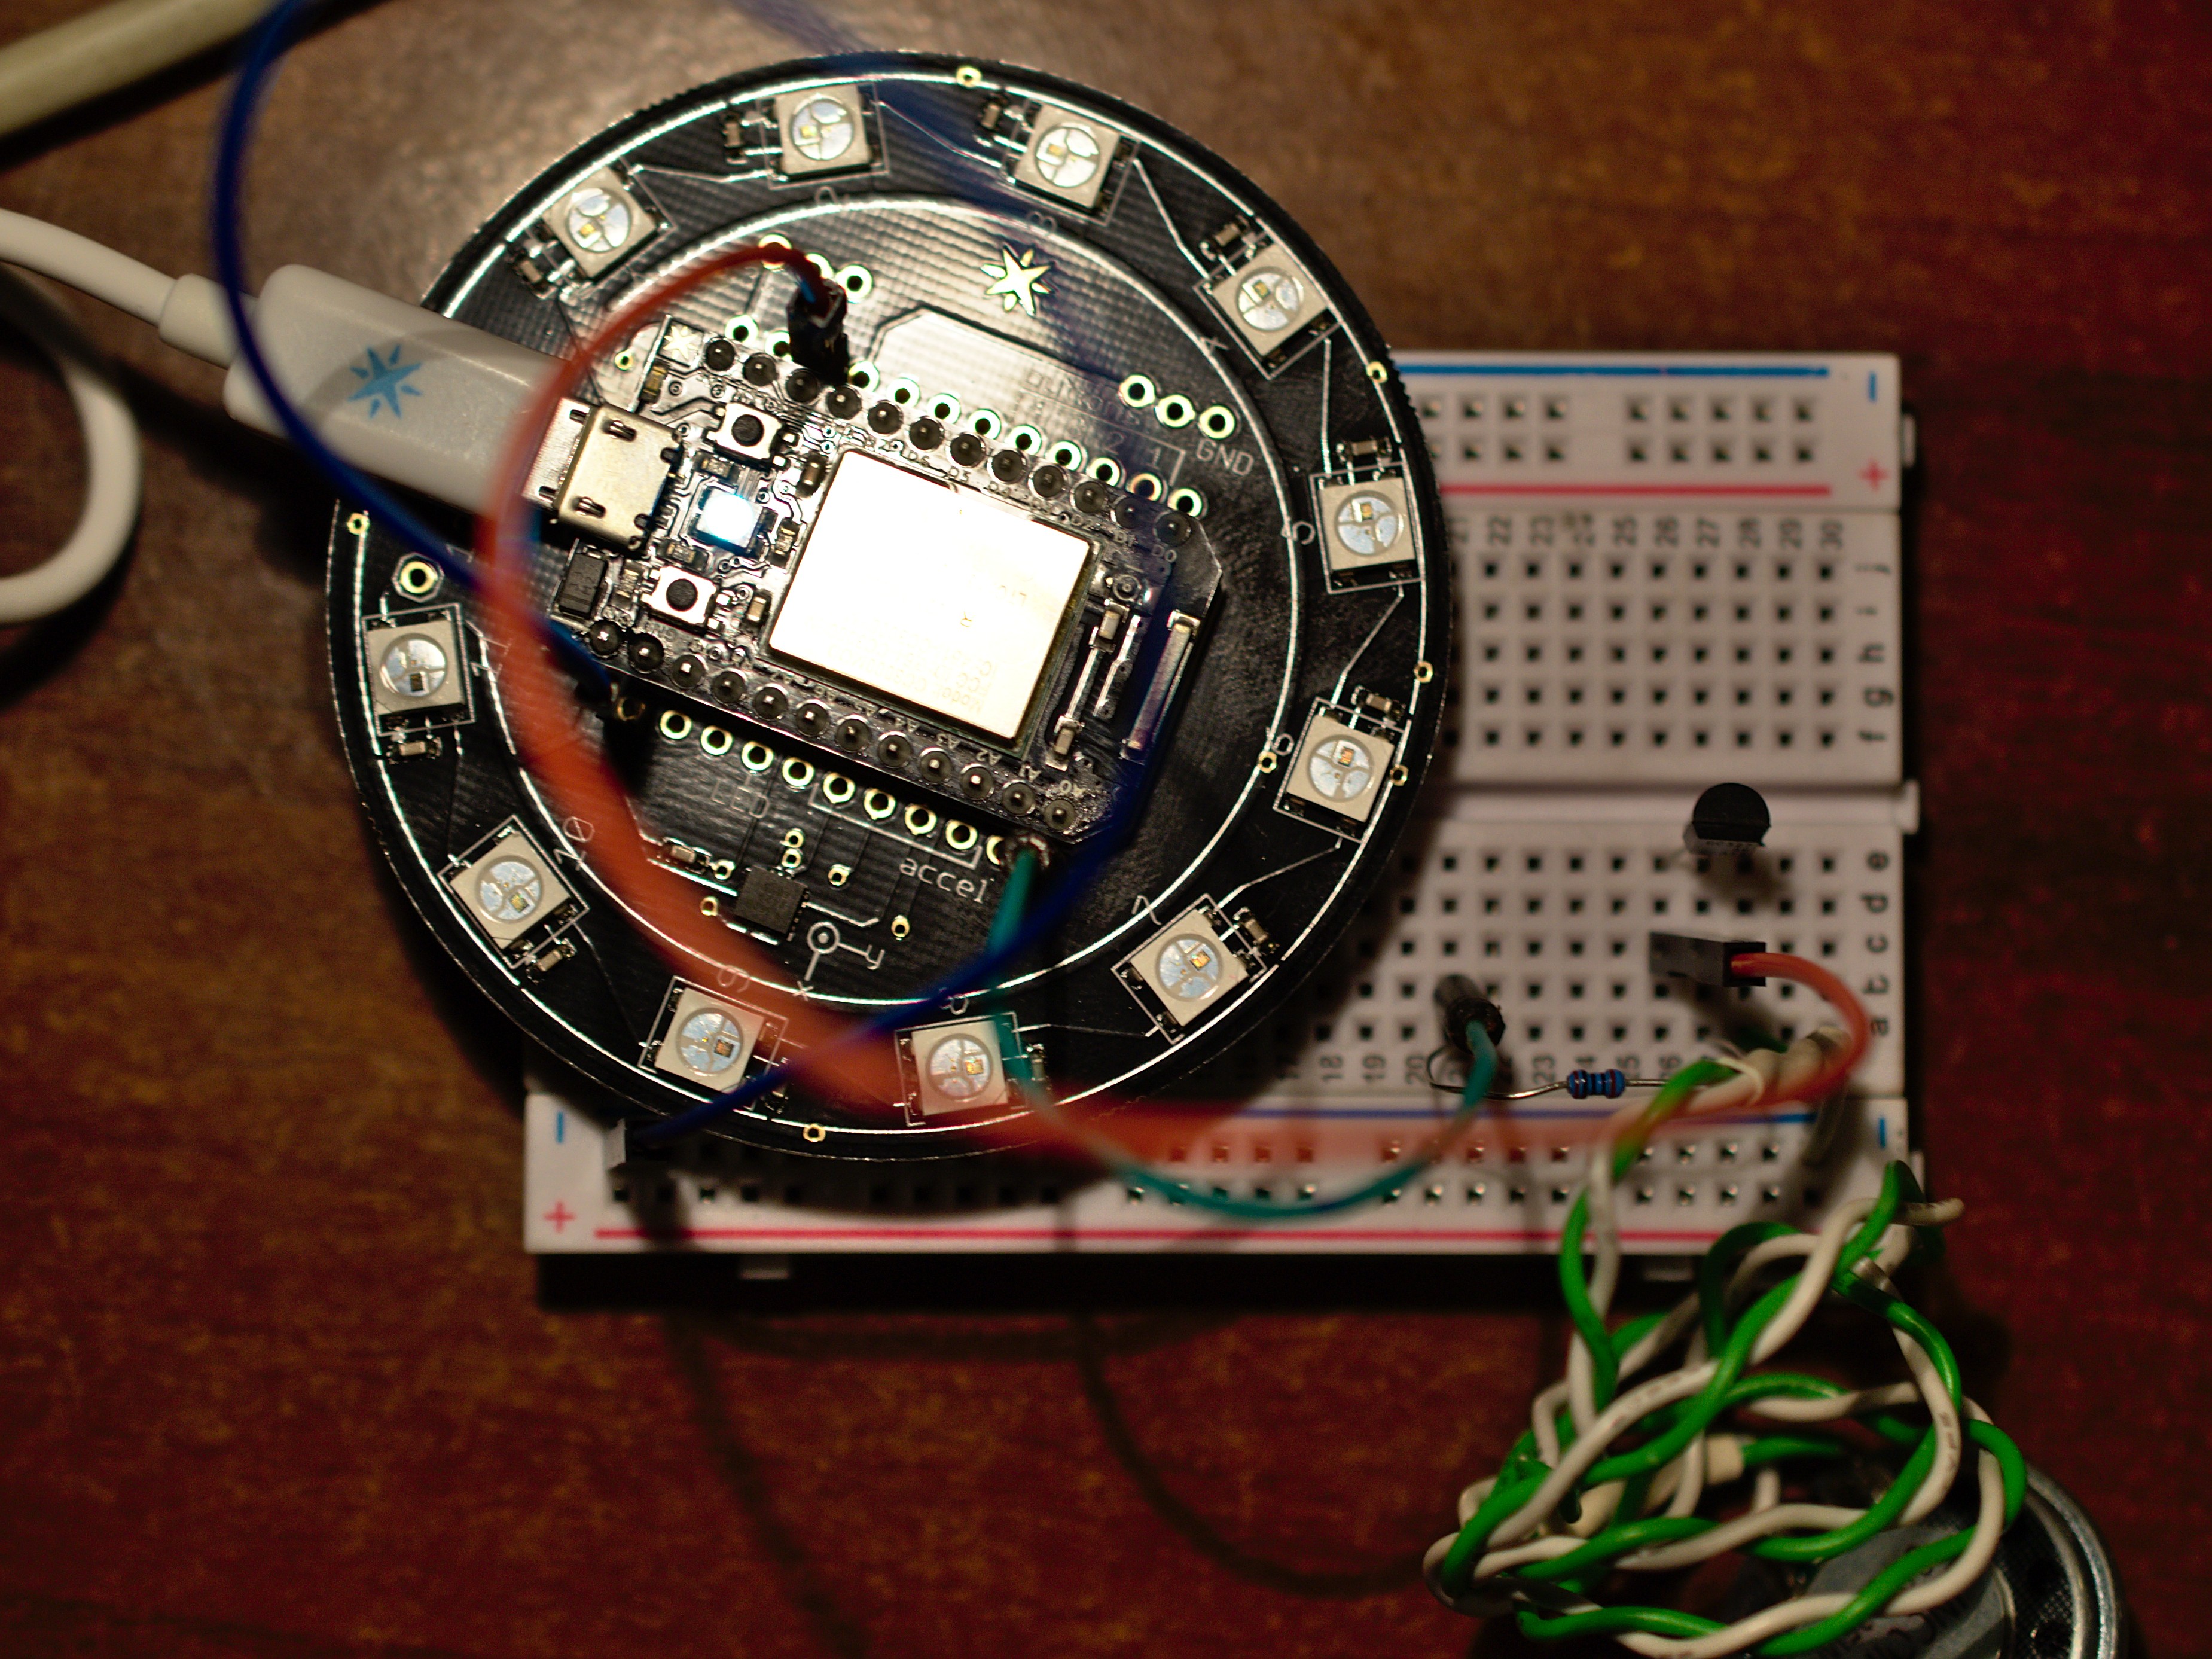
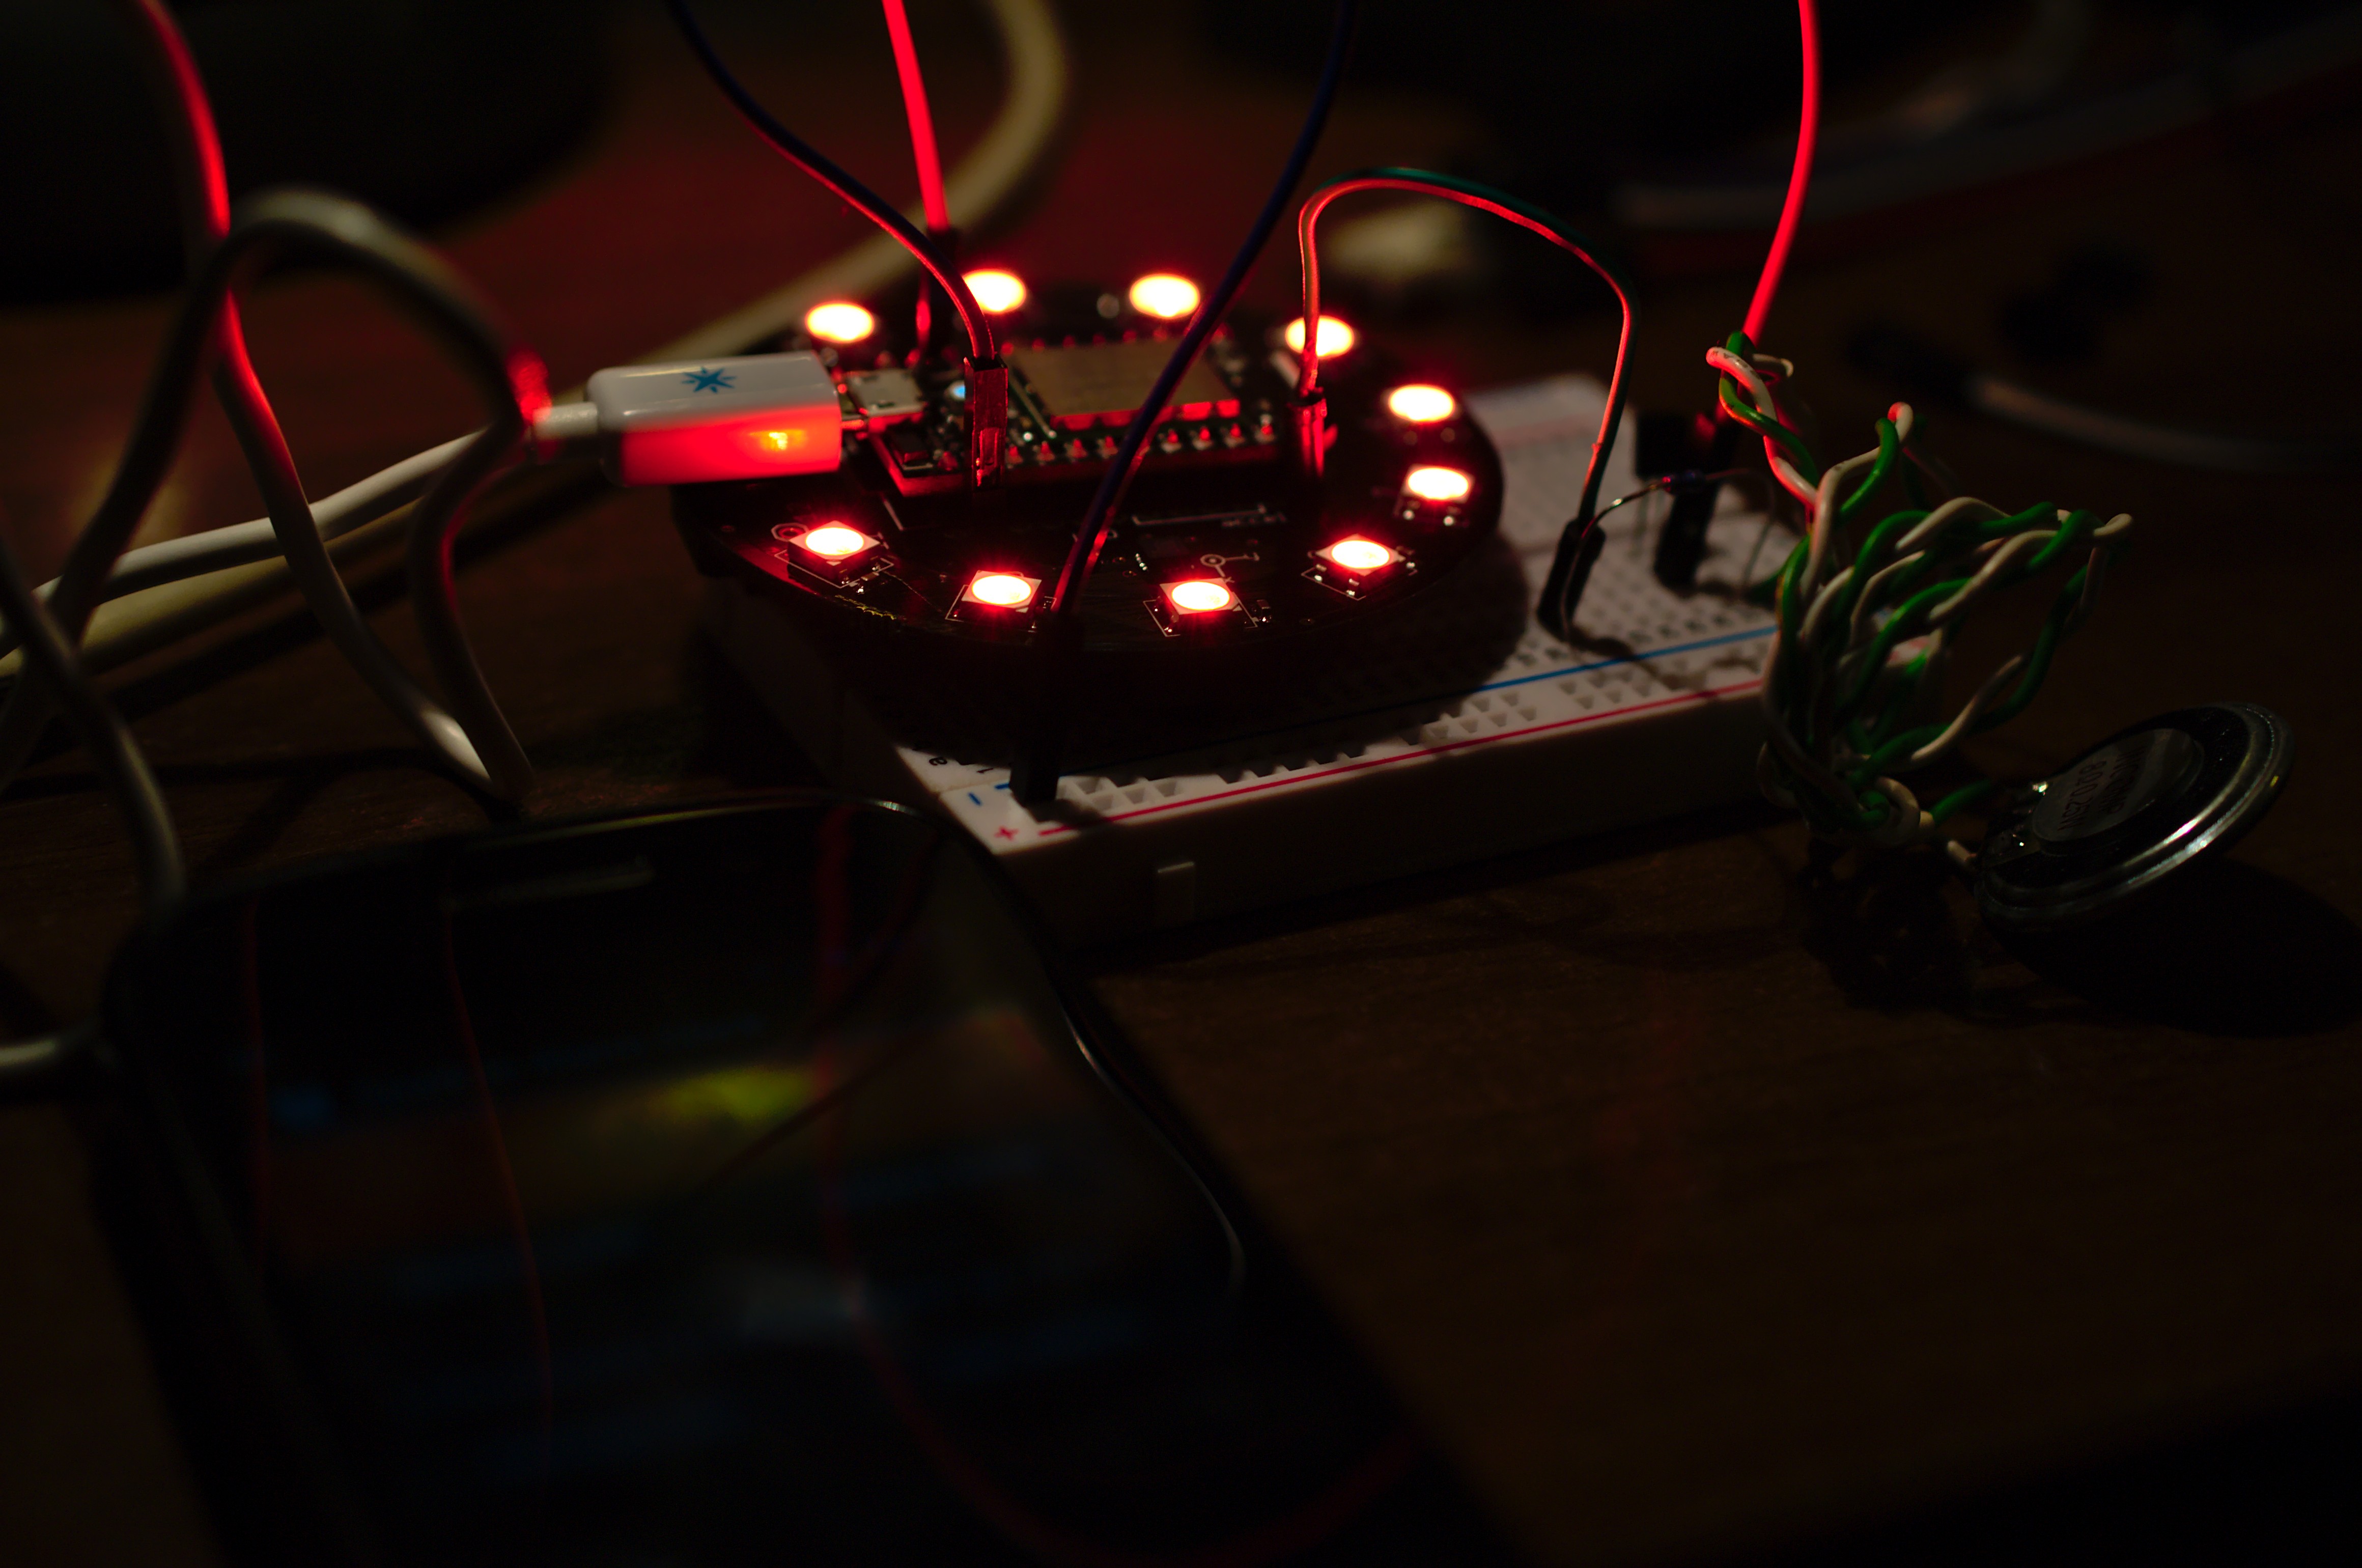
The Spark Button has 11 high power RGB LEDs, we'll use these to create the mood light, just push the Spark Core into the Spark Button to match up with the outline on the PCB like on the photo above and remake the connections based on the previous step. If you've done everything right, the hardware should be ready, just add a diffuser; we used office paper, but there are many ways to do this, feel free to experiment.
Android App
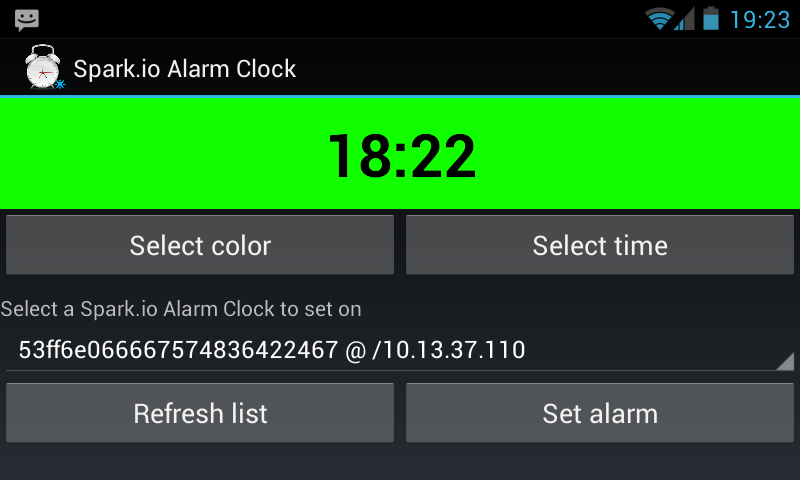
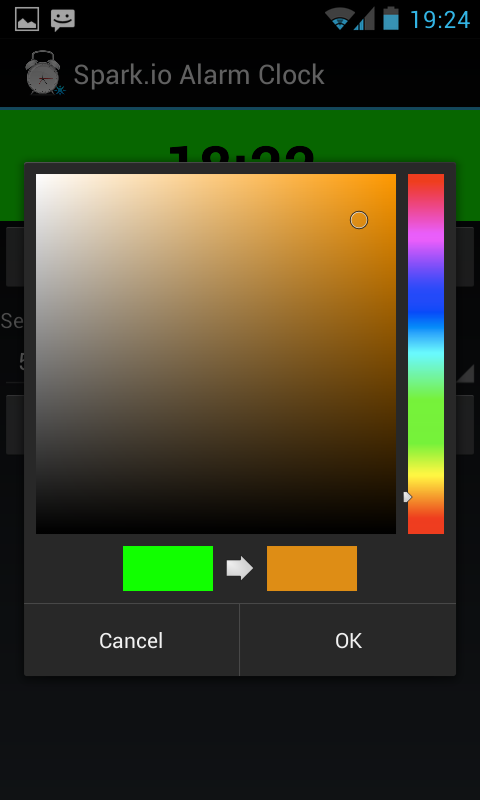
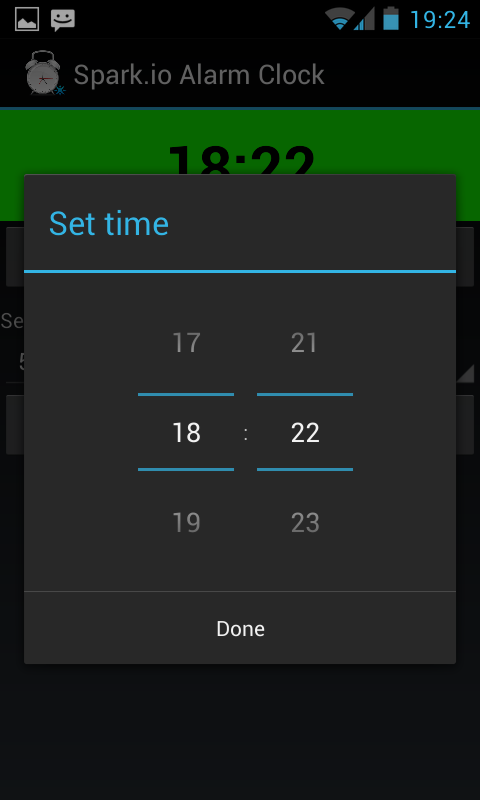

Enable installing applications from external sources, and install the APK from the GitHub release or the QR code images section.
The clock will show you a preview including the selected time and the color, you can change that by touching the two buttons directly below it. If you have only one Spark.io with the Alarm Clock firmware installed on your network, just touch the Set alarm button and you'll get confirmation on the bottom of the screen. If you have more than one such device, you can select them from the dropdown menu (spinner). If the list is empty, touch the Refresh list button and/or check if the Spark Cores are connected to the cloud (breathing cyan).