Spark Core/Photon Part 2 - Cloud Connection
by ToymanICT in Circuits > Electronics
2649 Views, 6 Favorites, 0 Comments
Spark Core/Photon Part 2 - Cloud Connection
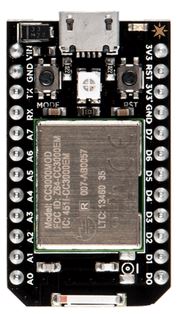
This instructable was created as part of the Instructables Build Night with Spark.io at MakeICT.
This is the second instructable in the Spark Core series. Here is the first one.
Spark.io has announced the new Spark Photon which is now priced almost 1/2 of the price of the Core. It will be available in April 2015. You are going to hear a lot about this awesome IoT capable "postage stamp-sized hackable Wi-Fi module for interacting with physical things." This instructable should work for the Photon also.
In the first instructable we setup the Core for WiFi and connected it to the Spark IoT environment.
What You Will Need
To connect to the Spark Cloud you will need:
- Computer connected to the Internet
- Spark Core connected to WiFi
- USB power source (the Core does not need to be connected your computer)
Take Ownership in the Spark Cloud
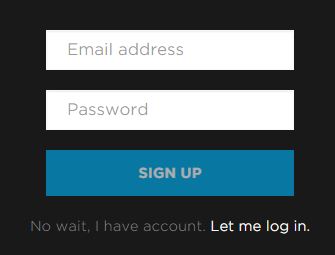

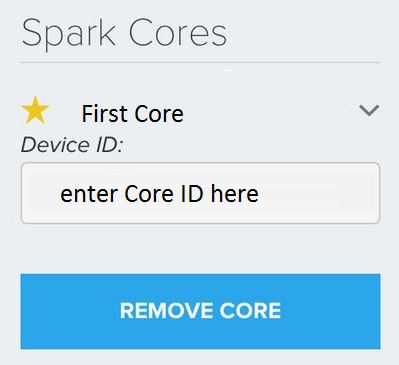
We now need to login and take ownership in the Spark Cloud.
Entering the Core you want to control
You will be using the Web IDE or Spark Build to add the Core before we can control it.
- connect to the Web IDE - https://www.spark.io/build
- create your account, enter your email address
- enter your account password
- you will go to the Spark Build home page
- select the Cores icon from the navigation menu on the left side
- enter your Core ID we are using (you wrote it down in the 1st instructable)
You just added your first Core to the Spark Build environment.
Building an App
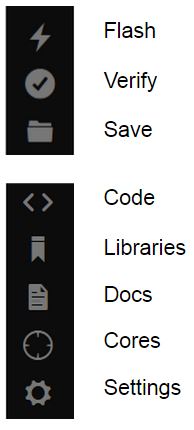
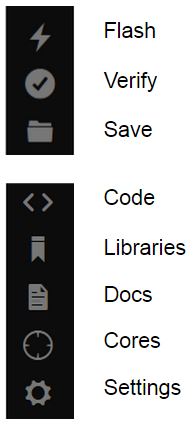
Spark Build navigation menu
On the top of the left side, there are three icons:
- Flash: adds the current code to a Core/Photon
- Verify: compiles your code without flashing it; errors appear on the bottom of the screen
- Save: saves any changes
On the bottom, there are four more icons:
- Code: a list of your apps. Also make the code area on the screen larger.
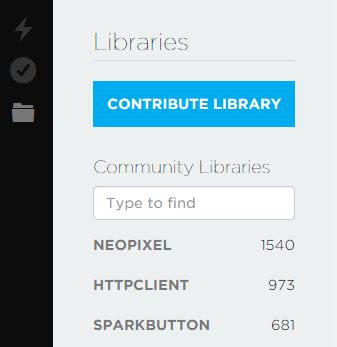
- Library: a list of libraries you can use
- Docs: documentation for the Spark/Photon
- Cores: list of your Spark Cores/Photons
- Settings: password change, log out, access token for API calls
Adding programs to your Core
When you create your programs, you will:
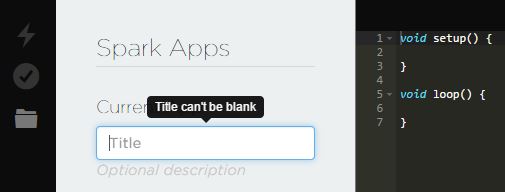
- name the app
- enter the code
- verify the code, errors will be at the bottom of the screen in the debug area
- save the code once verified
- flash the code to the Core/Photon
How to start learning to code
If you are new to coding, I suggest you use the examples and load programs to see how they are written and what they do.
Enjoy your connected device.