Spacebrew + Vibration Sensors + Arduino + Openframeworks
by Snax_and_Macs in Circuits > Arduino
3954 Views, 16 Favorites, 0 Comments
Spacebrew + Vibration Sensors + Arduino + Openframeworks
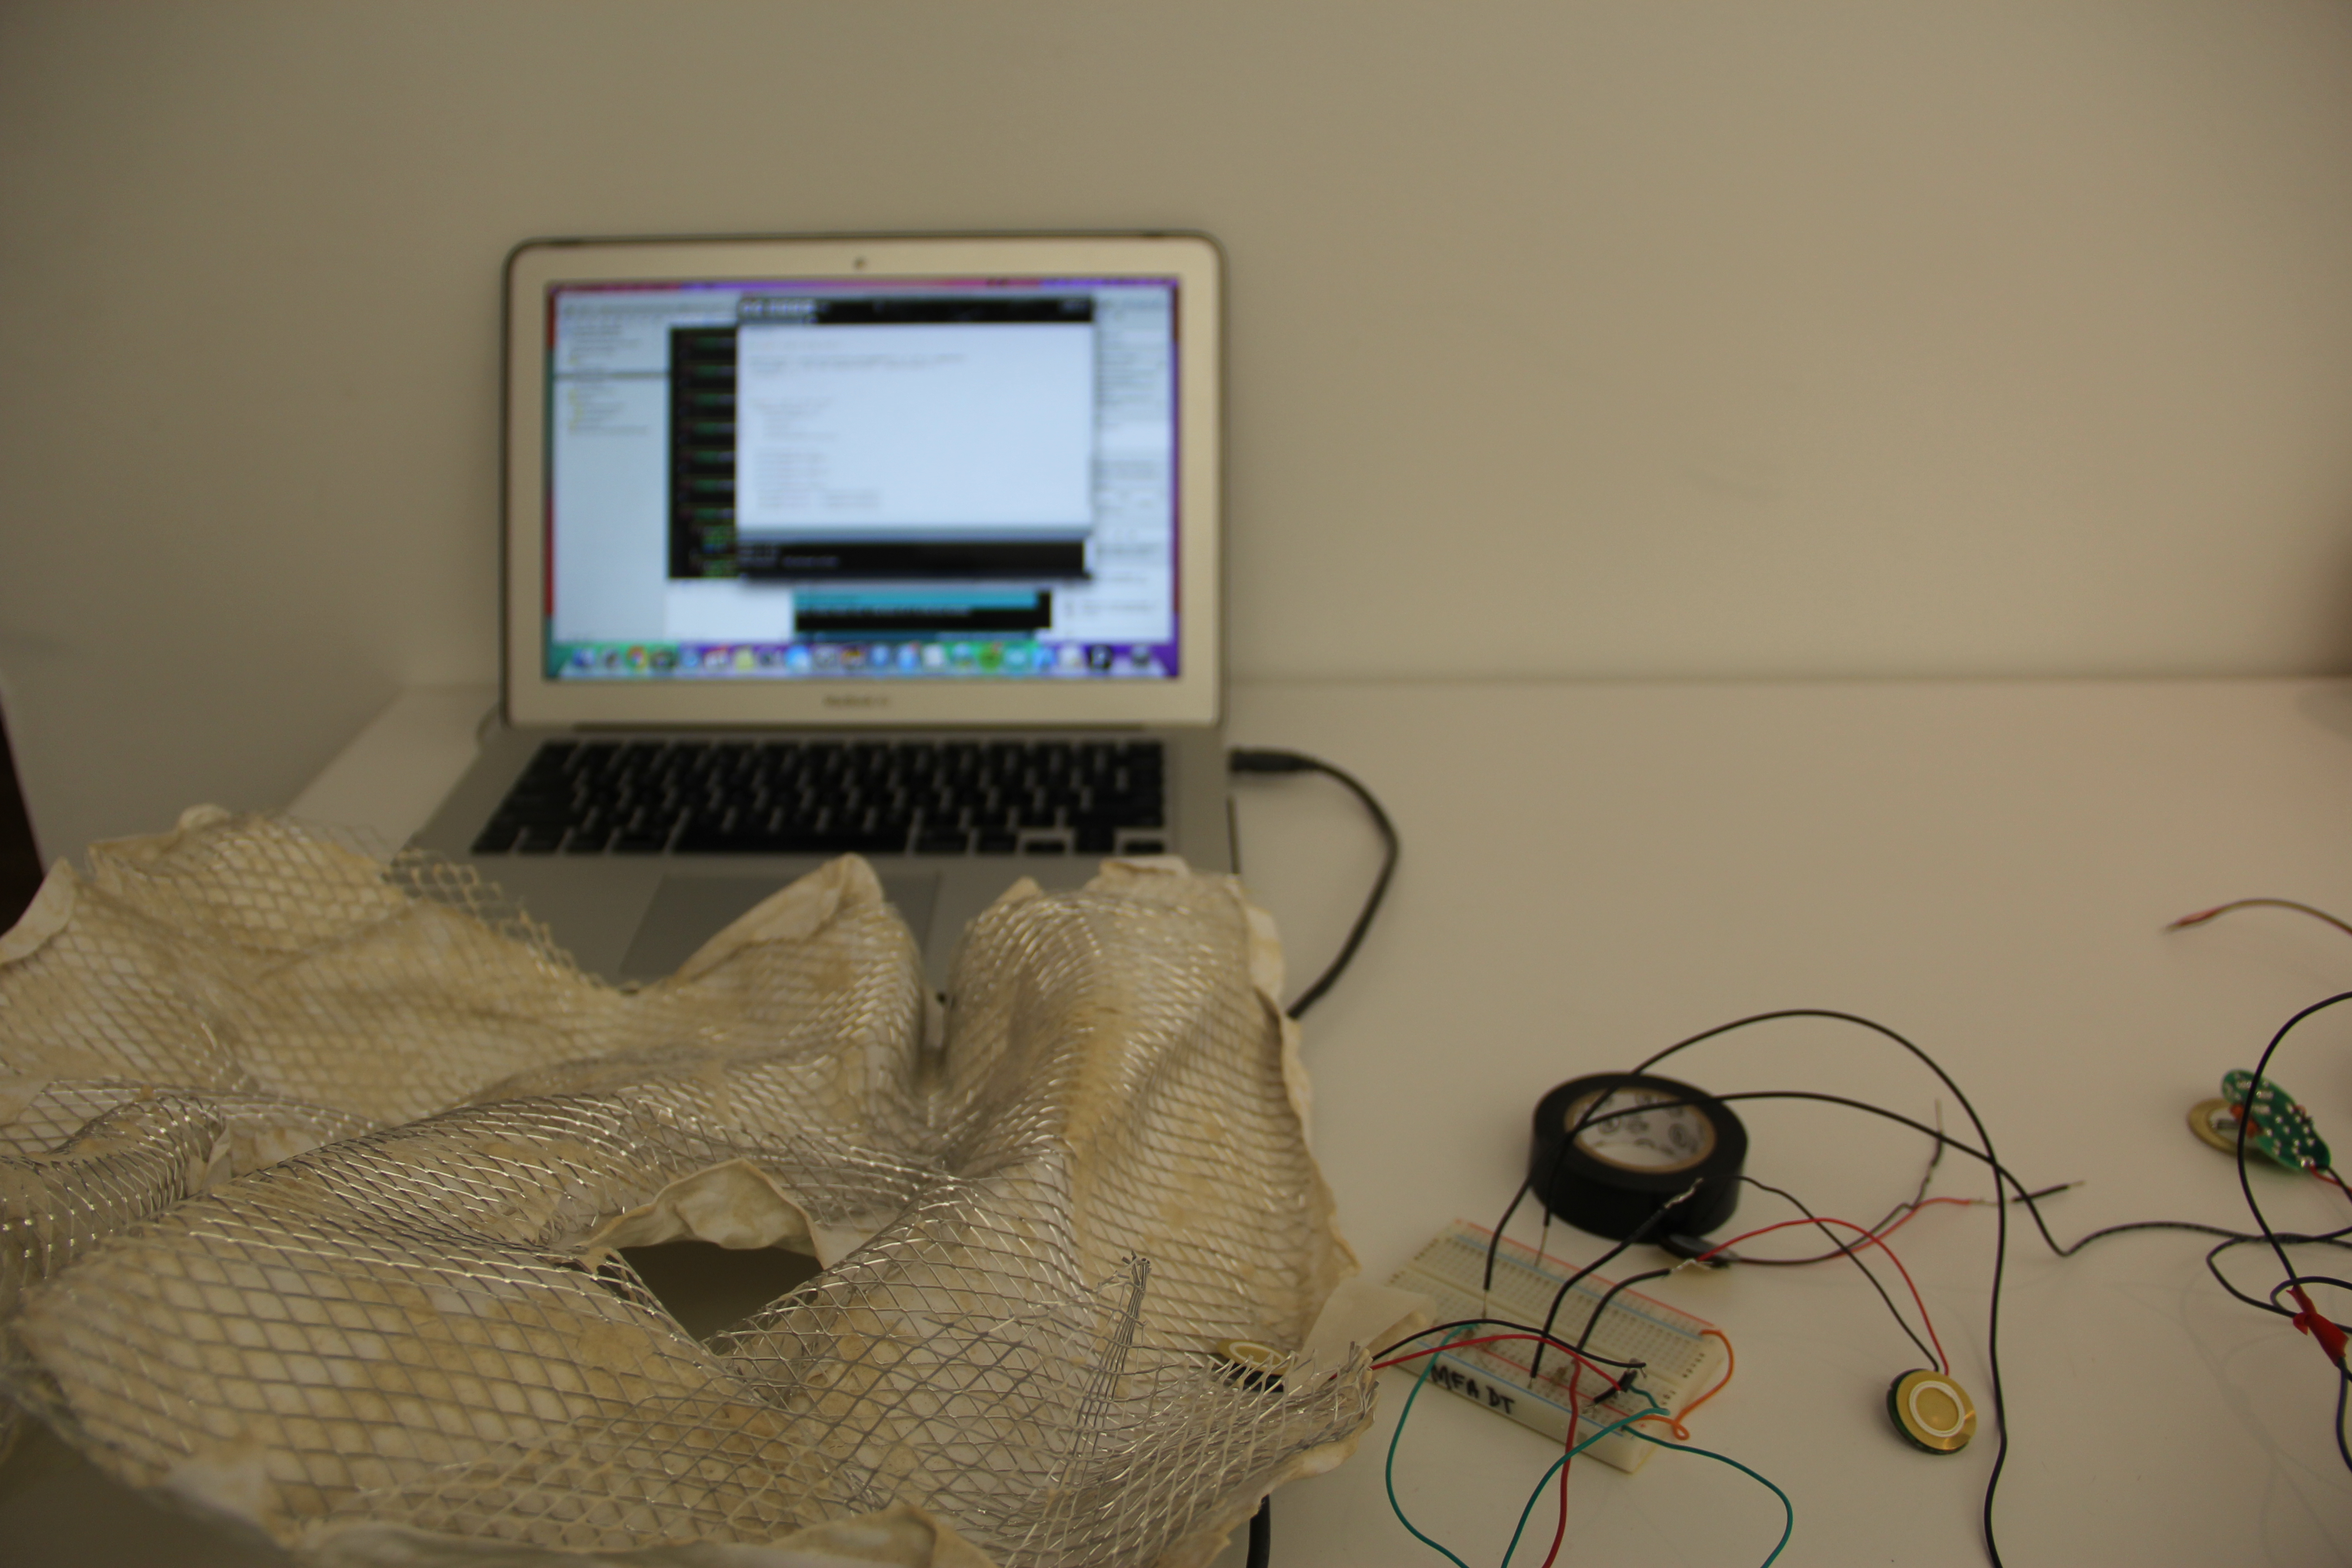
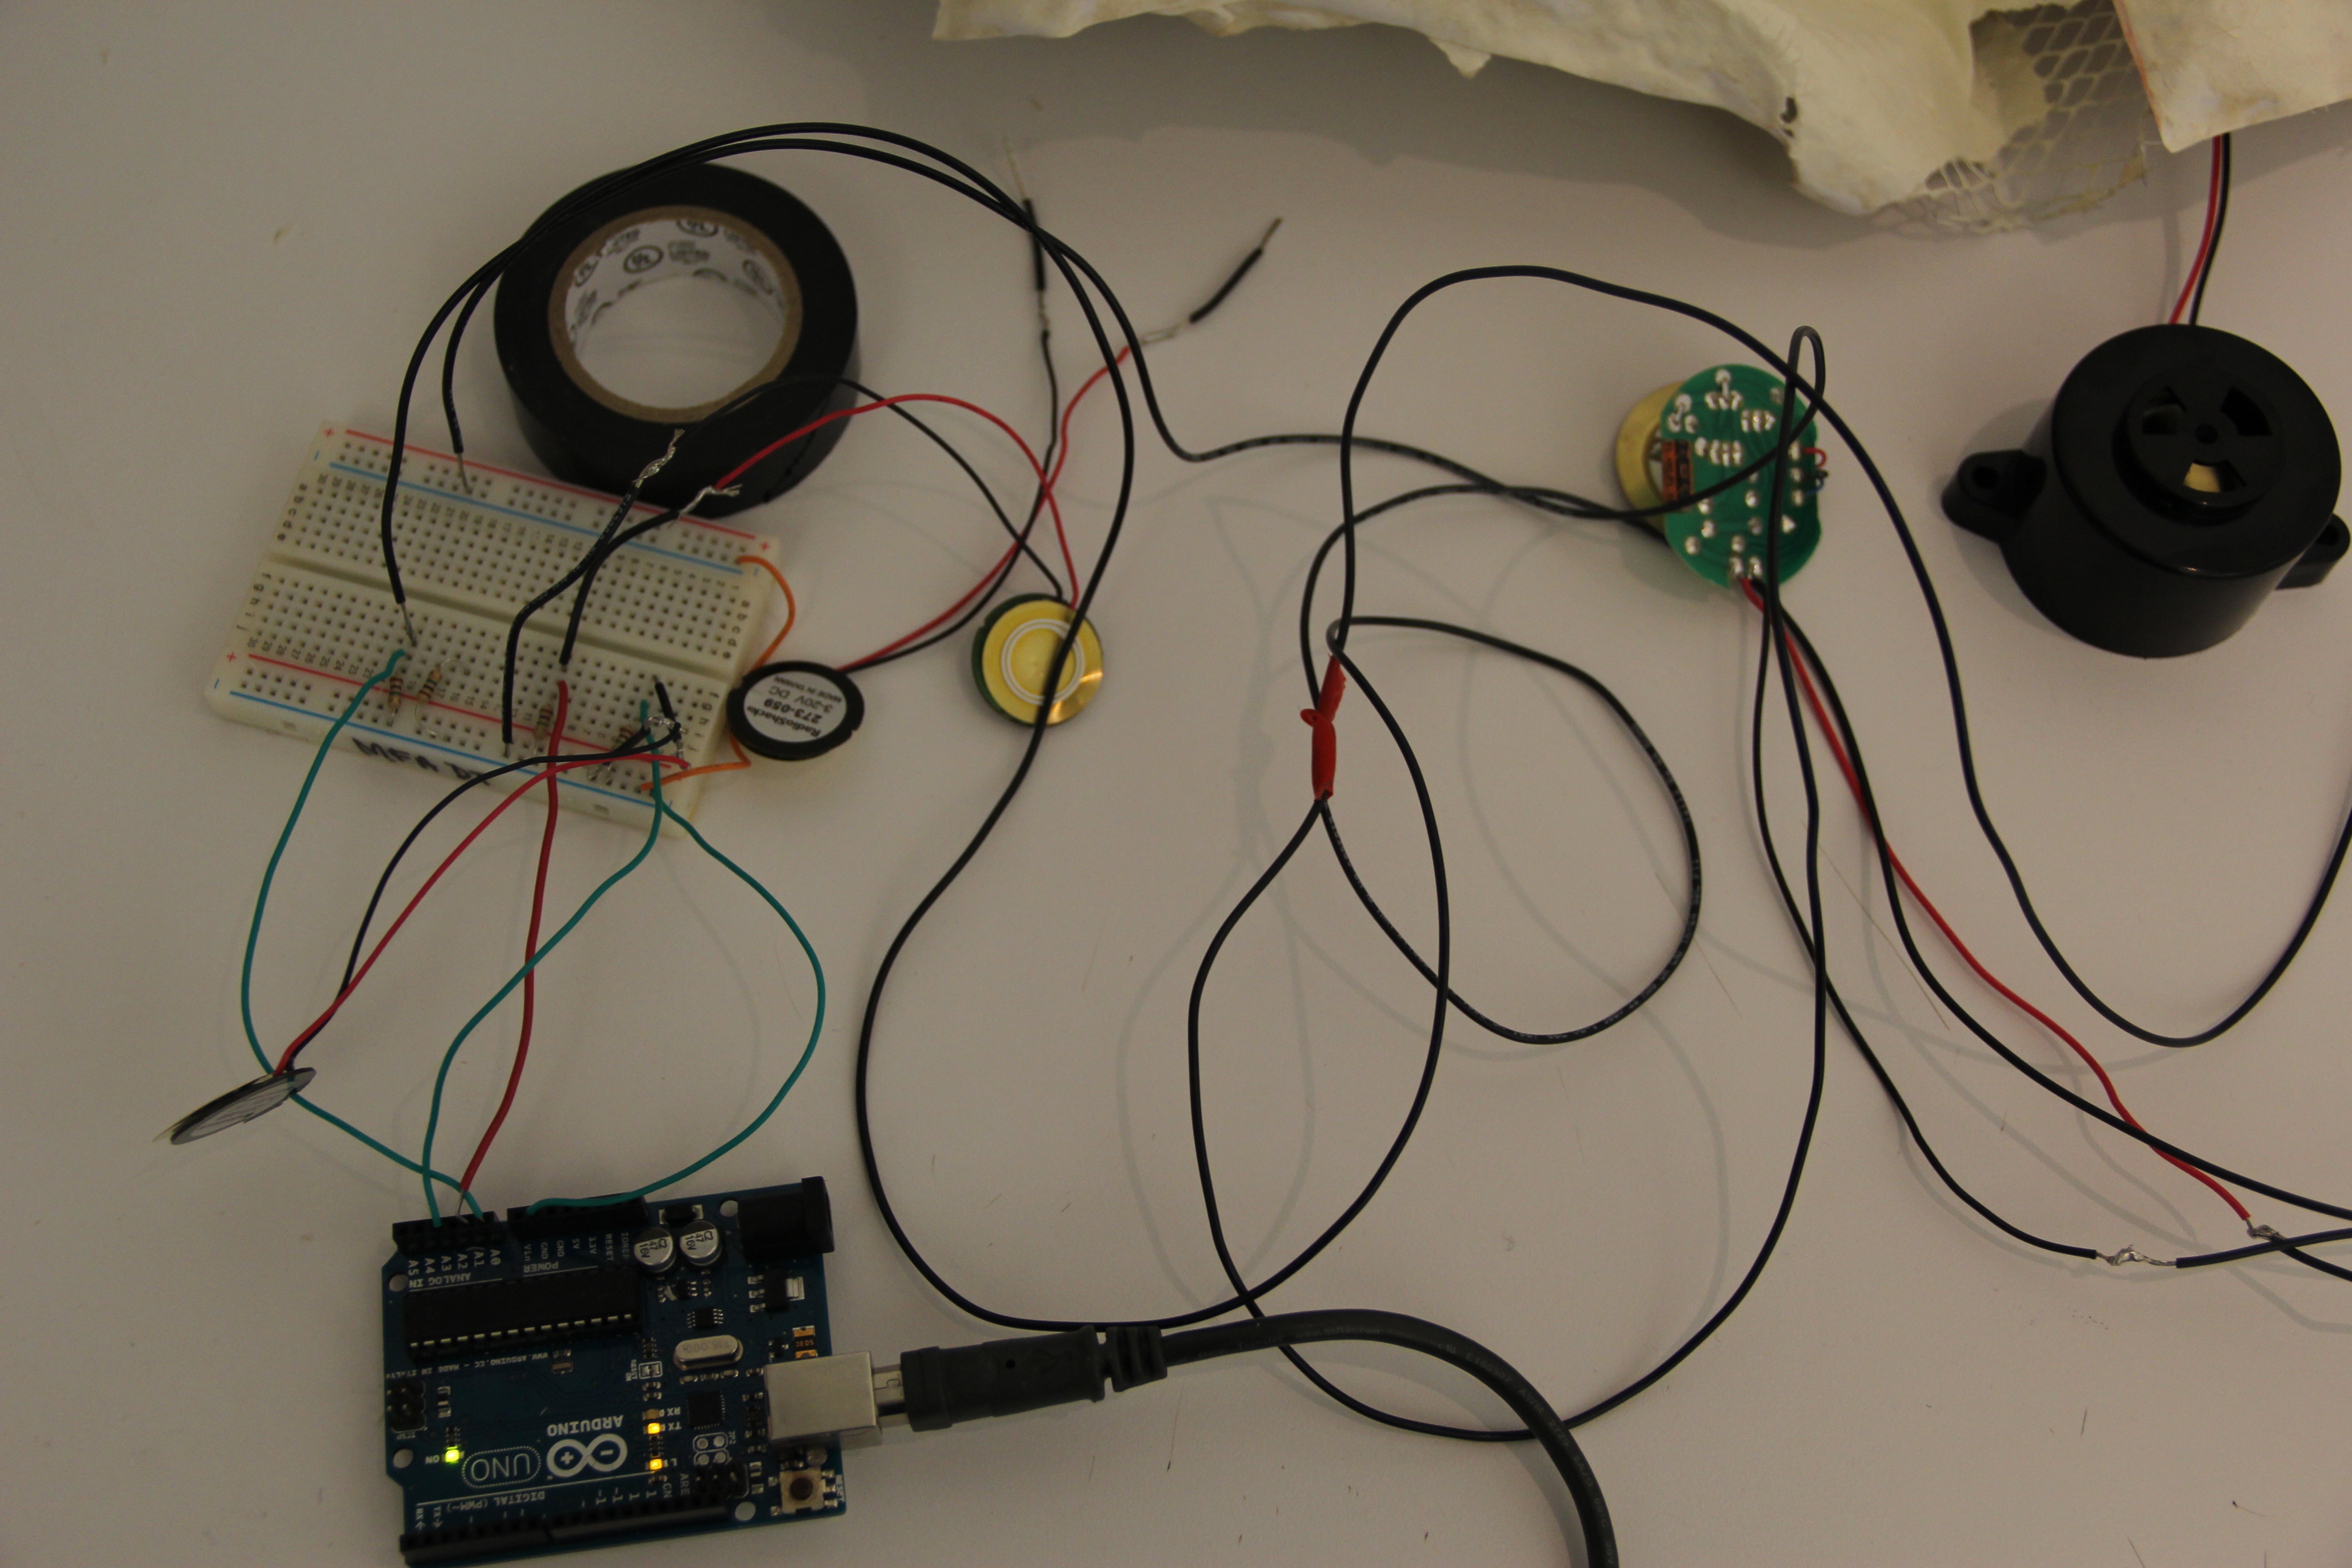
Hi everyone,
Lucy Matchett, Nicole Yi Messier, and Joselyn McDonald (Snax_and_Macs) hooked up vibration sensors to an openFrameworks sketch to manipulate different components of the generated digital output.
We used Arduinos, vibration sensors, resistors, and a paper mache sculpture.
What you need to get started:
1 Arduino1
5 1 Megaohm resistors
4 vibration sensors
Paper mache sculpture
Arduino and Processing Applications
Firmata Library for Arduino and Processing
SpaceBrew Library for Processing & openFrameworks
Our Code
Open OpenFrameworks Sketch
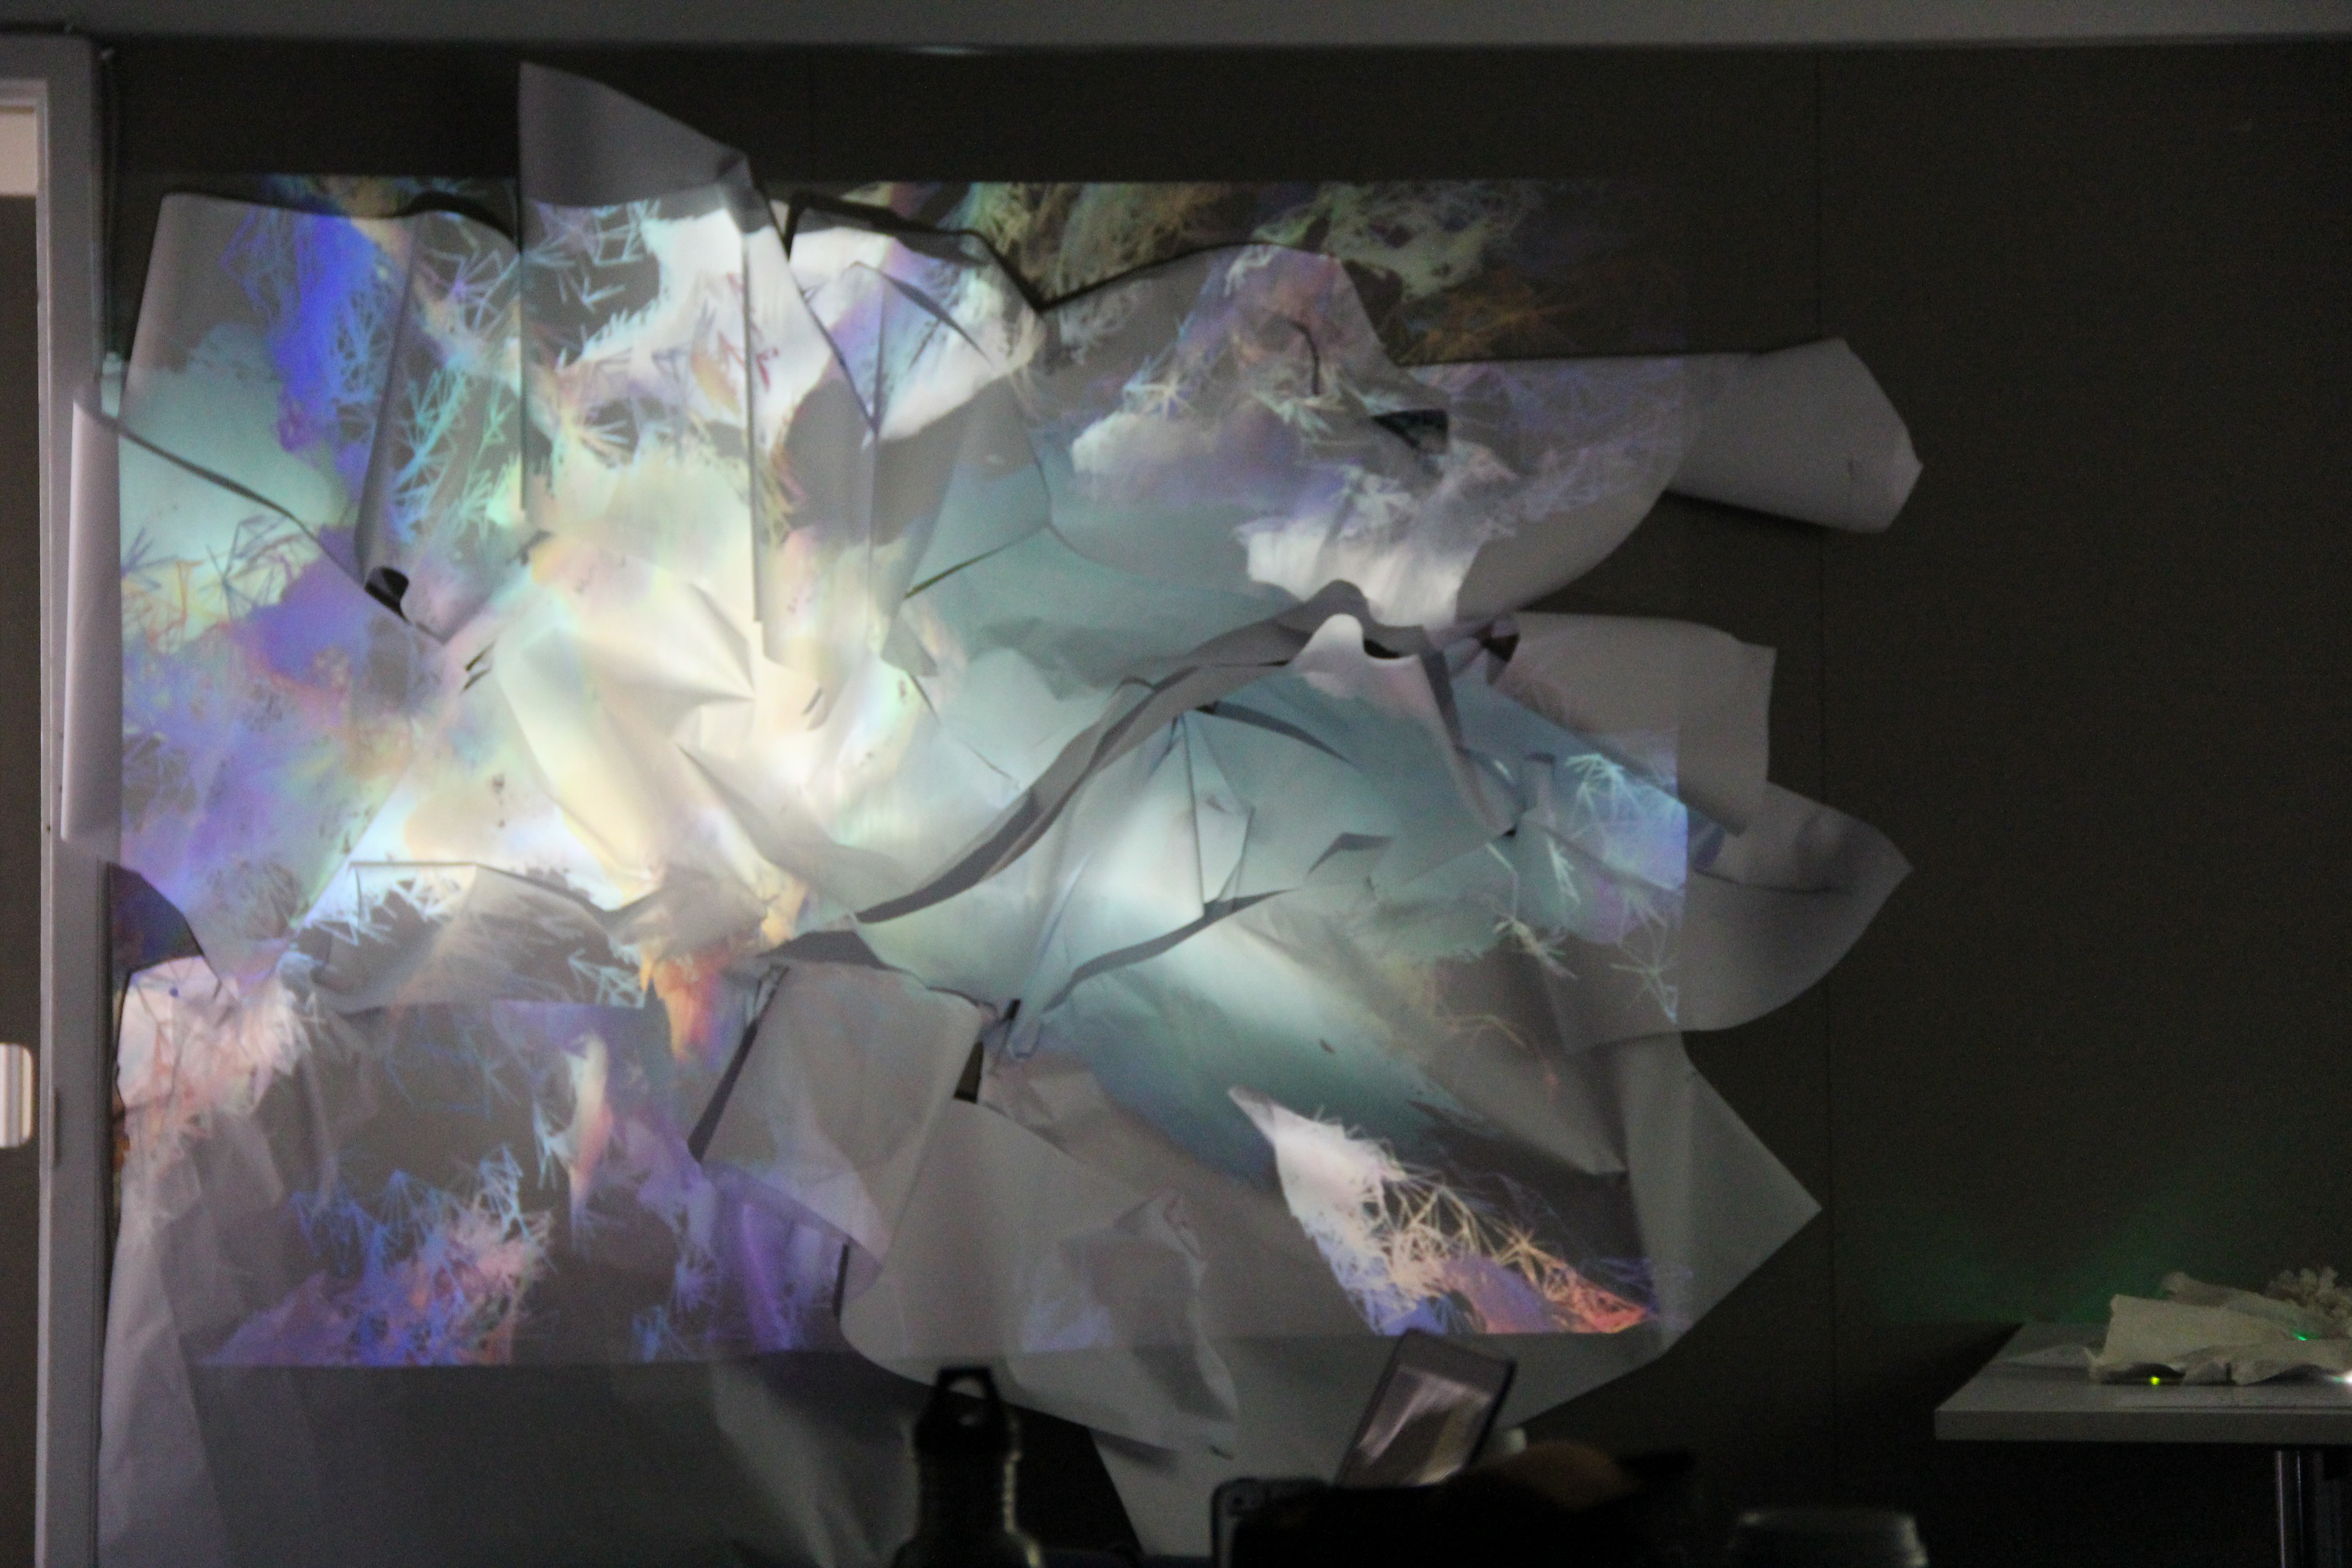
1. Unzip the spacebrew_vibration folder and place it under myApps.
2. Make sure the spacebrew openFramework libraries are downloaded. Follow the instructions here to do so.
3. The sketch is set up to read all 5 analogue readings from arduino.
4. To use these values in the sketch, place them in the draw value where ever you please. To map them, manipulate the int scale (scale = ofMap(sensor0, 0, 100, 1, 25);).
*In our code, we are manipulating the z-scale value of the output (code: ofScale(1,-1,scale);). The image is output of the sketch.
Downloads
Run StandardFirmata on Arduino & Set Up Circuit
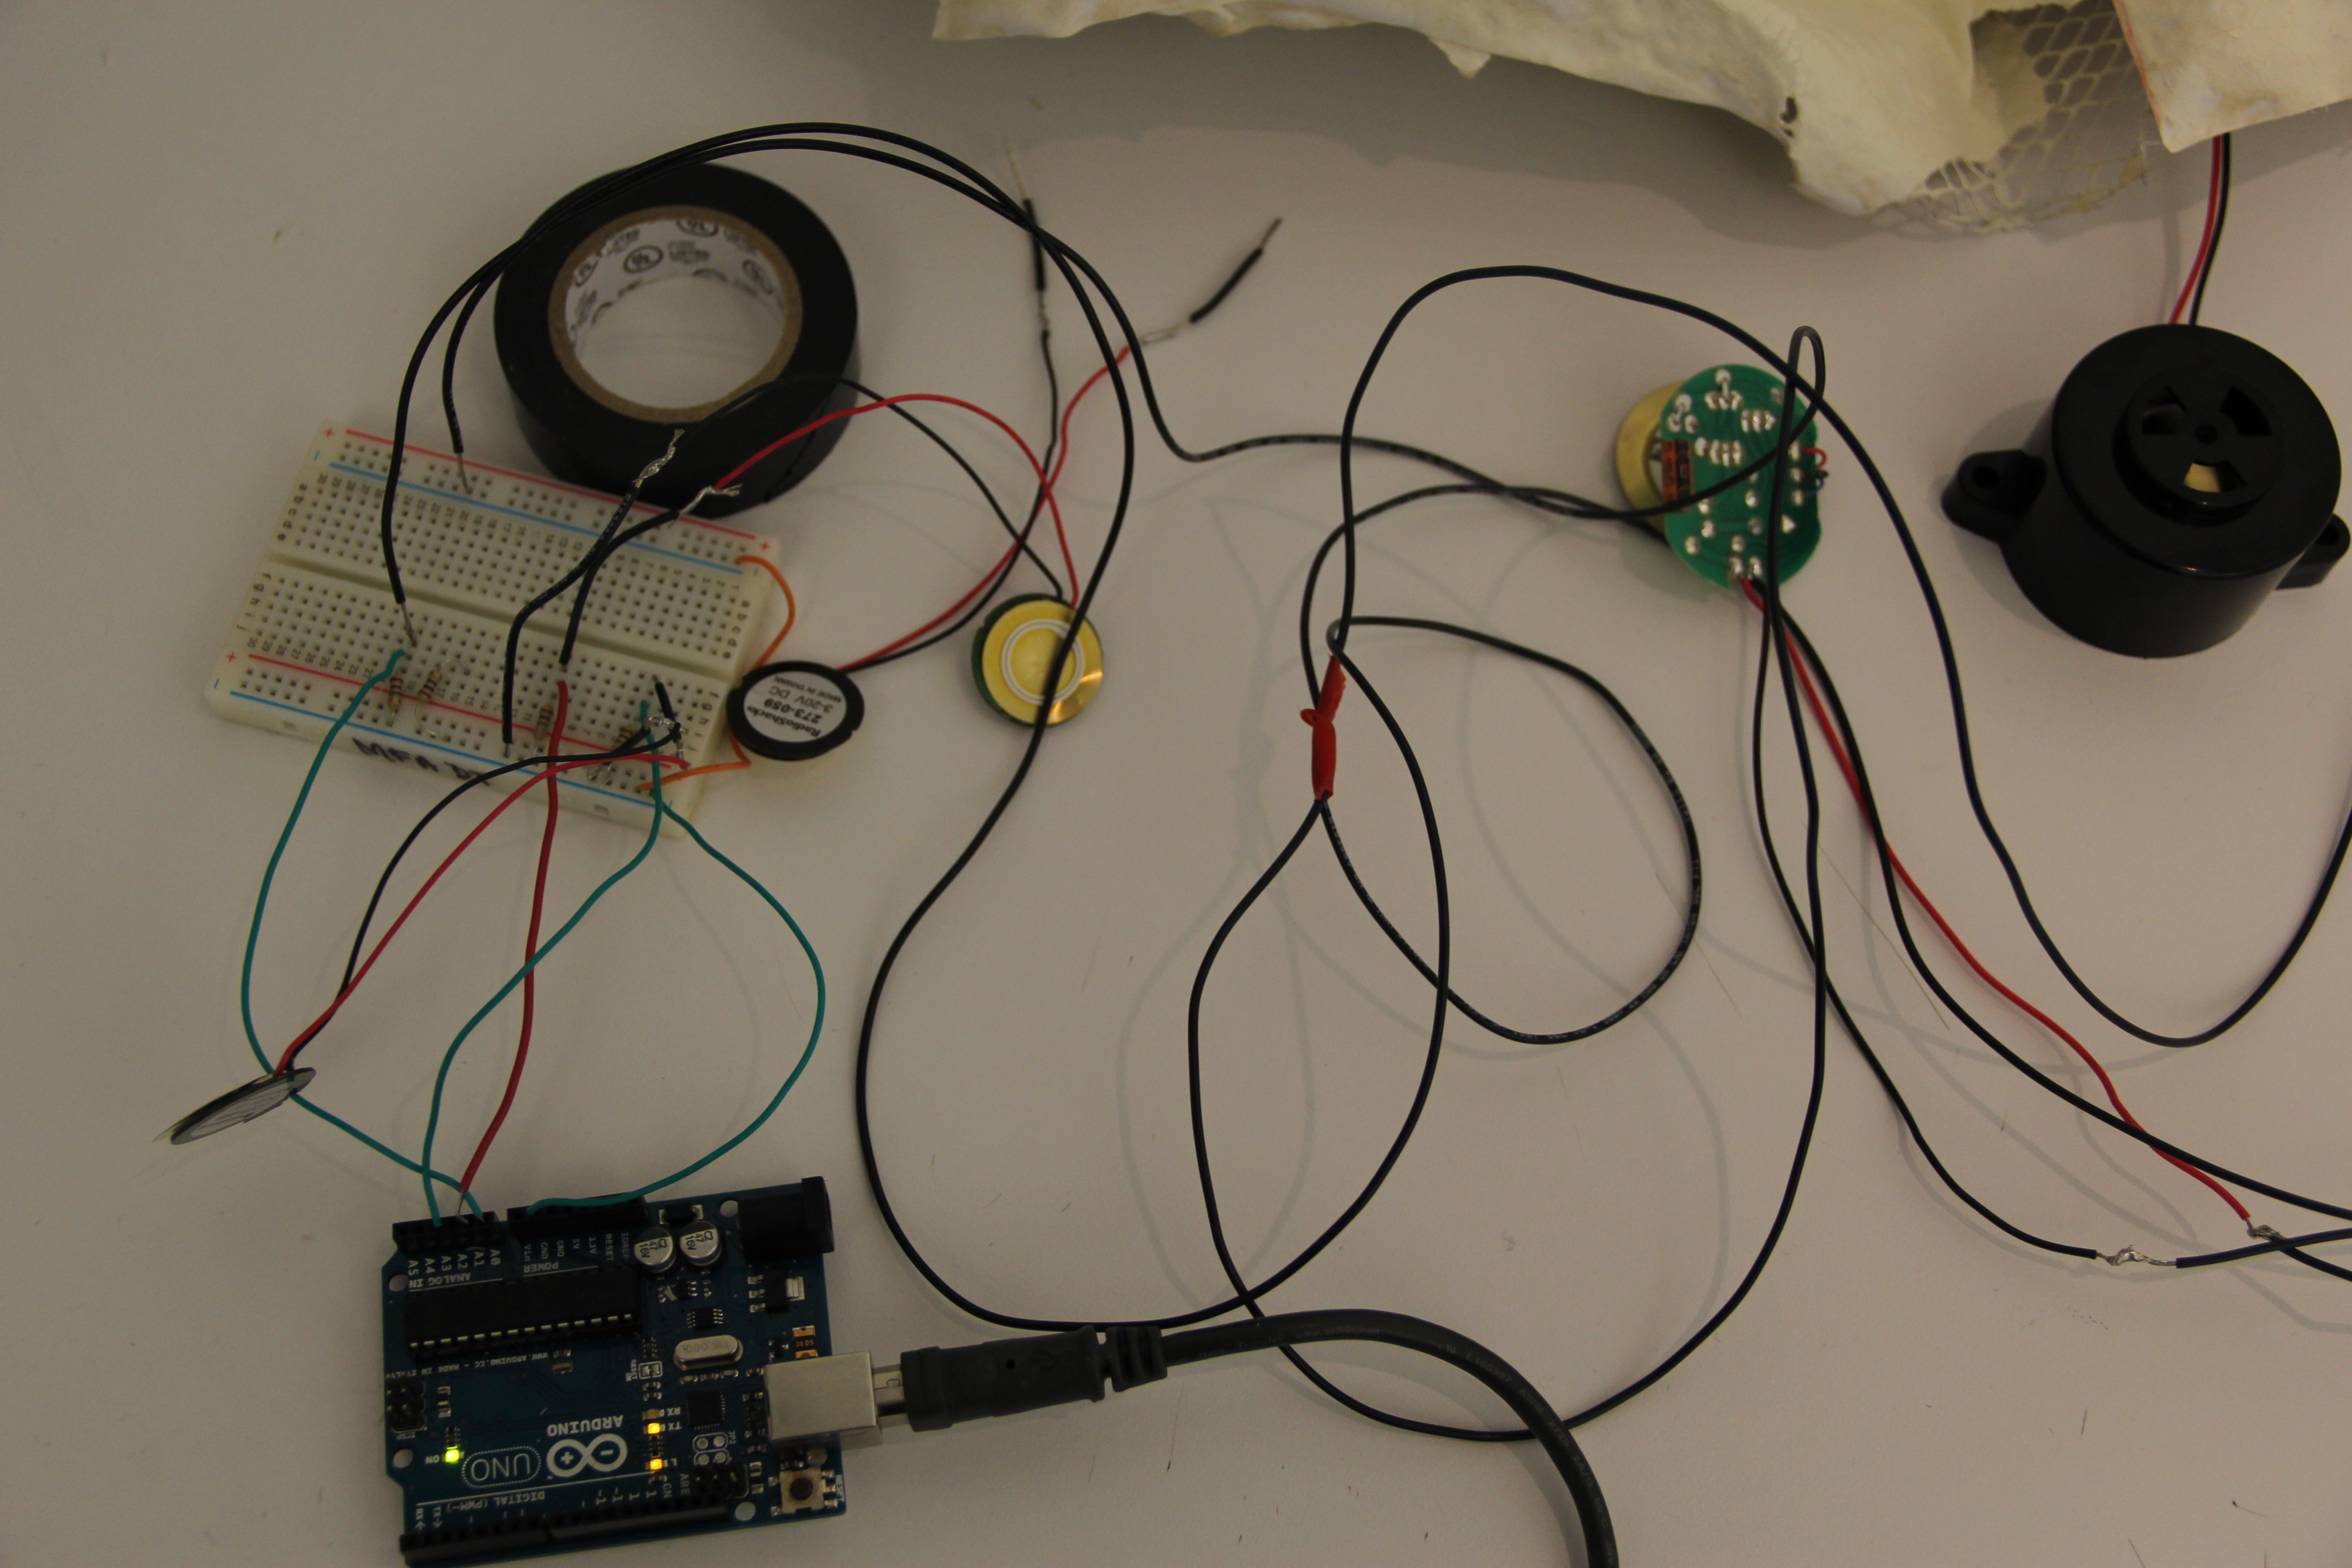
1. To set up the vibration sensor circuit follow this tutorial.
2. To connect the Arduino to Processing, in order to easily get it to talk to Processing we used the Firmata Library, which is already included in the Arduino software package but you will need to download it for processing. It can be found here.
3. You will need to open the Standard Firmata example in Arduino and load this onto your board.
Open Processing Sketch to Read Vibration Sensor Values
1. Next open Processing and test that your connection is working. Open an input example from the Firmata library, this will take input from any pin, the only thing you will have to change is the array number that associates with which Arduino you are using.
2. Unzip the attached zip file to read the vibration value from all 5 analogue sensor values and send to openFrameworks via spacebrew.
2. Unzip the attached zip file to read the vibration value from all 5 analogue sensor values and send to openFrameworks via spacebrew.
Downloads
Connect Publisher and Subscriber Nodes on Spacebrew Admin
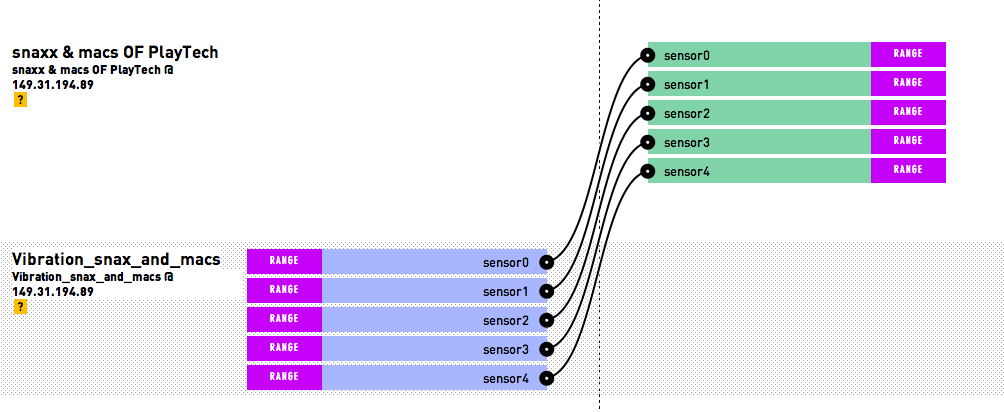
1. Now it's time to connect your local processing sketch openFrameworks using Spacebrew (http://docs.spacebrew.cc/examples). This is how the two sketches are going to talk to each other. Run your processing sketches. They will then appear on the admin Spacebrew server.
2. You'll want to open up the admin Spacebrew server (http://spacebrew.github.io/spacebrew/admin/admin.h... and connect the respective nodes to each other (i.e. sensor1 on the publisher side should also be connected to sensor1 on the subscriber side).
**If you change the names of the publishers and/or subscribers in your Processing sketches , and we encourage you to do so, do not use Camel Case.