Space Background Painting for Portraits
by Pammie918 in Design > Photography
621 Views, 2 Favorites, 0 Comments
Space Background Painting for Portraits
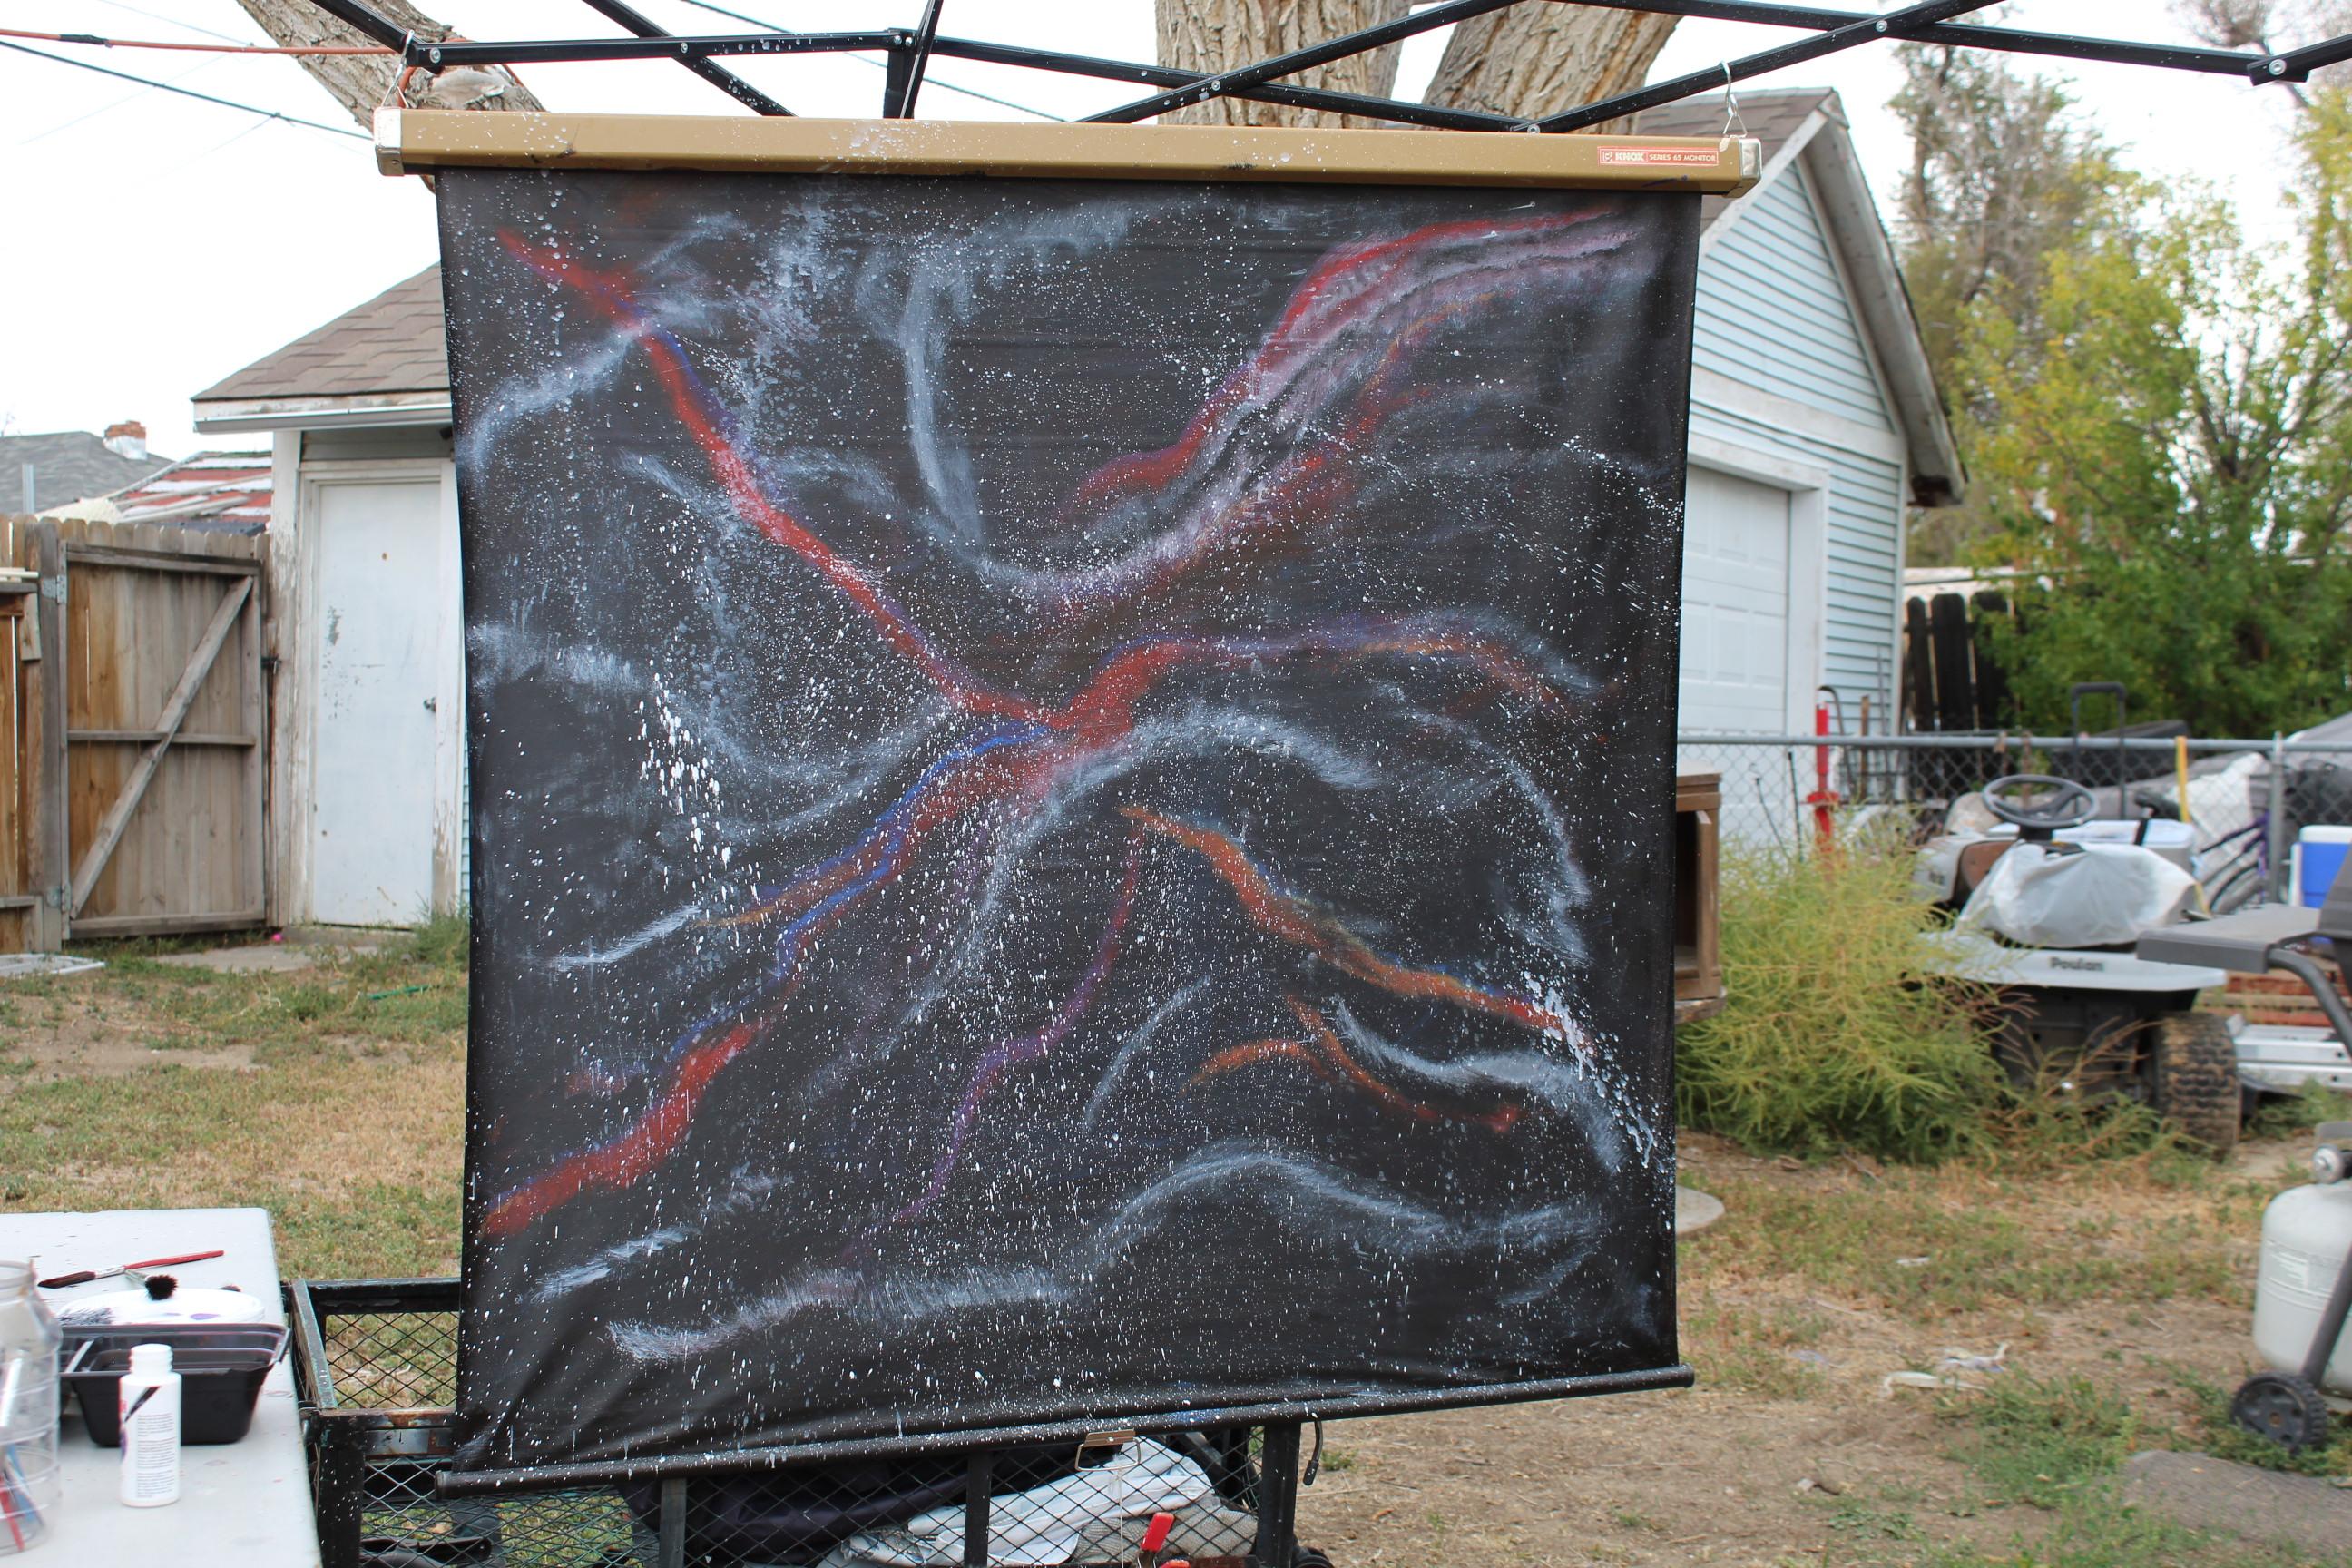
I am fascinated with paintings of space and have done a few small ones myself. This is the largest I have ever attempted. I also like photography and thought having a space backdrop would be fun for doing portraits. Here are the items I used and suggestions for making this project your own.
Supplies
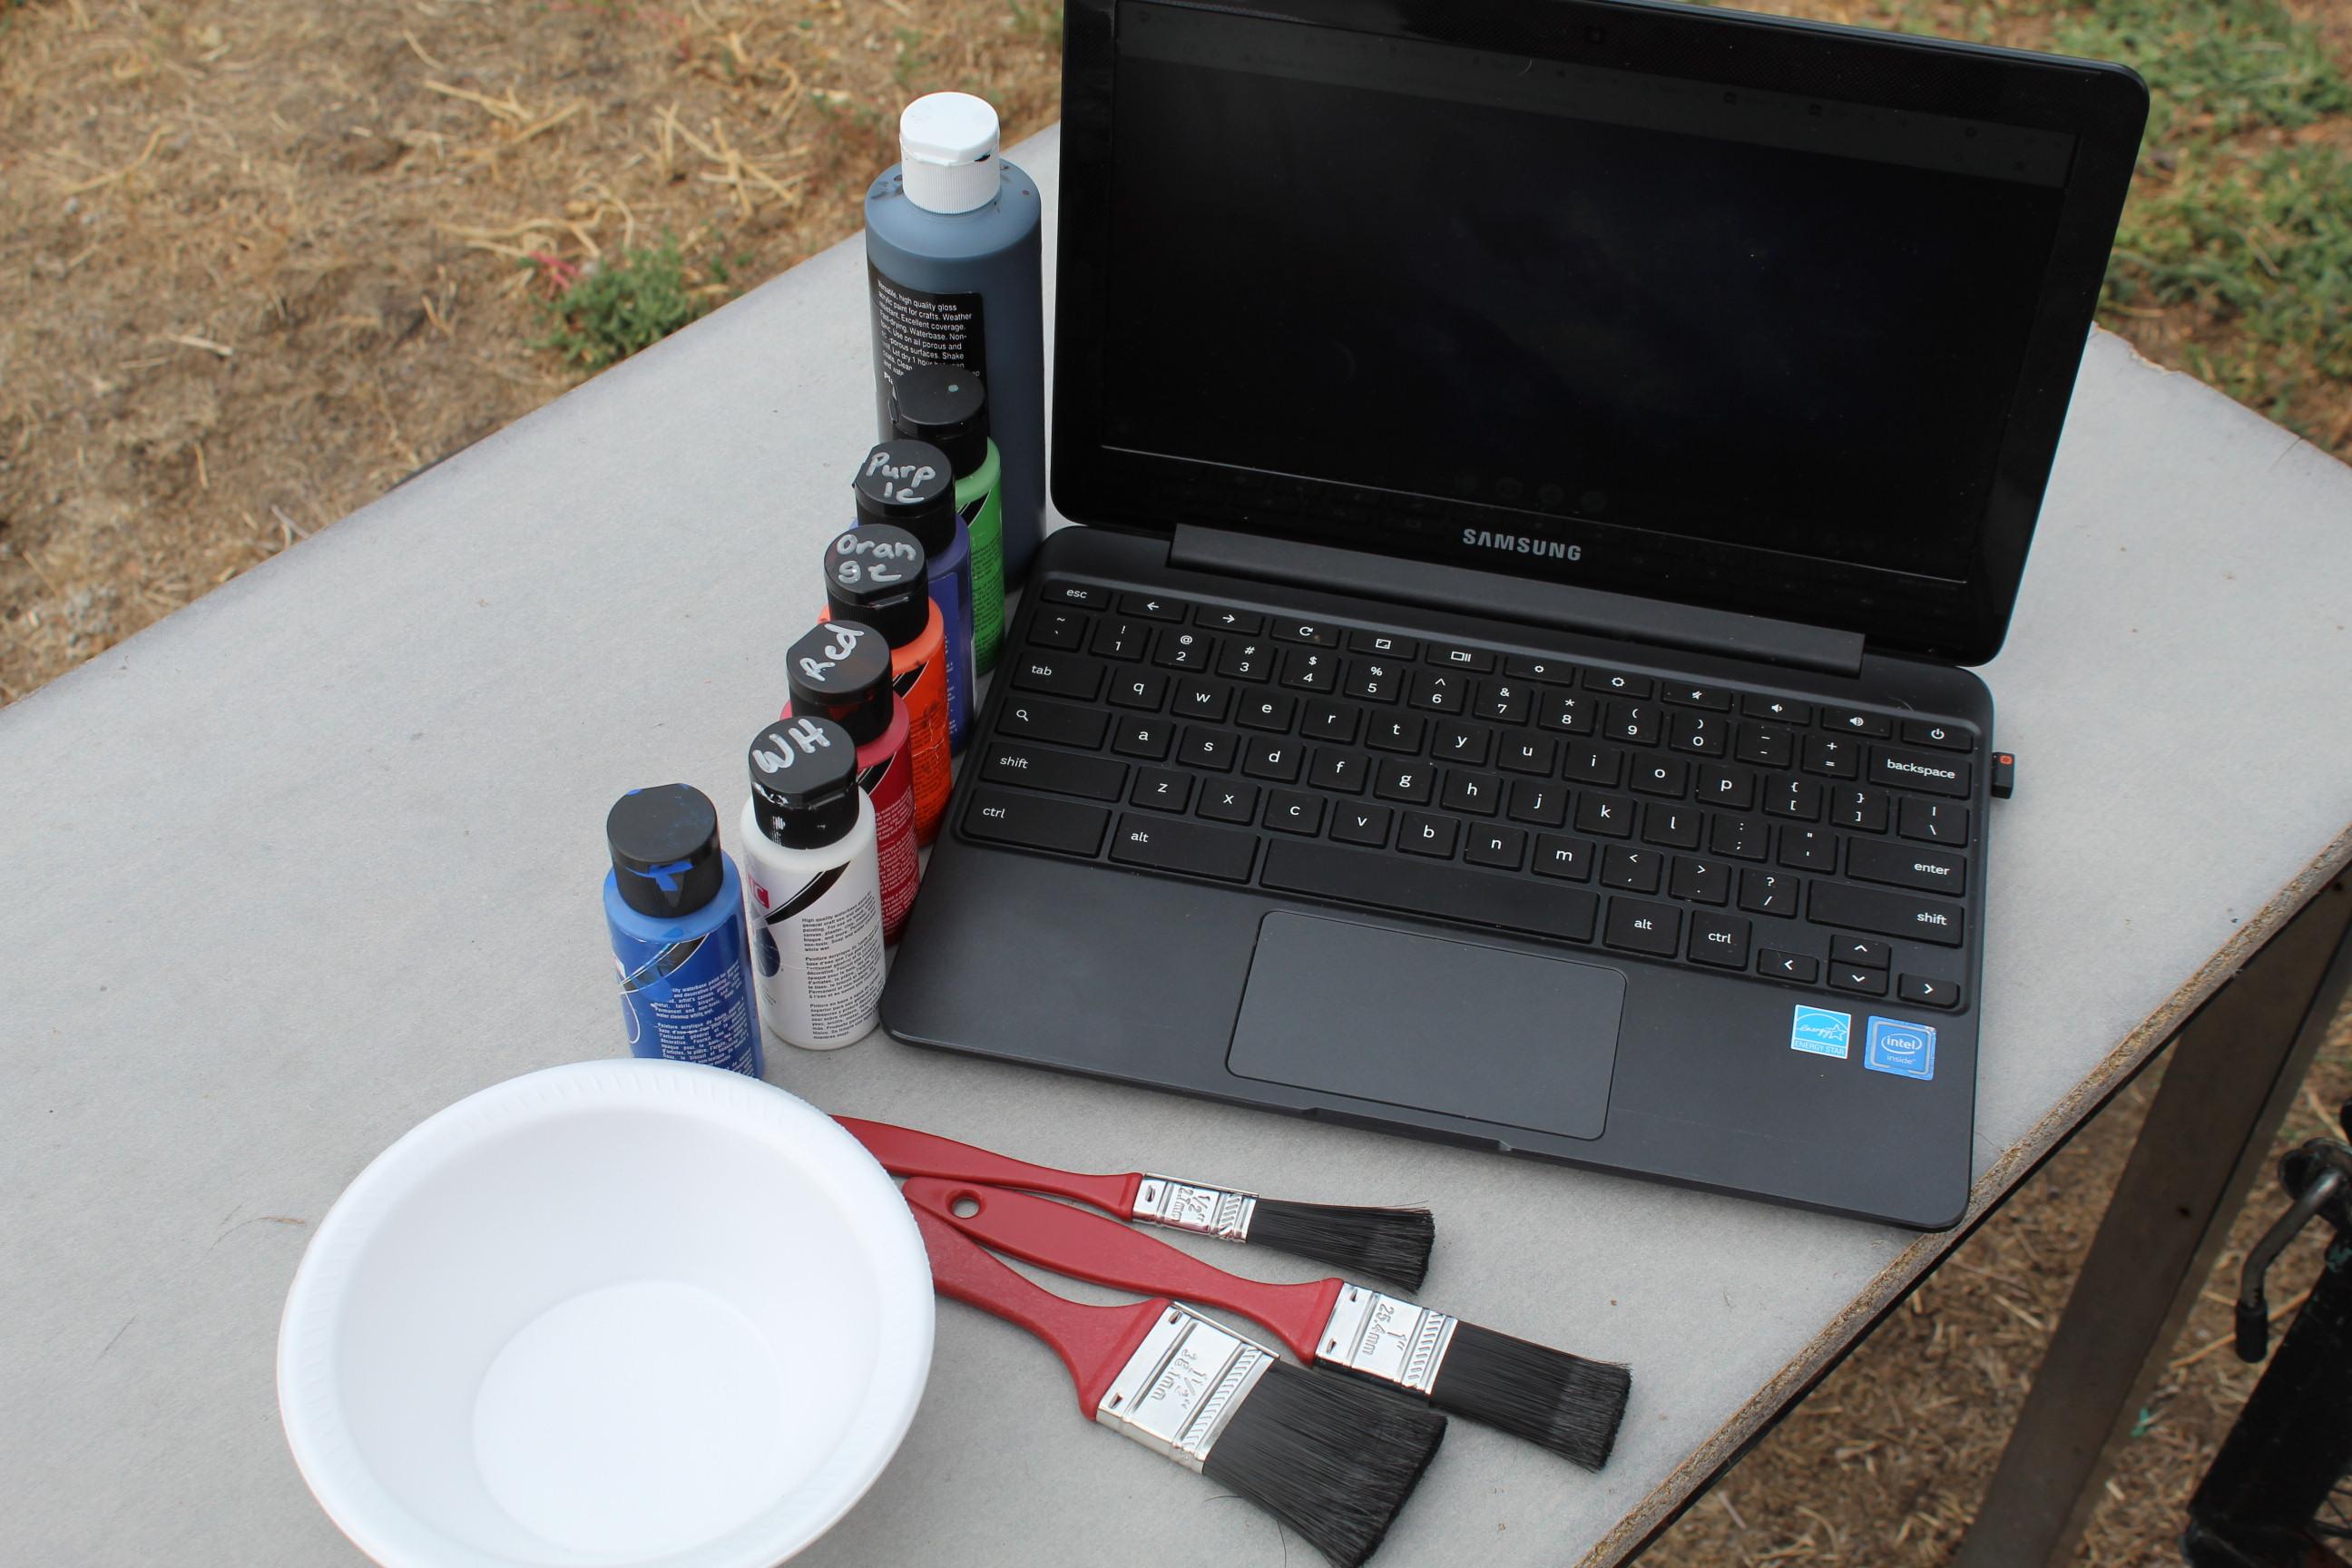
Old movie screen or canvas dropcloth a size you would like your backdrop to be
Acrylic paints especially black and white and can include any colors you want
Paintbrushes
Water
Layer 1: Black
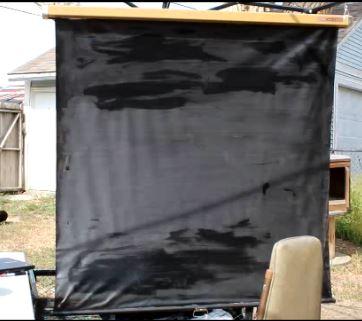
Paint your screen/dropcloth black. You can use 2 coats if you really want to, but this doesn't have to be perfect since it is going to be behind your subject. What is important is that your base layer is BLACK.
Layer 2: Adding Colors
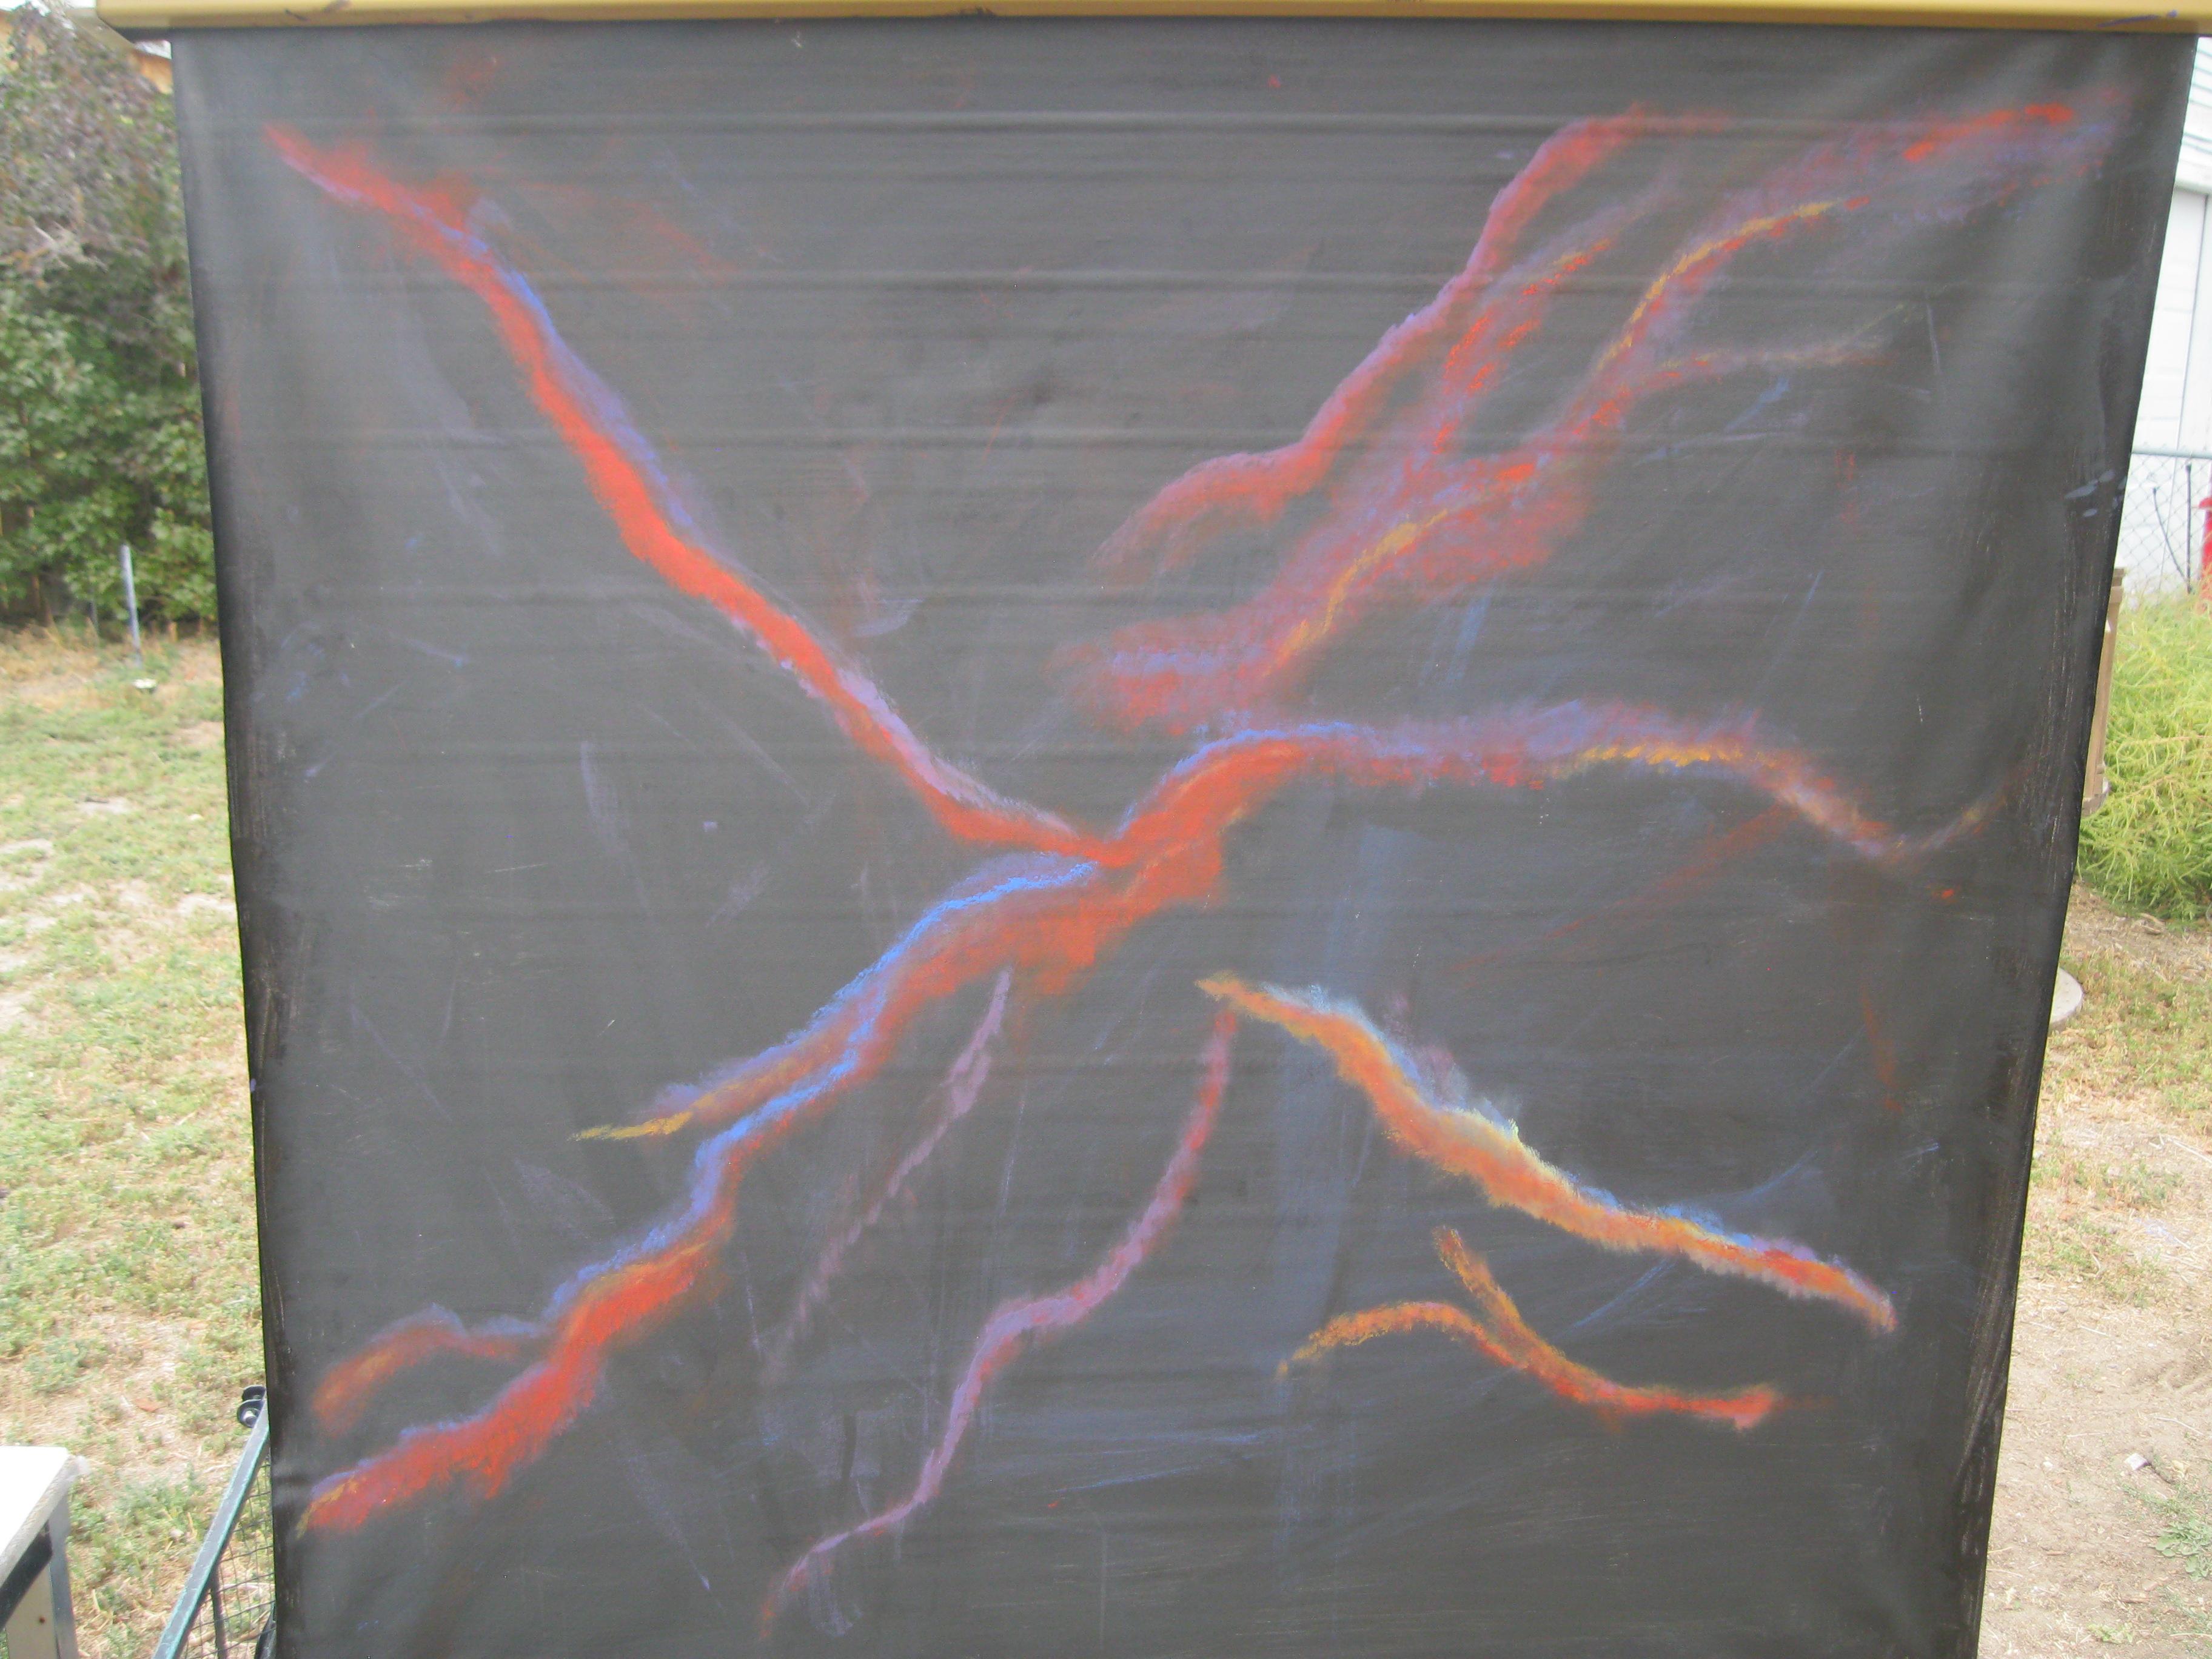
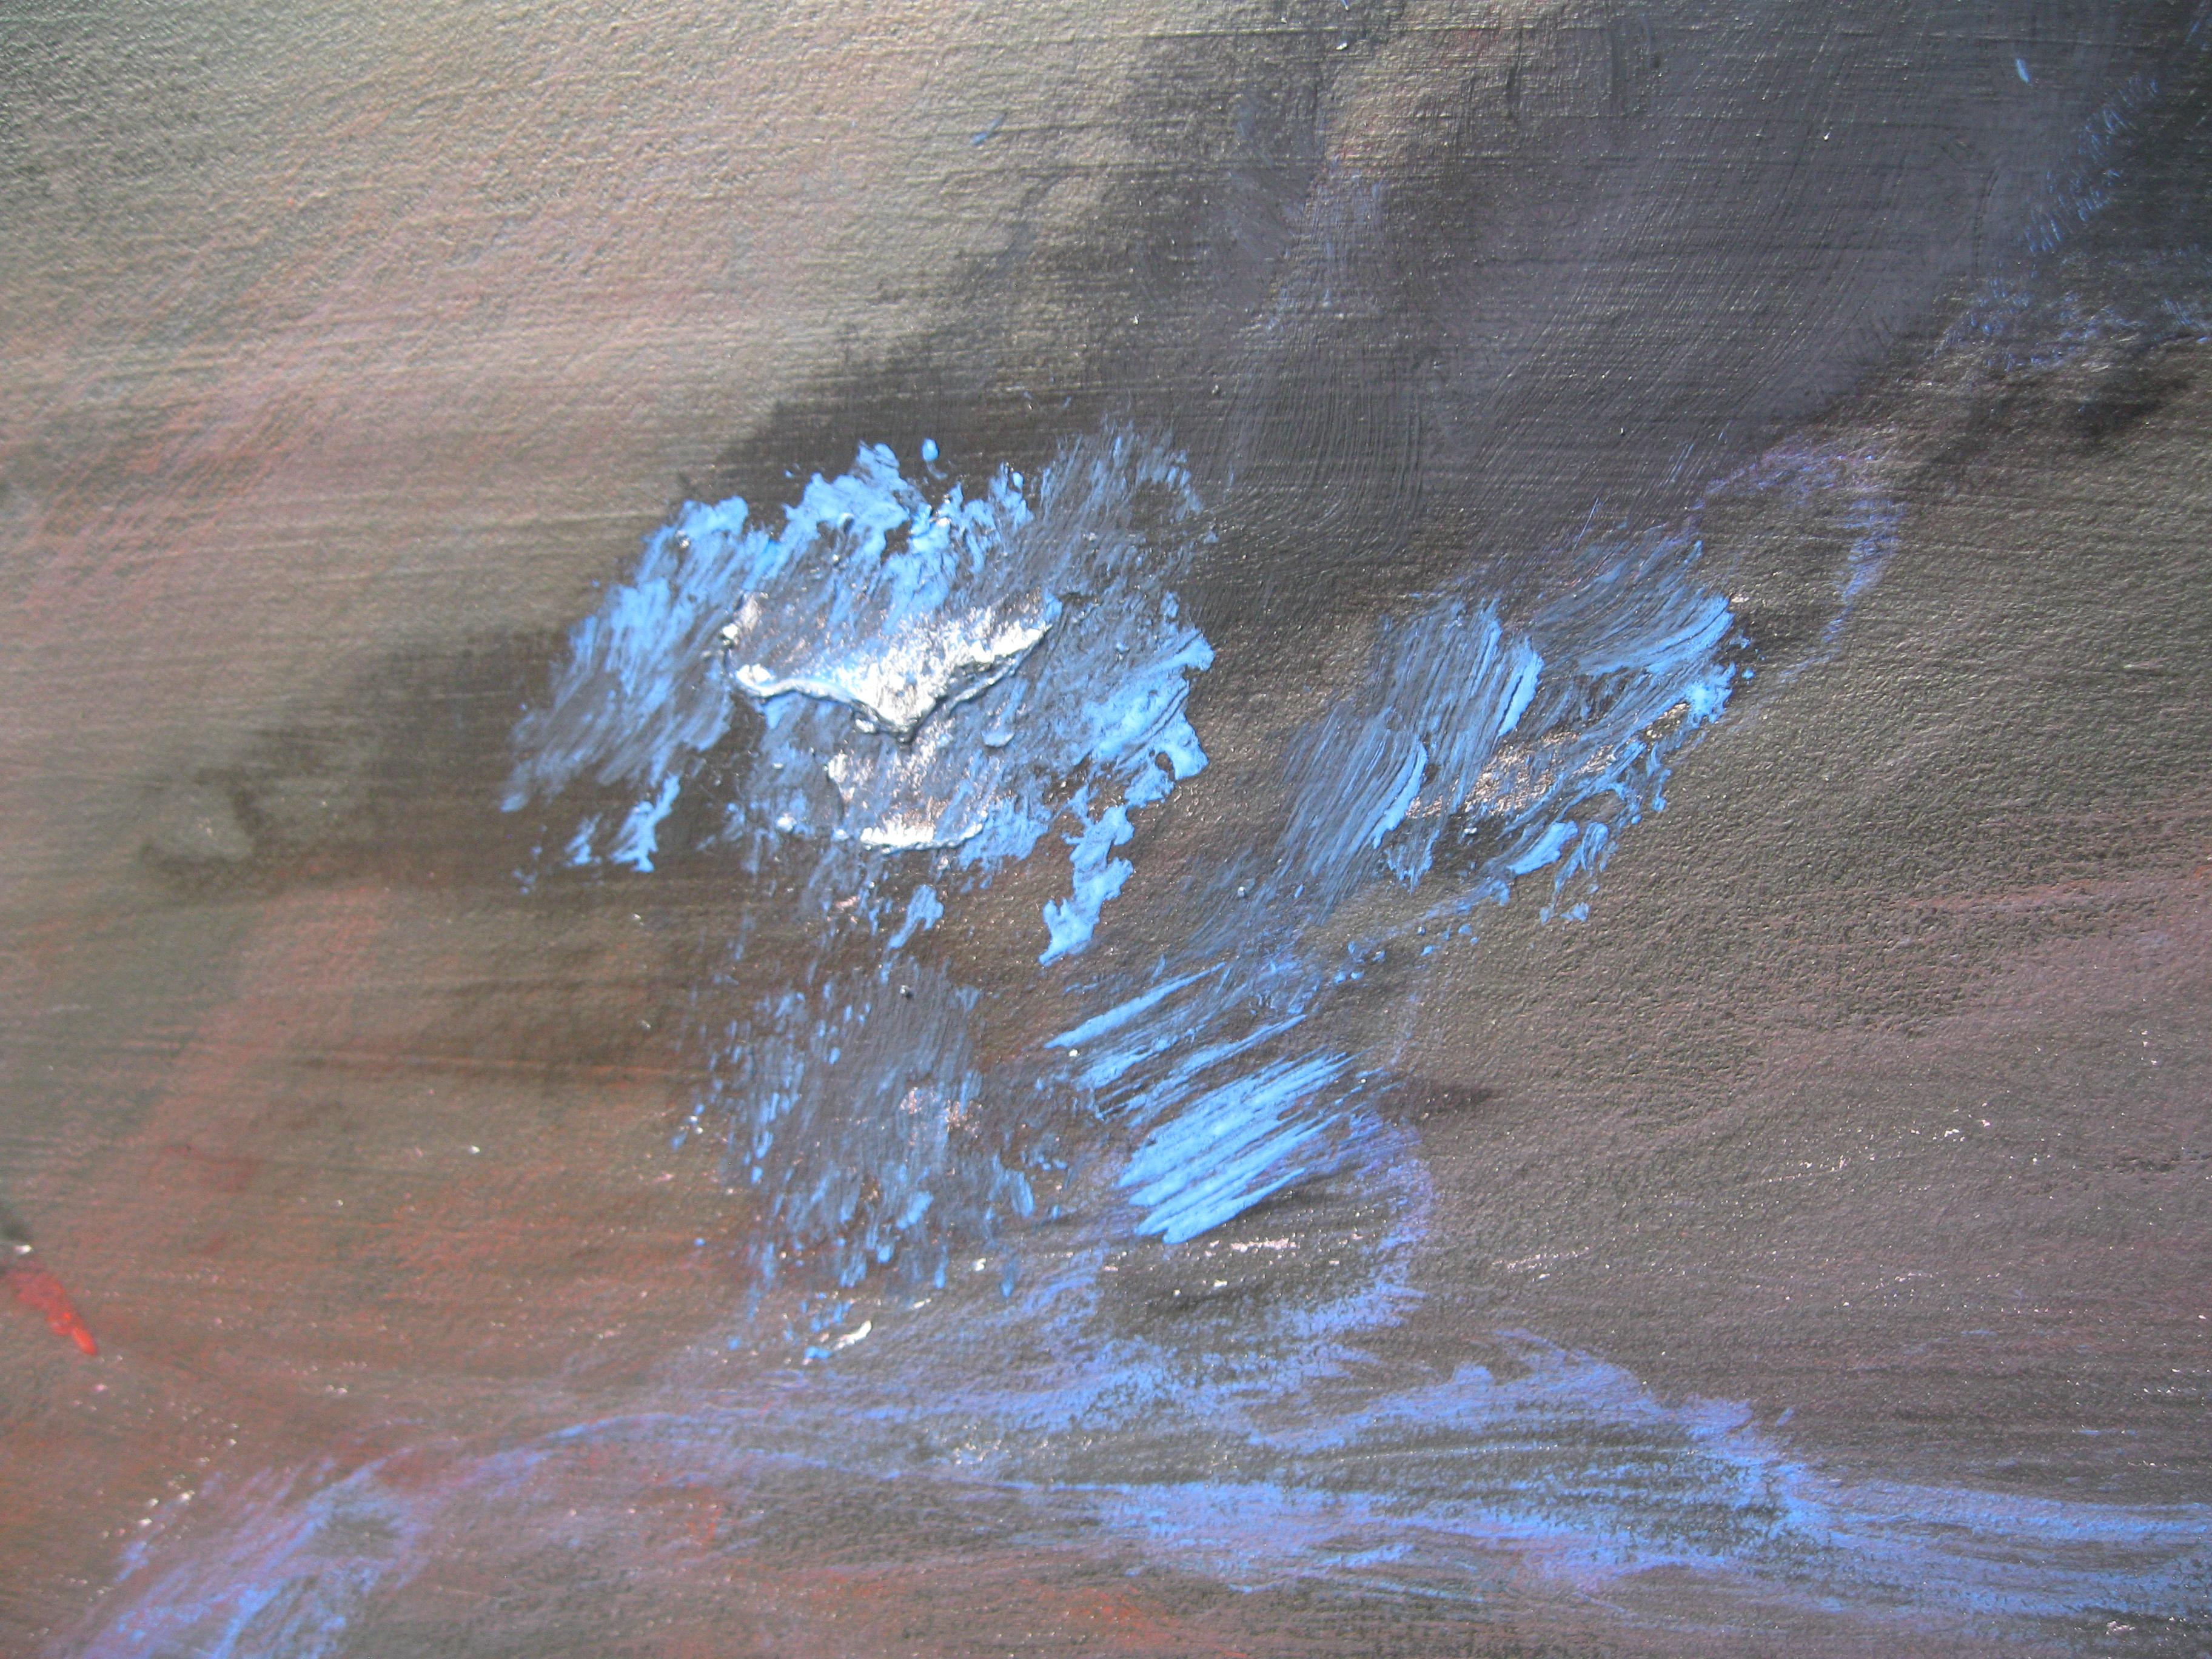
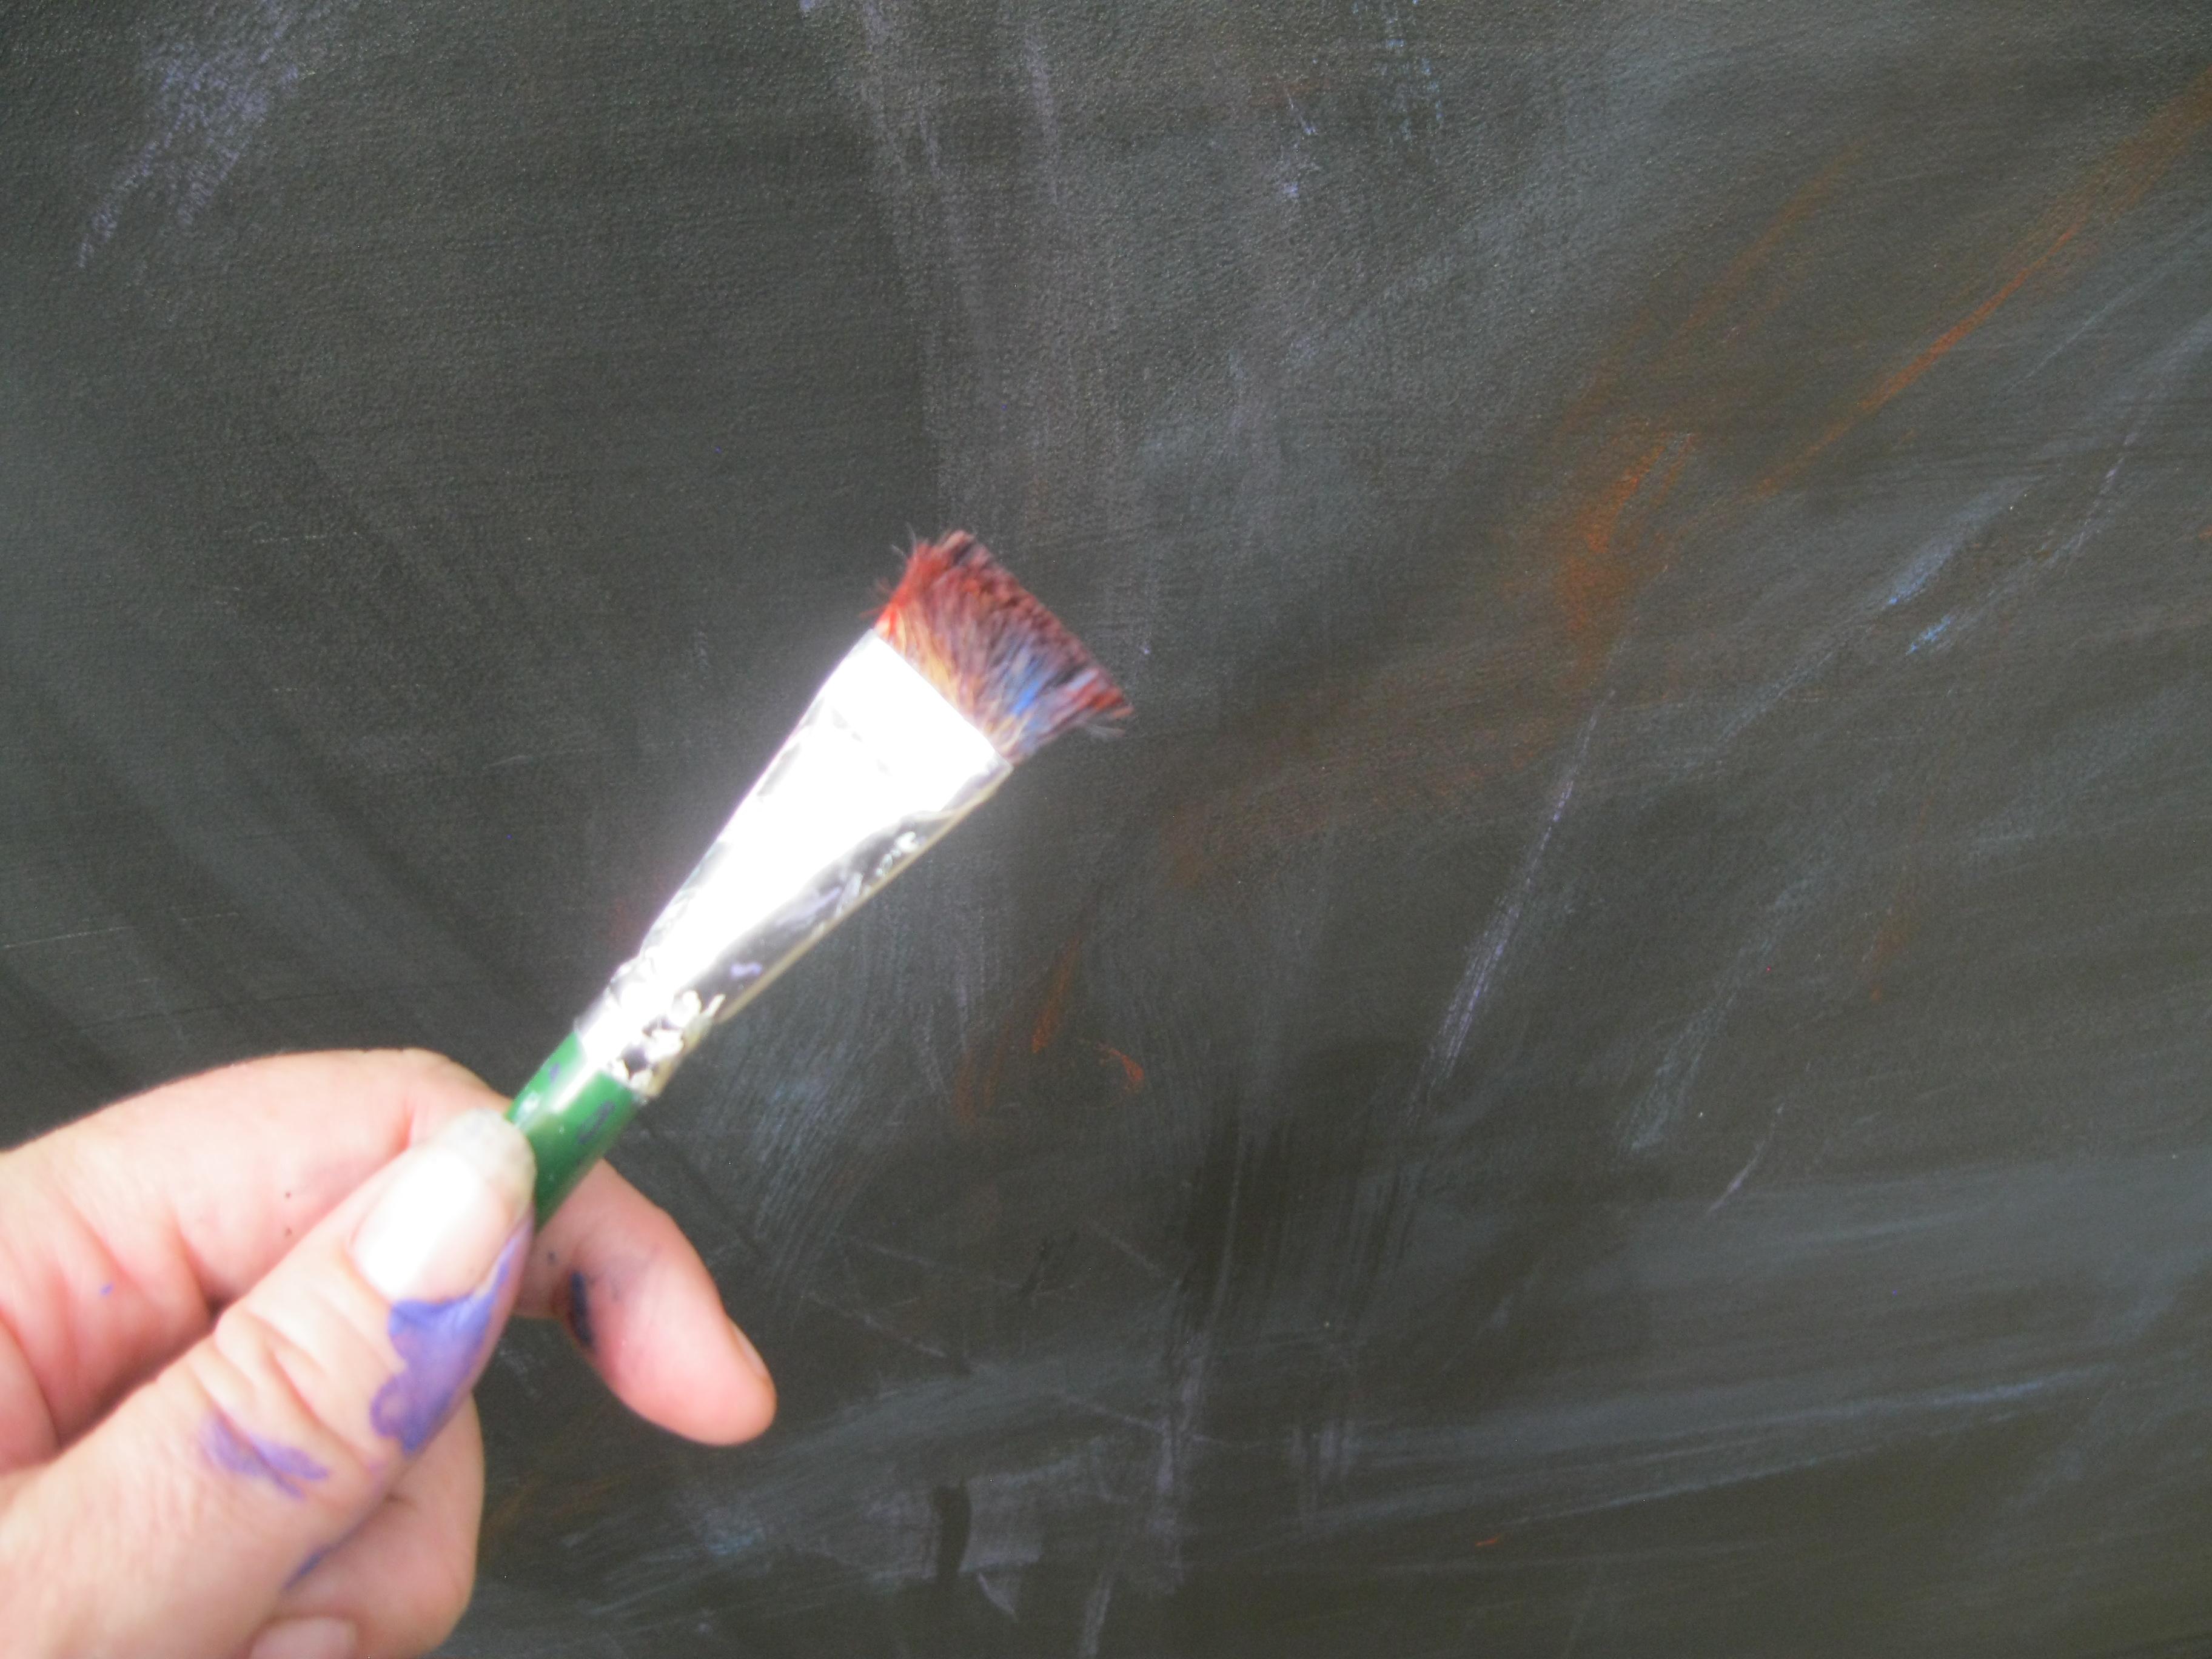
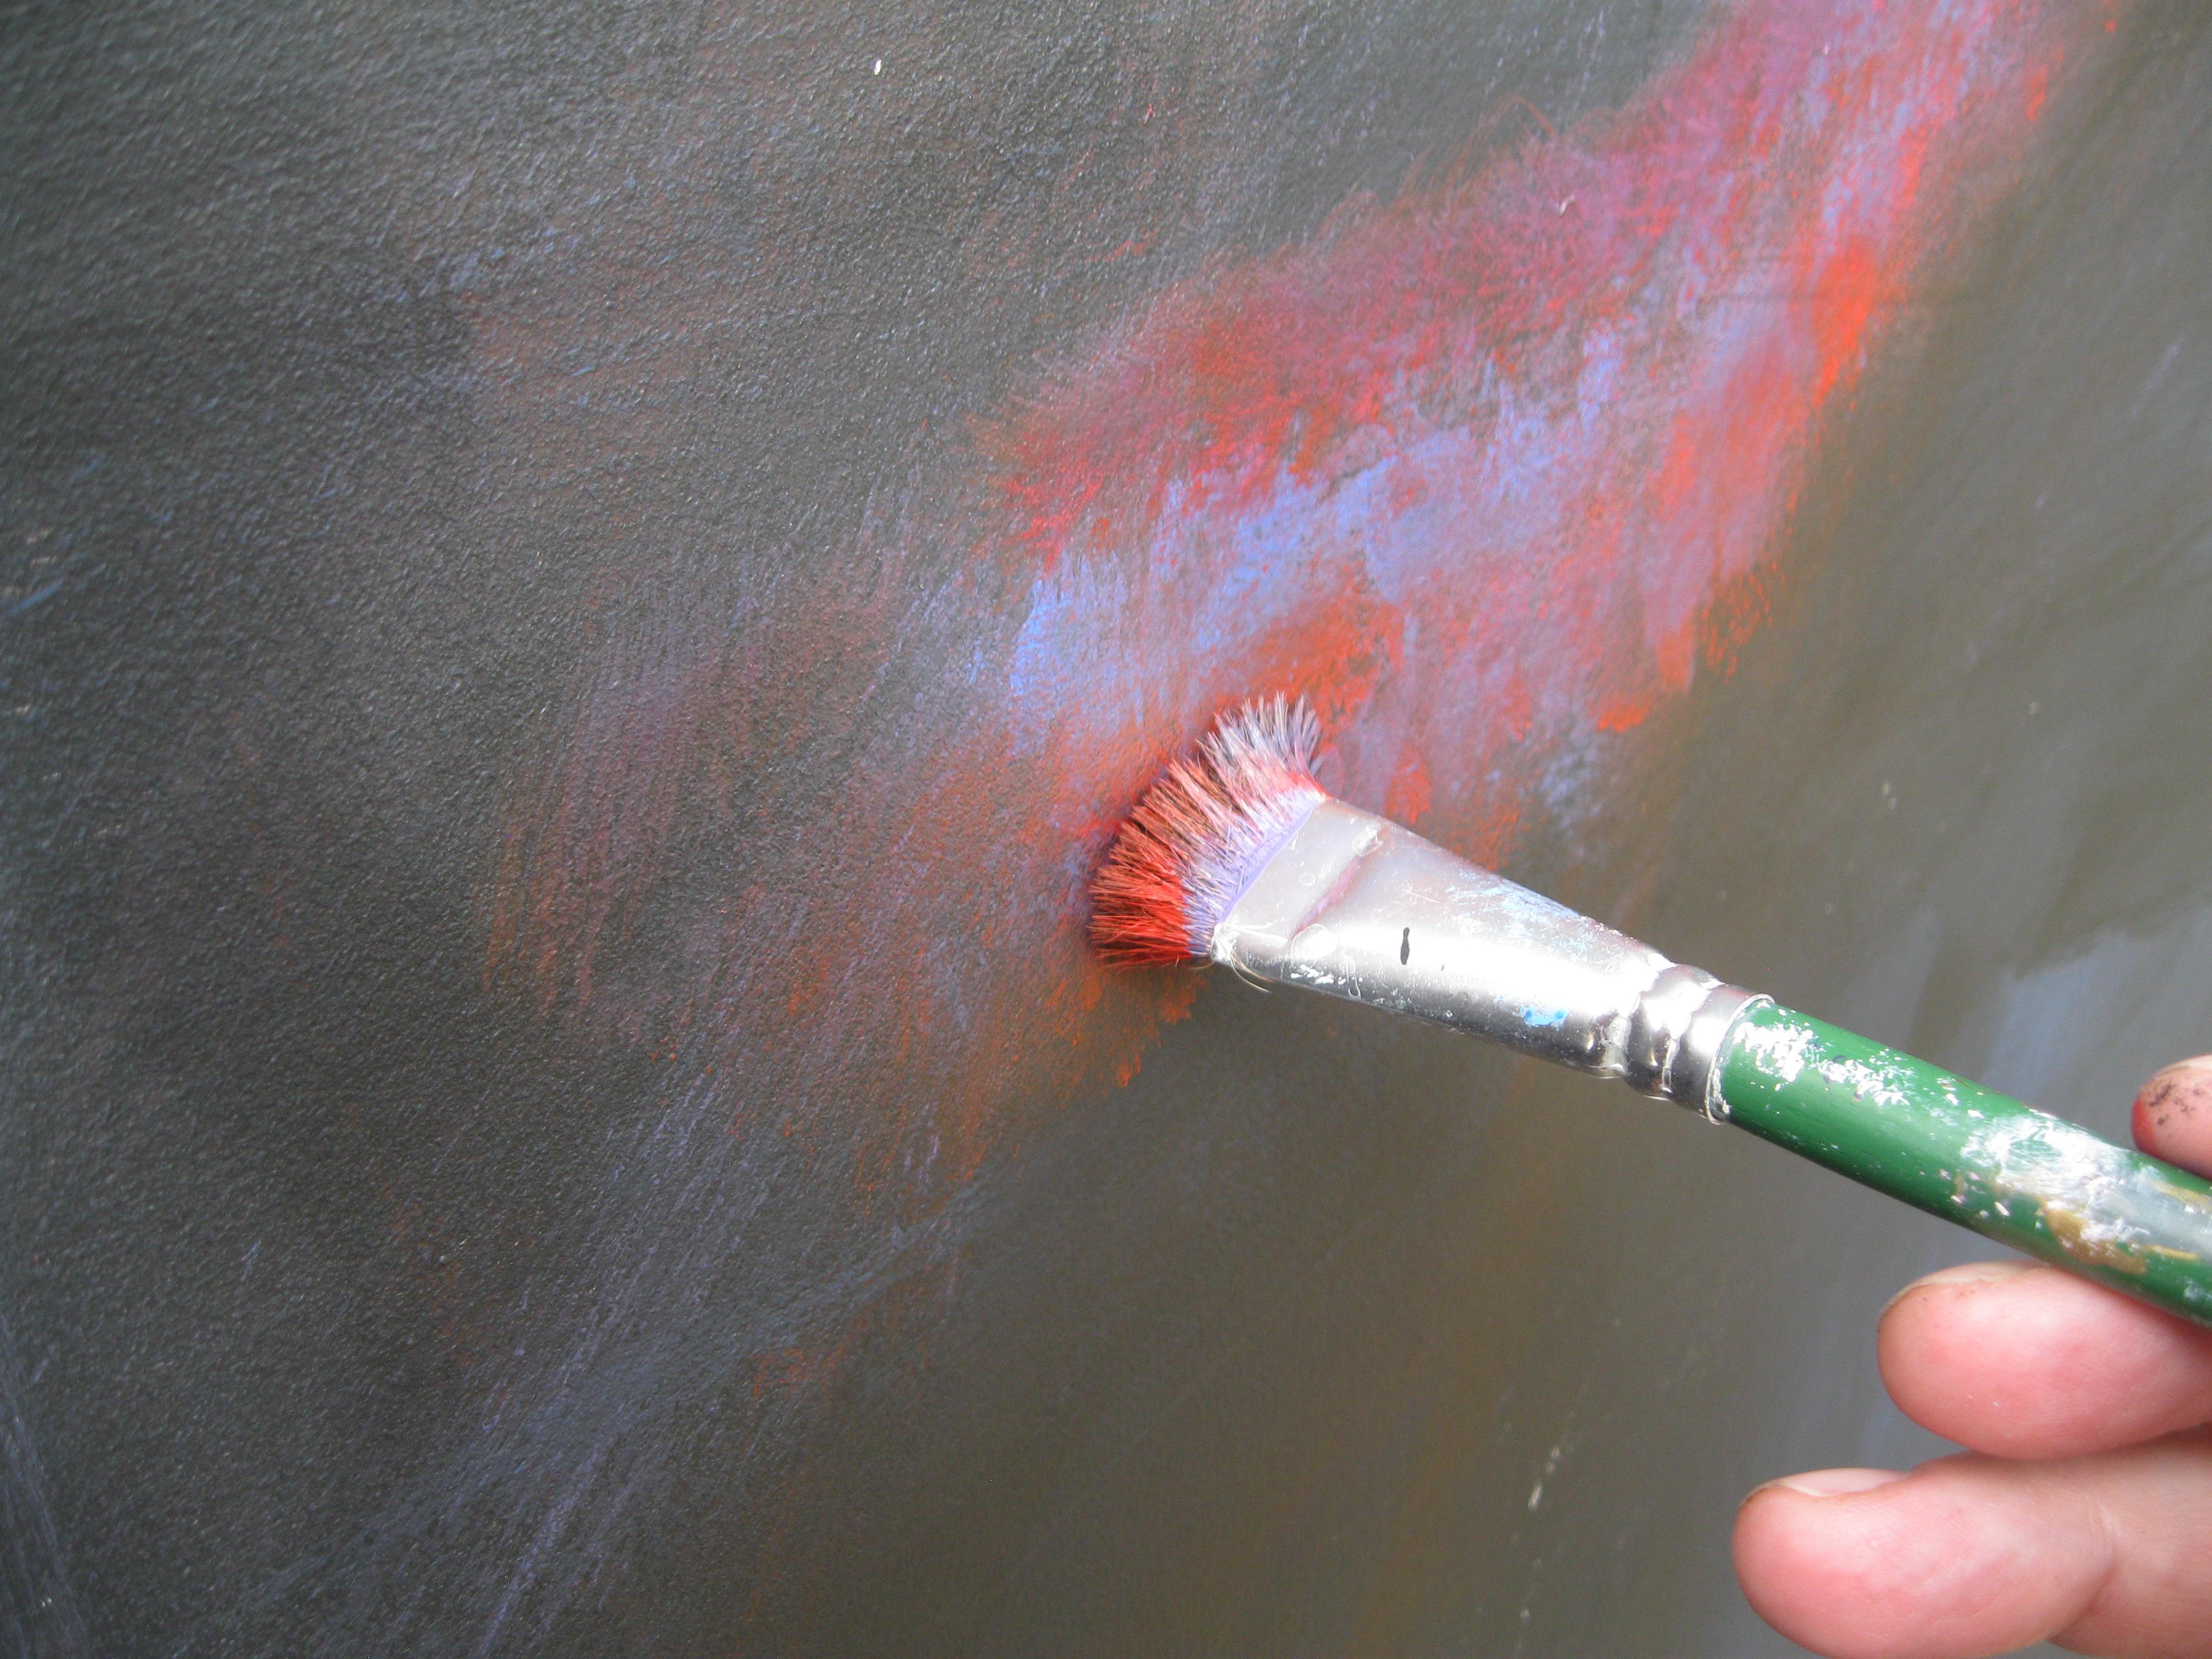
What I was trying to do here was make a nebula-looking cloud of color by blending with a scrunchy brush. I tapped the paint onto the screen one small section at a time. If I tried to paint too big of a space, the paint dried quickly and didn't blend as well. DO NOT DO THIS PROJECT OUTSIDE! That was my mistake number 1. It caused me a lot of frustration because the sun and wind dried the paint too quickly. The nebula would have been one big one instead of several small ones. Mistake number 2 was forgetting that it doesn't have to be perfect. It's a background. The subject sits in front of it and you don't notice the mistakes so much.
Layer 3: Stars
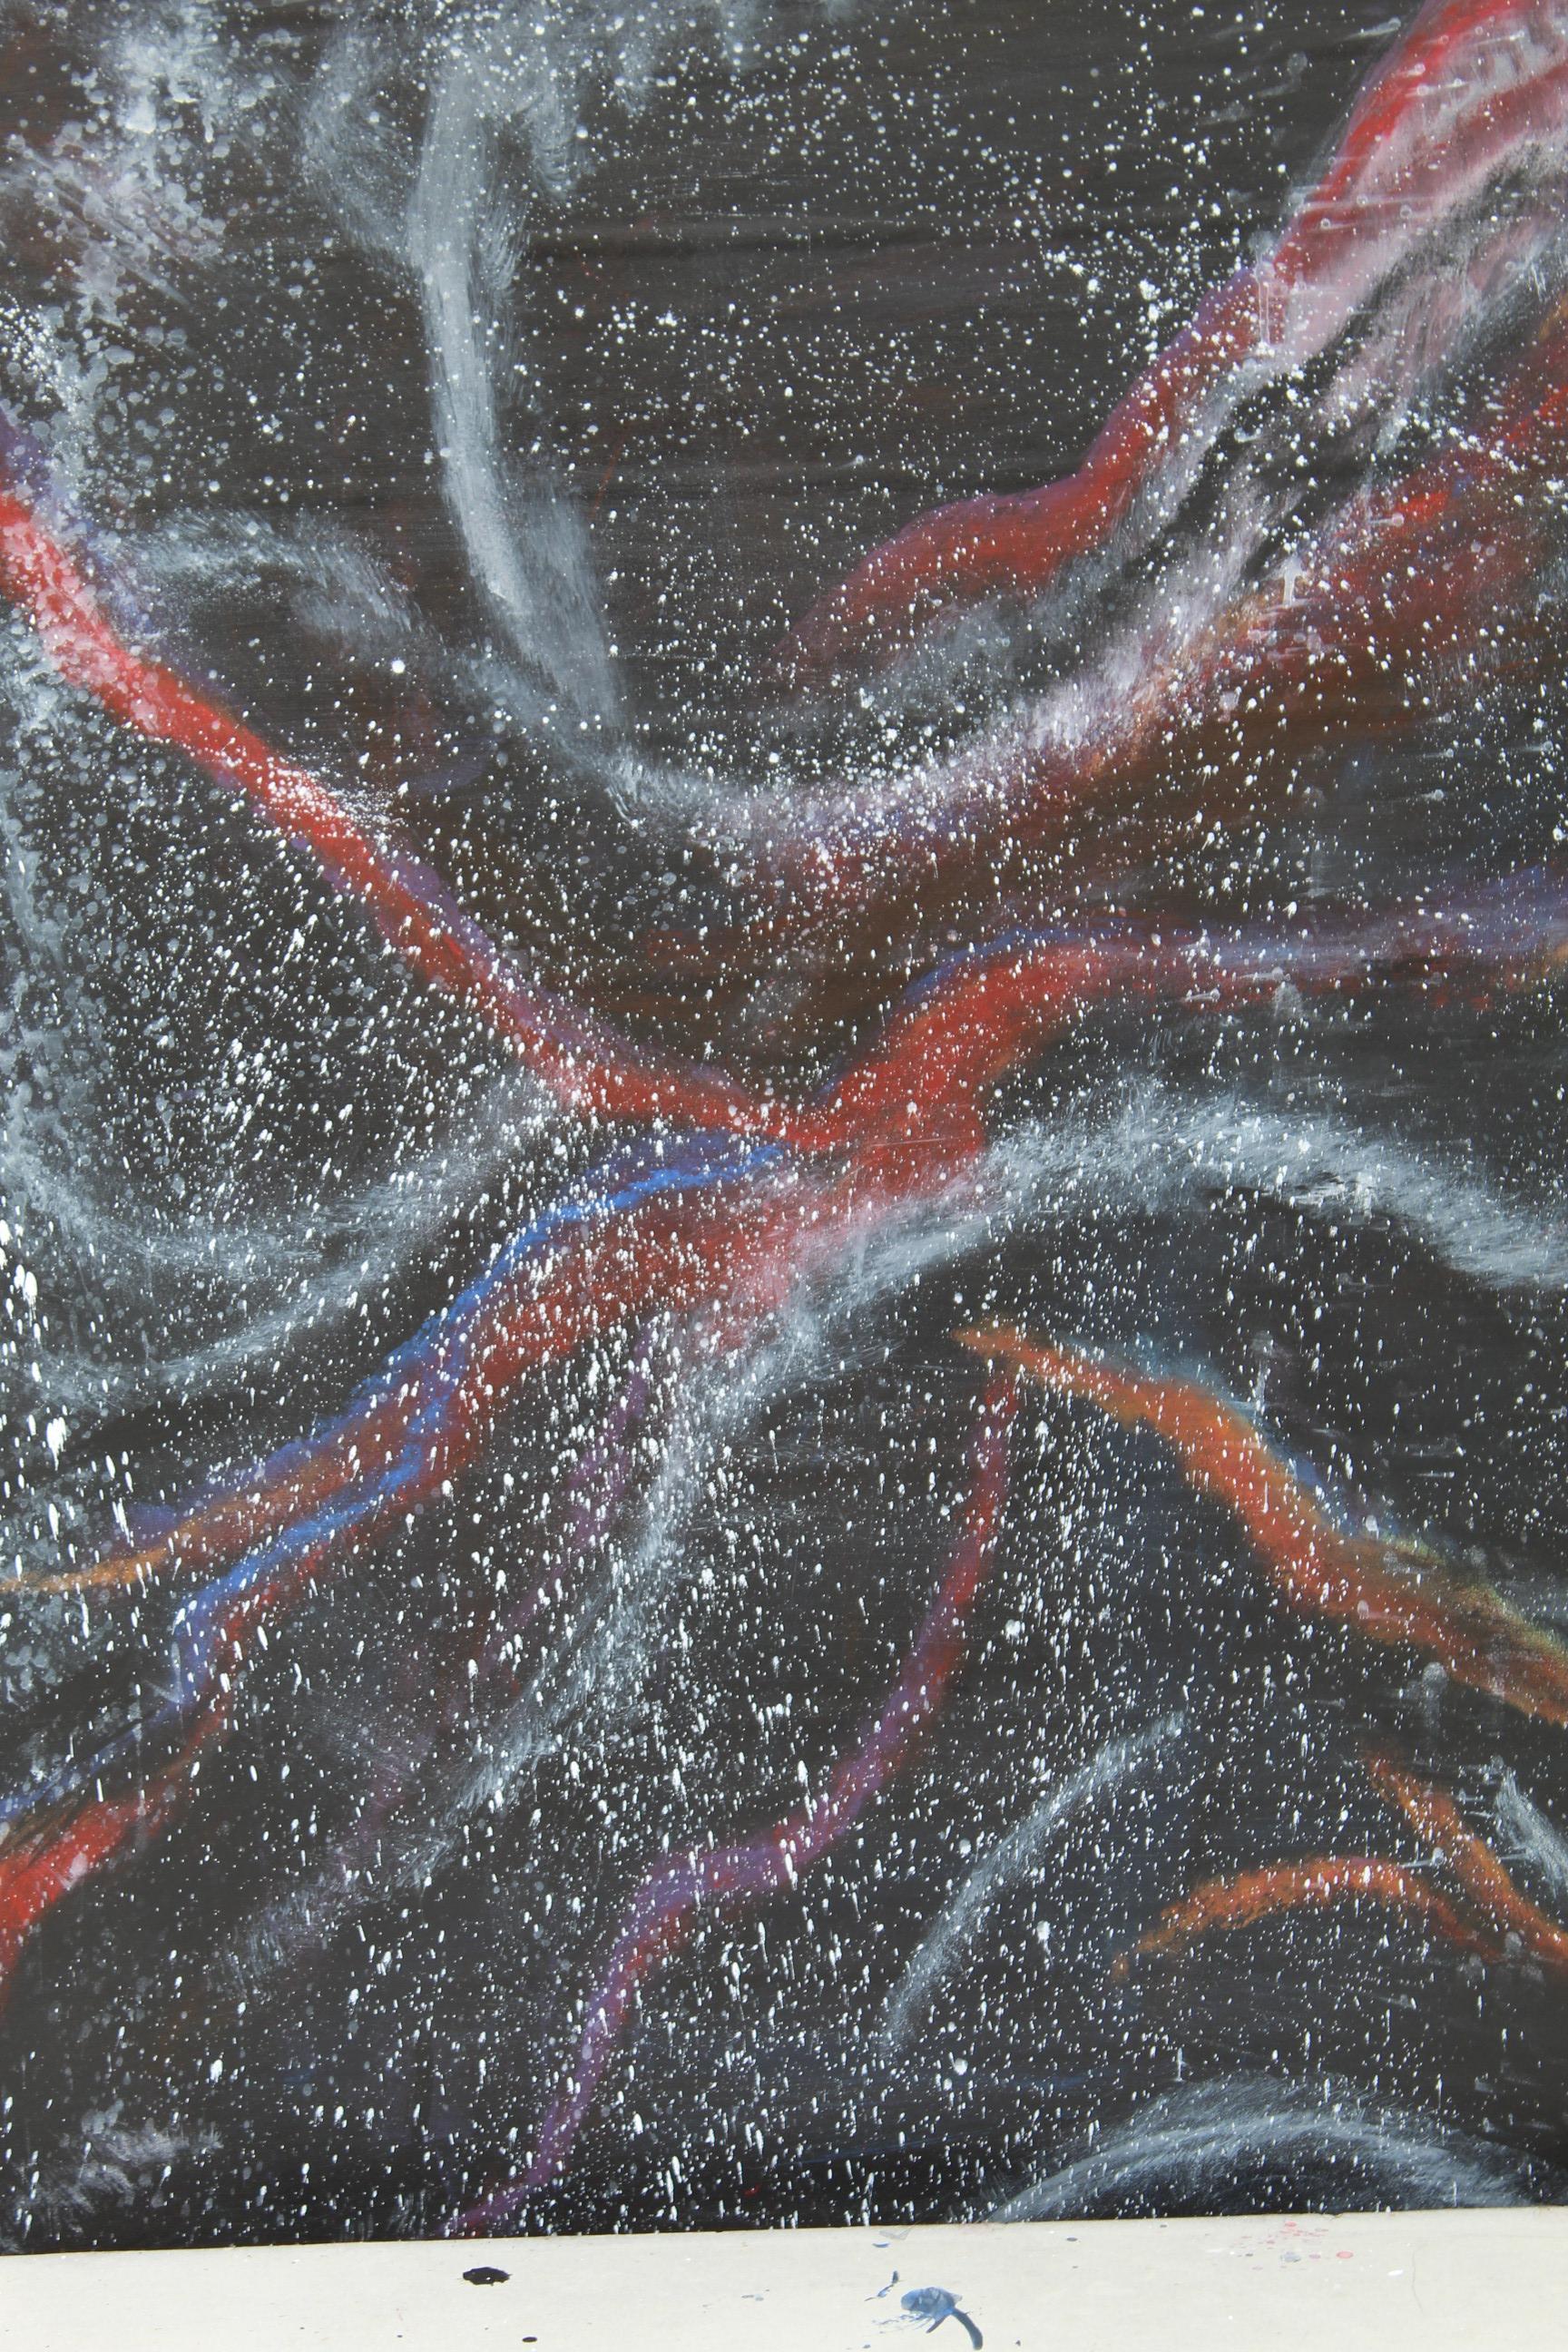
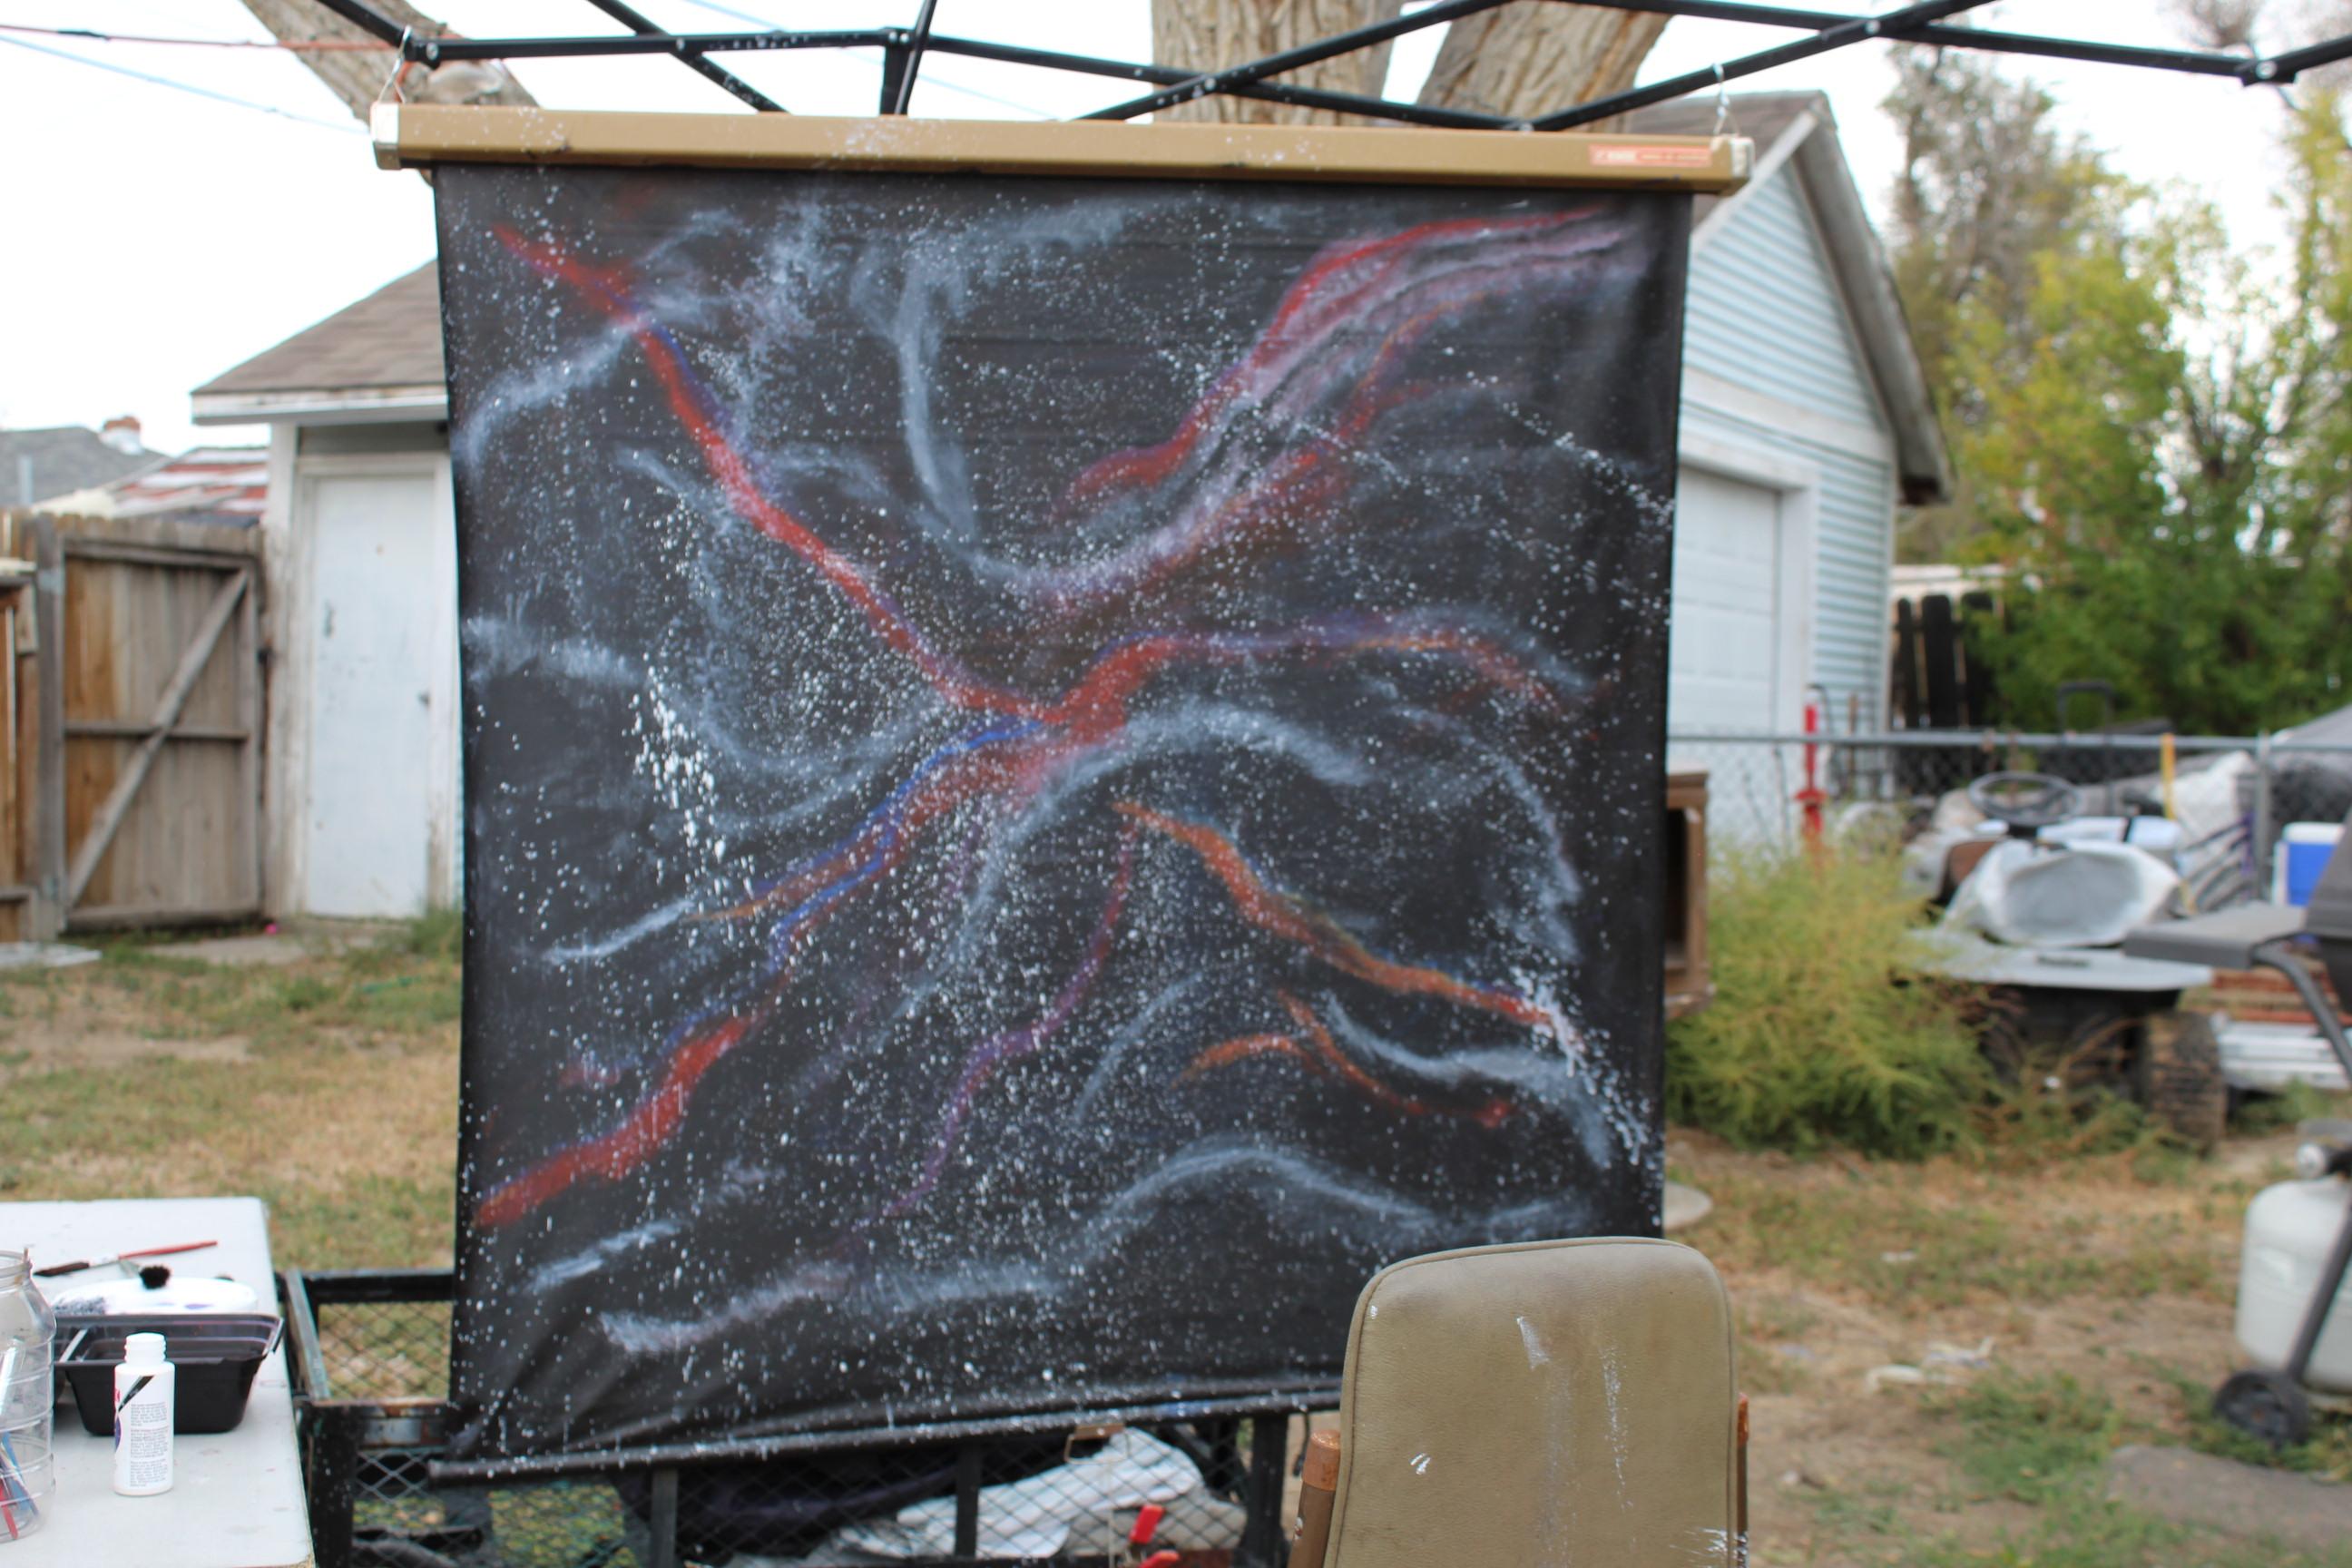
This part should be fun, but gave me frustration, too. I'd suggest laying it flat on the ground unless you don't mind the stars looking like strange blobs. Of course, if you think they would look like a group of comets or something, then go for it.
Mix a small amount of water in with your white paint and fling, tap, or flick it at the screen. Don't do too much or it won't look right. Doing it too little makes it look funny, too. If you get too many stars, just tap a bit more paint over it to cover the excess stars.
Planets
Want to make a planet? You can do it one of two ways.
- Paint a circle where you want your planet. Blend the paint into your circle by tapping the way I described above being careful not to go outside the lines.
- Use a mask to make the planet crisp. Draw a circle with a pencil then put low-tack masking tape along the line or you can use a sticker. Paint the edges black then use color to blend as described. Be careful when you remove the mask so you don't pull the paint under off but you can paint it with a dab of black if you do.
Be sure to paint your planet AFTER you do the stars. That is another way you can fix the problems with the stars. Also, decide where the planet's sun will be. if you want it in the picture, paint one of the stars larger than the others and give it some glow lines.
Take Your Picture!
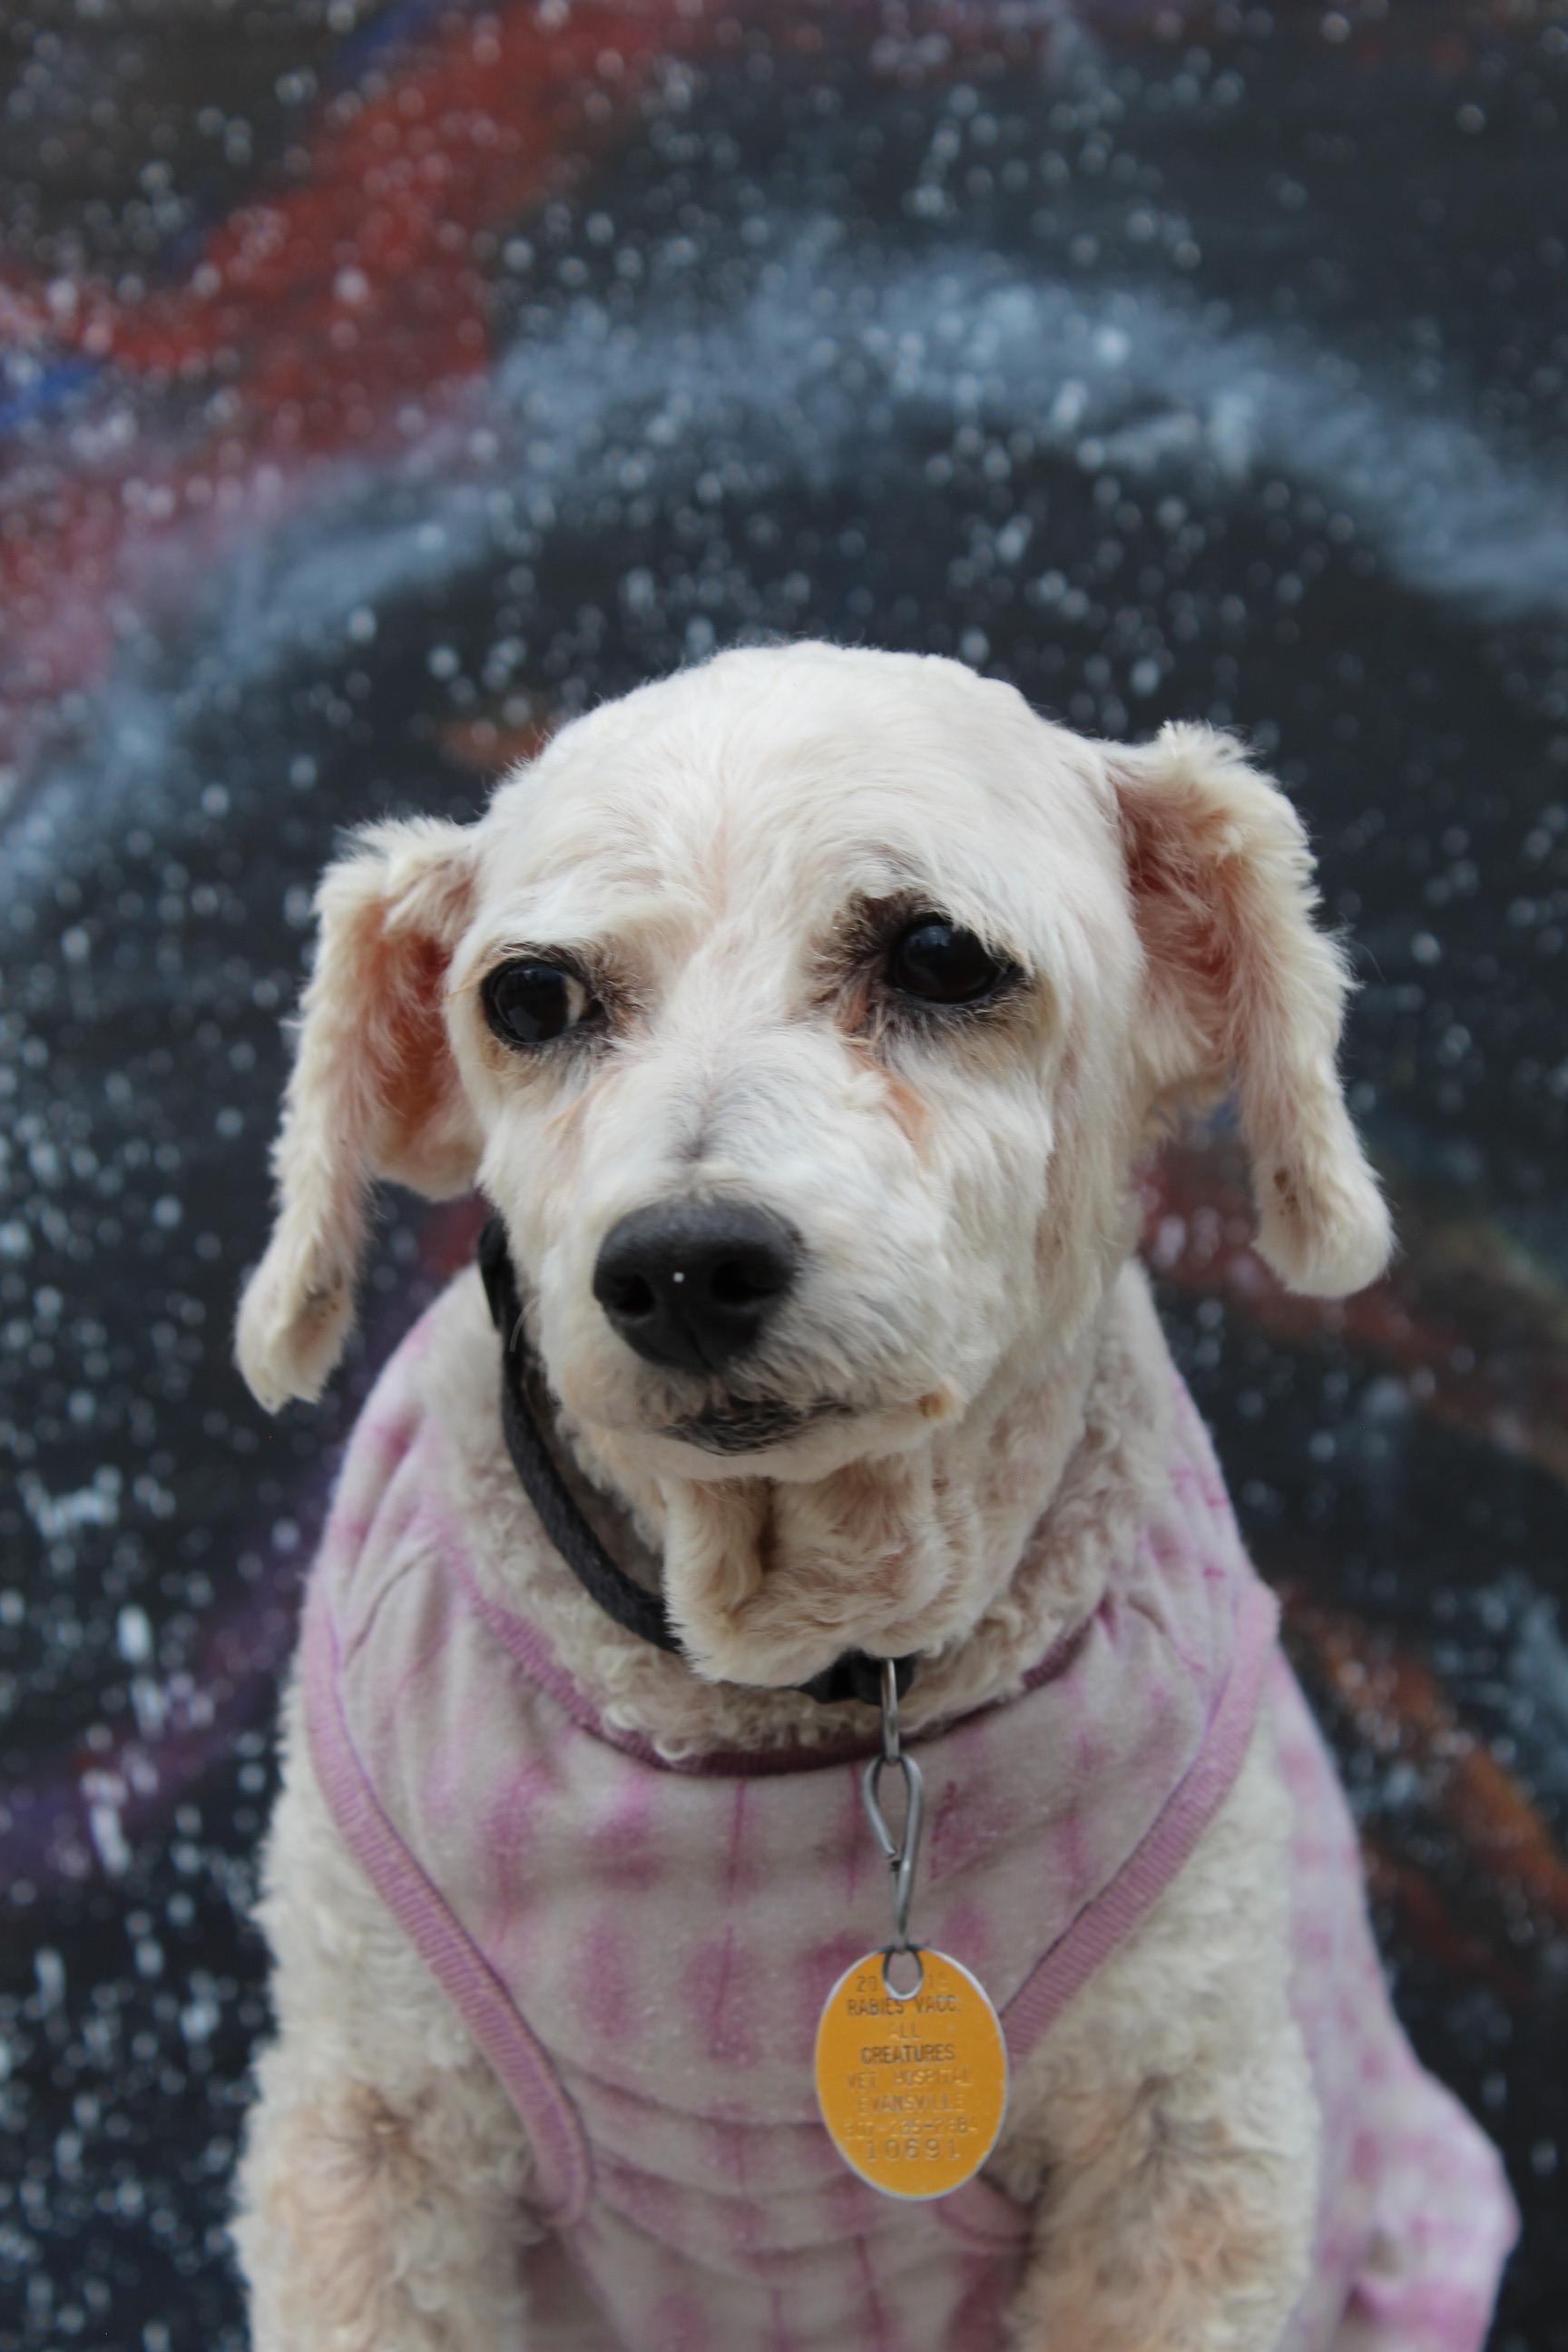
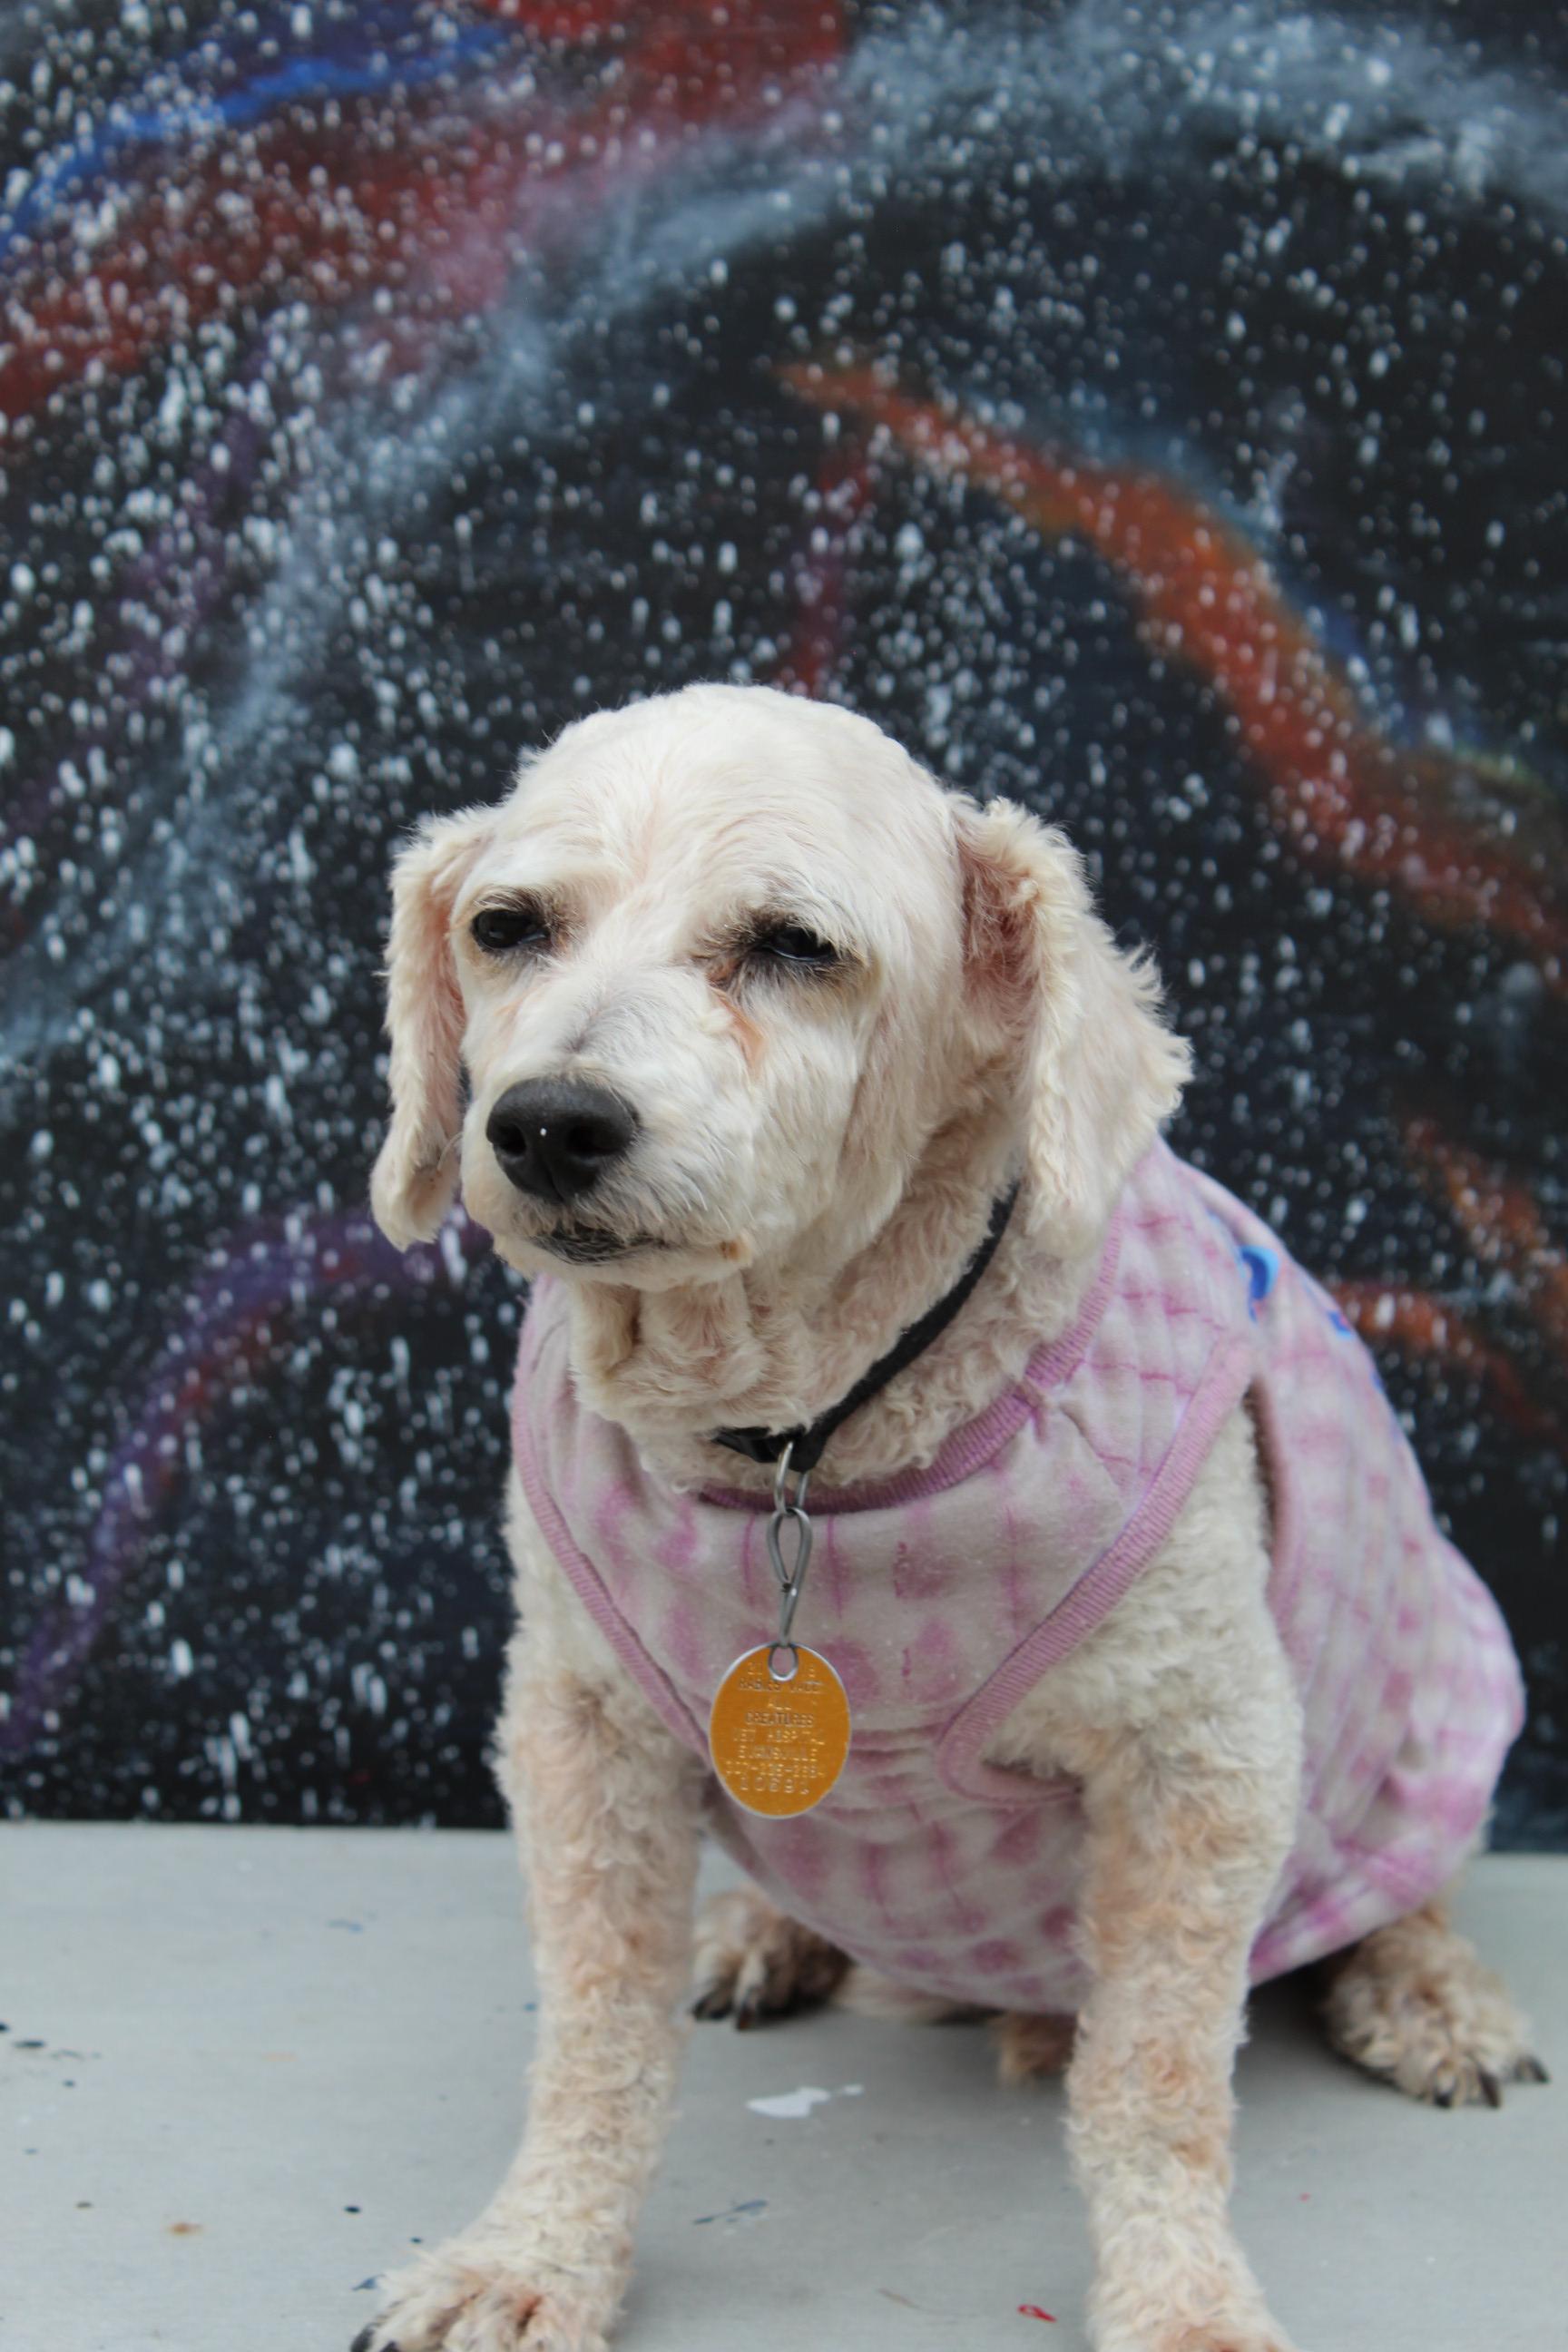
Place your model/subject in front of your background and snap away.