Sounds Unit for Scratch Built Toys Using DFplayer Mini MP3 Player
by RC Lover san in Circuits > Audio
5223 Views, 11 Favorites, 0 Comments
Sounds Unit for Scratch Built Toys Using DFplayer Mini MP3 Player
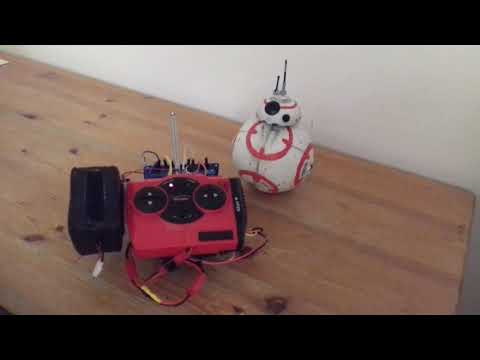
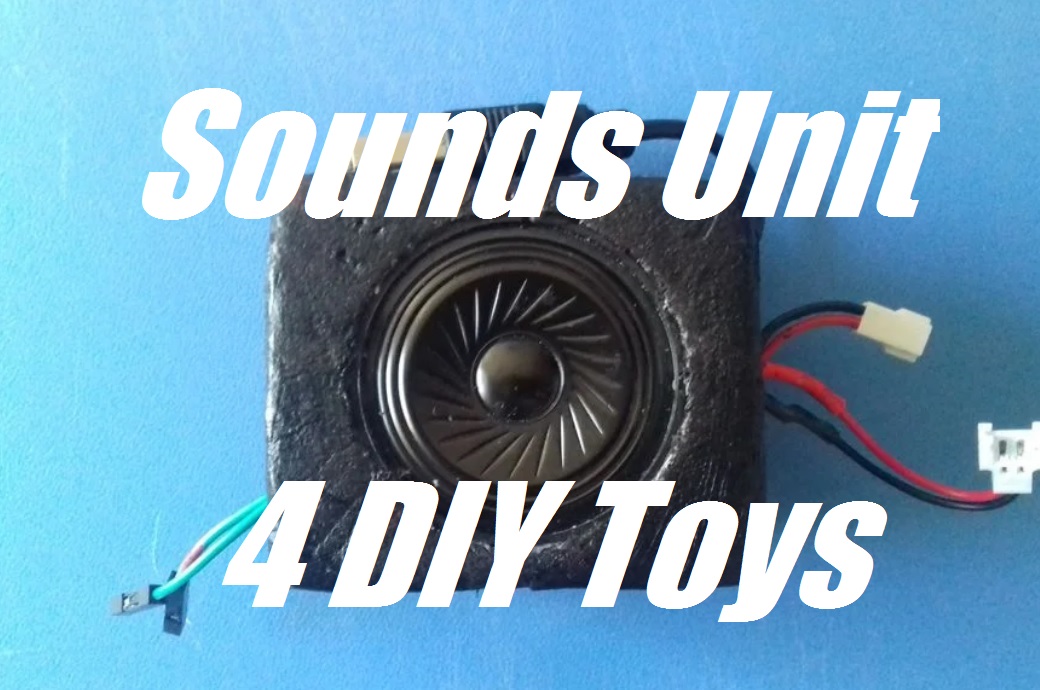
Welcome to my "ible" #35.
Would you like to create a sound unit you can use in different ways, uploading the sounds you want for your scratch built toys, in a matter of seconds?
Here comes the tutorial that explains how to do that, using a DFplayer unit.
Not mentioning that you can use nearly any mini SD card (with the WTV020-SD module, it has to be an original 2GB Sandisk one), this sound unit can play mp3 file and it has even the USB pins. In fact, using an USB cable, properly wired (please use the multimeter to check the polarity, otherwise you'll damage the USB of your PC), you don't have to remove the SD card every time you like to copy your favorite music/sounds and you can charge the 3.7V Lipo battery, via USB (again always double checking the polarity!).
For this Instructable you need:
1x DFPlayer Unit
https://www.banggood.com/DFPlayer-Mini-MP3-Player-...
1x Mini SD card
1x 3.7V Lipo battery (please use all the precautions when you handle these batteries)
https://www.banggood.com/Eachine-3_7V-750mah-25C-L...
1x JST-DS LOSI 2.0 mm 2-Pin Female
2 Push-buttons
https://www.banggood.com/100pcs-Mini-Micro-Momenta...
1x 8 Ohm 0.5W Speaker1
1x old USB cable (4 pins)
Jumper Wires Male to Female 20 cm (you'll cut them to the right size, according to space you have in your box).
https://www.banggood.com/40pcs-20cm-Male-To-Female...
1x A3 5mm foam board (for the box)
UHU Por (or a free solvent glue, that doesn't melt the styrofoam)
Soldering on iron
https://www.banggood.com/14-in1-110V-220V-60W-EU-P...
Heat shrink tubing
Wiring Diagram
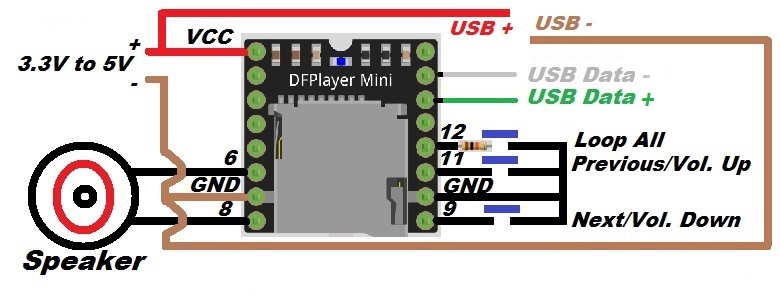
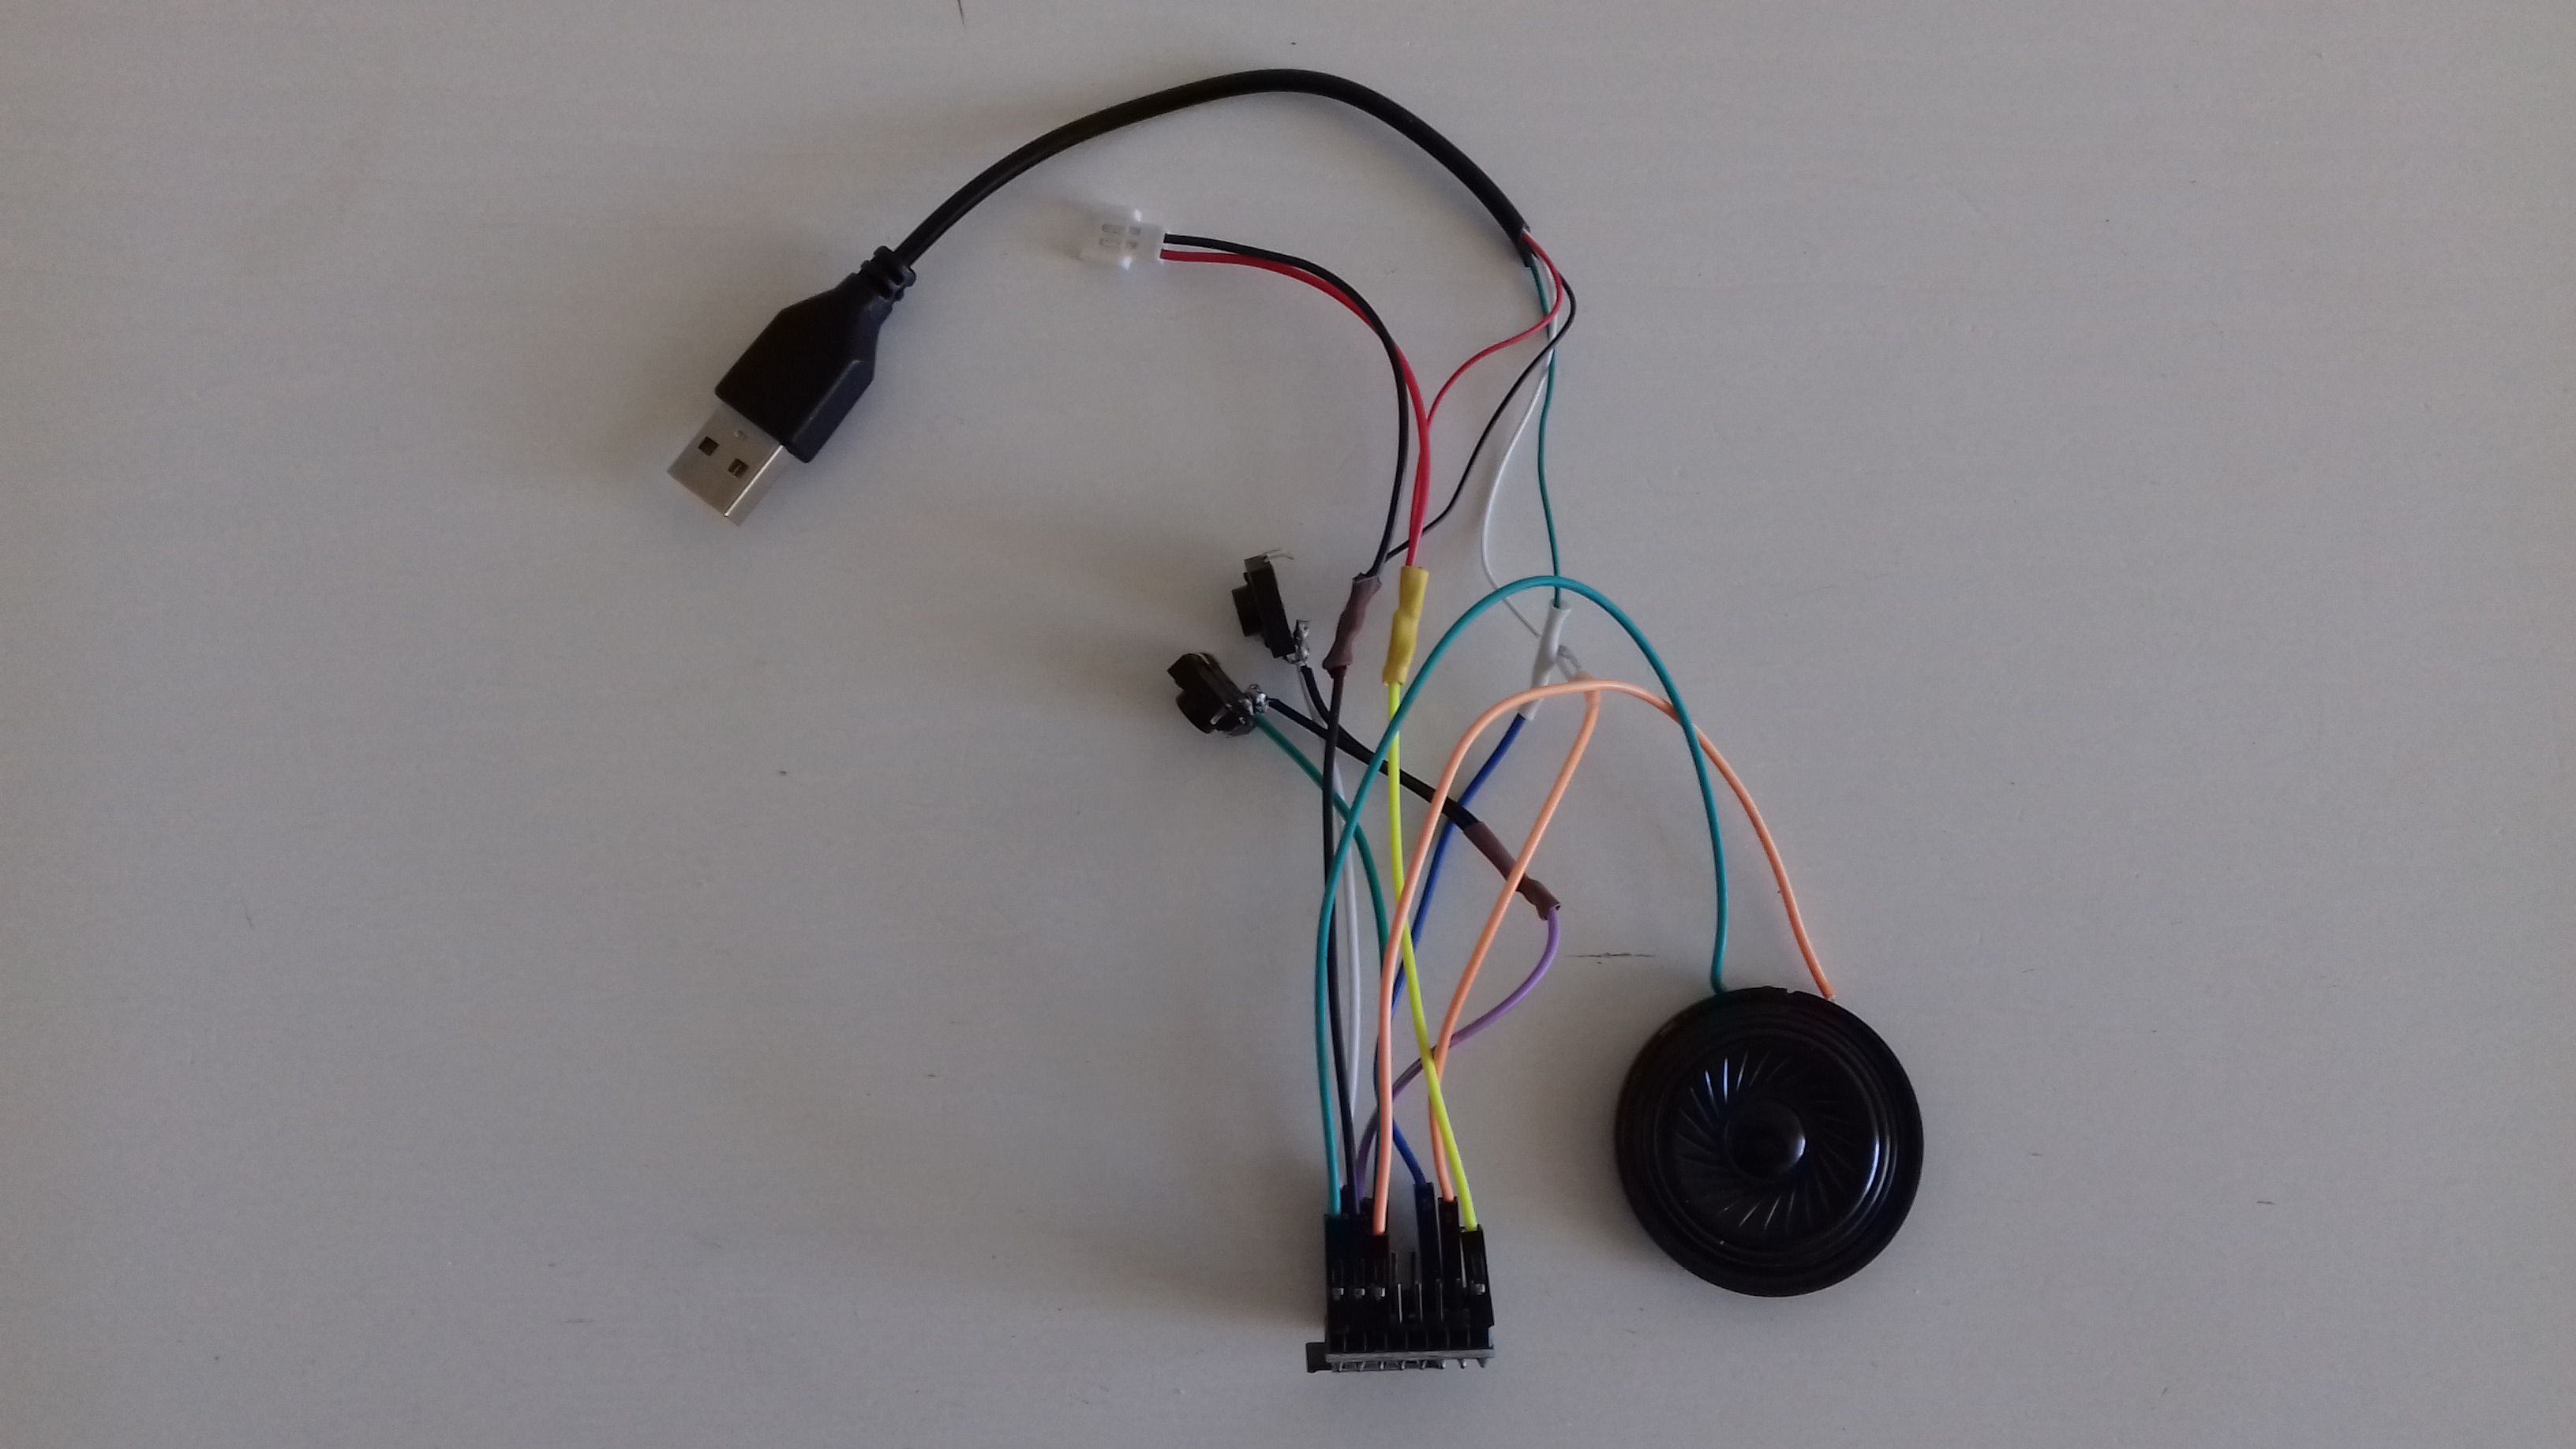
Following the diagram connect the push-buttons (Next/Previous - Vol. Up/Vol. Down).
Add 2 jumper wires (Female), to the same push-button, to have another open momentary switch, that eventually is going to be triggered by an Arduino board.
Connect the 4 wires of the USB cable (Red-Positive, Black-Negative, Green-Data Positive and White-Data Negative).
WARNING!!!
(Please use the multimeter to check the polarity, otherwise you'll damage the USB of your PC)
Connect the wires of the JST-DS LOSI 2.0 mm 2-Pin Female connector.
Please use the soldering on iron carefully and insulate every connection using the heat shrink tubing.
Put the Electronics in the "box"
![20180925_164223[1].jpg](/proxy/?url=https://content.instructables.com/FFD/MPK9/JMGKUN00/FFDMPK9JMGKUN00.jpg&filename=20180925_164223[1].jpg)
![20180925_173556[1].jpg](/proxy/?url=https://content.instructables.com/FEM/VD0U/JMGKUR61/FEMVD0UJMGKUR61.jpg&filename=20180925_173556[1].jpg)
![20180925_173545[1].jpg](/proxy/?url=https://content.instructables.com/FIM/20PX/JMGKUR79/FIM20PXJMGKUR79.jpg&filename=20180925_173545[1].jpg)
![20180925_173611[1].jpg](/proxy/?url=https://content.instructables.com/FSA/T8N0/JMGKUR7C/FSAT8N0JMGKUR7C.jpg&filename=20180925_173611[1].jpg)
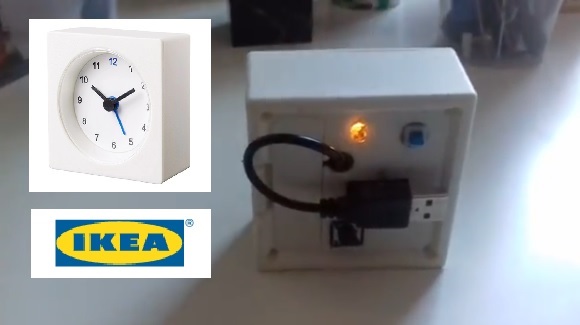
In one of my previous projects, I used a slightly modified box of the Ikea Vackis Alarm Clock, to create a portable mp3 player.
https://www.instructables.com/id/From-an-IKEA-Vack...
I've made bigger the hole for the speaker, using/adapting for the push-buttons most of the holes have been created for the knobs of the alarm clock itself.
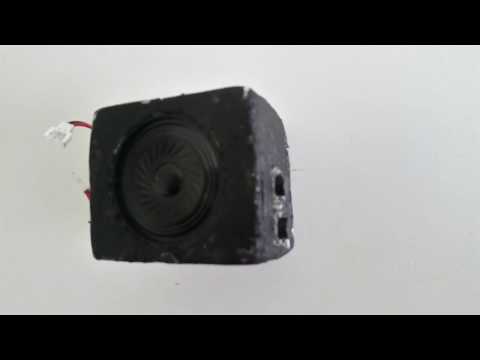
For my toys instead, I've built a smaller box, using a 5mm piece of A3 foam board.
I basically cut 2 pieces 6x5cm front and back, 2 pieces 6x3cm and 2 pieces 5x3cm.
Using UHU Por, I've glued the push-buttons and later I've poked 2 holes on the left side (Battery and USB) and 1 on the right side for the cables of an "eventual" digital push-button activated by an Arduino board.
Upload Your Sounds Via USB
Now you can upload your favorite sounds, creating on the sd card (you have previously slotted inside the DFplayer Unit), the directory mp3 in the root (i.e. f:\mp3).
There is only one downside in using the DFPlayer. You have to put a sequential number in front of the title of your sound (i.e. 0001Beep, 0002Boom, 0003Ciribiribin... etc., etc.).
But at this cheap price, I believe you can deal with it! :-)
How Did I Use This Sounds Unit in My Previous Projects/Toys?
![20180925_175000[1].jpg](/proxy/?url=https://content.instructables.com/FBQ/RMUM/JMGKUSCJ/FBQRMUMJMGKUSCJ.jpg&filename=20180925_175000[1].jpg)
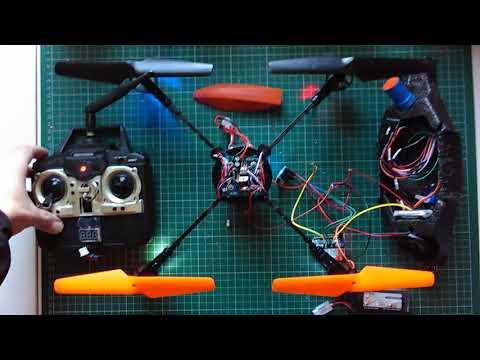
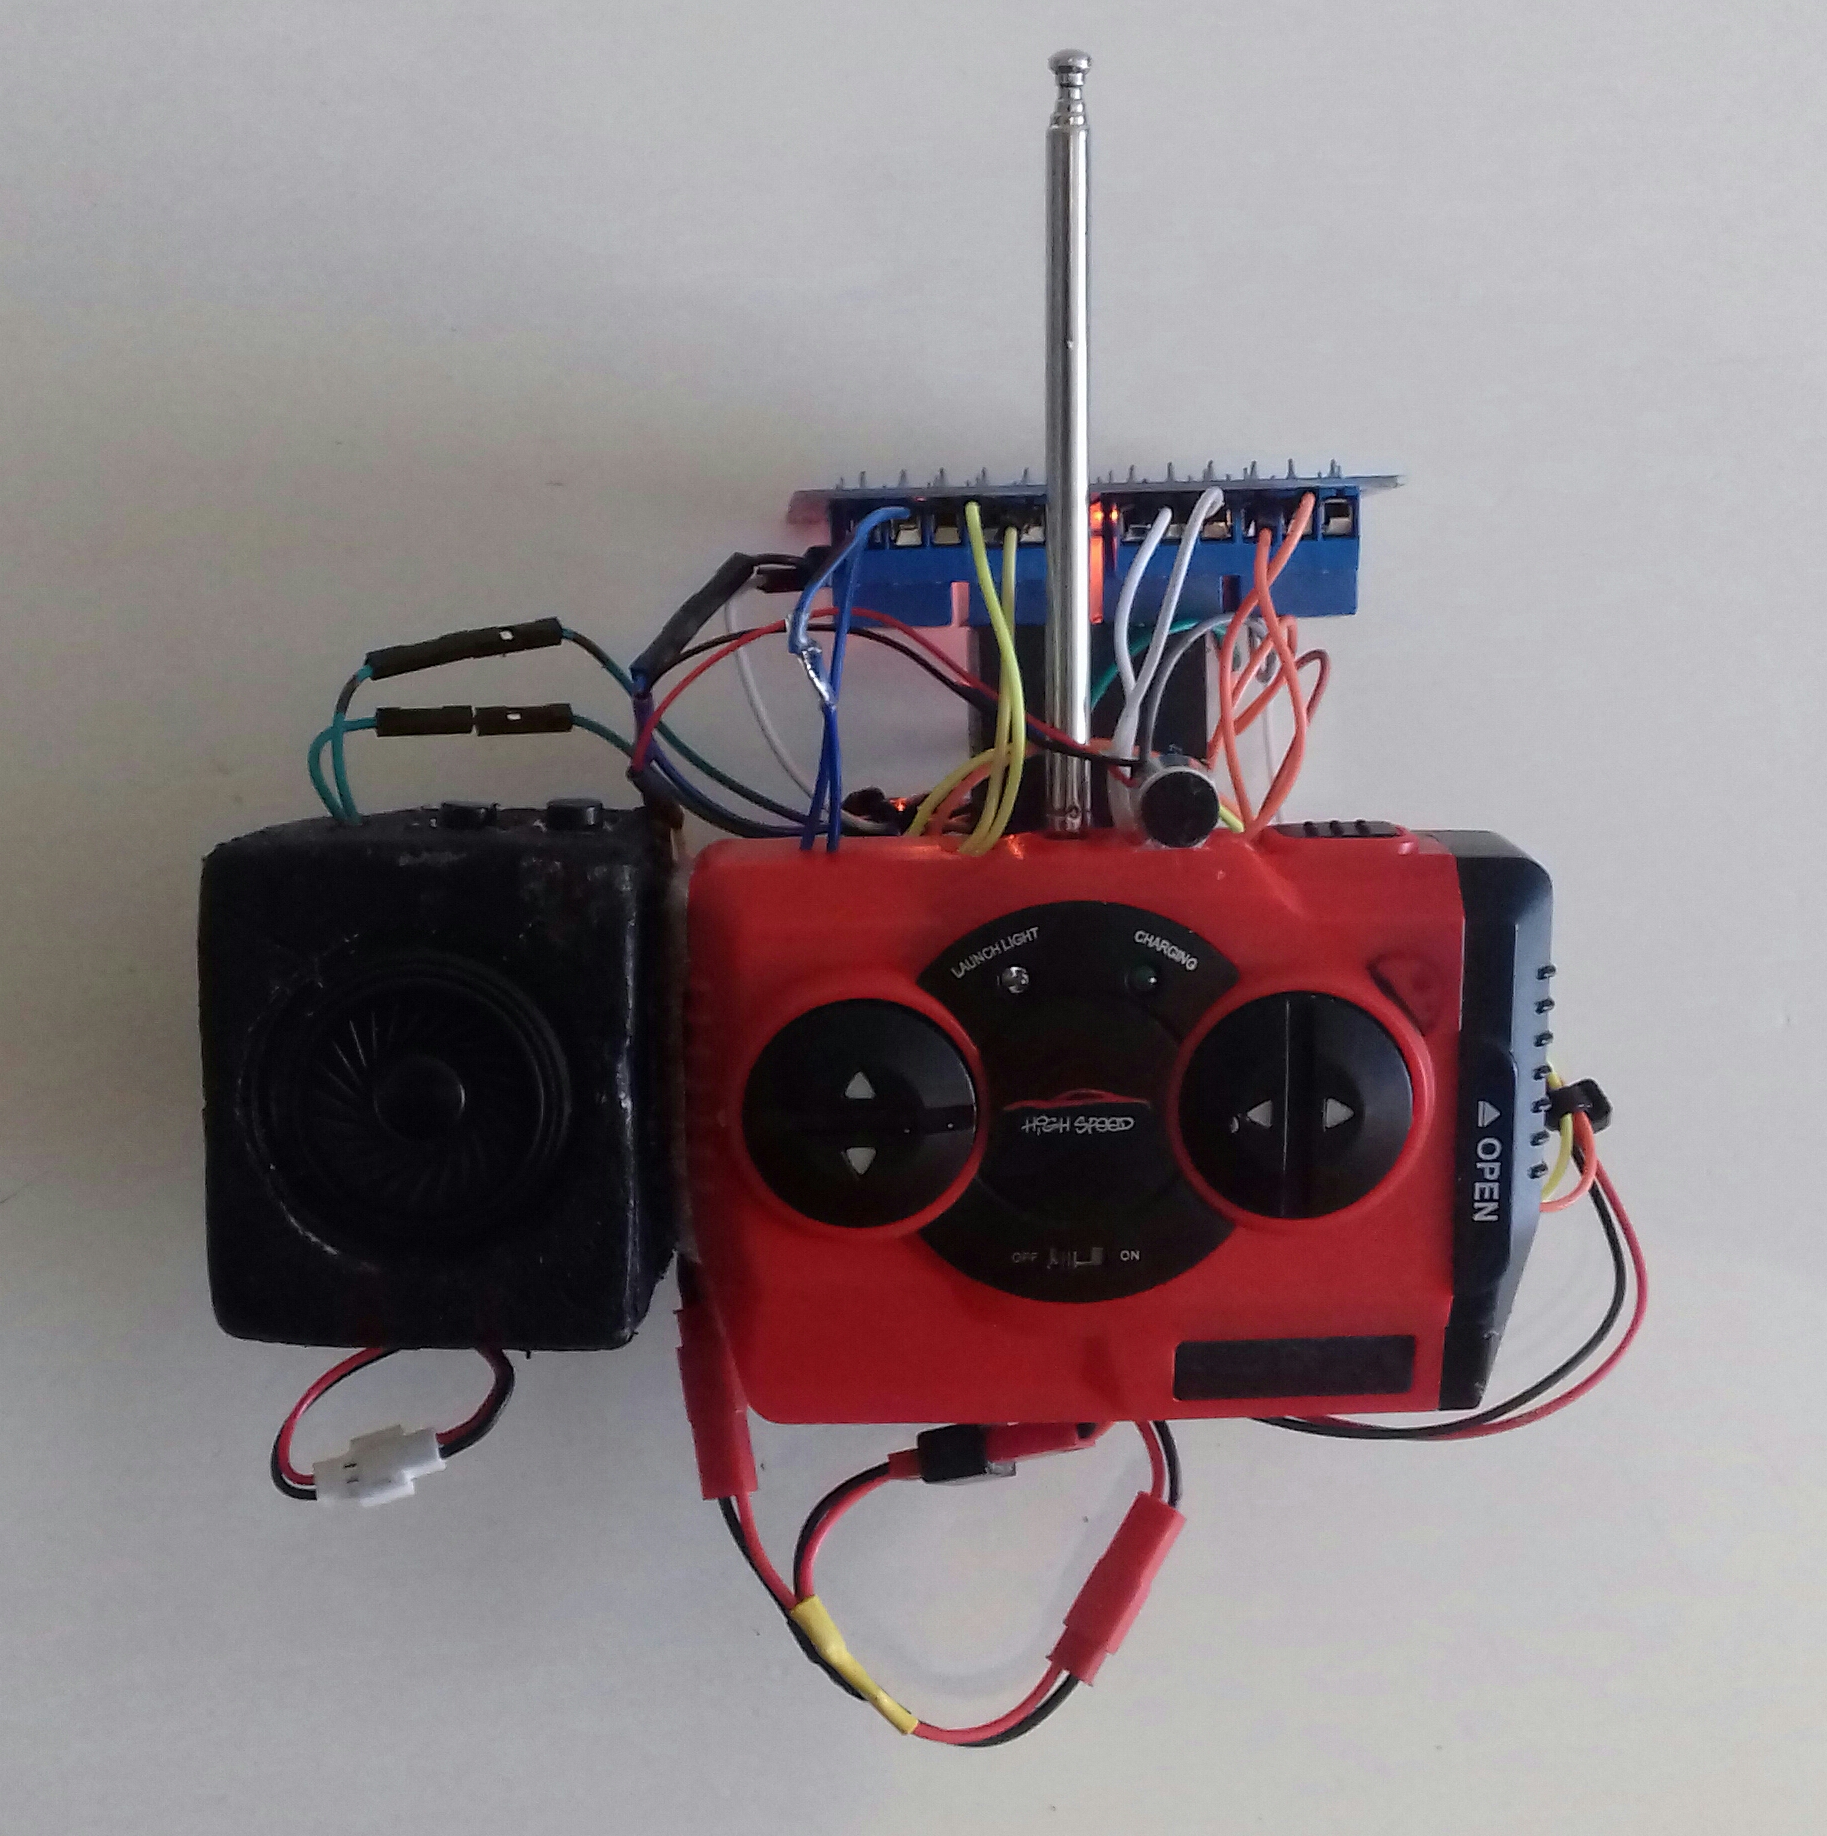
Now you have made this sounds unit, you can use it for different projects/toys
You can trigger the push-button using an Arduino Board...
https://www.instructables.com/id/Arduino-Voice-Rec...
Or you can simply press the push-button on the unit, you are going to attach to your remote control...
https://www.instructables.com/id/Whats-Inside-My-R...
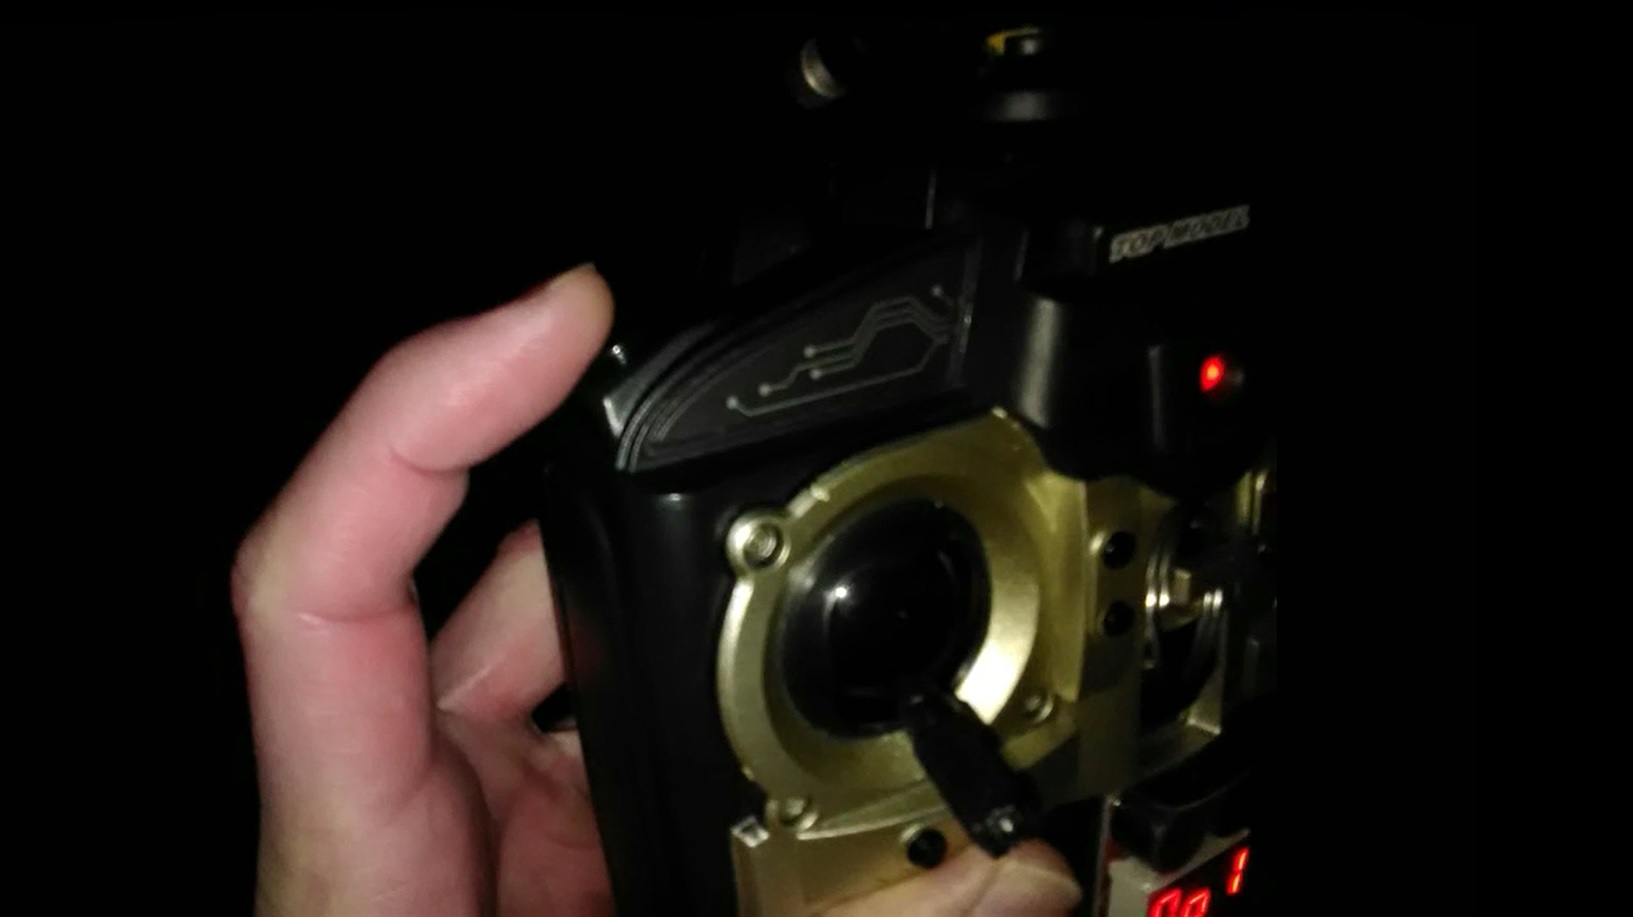
Some remote controls/transmitters have also an auxiliary push-button, so you can use that one to trigger manually the sounds.