Sounding Rocket Avionics With FPGA
by mertkahyaoglu in Workshop > Science
8071 Views, 16 Favorites, 0 Comments
Sounding Rocket Avionics With FPGA
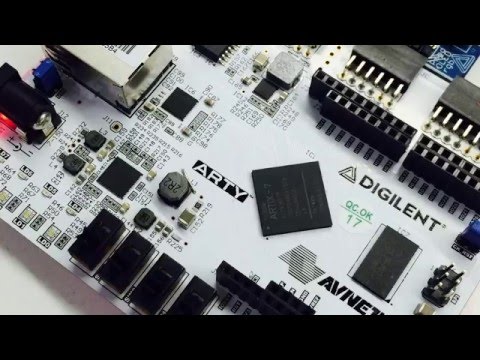


Hello all rocketeer from us,
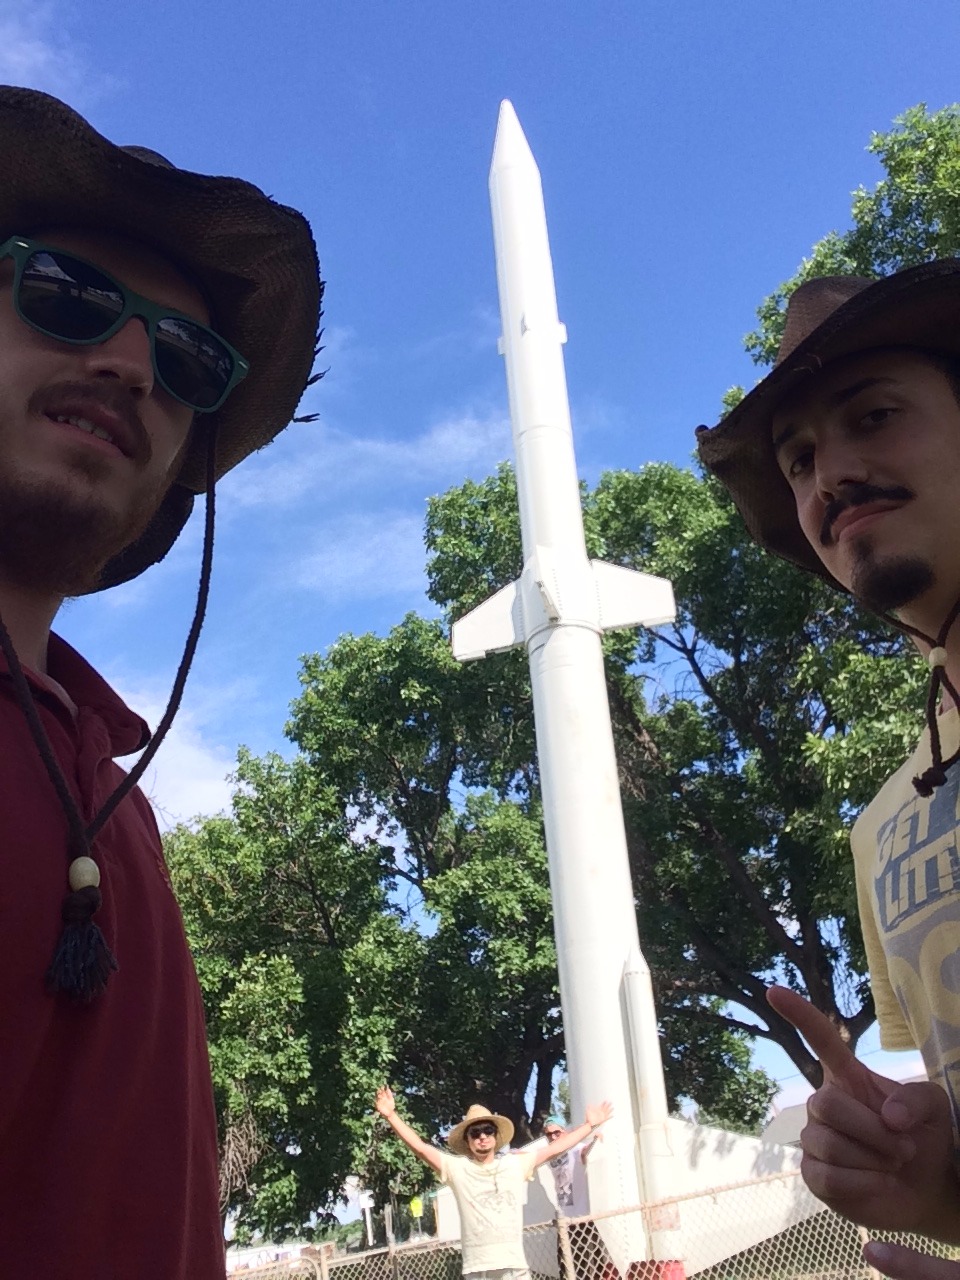
My name is Mert Kahyaoğlu and my friends name is Emre Erbuğa We are students at Istanbul Technical University.
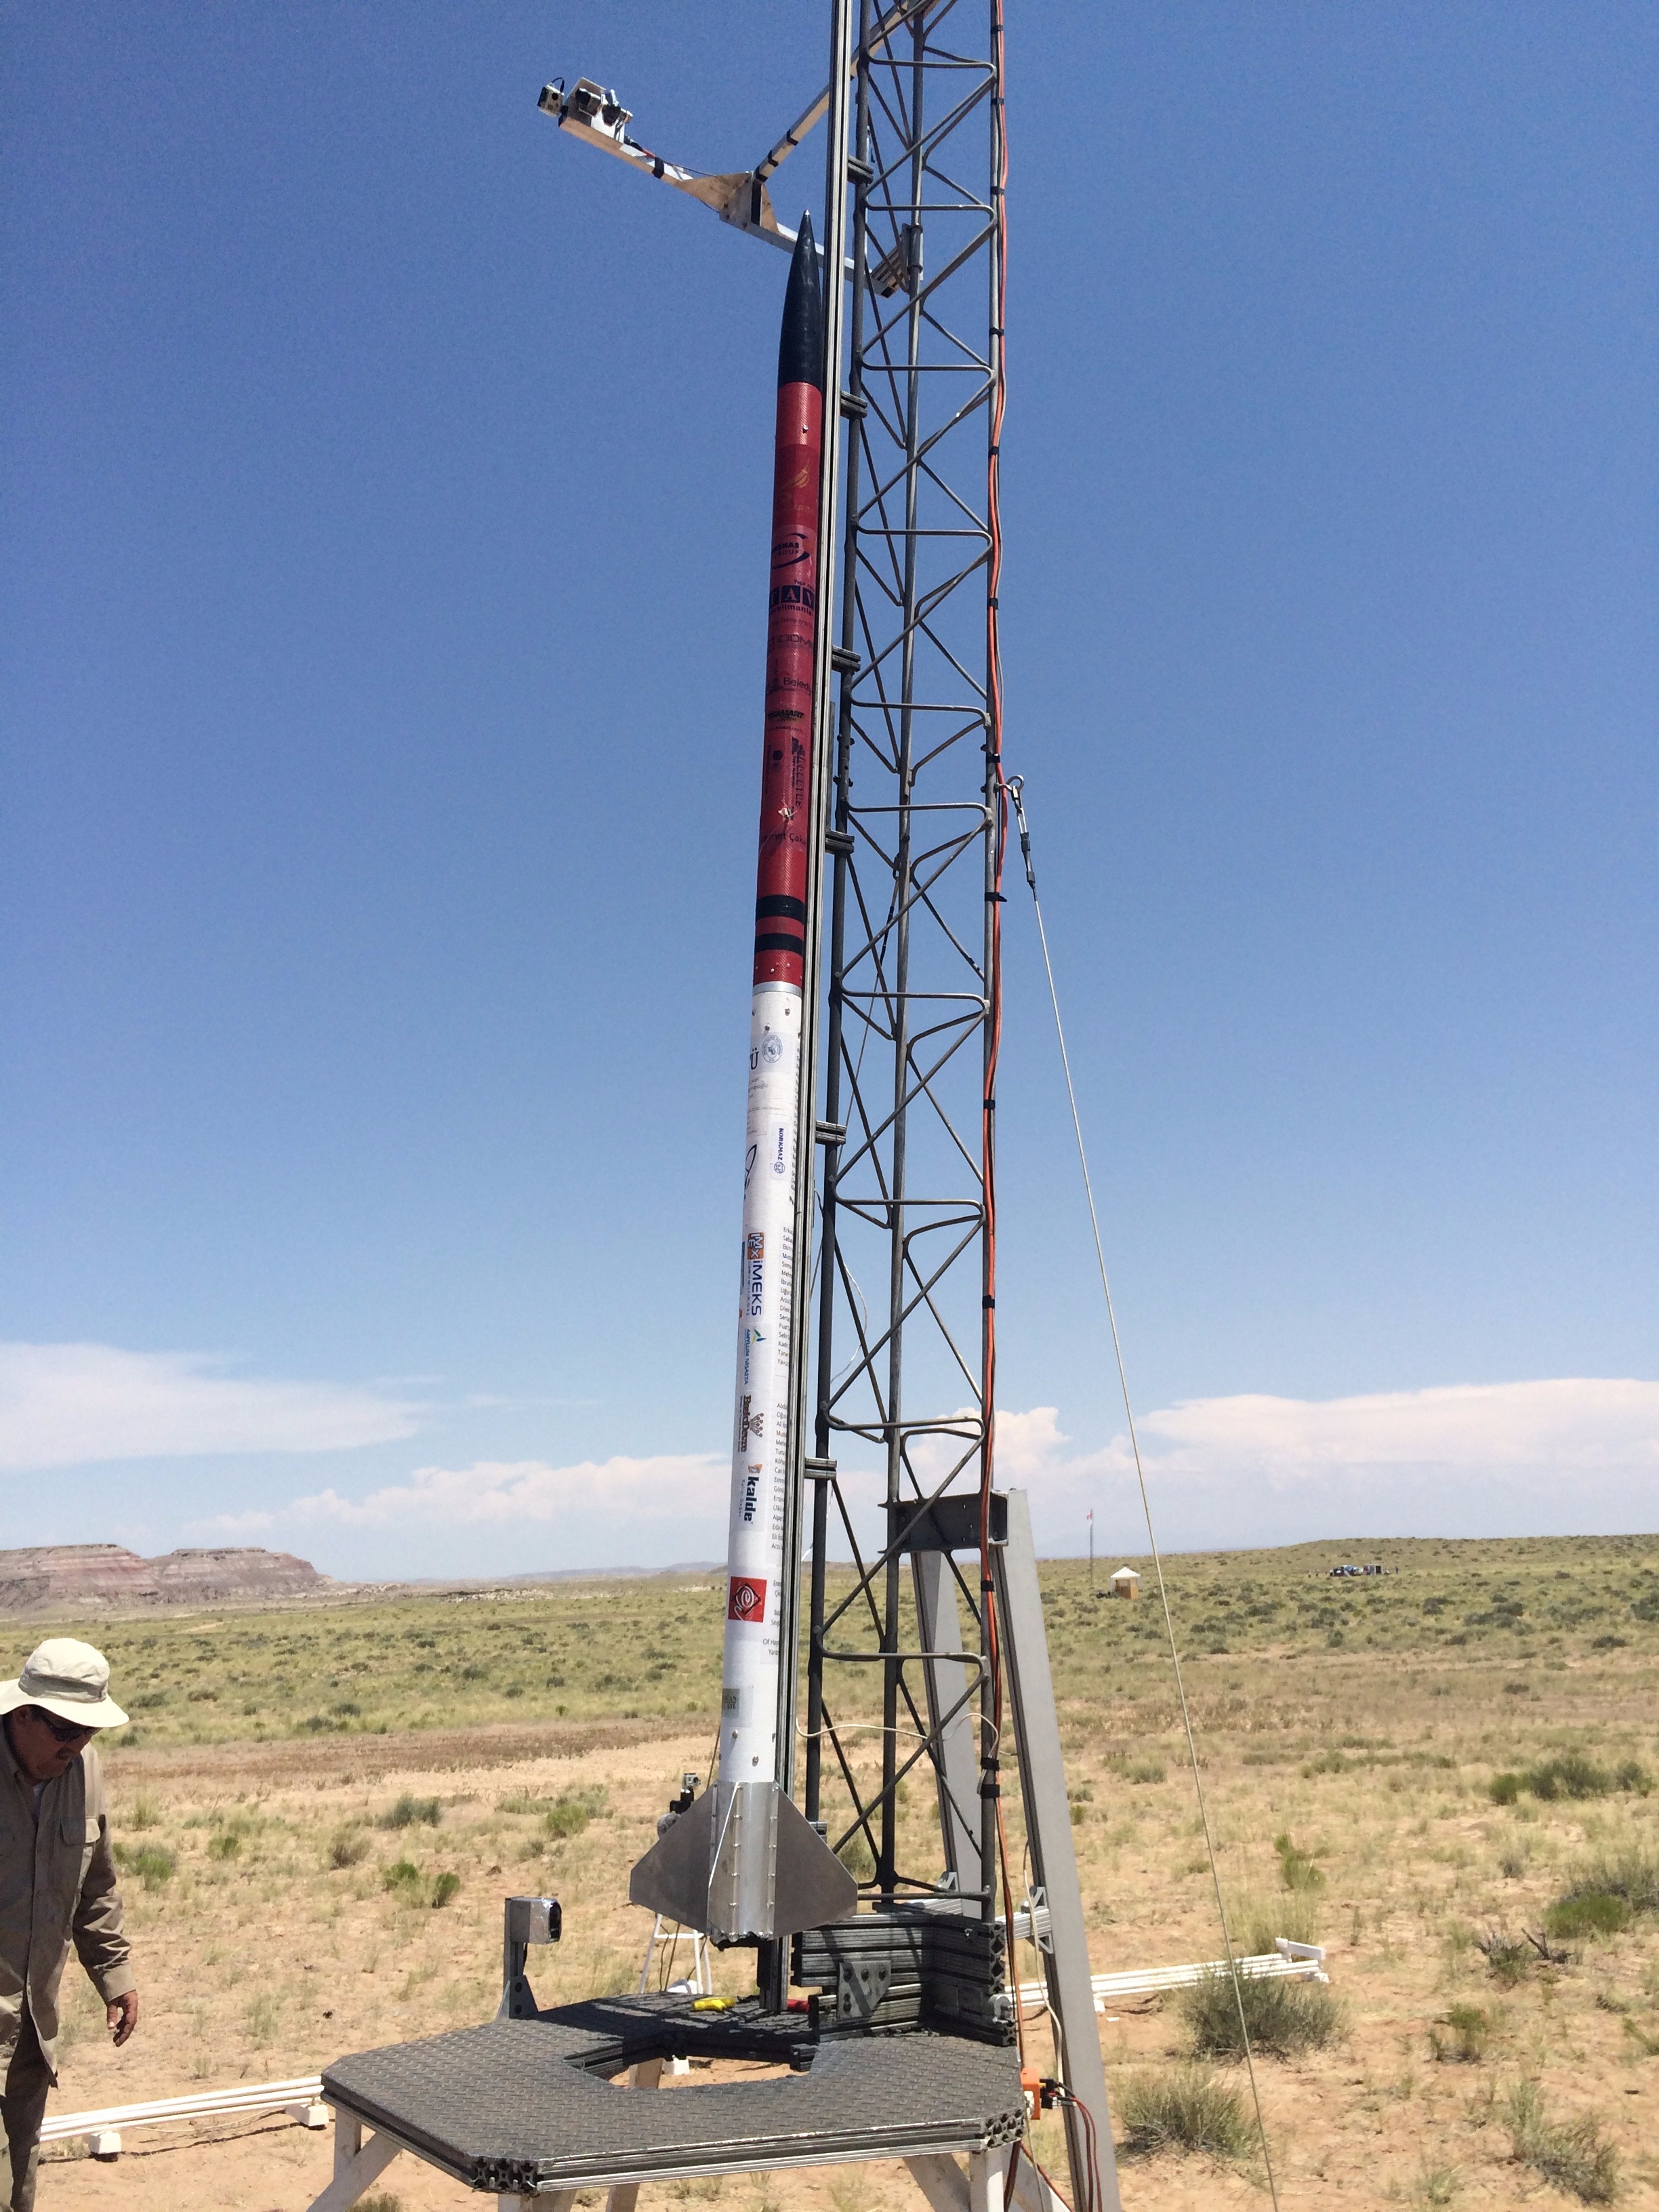
We are member of ITU ROCKET TEAM. ITU ROCKET TEAM joined Intercollegiate Rocket Engineering Competitions at June 2015 (Green River, Utah, USA) hosted by ESRA.
The emphasis of the ESRA rocket competitions is student design and construction of as many parts of the rockets as possible, including propulsion, structures, avionics, recovery, and payloads.
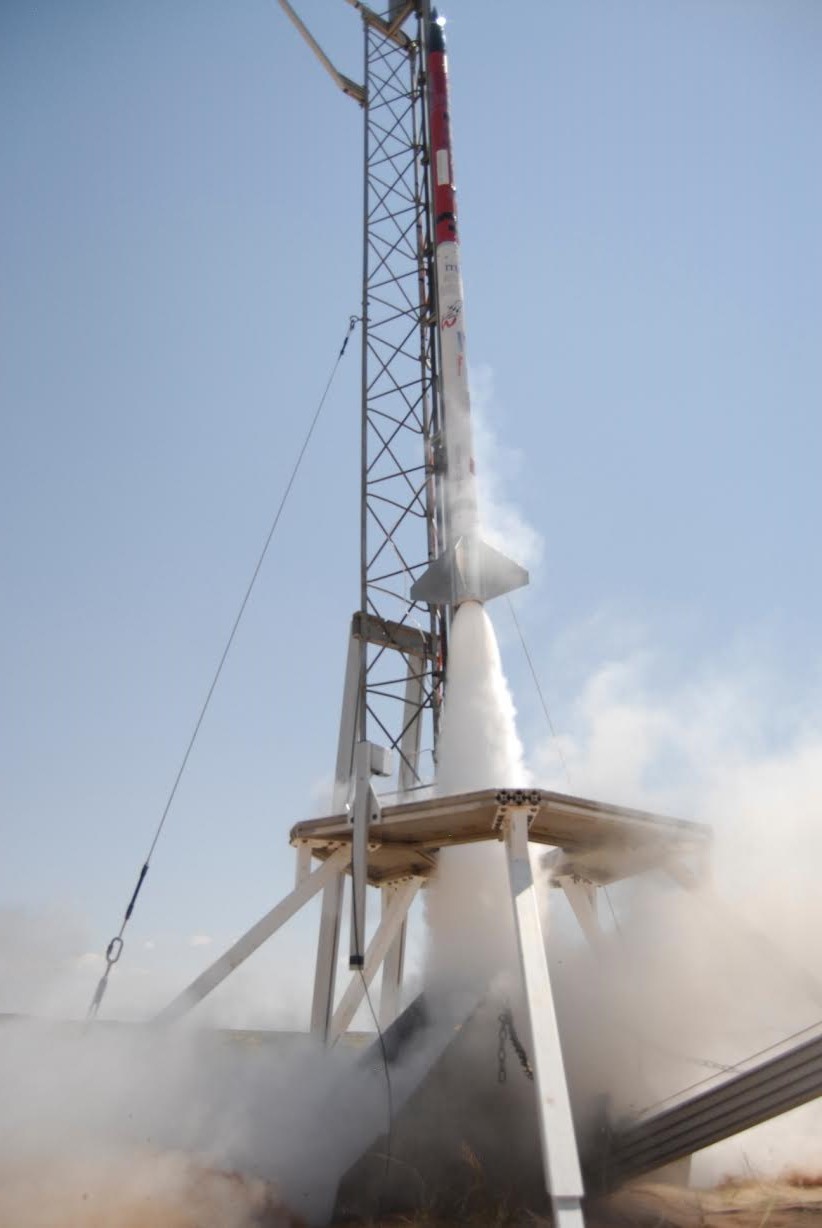
Our rocket launched at its 8.500 feet altitude although the target of 10.000 feet. We use our own design avionics which based on Arduino. This year we are using Arty Board to improve our work and make it more effective control.
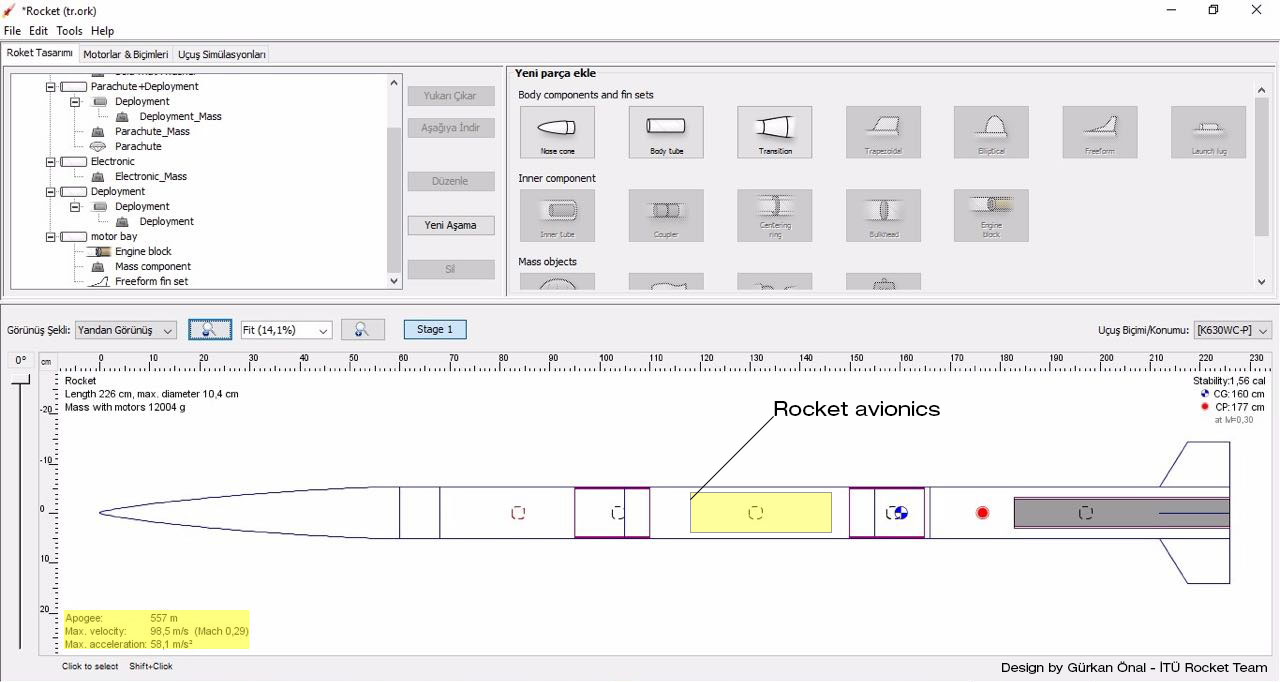
In this project, we will explain the electronic brain needed to control a rocket flight and what we have done.
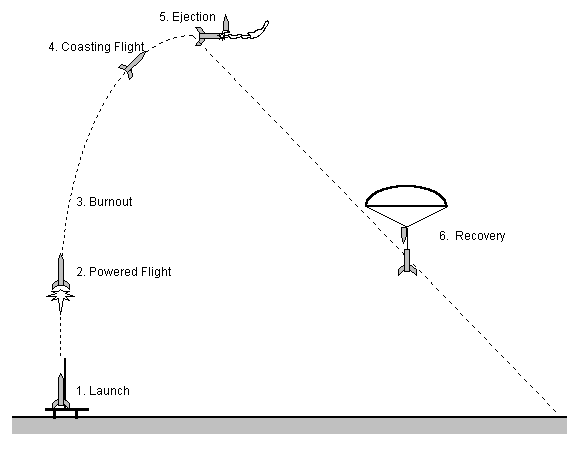
Firstly, We want to explain why Rocket needs to electronic brain and data. Some data is needed during and after the flight of a rocket. For instance, precise altitude information require the at the right point for ejection for recovery system deploys. Besides It must be separated to the lower part of the multi-stage rockets. We want to develop next rocket after the last rocket launch so we worked on the data that received during flight.
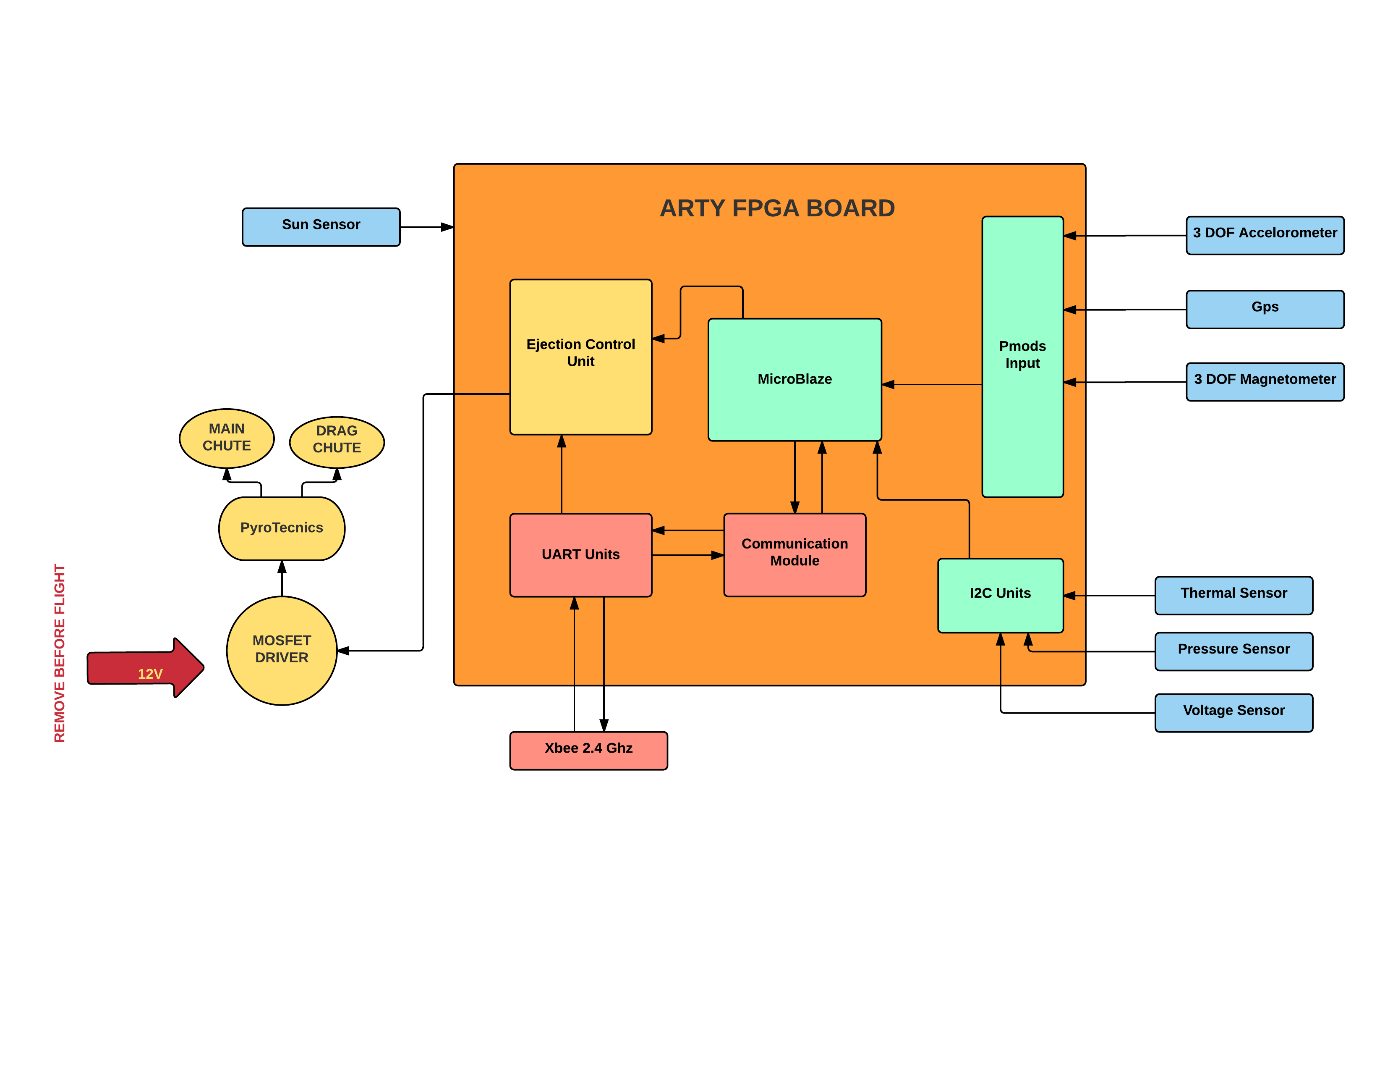
The data obtained from the sensors is problematic when used without filters. There is circuial implementation of efficient filter algorithms such as Kalman. Electronic brain will decided automatically deploy when arrived the apogee with collected data. At the same time data will send to ground station via xbee communication module. The content of the data is altitude, temperature, accelerometer, magnetometer, sun light density, eps voltage, GPS data.
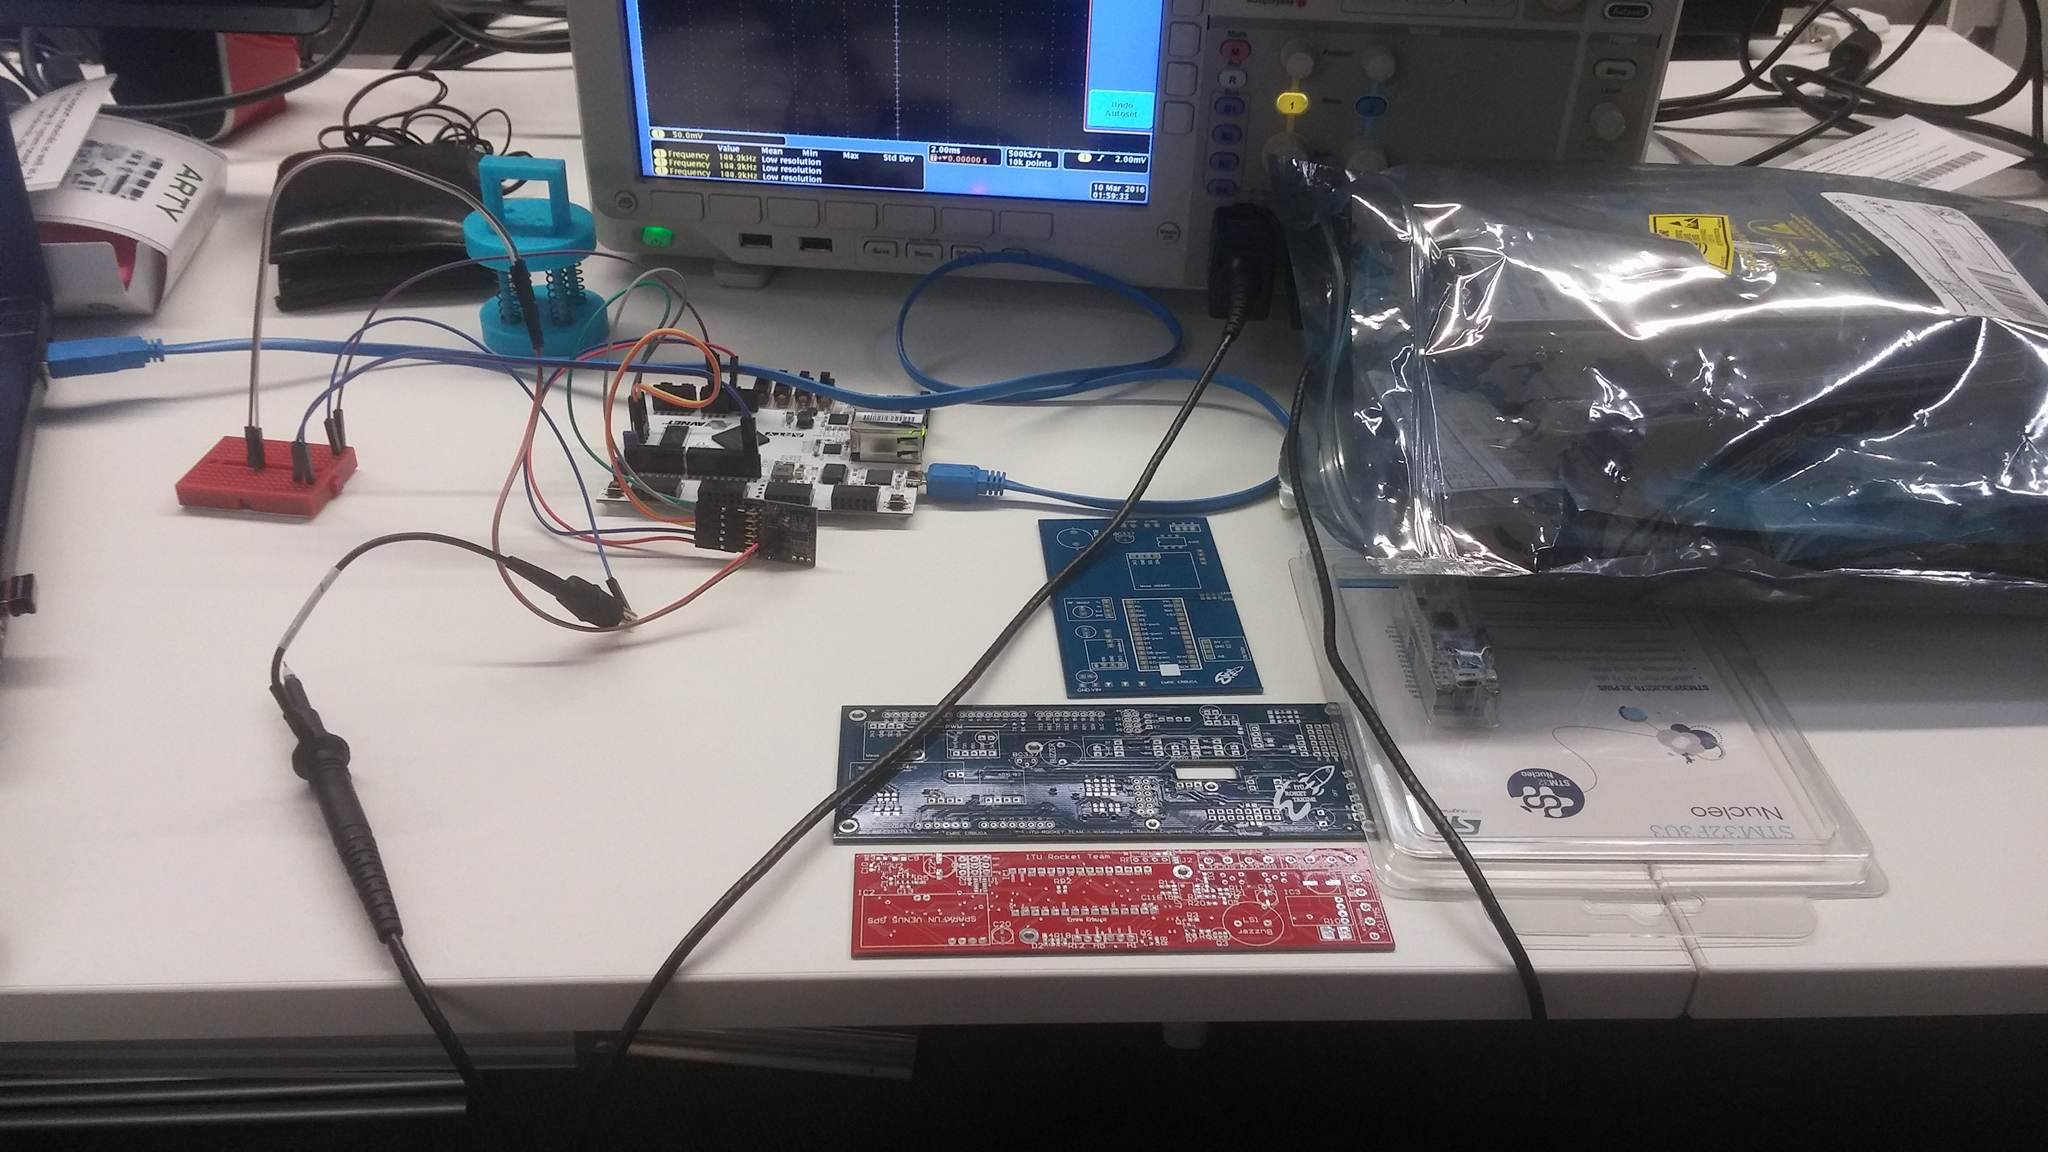
Secondly, We are going to show that what we have done since December 2015. We did research on Ary board. Of course, we observed blink on Arty and we get data from our other sensors such as altitude, temperature, accelerometer, magnetometer.
We did one flight test in our university football stadium with multi-copter below 300 meters. We could not be successful for first test but we ran our second test as we want. You can show in this project video.
List of Material

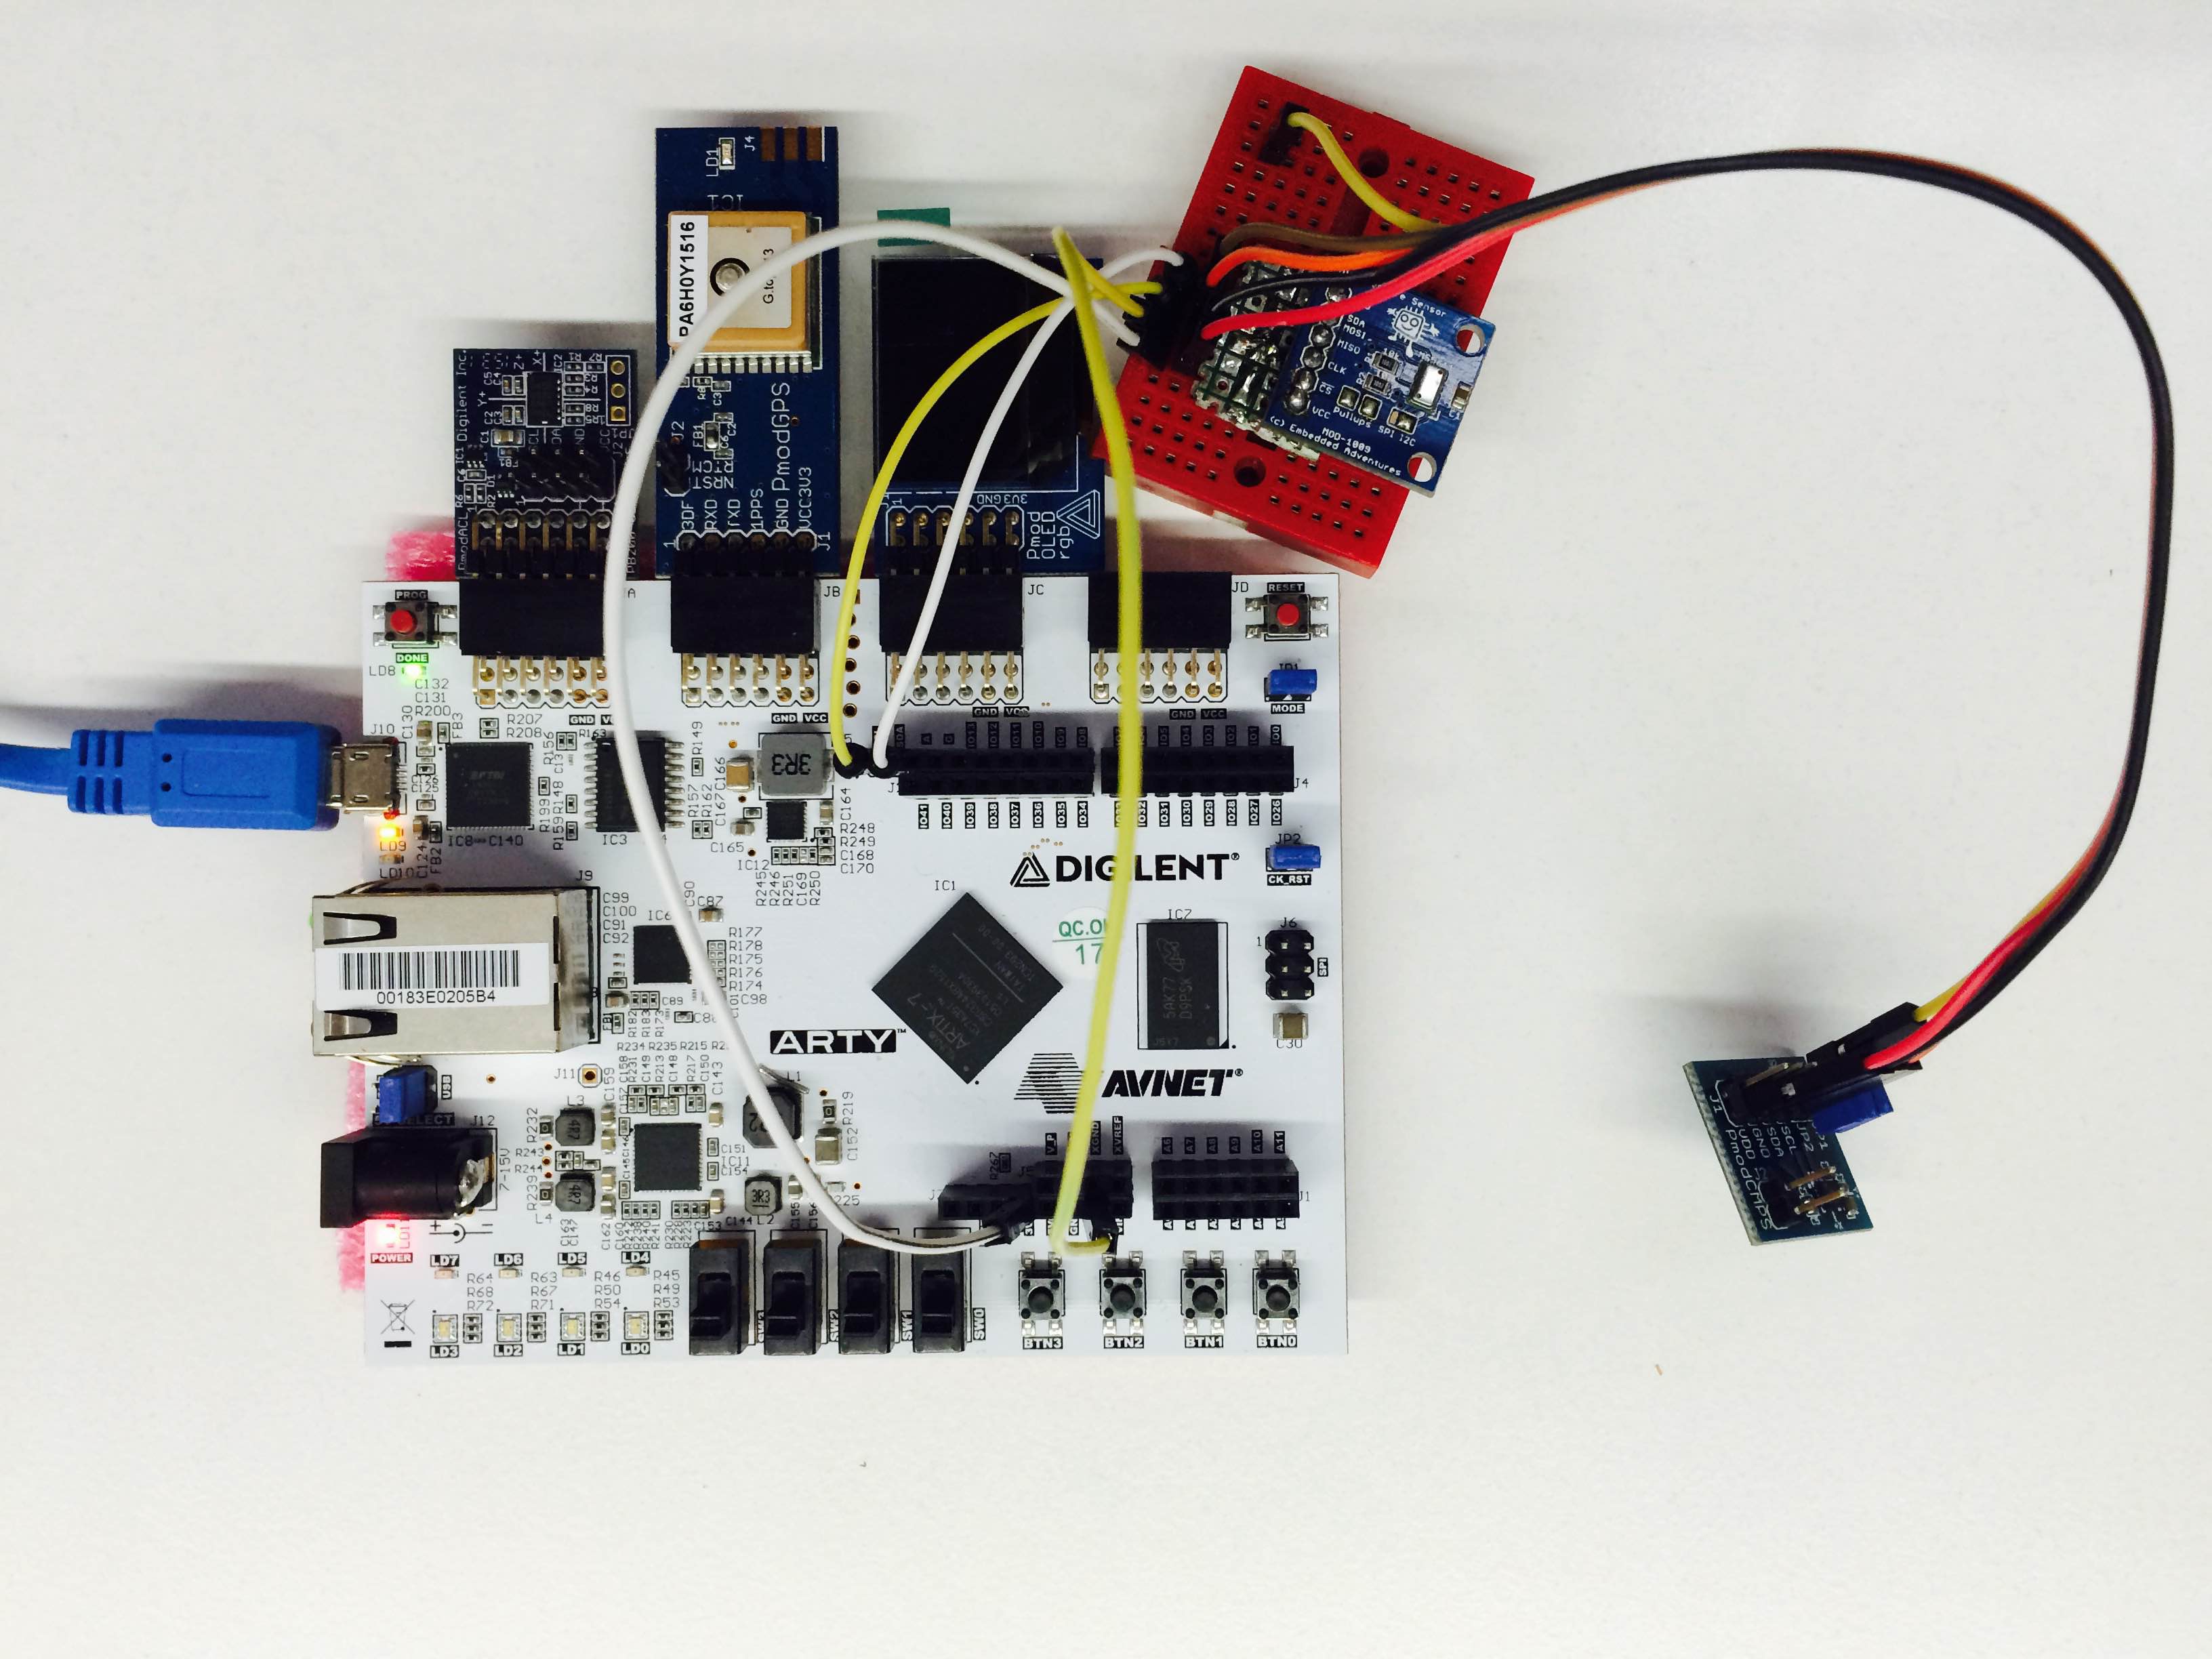
Electronics :
· Artix-7 35T Arty FPGA Evaluation Kit-Digilent
· PmodGPS-Digilent
· PmodACL-Digilent
· PmodCMPS-Digilent
· PmodOLEDrgb-Digilent
· Pyro Board which includes N-type High current mosfet
· MS5611 Barometer and Temperature Sensor
Mechanics:
· Parachute 50 cm in diameter
· Pvc container
· Wire seperation system
Software:
· Vivado
· Vivado SDK
· TeraTerm
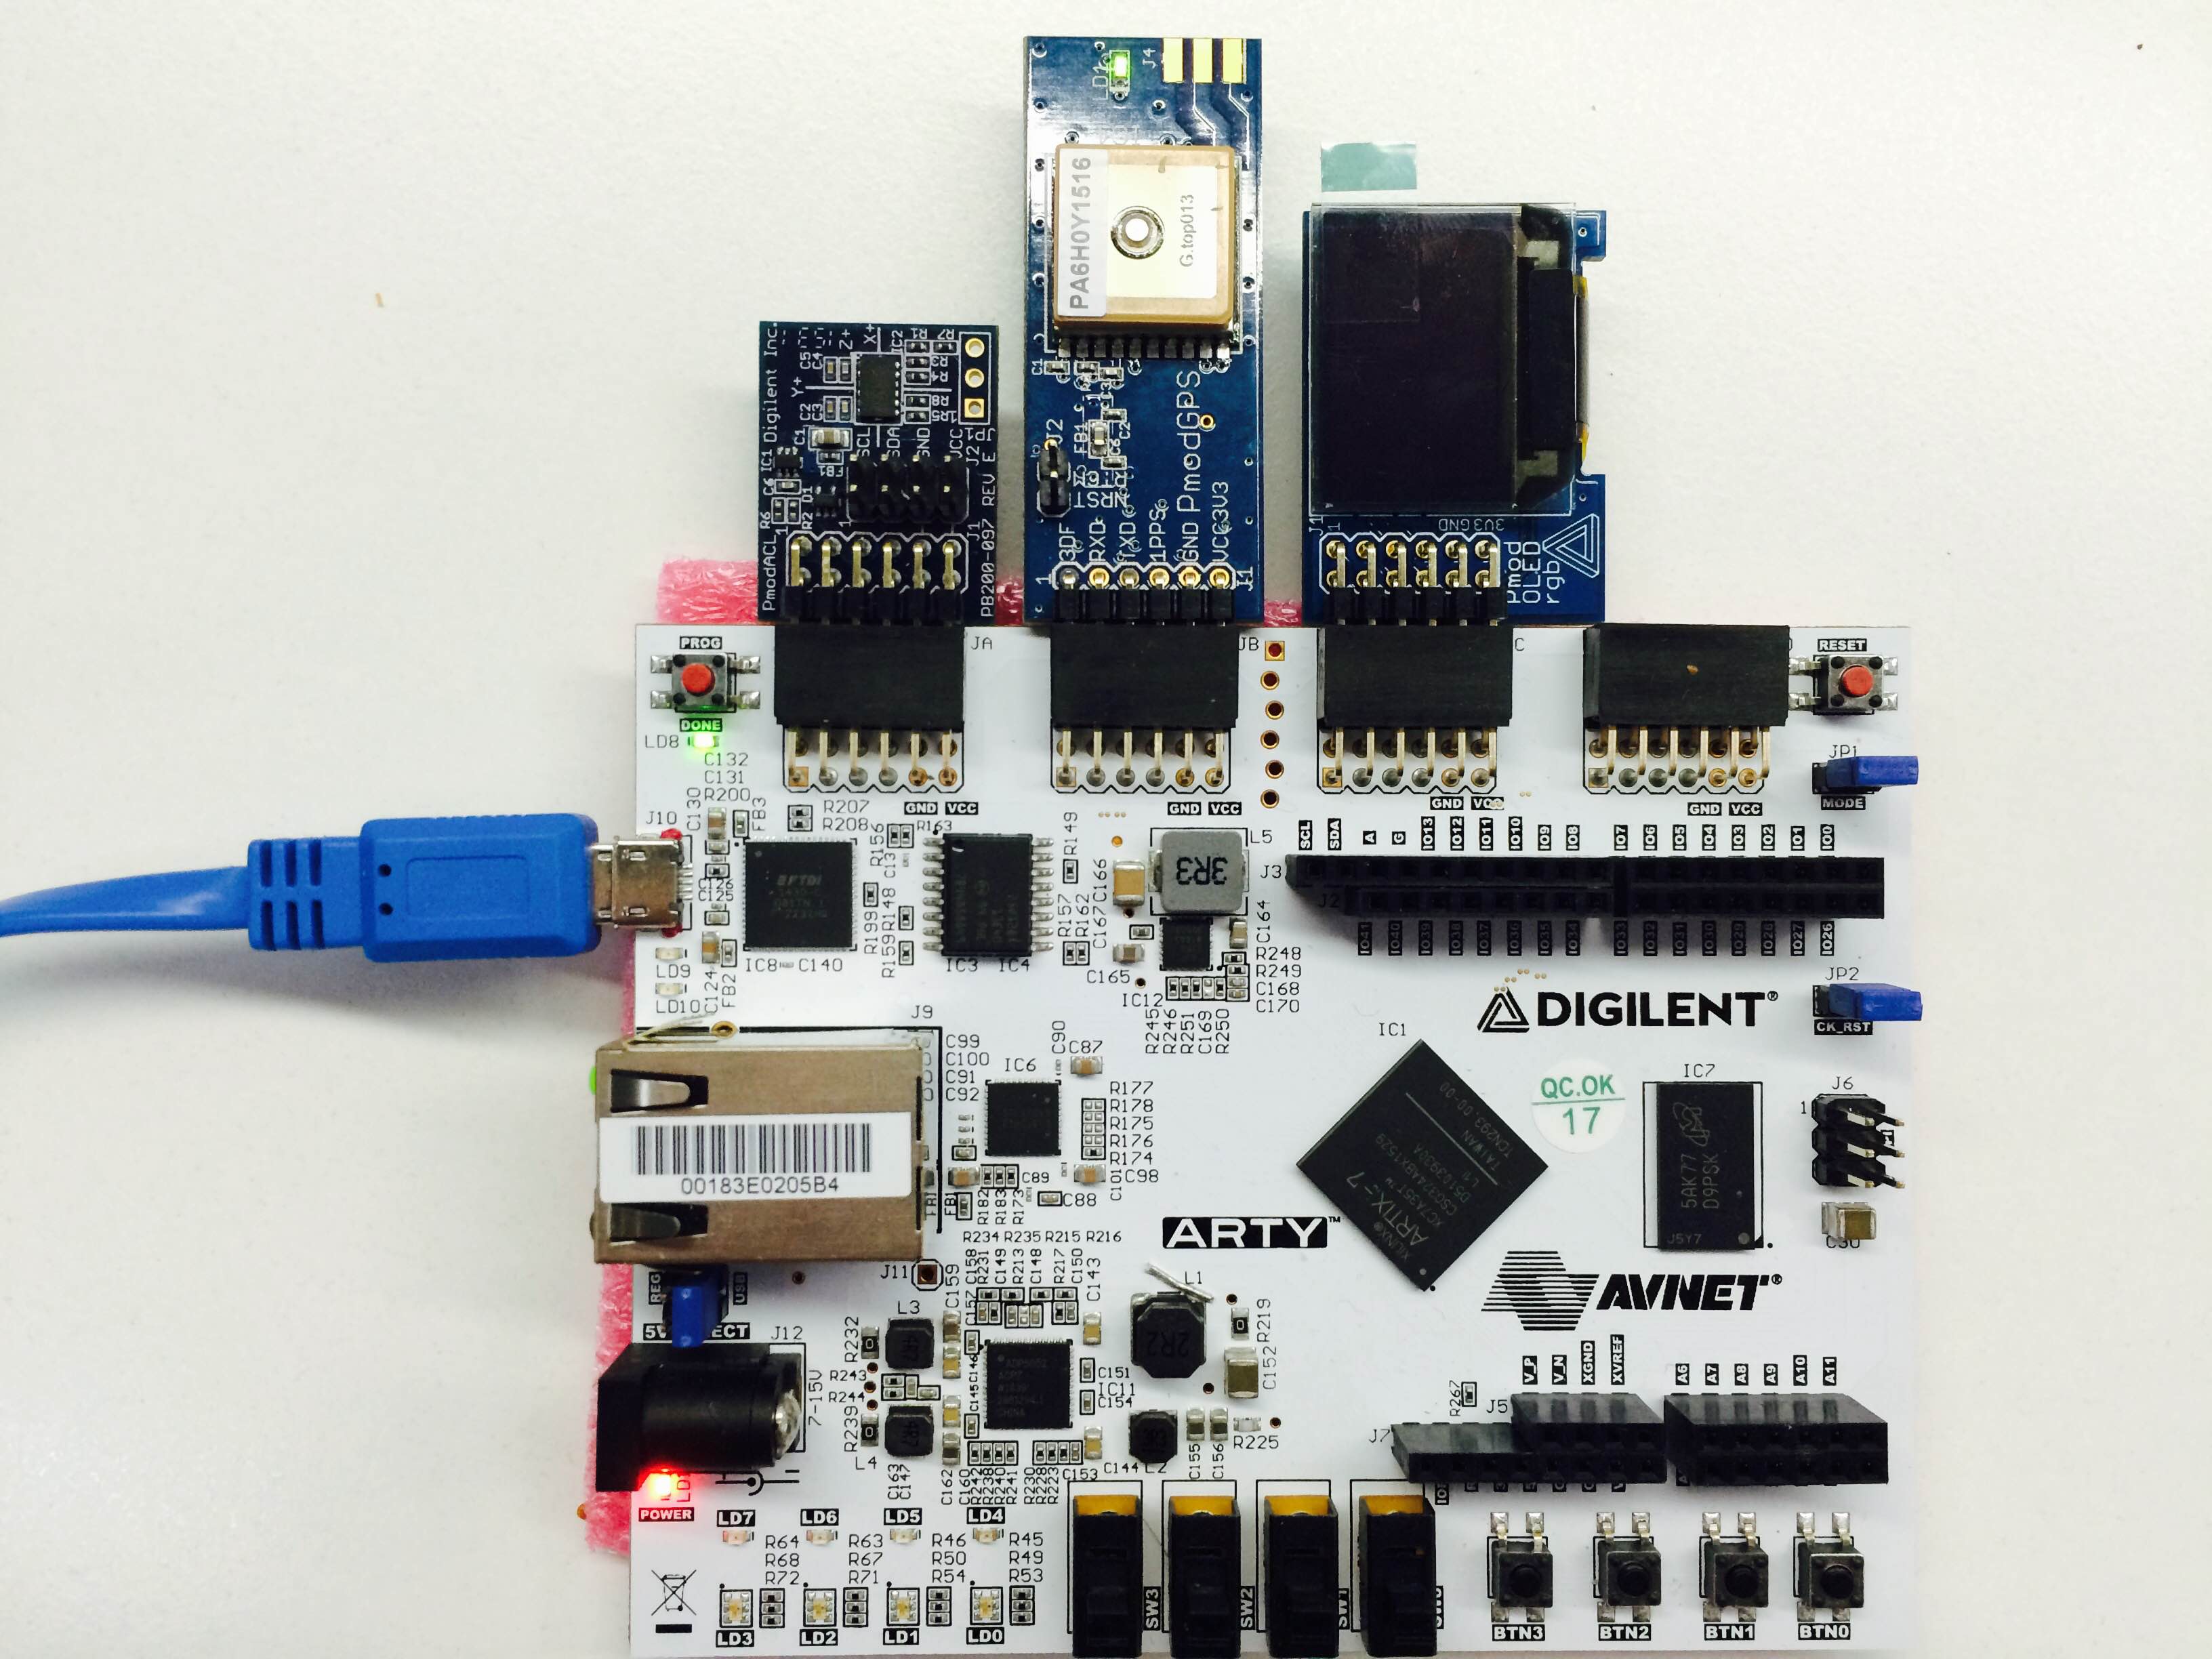
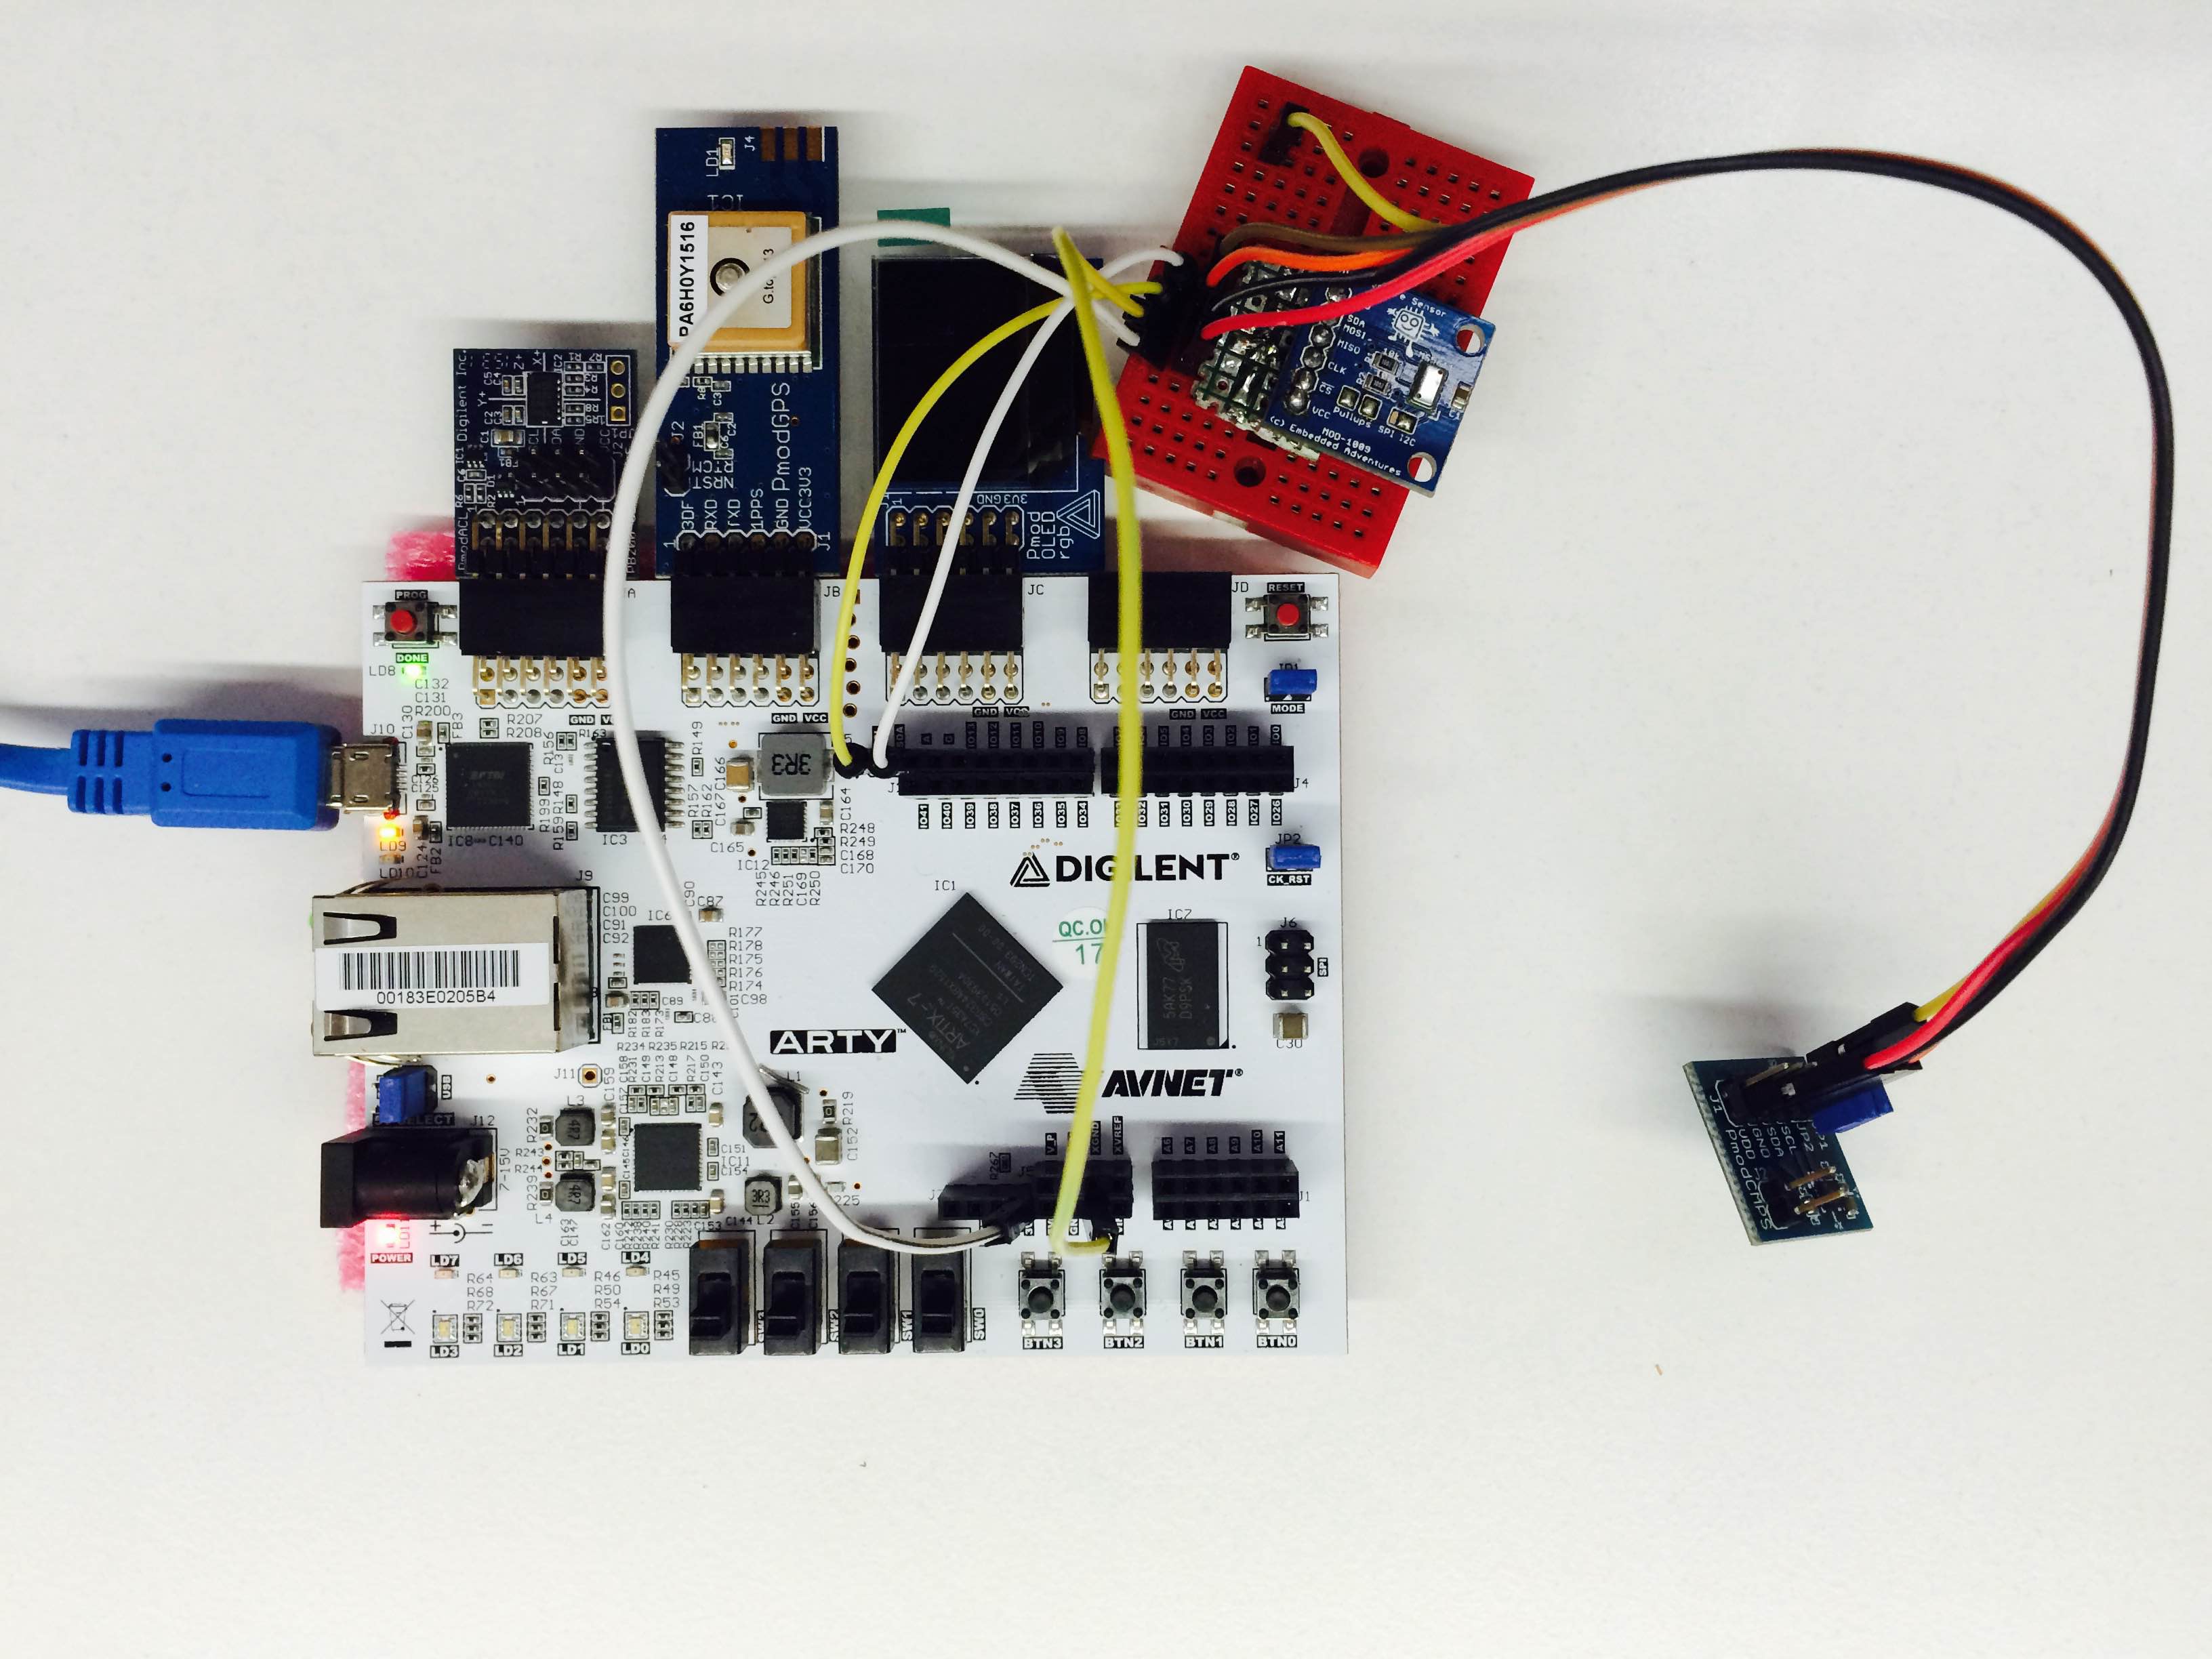
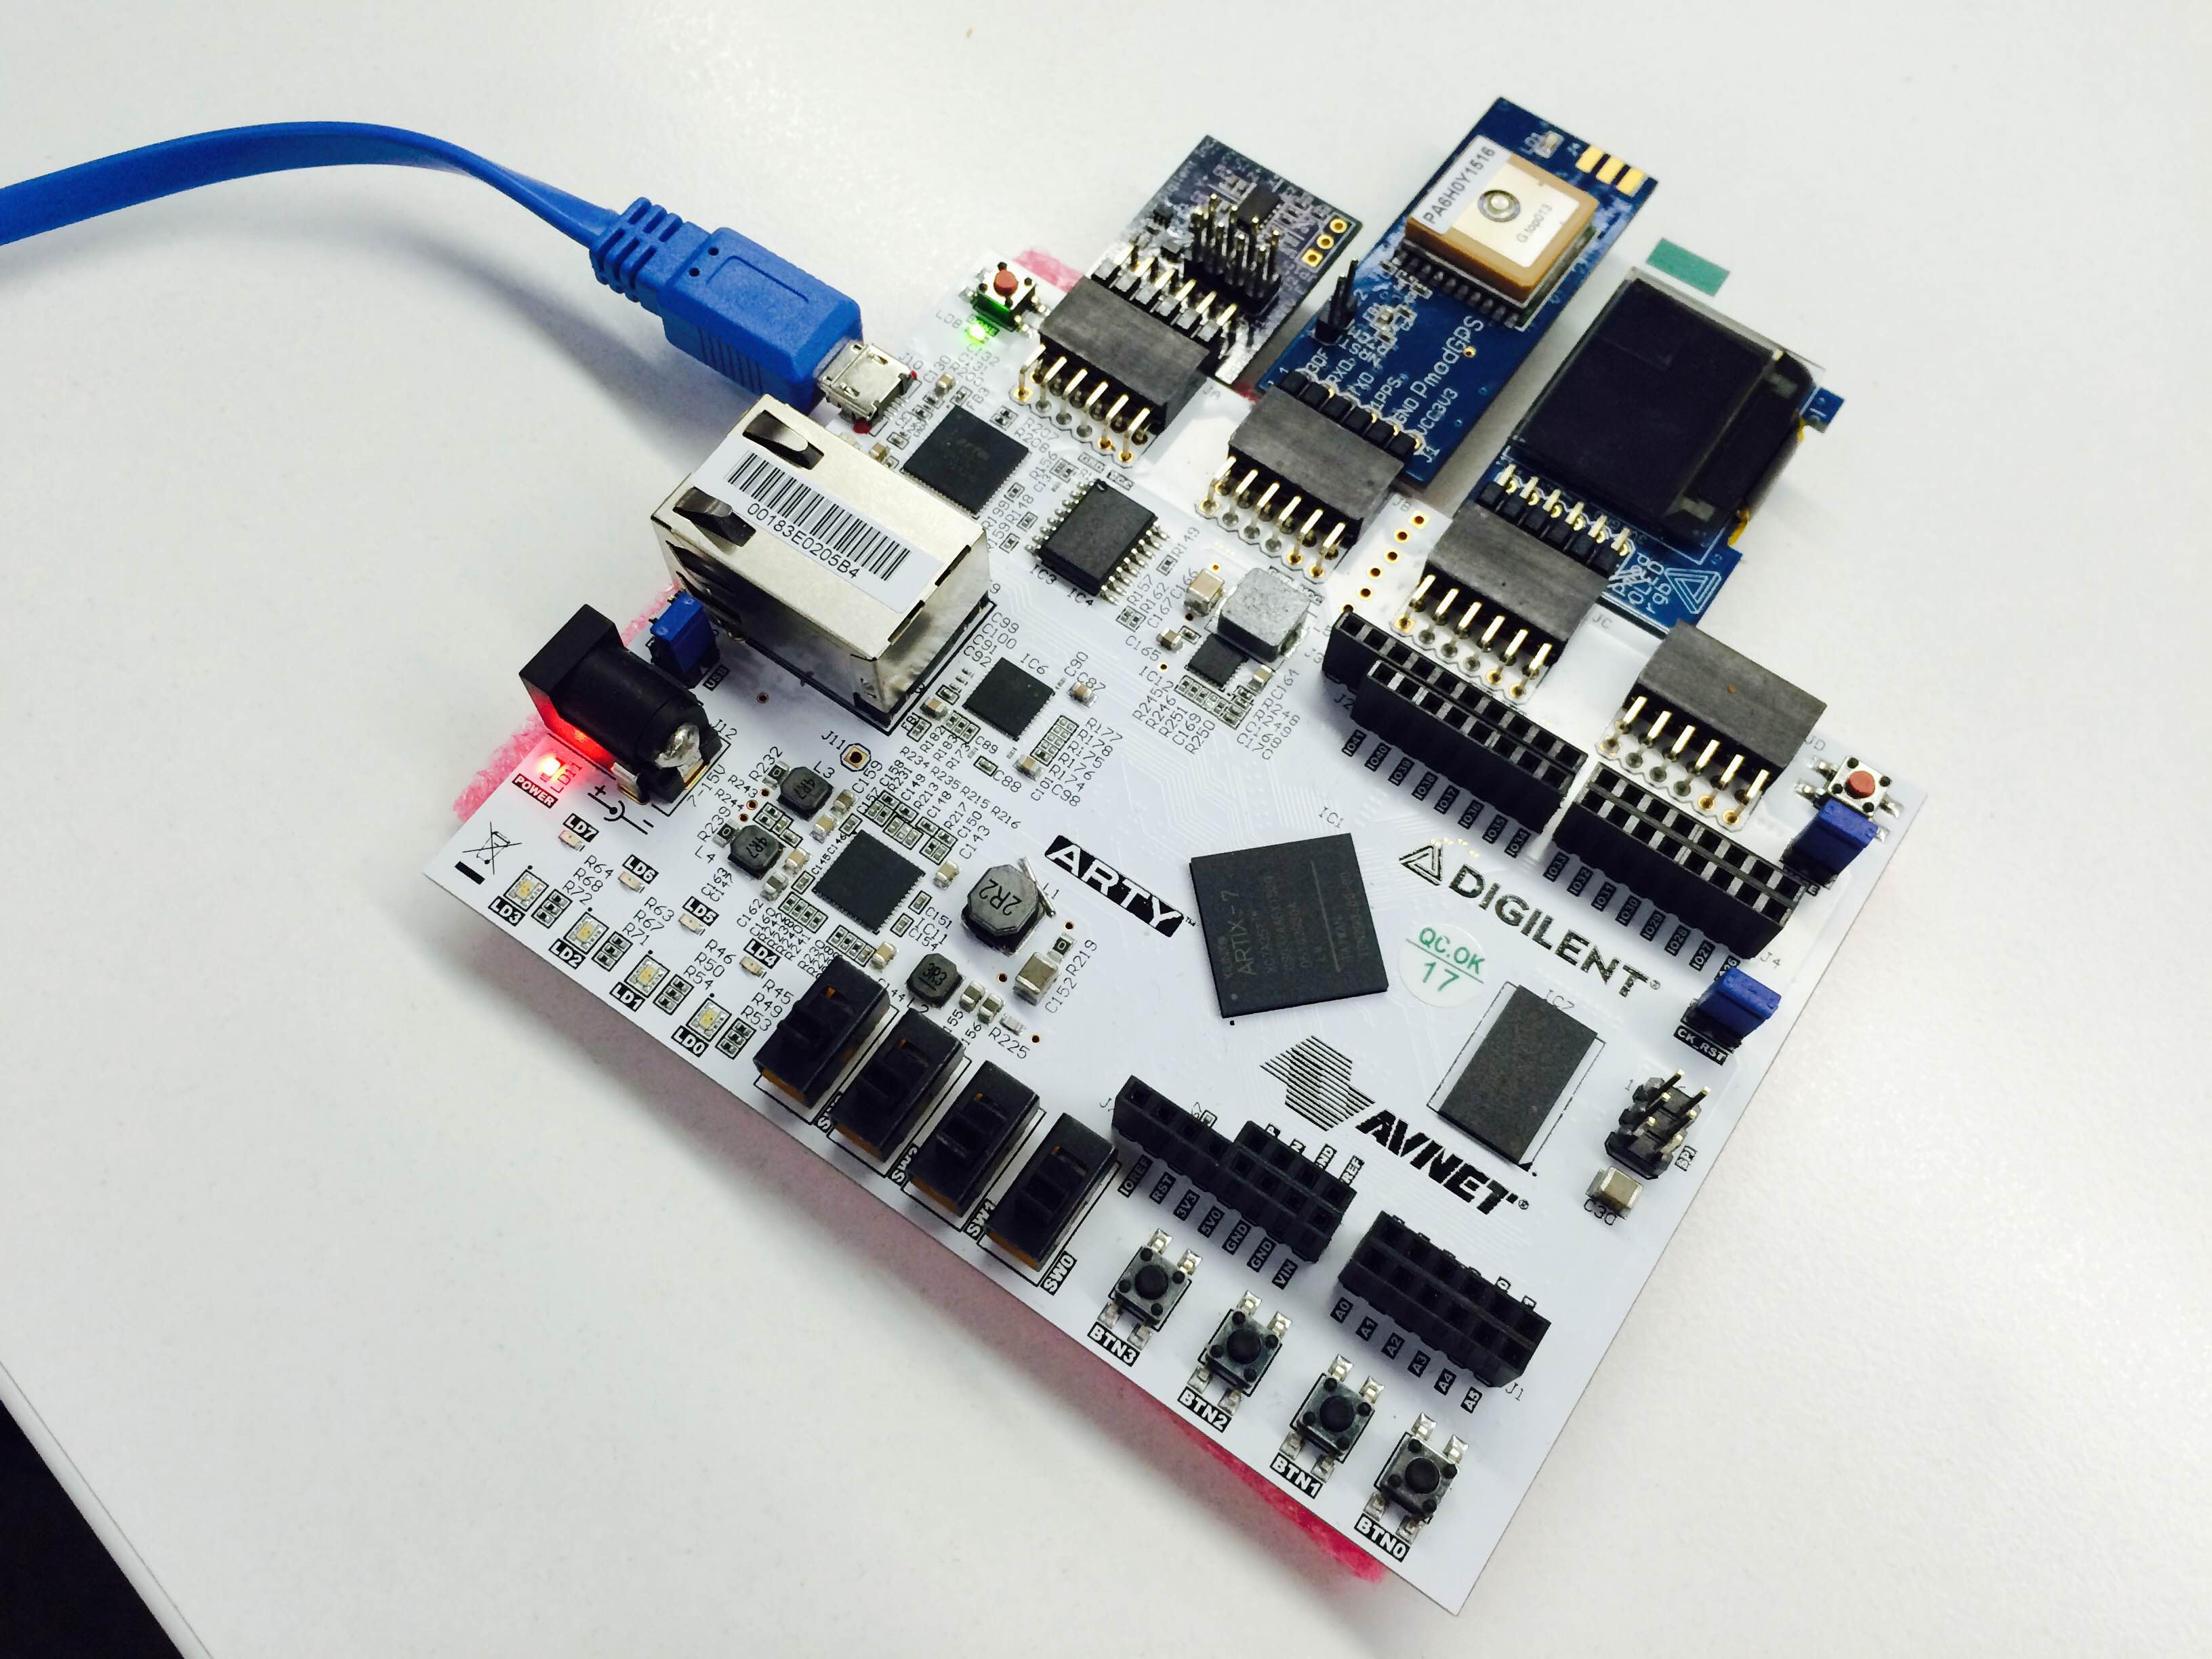
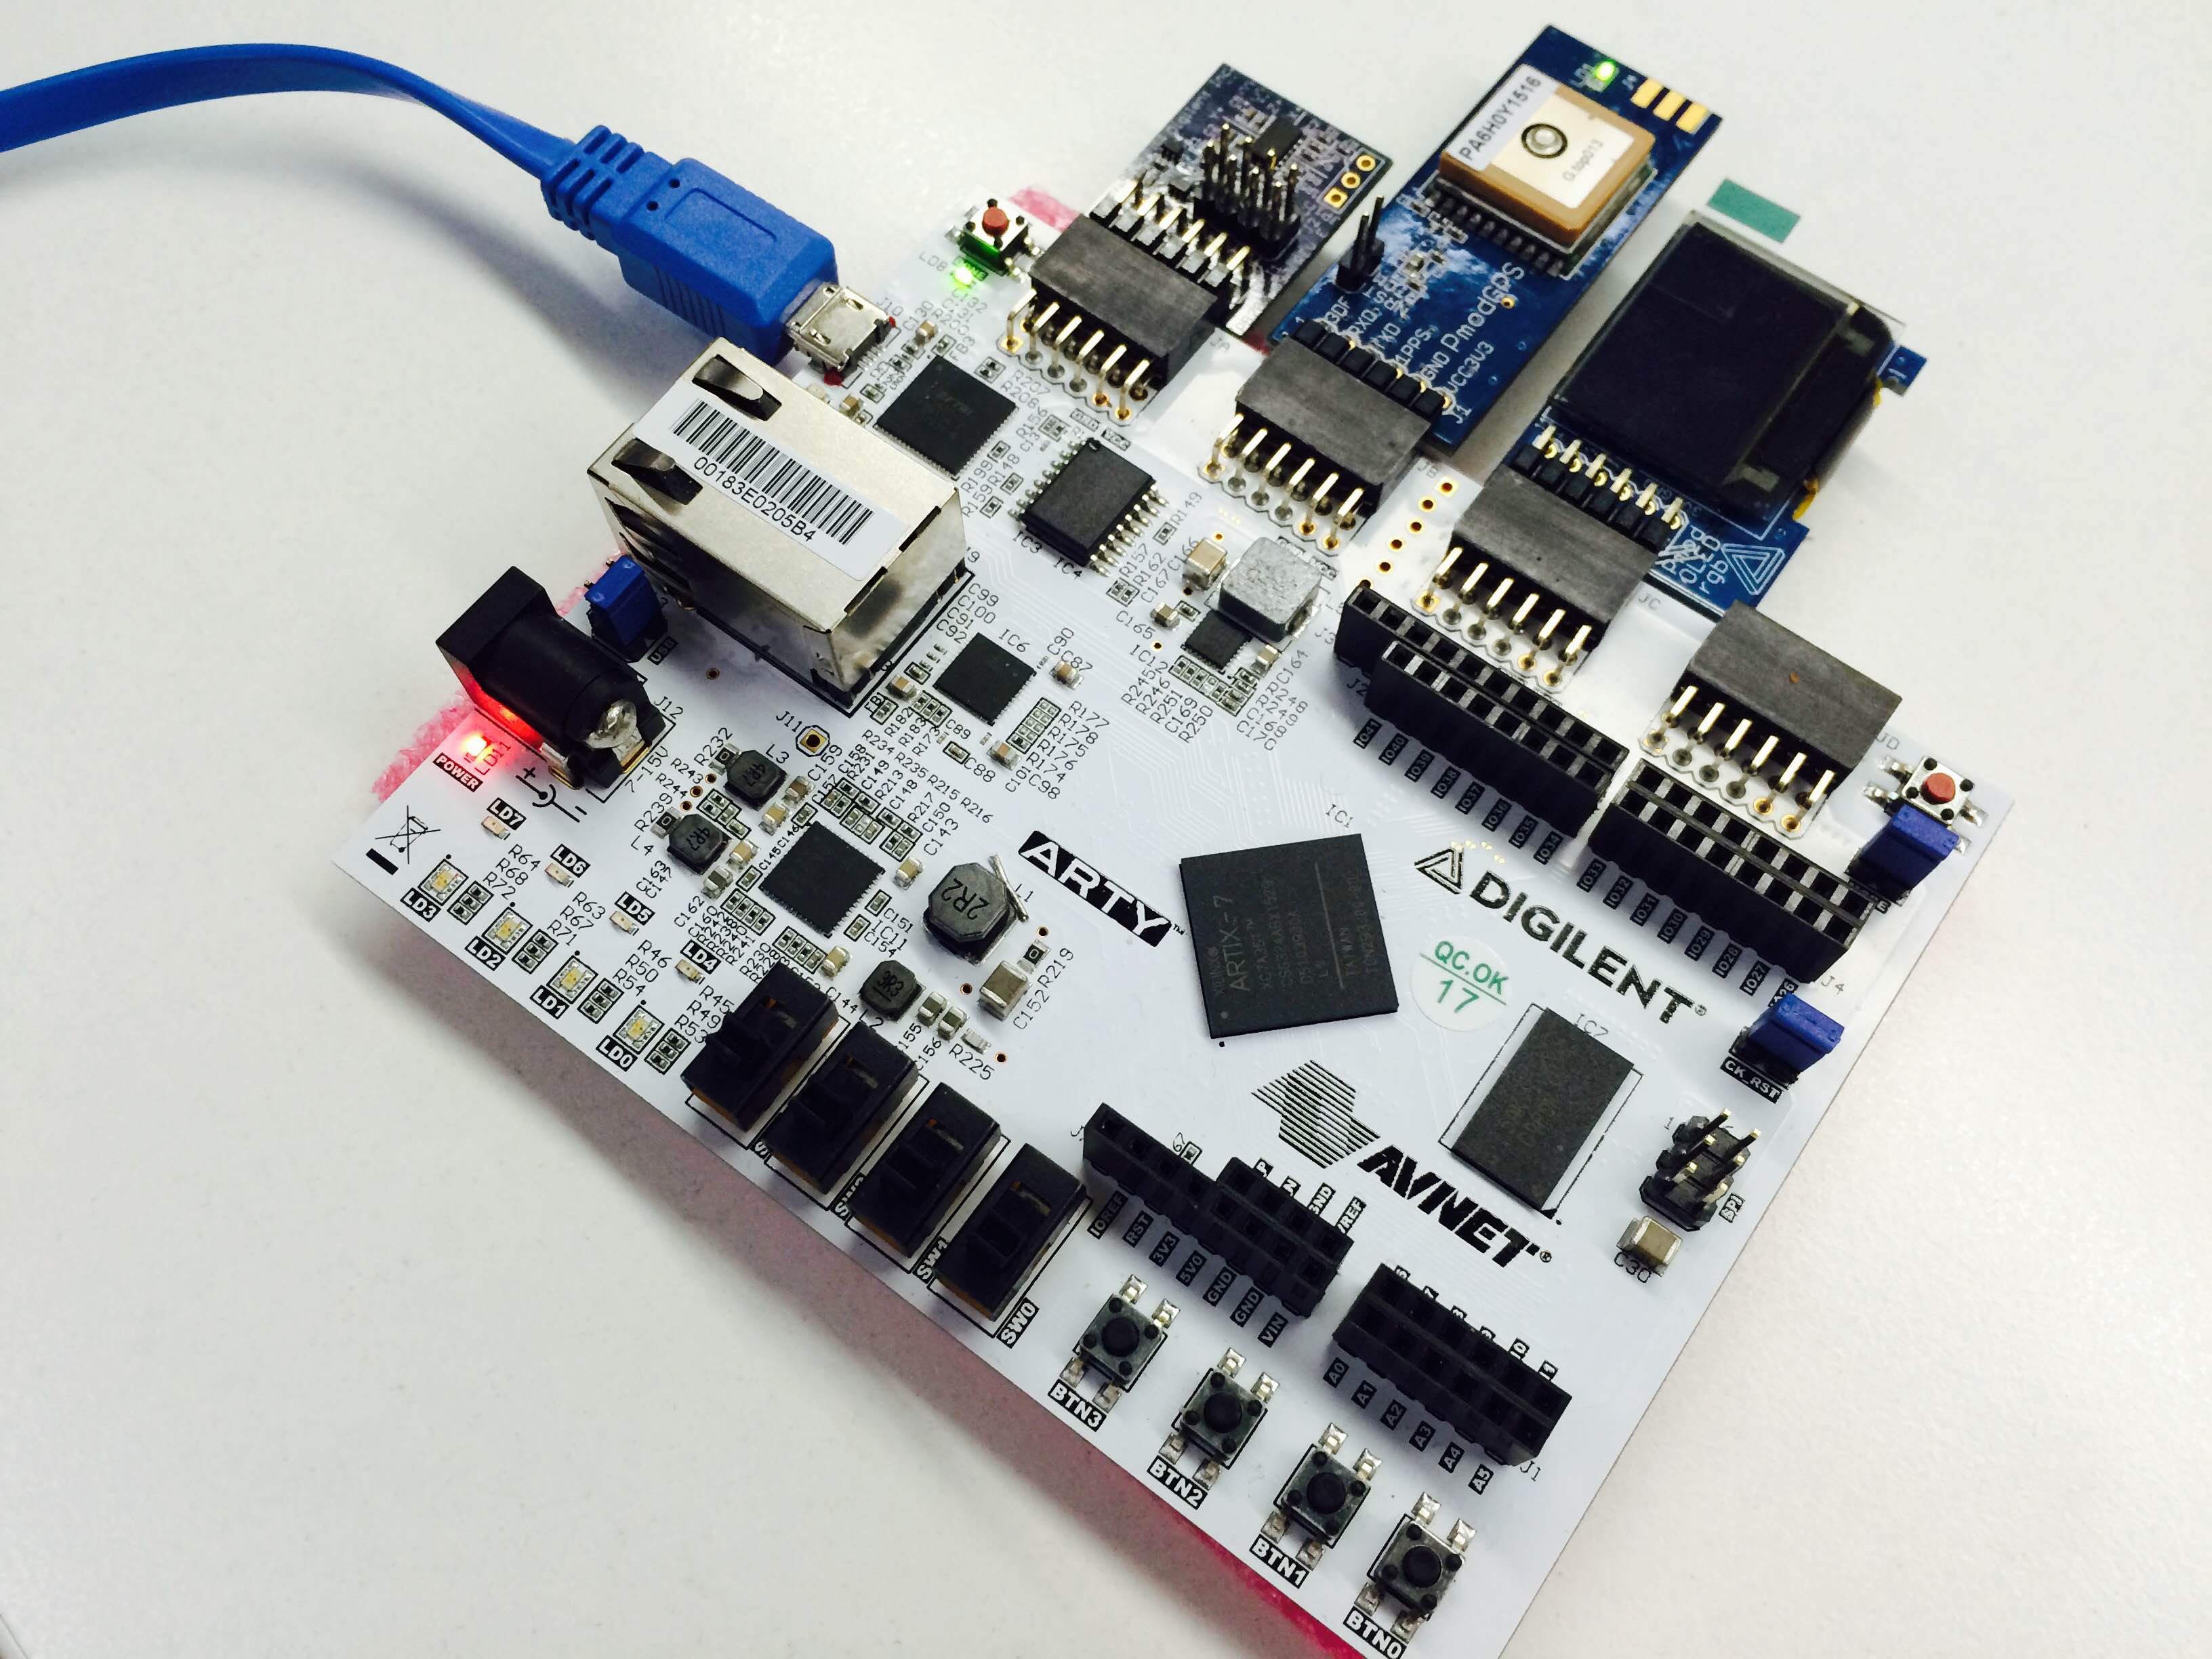
Arty Connection
Download and Setup Vivado
https://reference.digilentinc.com/arty
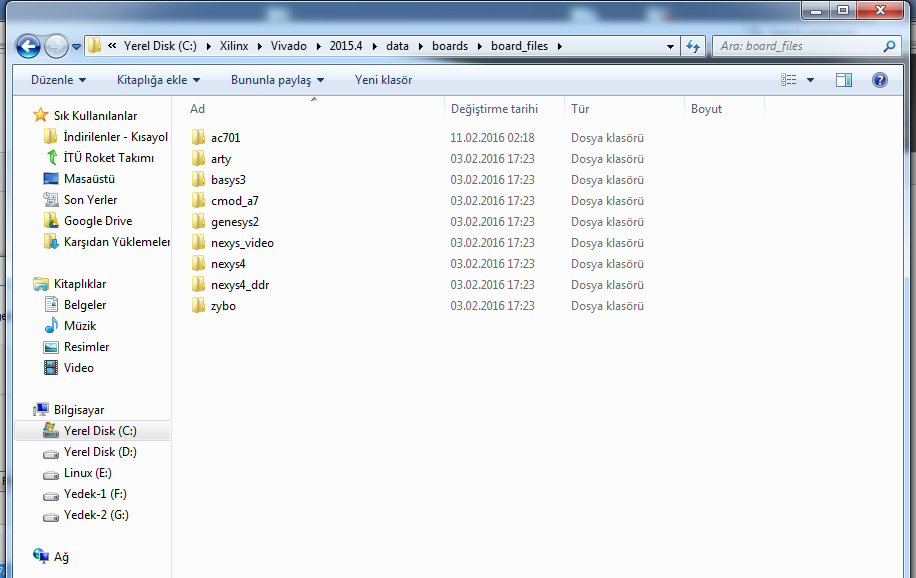
Arty Board Files Installation Before Creating Project
You can follow me defined steps for installation arty board files and xdc constraints, or you can follow these steps on that link.
https://reference.digilentinc.com/vivado:boardfile...
1- Download arty board files from https://github.com/Digilent/vivado-boards
2- Go this directory
3- Copy and paste which is downloaded files to “board_files” directory.
4- You shall see arty directory on board_files like this image.
Create Vivado Project
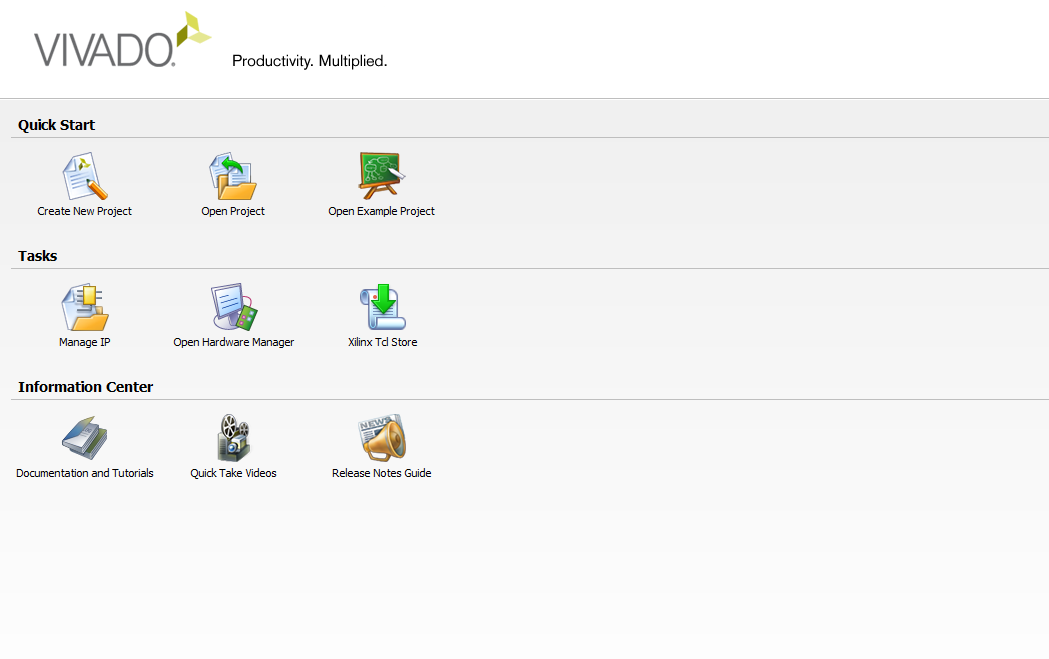
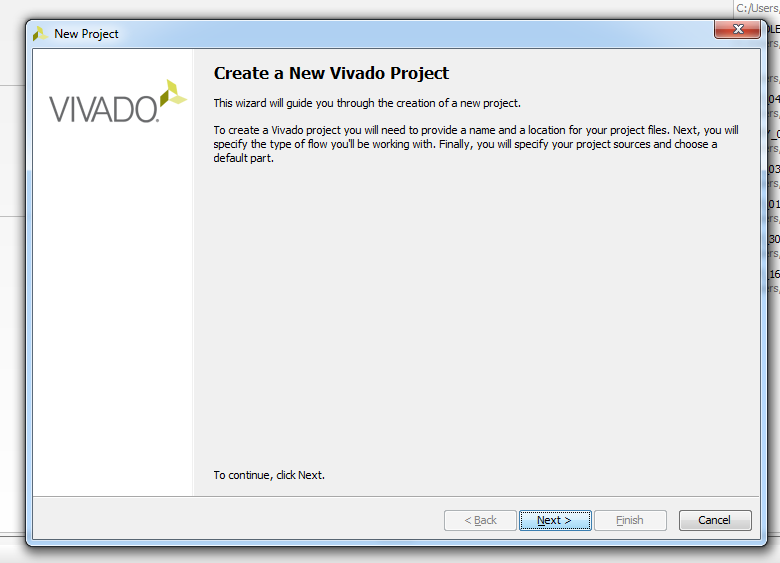
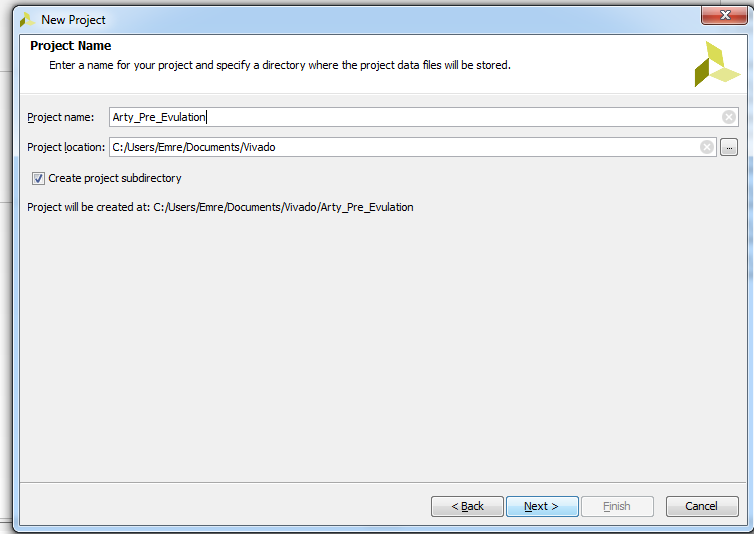
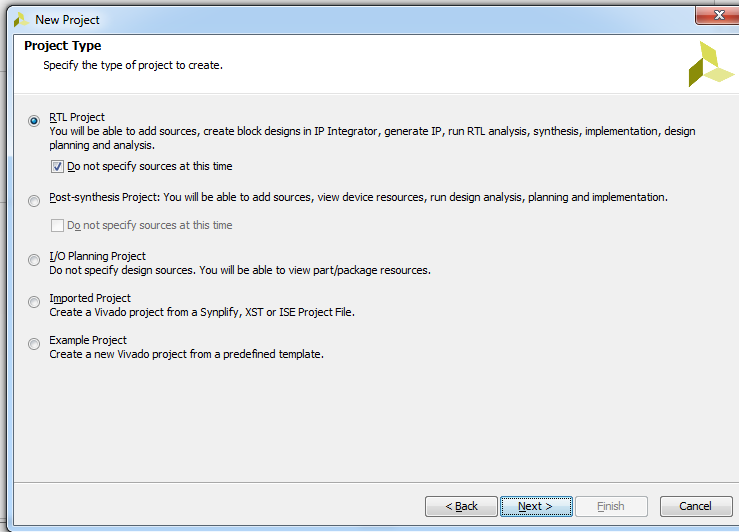
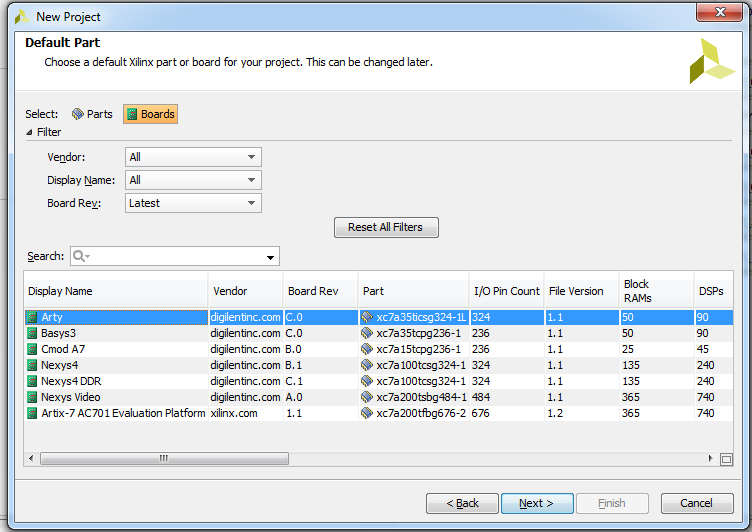
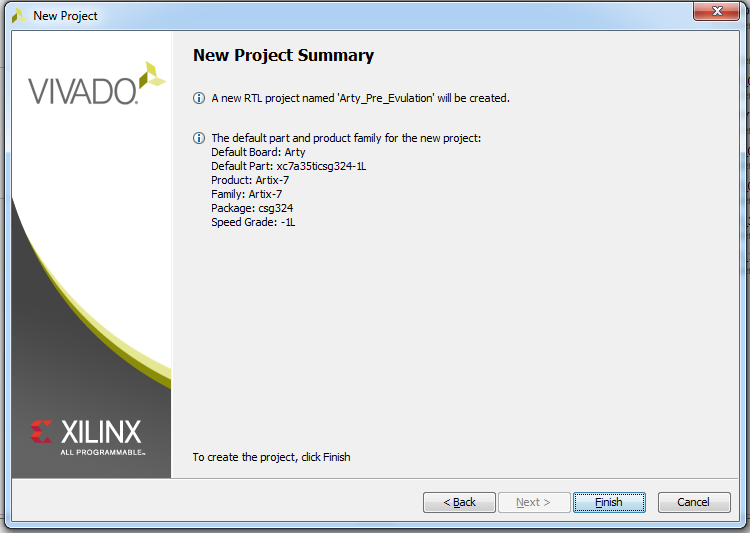
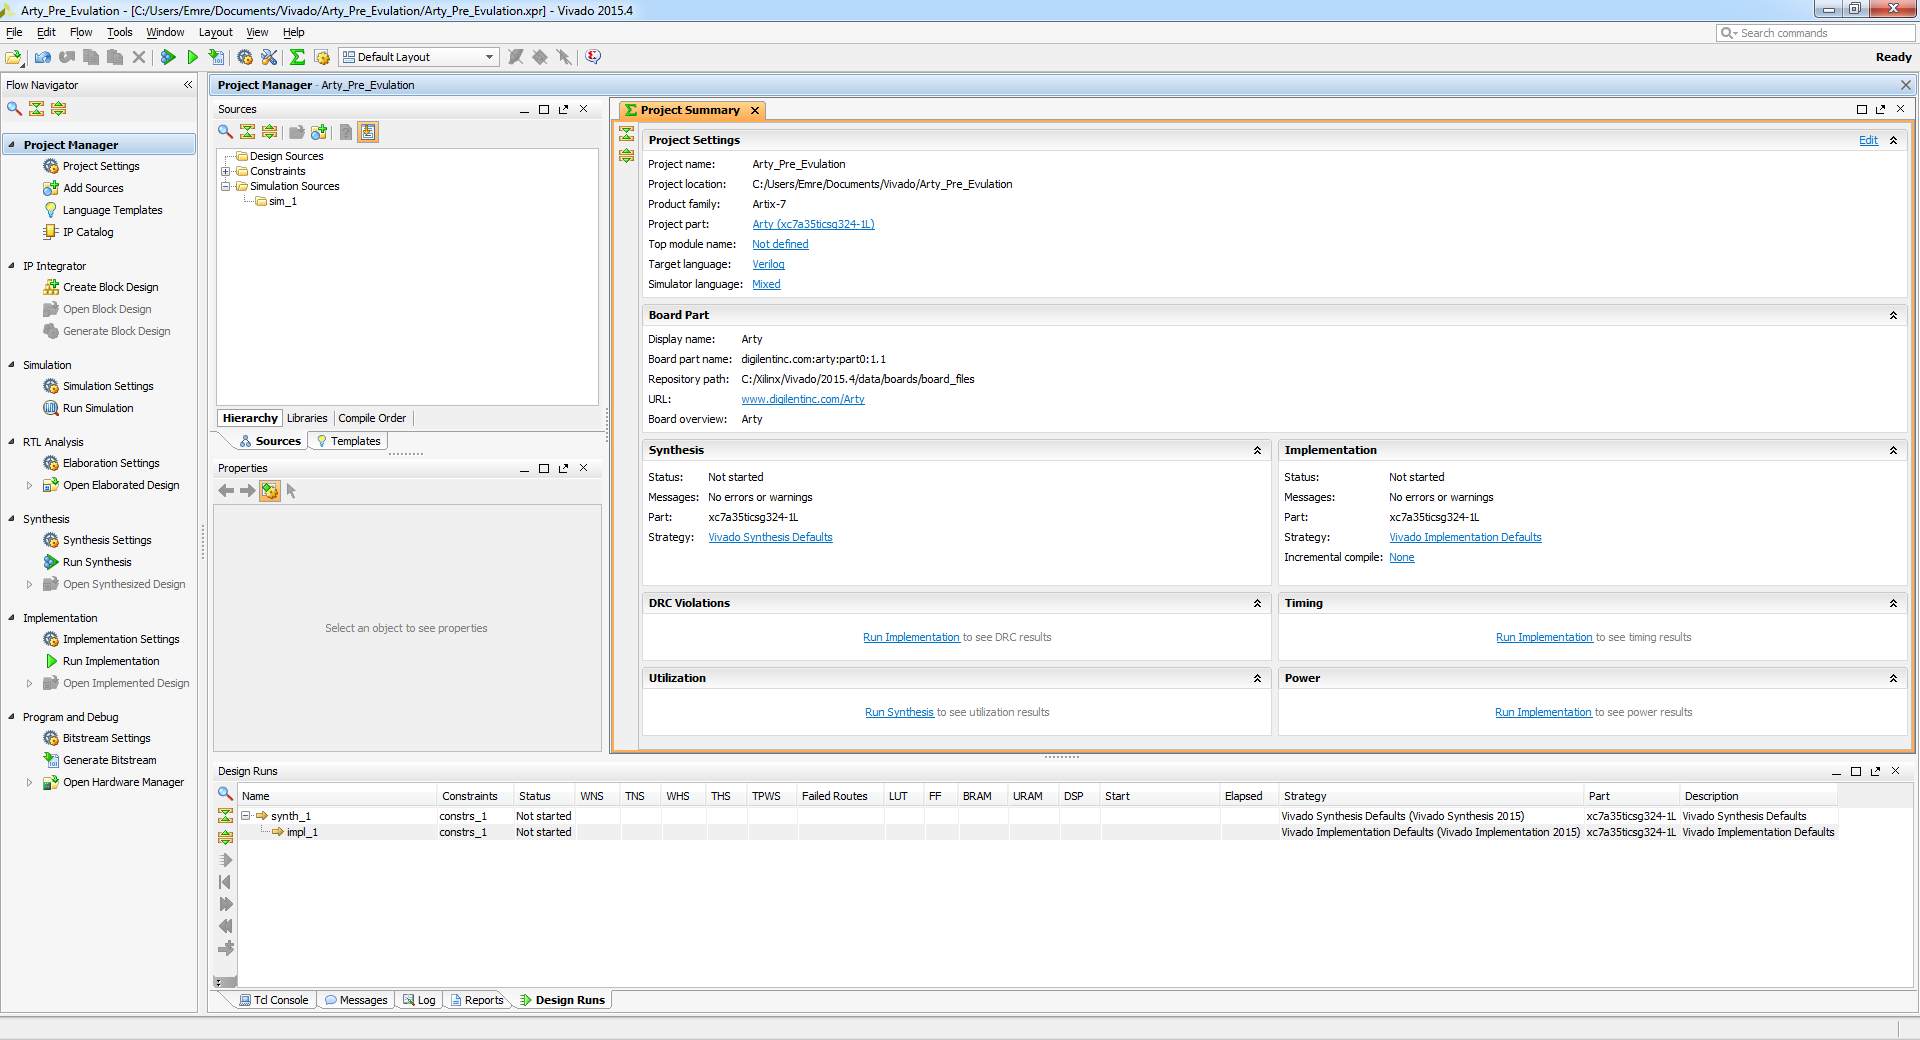
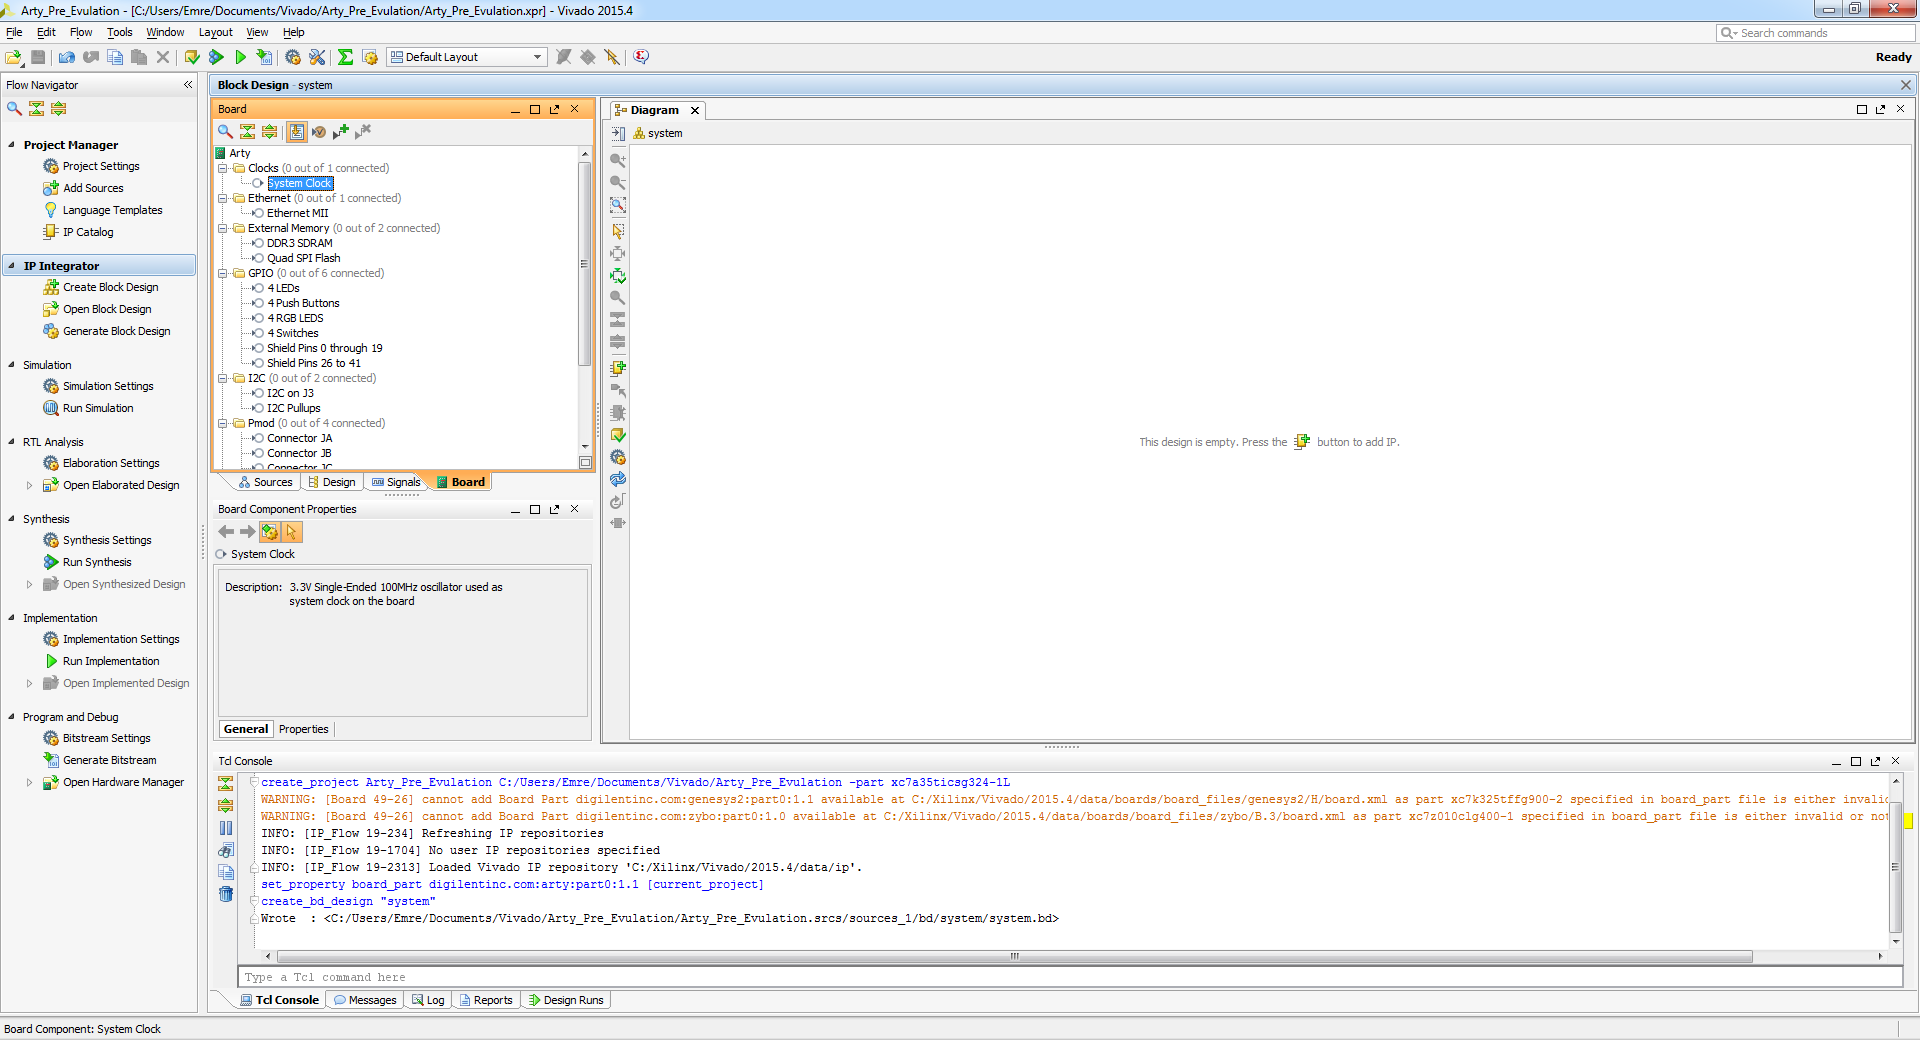
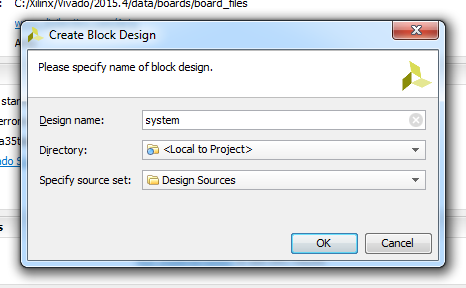
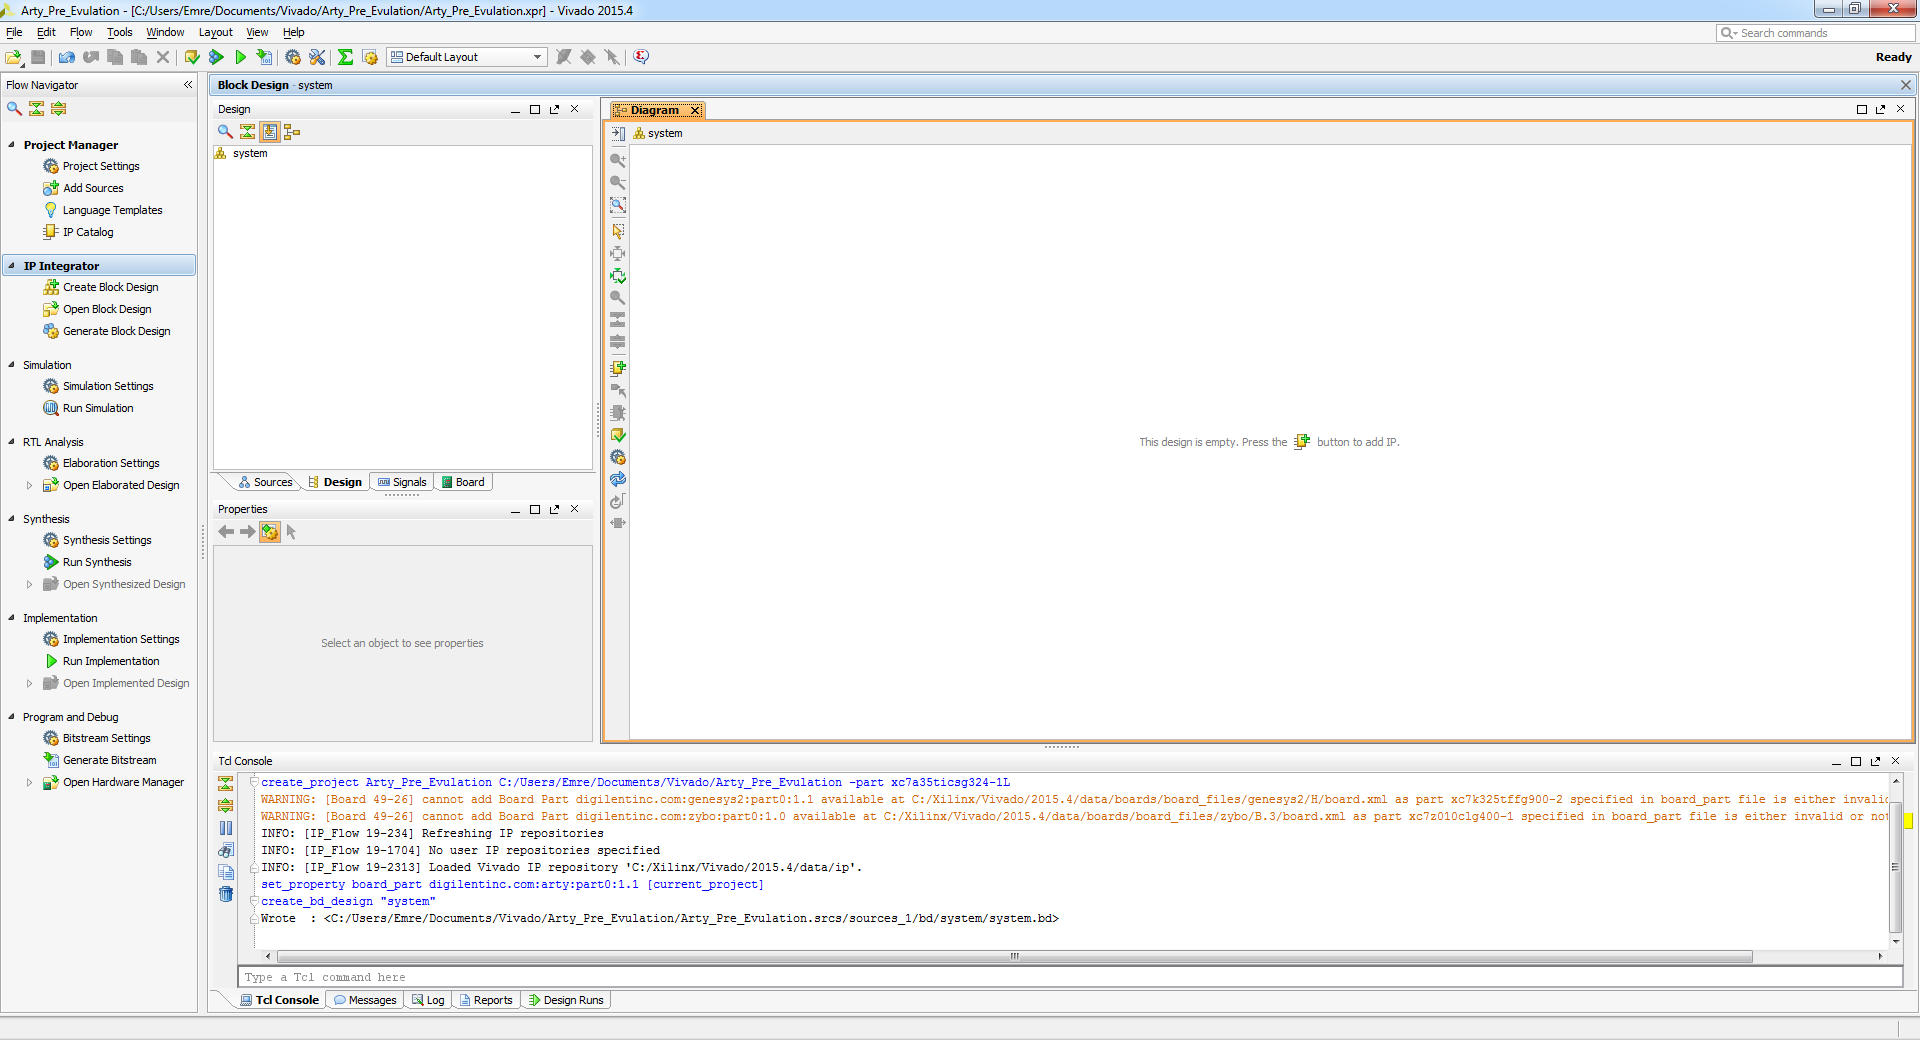
1- Open Vivado
2- Click "Create New Project"
3- Enter the name of Project
4- Next
5- Choose Board
6- Finish
7- Opened Vivado Project
8 - Click “Create Block Design” and Enter “Design name:”
9- Block Design view will be open like that
10- Go “Board” tab and drag and drop “System Clock” to Diagram.
Configuration
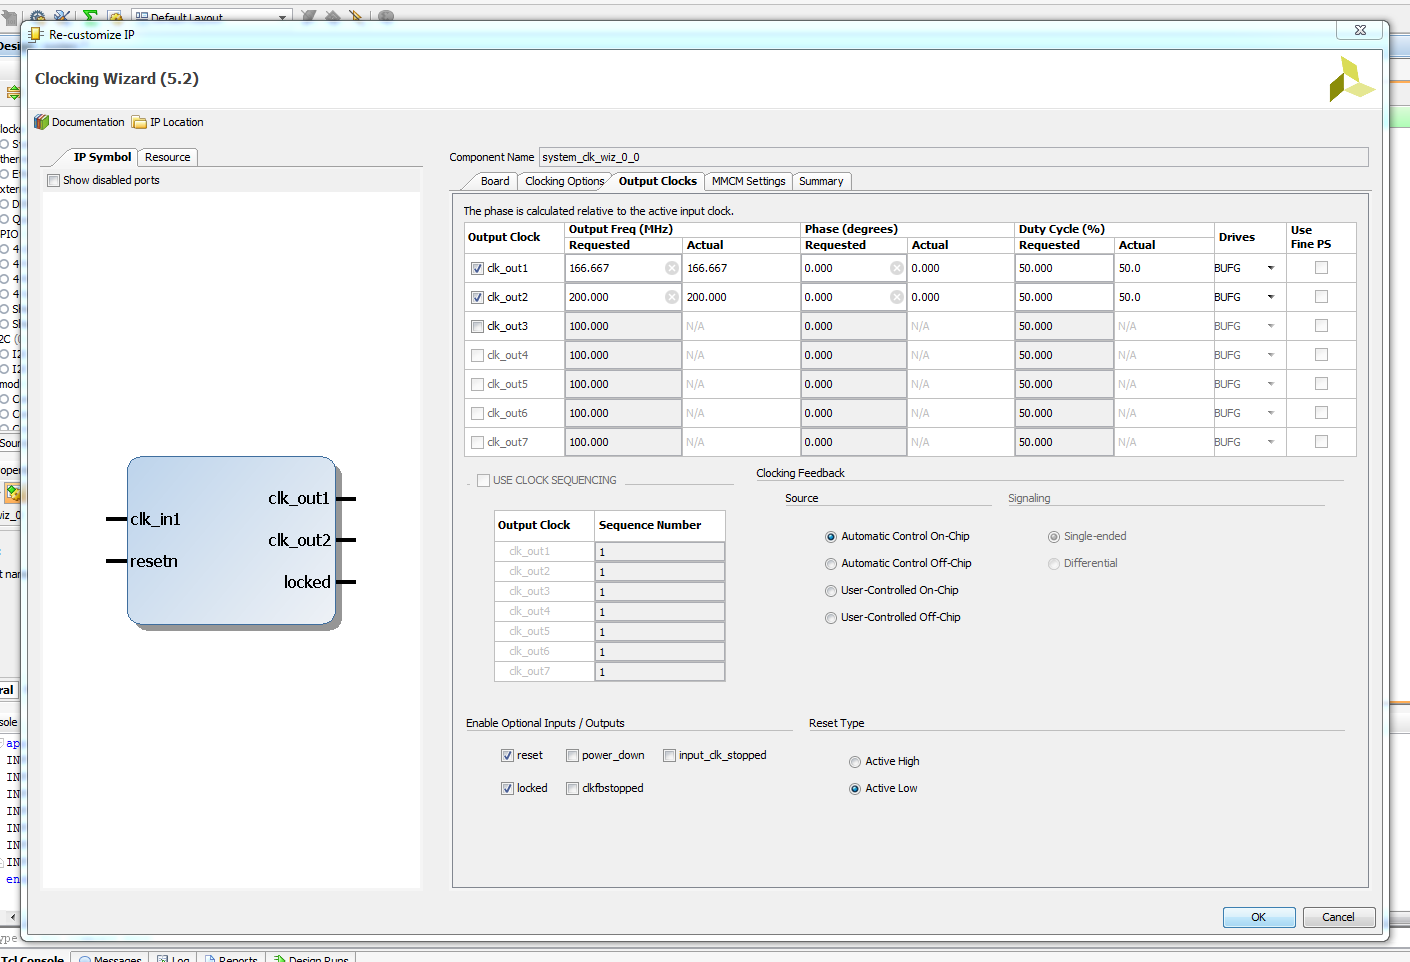
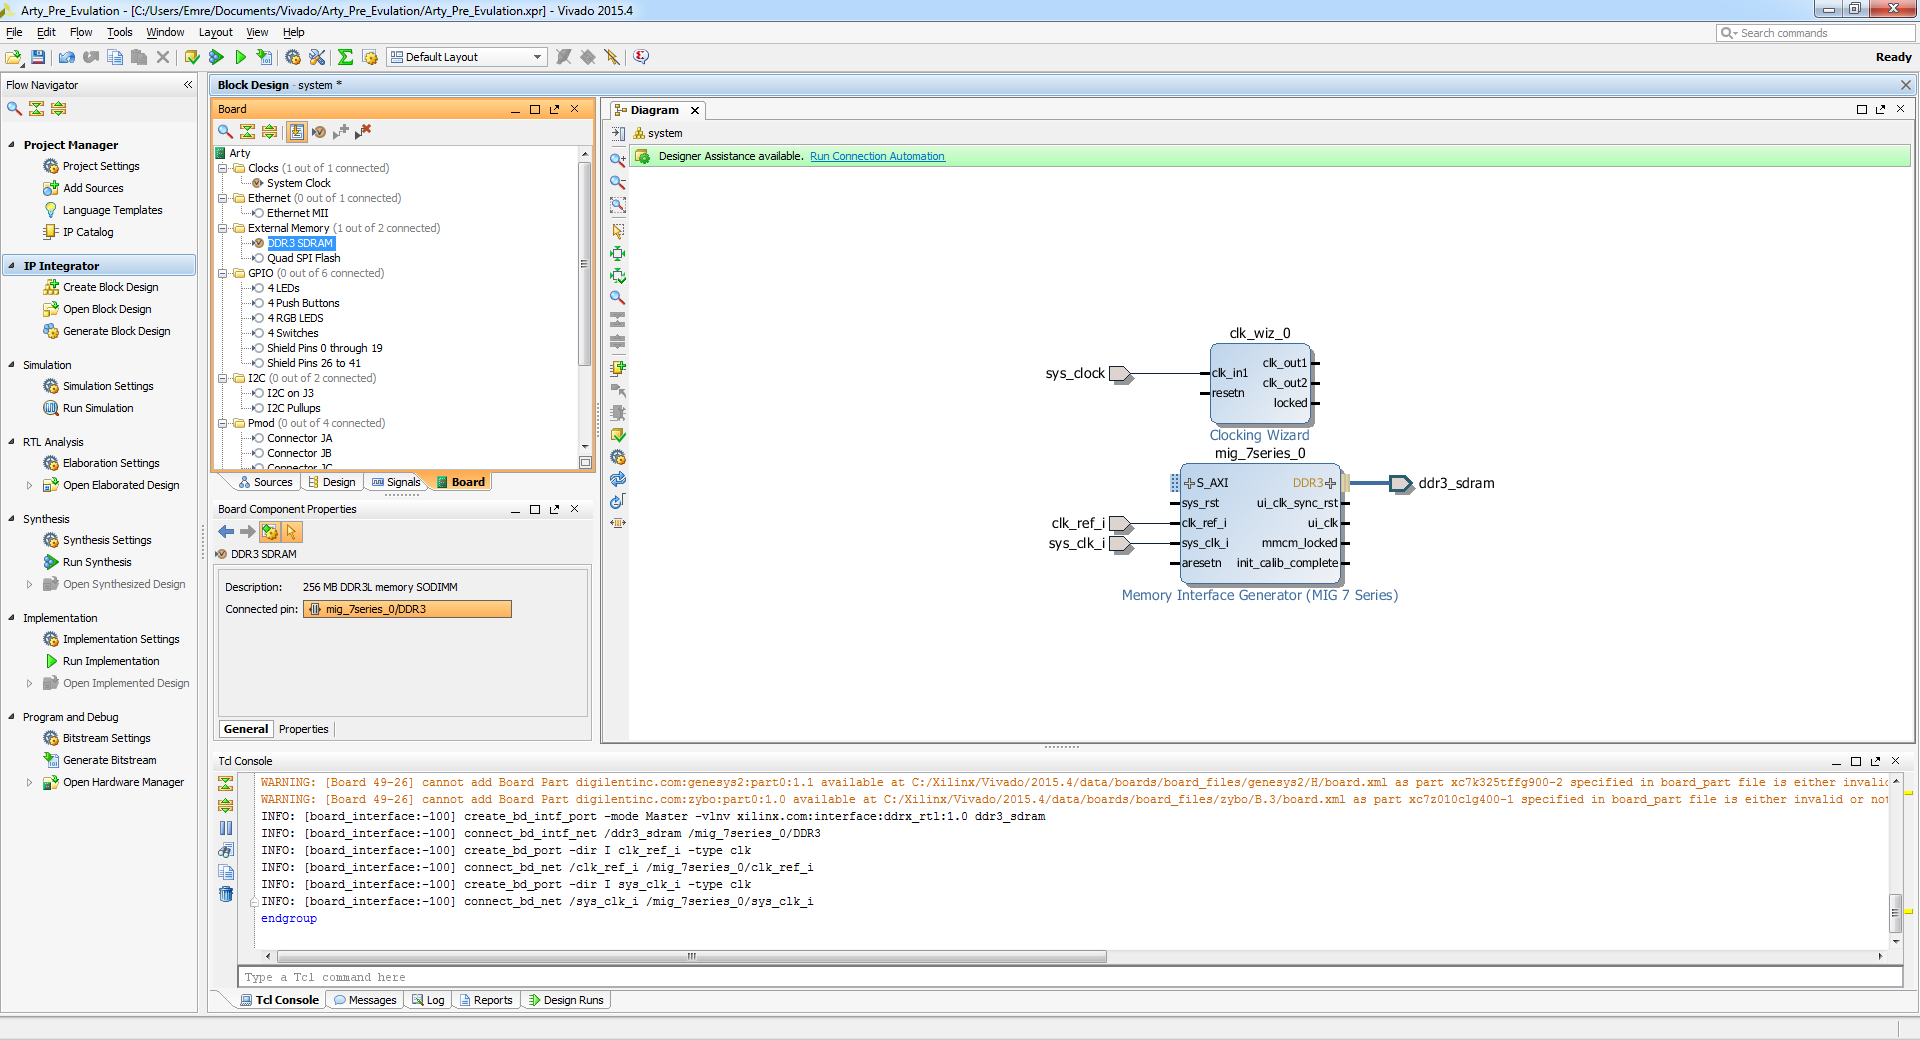
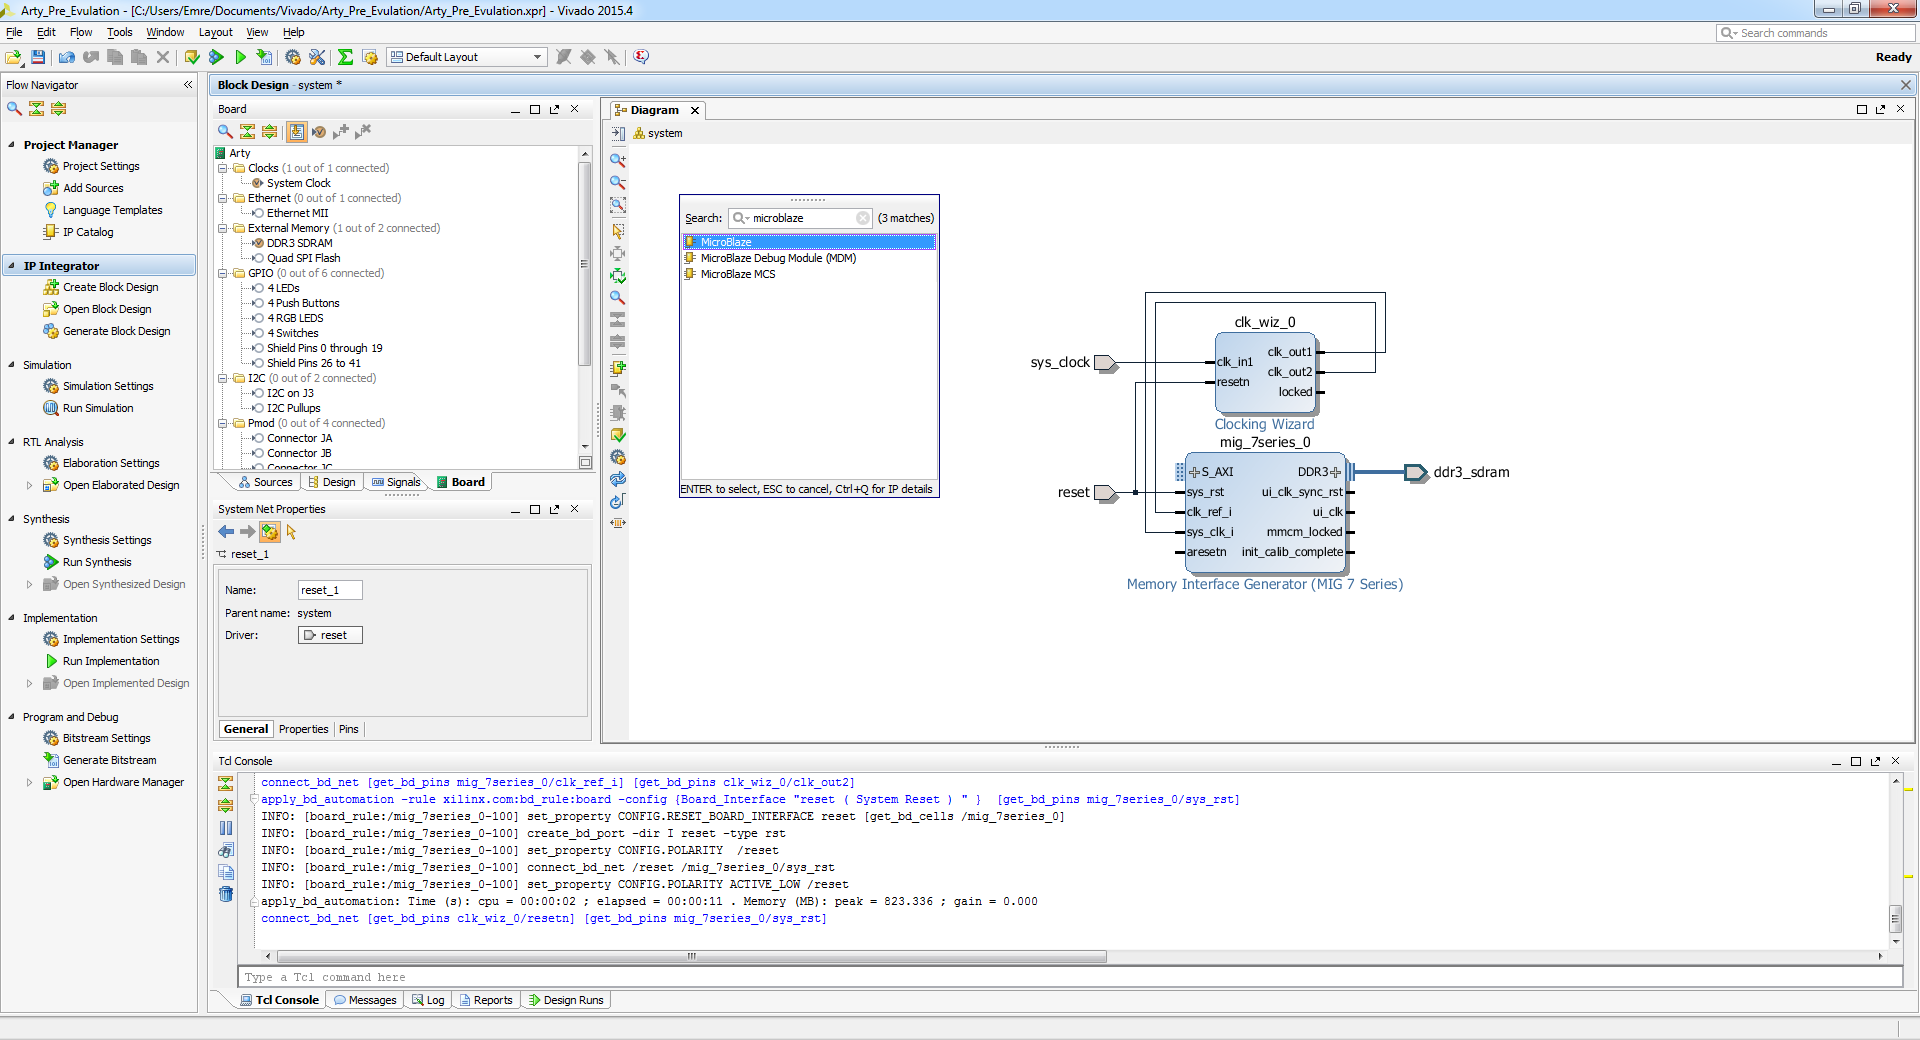
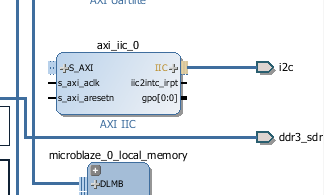
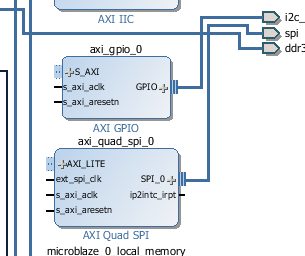
11 - Double Left Click the “Clocking Wizard” and Go tab “Output Clocks” then settings shall be like that and then click “OK”
12- Again Go “Board” tab and drag and drop “DDR3” to Diagram.
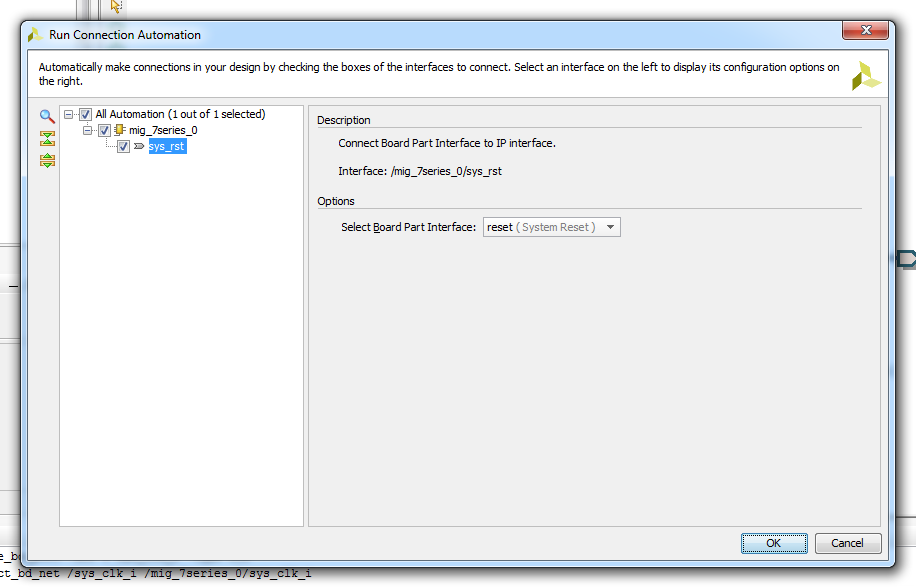
13- Click “ Run Connection Automation”
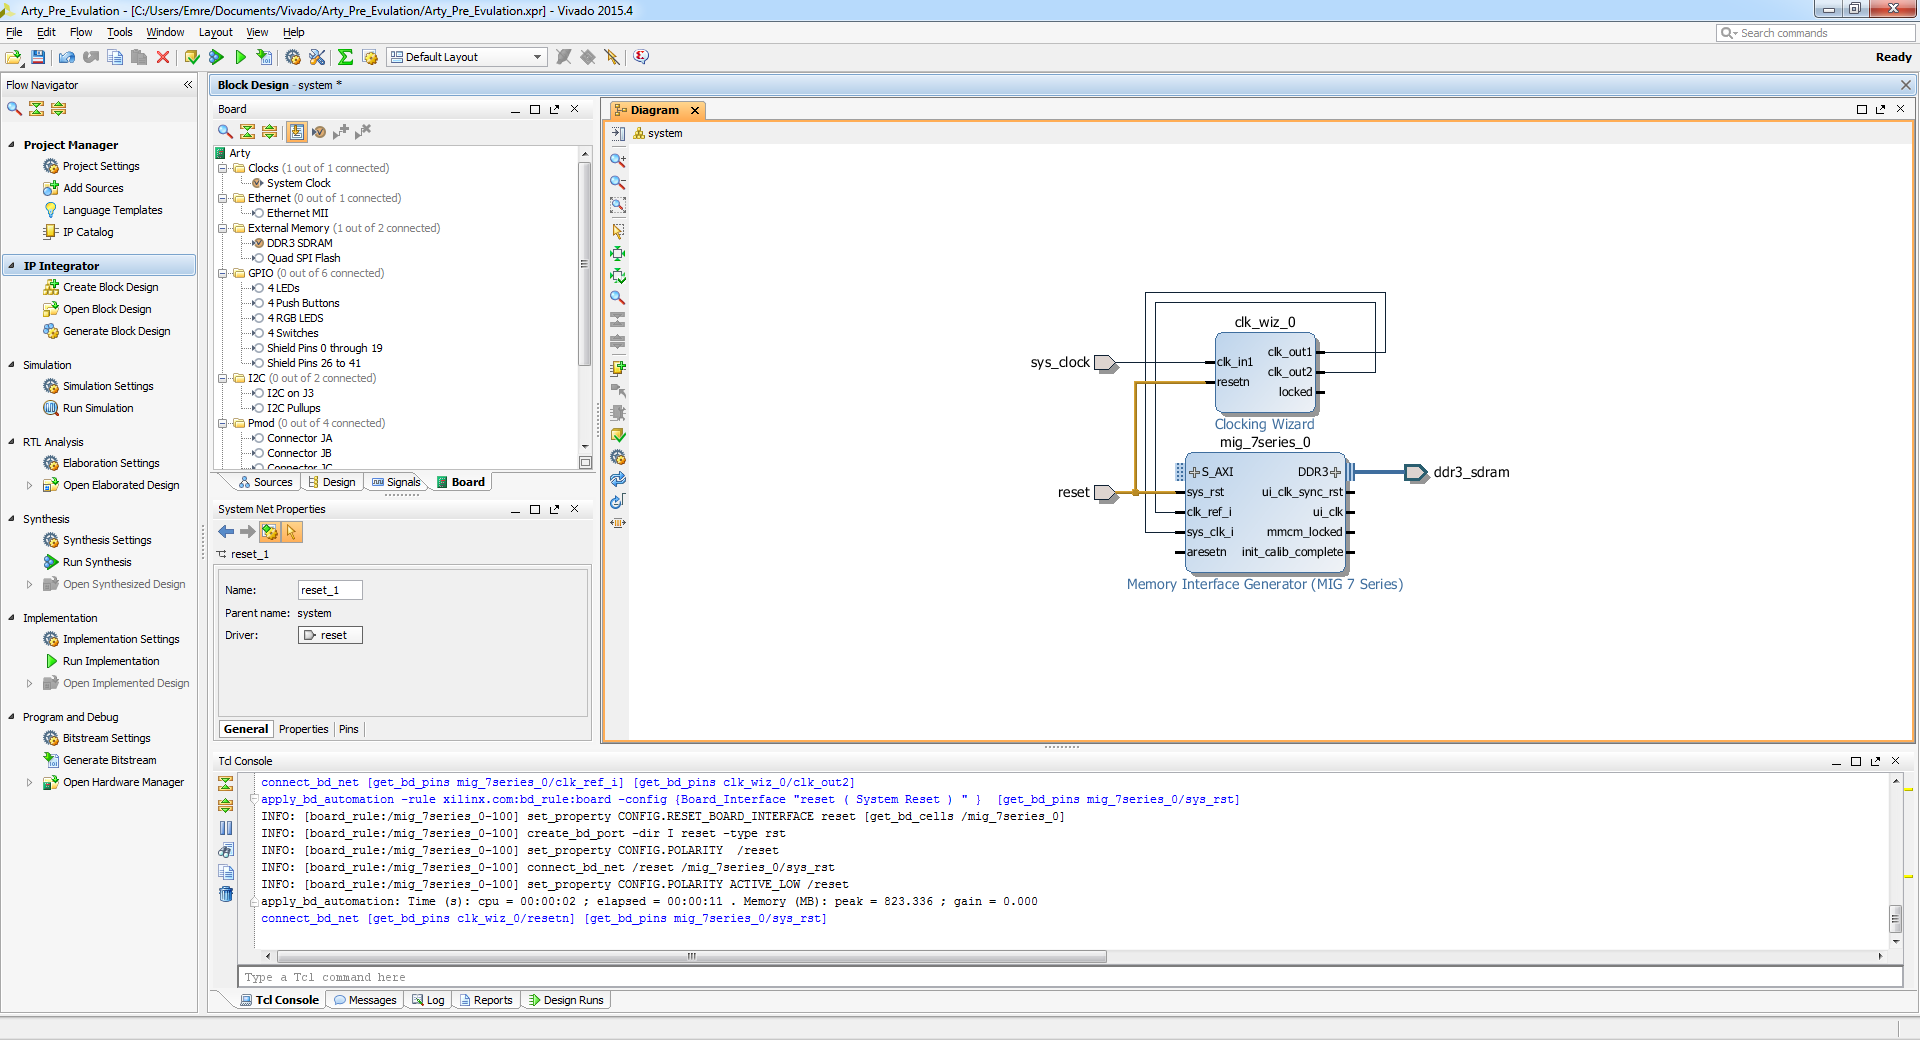
14- Delete “clk_ref_i” and “sys_clk_i”, connections will be like that.
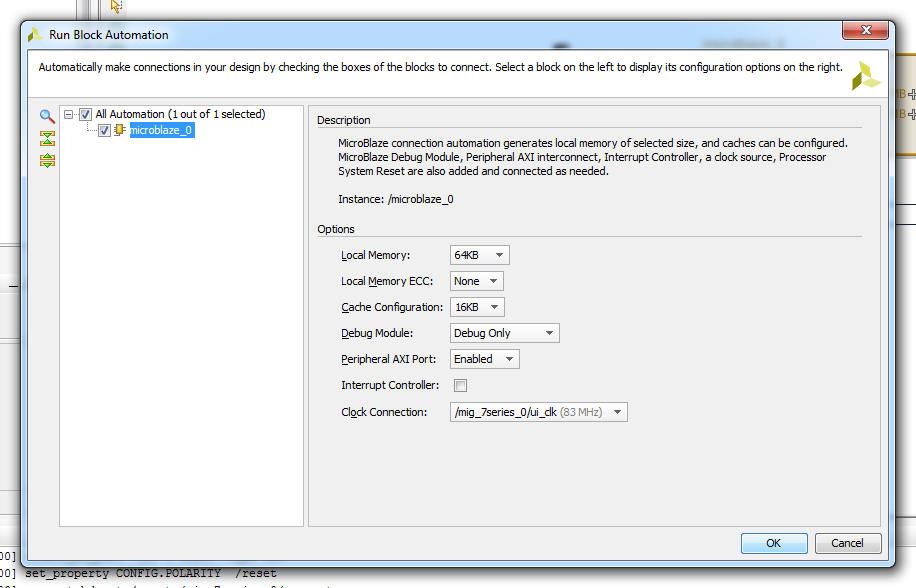
15- Add Ip “Microblaze”
16- Do Microblaze settings like that
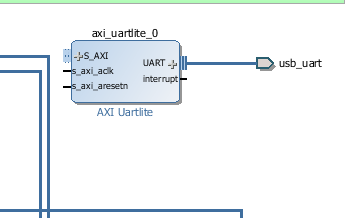
17- Again Go “Board” tab and drag and drop “USB UART” to Diagram.
18- Again Go “Board” tab and drag and drop “I2C on J3” to Diagram.
19- Again Go “Board” tab and drag and drop “I2C Pullups” to Diagram.
20- Again Go “Board” tab and drag and drop “SPI connector J6” to Diagram.
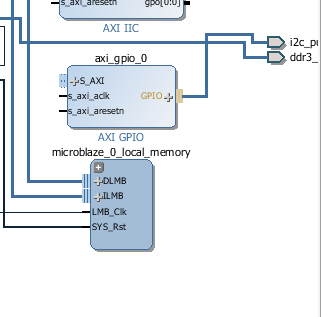
21- Right click and Add Ip “GPIO”
Configuration
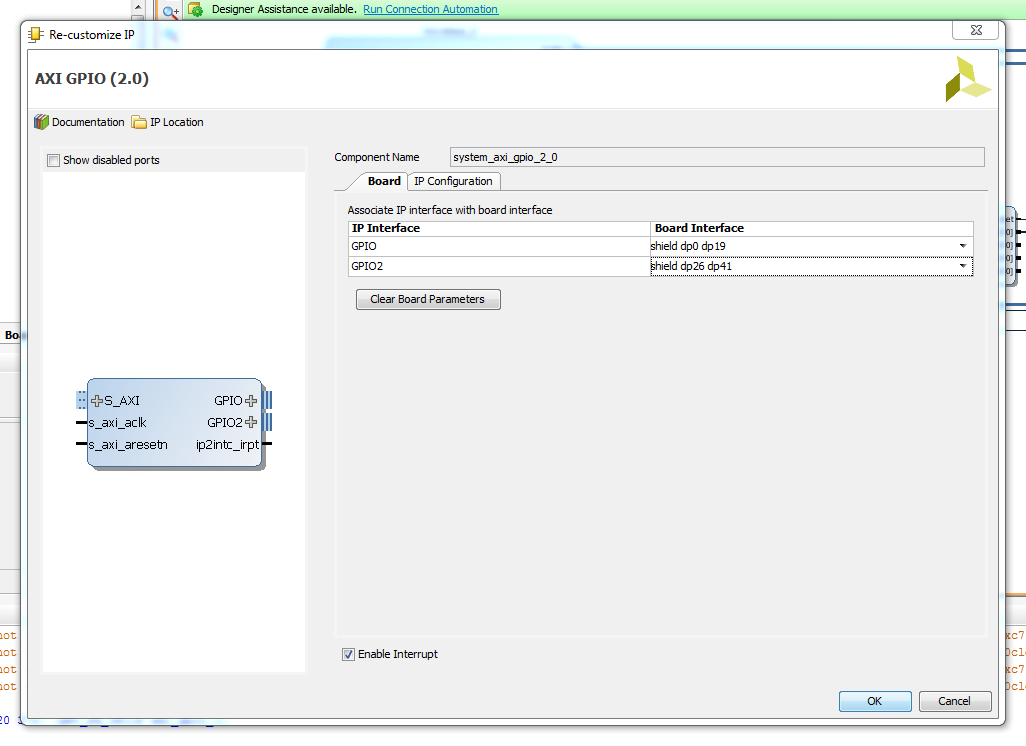
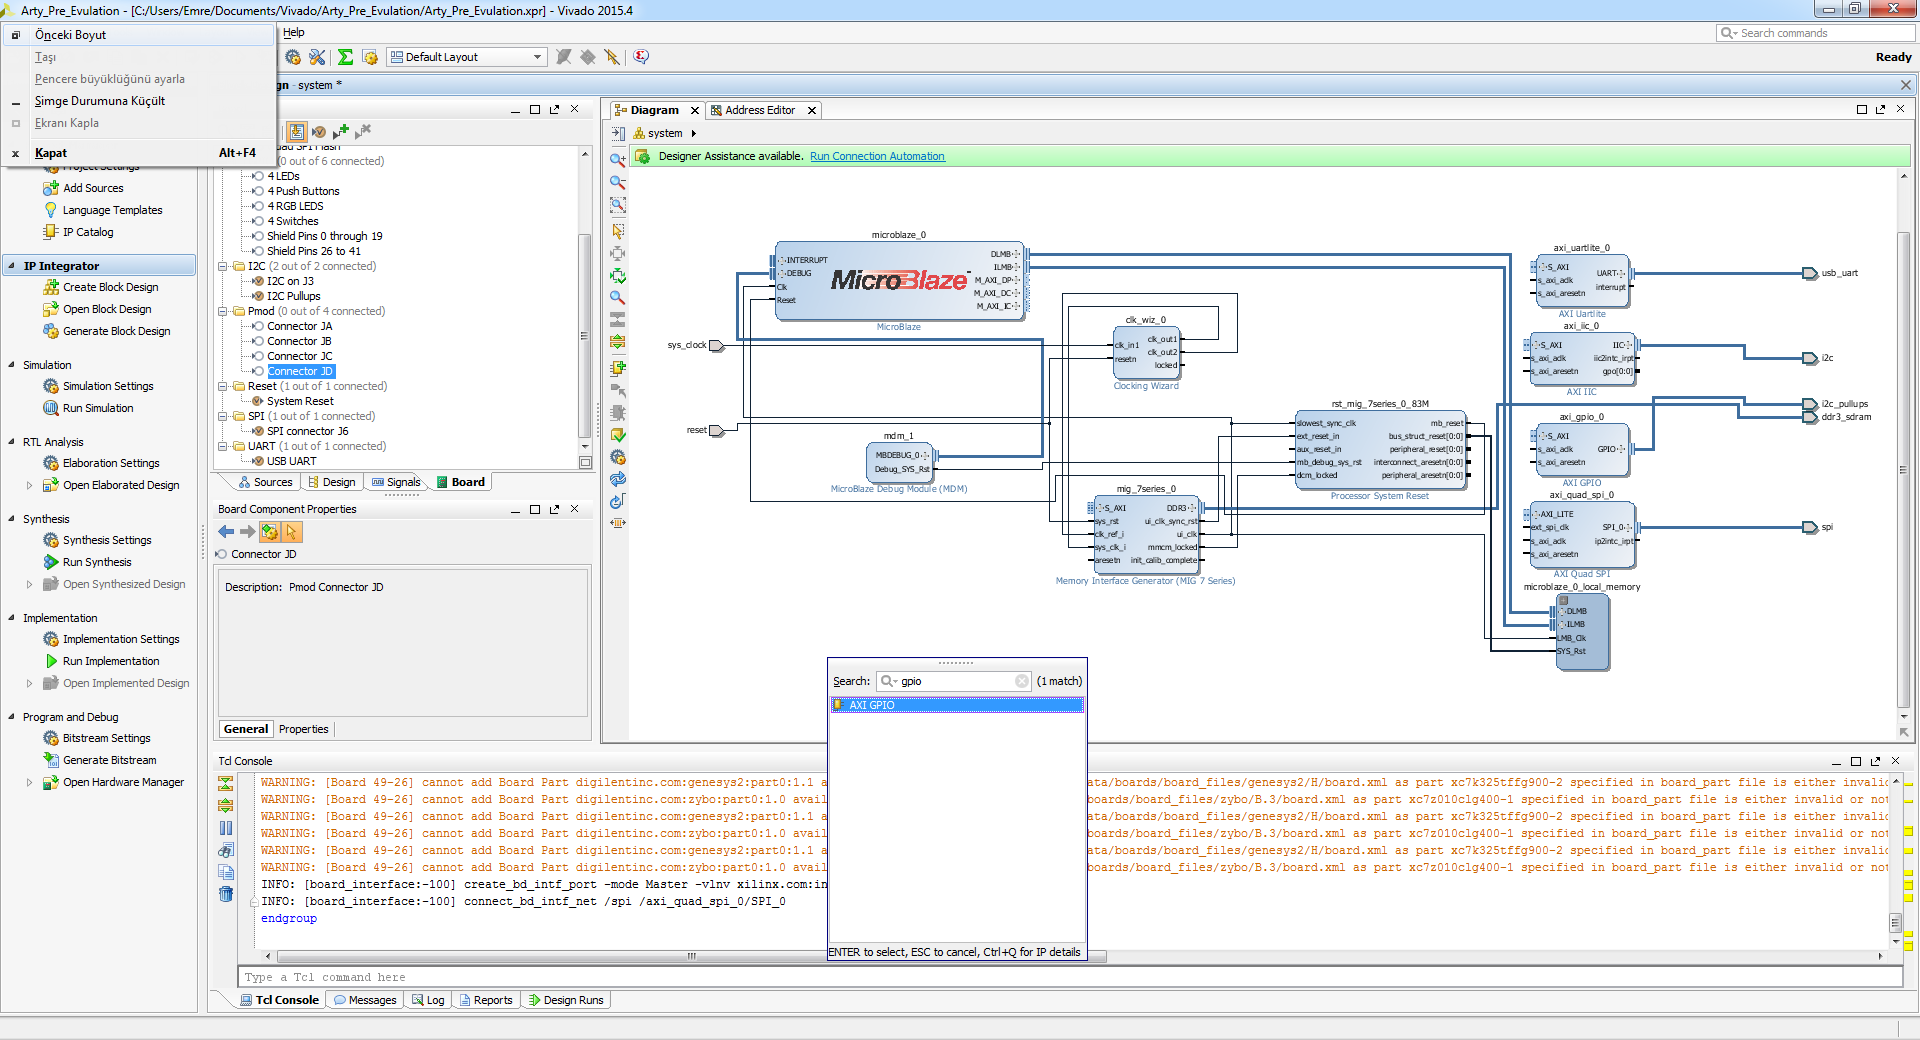
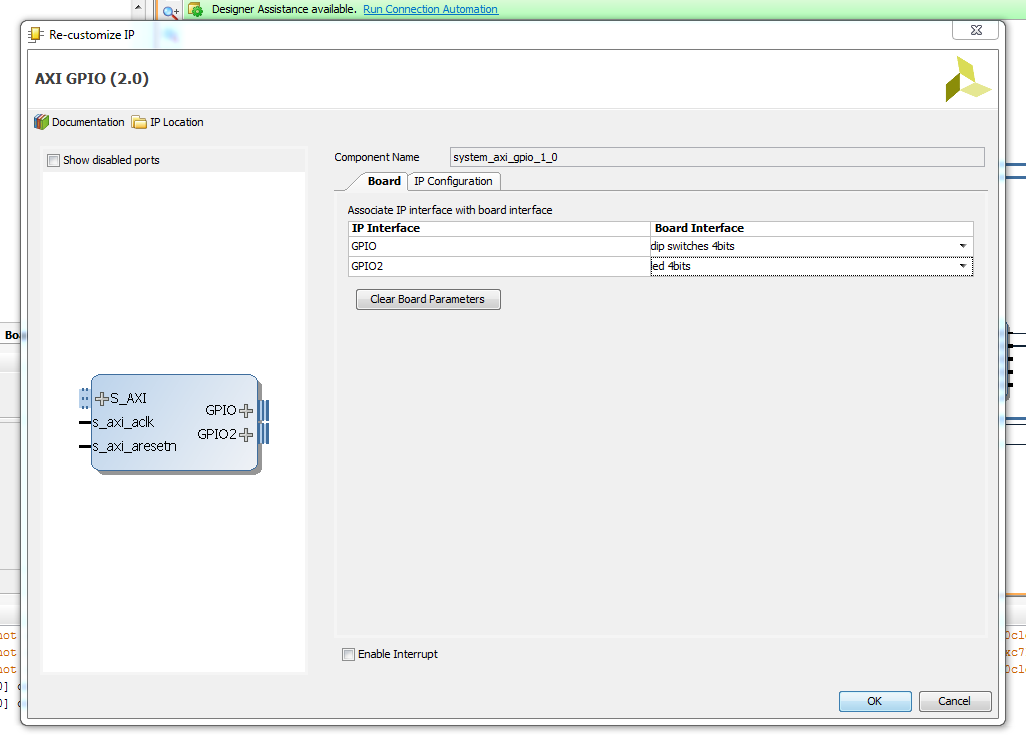
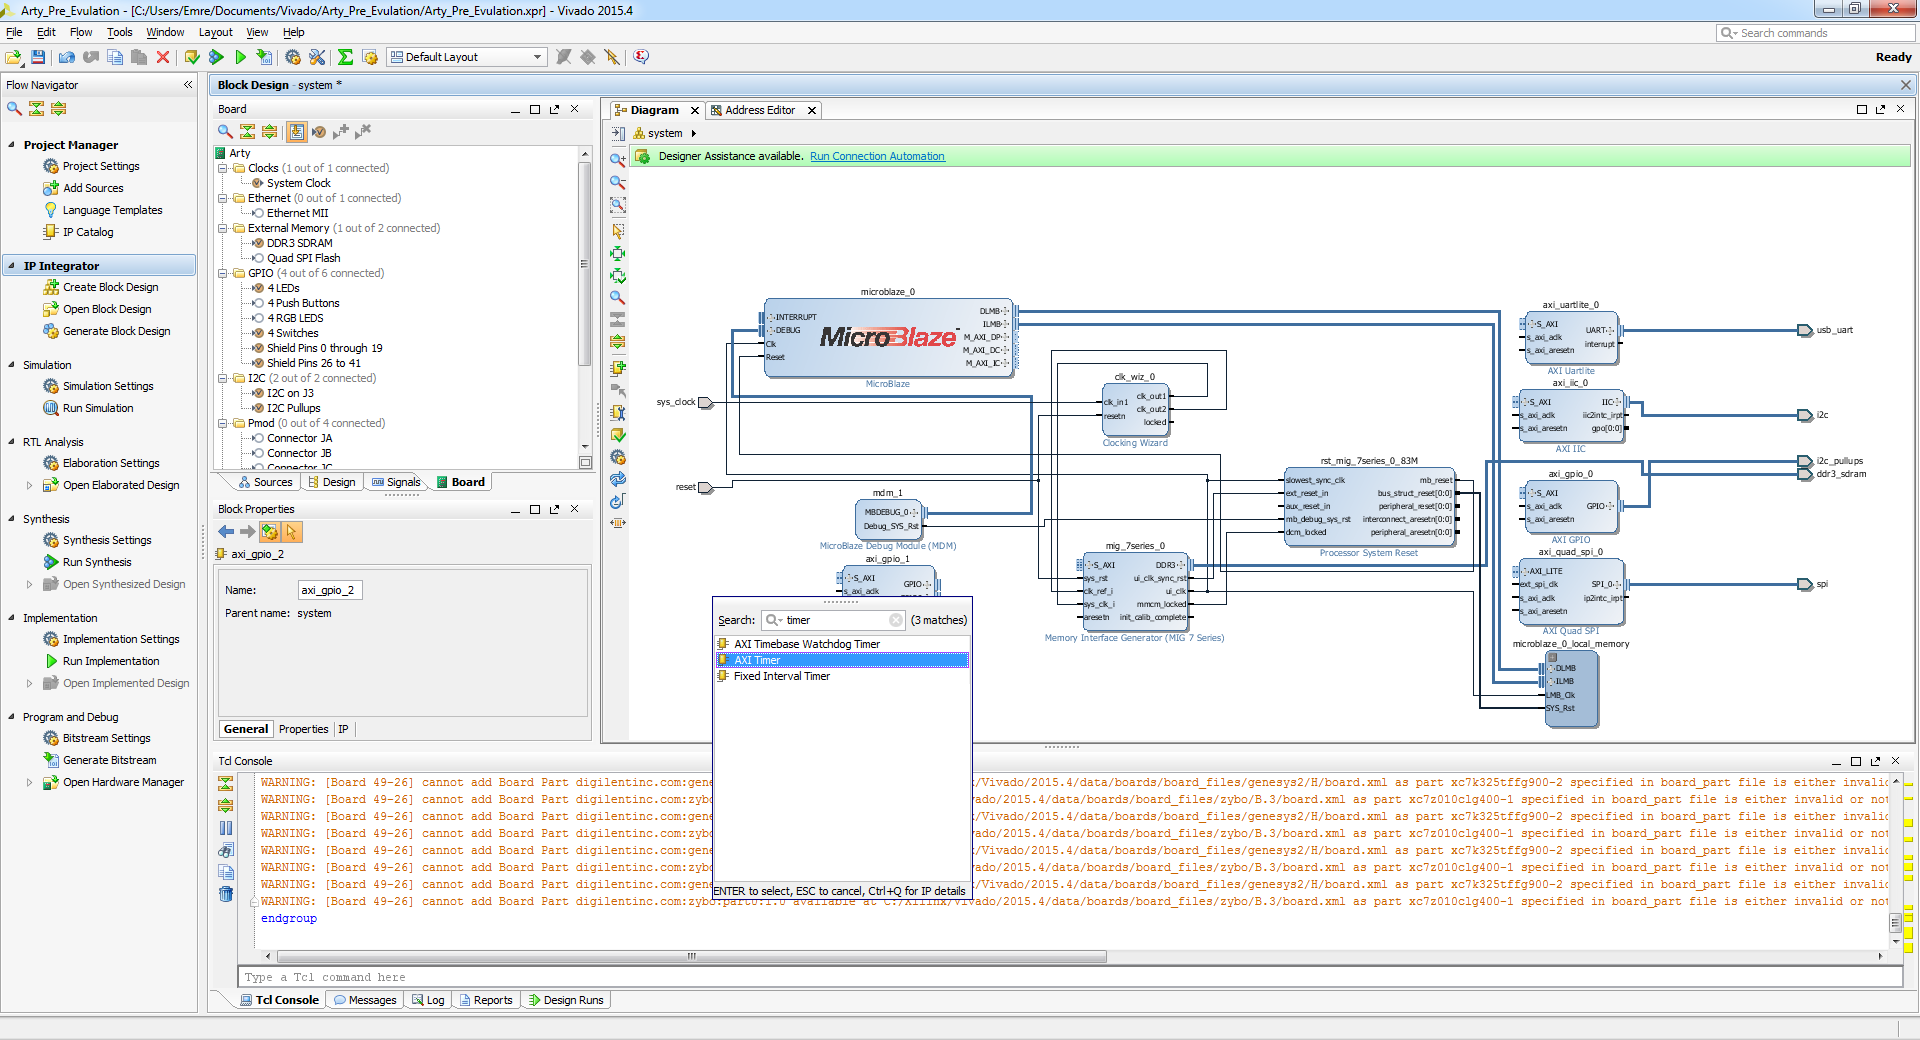
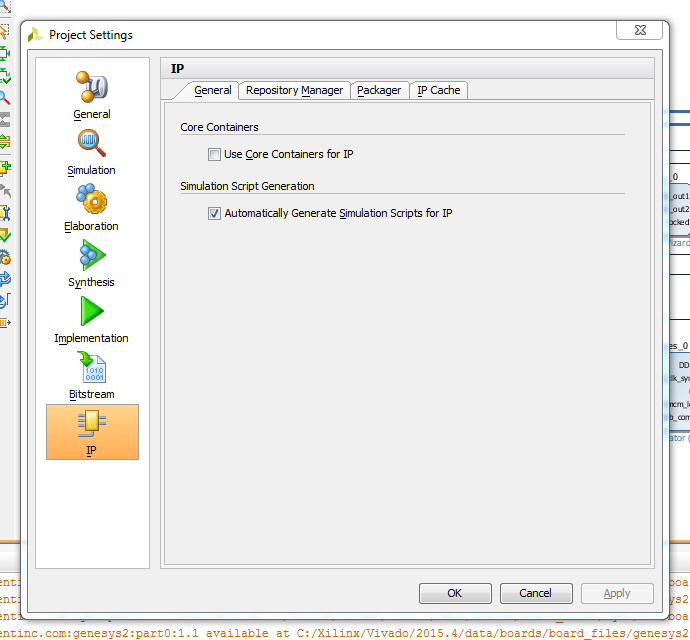
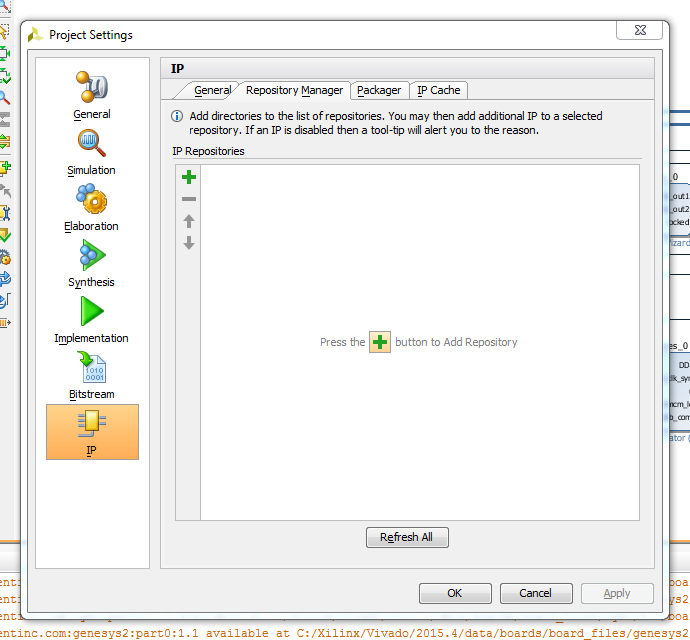
22- Double left Click to added GPIO Block, then configure like that
23- Again Right click and Add Ip “GPIO”, Double left Click to added GPIO Block, then configure like that
24- Right click and Add Ip “timer”
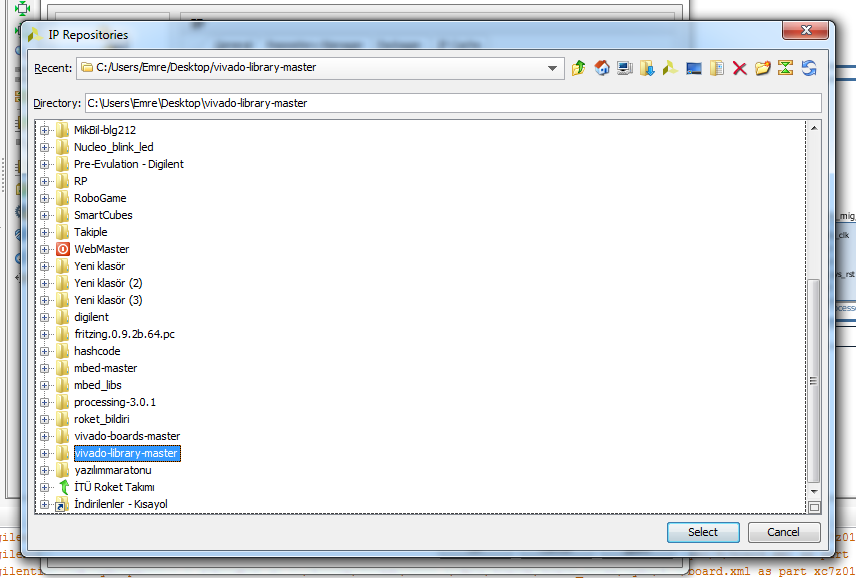
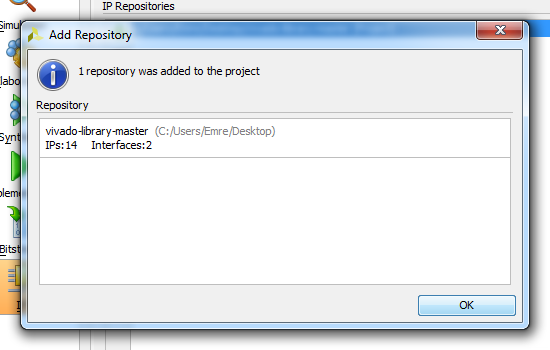
25- Download Custom Ips from here https://github.com/Digilent/vivado-library and then extract the folder.
26- Right click and click “Ip settings”
27- Go “Repository Manager” tab, then add downloaded(step-25) fi
Configuration
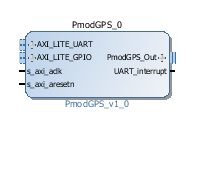
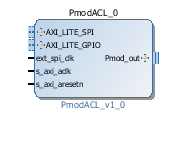
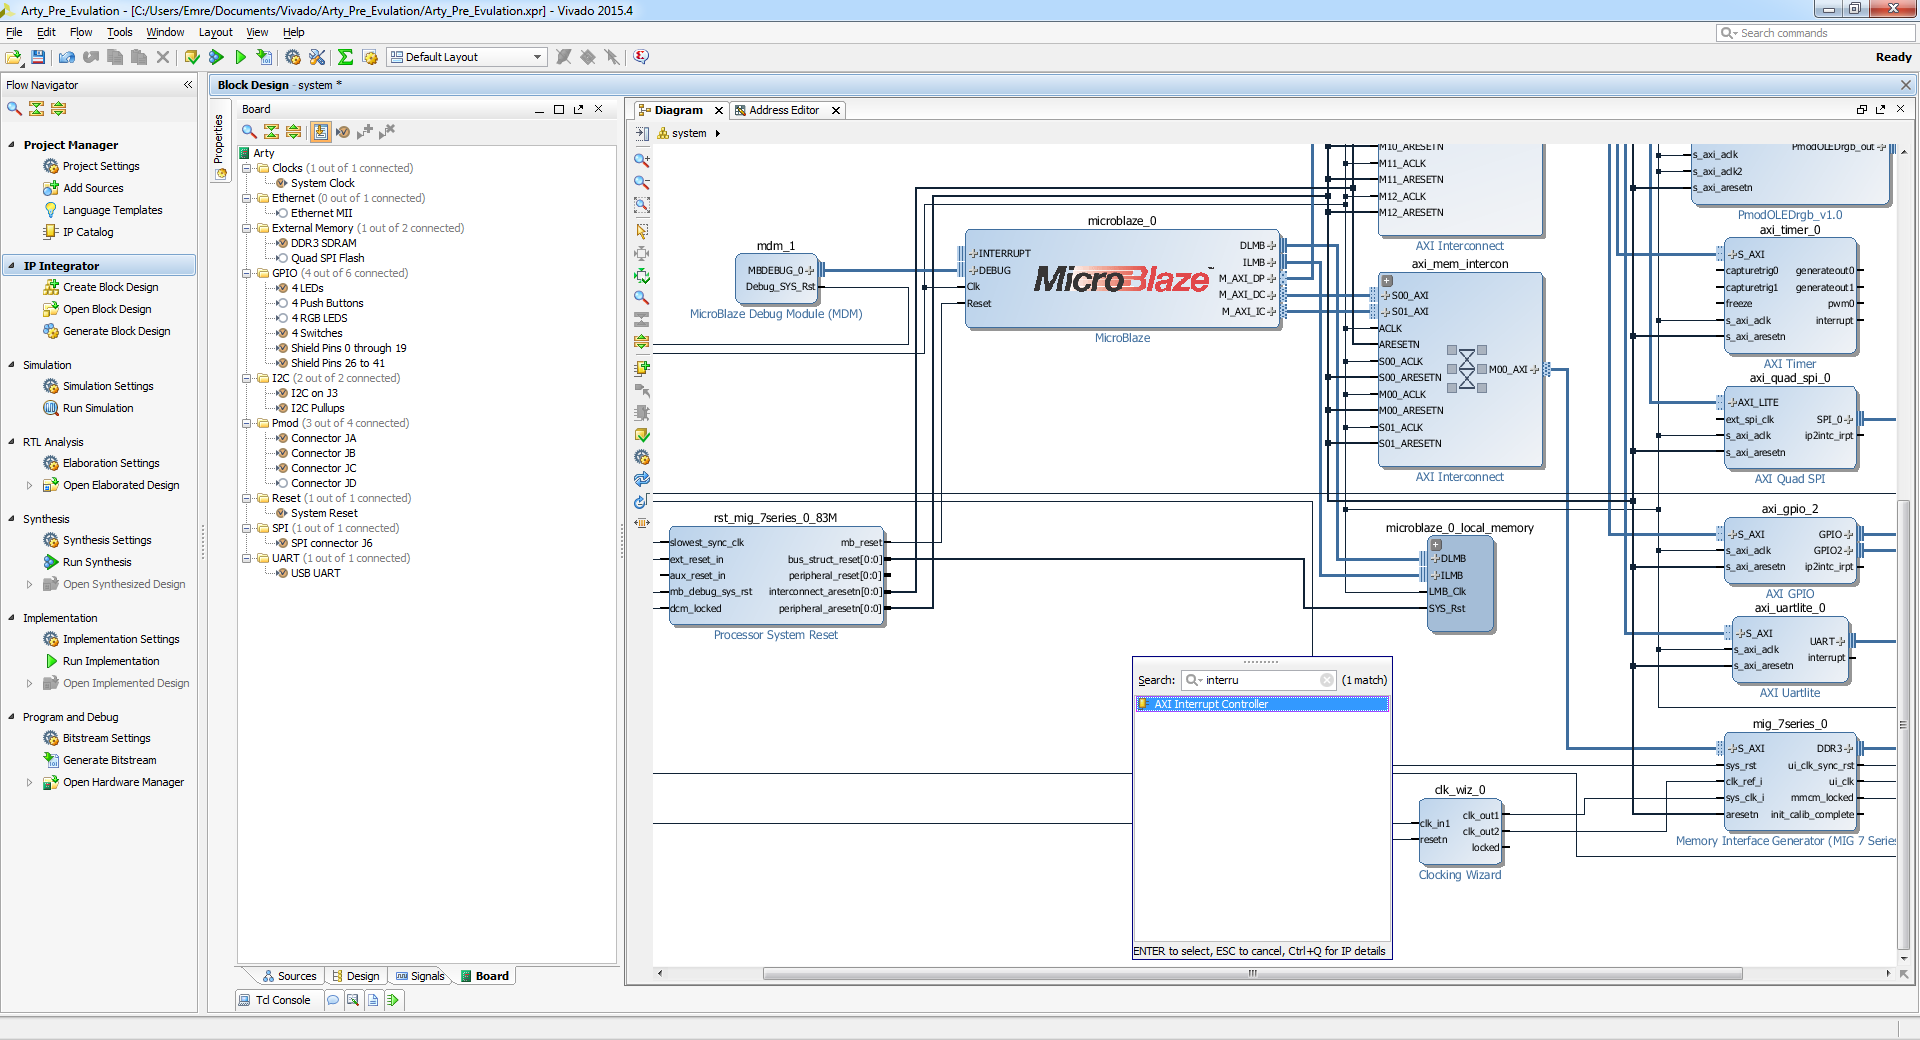

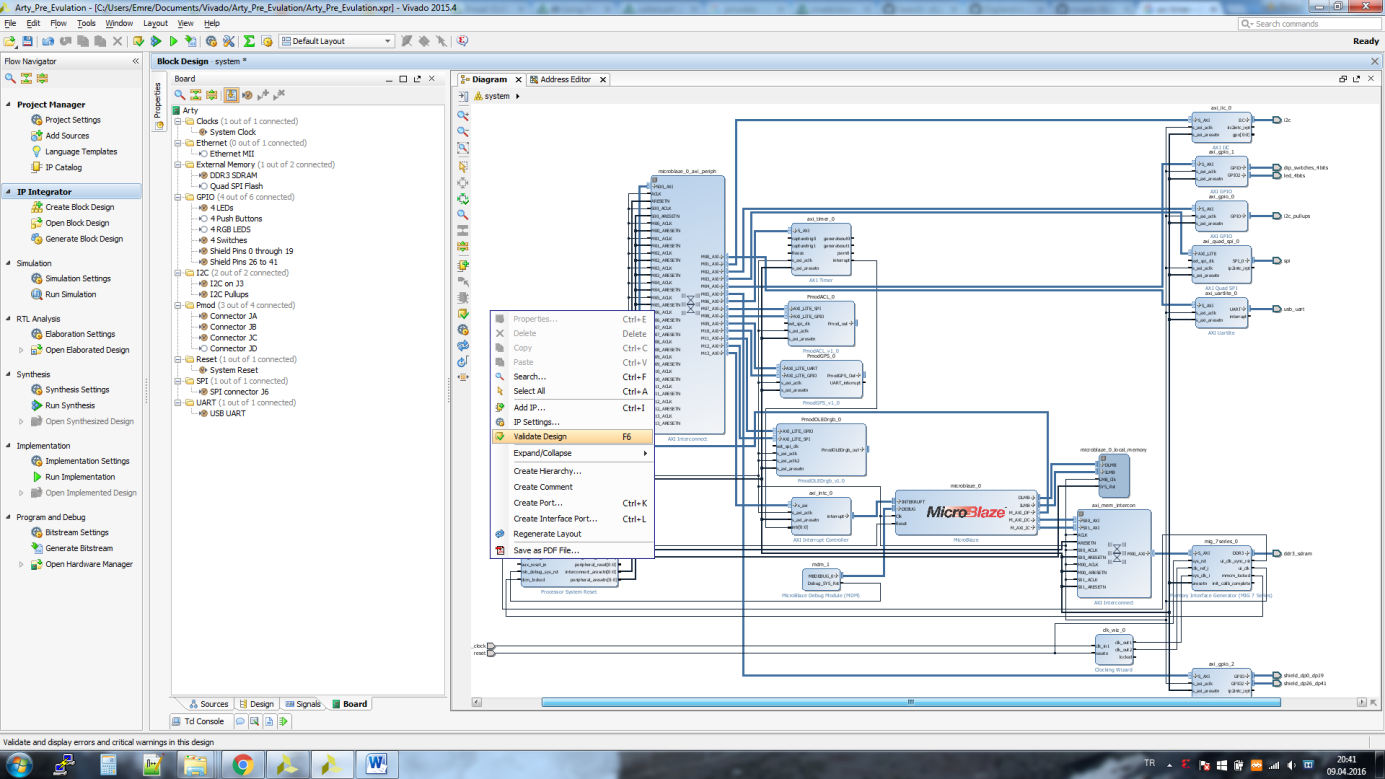
28- Right click and Add Ip “Pmod”, which is acl and gps.
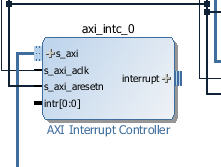
29- Right click and Add Ip “interrupt”, interrupt controller
30- Connect with microblaze of interrupt port with interrupt controller’s port.(“INTERRUPT”)
31- Go “Board” tab and drag and drop “Connector JA” to PMODACL.
32- Go “Board” tab and drag and drop “Connector JB” to PMODGPS.
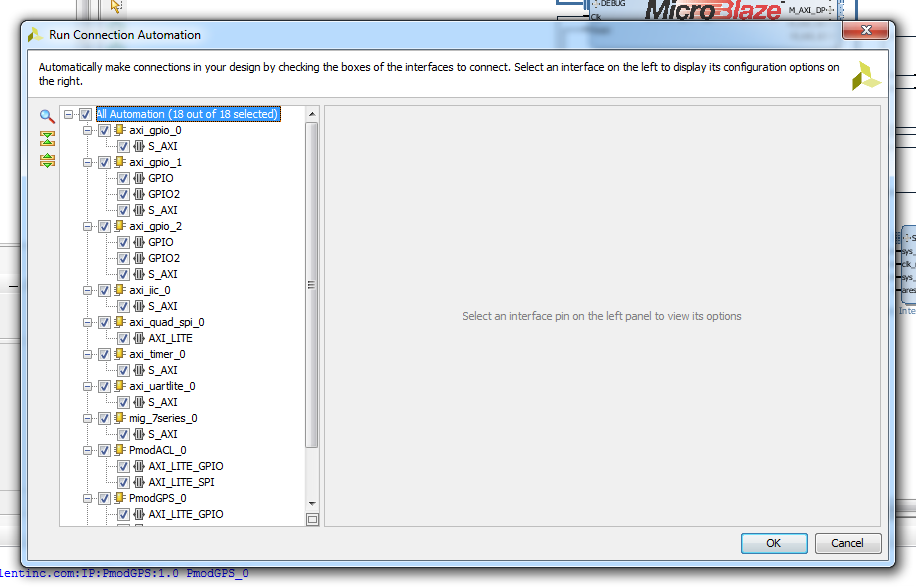
33- Click “Run Connection Automation” , then click “All Automation” then “OK”
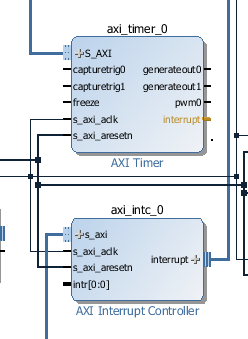
34- Connect “Timer/interrupt” and “Interrupt Controller/int[0:0]” ports.
35- Right Click and run “Validate Design”
Configuration
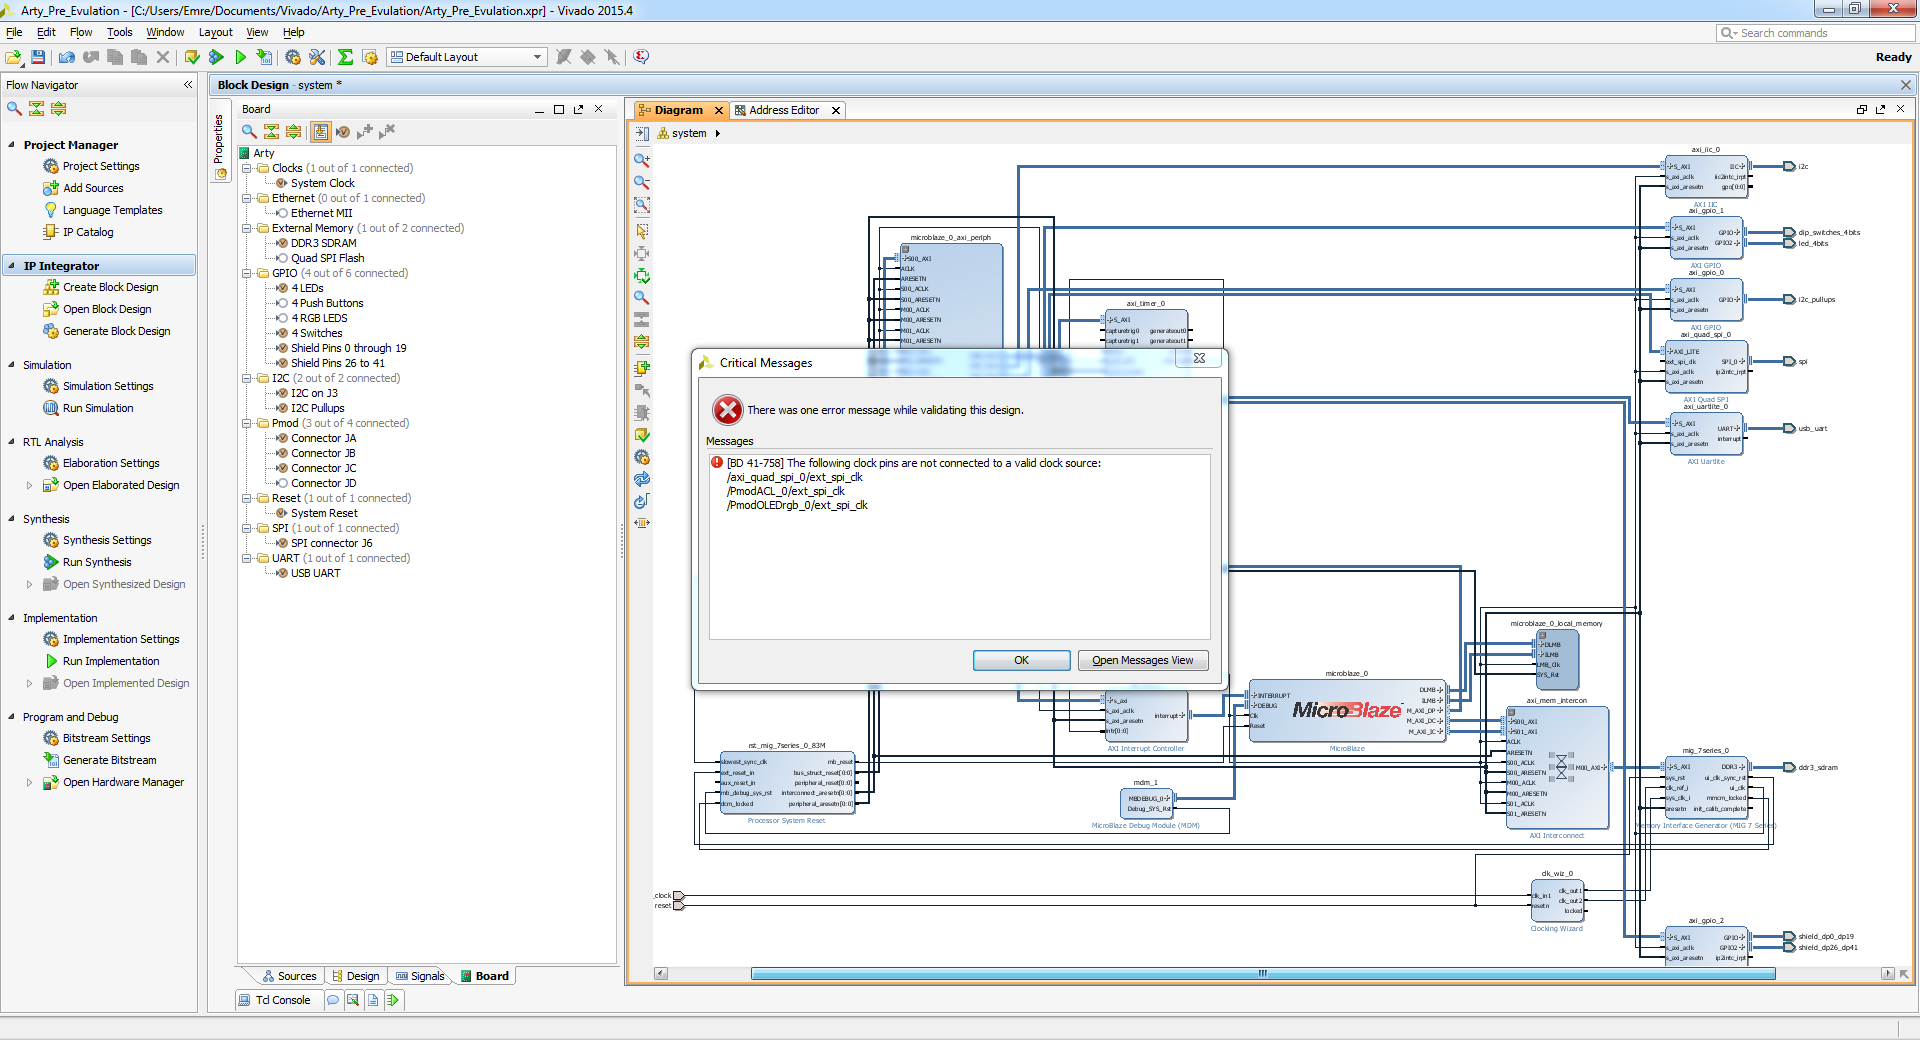
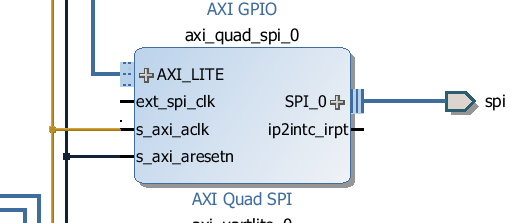
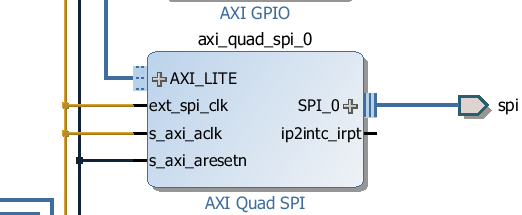
36- If you got an error like that, you shall connect “external clocks” to “axi_aclk” for all incorrect blocks
37- Then again, Right Click and run “Validate Design”
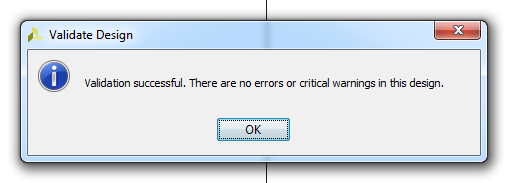
38-You must see that box if you have not any error.
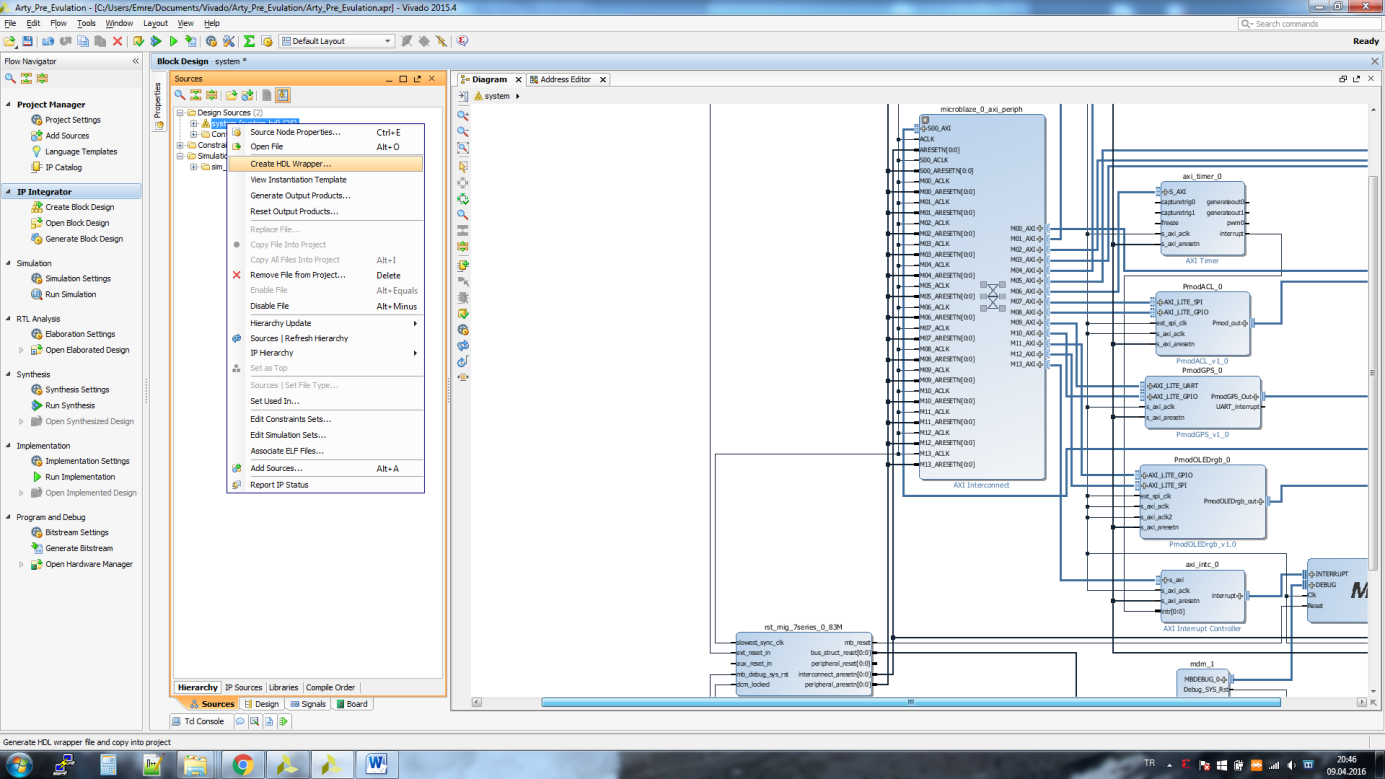
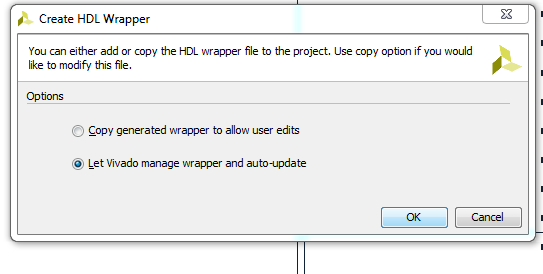
Then Click “Creat HDL Wraper”
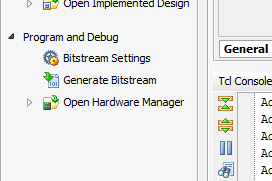
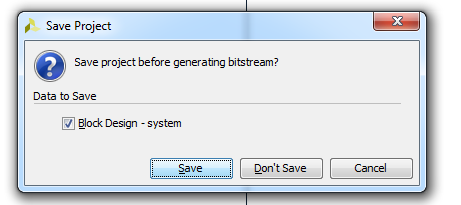
39- Click “Generate Bitstream”
Configuration
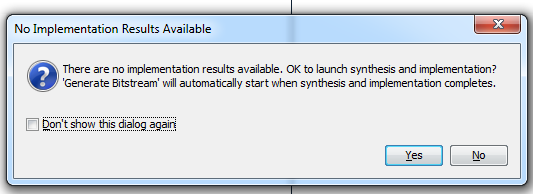
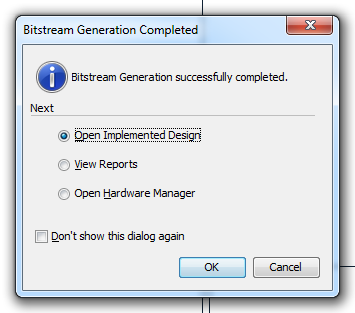
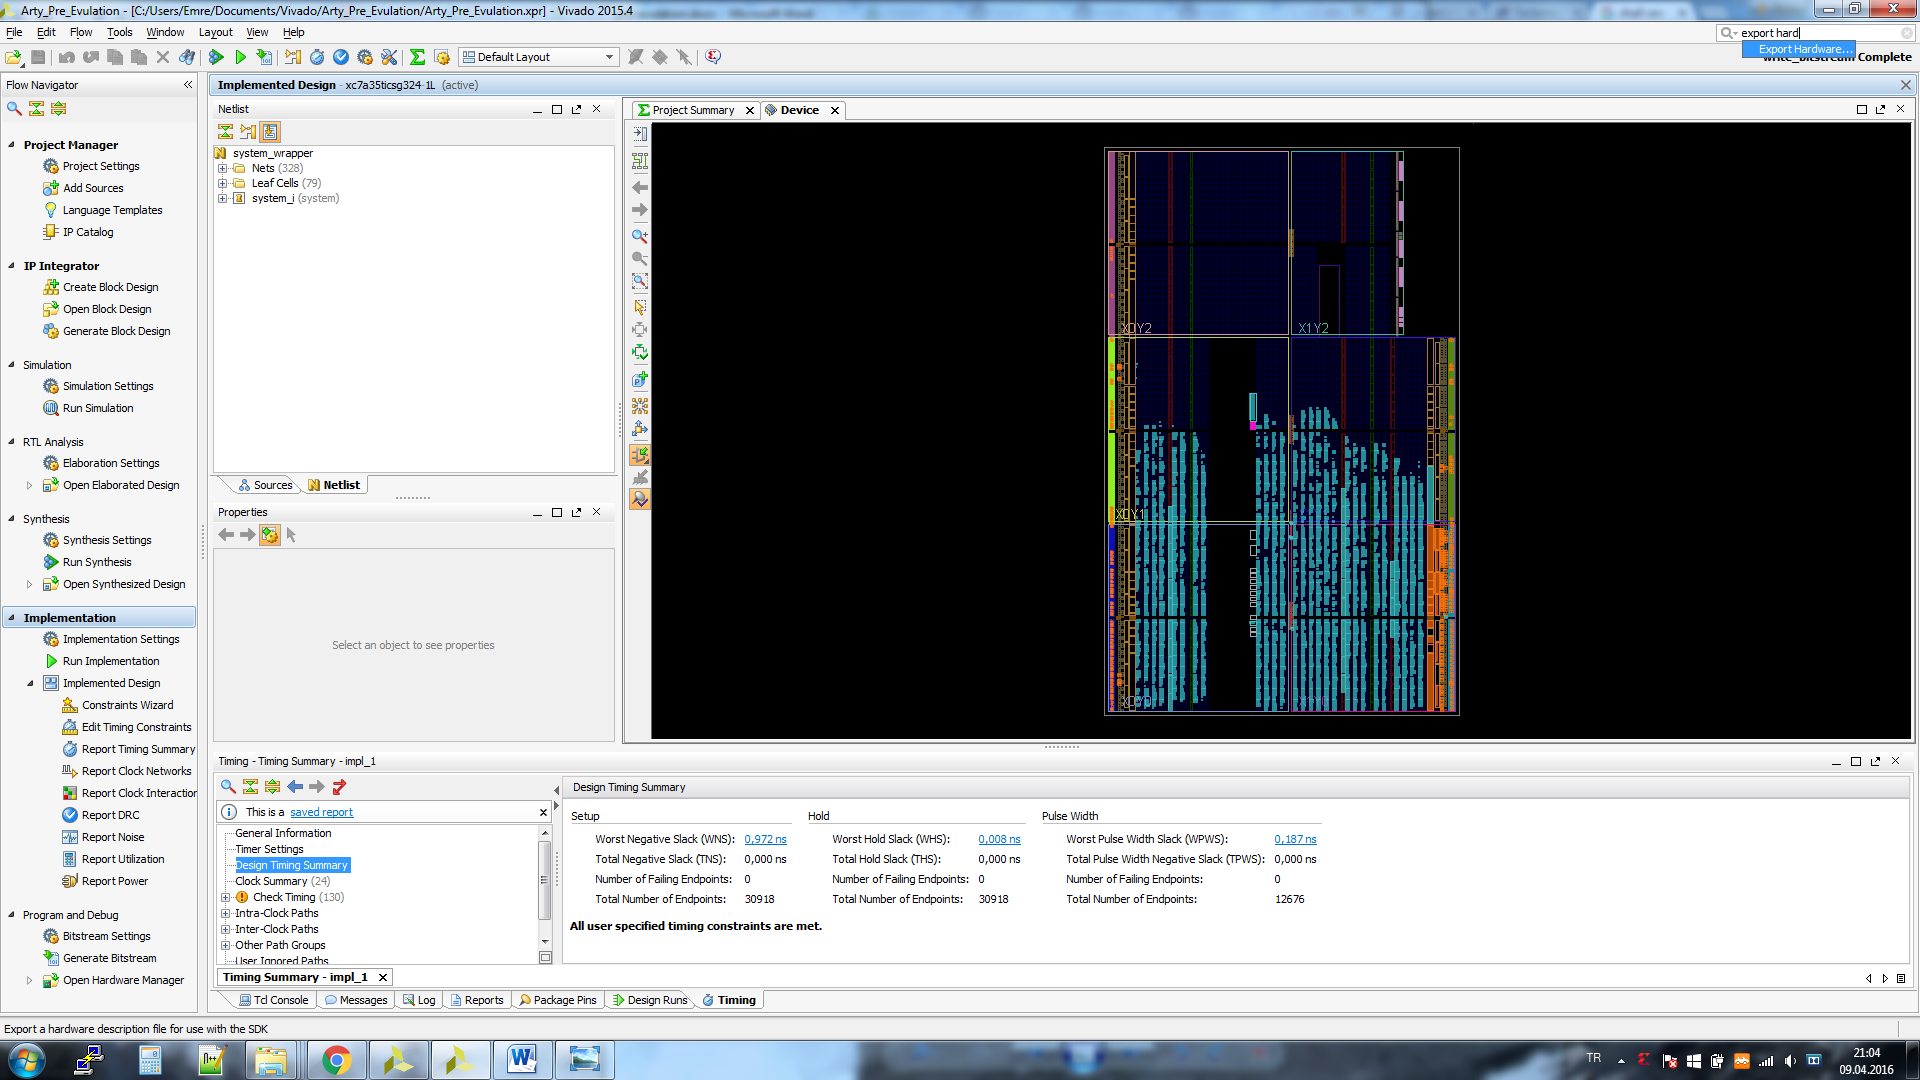
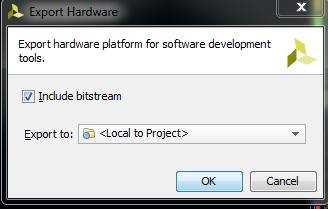
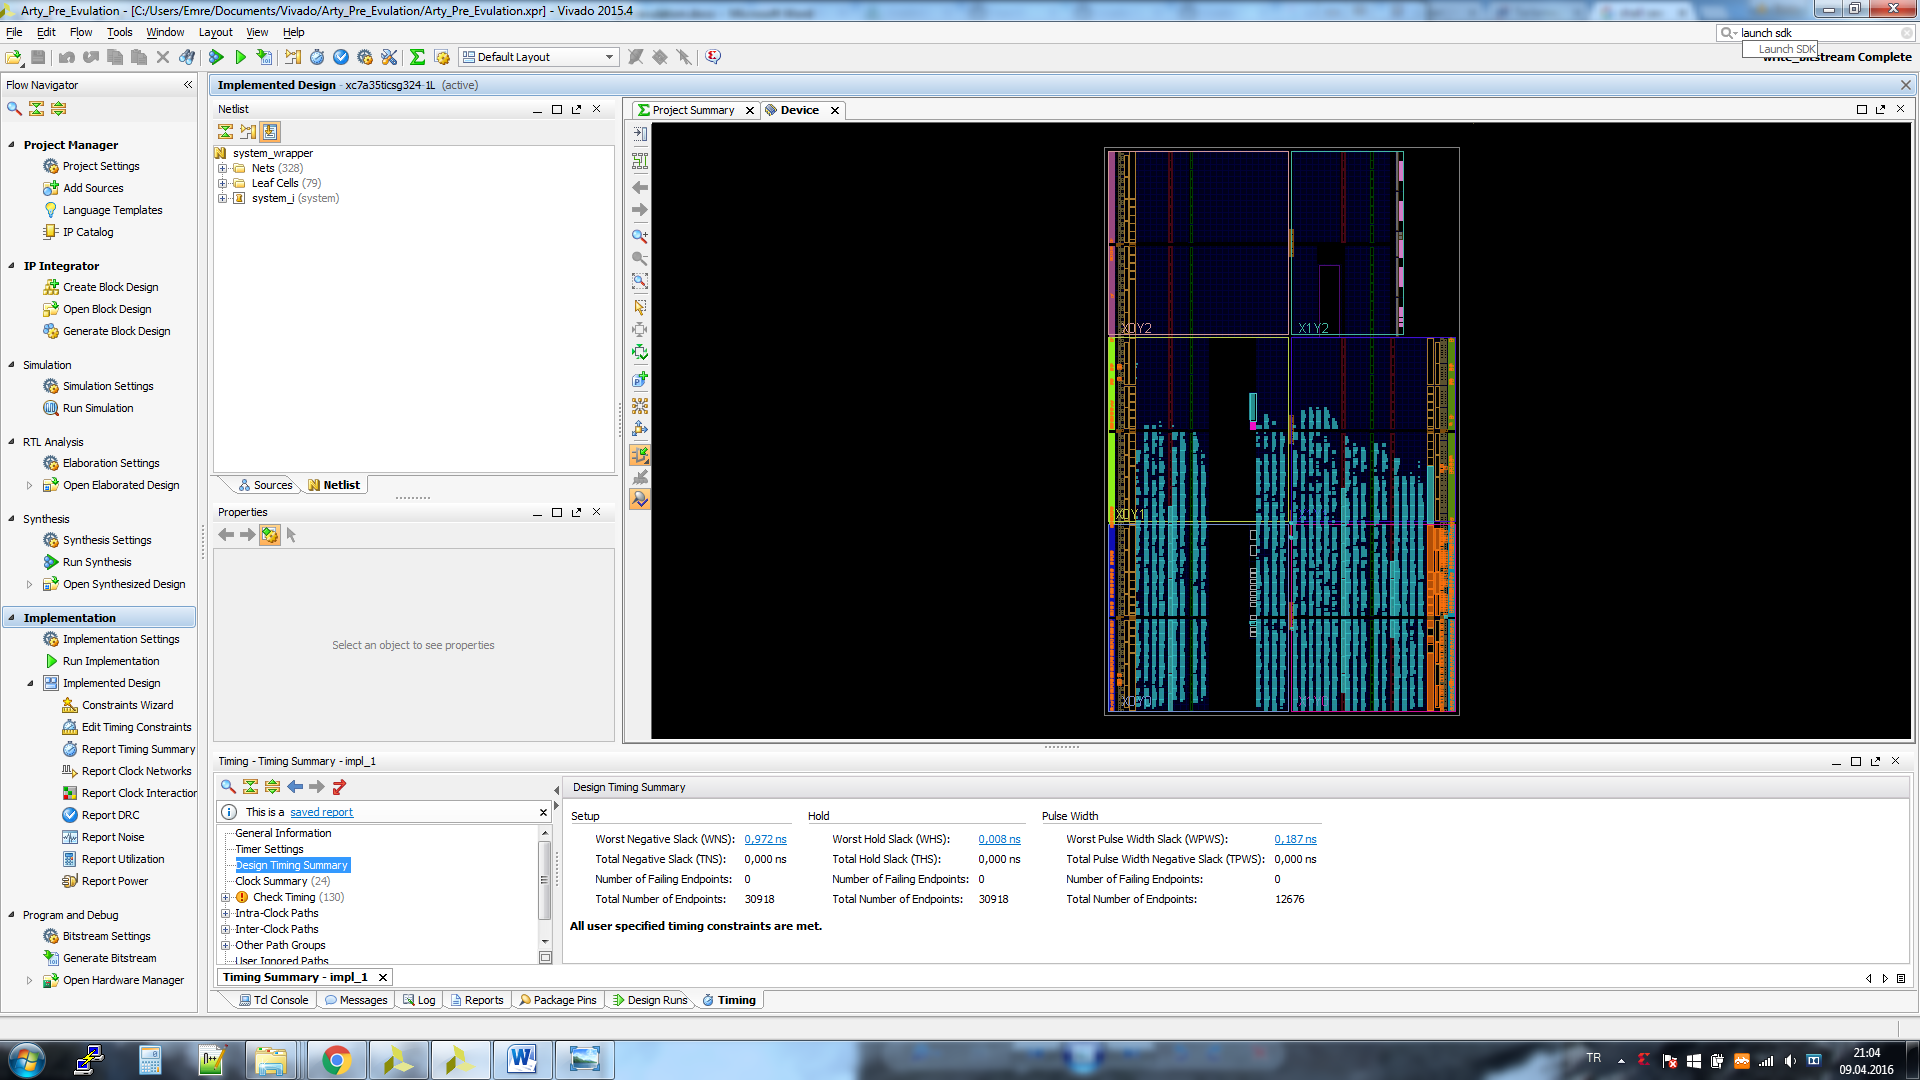
40- Then click
41- Export Hardware
42- Launch SDK
SDK PROGRRAMMING C/C++
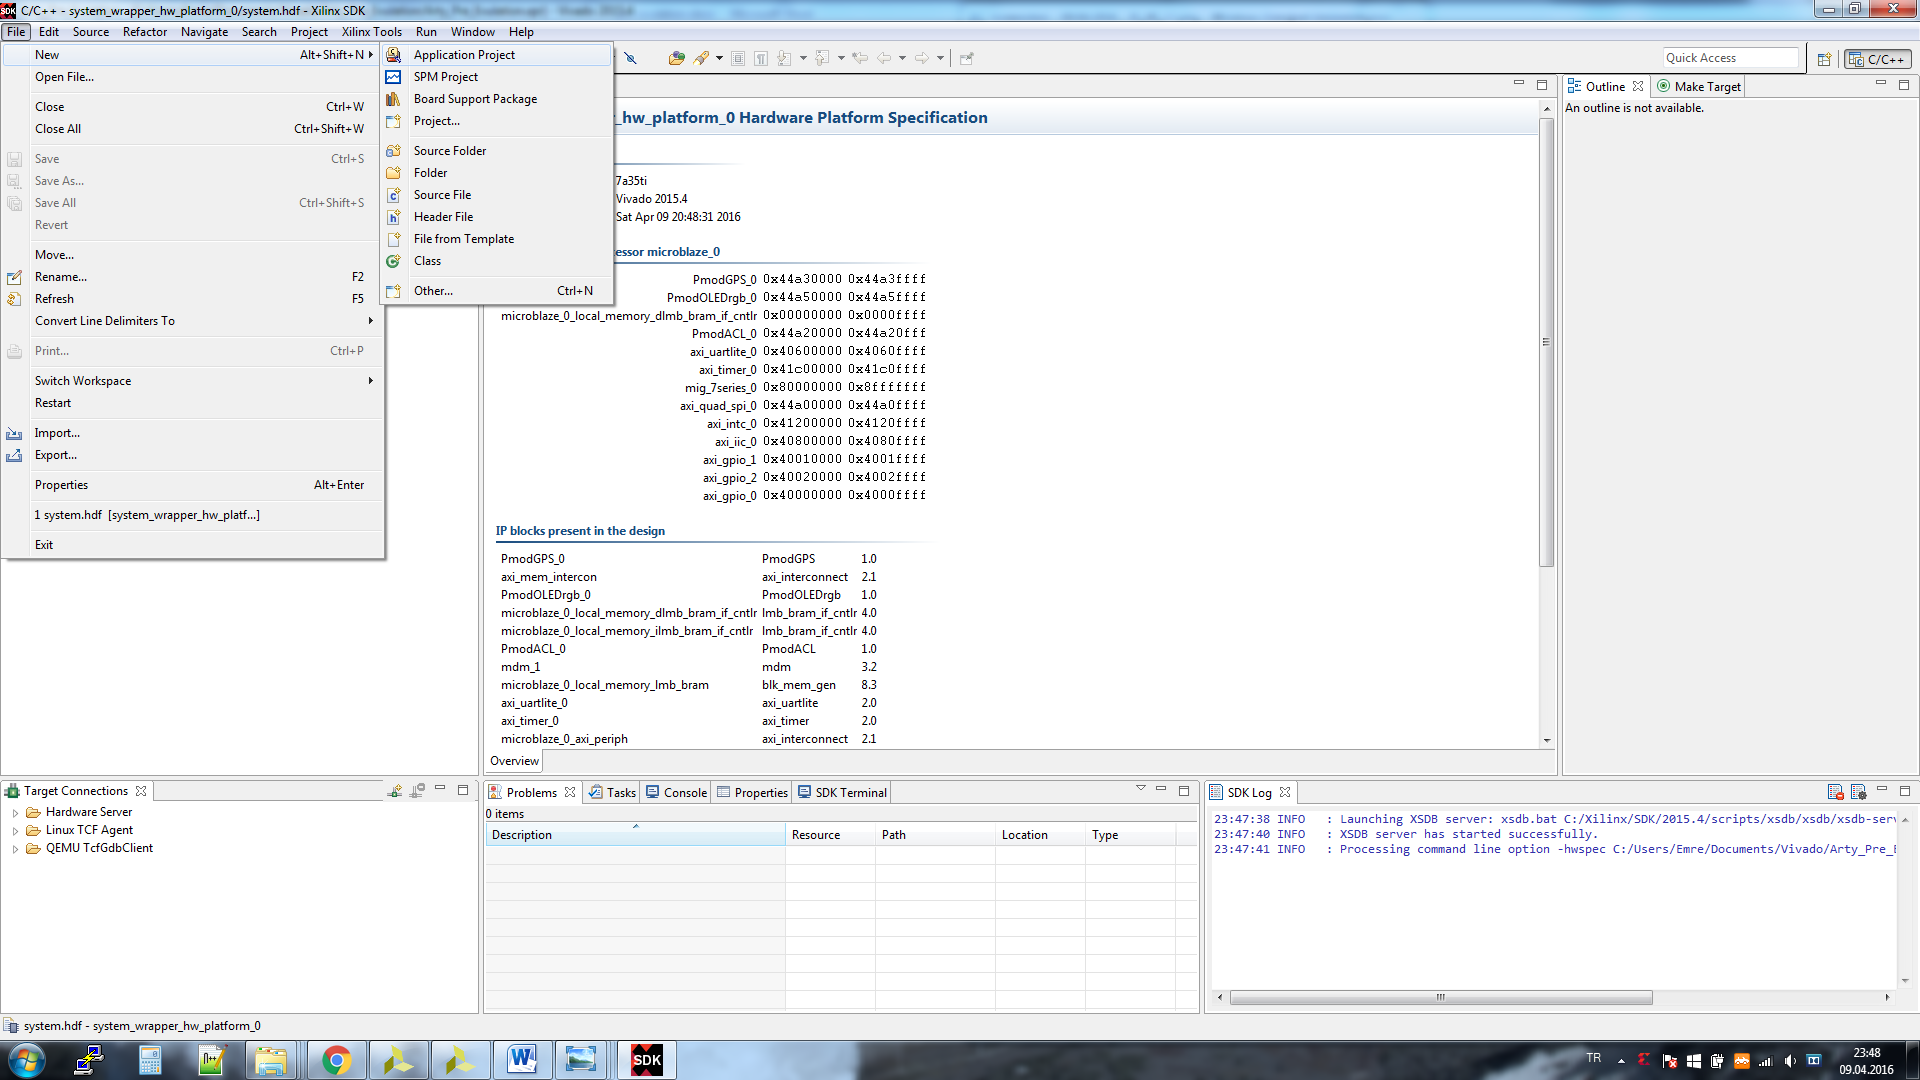
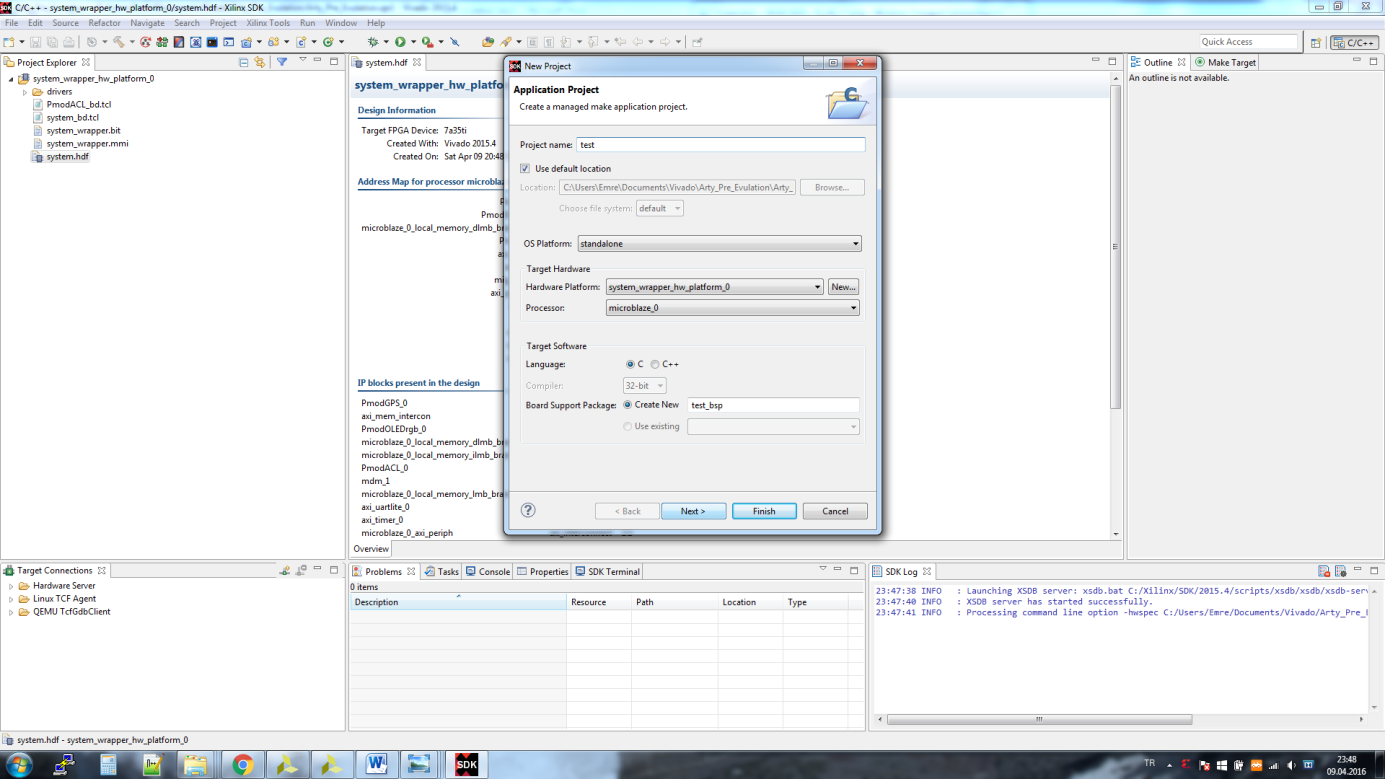
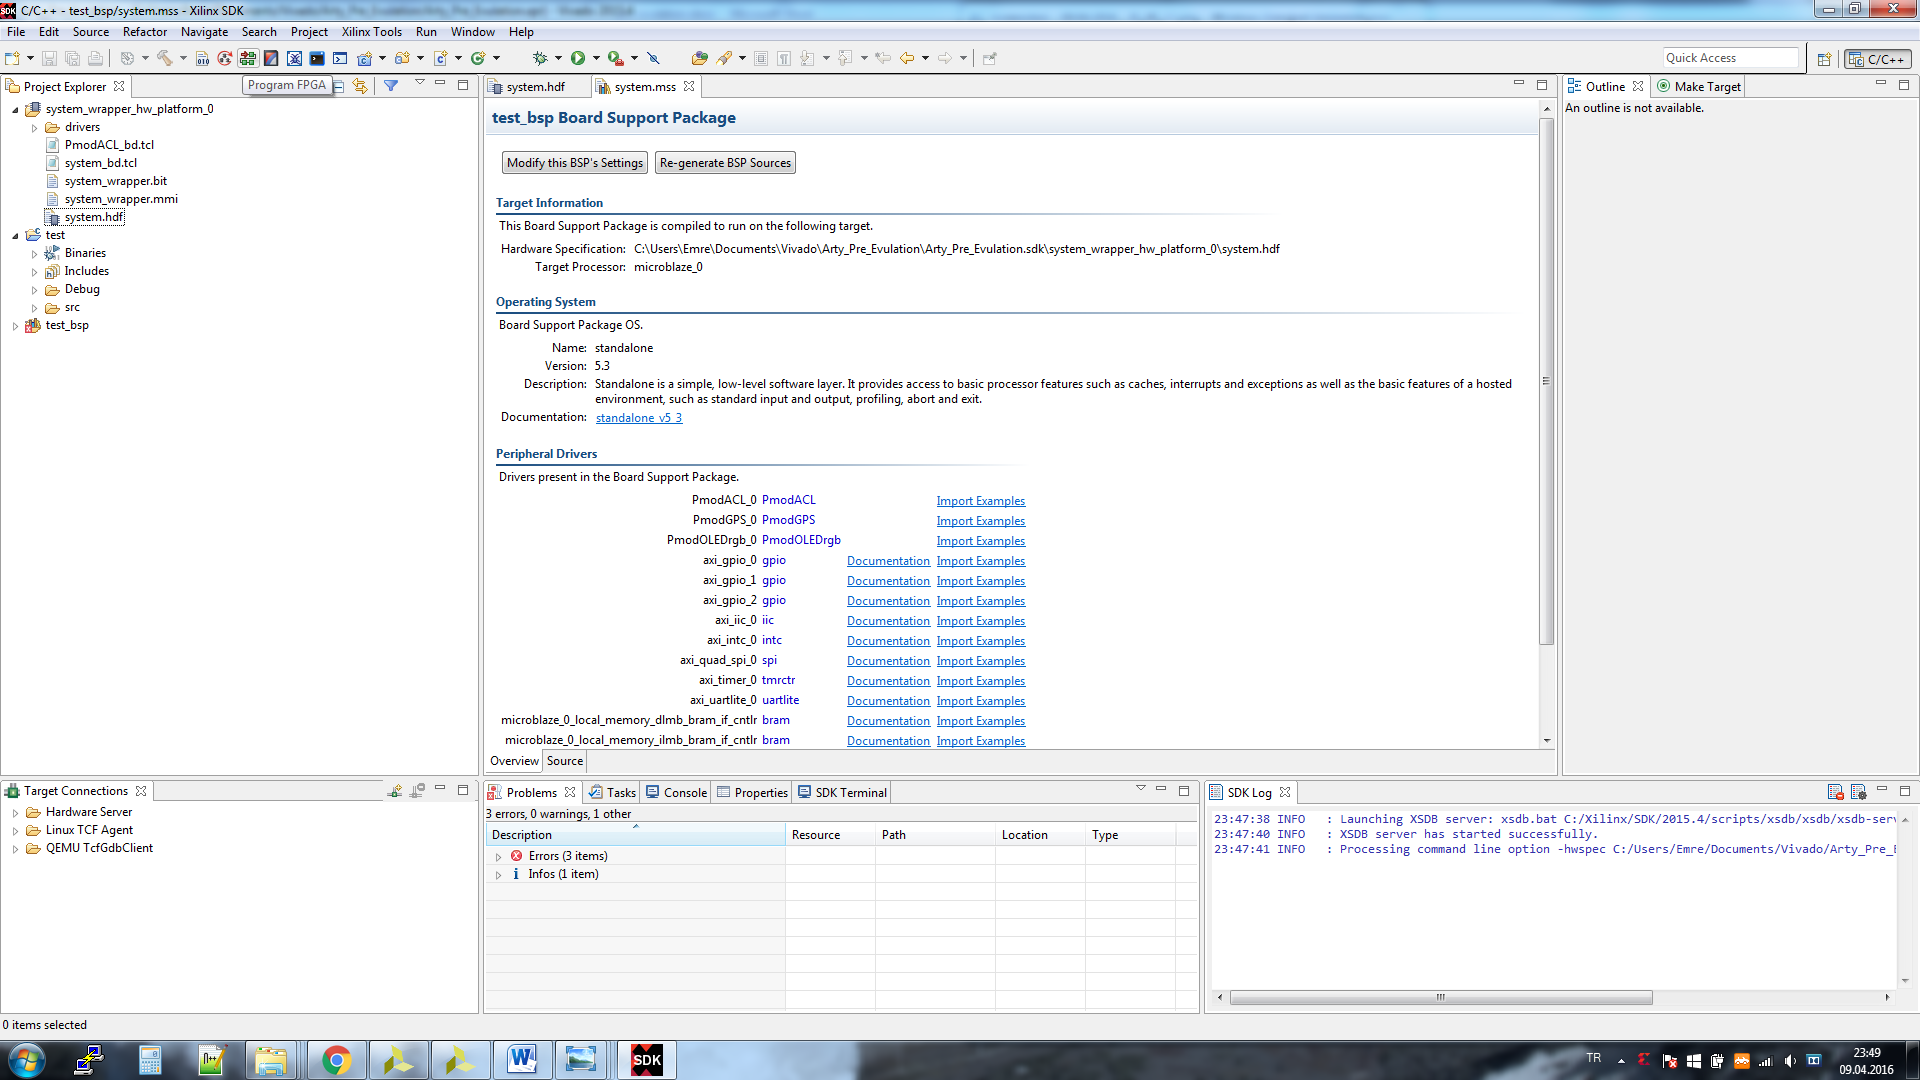
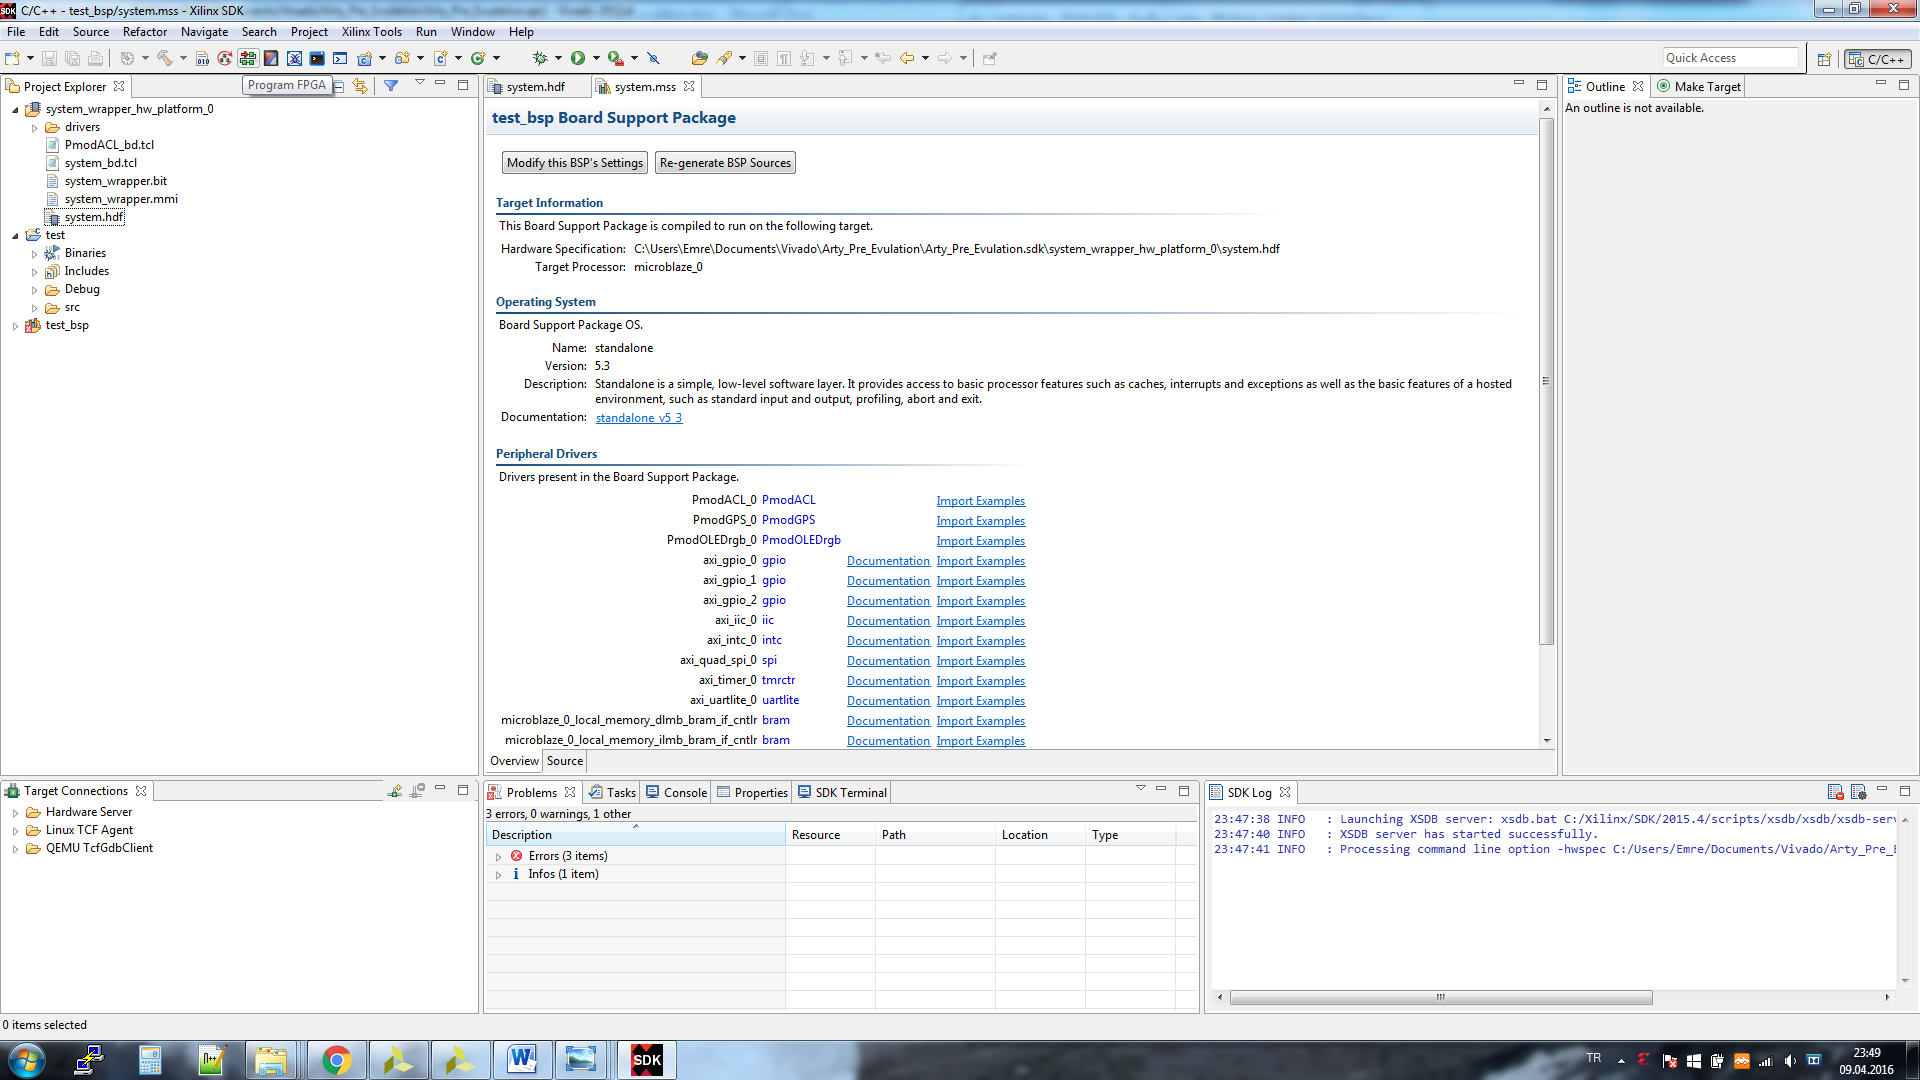
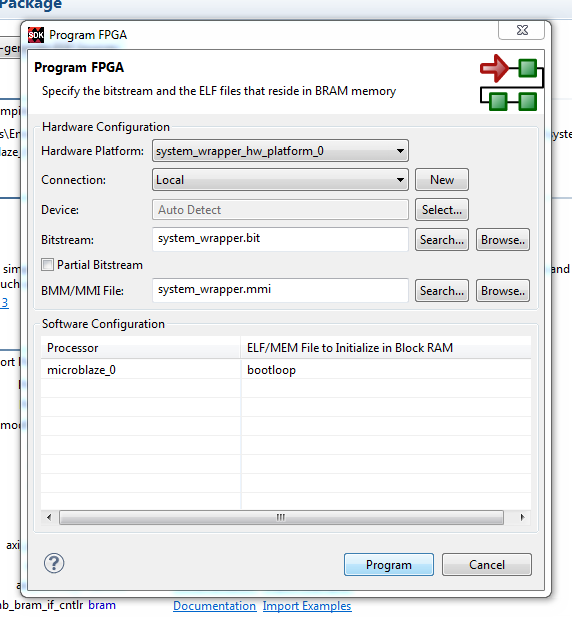
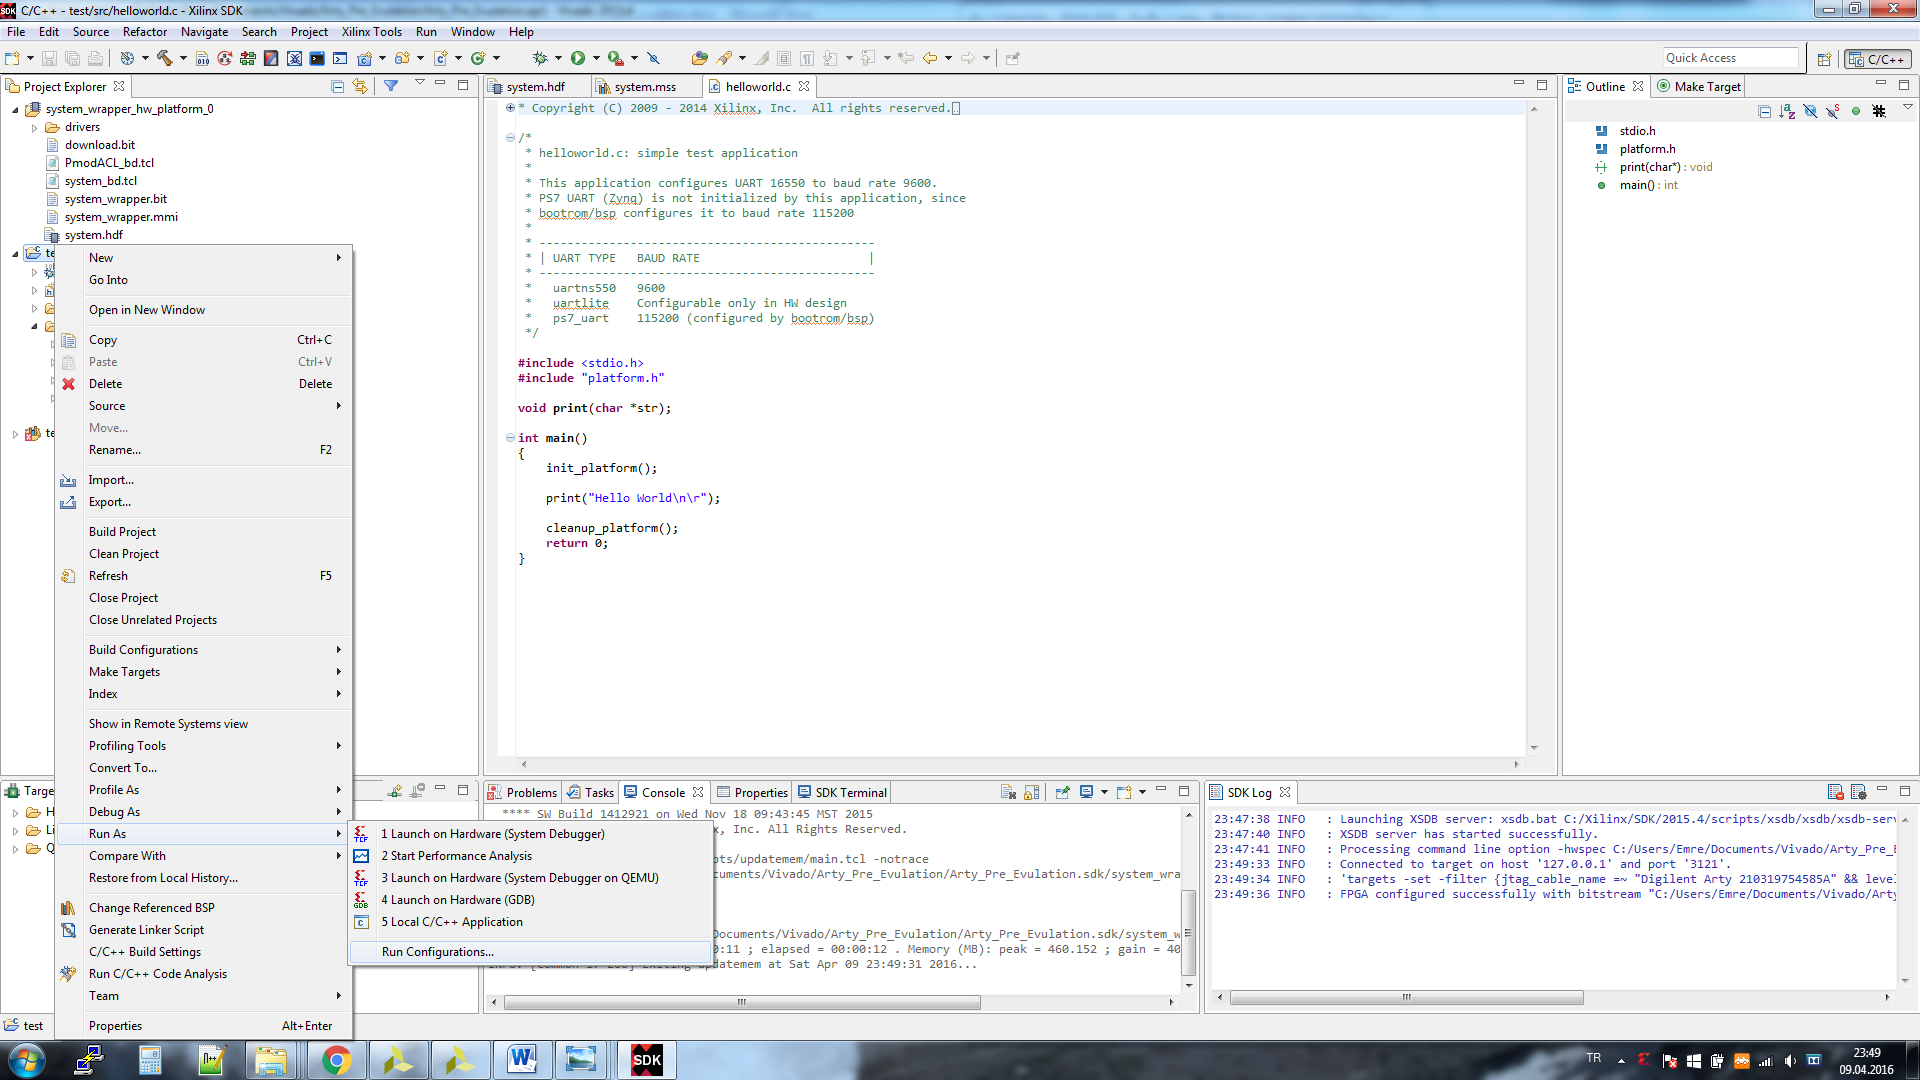
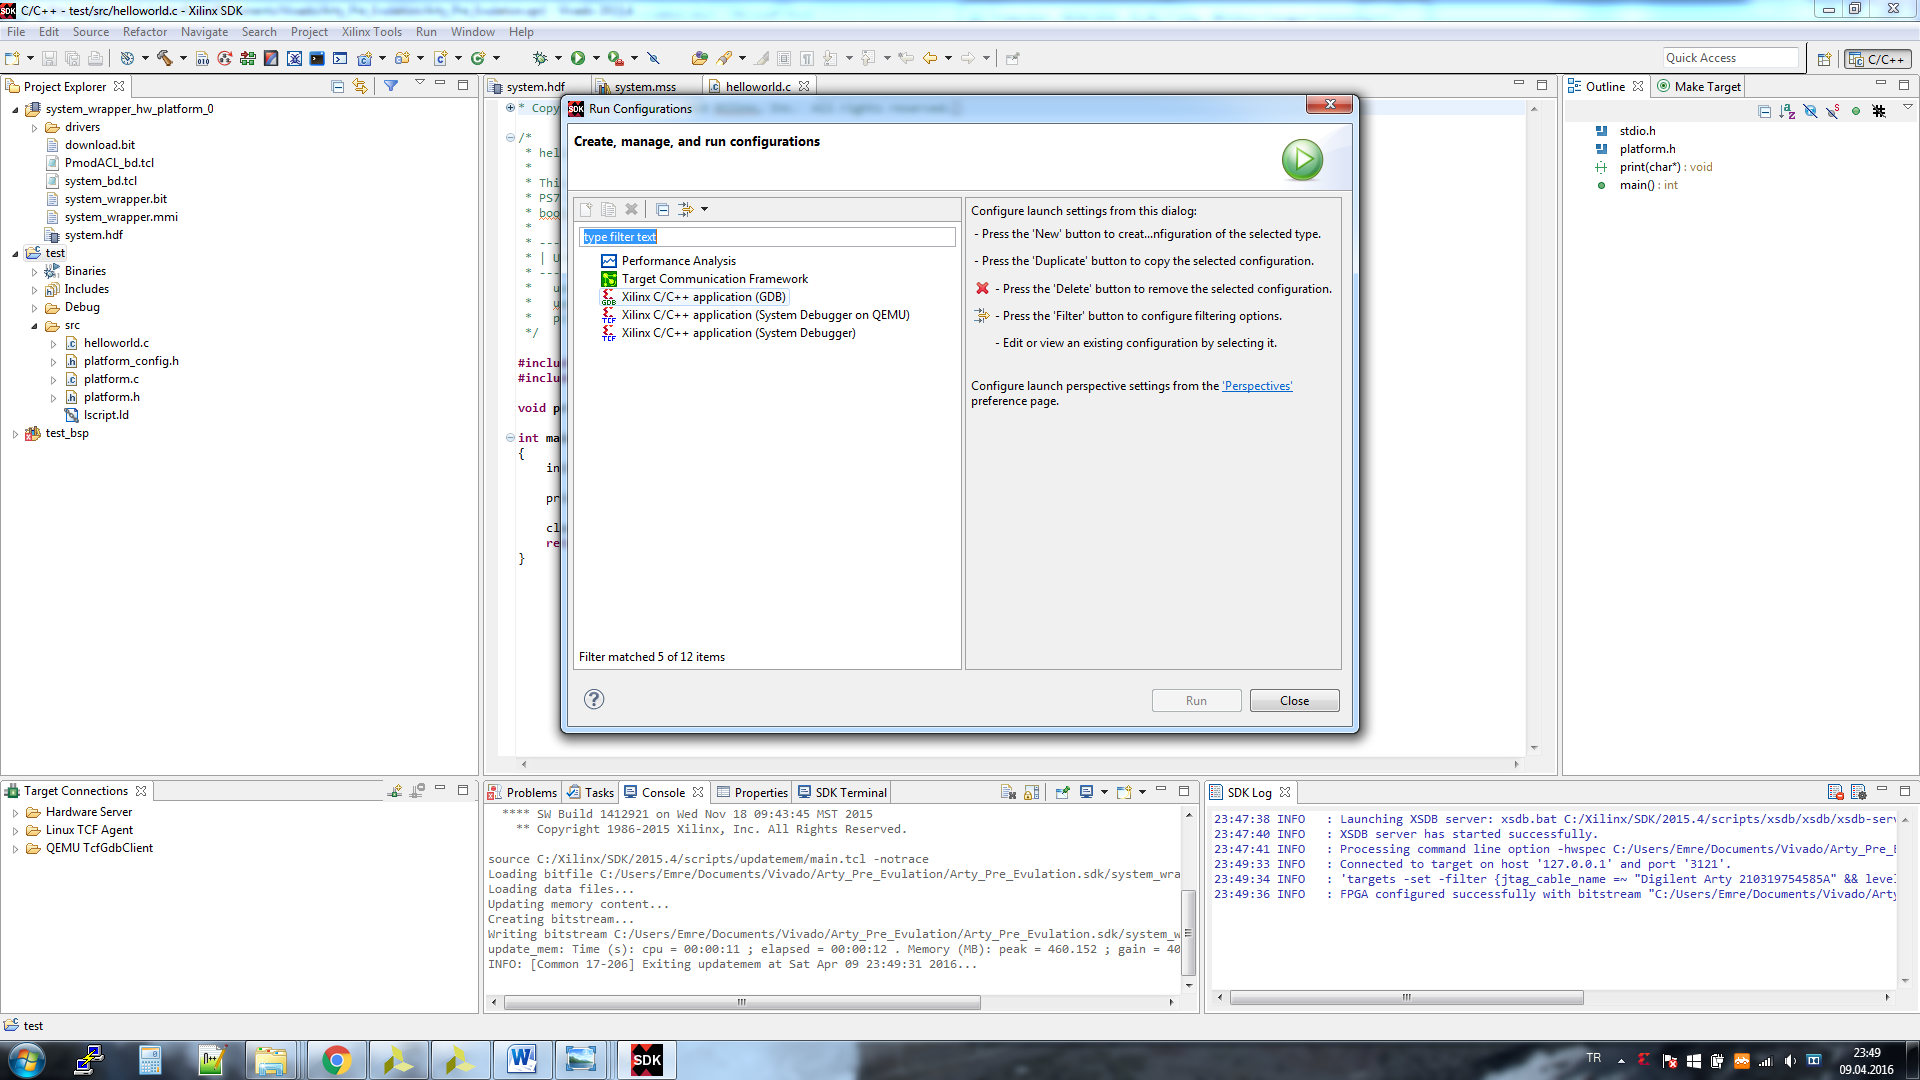
1. Application Project -> Next -> “Hello World”
2. Program FPGA
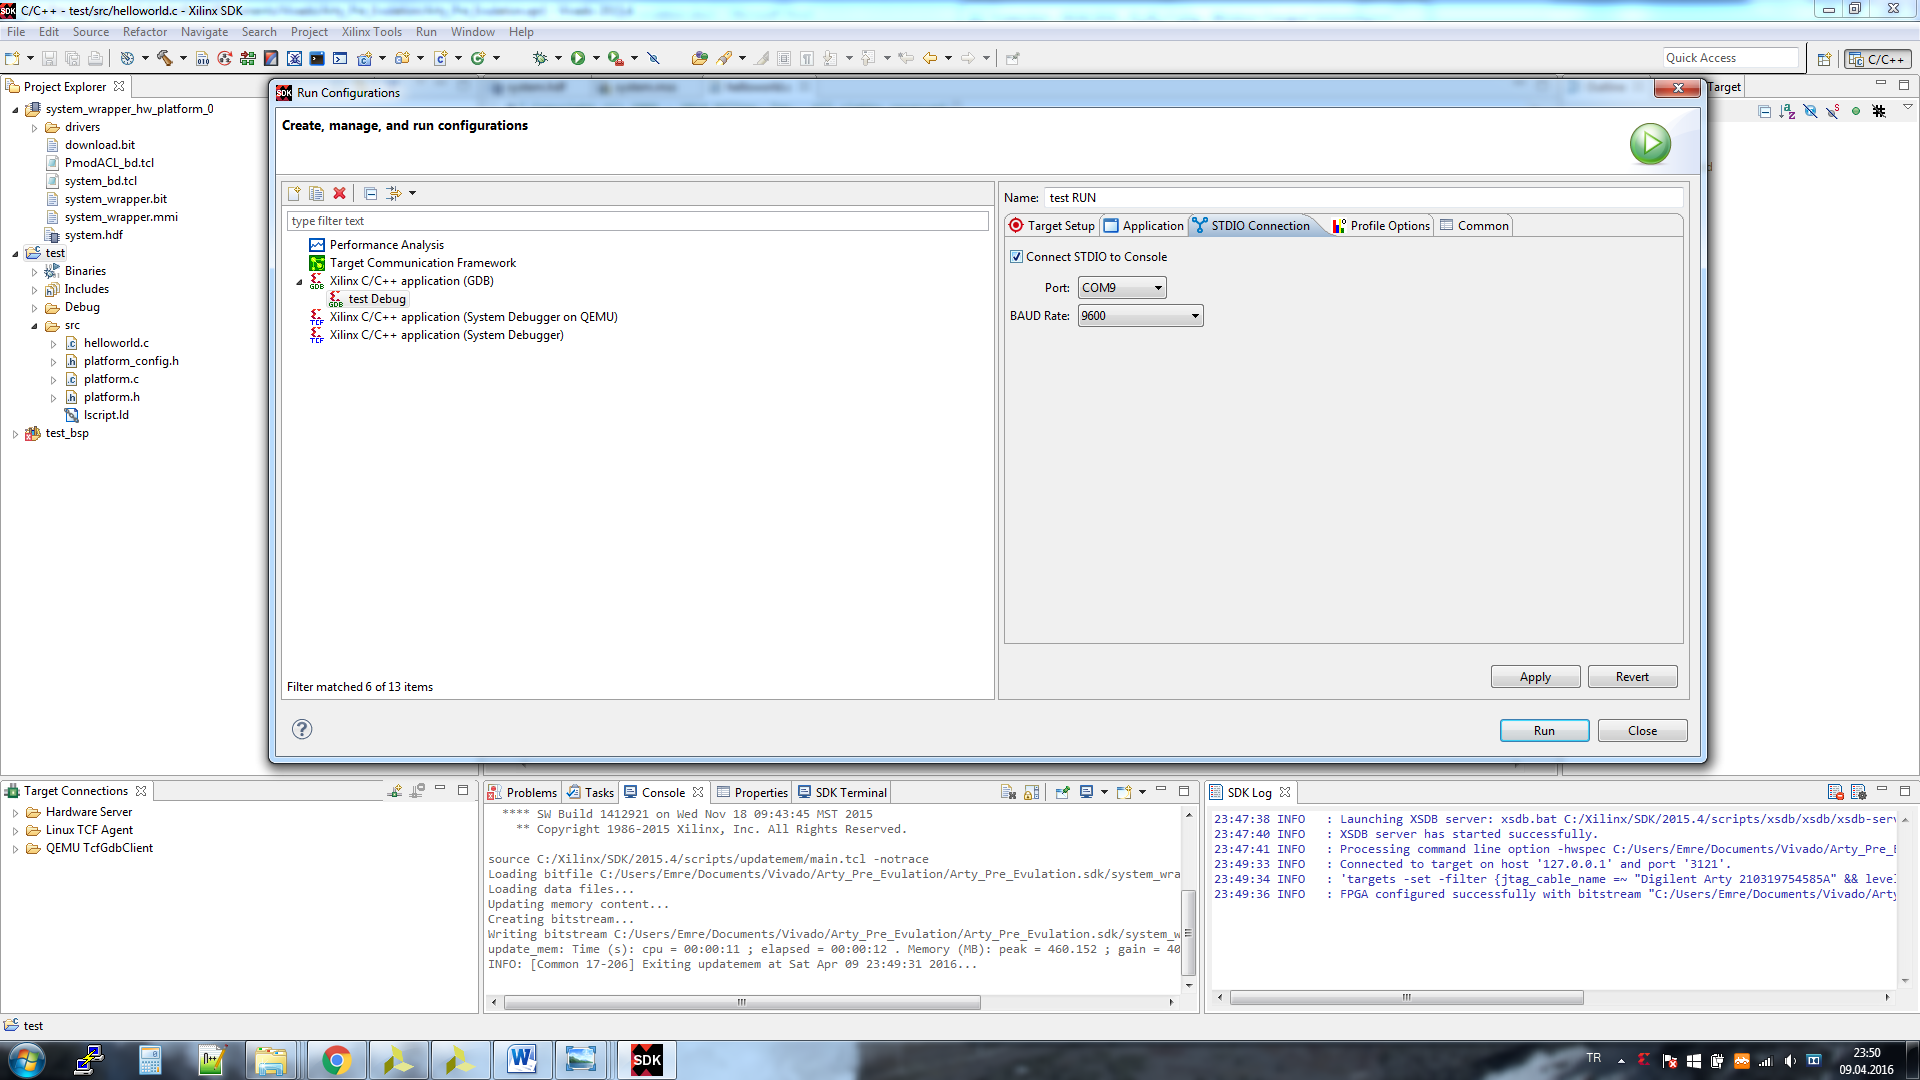
3. Right Click -> Run as Conf. -> RUN
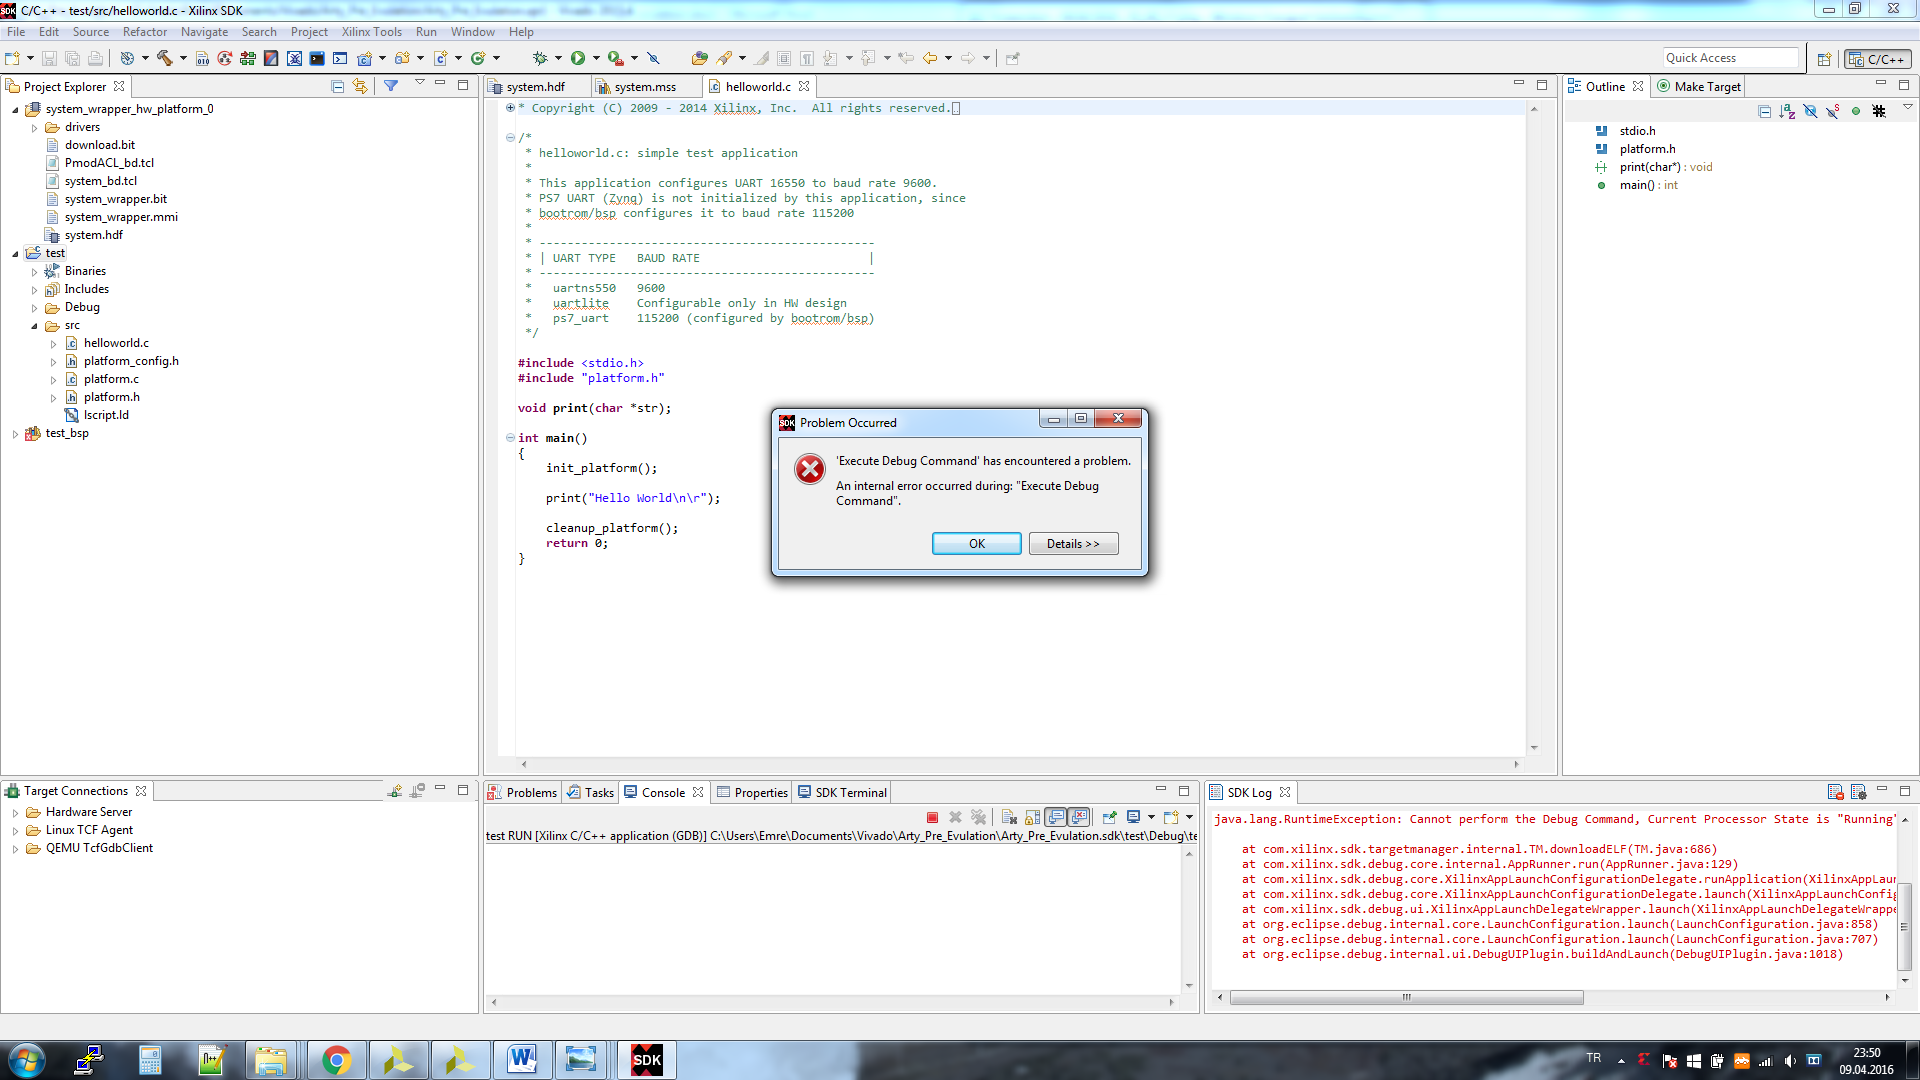
4. If you get error like that close SDK and relaunch SDK from vivado.
Hello World
#include "xparameters.h"
#include "xil_types.h"
#include "xil_io.h"
#include "PmodACL.h"
#include <stdio.h>
#include <microblaze_sleep.h>
#include "xil_cache.h"
void DemoInitialize_ACL();
void DemoRun_ACL();
PmodACL ACL;
int main(void)
{
Xil_ICacheEnable();
DemoInitialize_ACL();
while(1){
DemoRun_ACL();
}
return 0;
}
void DemoInitialize_ACL()
{
ACL_begin(&ACL, XPAR_PMODACL_0_AXI_LITE_GPIO_BASEADDR,XPAR_PMODACL_0_AXI_LITE_SPI_BASEADDR);
SetMeasure(&ACL, FALSE);
<p>SetGRange(&ACL, PAR_GRANGE_PM4G);
SetMeasure(&ACL, TRUE);
CalibrateOneAxisGravitational(&ACL, PAR_AXIS_ZP);
}
void DemoRun_ACL()
{
float x;
float y;
float z;
char strMes[150];
ReadAccelG(&ACL, &x, &y, &z);
sprintf(strMes ,"X=%f\tY=%f\tZ=%f\n\r", x, y, z);
xil_printf(strMes);
MB_Sleep(10);
}</p>
Check Error
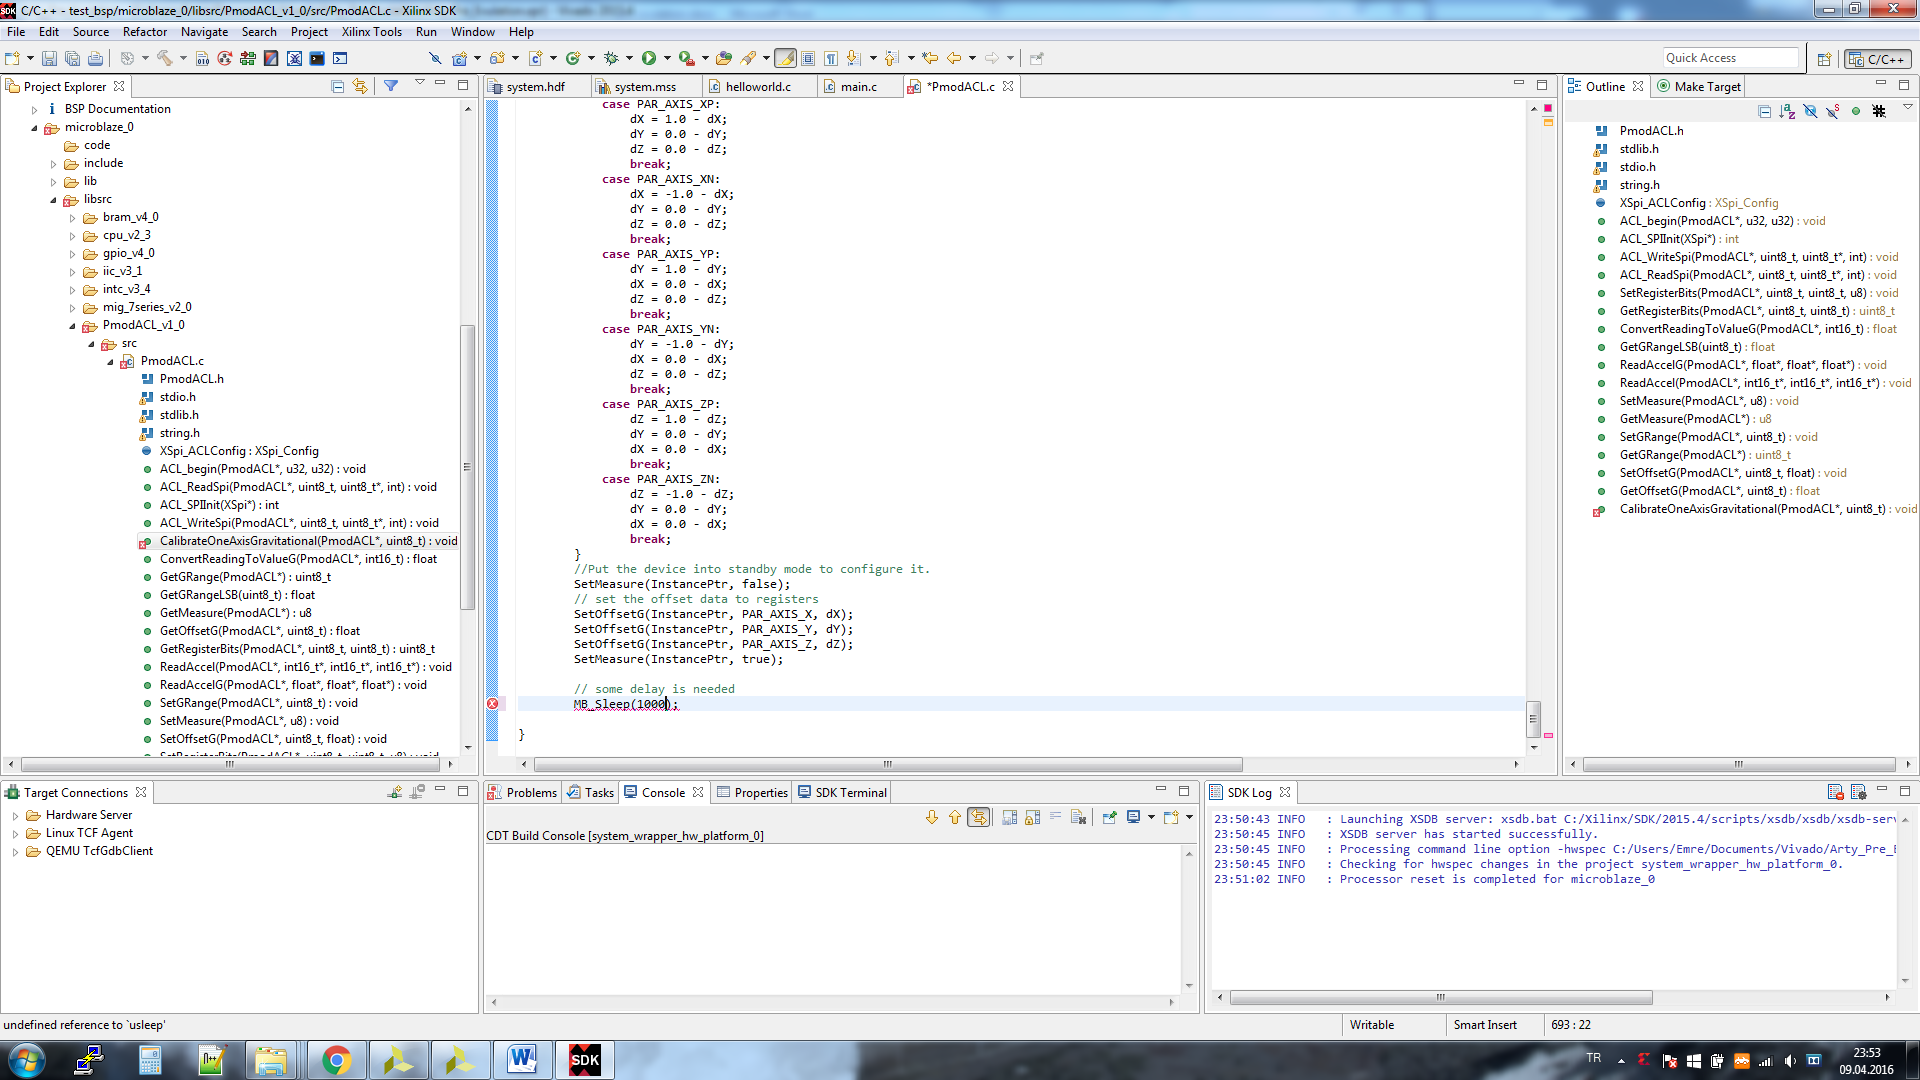
If you get error in “PMOD_ACL.h”, you must replace like that,
that's it , we will add GPS, barometer, magnetometer and OledRGB codes next time.
Please contact with us and write a comment
Mert Kahyaoğlu: www.mertkahyaoglu.com
Emre Erbuğa: www.emreerbuga.com