SoundDrive
.jpg)
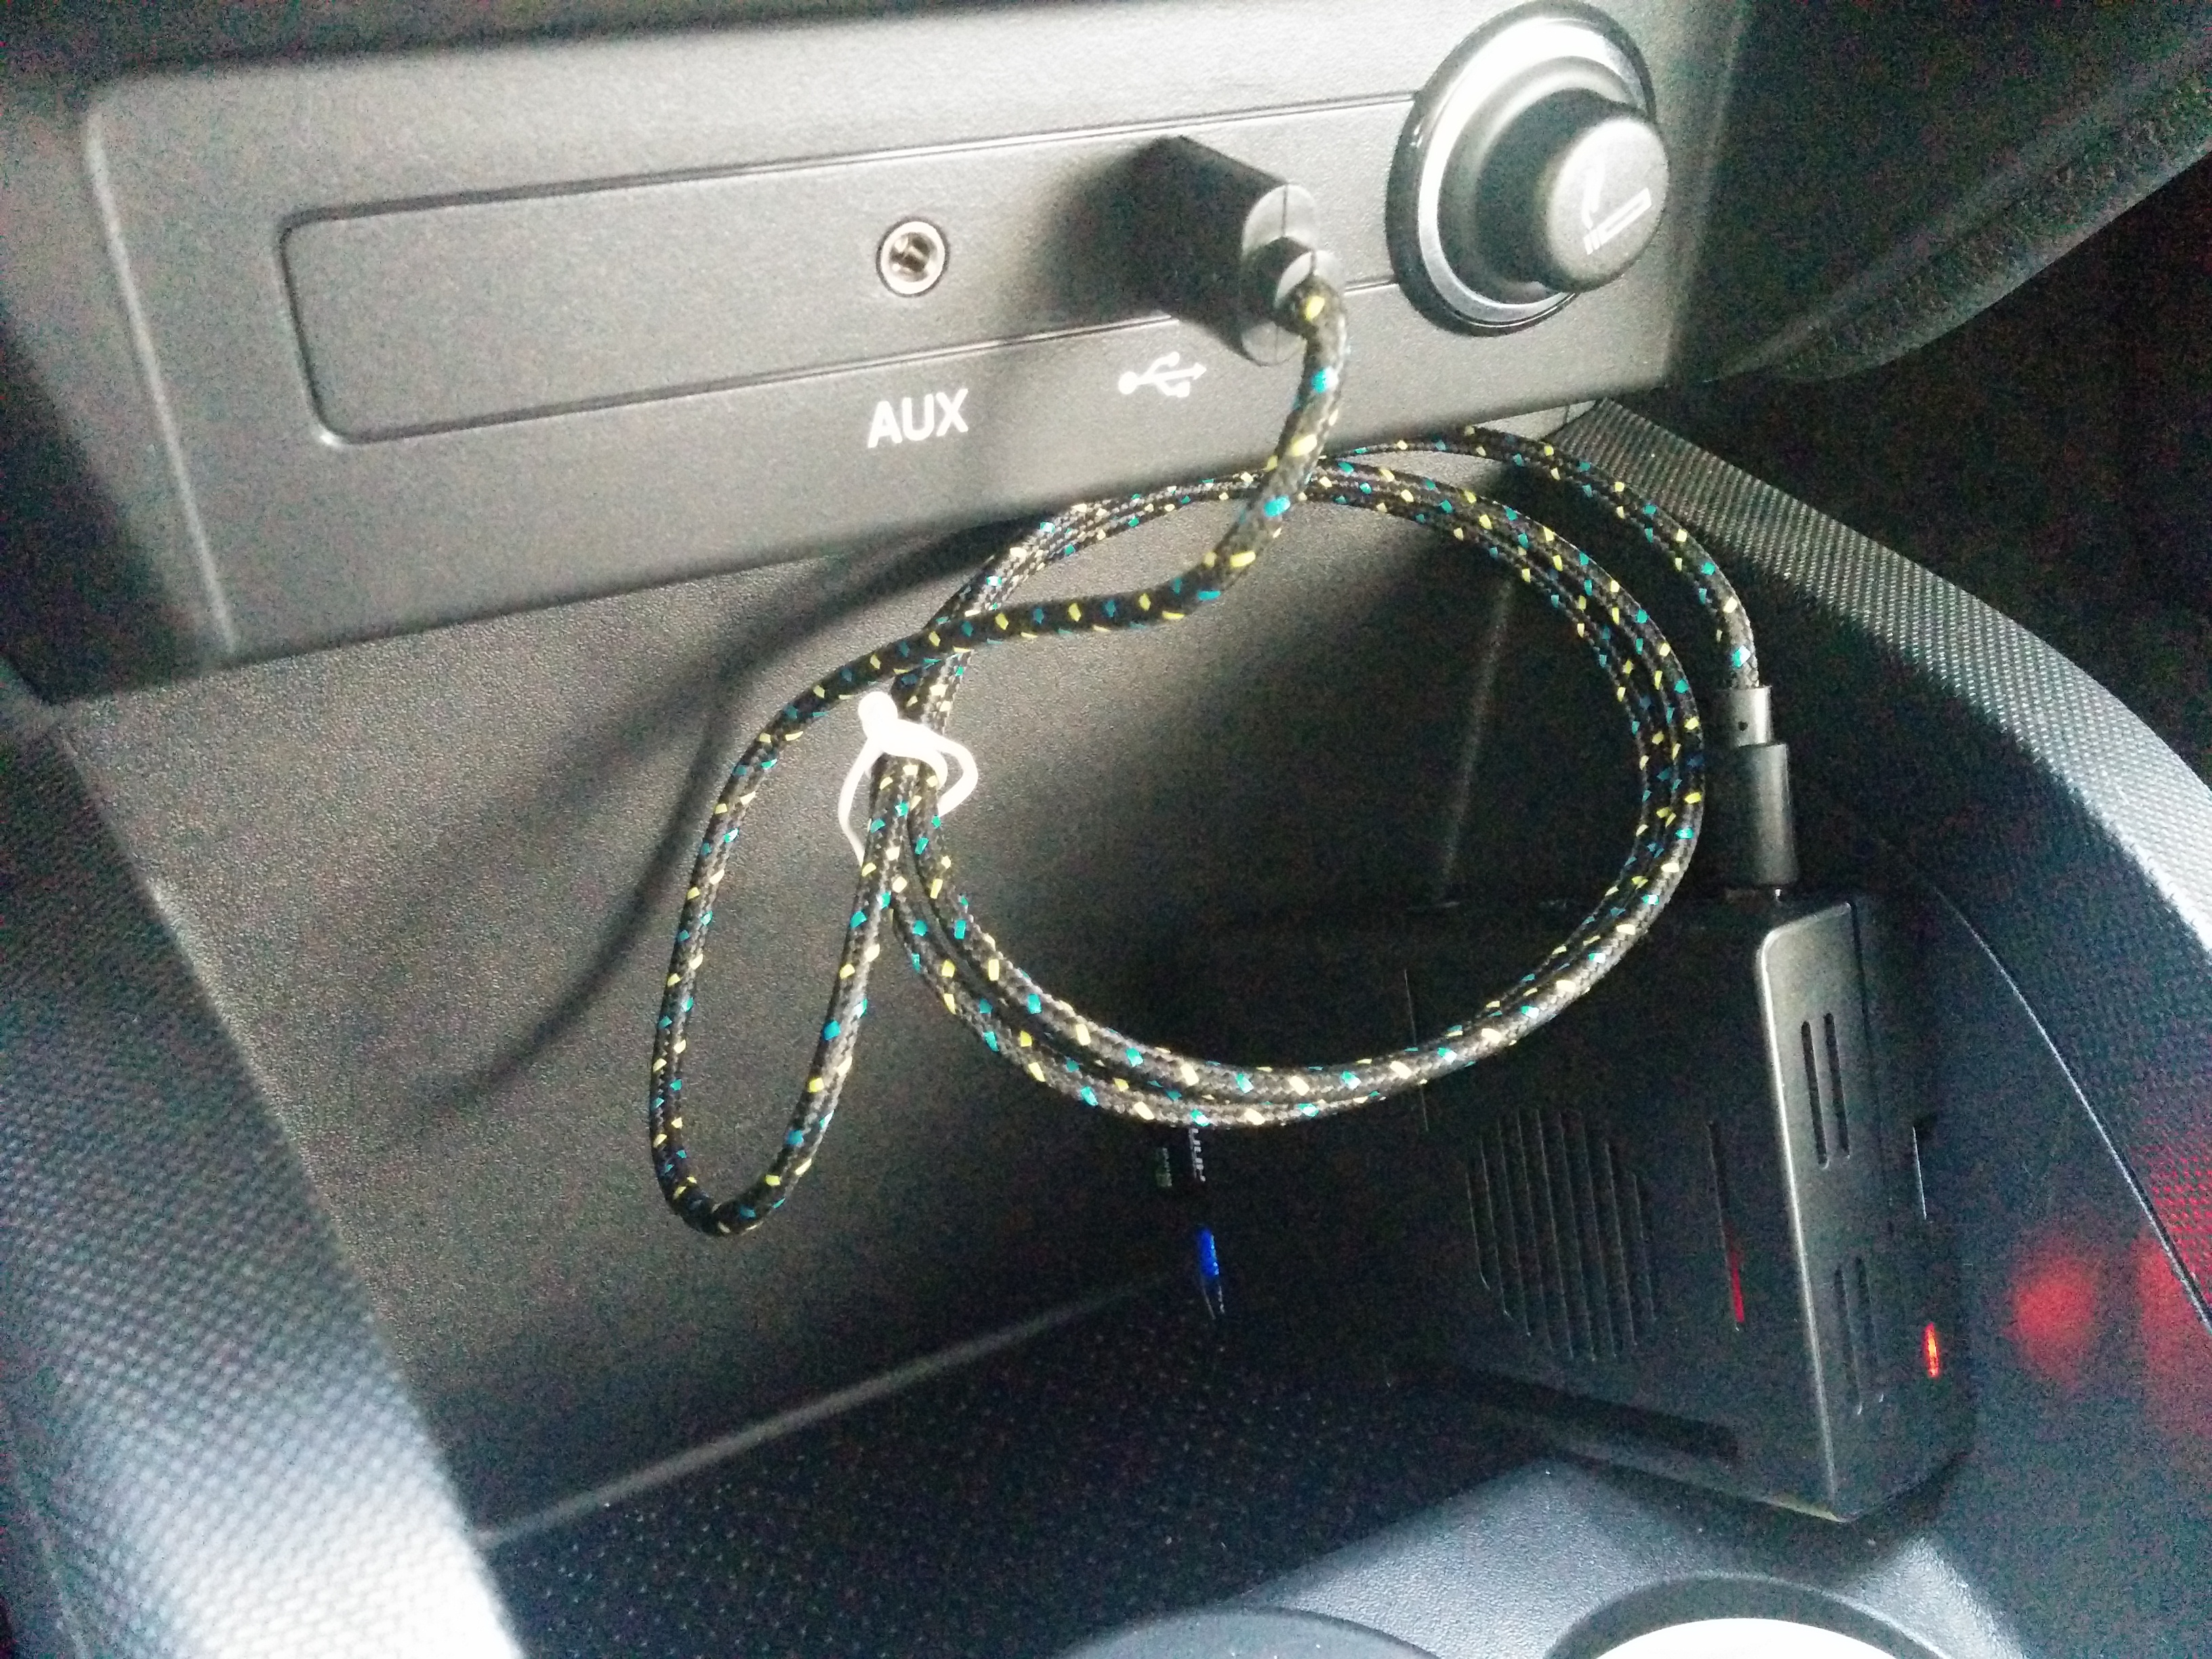
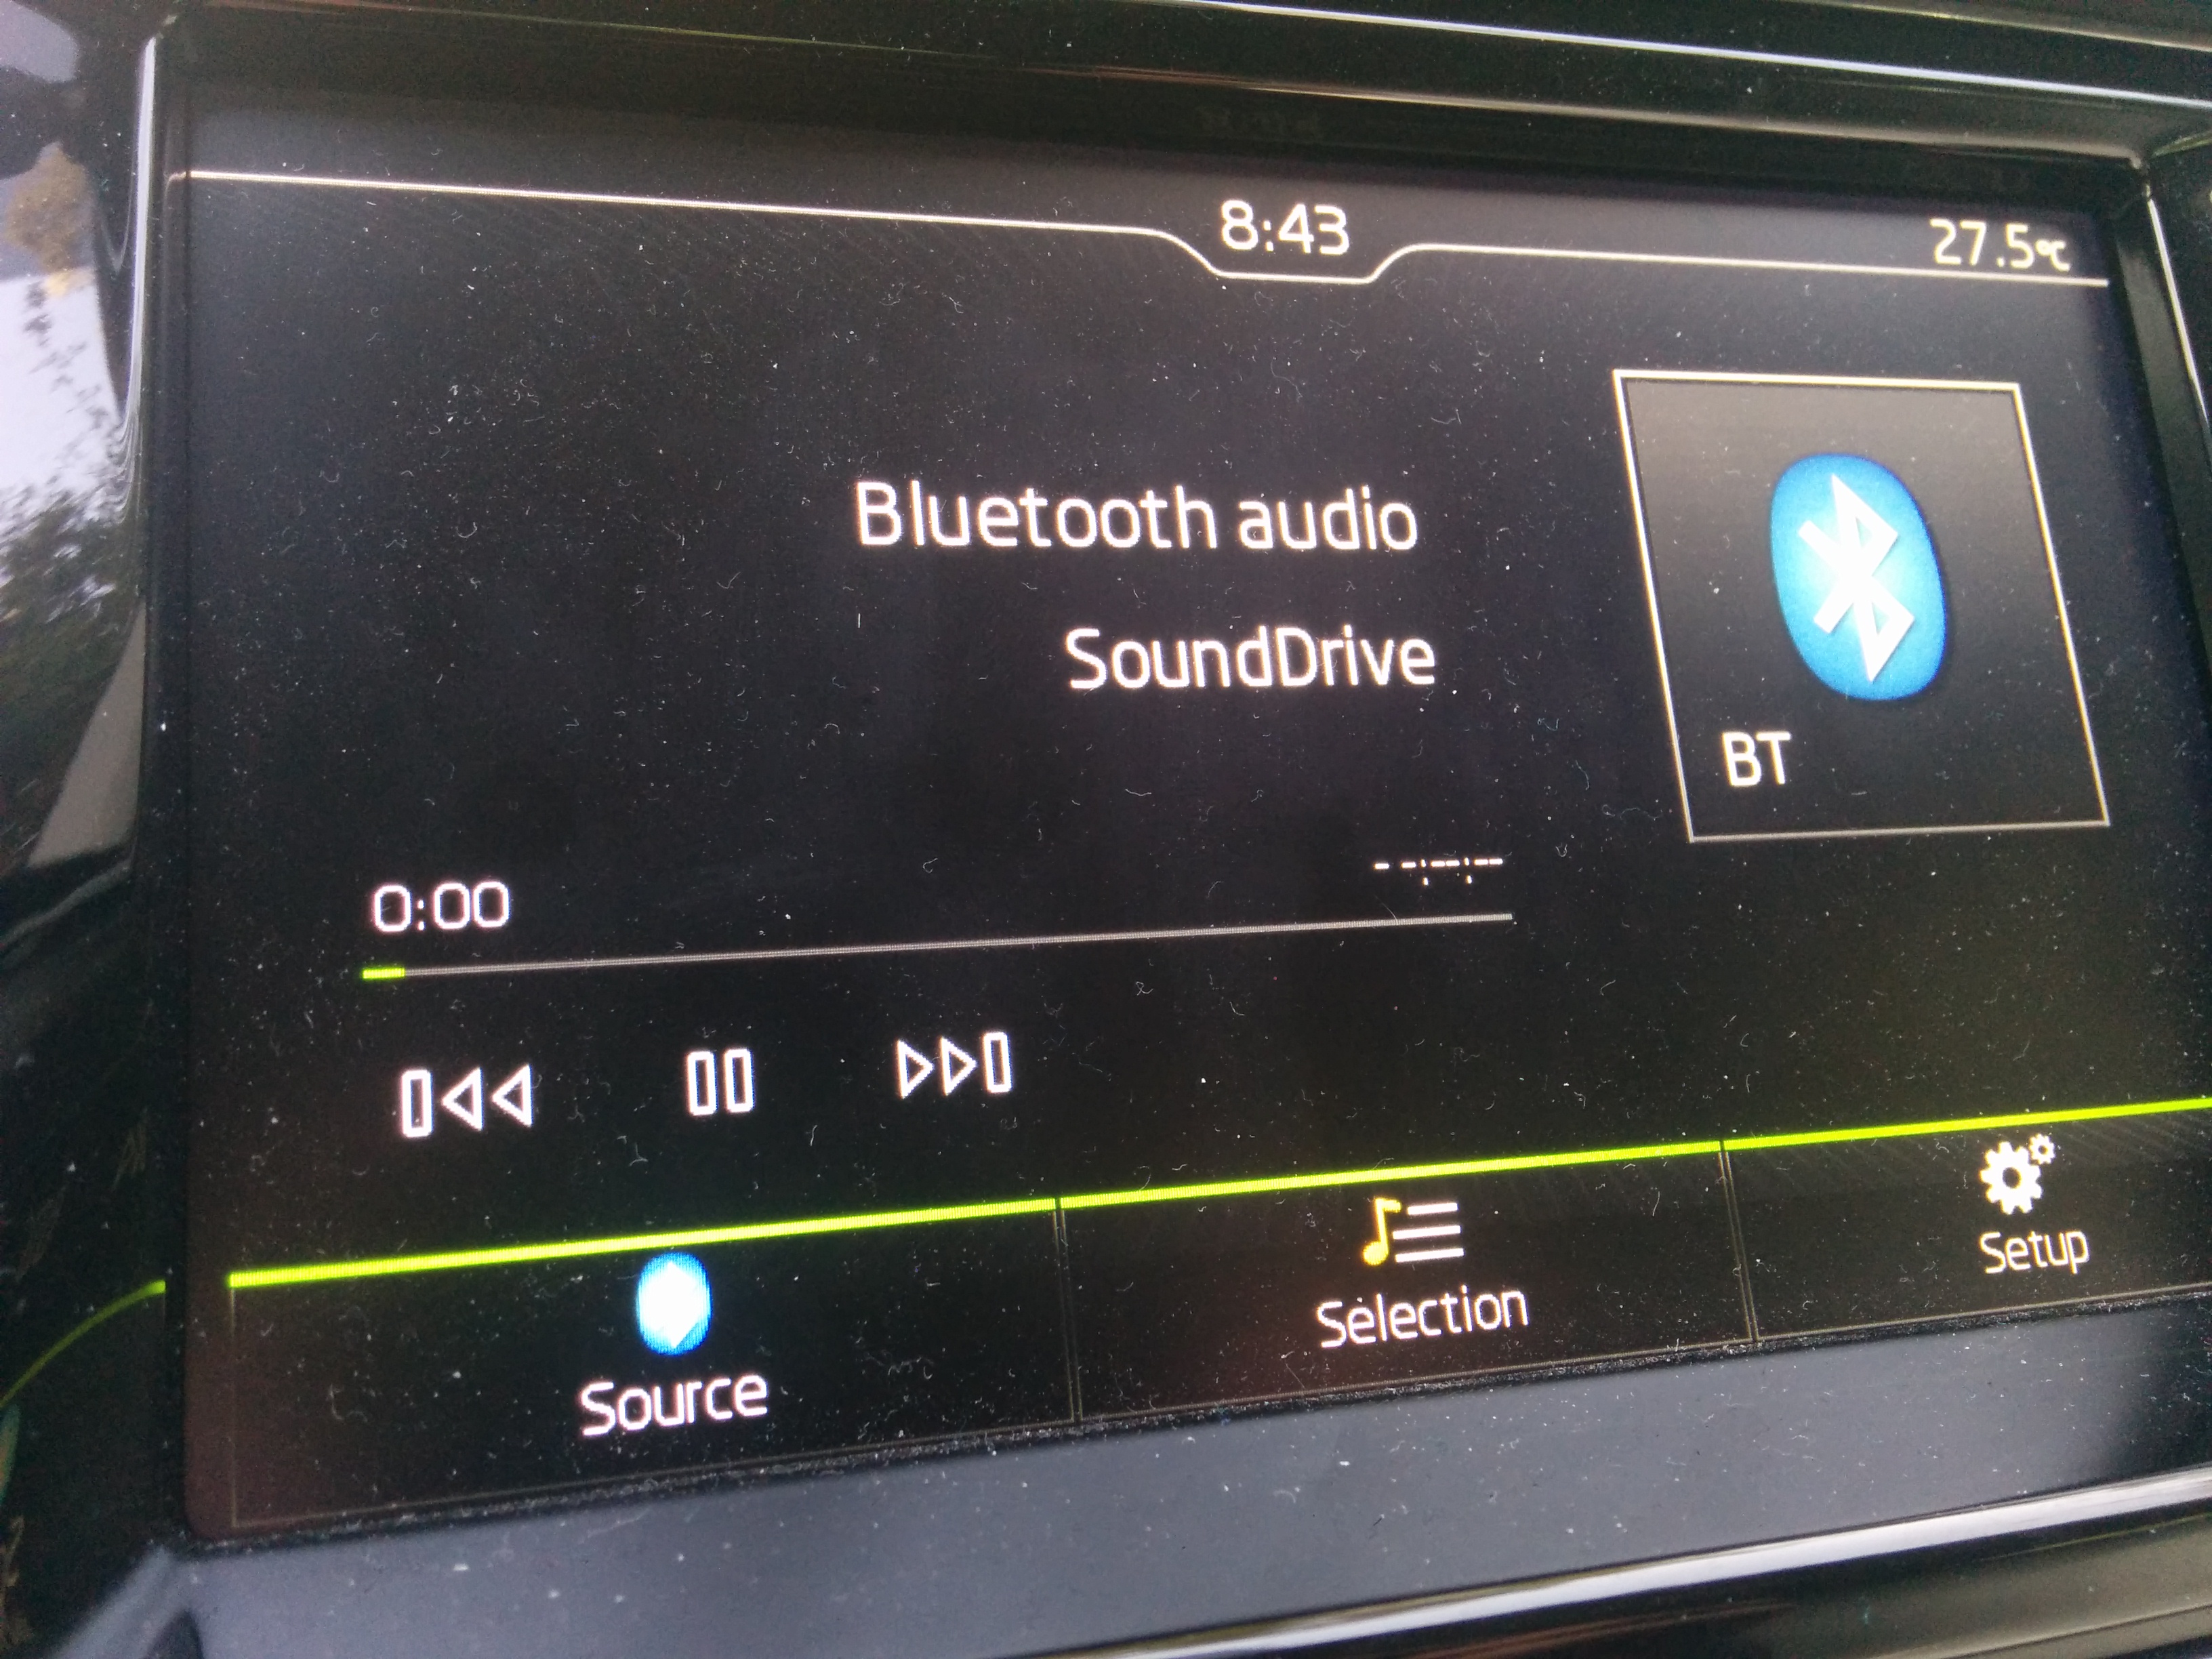
This guide will show you, with as much details as I can, and with as much accuracy as I can, how to listen to your own YouTube playlist while driving using a Raspberry Pi, hands free.
Requirements (my setup):
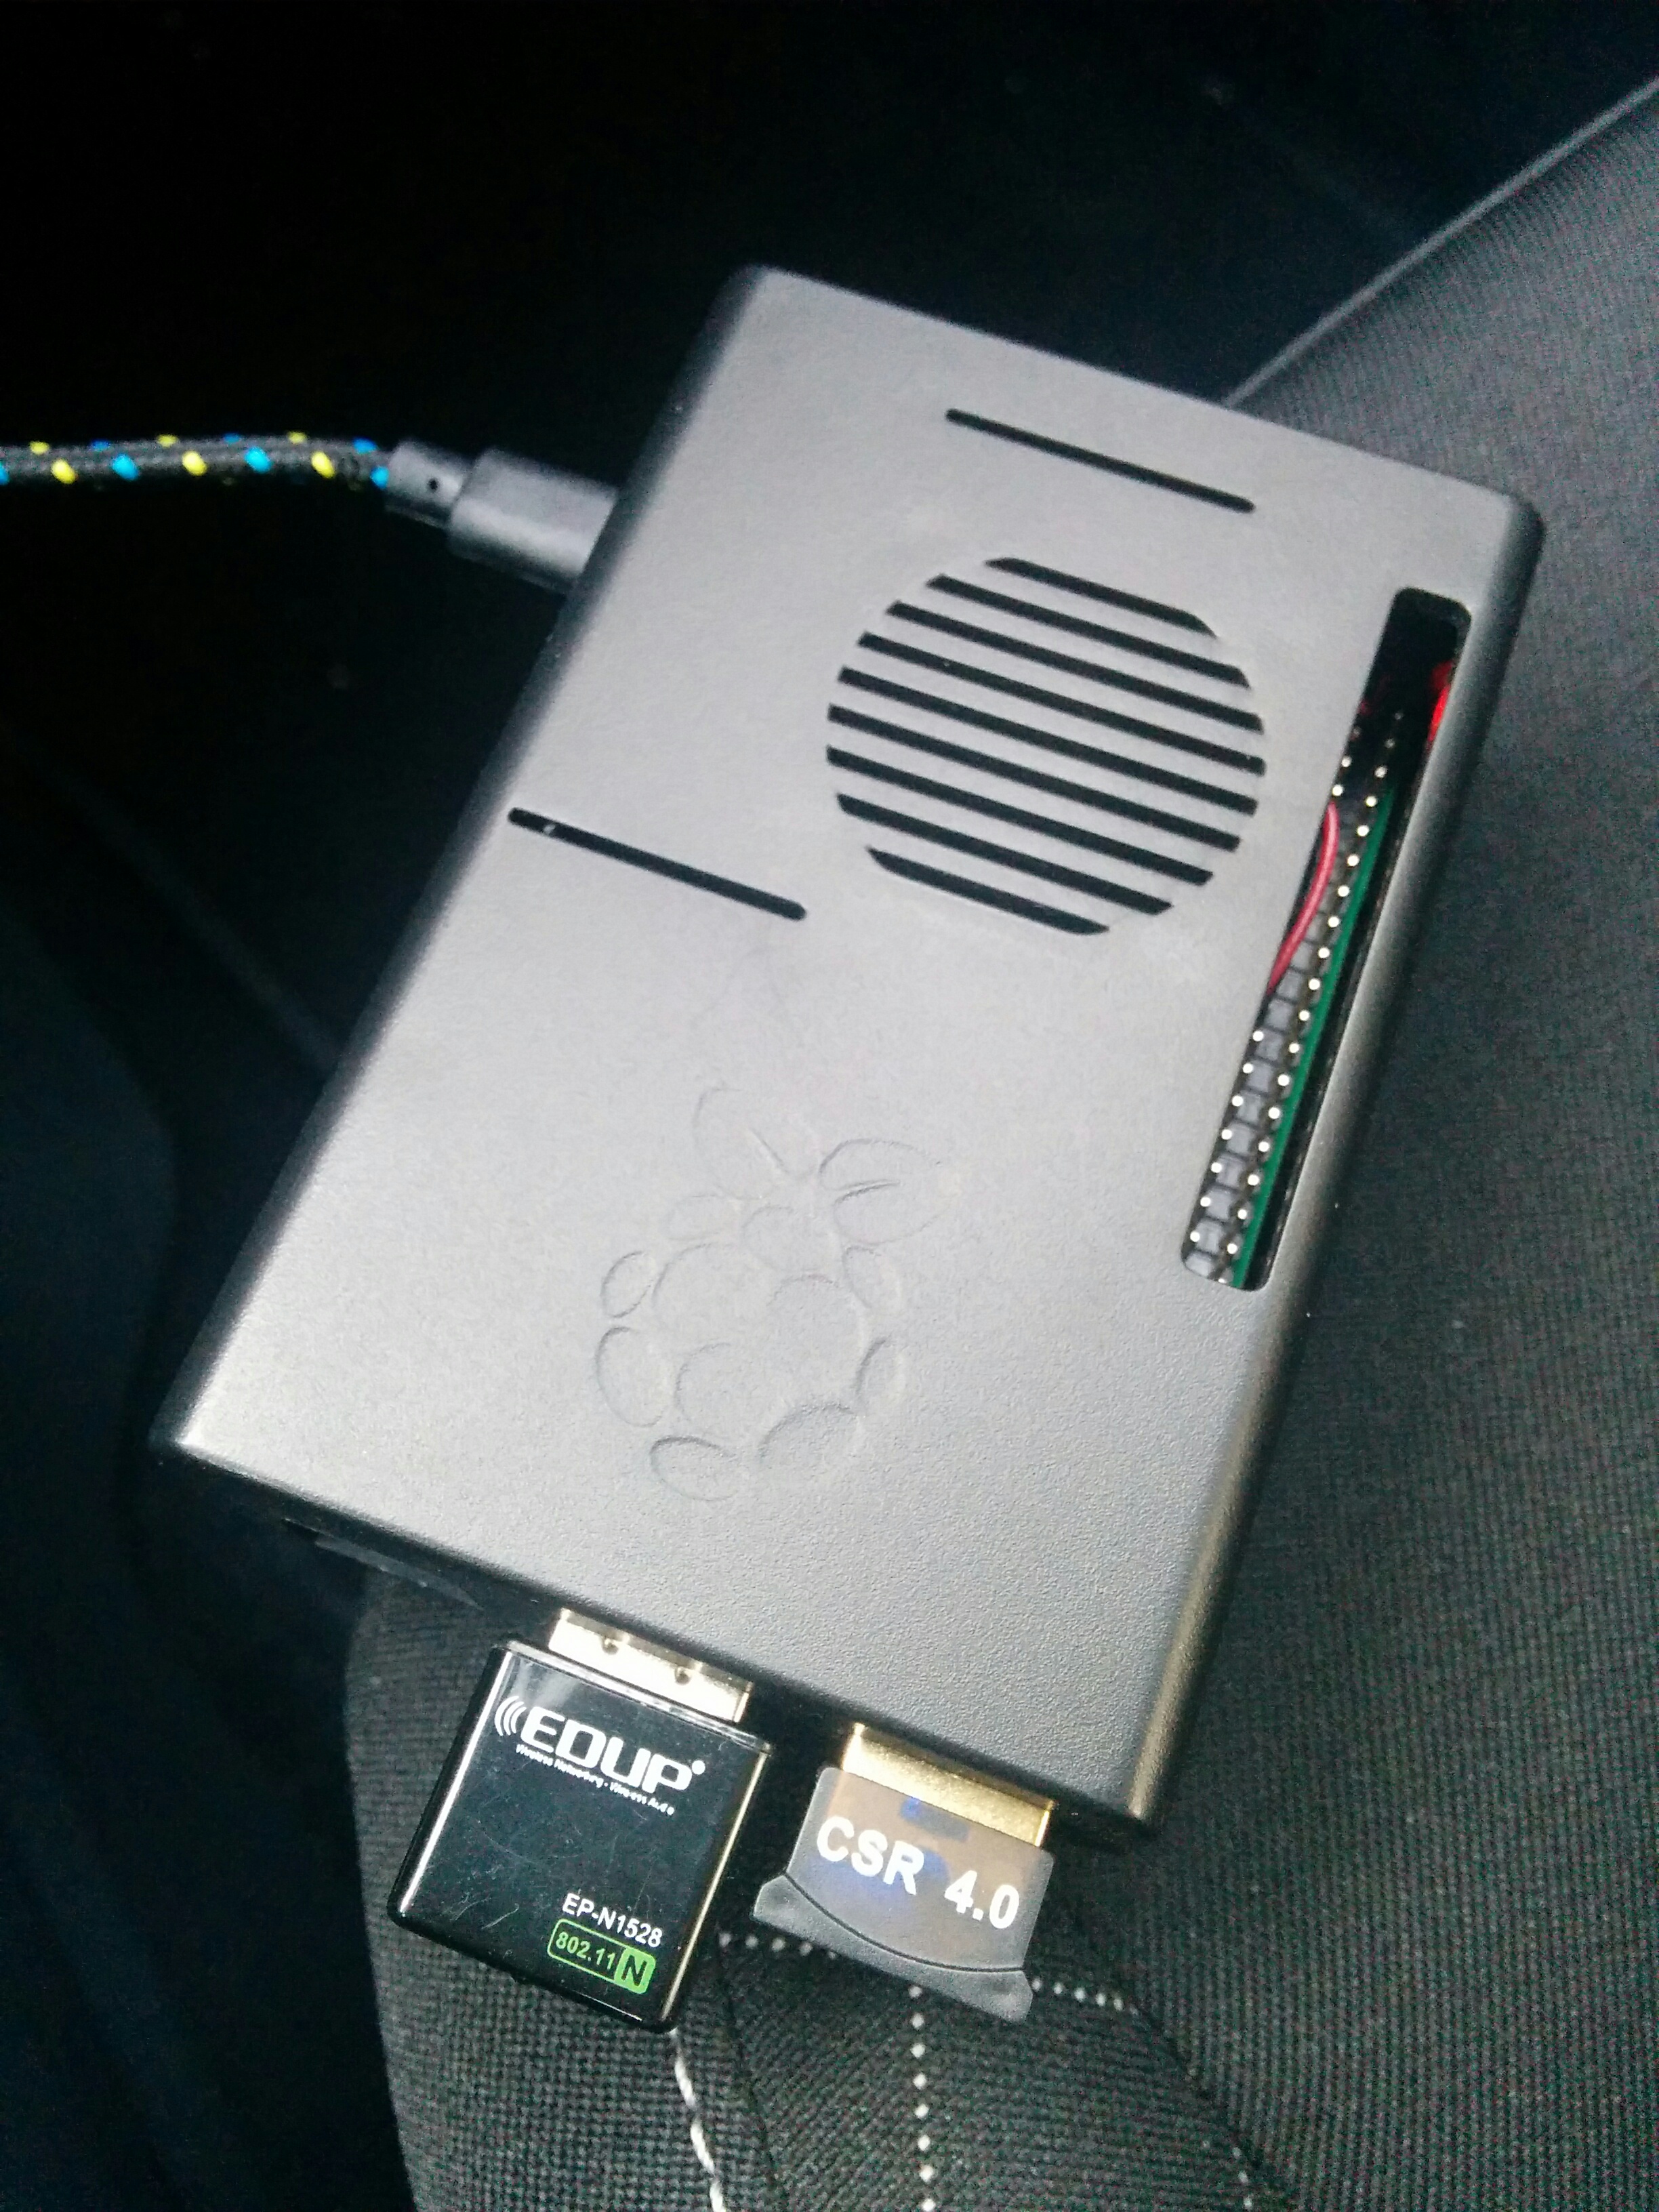
- Raspberry Pi 2 B
- WiFi dongle
- Bluetooth dongle
- Laptop + power cable for your Pi (it helps when debugging in your car)
- Screen, keyboard, mouse (for initial setup)
- Bluetooth speaker (you don't what to spend all your time inside your car with a laptop, its weird...)
- Car with bluetooth (Preferably with on wheel stereo control)
- Patience
- Perseverance, yes....
Of course you can use Raspberry Pi 3 and then you will not have to connect the additional dongles of the WiFi and Bluetooth (this is actually my current setup).
System Features:
- The system automatically connects to predefined WiFi networks (when available)
- Automatic connection to predefined Bluetooth device (may have more than one device)
- The first song is started after approximately 1 minute from engine start
- Debuggable from VNC using a laptop
- Current state of the system is being saved, and used when no internet is available:
- Songs
- Playlist order
- Last played song
- YouTube playlist to sync with
- BT device(s) to connect to
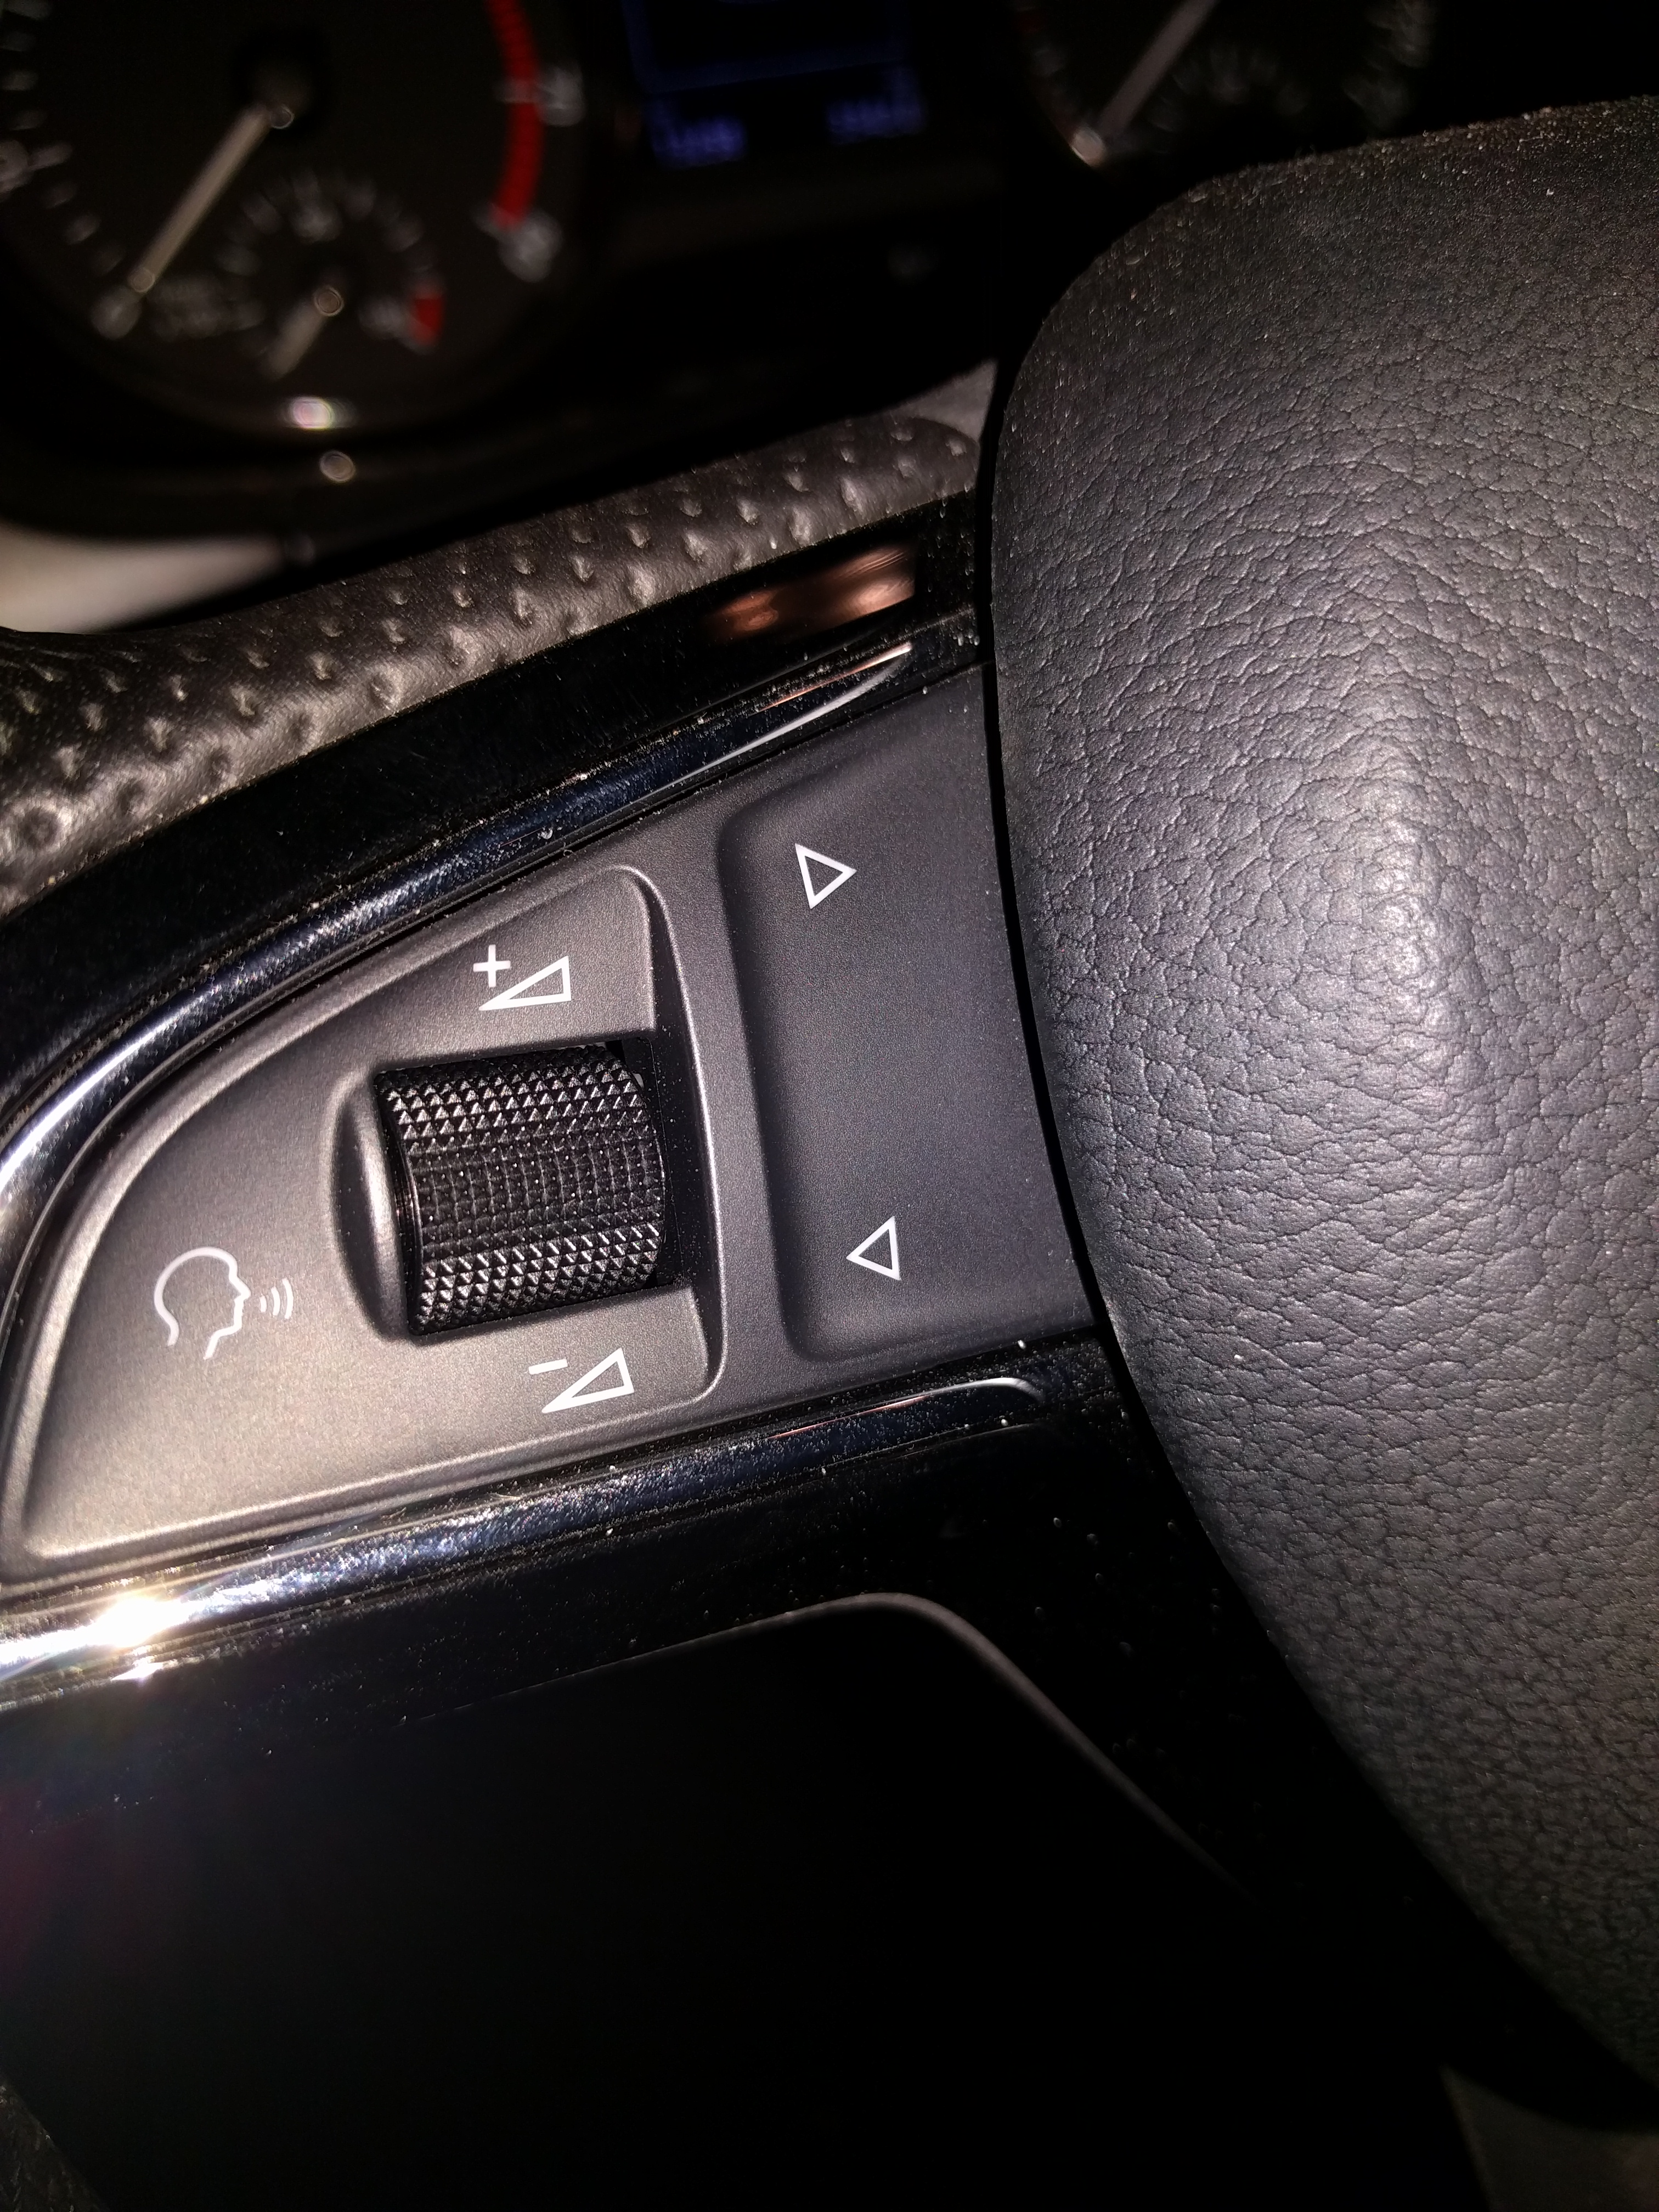
- Supported actions (My steering wheel has only '<' and '>' buttons):
- Pause current track (Single press on '<')
- Previous track, or start over current song, depending on song's play time (Two presses on '<')
- Next track (Single press on '>')
- Sync with YouTube (Two presses on '>')
- Shout down Pi (Three presses on '<')
- On my car, I can use both the phone for BT calls and SoundDrive! When a call comes in, SoundDrive is being silenced (the song is not stopped though, so end the call as fast as possible :))
SoundDrive is something I thought about for a long time and at some point in April 2016 I got tired of thinking about, I wanted it be real. I wanted to hear my music and not commercials, and I wanted to never have to touch the phone while I am driving.
I assume you already have a working Raspberry Pi, if this is not the case, there are plenty of guides for that, I suggest The Always-Up-to-Date Guide to Setting Up Your Raspberry Pi. Other than that, throw your phone to the back seat, or put in your bag and let's get started!
Initial Steps for Setting Up Your Pi
Few steps to set up your Pi
- sudo apt-get update // to get the "newest versions of packages and their dependencies"
- sudo apt-get upgrade // to update your pi's packages
- reboot
- Install VIM: sudo apt-get install vim
- I had to change the keyboard layout to US by changing the parameter XKBLAYOUT from "gb" to "us" in this file:
sudo vim /etc/default/keyboard
- Few more configs:
sudo raspi-config- Expand SD card
- Change WiFI locale to your country's locale
- Change your Timezone - this is critiacal for obtaining an Oauth2.0 token
- reboot
- mkdir -p /home/pi/
- cd to that directory
- From now on I will assume you are located in this directory
That was easy right? Move on to the next step :)
Pi WiFi Setup
Let's start by saying why you'll need need WiFi for this project:
1. The Pi is supposed to stay in your car at all times, and when you want to sync SoundDrive with the YouTube playlist, you simply press twice on '>' on your steering wheel or on the sound system controls.
2. Debugging in your car, which will be needed, requires you to connect to the Pi from a laptop which requires SSH connection or VNC.
That being said, it can all be done with ethernet cable but for ease of use and ease of development, I suggest using the WiFi.
My setup enables the Pi to connect to two WiFi networks, one for my home which I can actually connect from the car when I am close enough, and one for the tethering from my phone, for desperate times when syncing the playlist while away from home.
sudo vim /etc/network/interfaces
https://github.com/ofekp/SoundDrive/blob/master/pi...
sudo vim /etc/wpa_supplicant/wpa_supplicant.conf
https://github.com/ofekp/SoundDrive/blob/master/pi...
Optional: VNC Server
Simply follow this post https://raspberrypi.stackexchange.com/a/14033
You can start the server from an SSH session using this command:
/usr/bin/vncserver :1 -geometry 1280x800 -depth 16 -pixelformat rgb565
If you want to get the VNC server on your Pi to run on boot, you can use the boot file from my SoundDrive repo (I am actually not using it on boot currently):
https://github.com/ofekp/SoundDrive/blob/master/pi...
and then:
copy this file's content to a new file /etc/init.d/vncboot
chmod 777 /etc/init.d/vncboot
sudo update-rc.d /etc/init.d/vncboot defaults
Clone SoundDrive
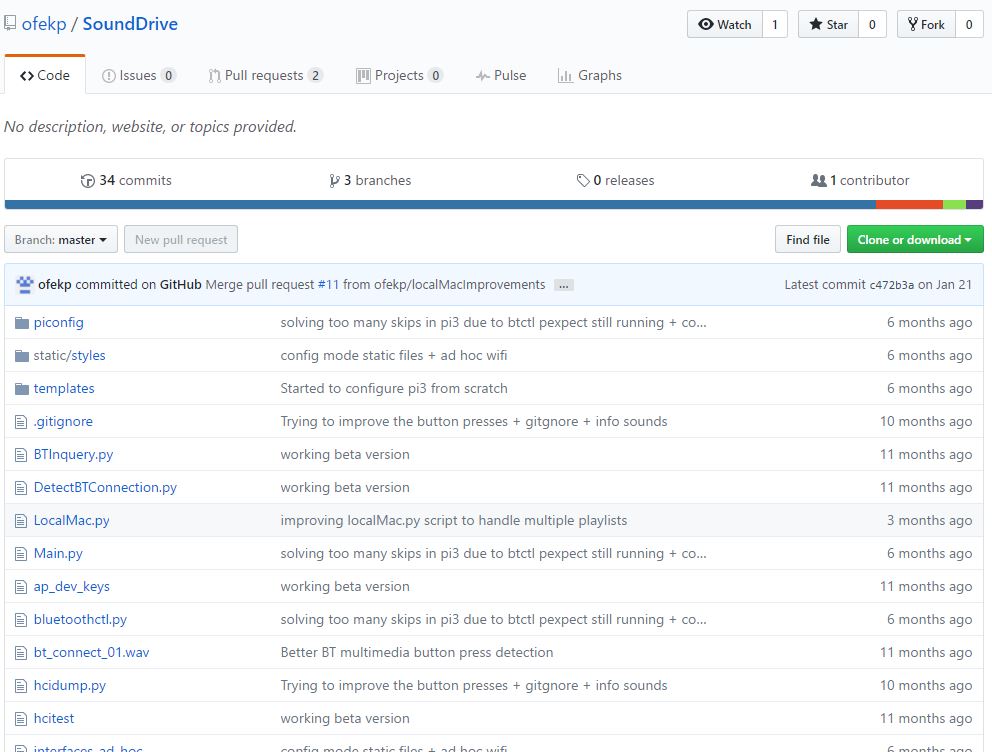
I made it easy for you all, this is my repository and we are going to clone it and install all the dependencies it requires, good luck to us all:
https://github.com/ofekp/SoundDrive
sudo apt-get install bluez-hcidump
sudo pip install httplib2
sudo pip install pexpect // used to get the bluetooth key presses you make
sudo pip install oauth2client // to gain access to your youtube playlist
sudo pip install --upgrade google-api-python-client
sudo pip install youtube_dl // this package will download the songs from youtube
sudo apt-get install mplayer // this plays the songs
sudo apt-get install bluez-tools
Get Oauth Credentials
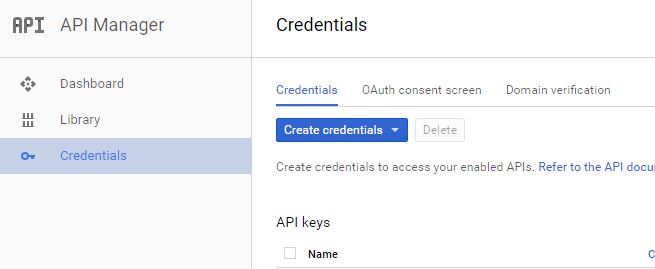
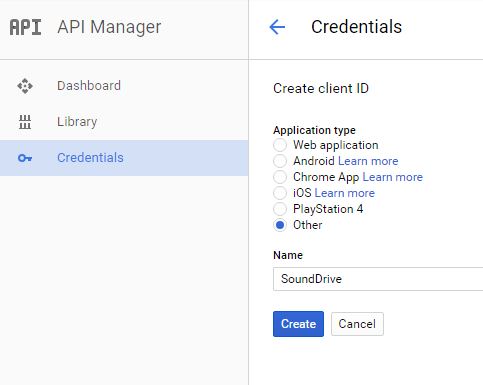

Go to Google API Console
Click the "Credentials" tab on the left menu
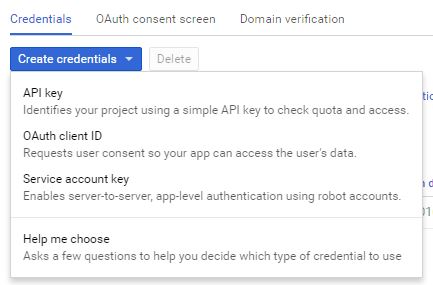
Choose "Oauth client ID" from the list
Type should be "Other"
The name is "SoundDrive" but you can call it whatever you like
This should create a new item in the list of your "OAuth 2.0 client IDs"
Click the "SoundDrive" credential
Click "Download JSON"
Copy the file's content and paste it in a new file "client_secrets.json" which should be placed inside your SoundDrive folder (which was created when you cloned my repository a while ago)
Configs Configs Configs...
-sudo vim /etc/bluetooth/main.conf // mostly Class and Name fields should change
https://github.com/ofekp/SoundDrive/blob/master/pi...
-The next file should be created manually if it does not exist, vim command will create that file for you once you save.
sudo vim /etc/bluetooth/audio.conf
https://github.com/ofekp/SoundDrive/blob/master/pi...
sudo /etc/init.d/bluetooth restart
sudo hciconfig hci0 up
-sudo vim /etc/pulse/default.pa
Add this line at the end of the file load-module module-switch-on-connect
https://github.com/ofekp/SoundDrive/blob/master/pi...
-Now we will make the Pi start SoundDrive on boot
sudo cp piconfig/sound_drive_boot /etc/init.d/
chmod 777 /etc/init.d/sound_drive_boot
sudo update-rc.d /etc/init.d/sound_drive_boot defaults // Please see below very important note!!
VERY IMPORTANT NOTE: SoundDrive will cause your pi to shutdown if it does not find any Bluetooth device to connect to for about 1 minute! Which is what going to happen from now on whenever you restart your Pi. you can stop SoundDrive before it shuts down your Pi by executing /etc/init.d/sound_drive_boot stop
https://github.com/ofekp/SoundDrive/blob/master/pi...
-Optional: if you have more than one Pi and you want to be able to connect to each of them using bonjour, you can change the name of each pi by doing this:
sudo hostname raspberrypi3.local // used to be raspberrypi.local
sudo service avahi-daemon restart
SoundDrive First Run (Hardest Step)
This is by far the hardest part of this tutorial, this is the part where you just need to pray... sorry, no, this is the part where you need to be vigilant, sharp and persistent. And if you solve enough problems, you get to hear your music.
sudo /etc/init.d/sound_drive_boot start // or you can just reboot your Pi, remember we made it run on boot?
If you followed this tutorial, and if I made no mistakes, this should have caused the file /home/pi//SoundDrive/sound_drive.cfg to be created.
In this file there are several things we need to set up:
- Under "youtube" section, playlist_name - this is the name of your playlist in your youtube account
-
Still under "youtube" section, playlist_id - I made a code to extract this id from the name of the playlist so you should not worry about this
-
Under "bluetooth" section, device_names - this is the name of your bluetooth device, I have two, one is my car's bluetooth name and one is by debug bluetooth device.
For the next steps you might need the logging output which is found in the following file, just "tail -f" it:
tail -f output.log
The first thing SoundDrive will do is try pairing with one of the Bluetooth devices you configured
I did not automate the first time paring process yet, because in most cases it requires a pin to be entered. So you will need to pair the devices by using the Raspbian GUI, or if you are familiar with "bluetoothctl" you can use it while being connected to your Pi with SSH.
Basically:
bluetoothctl // We installed it in a previous step
>> scan on
>> agent on
>> default-agent
>> devices
>> trust
>> pair
>> connect
If no errors were printed during this process you will not need to do this step again. SoundDrive will pair with this device automatically as long as its name is in the config file we just edited.
Next it will try connecting to YouTube and grabbing the playlist information, including the songs video IDs.
This is another step that is not fully automated yet, the first time you start SoundDrive it will detect that you have no Oauth token and will initiate a process to obtain a new token.
The process is fairly easy but you will need the Raspbian GUI this time, as part of the process is logging in to your Google account using the Raspbian web browser and copying the verification number from the browser into SoundDrive.
The way we paste the verification number into SoundDrive is using the Flask SoundDrive web server I have made.
We will need to start the Pi and use the Raspbian OS GUI
you can use either VNC or Physically connect a screen, keyboard and mouse to your Pi
Open the Terminal program
stop SoundDrive by /etc/init.d/sound_drive_boot stop
start SoundDrive by /etc/init.d/sound_drive_boot start
If bluetooth is connected you should see in the terminal: tail -f output.log --> "DEBUG:root:Waiting for user to enter auth_code from Google..." and a browser page should pop up. If not, use the Pi's browser and go to SoundDrive's web server: http://raspberrypi3.local:8080/ (or http://localhost:8080/ from within the Pi's browser) go to Controls at the top menu then click Sync. This time you should see that message in the log and the web browser should pop up.
If the browser shows an error message "ERR_CERT_DATE_INVALID" this is because your Pi's time settings are not correct. Adjust your timezone (refer to Setting Up Your Pi Step of this guide) make sure you have a network connection and reboot your Pi then try again.
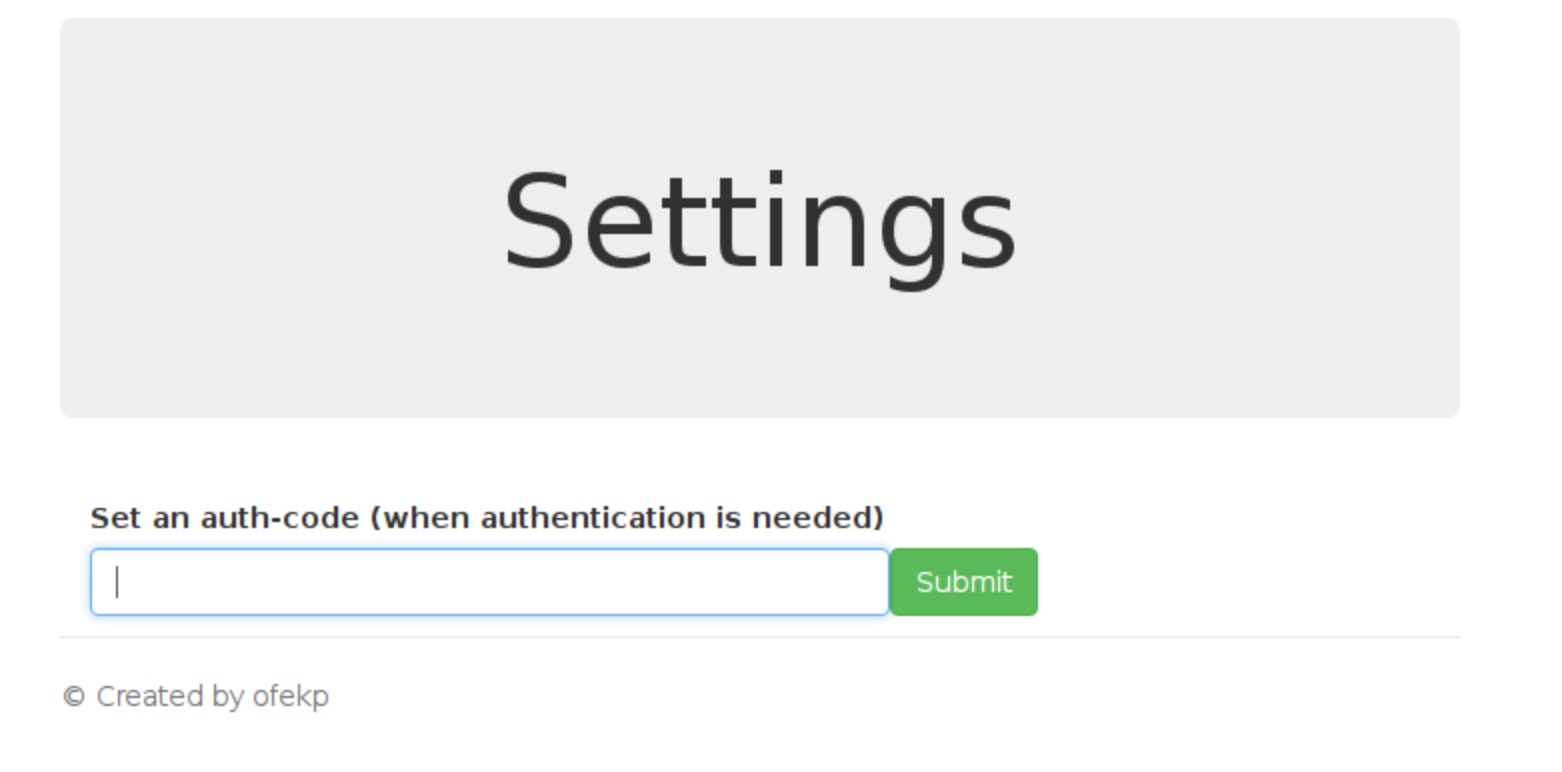
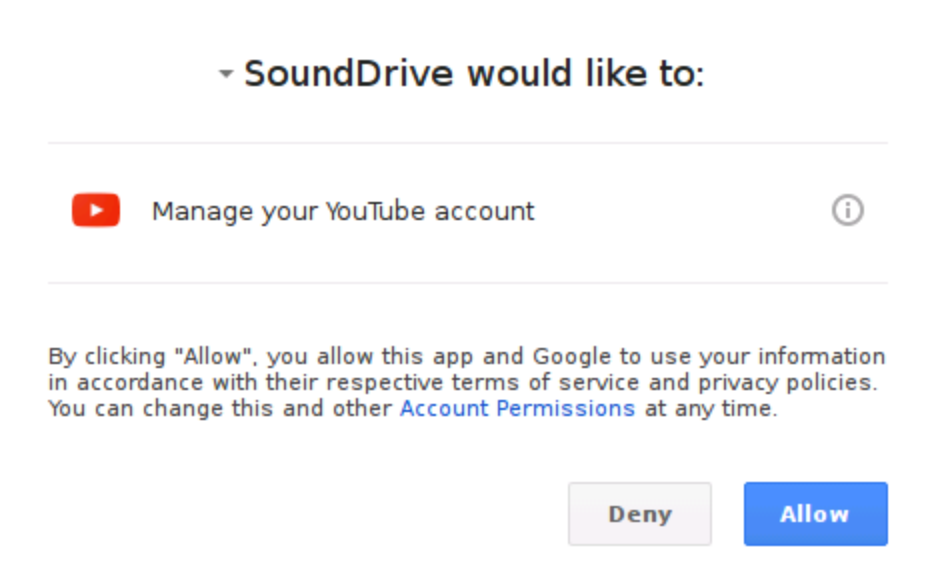
In the web page that poped up cick Allow you will now be presented with a token from Google copy that token, go to SoundDrive's web server again press Settings from the top menu paste that token in the input box and press Submit.
If all went well you should be seeing that the songs are being downloaded.
That should do it.
You should now (after the songs are downloaded) be able to do:
sudo /etc/init.d/sound_drive_boot stop
sudo /etc/init.d/sound_drive_boot start
And if you have a Bluetooth device you connected to earlier in this step, and if all the stars are aligned you should hear your beat.
I really would love to know someone made it all the way through this step :)
Conclusions
Known issues:
- The detection of bluetooth commands is OK, for the most part, but it has its issues. For example, I noticed that when I get WiFi signal near my Pi after it's been working, the response time of the key presses from the media system is kinda useless and will not recognize double presses and triple presses. Trying to solve this...
- The system takes few minutes to start up, usually I get from a minute to two minutes of quite time for myself to reflect on the coming day before the music starts.
Next improvements:
- Quicker easier setup process, using the Flask web server to change most of the needed configs
- Displaying the name of the song on the media system's screen
- Displaying elapsed/remaining time
I have been enjoying this for quite some time now, almost a year now, since I have short drives to make each morning and evening I usually don't want to bother with my phone, so I got this ready for work as soon as I start the engine. Maximizing focus on the road.
Please let me know in the comments or with PMs if this worked for you or if you need help or if you found an error in this tutorial.
I will try to improve this tutorial with time if it will interest people.
Ofek.