Sound Sensing Alarm Clock Light
by BradenSunwold in Circuits > Arduino
1706 Views, 8 Favorites, 0 Comments
Sound Sensing Alarm Clock Light
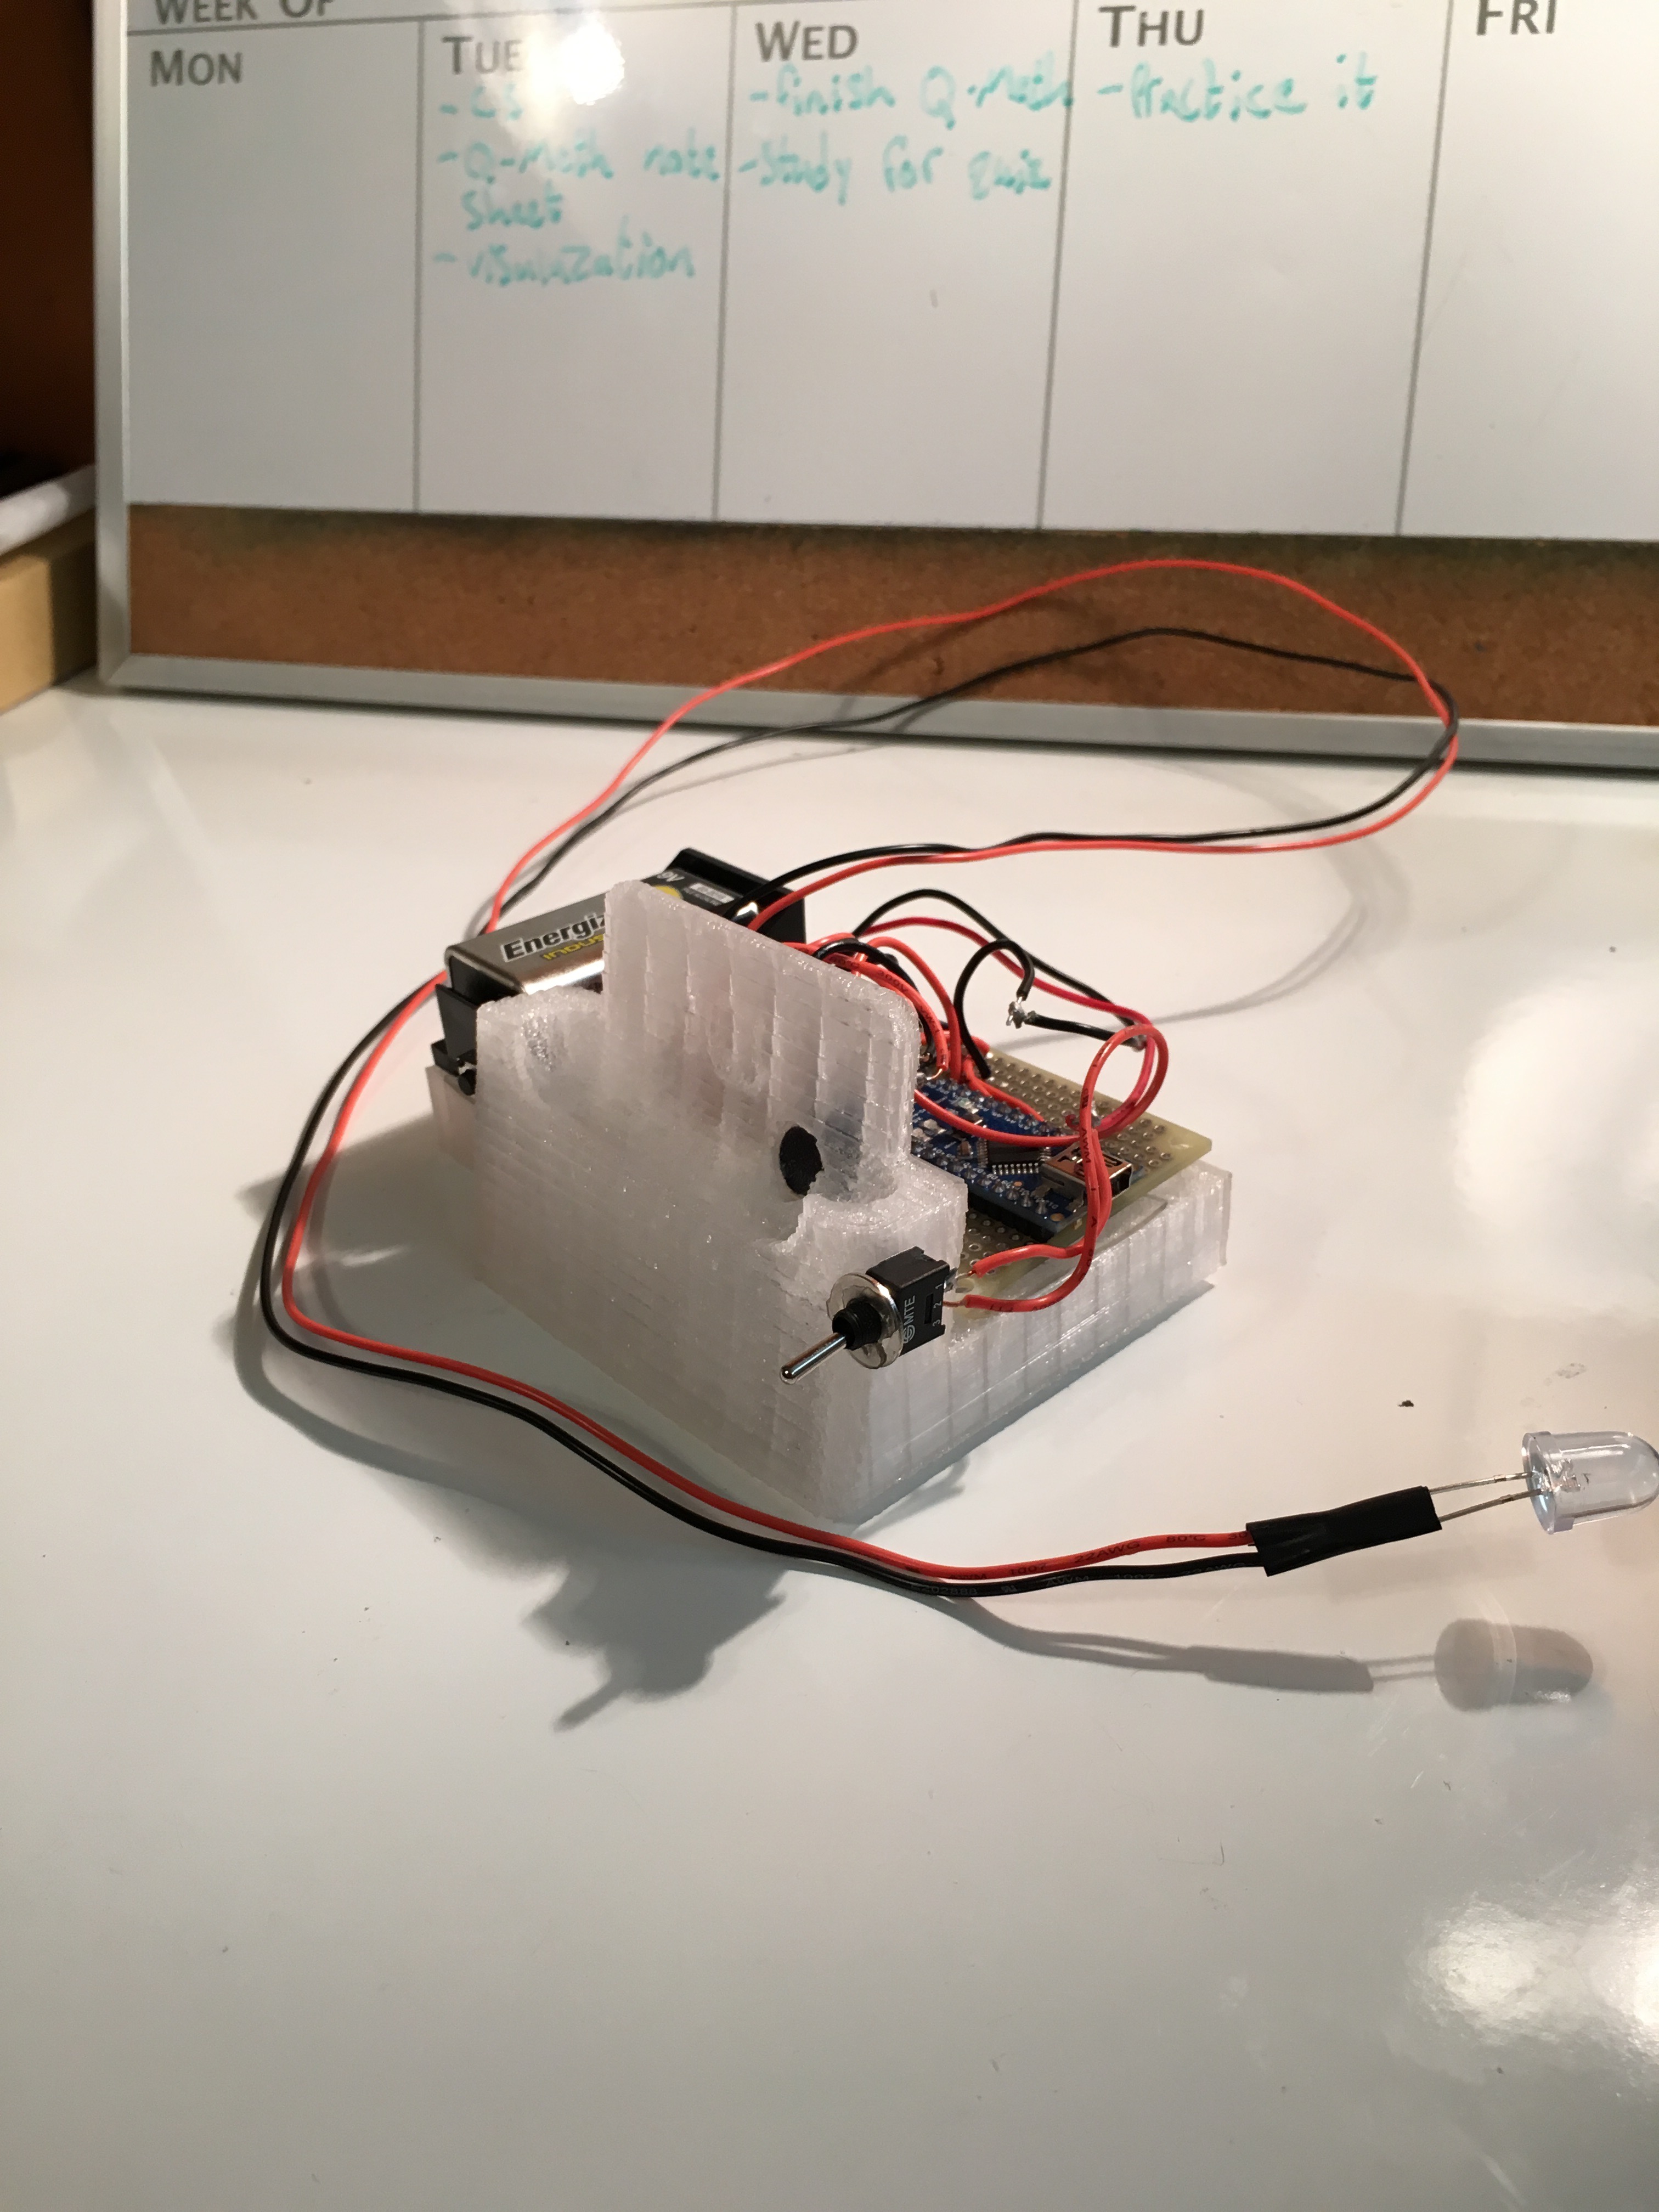
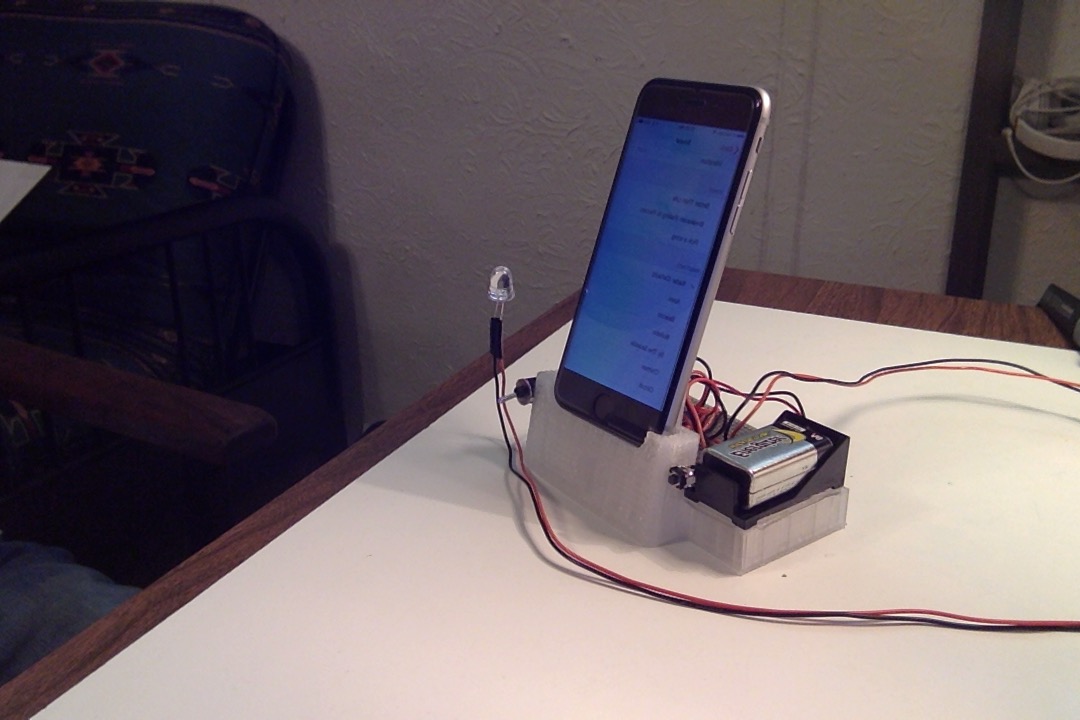
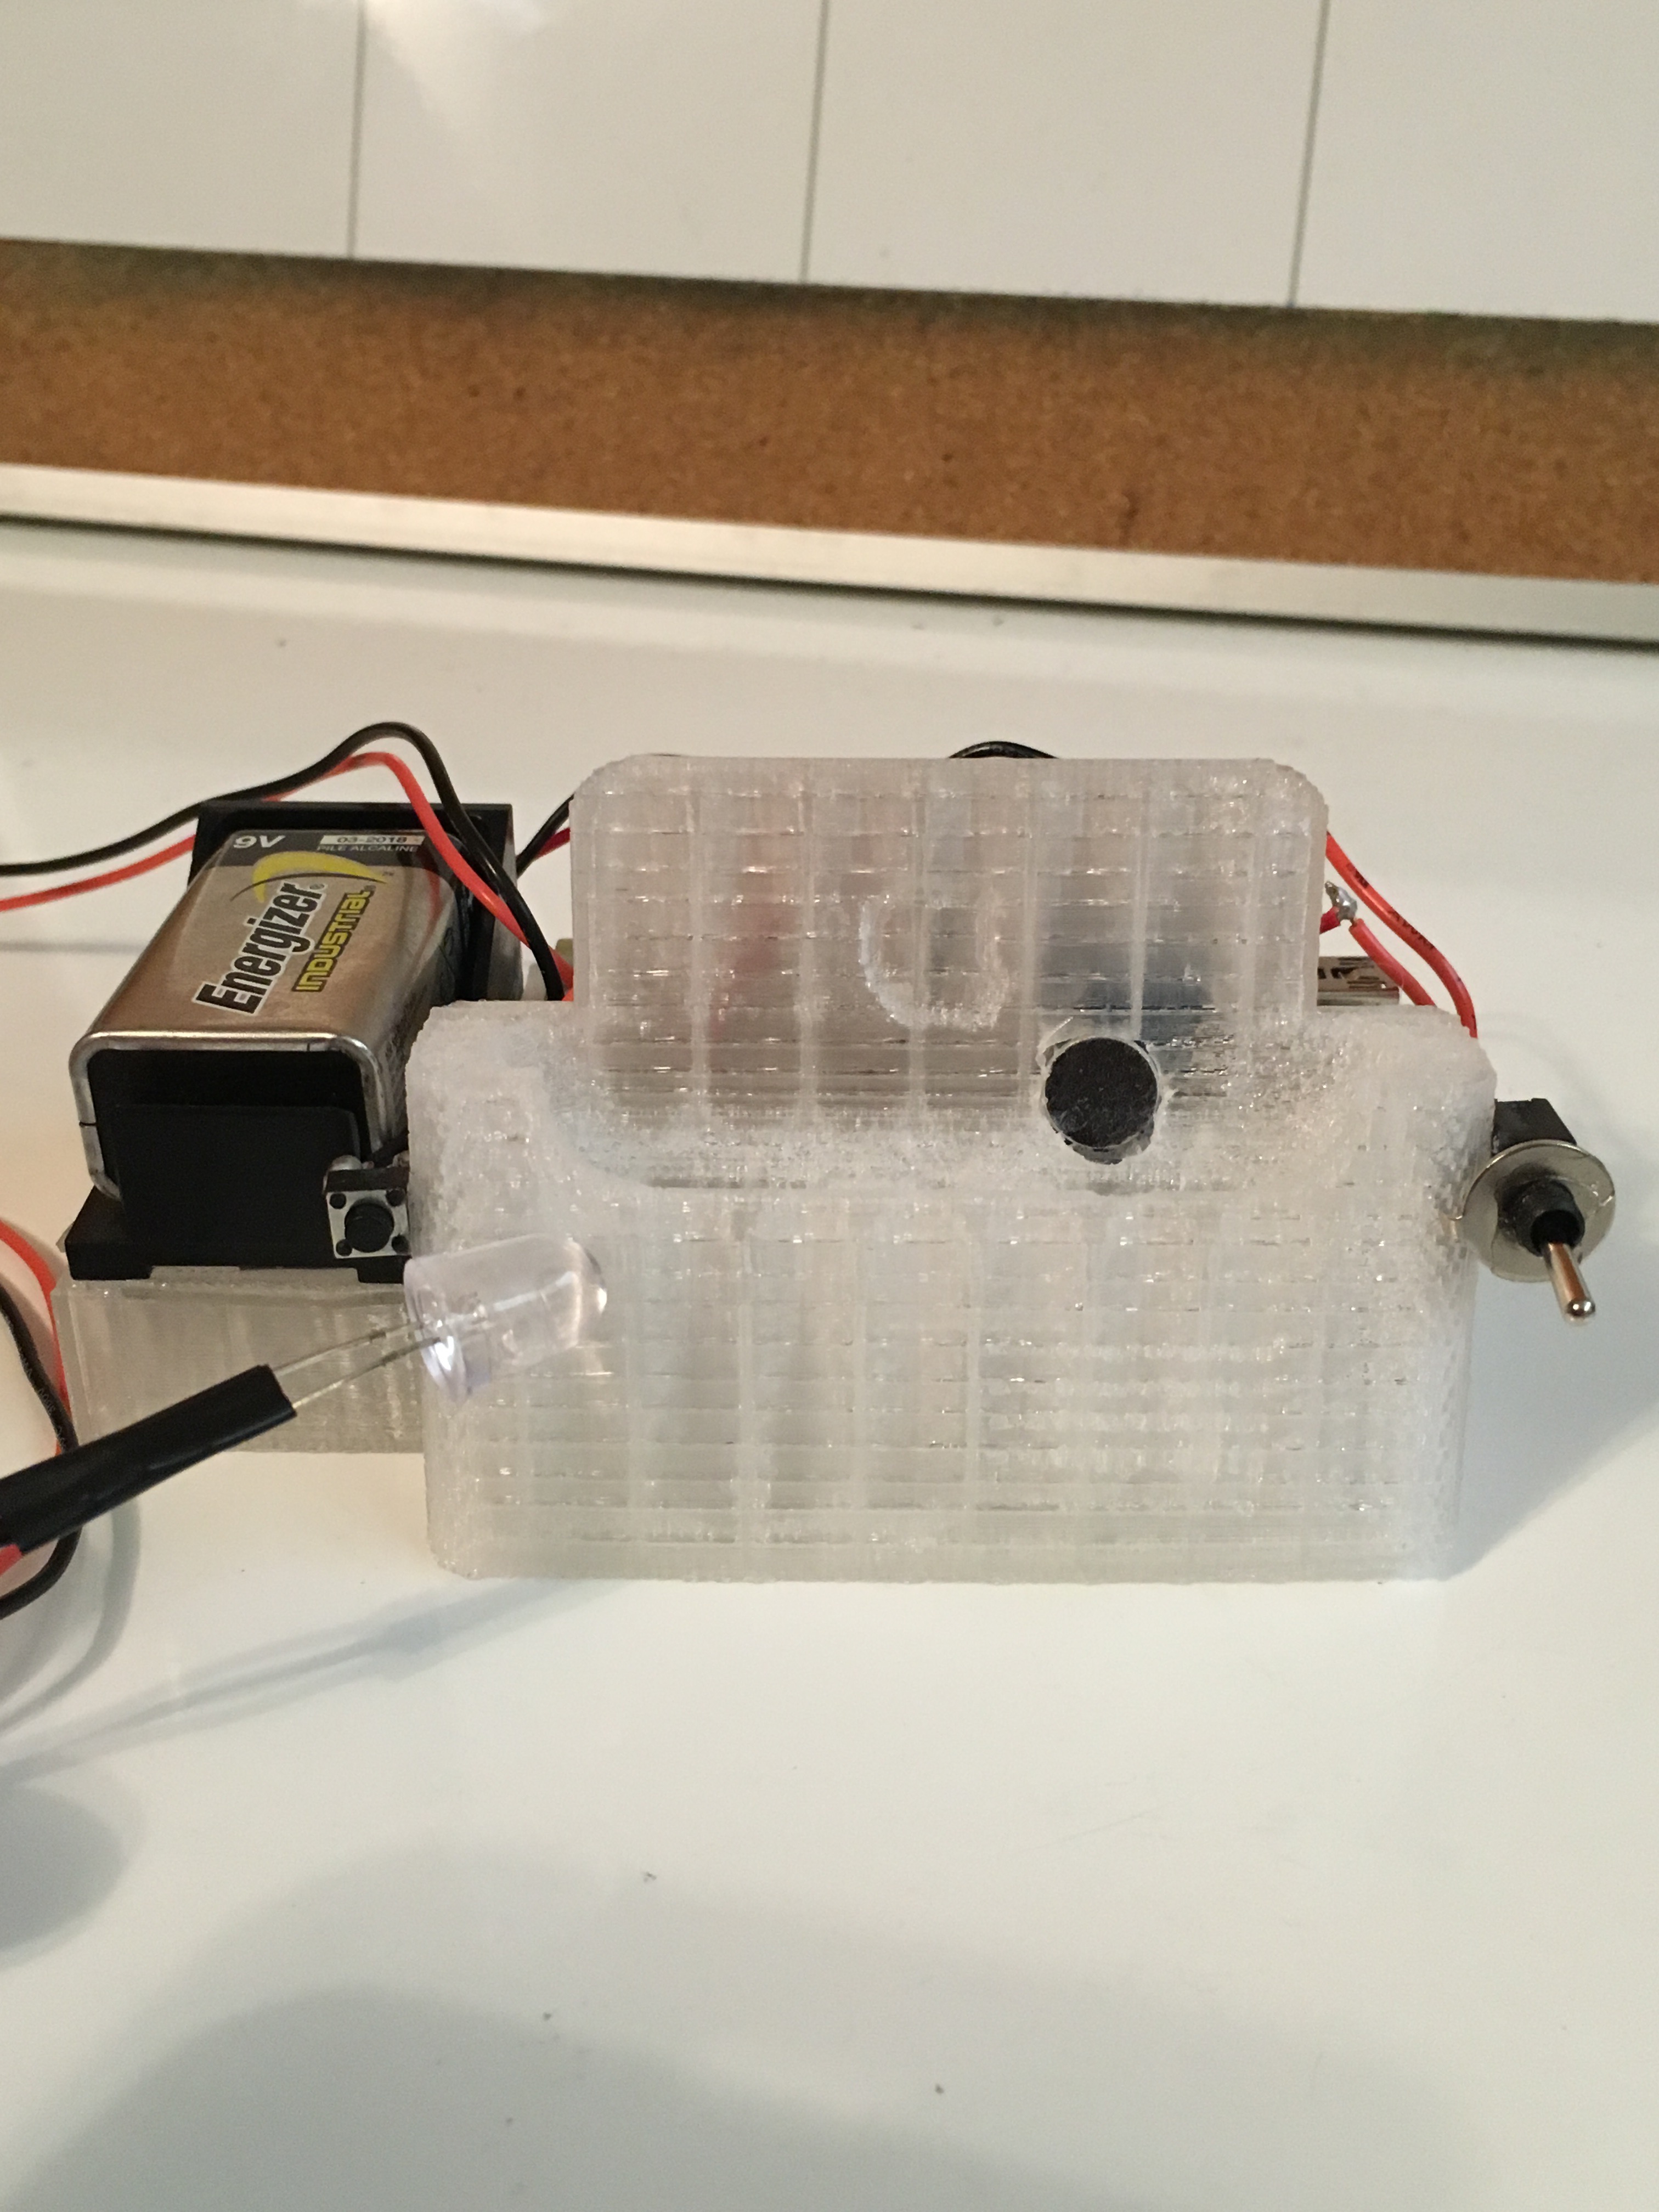
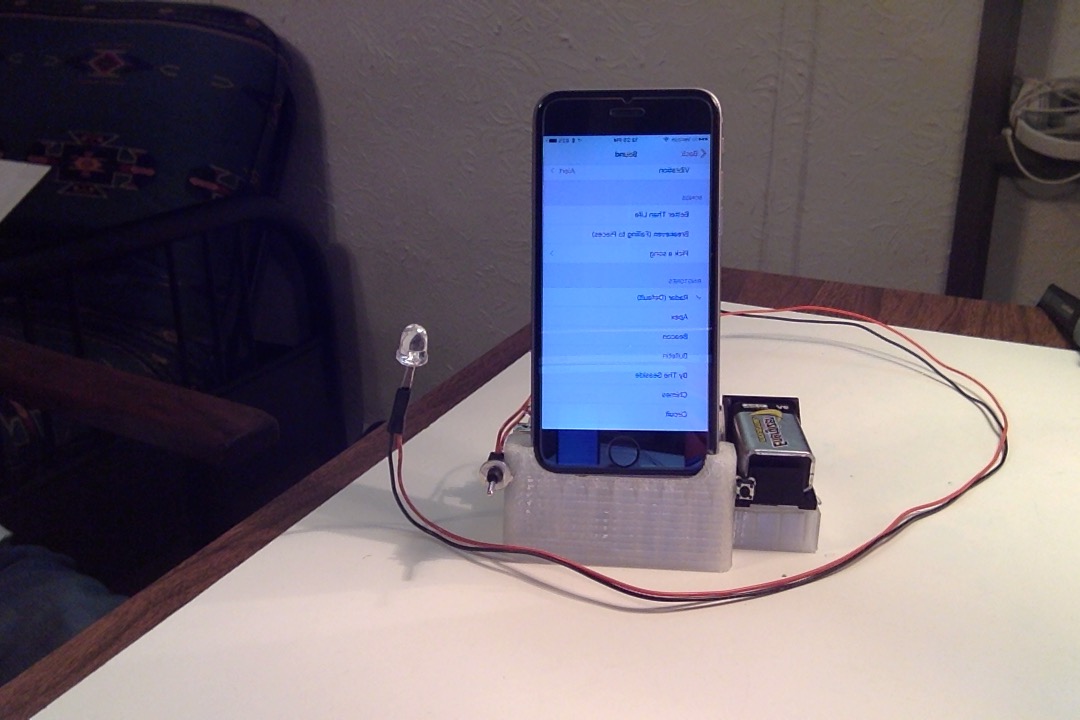
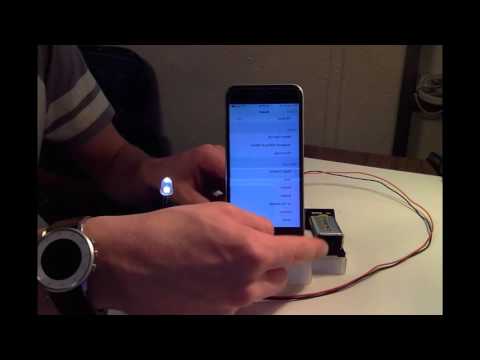
First I want to say that this is a cool project for any range of skill level. If you are a beginner with Arduino and are nervous about complexity I encourage you to give this a try as I will try to as helpful as I can and its always best to jump into a project if you want to learn more.
This Instructable shows you how to create a device that senses when your alarm on your phone goes off (or any alarm near it for that matter) and turns on an LED above your bed in order to wake you up in the mornings. I originally had this idea while living in a noisy house at college where one of my house mates has trouble sleeping because other people are too loud at night. My housemate could not wear hear pugs to bed because he would sleep through his alarm.
This project is also a great device for the hearing impaired that would allow people to use their phones for an alarm clock instead of having to buy special alarm clocks.
The total cost of this project was about 25 bucks.
Materials
What you will need:
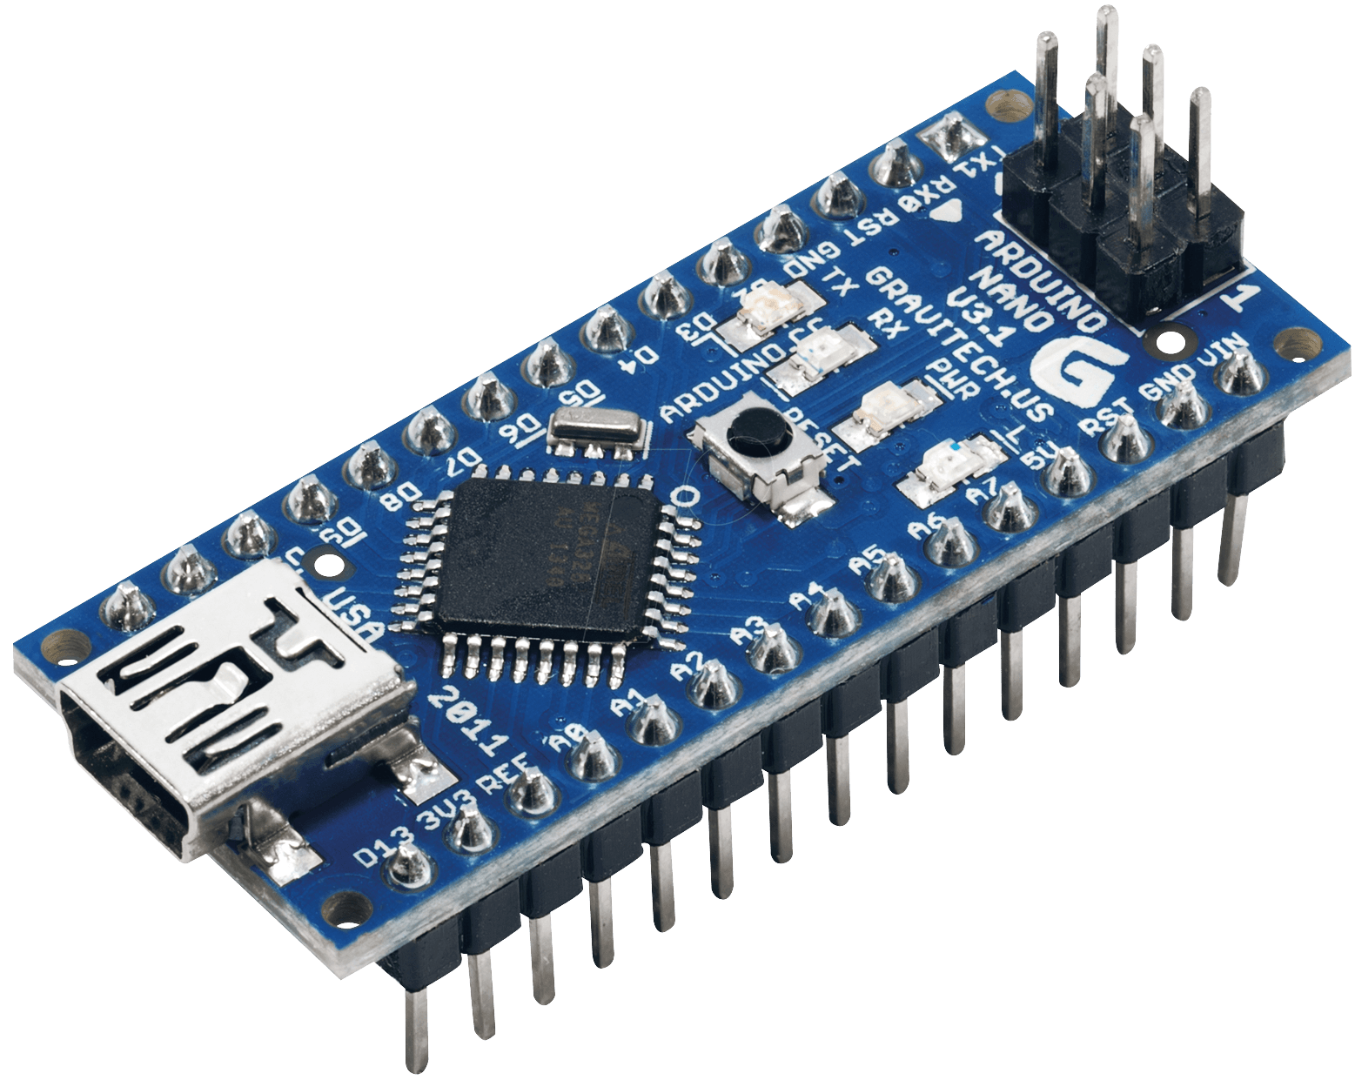
1. Arduino nano - Nano or Arduino Uno - Uno
I went with the Nano because the knock off versions from china are cheaper then the Uno and it is smaller. They will cost you anywhere from 2 to 15 dollars. Some of these require you to download an additional driver from the sellers website or ftdi drivers so be aware of the extra steps needed to be taken with the purchase of the Nano.
If you are using an Uno just use the same pins listed, the code will work for both boards, you will just have to switch the board type under tools in the Arduino IDE.
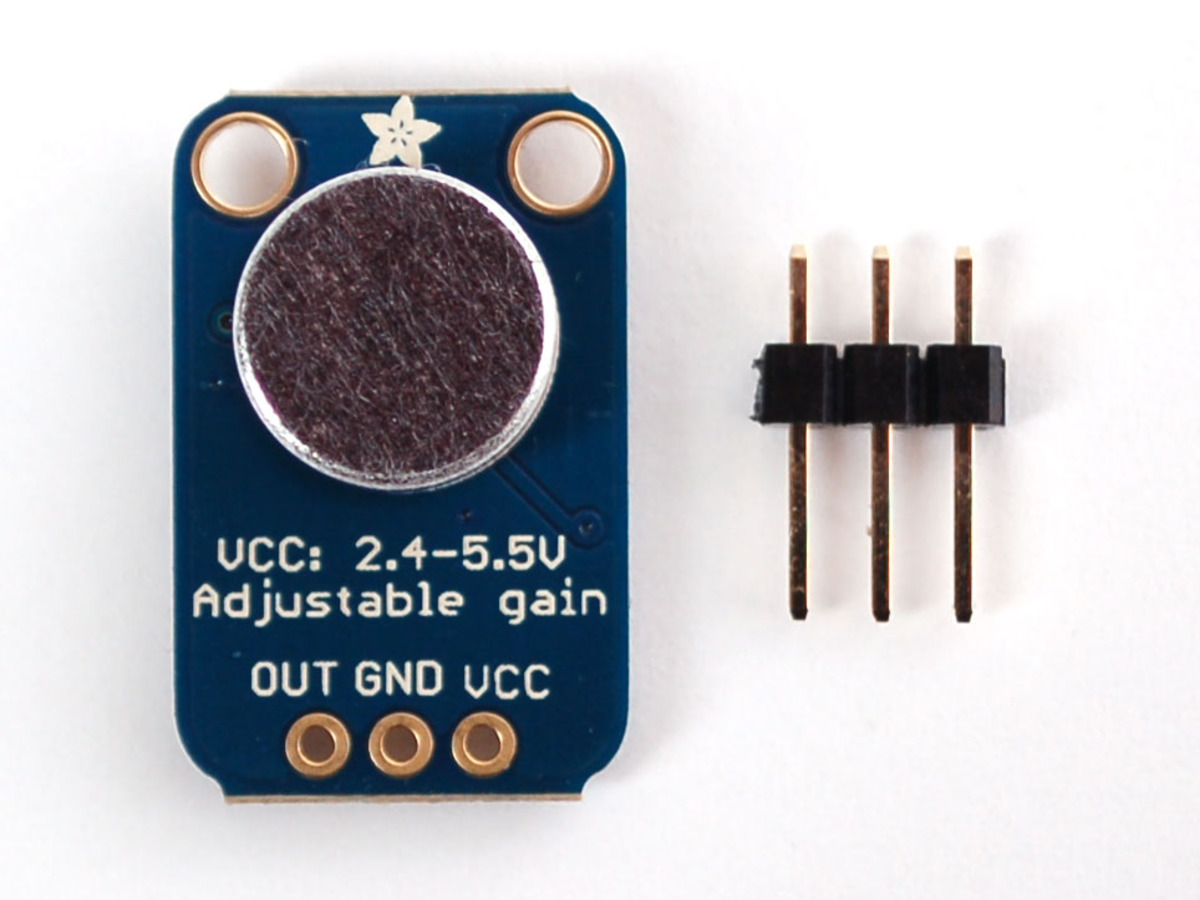
2. Adafruit Electret Microphone Amplifier with Adjustable Gain - Sound Sensor
Im sure other sound sensors will also work but this is the one I used and it seems to work just fine. Spark Fun also has sound sensors.
3. Push button
found online or at your local Radio Shack.
4. LED
Found online or at local Radio Shack. Color and size is your preference but I chose clear.
5. Two 330 ohm resistors
Found online or at local Radio Shack.
6. Toggle switch
7. Project box or container.
I will provide the 3D printed .stl file that I used to print my phone holder but you can also just buy a project box online or at your local Radio Shack if you do not have access to a 3D printer.
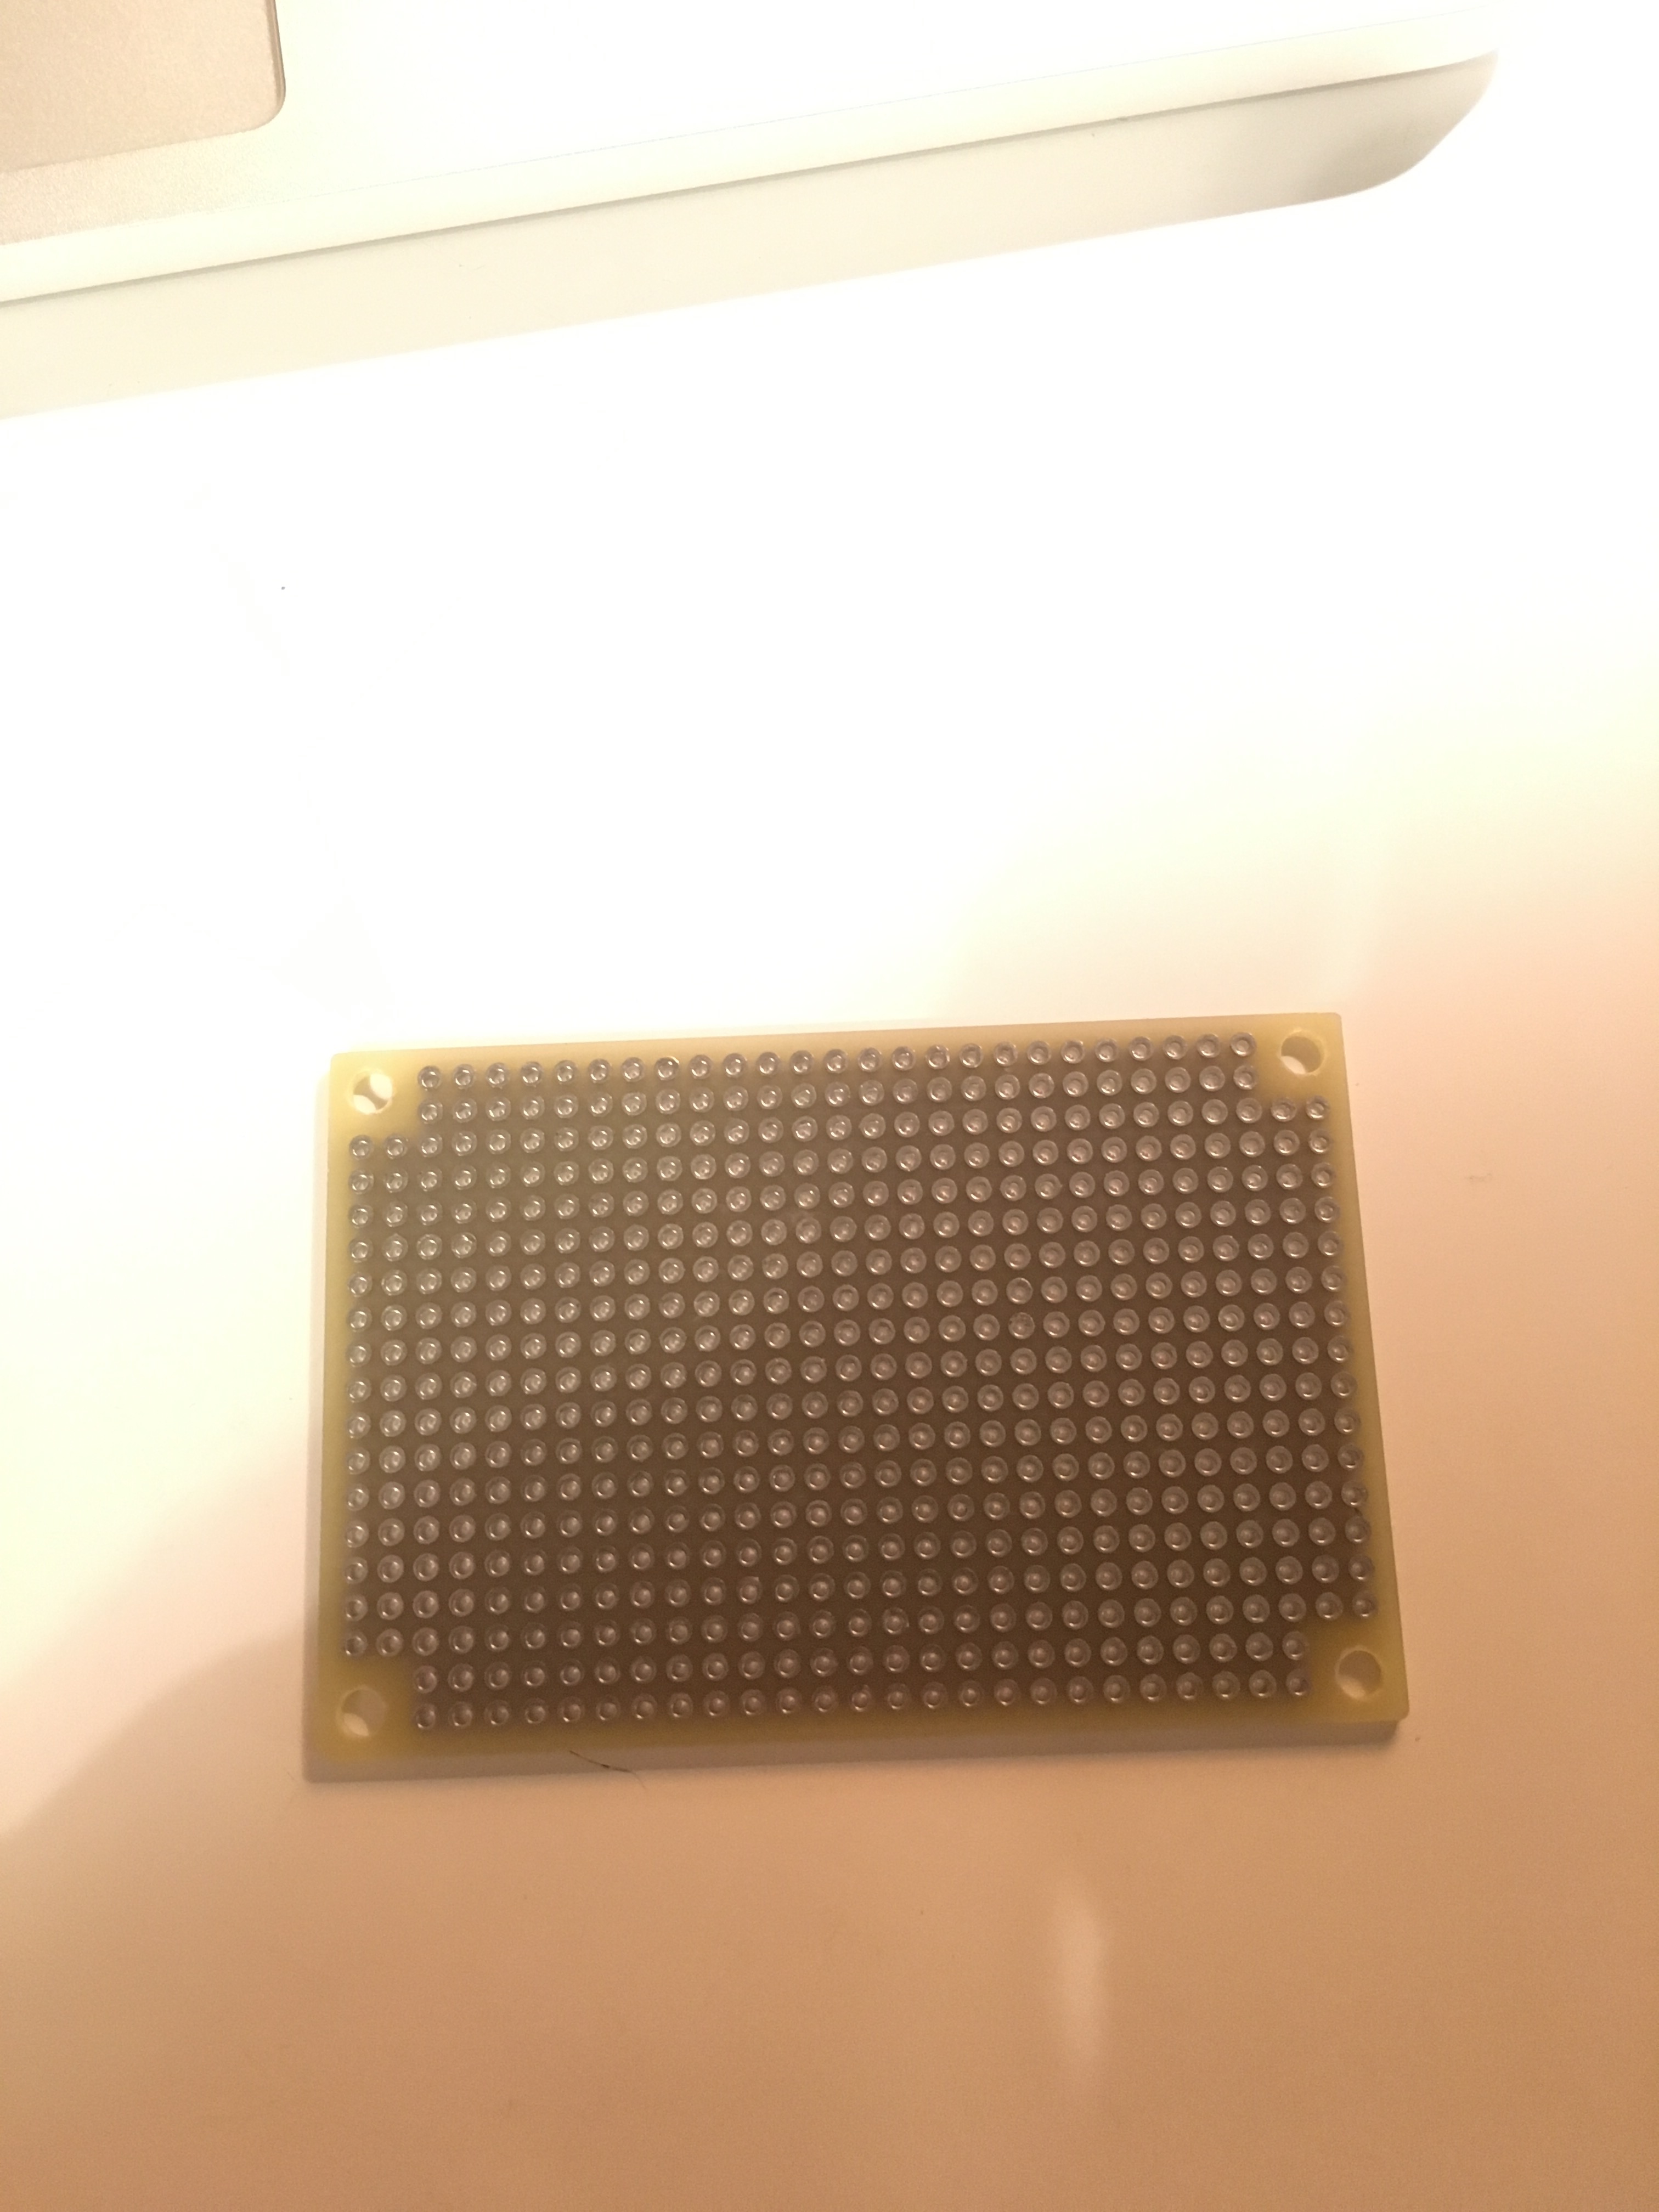
8. Prototyping soldering board - Soldering Board
This can also be found at your local Radio Shack.
Prototyping and Code
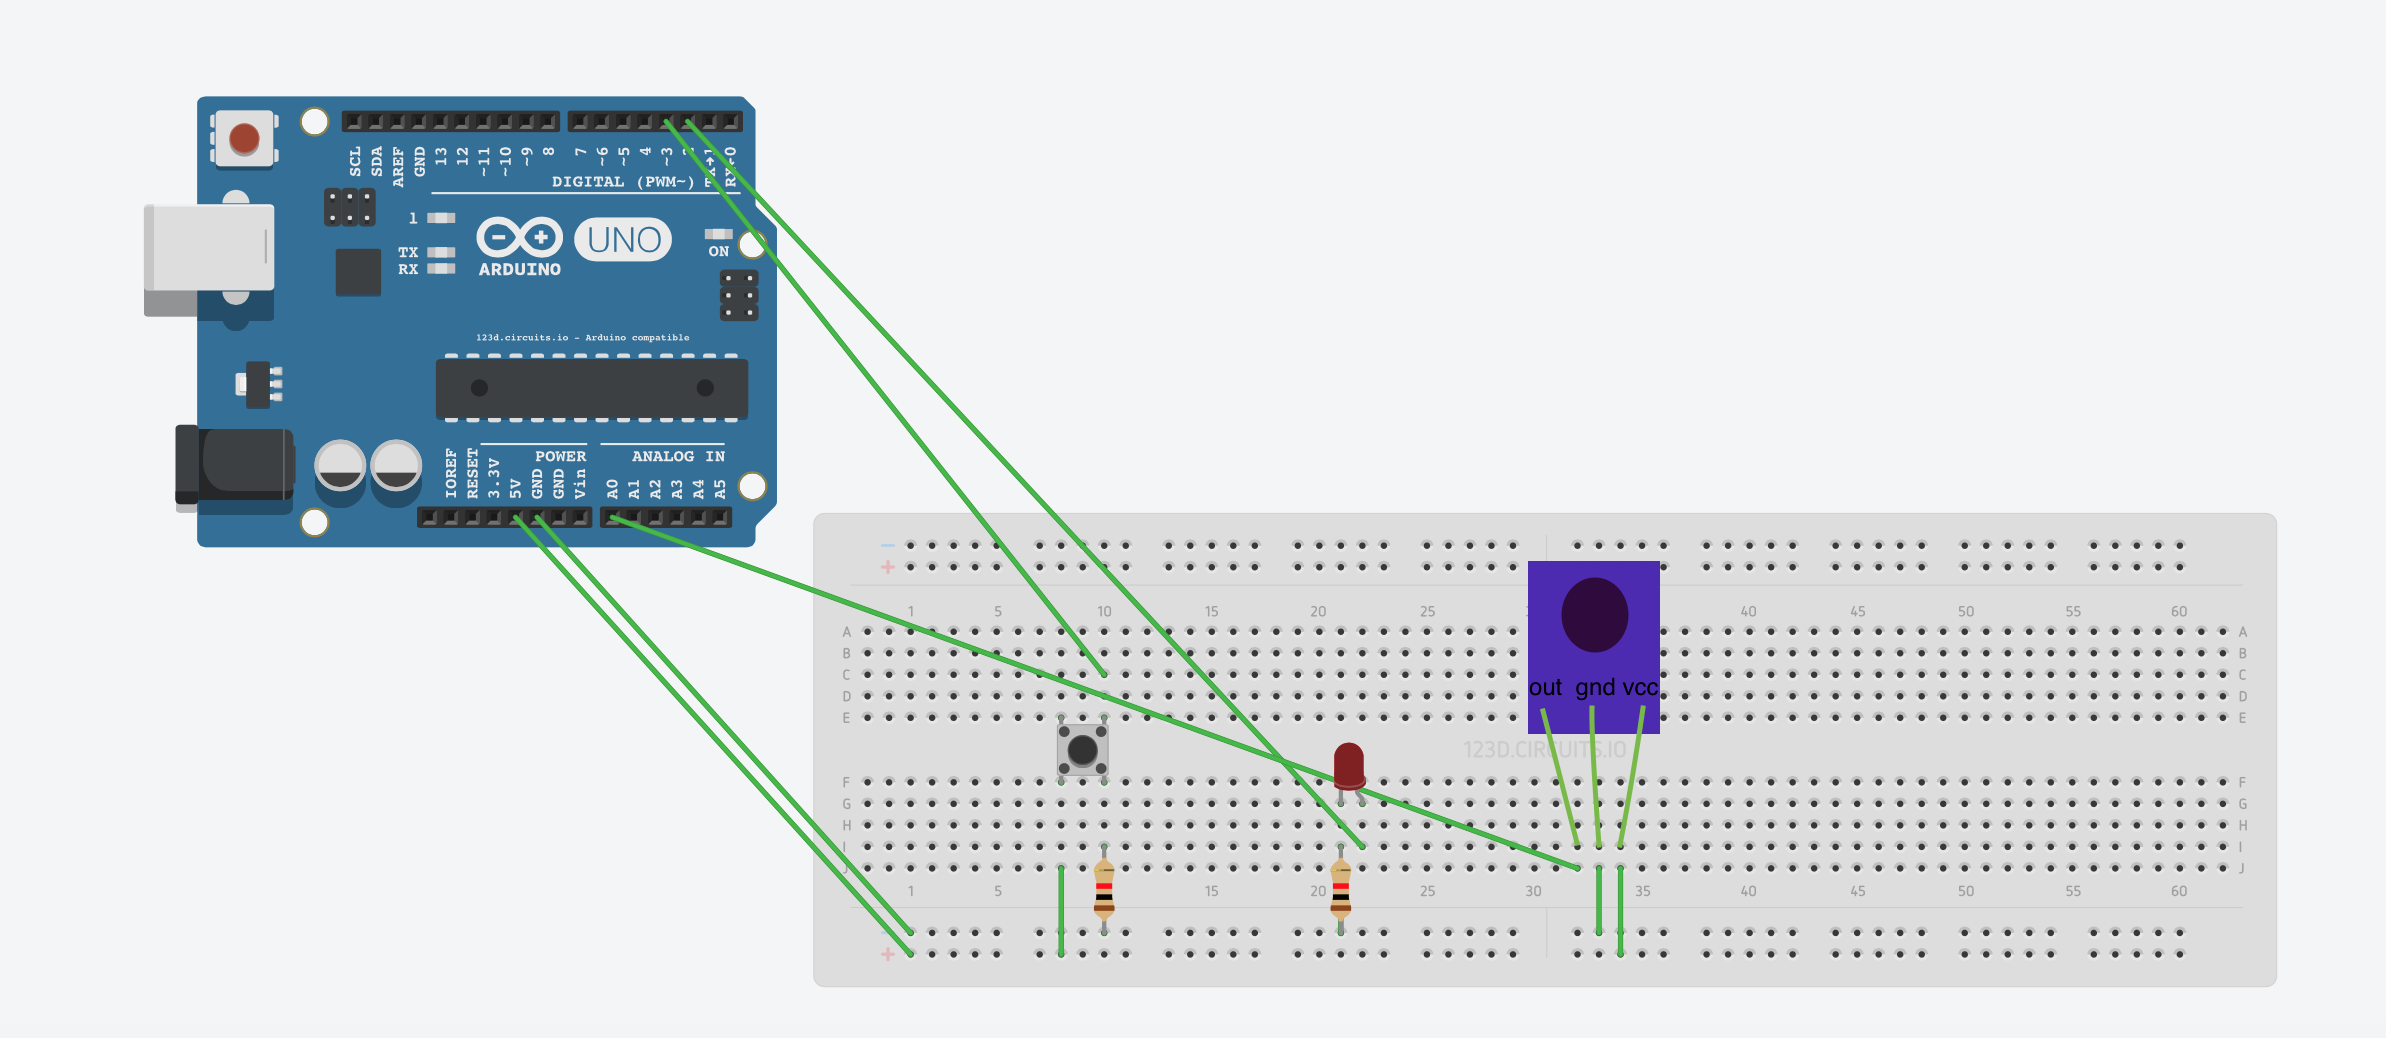
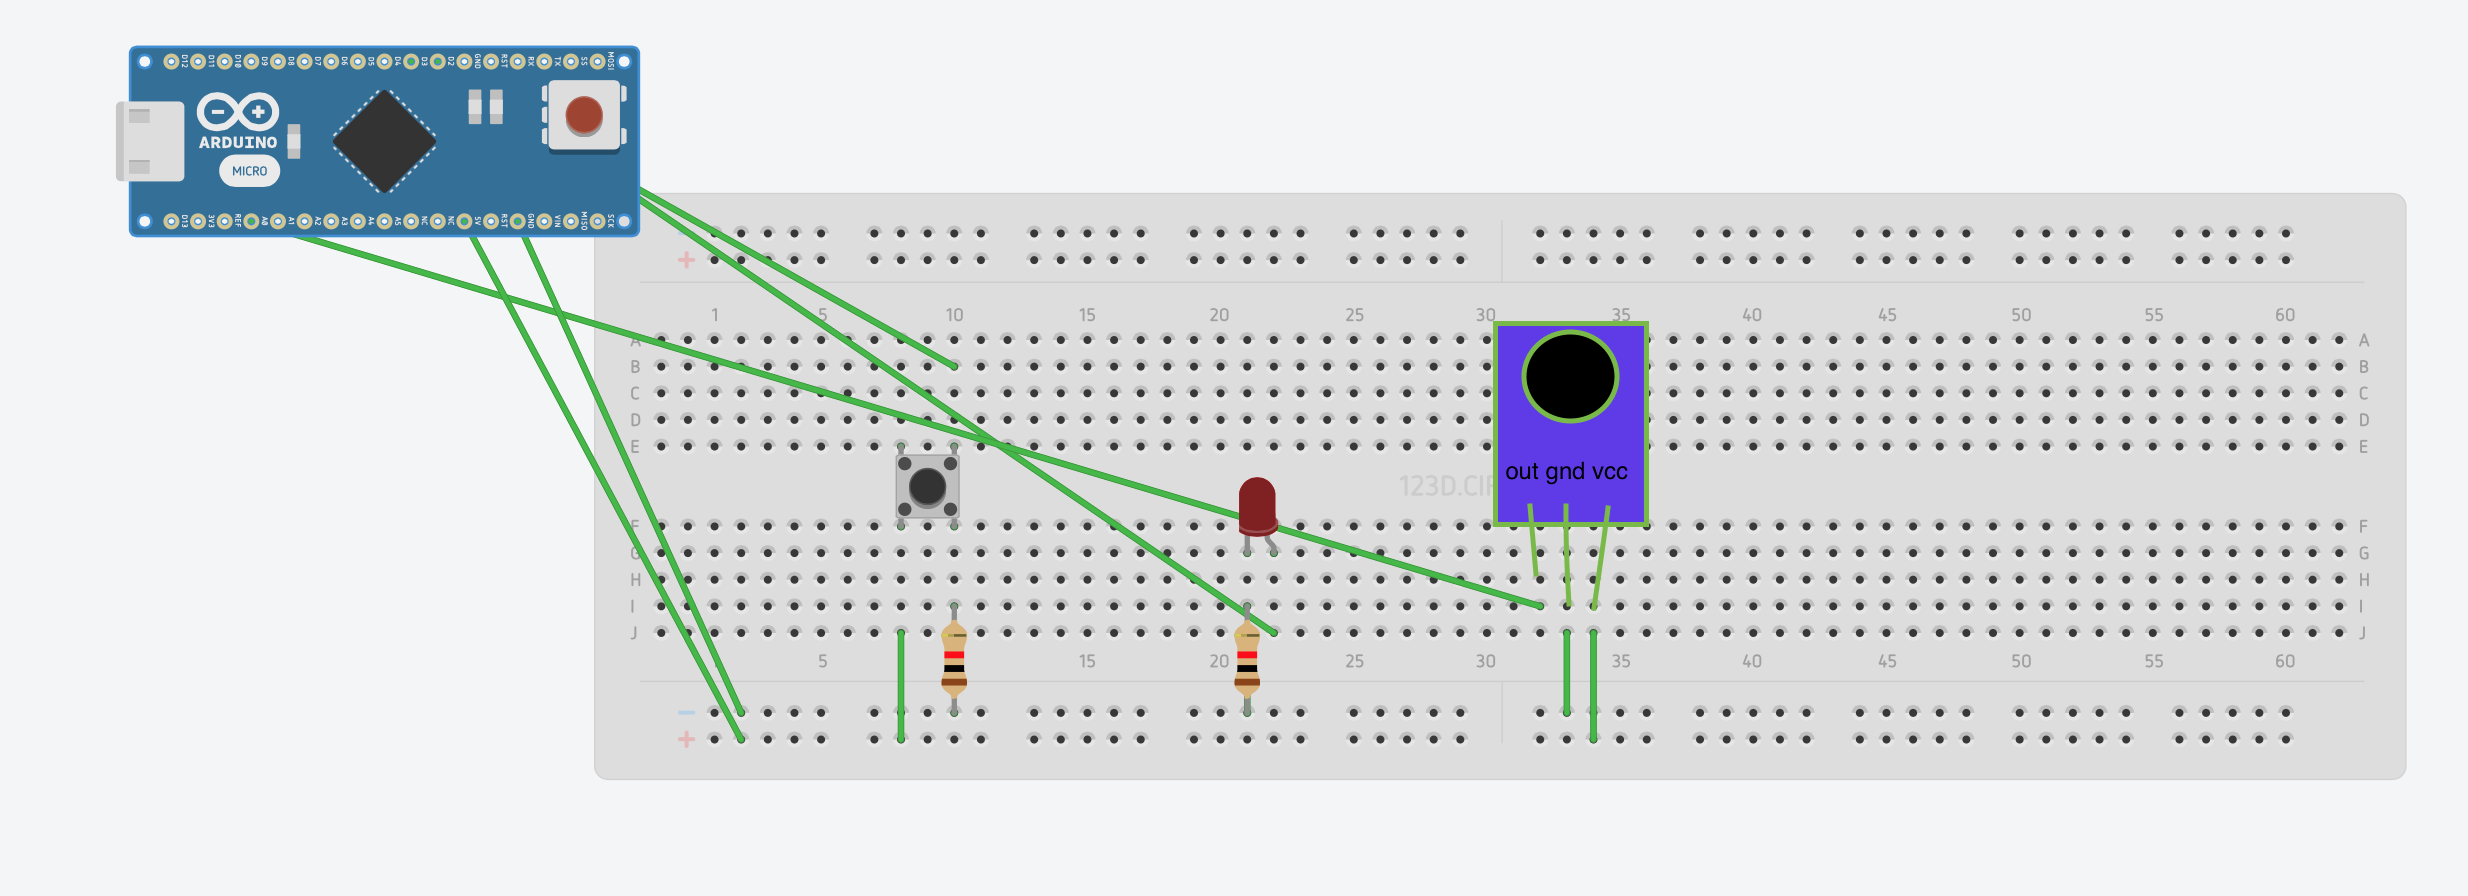
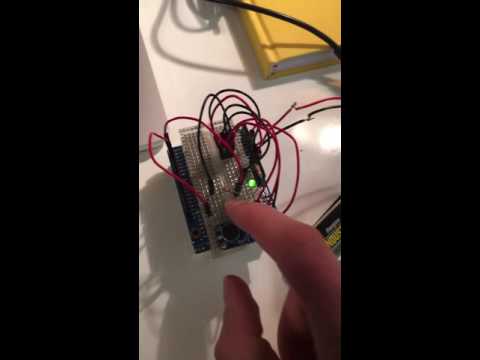
The images above show how to set up your bread board for both the Arduino nano and the uno. I recommend following either of these diagrams for whatever board you are using before you solder the components to your soldering board in order to have a better understanding of the layout. The video also shows the program working on both the nano and the uno in this prototyping stage.
Steps for prototyping:
1. Analog pin 0 goes to the out pin on the microphone breakout.
2. Digital pin 2 goes to the positive pin on the LED (The longer leg).
3. Digital pin 3 goes to the push button.
4. 5v pin goes to push button and the VCC pin on the microphone breakout.
5. Ground pin next to 5v pin goes to the 330 ohm resistor that leads to the push button, the 330 resistor that leads to the negative pin of the LED and the ground pin on the microphone breakout. (Resistors do not matter what direction they are placed, will work either direction they are placed).
6. When connecting power to our Arduino later you can either use an adaptor that plugs into the power connector or use a 9v battery connected to pins Vin and Ground.
Code: Download the code file named LED_Alarm from below then move this file into your Arduino file on your computer. The program LED_Alarm should now show up in your Arduino sketchbook.
Downloads
Soldering
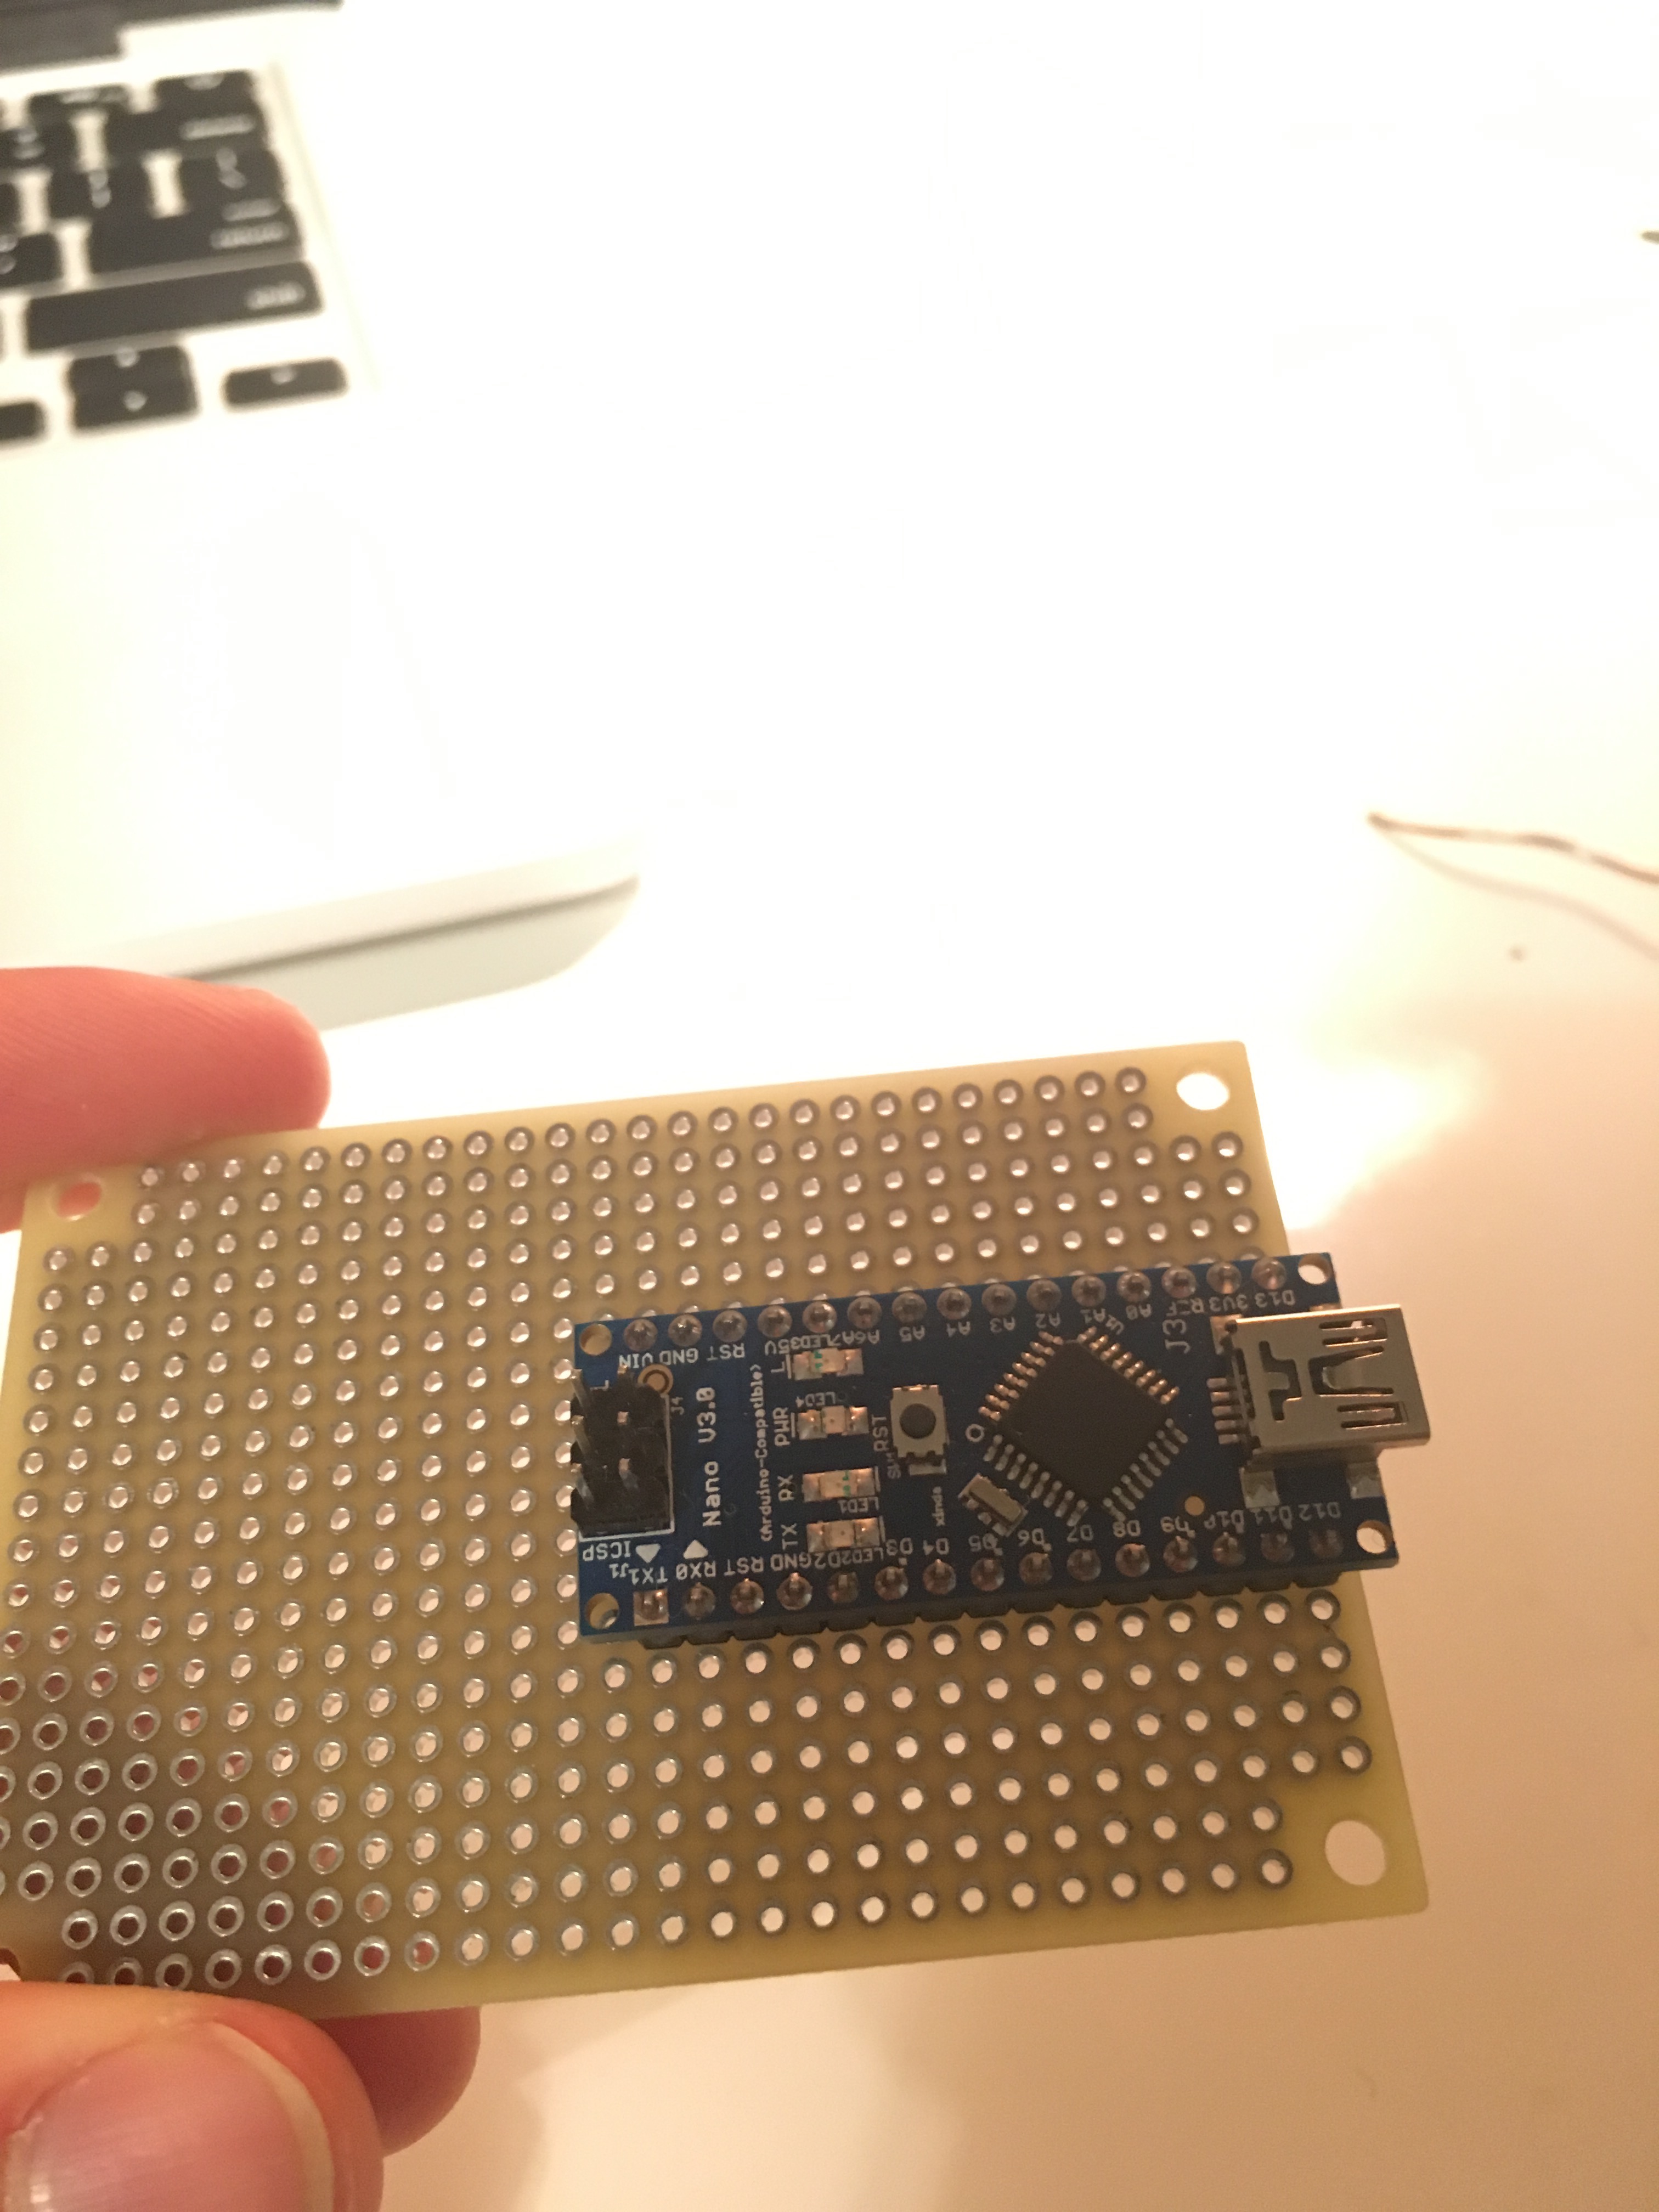
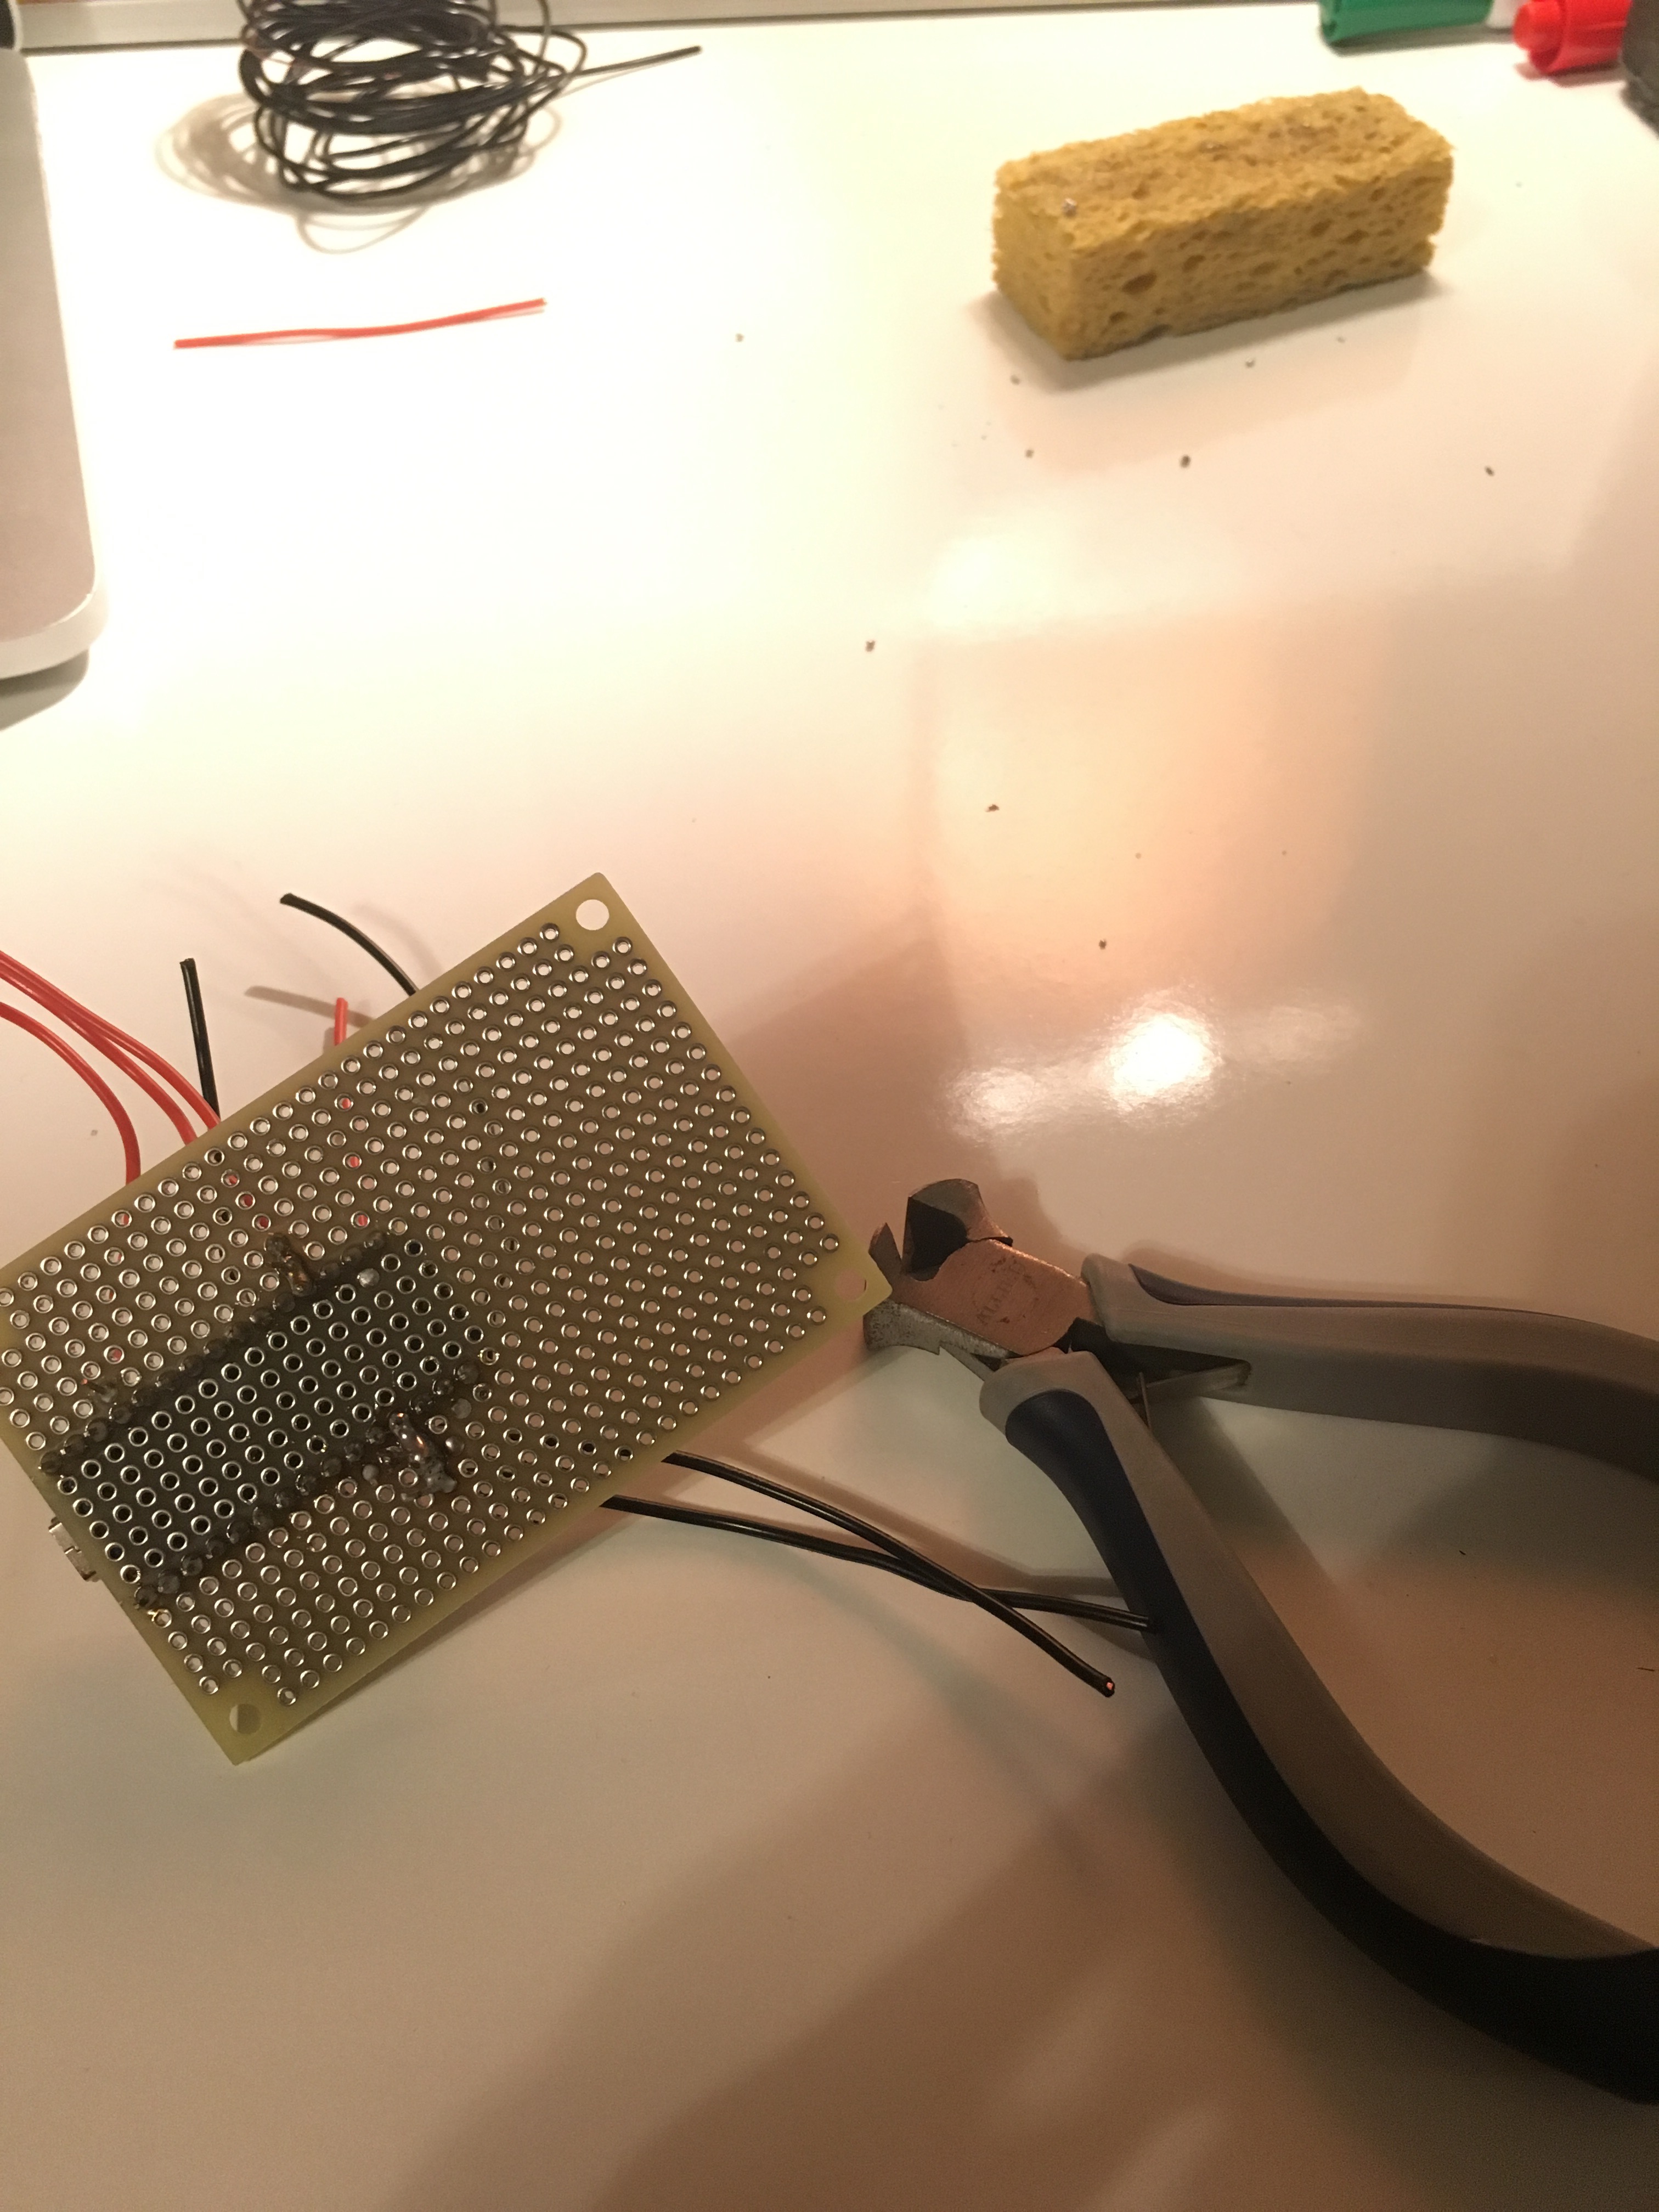

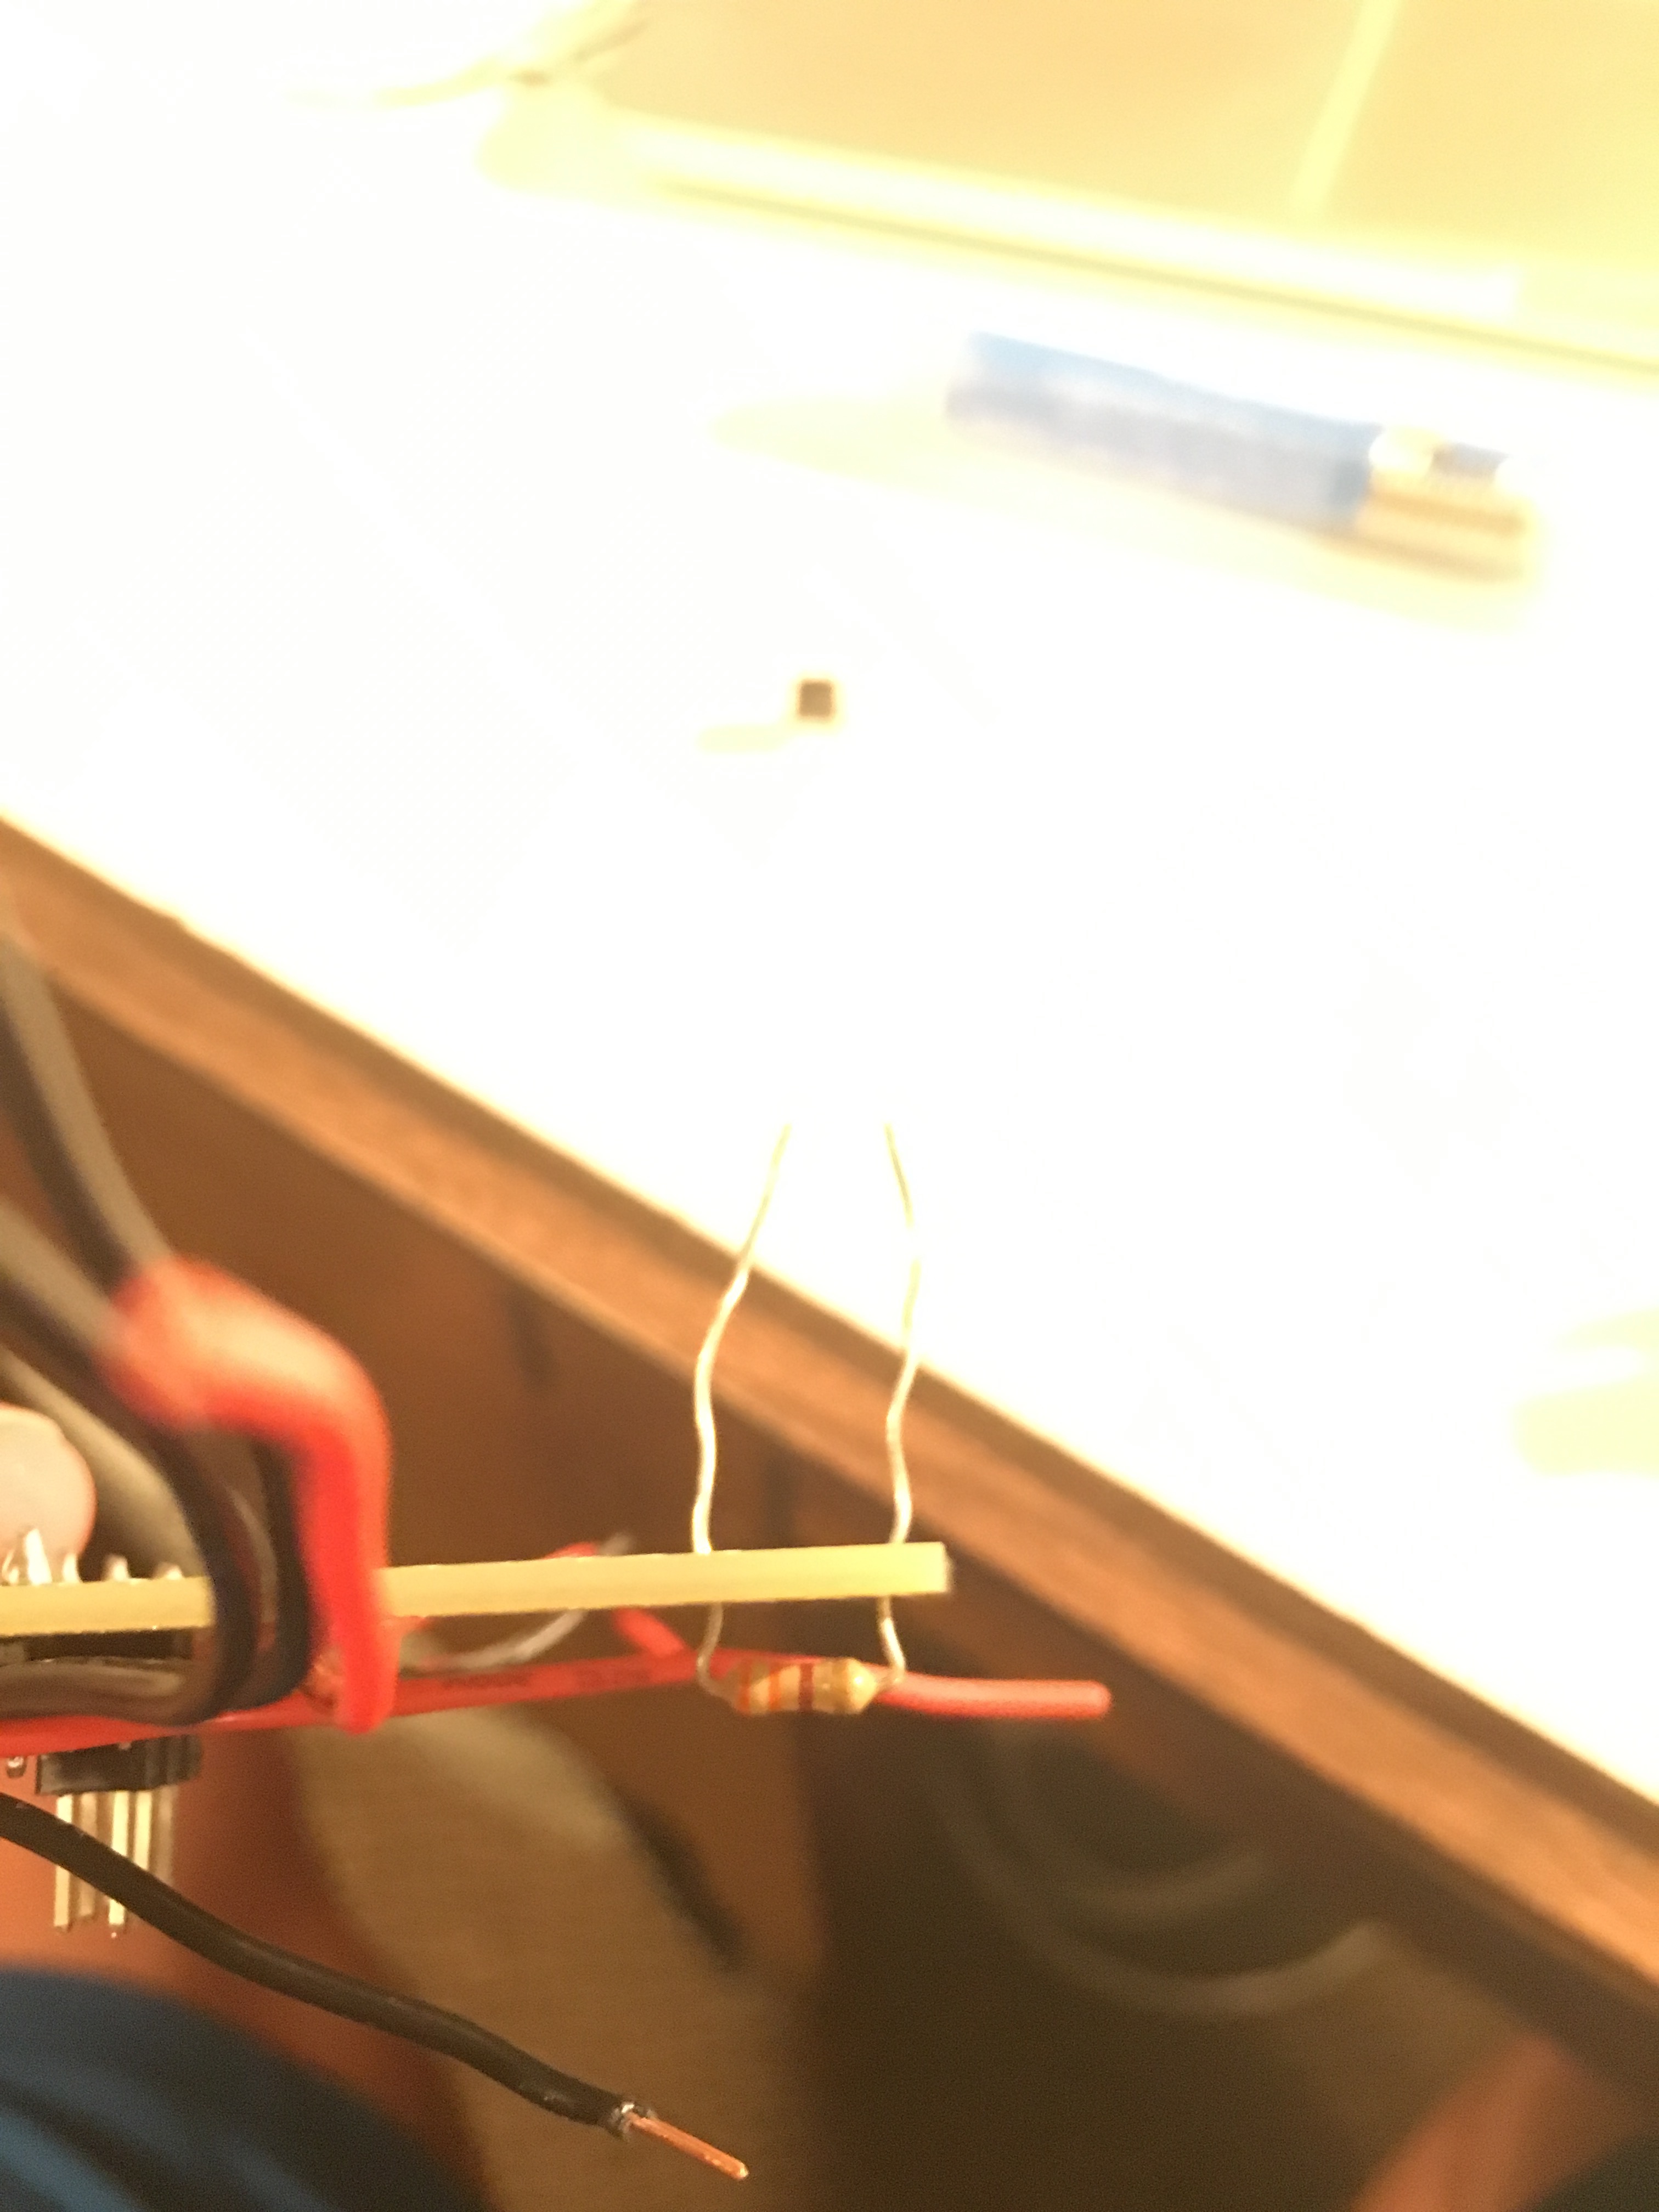
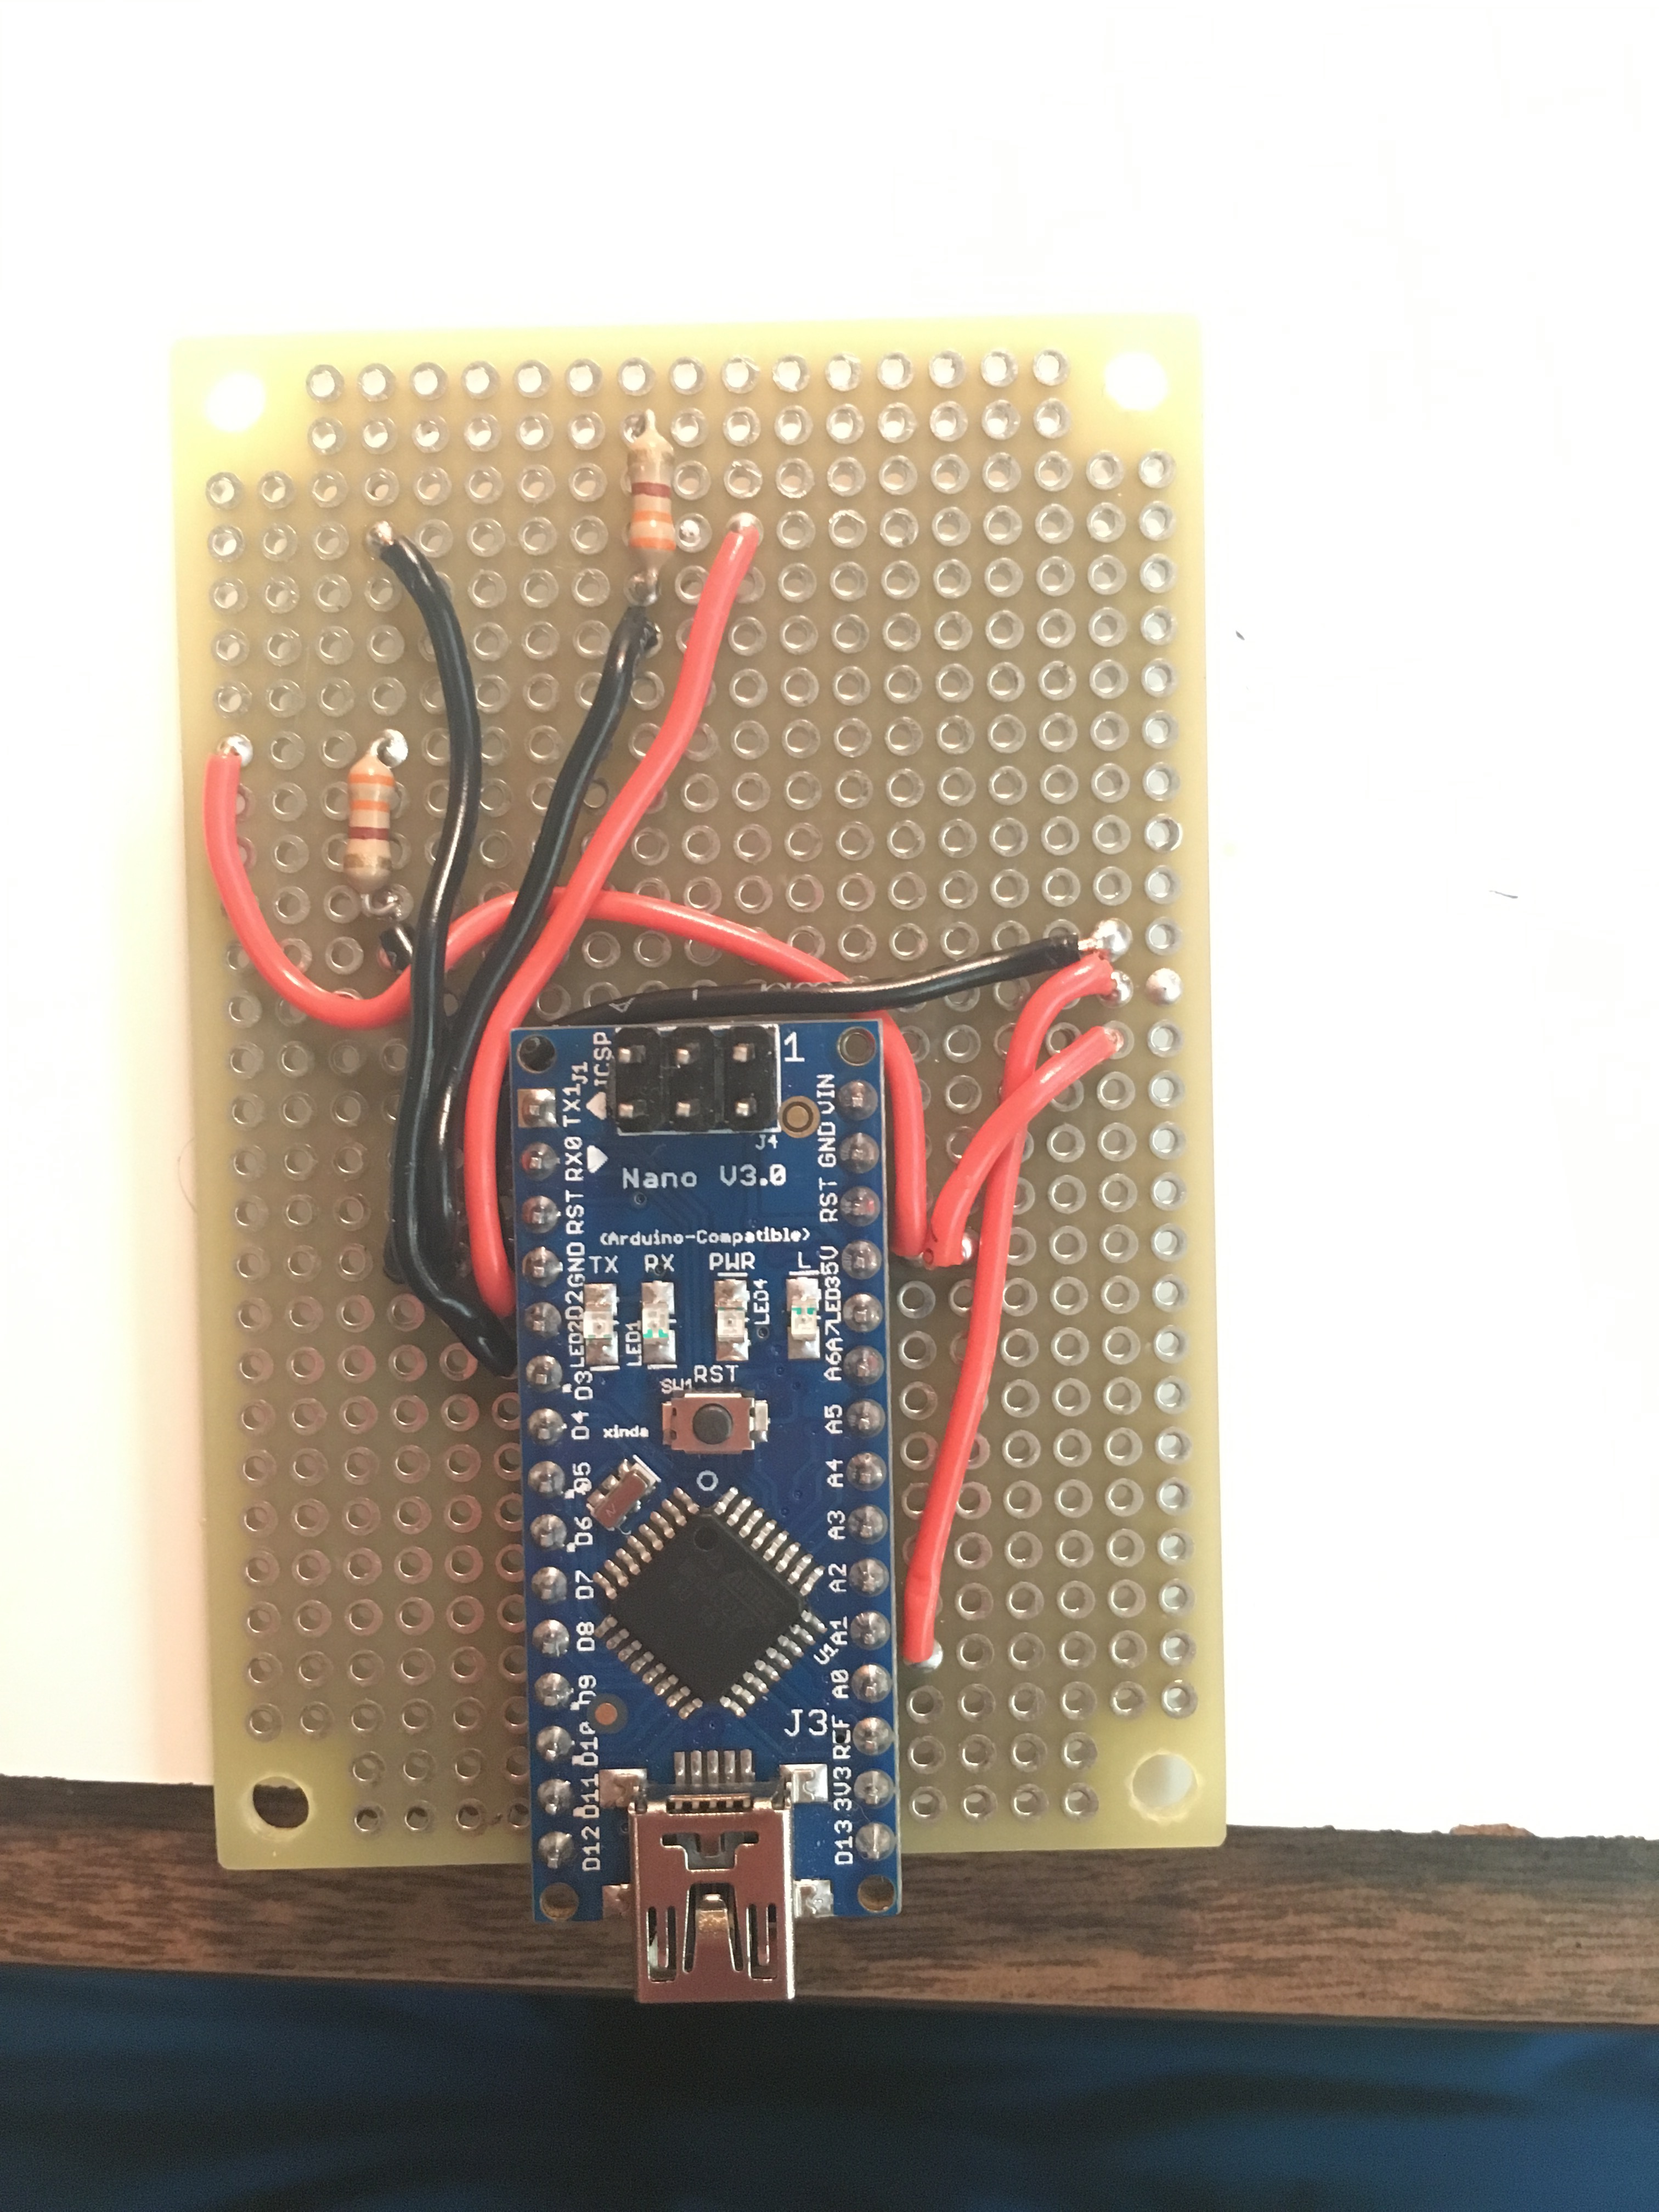
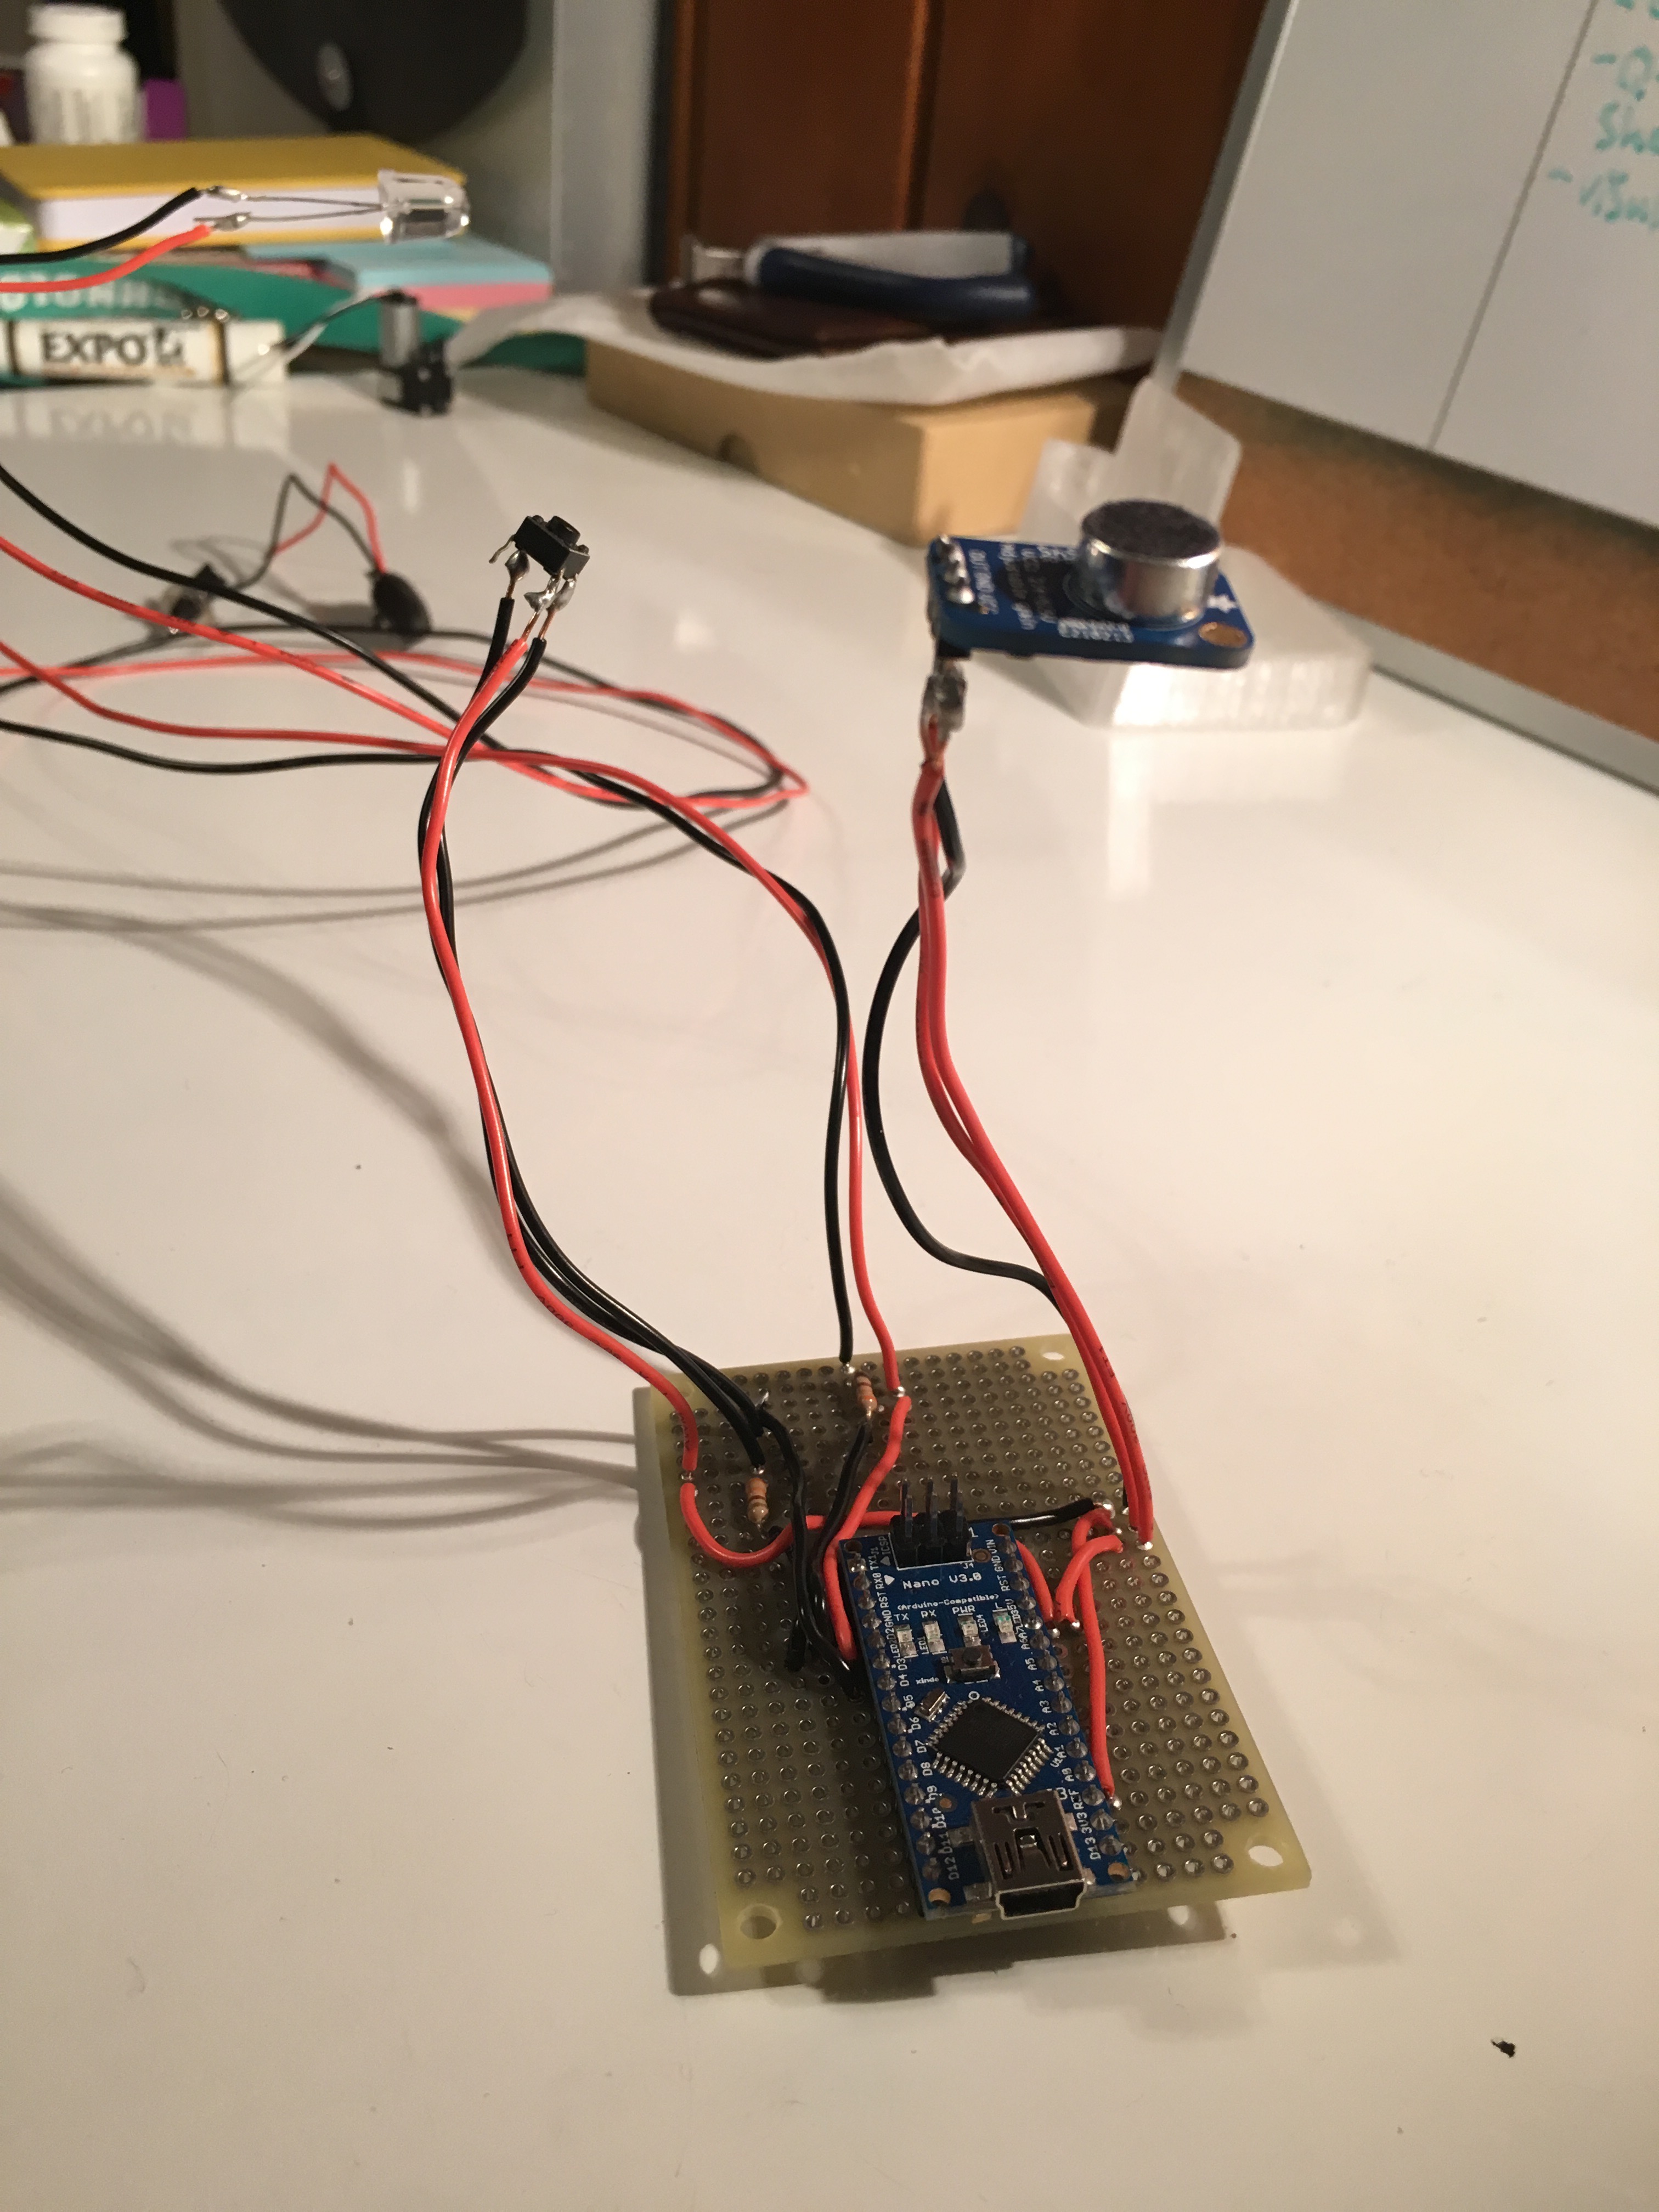
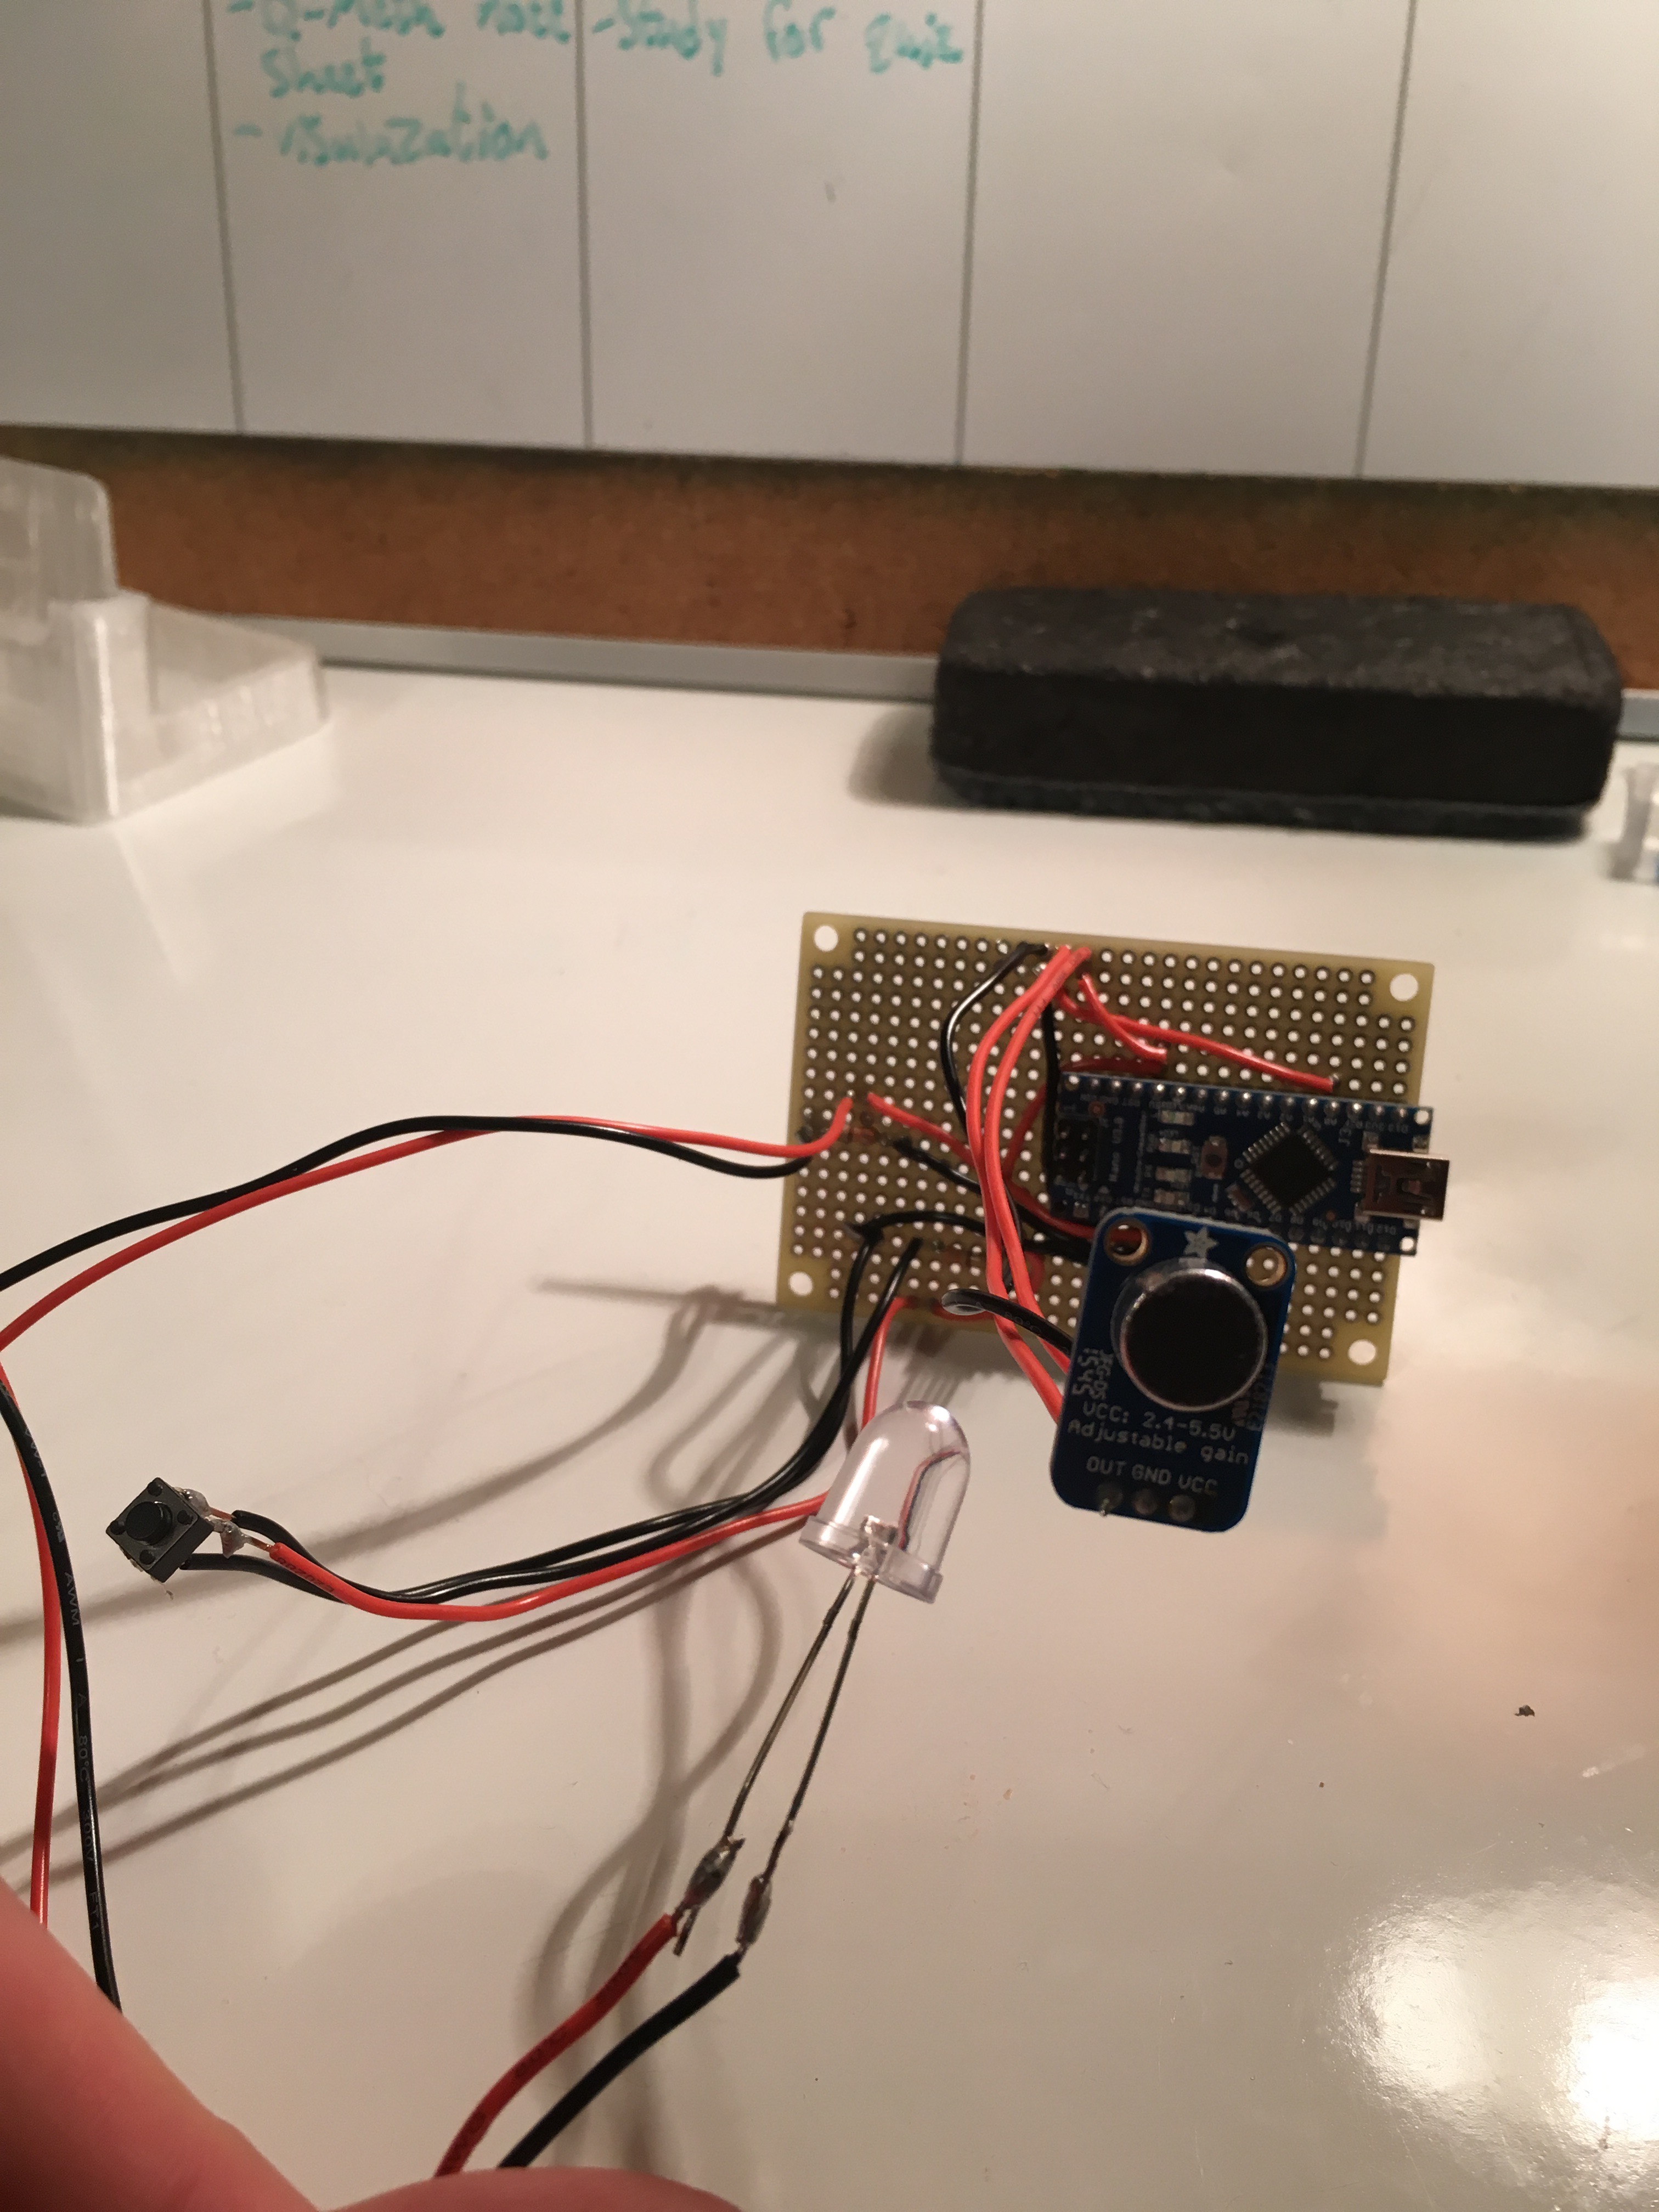
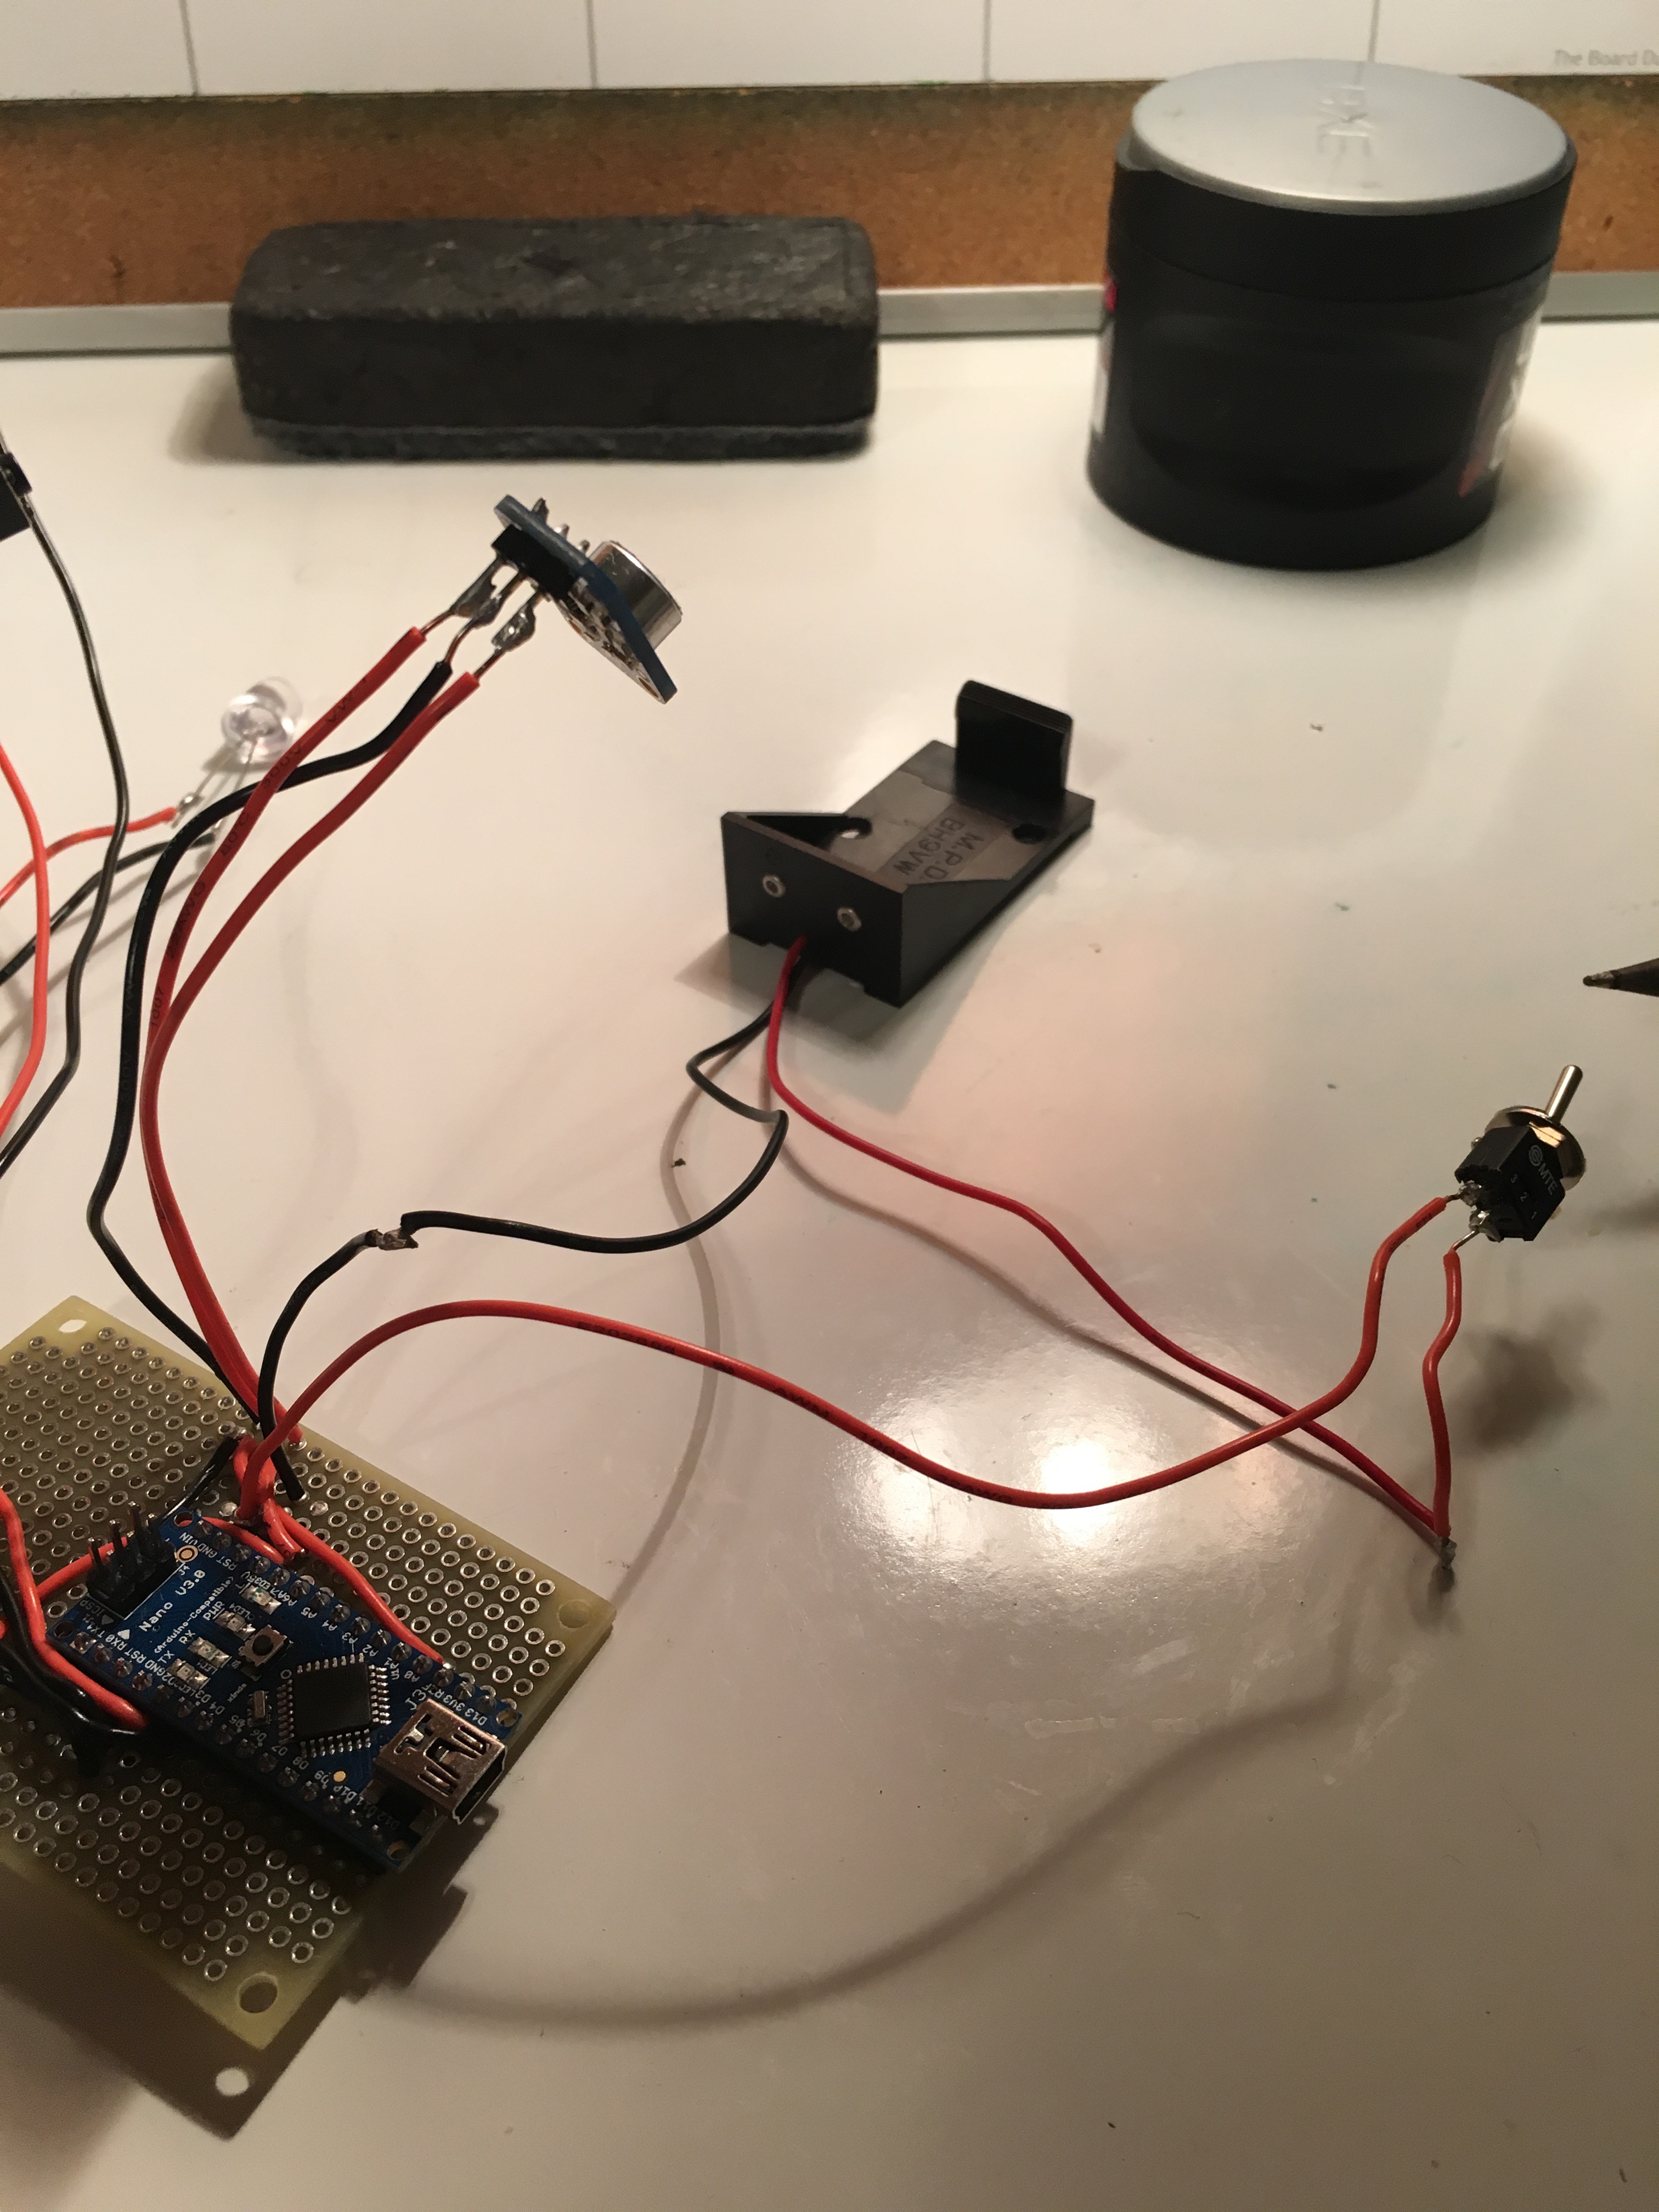
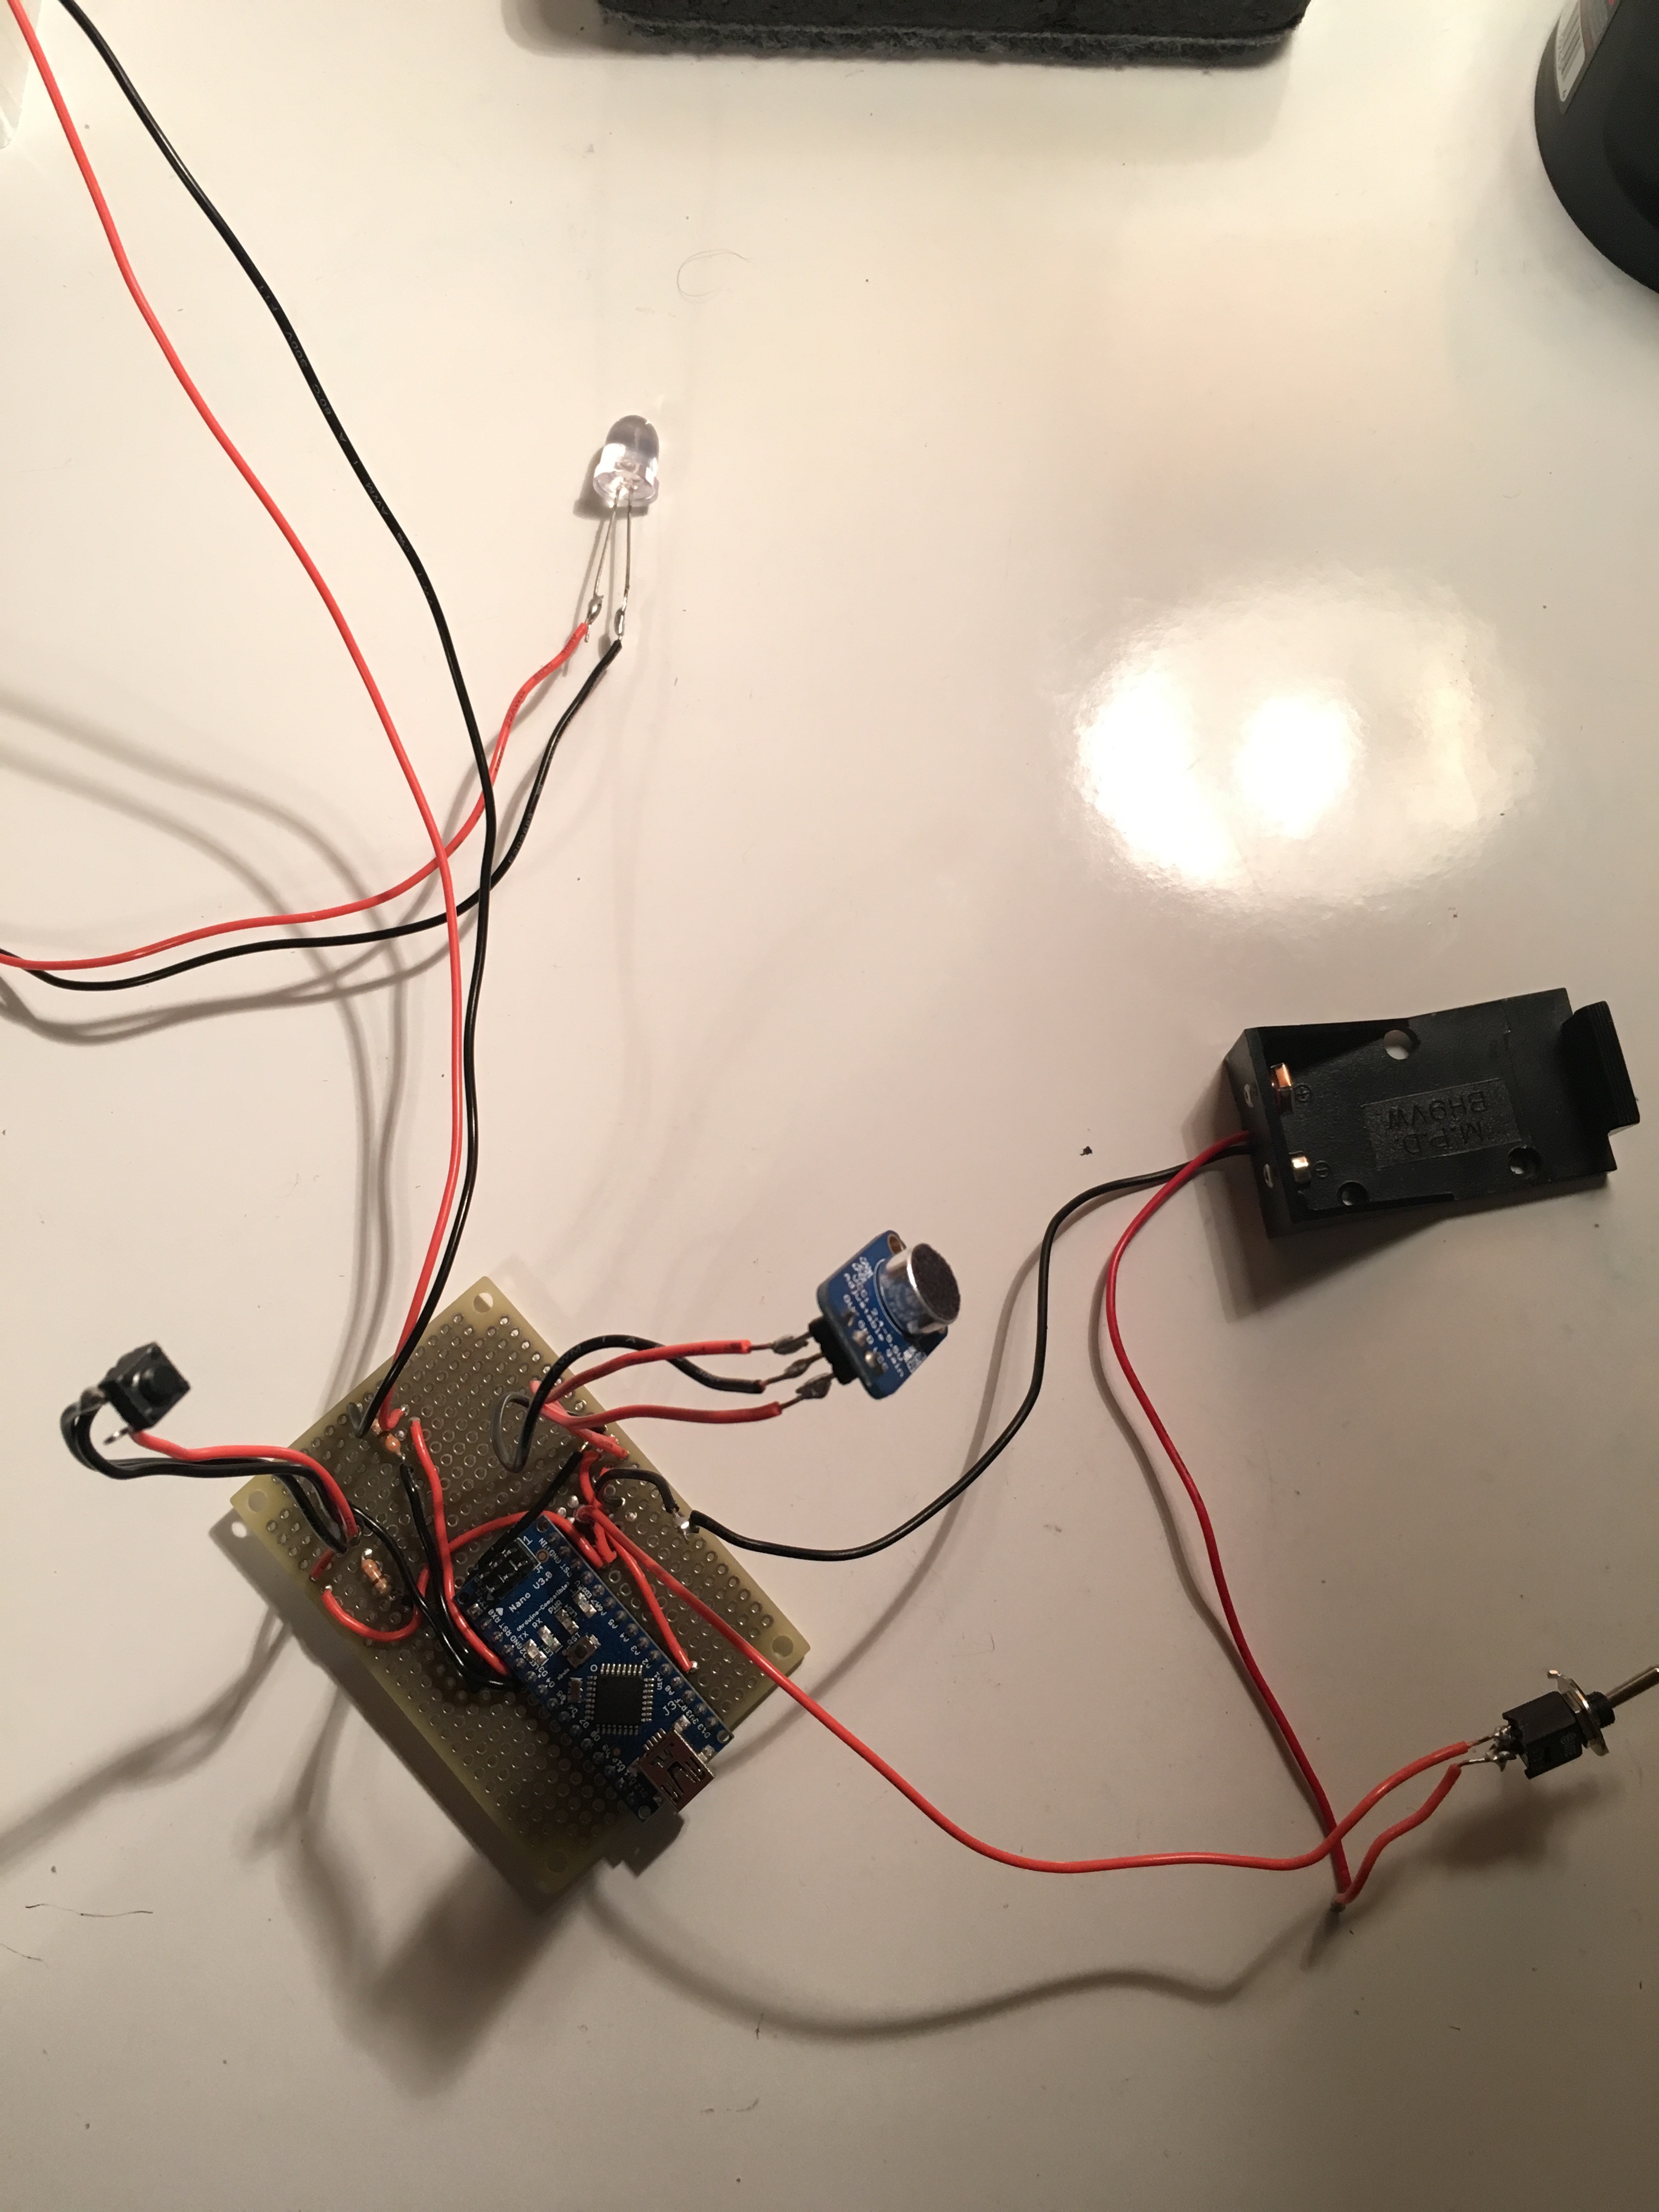
After you place your Arduino onto the soldering board near the center of the board solder each pin into the board.
After this follow the diagrams provided on the prototyping section in order to create a map of wires where each component can be soldered to the board. Now, Solder each wire and resistor corresponding with how it should be connected based on the diagrams.
As shown in picture two, you will have to solder a line from the pin to the wire as well as the wire to any other connections being made as each hole in the soldering board is not connected to any other hole.
After soldering this map of wires you can solder in each component giving yourself enough room in order to place each component in the enclosure.
Next solder in a battery and switch. Connect the ground wire of your battery holder to the ground pin of the Arduino (ground pin shown in prototyping step). Solder the positive wire of the battery holder to the middle prong of the switch and then a wire from the other prong of the switch to the Vin pin on the Arduino (also shown in prototyping step).
You are ready to create the enclosure and place your electronics inside!
Preparing Enclosure
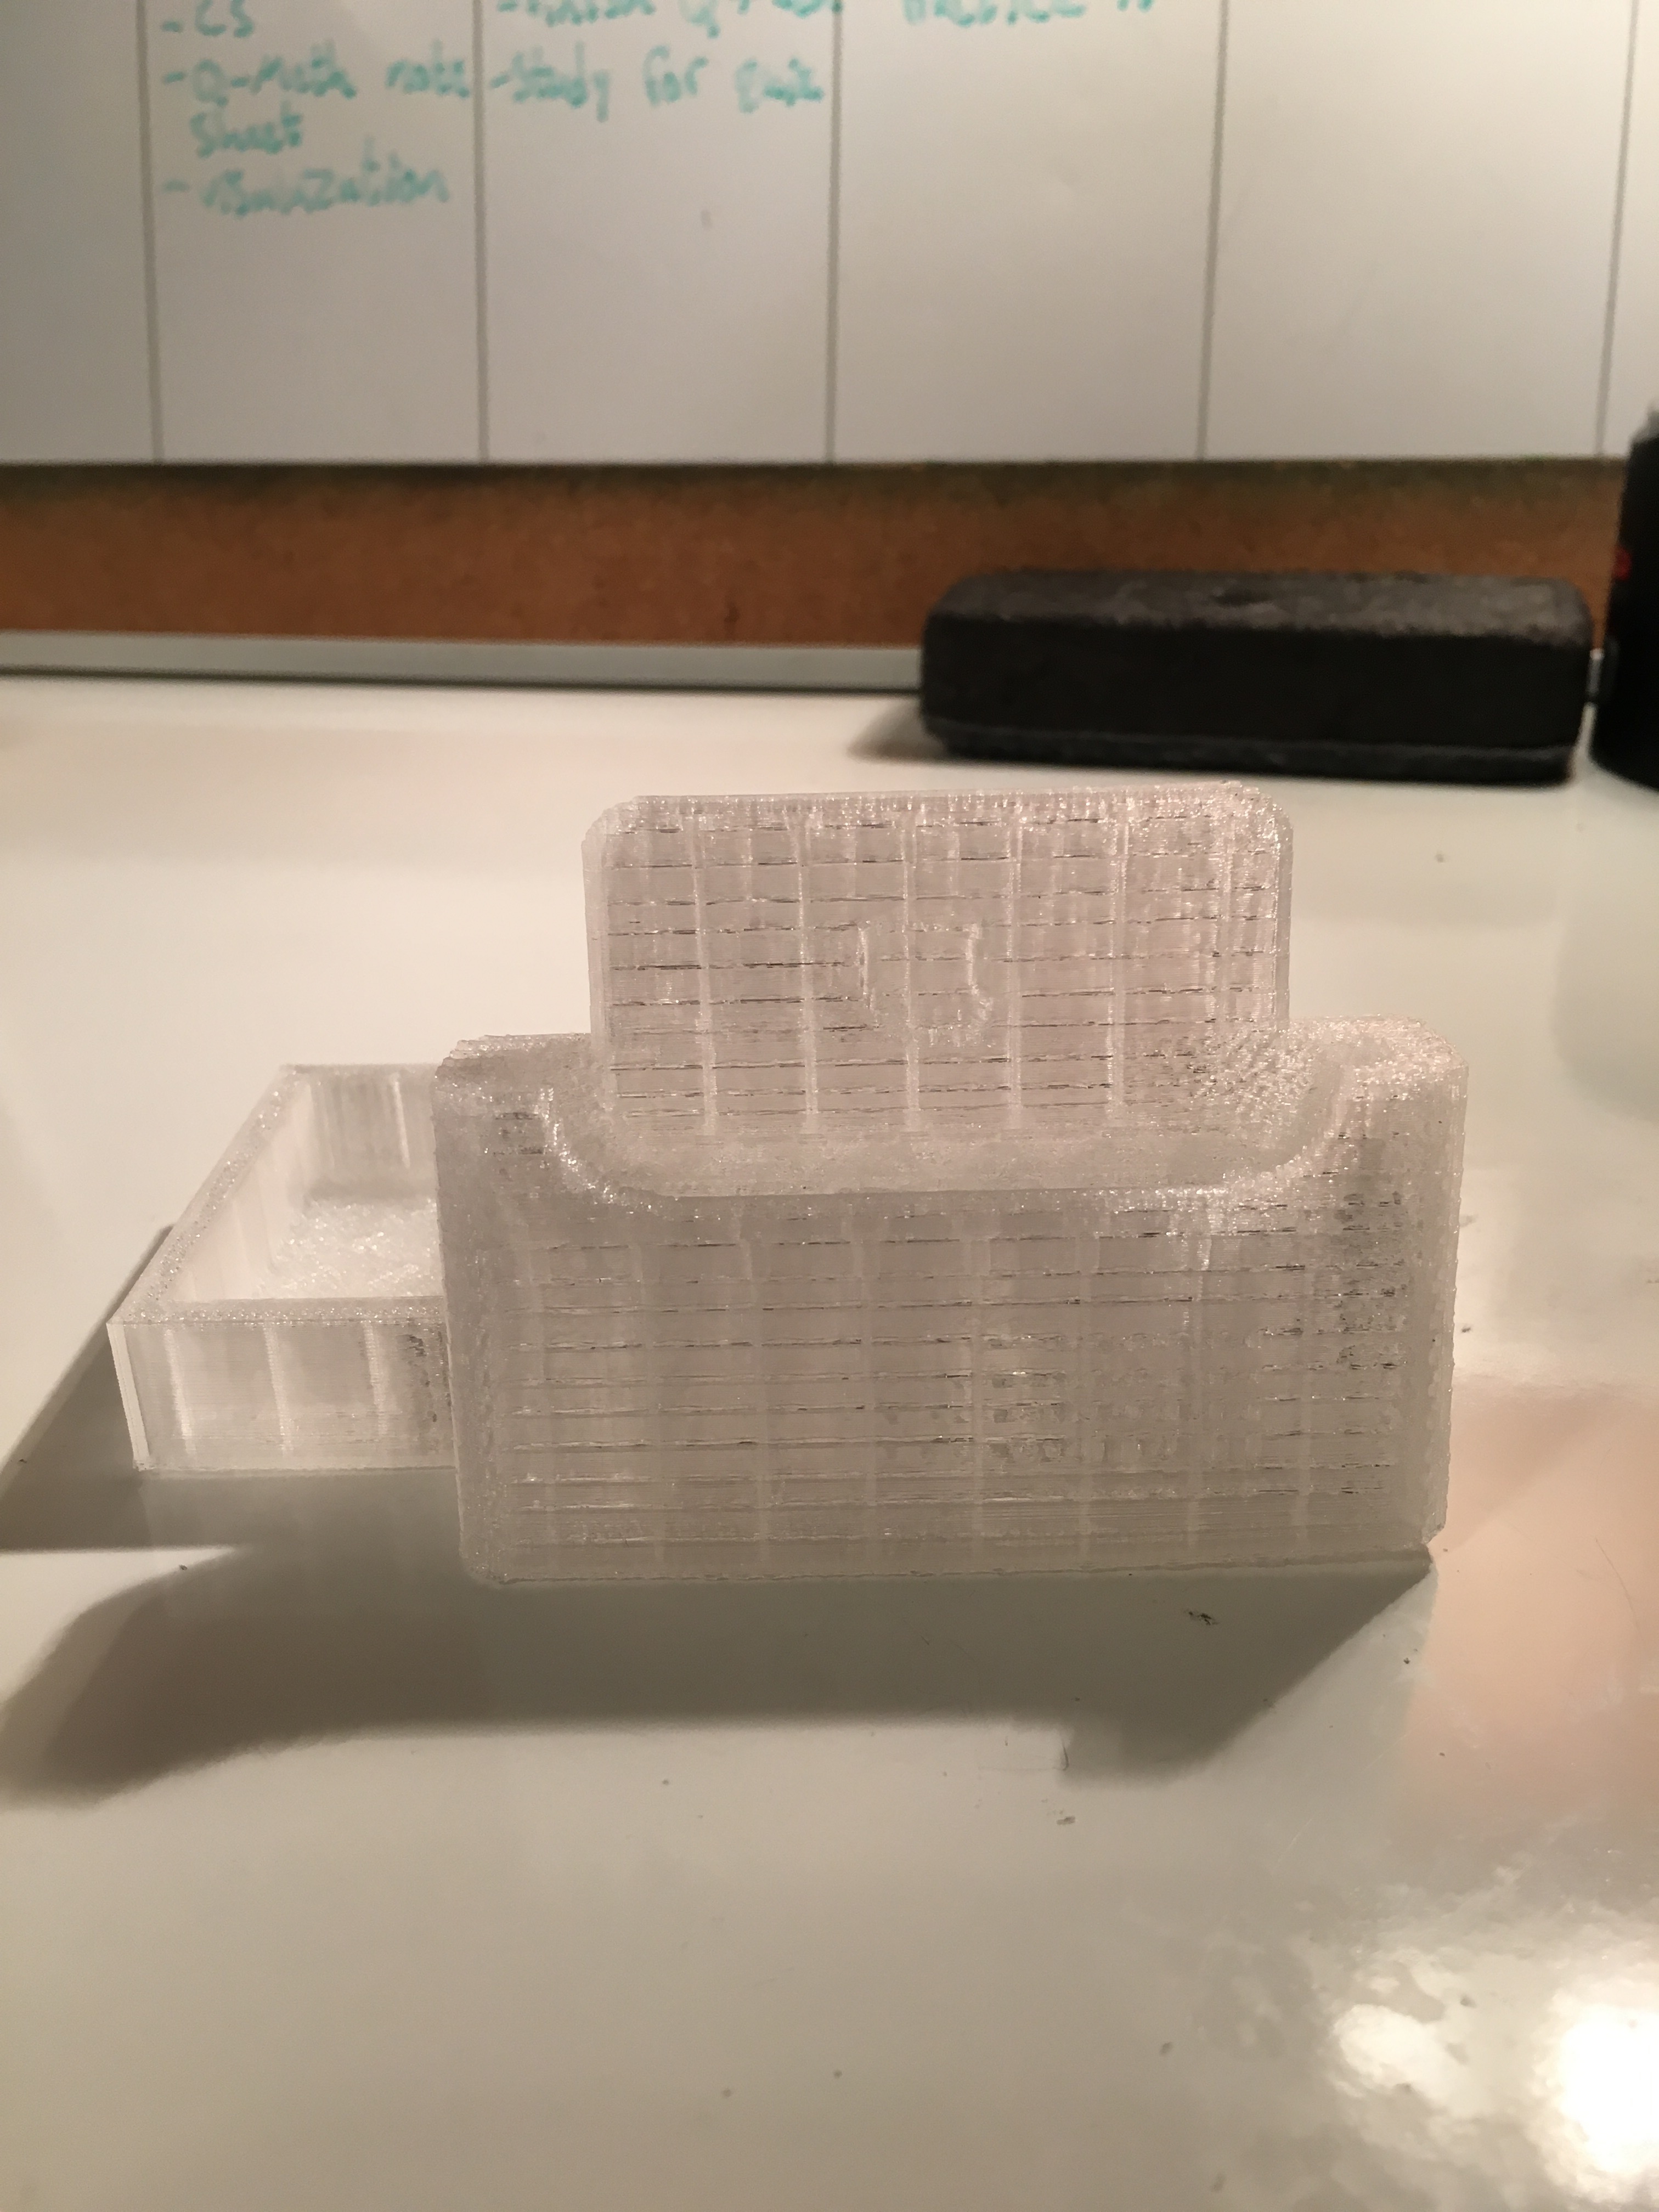
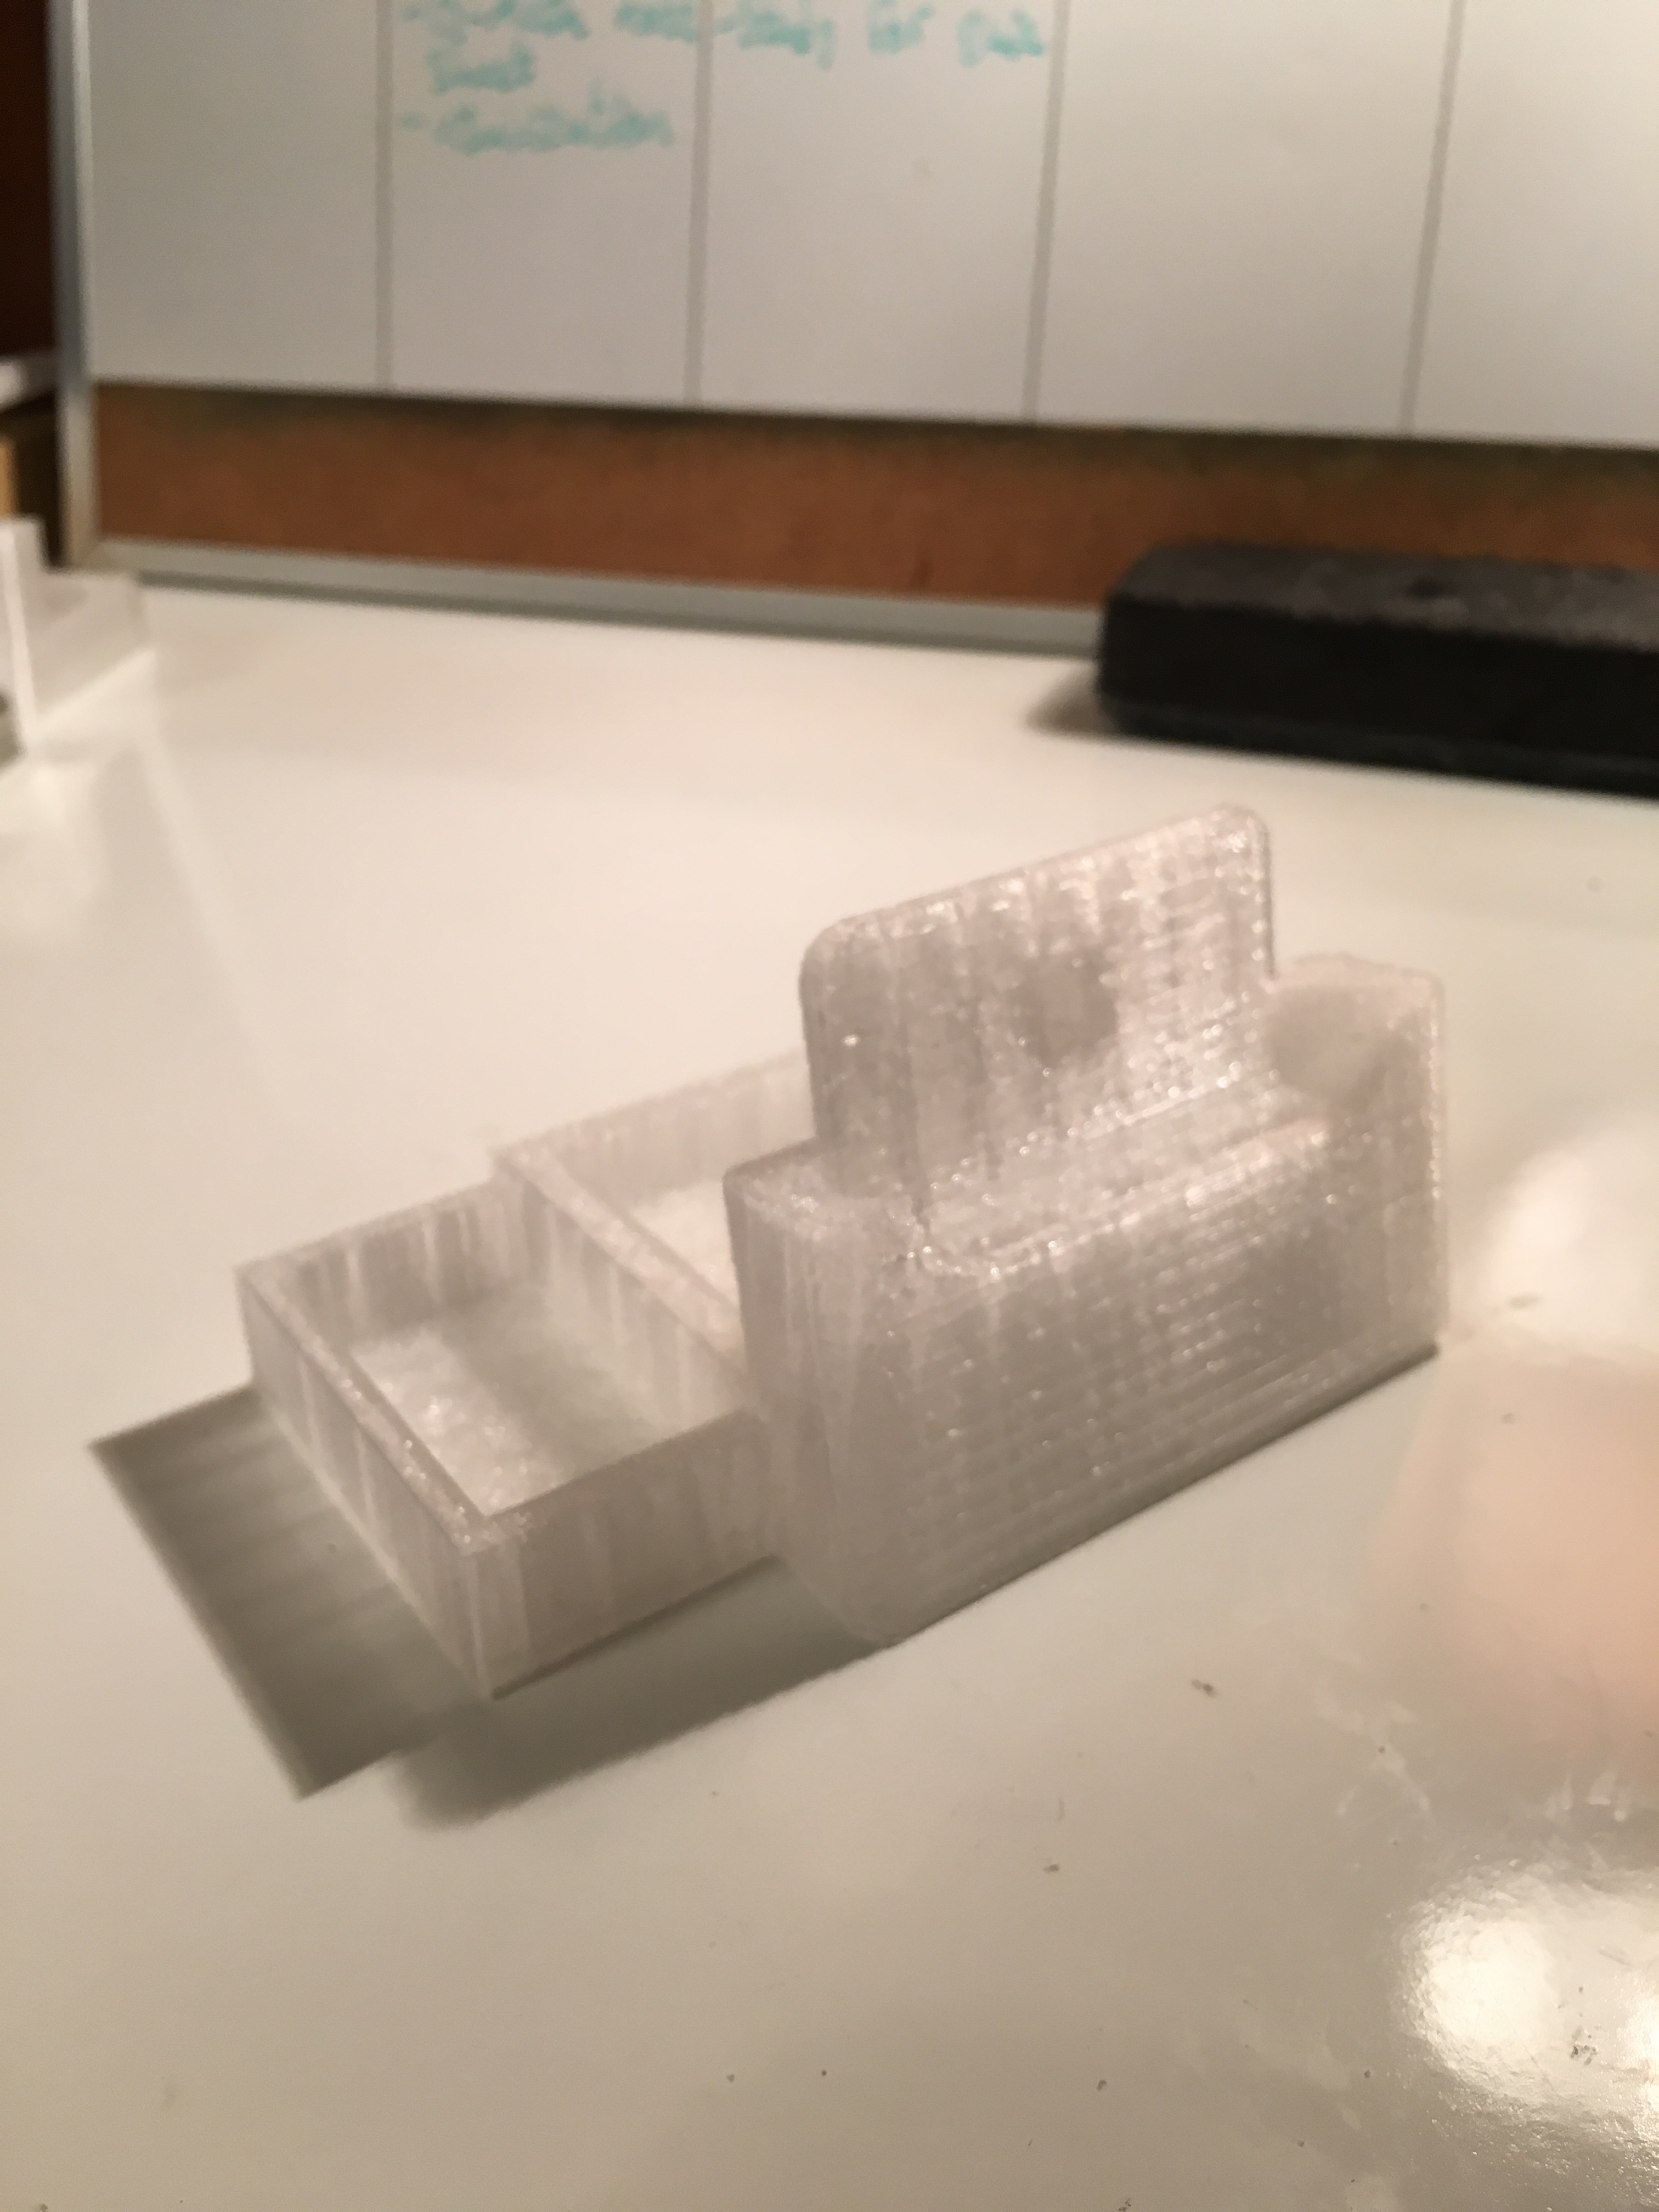
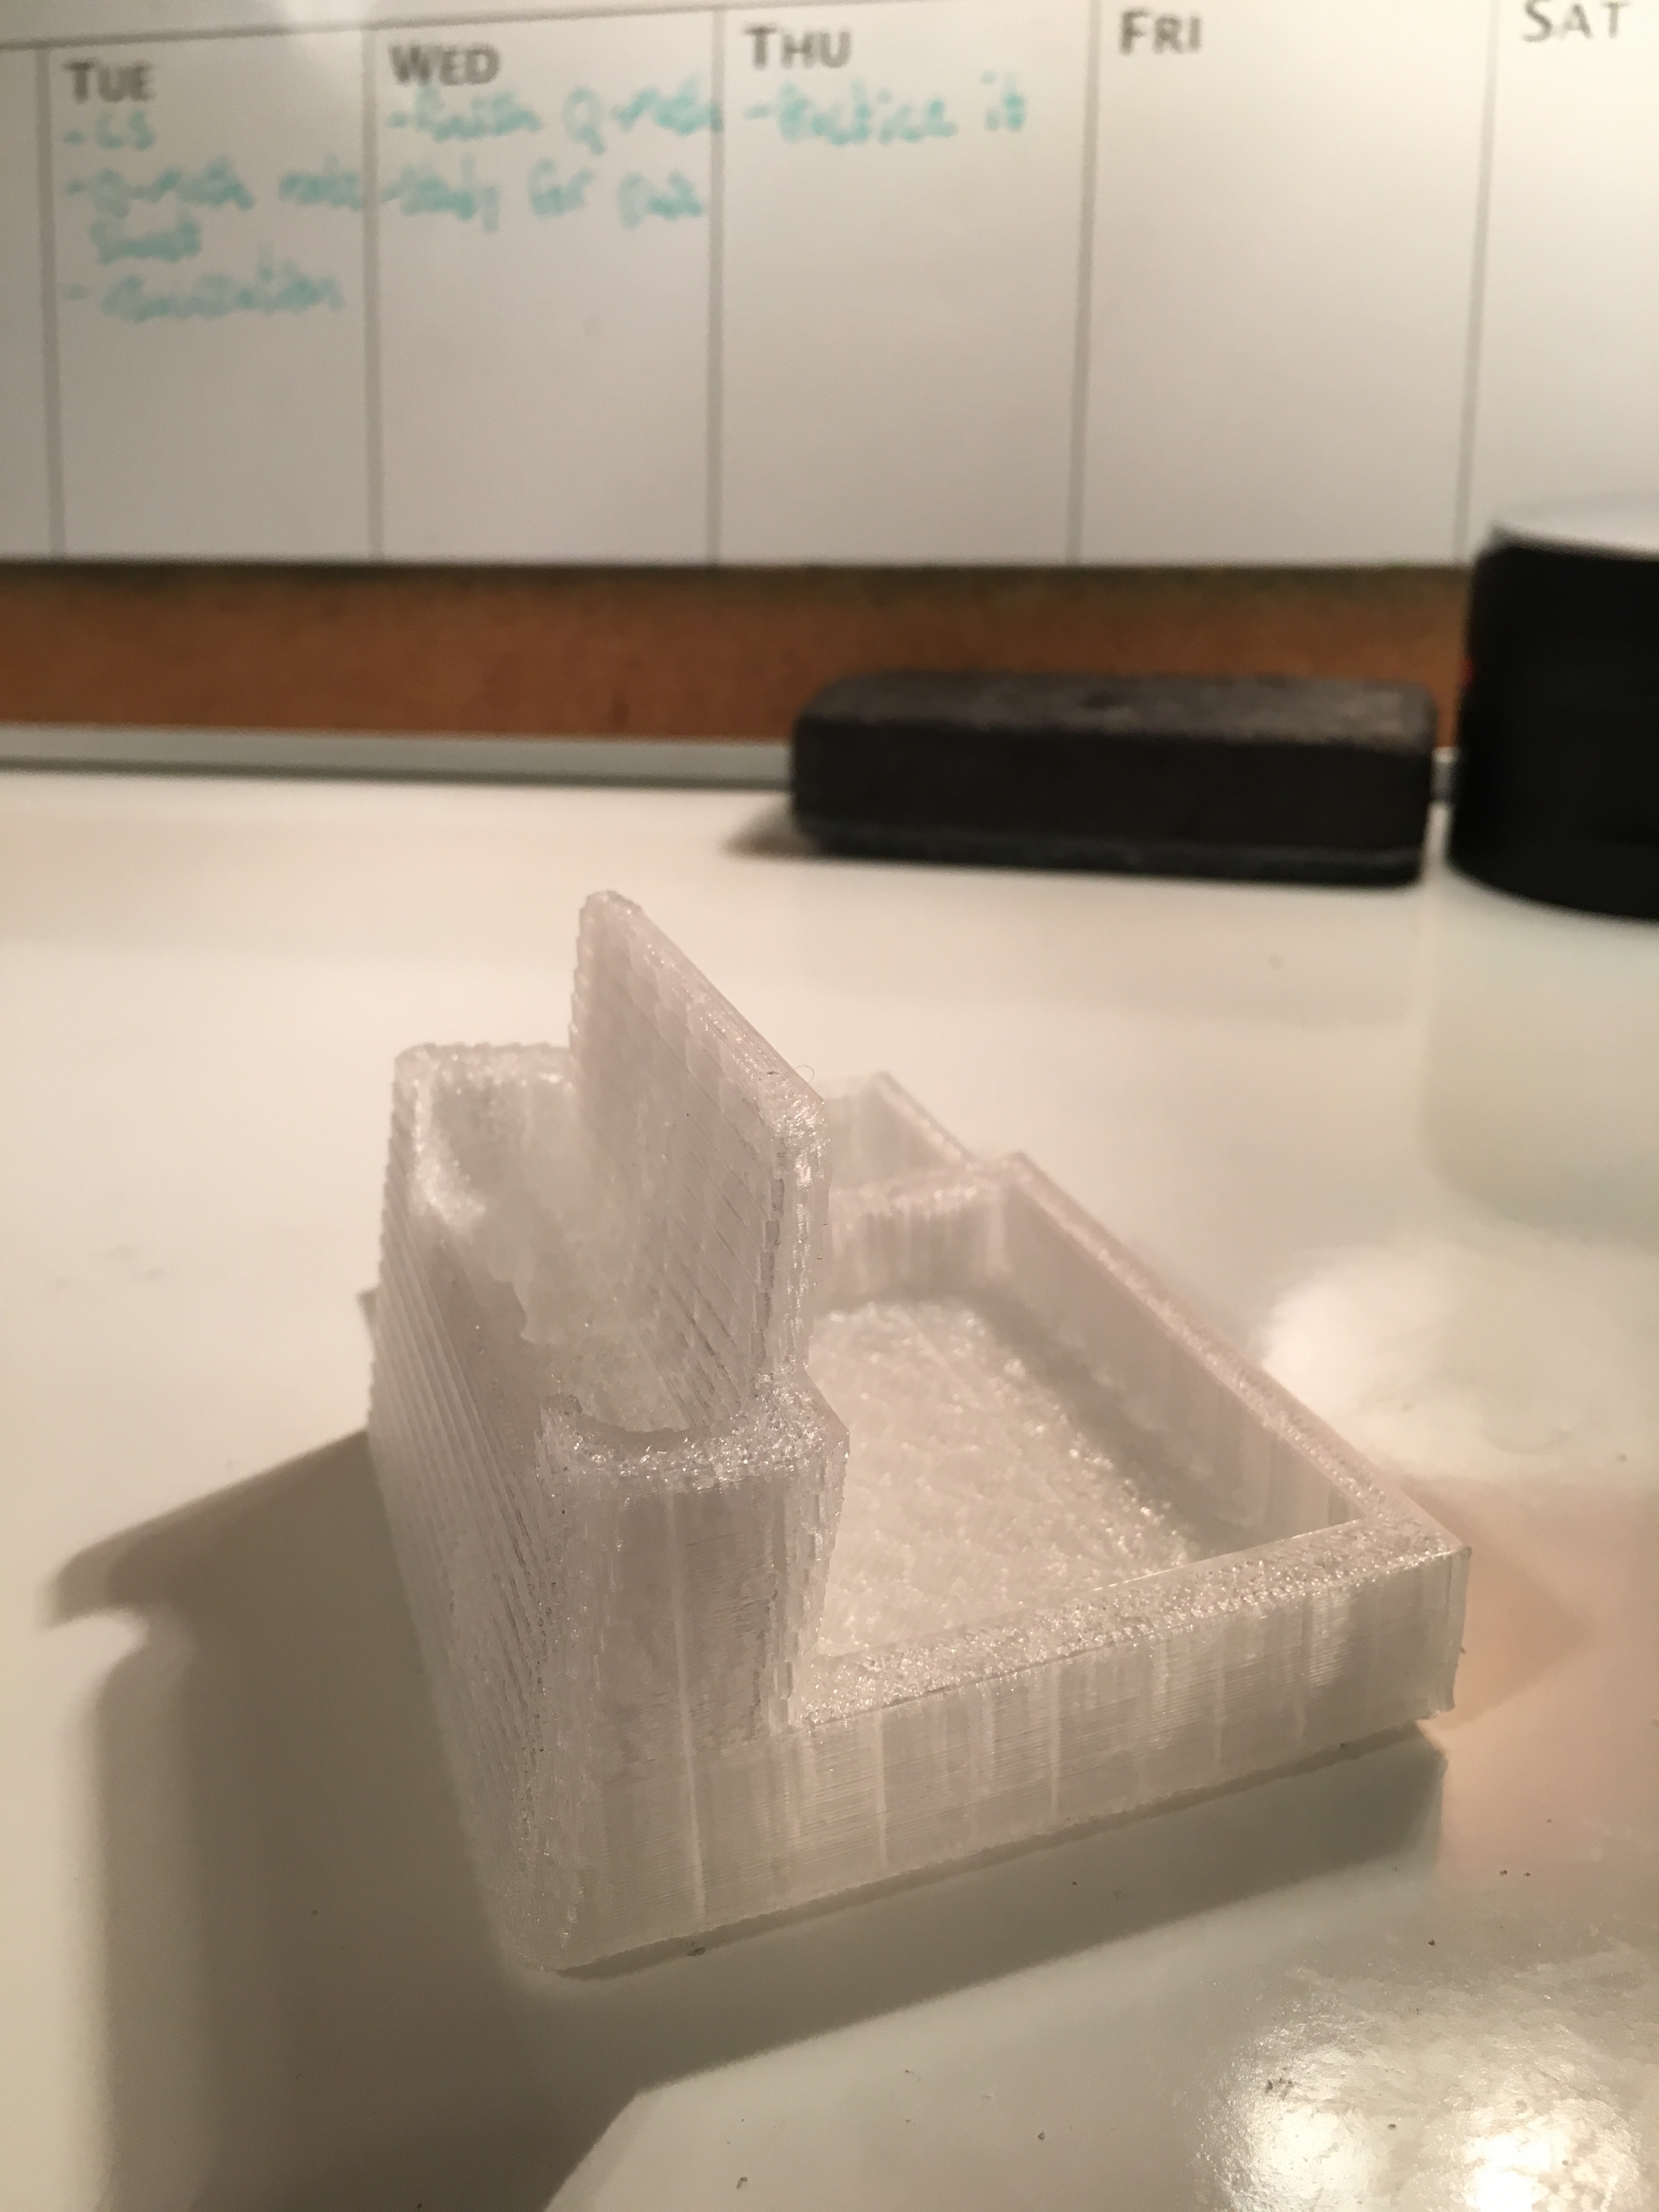
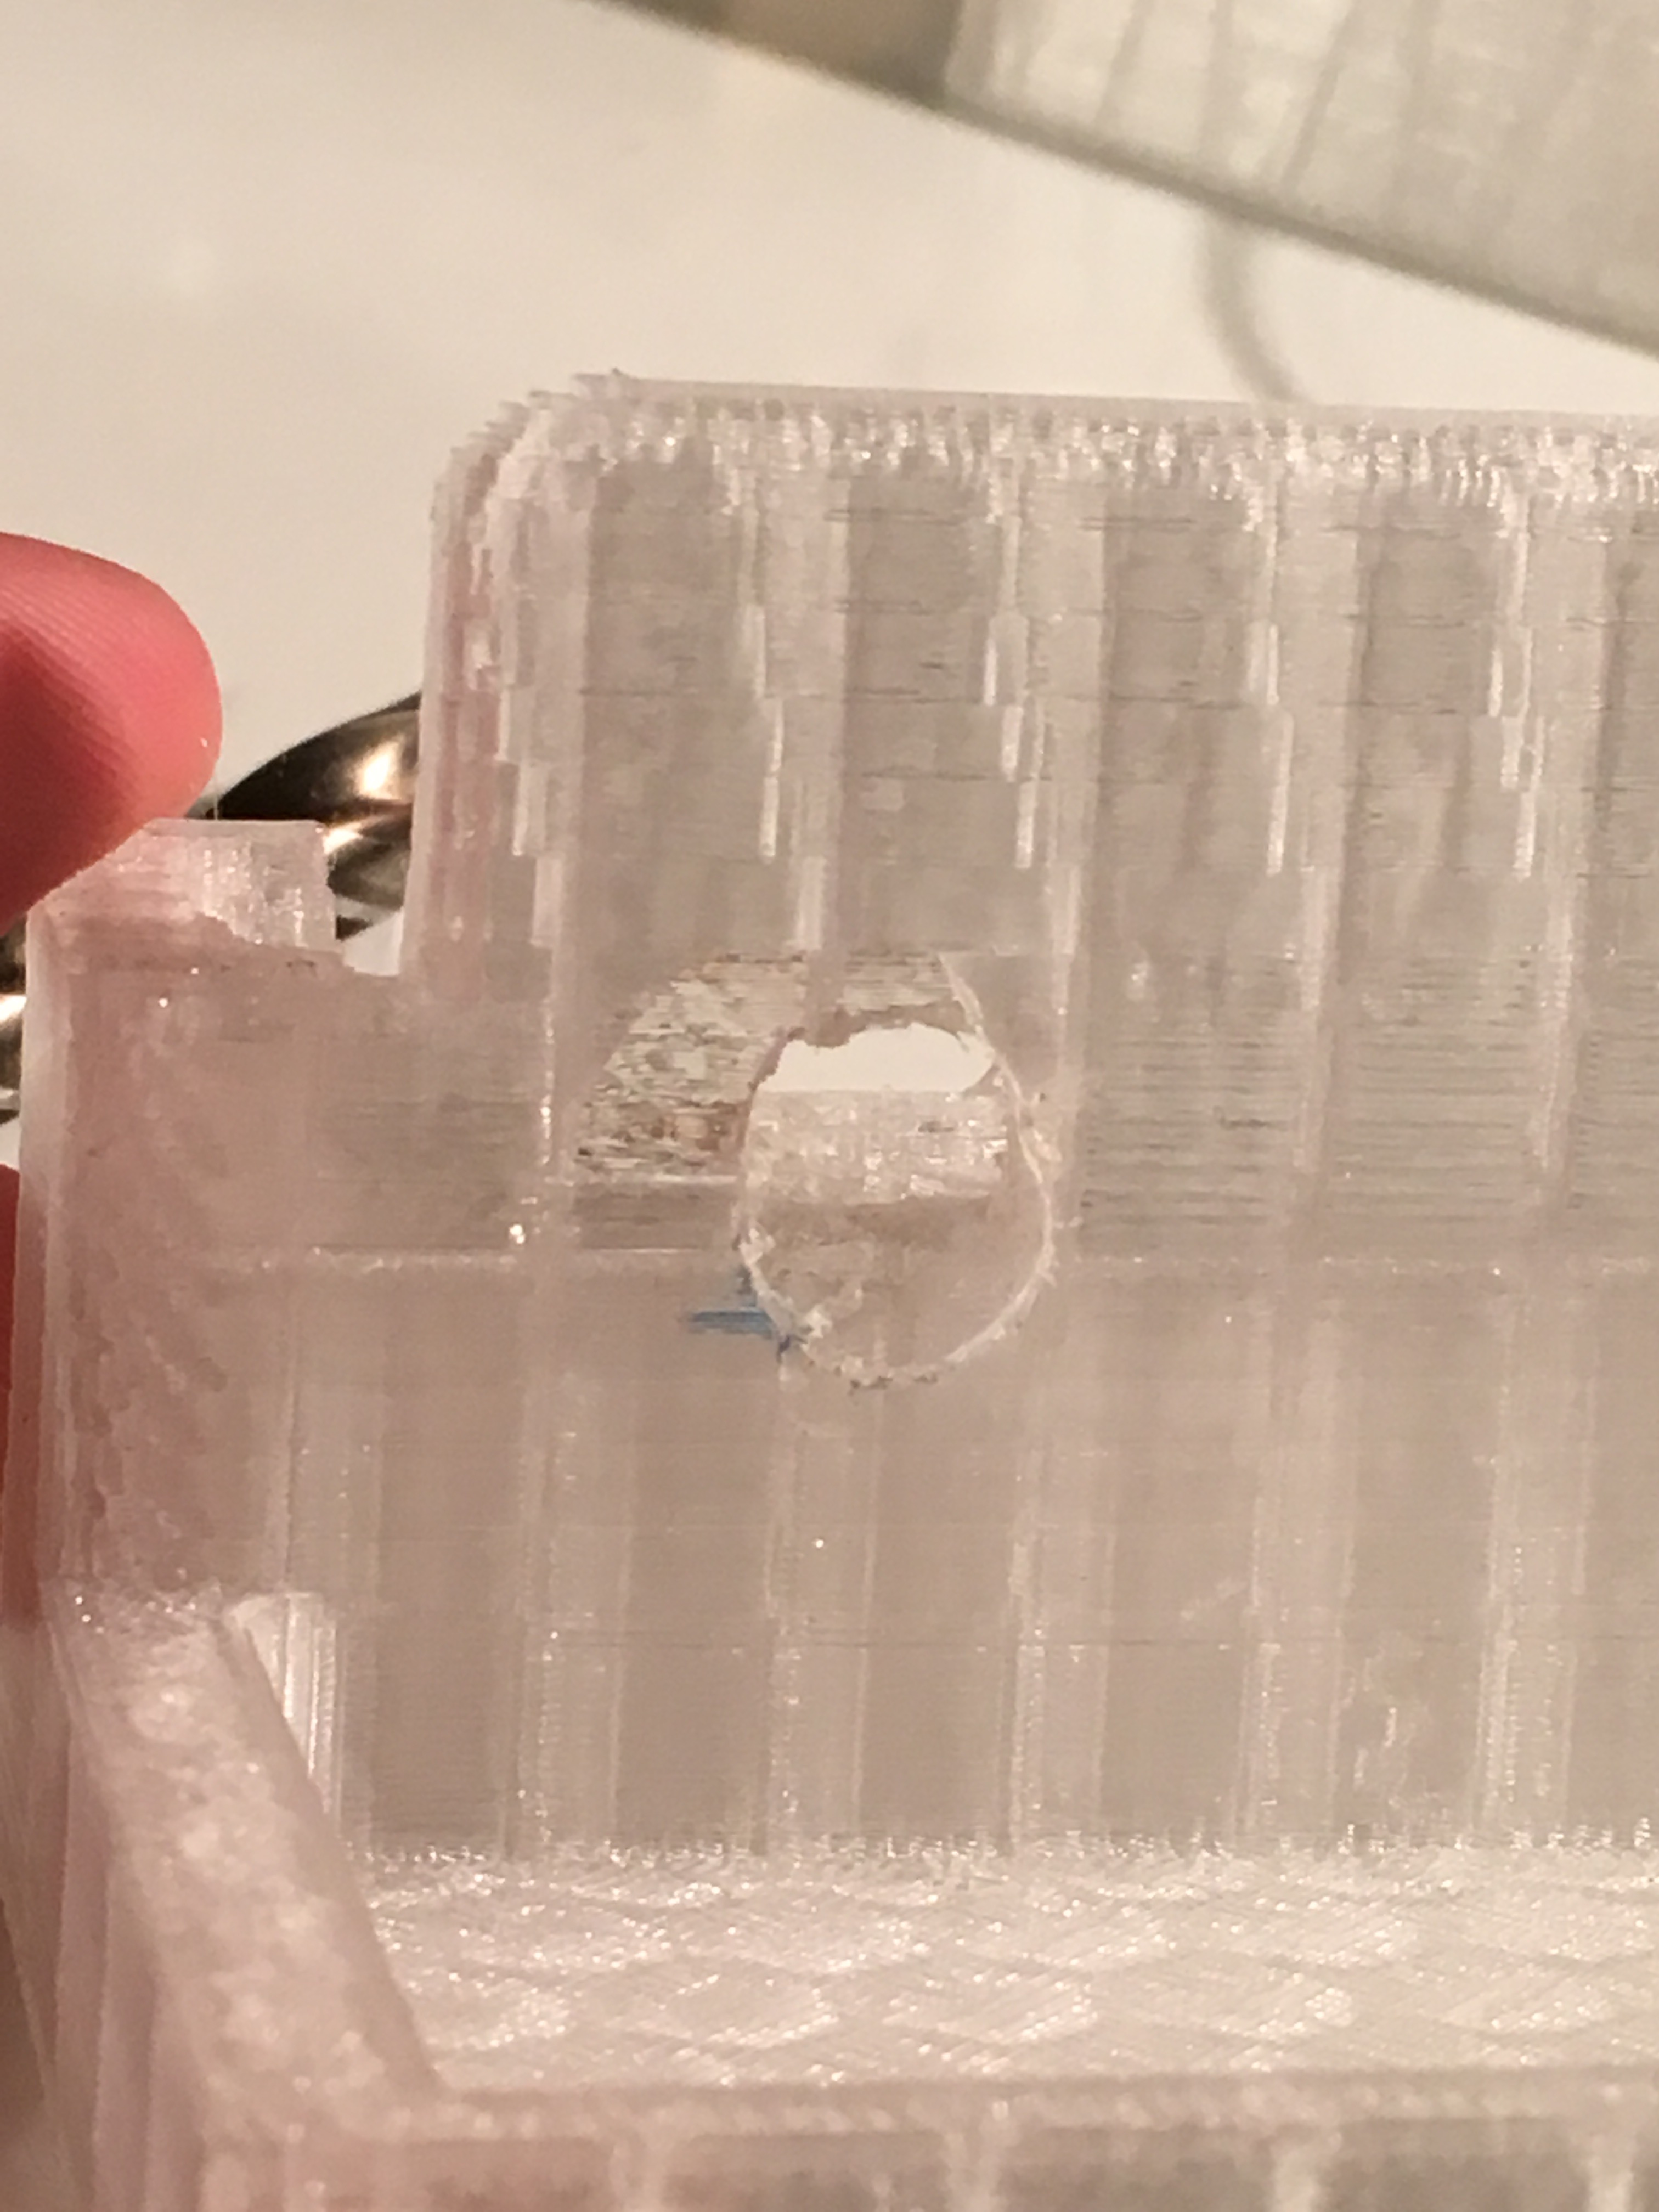
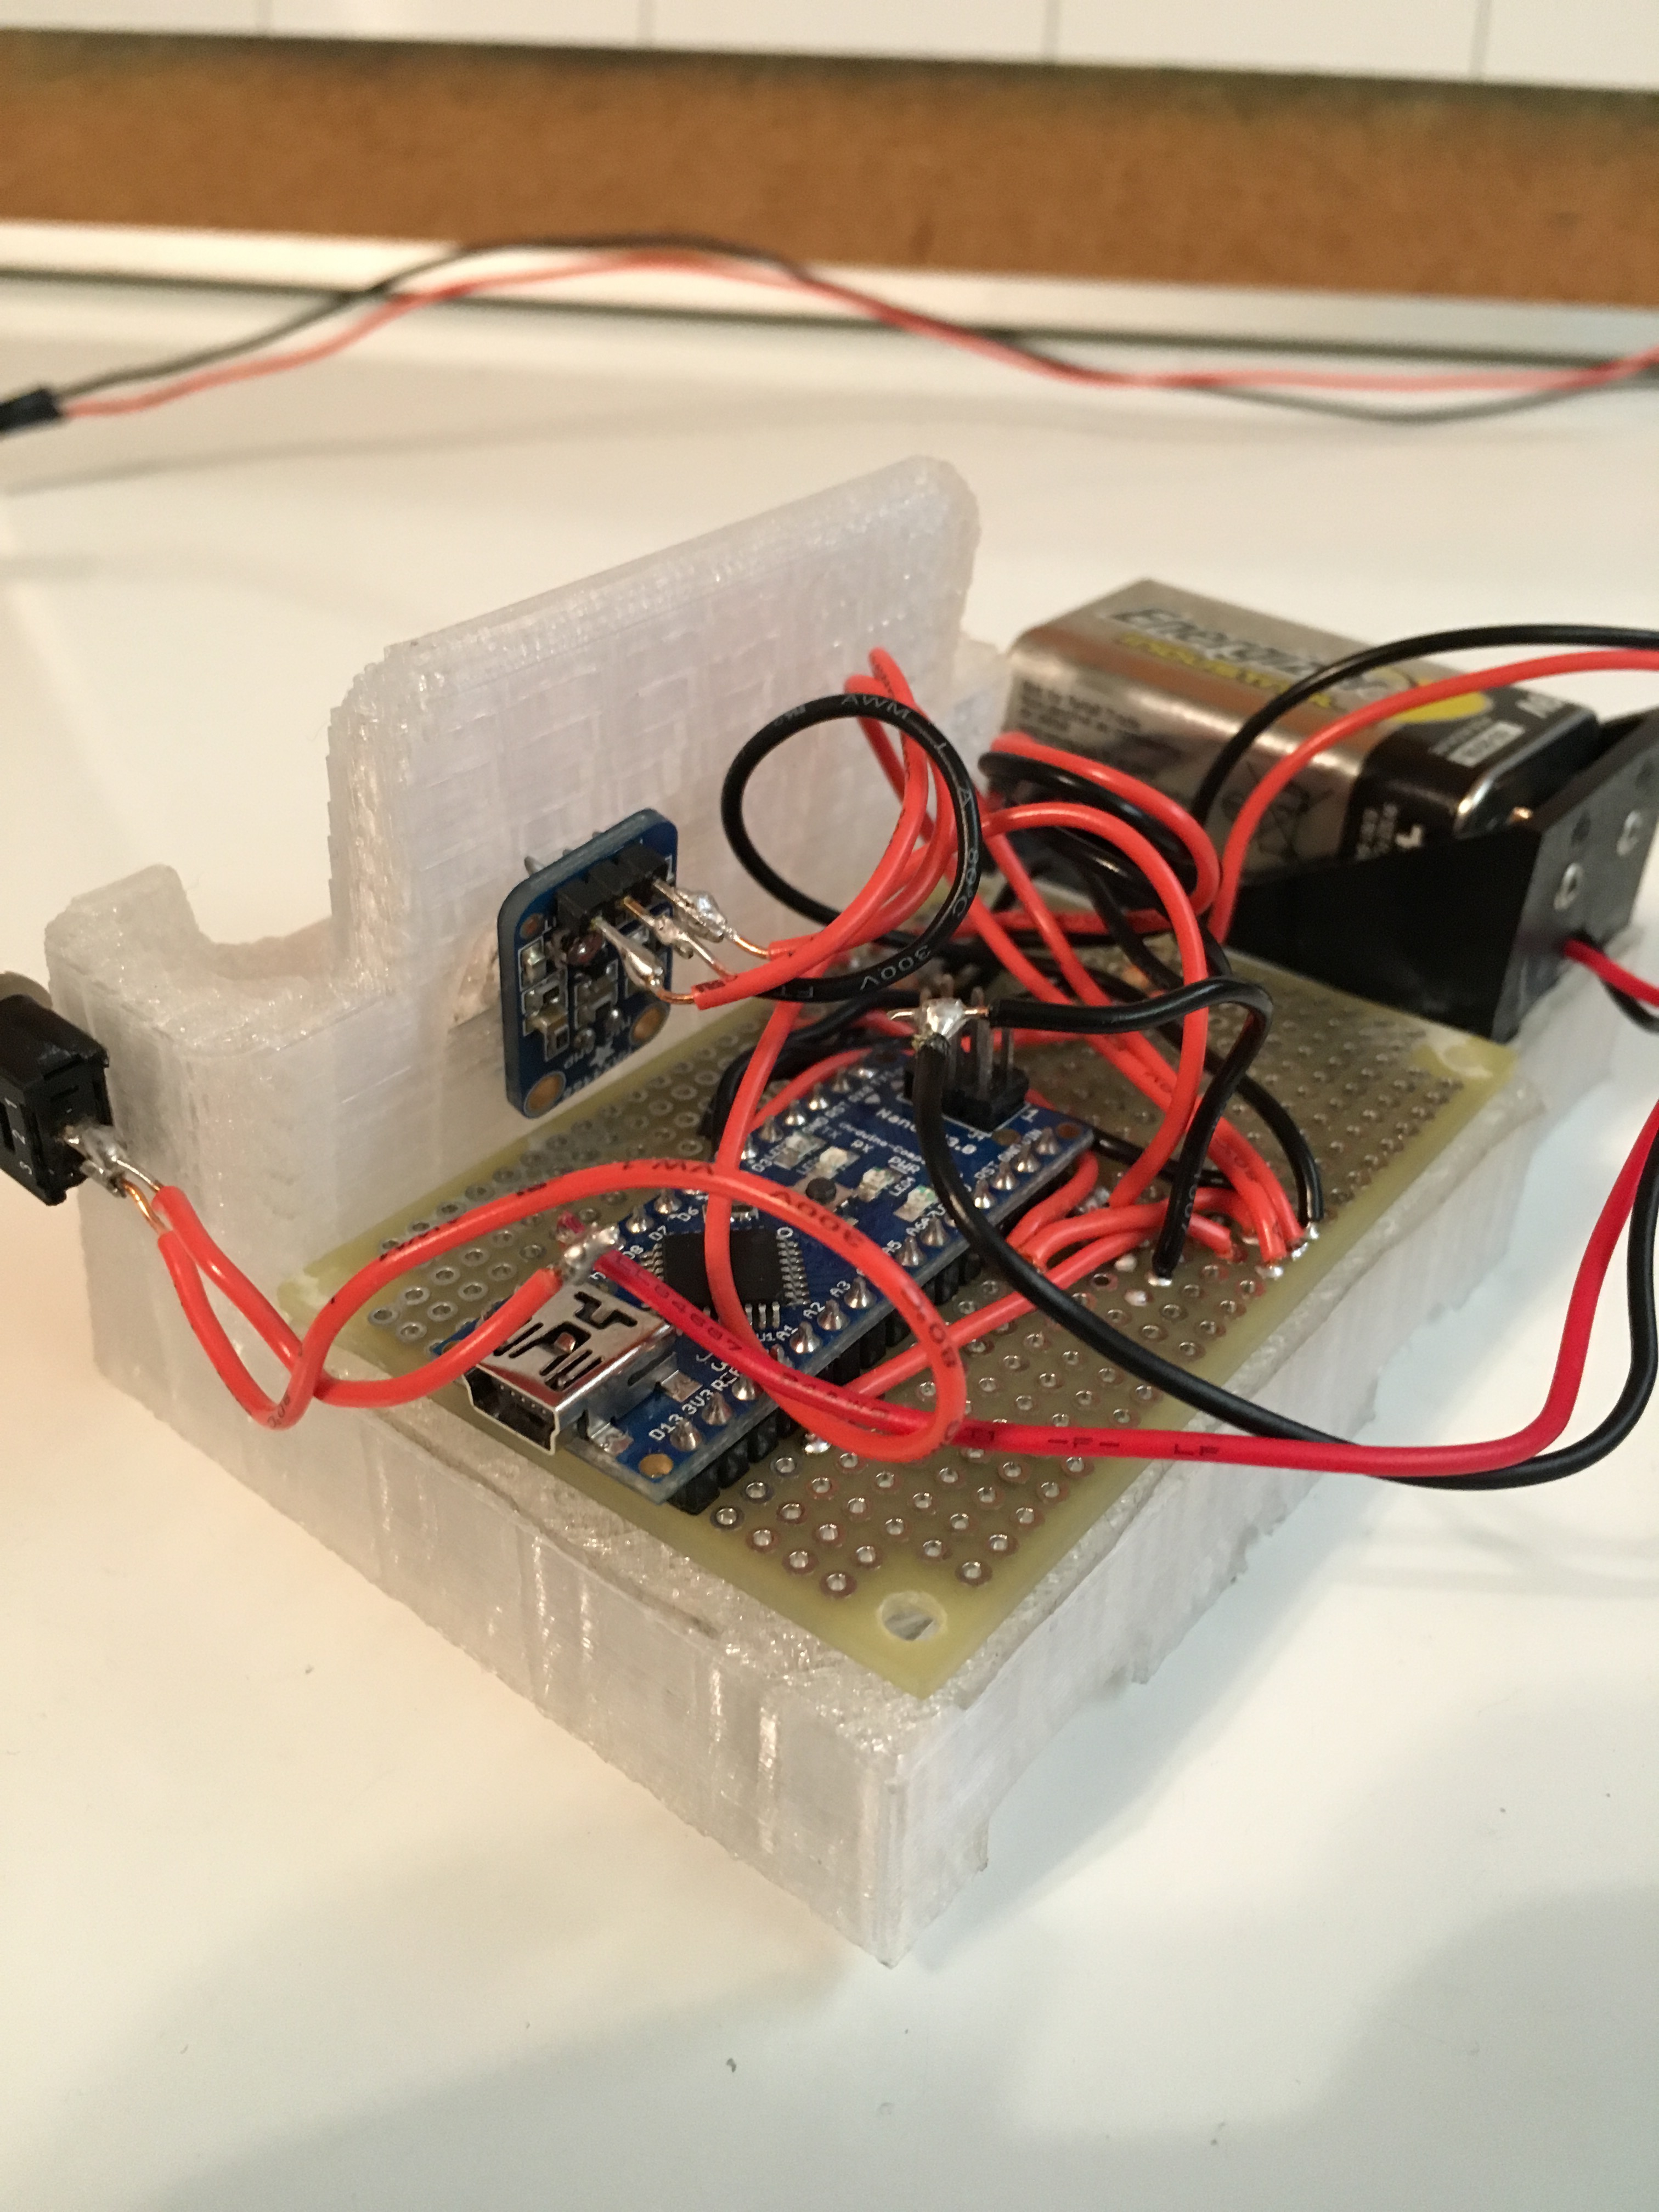
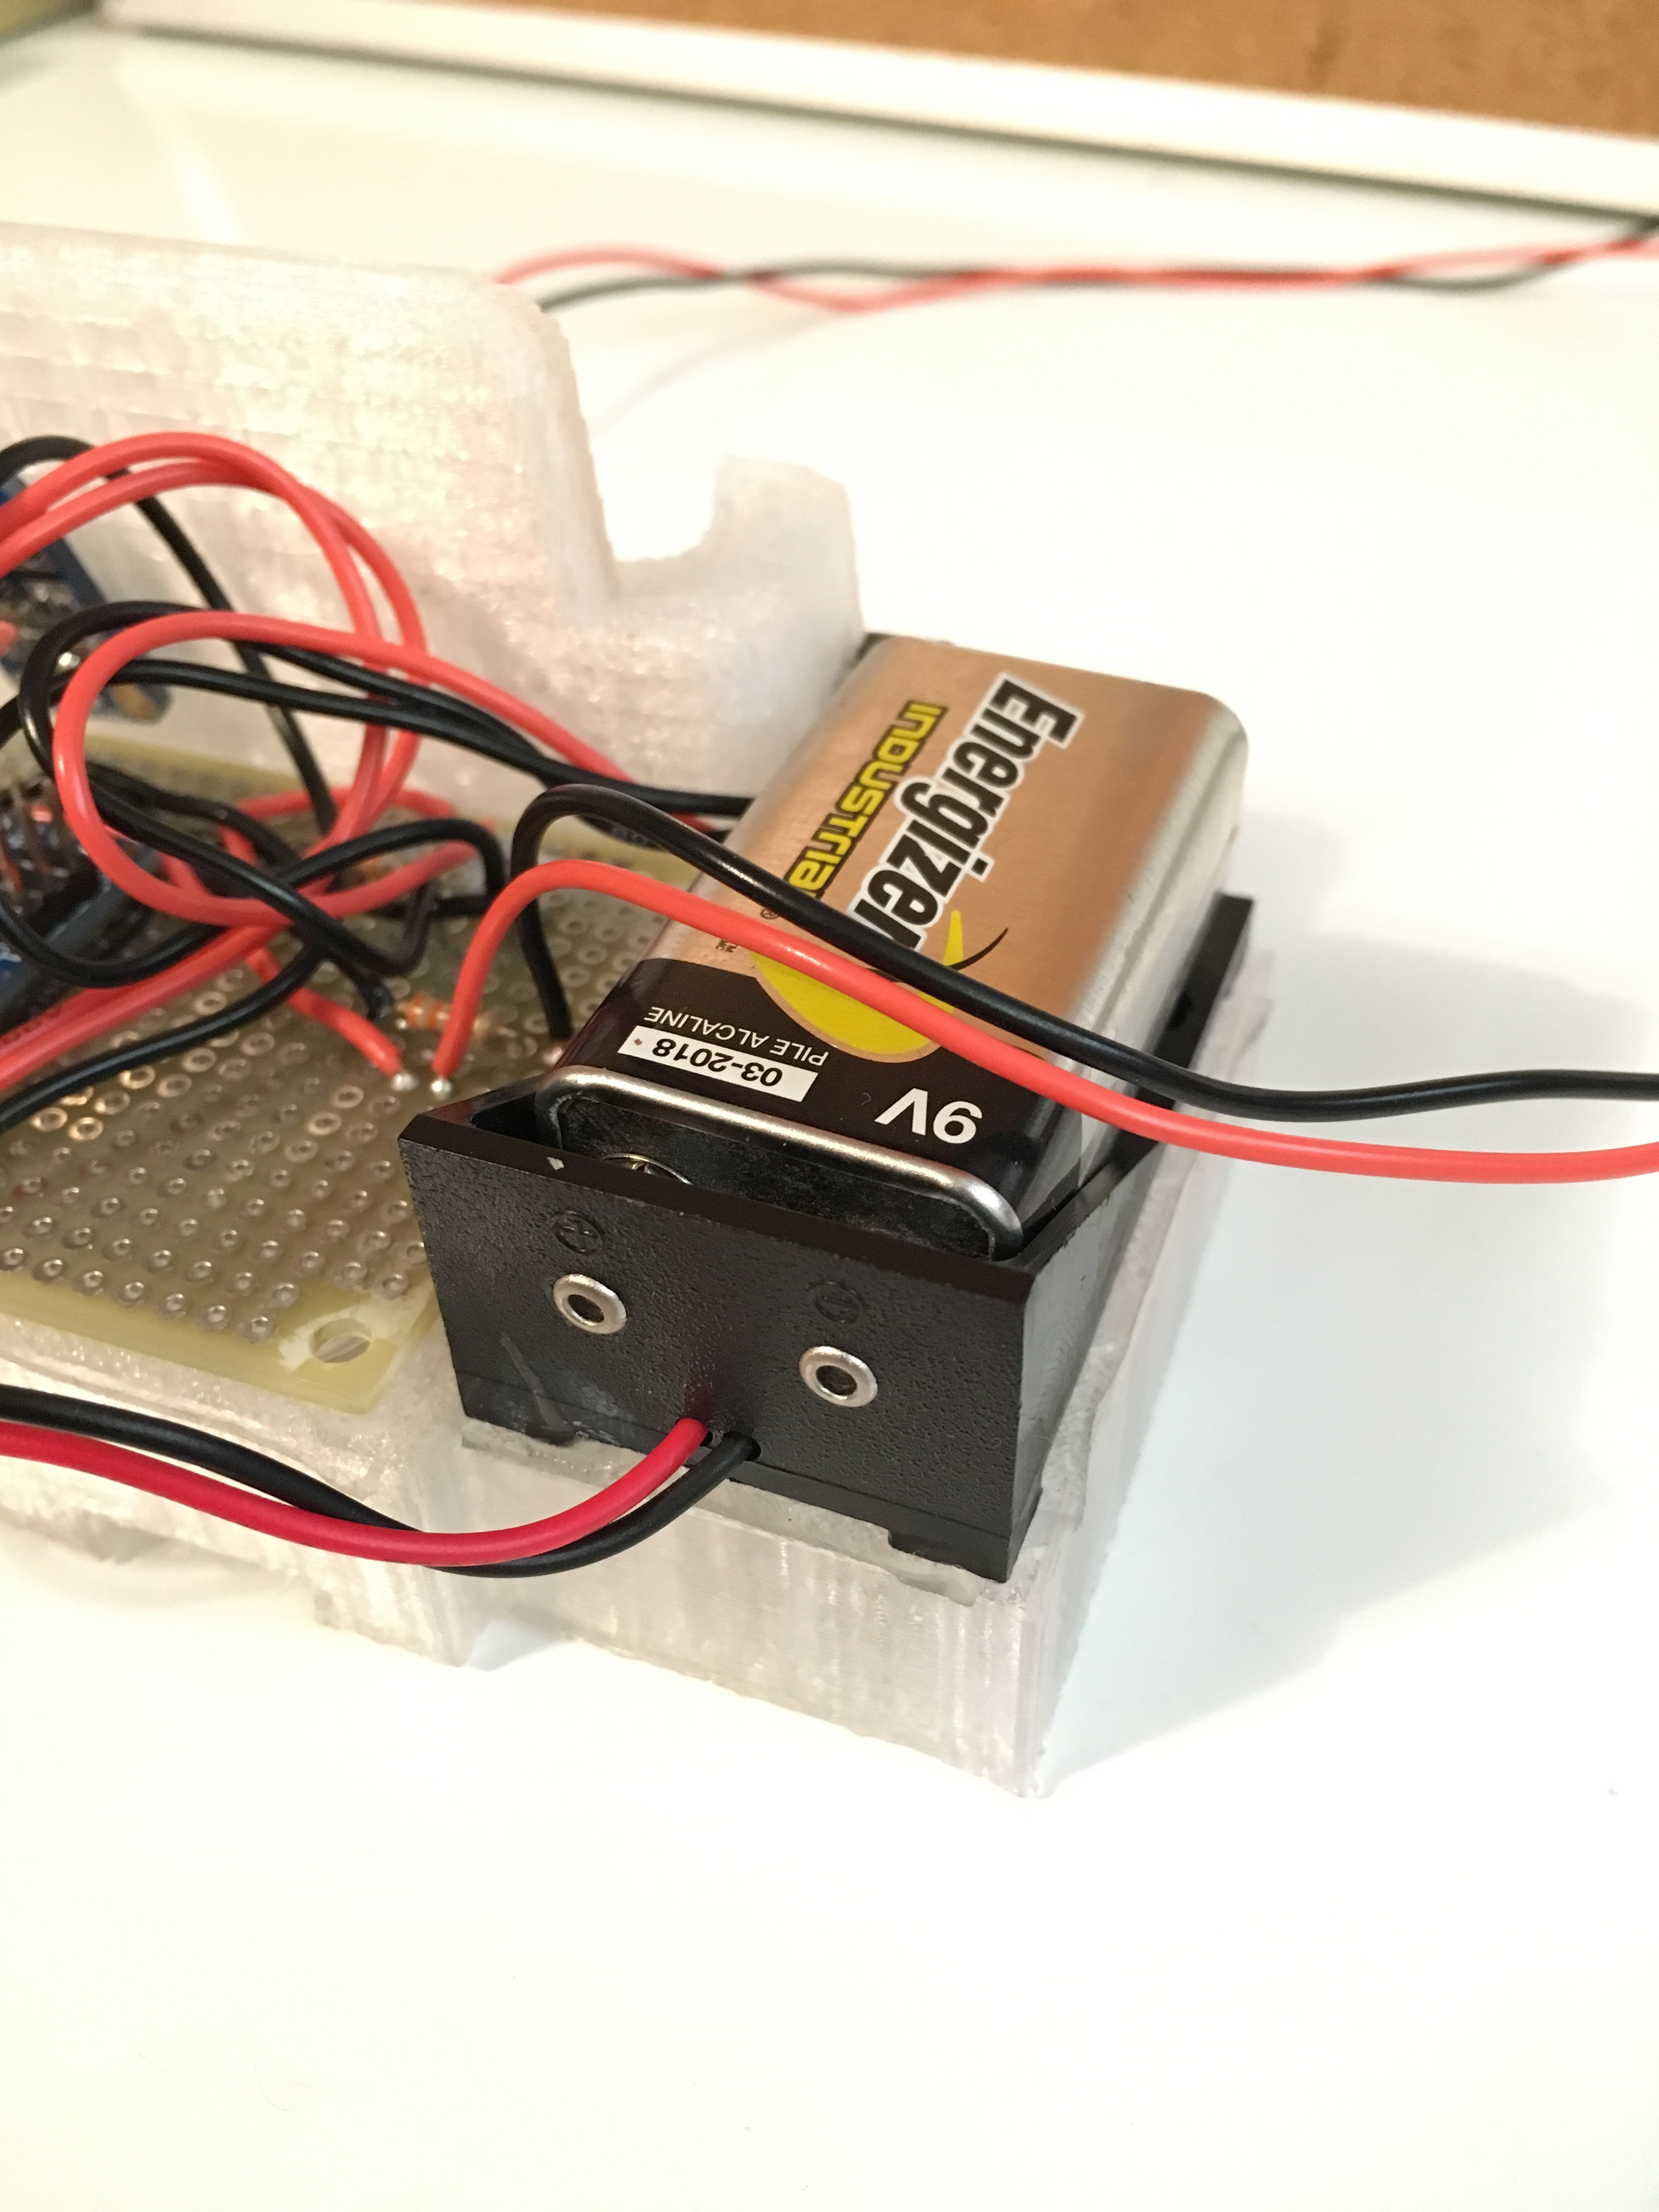
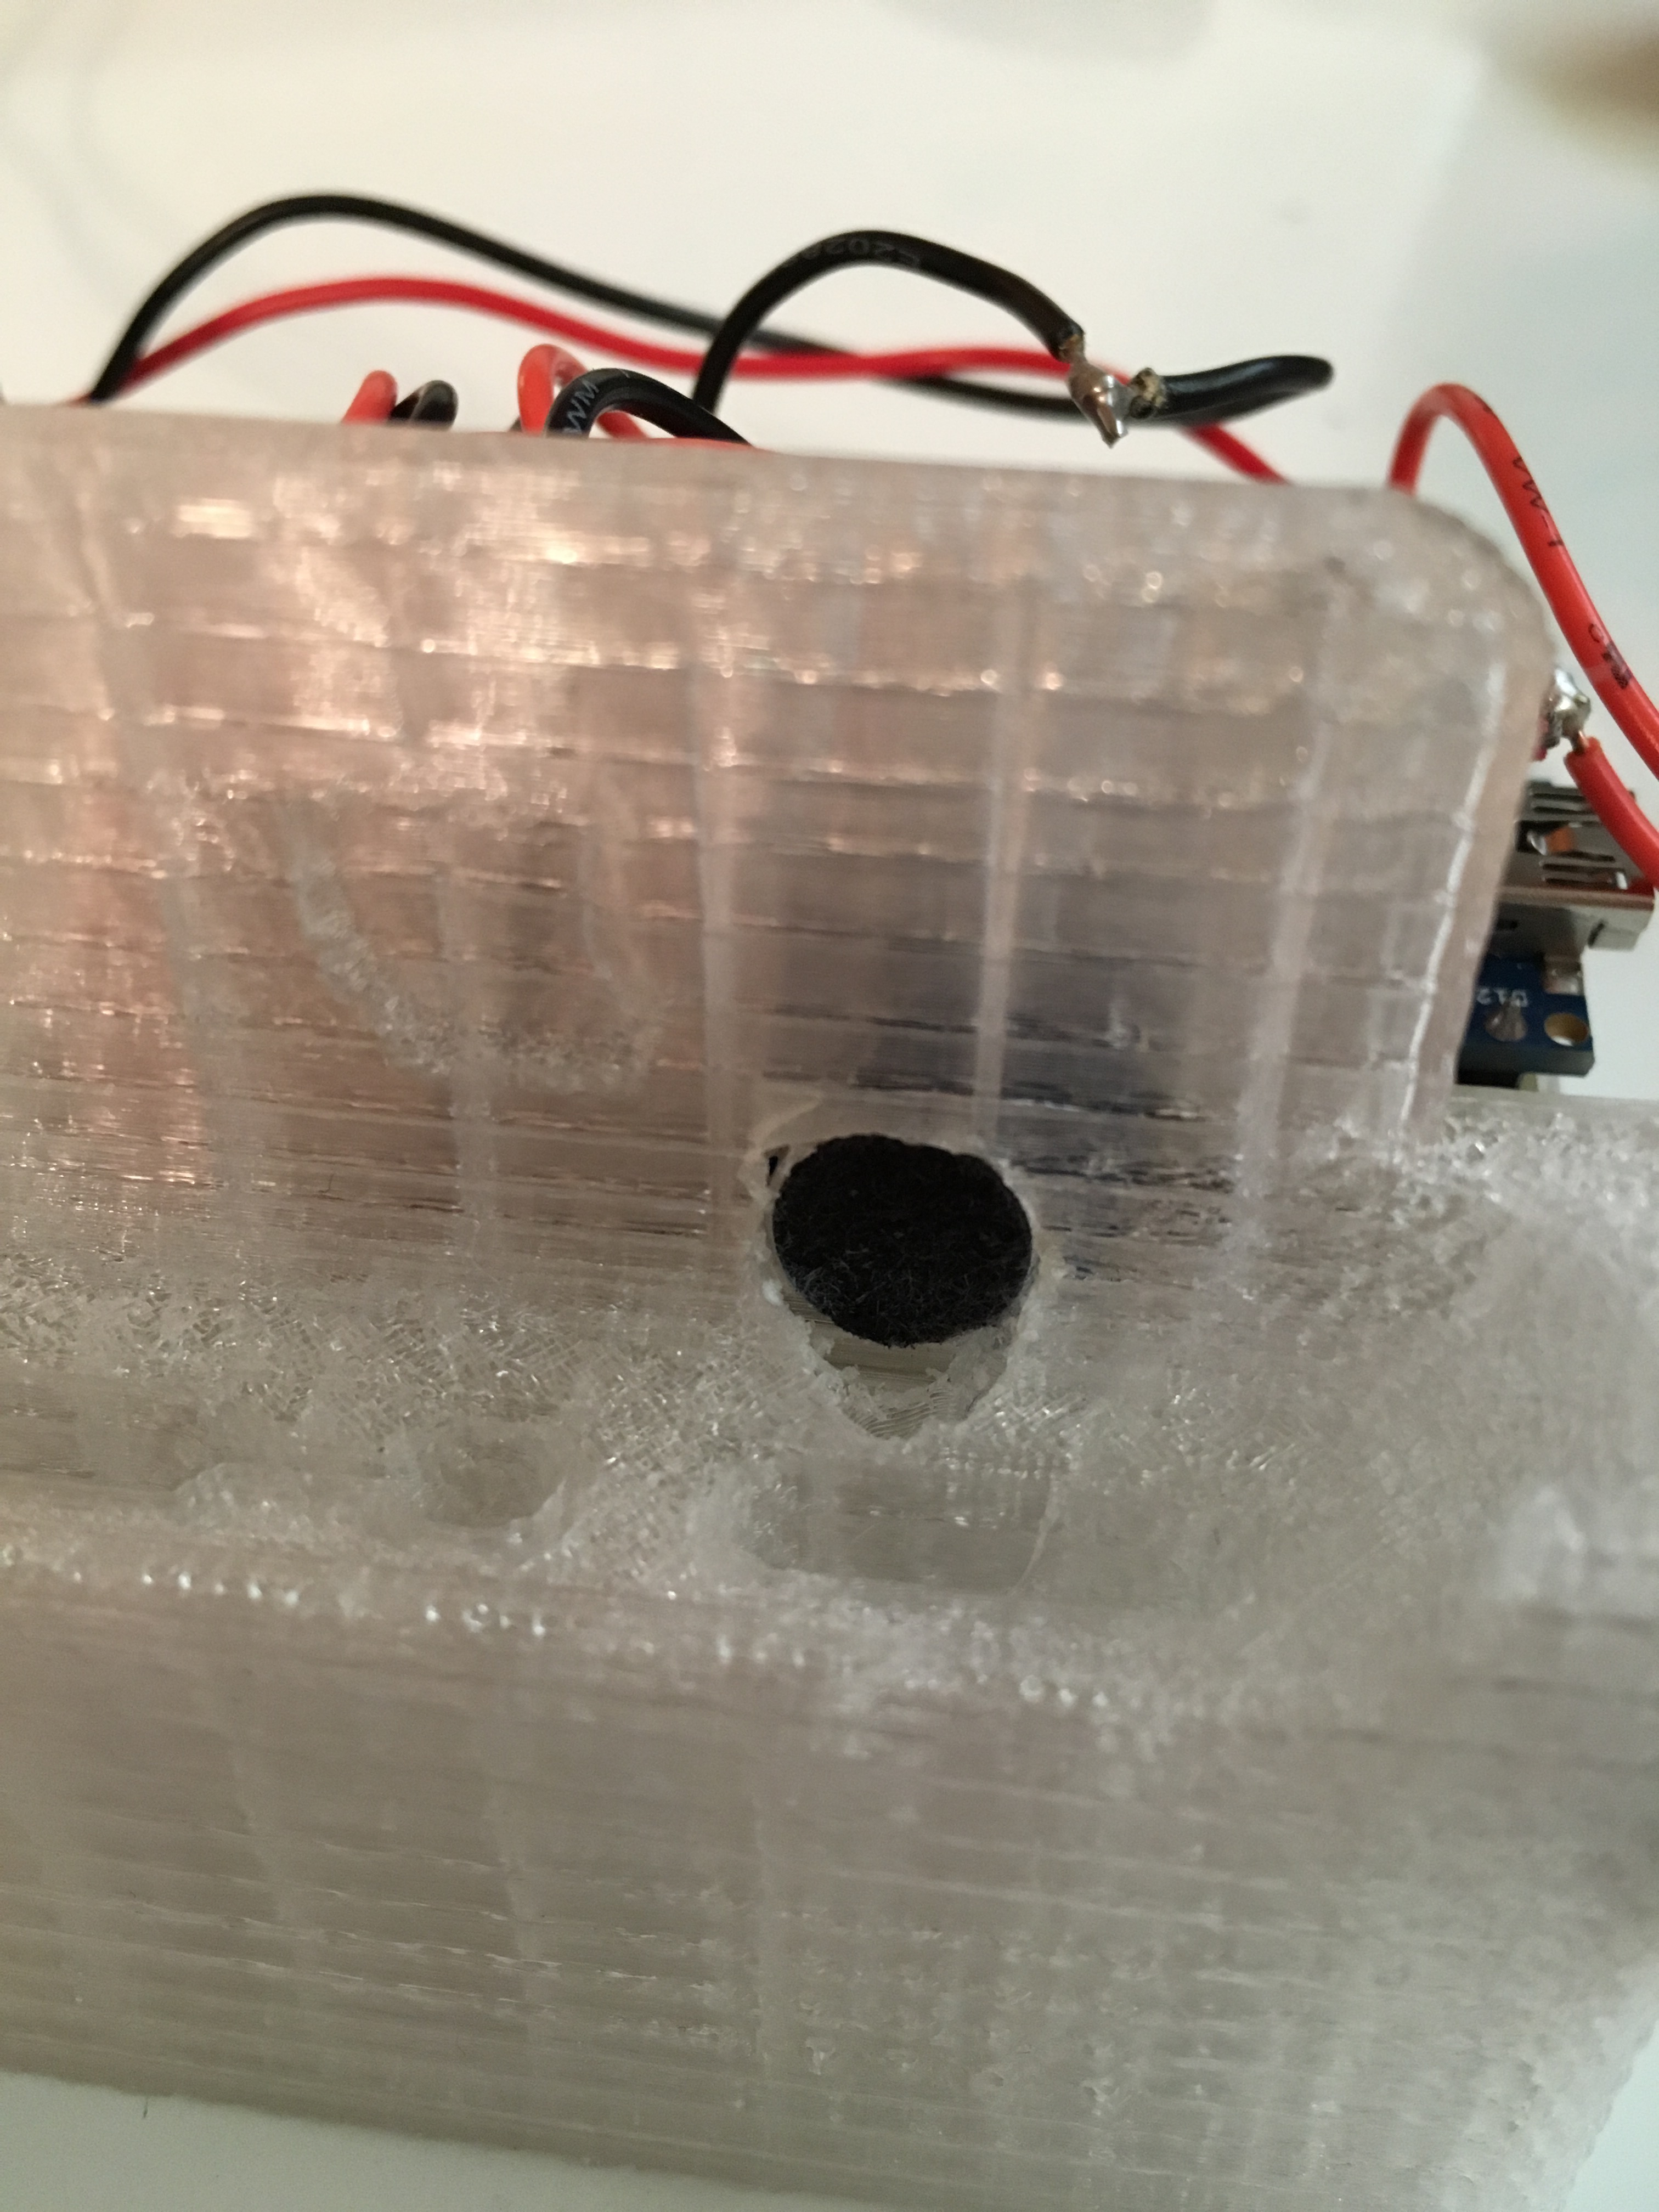
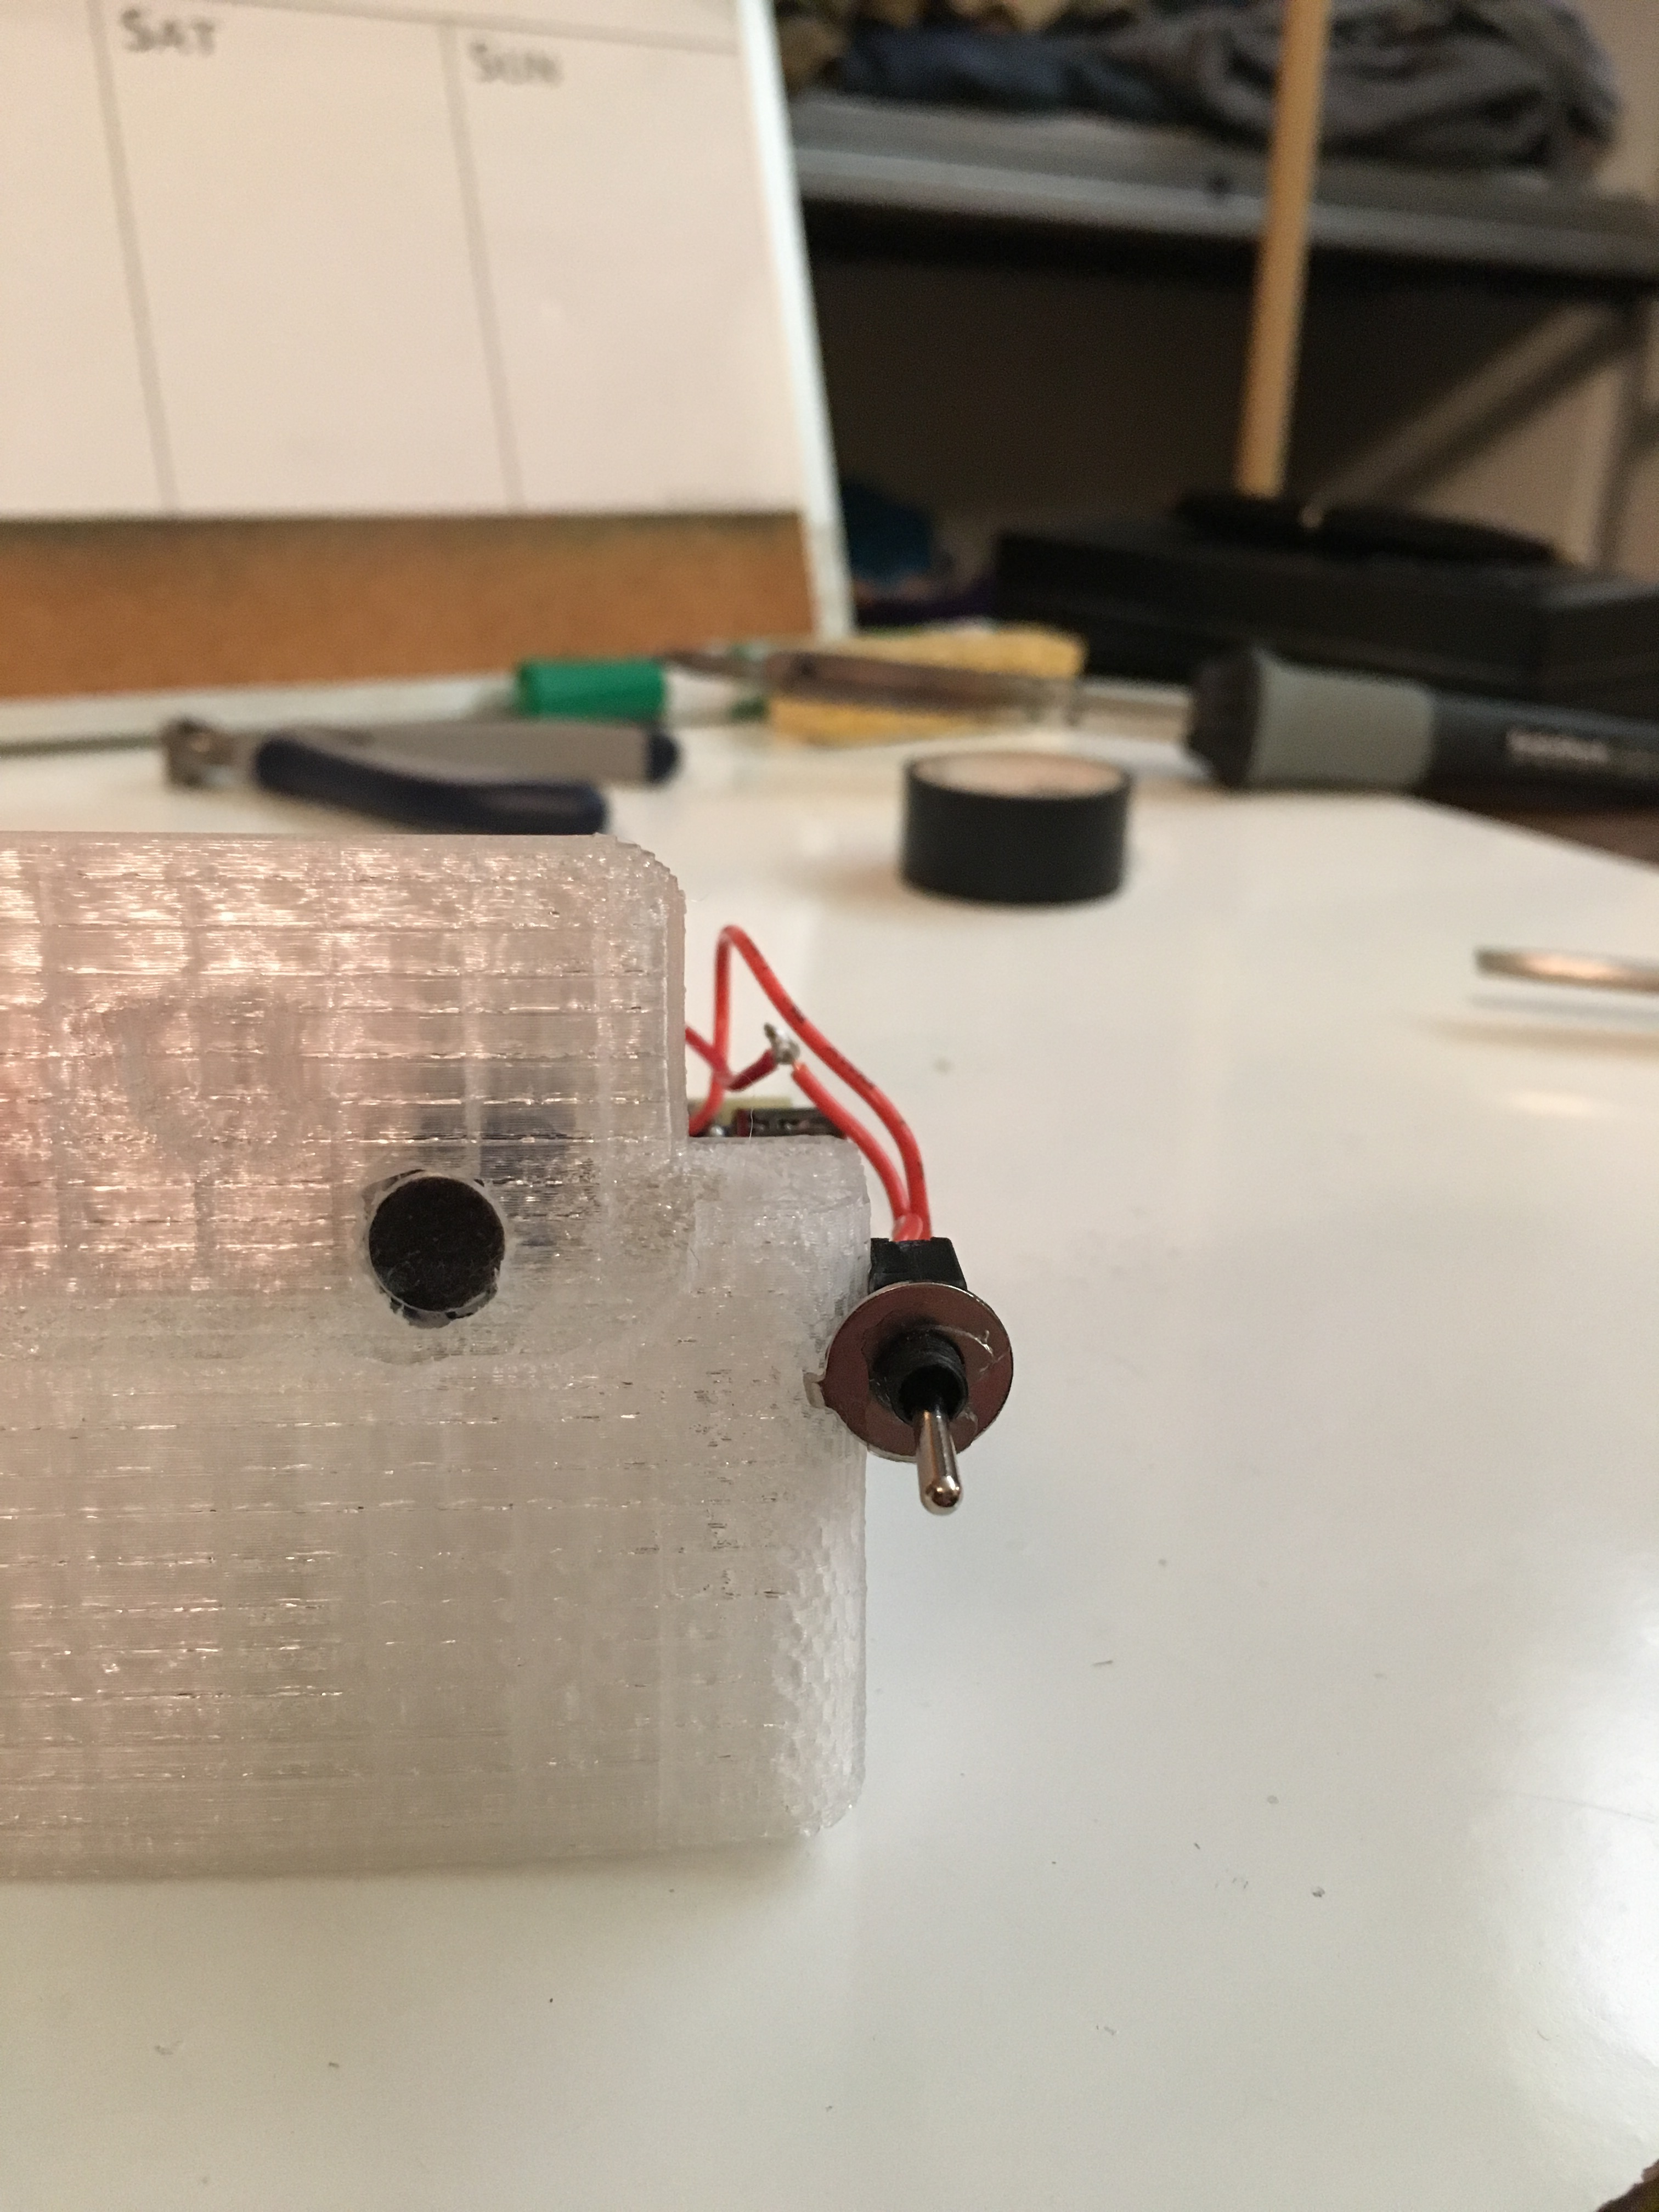
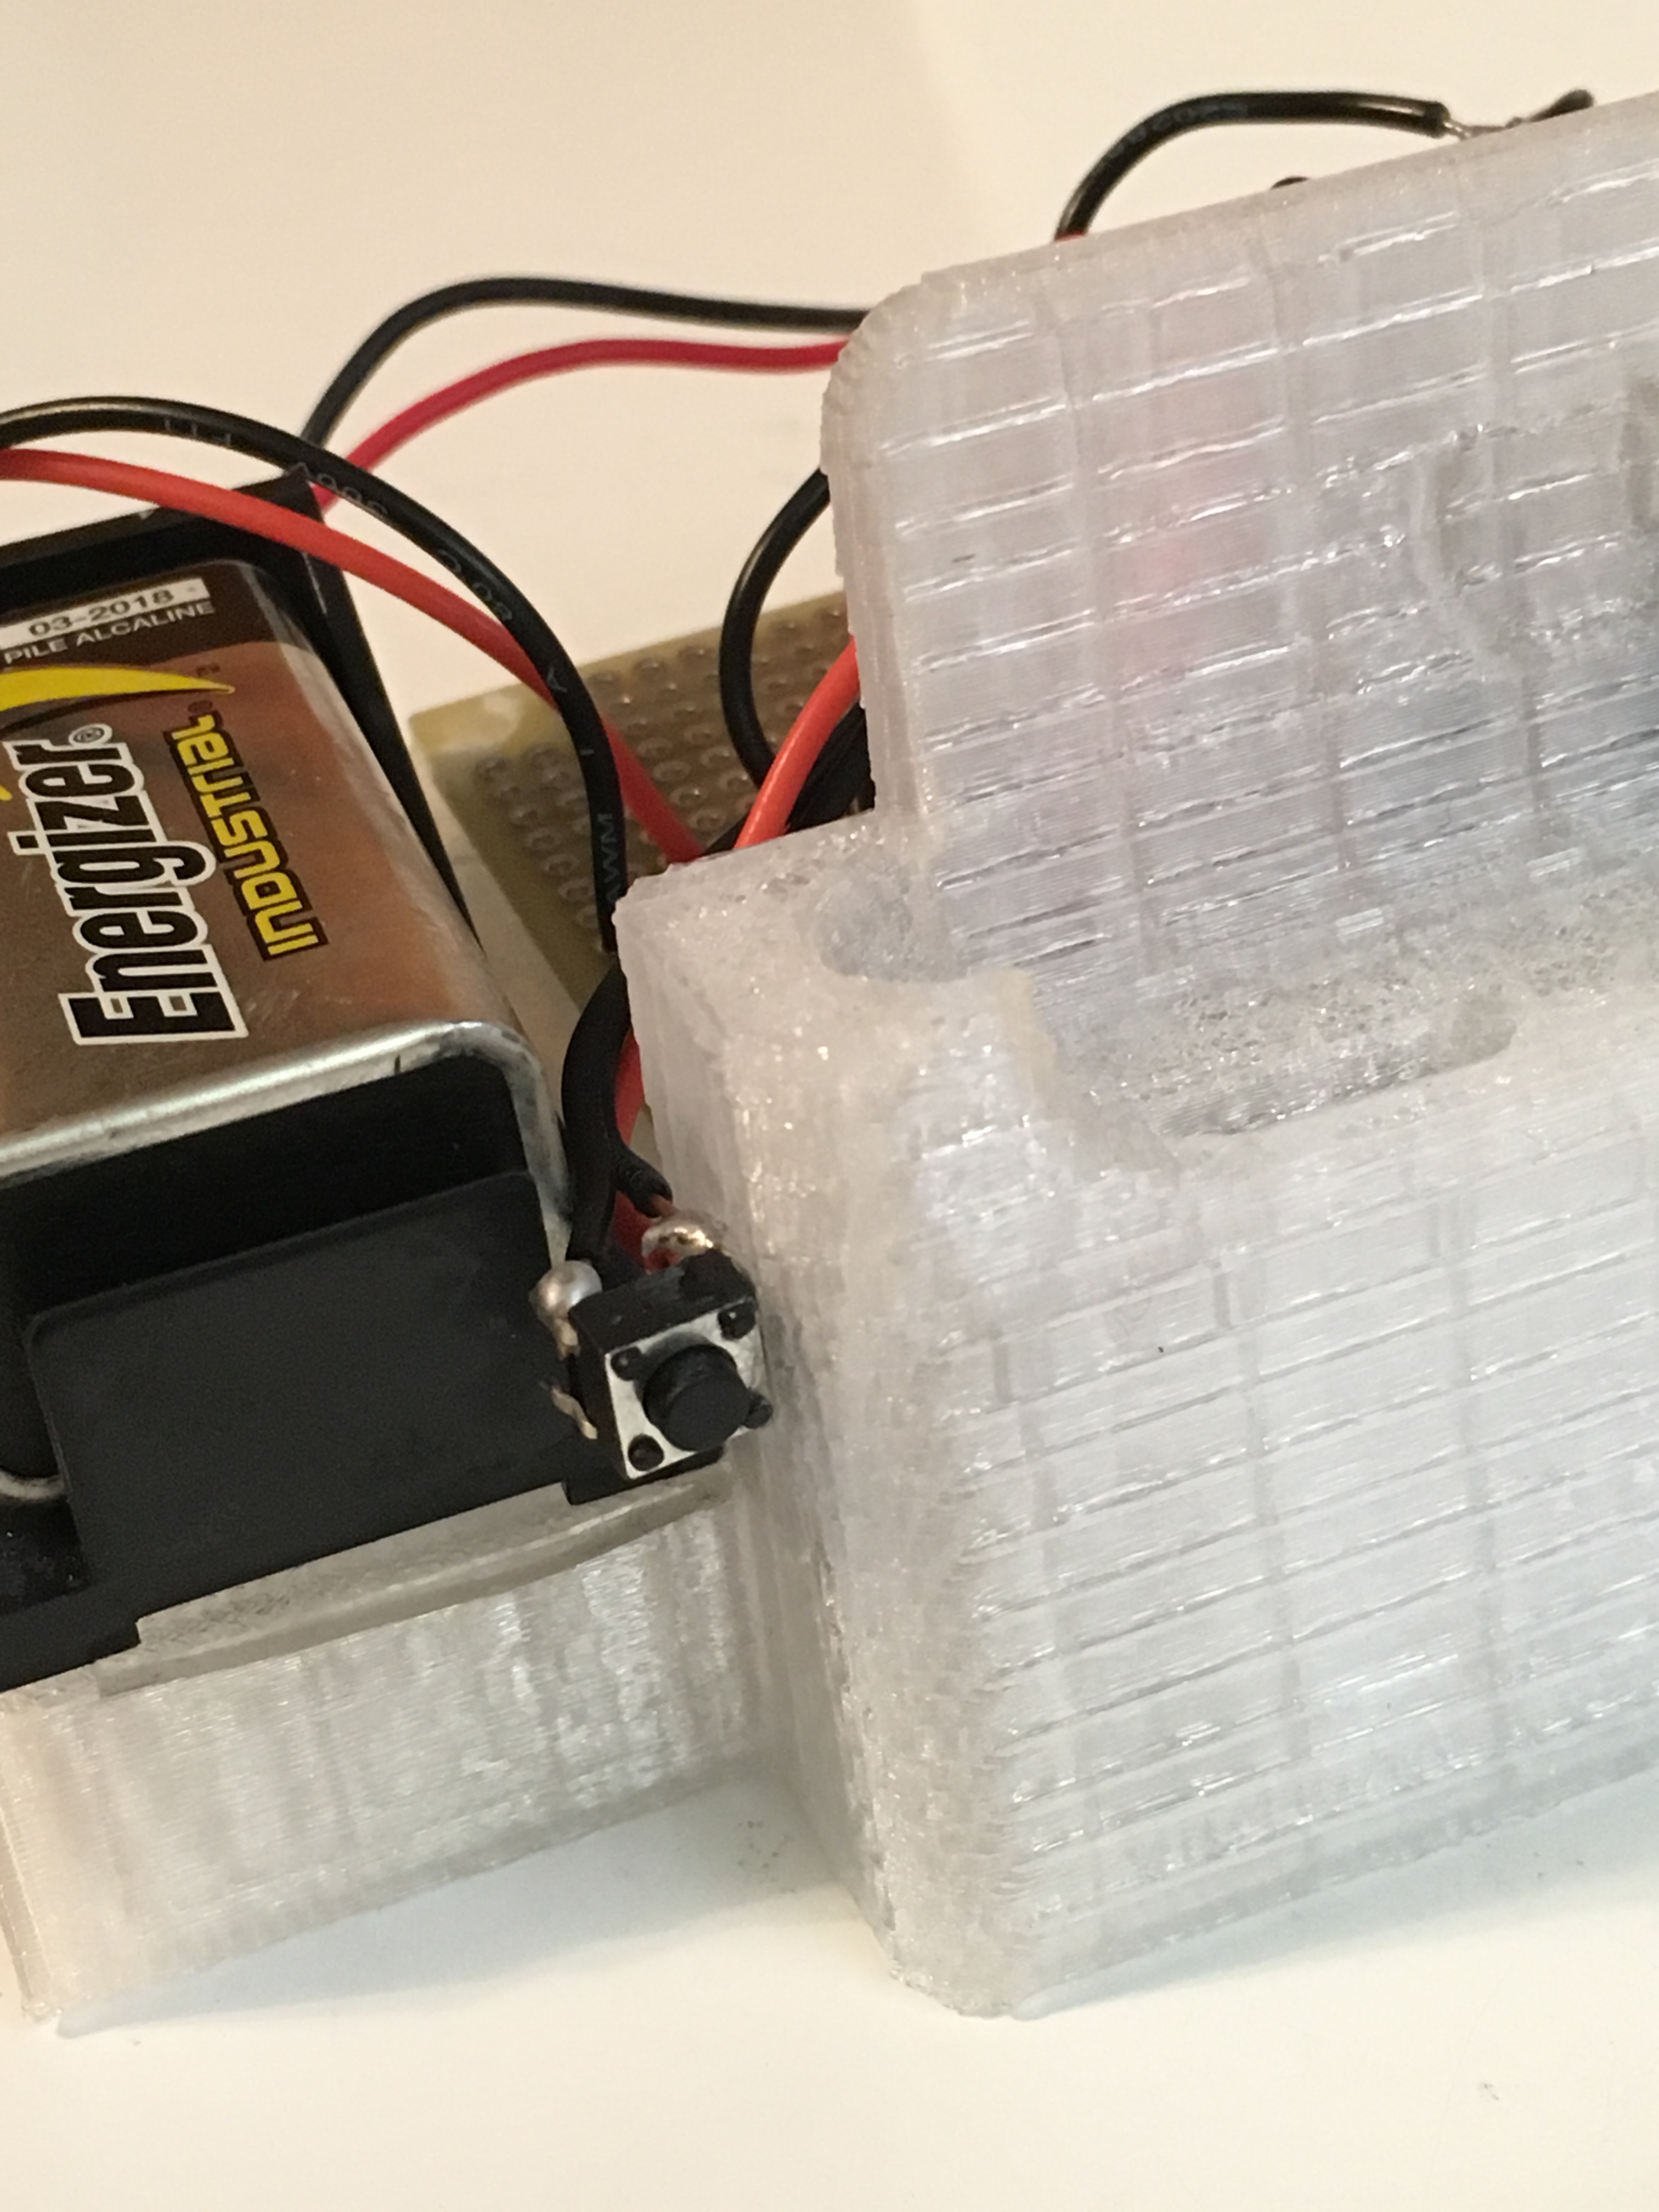
If you a would like to 3D print the enclosure I have provided the .stl file that I used to print. If you would like to edit this file for any custom features a very intuitive and easy to use platform that is free is 3D slash. With this platform you can import and export .stl files and use simple tools to add or remove from the sketch all from your browser. Be aware that this platform could pixel-ate your print. Otherwise you can use a project box or even an Altoids can to place your electronics in.
I drilled a hole in my structure in order to place my sound sensor near the speakers of the phone then glued my sensor in place. You may consider printing your holder with this hole added. I then glued my soldering board to the back compartment of my holder and placed my battery into the battery compartment that is on the side of the phone holder.
After this, the final step was to glue the on/off switch to one side of the phone holder and the reset button to the other side.
Downloads
Final Product
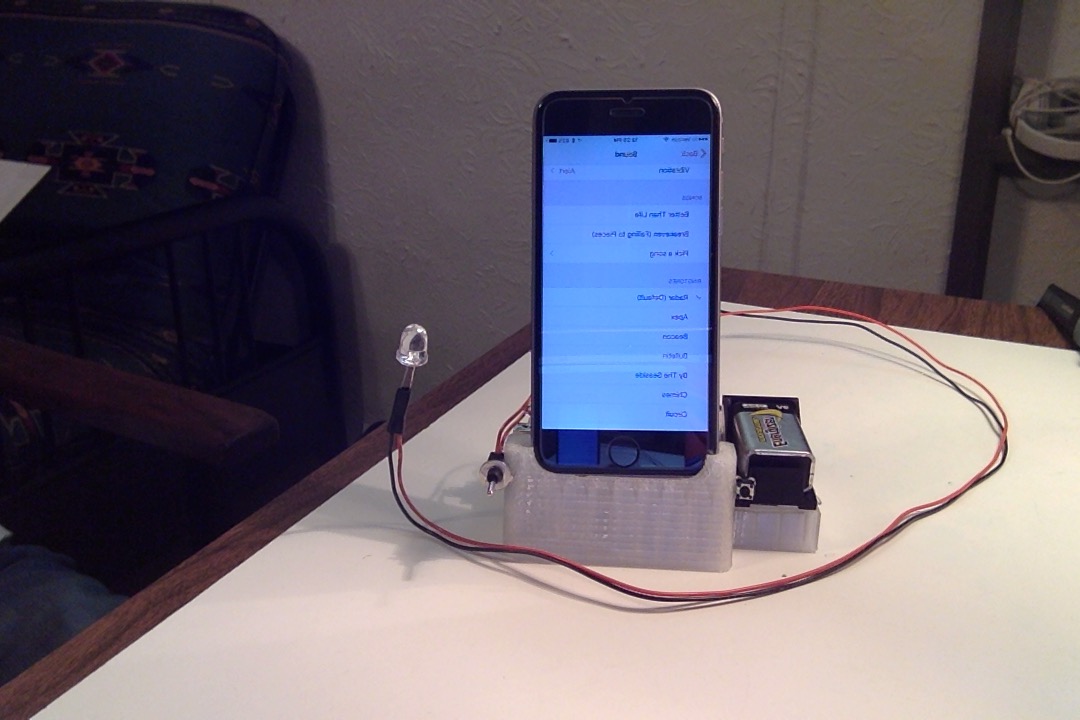
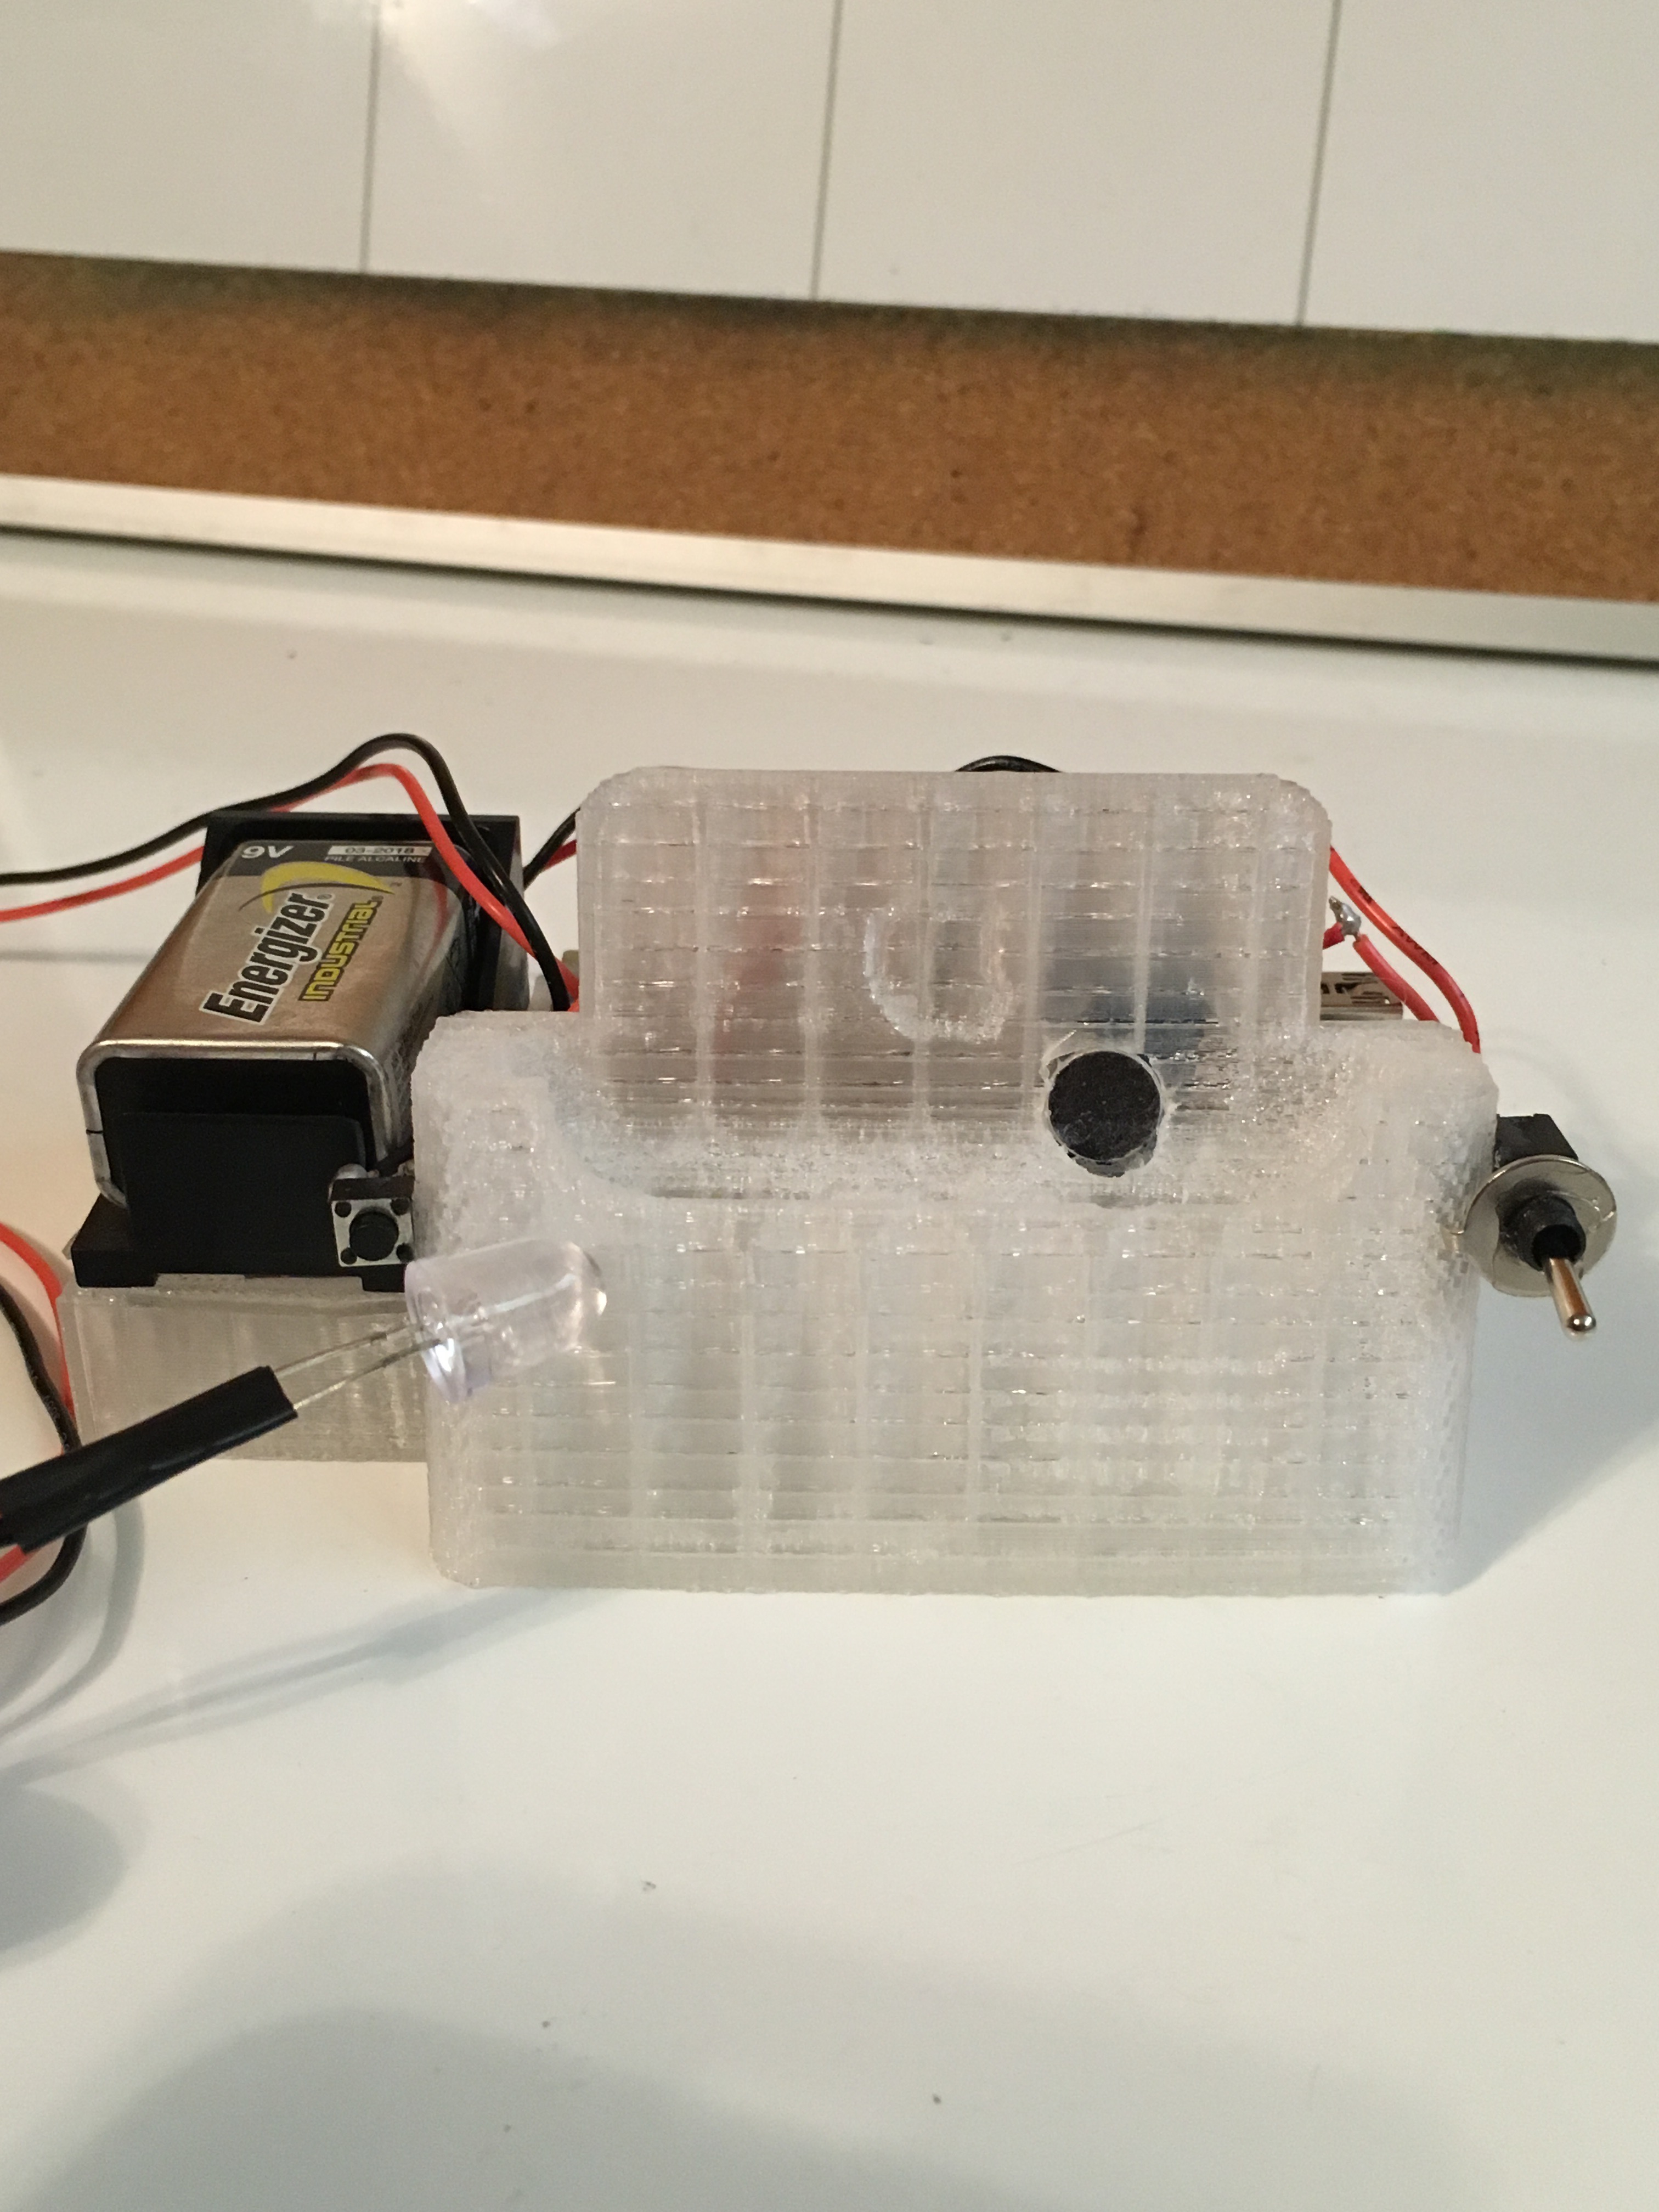
Your all done! Thanks for reading my instructable.