Solar PC All-in-one Raspberry Pi
by J_Sanahuja in Circuits > Raspberry Pi
4432 Views, 48 Favorites, 0 Comments
Solar PC All-in-one Raspberry Pi
Hello everyone!
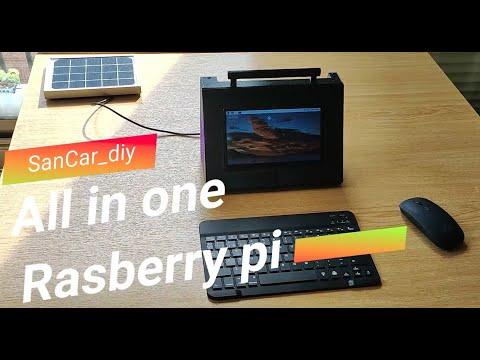
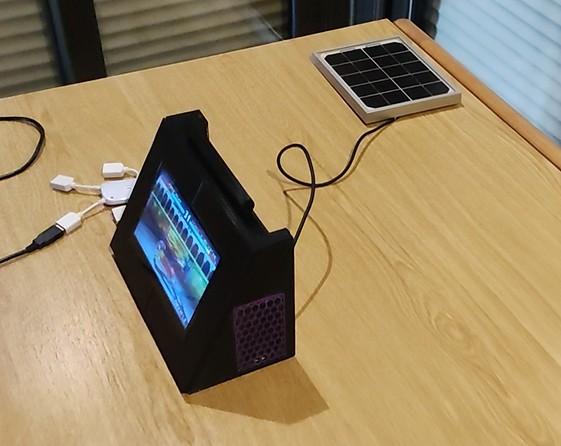
In the folowing instructable, I want to show you how I've made my pc all-in-one with Raspberry pi 4. Furthermore, this pc is supplied by solar energy and a powerbank.
I've made the case with 3d print (using Tinkercad) and the speakers are recyclated from old sound speakers.
Supplies

Materials:
- Raspberry pi 4 (Aliexpress/Amazon)
- 7' Touchscreen (Aliexpress/Amazon)
- 2 speakers
- Stereo Amplifier Class AB Audio 3.7W (Aliexpress/Amazon)
- 5W & 5v solar panel
- 10000 mAh Powerbank (Aliexpress/Amazon)
- 4 mini neodymium magnets
- Wire and adapters
- 3d parts
Tools:
- Soldering iron
- Hot glue/silicone gun
- Instant glue
- Pliers
- Thin flat screwdriver
- Blade
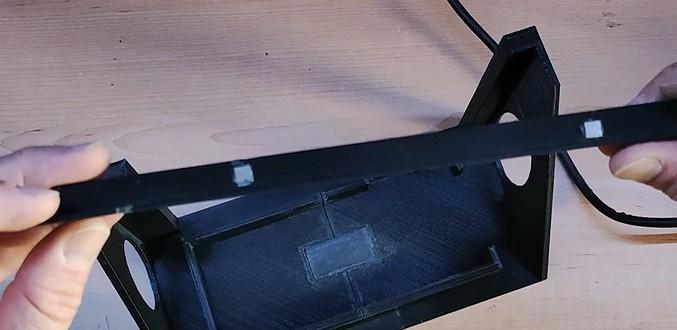
Gluing Pieces
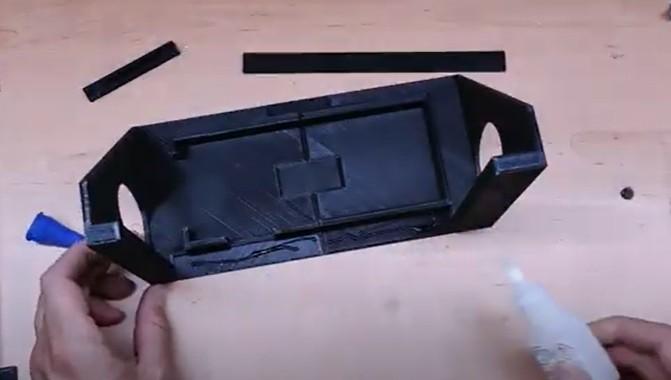
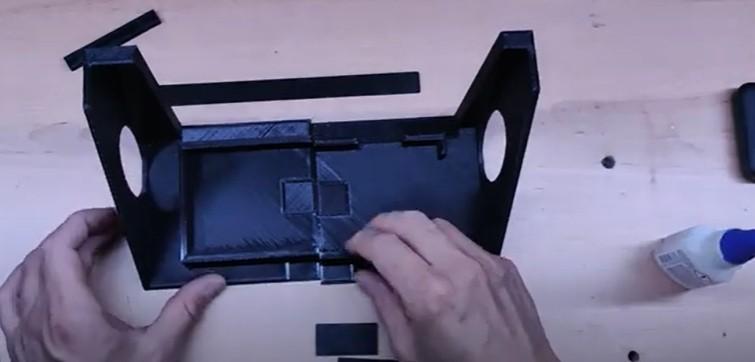
We will start by joining two halves of the case with the impact glue and the supports.
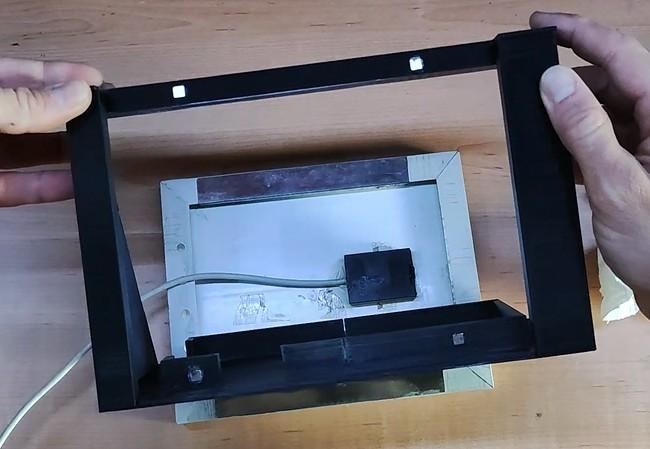
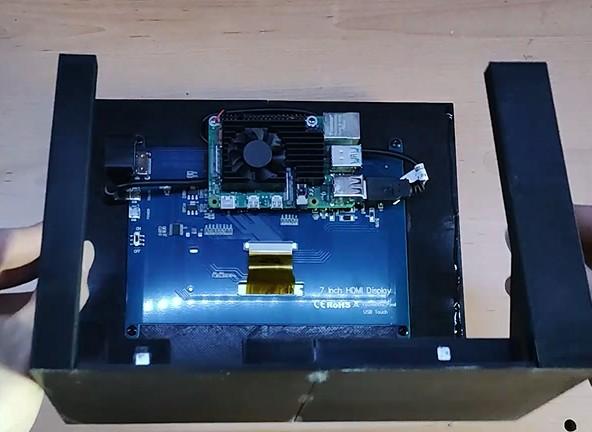
Placing the Touchscreen
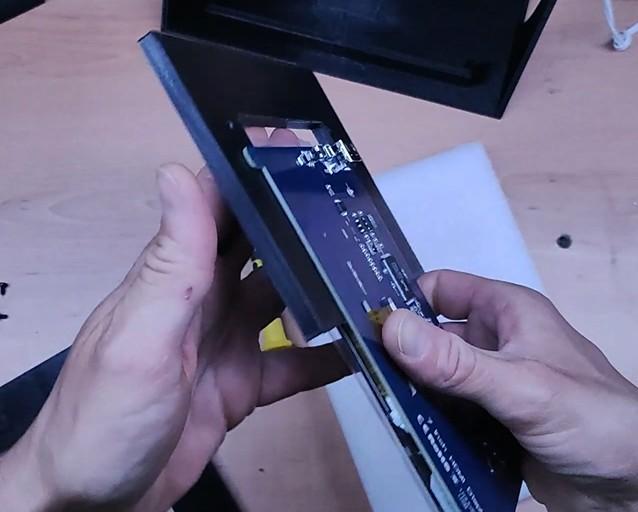
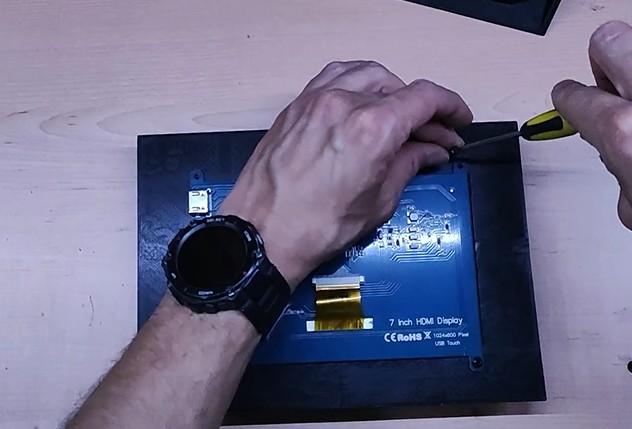
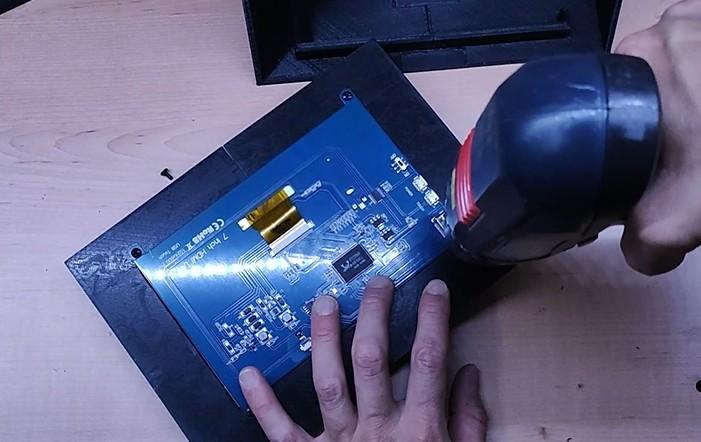
Then we will carefully place the touchscreen between the two halves of the frame and screw it to secure it
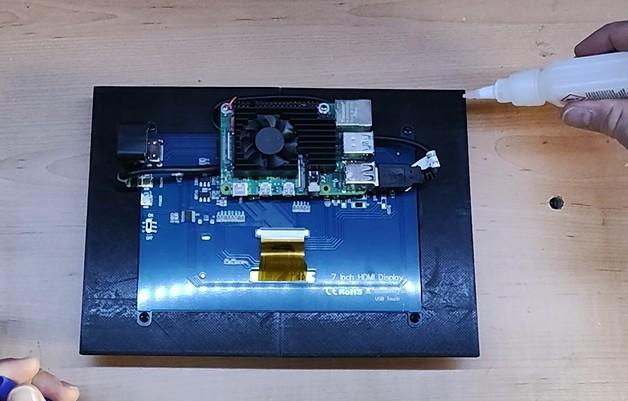
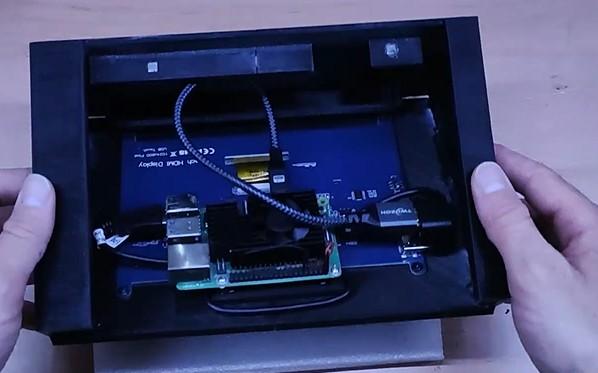
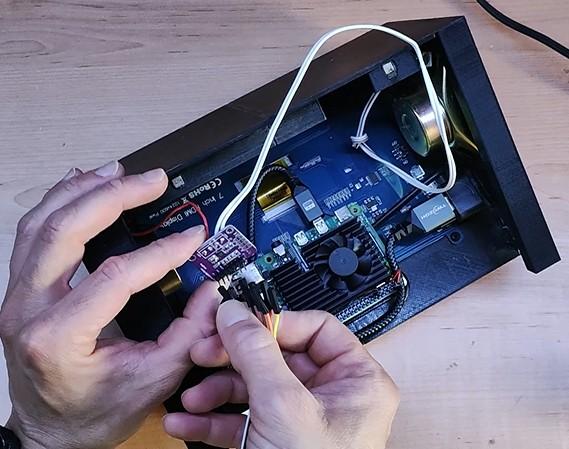
Putting the Raspberry
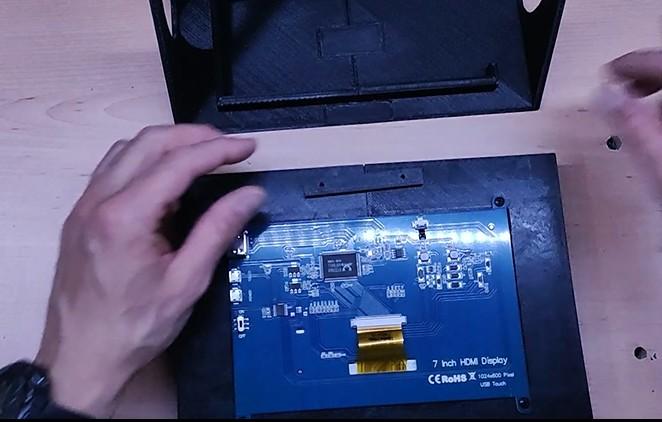
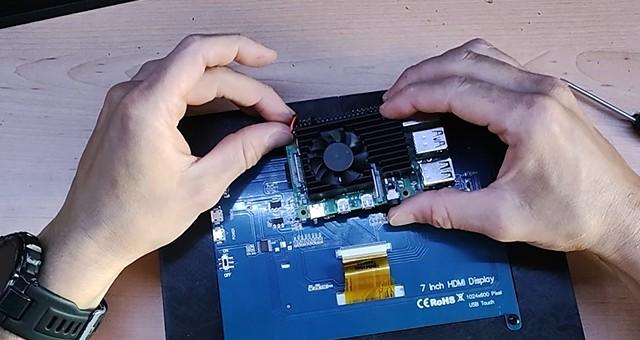
Once the screen is fixed, we will place the raspberry with the 3d support on the top of the screen with the help of some screws.
We will take the opportunity to place the USB cables and the HDMI adapter
Neodymium Magnets to Fix Solar Panel
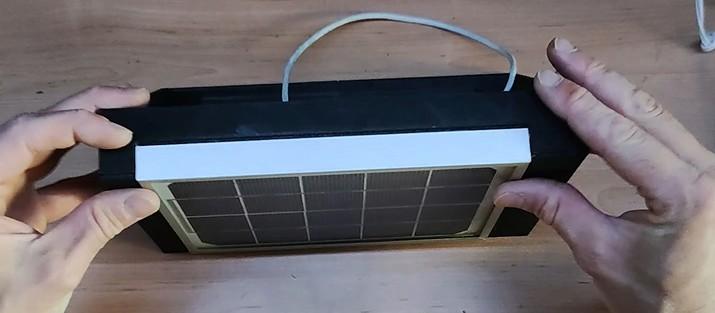
With the help of a soldering iron, we will place the 4 neodynium magnets in the 4 rear corners of the case. These will help us to fix the solar panel and be able to remove it easily.
Then we will place some small plates on the solar panel so that it adheres well to the magnets.
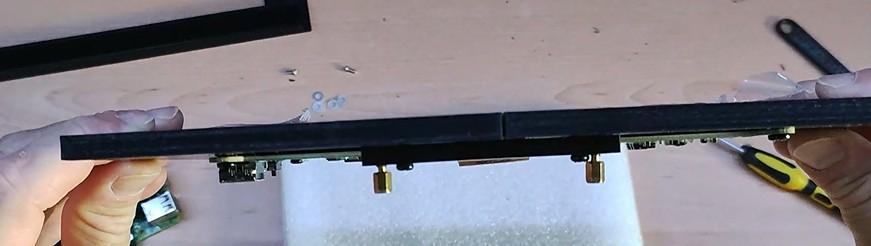
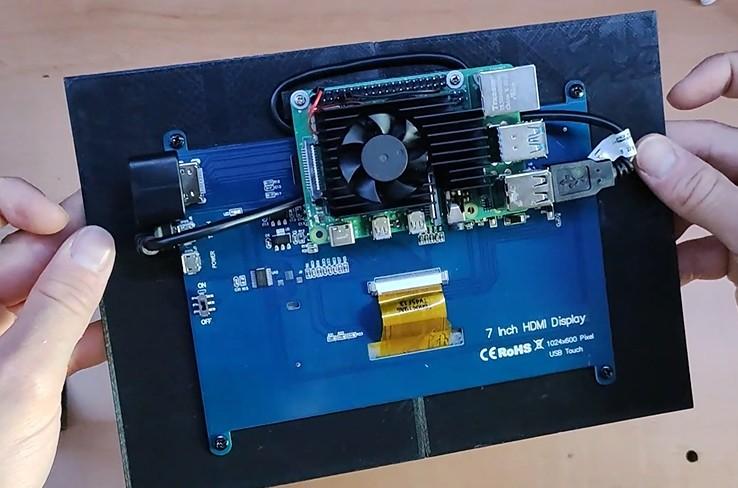
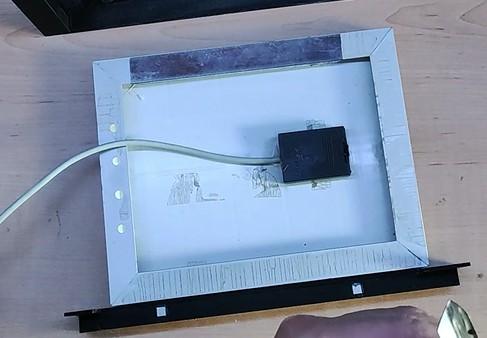
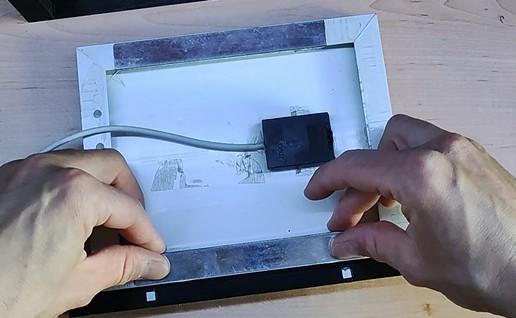
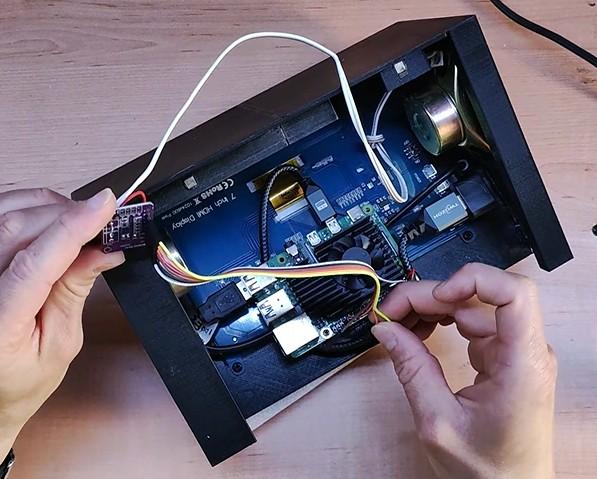
Join the Touchscreen and the Case
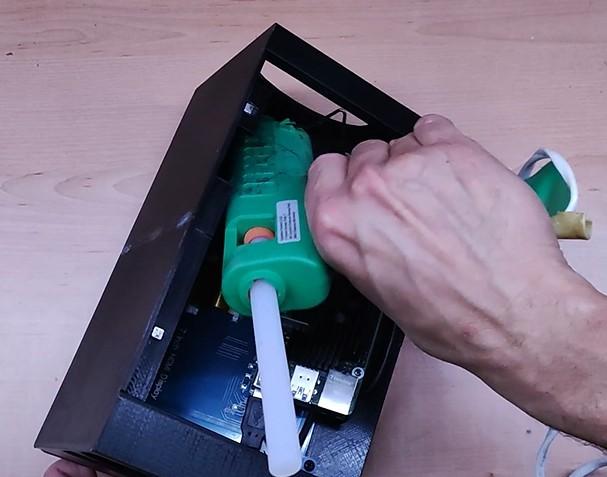
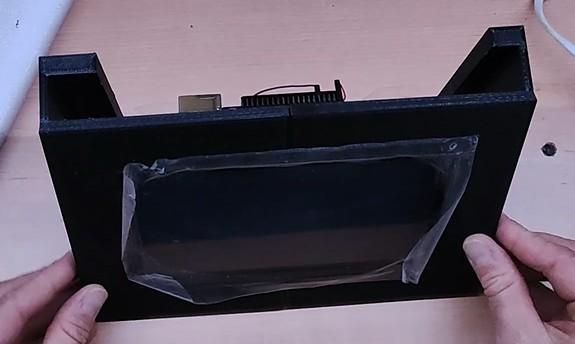
We will glue the screen to the case with impact glue and hot glue.
We will finish making the connections with the HDMI
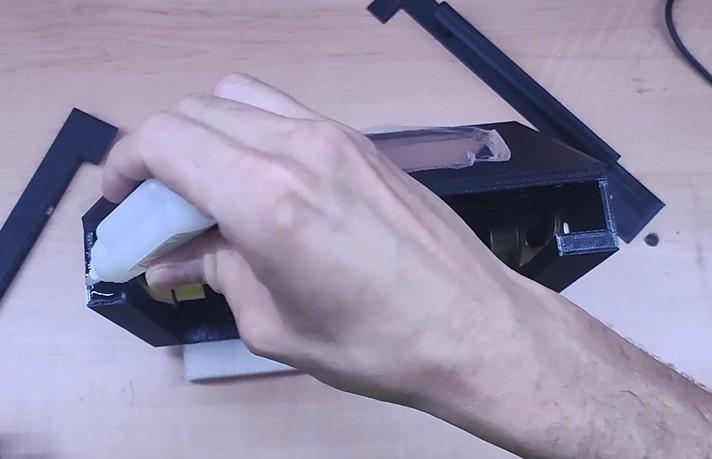
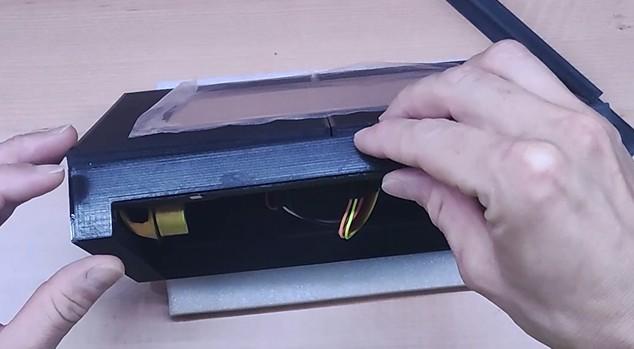
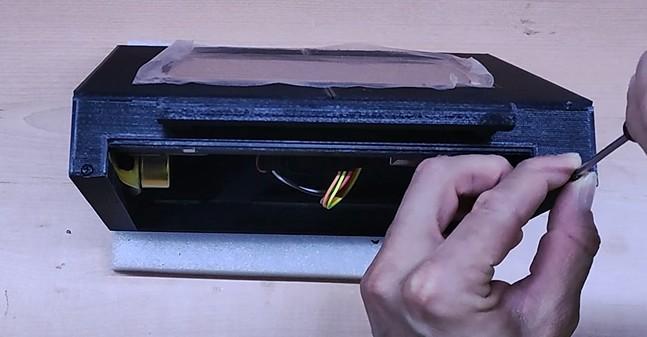
Adding Speakers
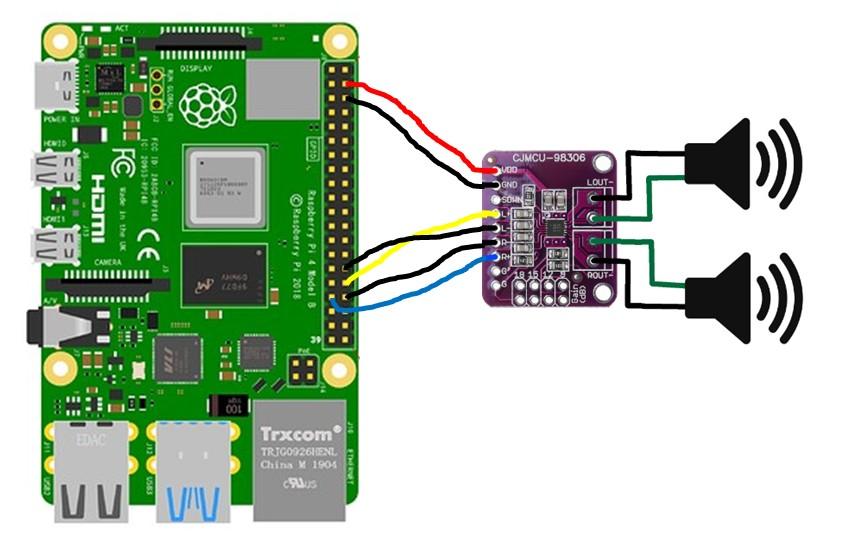
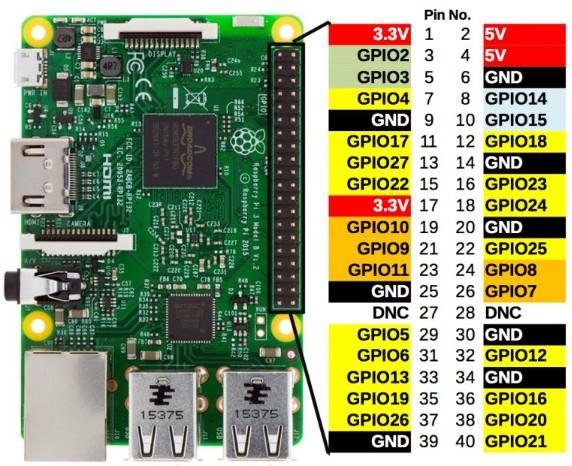
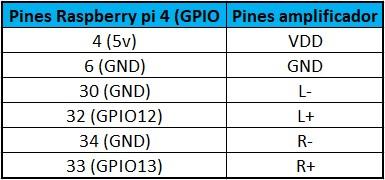
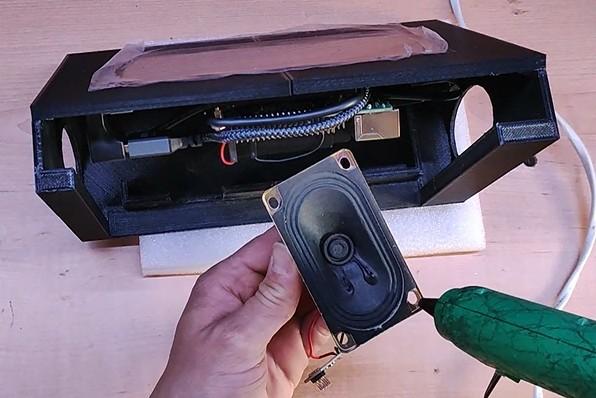
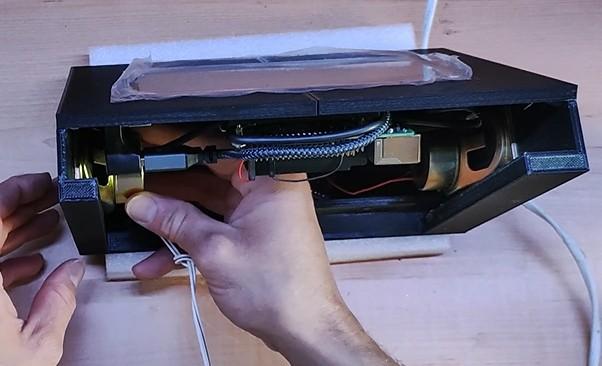
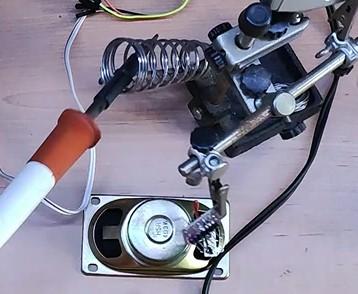
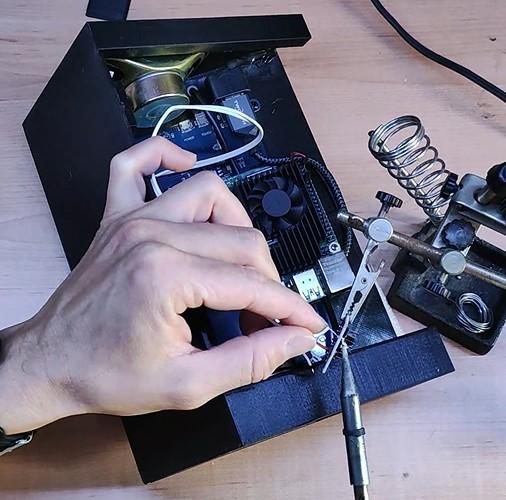
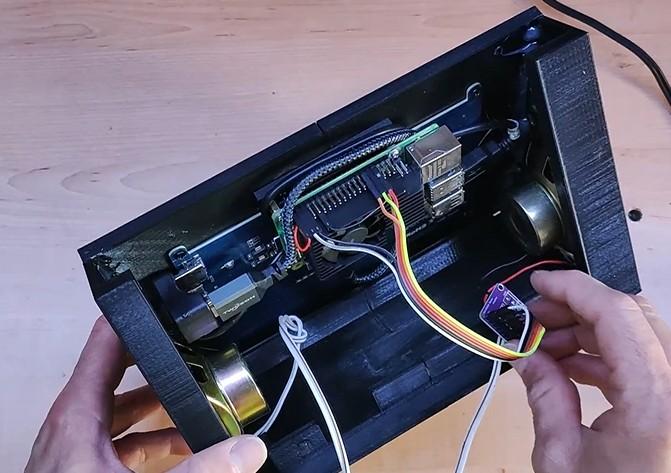
The speakers are fixed in the case by hot glue. Look the schema for attached the connections between speakers to stereo amplifier and this for the GPIO pins from the Raspberry. Then hide the cables and the amplifier through the holes in the case so that it is well organized.
In order for the speakers to play sound through the GPIO pins of the Raspberry, you will have to edit the config.txt file. I have used the Raspberry pi OS for this project and I have also tested it with Retropie and the configuration is similar for both. I don't know if there is another way to do this on other systems, but this is what has worked for me.
Connect the powerbank to raspberry and start it.
We will have to open a terminal inside raspberry pi OS and write:
sudo nano /boot/config.txt
Once inside the file, you have to go to the end of it and add:
dtoverlay=audremap,pin_12_13
We will save this change with control + o.
Now we will exit this file, we will go to the speaker, placing it in the upper right part of the screen and with the right button of the mouse, we will select that the audio output is through the AV jack port.
If everything went well, you should now hear the sound through the speakers.
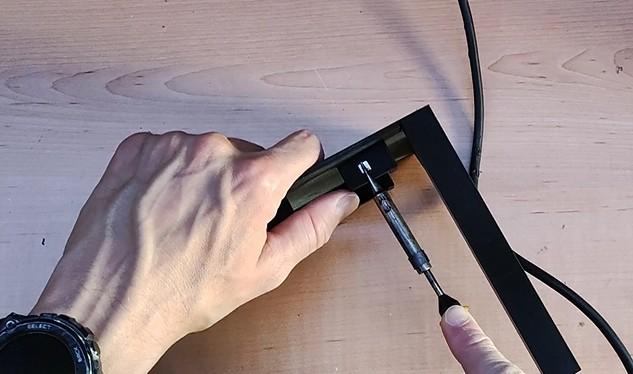
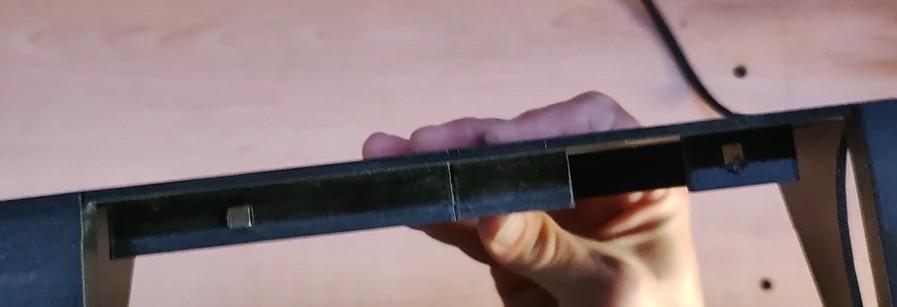
Finishing the Job
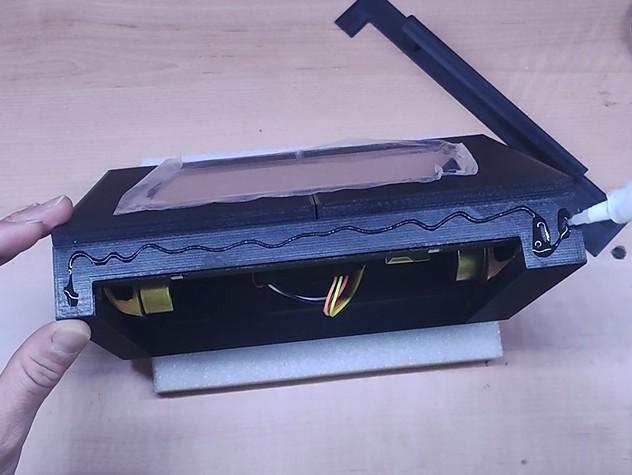
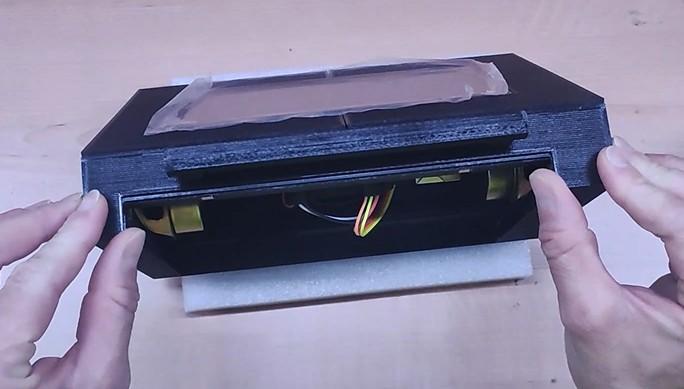
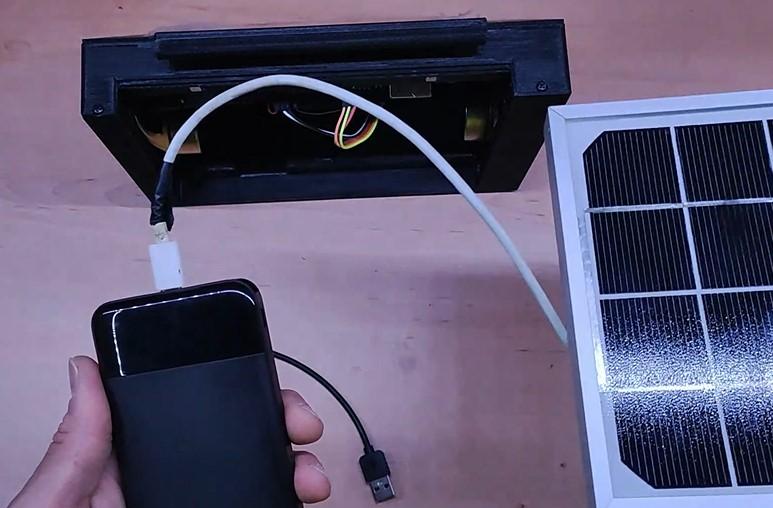
Finally, glue the upper support on the case fix it with two screws and connect solar panel to powerbank.
Enjoy It
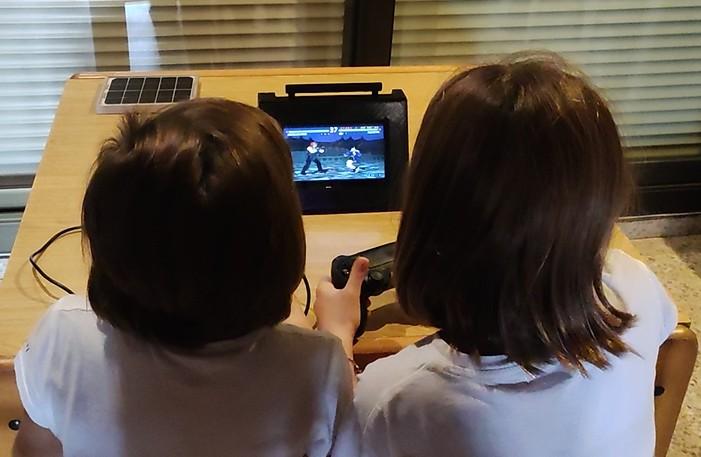
I hope that you enjoy it!
You can see this project in Spanish here