Solar Class: Balloon

Class table of contents:
- Solar Balloon (you are here)
- Solar Engraving
- Solar Panels
- Solar USB Charger
- Solar Powering Microcontrollers
Let's make a solar balloon that floats with the power of hot air! This is the perfect backyard activity for a sunny day. A few common trash bags taped together can become a science experiment and entertaining way to spend an afternoon.
The black color of the bags absorbs the sun's energy, heating up the air inside. The color of an object correlates with the wavelengths of light it absorbs and reflects. Black absorbs the most wavelengths, while white absorbs the fewest. Red absorbs all but the red wavelengths, and so forth for other colors. Black is the most efficient color for converting light energy into heat energy, which is then transferred to the air inside the closed balloon. The hot air is less dense than the surrounding air, causing the balloon to float up, supporting its own weight.

This same physics powers hot air that balloons you can ride in. It's the principle of buoyancy— once the air inside heats up and expands, our balloon weighs less than the air it displaces because it is less dense. This project demonstrates how solar radiation can be used to create heat, and a fun day outside.
What You'll Need

All you need are some black trash bags, cellophane packing tape, scissors, and a piece of string. Look for trash bags that are .3 mil to 1 mil in thickness— the thinner, the better. Likewise, thinner tape is best to reduce the overall mass of the balloon.
It's best to pick a sunny day with calm wind conditions for this project. It can be particularly frustrating to try to build the balloon when it's windy, so consider assembly indoors if it's breezy.
Trim Bags

Leave one trash bag with the bottom seam intact, then cut off both the seam and the flaps (if any) on two more bags. On the last bag I cut off the seam, but not the flaps, since they'll be at the opening of the balloon (however flaps are not required).

Tape Together


Open up and overlap the trash bags together by about an inch, then tape around each seam.
 Make sure you don't have any gaps or holes.
Inflate Your Balloon

Run around to fill your new balloon with air.

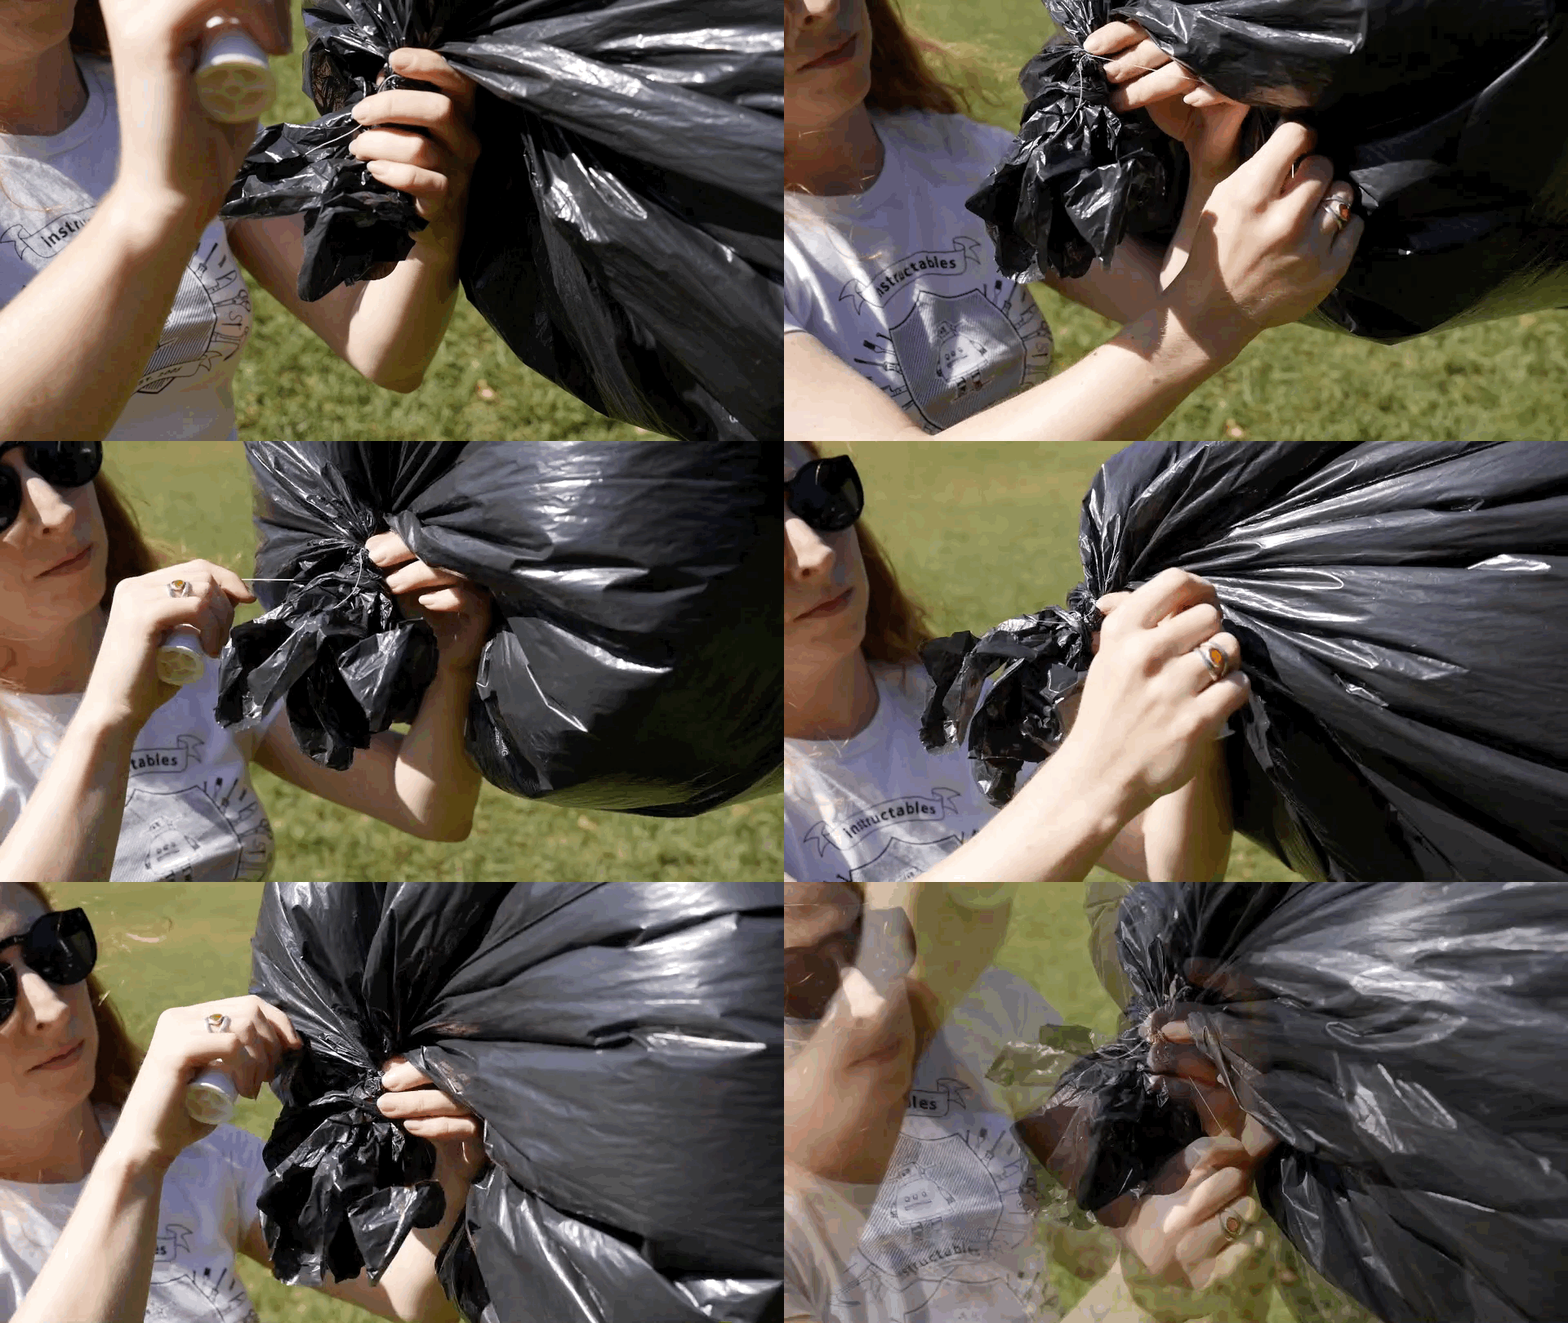
Gather up and tie off the open end of the balloon, topping it off with air from your lungs (if you're up to it) or a hair dryer (optional).

Tie a knot in the gathered end to close up the balloon.
Tether & Enjoy!

Tether your balloon with some string and put it out in the sun, where it should heat up and start to float. The heat generated inside the balloon decreases the air density, which creates lift. This is the same reason objects float in water, and is described by Archimedes' principle. Since the balloon heats up slowly, the increasing upthrust from the slowly changing pressure inside can be observed in the time it takes to explain the science behind it.

It's very important not to let the balloon go. Not only is it bad for the environment, but it could be deadly if it gets into an airplane's engine.

When you're ready to deflate it, be careful because the surface will be hot. Cut a hole and start to squeeze out the air.
Share a photo of your solar balloon in the Class Project section below, and get ready to tackle another backyard solar project in the next lesson!
Class table of contents: