Electronic Social Distancing Emoti-Mask
by aiftiqhar in Circuits > Wearables
1530 Views, 5 Favorites, 0 Comments
Electronic Social Distancing Emoti-Mask

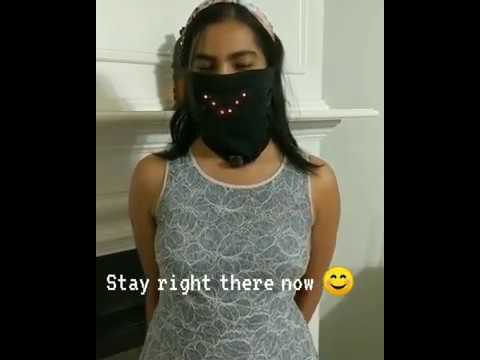
Wear a mask, but don't mask your emotions!
This easy DIY mask measures the distance of the person across from you, using an ultrasonic sensor, and changes the LED pattern ("emotion") on the mask accordingly.
- If someone is well beyond 6 ft away from you, it displays a grin :D
- If someone is right at the threshold of social-distancing (at 6ft), it displays a smile :)
- If someone just broke the safe social distancing threshold of 6 ft, it displays a straight face :|
- If someone gets closer than 5ft, breaking social-distancing, it displays a frown :(
-
If someone gets closer than 3ft, being just straight-up annoying, it displays a shocked face :O
Supplies
Electronics
FLORA - Wearable electronic platform - Arduino-compatible
Digital Multi-Meter (optional), to check connections
Assembly Option-1(The No-stitching method)
Silicone Cover Stranded-Core Wire (any wire will work, I like the silicone wire for it's flexibility)
Soldering Iron and solder (can be purchased online or at a hardware store)
Hot glue iron and hot glue sticks (can be purchased online or at any craft store)
Assembly Option-2 (The stitching method)
STAINLESS MEDIUM CONDUCTIVE THREAD
Regular Non-Conductive Thread
Sewing Needle
Clear nail-polish (optional, but recommended)
Powering Options (either one of the following options work):
Micro USB cable (that can be plugged into a USB power bank)
Battery or Battery pack with JST PH connector
Get a Mask

- Use a cloth mask that you already have
- Or make a mask (you can follow this easy no-stitch tutorial to convert an old t-shirt into a mask
Place the Neopixels (LEDs)
- Wear your mask and mark the general area of your mouth, so the neopixel grid aligns with your mouth. (about 2 inches from the top of your mask towards the center is a good estimate)
- Orient the neopixels like the grid shown in the image. Make sure that the plus sign, minus sign and arrows match the first picture.
- Now flip the neopixels so the LED side is touching the cloth mask and the bare PCB side is facing you. As shown in the second picture. Again, make sure the markings match the picture!
Connect the Neopixels
- Secure the neopixels in place. You can either apply hot glue on corners of the neopixels (do not place hot glue on the pads). Or use regular non-conductive thread at corners of the neopixels to secure them in place.
- Now that the neopixels are secure in a grid, make the electrical connections as shown in the pictures.
- If you are soldering the connections, you can connect adjacent pads with excess solder, without the need of wires. You will still need to solder some wires to connect non-adjacent pads (Note: The hot glue tends to melt while you are soldering and the neopixels can move out of their positions. Be mindful of this and let the glue cool down before you move to solder the next neopixel)
- If you are stitching the neopixels, use this for reference on how to stitch with conductive thread.
Place the FLORA Board

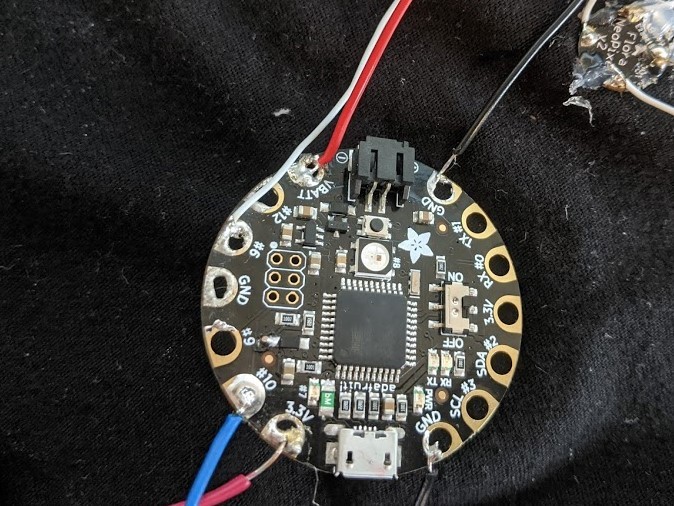
- Place the FLORA board close to the neopixel array as shown in the picture. You can either hot glue the board in place or use regular non-conductive thread to stitch the board in place (use pads #7 and #9 for stitching)
Connect Neopixel Array to Flora Board
- Make the connections as shown in the figure. Make sure that pad #6 on the flora board is connected to DATA_IN pad (arrow pointing inwards) on the first neopixel.
(Note: If you are stitching, make sure that the wires/connections do not cross-over and cause short-circuit)
Connect the UltraSonic Sensor


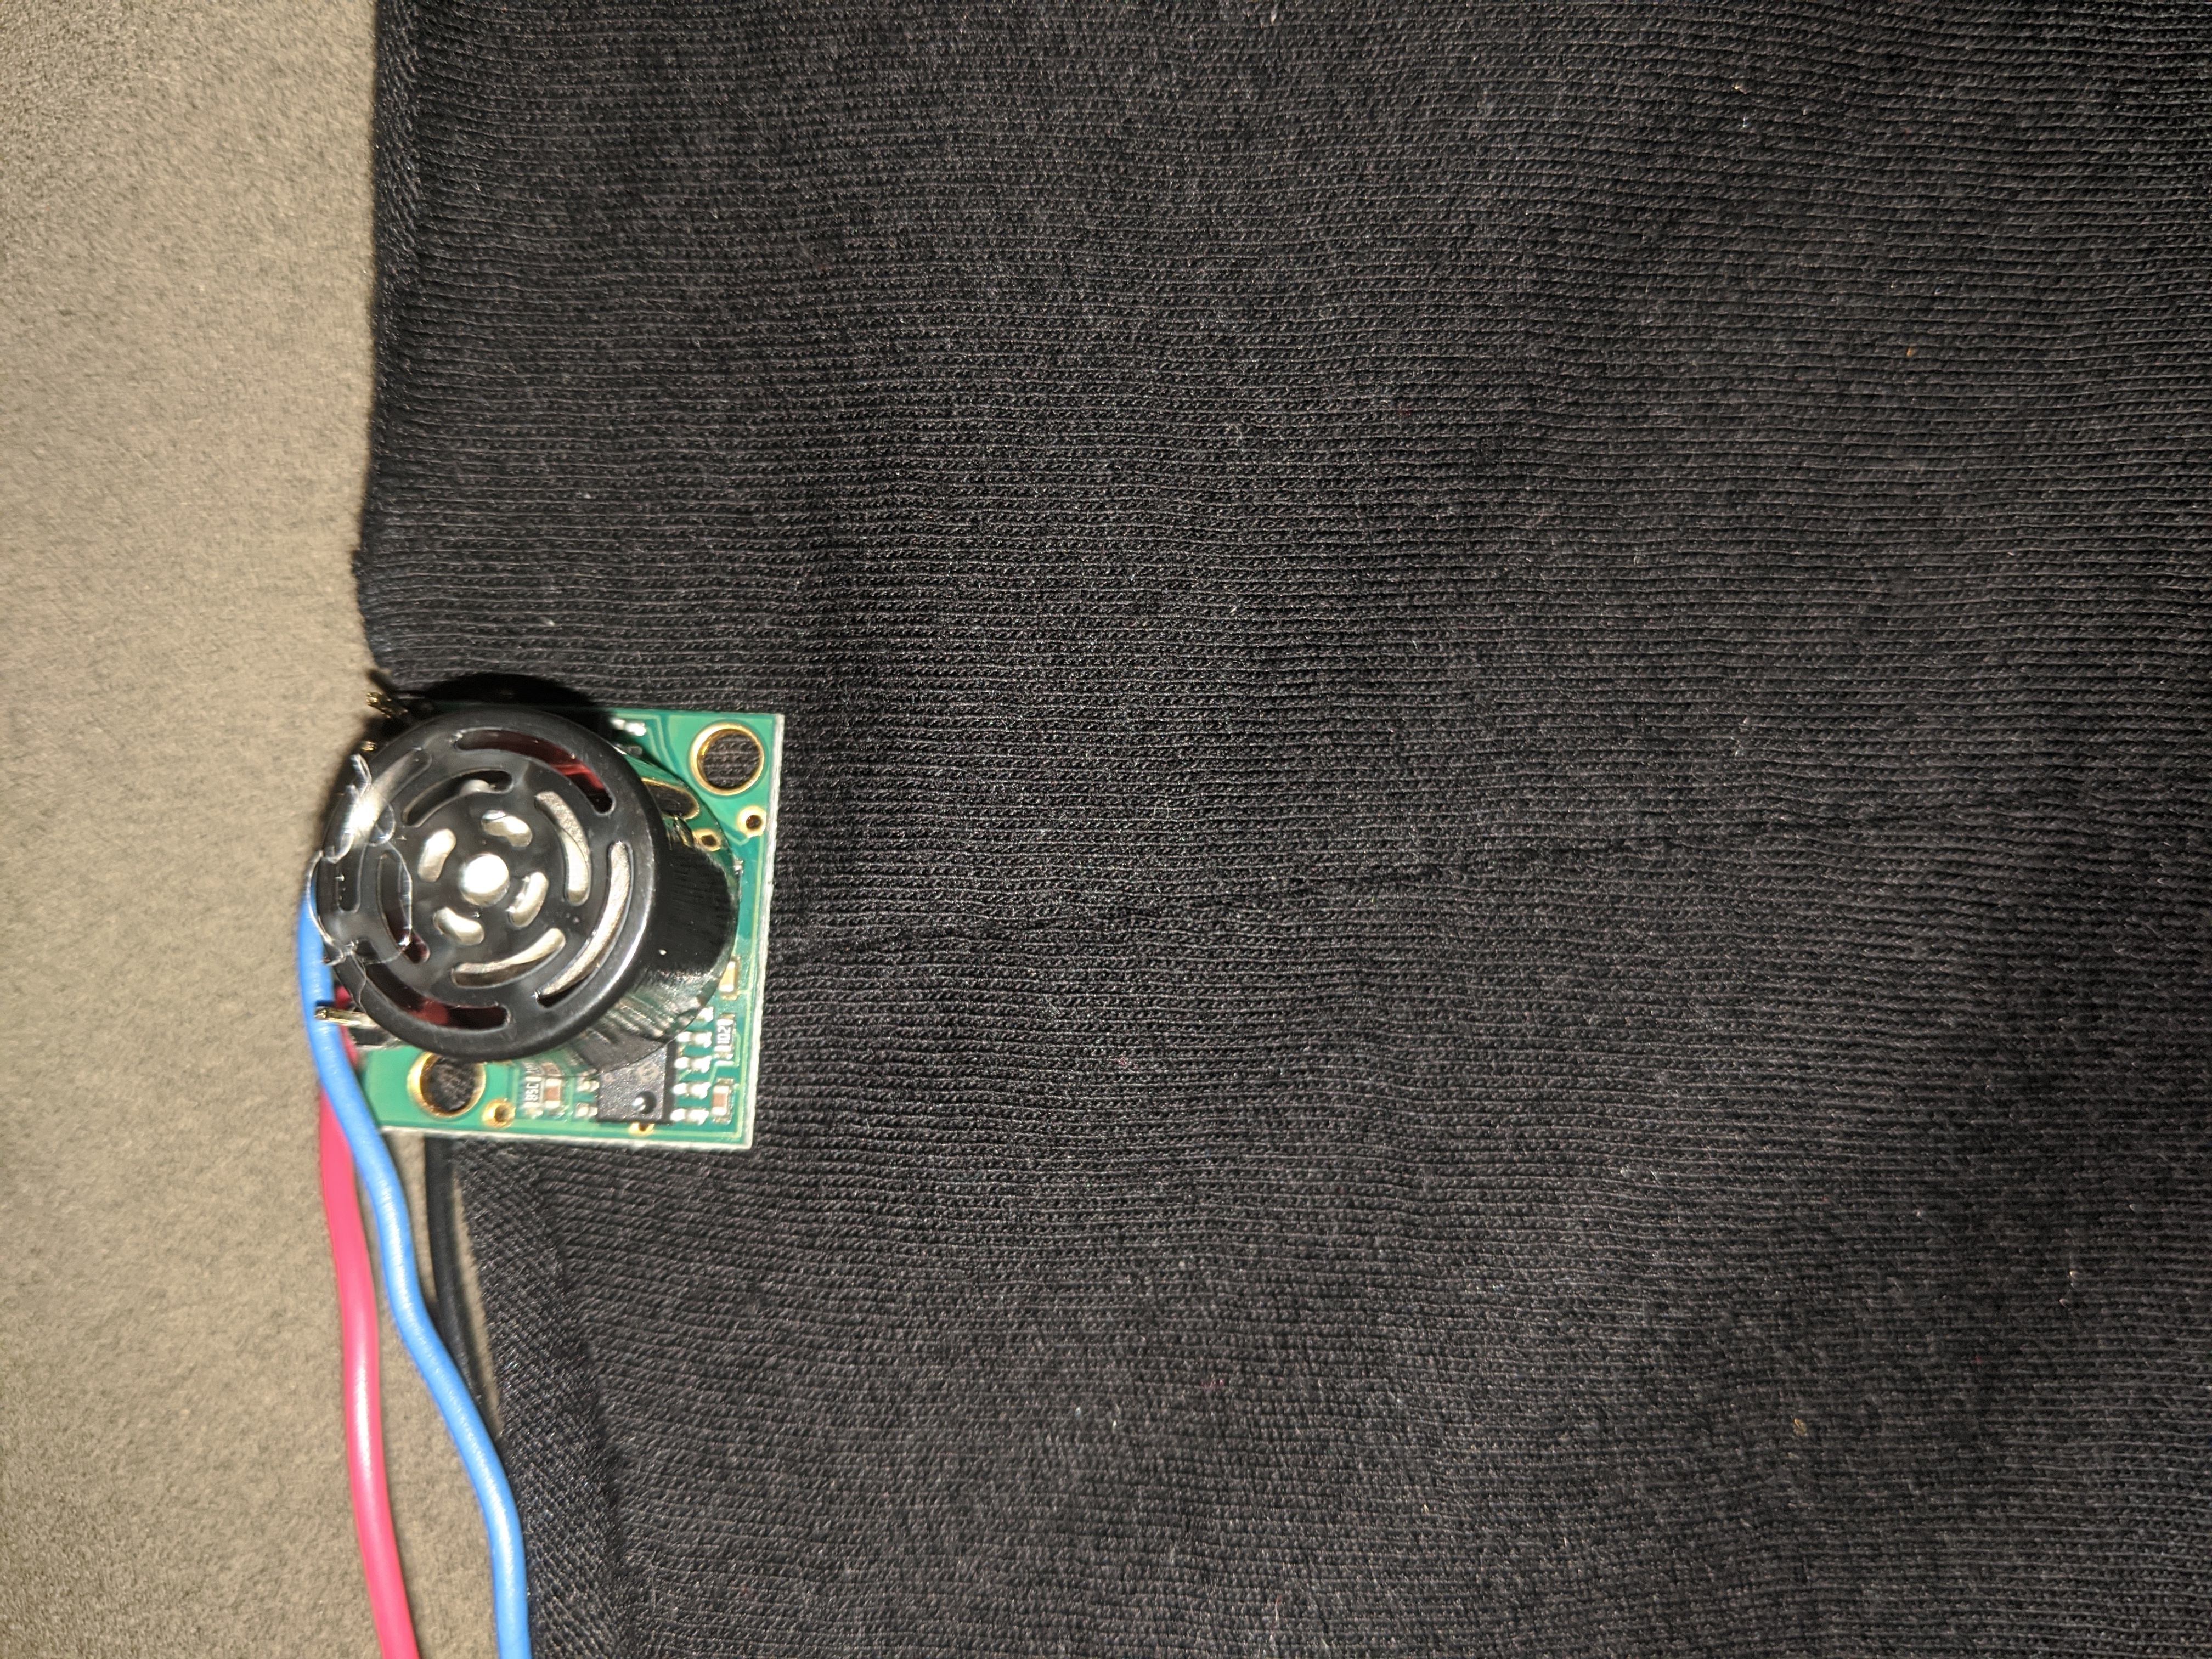
- Place the ultra-sonic sensor on the front side of the mask (the side that doesn't touch your face). Place it at the bottom of the mask, at the center. Secure it in place (with hot glue or regular non-conductive thread).
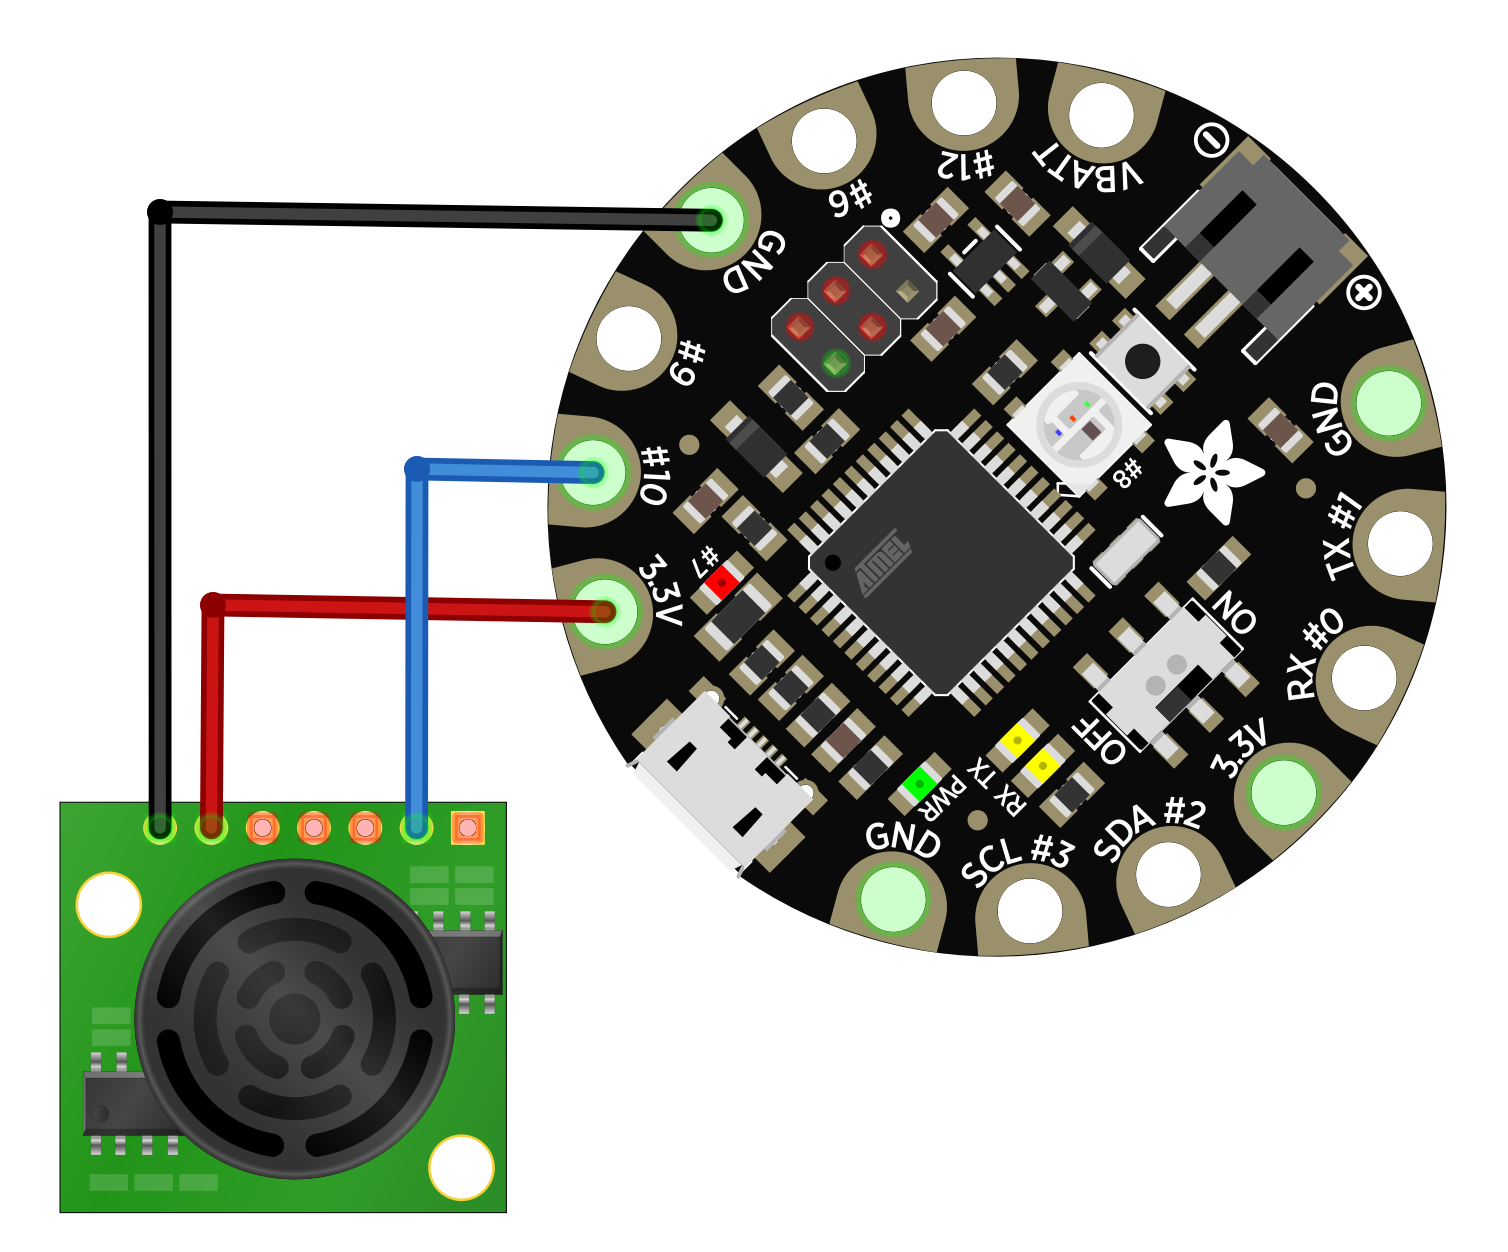
- Make the connections to the flora board as shown in the figure using wires or conductive thread.
Check Your Connections (optional Step, But Highly Recommended)
- Make sure that all your connections are correct and secure.
- Check continuity of your connections using a Digital Multimeter (rotate the dial of your DMM to the point that looks like a sound wave). Check that all the point that need to be connected on the circuit are actually connected and that there are no shorts between any connections that are not meant to be connected (especially VBATT, GND and 3.3V pads)
Setup Software
- Download the Arduino IDE from here
- Download the Neopixel Library here
Uncompress the ZIP file after it’s finished downloading
Rename the folder (containing the .cpp and .h files) to Adafruit_NeoPixel, and place it alongside your other Arduino libraries, typically in your (home folder)/Documents/Arduino/Libraries folder.
Alternatively you can dowload the library through the IDE From the Sketch menu, > Include Library > Manage Libraries... In the text input box type in "NeoPixel". Look for "Adafruit NeoPixel by Adafruit" and select the latest version by clicking on the popup menu next to the Install button. Then click on the Install button. After it's installed, you can click the "close" button.
Download the Code for This Project
- Download this code
Downloads
Program the FLORA Board
- Connect the FLORA board to your computer using a USB-A to micro-USB cable
- From the Tools menu, under "Board," choose "Adafruit Flora"
- Check the COM port that the board is connected to on your computer's device manager
- From the Tools menu, make sure that the same COM port is selected
- Now press the Upload button on the IDE and verify that the hardware works
Final Touches
- Decide on how you want to power your setup.
- You can use a USB cable with a USB power-bank or use a battery with JST PH connector (Never connect both at once!)
- If you use a battery, you can stitch or make a little pocket/holder for your battery with hot-glue on the mask with extra fabric
- Cover up all the electronics with extra fabric so it doesn't touch your face. (it won't shock you, but it can be a little pricky) You can always wear another mask under this mask as an alternate option.
Your social-distancing emoti-mask is now ready! Step outside, if you have to, and stay 6 ft away! :)