Social Distance Detector
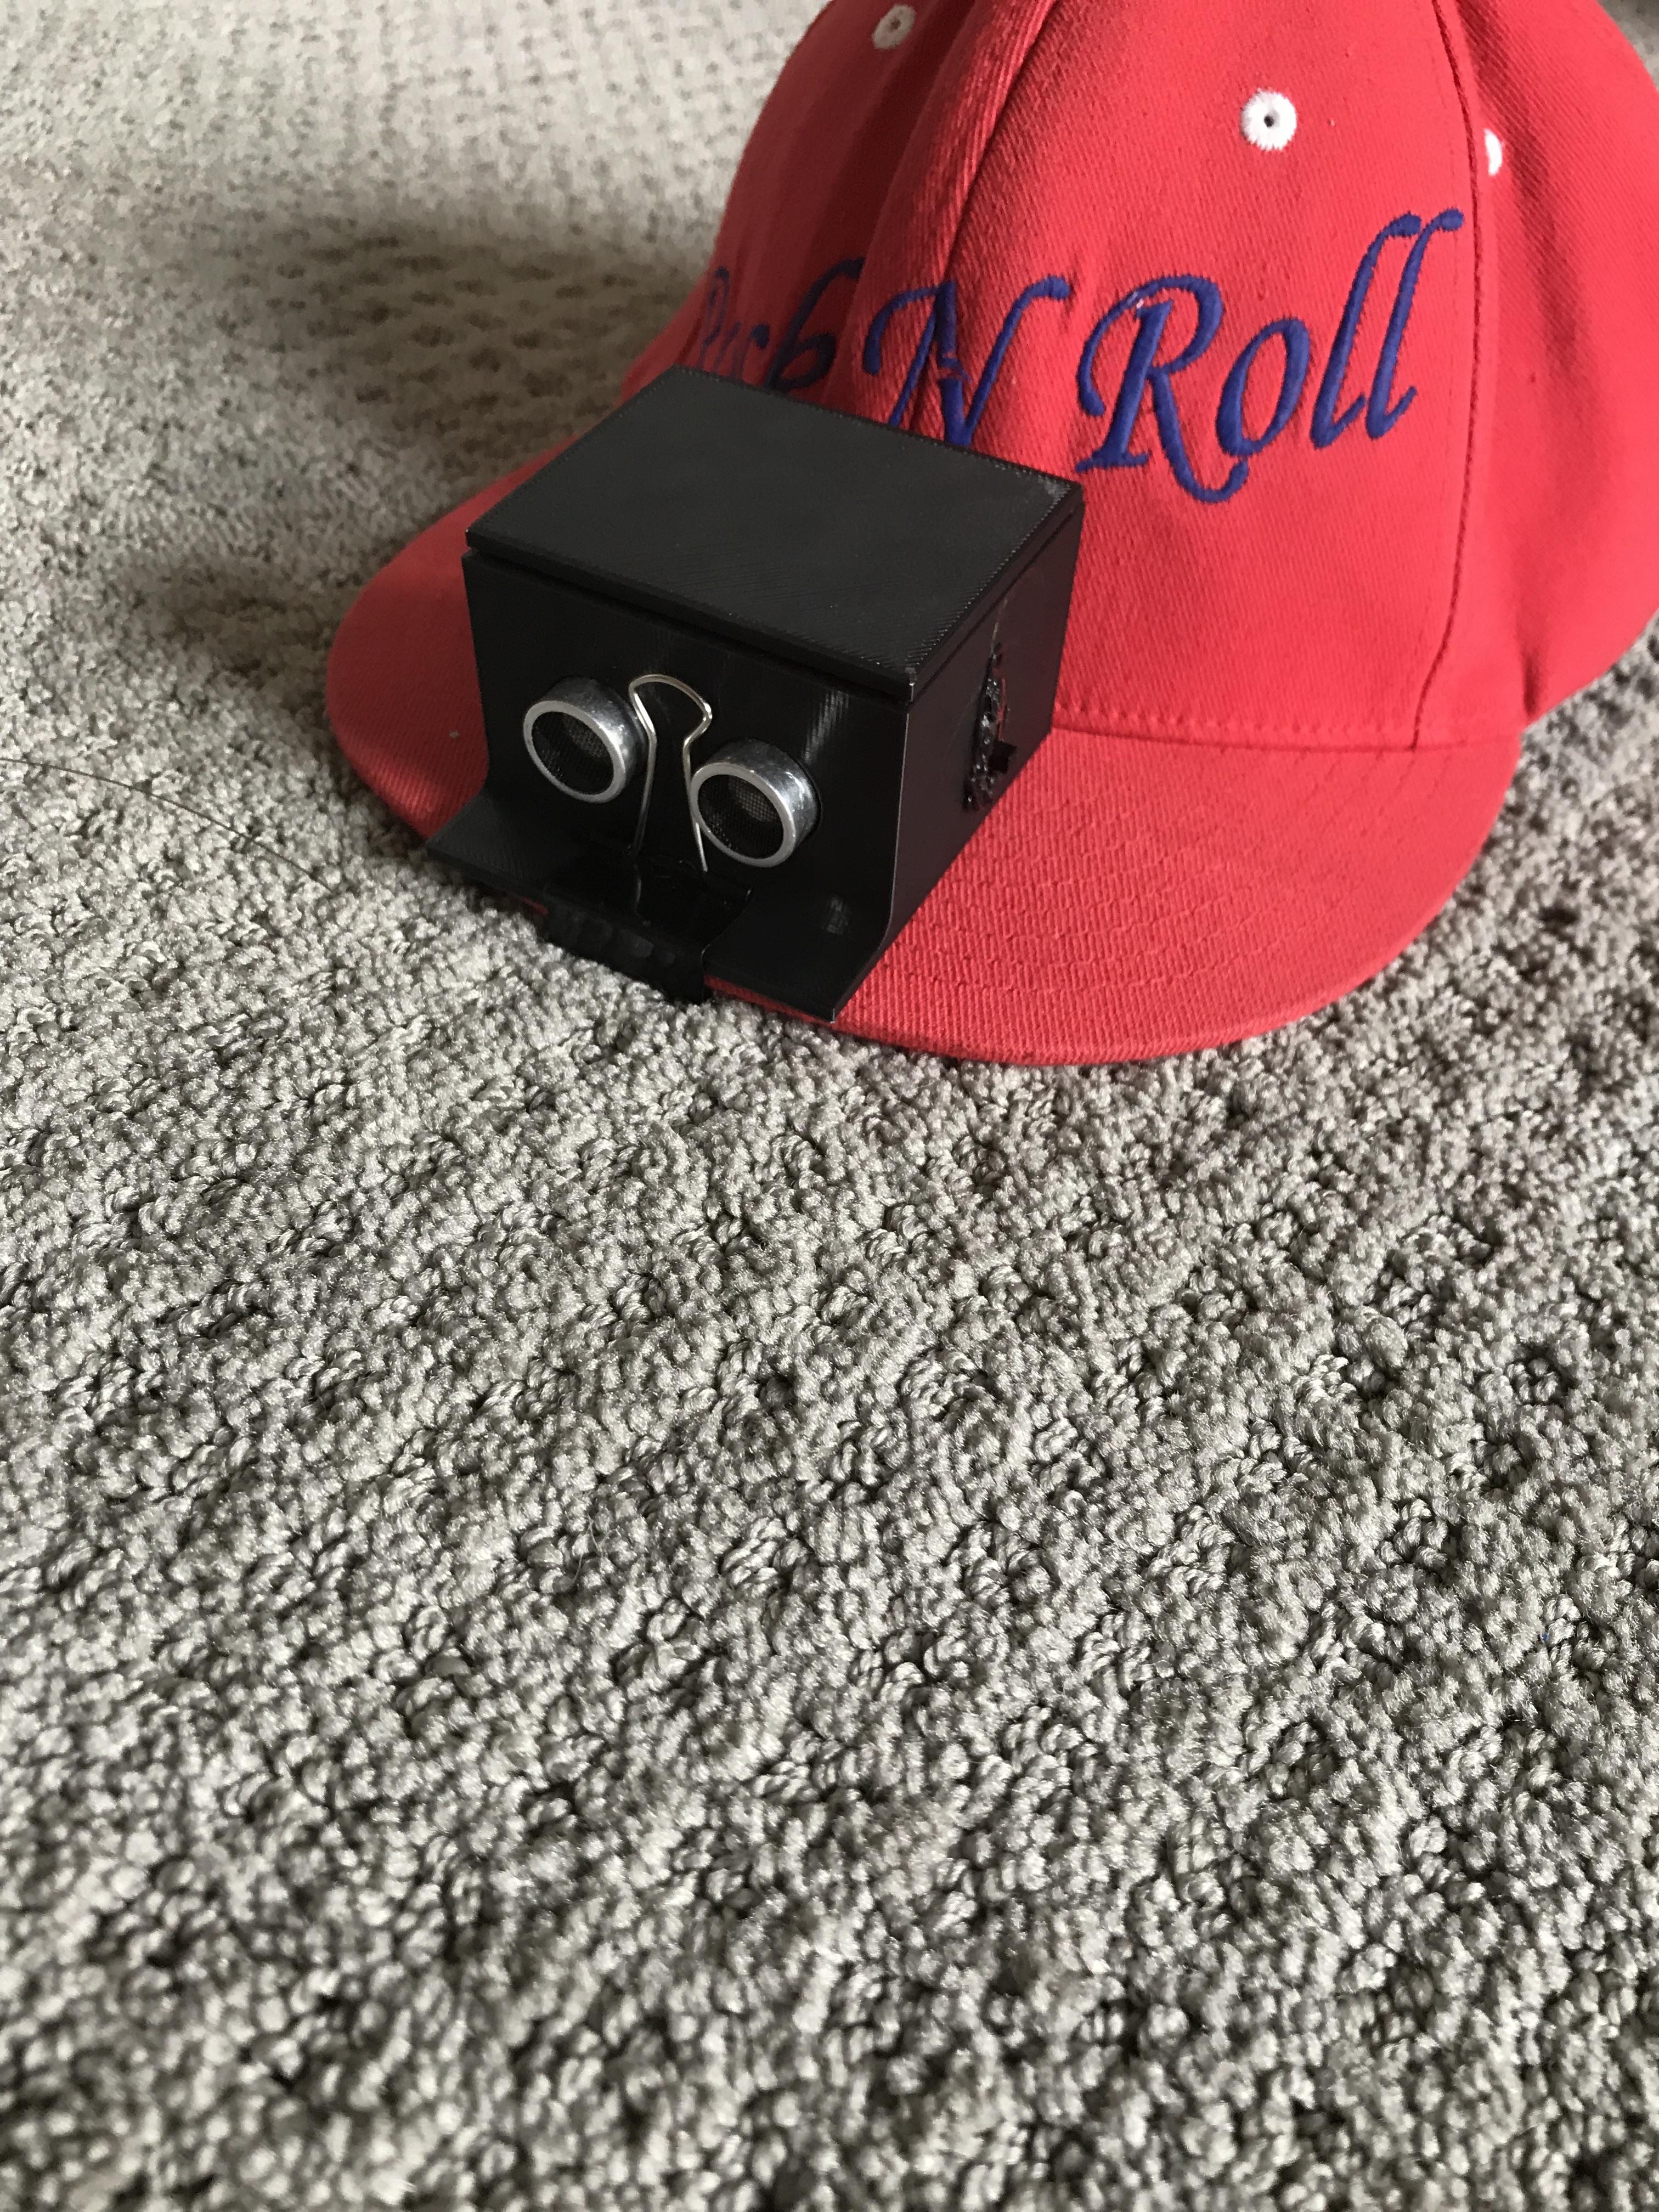
Social Distance Detector:
I am Owen O from Denver Colorado and I will be in 7th grade this year. My project is called the Social Distance Detector! The perfect device for keeping safe during these difficult times. The Social Distance Detector's purpose is to give a gentle yet obvious reminder if you are not social distancing. This project is great if you are having some friends over or you tend to get a little close sometimes. The Social Distance Detector has two styles, one will clip onto your hat and the other hangs from a lanyard around your neck. The Social Distance Detector will simply beep if you are too close to someone or they are too close to you. Please have fun with this project and stay safe.
Get Materials
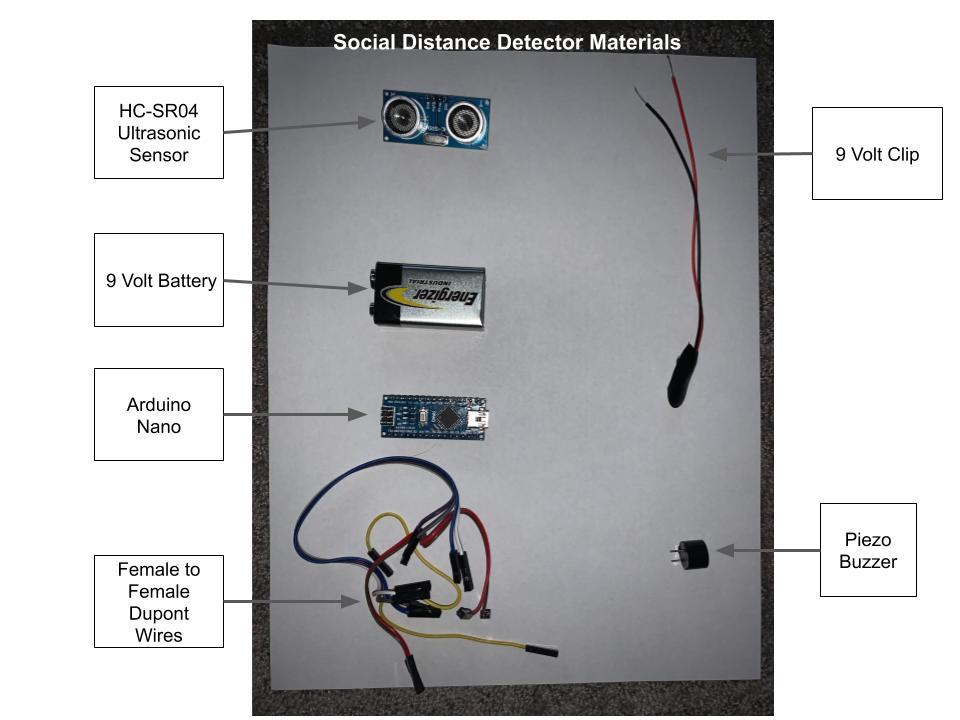
The materials include:
3D printer (housing can be made or ordered)
Hot glue gun or 3d pen
HC-SR04 Ultrasonic Sensor: https://www.amazon.com/Organizer-Ultrasonic-Distan...
Arduino Nano: https://www.amazon.com/Arduino-A000005-ARDUINO-Nan...
9v Battery: https://www.amazon.com/gp/slredirect/picassoRedire...
Piezo Buzzer: https://www.amazon.com/Cylewet-Electronic-Magnetic...
Dupont Wires: https://www.amazon.com/dp/B077N643L7/ref=twister_B...
Switch: https://www.amazon.com/Qiying-Miniature-SS-12F16-P...
(There are many options/substitutes for all of these materials)
Upload the Code
Open the file below in the Arduino IDE and upload it to your nano. Below are instructions on how to upload your code:
(all of these steps can be found in the Arduino IDE Tools menu (other than the uploading))
* open the Arduino IDE
* plug your nano into your computer
* select the port to which your Arduino nano is connected
* make sure that the selected board is nano
* make sure that you have selected the correct processor for your nano
*click the sideways (right pointing) arrow in the top menu to upload the code
Downloads
3D Print Enclosure
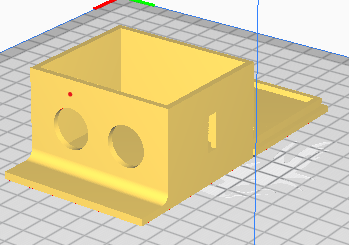
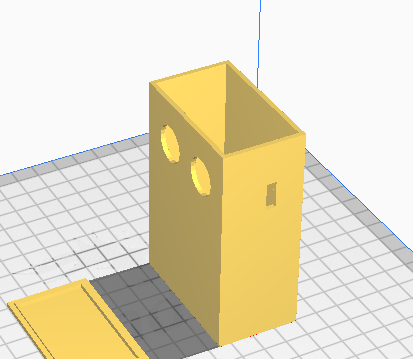
3D print your enclosure: this step is pretty self-explanatory, the only important thing to know for this step is that you may need to experiment a little with the hole for the switch because it is not fit to any particular type of switch. I also wanted to let you know that I designed a lanyard version that you can just glue string on. If you decide to use the lanyard, the design steps will be the same except for 3d printing it.
(I used the Crealty Ender 3Ppro to print)
Connect Switch and 9v Clip
- Start by connecting the positive (red) of the 9v clip to any wire on the switch. Connect another wire (female to female dupont) to another switch wire.
- After you have connected the wires you can secure them in place with hot glue or 3d pen to keep them in place.
- I would recommend doing hot glue or 3d pen after you've assembled the device, to be sure you have everything working before making it permanent.
Connect Switch and HC-SR04 to Nano
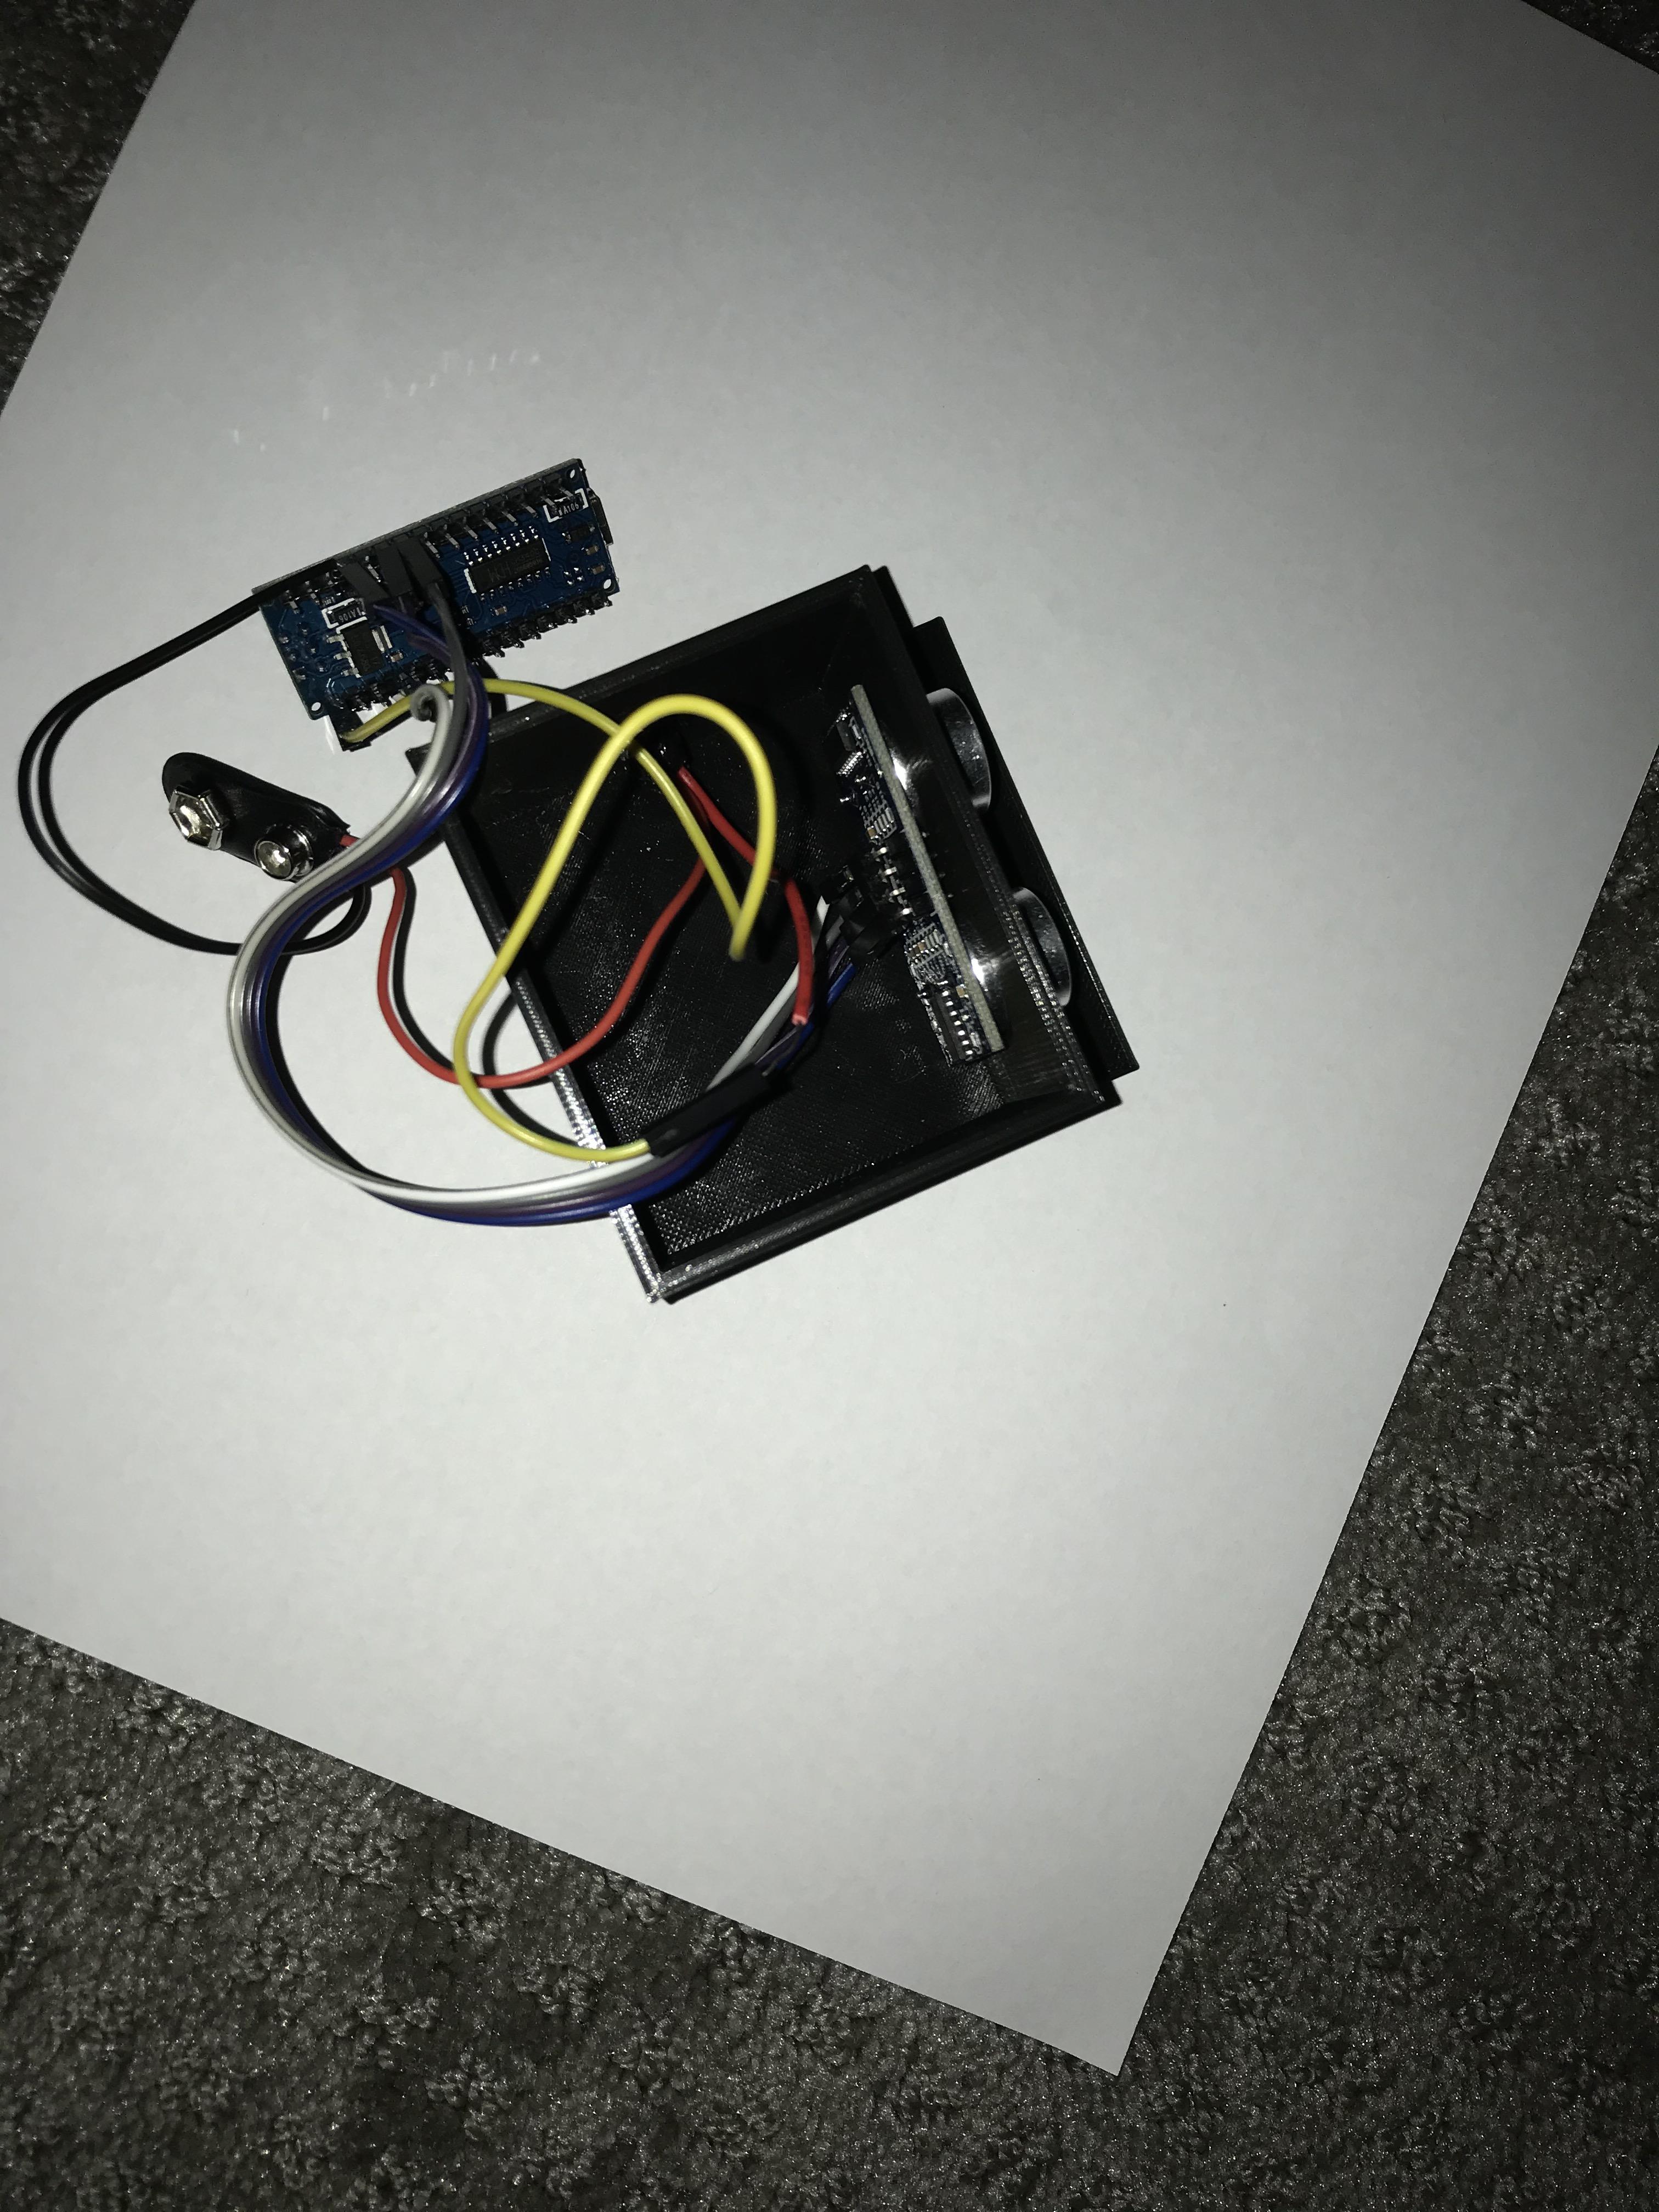
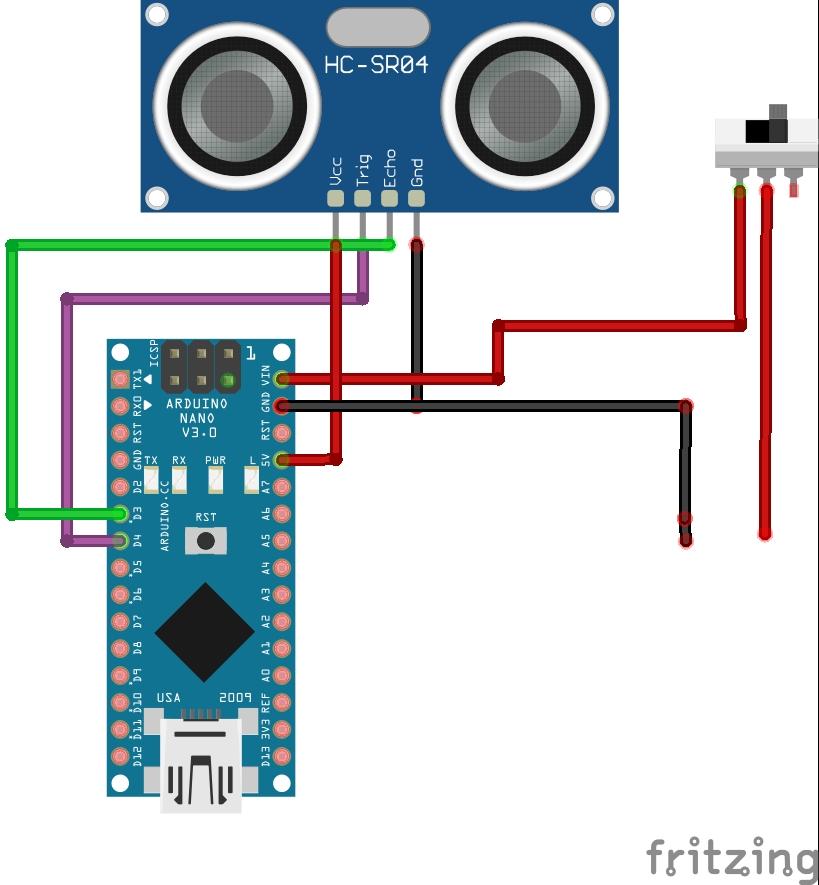
Connecting first components: It does not matter if you put this assembly in the enclosure now or later, just connect the wires as shown in the diagram. The wires without connection will be used later.
- Note the black split wire in the diagram. Plug the 9v battery negative (typically black) into the wire coming from the HC-SR04, then plug into the ground of the Nano to avoid having to split the wire.
Connect Buzzer and 9v Battery
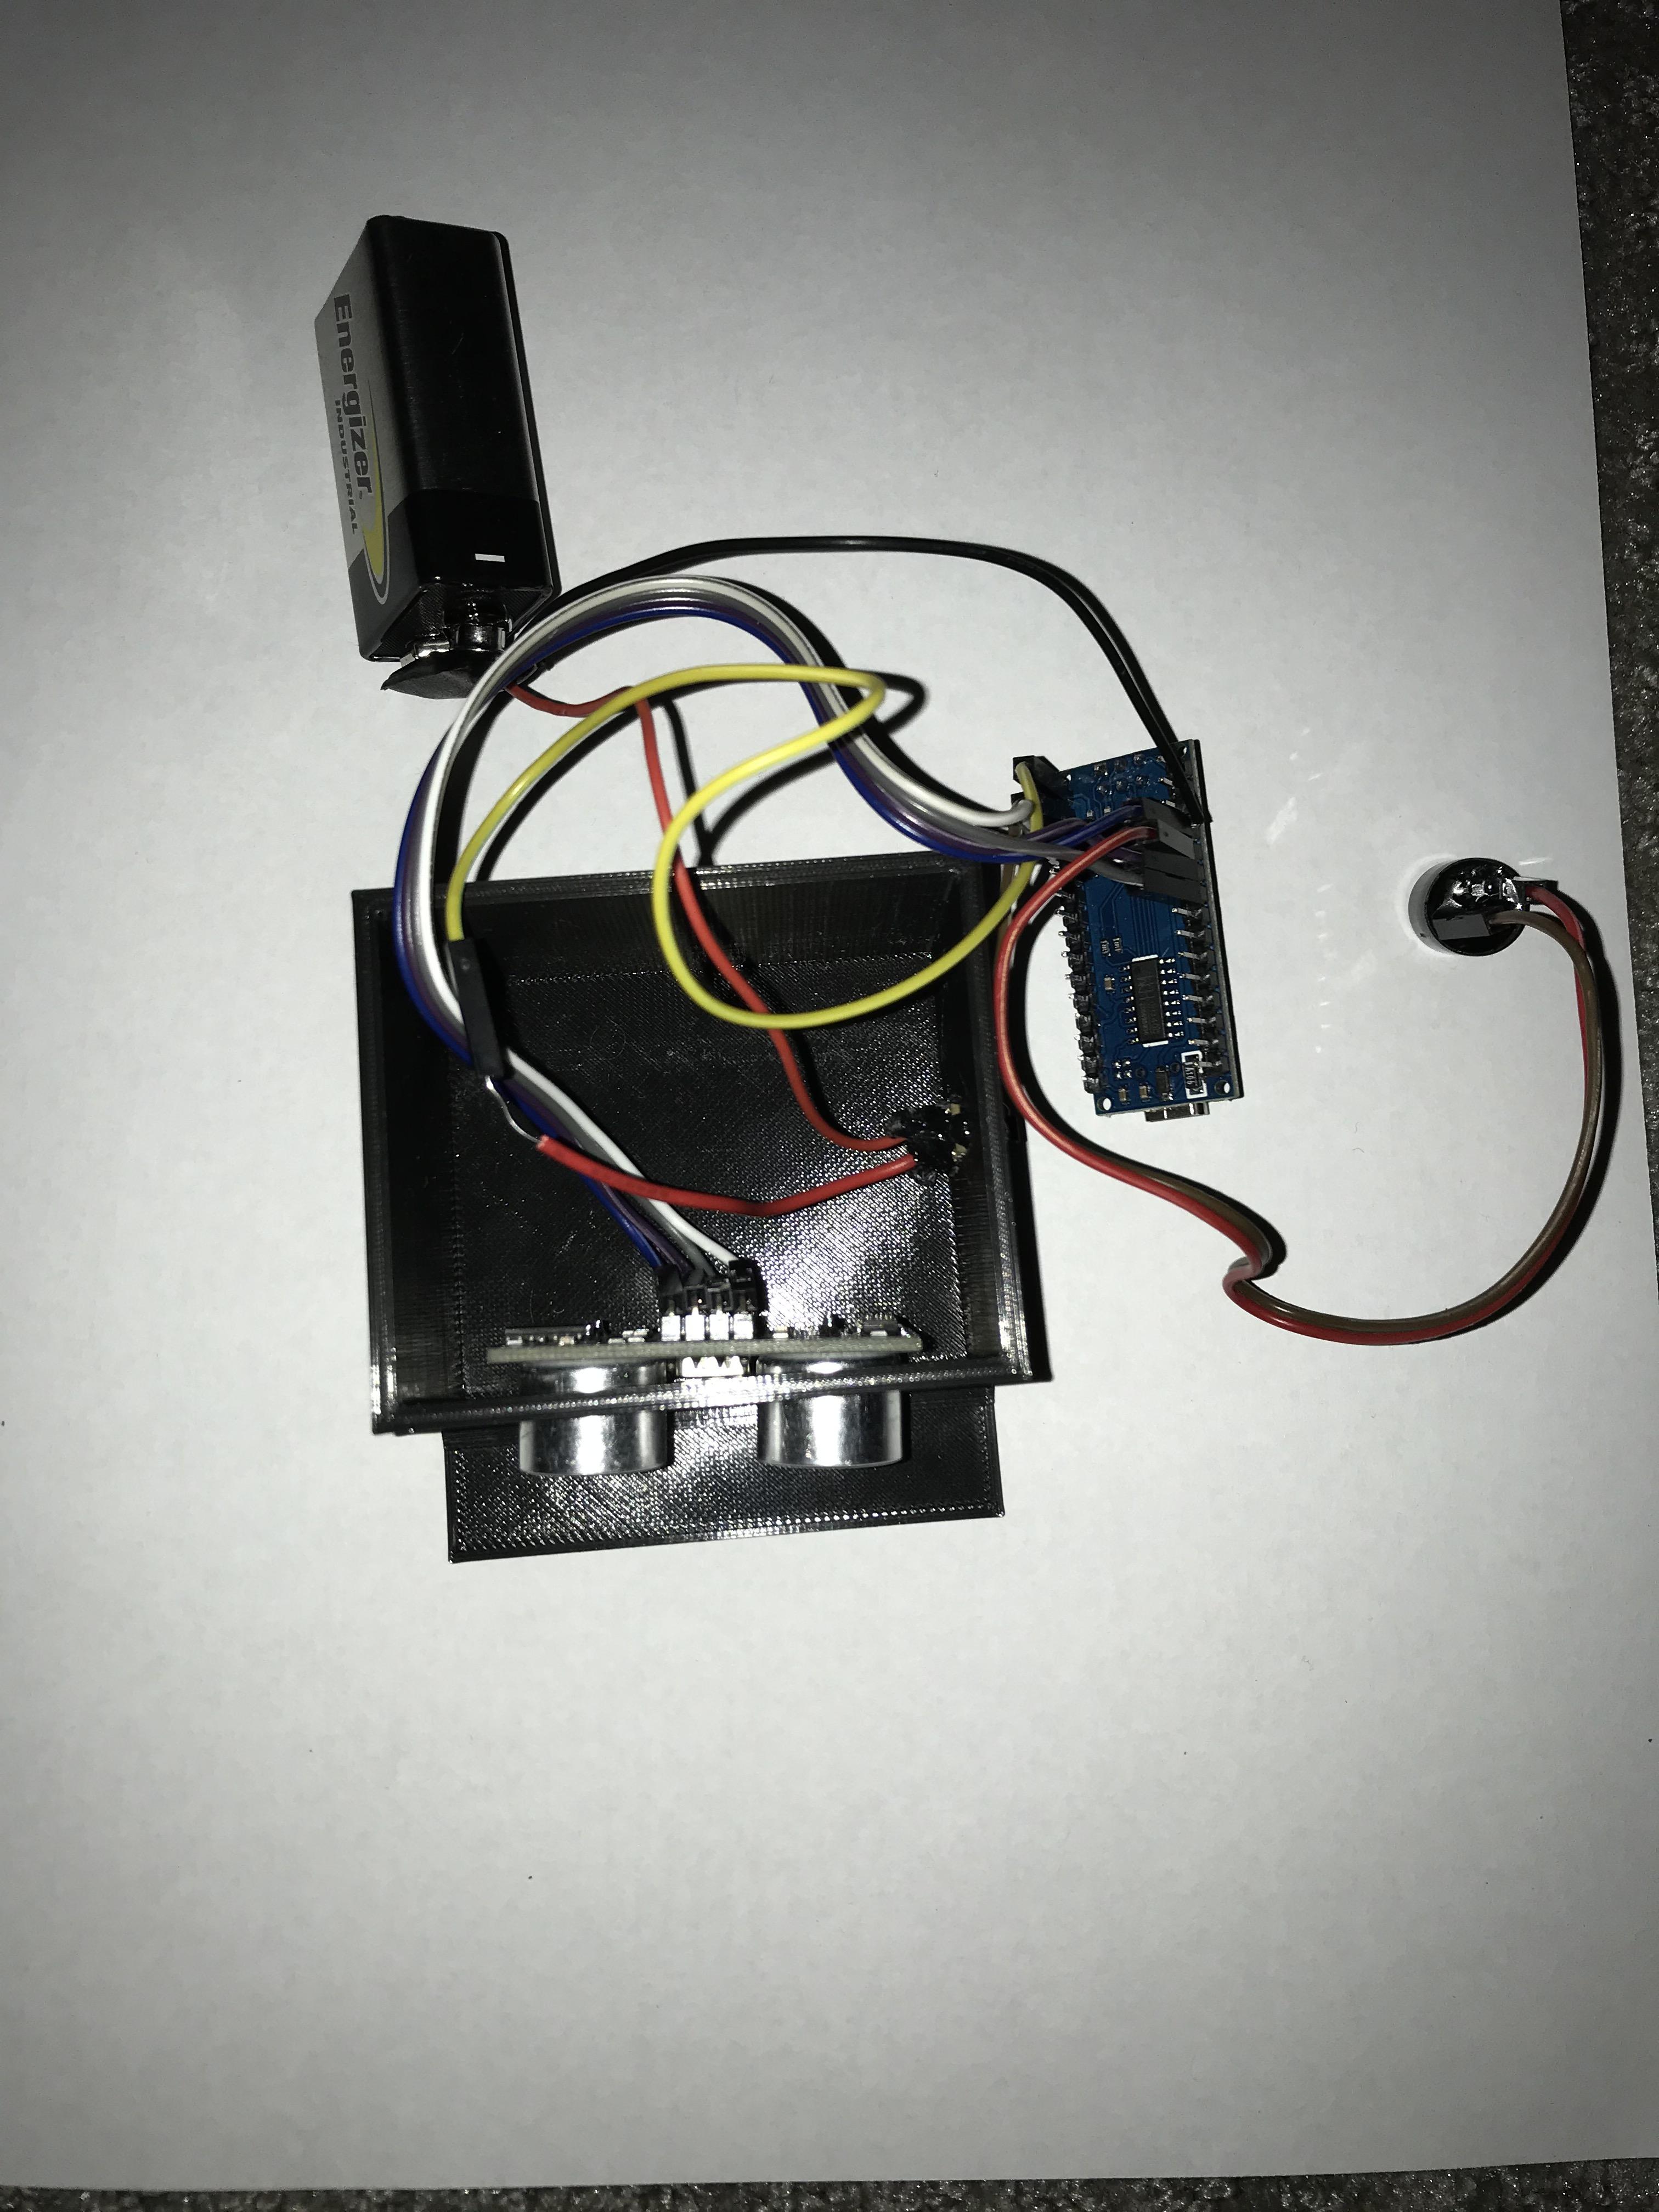
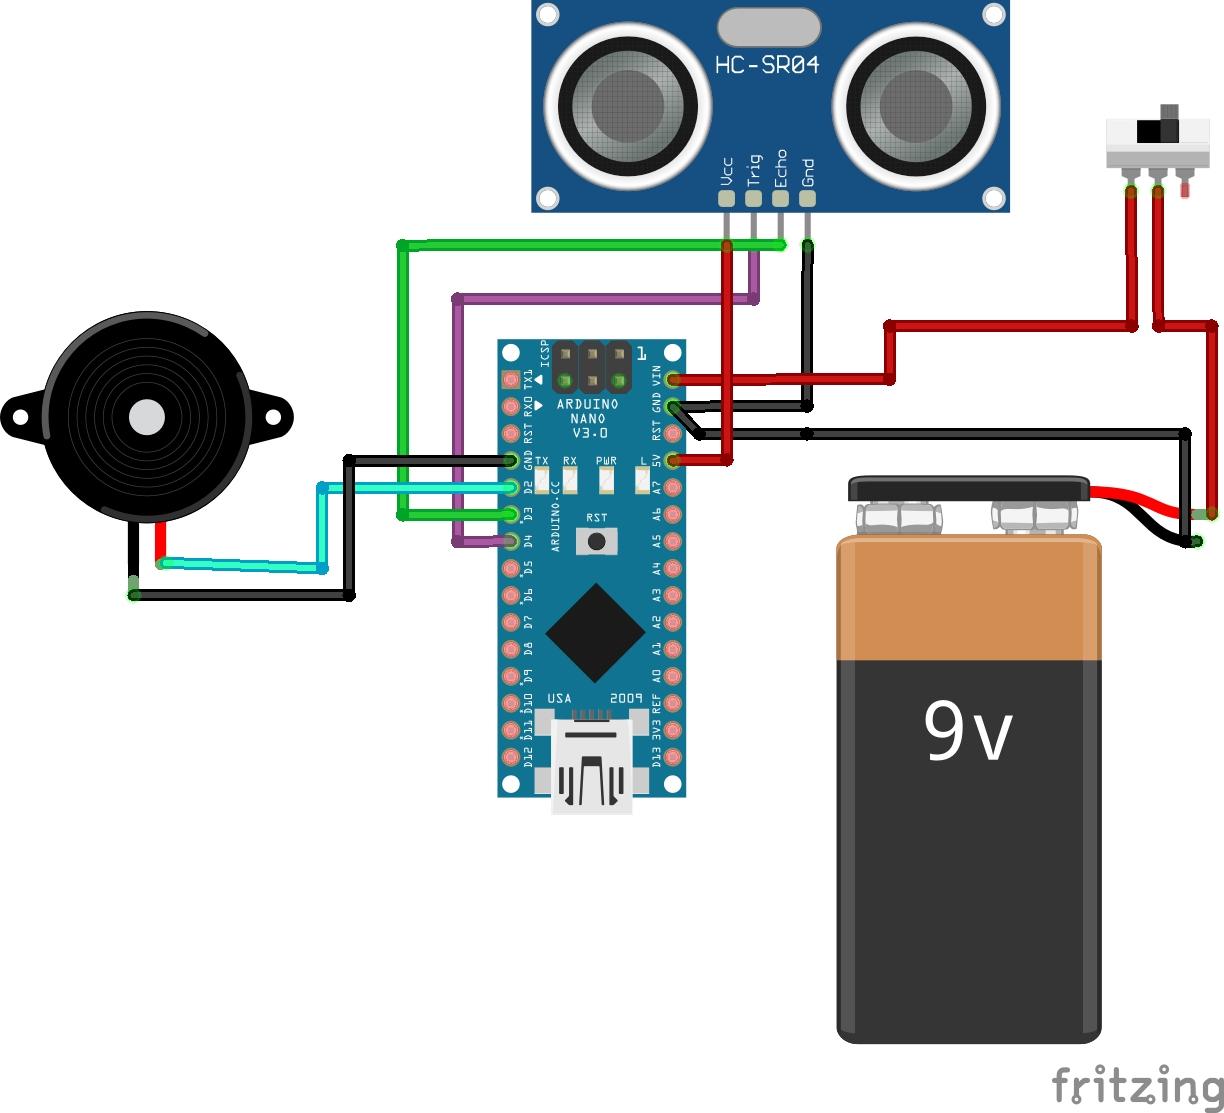
Just follow the diagram and connect the wires as shown.
It is important to note that the longer pin of the buzzer is the positive (connects to red) and the negative shorter (connects to black)
You will know it is working if a red light on the board ignites when you turn the switch to on.
Put Components Into the Enclosure
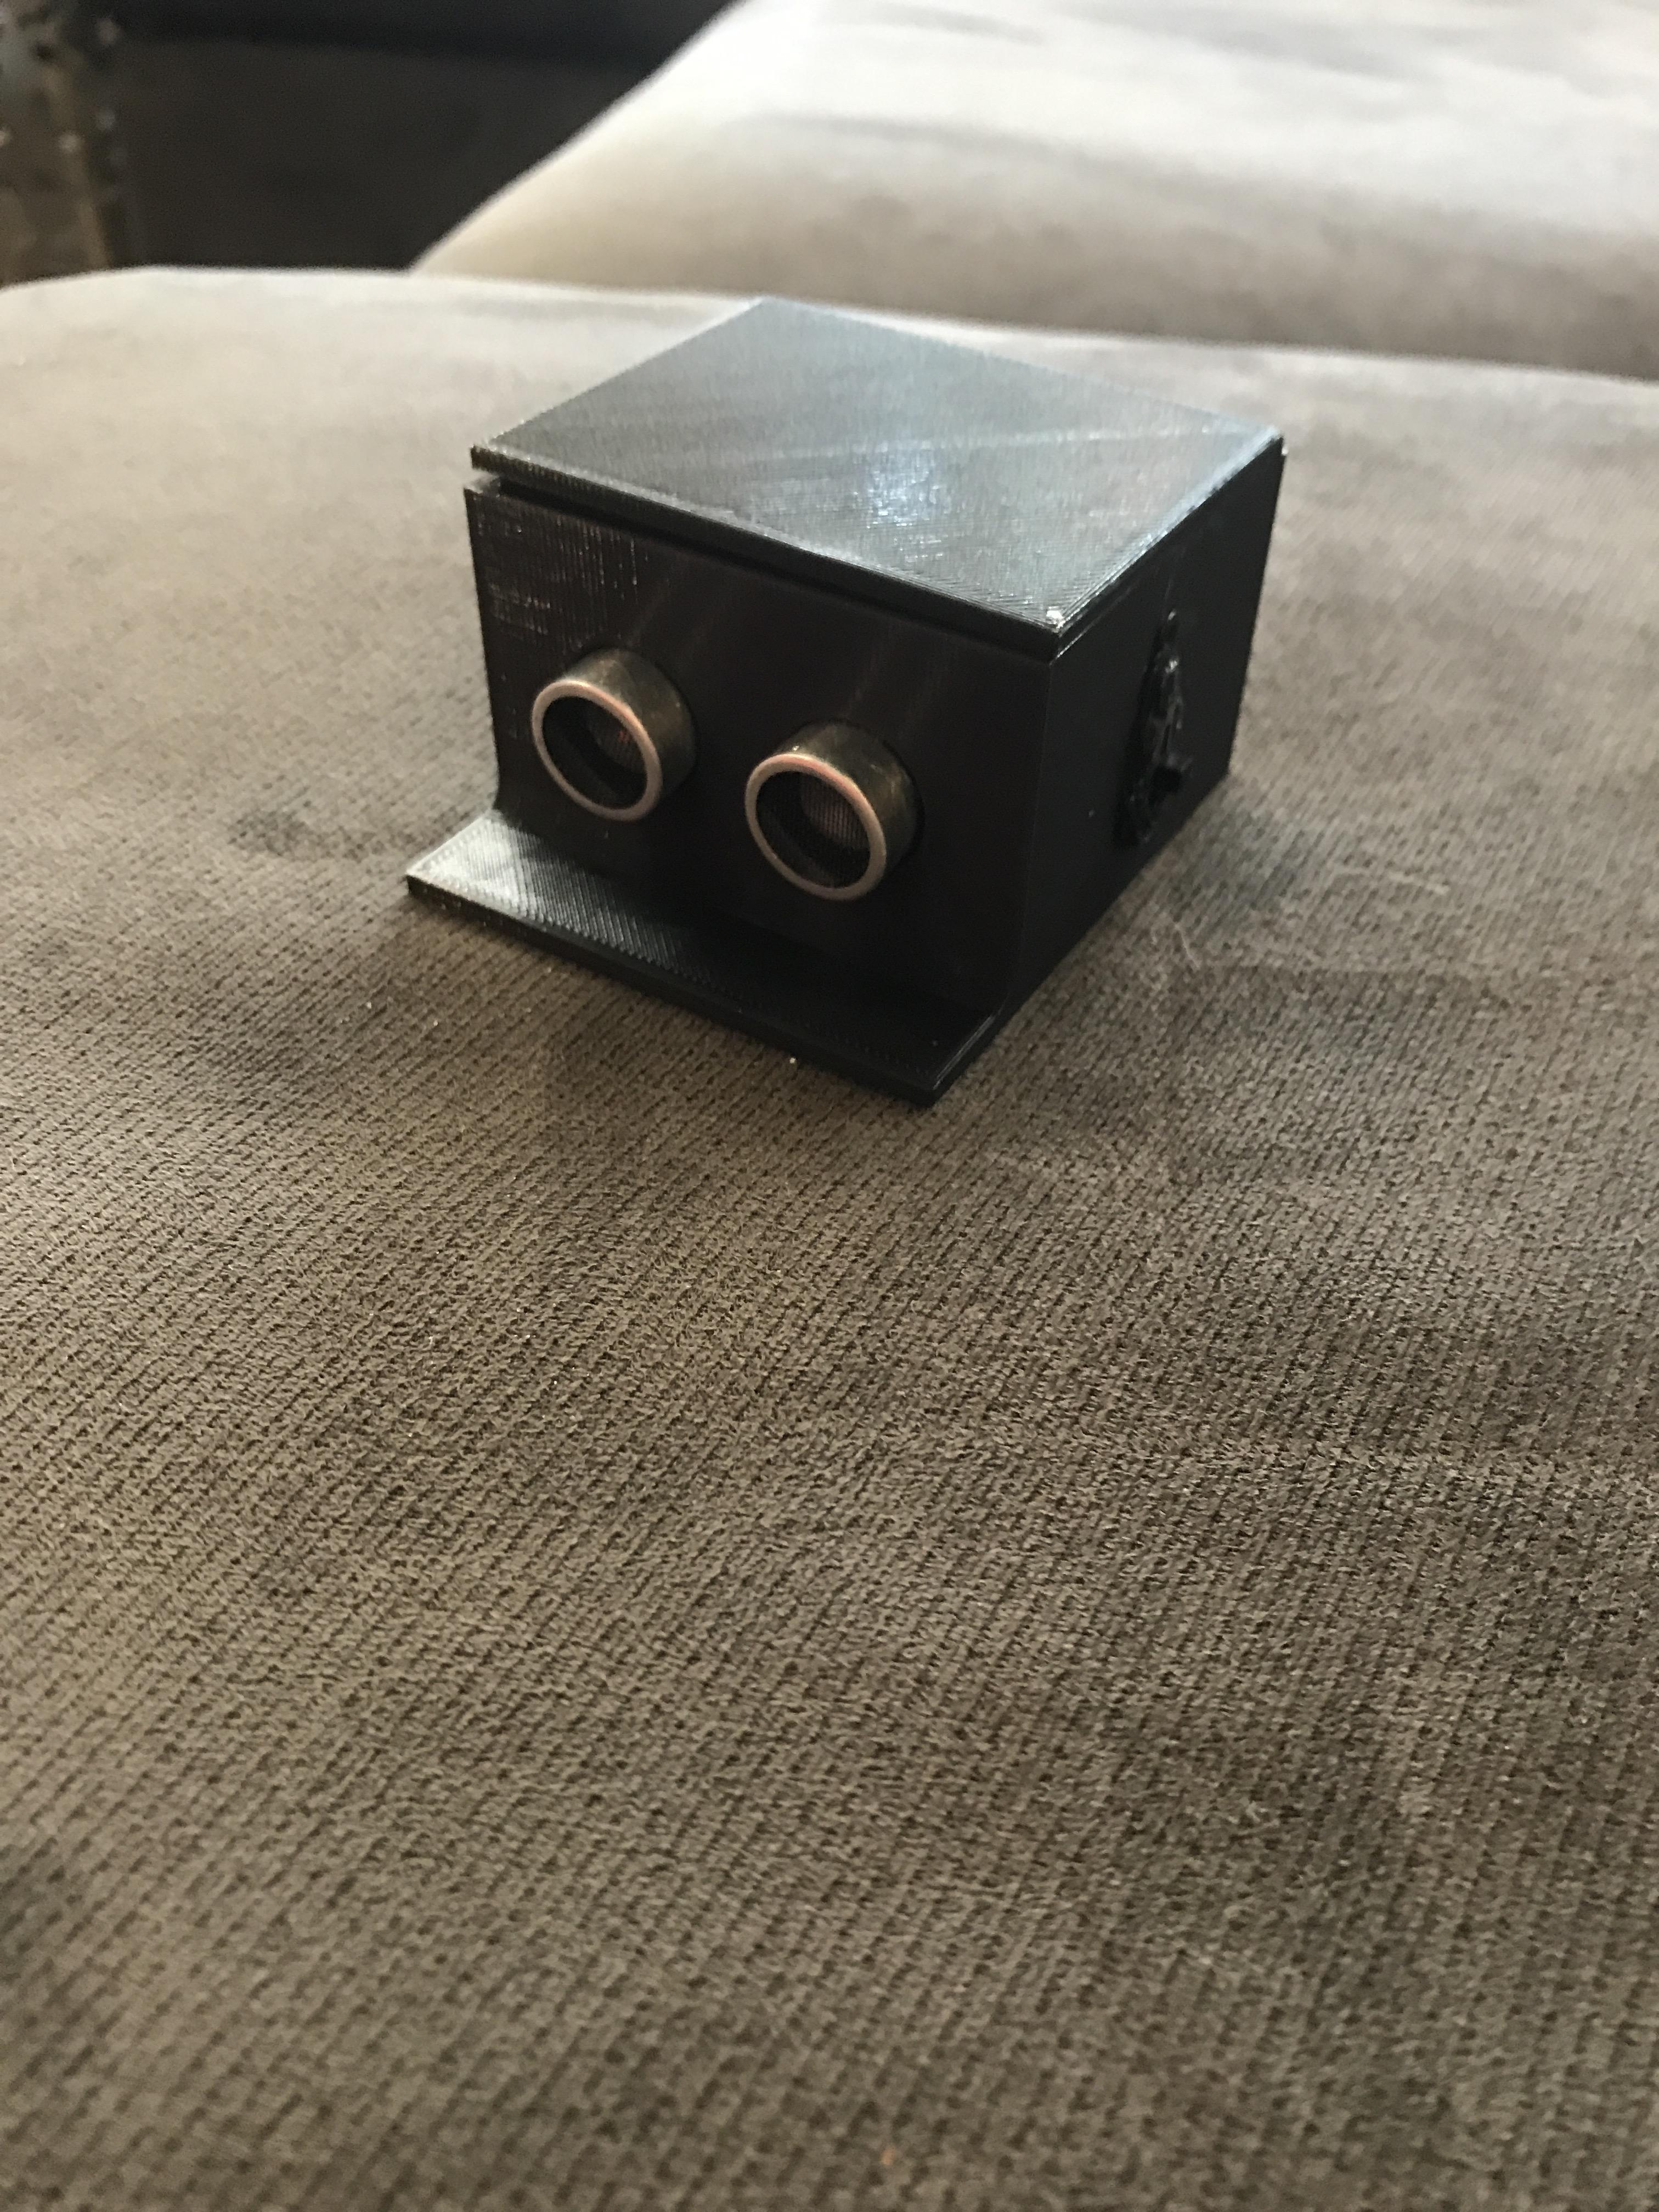
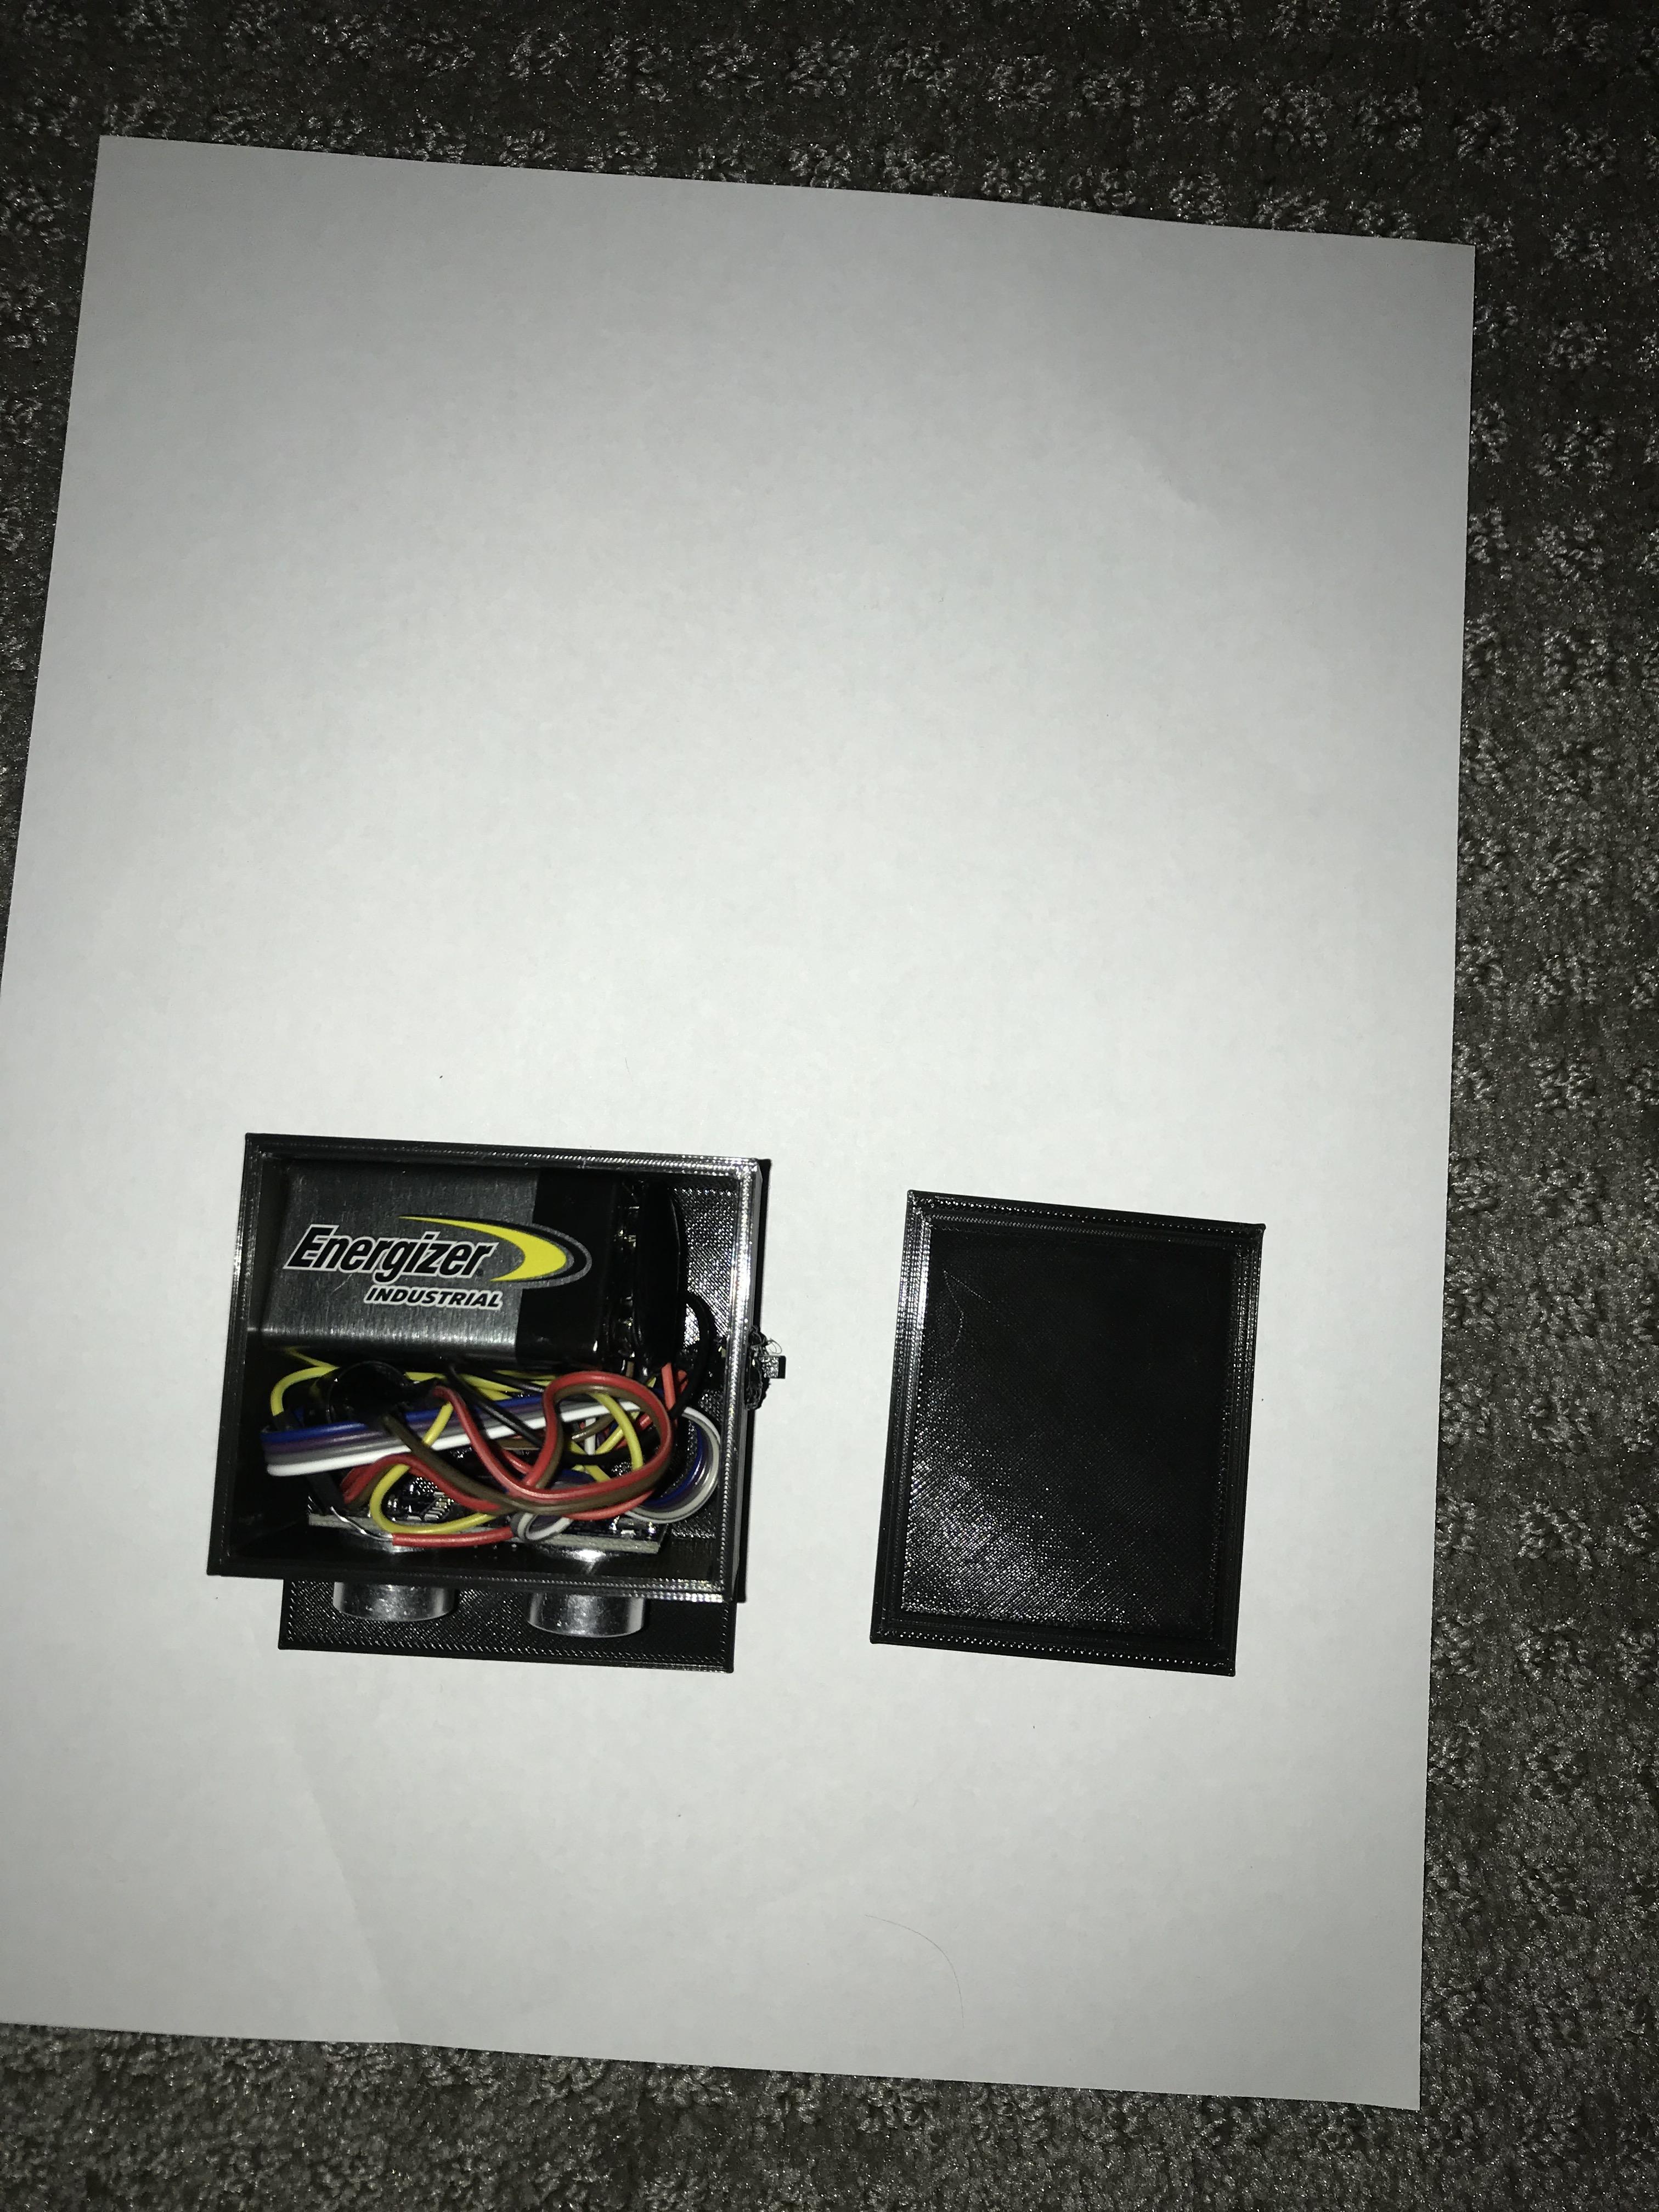
- Start by inserting the Adruino Nano and buzzer into the enclosure.
- Next, put the switch and the HC-SR04 into their respective locations
- Put the lid in place
- For lanyard version, glue or 3D pen string onto the sides.
- For hat version, use a binder clip to attach to a brimmed hat.