Sociable Syllables Activity Pad
by tgratton77 in Circuits > Assistive Tech
1994 Views, 11 Favorites, 0 Comments
Sociable Syllables Activity Pad
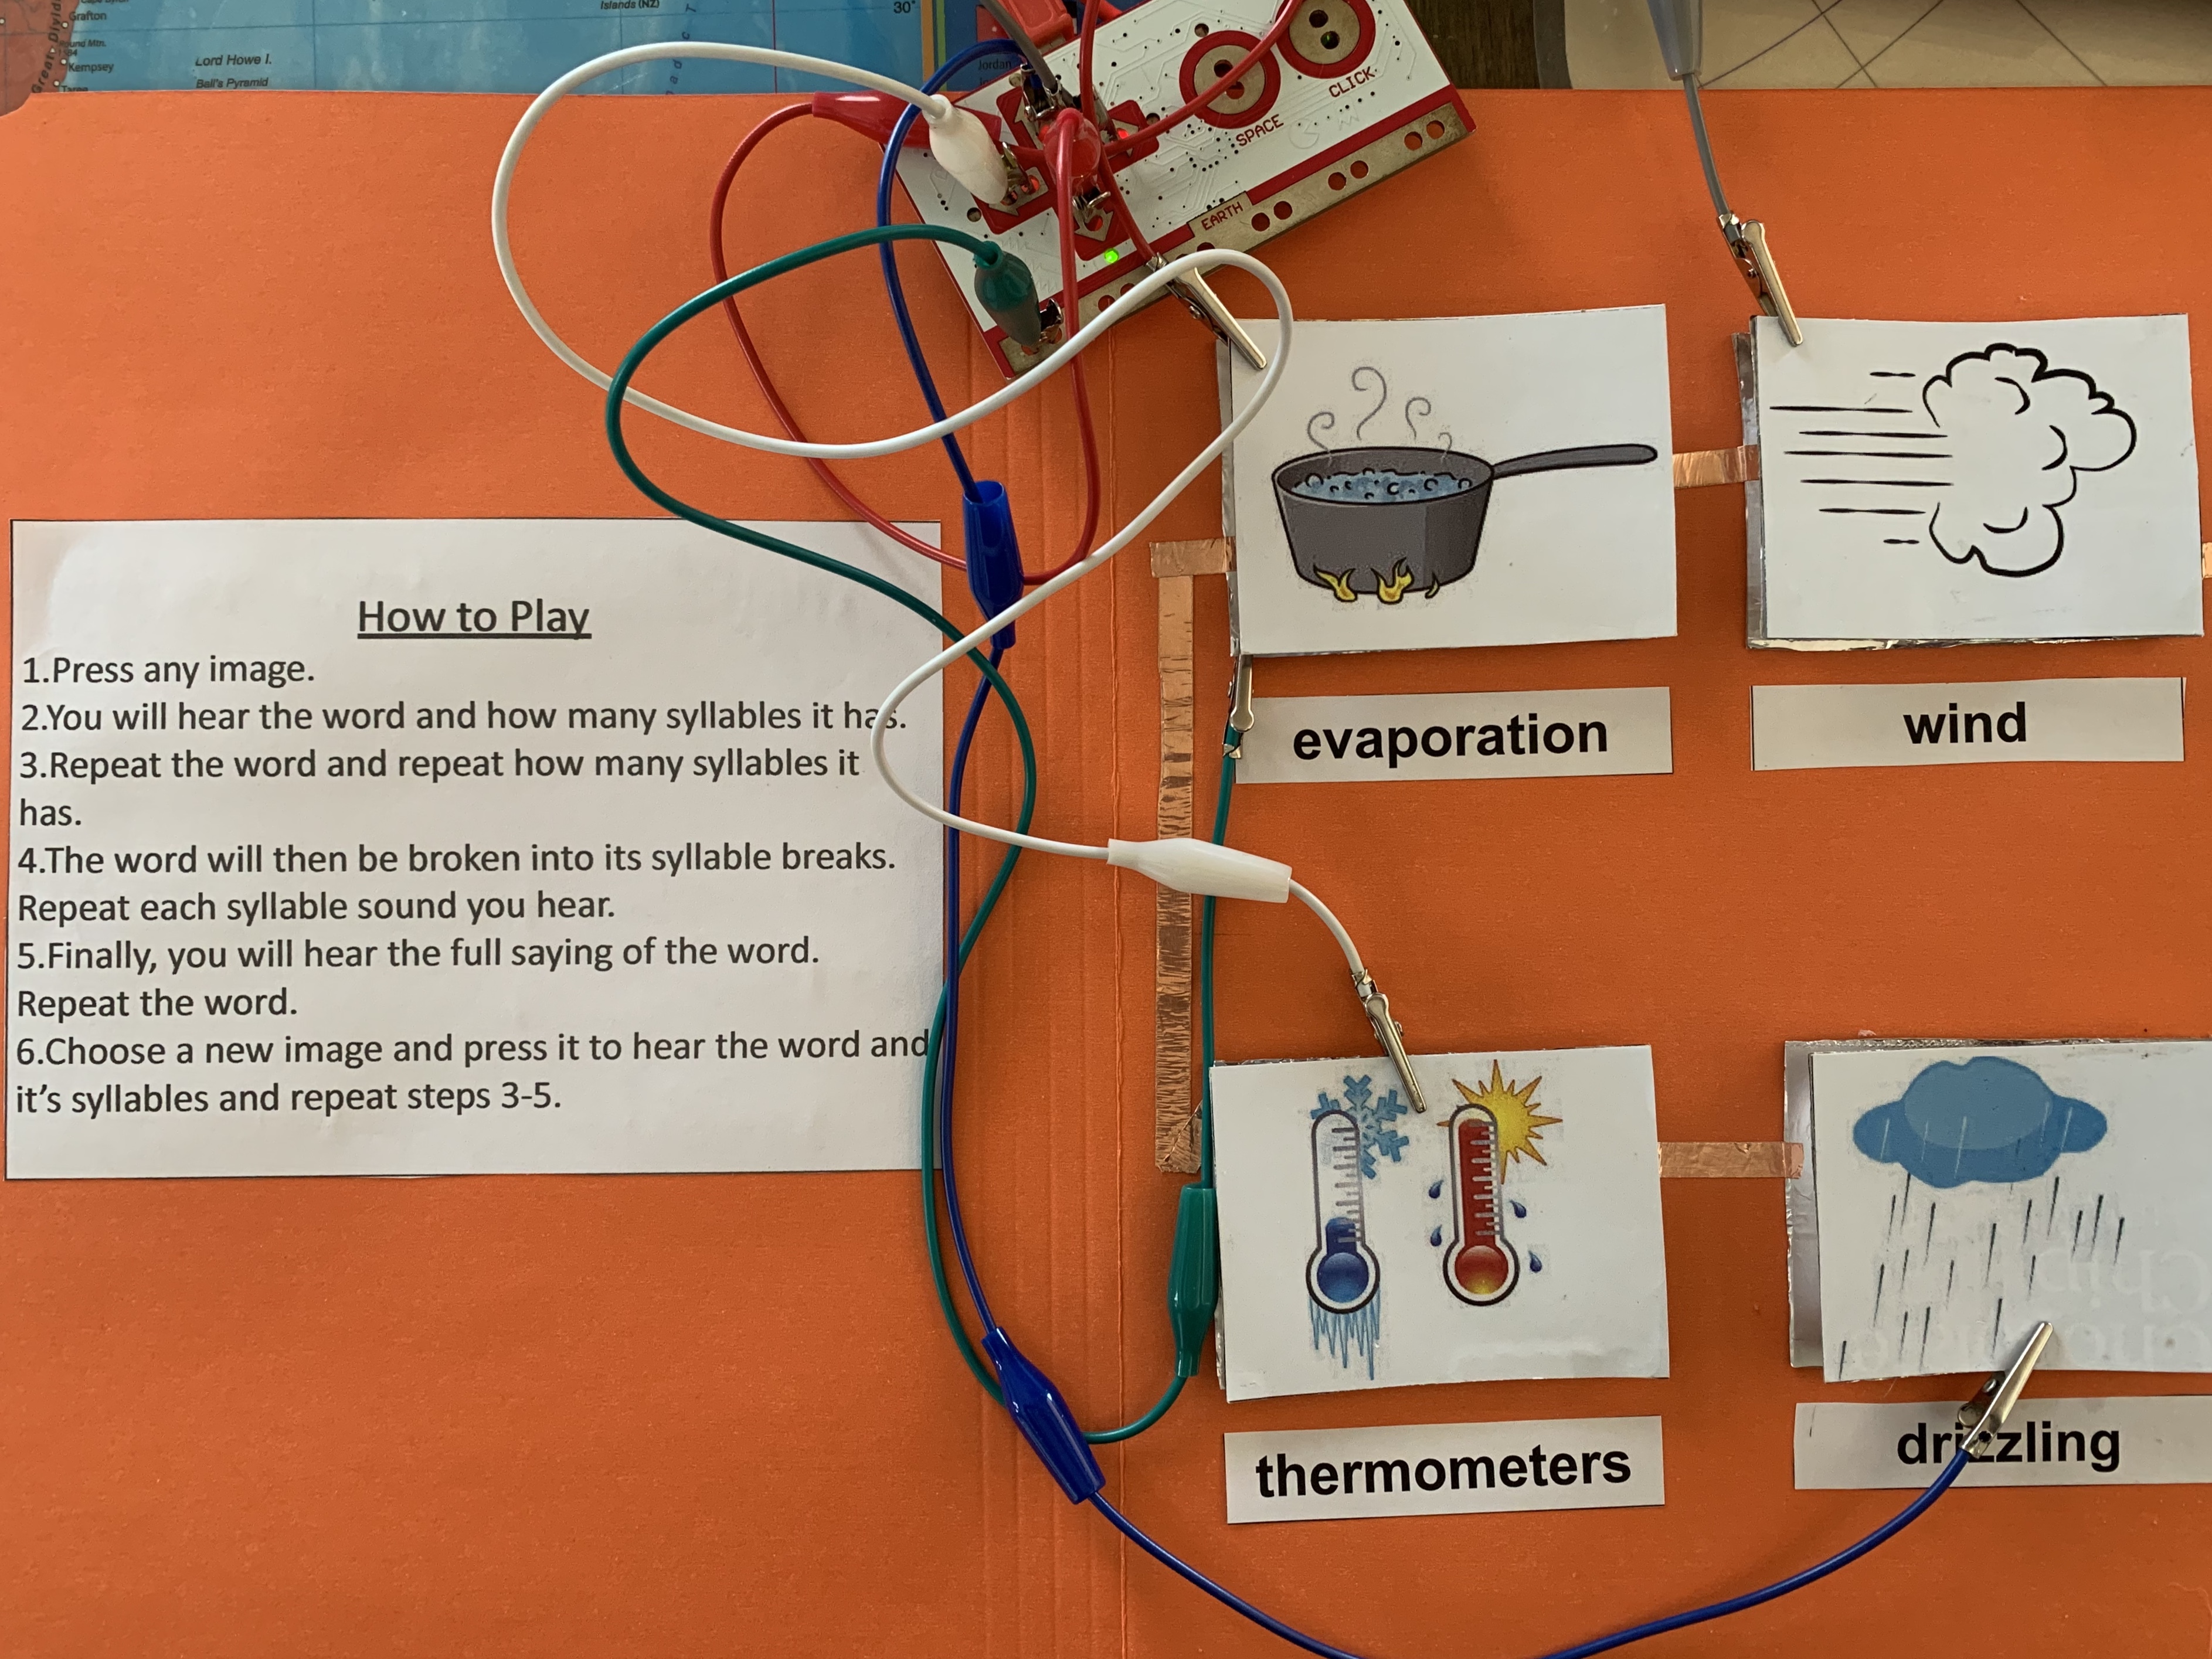
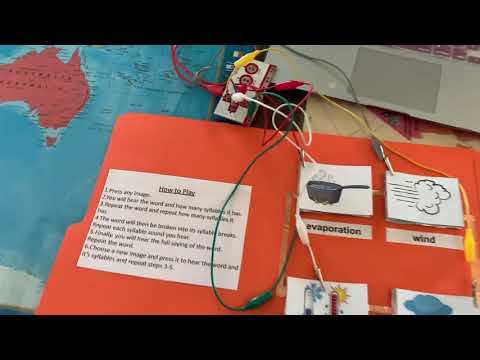
The Sociable Syllables Activity Pad was created as an Assistive Technology teaching tool for Hard of Hearing students. In my classroom experience and after conversations with Hard of Hearing Consultants, 3 tips came to mind in the creation of the Sociable Syllables Activity Pad to support these students.
1. Vocabulary: Pre-teach curriculum vocabulary and concepts. In order to have better success, learning keywords ahead of the lesson can be essential for Hard of Hearing students.
2. Use of Visuals: Visuals provide verification of what was heard and can also provide ongoing reference during class for Hard of Hearing students.
3. Word Endings: Grammatical features that are impacted by hearing loss, while pronouncing words, can include omitting certain word endings:
a) /s/ - which impacts plurals, possessives and noun-verb agreement
b) -ed - which impacts production of past tense
c) -ing - which impacts production of progressive tense
For this project, my goal is for Hard of Hearing students to practice saying the words, syllable by syllable, while properly pronouncing the word from beginning to end. This Assistive Technology teaching tool could definitely extend beyond Hard of Hearing students as others may benefit from its use dependant on their learning needs and styles.
Supplies
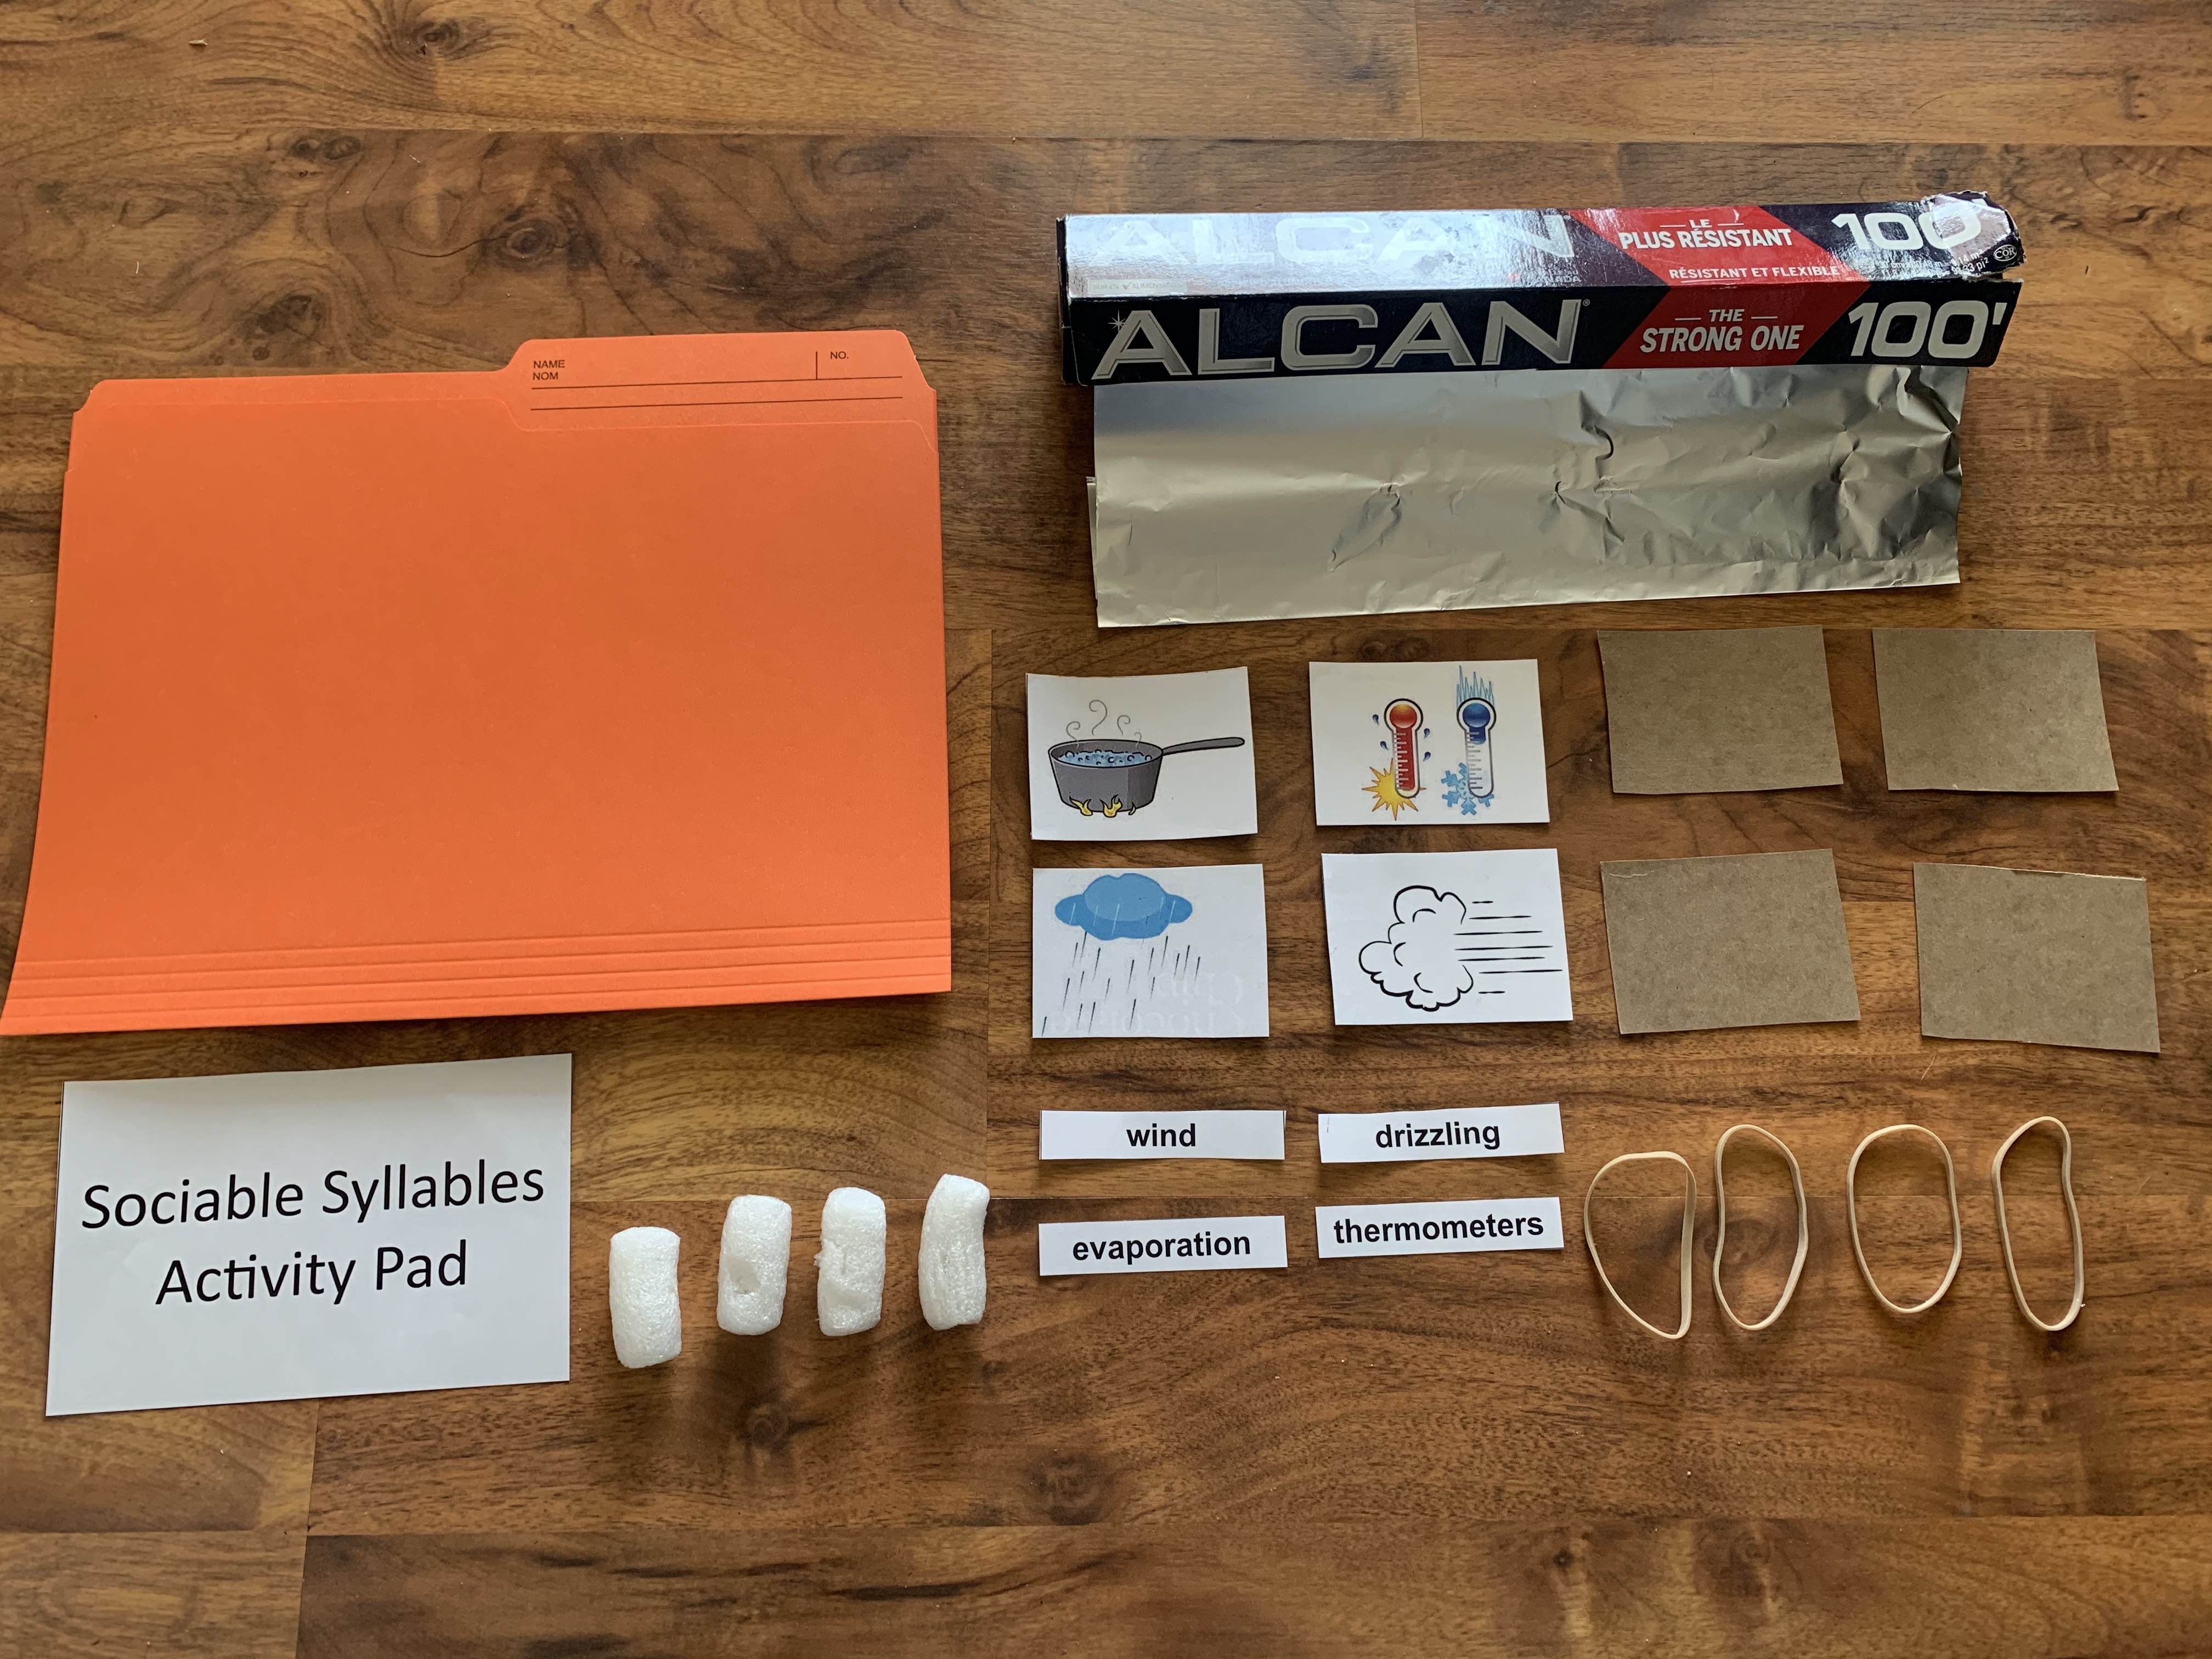
1 - File Folder
2 - Cardboard
3 - Packing Foam Puffs
4 - Tinfoil or Copper Tape
5 - Printed Curriculum Vocabulary Words
6 - Printed Images to match Vocabulary Words
7 - Printed Title Cover and How To Play Instructions
8 - Elastics (optional)
9 - Adhesive (glue stick/tape/glue gun)
10 - Makey Makey Kit
Making the Pressure Switches
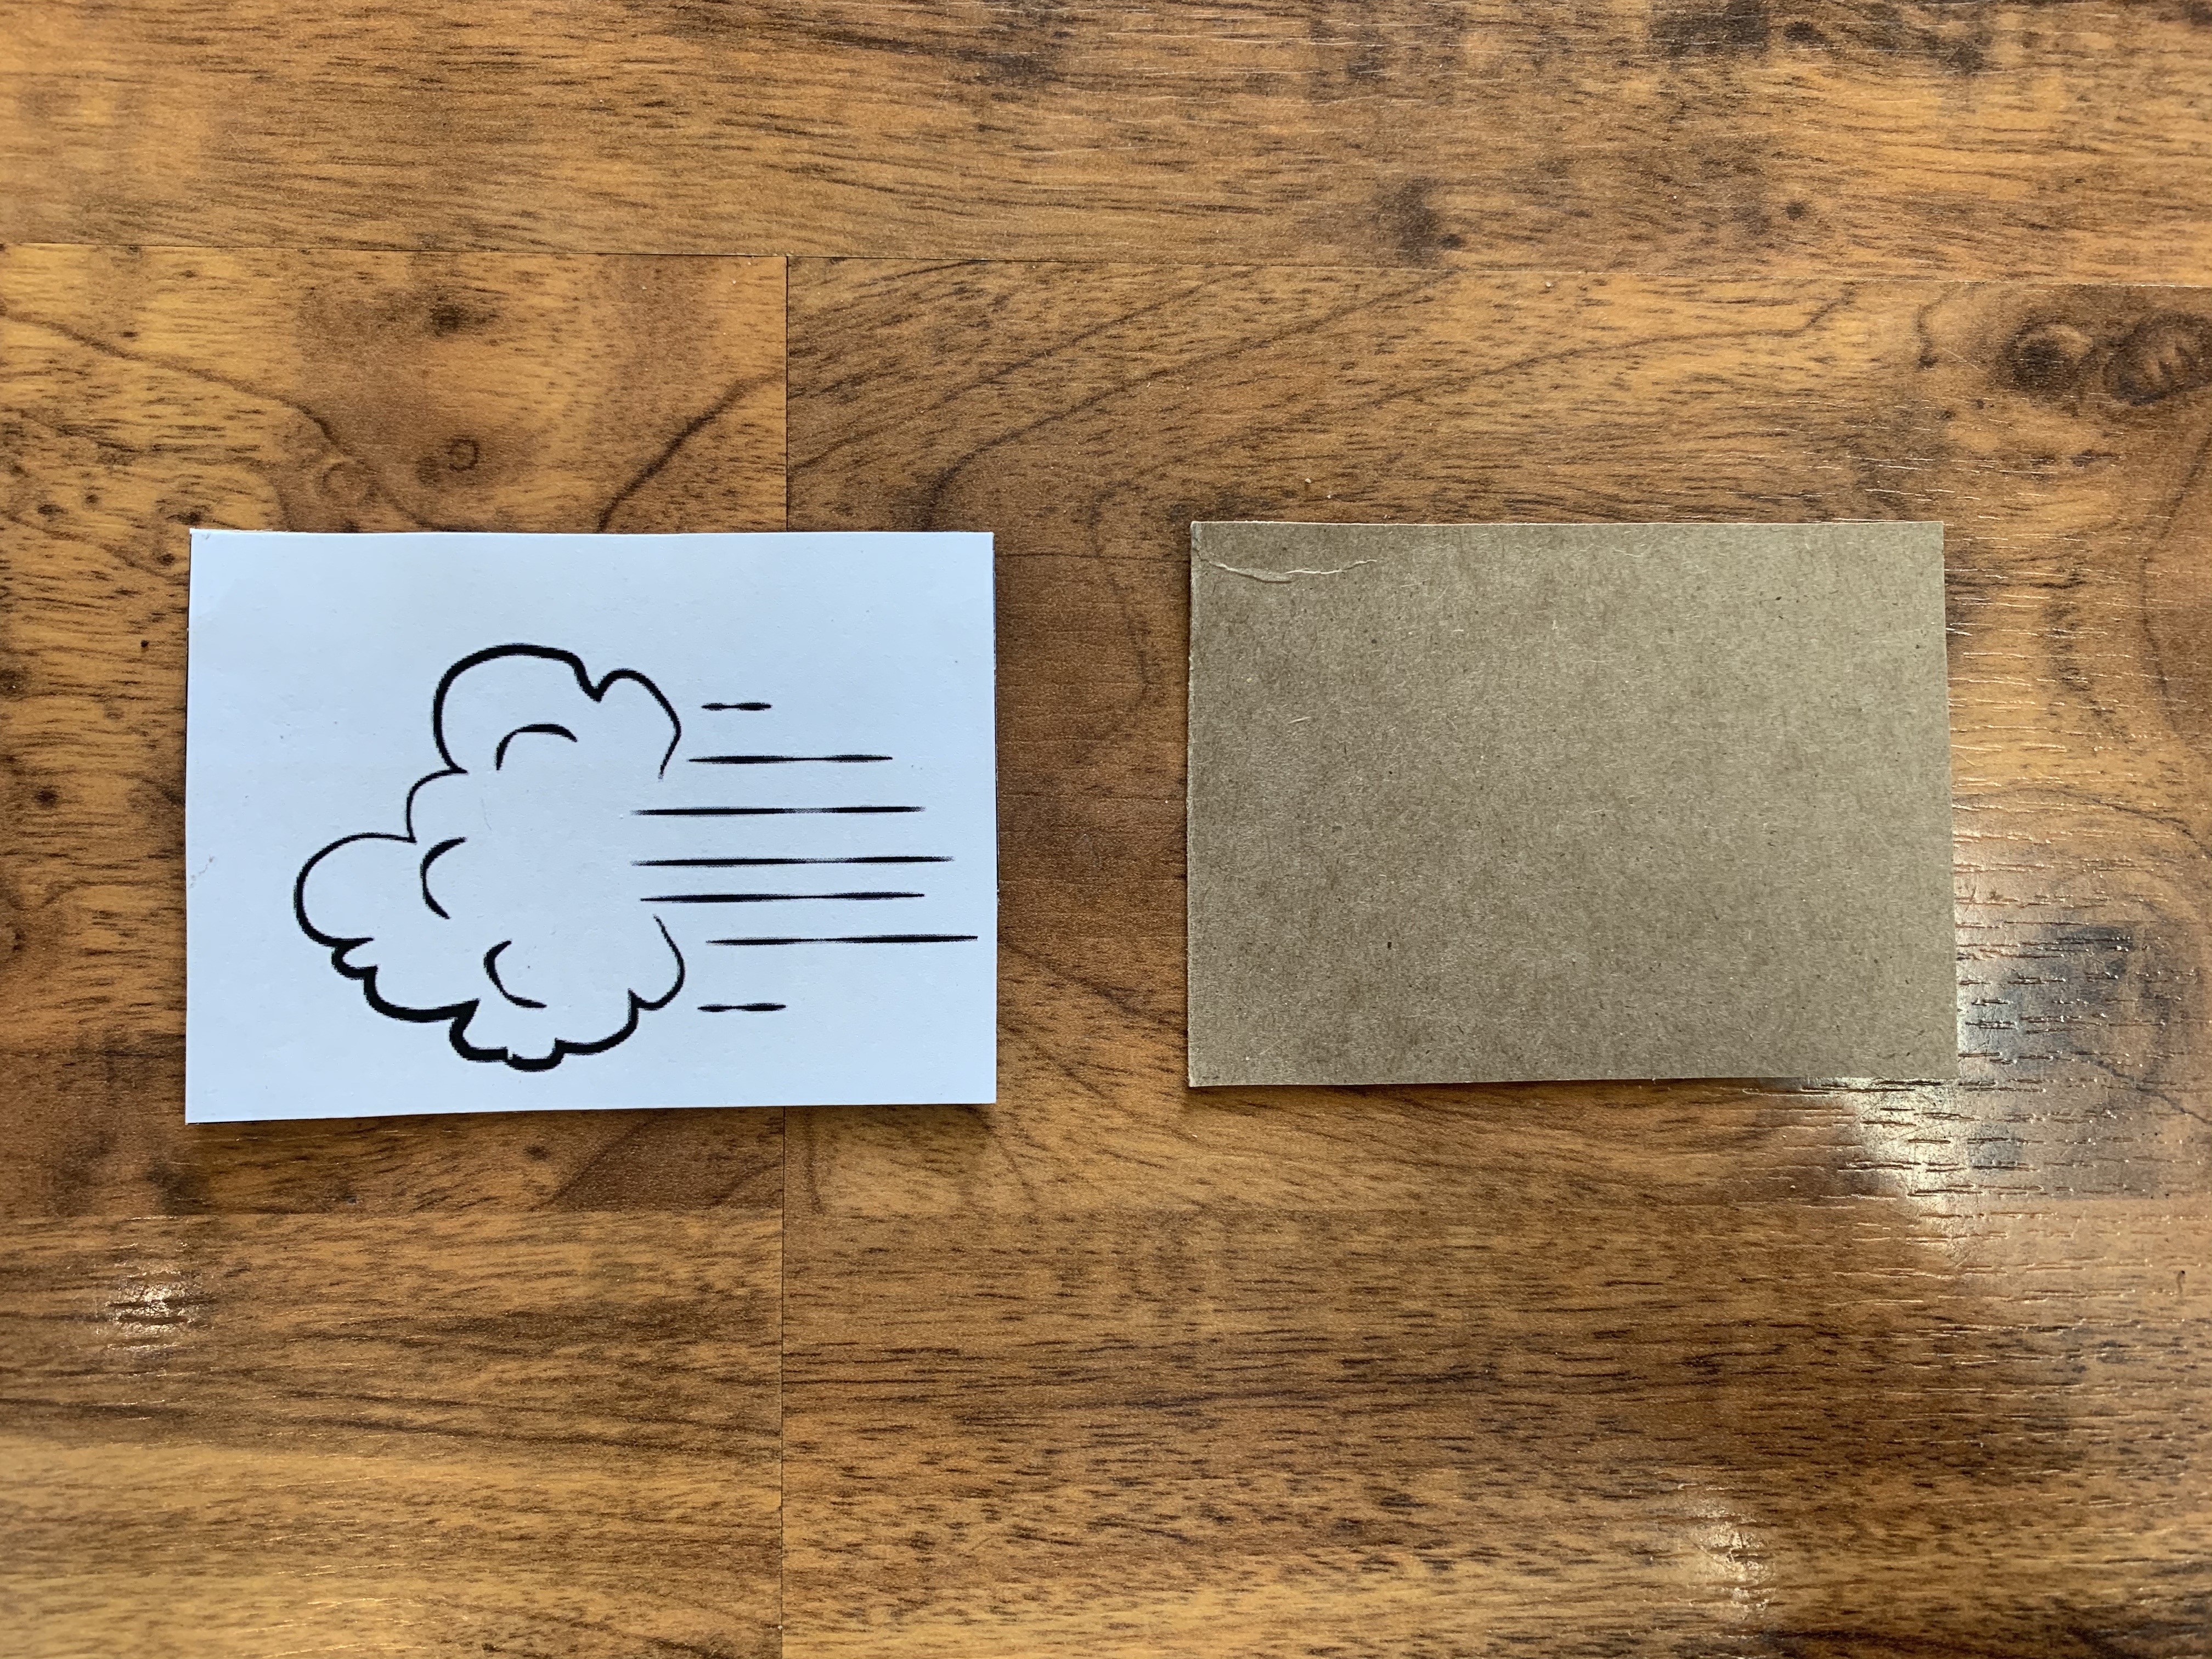
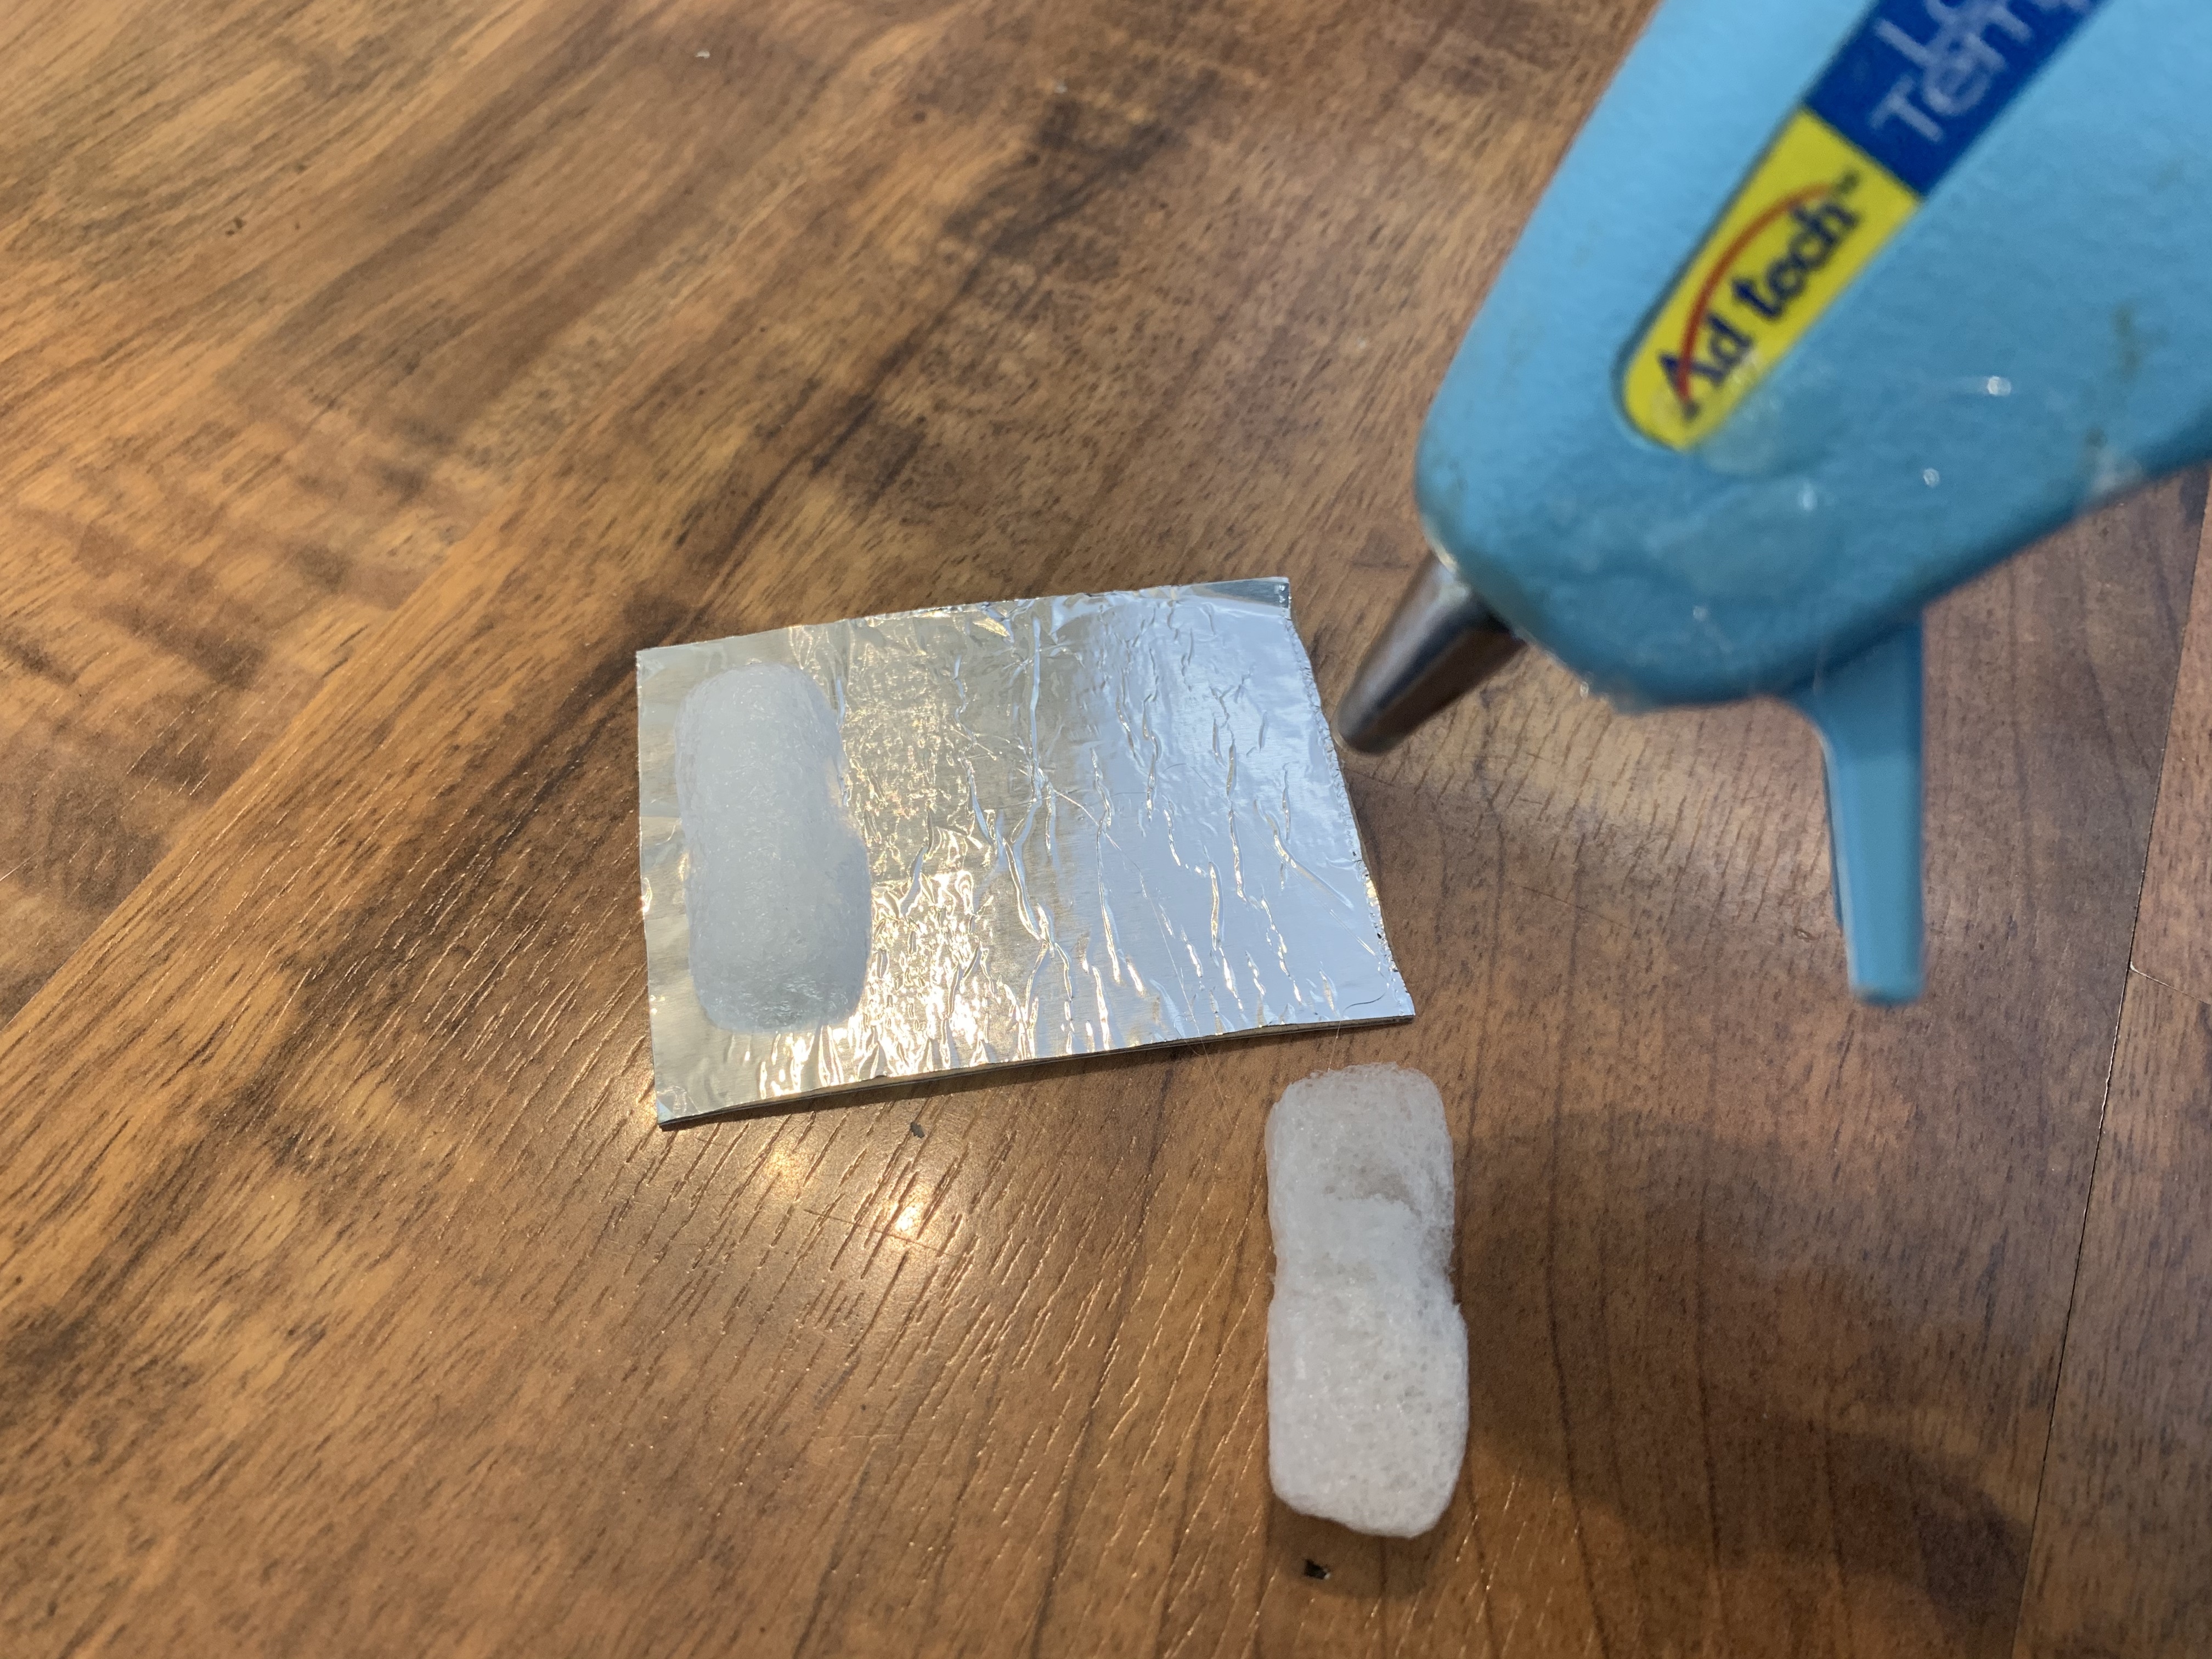
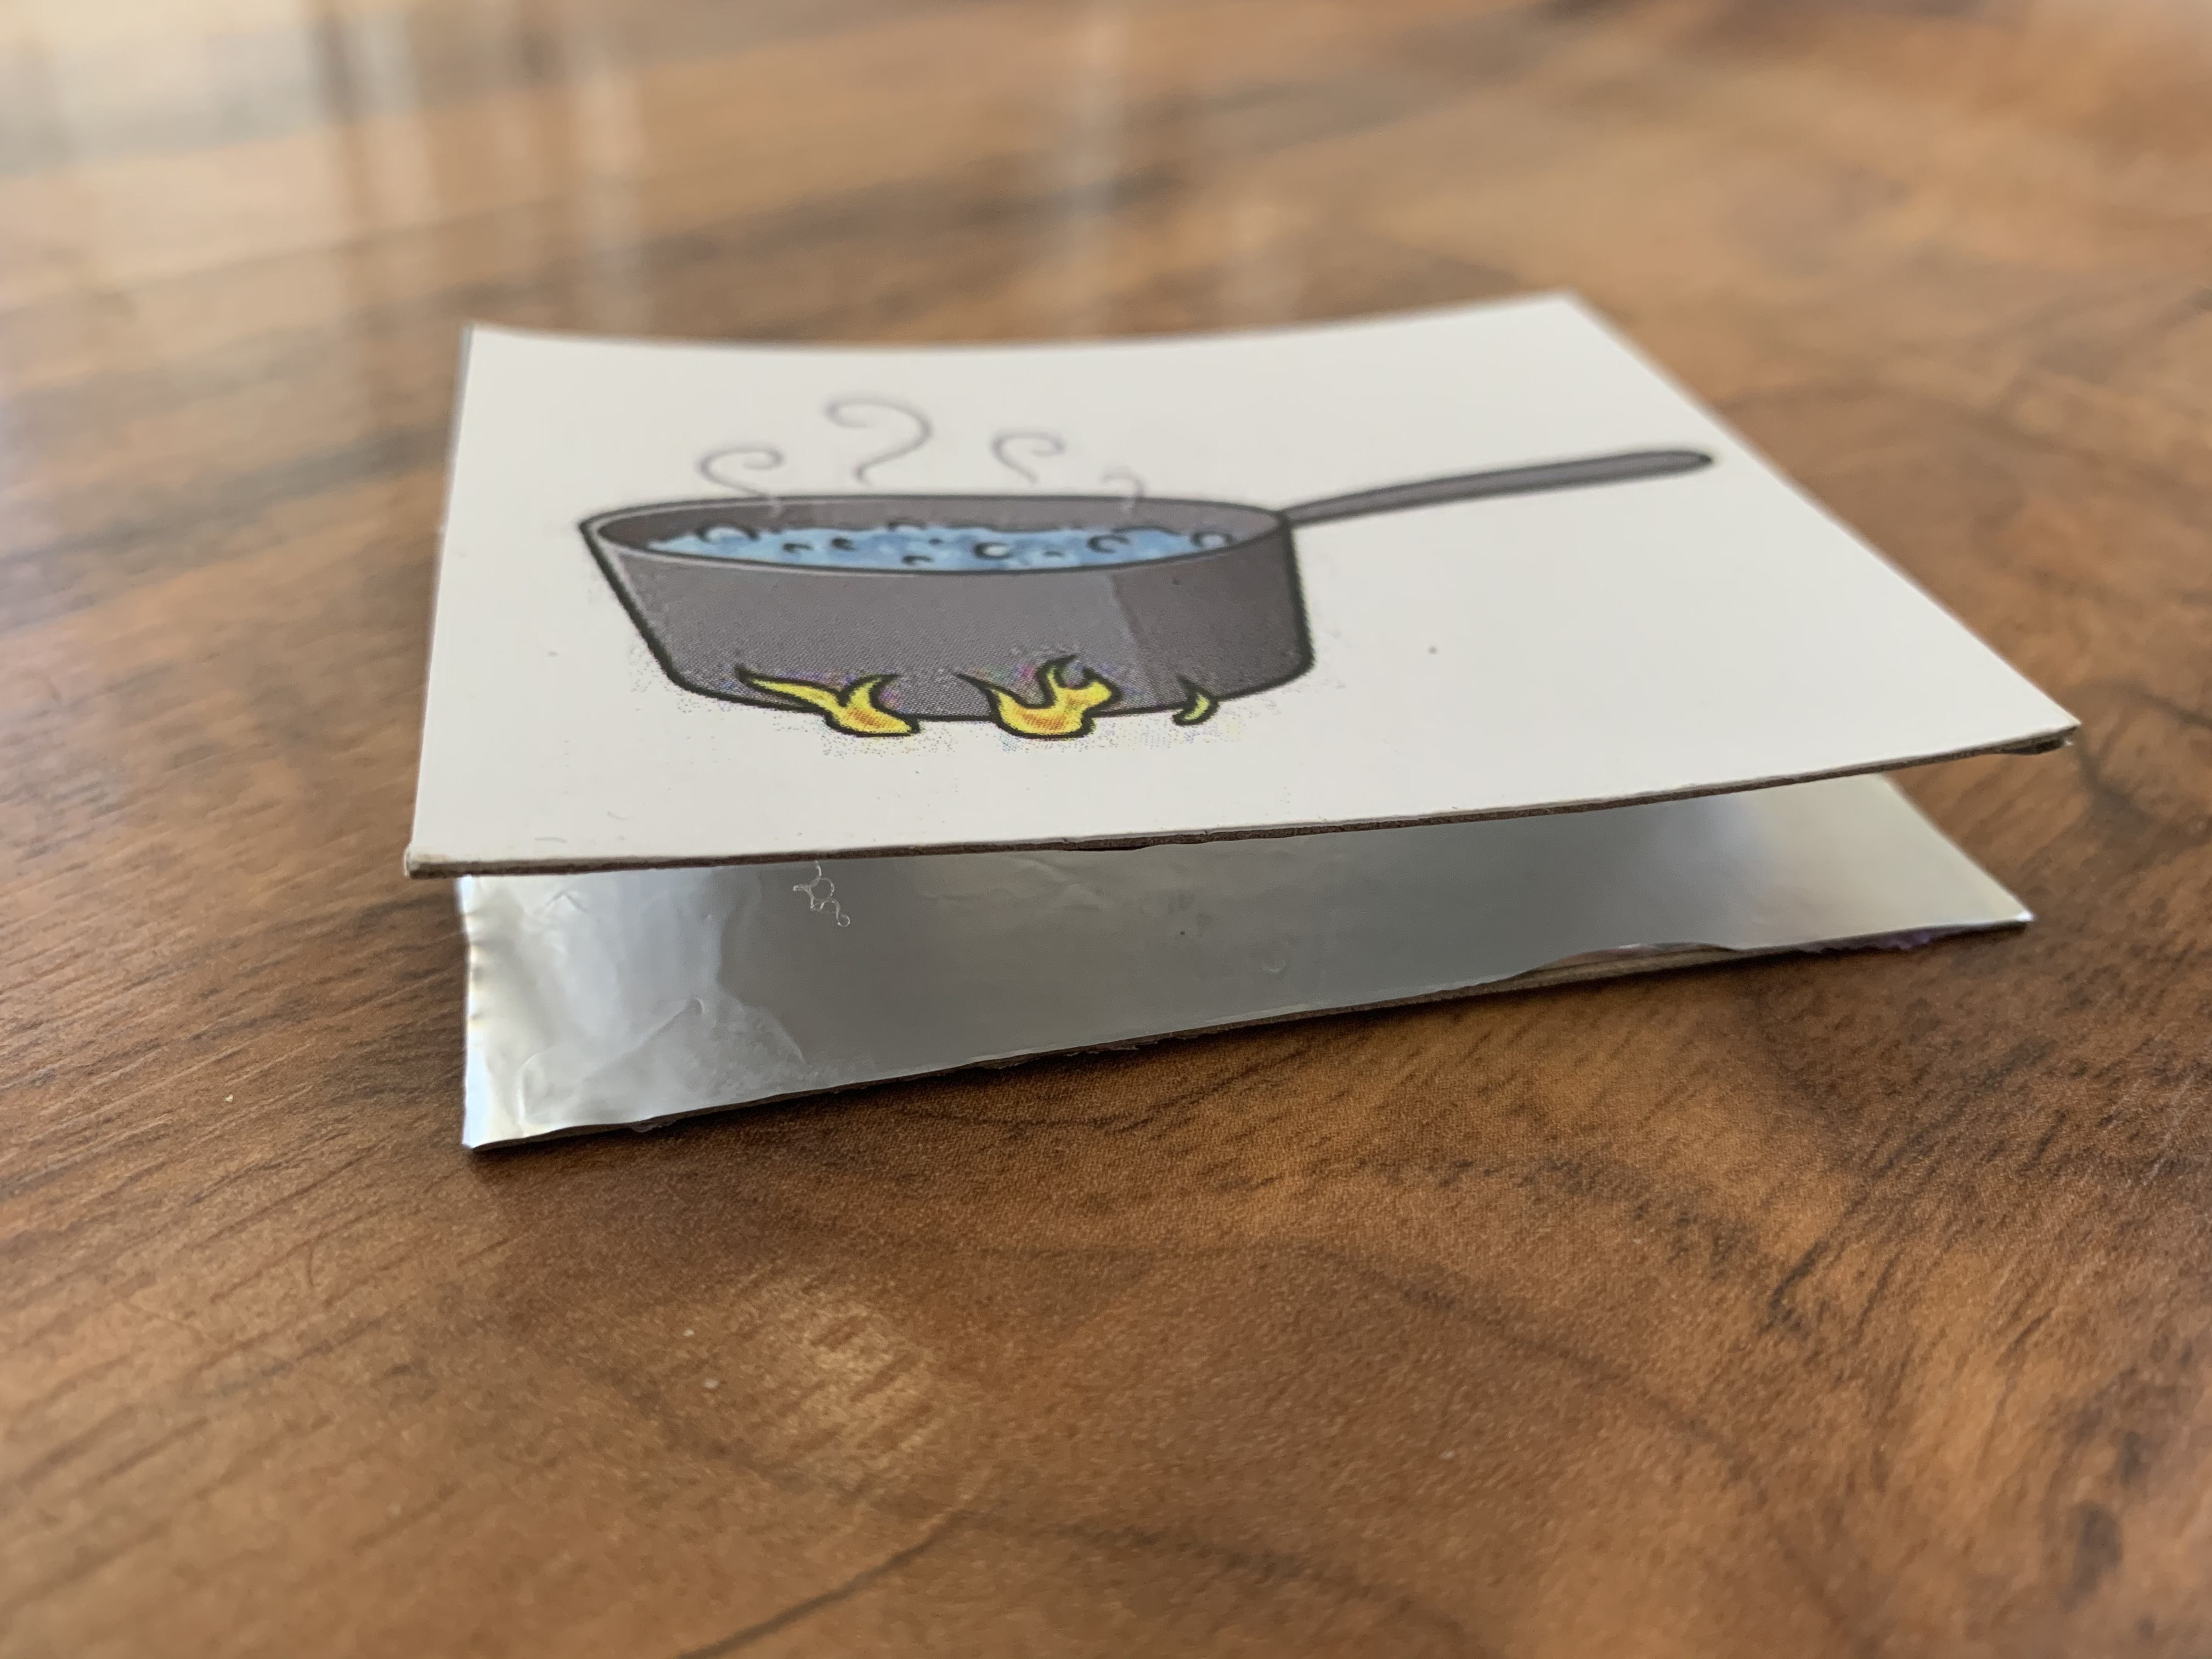
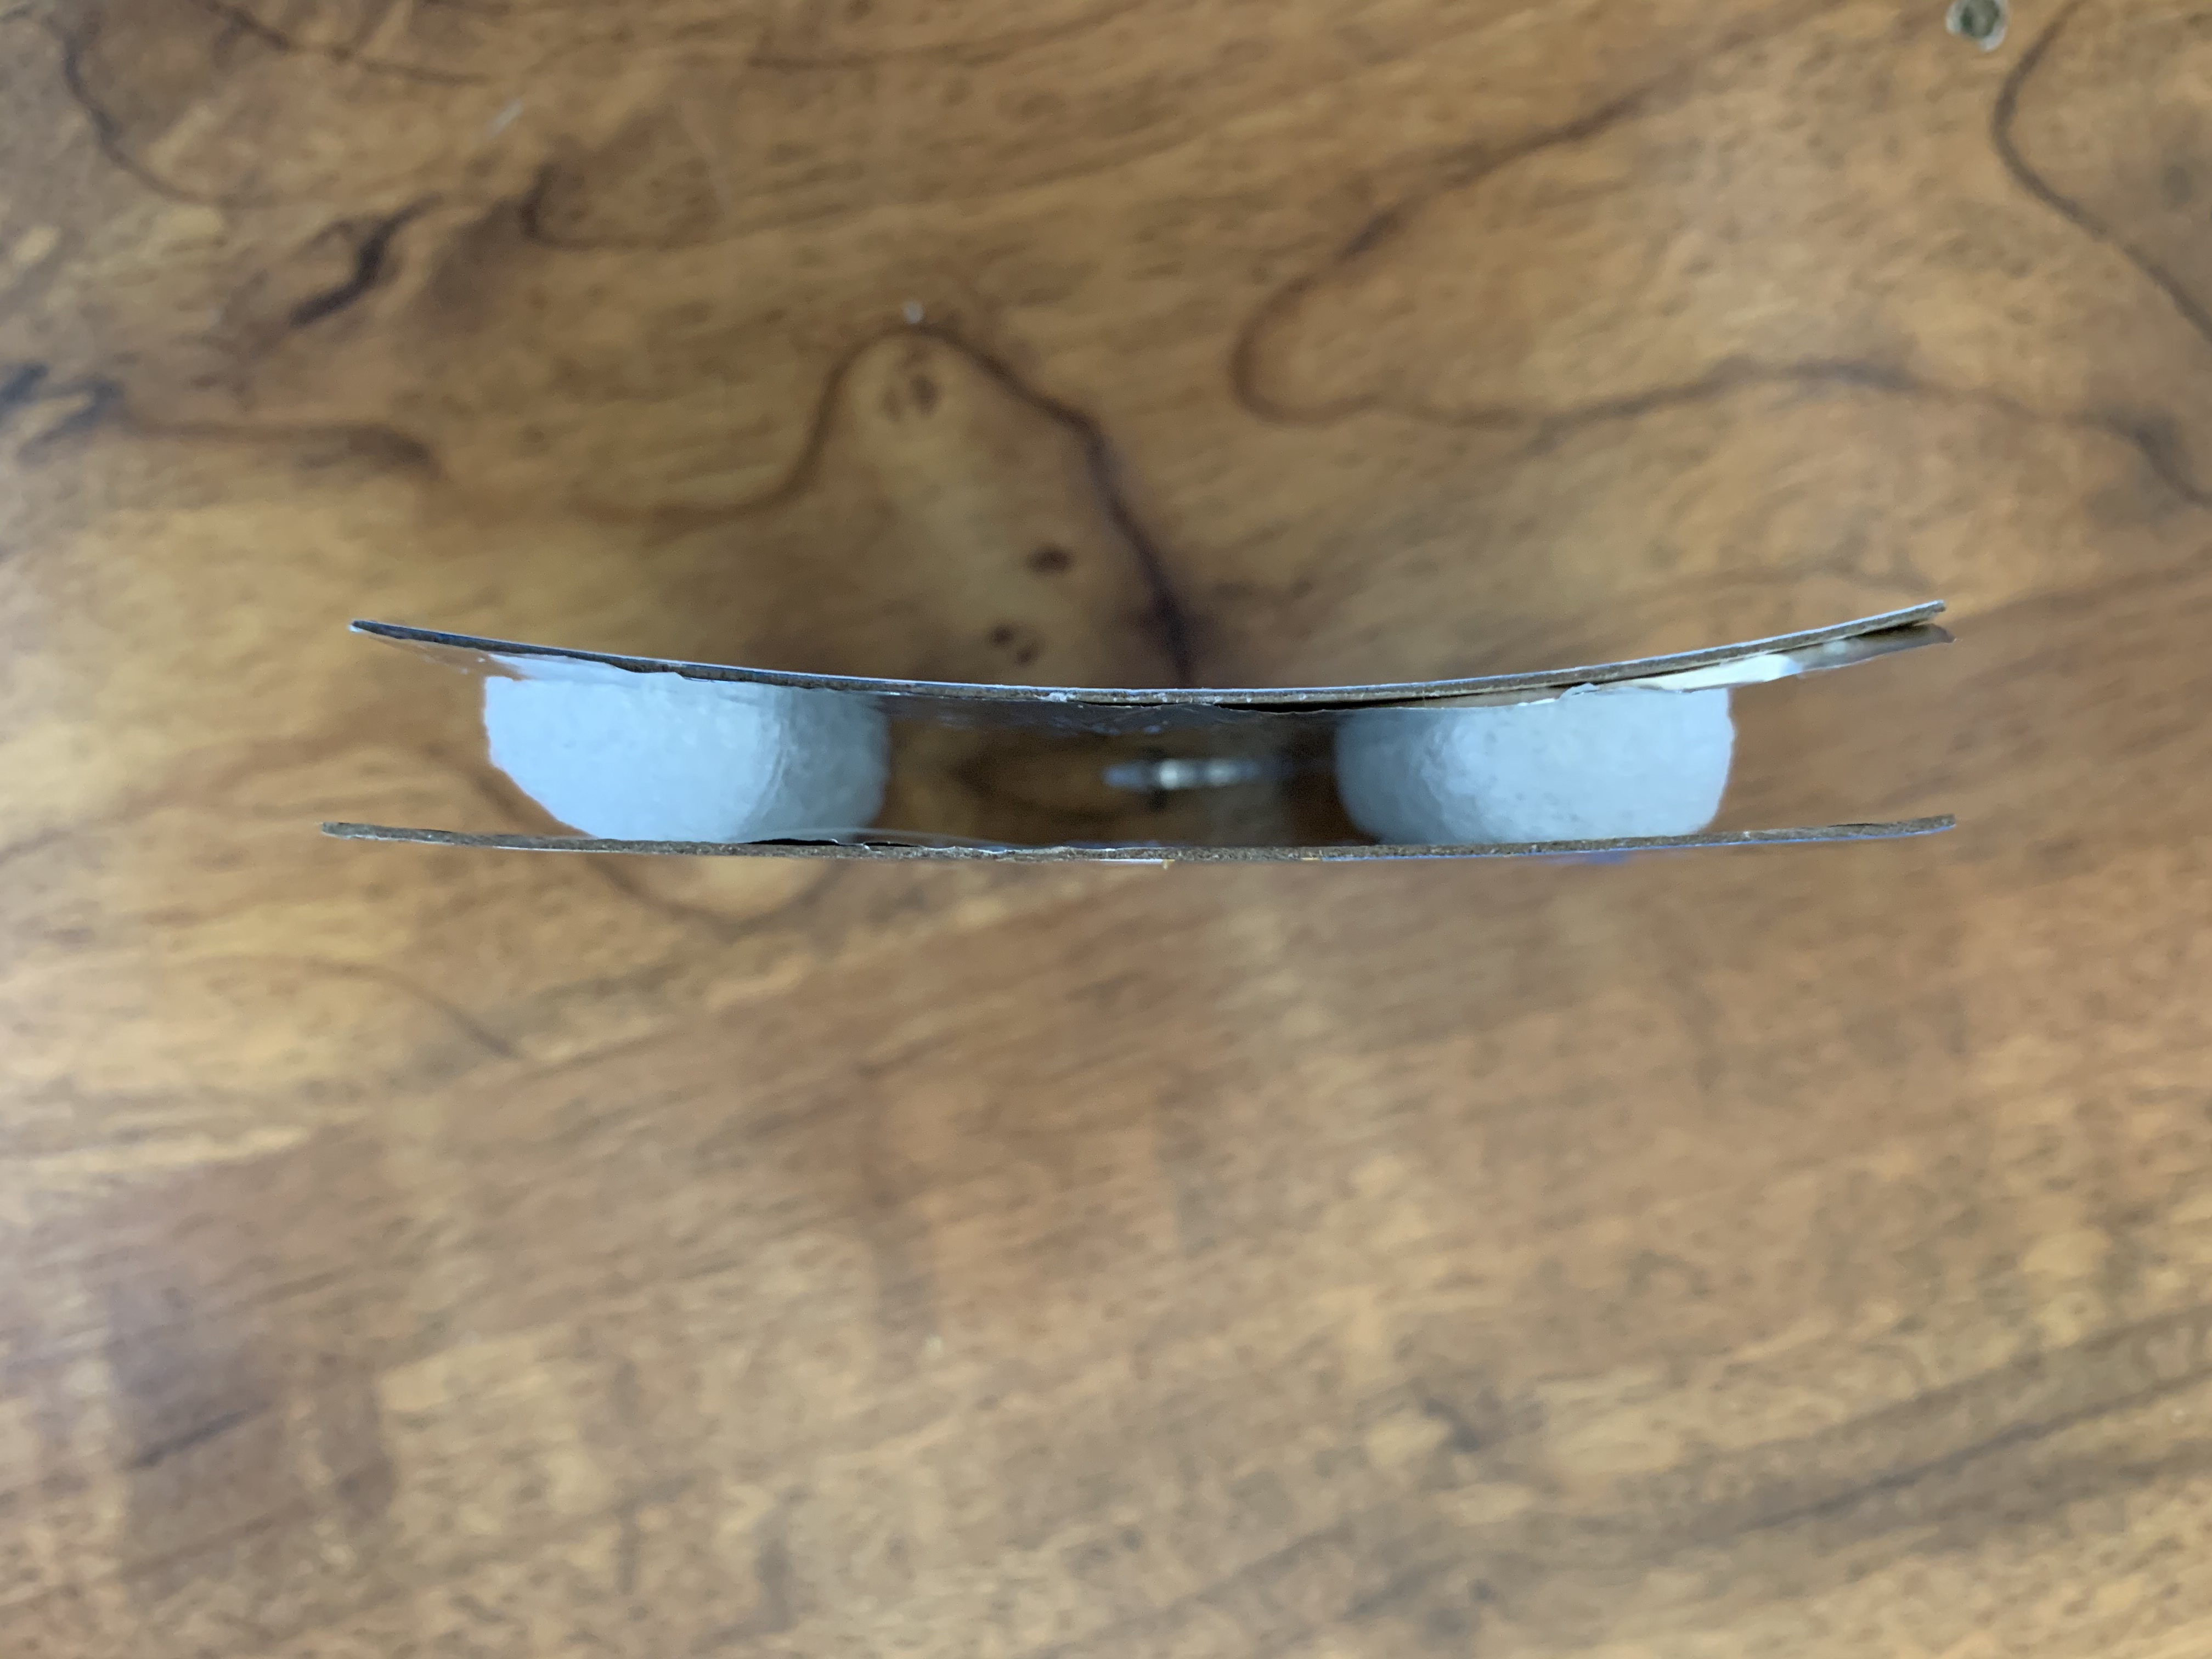
1. Cut out the curriculum printed images.
2. Glue images onto cardboard pieces.
3. Cut matching cardboard pieces that will be assembled to the back of the cardboard with the curriculum image.
4. Cut and glue tin foil pieces to the backs of the curriculum images and the secondary cardboard pieces.
5. Cut packing foam puffs in half lengthwise.
6. Glue gun each half of the foam puff on the tin foiled secondary cardboard piece.
7. Glue gun the tops of the foam puffs and quickly adhere the curriculum image cardboard piece.
8. Repeat the steps until all curriculum printed images are assembled.
9. Option to assemble the cardboard pieces using elastics.
Assembling the Activity Pad
.jpg)
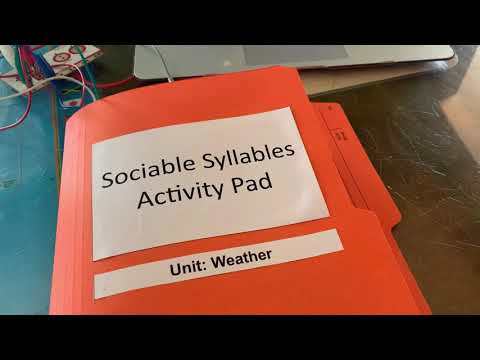
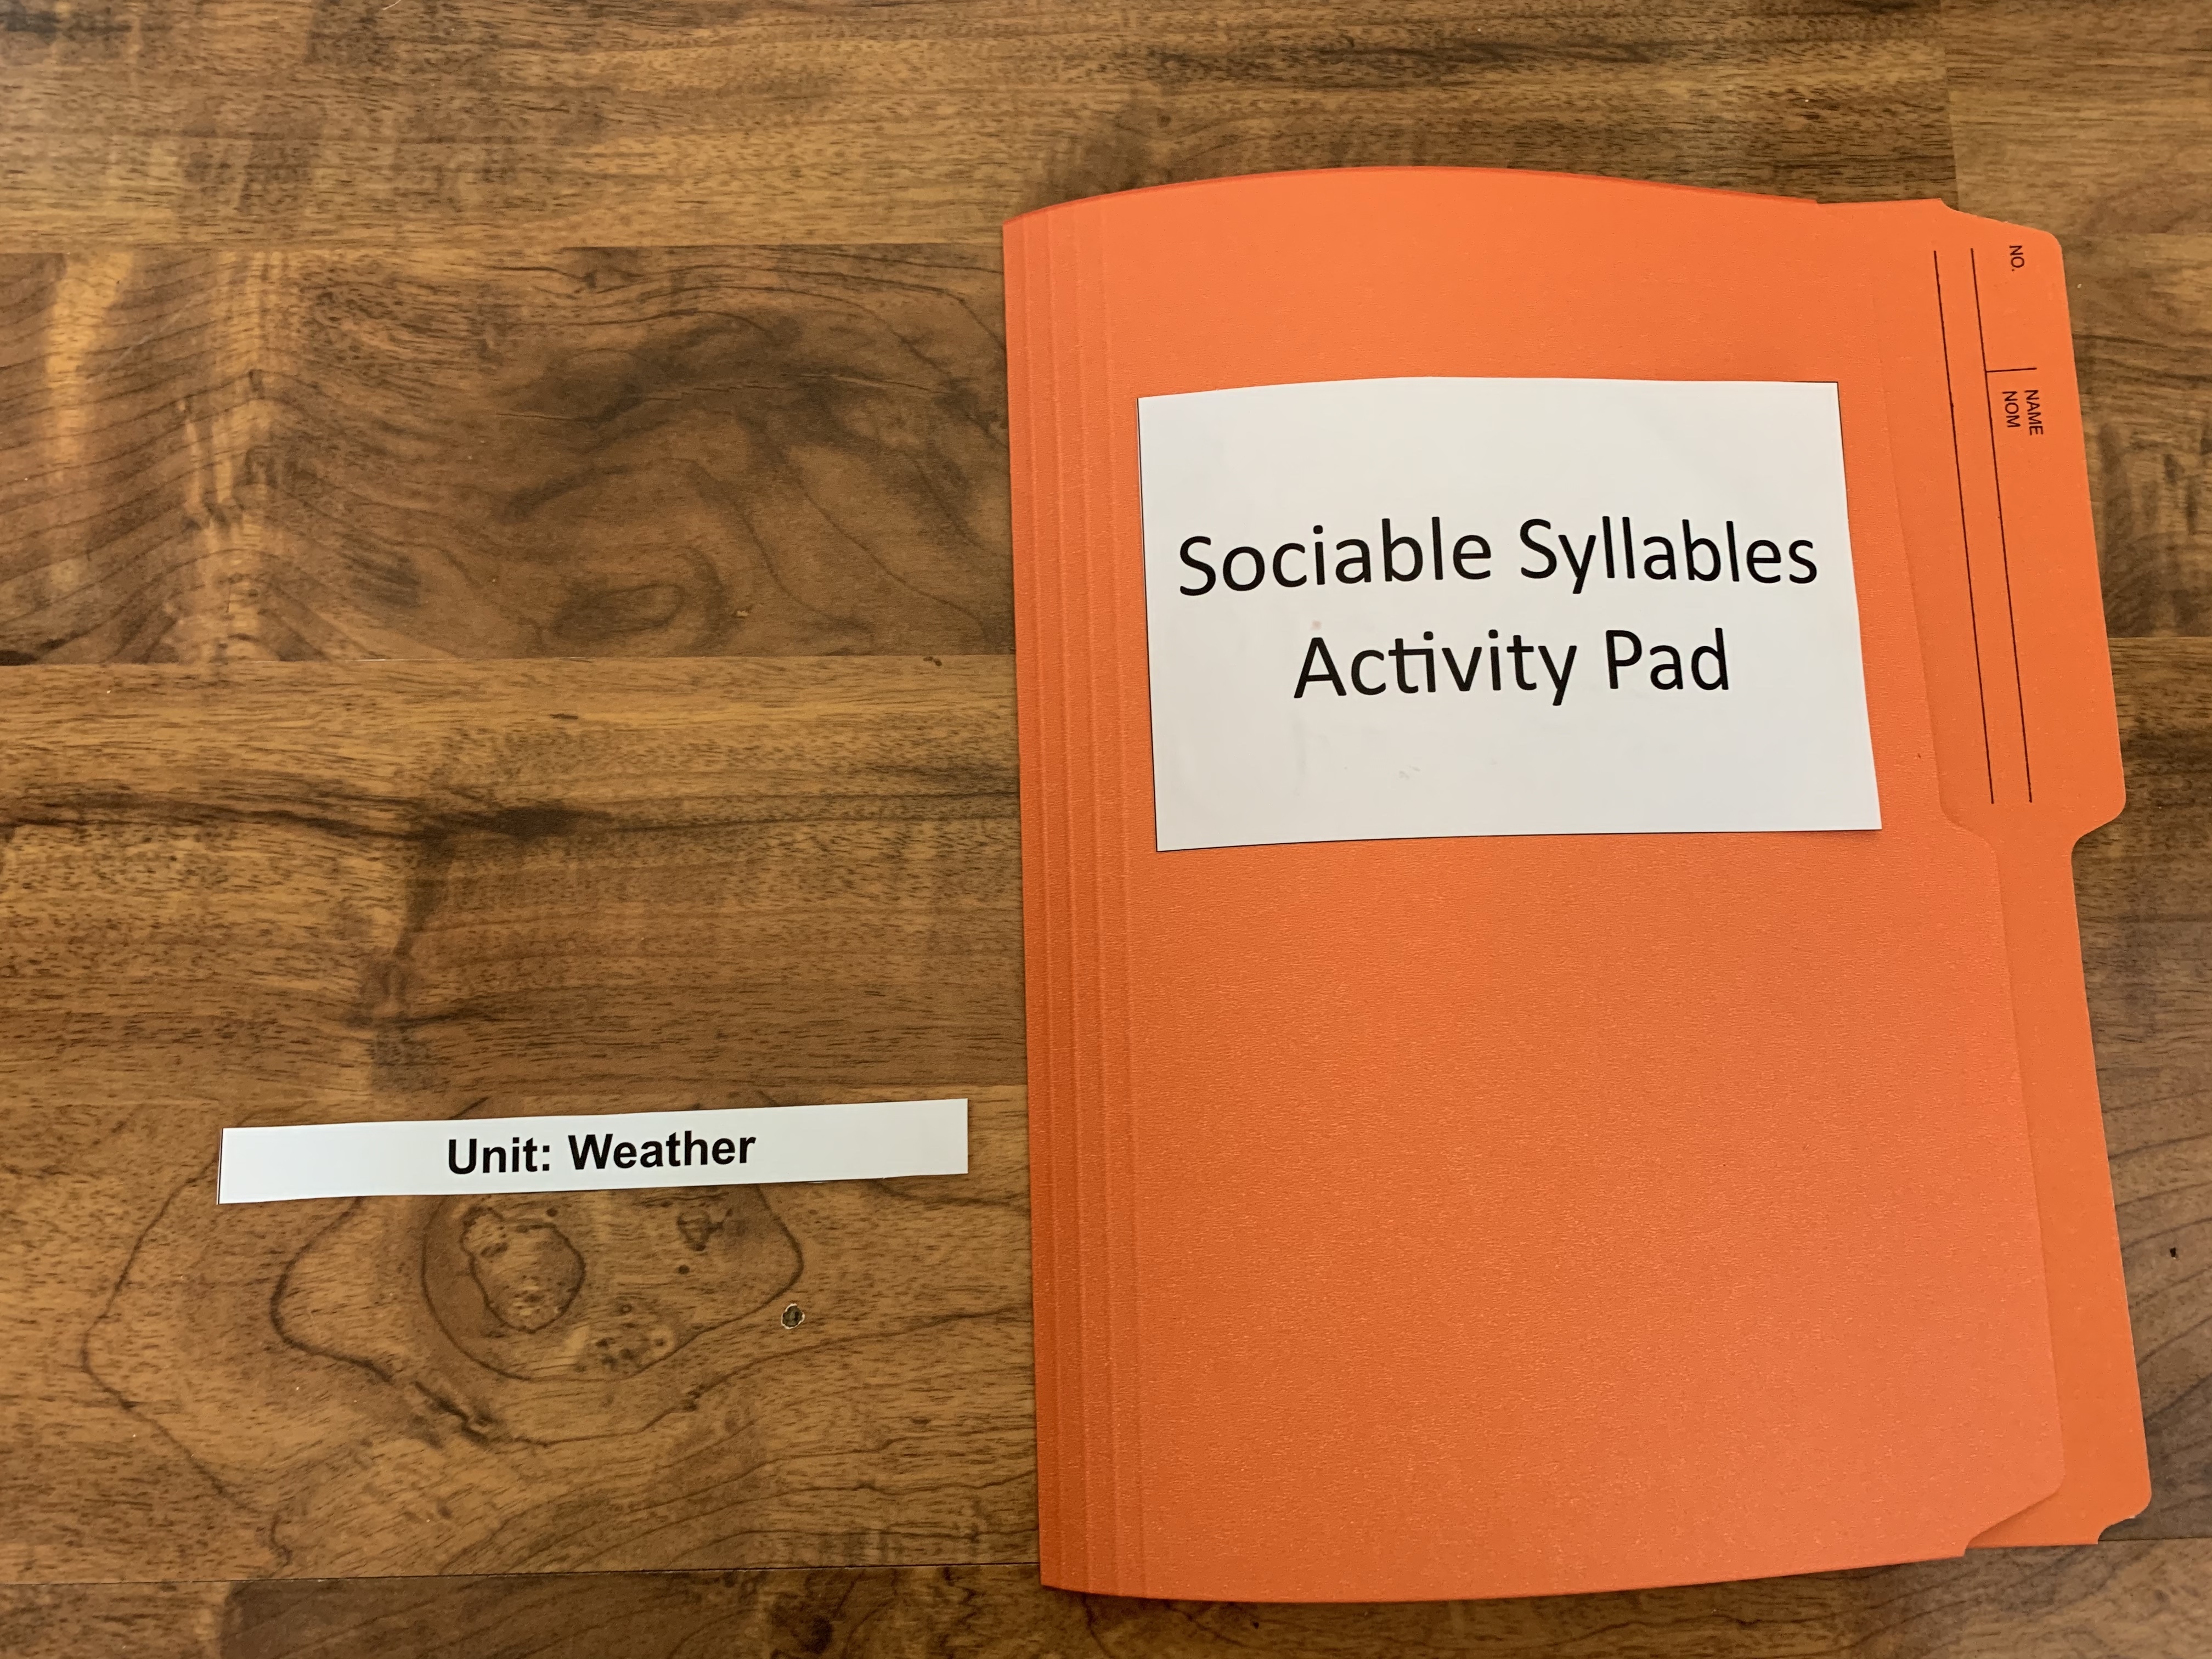
1. Glue the Title Cover on the front of the file folder.
2. Option to add the Unit of Study and glue it on the cover.
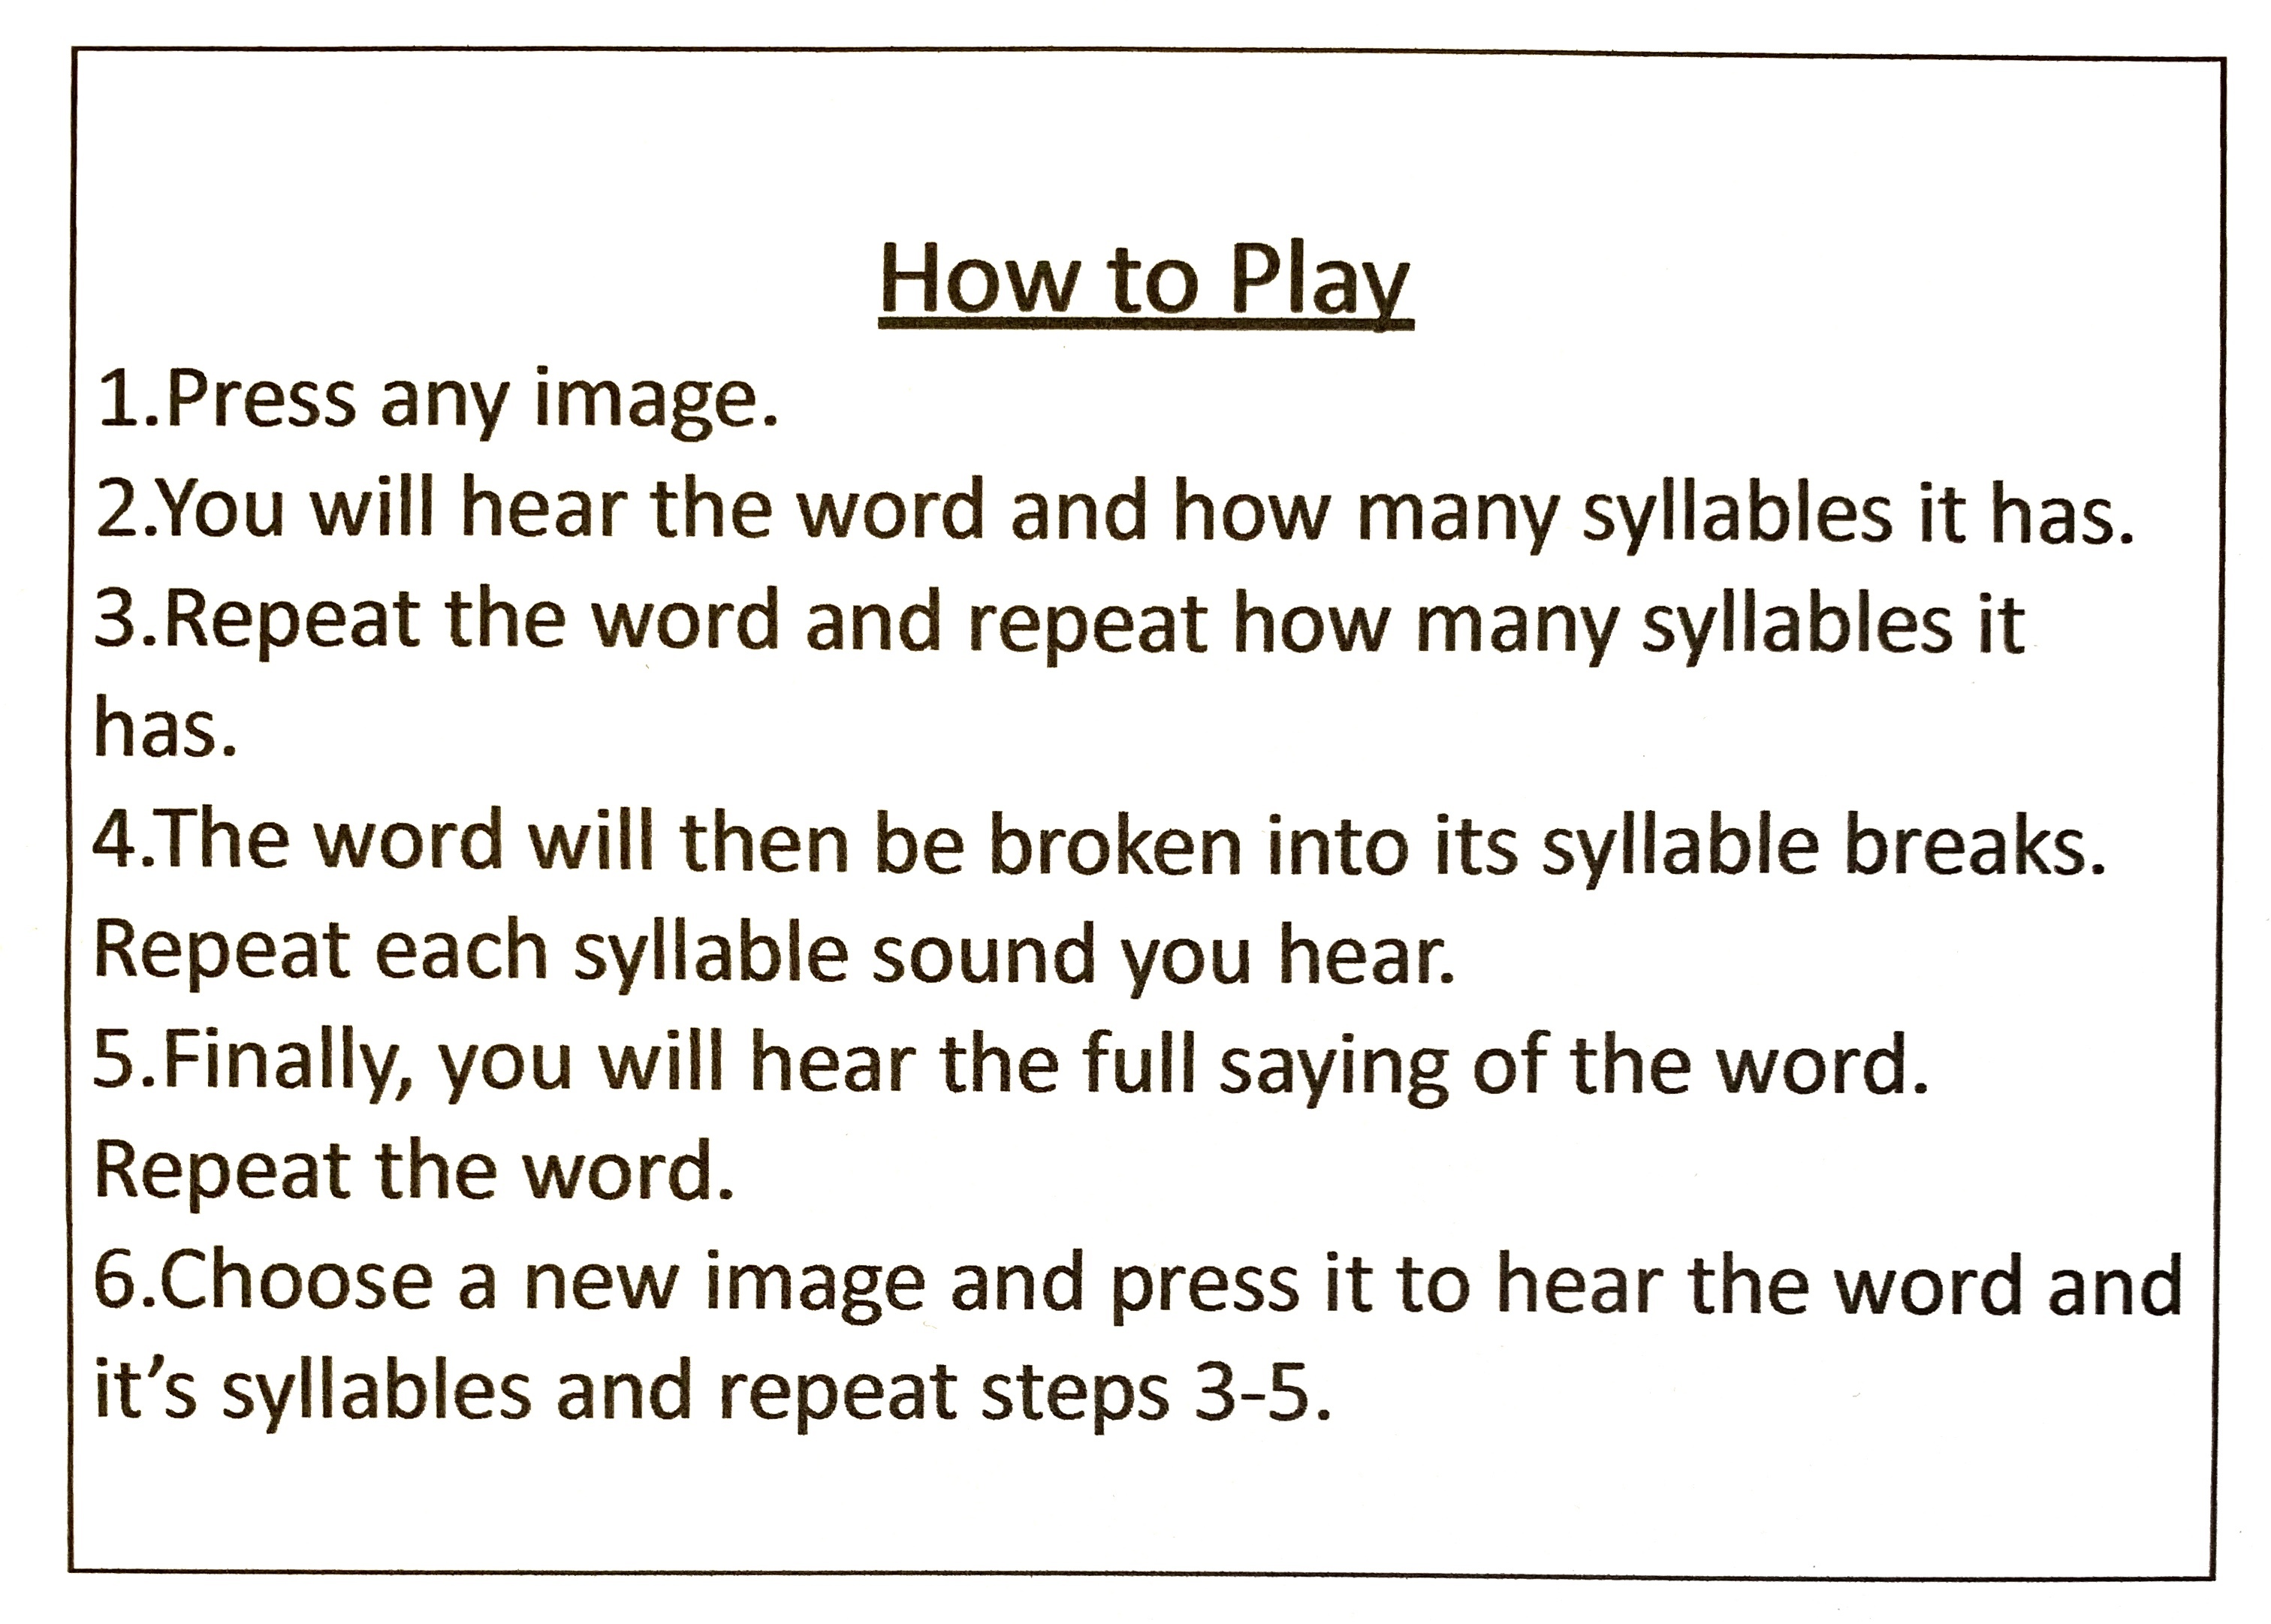
3. Open the file folder and glue the How To Play instructions on the left side of folder.
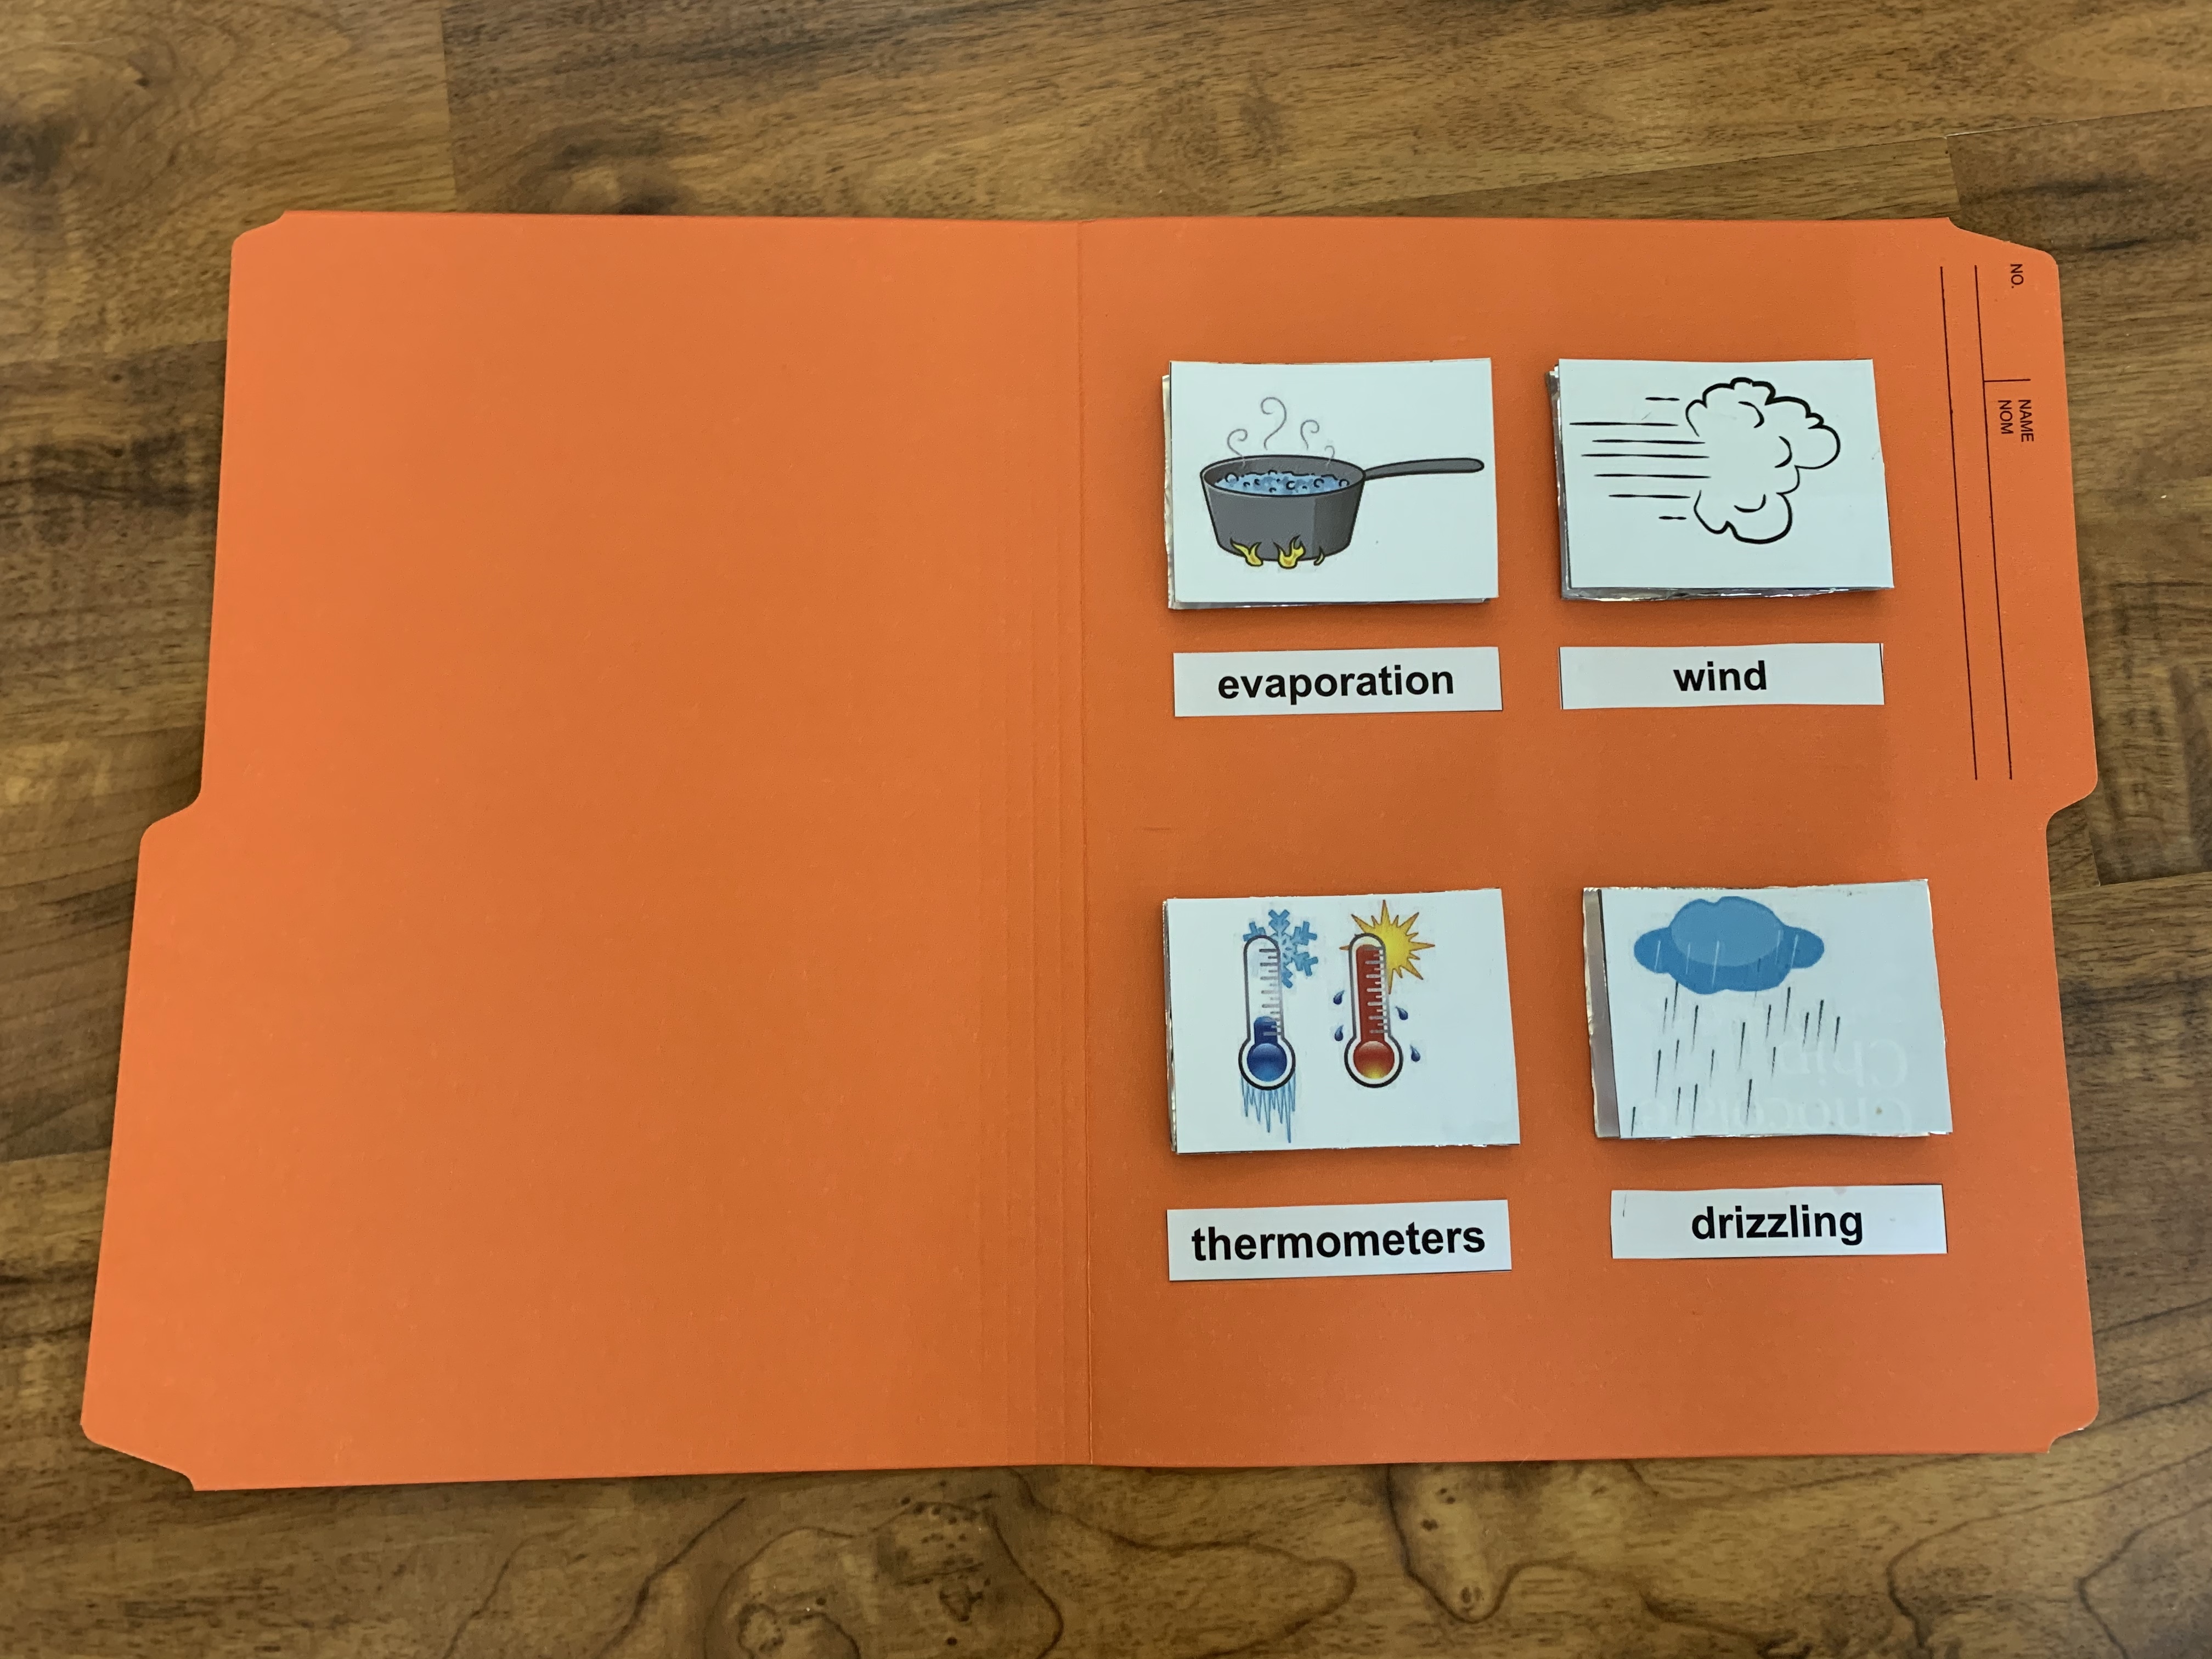
4. Position and glue the 4 curricular image pressure switches and matching vocabulary words on the right side of folder.
Assembling Makey Makey to Activity Pad
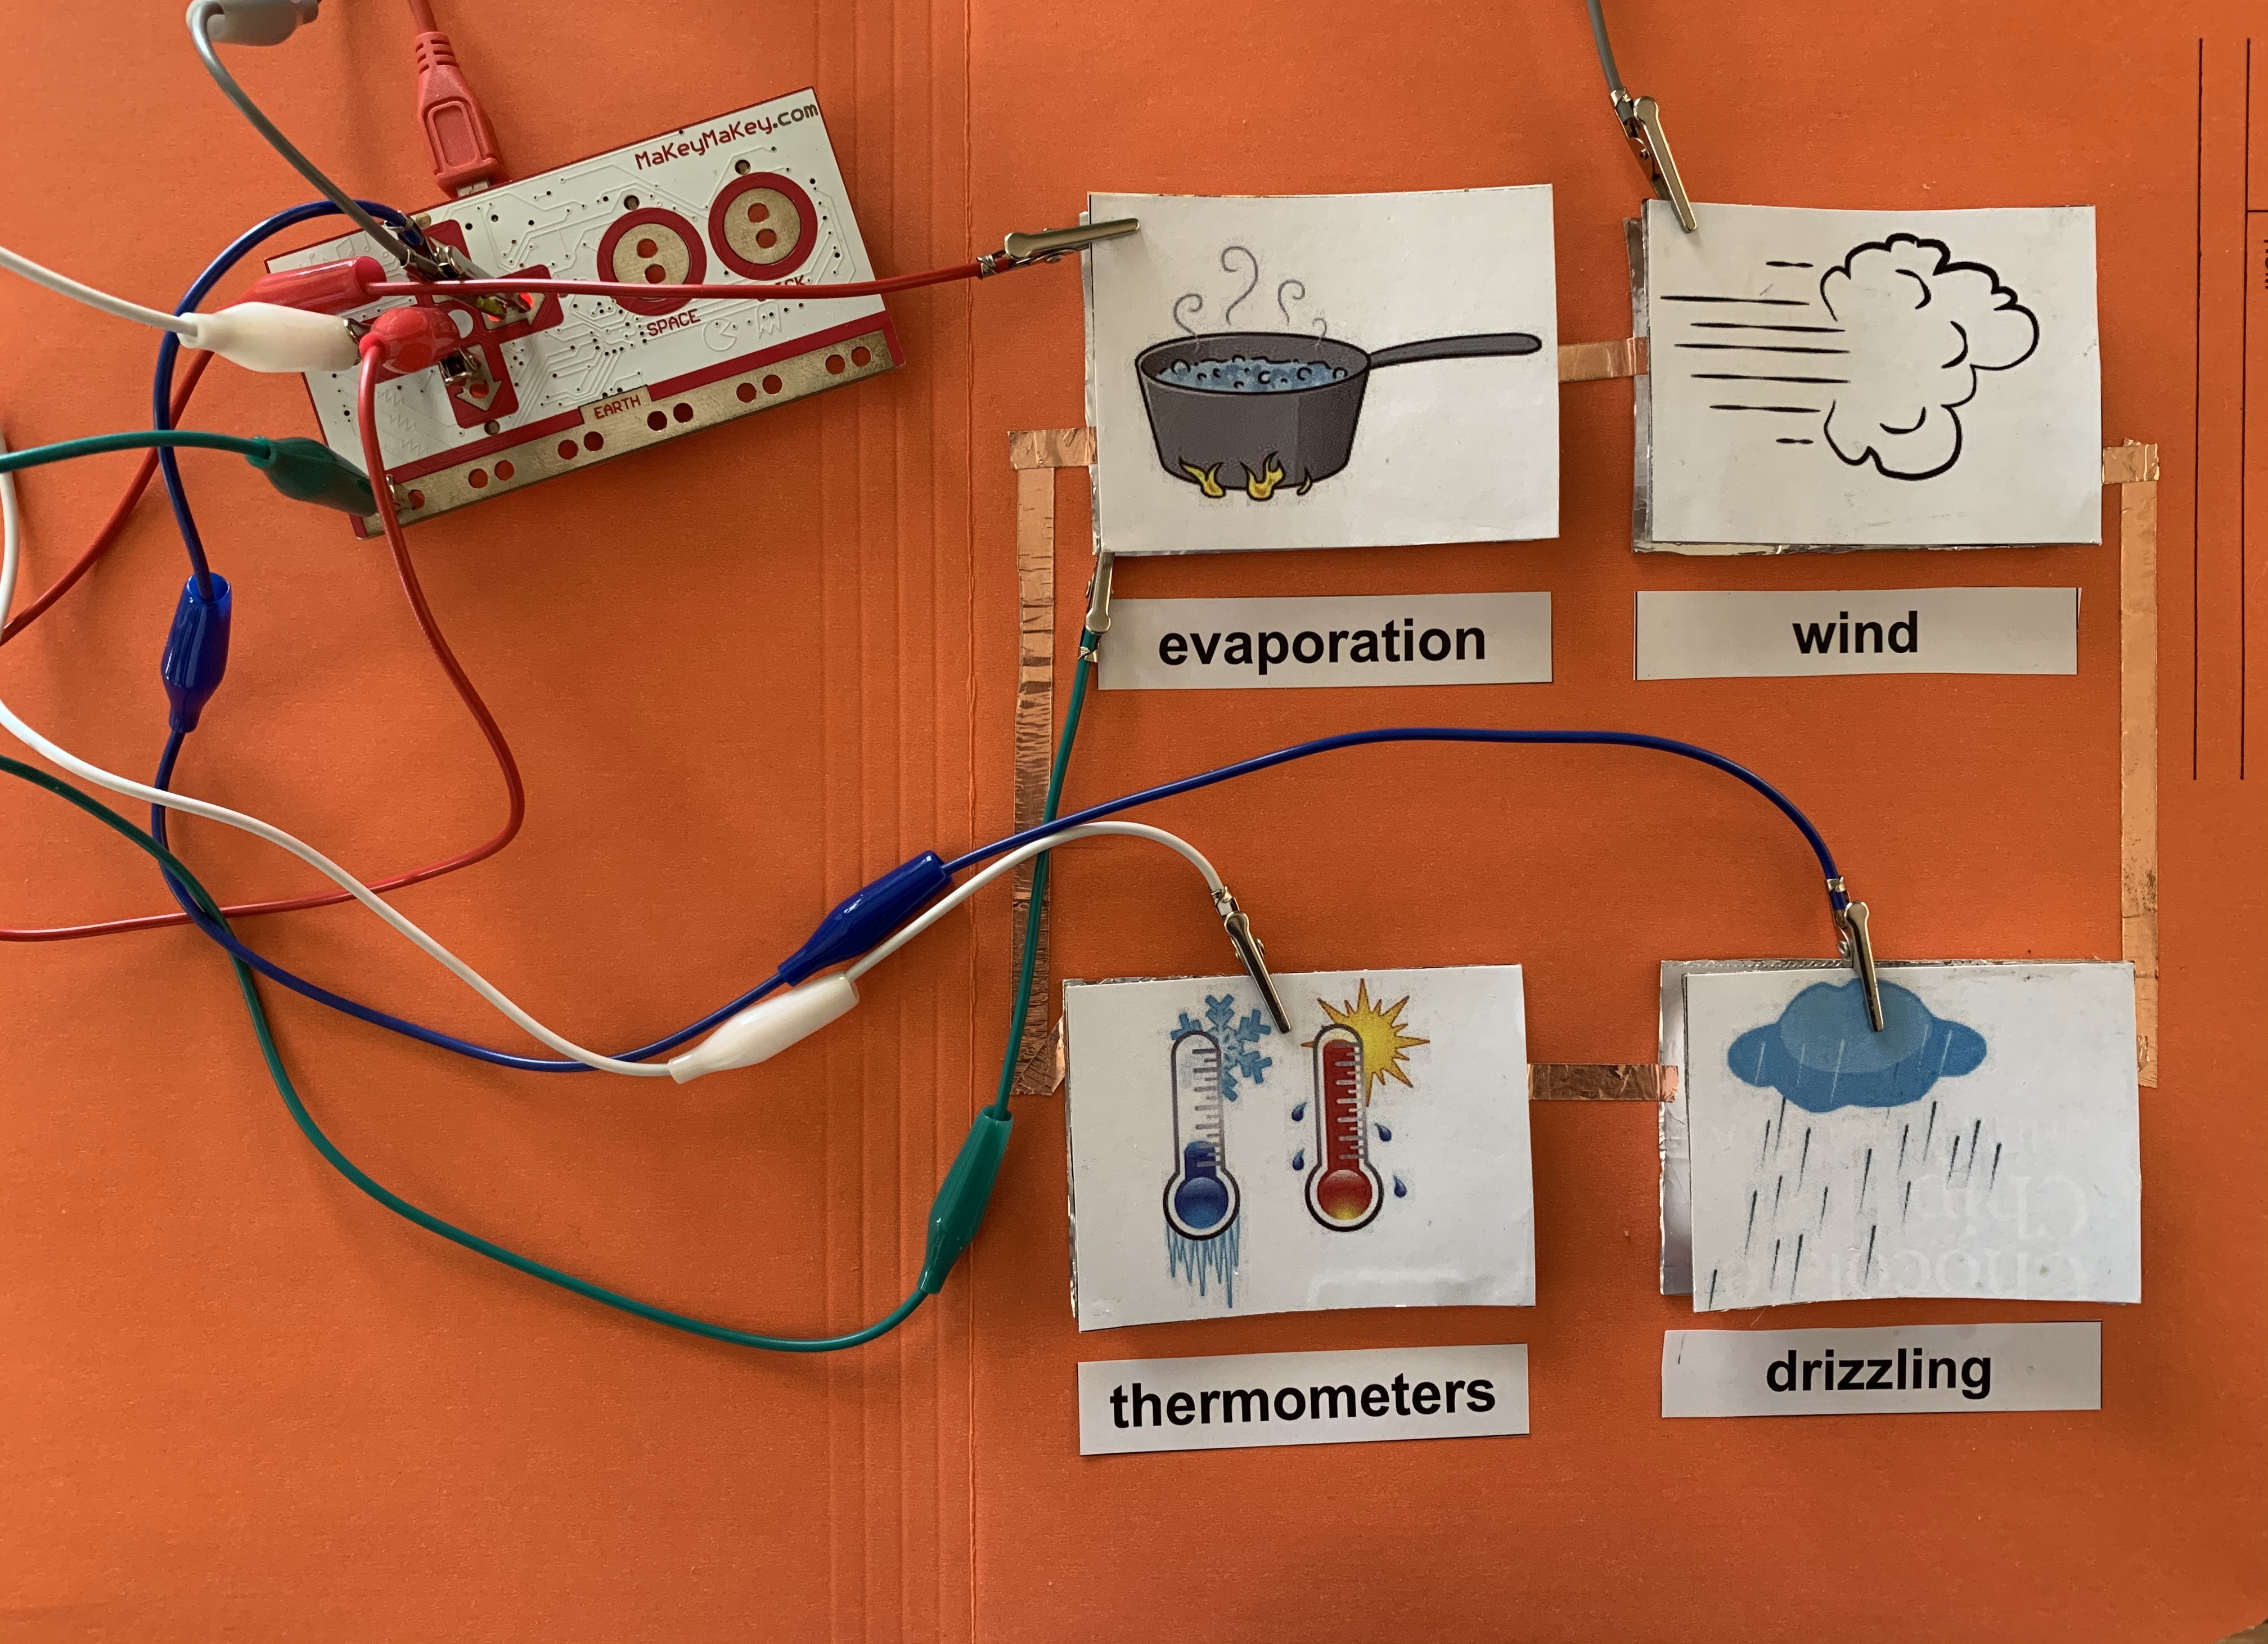
1. Using copper tape (or tin foil), adhere a path from image to image to make a full circuit, ensuring that the tape connects with the bottoms of each of the pressure switches.
2. Attach one end of an alligator clip to Earth on the Makey Makey and the other end to the top left image. The clip must be on the bottom piece of the pressure switch.
3. Attach another alligator clip to the top of the left image. The clip must be on the upper piece of the pressure switch. Choose a command on the Makey Makey to attach the end of the alligator clip. For my example, I used the up/down/left/right commands.
4. Repeat attaching an alligator clip to each of the remaining 3 images with the clip being on the upper piece of each of the pressure switches. Choose commands on the Makey Makey to attach the end of the alligator clips.
5. Ensure the red cord is plugged into Makey Makey and into the computer.
Coding Makey Makey Using Scratch
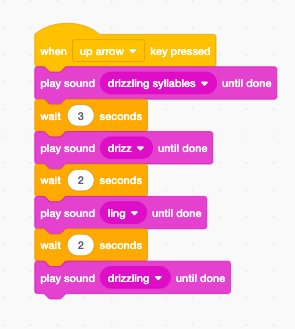
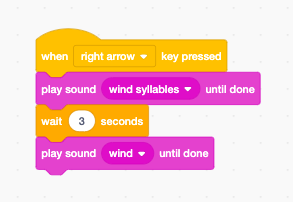
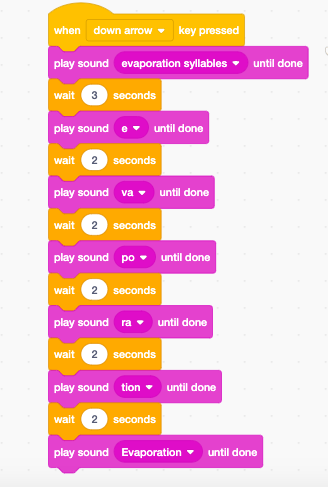
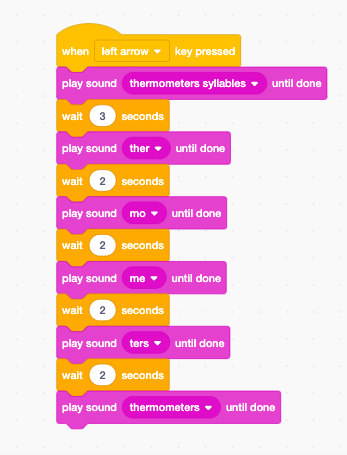
1. Login to Scratch or create a new account.
2. Click on Create to code a new Scratch script.
3. The variables used were Events and Sound.
4. I recorded my voice to say the word and how many syllables the word had.
5. I then recorded each syllable and allowed for a 2 second wait in between syllable.
6. Finally, I recorded the full word.
6. As students press on each of the images, they would hear me talk, and repeat what they hear each time to reinforce words they would come across in the unit. The visuals on the Sociable Syllables Activity Pad would help them recall words and help them with their word endings as they have to pronounce words correctly from beginning to end.
Click here for the project page on Scratch.
Student Demo
