Snowy Paper Christmas Tree
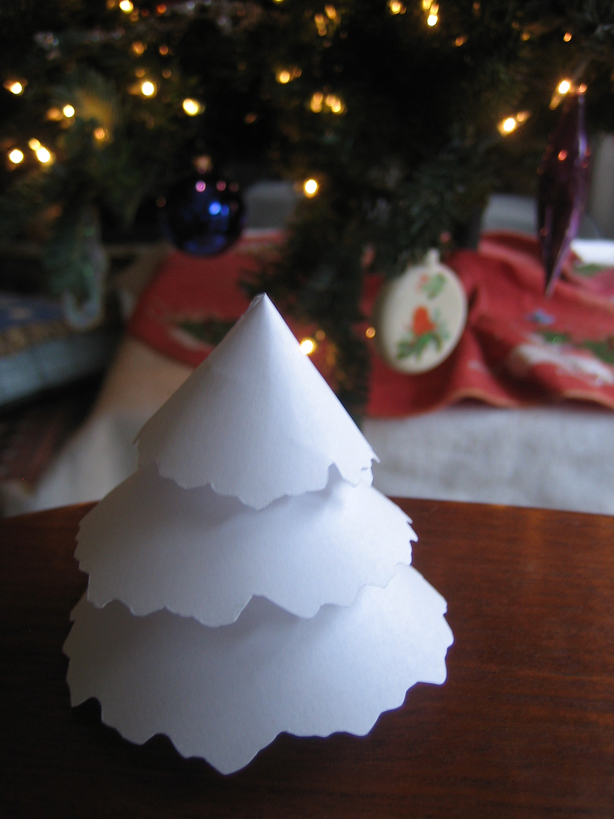
I saw this on a magazine cover someplace last year, and I thought it was too simple and cute to pass up. This was sort of done by the seat of my pants, but it looked like a good place to start for my first Instructable.
Don't worry about the number of steps in this; it's not complicated, I'm just trying to be thorough.
Don't worry about the number of steps in this; it's not complicated, I'm just trying to be thorough.
Materials
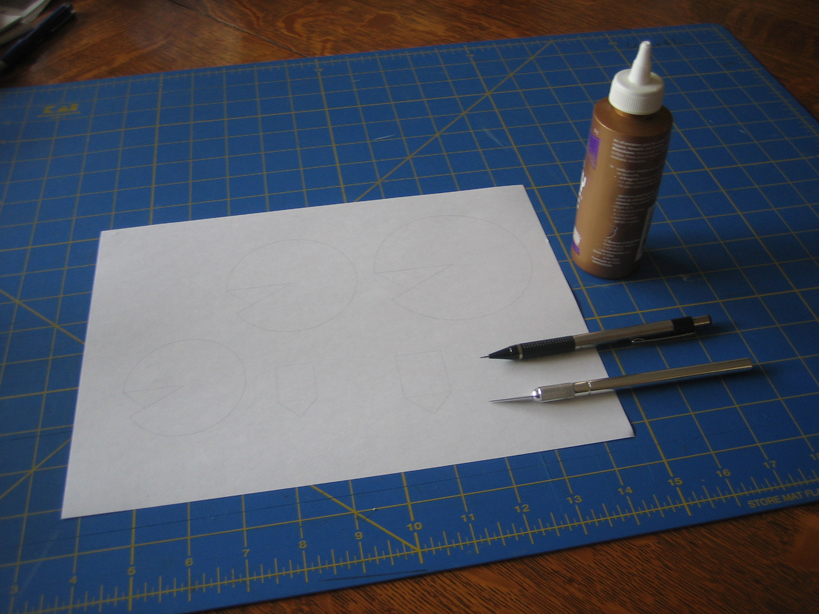
This doesn't take a whole lot:
1) Paper - plain ol' printer paper should do just fine.
2) A Writing Implement - something that can leave light marks. I used a 0.5mm pencil.
3) A Cutting Implement - scissors should work fine, but I used an X-Acto knife and a cutting mat to go with it.
4) Glue - I used Tacky Glue, though just about anything for paper should work.
5) Tape (optional) - I used some masking tape in some later steps to check how things fit together before gluing.
The Template
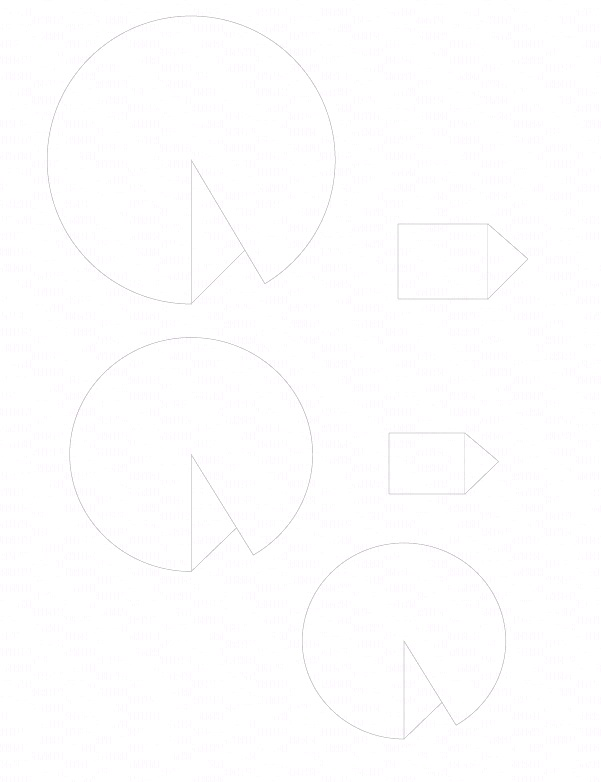
If you're feeling ambitions/lazy, you can just freehand the pattern. In essence, this model is just a few cones with undulating edges stacked on a couple cylinders. For the sake of this tutorial, I made a quick template.
Add the Edge
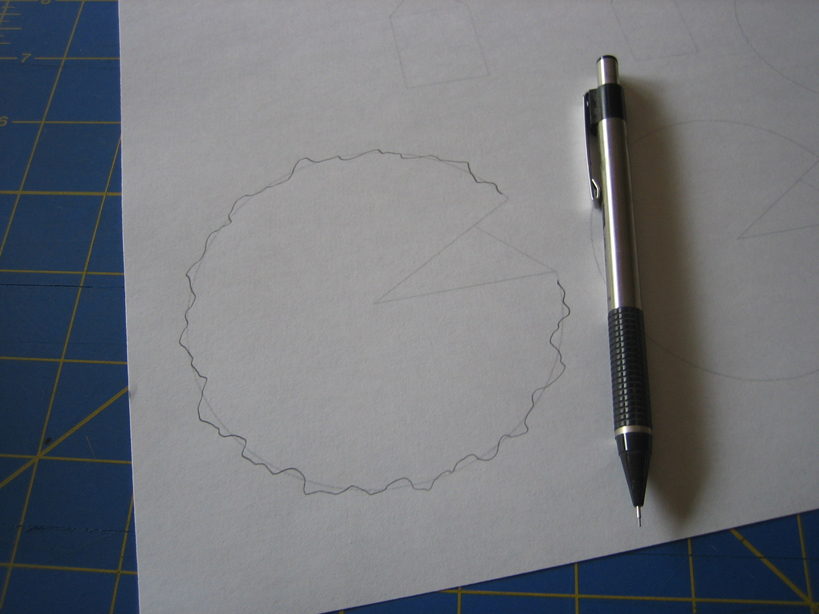
As you can see, the template starts as one for a relatively featureless cone. I'd encourage you draw on the wavy edge yourself to avoid an overly-symmetrical "cookie-cutter" look to the individual parts.
Cut Out the First Layer
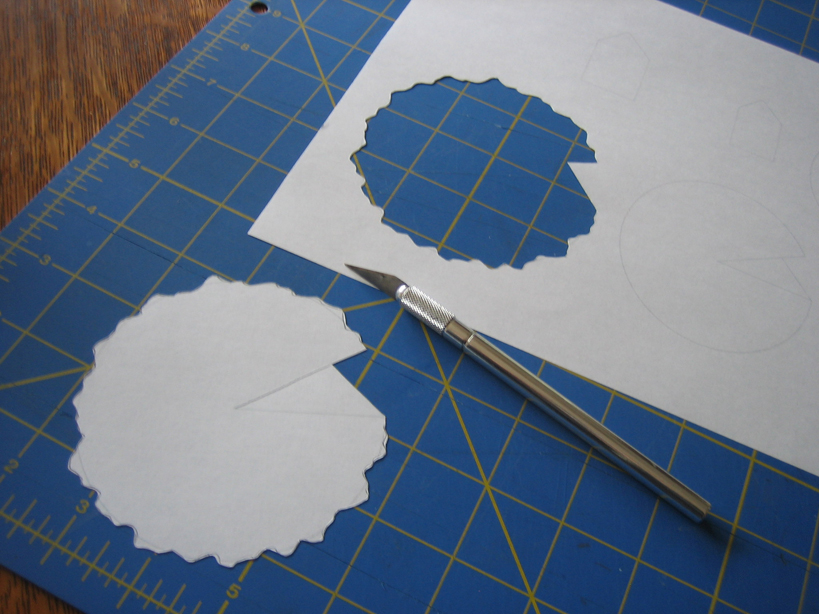
You should end up with a feathered circle with a wedge taken out and a tab in the middle. For those of you making the template from scratch, the final angle of the wedge cutout will determine the angle of the cone.
In this case, I cut it too shallow... but we can fix that later.
In this case, I cut it too shallow... but we can fix that later.
Cut Out the Additional Layers
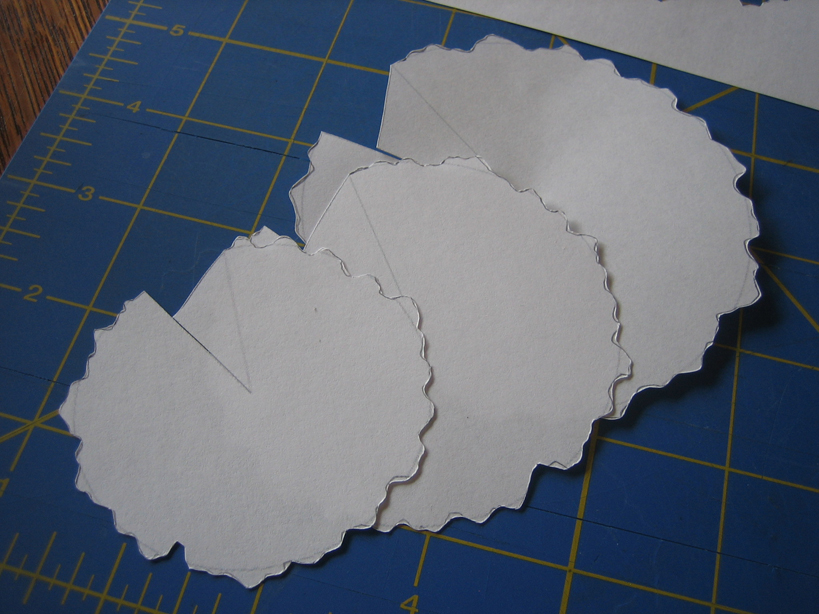
I went with three in this tutorial, though there's nothing really stopping you from making a bunch more...
It may not look like it, but the random edges can make a difference... at least, I think so.
It may not look like it, but the random edges can make a difference... at least, I think so.
Check the Layers Before Gluing
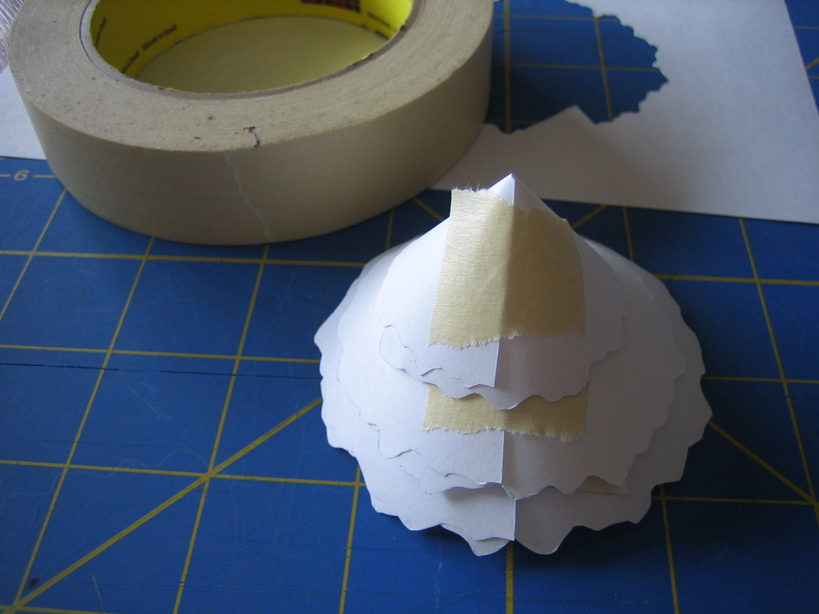
Like I said before, I cut the cones to be way too shallow. It would've looked like a Christmas Tree... that got stepped on by a Hill Ogre or some similarly scrooge-ish giant.
So for this reason, I suggest a "dry fit" before gluing anything in place. It's better to spot your error with tape that's relatively easy to remove than with semi-permanent glue.
The photo fails to illustrate this, but I cut the wedges in the cones at about 30°. After checking with the tape, I went with something near 90°.
Glue the Layers
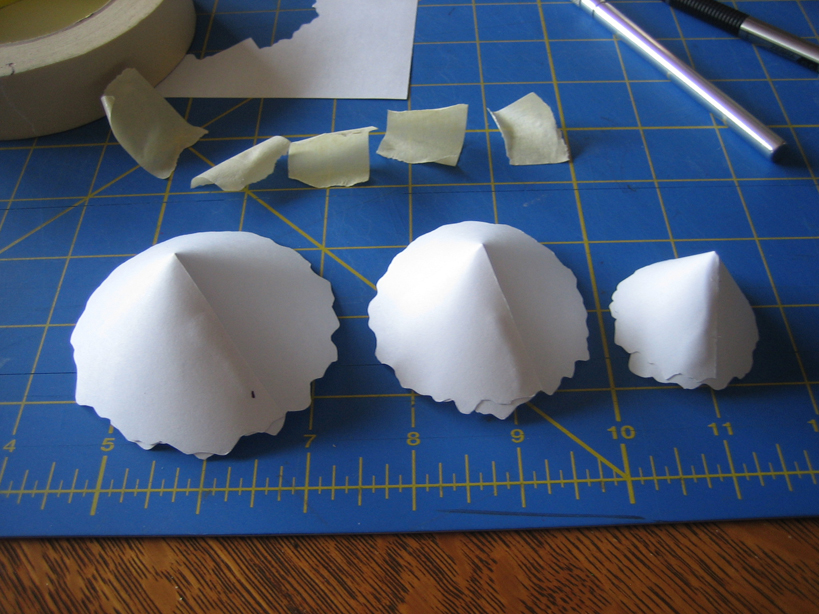
Once you've figured out how steep you want the individual layers, go ahead and glue them closed.
As you can see, there's a seam on each one that is a bit of an eyesore. As I've yet to find a way to eliminate those from paper models, it's probably best to hide those by turning them towards another feature in whatever display you make these for.
The angles don't have to be uniform; If you look closely, you'll see the smallest one is sharper than the others.
Start on the Trunk
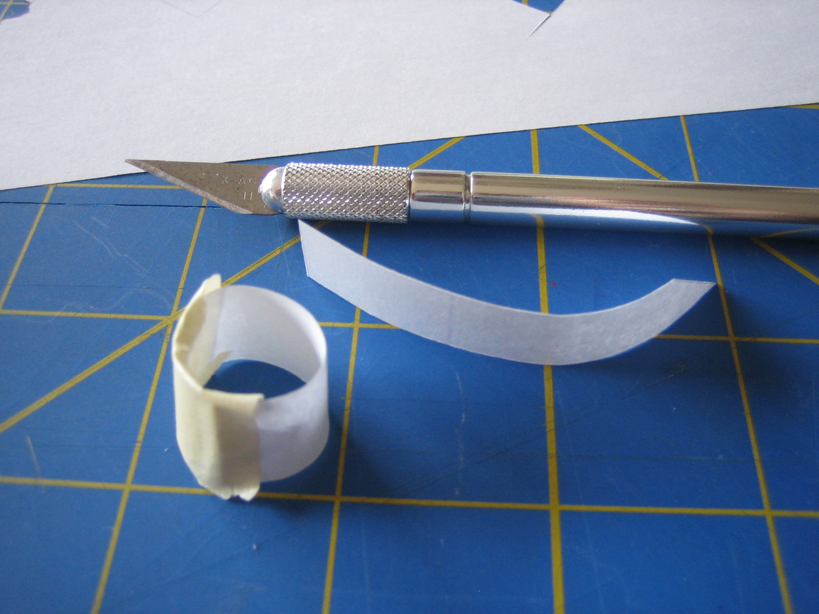
As you could see in a prior step, you shouldn't just drop all the layers on top of each other. This is where the cylindrical parts come in.
This part is just a short, wide cylinder that props up a couple layers. But it's important to get the spacing right; just a little bit should do, but you want it to remain hidden under the branch layers.
I suppose a good formula would be to make it's height about 1/3 the length of the seam on the layer it sits on.
Glue the Trunk to the First Layer
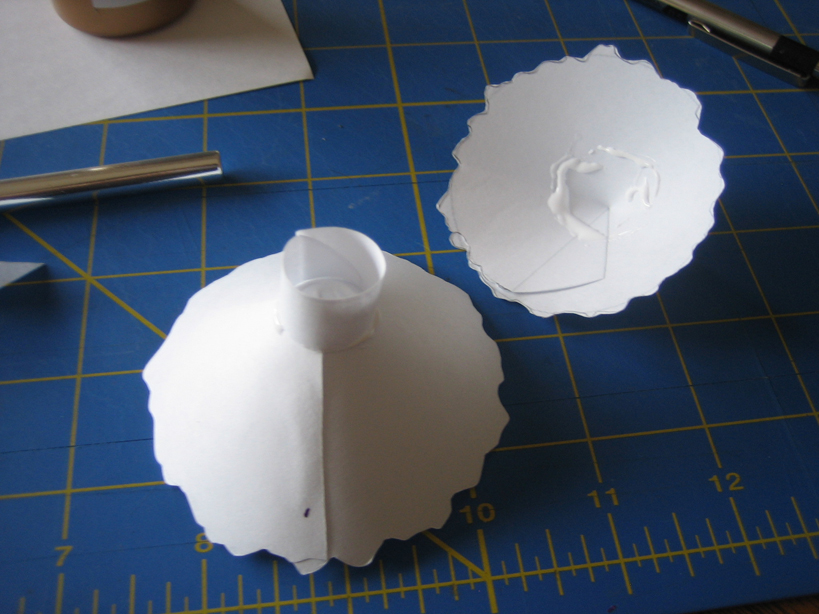
After dry fitting, spread a generous amount of glue on the top of the first layer and the bottom of the second layer. It helps to spread it around and ensure the glue coats the edge of the trunk before setting it to dry. Keep in mind, you won't be able to see both ends when you put the layers together.
Also remember to align the seams at this point. You don't want a bunch of ugly seams radiating in every direction!
Also remember to align the seams at this point. You don't want a bunch of ugly seams radiating in every direction!
Let the Glue Dry and Cut Out the Second Trunk
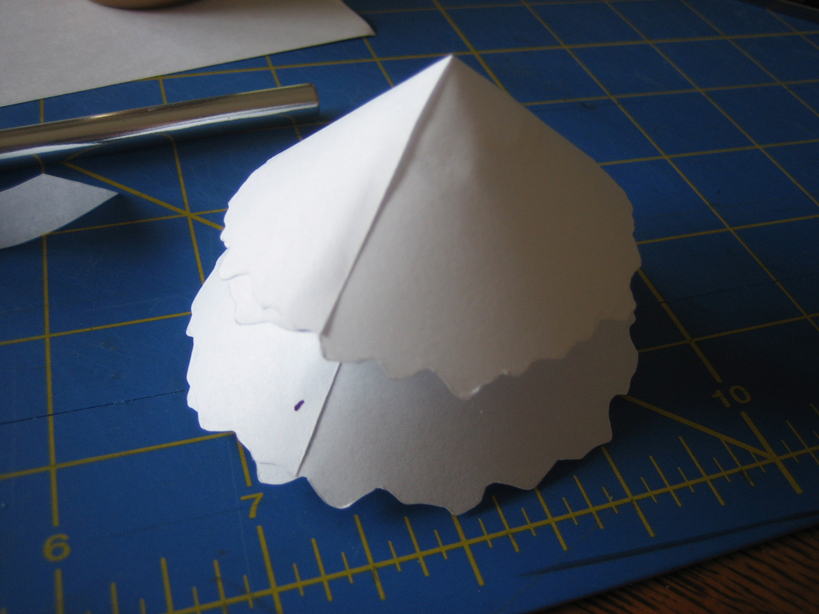
Cut out and glue another trunk while you wait for the first to dry. Again, note how the seams are aligned.
Add the Last Trunk and Layer
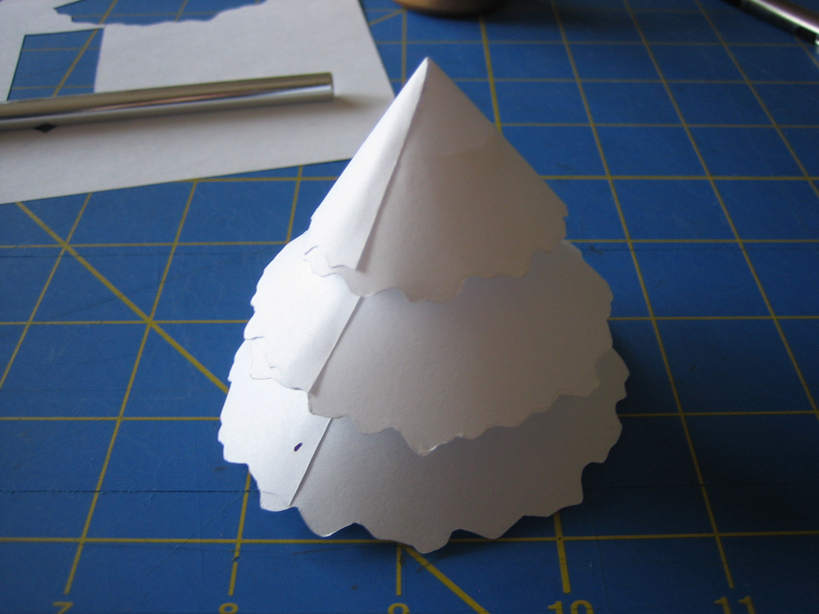
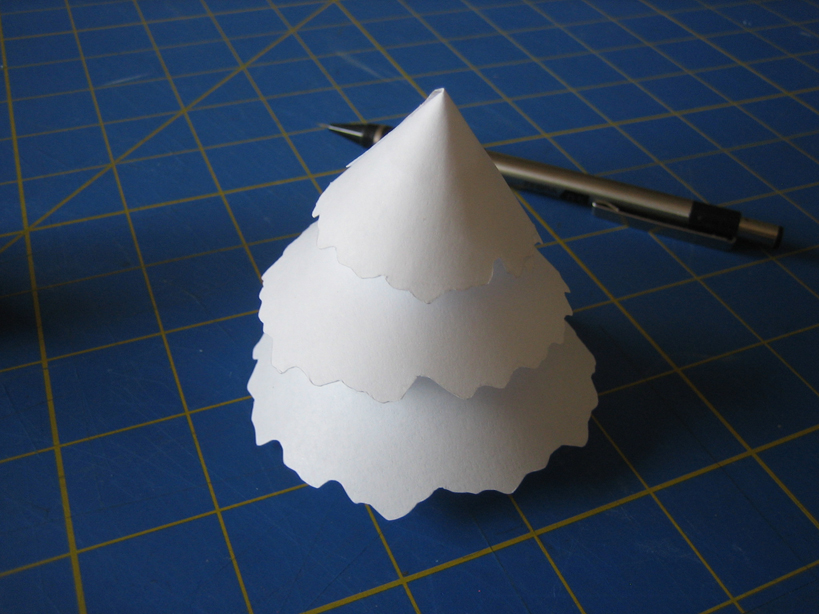
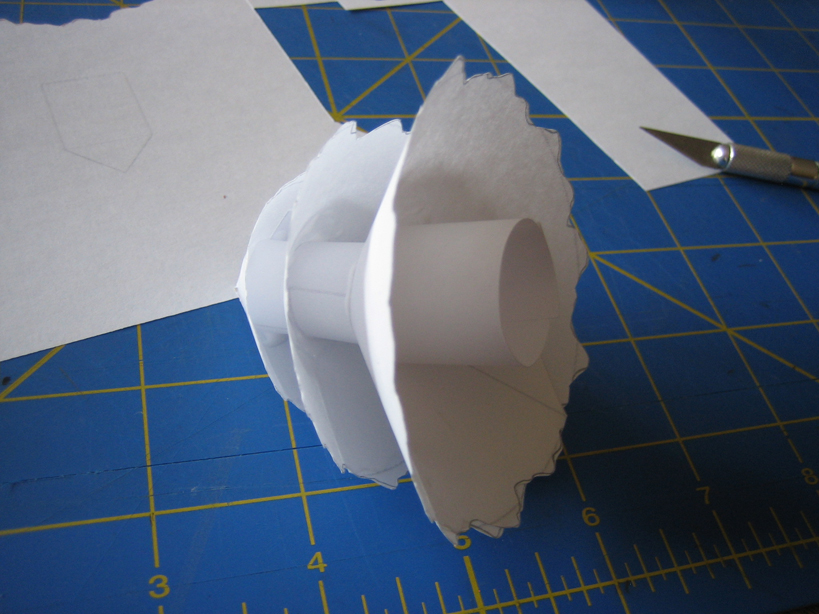
Attach the second trunk and topmost layer like you did before; check to make sure the trunk is hidden, spread the glue generously on both ends, and give it time to dry.
Results and Final Thoughts


And that should be that!
Looking back, there's a lot you can do with this idea. You could use some fancier paper, add decorations, or use more layers (now that I think of it, I think my original run had 4 layers...)
And for reference, each square in the photo is 1".
Looking back, there's a lot you can do with this idea. You could use some fancier paper, add decorations, or use more layers (now that I think of it, I think my original run had 4 layers...)
And for reference, each square in the photo is 1".