Snaxx Tracker (soft-circuit Buttons Connected to Processing & a Web Browser Via Spacebrew)
by Snax_and_Macs in Circuits > Arduino
1073 Views, 1 Favorites, 0 Comments
Snaxx Tracker (soft-circuit Buttons Connected to Processing & a Web Browser Via Spacebrew)
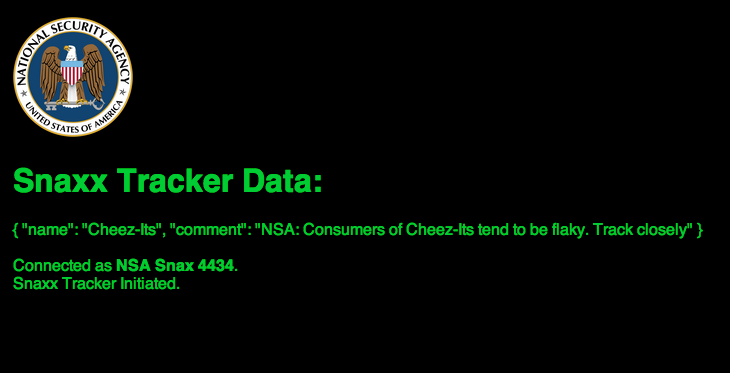
Join us on an exploration of the mundanity of the average meta-data input logged by the National Security Administration. From tampon purchases to large quantities of lentil soup, the NSA knows what you're doing and when you're doing it; your snack purchases are no different. This meta-data is used to create assumptions about who you are and what motivates you. Snaxx Tracker combines soft-circuit buttons, processing, and the web using spacebrew in order to make commentary on this abusive and privileged accumulation of our boring human tendencies. Note, NSA - if you are reading this, we're cool right?
Digital Poets: Joselyn Neon, LuCcCcccccccccc, & Nicole Yi
What the digital poets did?: This project recreates the button pad of a vending machine with soft-circuit buttons and Arduino. The Arduino is uploaded with firmata which allows you to use Arduino in the processing environment. The digital poets created a database of the snacks in the vending machine using JSON. When a certain sequence of buttons are triggered, the processing sketch sends the associated JSON object to the Snaxx Tracker website. The custom data type is this JSON object which is labeled "snack_description" and the values within the JSON are ID, Name, and comment.
Why did the digital poets create the custom data type "snack_description"?: The digital poets needed a data type that contained specific information for each snack in the vending machine; therefore, they created a custom data type called "snack_description" that contains the following information: ID of snack under "ID", name of snack under "name", and comment associated with the snack under "comment." The website displays this JSON object as a string on the browser, replicating how data is stored in NSA on YOU.
Custom Data Type Spec:
-JSON object
-Data type: "snack_description"
-Contents of JSON object: ID, Name, Comment
-ID is the 3-digit code associated with the snack
-Name is the name of the snack
-Comment is the comment associated with the snack
Follow the steps in this intractable to replicate this project!
Materials: felt, copper tape, wire, Arduino, resistors, computers, bread-board, wire cutters, masking tape, processing, text editor
*Note: Make sure to have the spacebrew library uploaded to processing
STEP 1: Create Soft-circuit Buttons
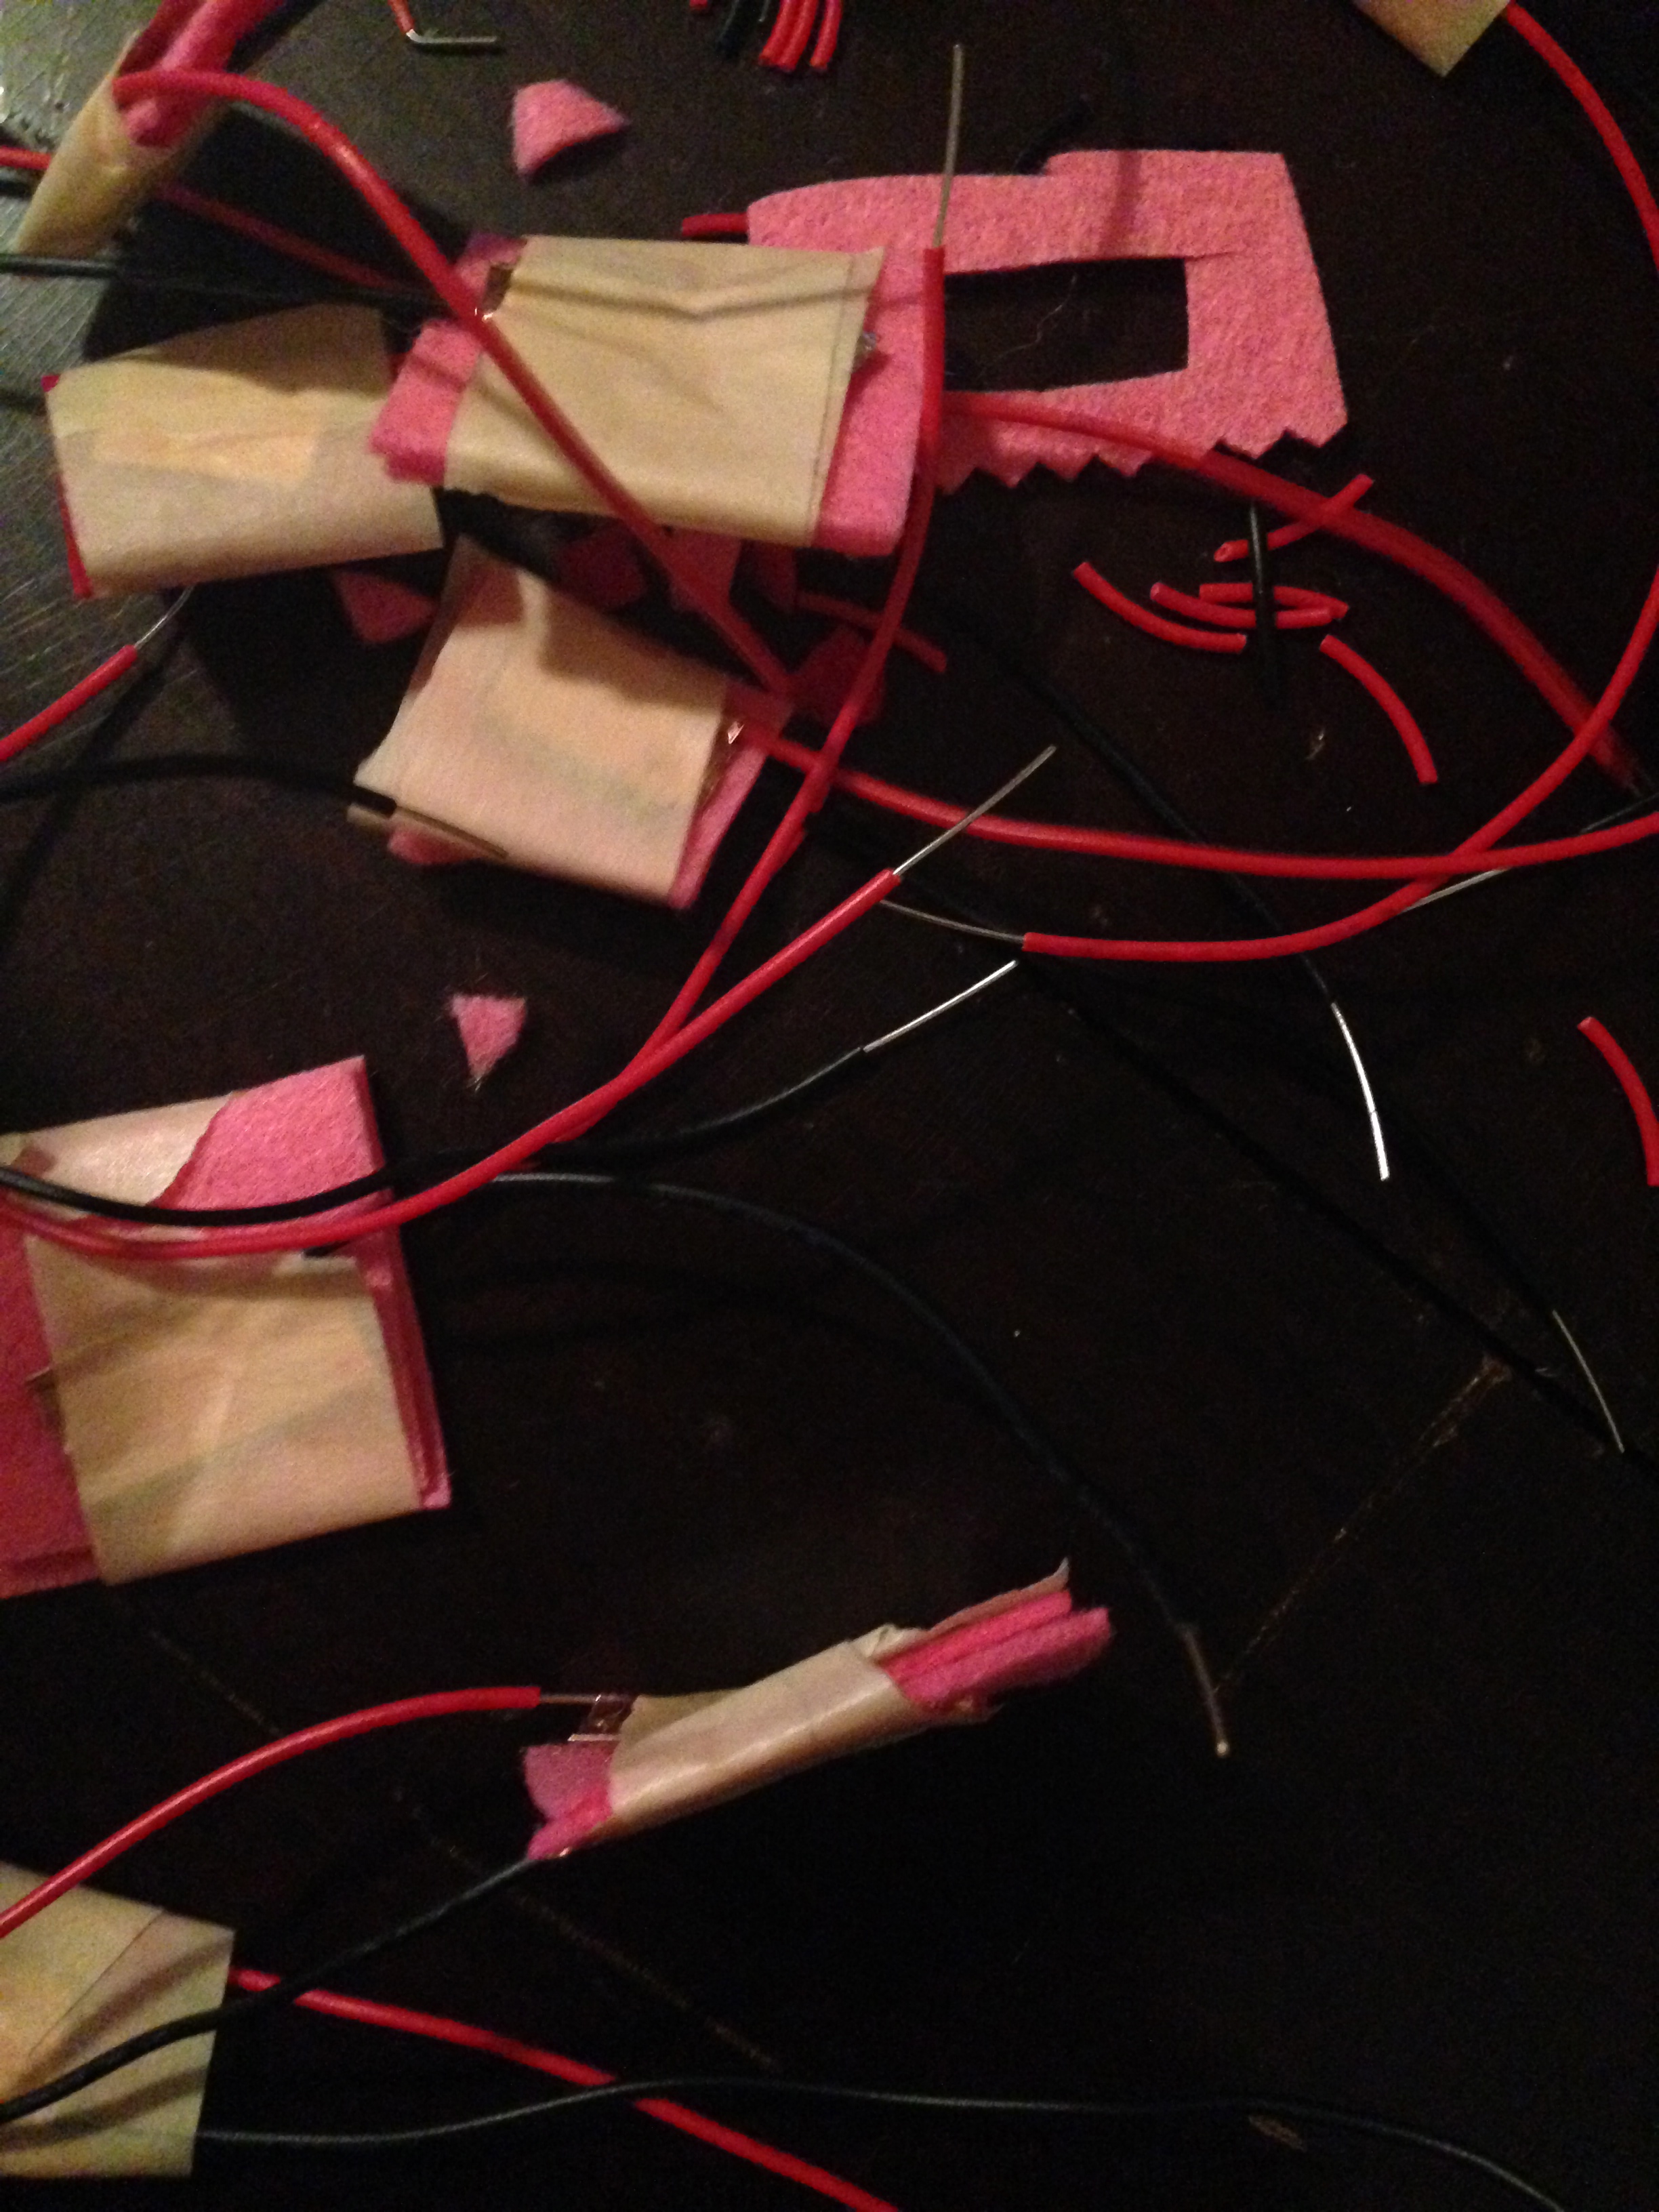
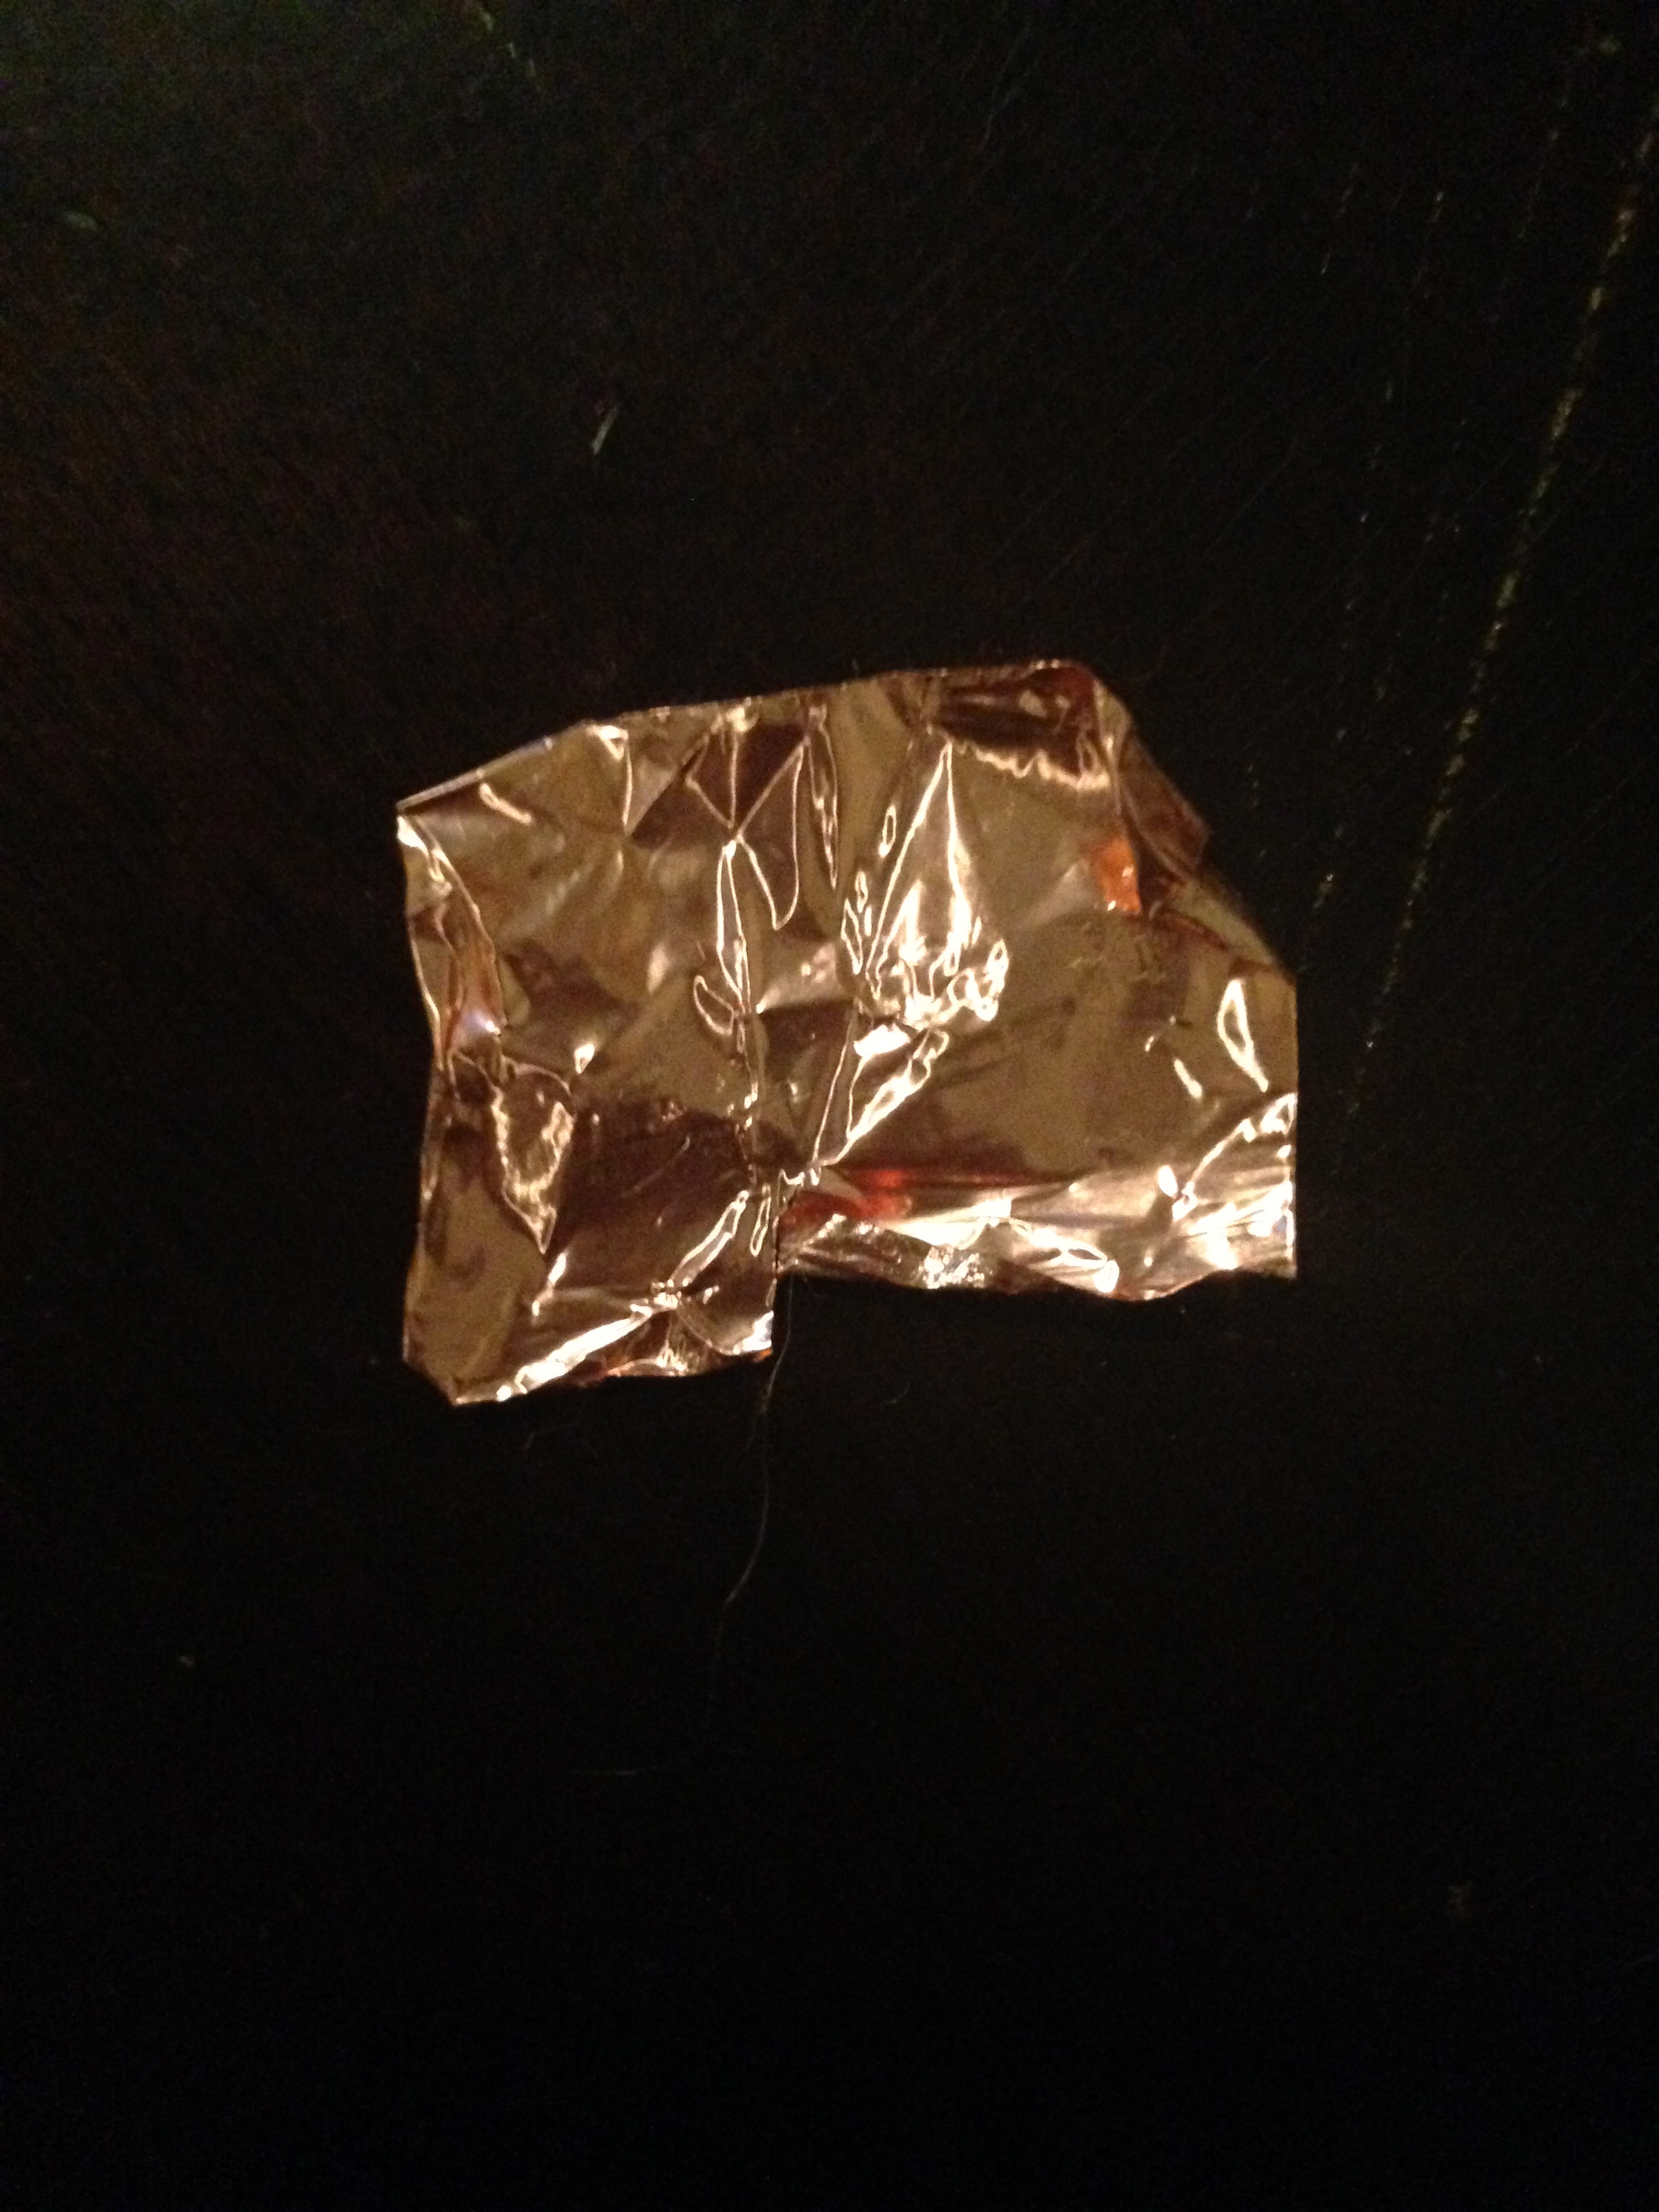
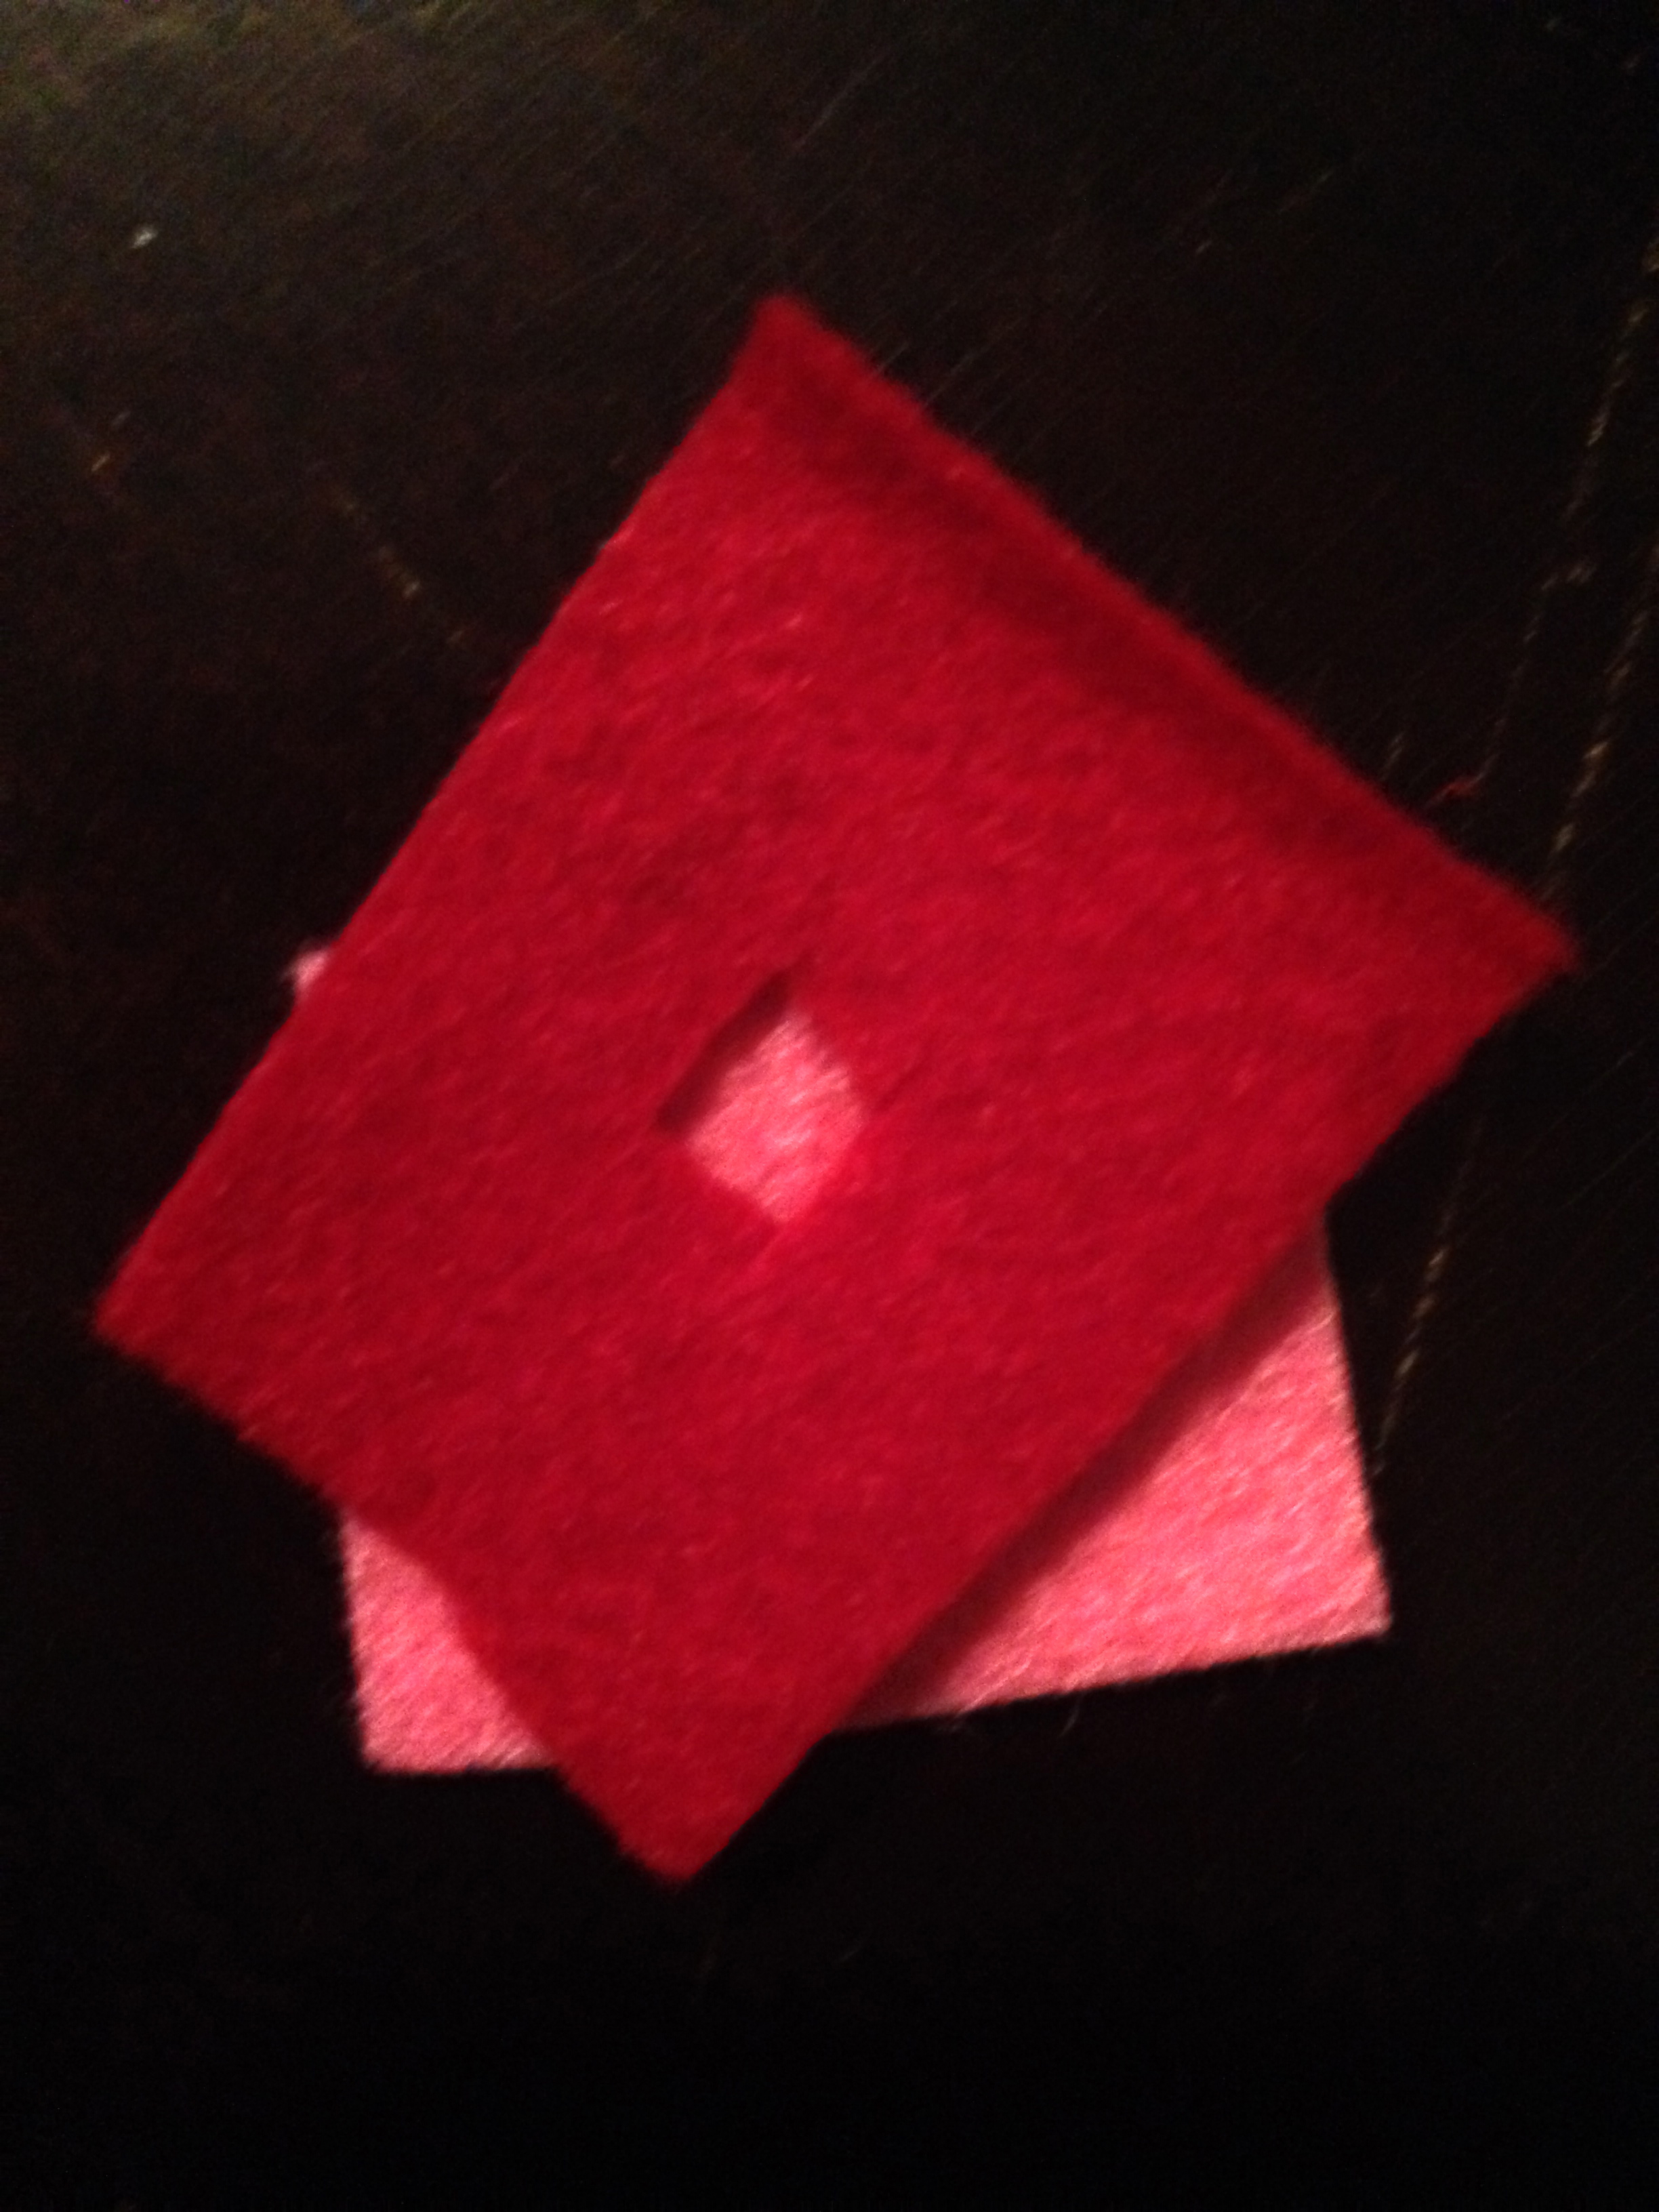
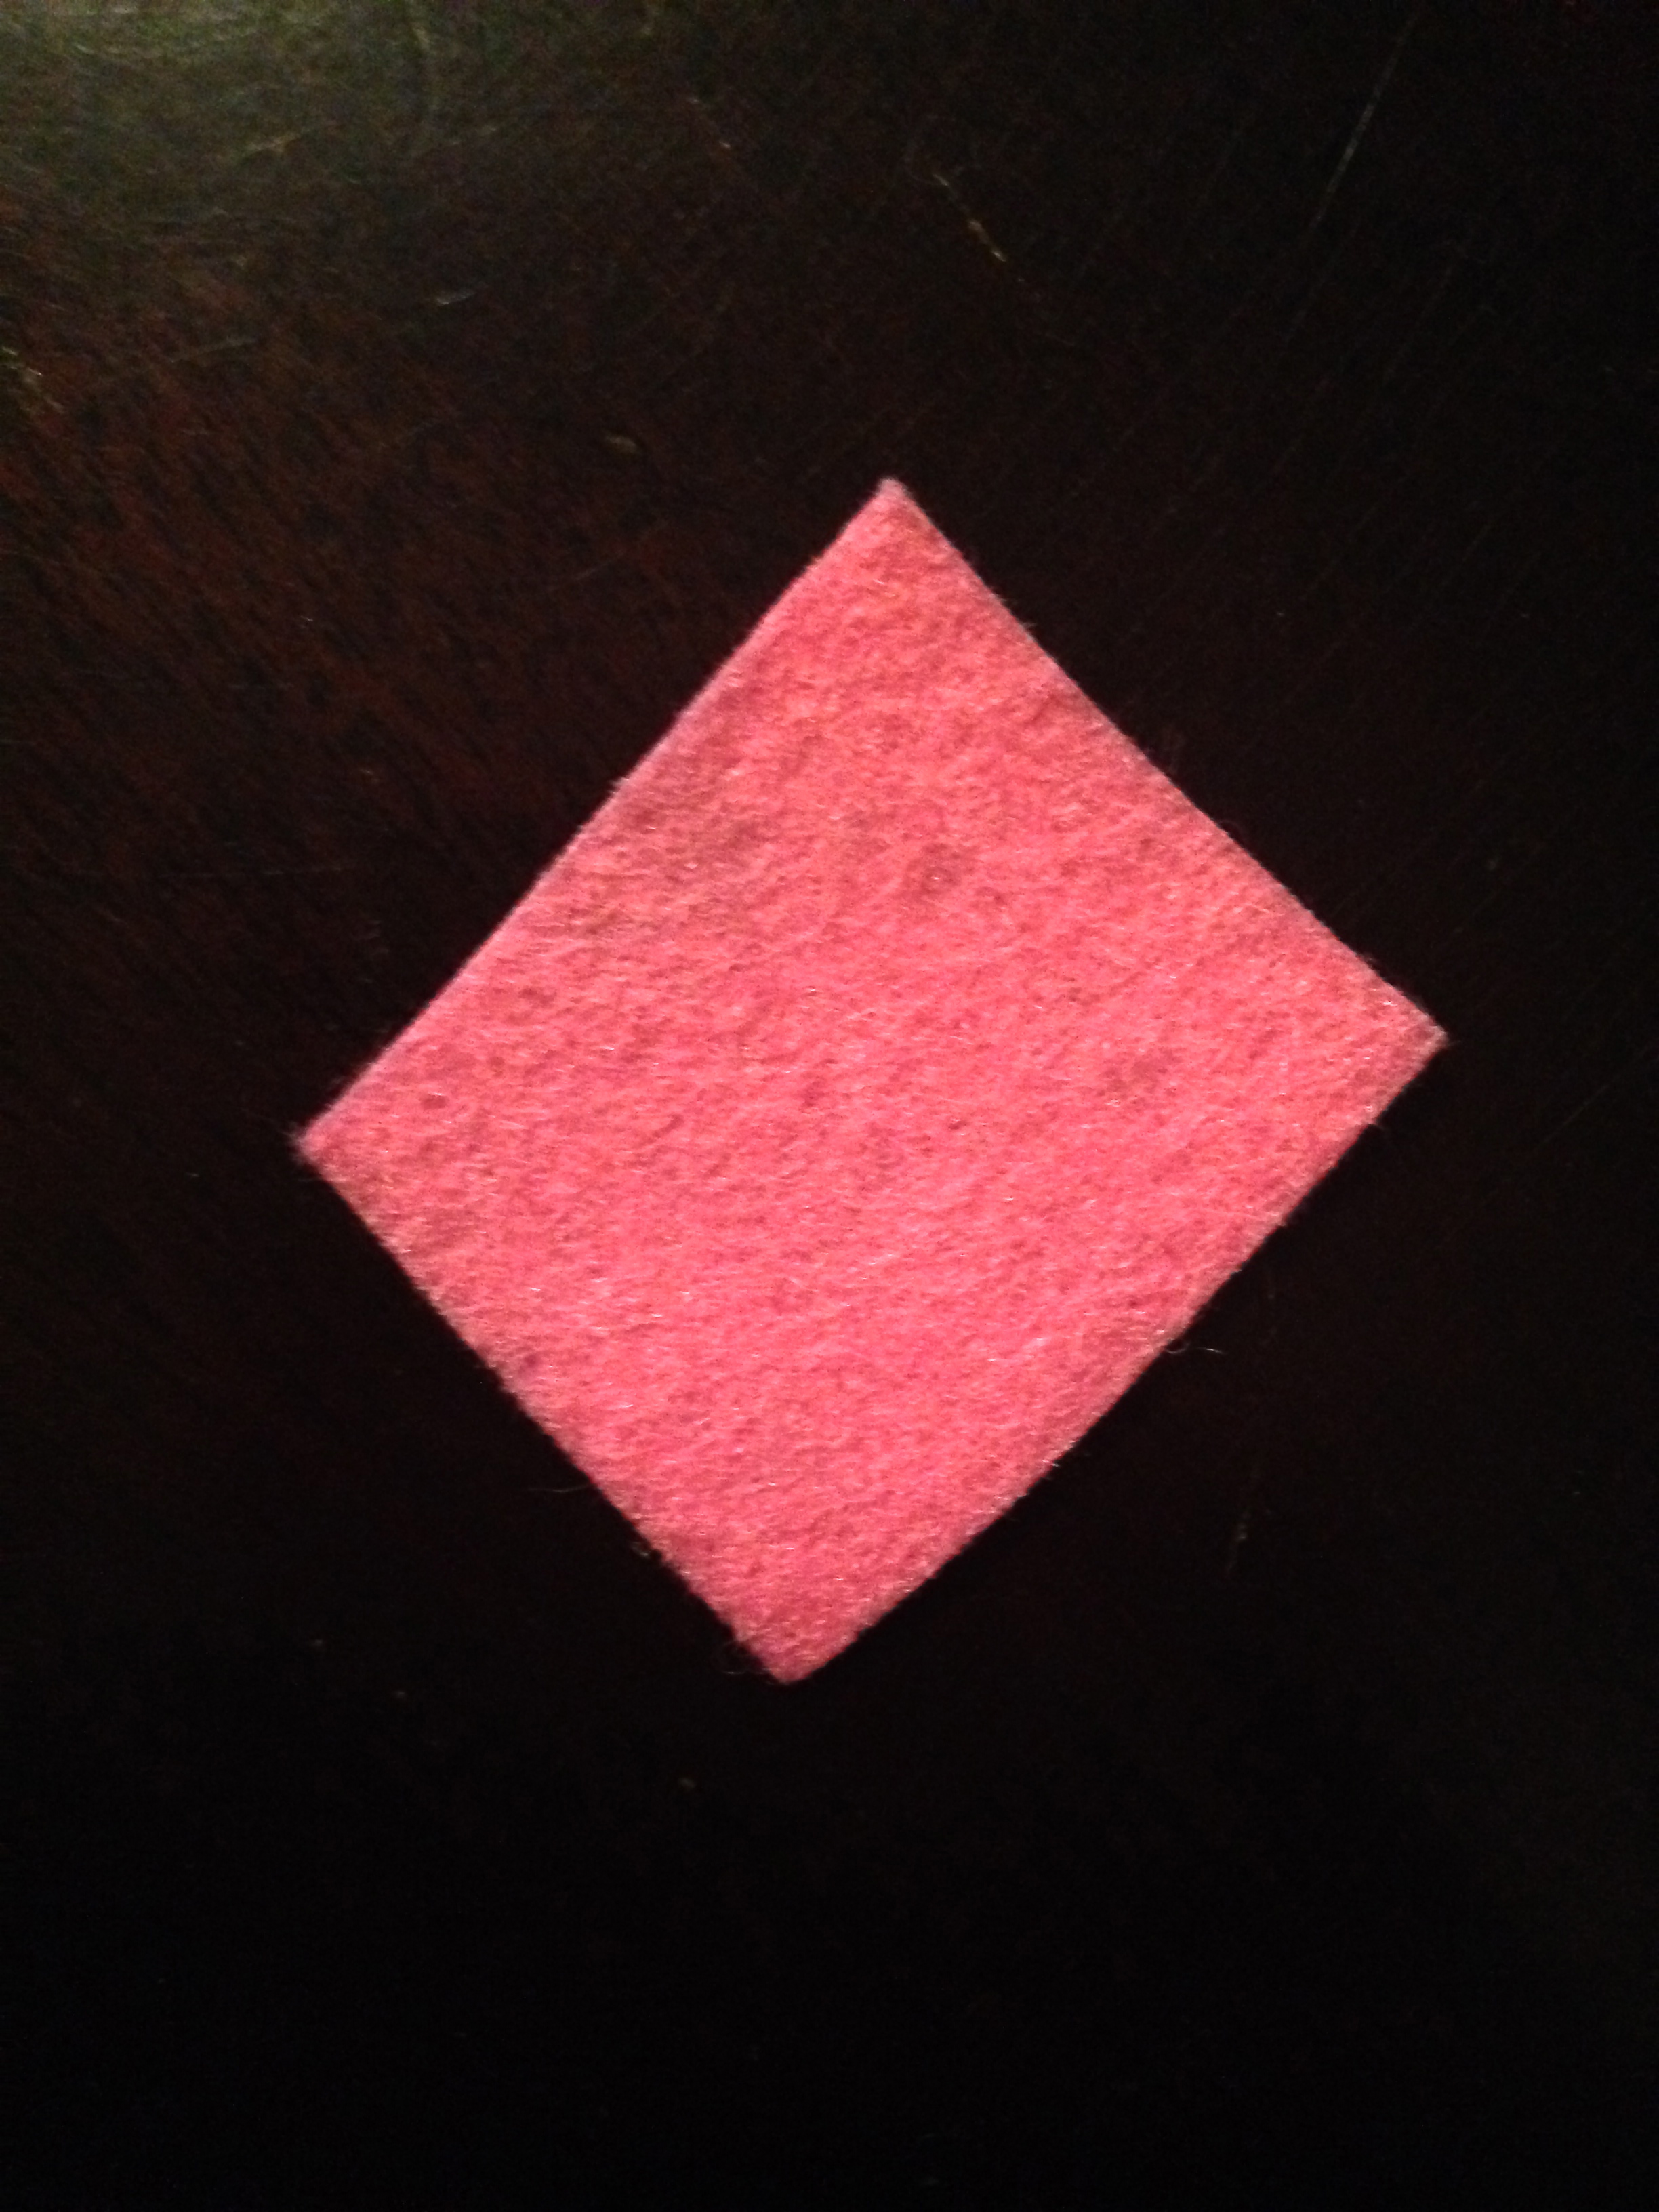
Create the button zero:
1. Cut two pieces of felt into a square with a small hole in the center.
2. Cut two pieces of wire and strip the wire.
3. Cut two square pieces of copper tape.
4. Attach two pieces of felt to one another.
5. Attach 1 piece of wire wrapped in copper tape to each side of the felt construction.
7. Wrap masking tape around the entire construction.
8. With a marker, write the number that represents zero on the tape.
(See images for further clarification.)
Repeat this process for numbers 1-9, the enter button (symbol: check), and the cancel button (symbol: x).
Attach Soft-circuit Buttons to Bread-board & Arduino
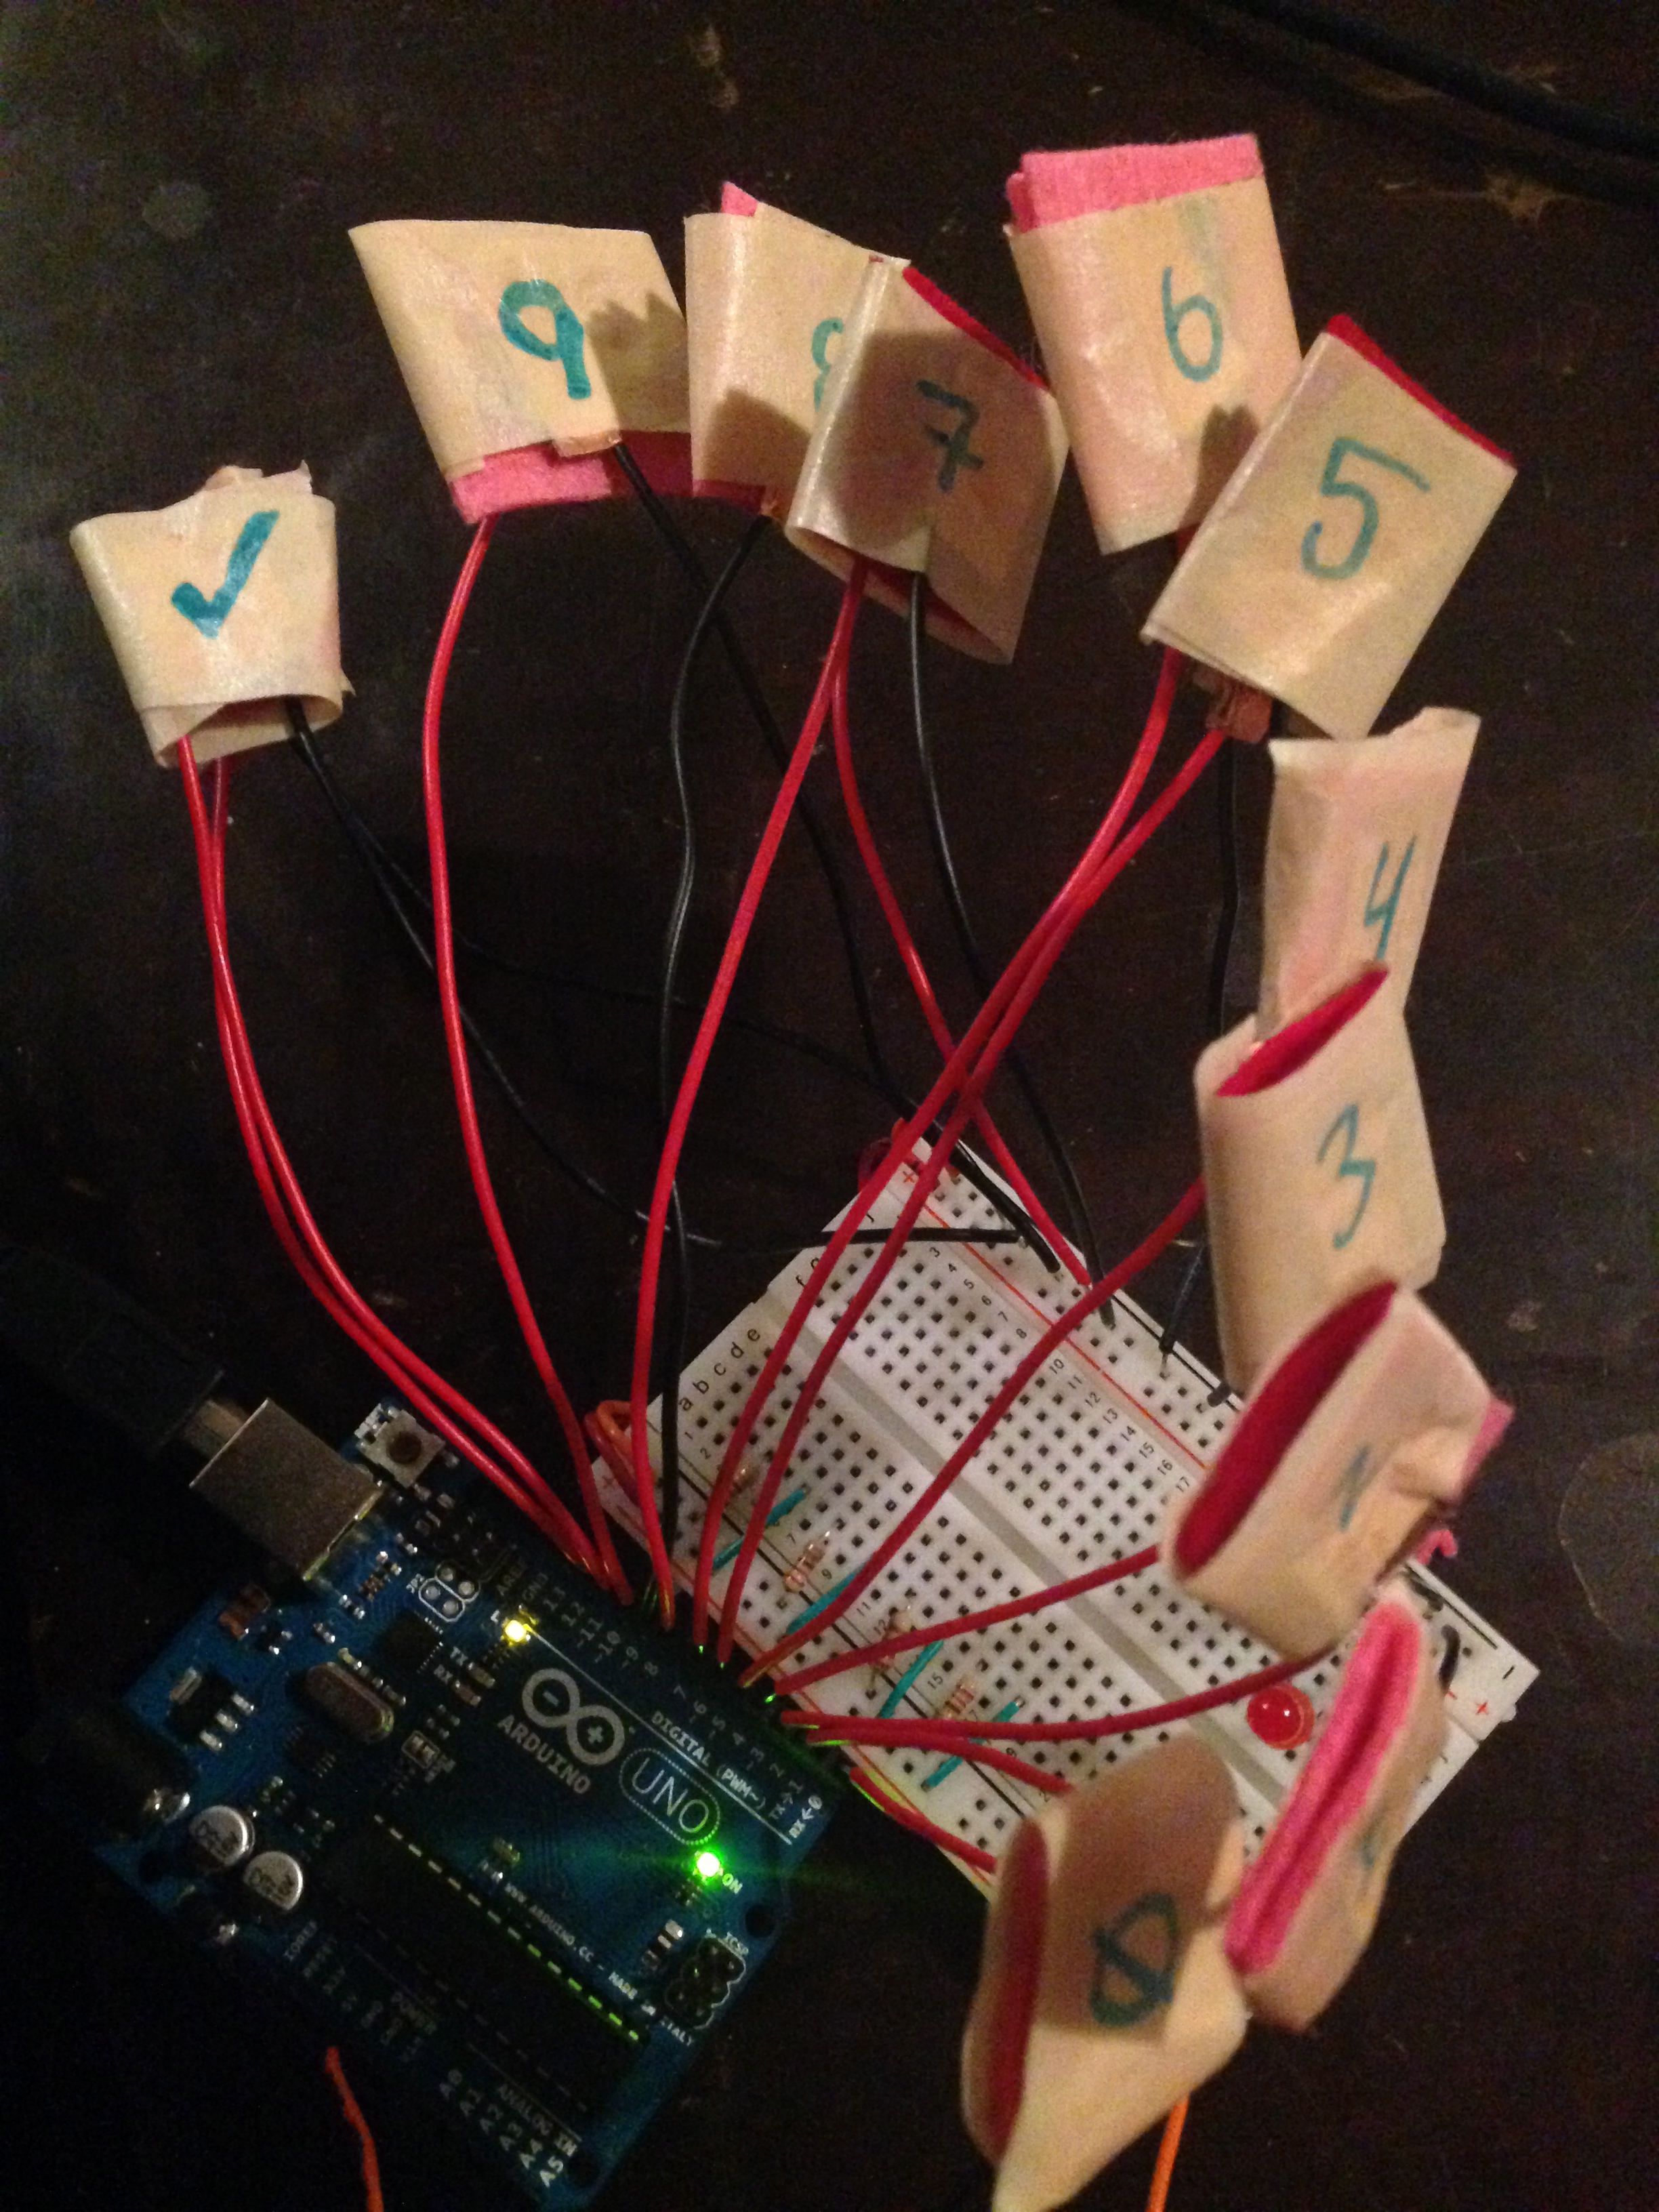
1. Attach each button to a 680 ohm resistor on a bread board.
2. Attach one wire on each button to ground.
3. Attach the other wire to power.
4. Attach the power and ground nodes on the breadboard to power and ground on the Arduino board.
2. Attach one wire on each button to ground.
3. Attach the other wire to power.
4. Attach the power and ground nodes on the breadboard to power and ground on the Arduino board.
Upload Firmata to Arduino & Processing
In order to connect the Arduino to the processing sketch download and install the Firmata Library for processing, and copy the files into your processing folder.
Processing Library : http://playground.arduino.cc/Interfacing/Processing
1. To get started open up Arduino and load the Firmata sketch onto your board.
File -> Examples -> Firamata -> StandardFirmata
2. Next open up your processing sketch, I would suggest testing your connection first. This can be easily done by opening up one of the Firmata examples in processing
File -> Examples -> arduino (firmata) -> arduino_input
* one thing to note, to ensure the connection is made to your arduino you will have to change this line of code, so that the [8] corresponds to the point where your arduino is connected to. If you are unsure as to which port you are connected through running this code will print out the serial list and the corresponding number you will need to enter.
arduino = new Arduino(this, Arduino.list()[8], 57600);
3. When you open up the Snaxxx Tracker Processing sketch you will have to change this line of code as well to ensure a connection.
Load Snaxxx Tracker Processing Sketch
1. Unzip Processing sketch
2. Connect Arduino
3. Change Arduino Serial port to the correct port
4. if you want to use the sketch without connecting the Arduino you can use the keypad numbers to input vending machine codes. Press the "D" to confirm code or "C" to start again.
This sketch takes the Arduino input using the Firmata library, and associates buttons with numbers, which allow you to make strings of 3 digit codes. These codes are then compared to the JSON snack database, where the sketch finds the corresponding snack information that matches the "code".
This information is then sent to the Snack NSA website through using Spacebrew custom data type.
All code is heavily commented so for more detailed step by step process of the code.
*Code is heavily commented, so please look at the processing sketch file attached for more details.
Downloads
Load Snaxx Tracker Website
1. *Unzip "Snaxx Tracker Web" file
2. Place the index.html file, css folder, and js folder into one folder.
3. Open the index.html file in google chrome to load the website.
*For details on the code, open the index.html file in a text editor. The code is heavily commented for clarification. Things to note about the code are:
A. sb.addSubscribe( "snack", "snack_description") allows the website to be able to subscribe to the custom data type labeled "snack_description"
B. sb.onCustomMessage = onCustomMessage; allows us to accept custom messages
C. $("#msg_received").text(value); this line returns the text of value into any html element with id msg_received
Downloads
Connect Website and Processing Sketch on Spacebrew
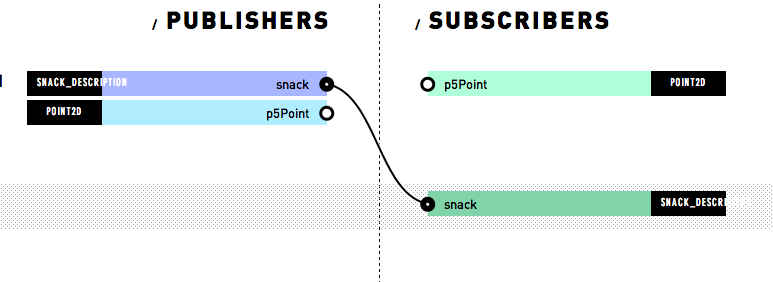
1. Go the spacebrew admin page here.
2. Connect the subscribe "snack_description" node of the website to the publish "snack_description" node of the processing file.
*See image for visual.
2. Connect the subscribe "snack_description" node of the website to the publish "snack_description" node of the processing file.
*See image for visual.
Push Snax Code and See Results on Snaxx Tracker Site

1. Push in the code of your desired snax.
2. View the results on the snack tracker.*
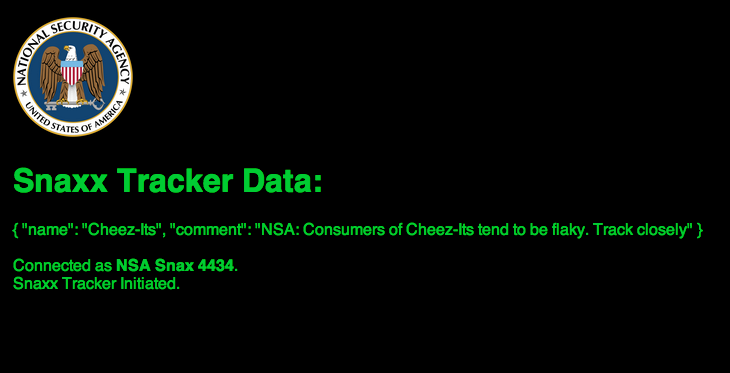
*Results should look like a string similar to the image attached.
2. View the results on the snack tracker.*
*Results should look like a string similar to the image attached.