Smartphone Photography
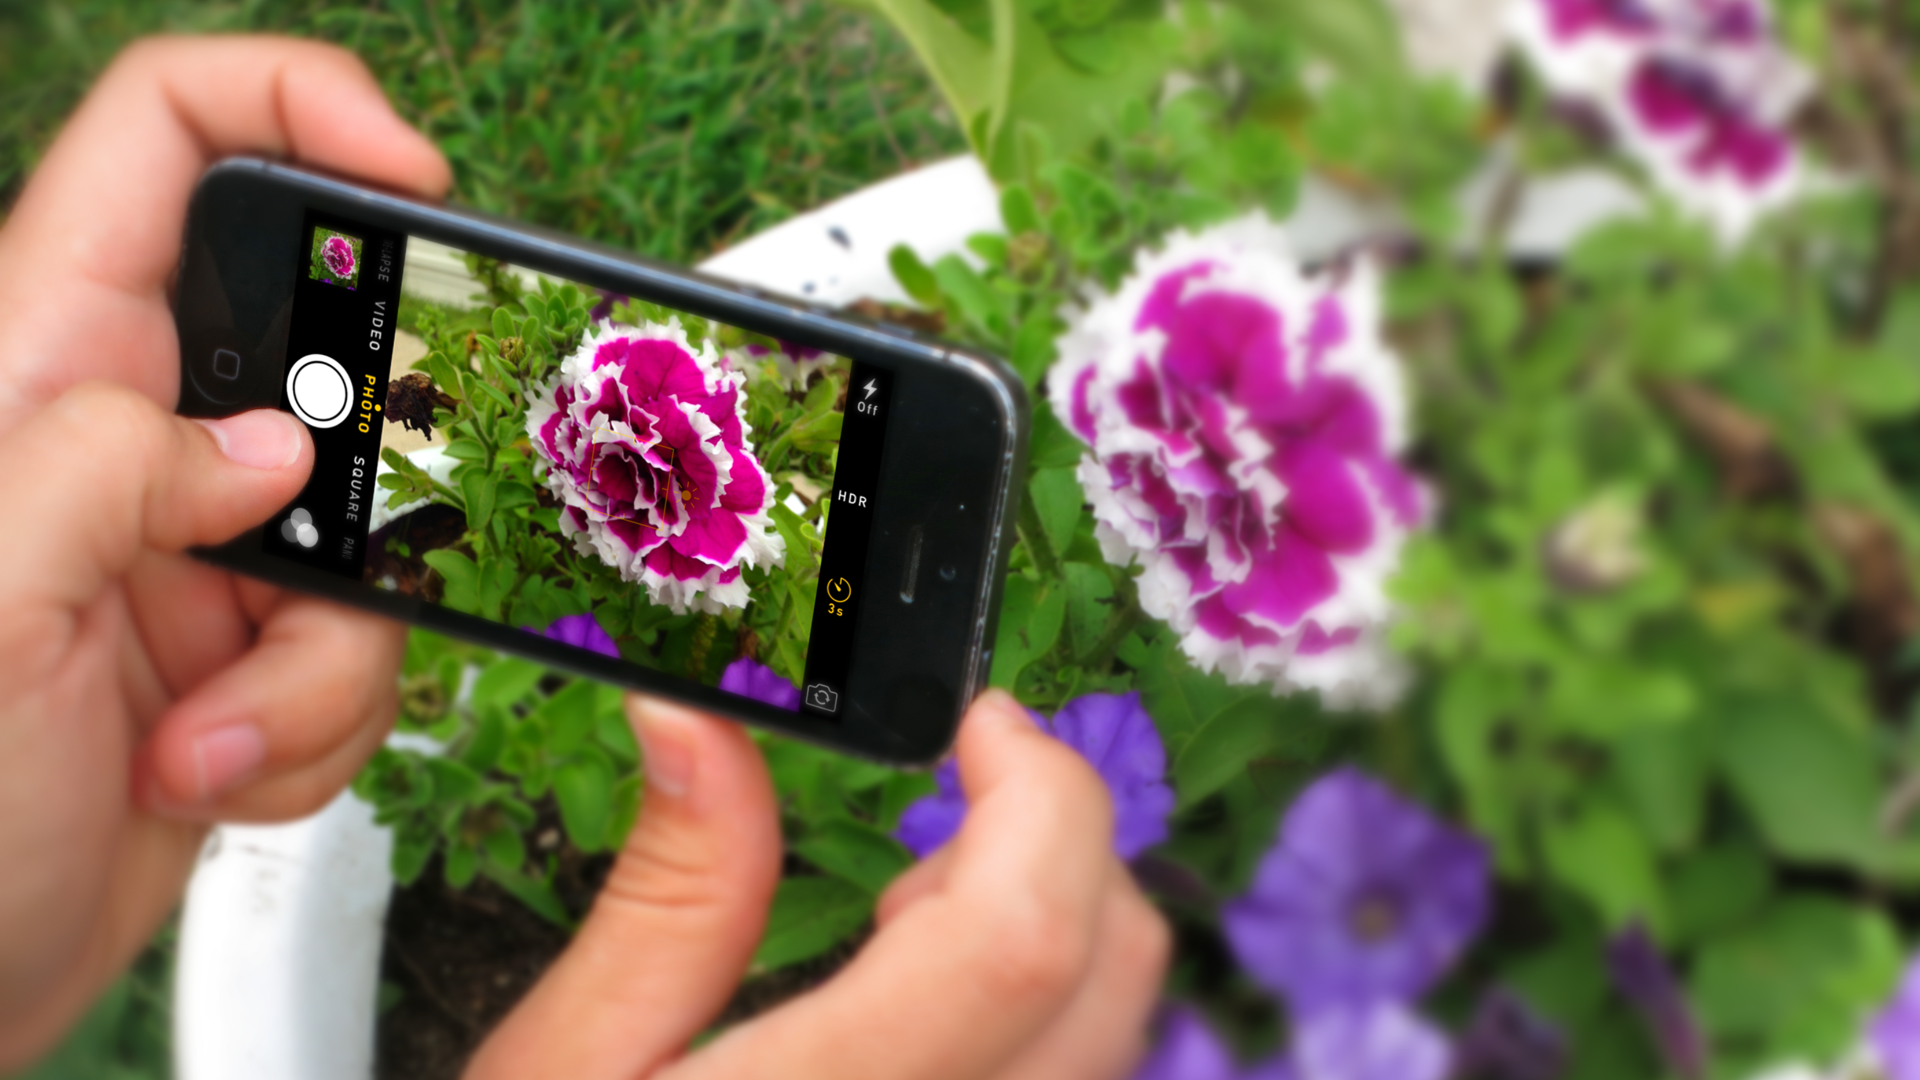
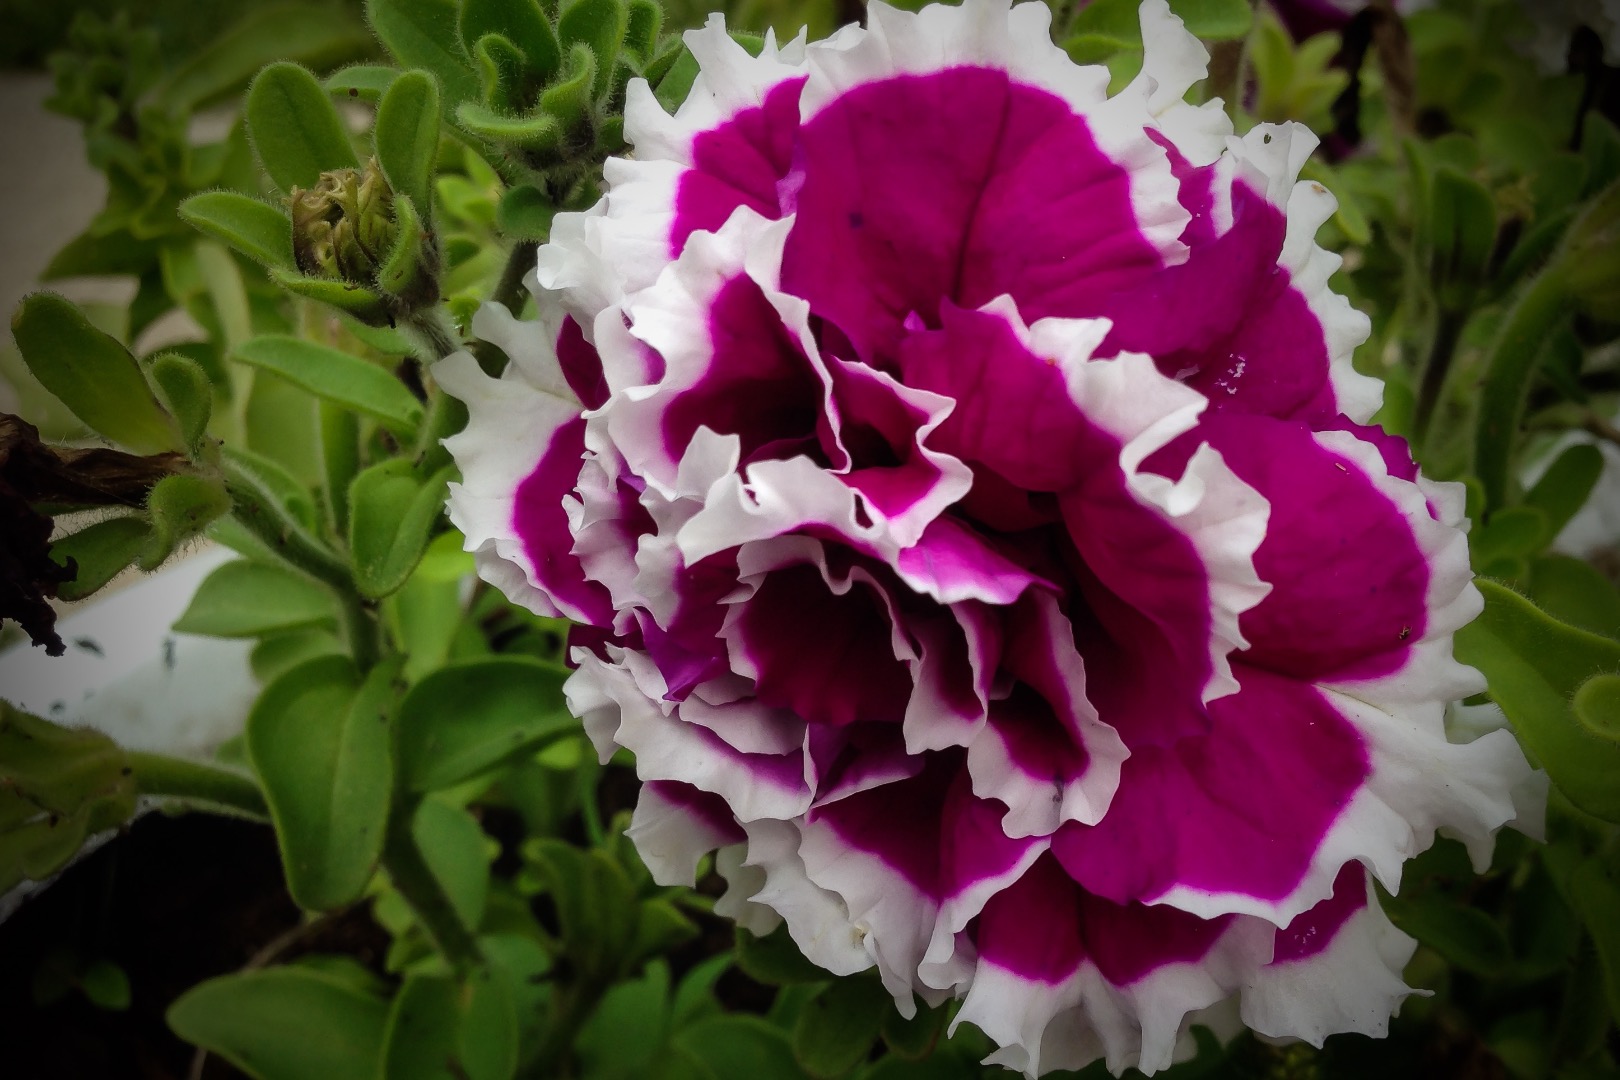
Photography is always changing, and currently the most popular weapon of choice is a smartphone! My goal has been to get the best photos from a smartphone, even comparable to that of pro equipment! (Check out some examples in the last step or HERE) Sometimes it can be hard to get a nice looking shot, but it isn't all based on the equipment your using. Once you've made it through this 'ible, you'll have the knowledge on how to setup the shot, take the shot, and fix the shot! Lets begin!
Equipment / Software
So for the equipment, all you need is your smartphone! If you have a tripod and/or lenses for your smartphone, Great! But that stuff is totally optional. All of the following tips will be for shooting stock (using only the smartphone and your environment).
On the software side, I recommend Photoshop Express (iOS, Android, and Windows Phone). This is a great free program, and if you sign in with your Adobe account, you can unlock the paid features! (grain reduction is one of them, an essential. Only in iOS and Windows Phone)
Before Taking the Picture
Here is just a bit about good shooting methods and preparation!
Rule of Thirds
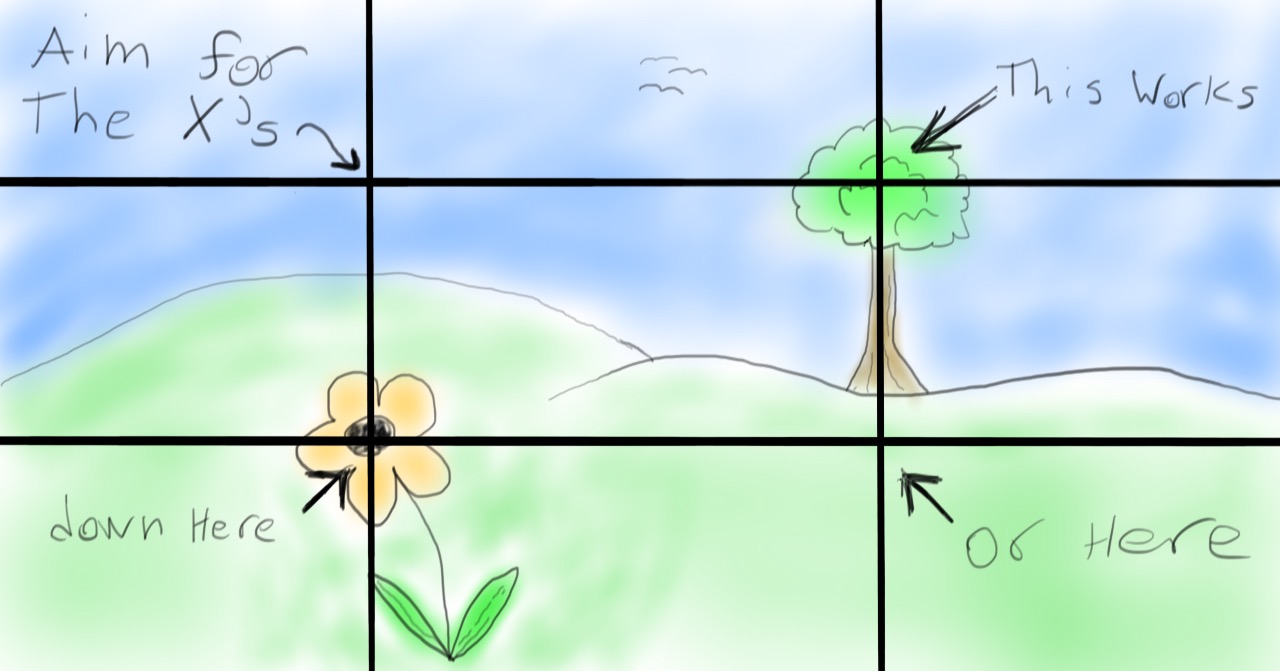
The easiest method is the rule of thirds. Imagine your phone screen is devided into a tic-tac-toe board, with four lines intersecting at four spots. These four spots are your golden spot, meaning that you want to try and get your subject around there. Or if you take a scenery picture, try not to put the horizon in the middle of you photo. Put it at one of the imaginary horizontal lines. If you don't get it right when taking the photo, you can always crop the photo to how you want it. And this "rule" is just a suggestion. Your the artist! If you like it a different way, go for it!
Angle
The angle can add a lot to a photo. If you take a photo from about where your head would normally be, there is a very small chance it is going to be interesting. Reason is most everyone sees what you just photographed from that hight, so it will be familiar to them. To make it more interesting, get a different angle! Get down low, capturing the subject head on or even from below. Or get up high! Try just holding the camera up with your hands as high as you can. Just moving the camera a bit can help tremendously.
Be Still!
This has to be the most important part! Make sure to stay very still! This can be hard though if your at a different angle. If your down low, try using your knee as a resting place for you hands. Or if your really low, rest them on the ground! It shouldn't be going anywhere! If your up high, hopefully your next to a pole or a tree. If you are, get next to that and use it as a brace by putting your hands against it. Otherwise, if your in an open field with nothing to lean on, breathe in and take the shot!
Lighting
With smartphone cameras, the more light the better! Well, not to much. Smartphones don't have very big sensors or lenses, so they have a hard time catching light particles. All this means that night photography probably is not going to happen with this device. A nice even lighting of the subject will product the best picture. If its too dark, some of the details will be hidden. But if its too bright, the details will get washed out! Experiment around and get the hang of it. If you think a picture is ruined because of lighting, there still may be hope! Stay tuned for after editing.
Taking the Picture!
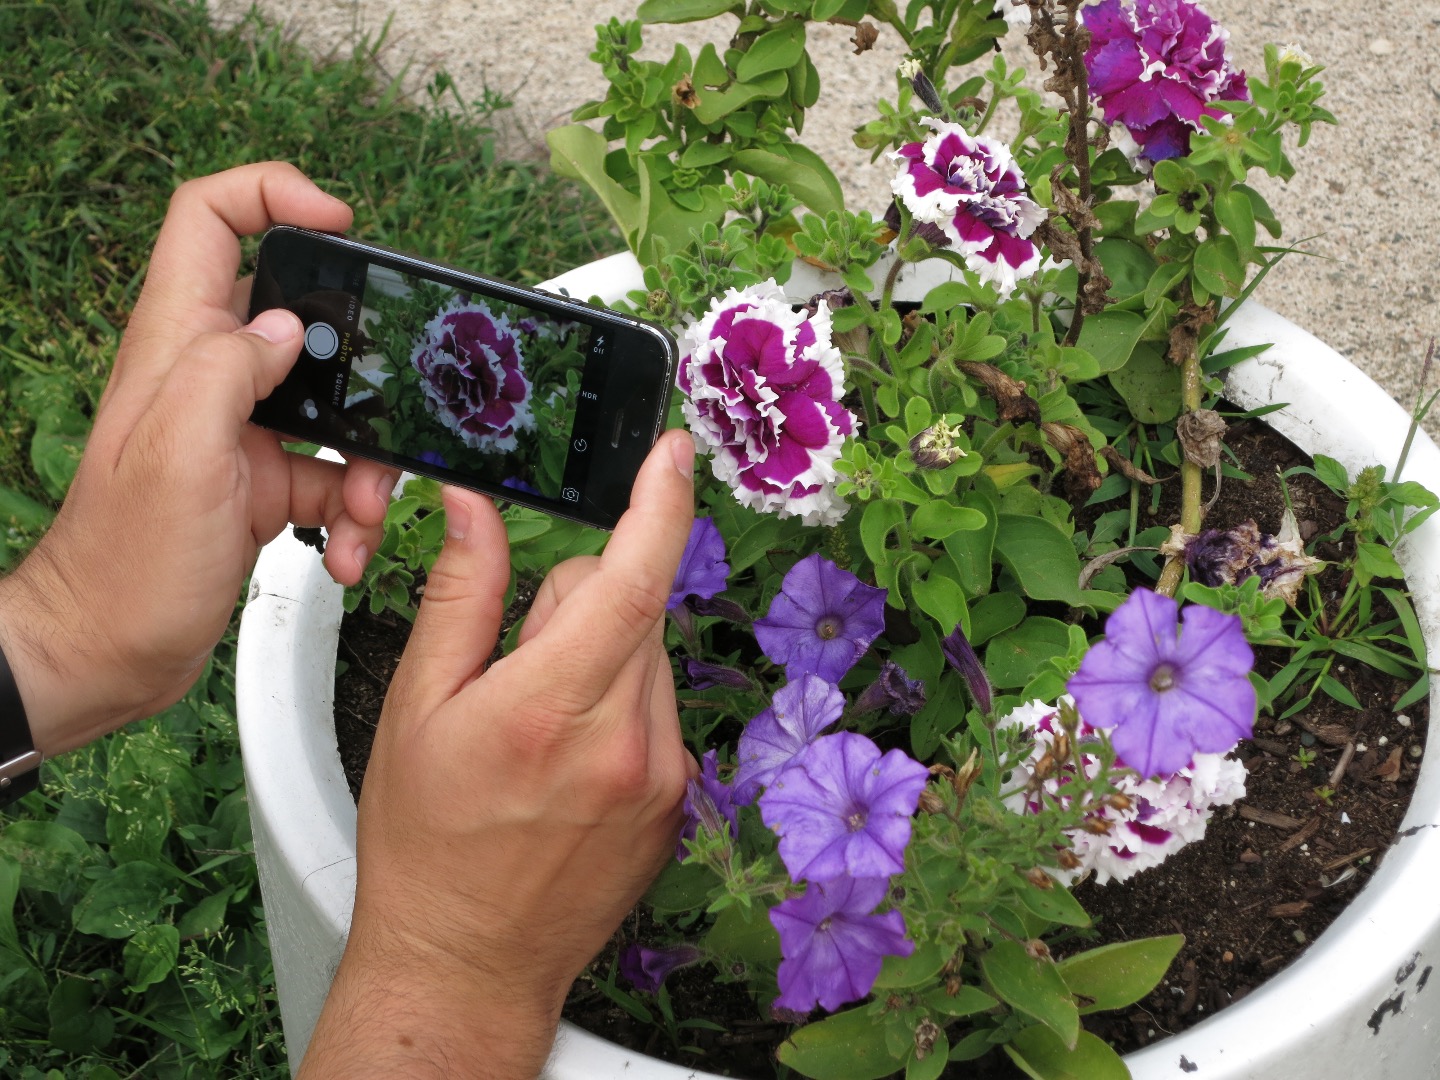
Now is the moment! Everything is framed perfectly! You have your hands stabilized to reduce shakiness, and there is enough light to light up your subject! Now click that shutter button! Make sure to get a couple pictures, because you can always delete.
After Editing
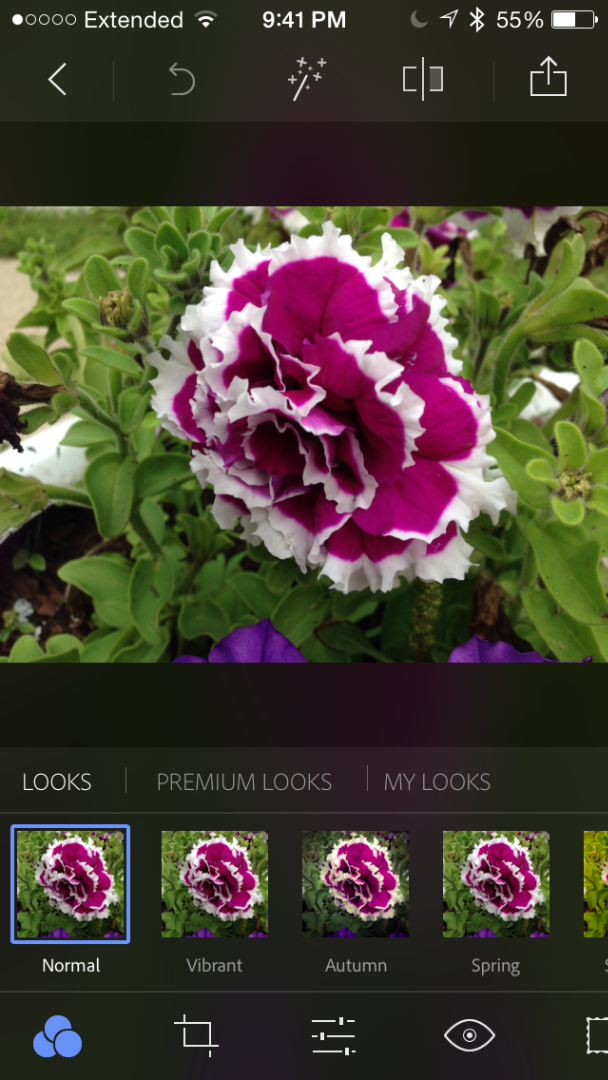
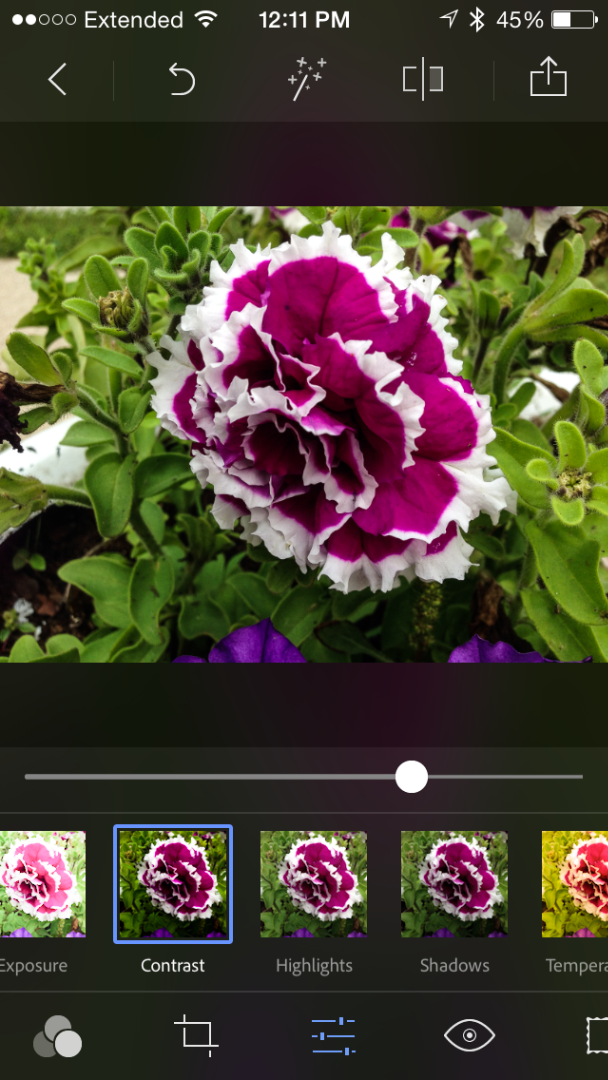
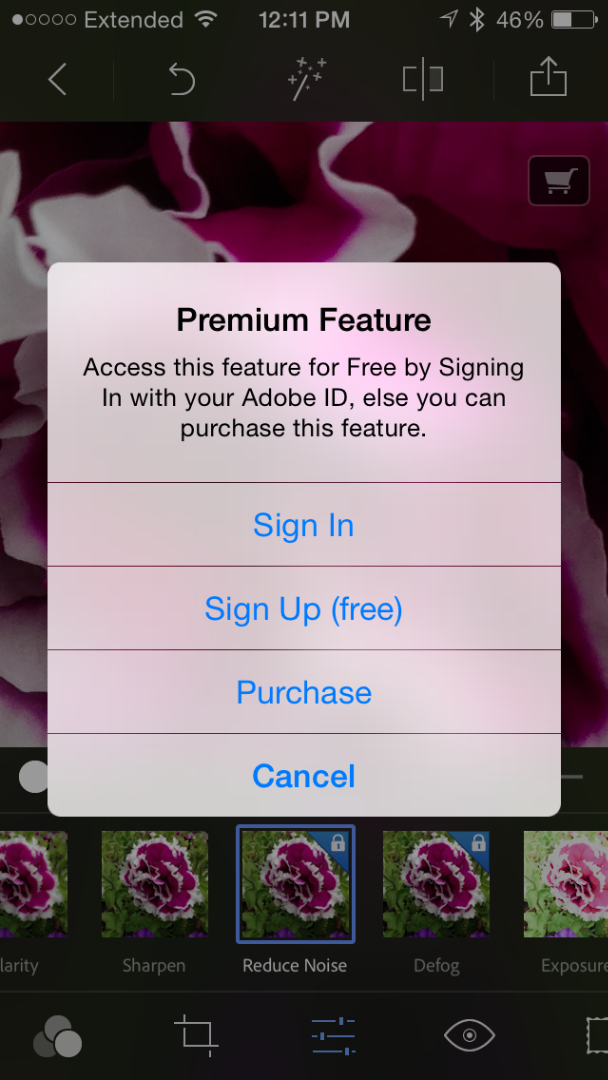
Now comes the fun part; Editing! Go ahead and open up Photoshop Express (make sure to sign in!) and open your photo (pic 1). Once its open, I go straight to the slider area (pic 2). In this area you can easily adjust core features of your picture. You can either read a description of each option below, or experiment and figure it out for yourself! That is the main area of the app I'm going to cover, but it has many other great features, including blemish removal! This is super handy for portraits. But one thing that you'll want to do is unlock the "Reduce Noise" feature (pic 3)!
- Clarity
- Use this slider to accent the lines in your photo. The more you slide it, the more of an 'edgy' look you'll get.
- Sharpen
- This slider will take those accented lines and make them nice and crisp. Its a good idea to try and sharpen all of your photos a little (but if you don't want to, thats fine to!)
- Reduce Noise (iOS & Windows Phone)
- This is the best part of the app! Noise is the same as grain; the nasty little dots that often appear on your photo. The more you slide this one, the more the app smooths the photo. Make sure to review the affects of this one and adjust until satisfaction.
- Defog (iOS & Windows Phone)
- If any of your photos end up with a 'fog' over it, use this slider!
- Exposure
- This is the slider you can use to salvage that ill-light scene! Slide it to the left to darken the picture, and to the right to brighten the picture. This can be a life saver!
- Contrast
- Contrast gives your picture dimension by making the colors more distinct and punchy. The more you slide the more it punches!
- Highlights
- This slider will either darken or brighten the brightest parts of your photo. This is most helpful when your photo has super bright areas; simply slide it to the left to take some of the brightness away. Or if you want some areas brighter, slide to the right.
- Shadows
- When part of your subject is hidden in darkness, slide this slider to the right and it will lighten up those dark areas! Or if you want them darker, slide to the left.
- Temperature
- Use this slider to adjust the amount of yellow in your picture. Slide to the right for more yellow, and to the left for less yellow. Normally when I use this one, I use it very minimally.
- Tint
- This slider adjusts the amount of blue in the picture. To the right will punch up the blue, and to the left will suck it right out of the picture. Again, when I use this it is with moderation.
- Vibrance
- Use this slider to either give it a super colorful look by sliding to the right, or giving it a black and white look by sliding to the left.
Final Thoughts
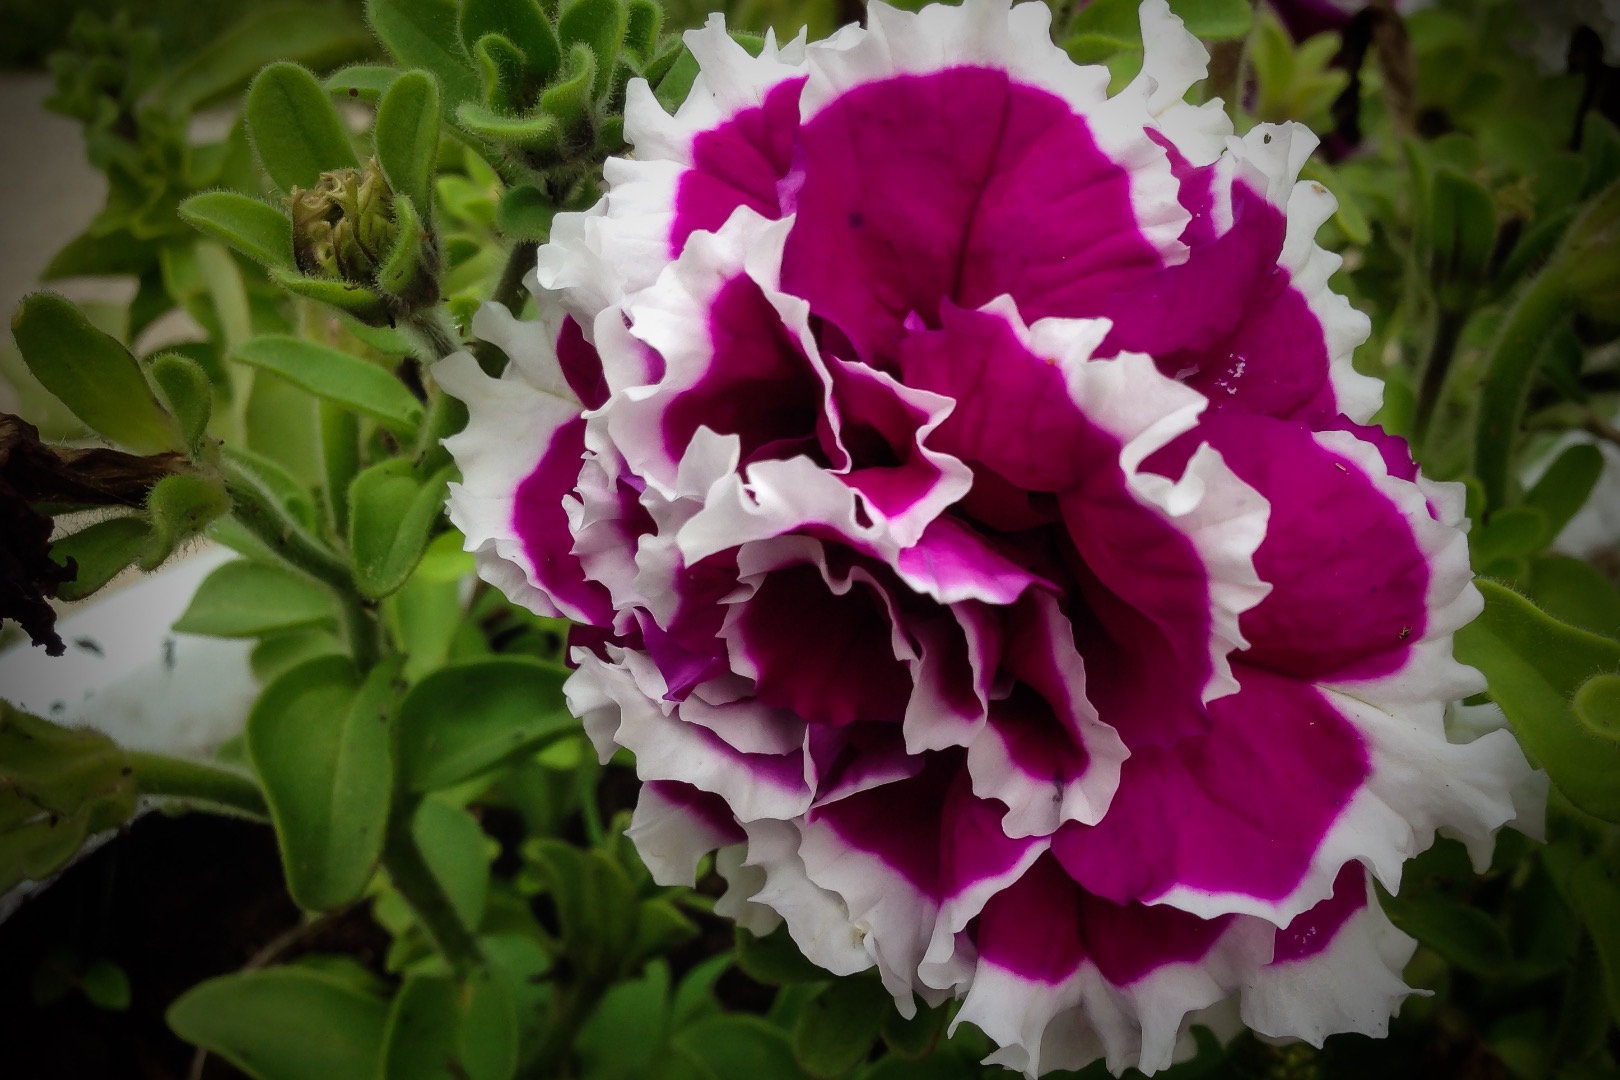
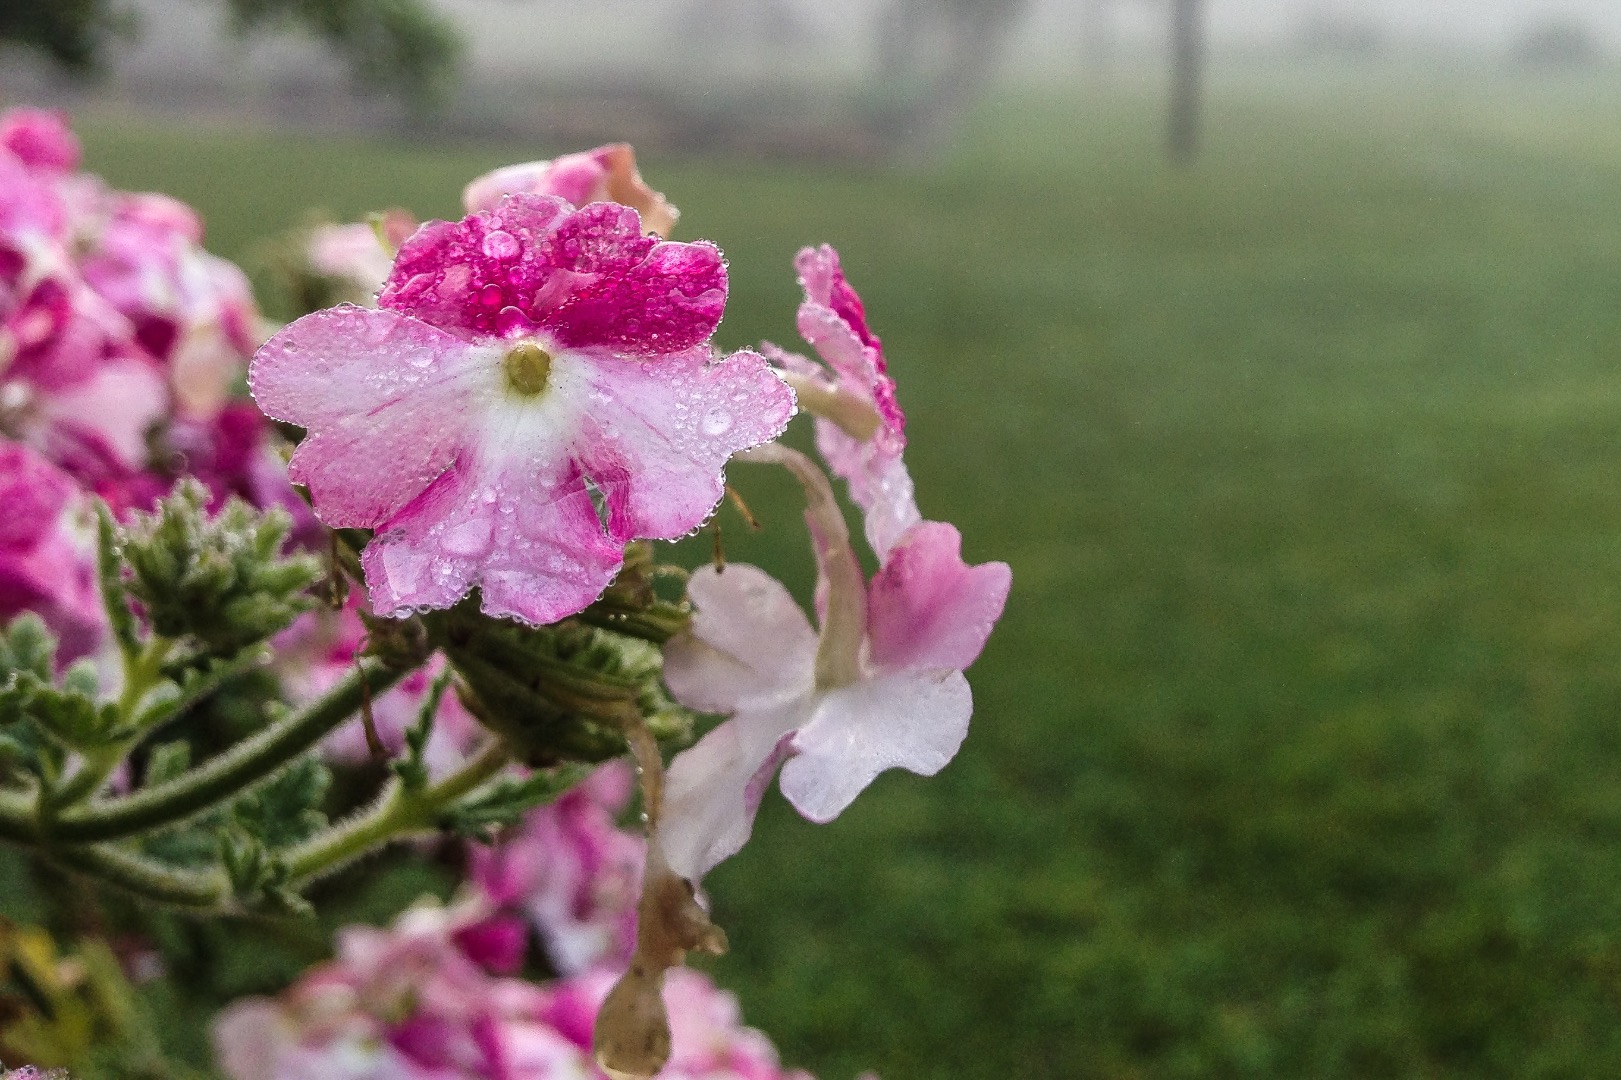
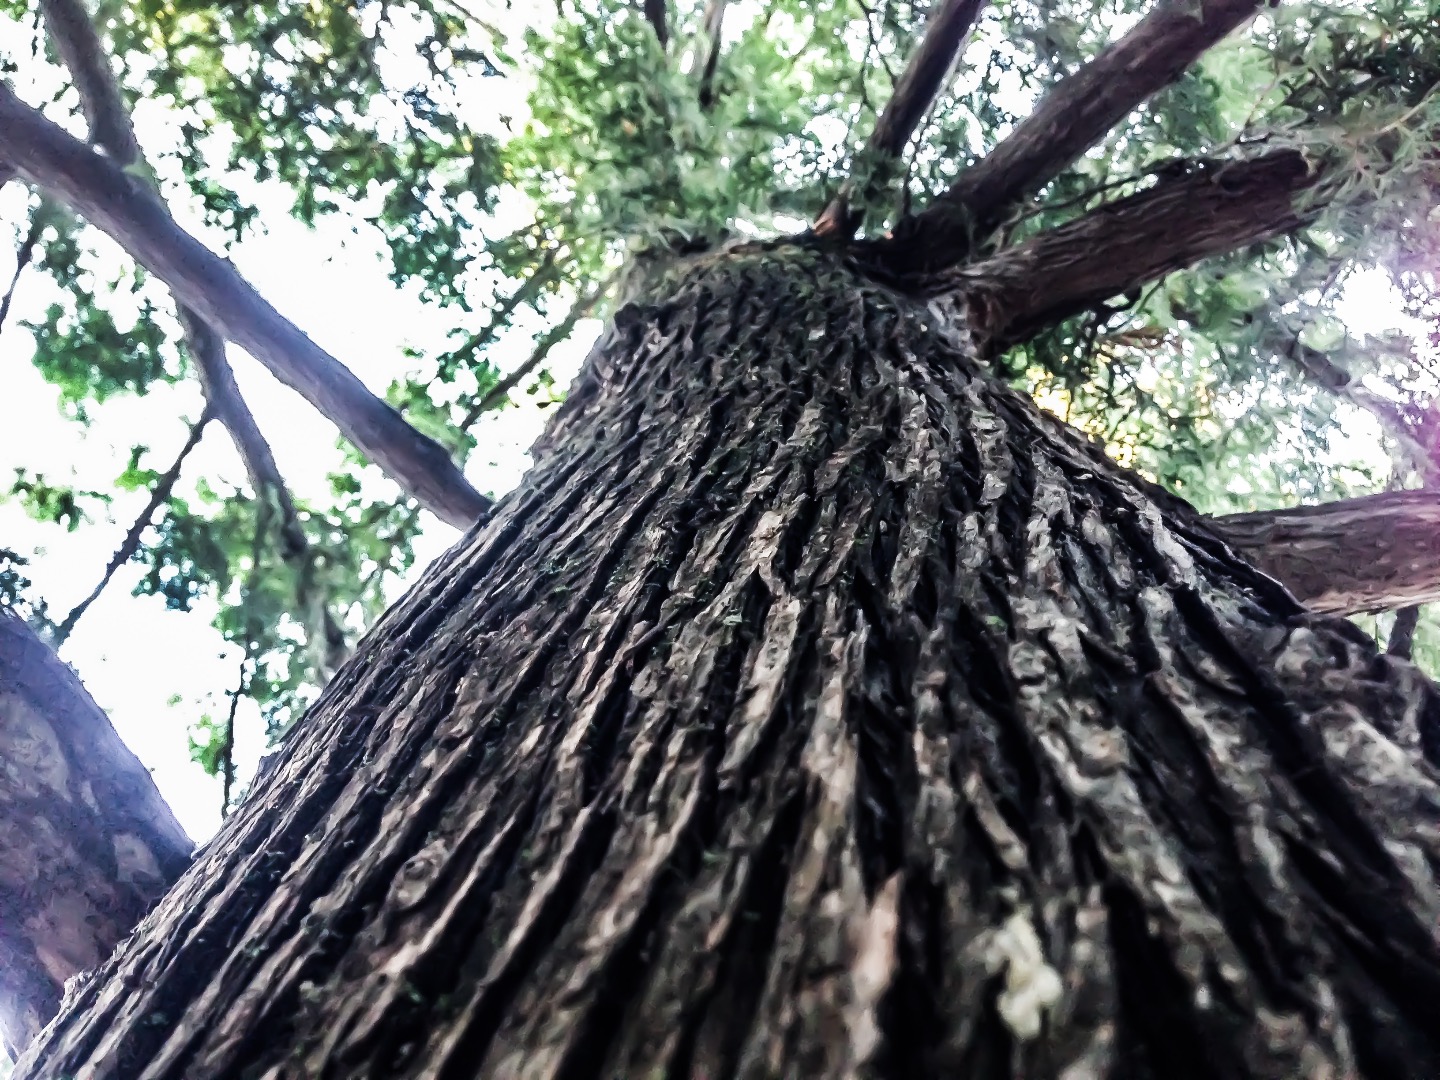

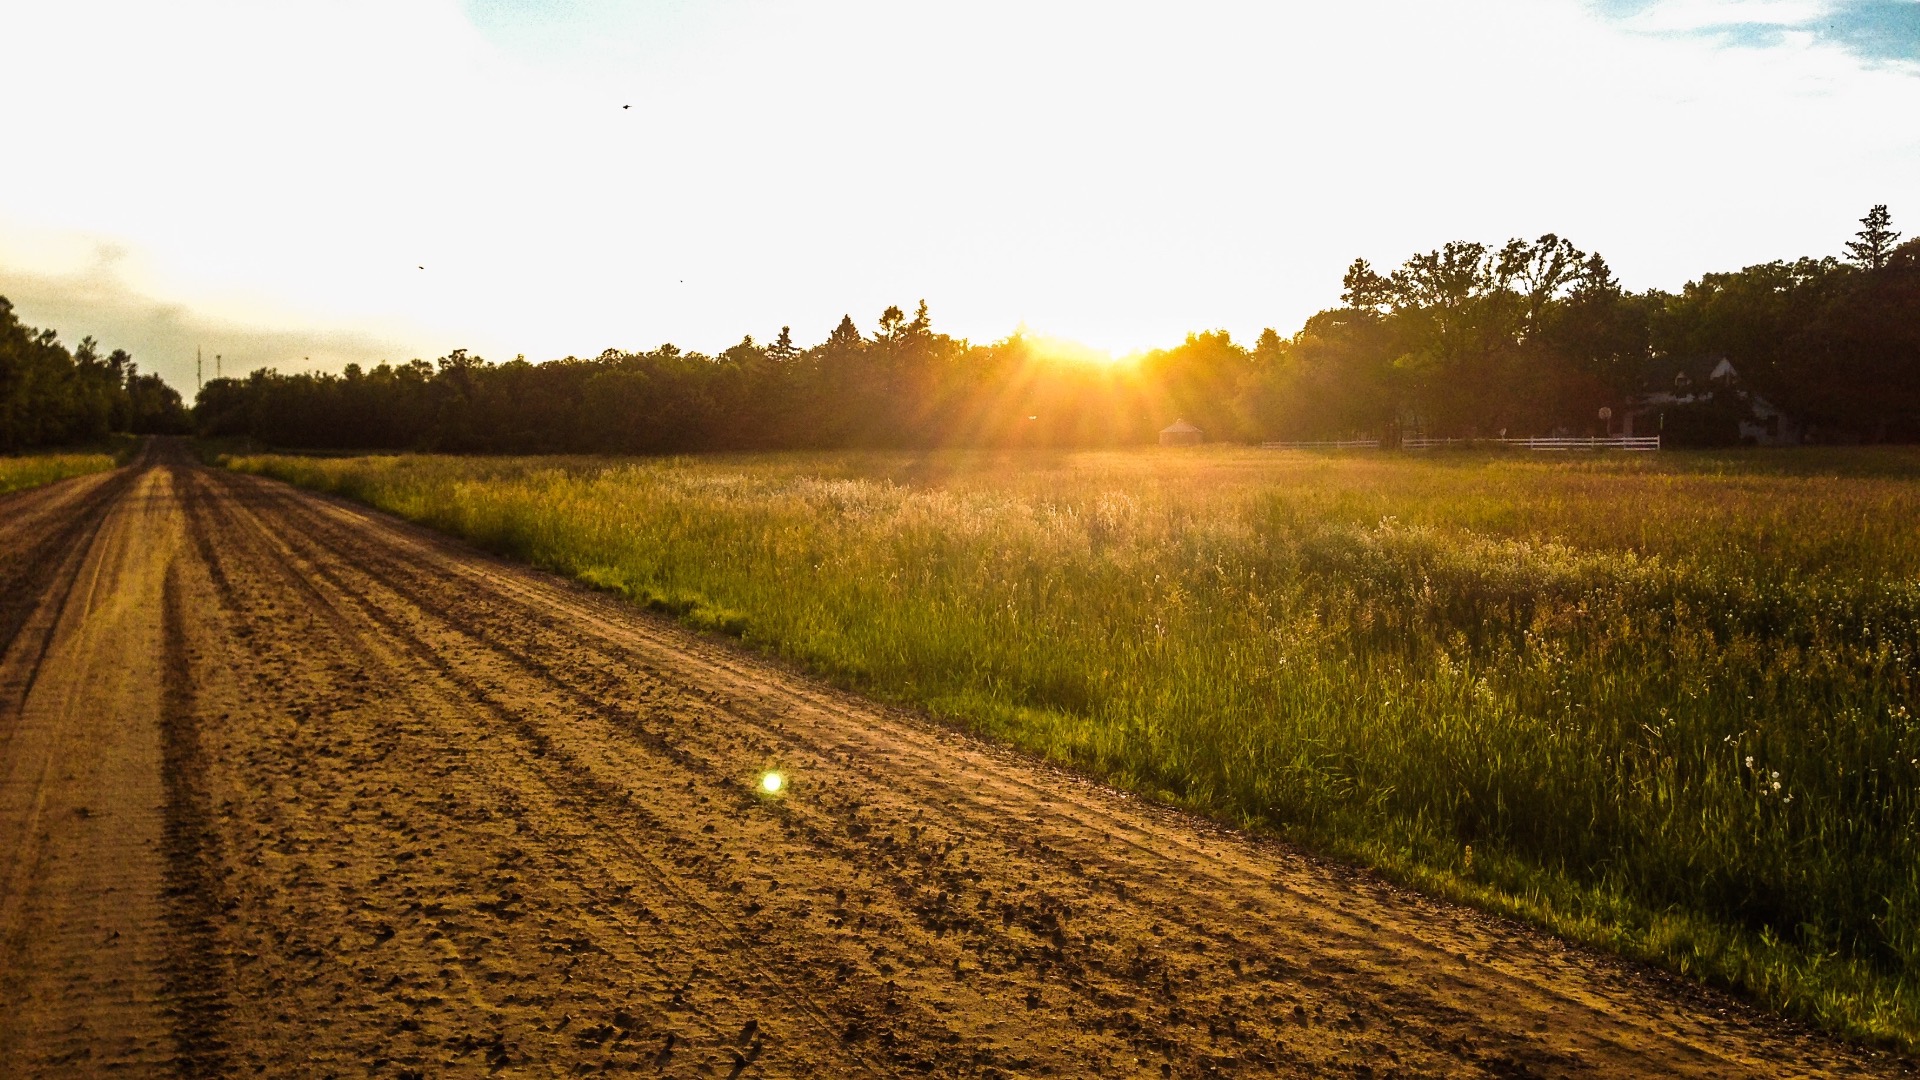
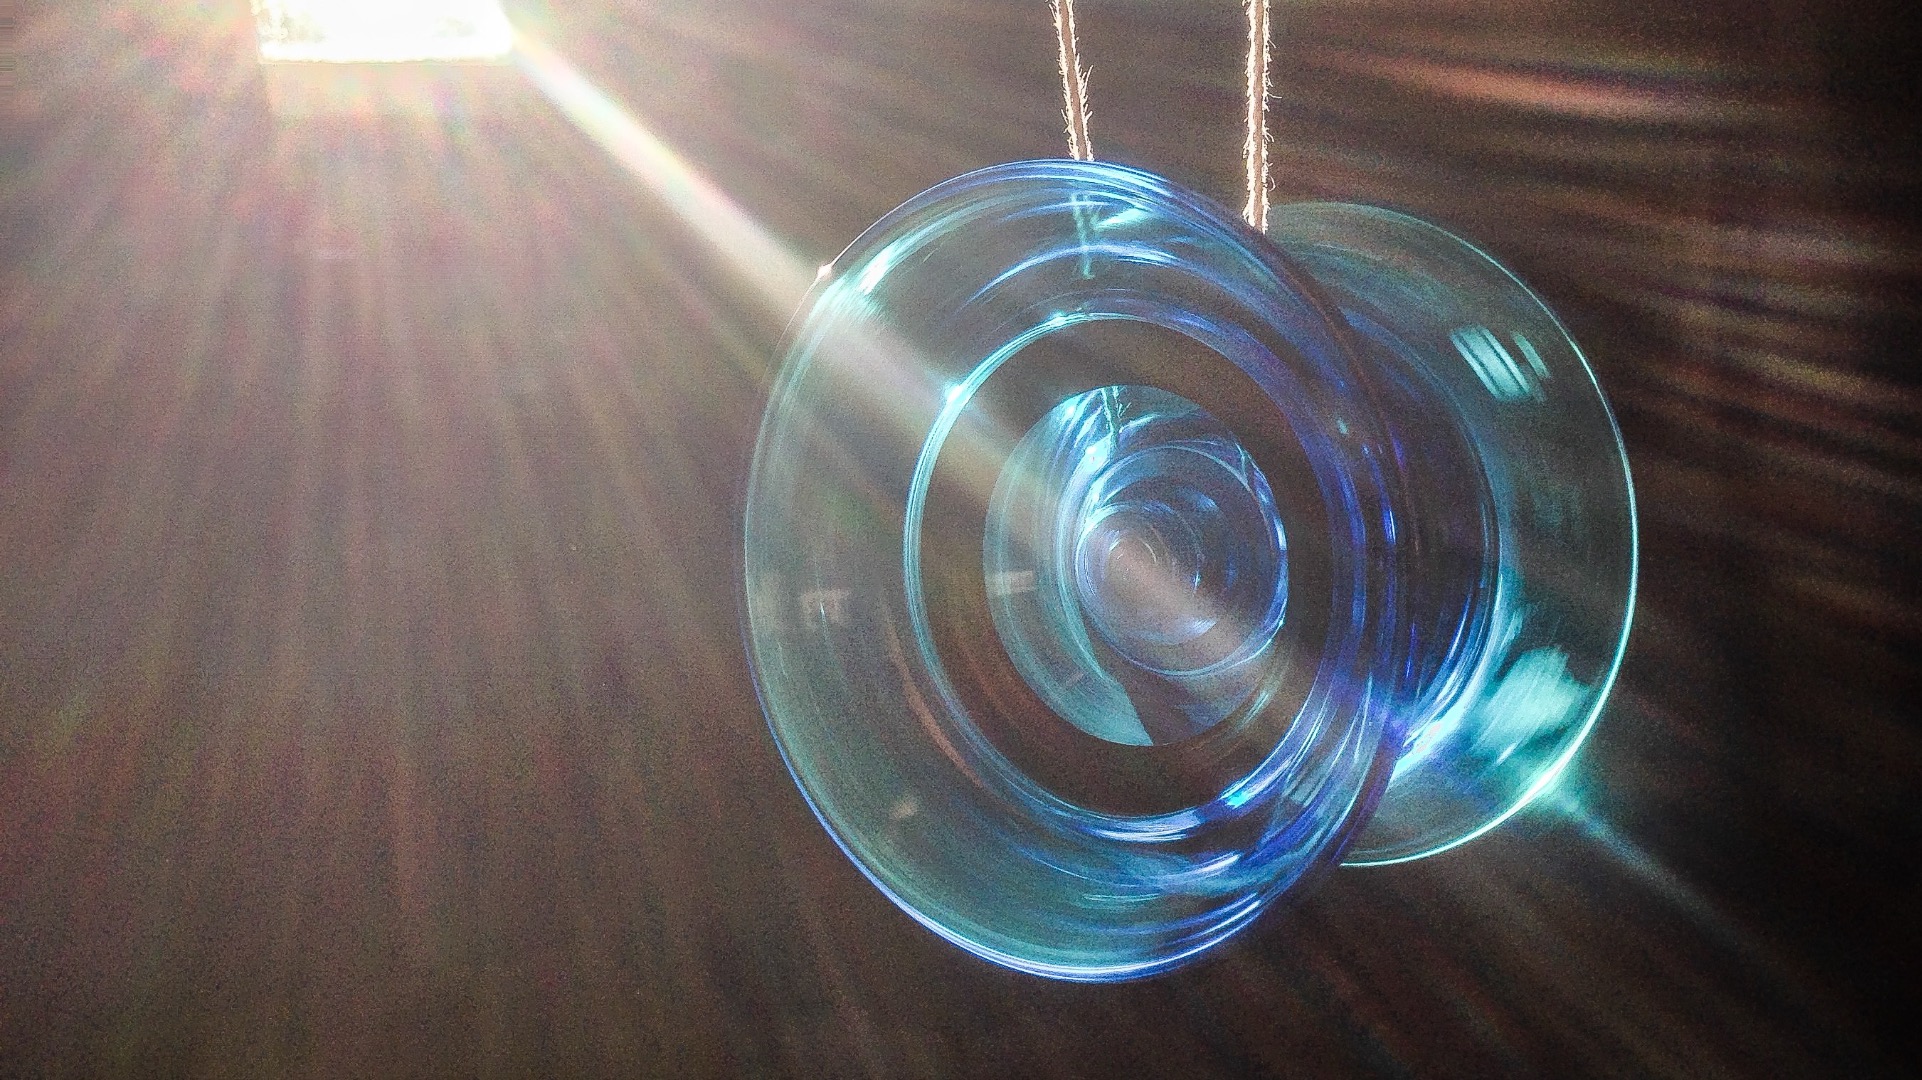
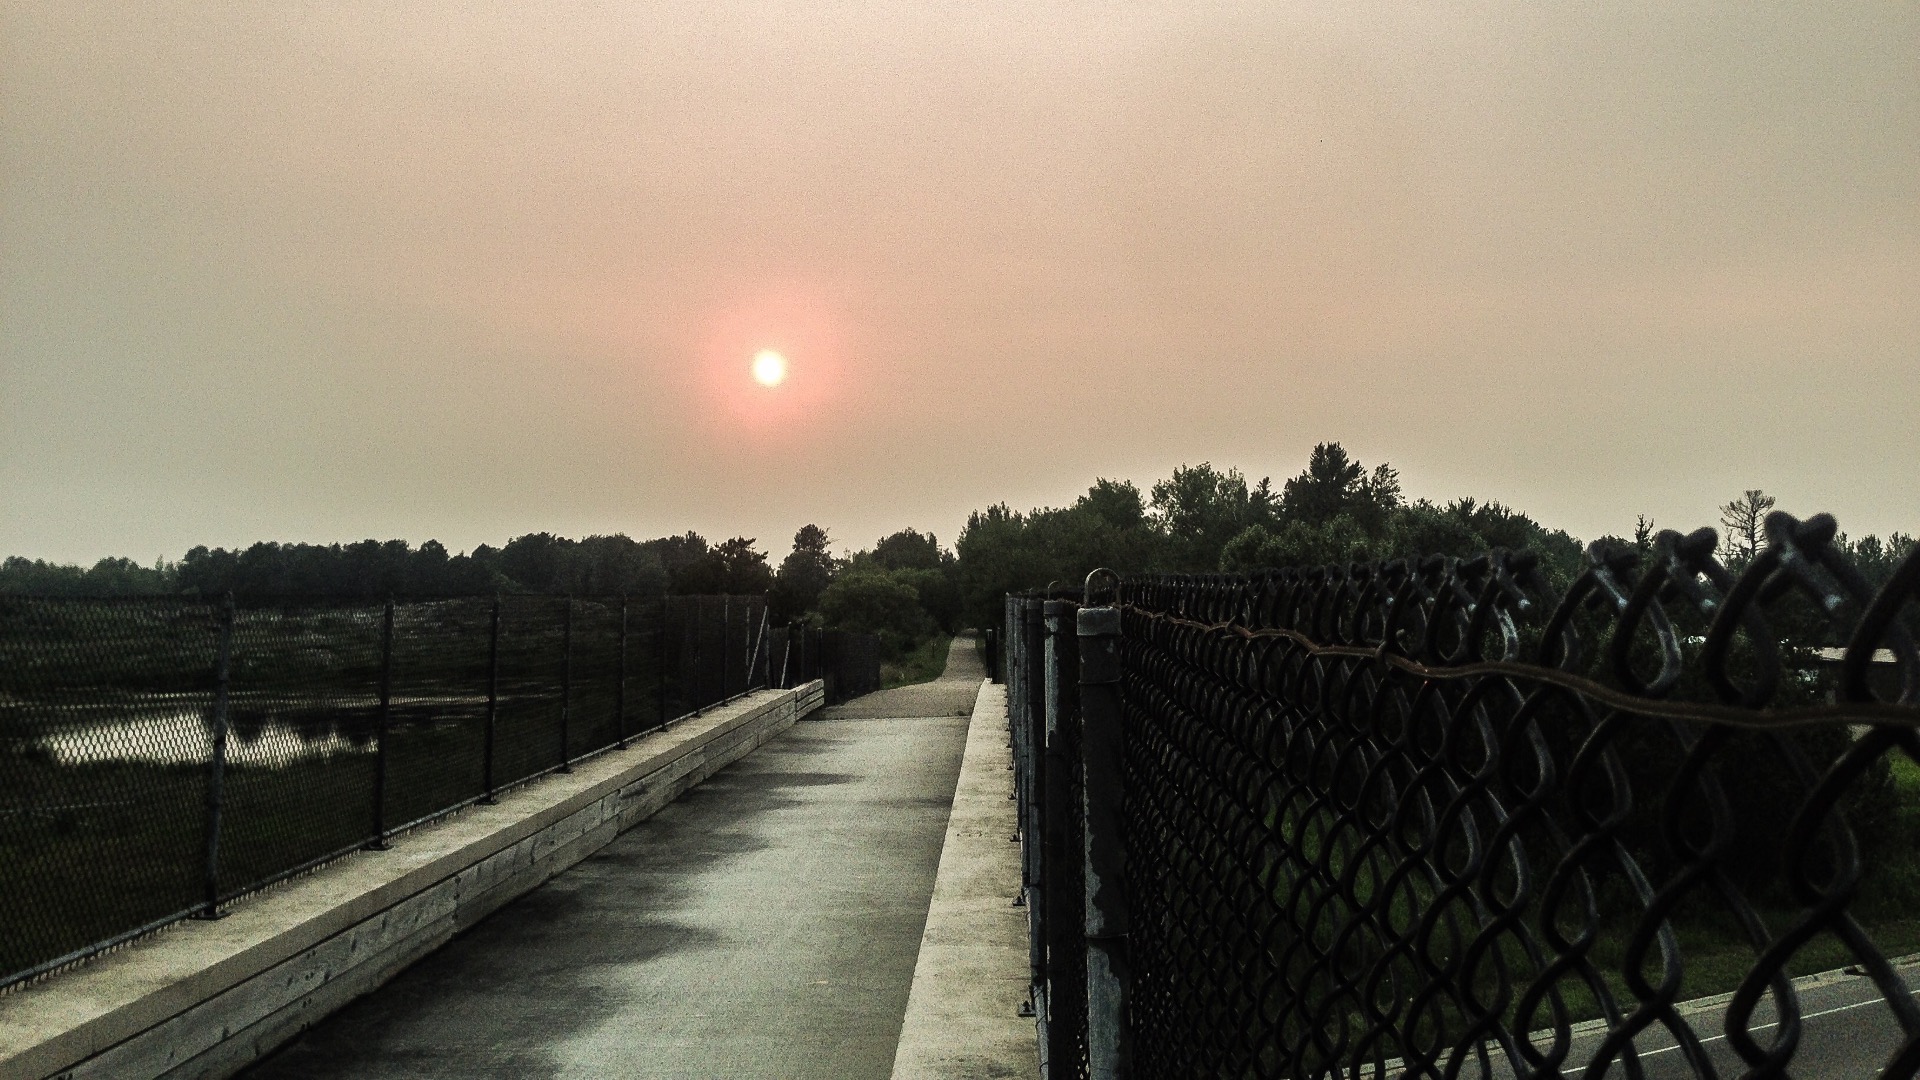
You don't need a giant camera to take great shots. Granted a nice camera can do somethings a smartphone can't, but you can still get good shots with your smartphone! Take a look at some of the examples above for inspiration. Just remember to think about how your framing the picture, steady the camera, and do a little touchup afterwards. Most importantly, have fun! Happy Snapping! :D