SmartDisplayPi
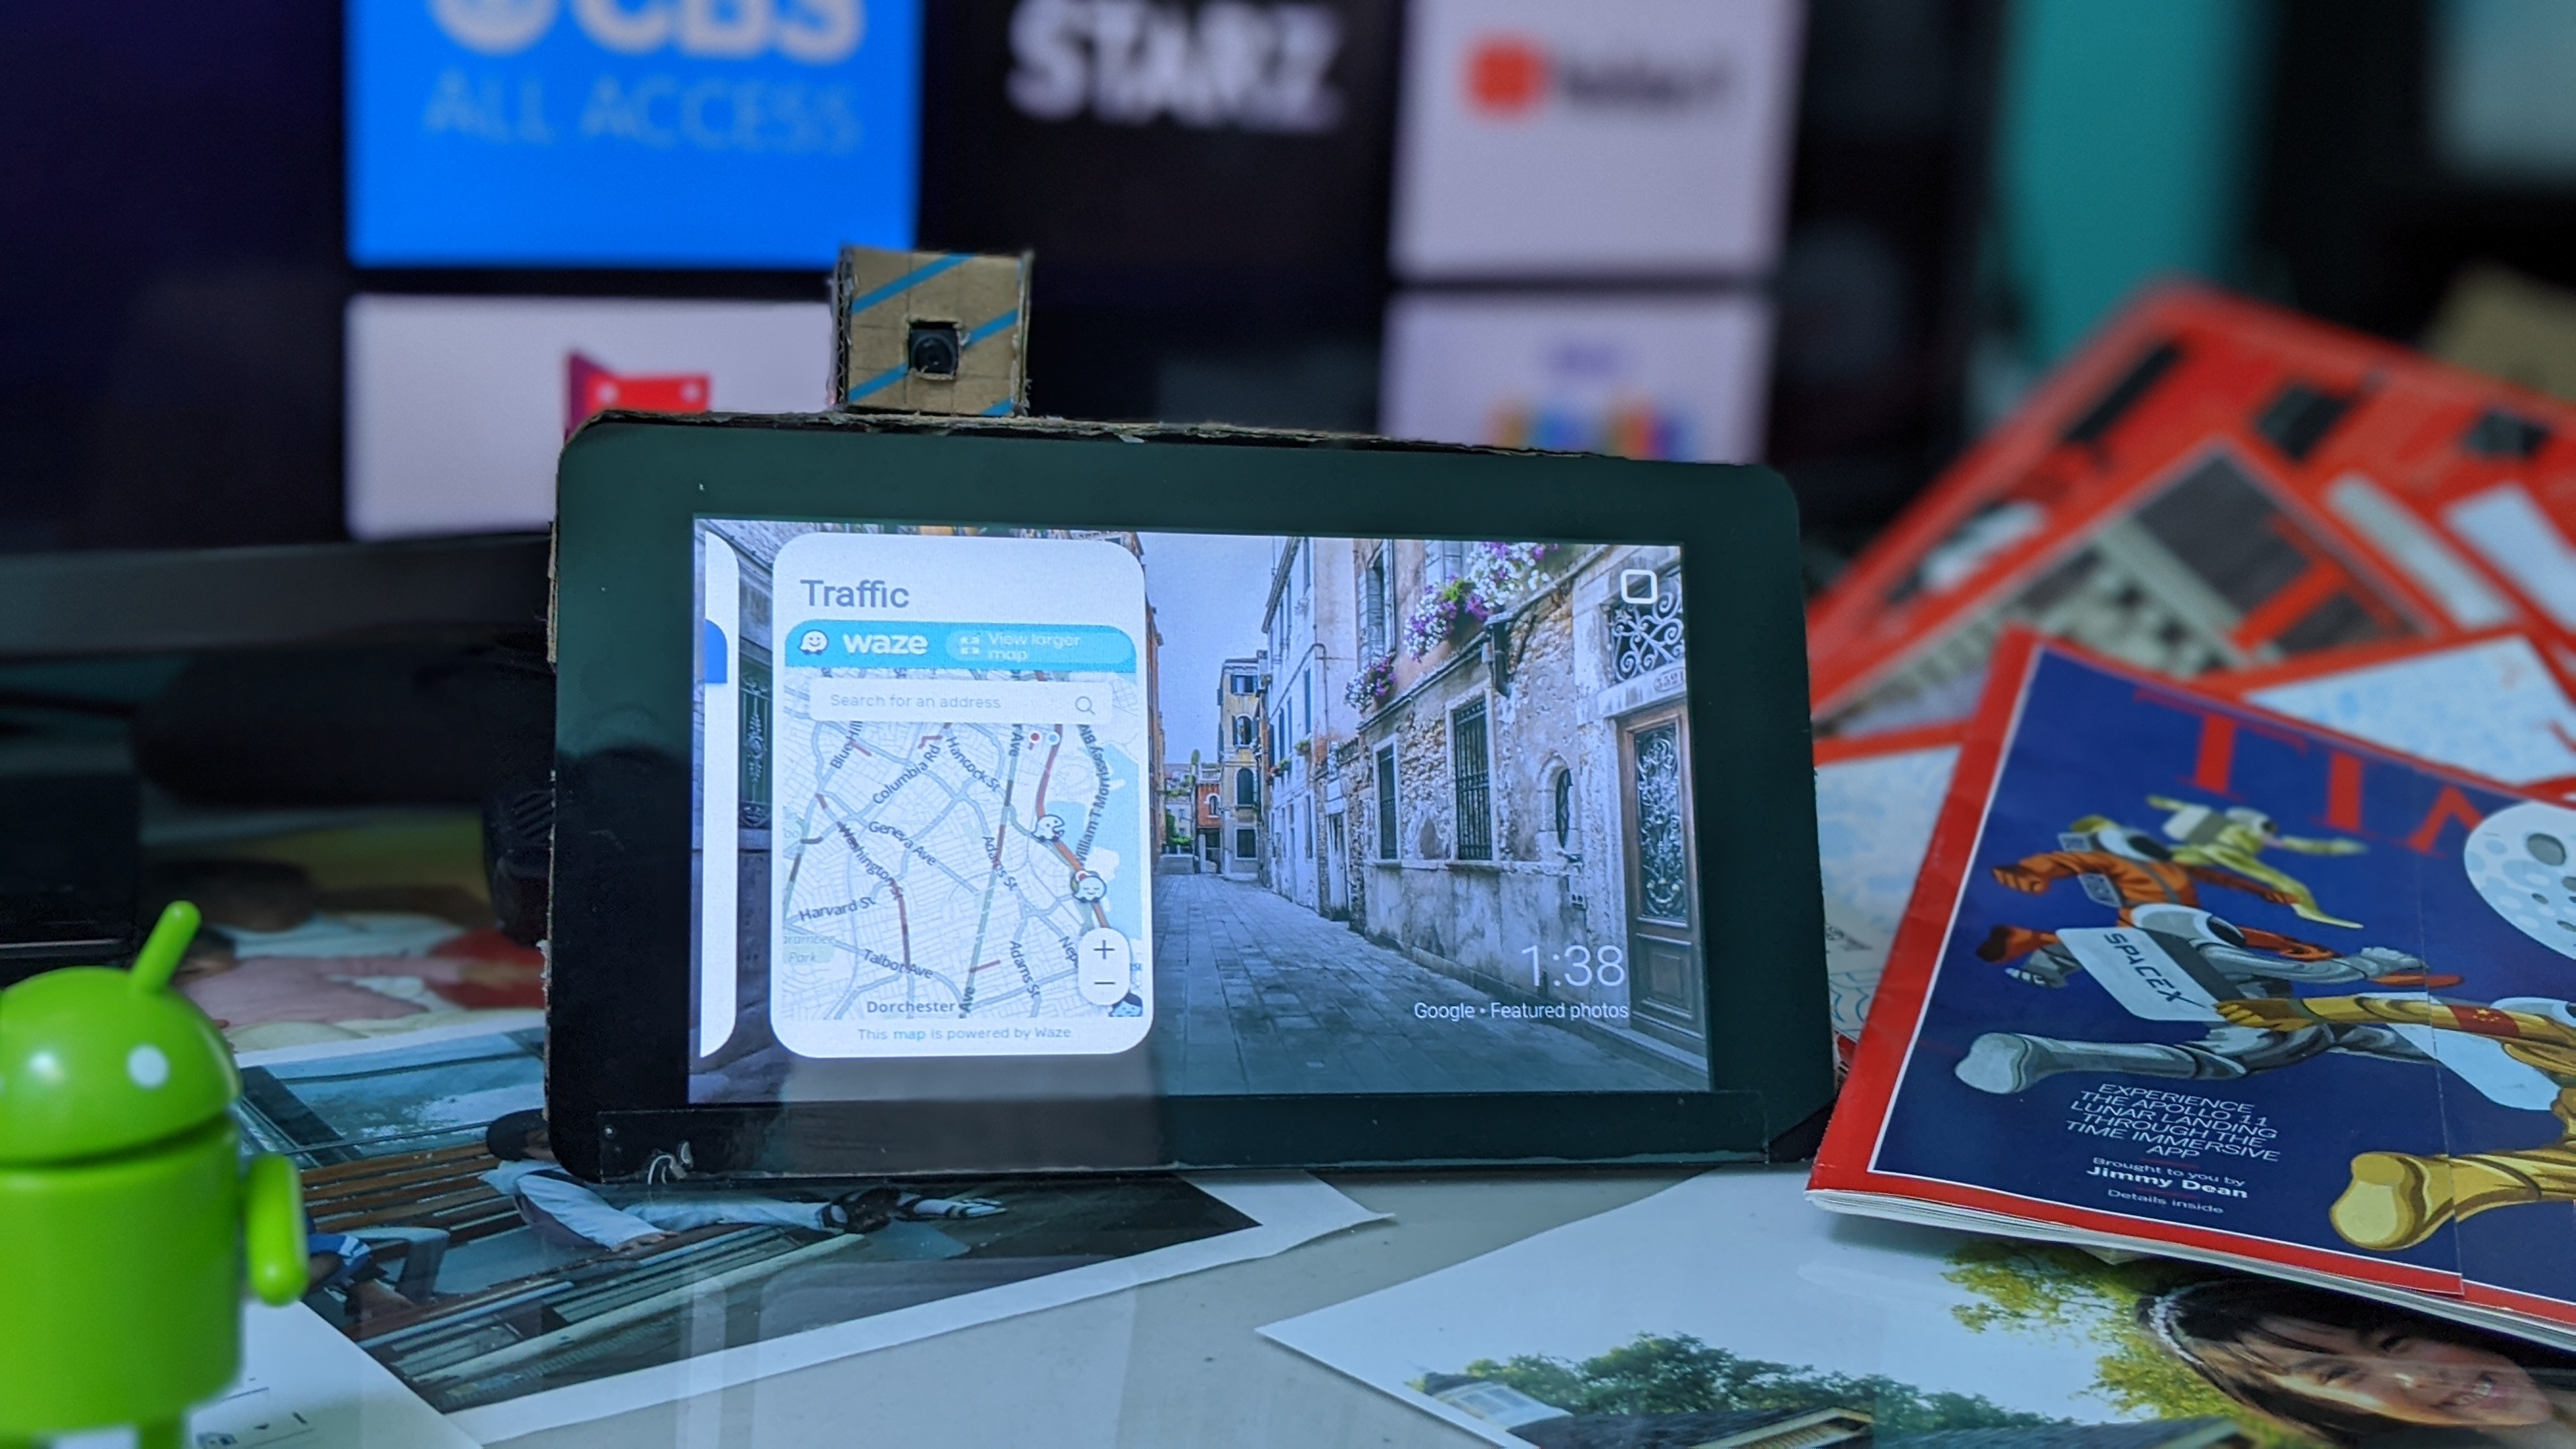
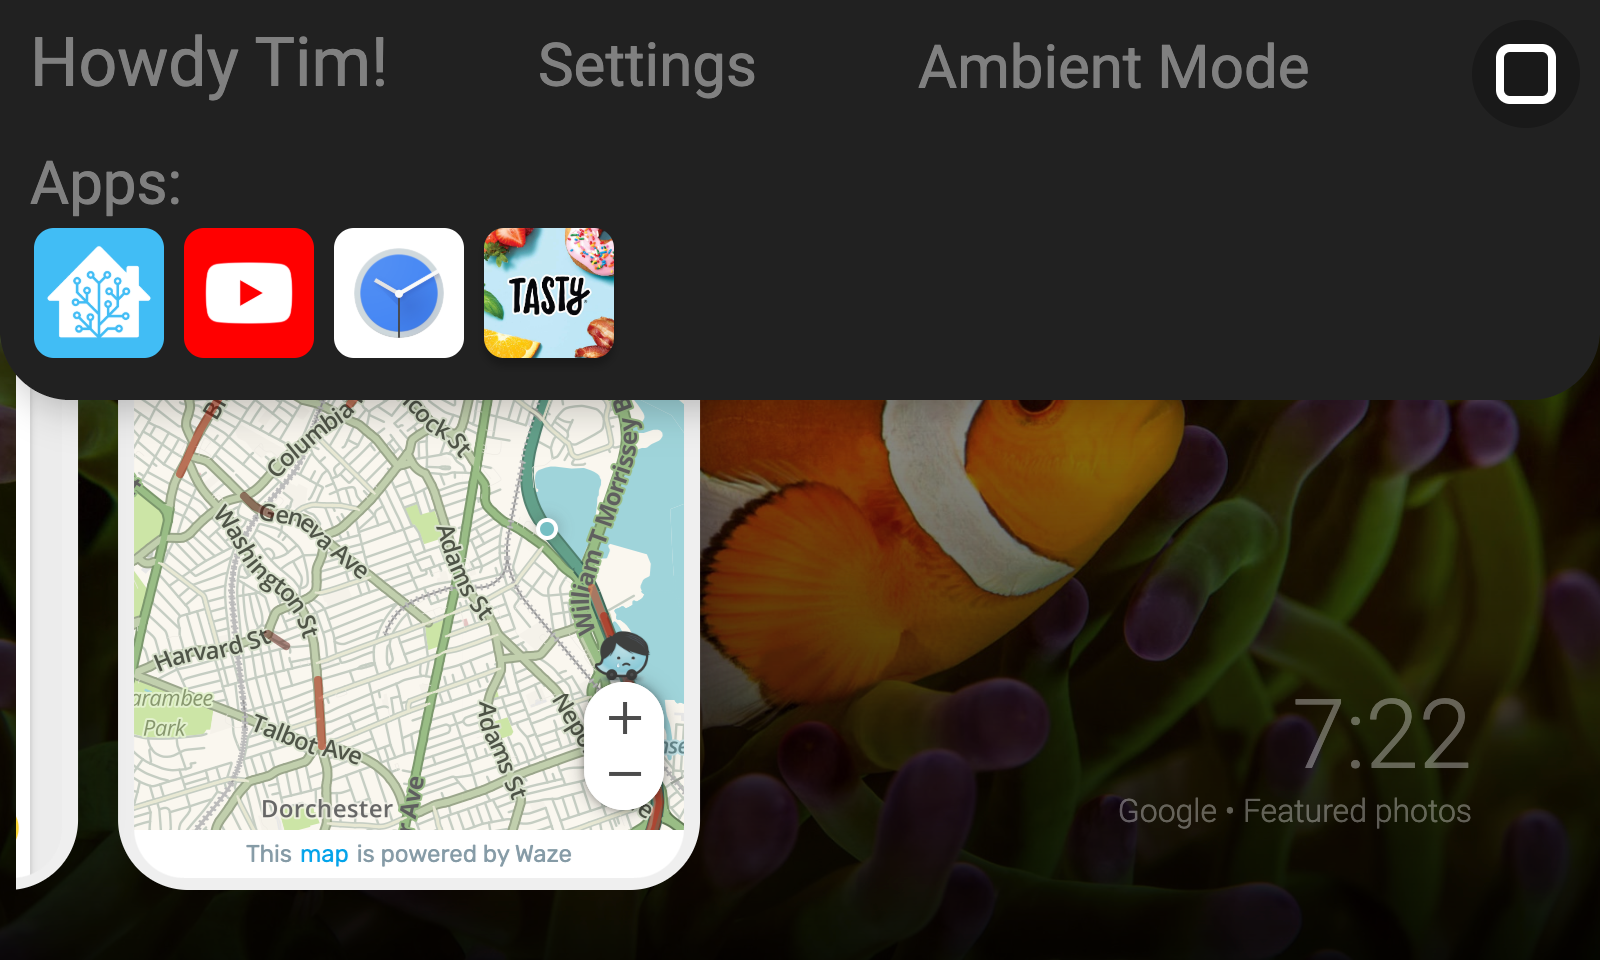


A great way to get smart display functionality on your Raspberry Pi that is powered by Google Assistant.
Supplies
- Raspberry Pi 3B/B+/4B
- Raspberry Pi Official Touchscreen
- Minimum 16GB SD card
- AIY Voice kit v1
- 2 micro USB cables, or the official power brick and one micro USB cable
- Optional: Raspberry Pi Camera
Assembling the Hardware
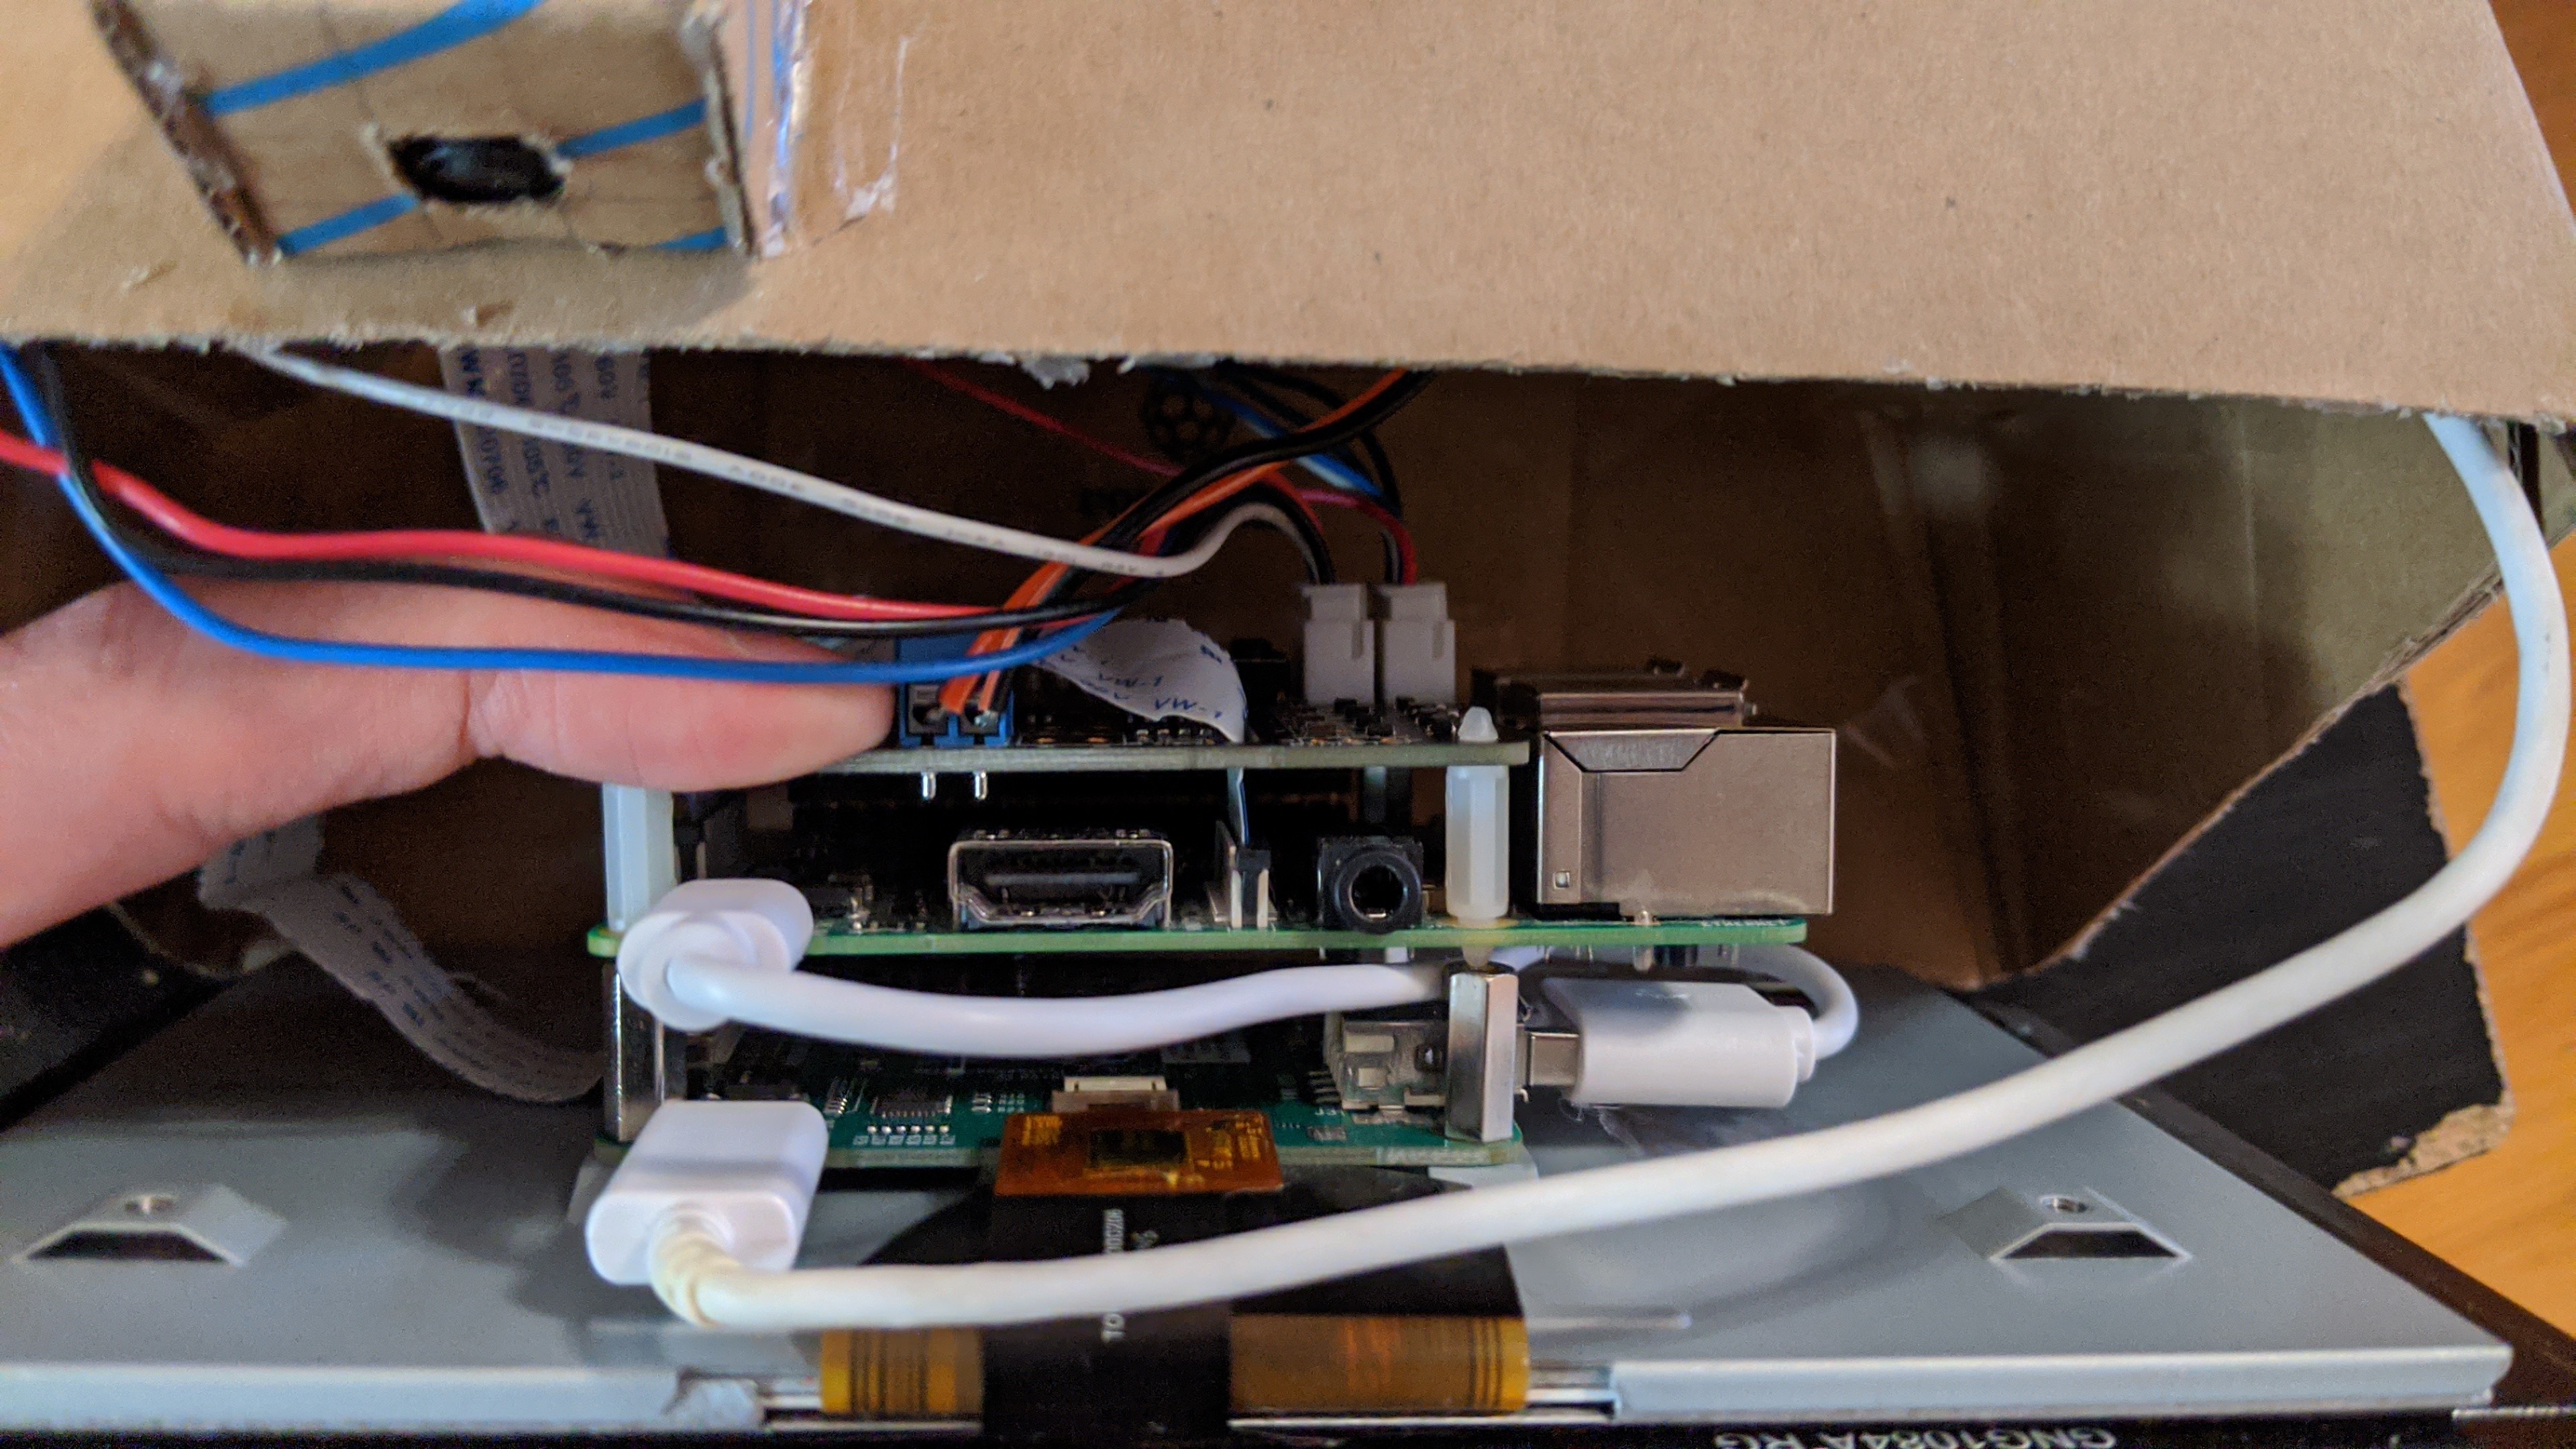
First, assemble the Voice Kit as shown here. Once you have assembled the voice kit, connect a micro USB cable from the touchscreen's USB port to the Pi's micro USB port. Voila, you now have your hardware all set up!
Flashing SD Card
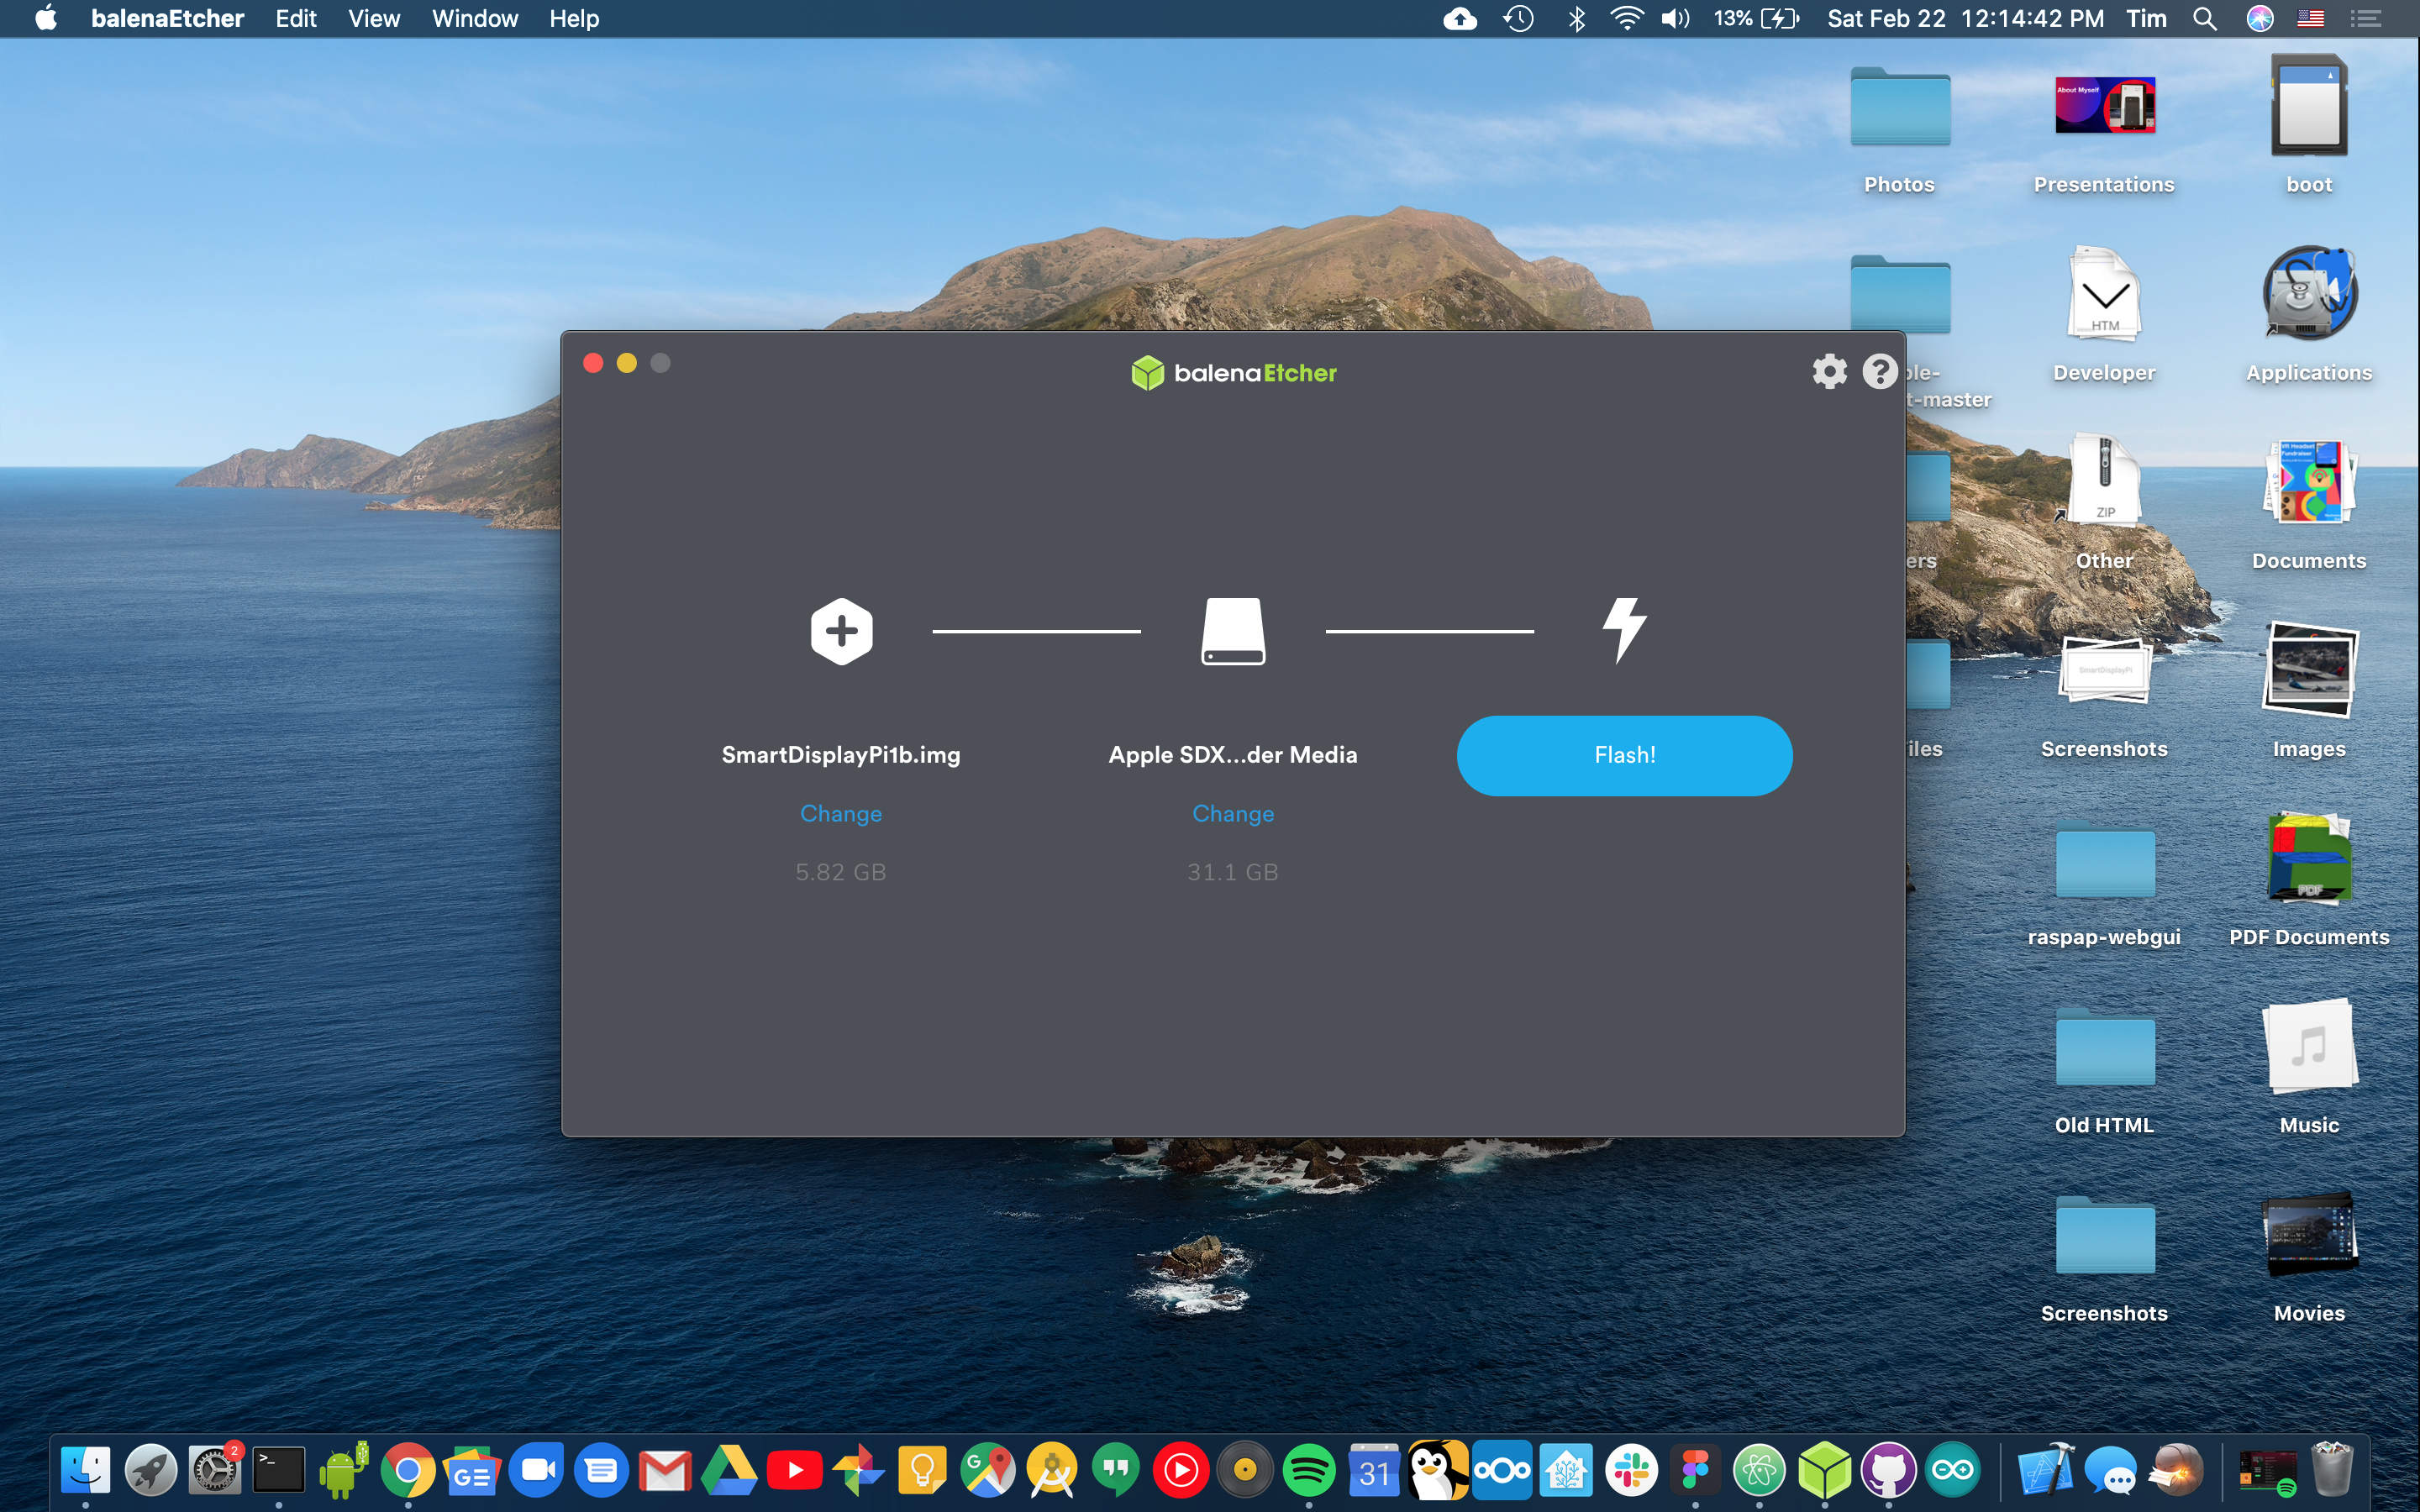
Head over to the SmartDisplayPi Github Releases page. Download the latest image and flash it using Etcher onto your SD card. Plug it into the Pi, and start it up. If your touchscreen is upside down, run "sudo nano /boot/config.txt", add in "lcd_rotate=2" and then reboot.
Setup
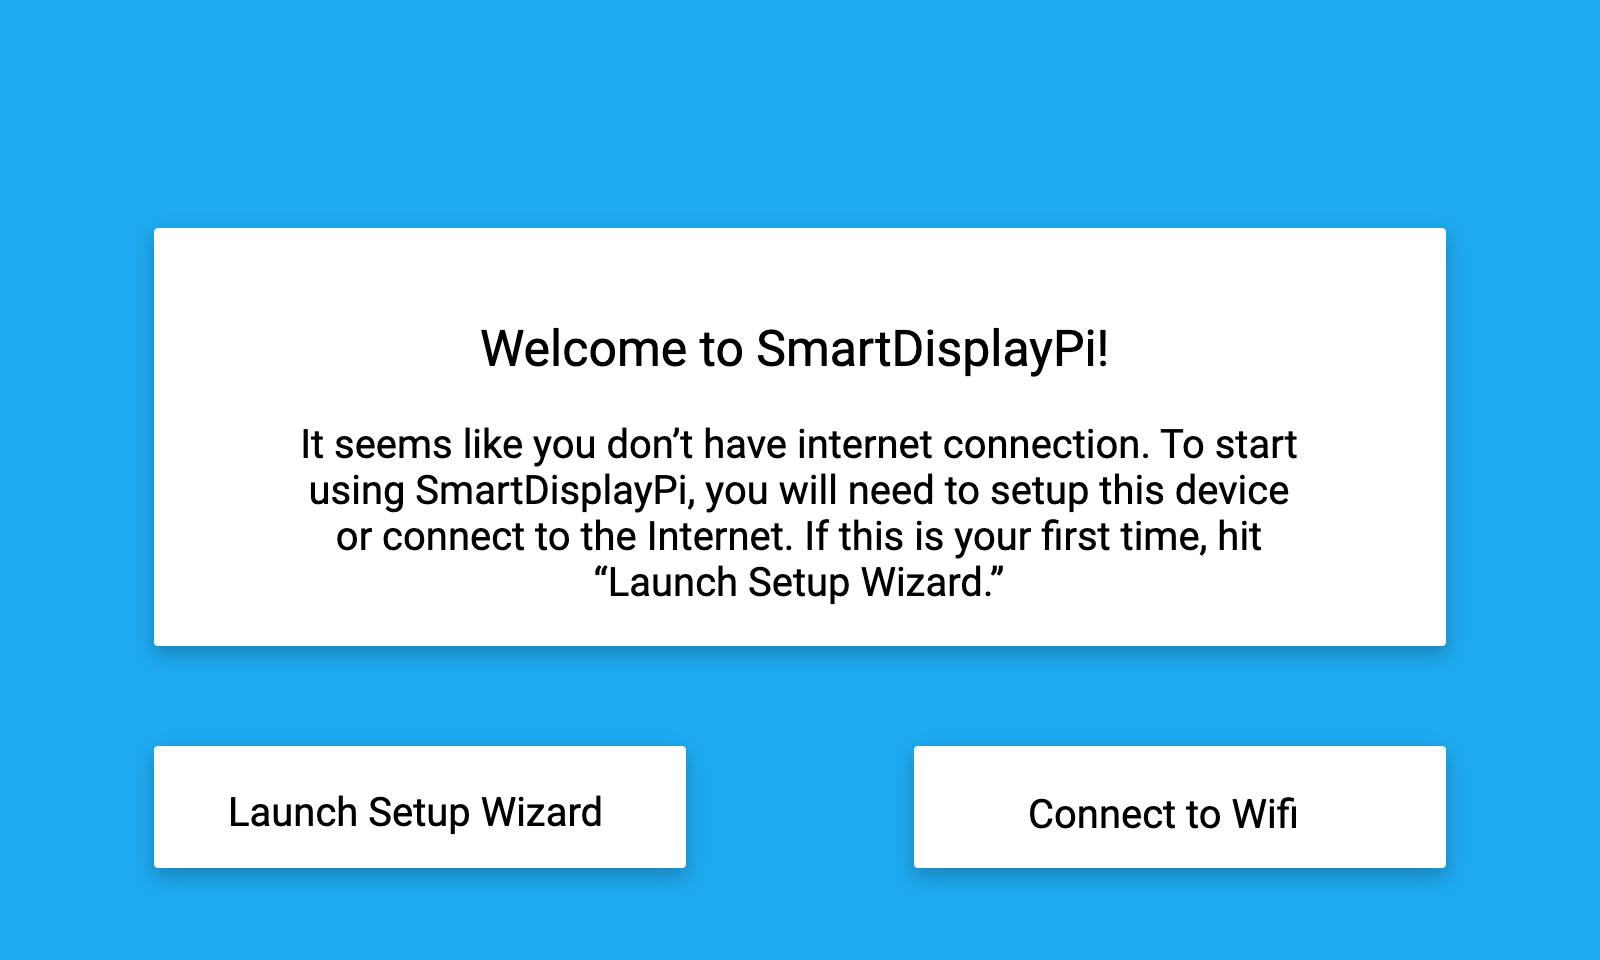
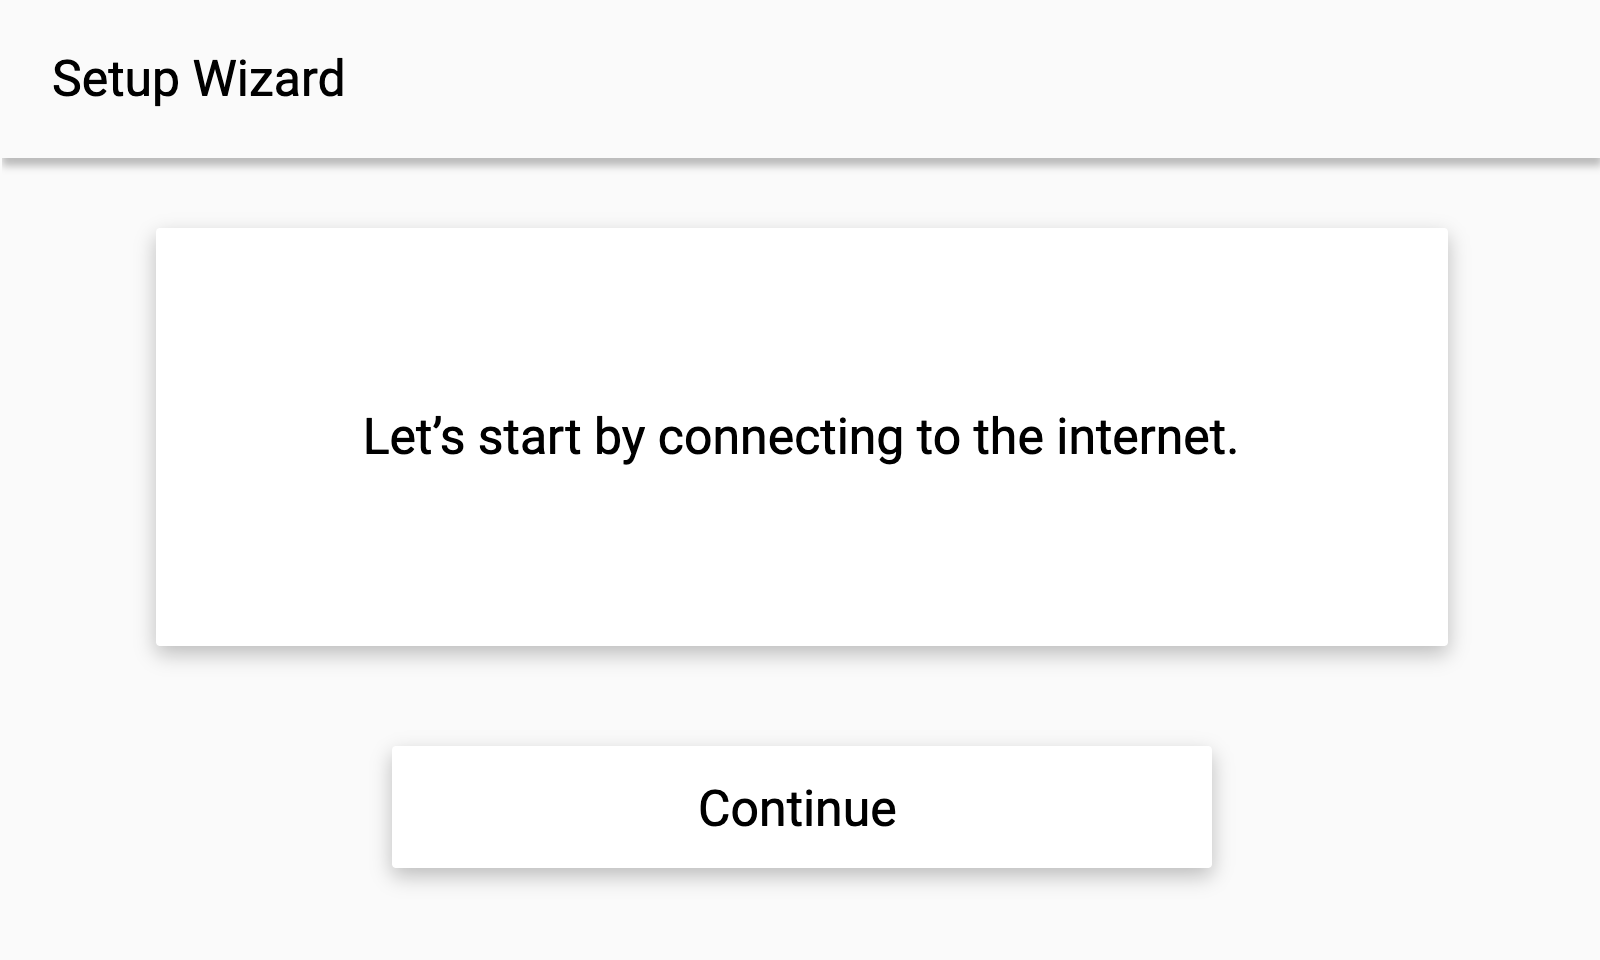
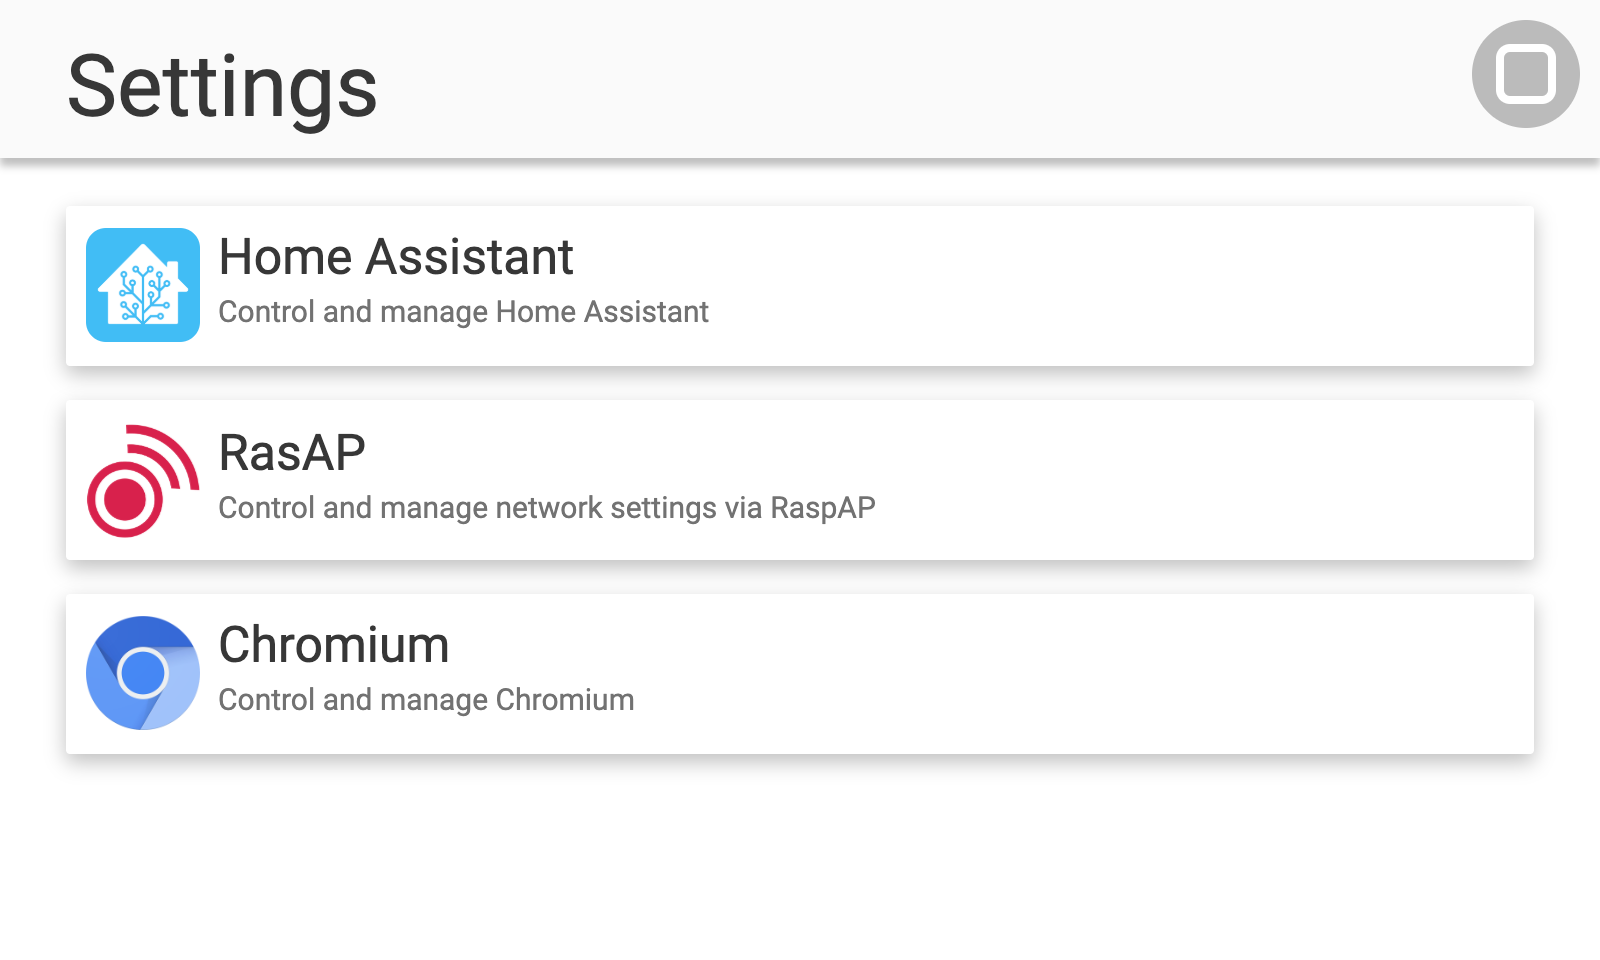
Once you have fully booted, head over to the Settings tab and click on "Launch Setup Wizard". Follow the instructions presented to set up WiFi, accounts, etc. Once you have your WiFi and Home Assistant all set up, you will need to set up a couple of things to start using SmartDisplayPi.
Widgets
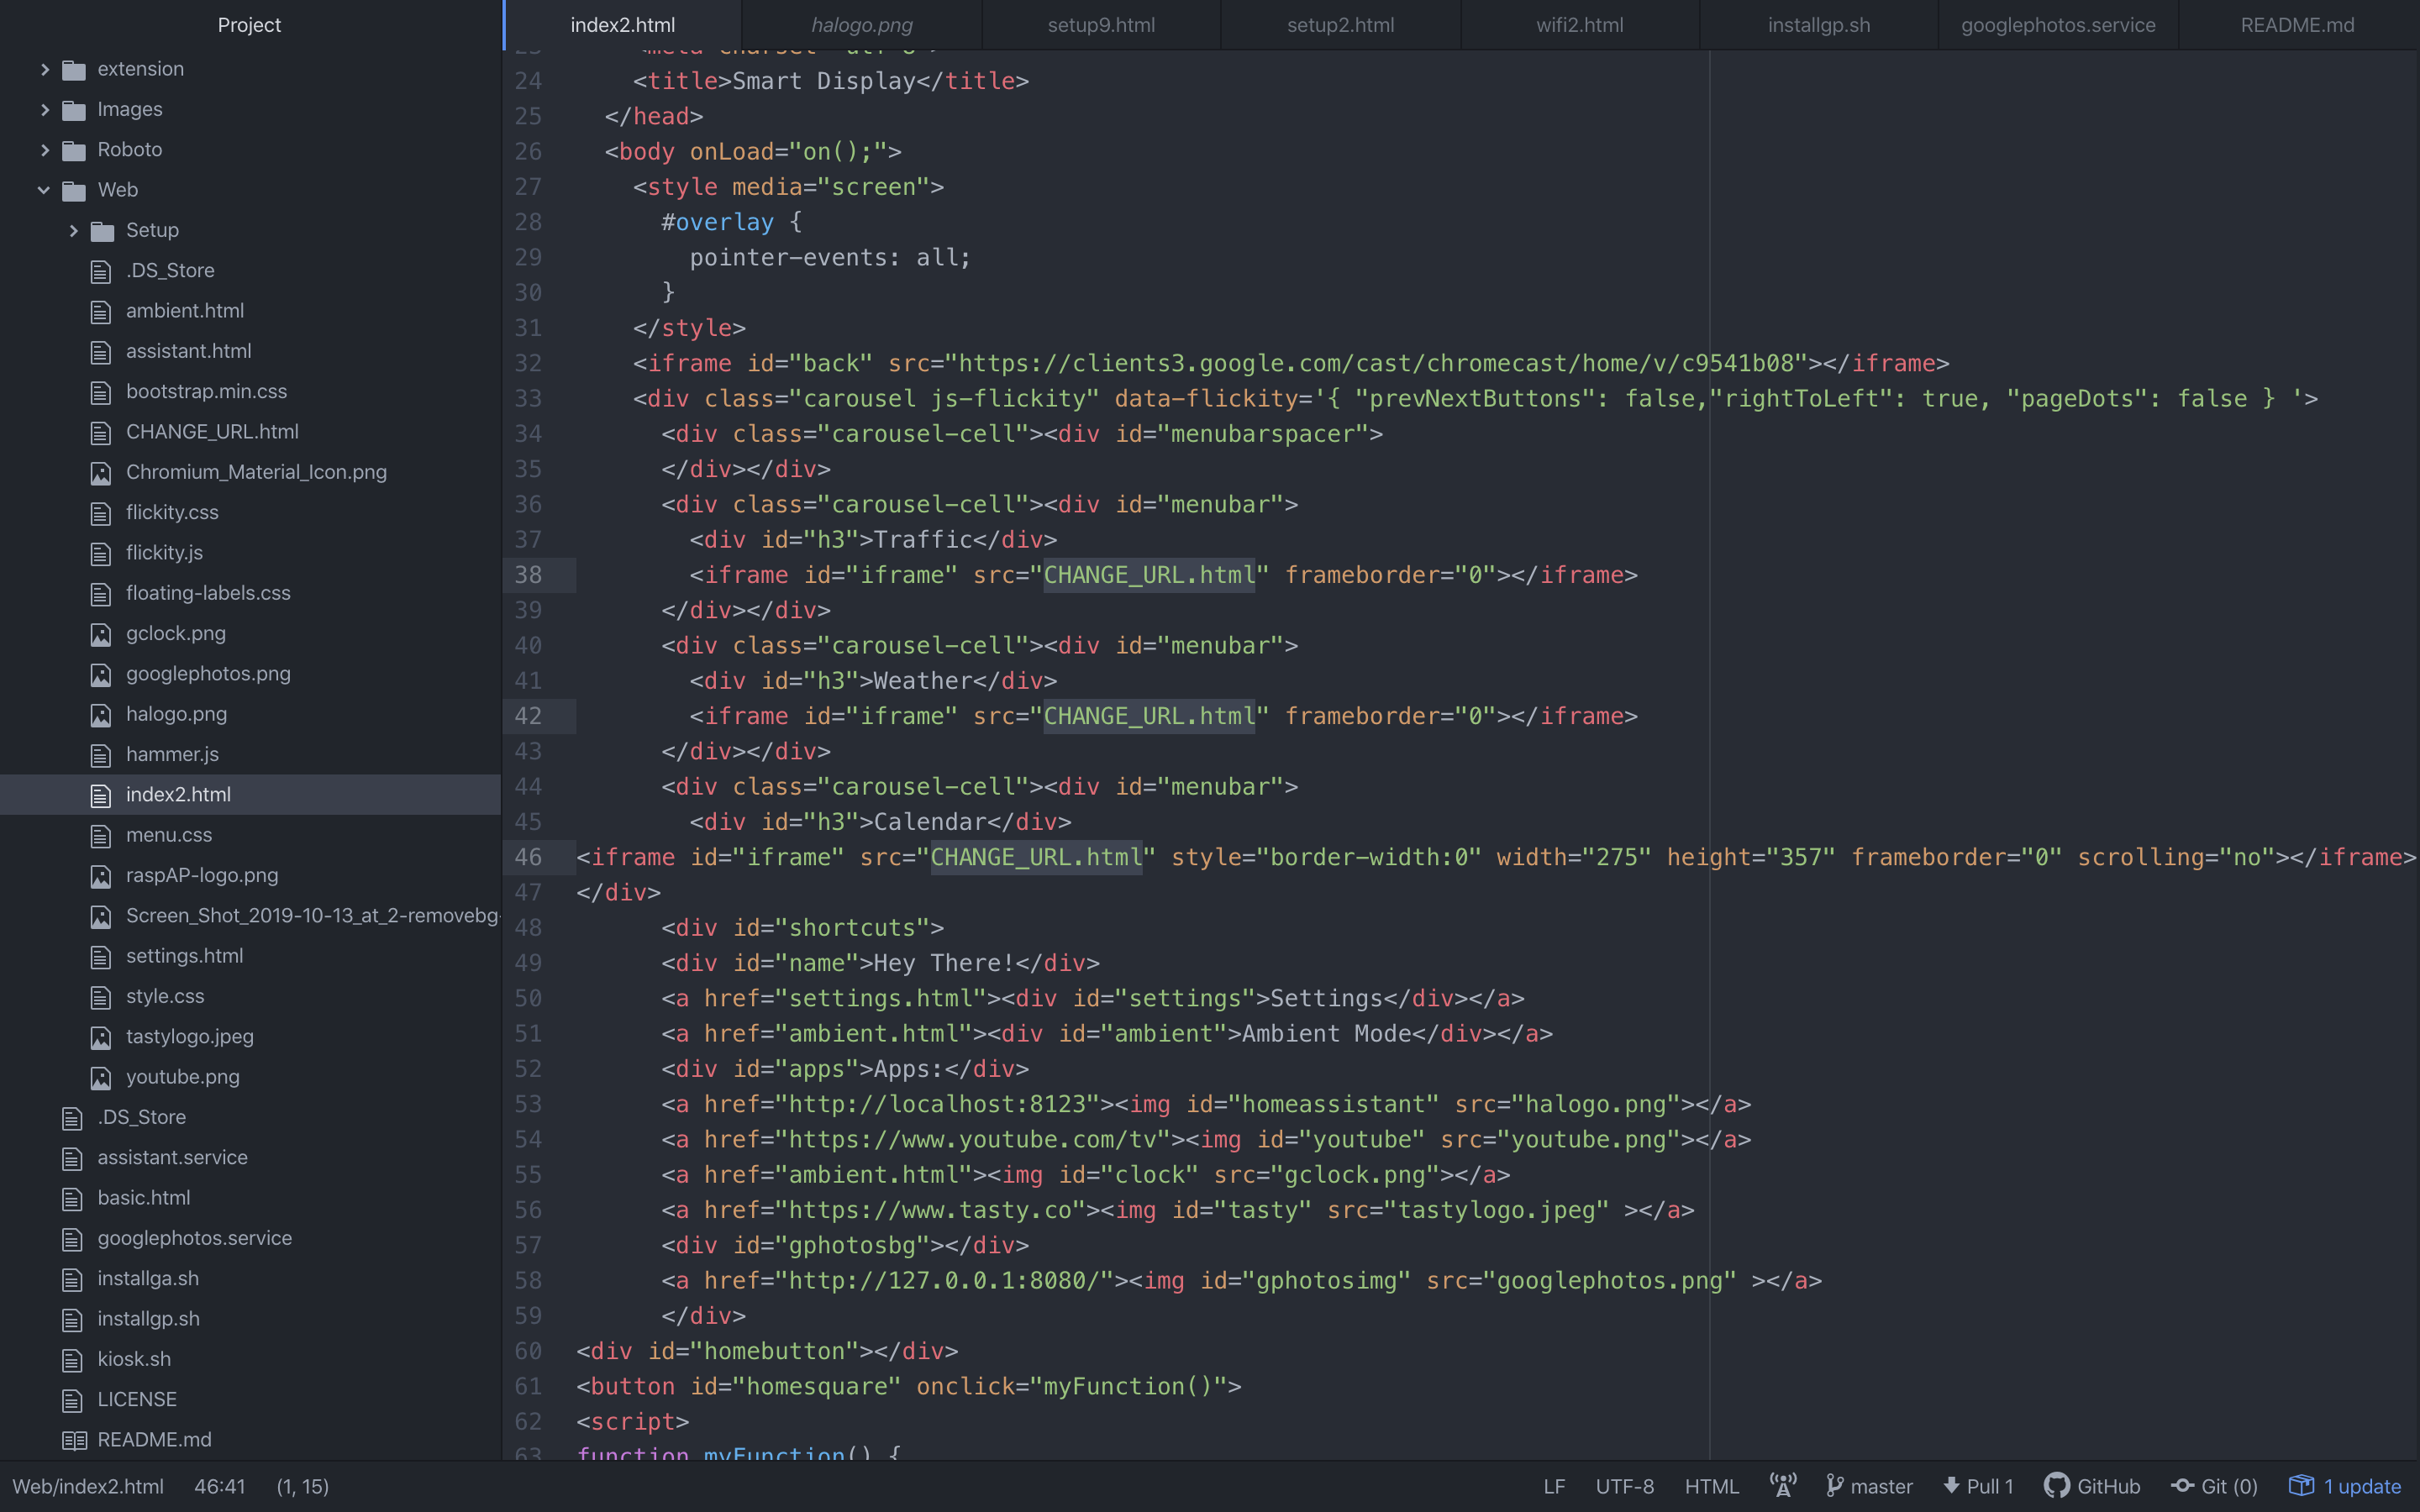
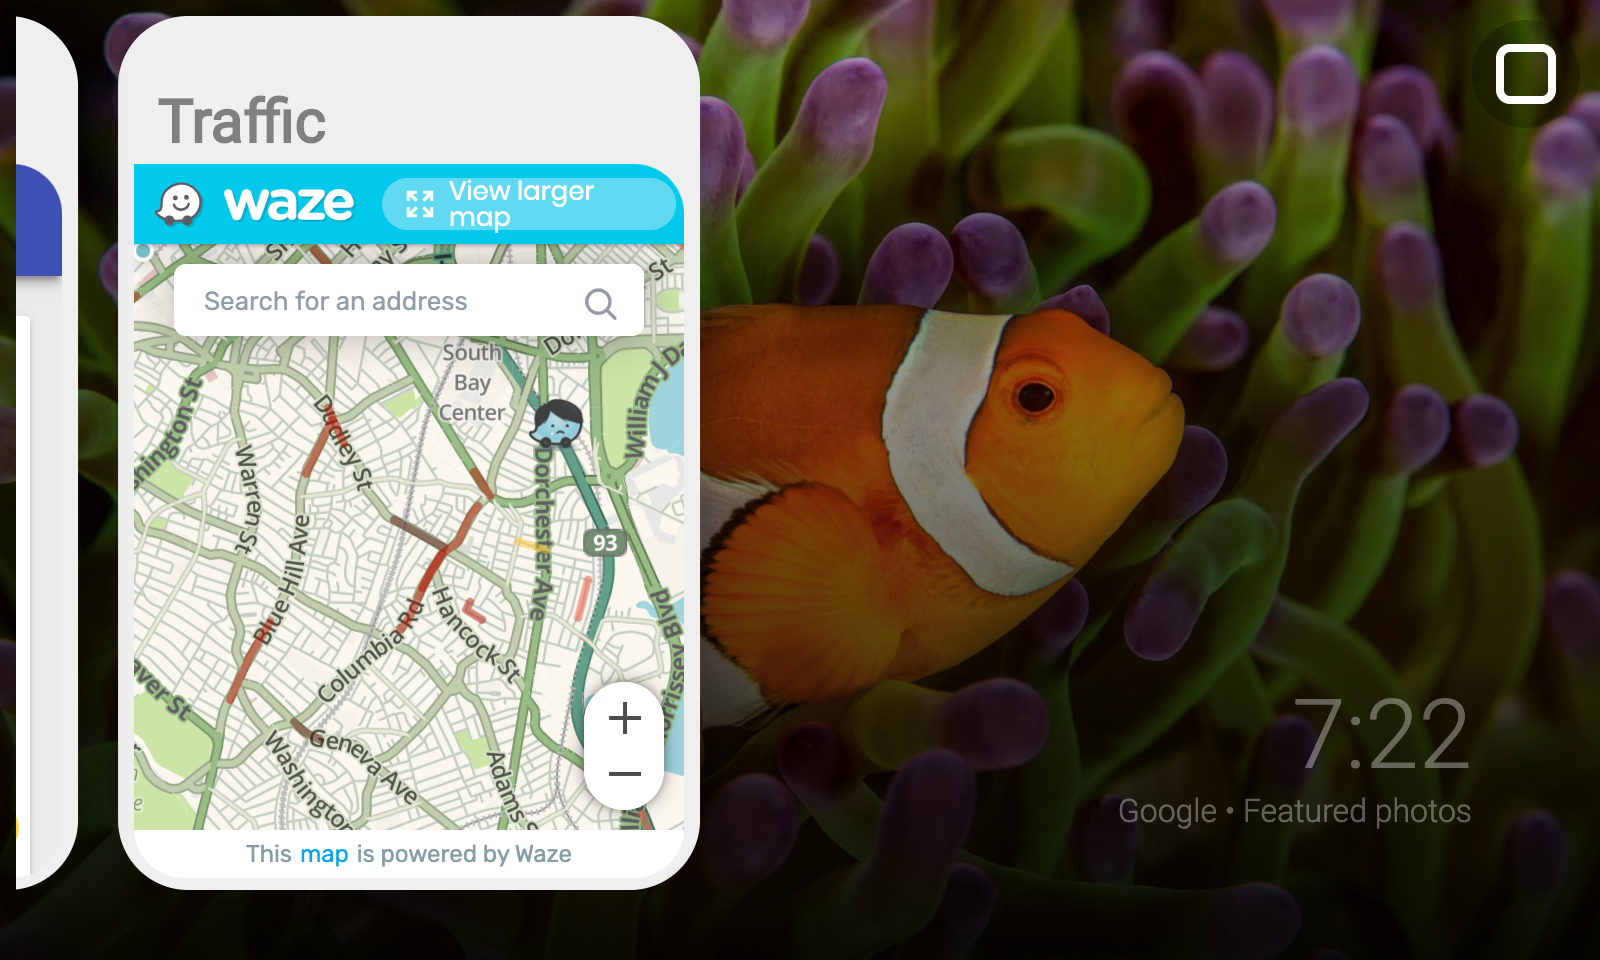
To set up your home page widgets, you will need to retrieve your Waze maps, weather, and your calendar. For Waze maps, follow the instructions listed here to get your Waze maps ready. For your calendar, you can use any client to embed, as long as you can embed it. *If you ware using Google Maps, you must log in to Google Chrome with your email, or set your calendar public.* For your weather client, you can use any weather client you want, or you can use our default one with steps listed here. Replace all of the embedded links with the respective iFrame config by running "sudo nano SmartDisplayPi/Web/index2.html".
Google Photos Photo Frame
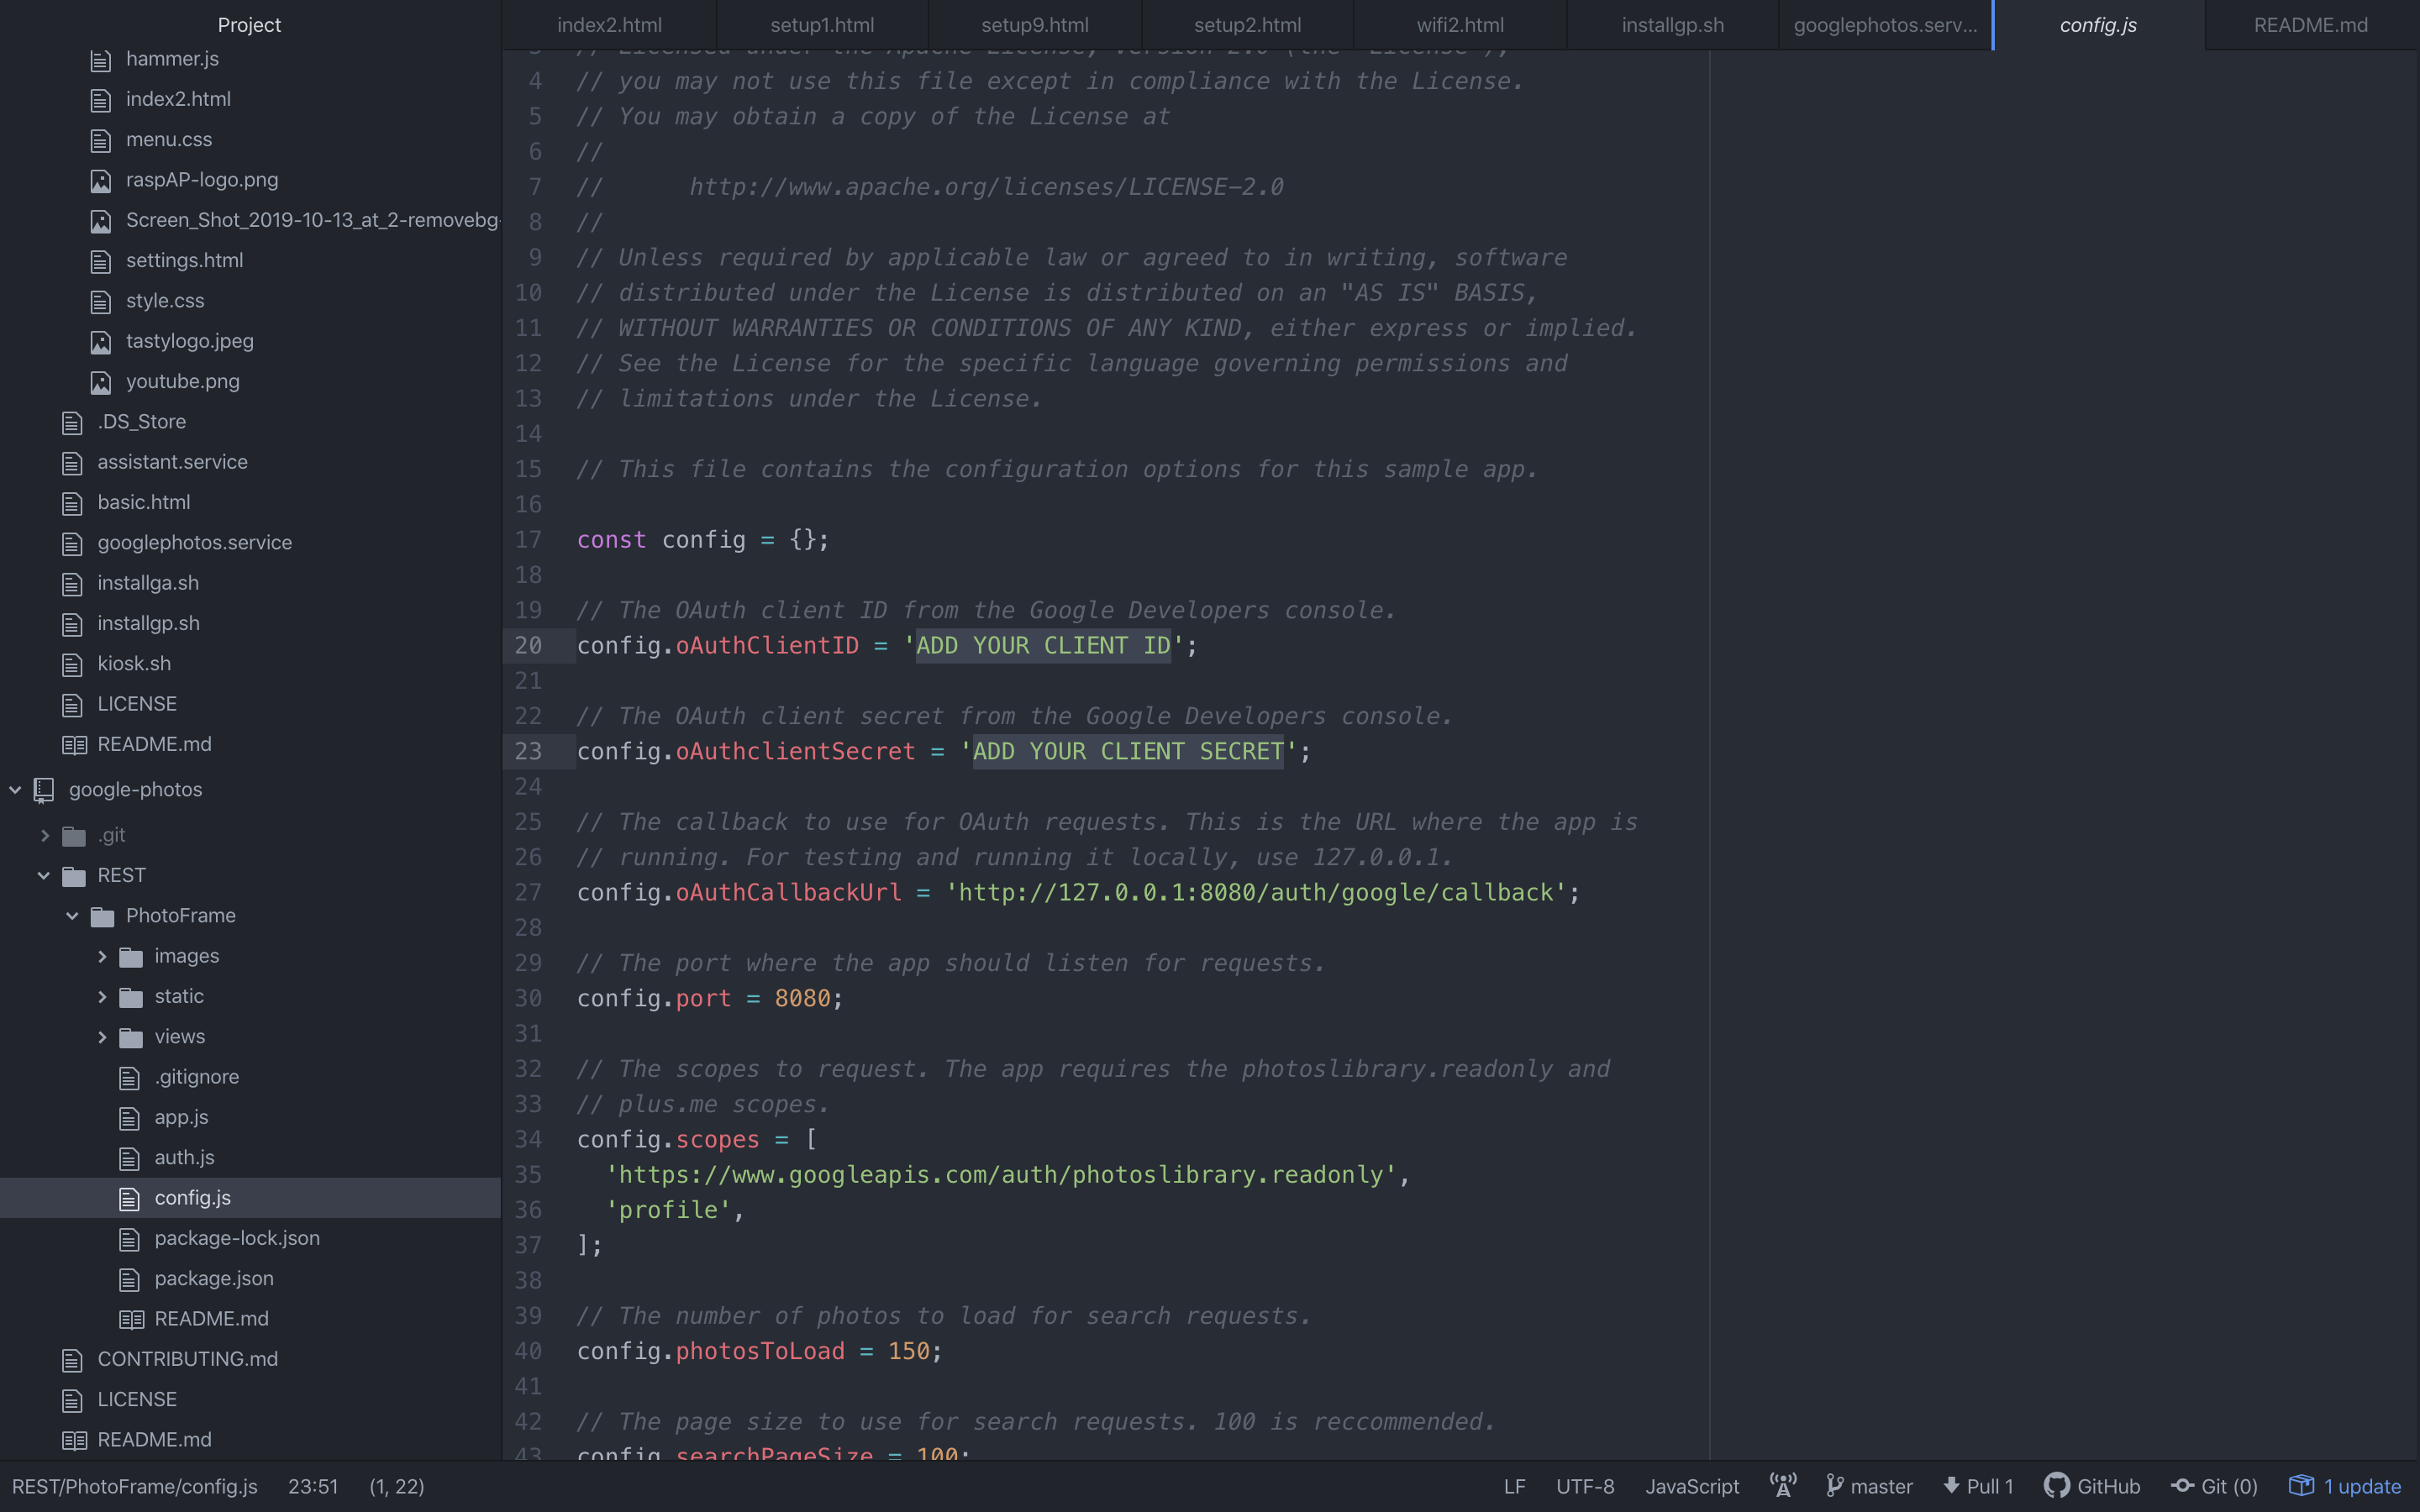
To use your Google Photos photo frame, head over here to get instructions on obtaining your Google Photos API. Once you have your API ready, run "cd /home/pi/SmartDisplayPi/google-photos/REST/PhotoFrame". Next, run "sudo nano config.js" and replace the placeholders with your credentials. Then run "bash gp.sh" in the SmartDisplayPi directory to start your photo frame.
Installing Google Assistant
To install Google Assitant, follow these instructions and this to retrieve your credentials. Once you have retrieved your credentials, go into the SmartDIsplayFolder and run "sudo bash installga.sh". Follow the instructions listed, and that's it! You have fully set up your SmartDisplayPi! Have fun using SmartDisplayPi!