Smart Sensor
Smart Sensor
Introduction
Step1 : Smart Sensor’s Components

.jpg)
STM32 Nucleo-L476RG Communication part :
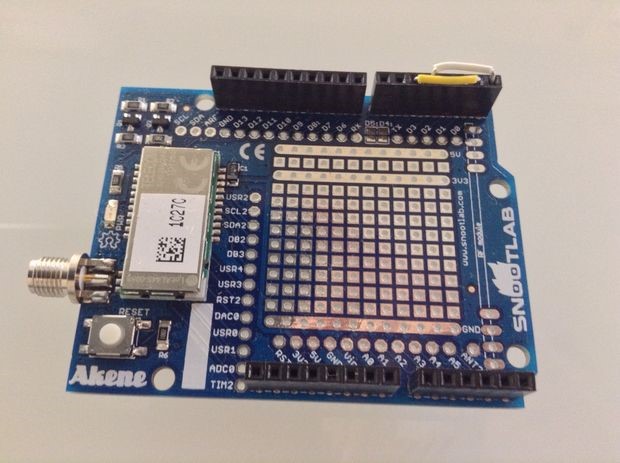
- Sigfox Module (akene TD1208)SensorsMQ131 :
- Ozone Gas sensorMics2714 : Detection of the pollution gases is achieved by measuring the sensing resistance of the sensor,The sensor resistance increases in the presence of NO2
- DHT22 « Temperature and Humidity » sensor
- SHARP GP21010AUoF : dust sensor by optical sensing system
- Adapter for dust sensor (DRF0280)
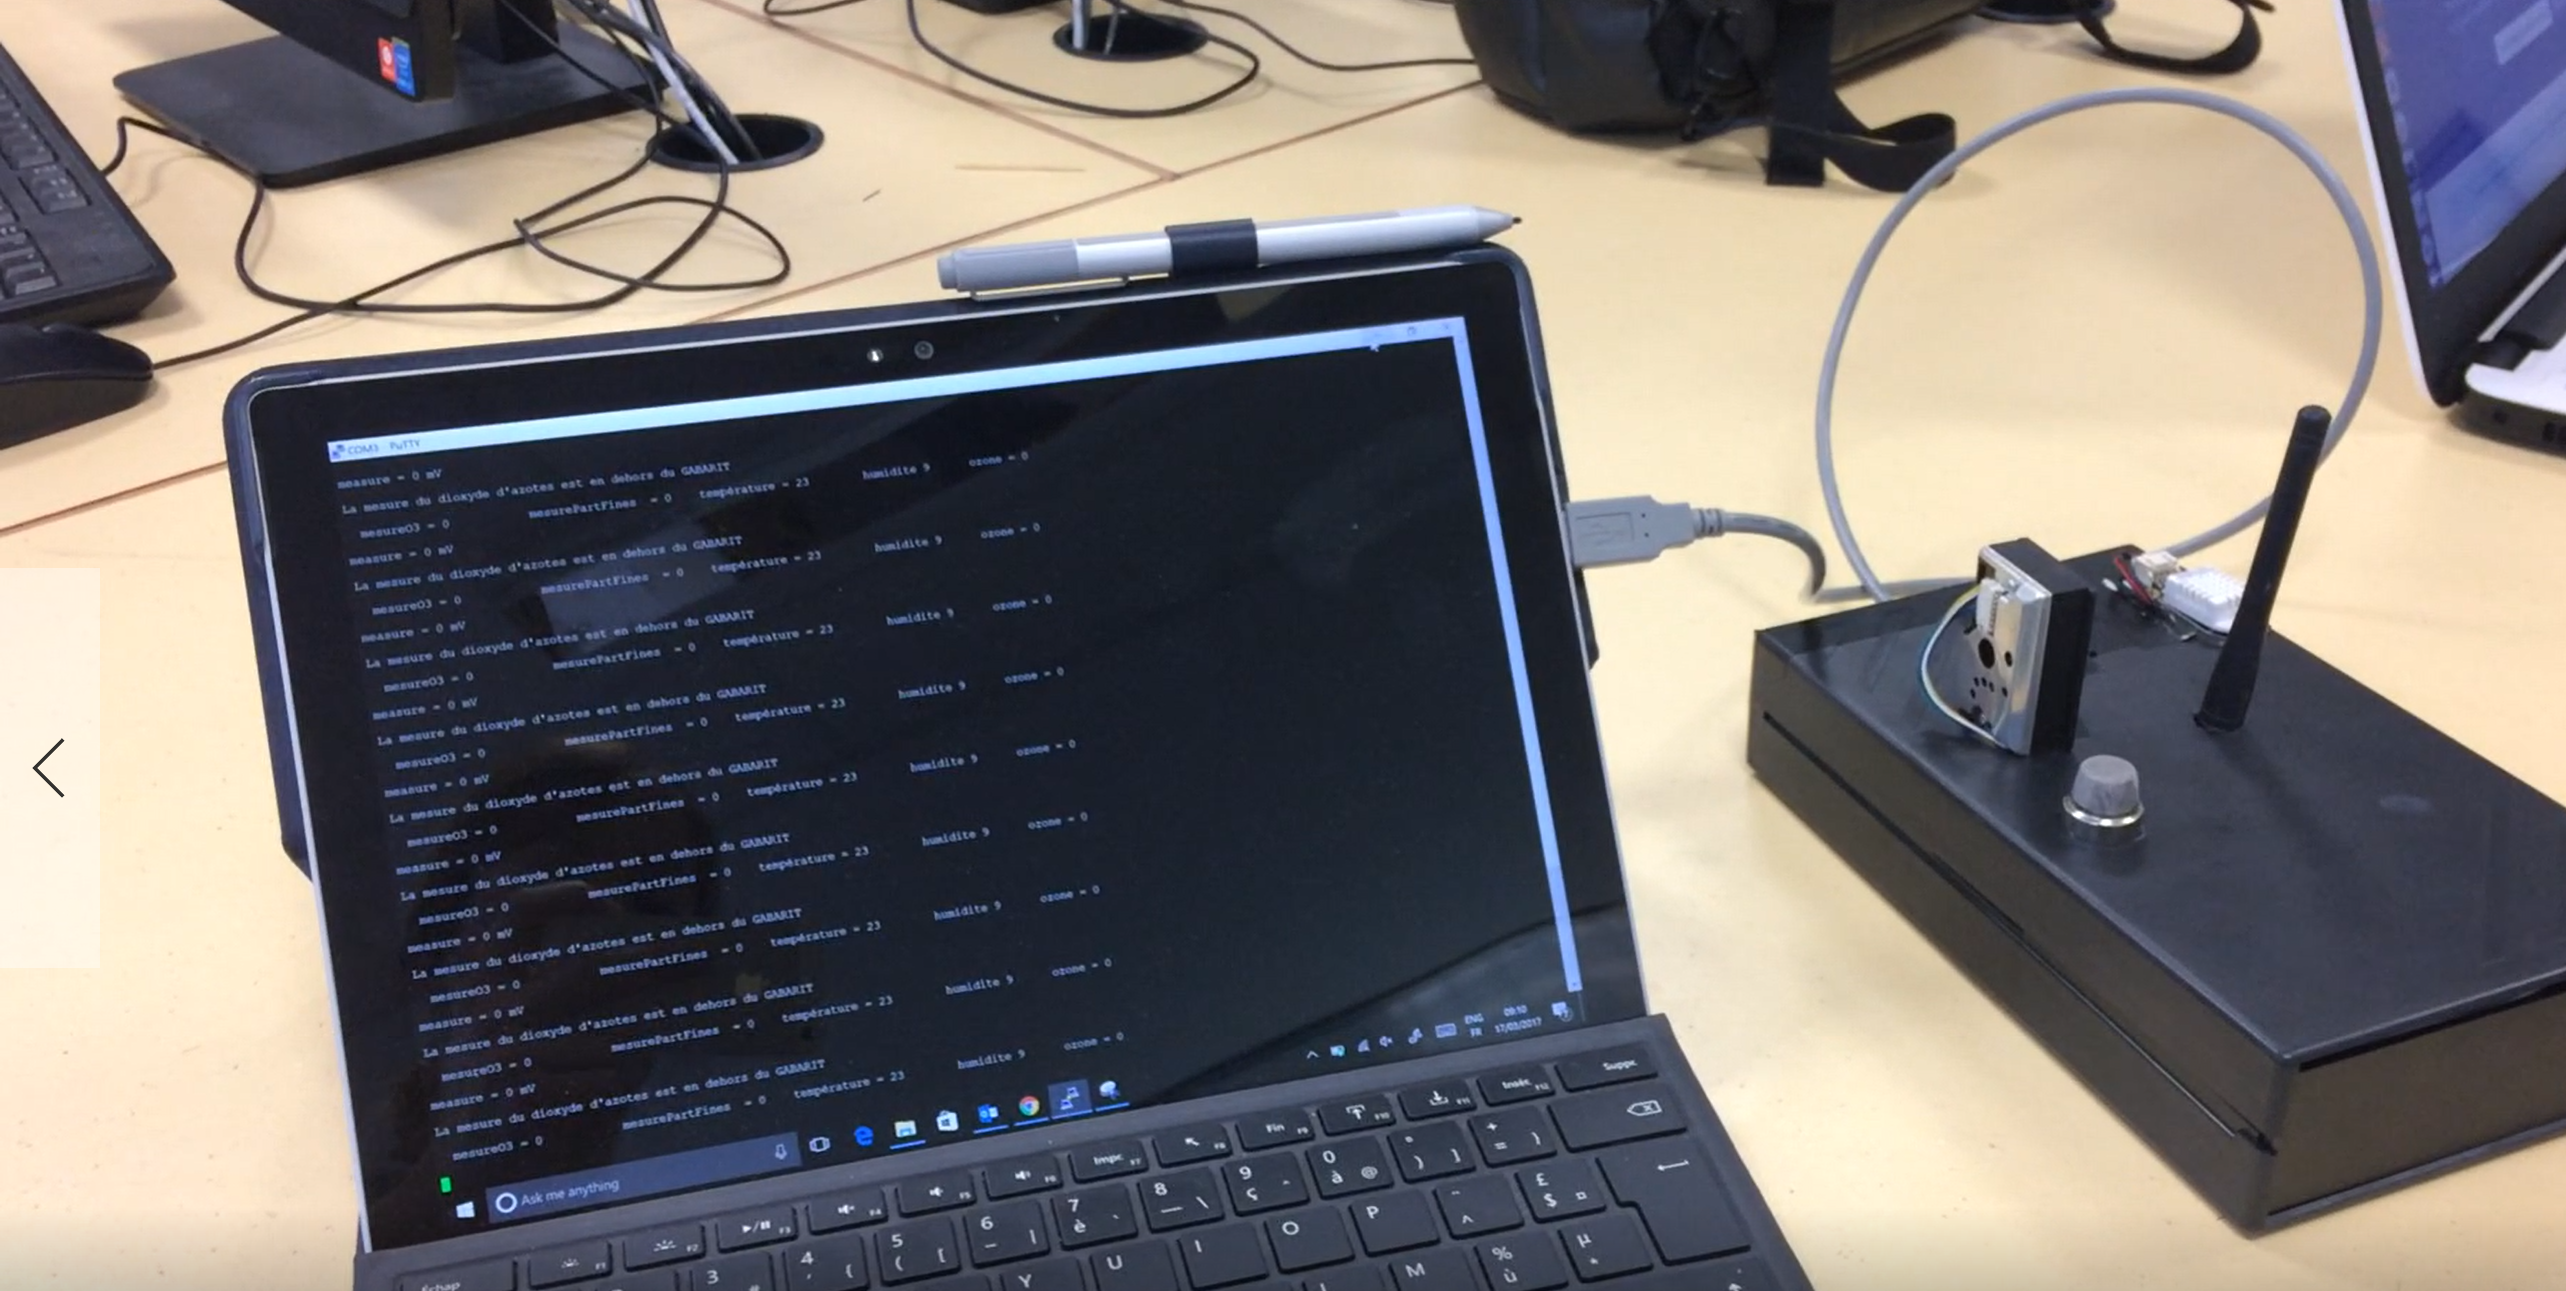
Step 2 : the Prototype
Step3 : Connection Diagram
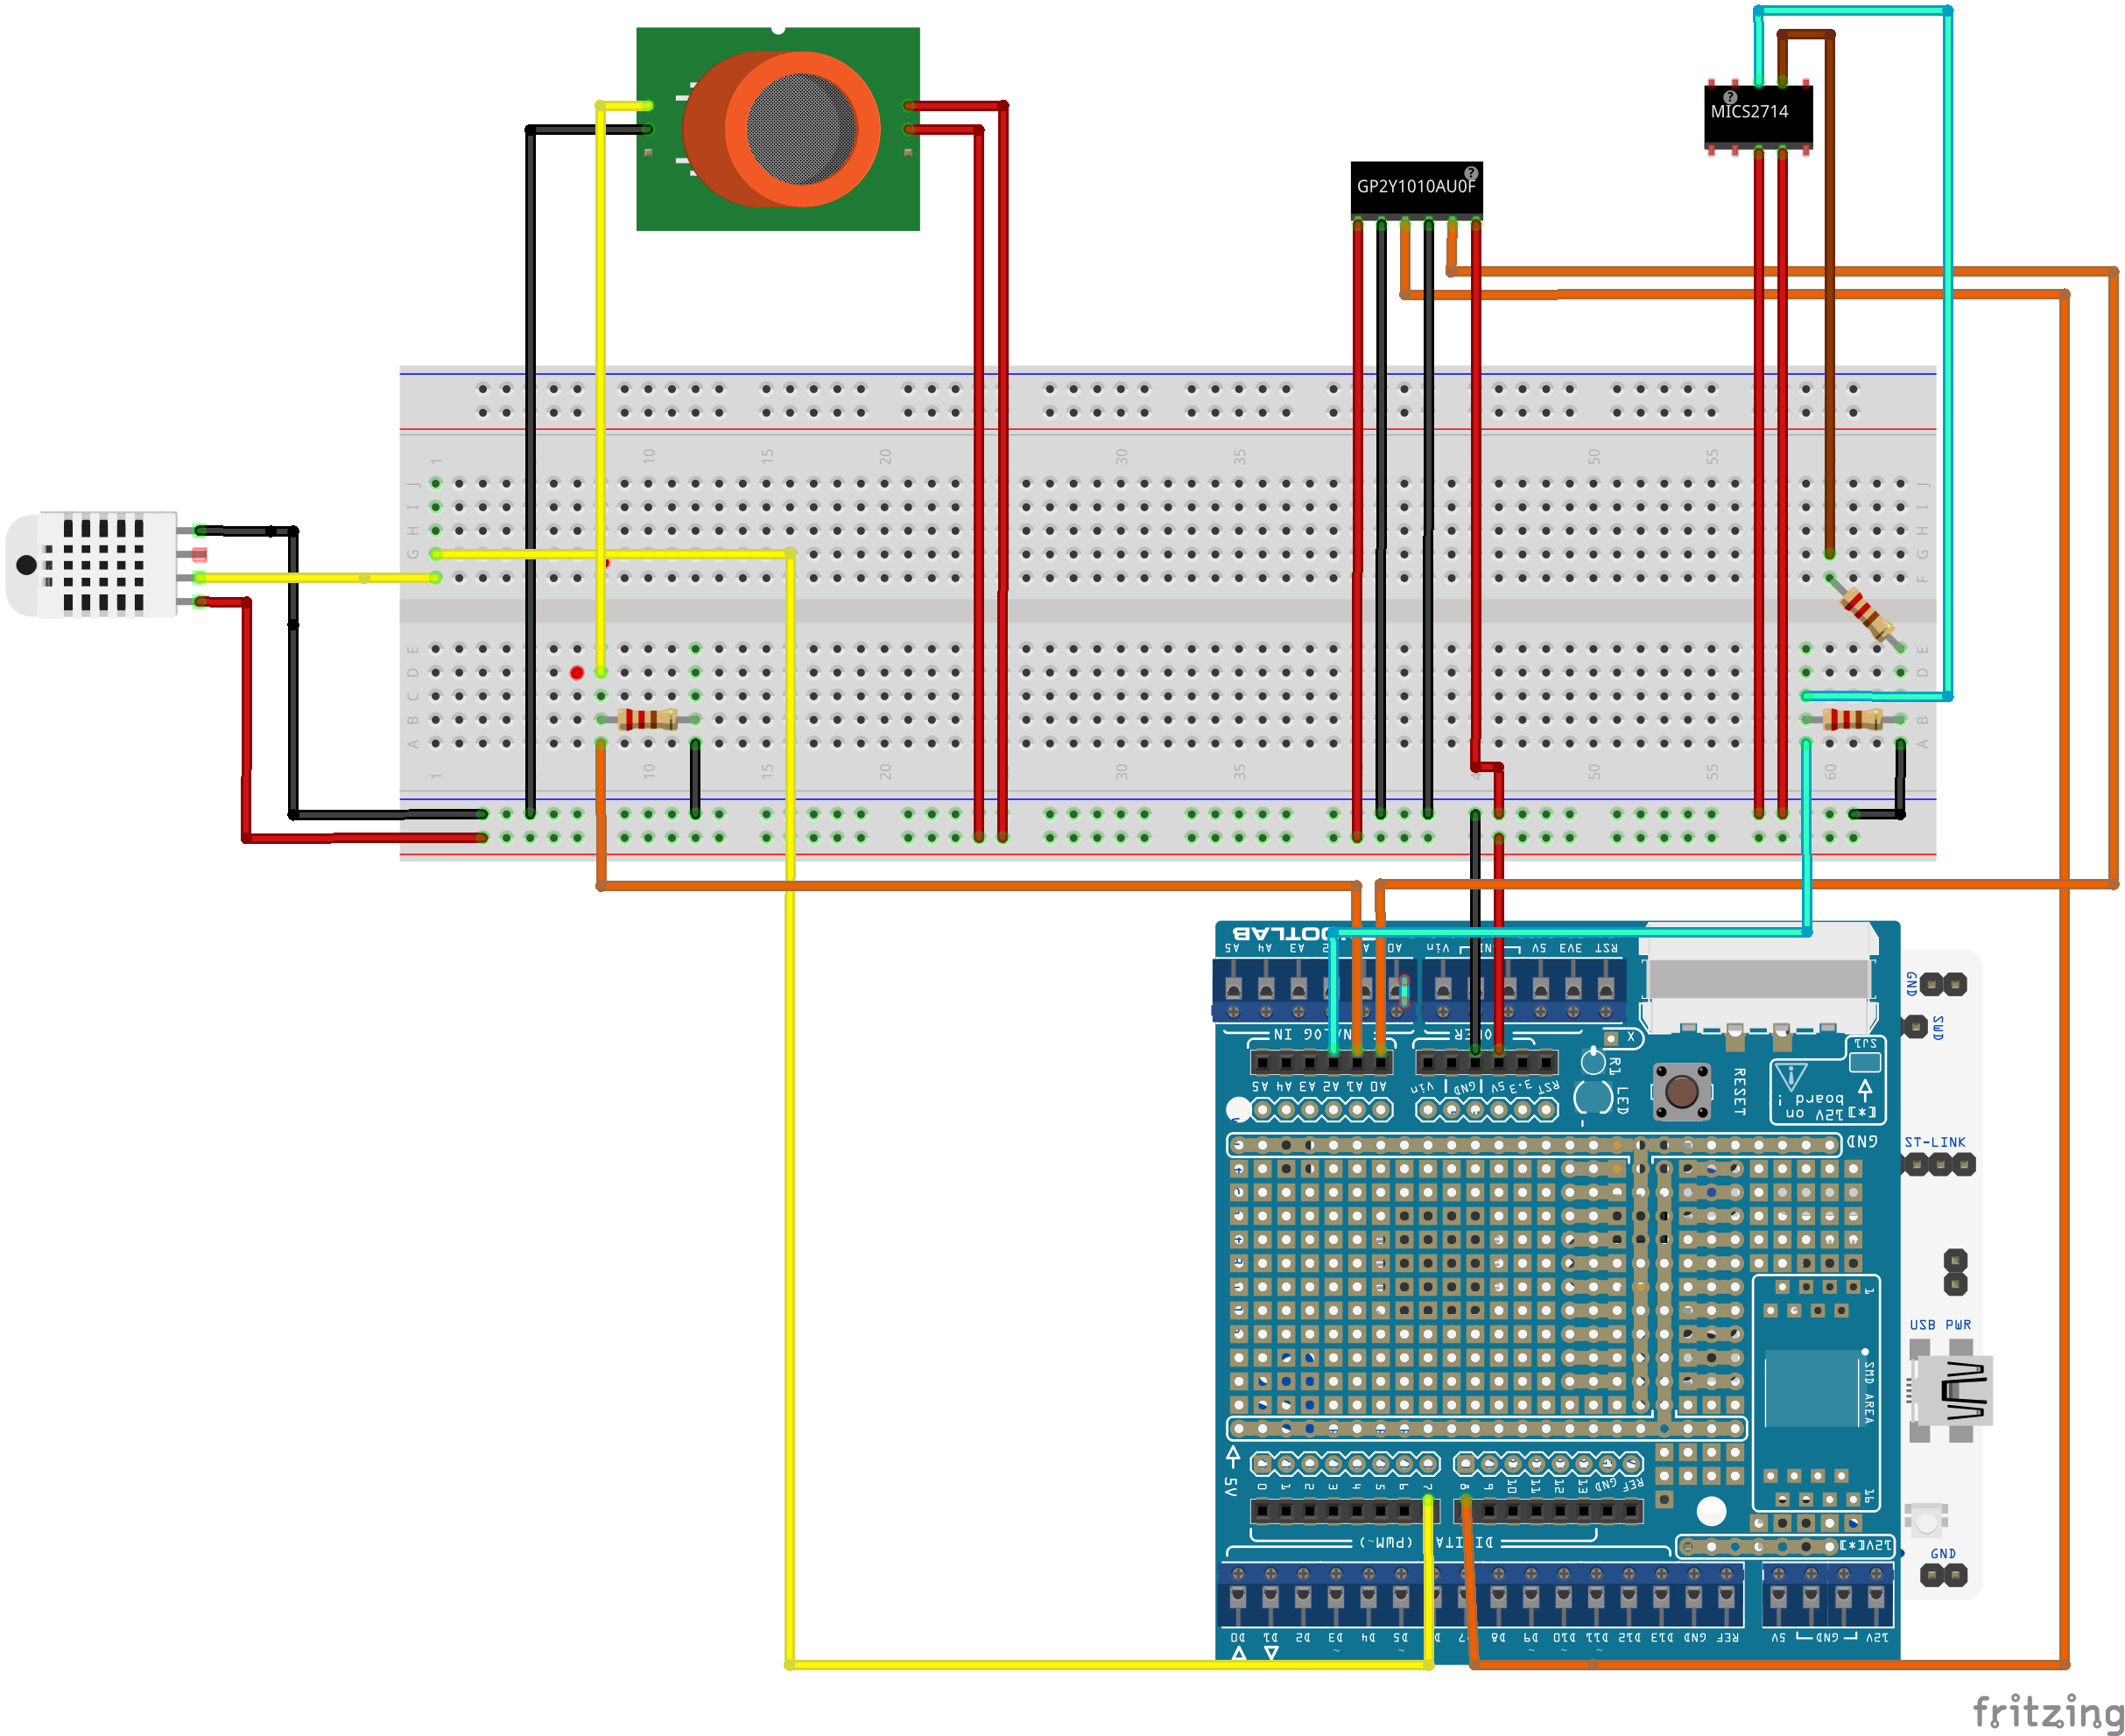
Step4 : Mbed Complier Interface
I. Begin with mbed compiler ( Online)
The mbed hardware architecture is designed to give you a really reliable and accessible platform to be able to quickly pick up and prototype with, whilst giving you bare-metal access to the underlying target microcontroller without needing any form of bootloader or monitor. How does it work ?
1. Begin with mbed compiler ( Online)
2. First, you have to create an account on the Mbed website: with a valid email address Link : https://developer.mbed.org/account/login/
3. Once you are in the compiler menu, select the type of development card (here Nucleo-L476RG)
4. Then, you can create your project
To see more : https://developer.mbed.org/handbook/How-mbed-work...
II. Build your program
First, you begin with testing each component, by using the implemented librairies, in fact, the Mbed community is very rich of code examples for many electrical components.
Ø First, you have to check which library is implemented yet in the Mbed website for each component
Ø Then, you import those libraries in your project, check that two fields *.cpp and *.h were added
Ø After that, pay attention to the pin map, you have to adapt the corresponding pins to your source code and your diagram
Step 5 : Realization
NO2 sensor Mics 2714 :
First, you have to realize a printed circuit board
(PCB) for this sensor
Then, you connect the right pins. [5V]
Moreover, you will find the libraries in Mbed website.
Note: This sensor can’t output specific data to describe target gases’ concentrations quantitatively. That’s why we have to use its characteristic to define some values in PPM (see the uploaded code)
Datasheet: http://www.e2v.com/shared/content/resources/File/...
sensor SHARP GP21010AUoF
First, you connect the right pins. [5V]
Then, you can adjust an Arduino code, provided here: http://arduinodev.woofex.net/2012/12/01/standalon...
Note: In order to test your sensor, safely, put a screw in the hole to obstruct the light of the led
Datasheet: http://arduinodev.woofex.net/2012/12/01/standalon...
Humidity and temperature sensor
First, you connect the right pins. [5V]
Then, you will find the libraries in Mbed website
Note: In order to test your sensor, safely, put a delay to stabilize your component (see the code uploaded)
Datasheet : http://wiki.seeed.cc/Grove-Temperature_and_Humidi...
Ozone sensor MQ131
First, you have to realize a printed circuit board (PCB) for this sensor
Then, you connect the right pins. [5V]
Moreover, you will find the libraries in Mbed website.
Note: This sensor can’t output specific data to describe target gases’ concentrations quantitatively. That’s why we have to use its characteristic to define some values in PPM (see the uploaded code)
Datasheet : http://www.gassensor.ru/data/files/ozone/MQ-131-O3...
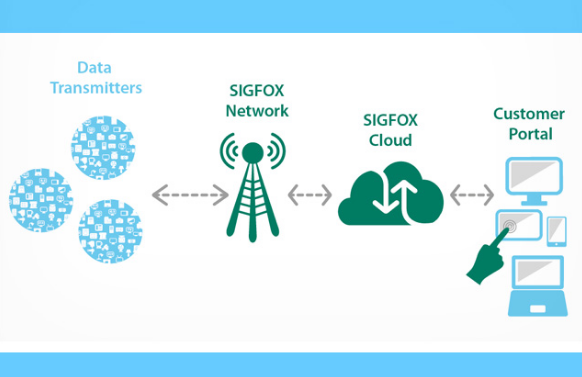
The LPWAN Protocol –Sigfox-
Sigfox is a solution dedicated to giving a voice to
the physical world, thanks to our dedicated network. We provide an inexpensive, reliable and low power solution for connecting sensors and devices.
The Sigfox protocol focuses on...
Simplicity - No configuration, connection request or signalling Autonomy - Extremely low energy consumption; allowing years of autonomy on a single battery charge Small Payload - No large assets or multimedia, only small messages
To learn more : https://www.sigfox.com/
Step 6: : Our Website
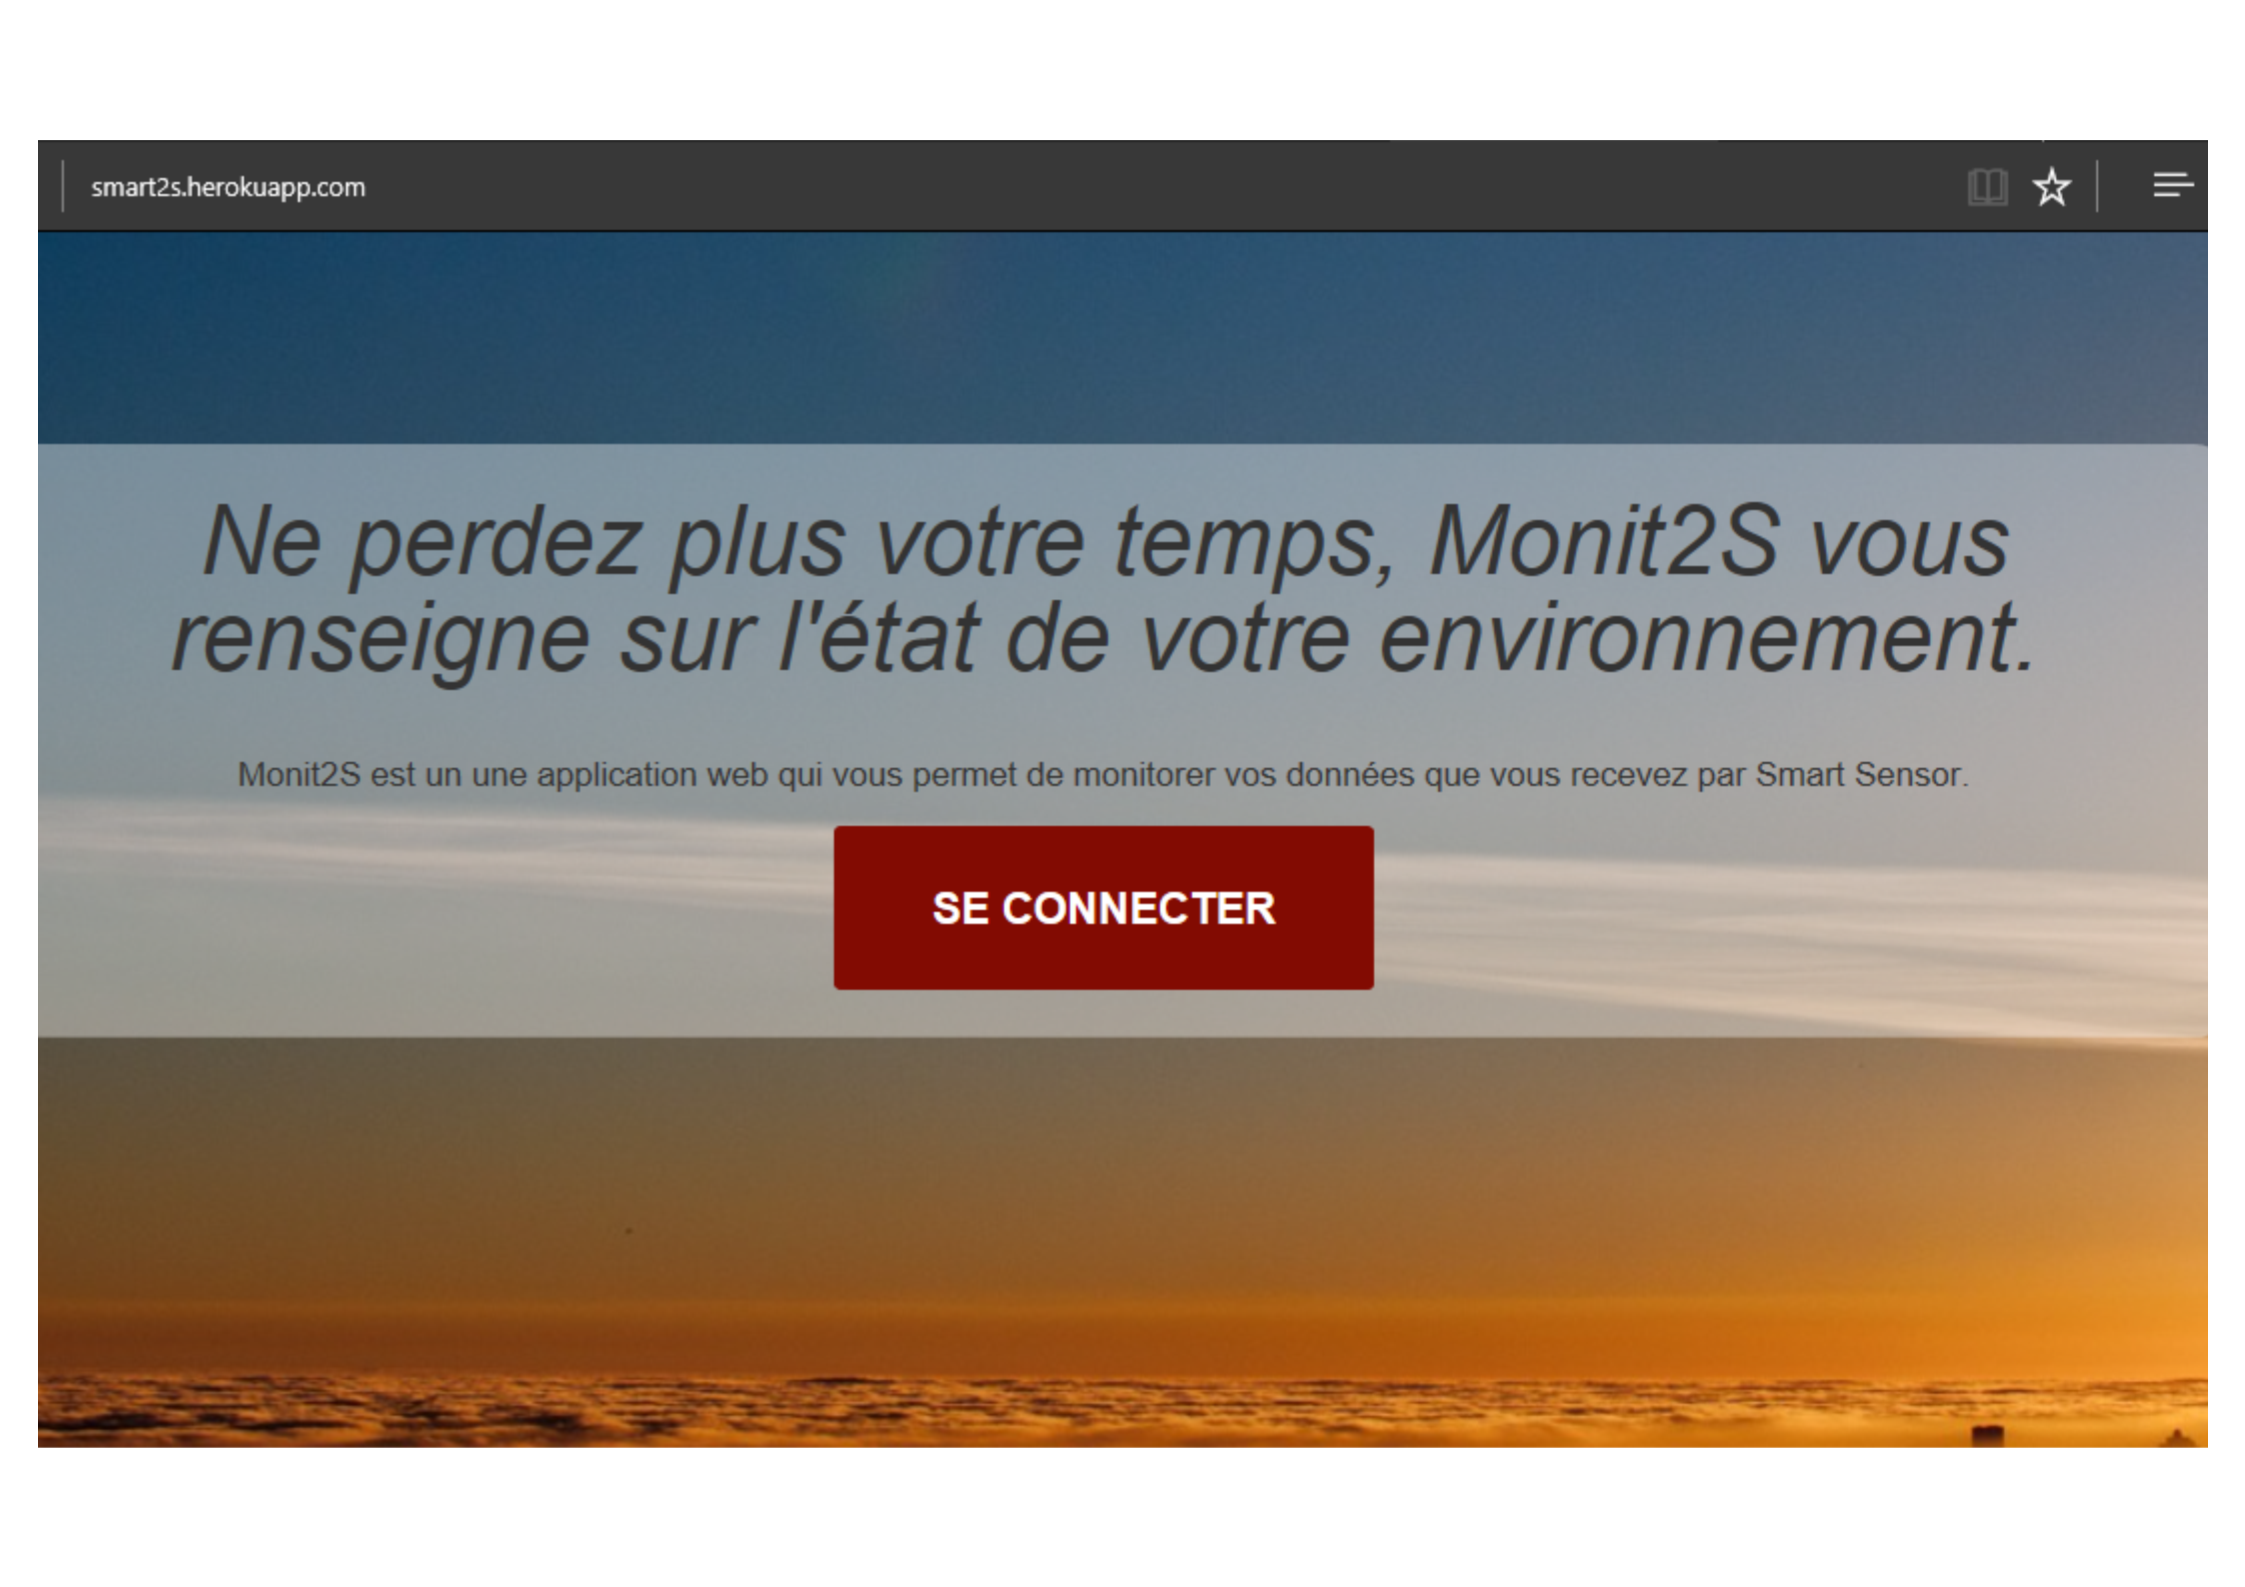
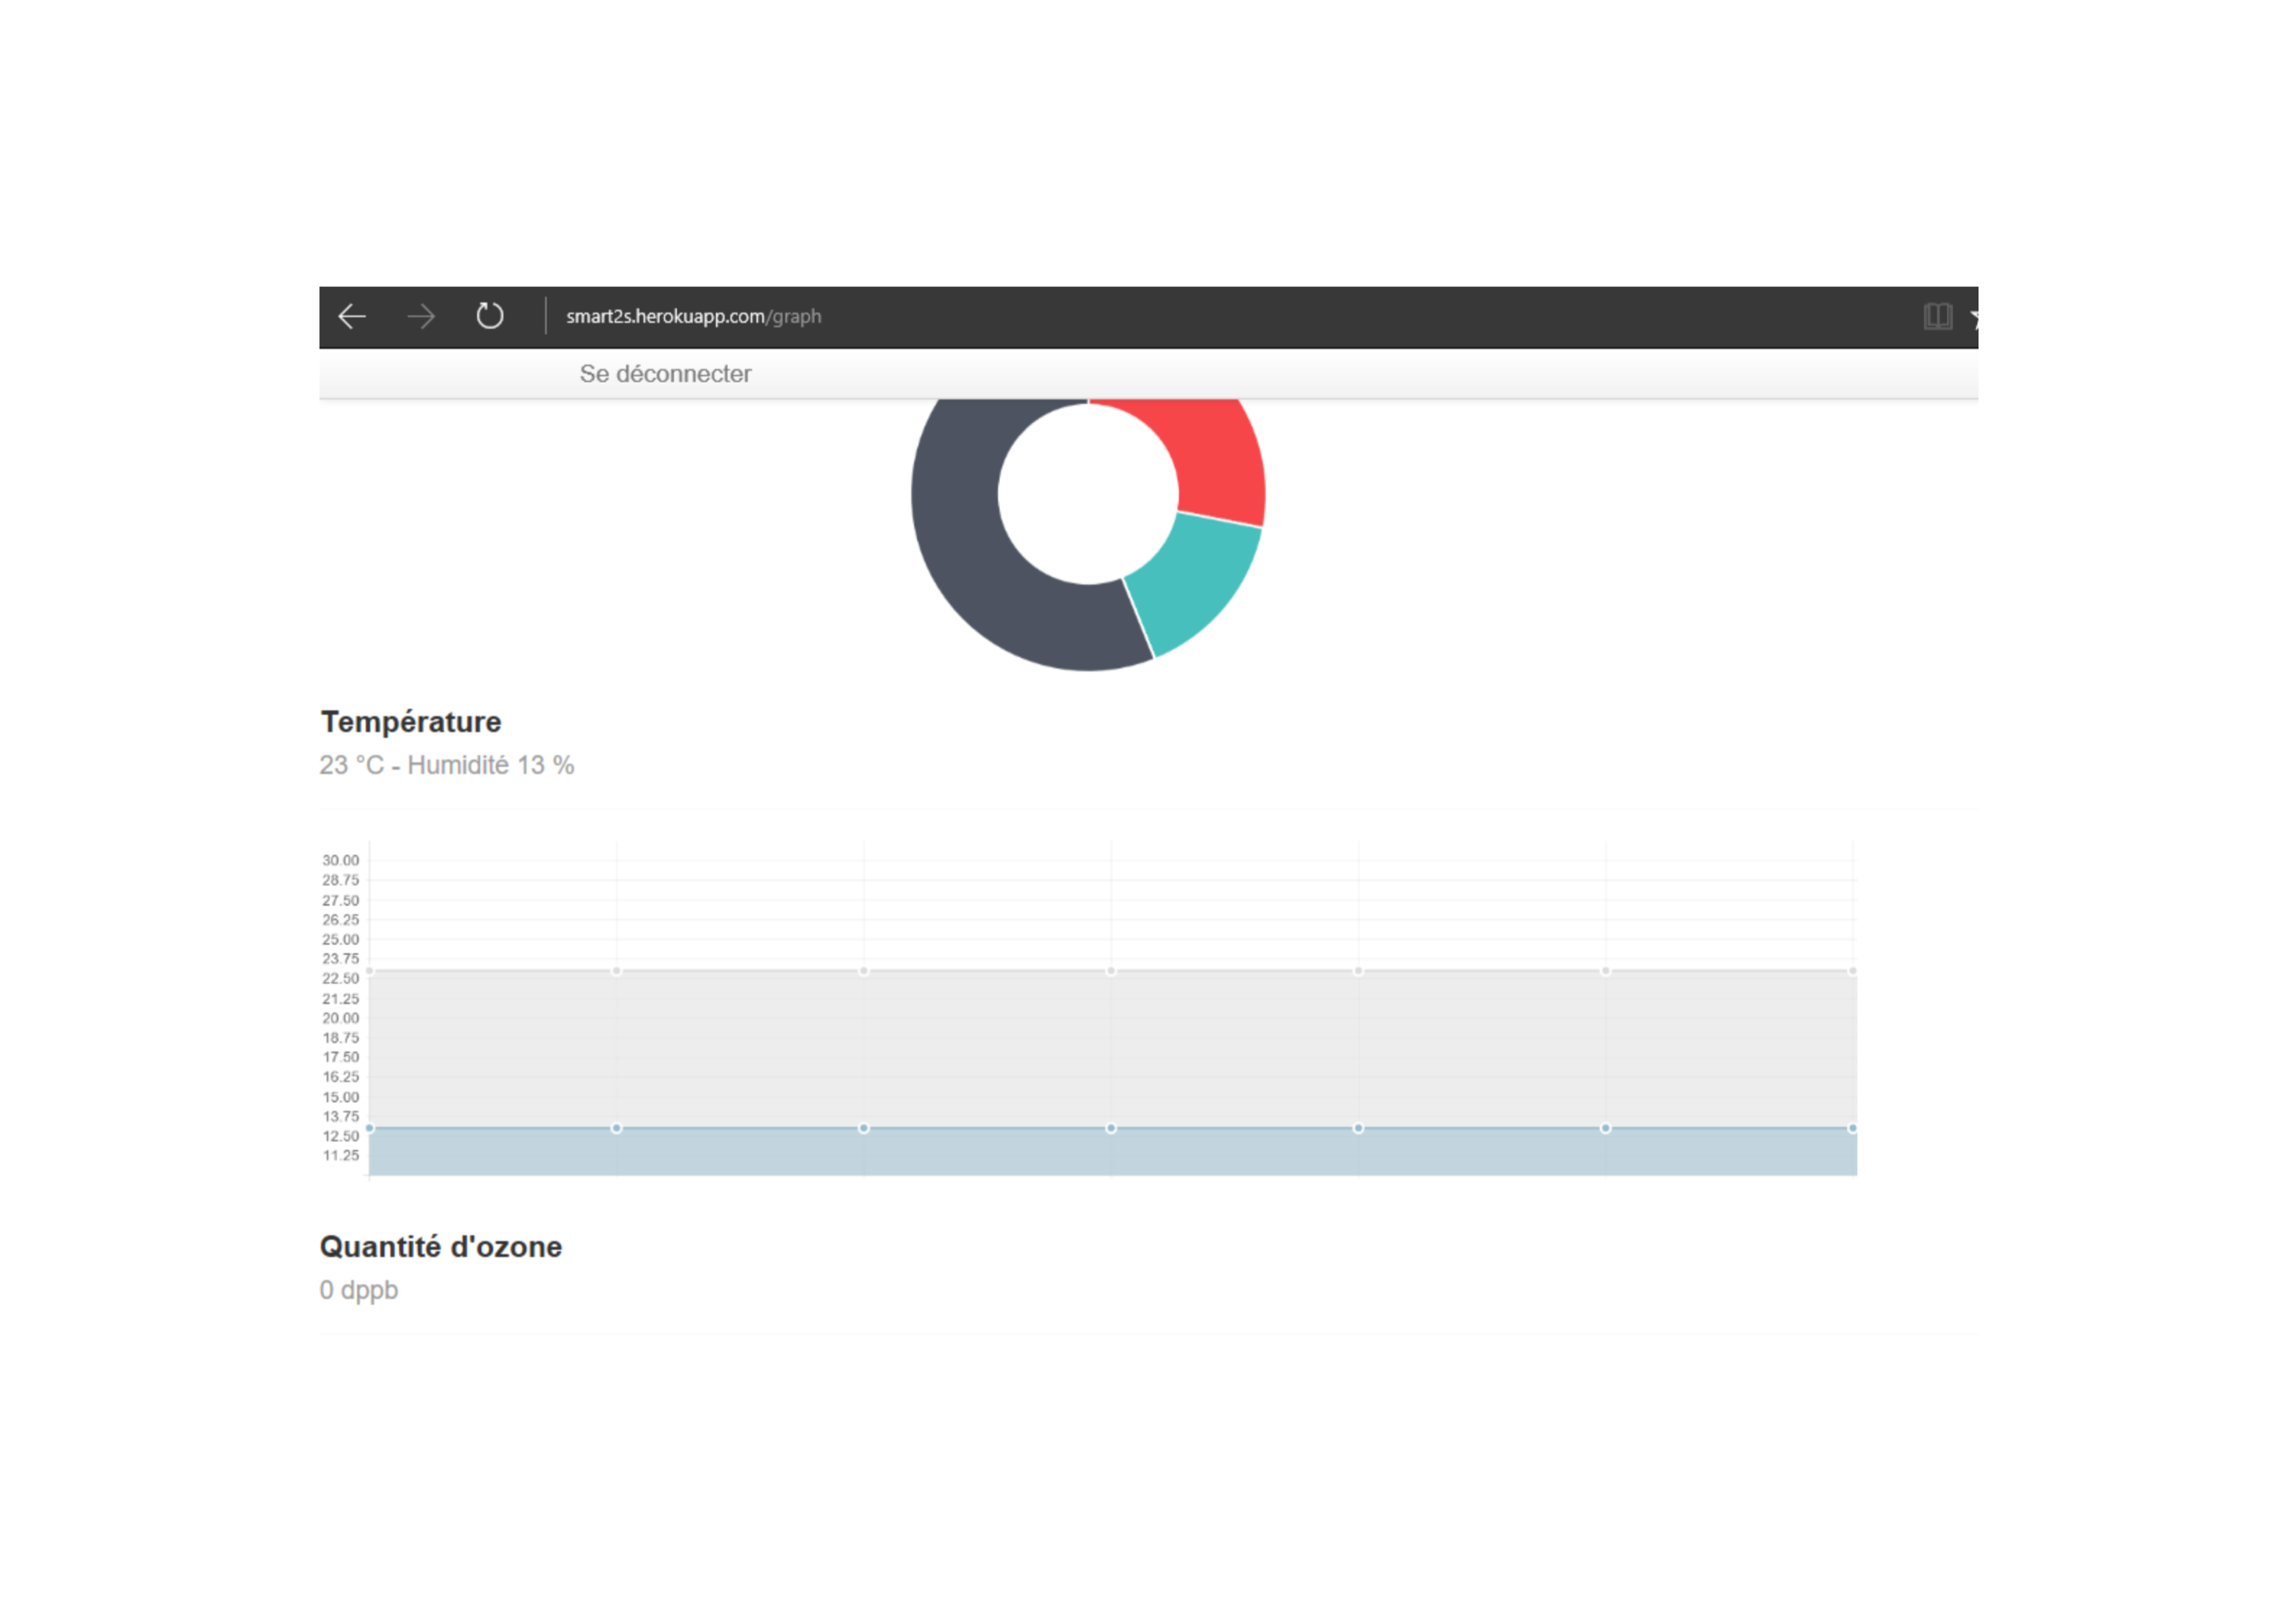
we have created a comprehensive new website for this project. We called Monit2s. this Website enable to retrieve the data from the bakend of sigfox and put them in a database as our customer has proposed to us. It is written from the Django framework in python with a database Protegresql and standards (HTML, CSS, JS (jquery, ChartJS)).Currently hosted free on Heroku, it is easy to access :
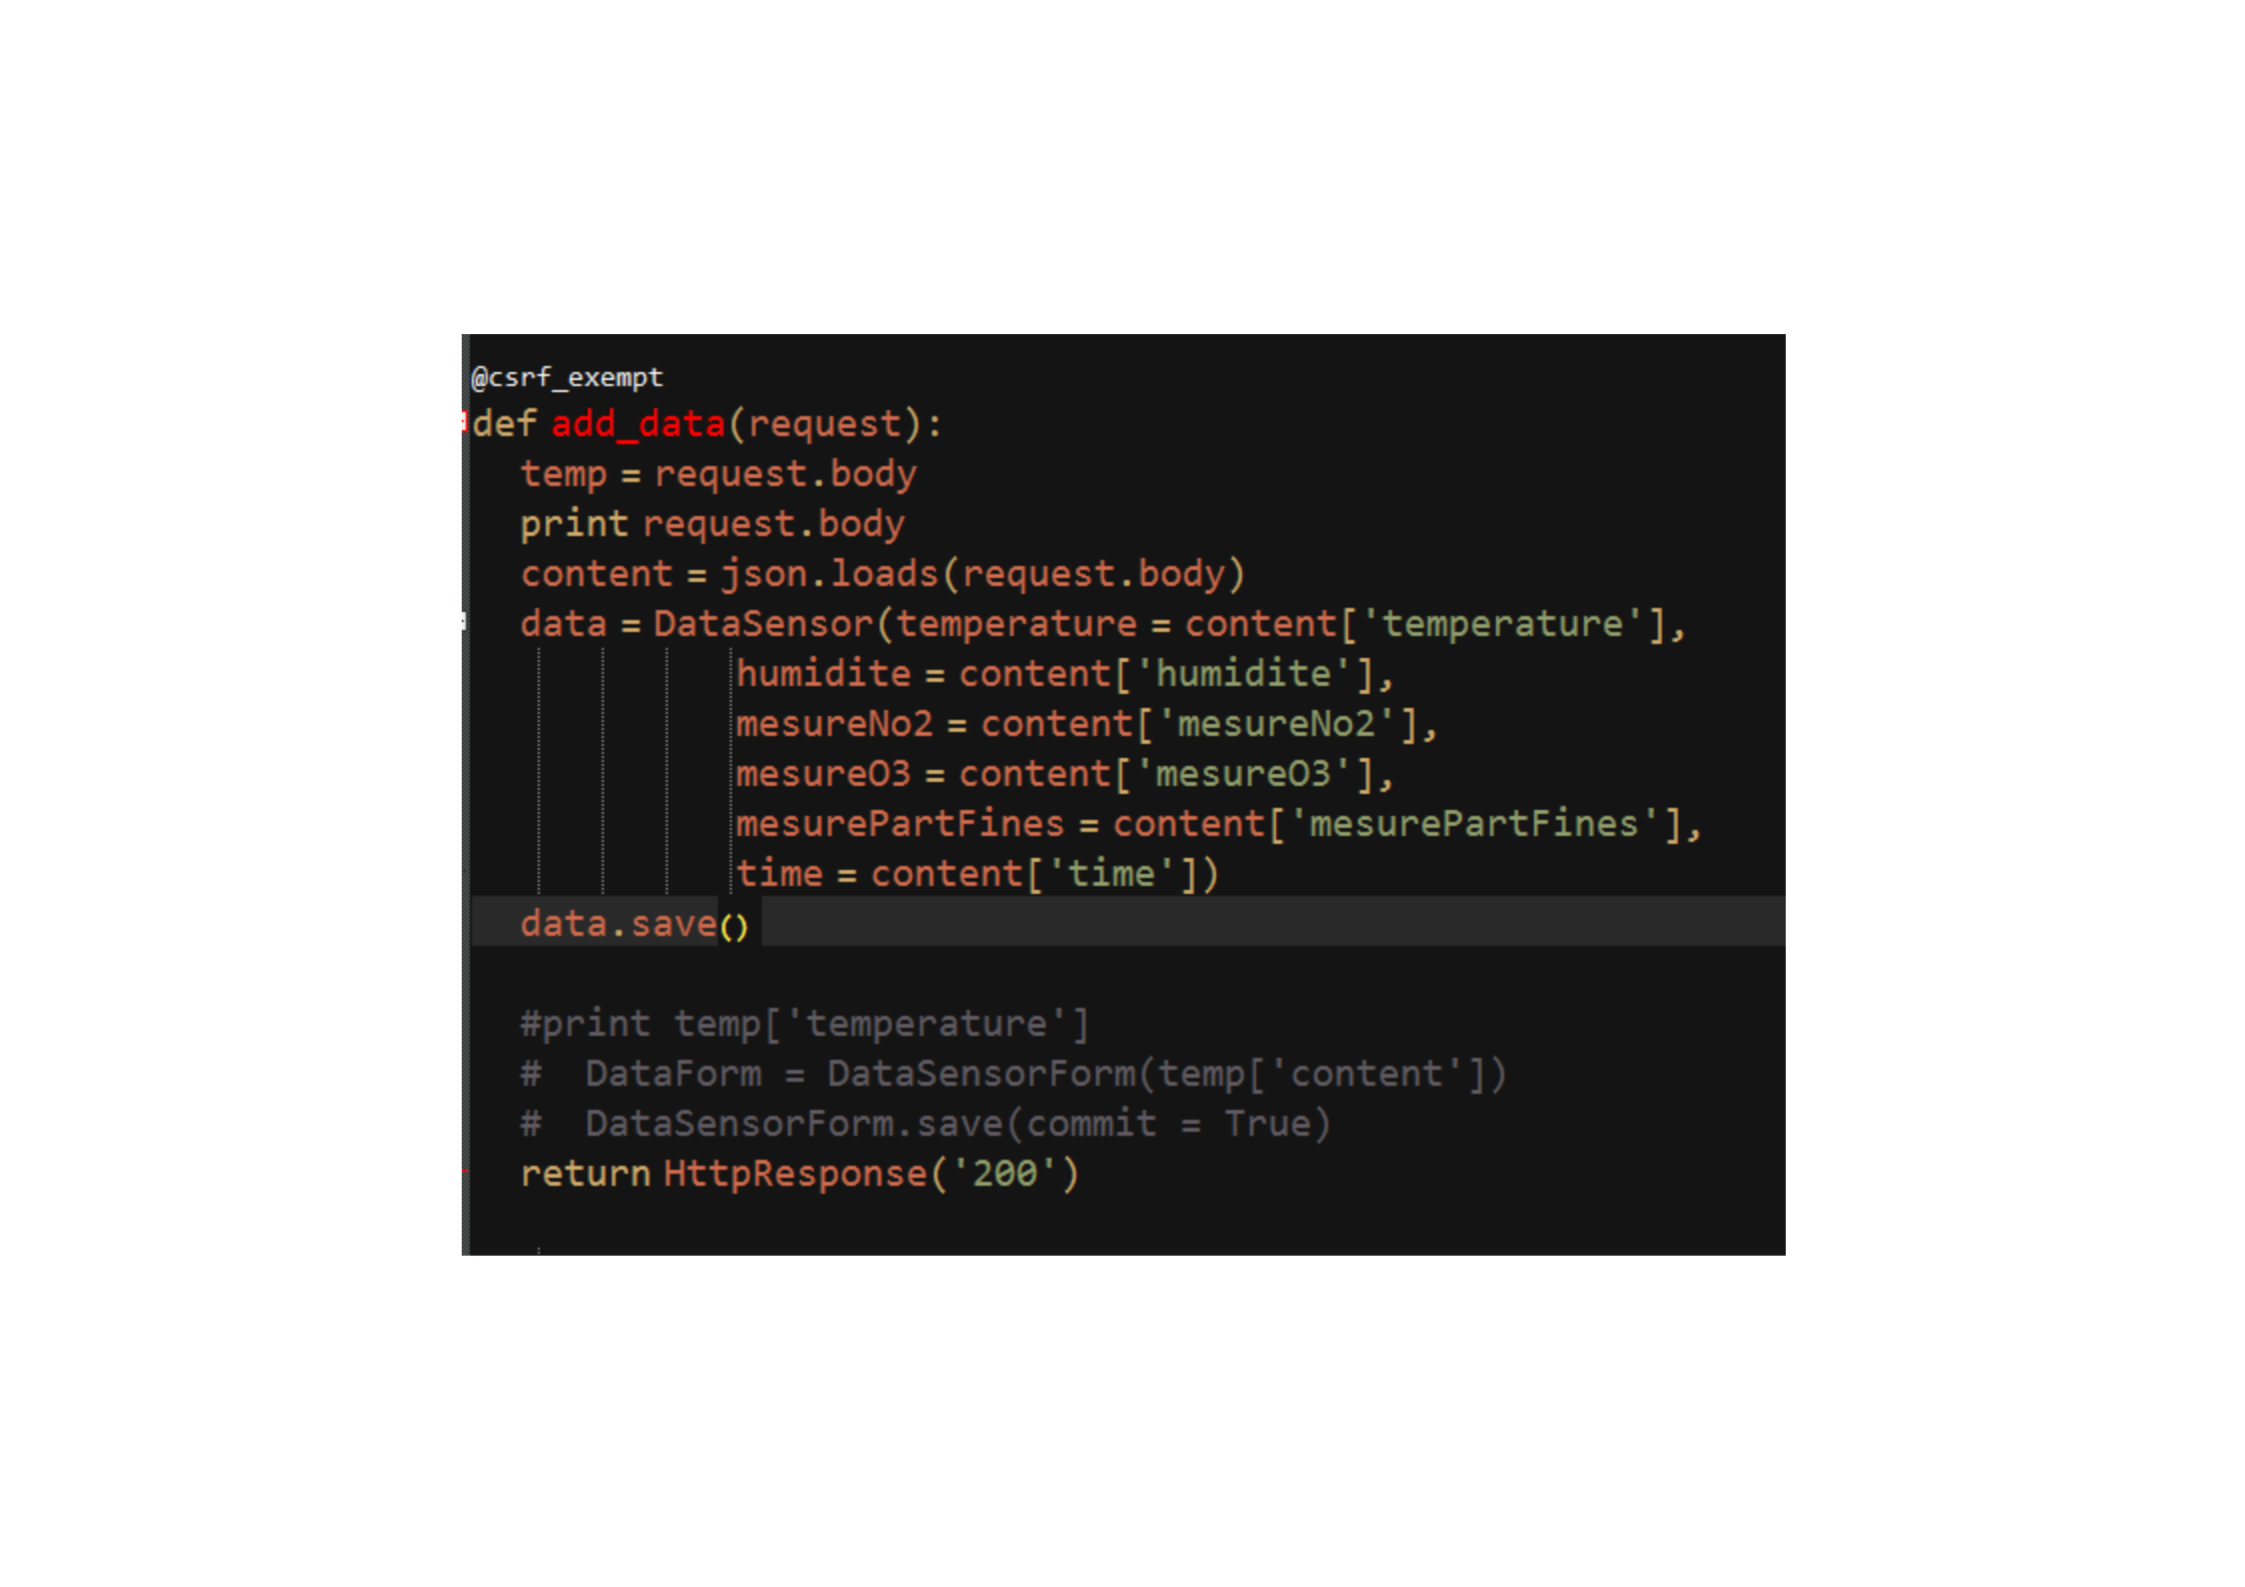
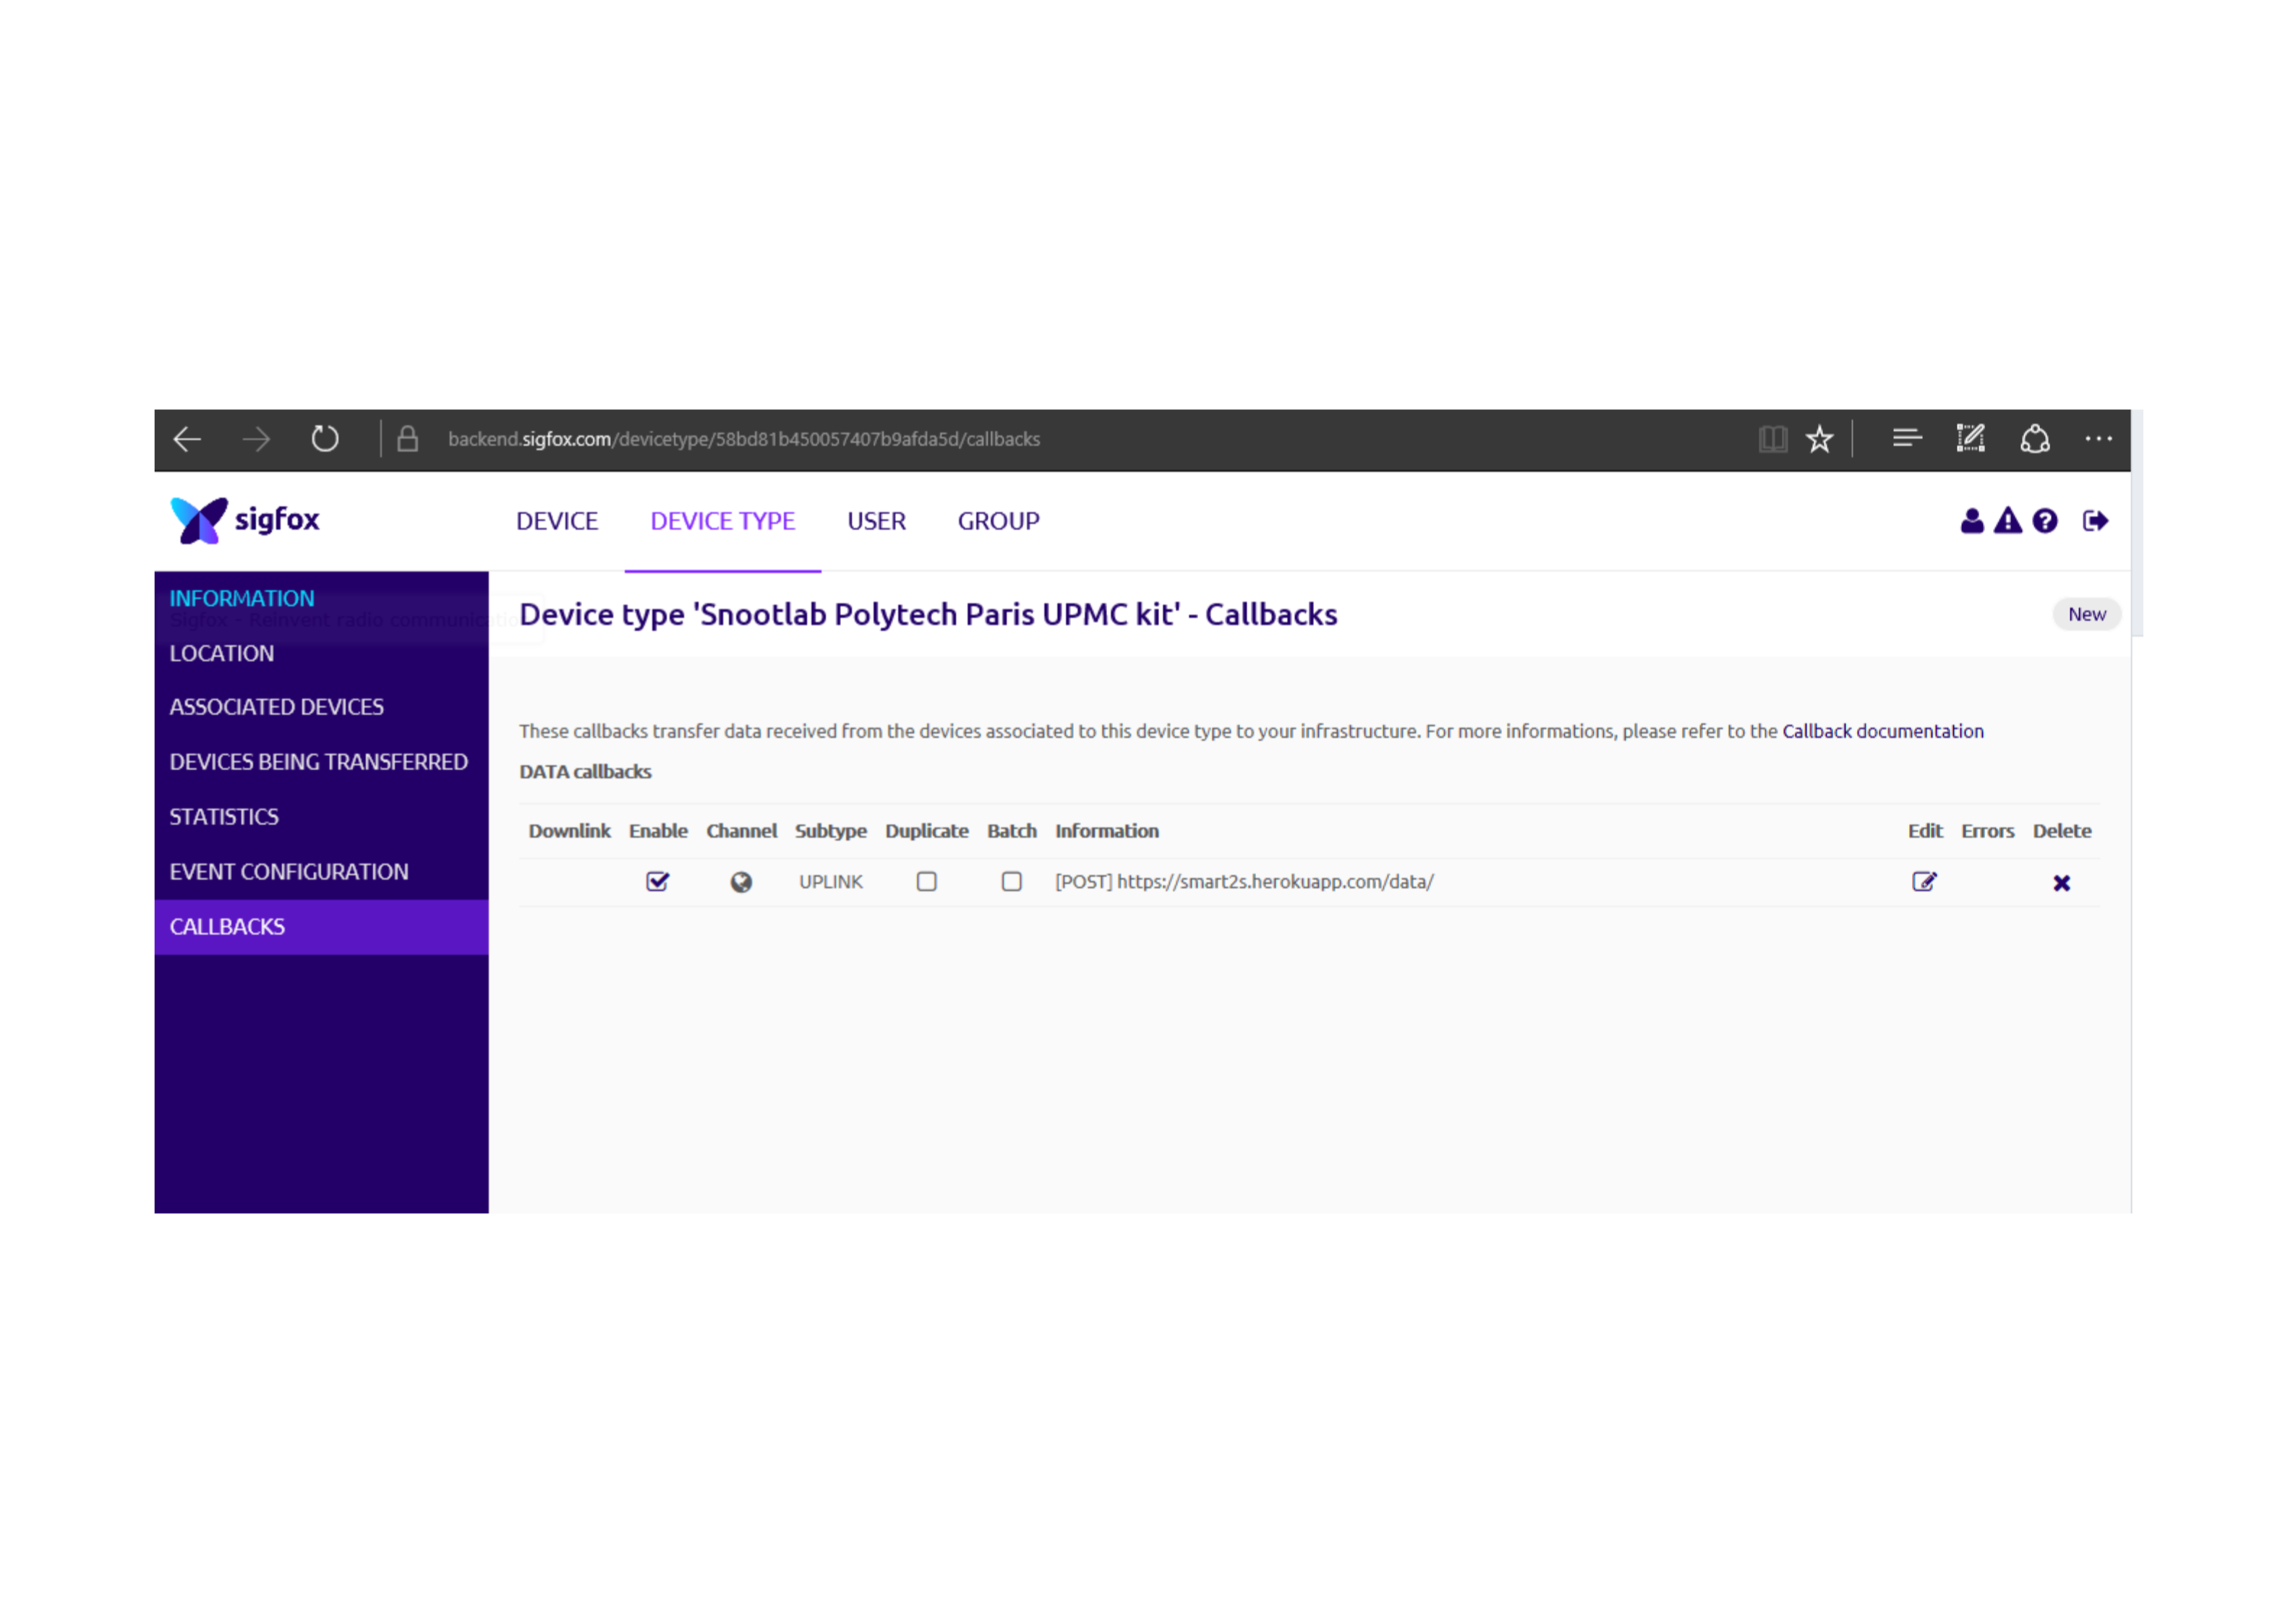
the data are recovered from the sigfox backend by using a "POST request" that is configured at the link :
Step through
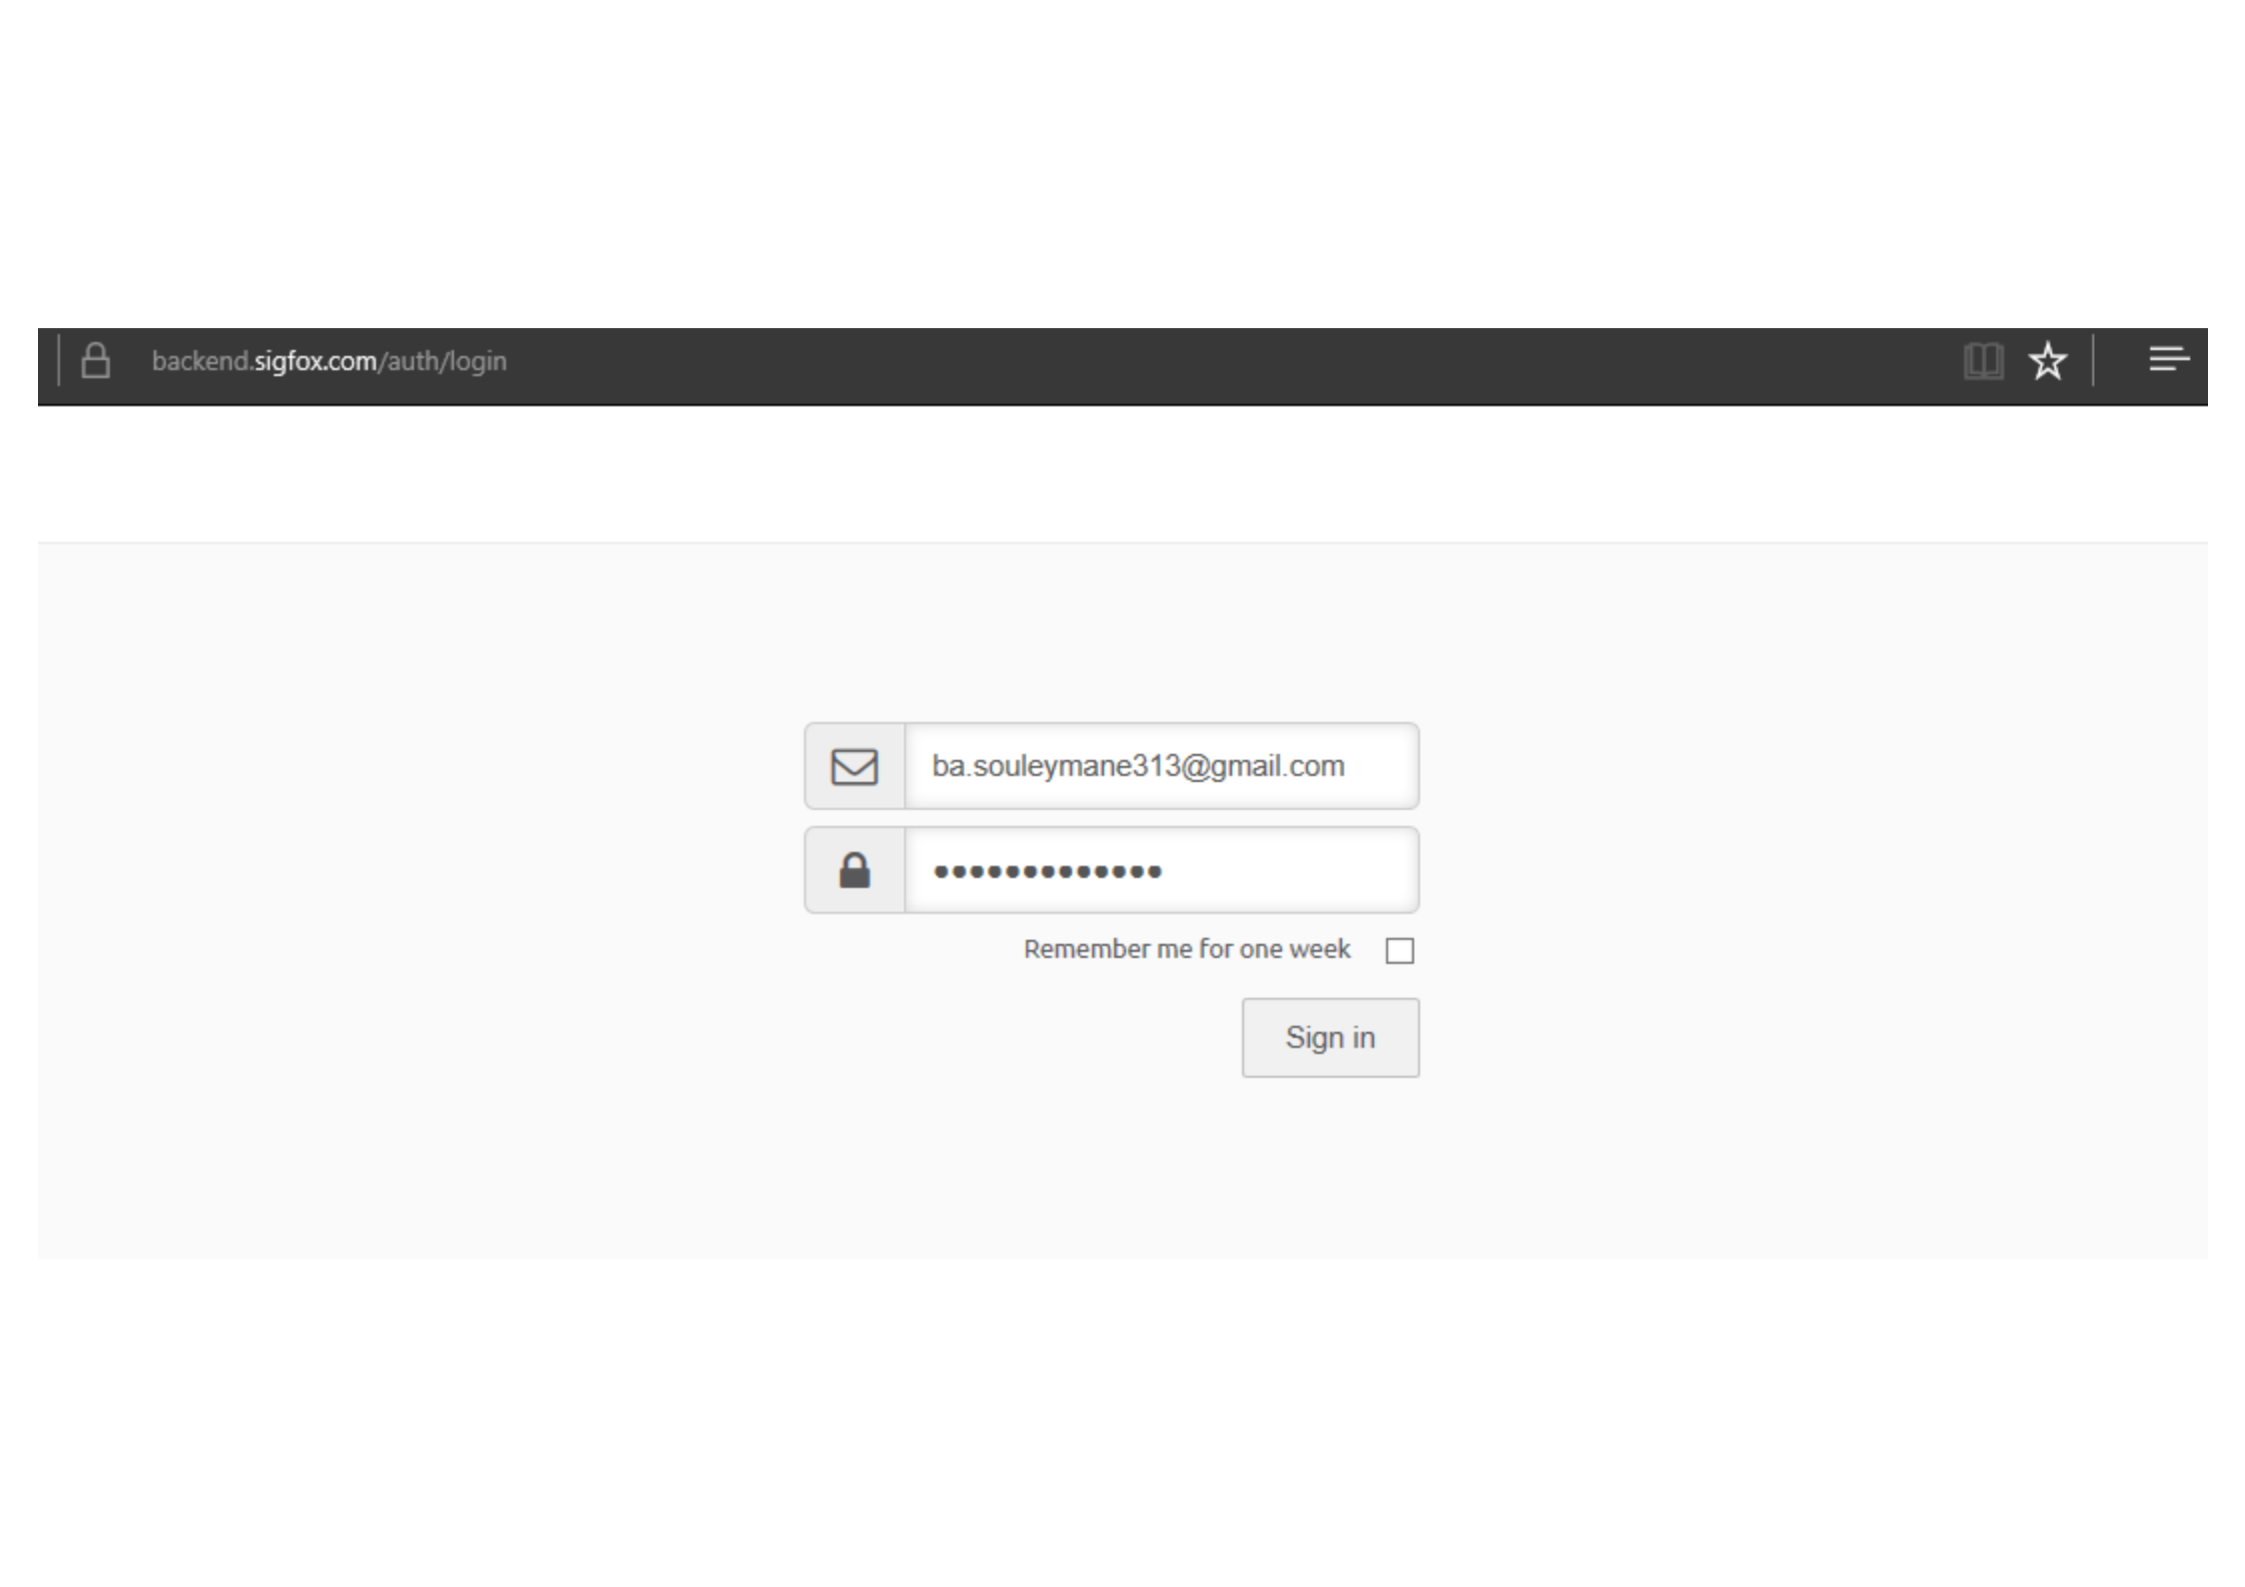
- Go to https://backend.sigfox.com/ : Please follow the instructions provided by sigfox. Once done, you will have a login and a password. You are logged in.
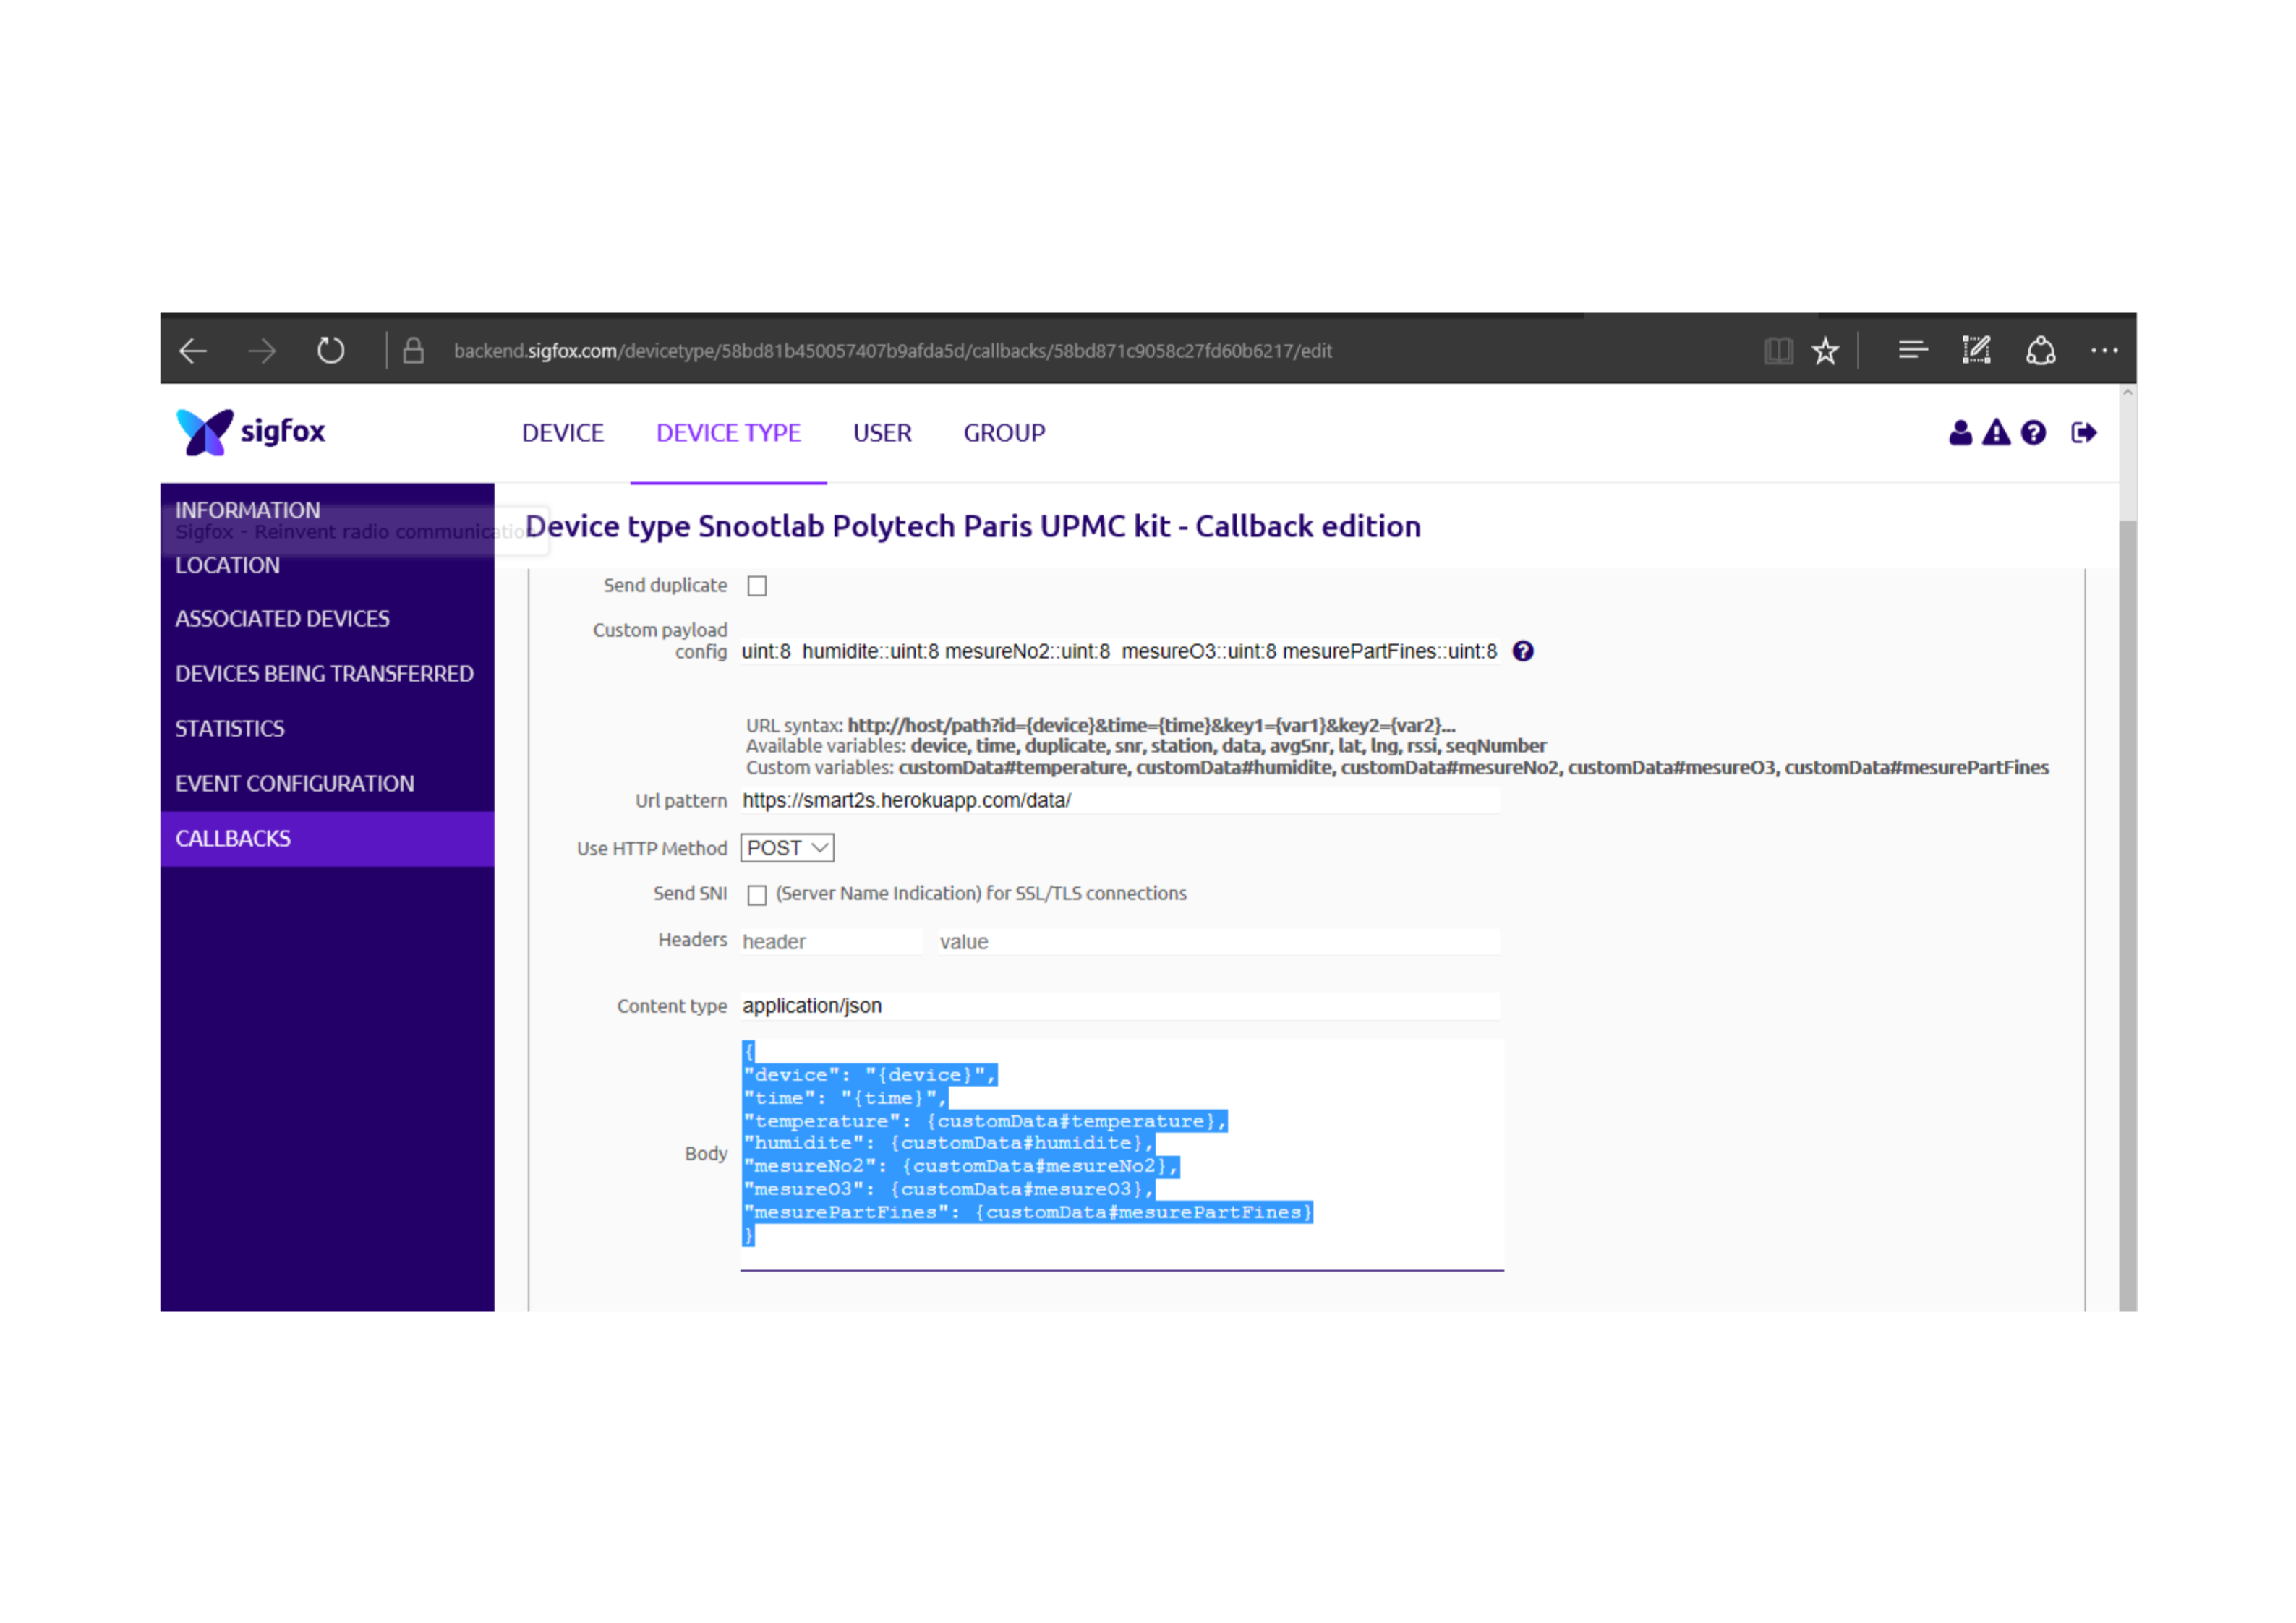
- we have already been configured a callbacks. When you are connected, you arrive directly to the page to the page (picture 2 -- Step6).
- afterwards, you configurate the fiels that are proped to you :
- type: DATA
-
Channel: URL
-
Custom Payload config : All variables you want to retrieve with their types for exampl : humidite::uint:8, mesureNo2::uint:8, mesureO3::uint:8, Temperature::uint8
-
Url pattern:
Use HTTP Method: POST Content type: application/json Body
-
Url pattern : Put the link of your site that allows to treat the request POST so to be able to write from this request on your database.
-
Content type: application/json
-
Body:{
"device": "{device}",
"time": "{time}",
"temperature": {customData#temperature},
"humidite": {customData#humidite},
"mesureNo2": {customData#mesureNo2},
"mesureO3": {customData#mesureO3},
"mesurePartFines": {customData#mesurePartFines}
}
-
Click OK at the bottom of the page and create your callback
-
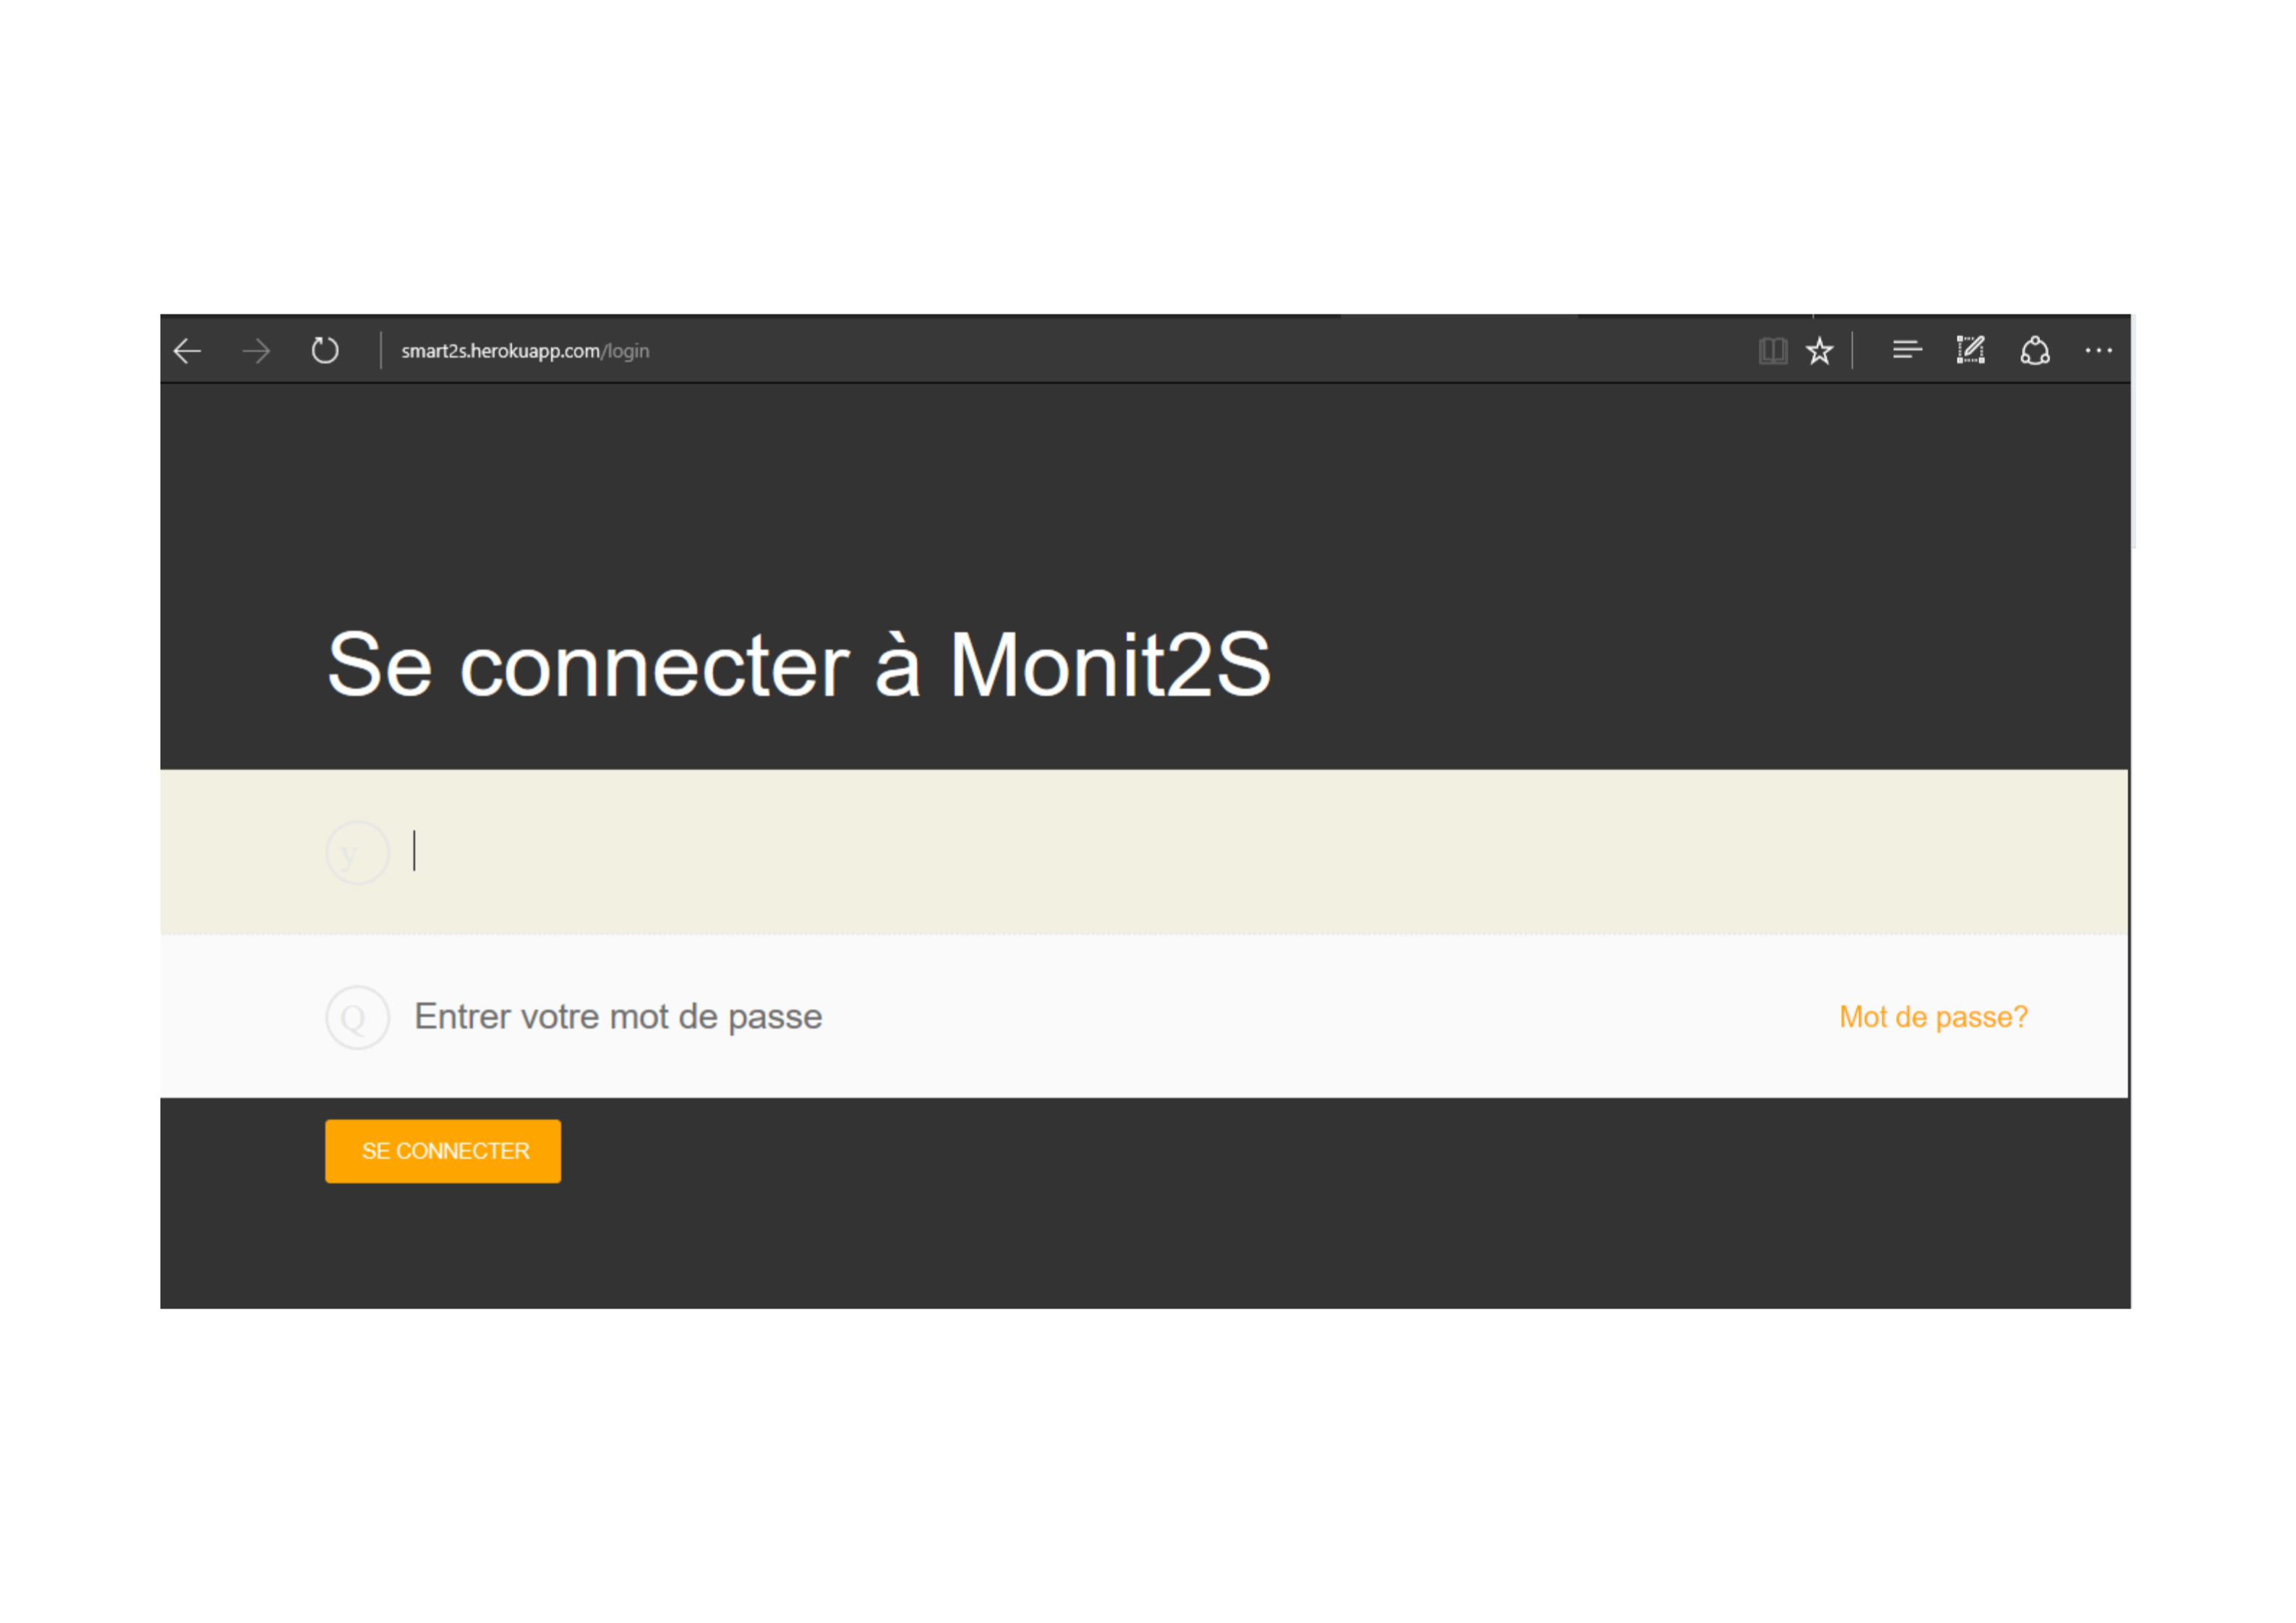
Finally, here you are some screenshots of the Monit2S site. To see our graphs, you can directly conect with the login "tuto": and password " tuto_monot2s".
