Smart Phone Game Console
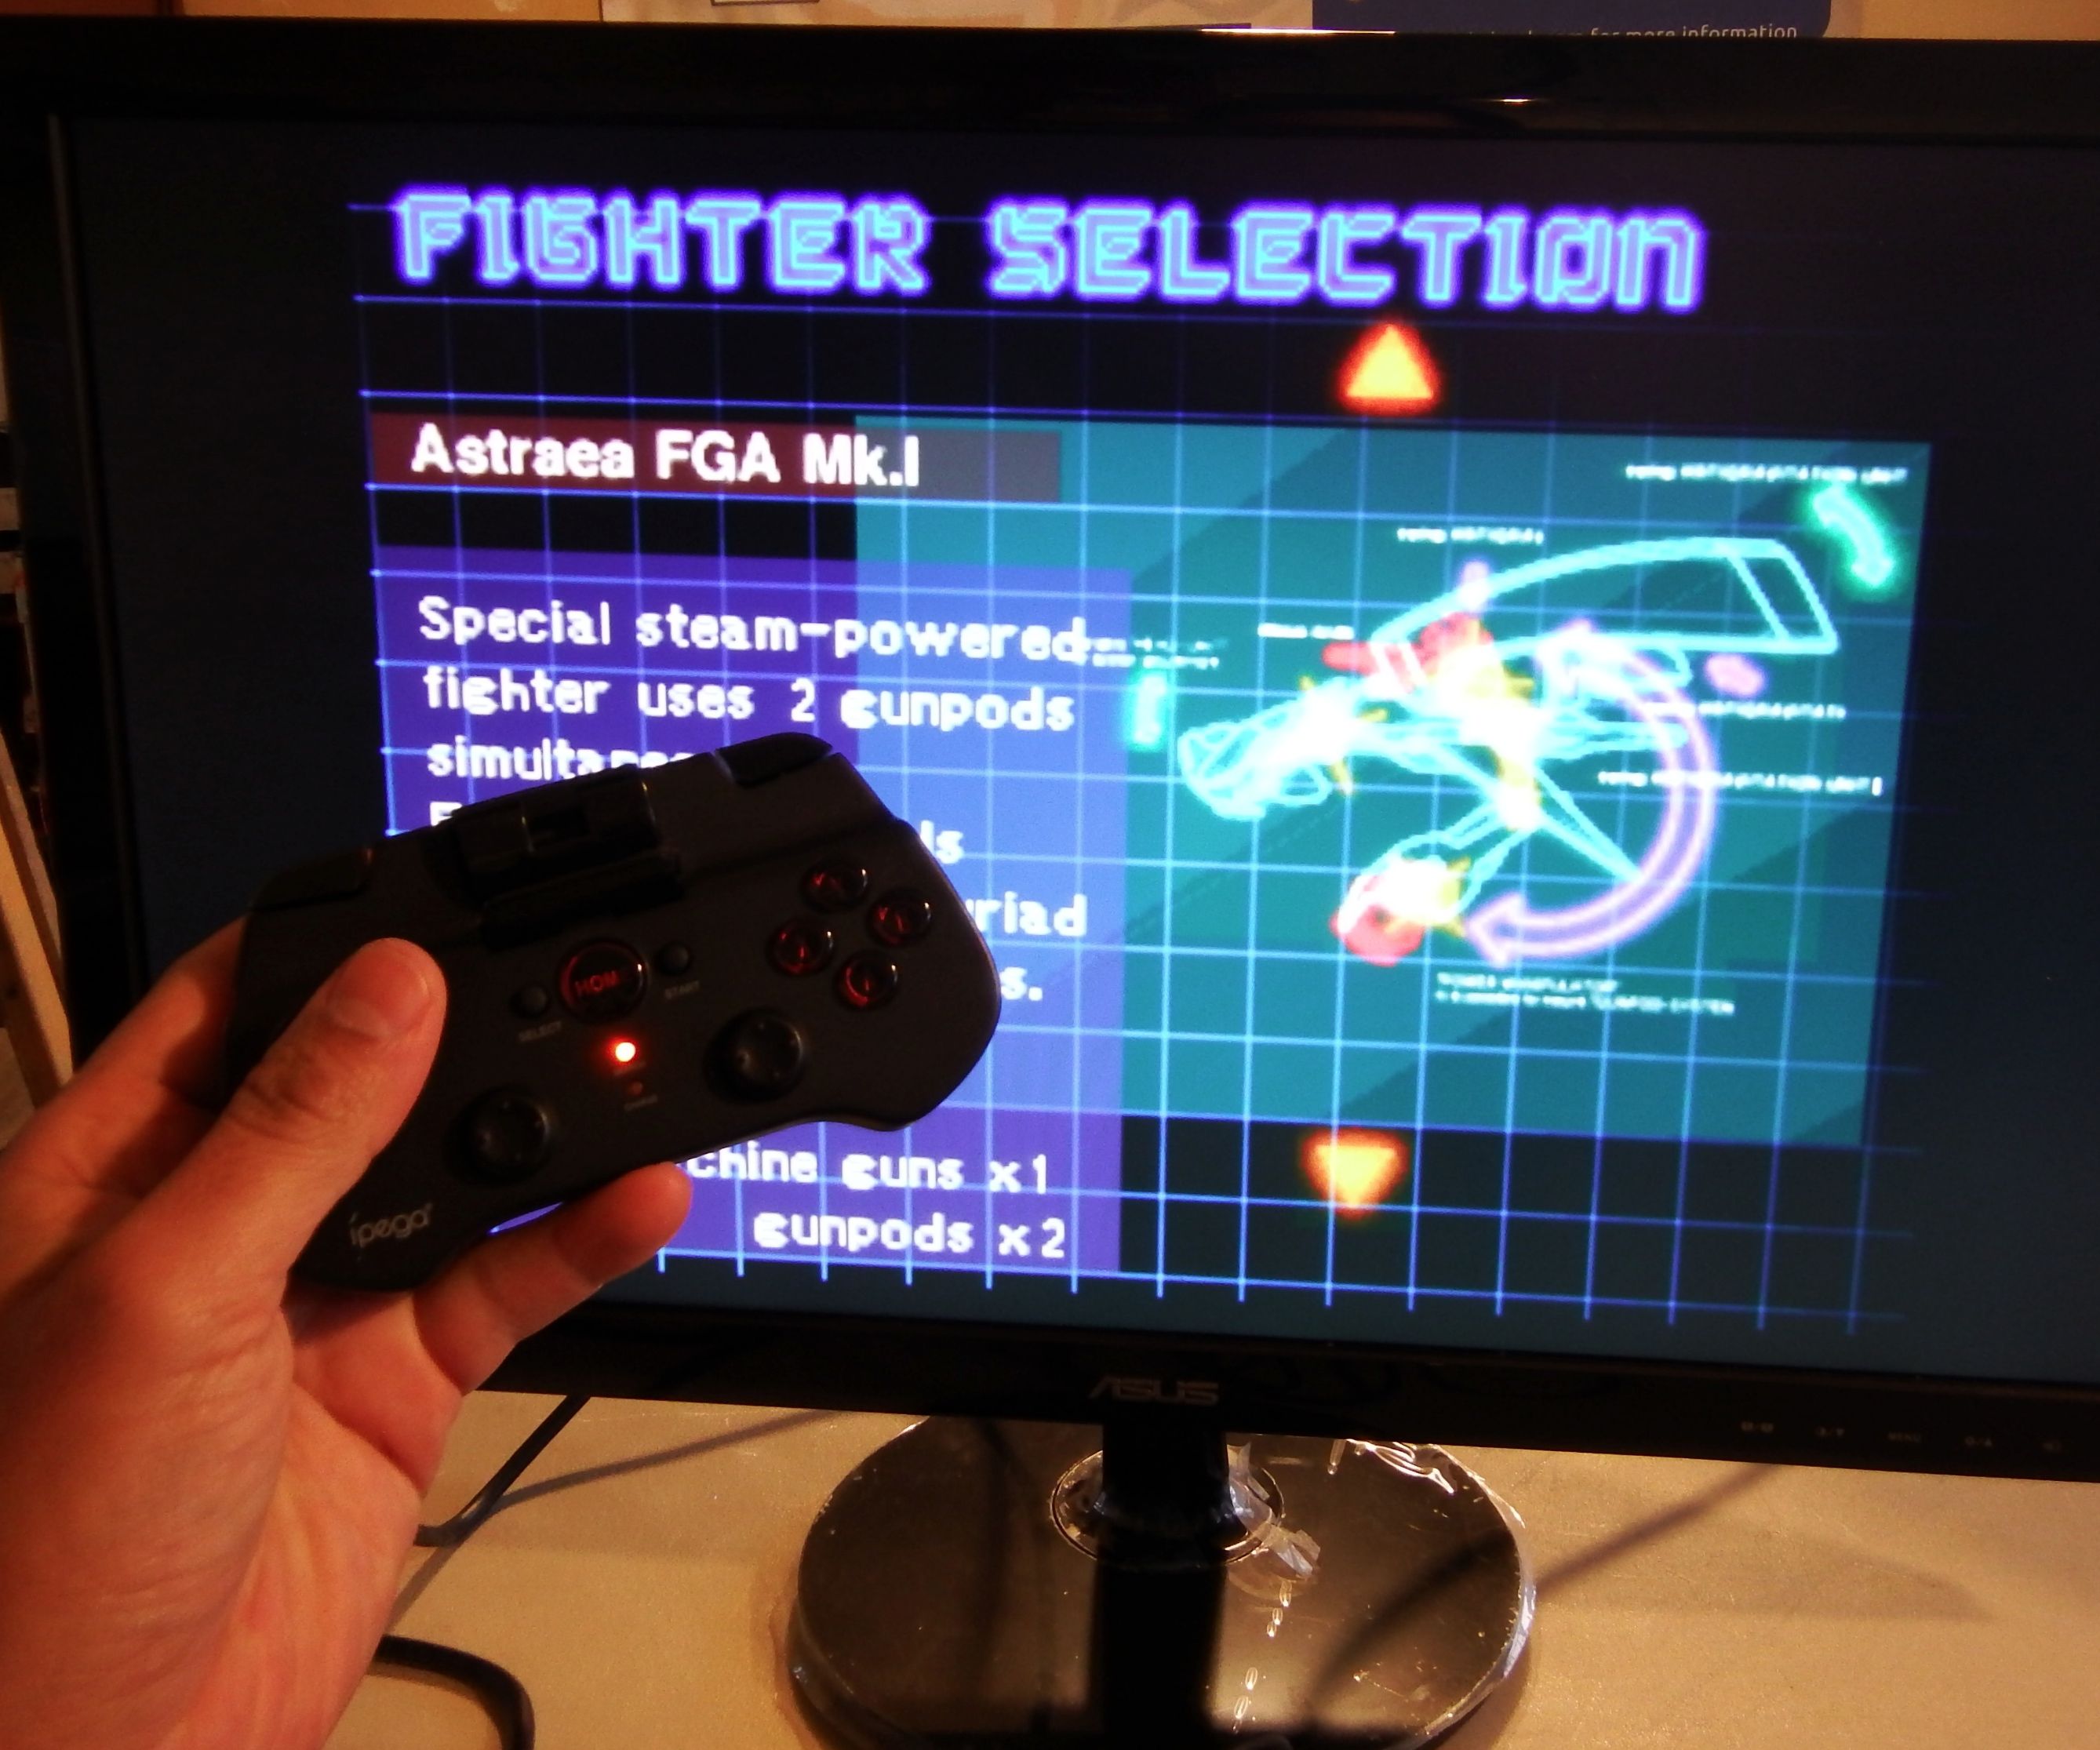
This Instructable is for how to turn your smart phone in to a gaming console and play games from all sorts of systems such as Nintendo and Playstation! Smart phones come in all different shapes and sizes so these instructions may or may not work with your particular brand of phone. Before we get in to it, let's be clear about the legal stuff from Wikipedia:
http://en.wikipedia.org/wiki/Video_game_console_em...
http://en.wikipedia.org/wiki/ROM_image
"The U.S. Supreme Court has ruled that the personal use of copyrighted material, irrespective of how those copies are made, or in what format they are stored - even if it differs from the original, is non-infringing (Sony v. Universal)"
"Under United States law, obtaining a dumped copy of the original machine's BIOS is legal under the ruling Lewis Galoob Toys, Inc. v. Nintendo of America, Inc., 964 F.2d 965 (9th Cir. 1992) as fair use as long as the user obtained a legally purchased copy of the machine."
** Basically, you must own the original copy of the game and console before making a copy
MATERIALS:
QTY DESCTRIPTION
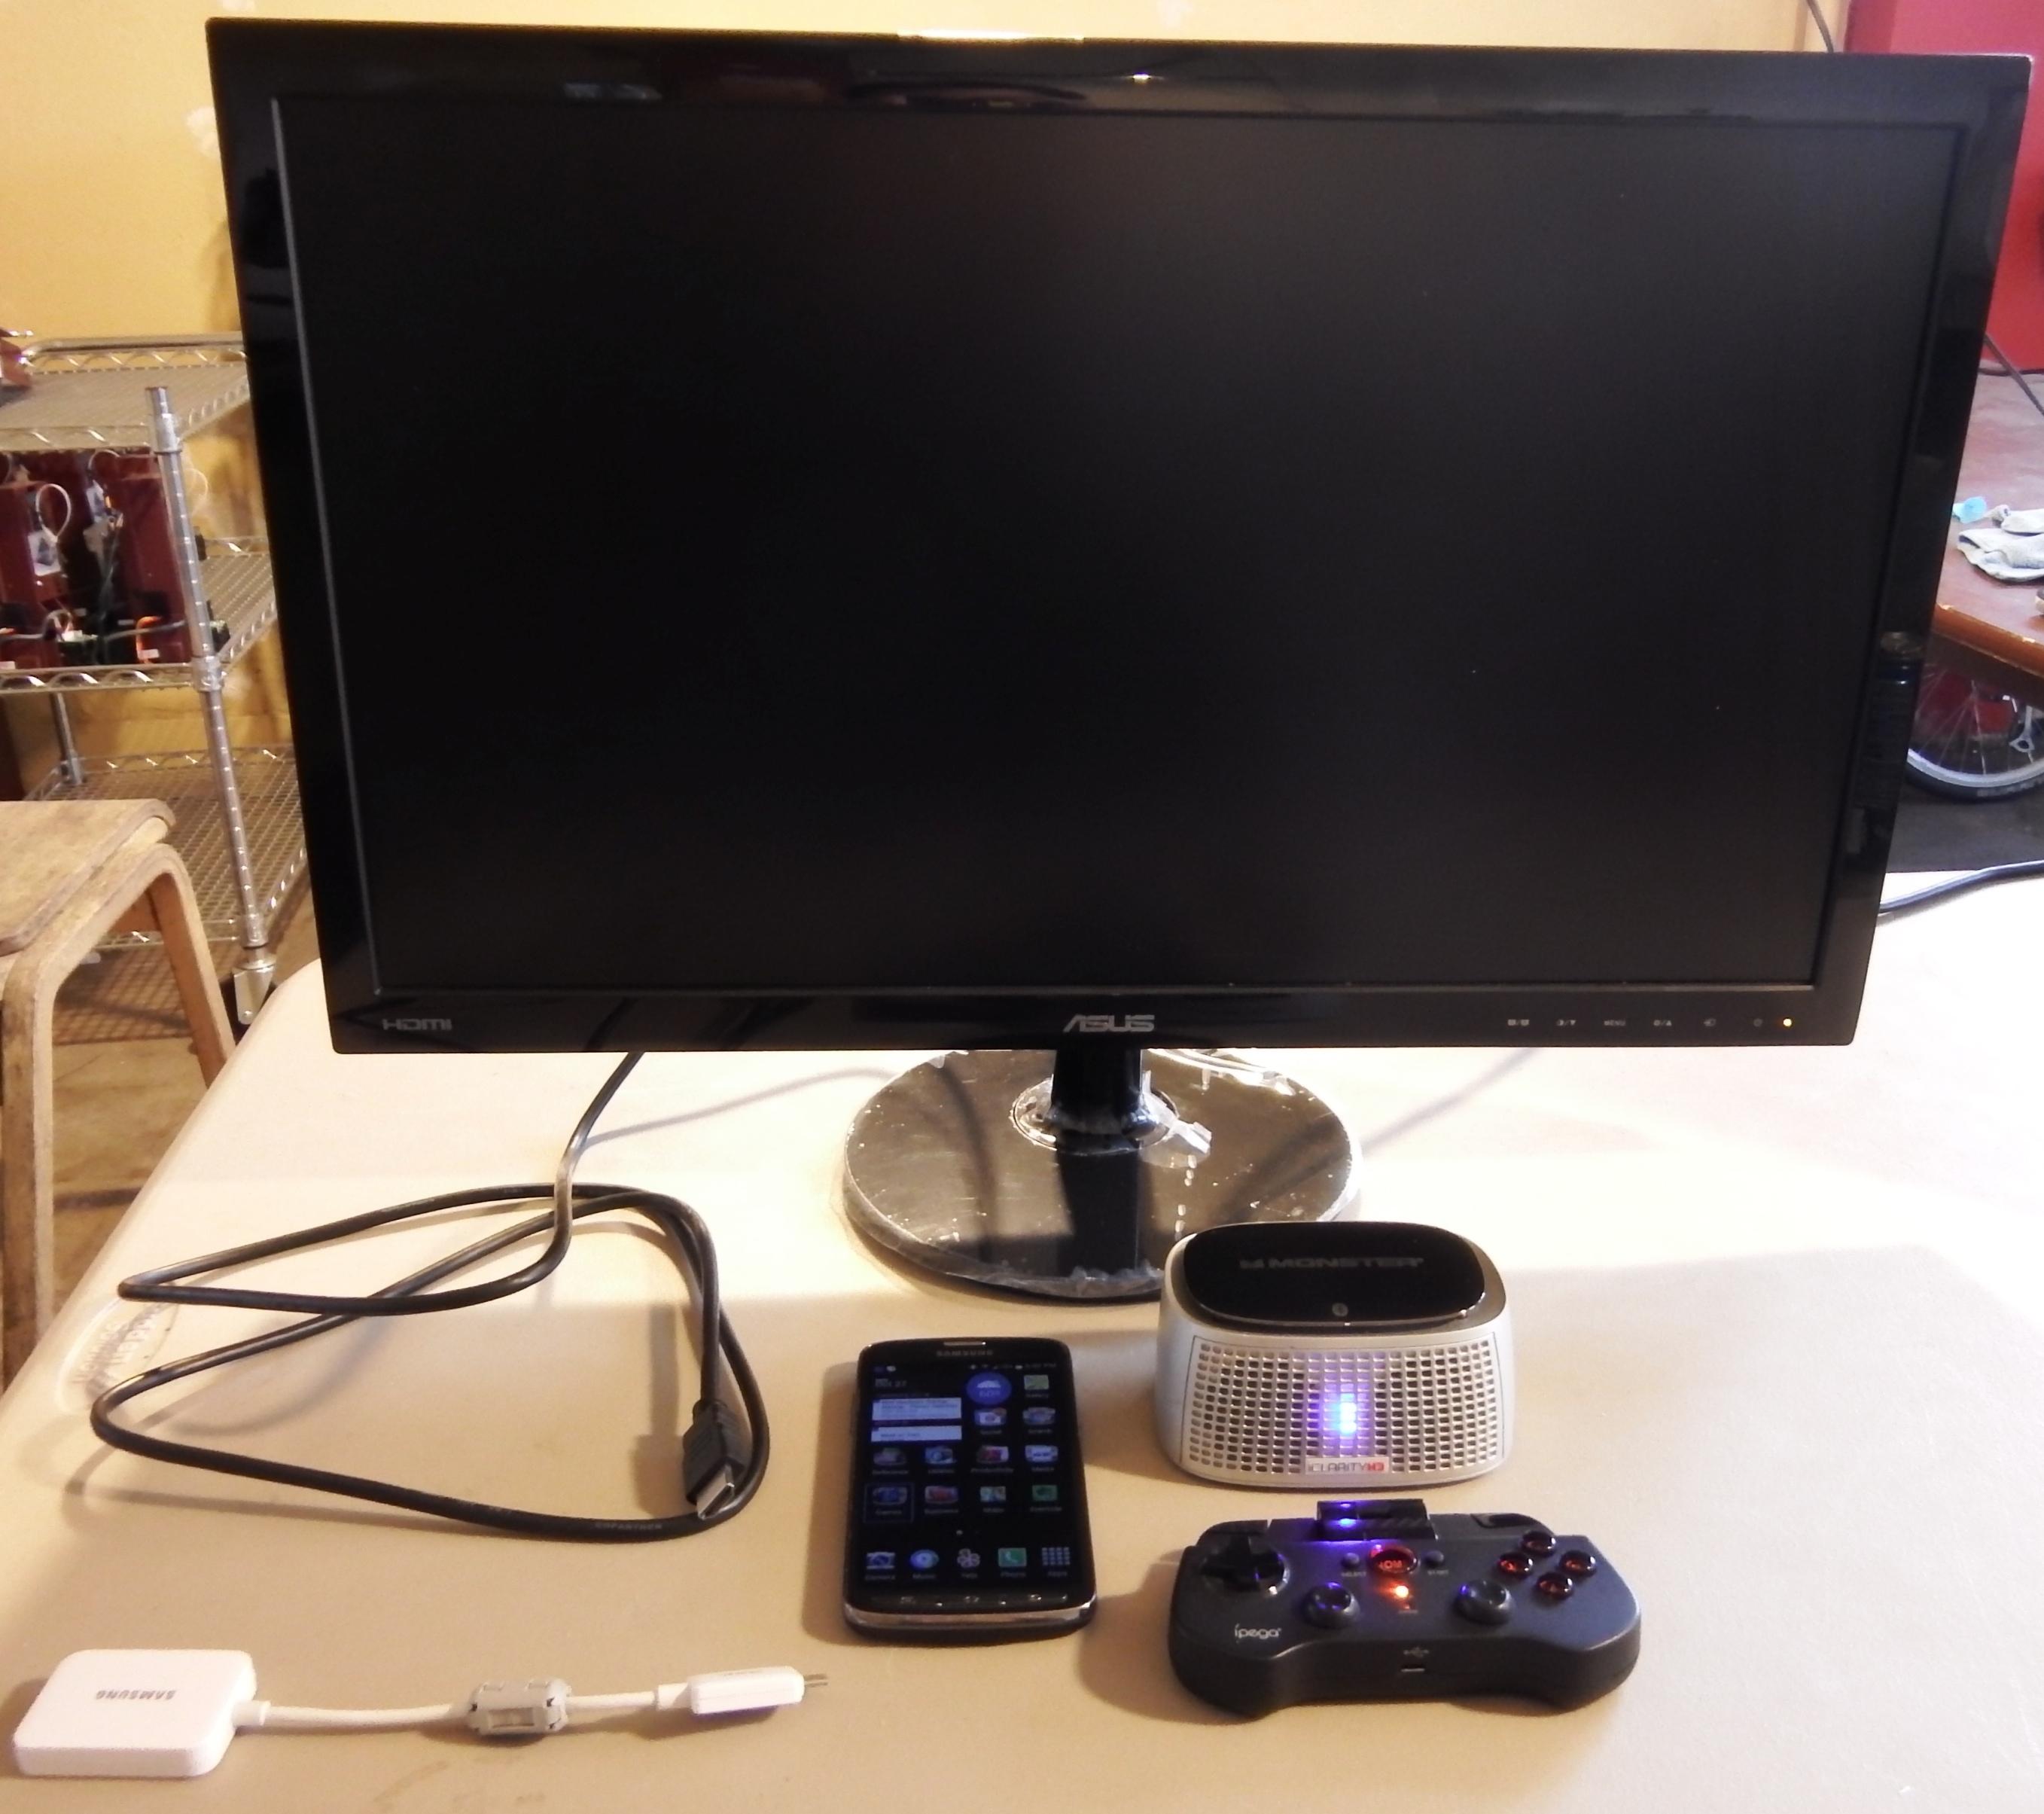
1 Samsung Galaxy S4 Active
1 Samsung MHL Cable (Other brand phones may require a Slimport adapter)
1 HMDI Monitor and Power Cable
1 Bluetooth Speaker (Monster iClarity)
1 iPega Bluetooth Controller
1 HDMI Cable
1 Micro SD Card
NOTE: You DO NOT need to jailbreak or root your phone for this to work.
File Management
We won't go in to detail about how to get the console emulators and ROMs to work because each emulator is different, but what is important for any type of emulation is good file management. There are three required files for any smart phone game emulator to work:
1) Emulator App (Executes the BIOS and ROM files on the smart phone, configures the folder locations for BIOS and ROMs, configures the controller layout, and other options)
2) BIOS file (a file that holds the hardware data of the game console)
3) ROM file (a file that holds the software data for the game)
Many emulator apps can be found on the Google Play store and game ROMs can be found on sites like this:
A screenshot of the emulators used can be found on step 3 https://www.instructables.com/file/FFTBXX5I1TJJBKT
BIOS files are much harder to get but can be found on sites like this:
http://www.emuparadise.me/biosfiles/bios.html
You must be make sure that the BIOS and ROMs aren't bugged or corrupted. Older game systems seem to be more stable while newer systems are prone to crashes or have malware in them. Newer games have huge file sizes anyways so it's best to run games that are up to the Playstation 1 level or lower, which seem to be the most stable. As game systems retire or are discontinued, it becomes easier to find the required emulator files.
Unfortunately, iTunes does not allow any Apps with emulators so it's best to use Android OS.
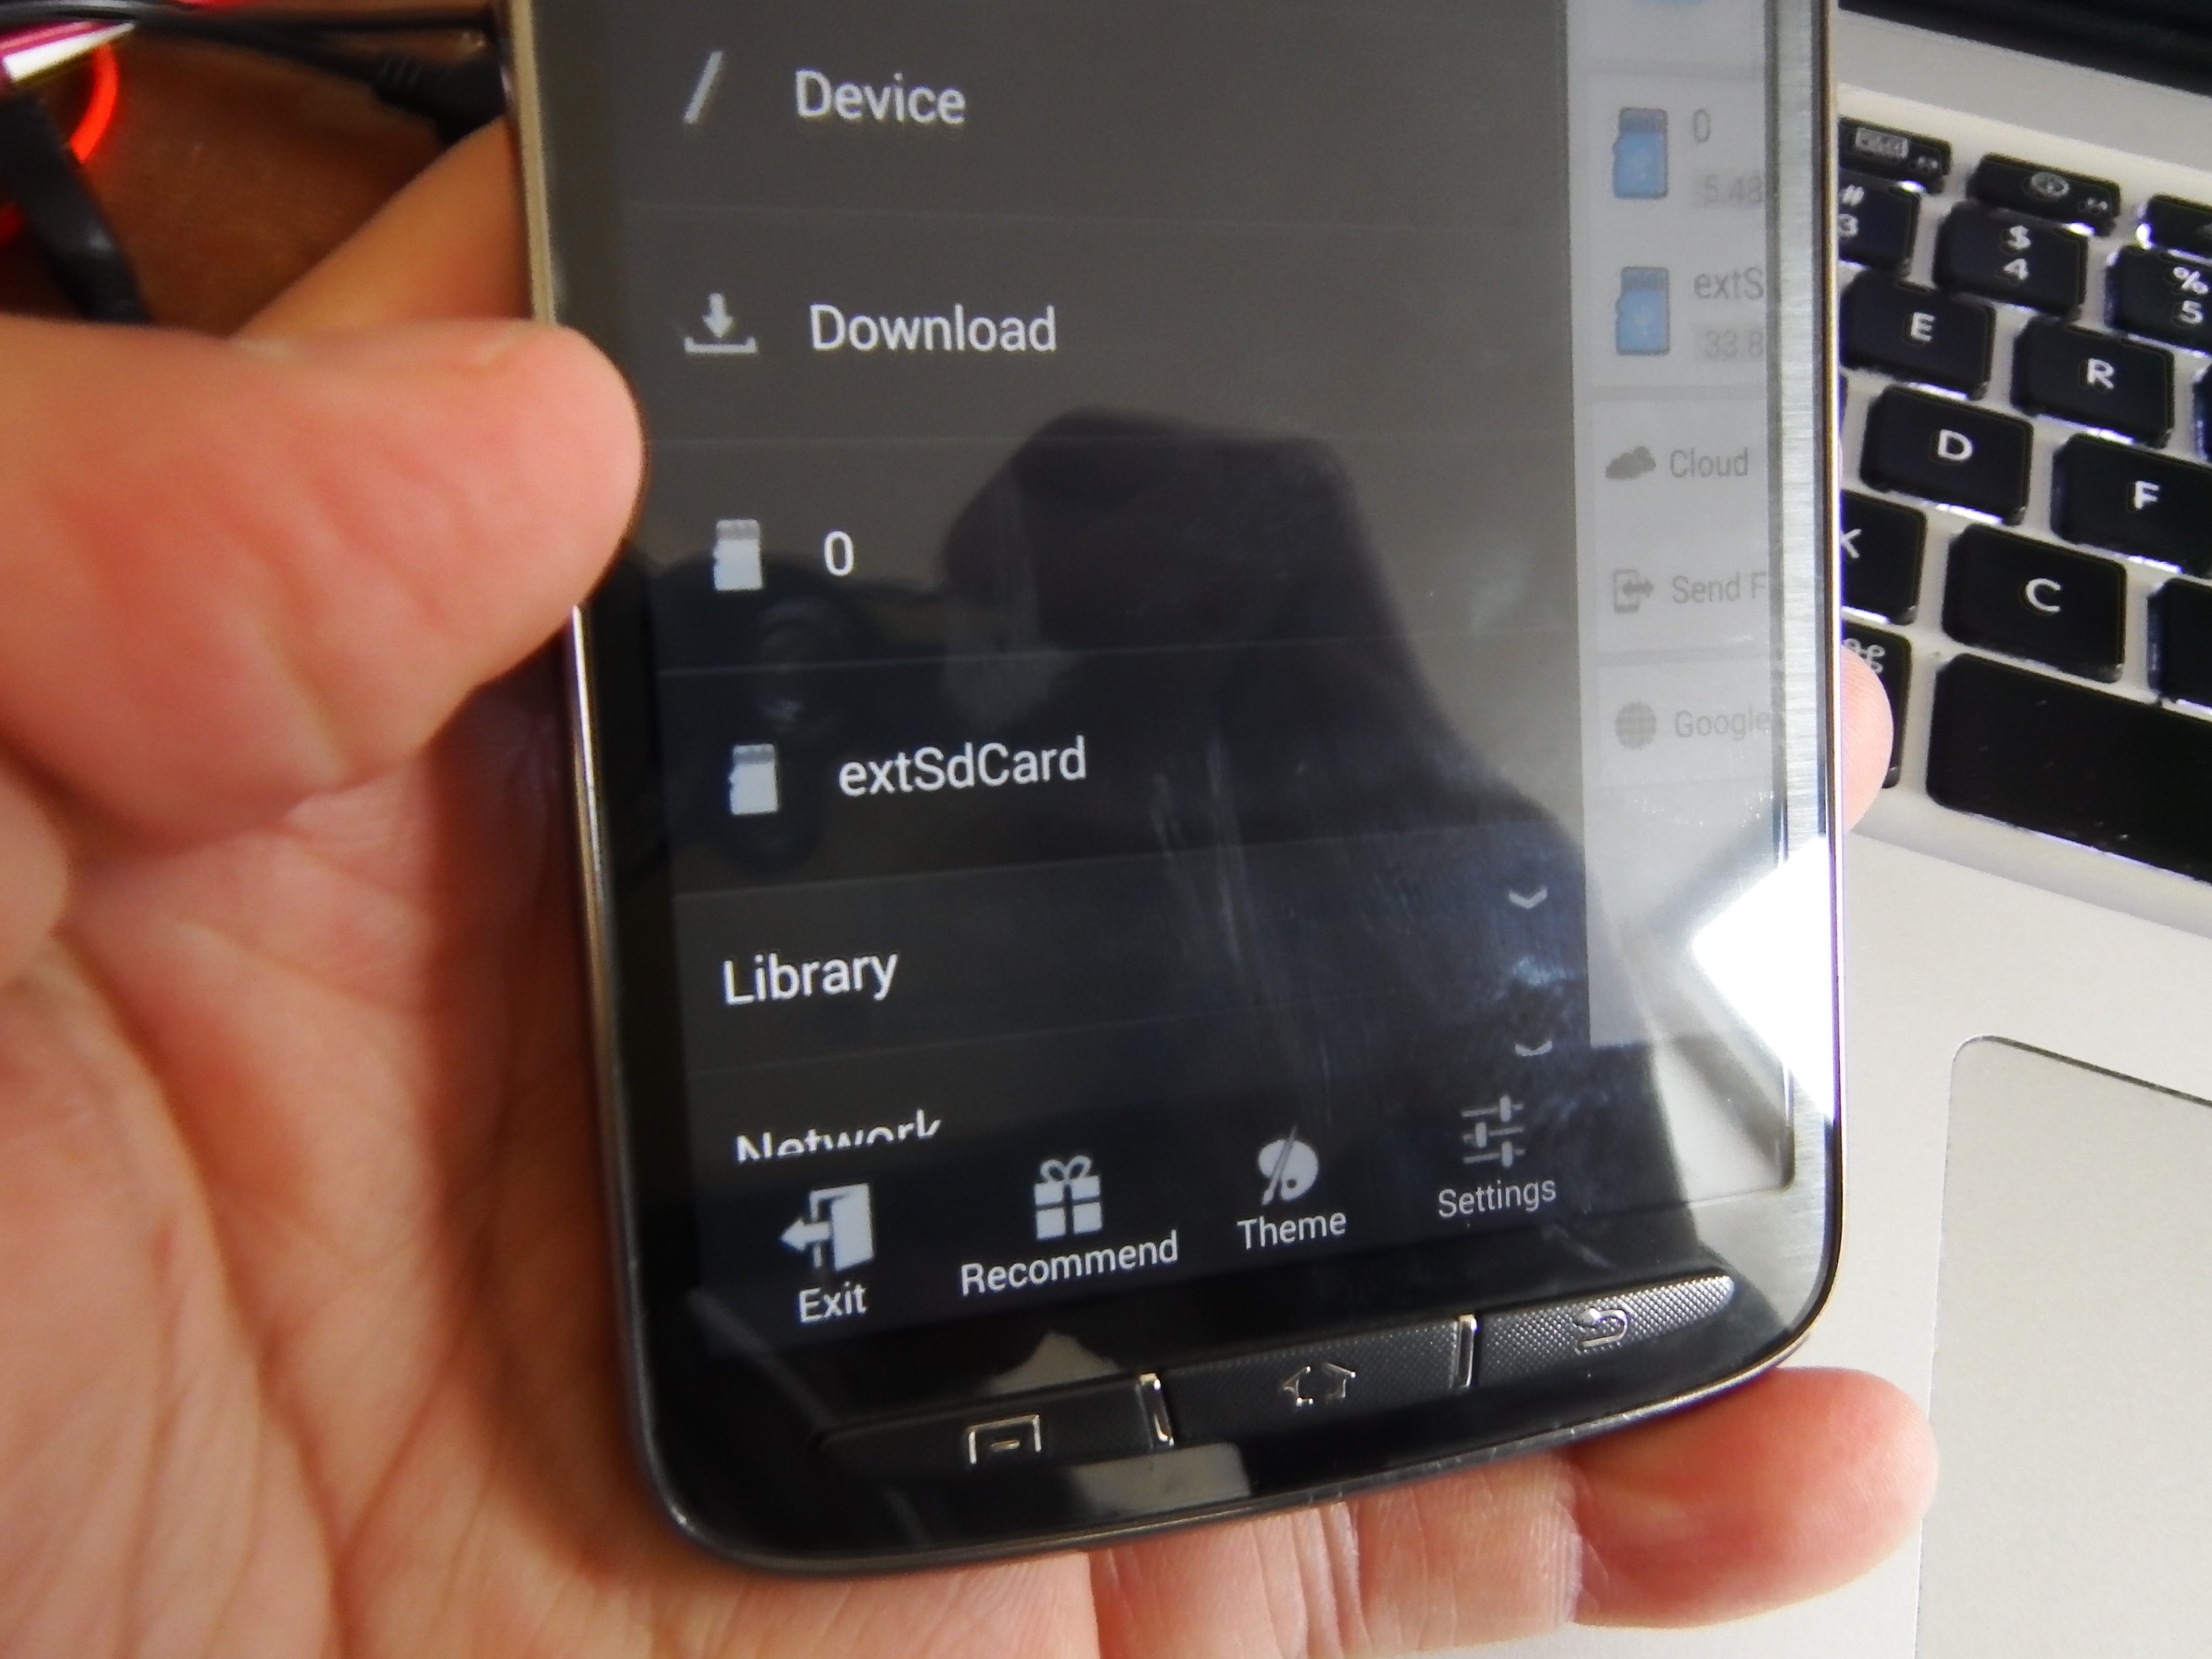
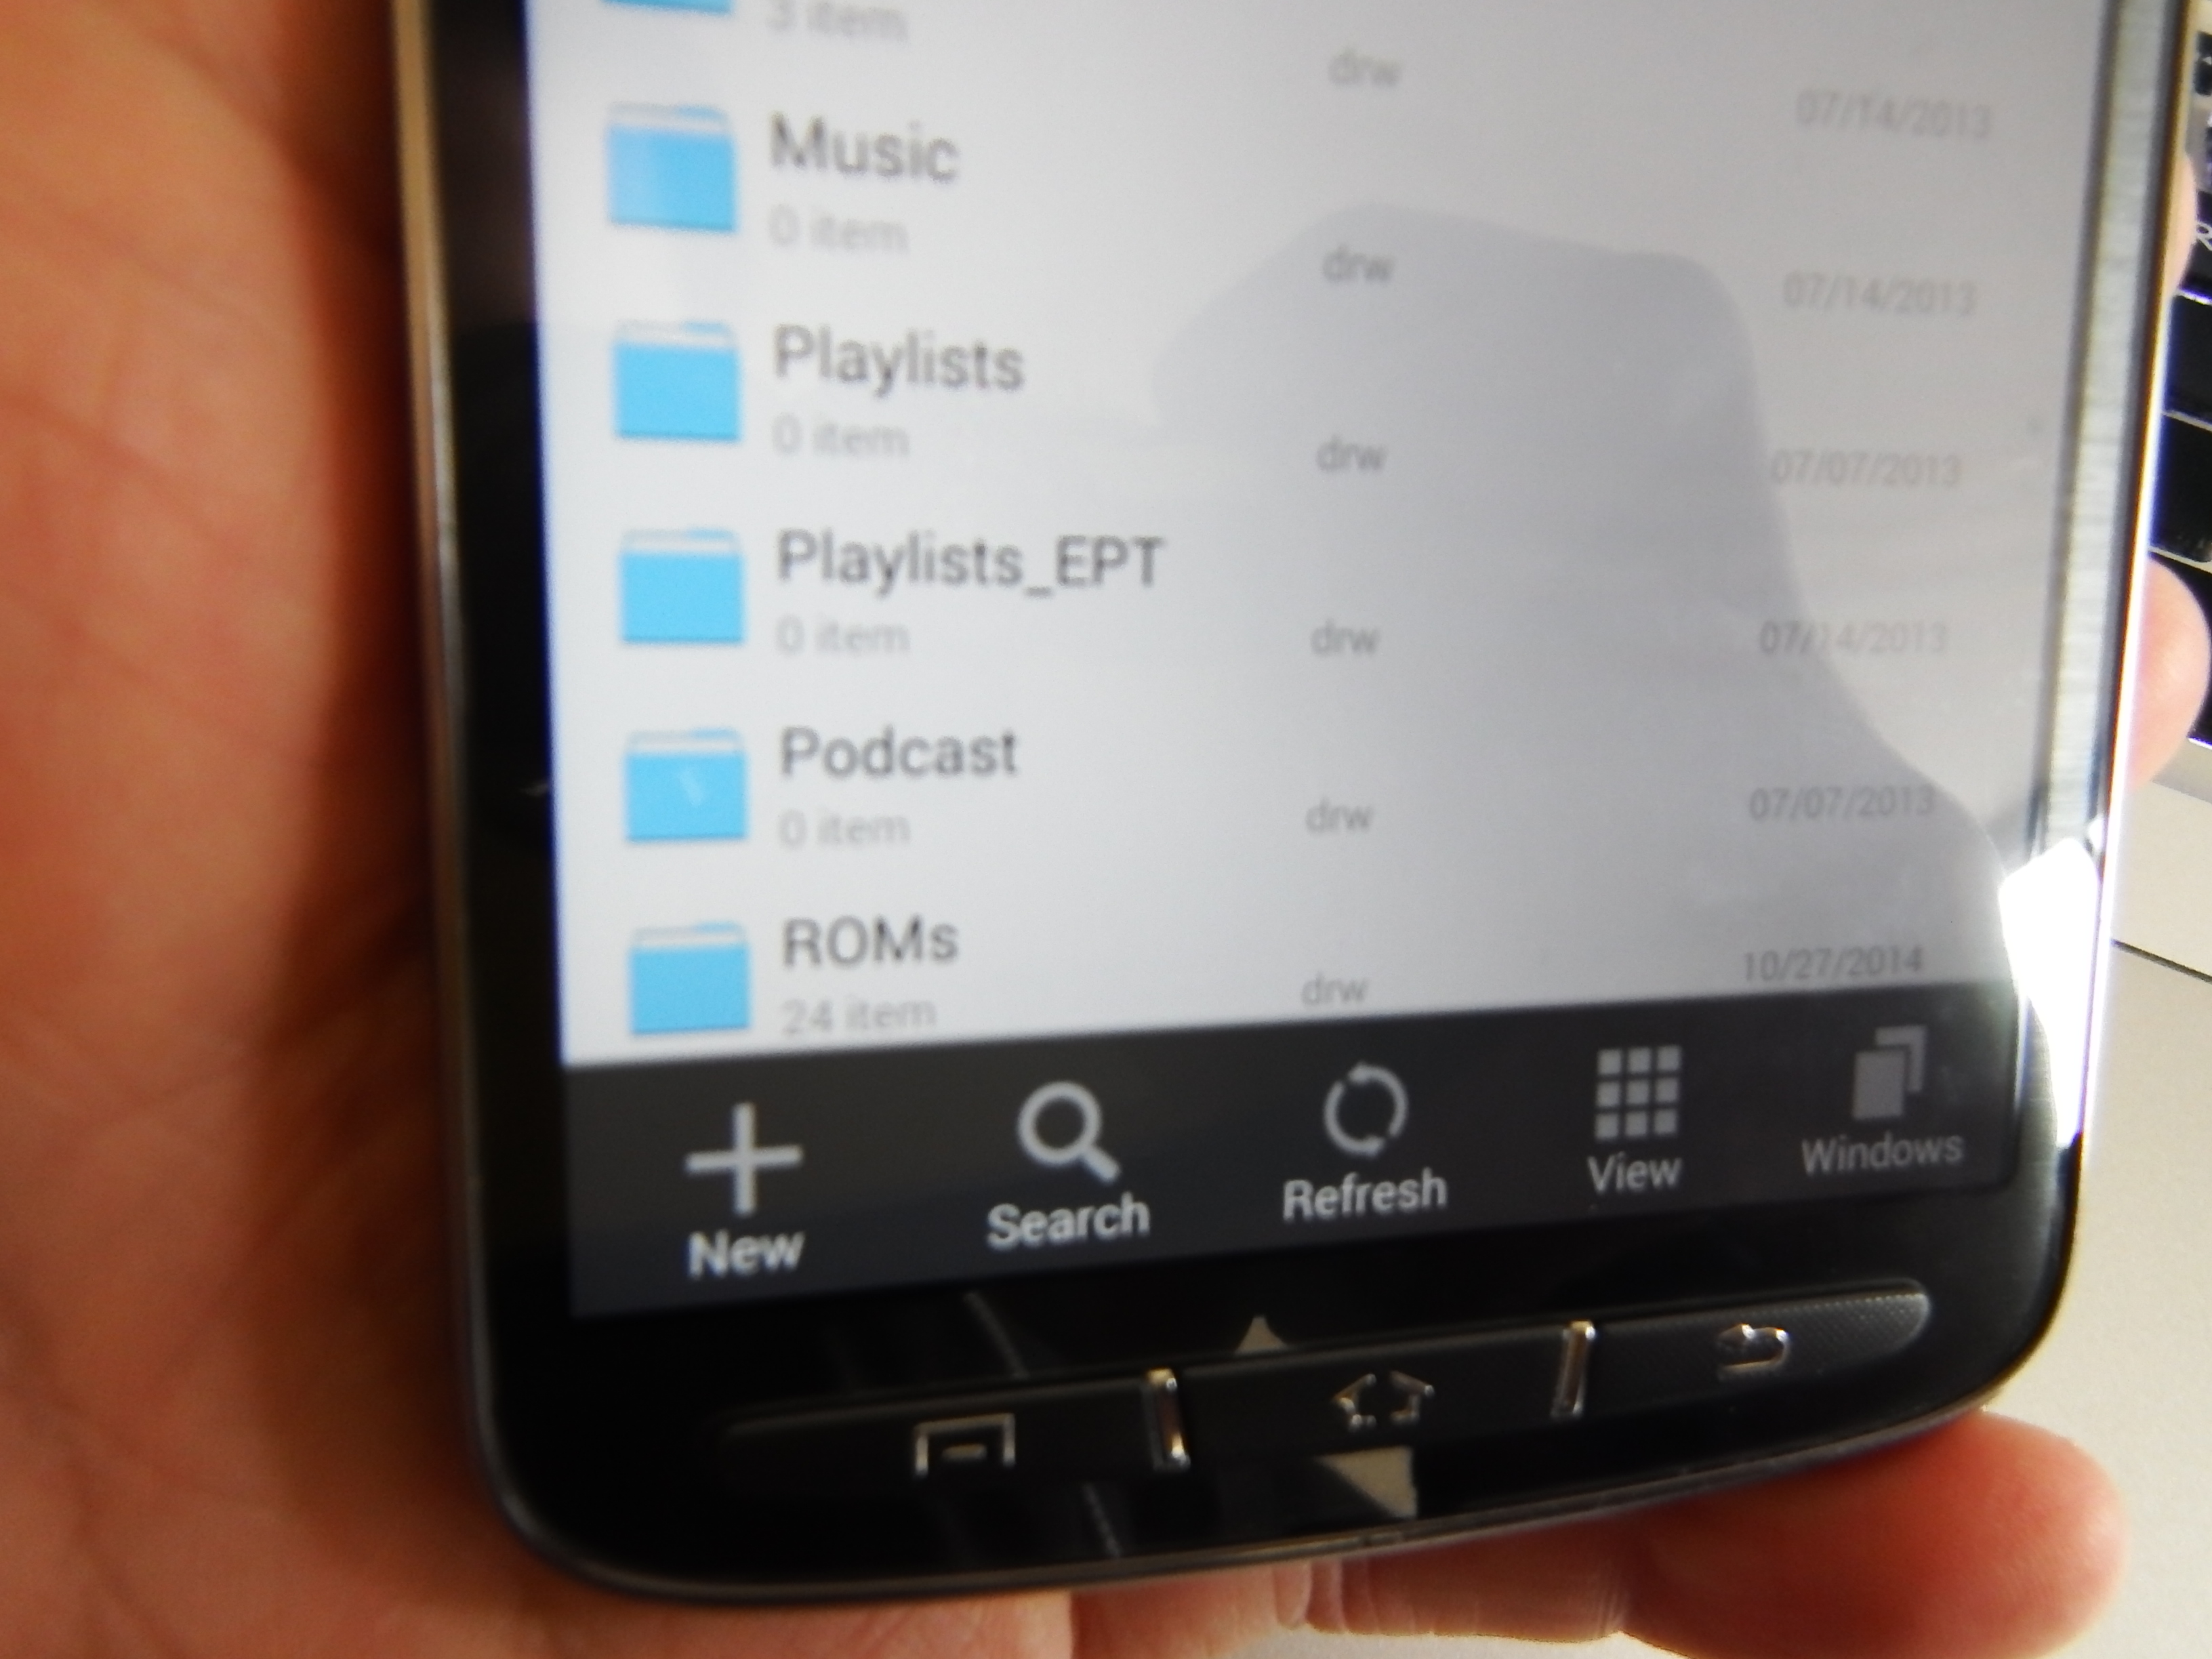
Emulators want BIOS and ROMs in specific folders and you need a way to navigate and move your phone's files and sometimes uncompress them to the right spot. The best way to do this is with the ES File Management App:
https://play.google.com/store/apps/details?id=com....
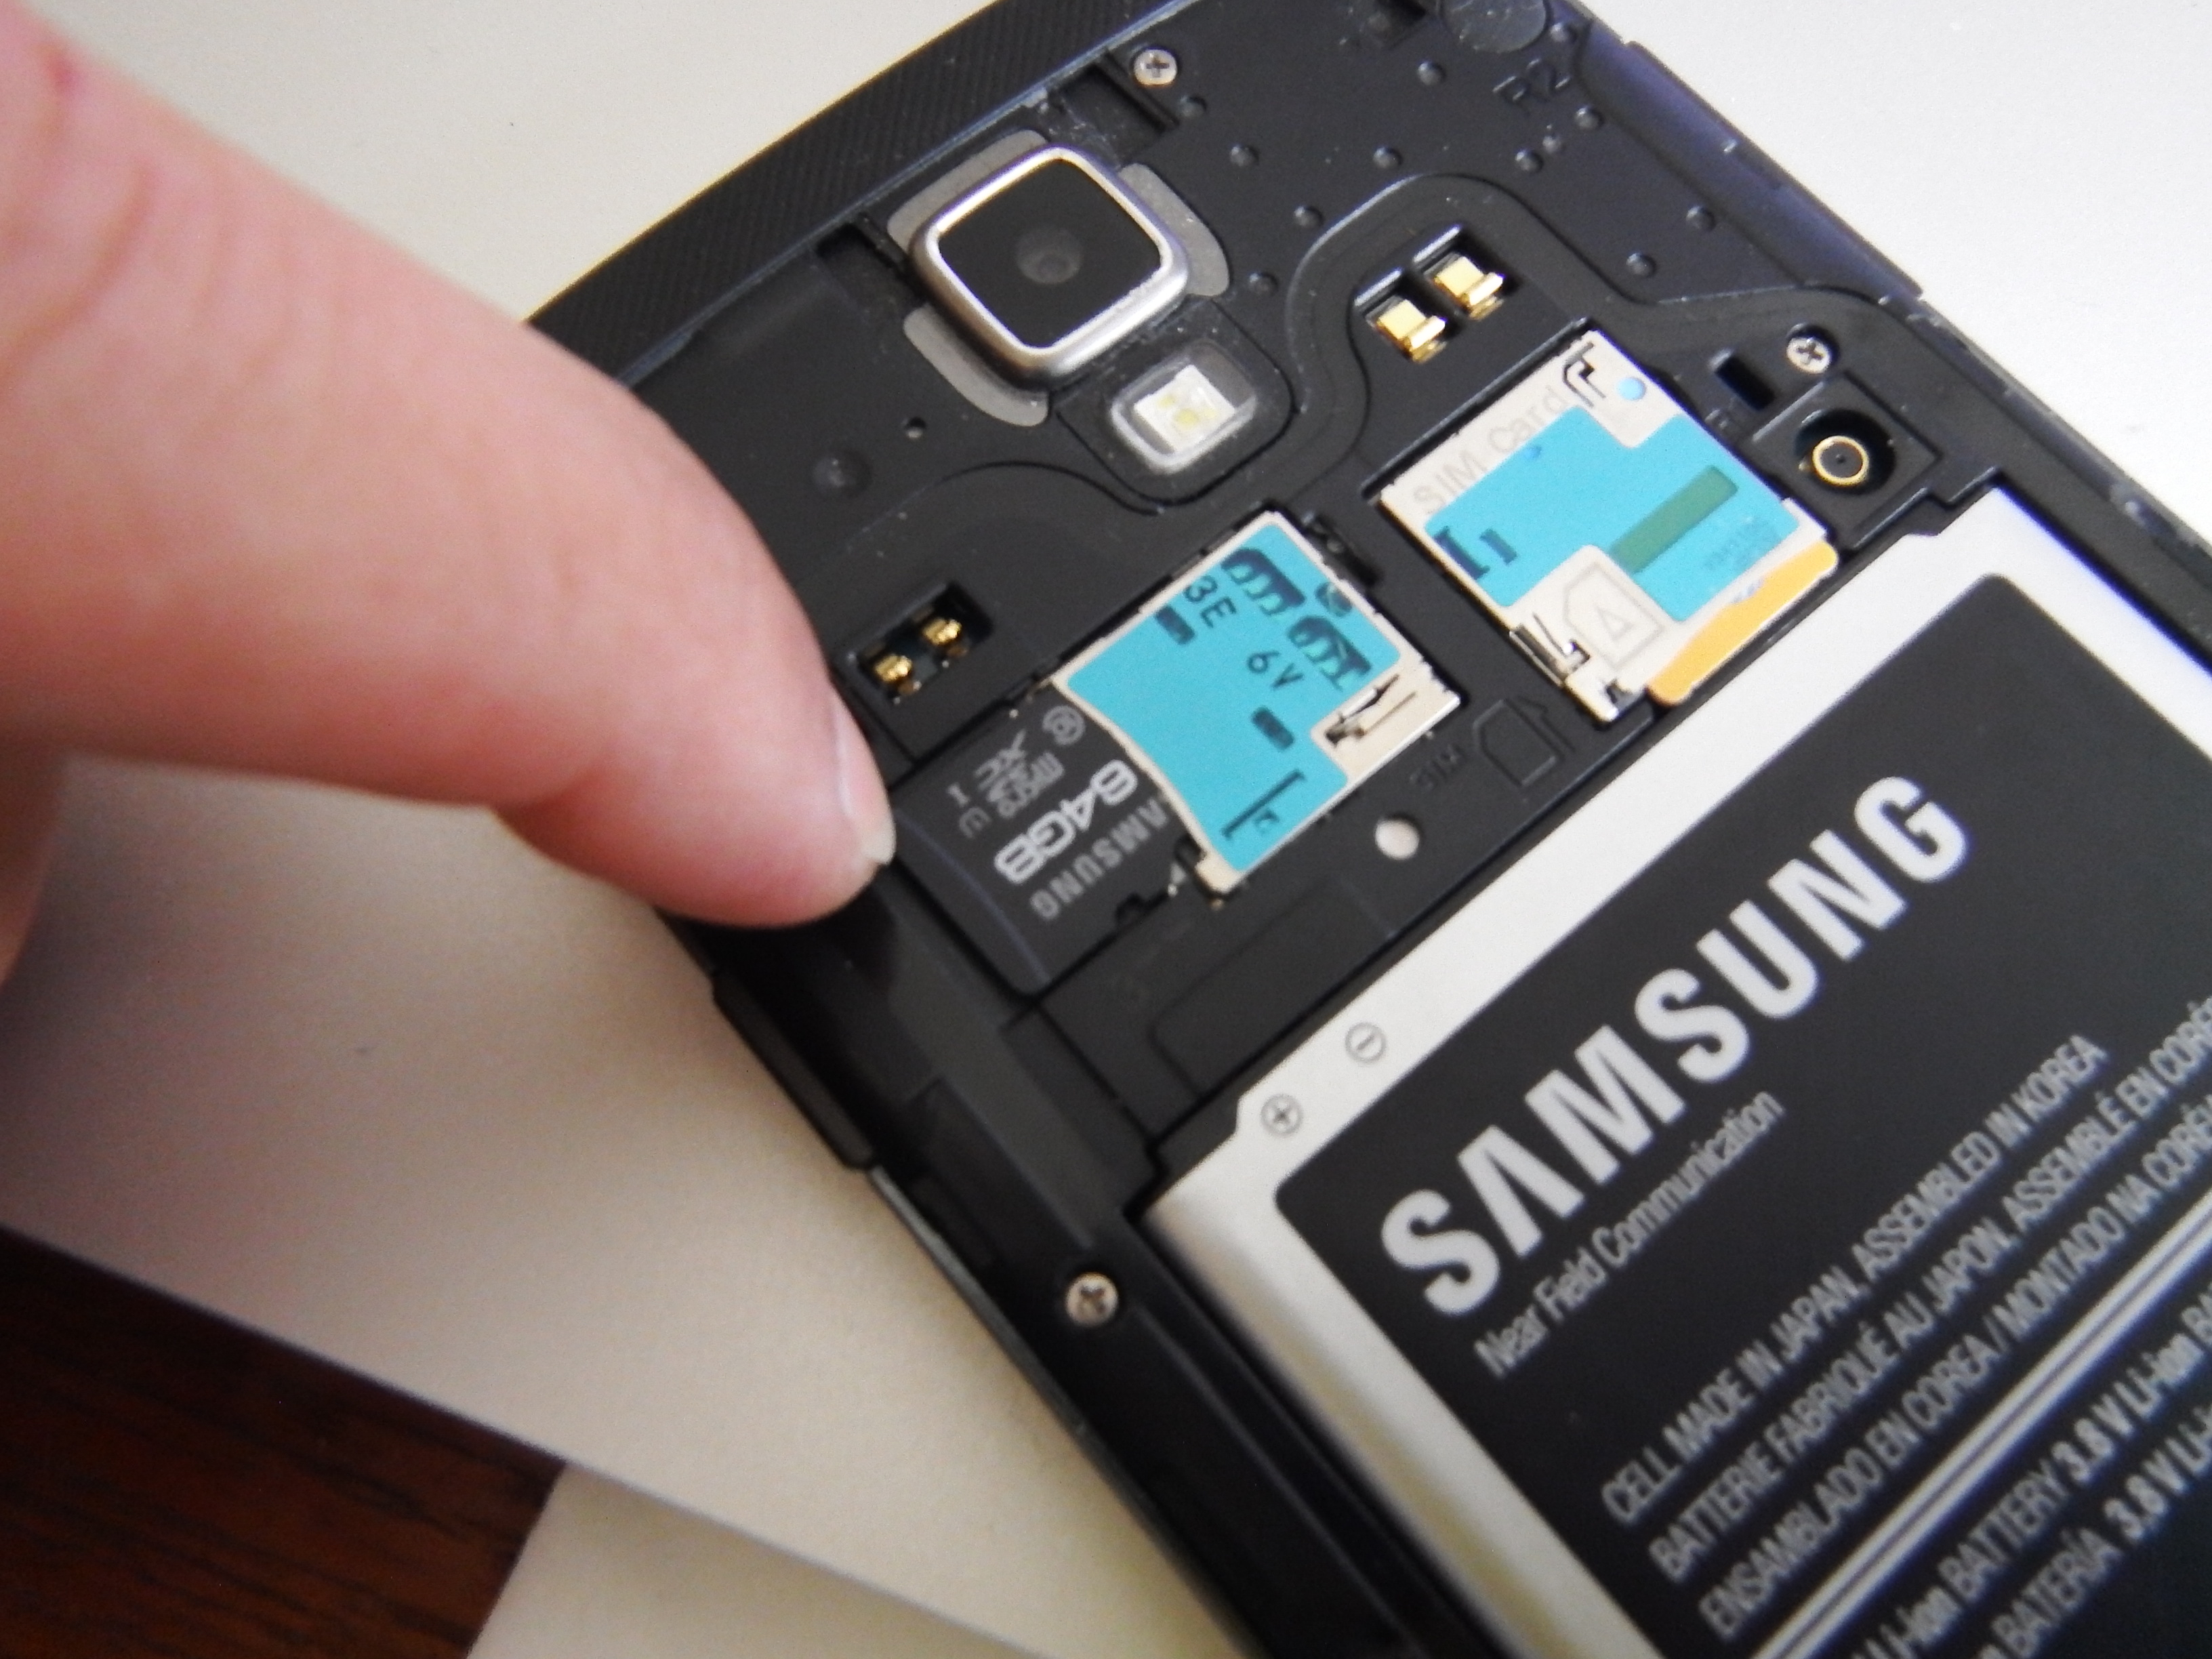
It's best to store BIOS and ROMs on an external SD card so that the phone's internal memory isn't used up. If your phone has an SD card slot, use it.
If your files are downloaded to the "Downloads" folder, simply touch and hold the file, select "Cut" from the bottom pop-up menu, navigate to the ROM folder you created on the SD card, and touch the "Paste" button. If your emulator requires the file to be uncompressed (some don't) , just touch and hold the file and select "Extract to" from the pop-up menu on the right.
In the emulator App, go to the Options menu and make sure that the path for the BIOS and ROMs are correct.
** If all the settings are correct and the emulator still does not work, it could be that the emulator has bugs so try a different emulator and see if it works.
Pair Bluetooth Gamepad and Speaker
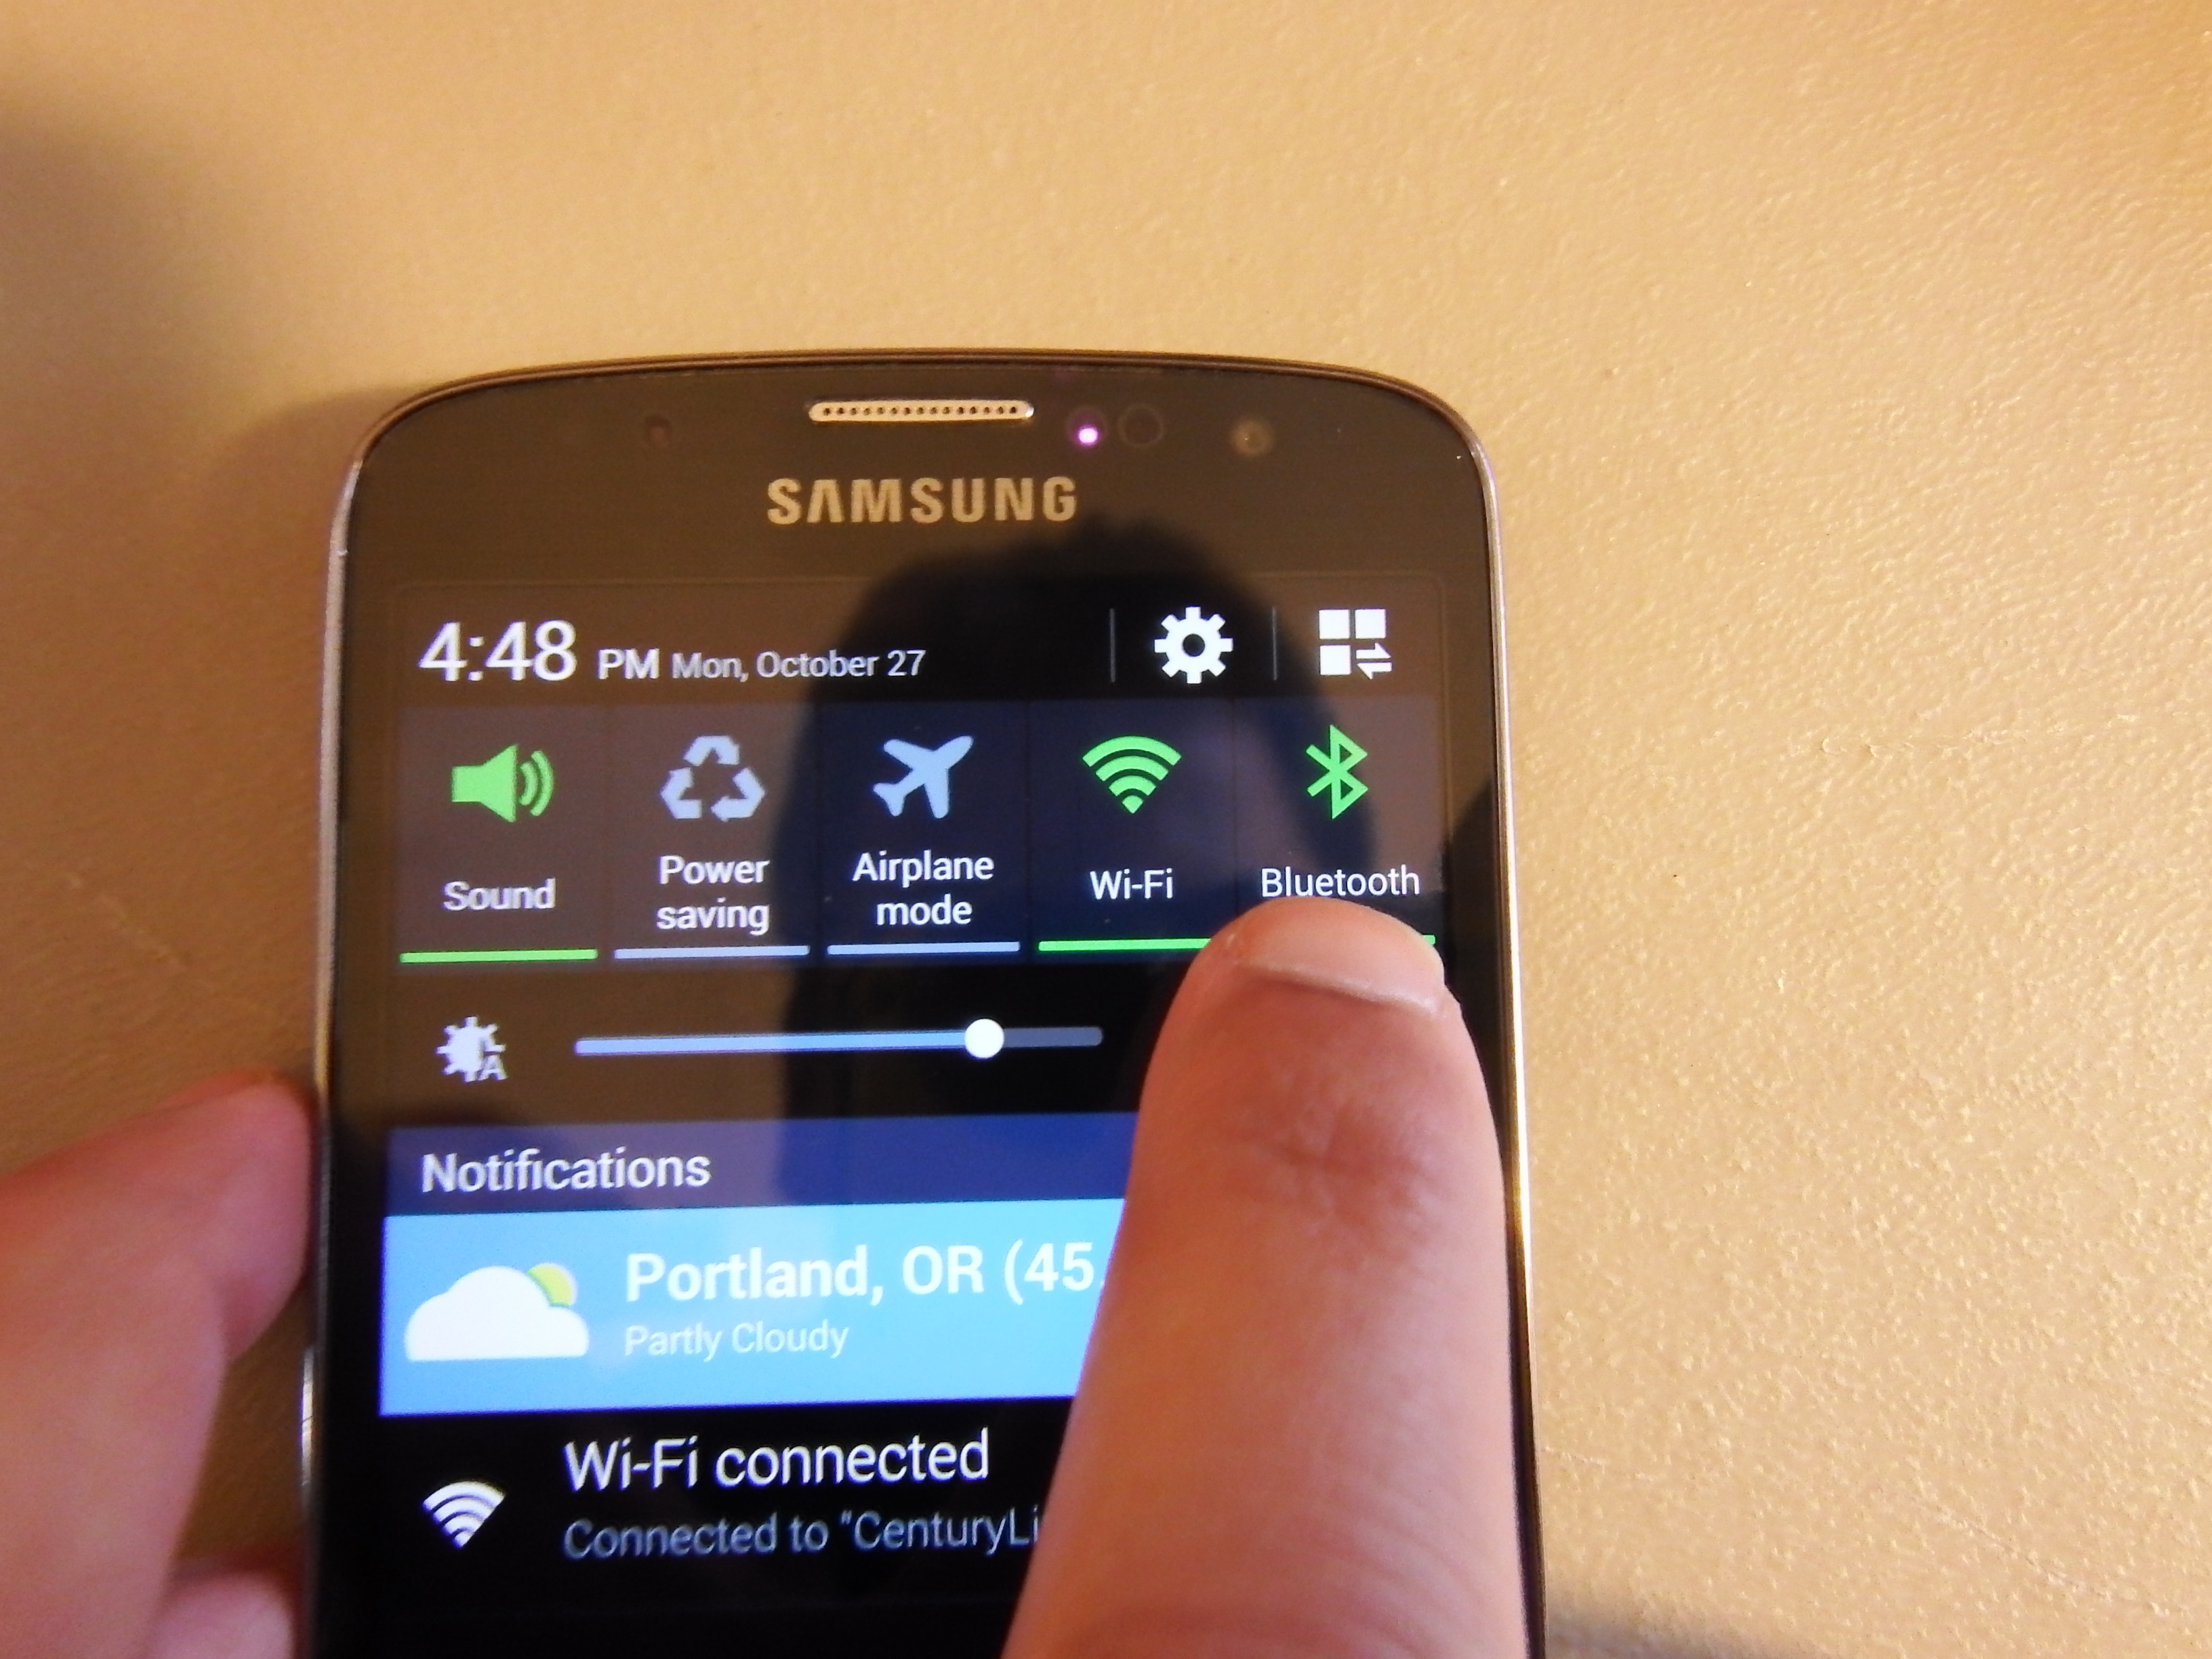
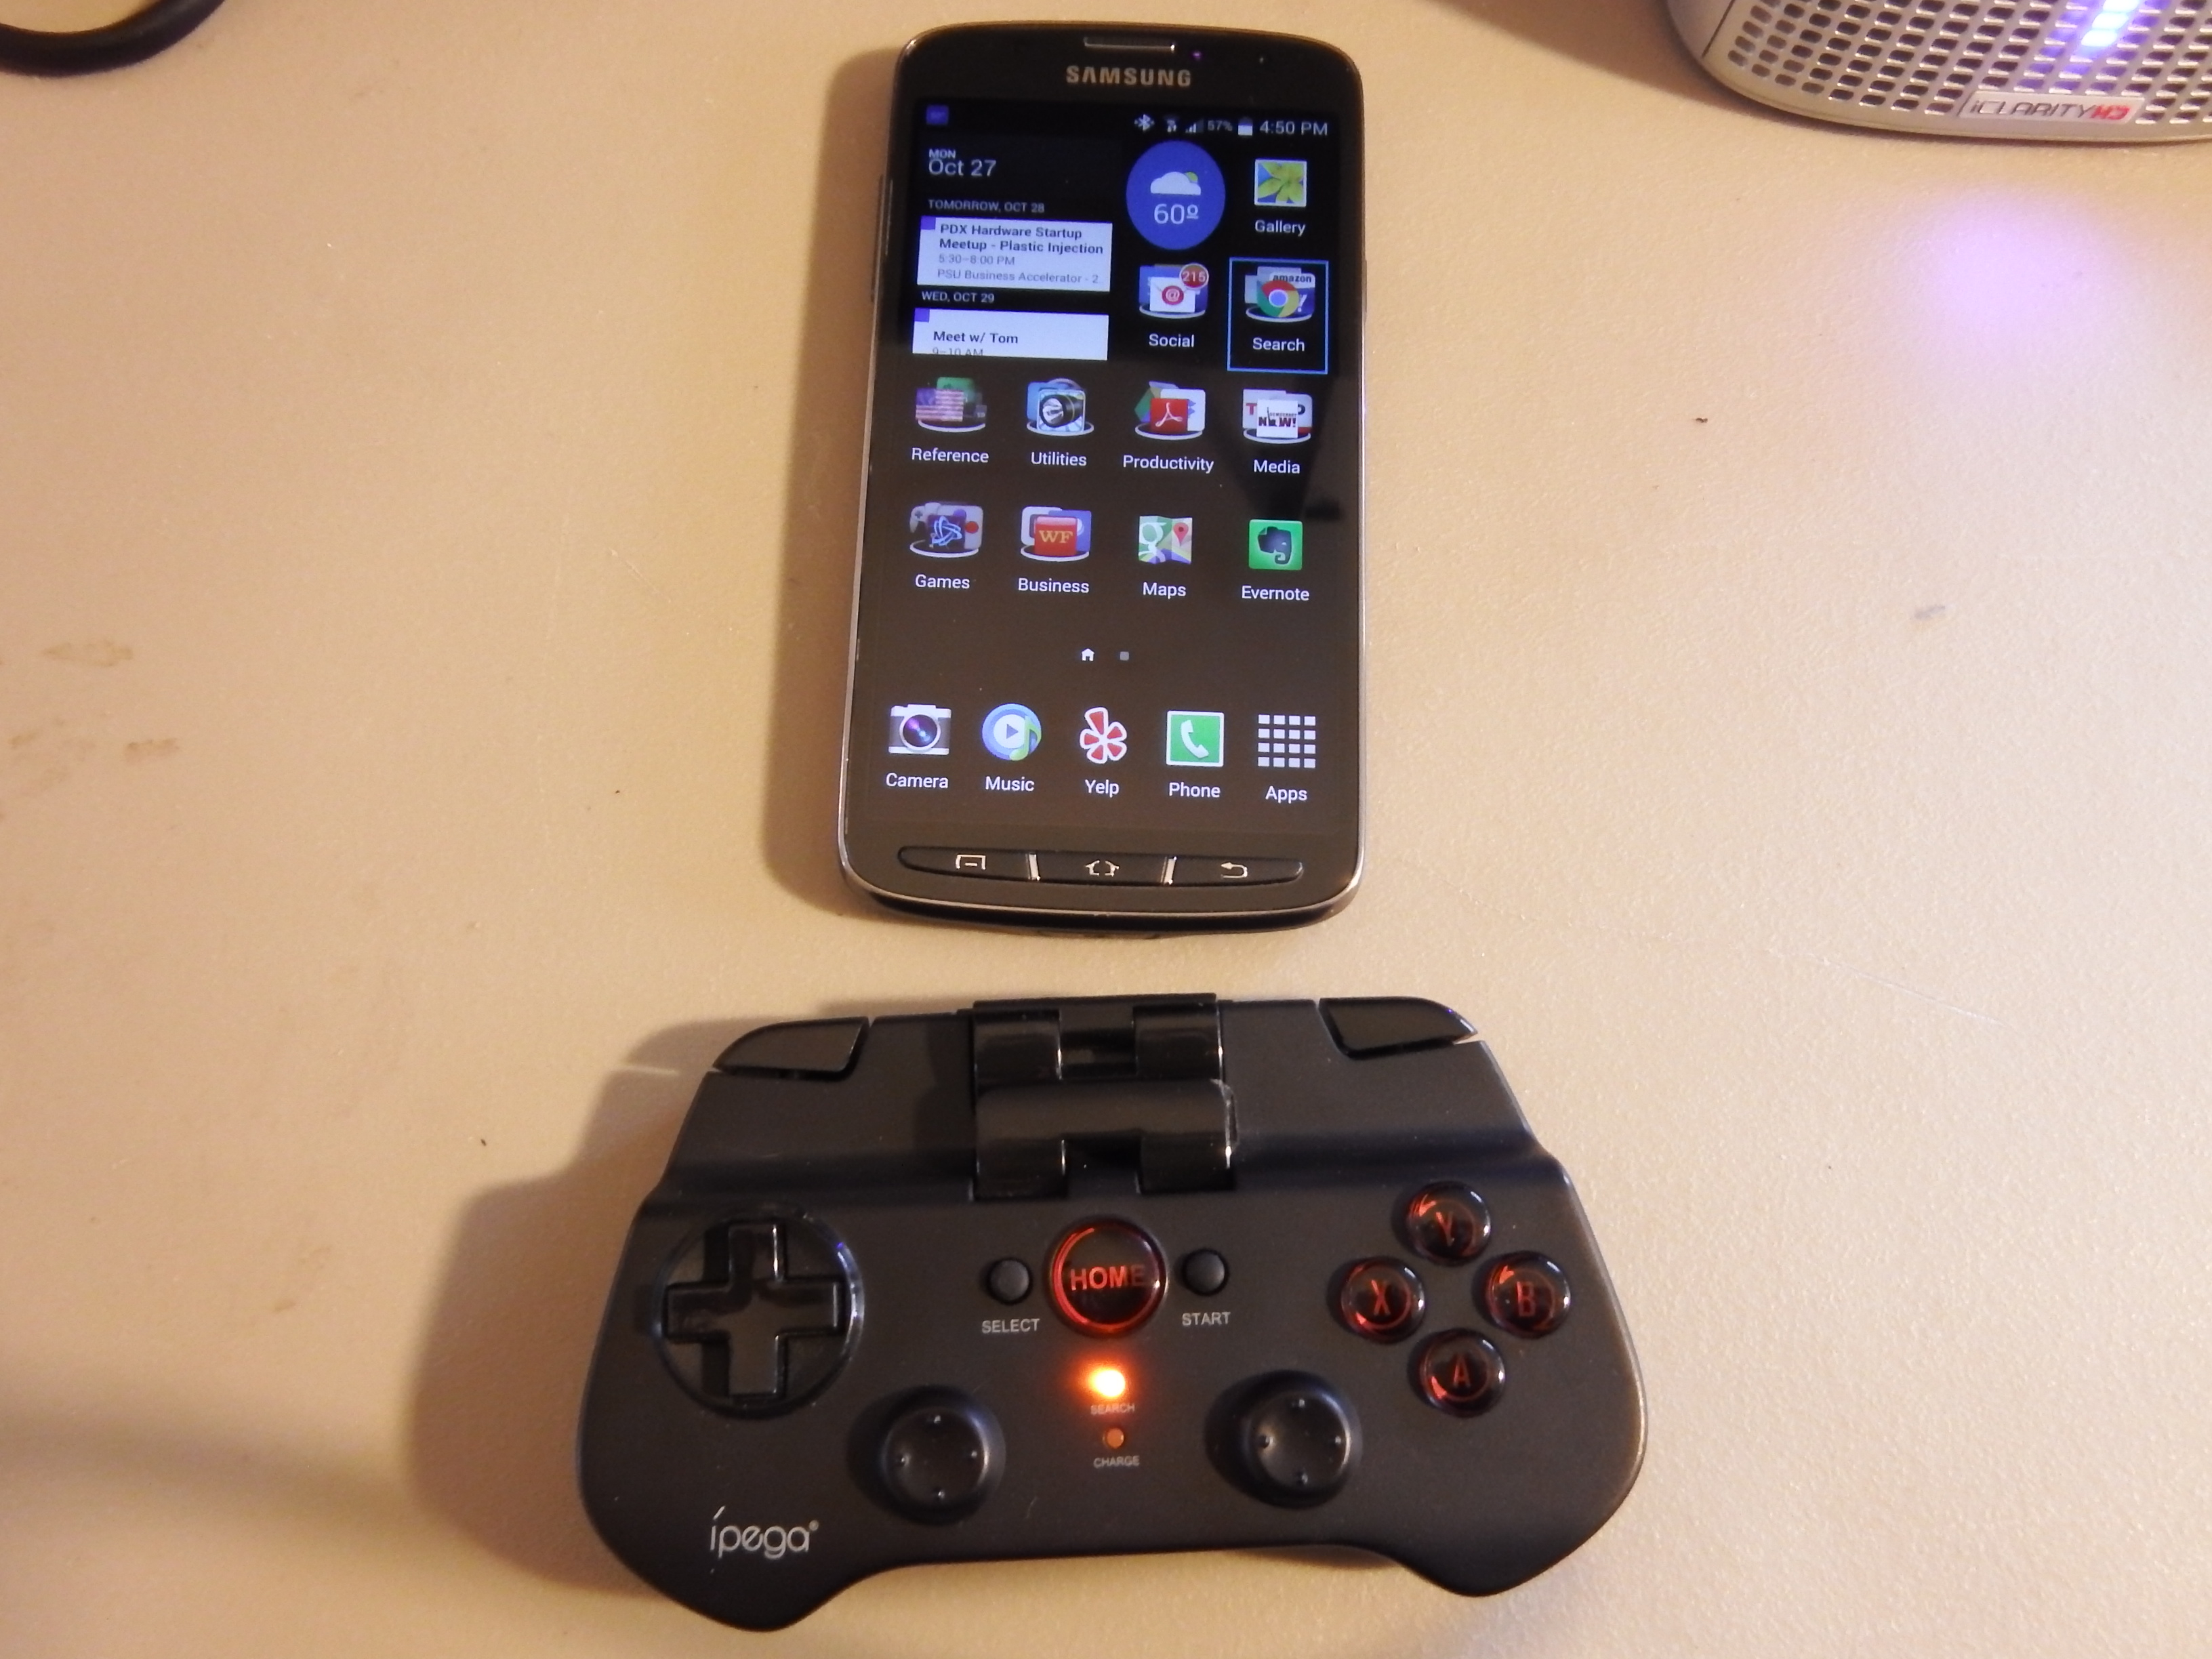
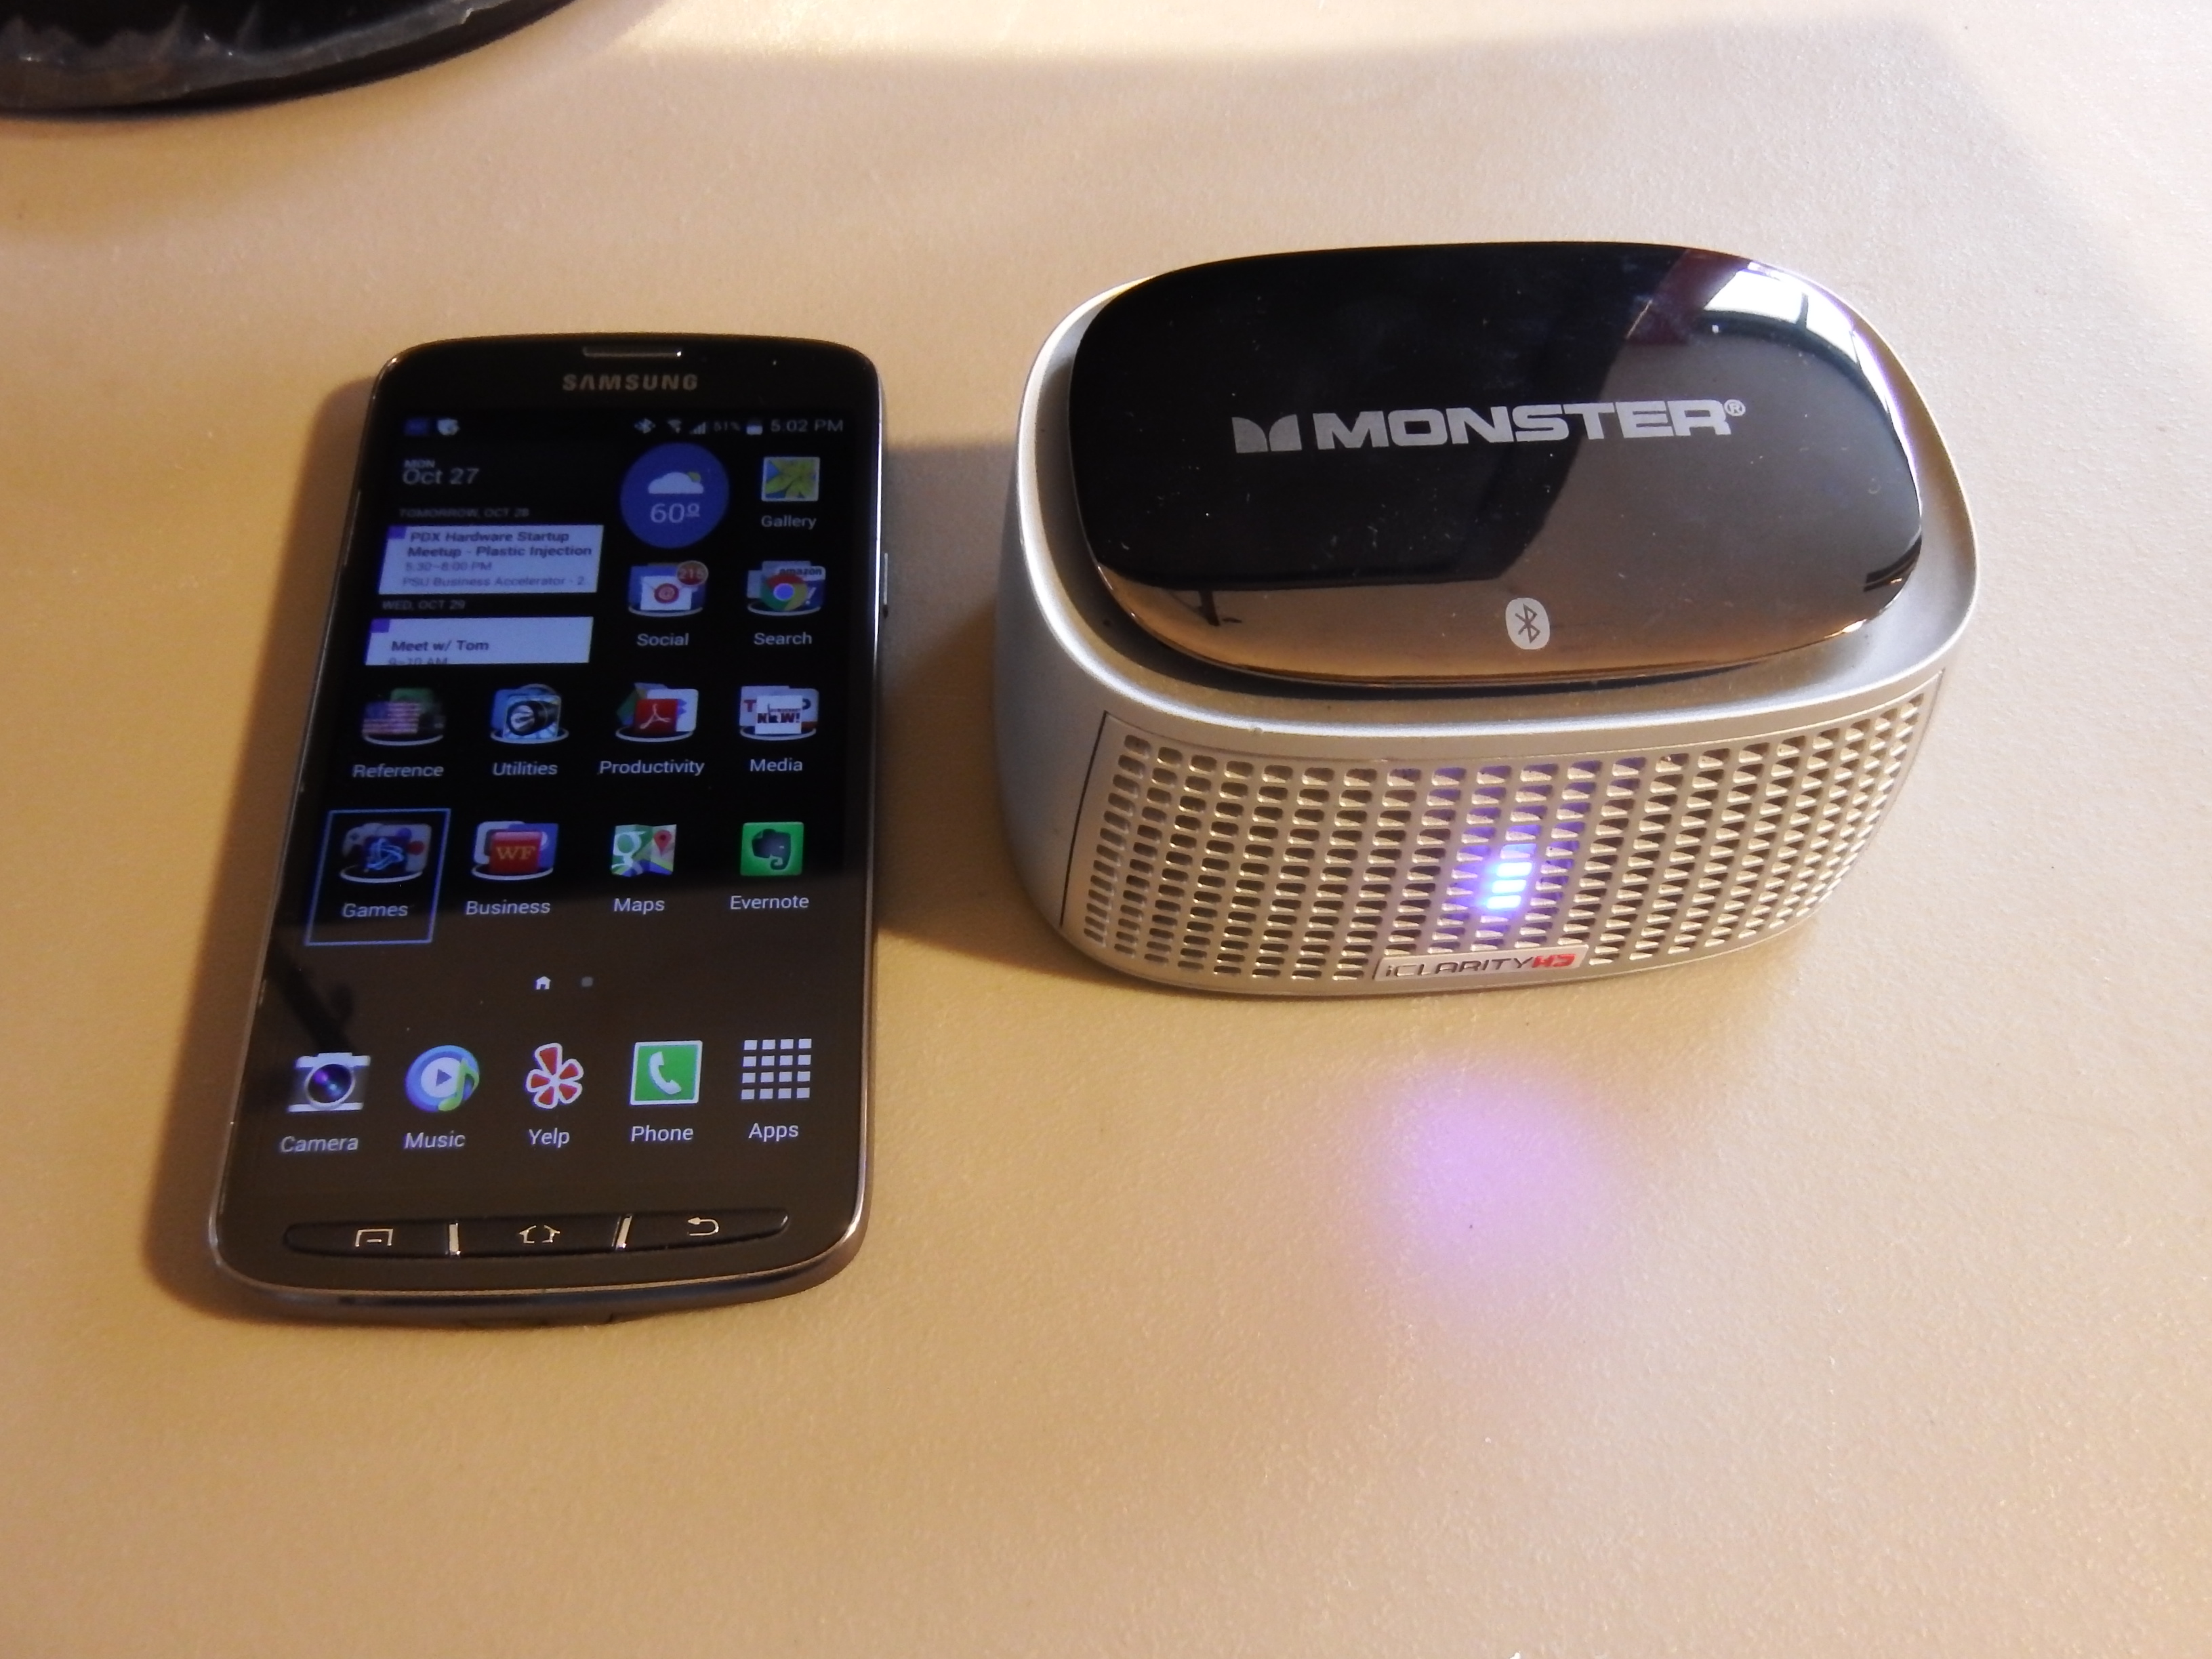
Make sure that Bluetooth is enabled on your phone then pair the gamepad and speaker to your phone.
For the iPega controller, hold down the "X" button when you turn on the controller to set the controller to the most compatible mode. Make sure to map the controller buttons accordingly in the emulator of your choice.
For the Monster iClarity speaker, hold down the power button until a red LED starts blinking.
Connect the HDMI Monitor and Start Playing!
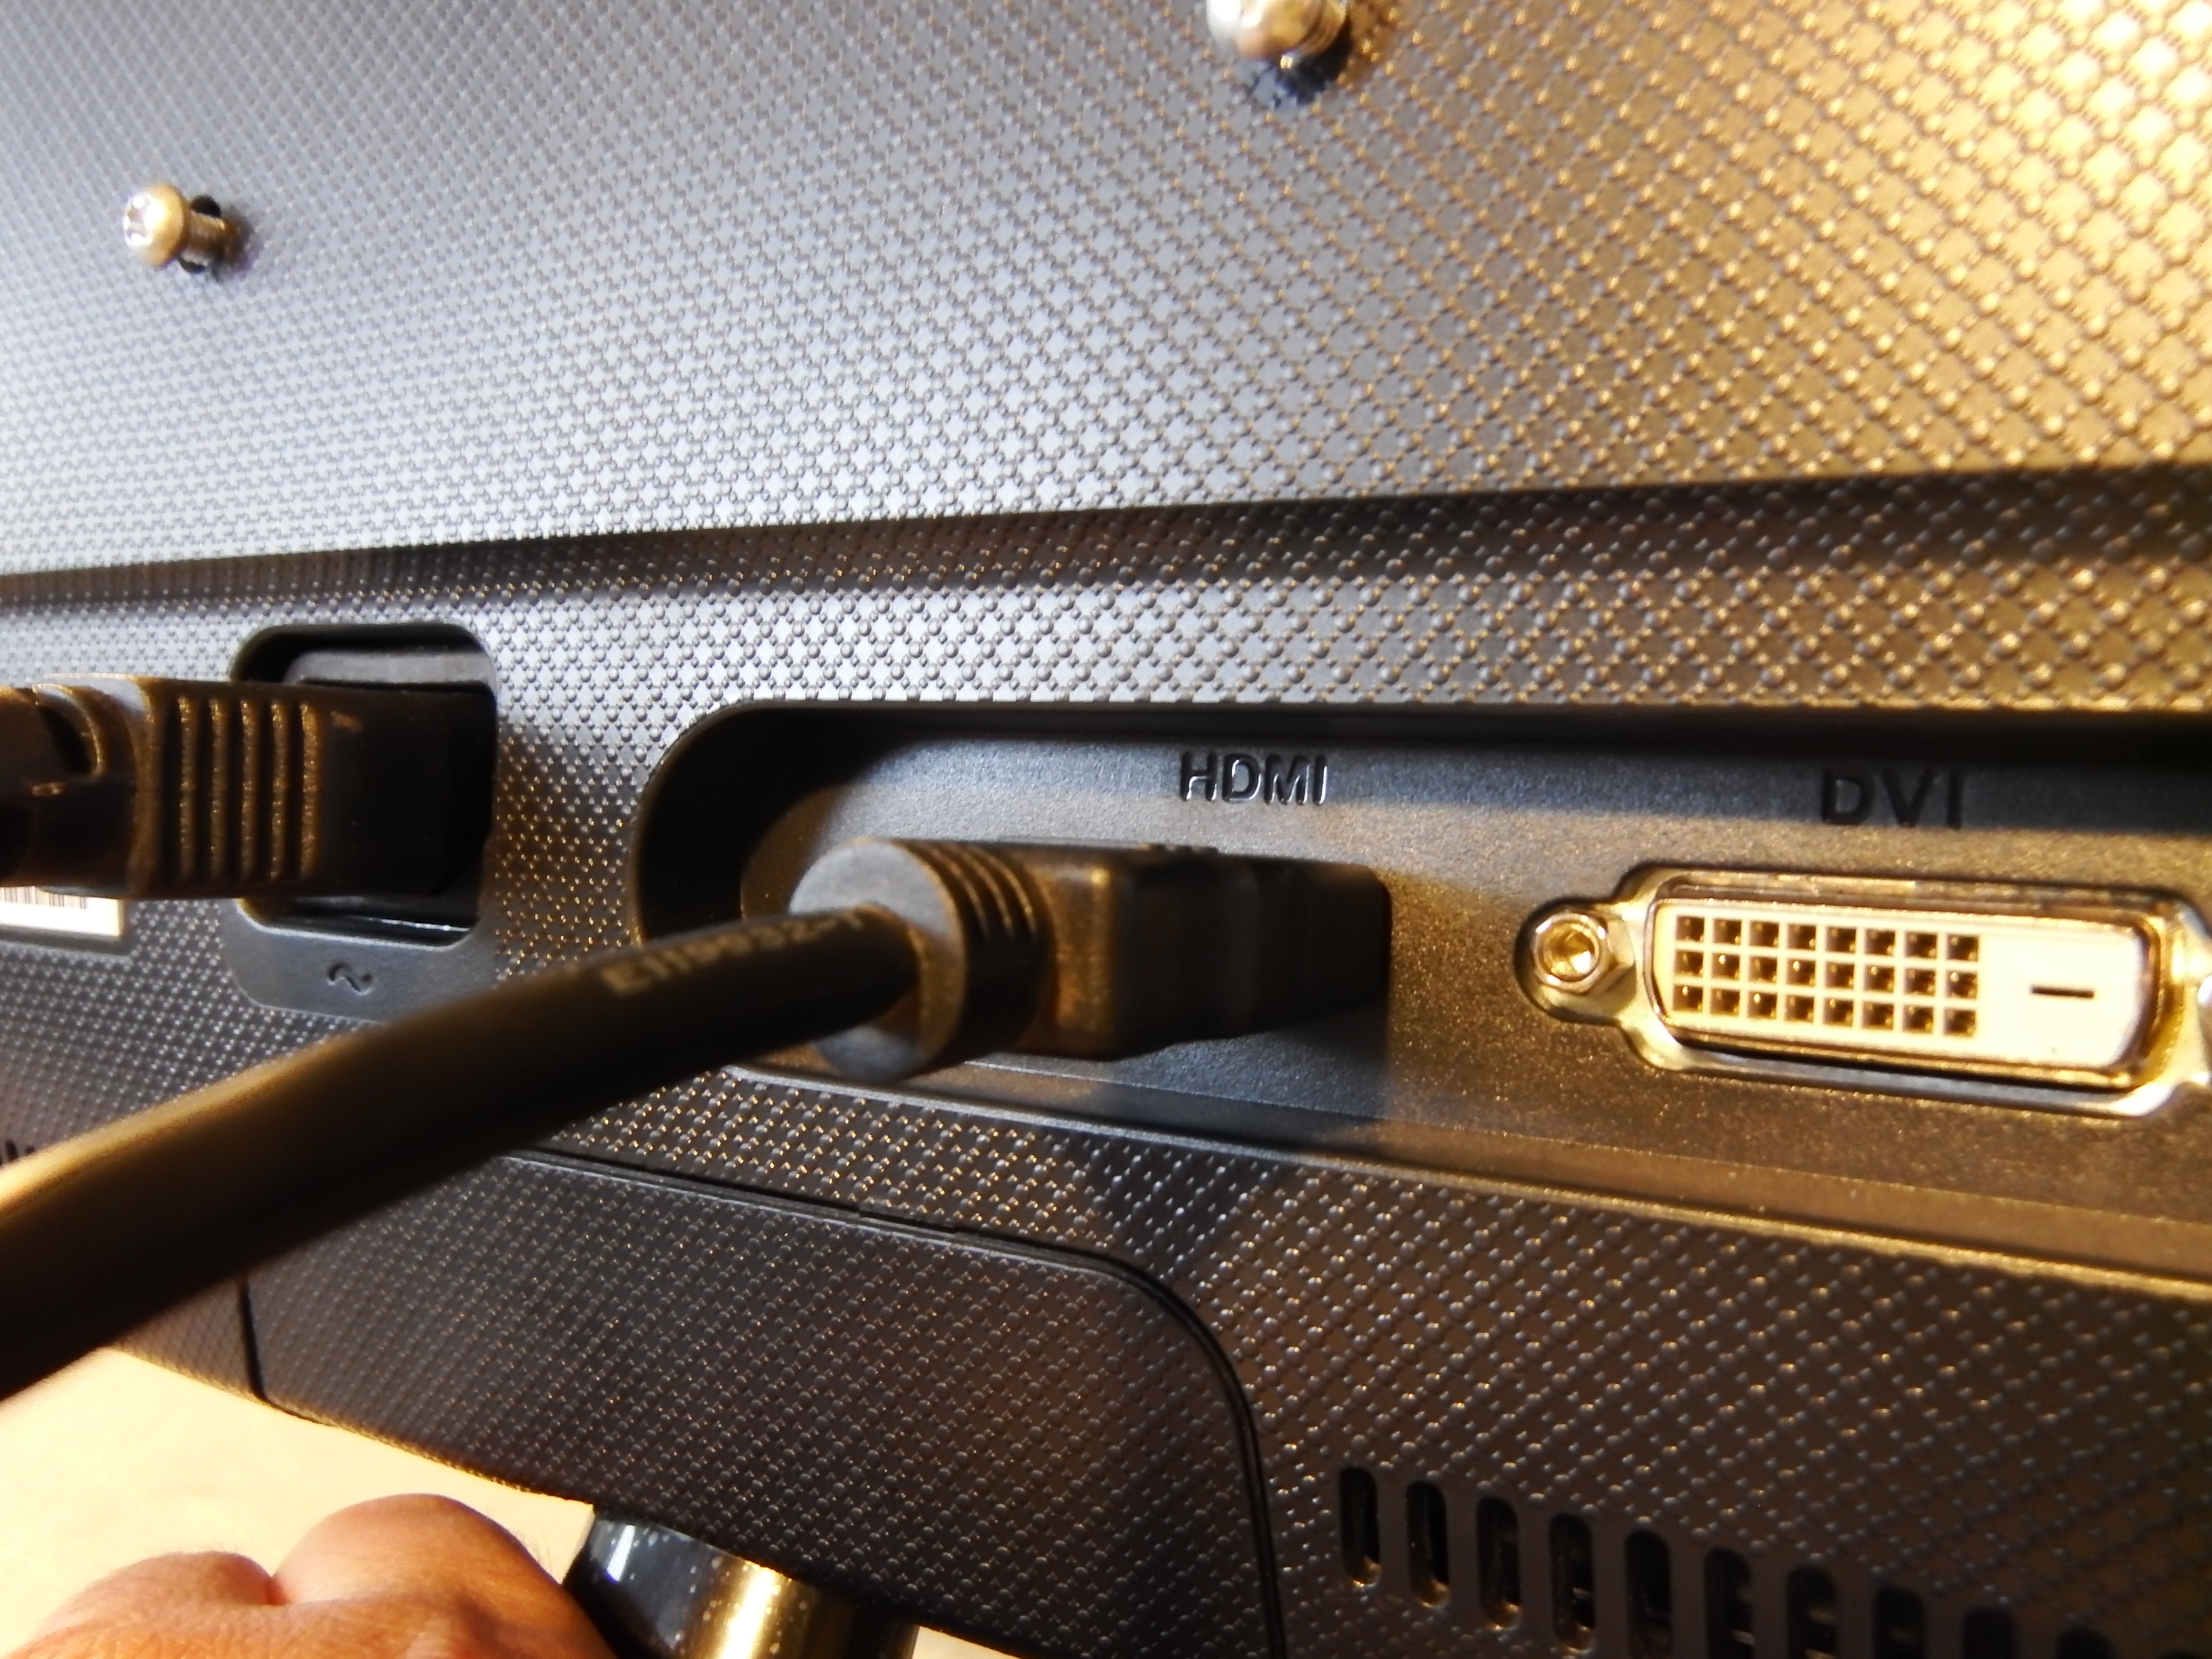
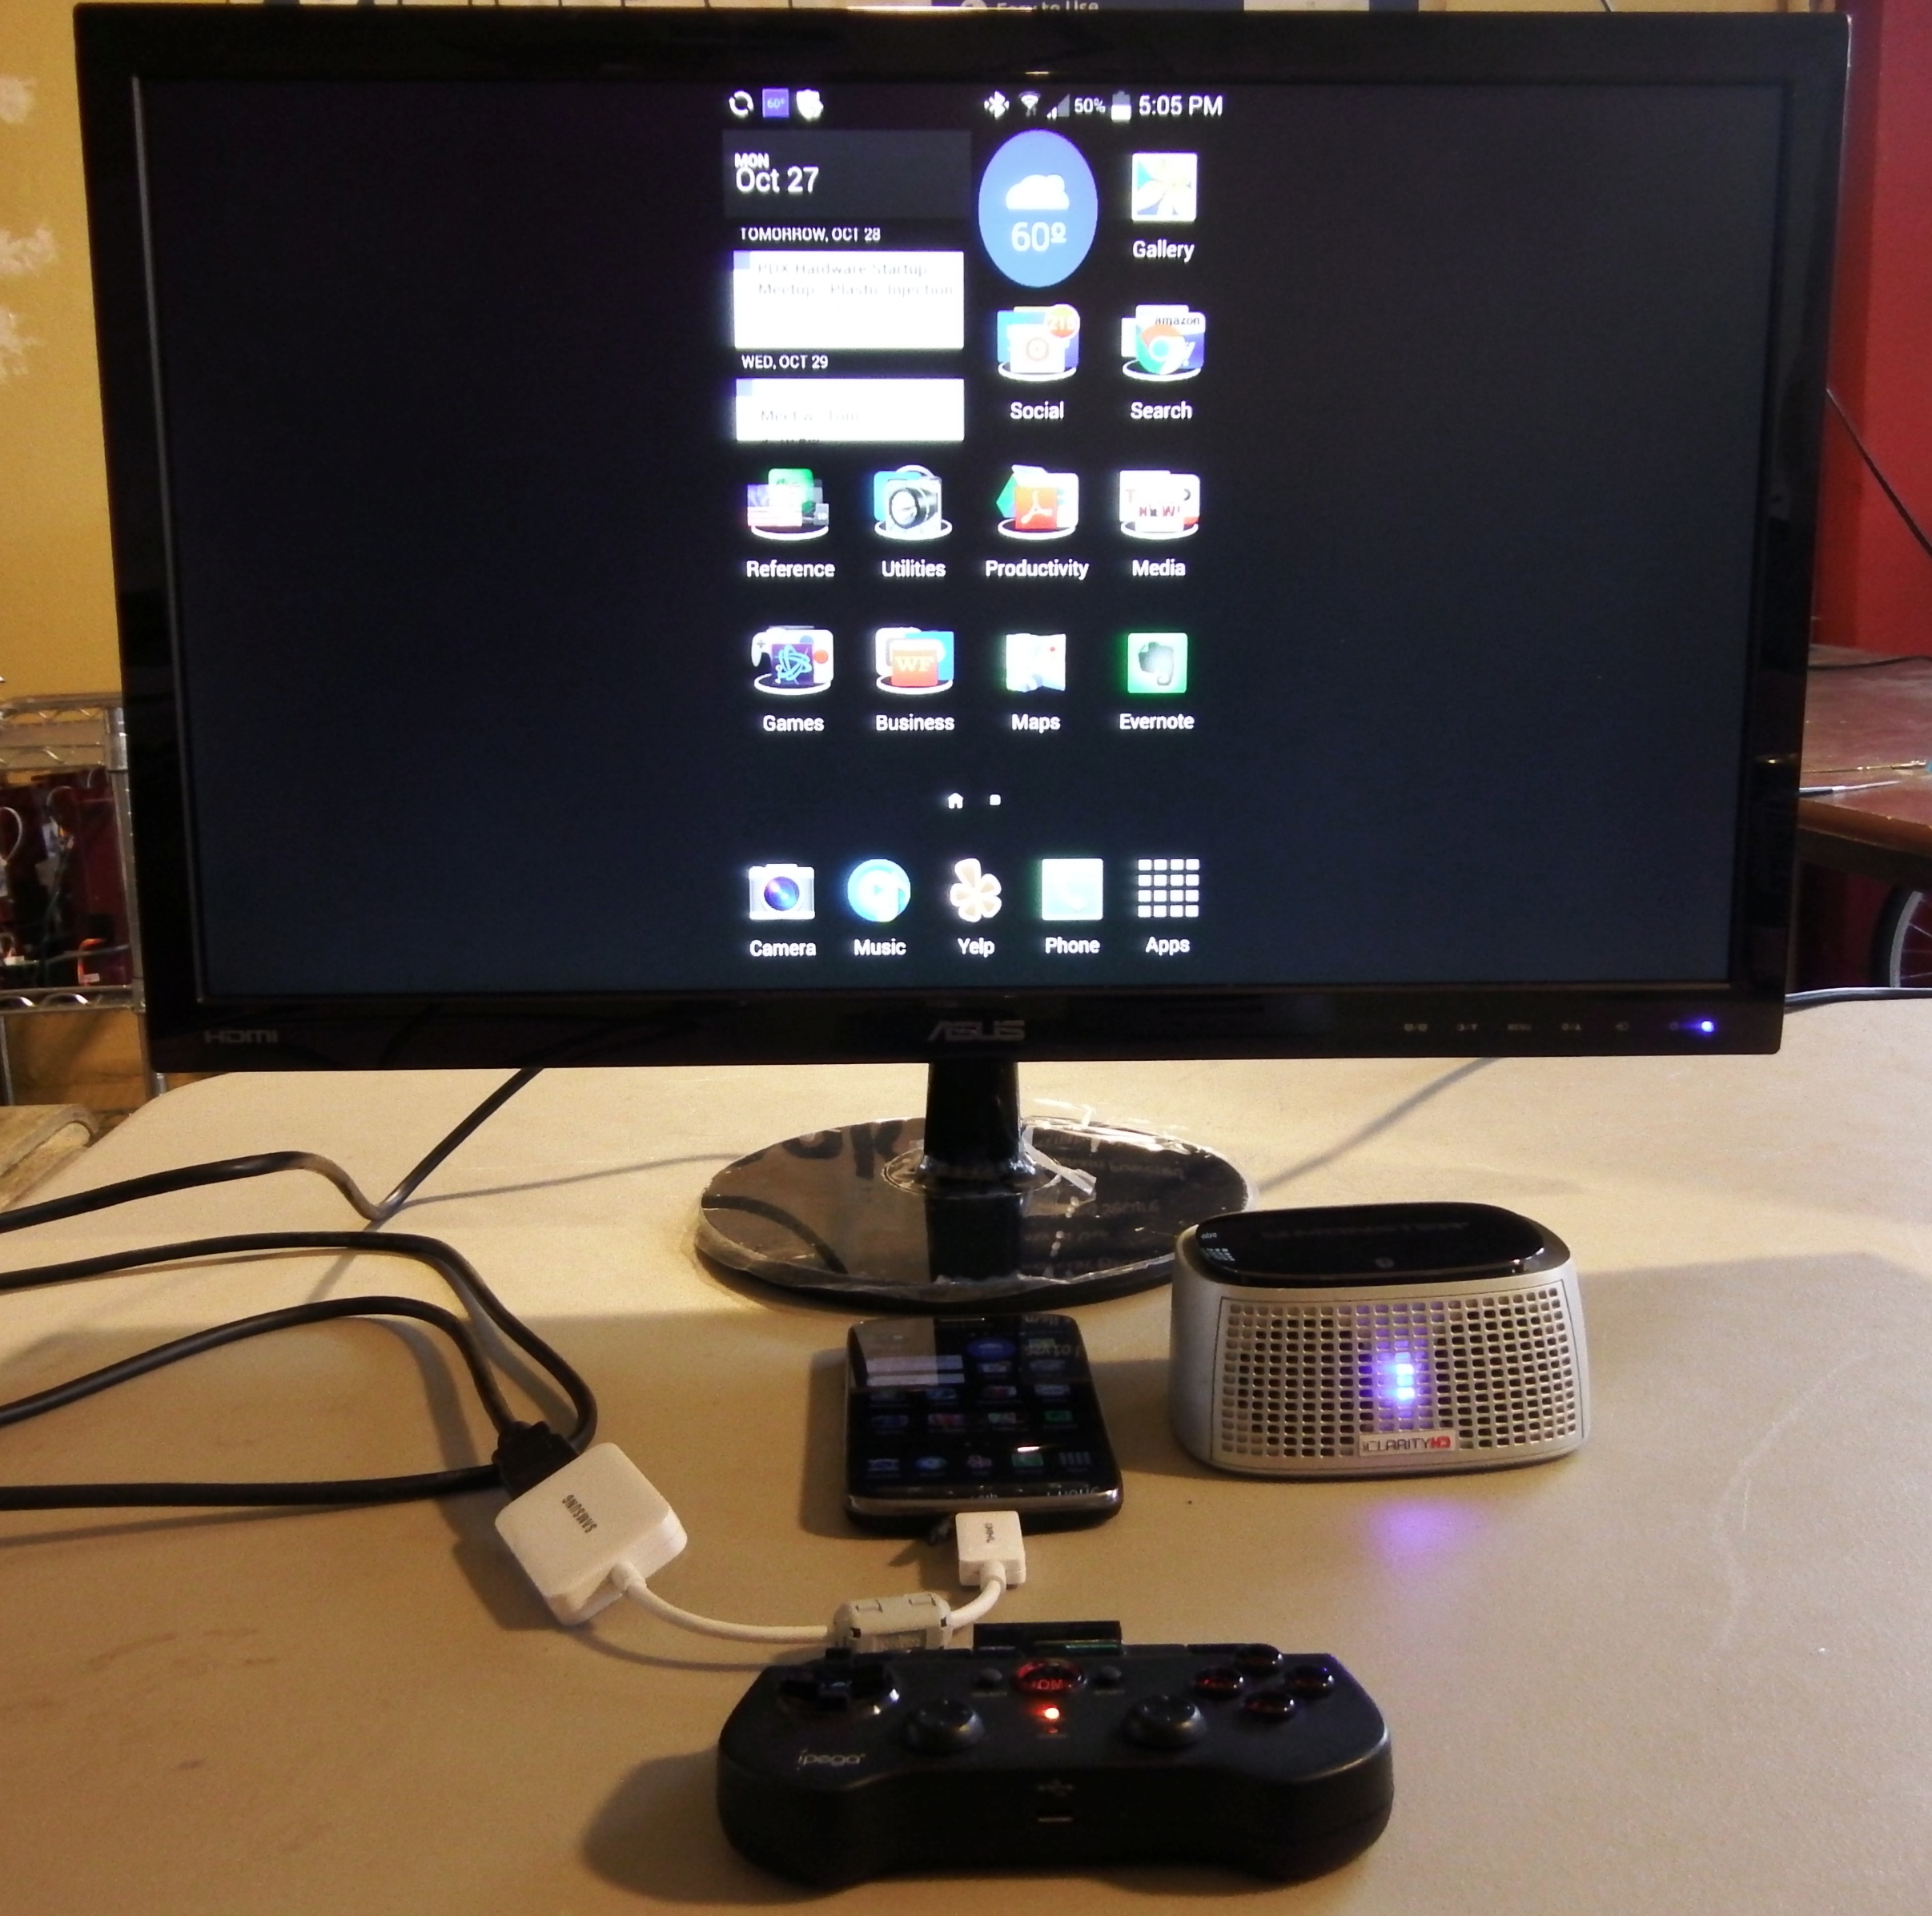
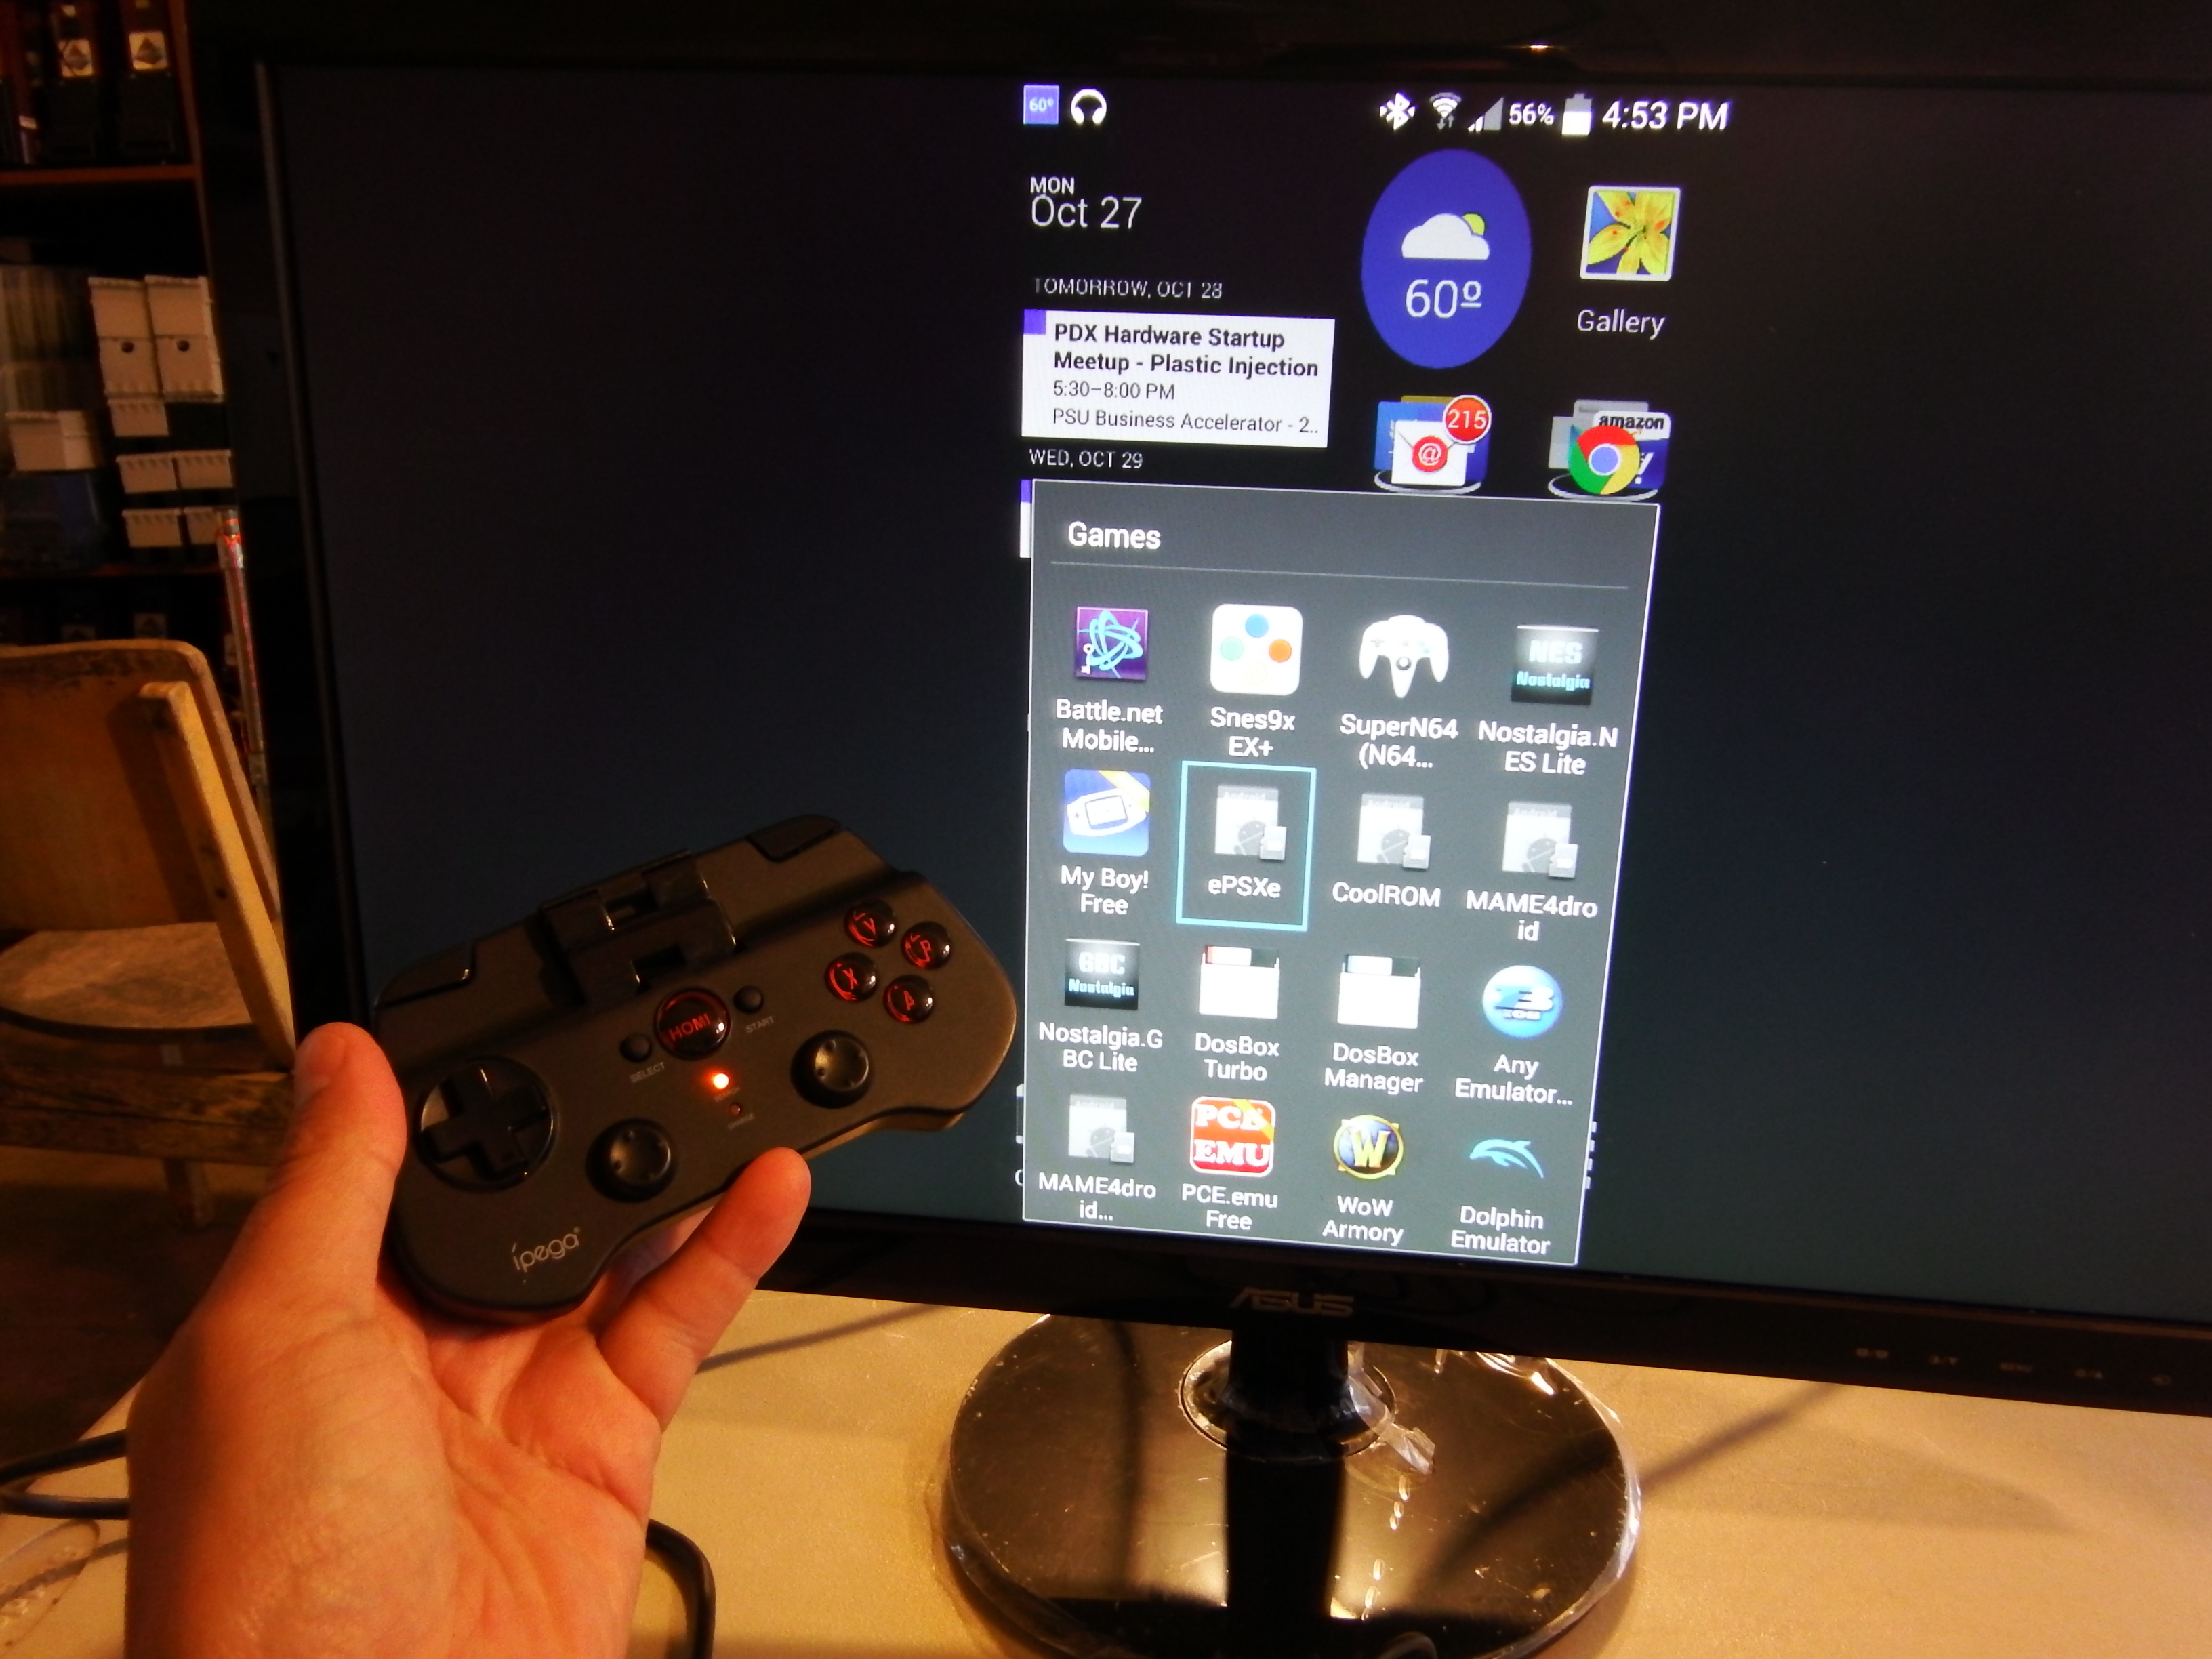
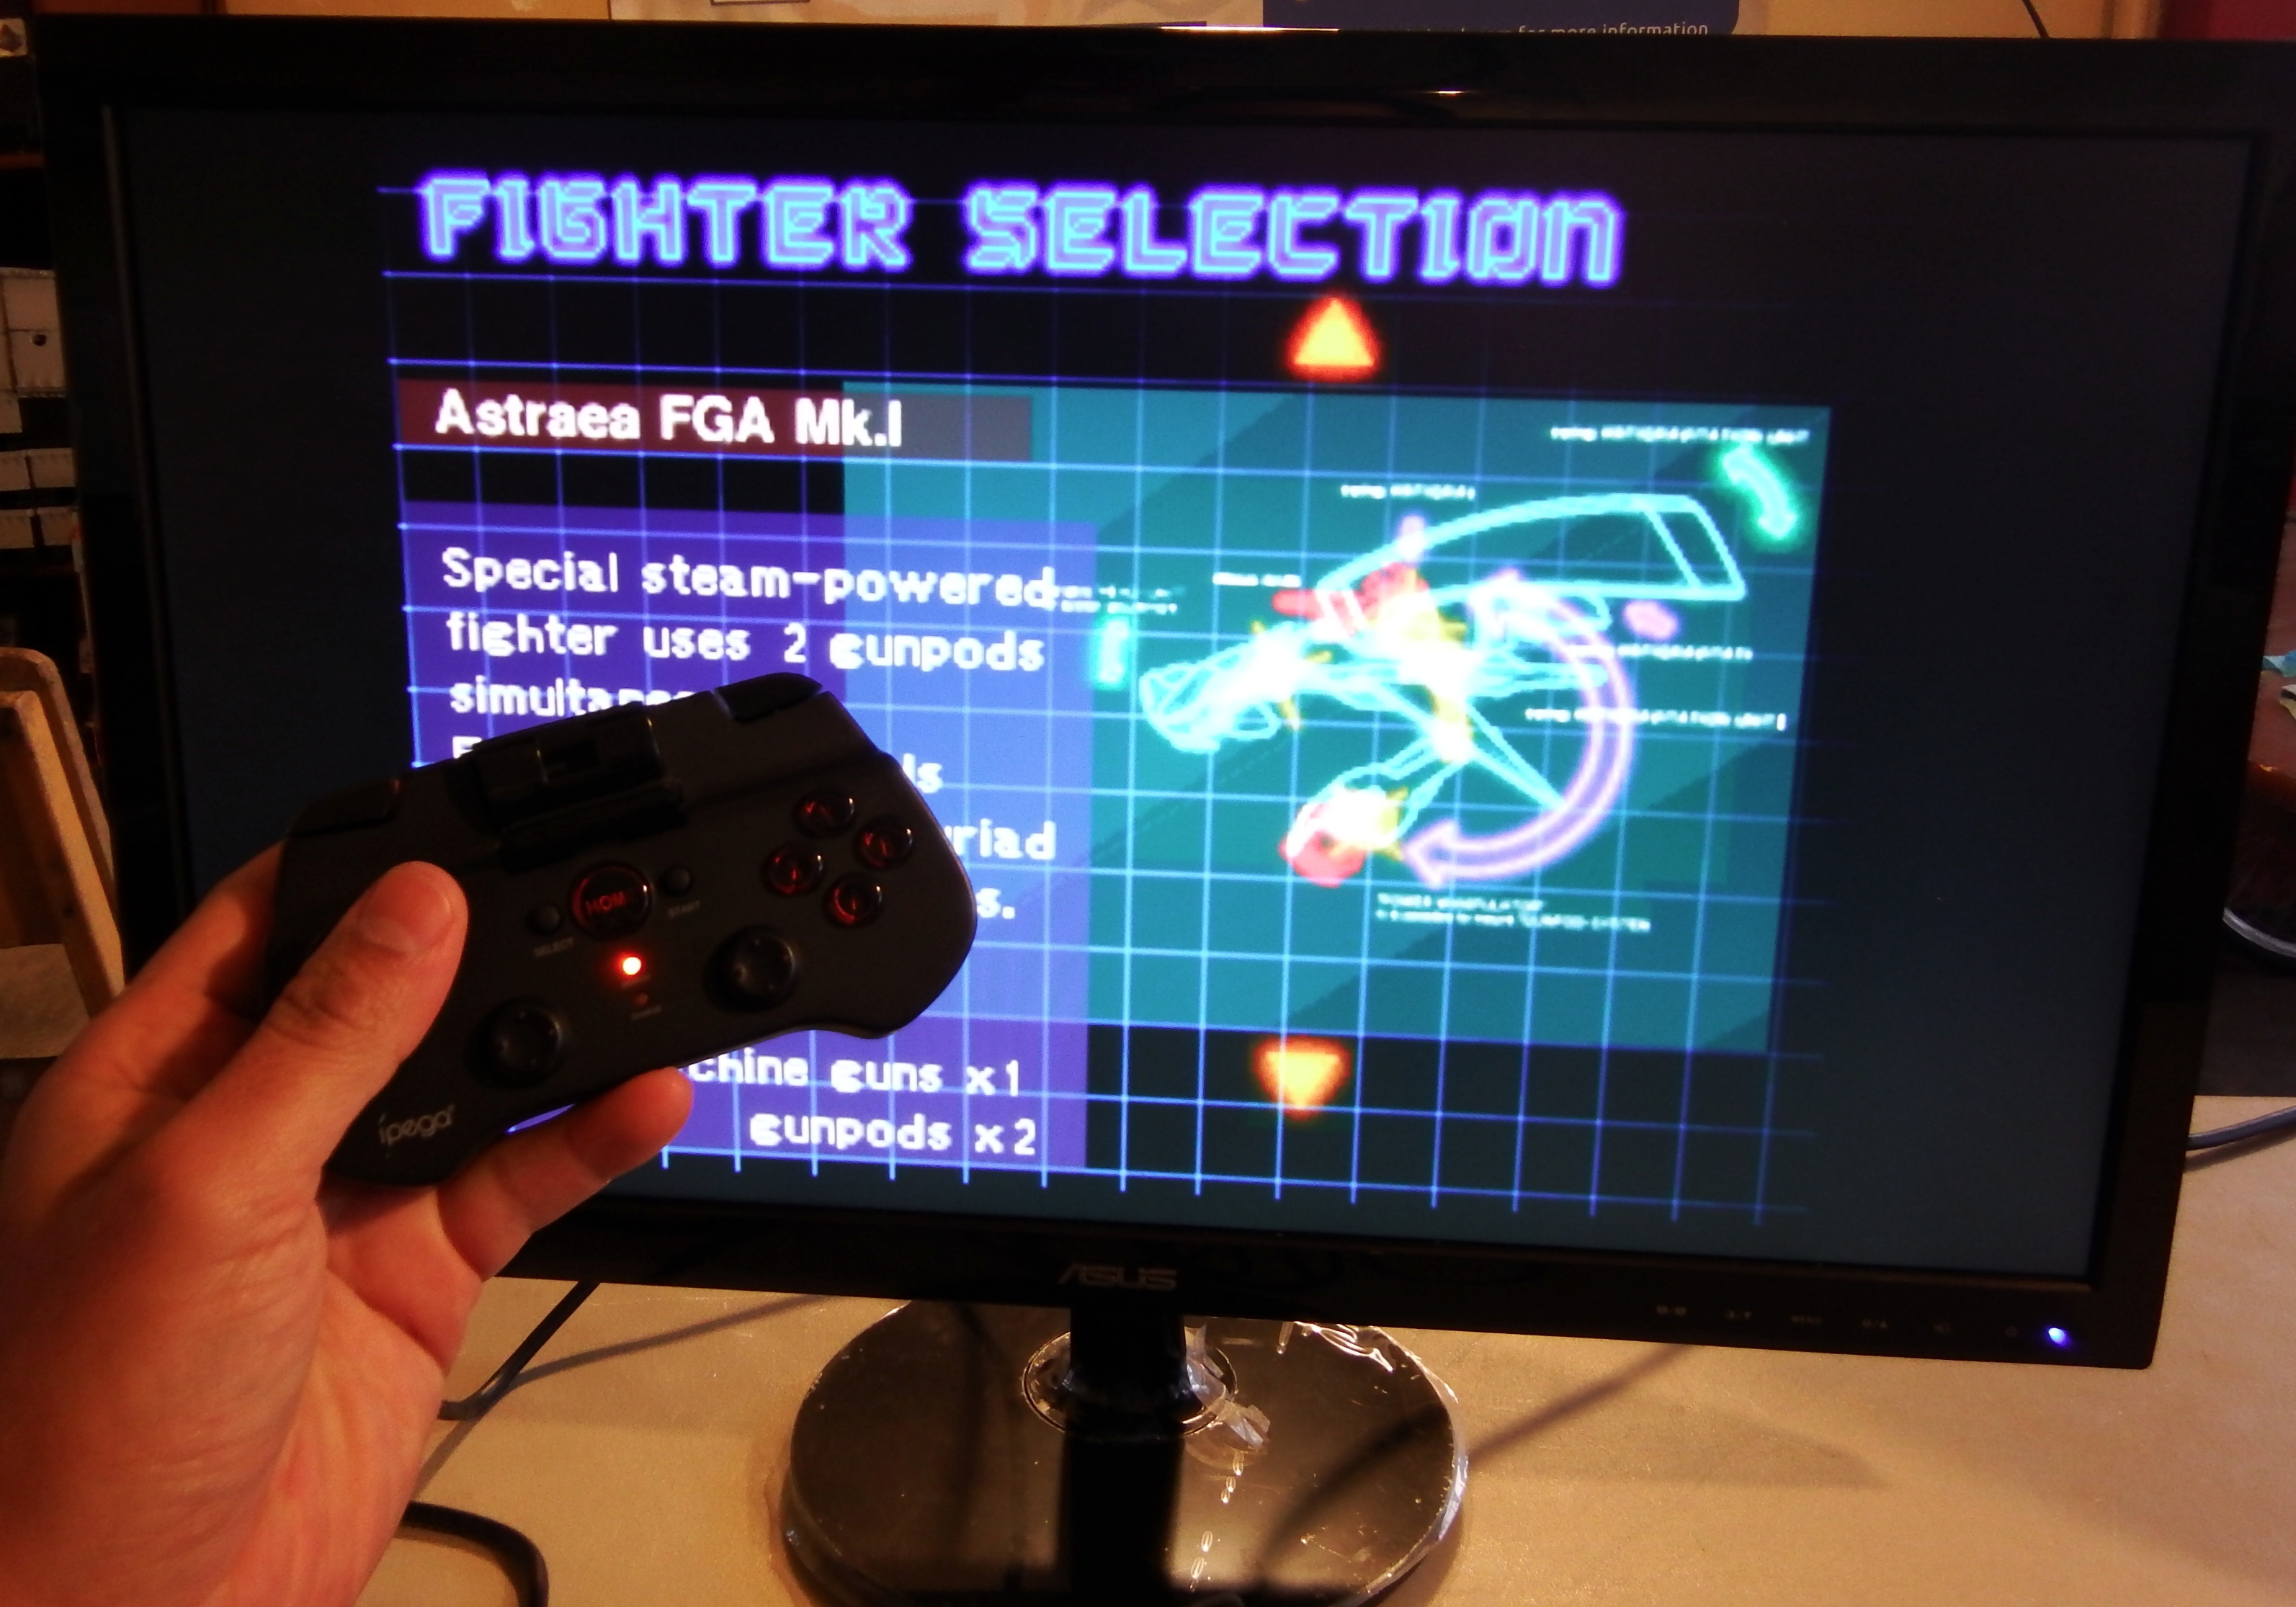
To connect the external monitor, plug the HDMI cable in to the monitor (We noticed that older monitors with a DVI connection don't seem to work).
Then, plug the MHL cable to the HDMI cable and plug the MHL micro connector to the phone (Some other brand phones require a Slimport adapter). The phone should automatically detect the monitor (We noticed that we didn't even need to plug in the external power to the MHL cable to get it to work). Make sure that it is a brand name HDMI adapter for your phone. If the adapter is a cheap no-name brand, then the connector pins and cable may not be manufactured properly to be compatible with the phone's hardware.
We also noticed that some of the emulators automatically put the screen in to landscape mode, which fits the external monitor size nicely.
Now launch your games and have fun!
Congratulations you did it!