Smart Parking Lot Using Raspberry Pi
by Gilles_Clemens in Circuits > Raspberry Pi
8840 Views, 5 Favorites, 0 Comments
Smart Parking Lot Using Raspberry Pi
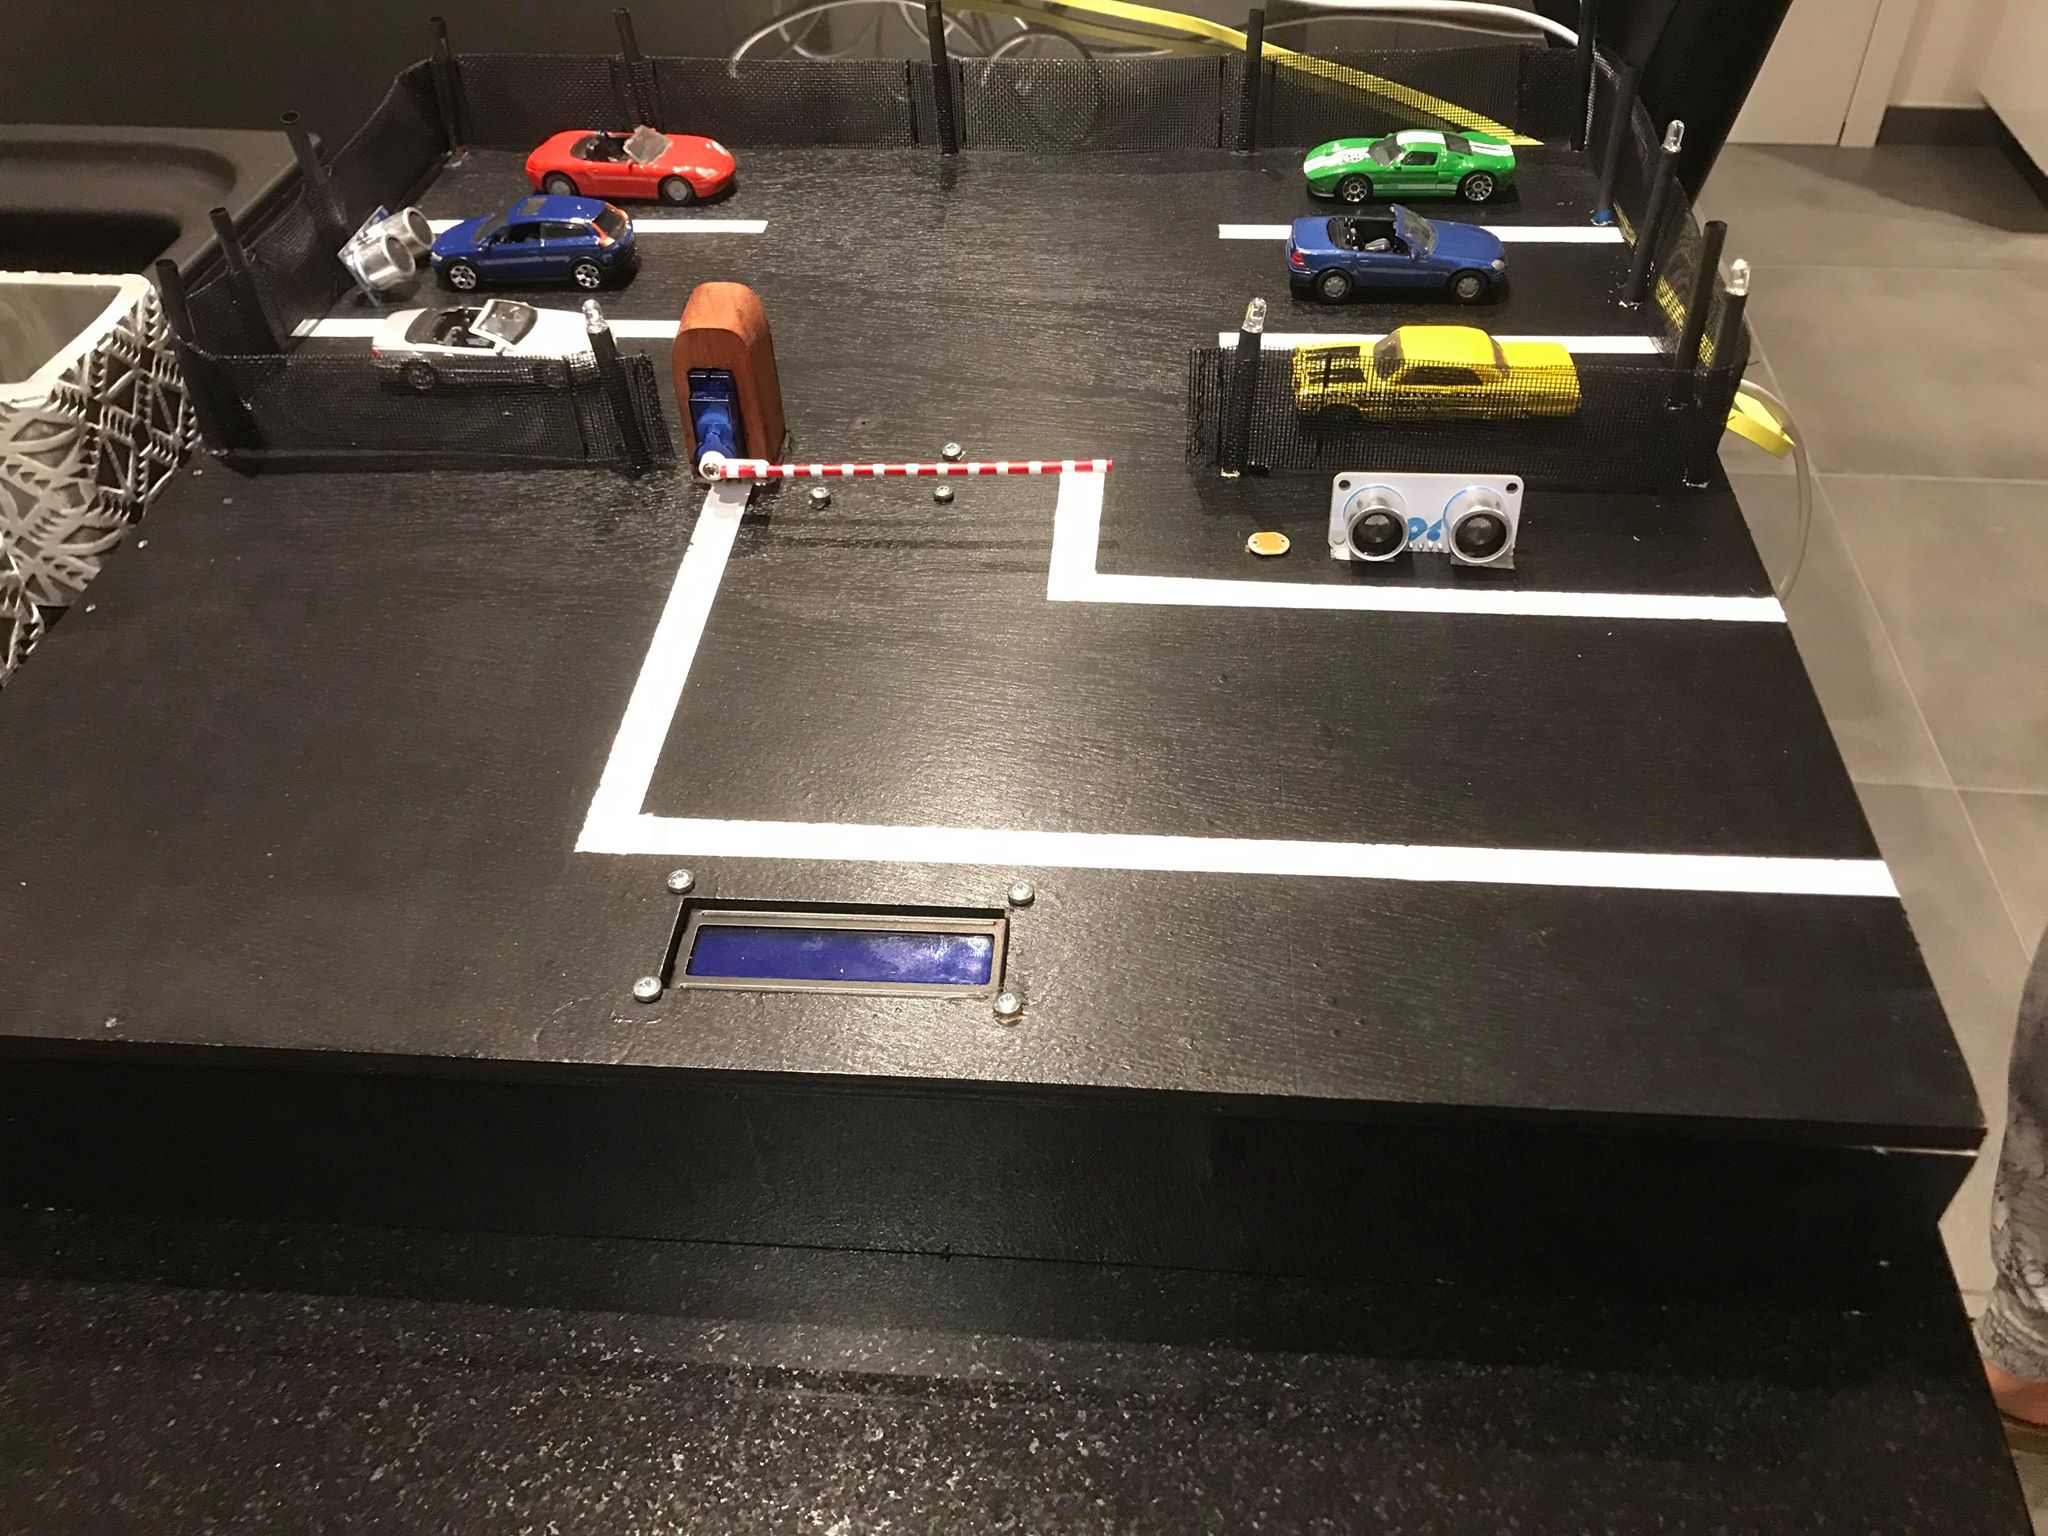
In this instructables we’ll be creating a fully automatic parking system connected to a web interface. You will be able to see what spot is taken, decide who goes in and who goes out and it's equiped with an automatic lighting system.
Downloads
Supplies
Hardware
- 2x Ultrasonic sensors
- 1x servo motor
- 4x white LED’s
- 1x Light dependent resistor
- 1x 2*16 LCD Display
Computing
- 1x Raspberry Pi 3 B+
- 1x SD card (8-16GB the choice is yours)
- 1x Adafruit I2S 3W Class D Amplifier Breakout - MAX98357A
- 1x MCP3008
- 1x Resistor 2.2K Ohm
- 9x Resistors 1K Ohm
Various
- Jumper wires
- Breadboard
- UTP-cable
- Adapter for your raspberry pi
- A sheet of multiplex (you can use whatever kind of material you want for the casing)
- A glue gun
Software
- PuTTY
- Software to edit code(you can use whatever you want as long as it supports: Python, HTML, CSS and java script
- Win32 Disk Imager
- Raspbian OS image
- VNC Viewer (optional)
Setup RPI
Before we get started with wiring the hardware, writing the
software and make the casing we will need to set up your PI with the necessary software you will need to make the project run.
You will need an image of Raspbian to put on your SD card and to write it to the SD card Win32 Disk Imager. You can find links to both down below.
- Win32 Disk Imager: https://sourceforge.net/projects/win32diskimager/
- Raspbian image: https://www.raspberrypi.org/downloads/raspbian/
The installation
- Open Win32 Disk Imager
- Select the image you just downloaded via the folder icon
- Select your SD card via the drop down
- Click on write
- When the process is finished your computer will probably ask you if you want to format the SD card do not do this
When you are finished with these steps you will need to do some extra stuff so you can access the software of your PI.
- Open the SD card in your explorer
- Open the file “cmdline.txt”
- You will see a long line of text at the end add: ip=169.254.10.1
- Save the file
- Create a file named ssh with no extension (if you don’t know how to do this just click on new file, select new text file delete the extension and name it ssh)
- The last step of this part is to safely eject the SD card and put it into the Raspberry PI
Connecting
When you are finished doing the previous steps it’s time to connect to your pi for the first time. First you will need to plug in your UTP cable, one end in your computer the other in your pi (it’s important you plug in the LAN cable before you plug it in).
- Install Putty: https://www.putty.org/
- Once you have installed it open it and enter 169.254.10.1 in the IP box
- Select SSH and fill in port 22
- Click open
- Fill in the username: pi and the password raspberry this is the standard login on a brand new image
Raspi-config
Before we move on you will have to change quite a few settings in the raspi-config menu open it by using:
sudo raspi-config
1. Enable I2C and SPI under options it the interfaces category
2. Choose your WIFI coutry via the localization category
3. Set the Desktop/CLI setting in the boot options category to Desktop Autologin.
4. Under Advanced options choose A1 Expand Filesystem (this makes sure you use the space of the entire SD card
5. Now exit and sudo reboot
Wifi
Now it’s time to setup your wifi connection off course you will need the credentials of your wifi.
First go into root mode by running this command
Sudo -i
Now you have the rights necessary to run these commands:
Make sure to change SSID to your wifi name and PASSWORD to your wifi password
Wpa_passphrase “SSID” “PASSWORD” >> /etc/wpa_supplicant/wpa_supplicant.conf
Enter the WPA Client by running this command:
wpa_cli
Select the interface
Interface wlan0
Reload the config
Reconfigure
Last but not least check if it worked. You can do this by entering:
Ip a
Here you can check if you have an ip under WLAN0 interfaces if not sudo reboot (never fails (: ).
If you are not comfortable doing it via the command line you can always do it via the GUI of Raspbian which is a bit more user friendly.
- Install VNC-viewer here: https://www.realvnc.com/en/connect/download/viewe...
- Click file, new connection and enter in the IP-address bar: 169.254.10.1 and choose whatever name you want
- Fill in the username: pi and the password raspberry
- Click the wifi icon and connect that way
Packages
Now that we are connected to the internet we can install the packages we need to run all of the code.
First we will need to refresh the package list to the latest one by running:
sudo apt update
sudo apt upgrade
Apache Webserver
We will need a webserver to run our web application. We can achieve this by installing apache webserver by running this command:
sudo apt install apach2 -y
Python packages
To make everything work we are going to need quite a few packages. These are the ones we are going to need.
- Flask
- Flask-Cors
- Flask-Extension
- Flask-MySQL
- Flask-SocketIO
- Python-socketio
You can install them by running this command:
pip install Flask Flask-Cors Flask-Extension Flask-MySQL Flask-SocketIO python-socketio
Database
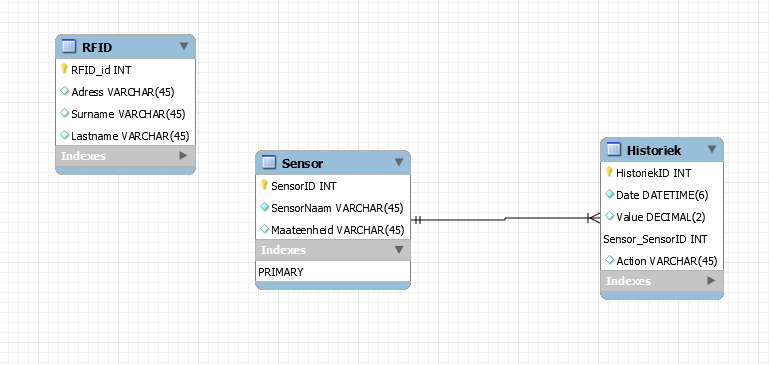
MariaDB
Run the following command to install MariaDB this is the database system required to keep track of all the data the sensors read in.
sudo apt install mariadb-server
Now we will need to secure our installation
Mysql_secure_installation
Once you ran the command it will ask us for a root password we don’t have one yet so just press enter.
Now it will ask you if you want one for security reasons we want one so press Y on your keyboard and choose whatever password you want.
Now it will continue to ask you a few more questions just answer Y to all of them
Alright now that we have made it to this point we need to go into the SQL shell.
To do this we first have to become root again to grant us the privileges to do so by entering this command again:
sudo -i
Now enter the mysql shell
mysql
Now we are going to create a user put the name you want between the quotes before the @ and the password you want after identified by
Now we have to flush the permissions table by running this command:
FLUSH PRIVILEGES;
After you completed these steps you can recreate the db scheme from the picture above. Unfortunatley I can't give you a dump of the database because I am experiencing some software errors.
Wiring
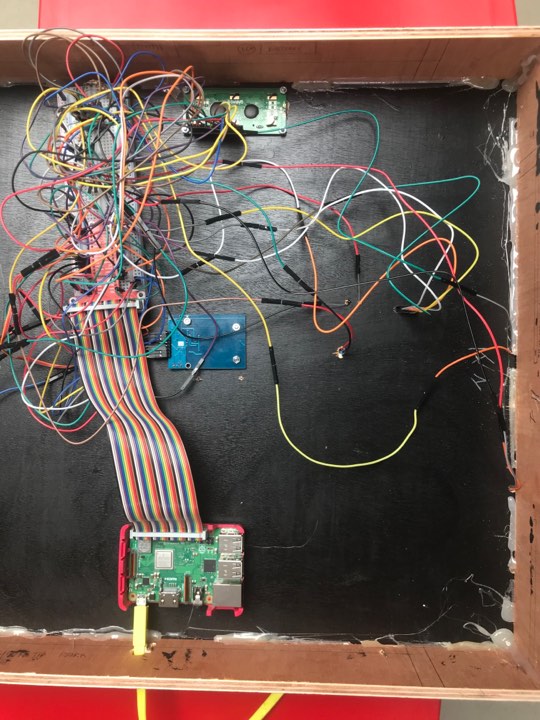
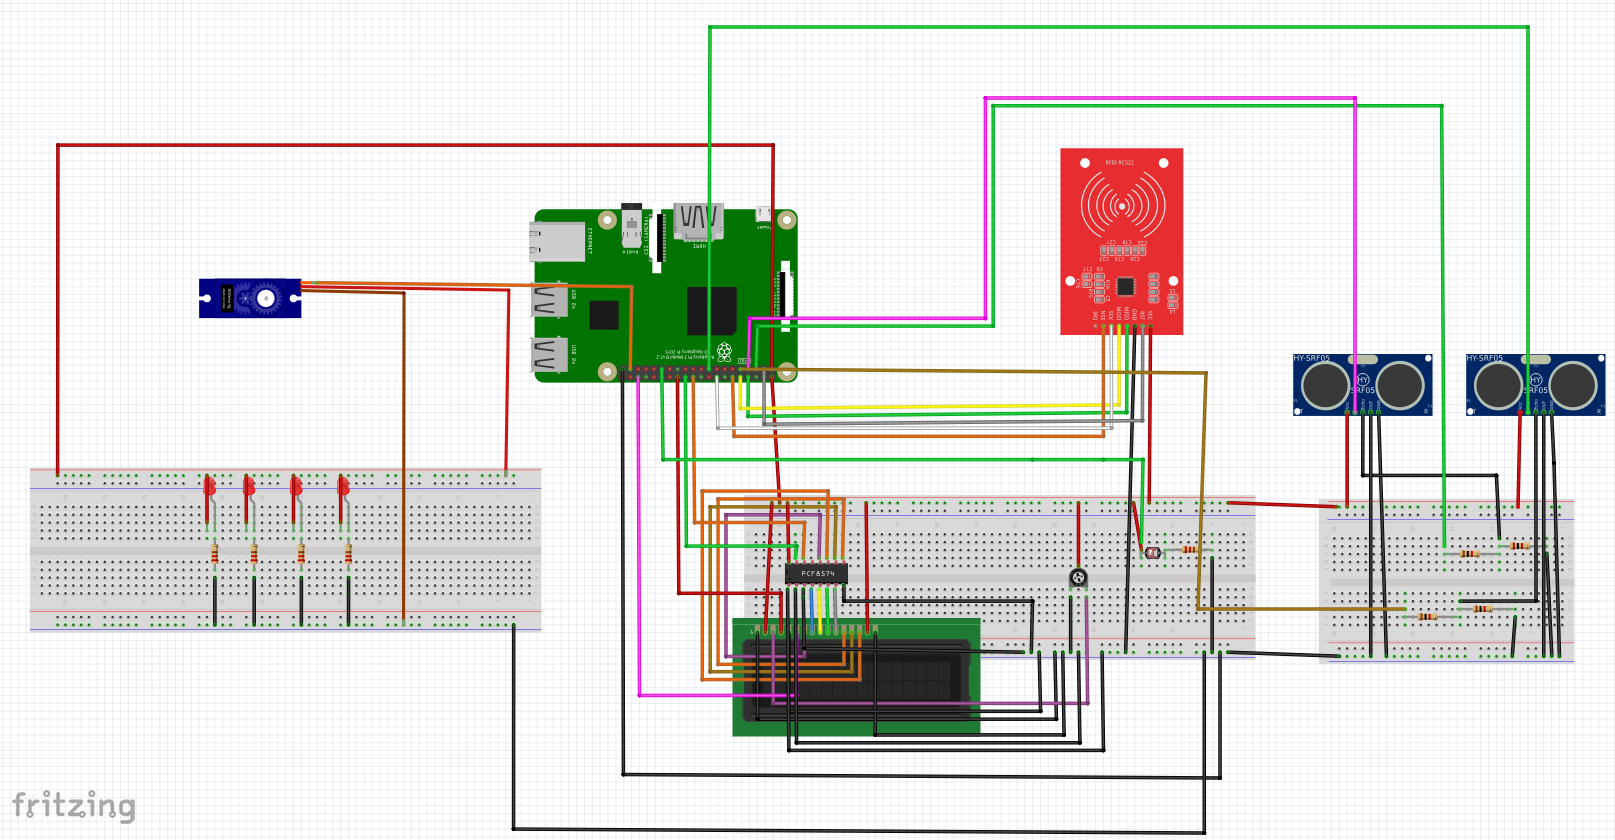
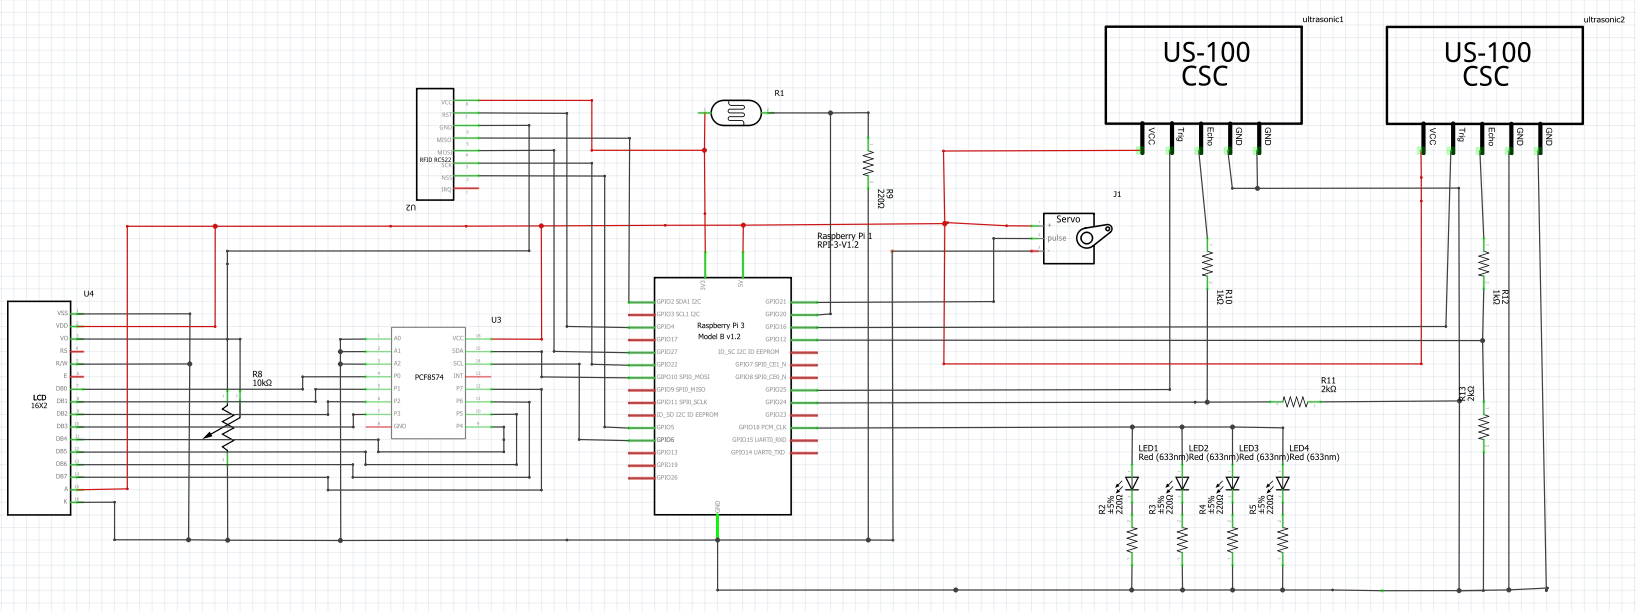
Now it's time to do the wiring of the project. To make the process a little easier by first making a scheme in a program named fritzing. Fritzing makes it so it's easier to recreate your wiring in real life and you get a clear picture of what you are making.
Housing
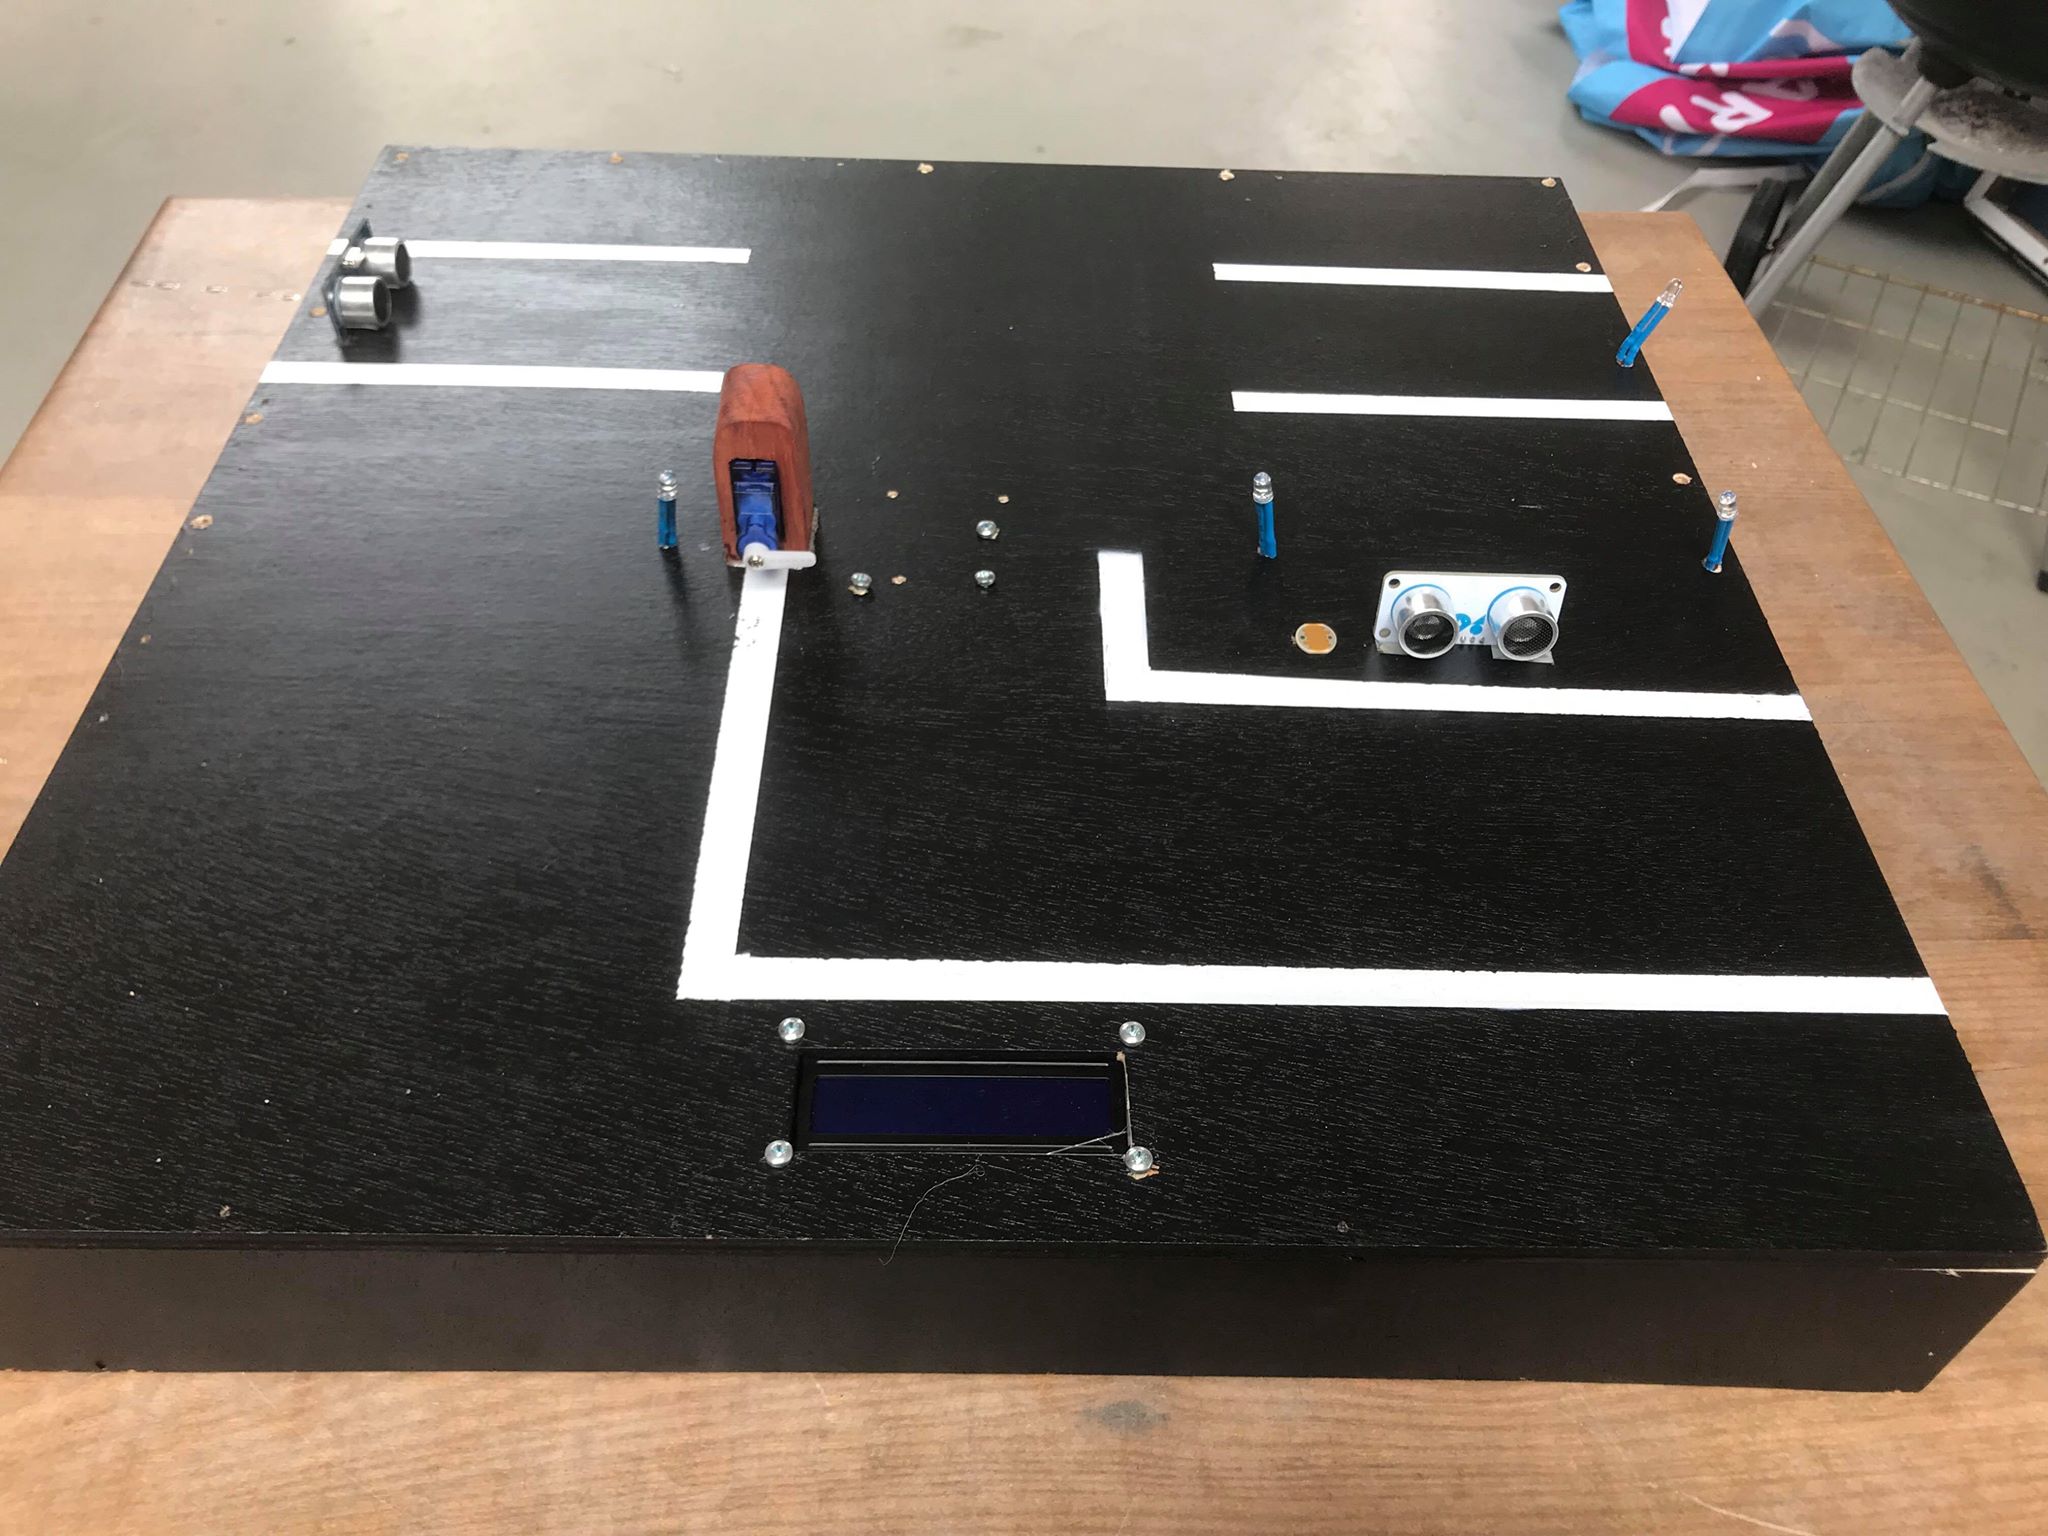
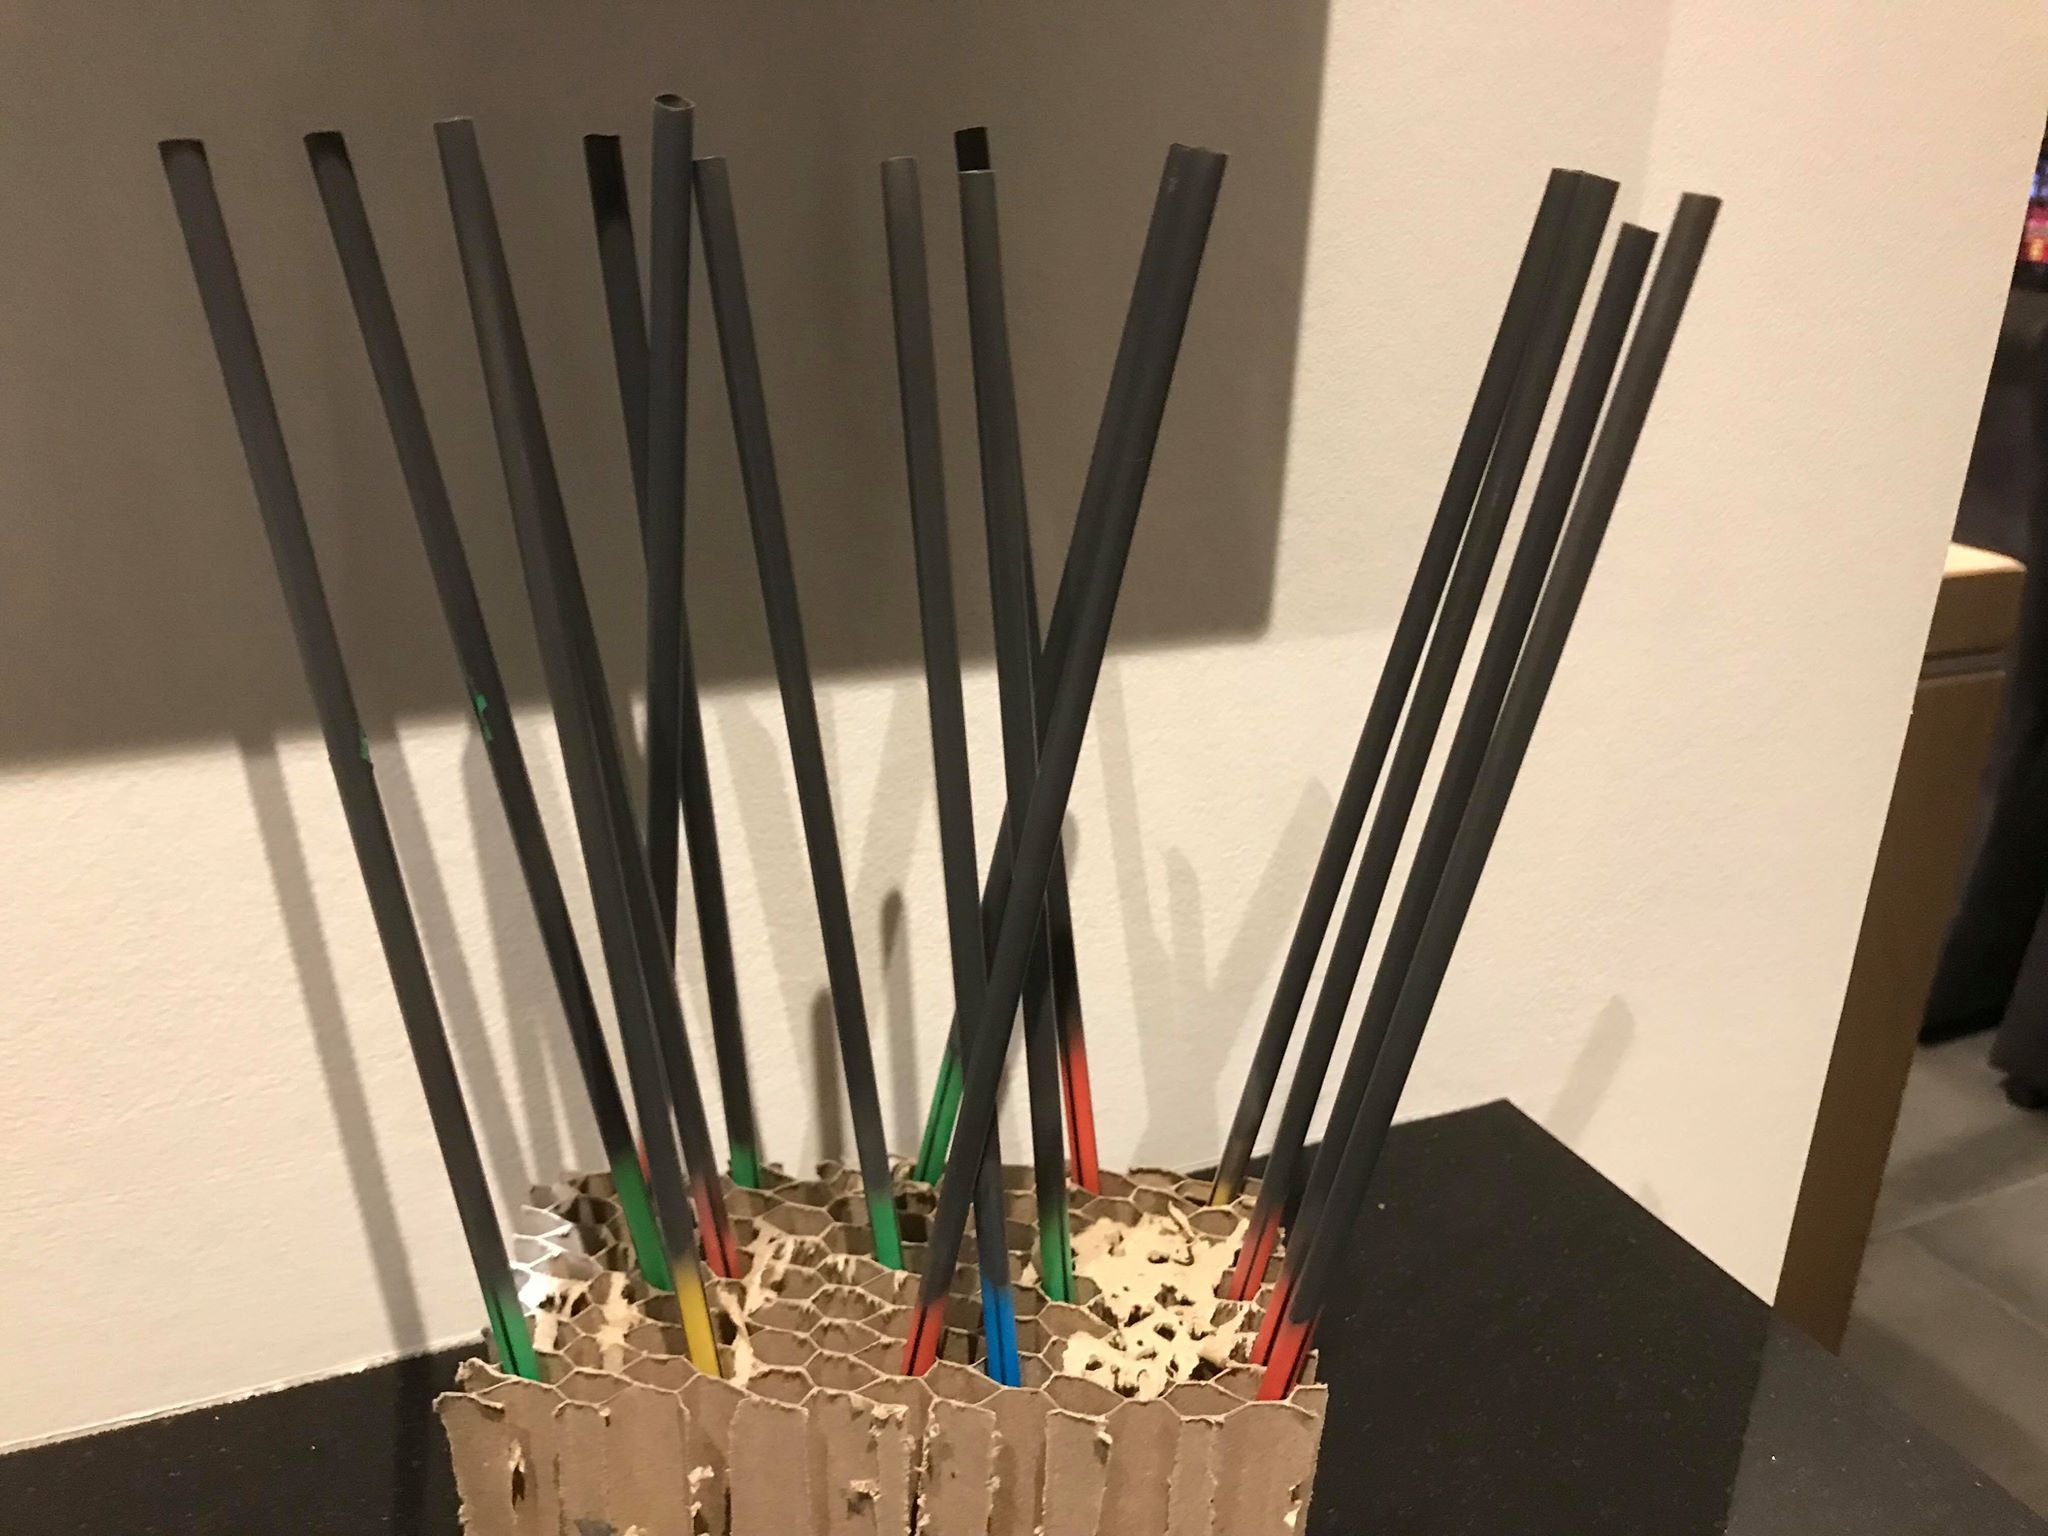
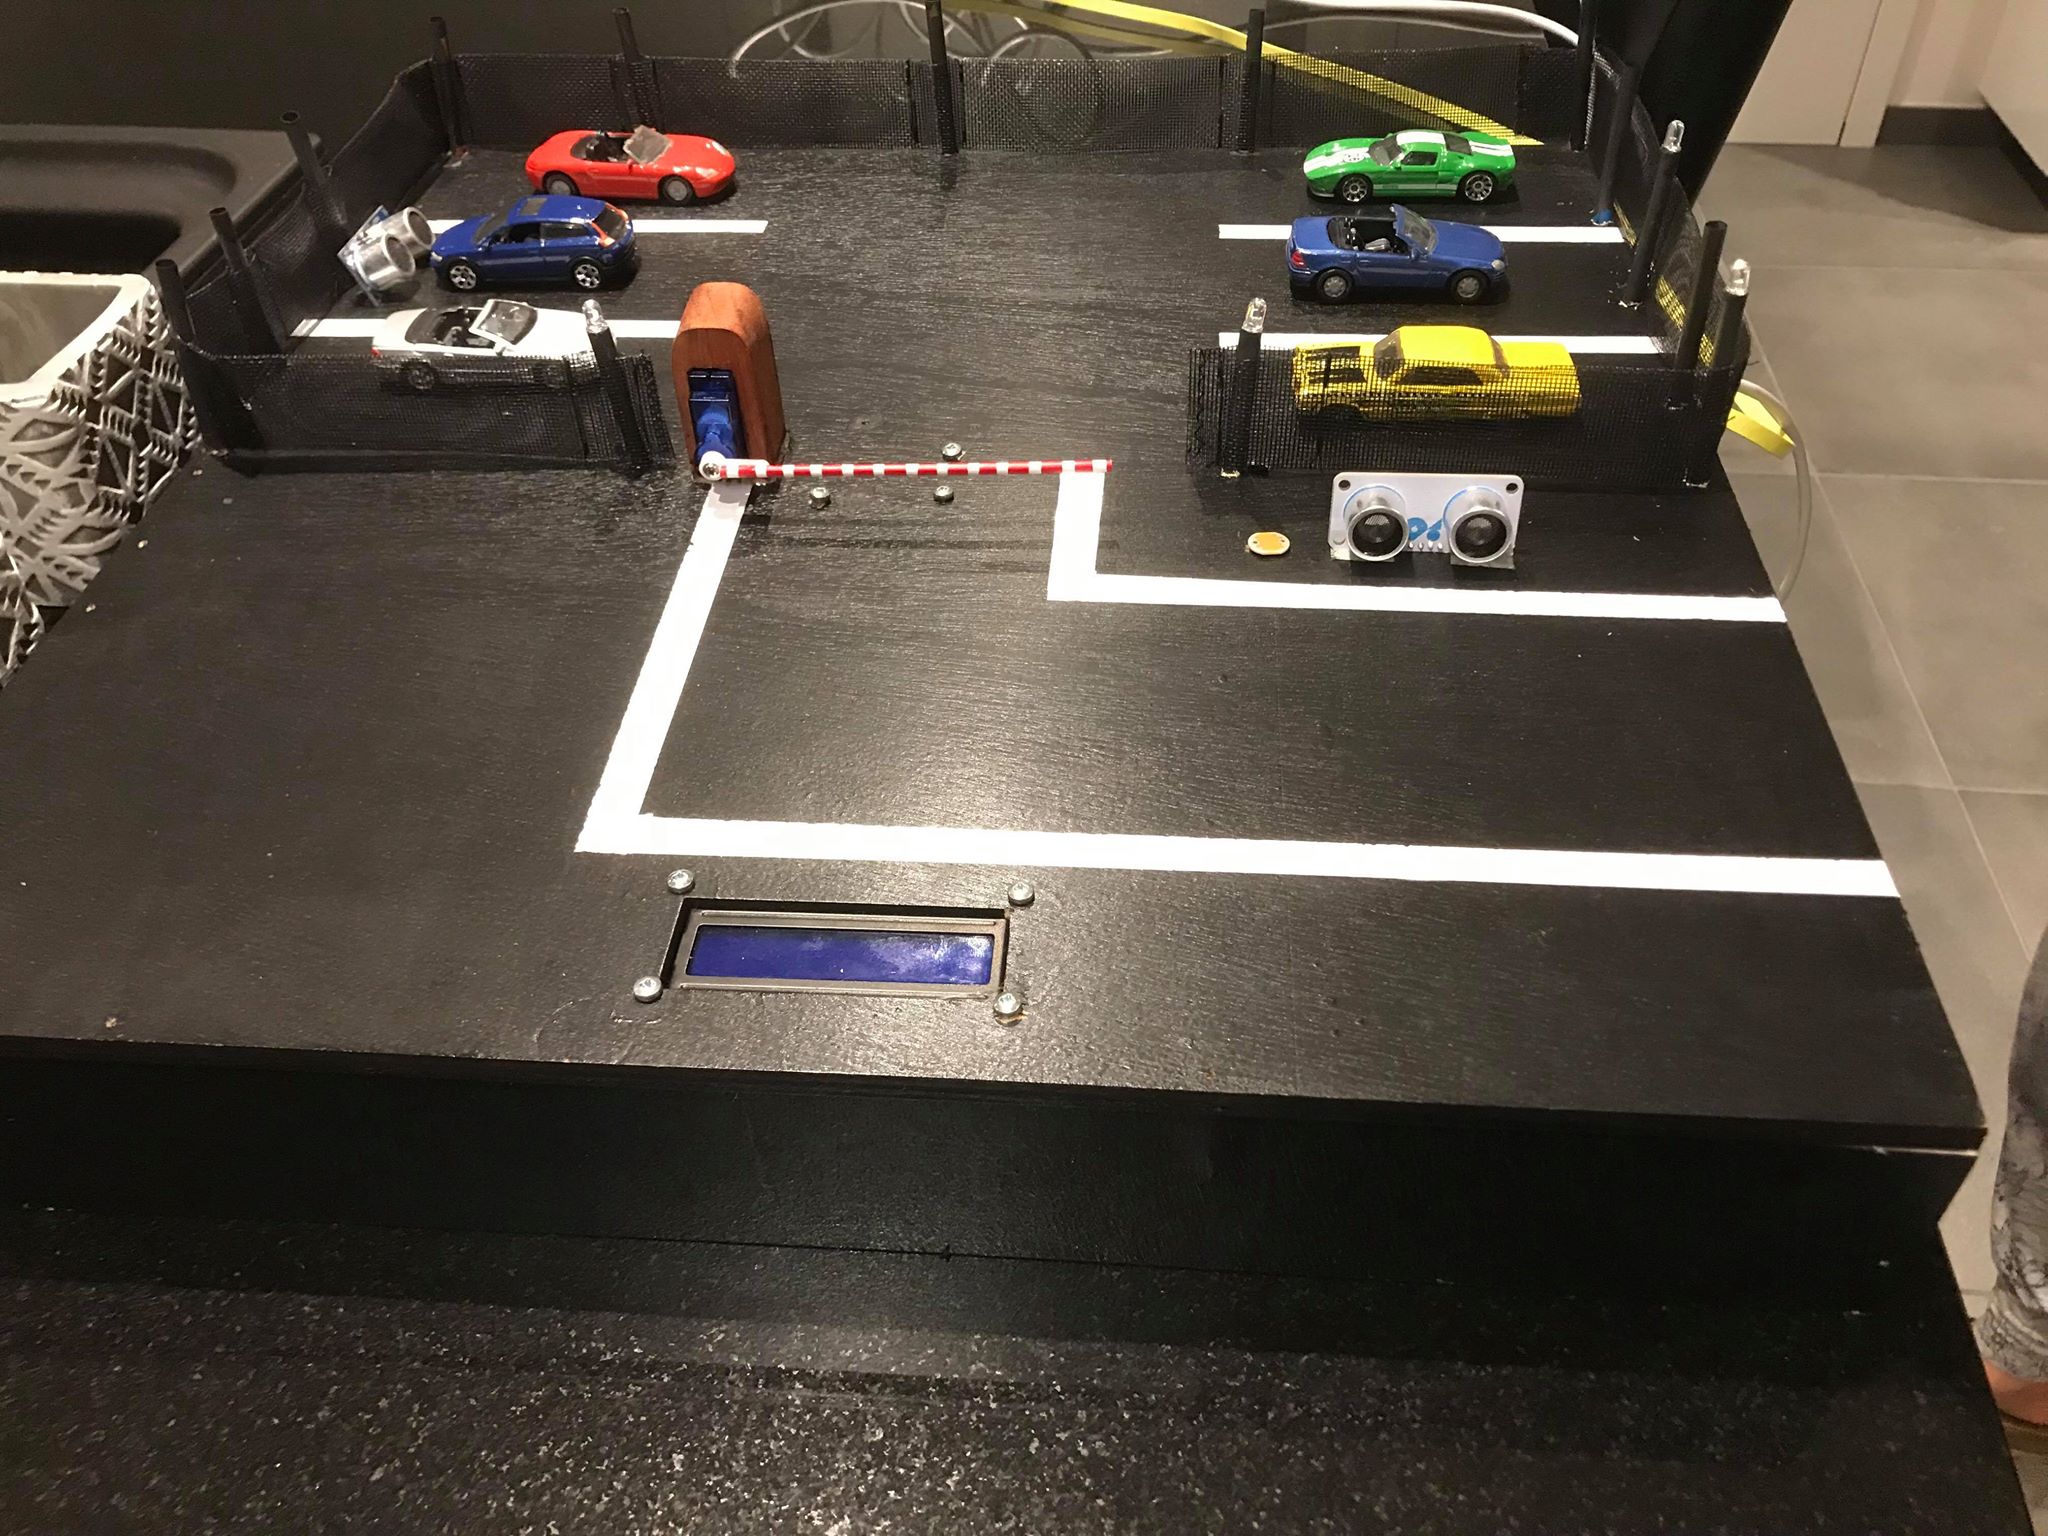
The first step is to cut the wood in the shapes as seen in the drawing. I did it via lasercutting but a normal saw will work just as well. After that you will want to paint the wood black to get the asphalt color. Once the paint is dry you can paint the white stripes to get that parking lot feel. For the fence I spray painted straws to look lik poles. For the fencing itself I atached some goas to the poles. The barrier is made out of paer maché wich I spray painted later.
Coding
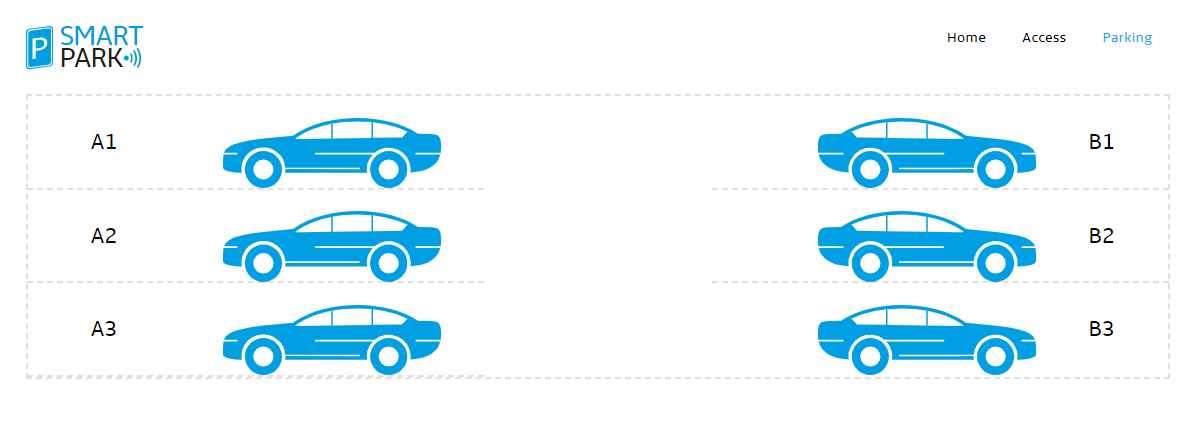
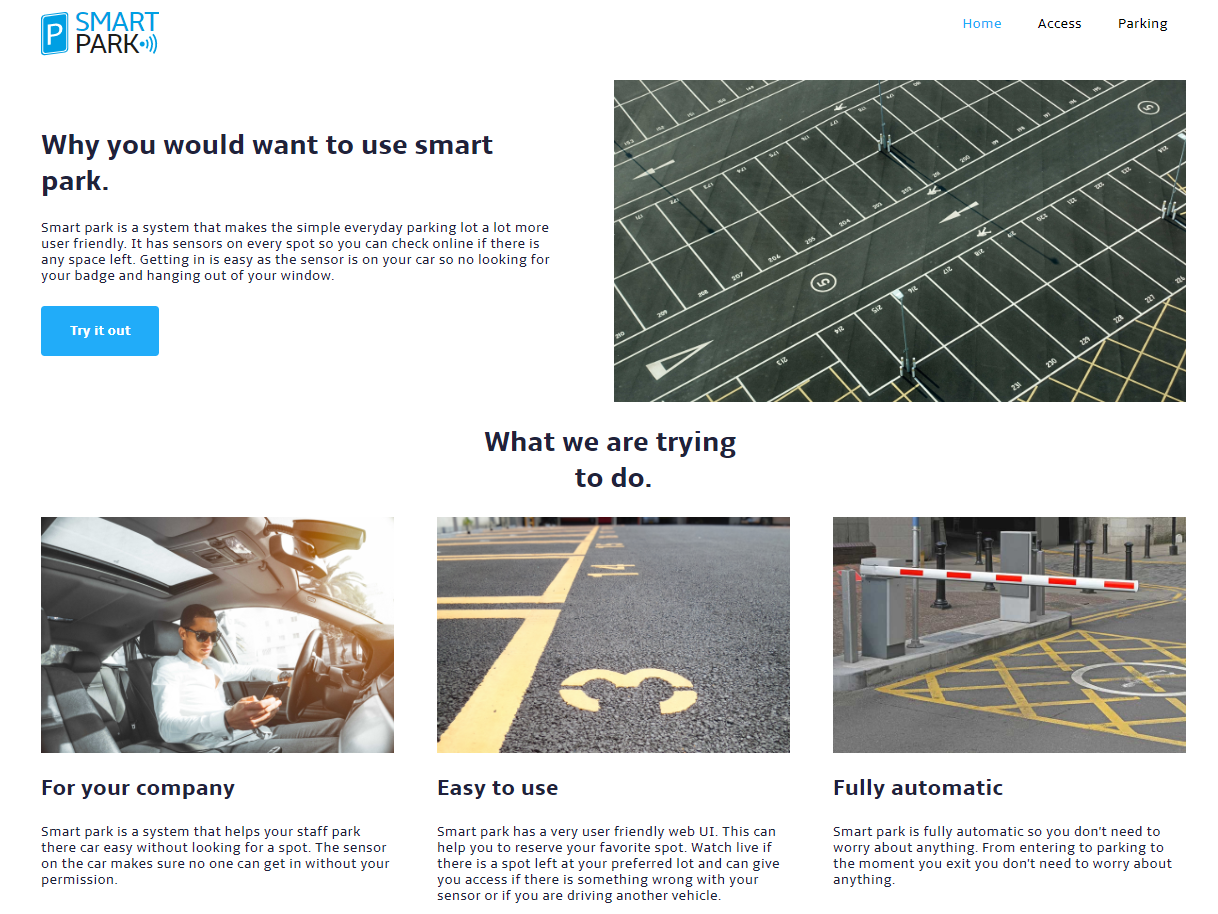

Backend: The backend of the project is written in Python and TSQL. It reads out all the data of the sensors and writes it away to the database we created a little earlier on. It also runs a webserver so we can connect our frontend to it. I wrote the code needed for the backend in pycharm but offcourse you can just use whatever you want.
You can find the code for the backend here: https://github.com/gillesclemens/smart-Park/tree/master/backend
Frontend: The frontend is written in HTML, CSS and Javascript. I used a combination of visual studio code and phpstorm to write the code. The code basically writes the entire website and in the javascript files you can find the code needed to get the data from the backend.
You can find the code for the frontend here: https://github.com/gillesclemens/smart-Park/tree/master/frontend