Smart Mirror by Raspberry Pi
by bastynator in Circuits > Raspberry Pi
68103 Views, 517 Favorites, 0 Comments
Smart Mirror by Raspberry Pi
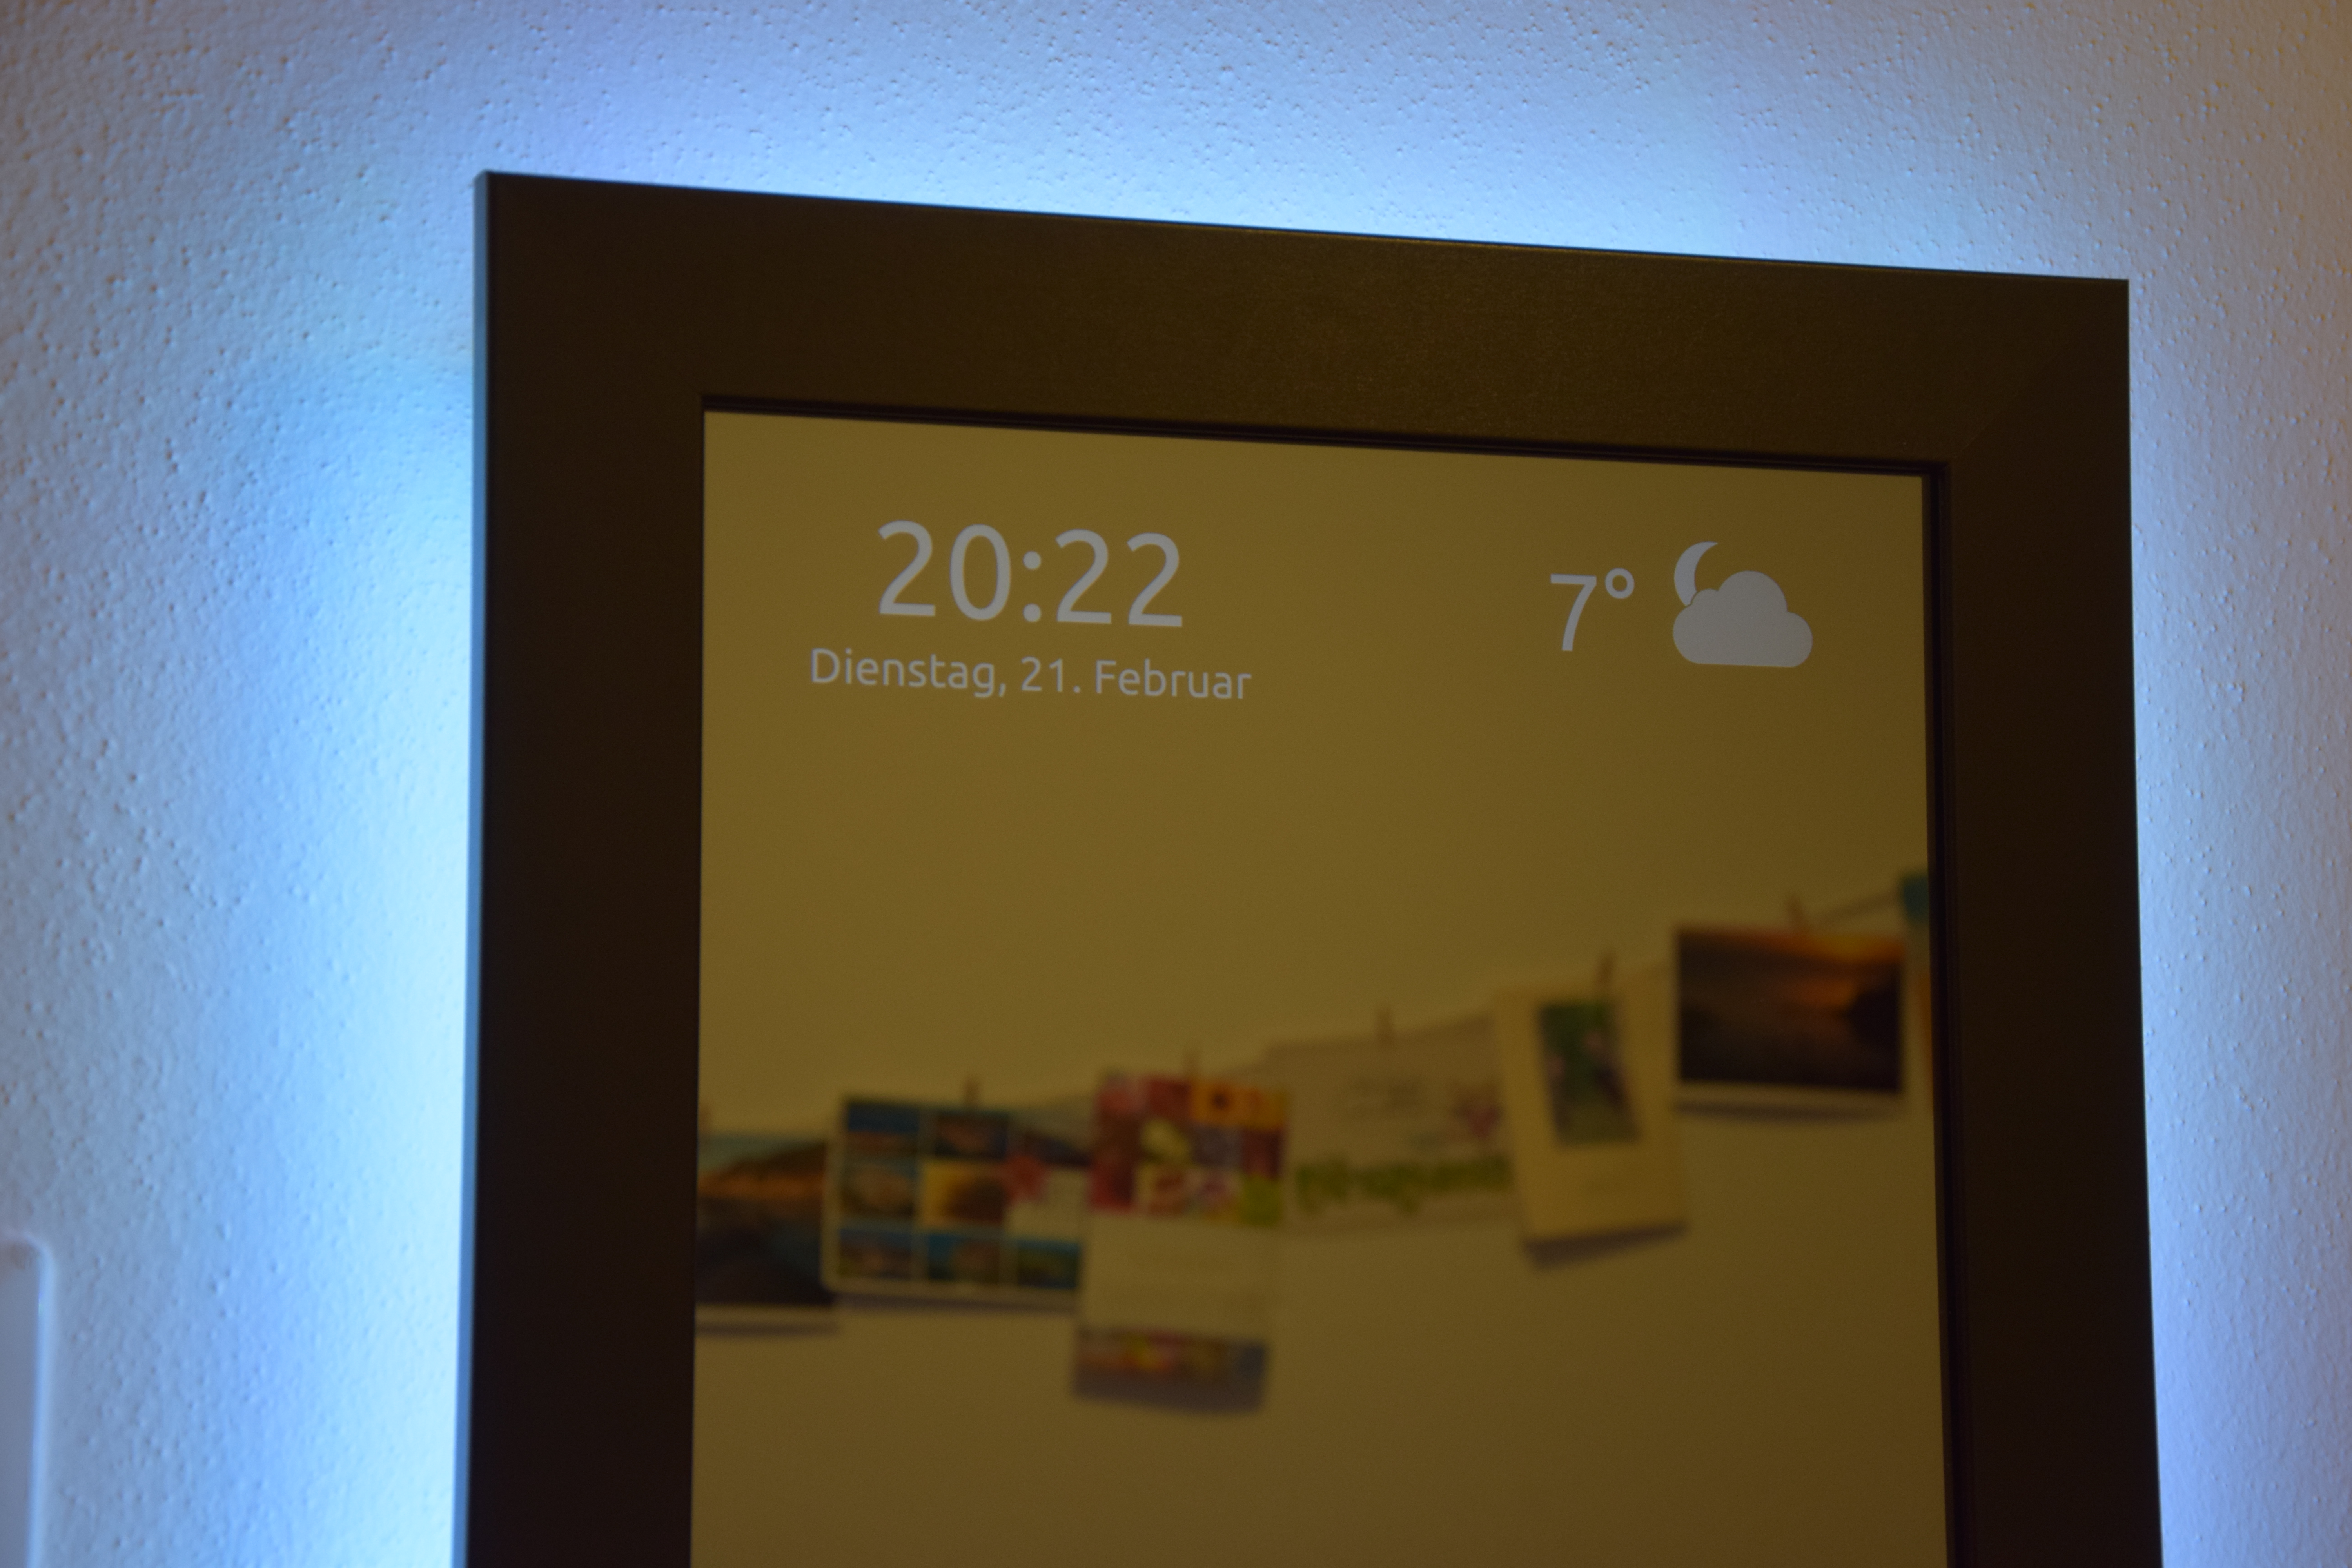
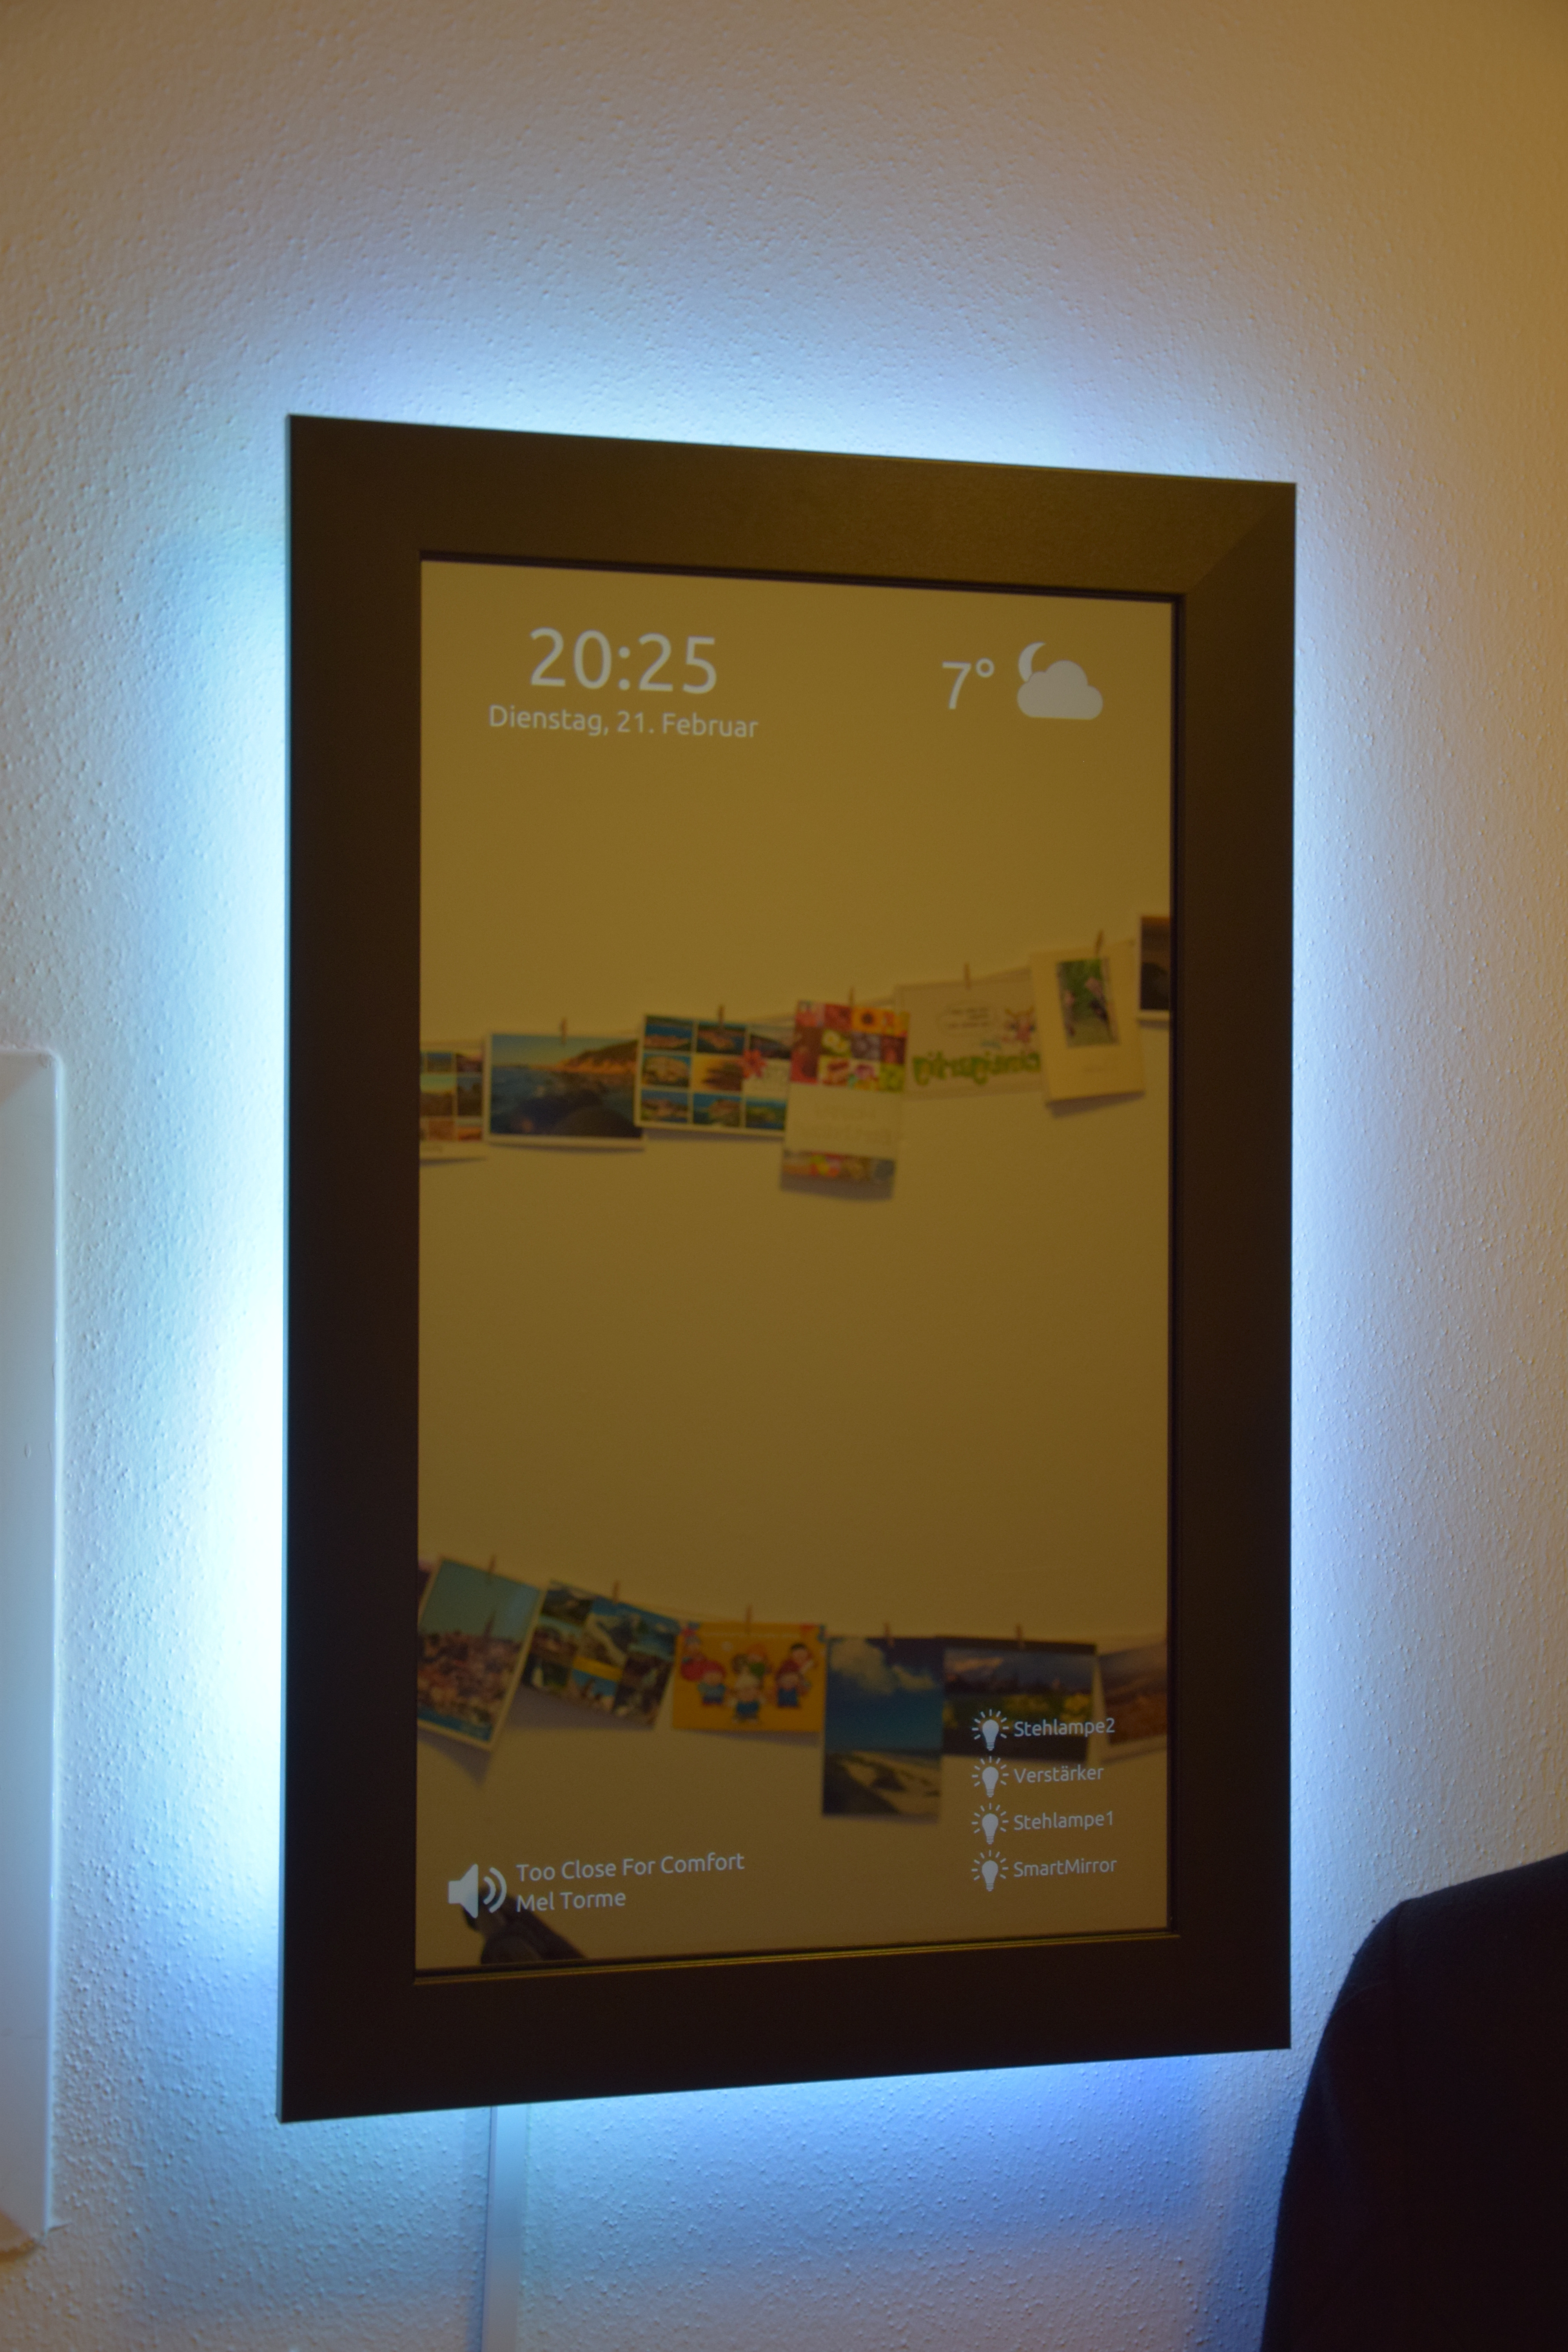
The mirror should show time, date and weather information as well as status information about smart home switches and what music is currently playing.
Things You Need
To create the smart mirror you need the following stuff
- Raspberry Pi WIFI dongle (except for Raspberry Pi 3, this one has included WIFI)
- Monitor (i used a BenQ 24'')
- Picture frame (got one from https://wunsch-bilderrahmen.de in germany)
- One-way mirror (got one from https://www.myspiegel.de/ in germany), but you can also use acrylic see-through mirror
- Wooden slats to extend the picture frame so it can contain the monitor
- Angle bracket to hold the monitor in the frame
- Black duct tape to avoid direct glass to metal contact
- Wood glue and wooden plug to glue the picture frame and the wooden border together
- Wire or cord for mounting as well as screw anchors
- Cable channel
- Bar clamp
- Drill machine
If you want a background light by a led strip, you need also the following
- Led-strip with controller, see this project RC-controlled-LED-strip
- 433 MHz sender
There is a list that contains the main costs of the project.
- Picture-frame – 28€ ~ 29.3$
- One-way mirror – 73€ ~ 76.6$
- BenQ GL2450 – 100€ ~ 104.9$
- Raspberry Pi 3 – 37€ ~ 38.8€
- Wooden slats (already cutted into right length) – 15€ ~ 15.7$
- LED strip 6€
This sums up to 259€ ~ 272$ assuming you have all the small stuff like tools, wooden glue, screws etc.. But as i already mentioned, reason to build the mirror was the unused monitor, raspi and led-strip so i invested 116€ ~ 122$ to give them a new task.
Prepare the Monitor Panel
The first step to do is to remove the bezel from the monitor panel. That's necessary to get the right size of the monitor panel. You will need the size to get the picture frame, the one-way mirror and the wooden slats in the right size.
There are already several descriptions how to remove the bezel. Take a look at this search result for more information https://www.youtube.com/results?search_query=remove+monitor+bezel+
Next i put a black duct tape on the metal border of the monitor panel. The first reason is to avoid direct metal to glass contact later when i put the monitor on the mirror. The second reason is to avoid reflection of the metal, so i choose the black color that should absorb incoming light.
Create the Frame
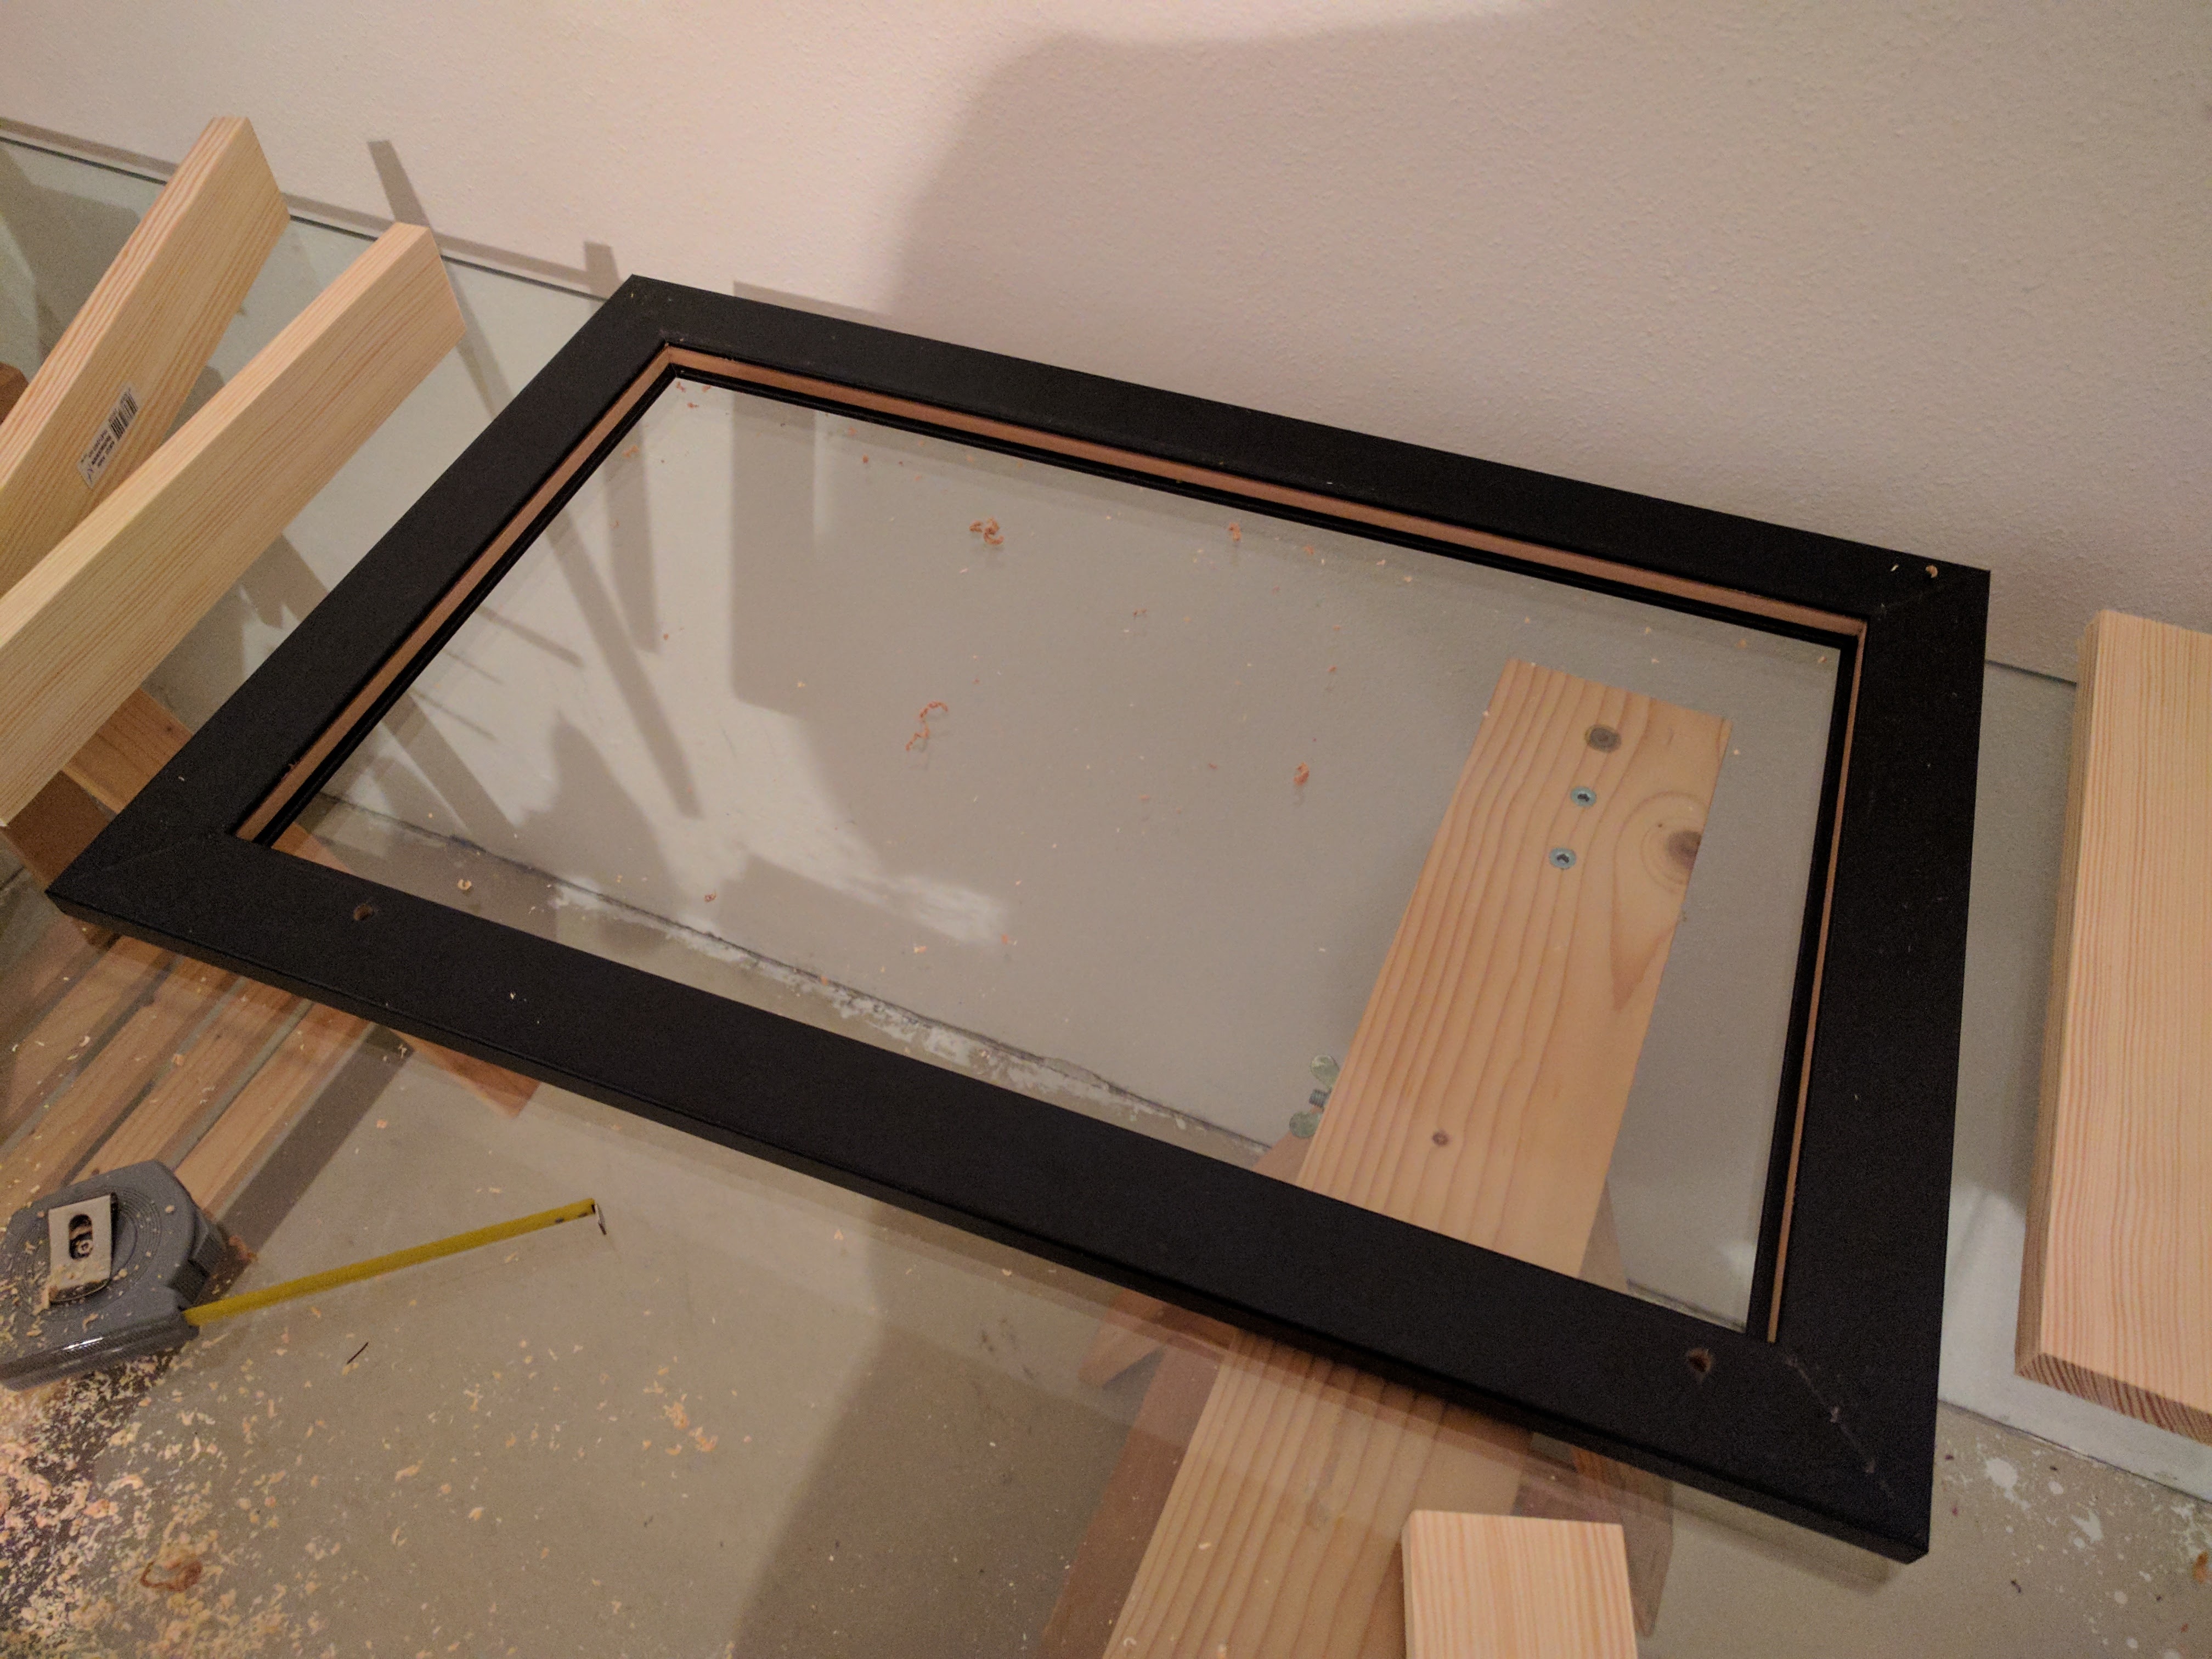
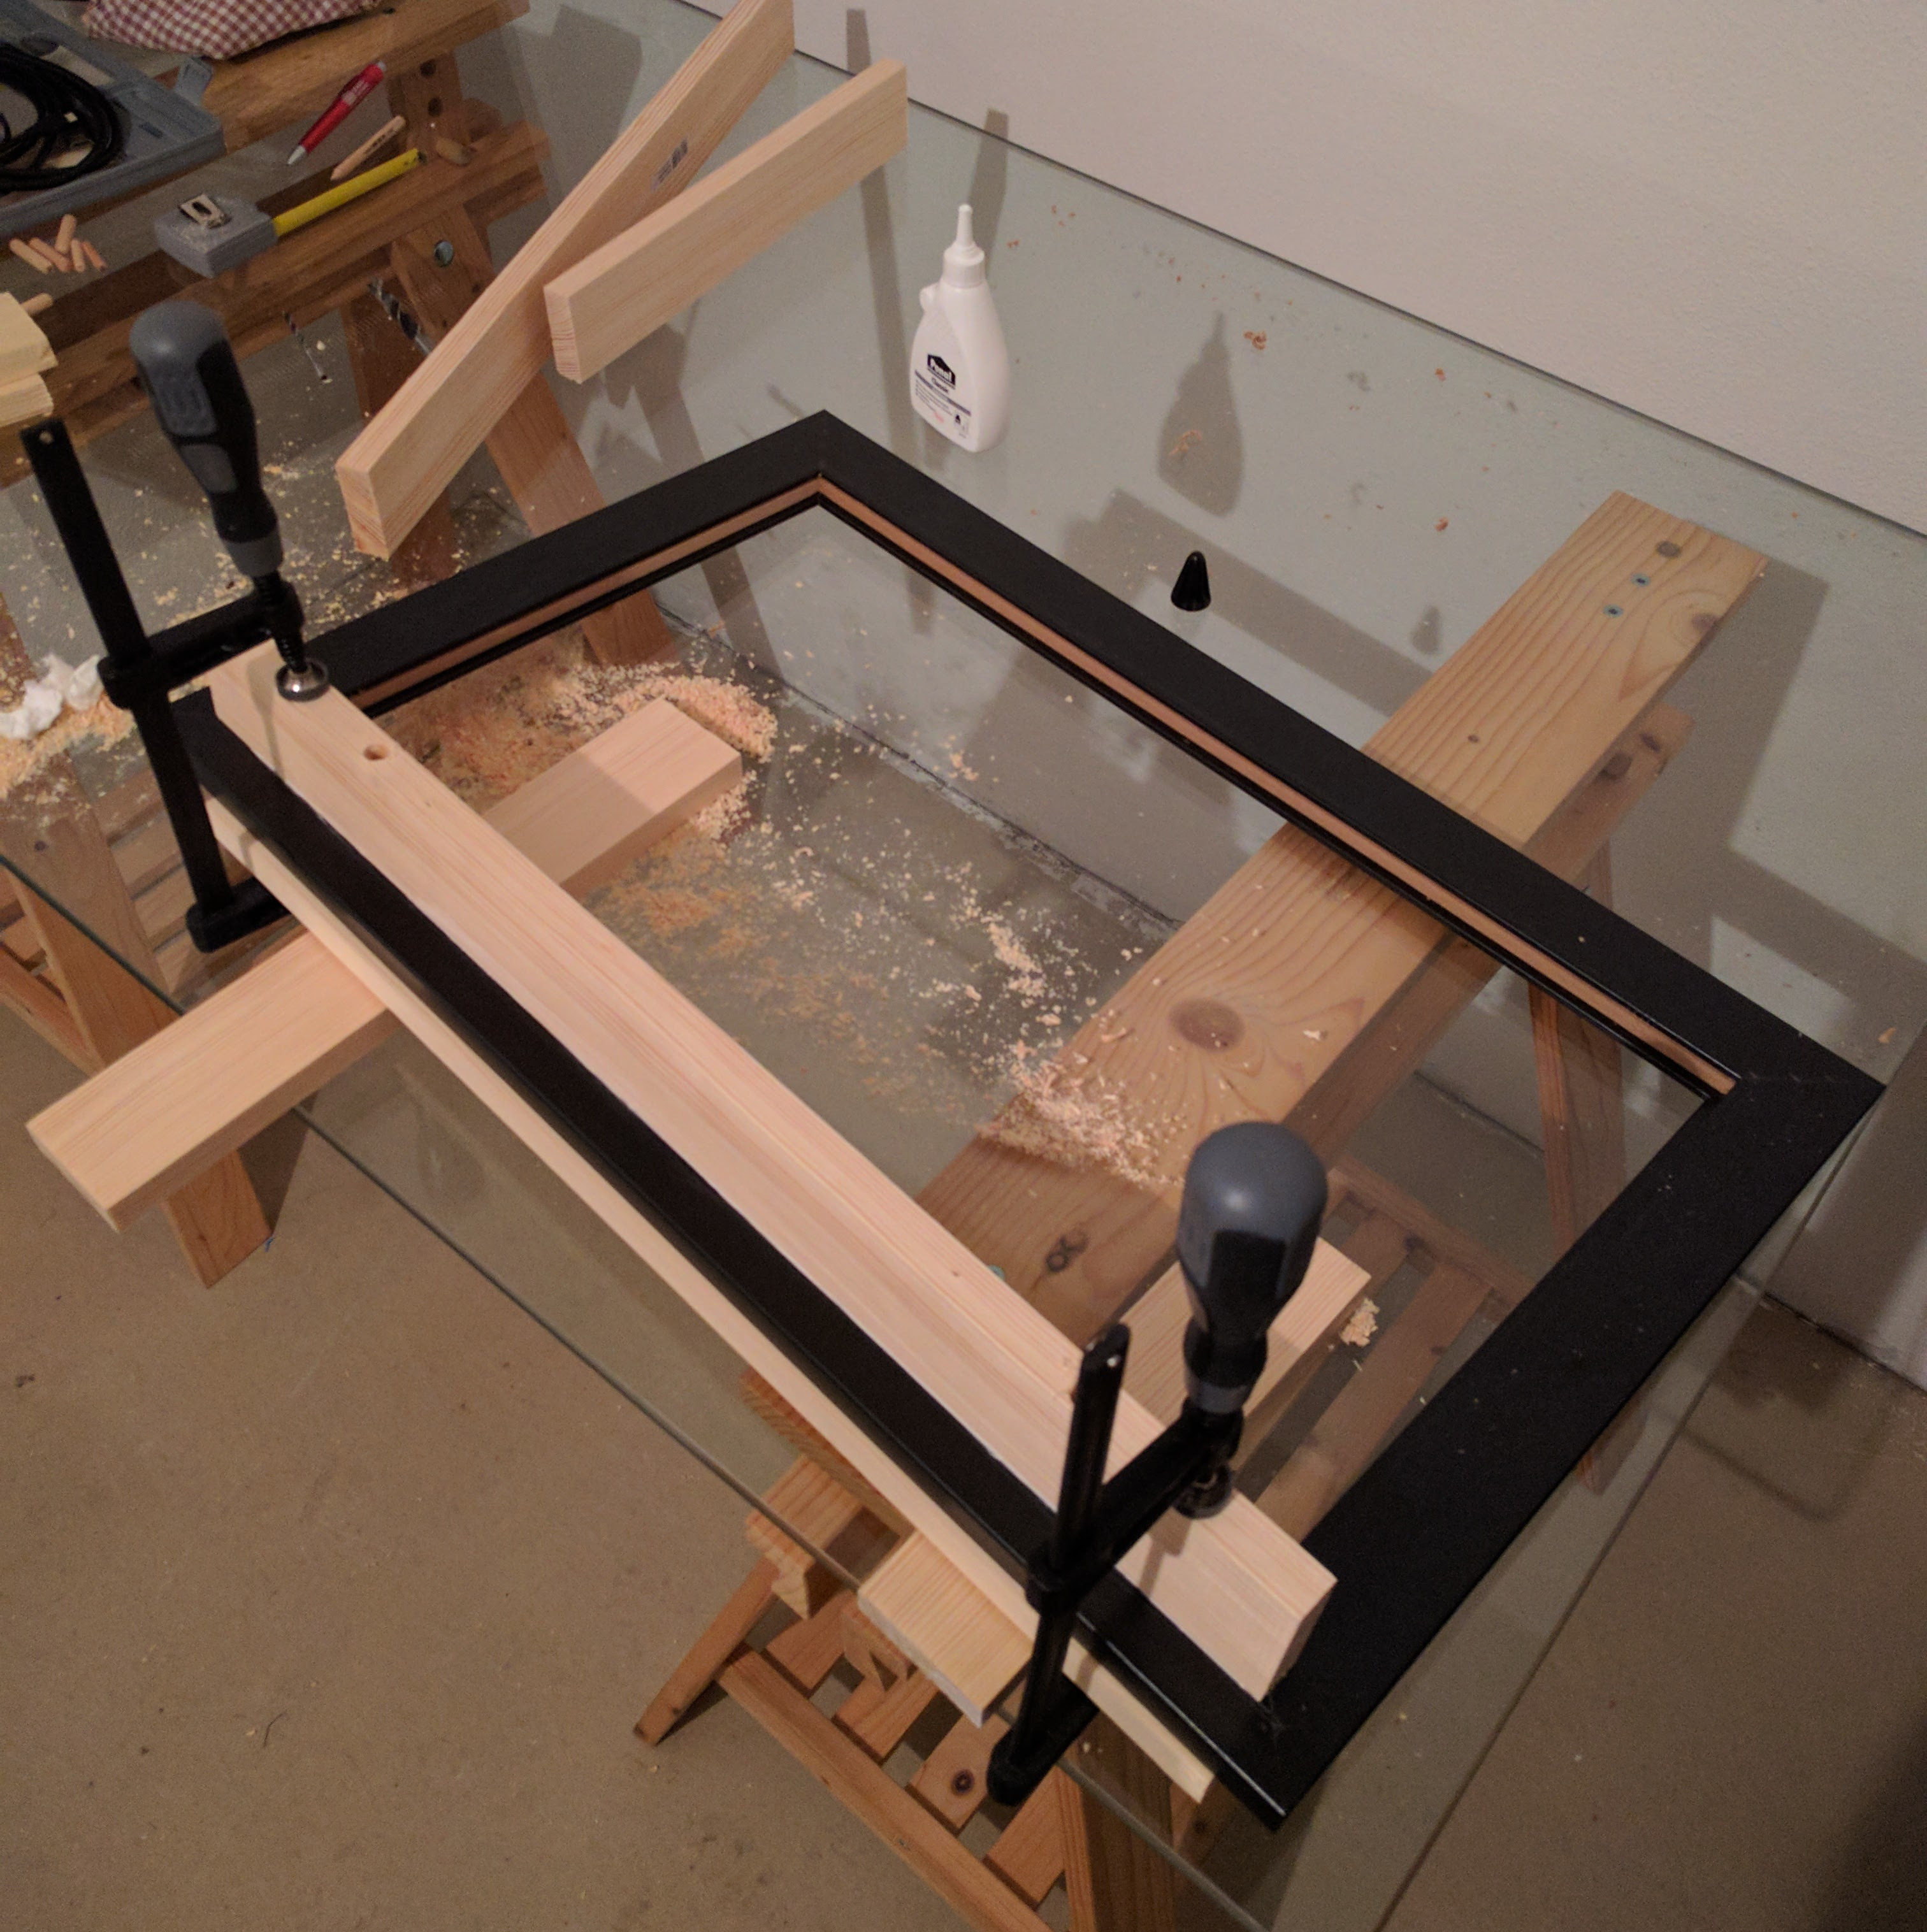
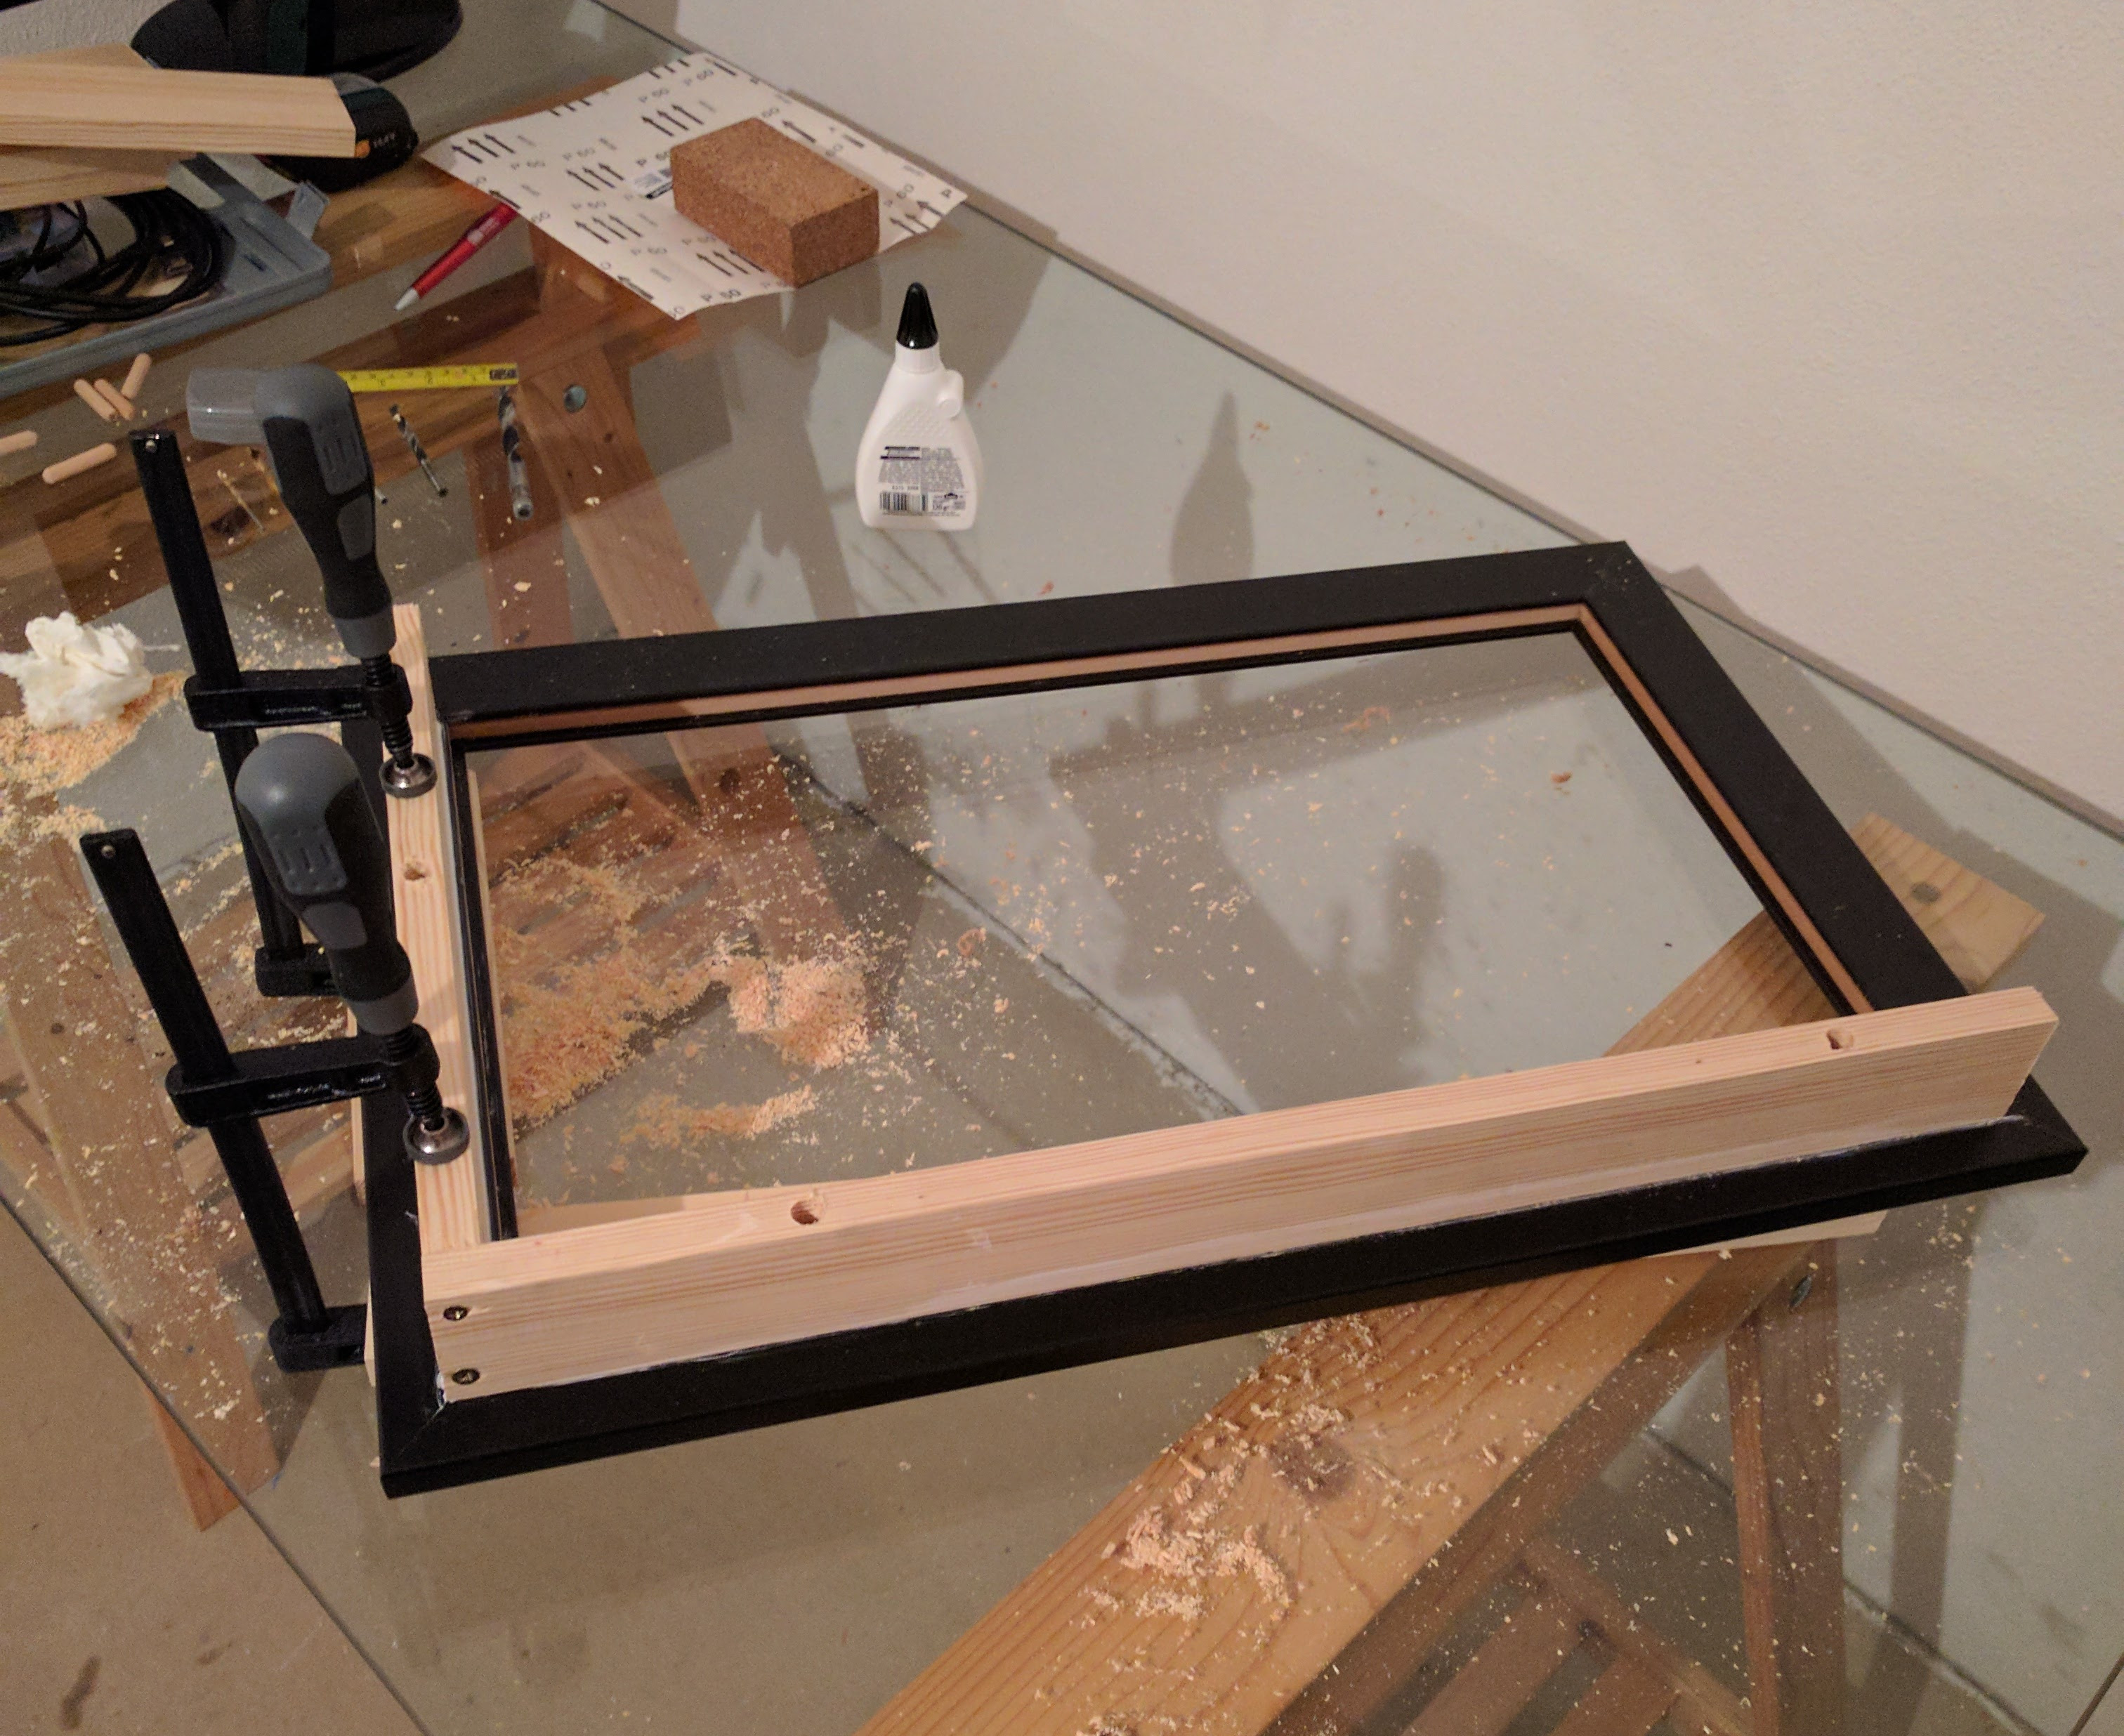
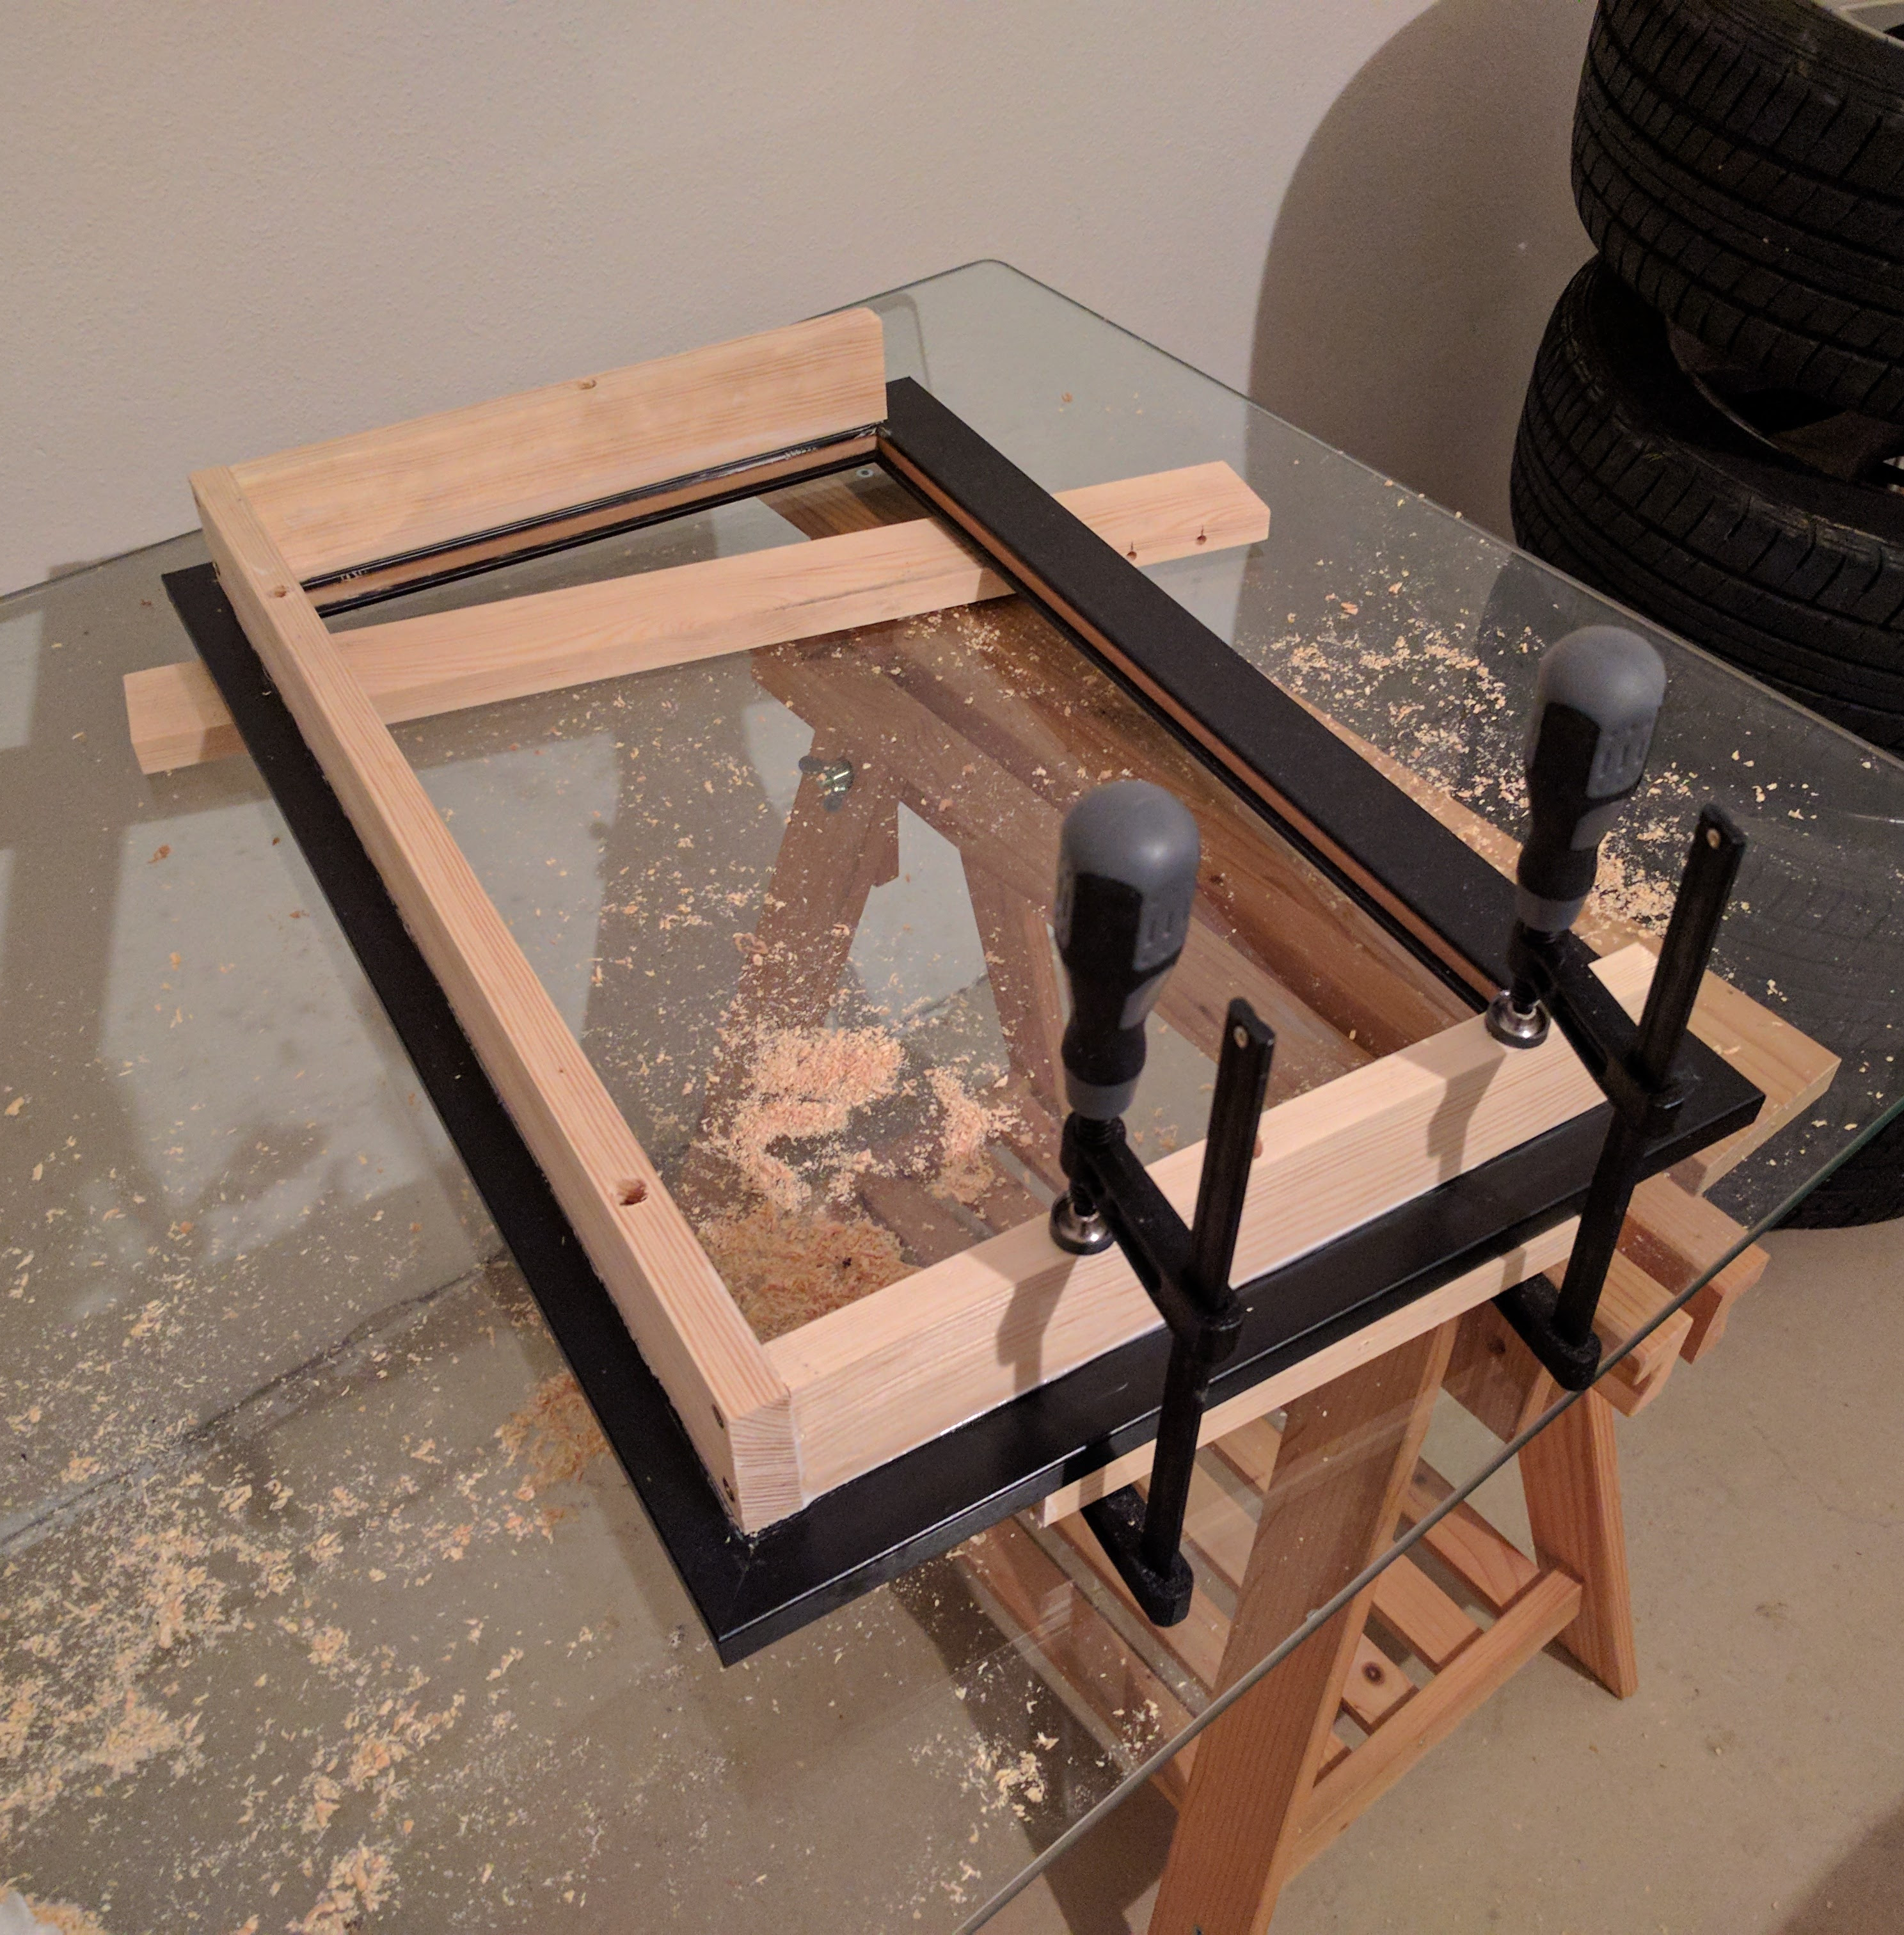
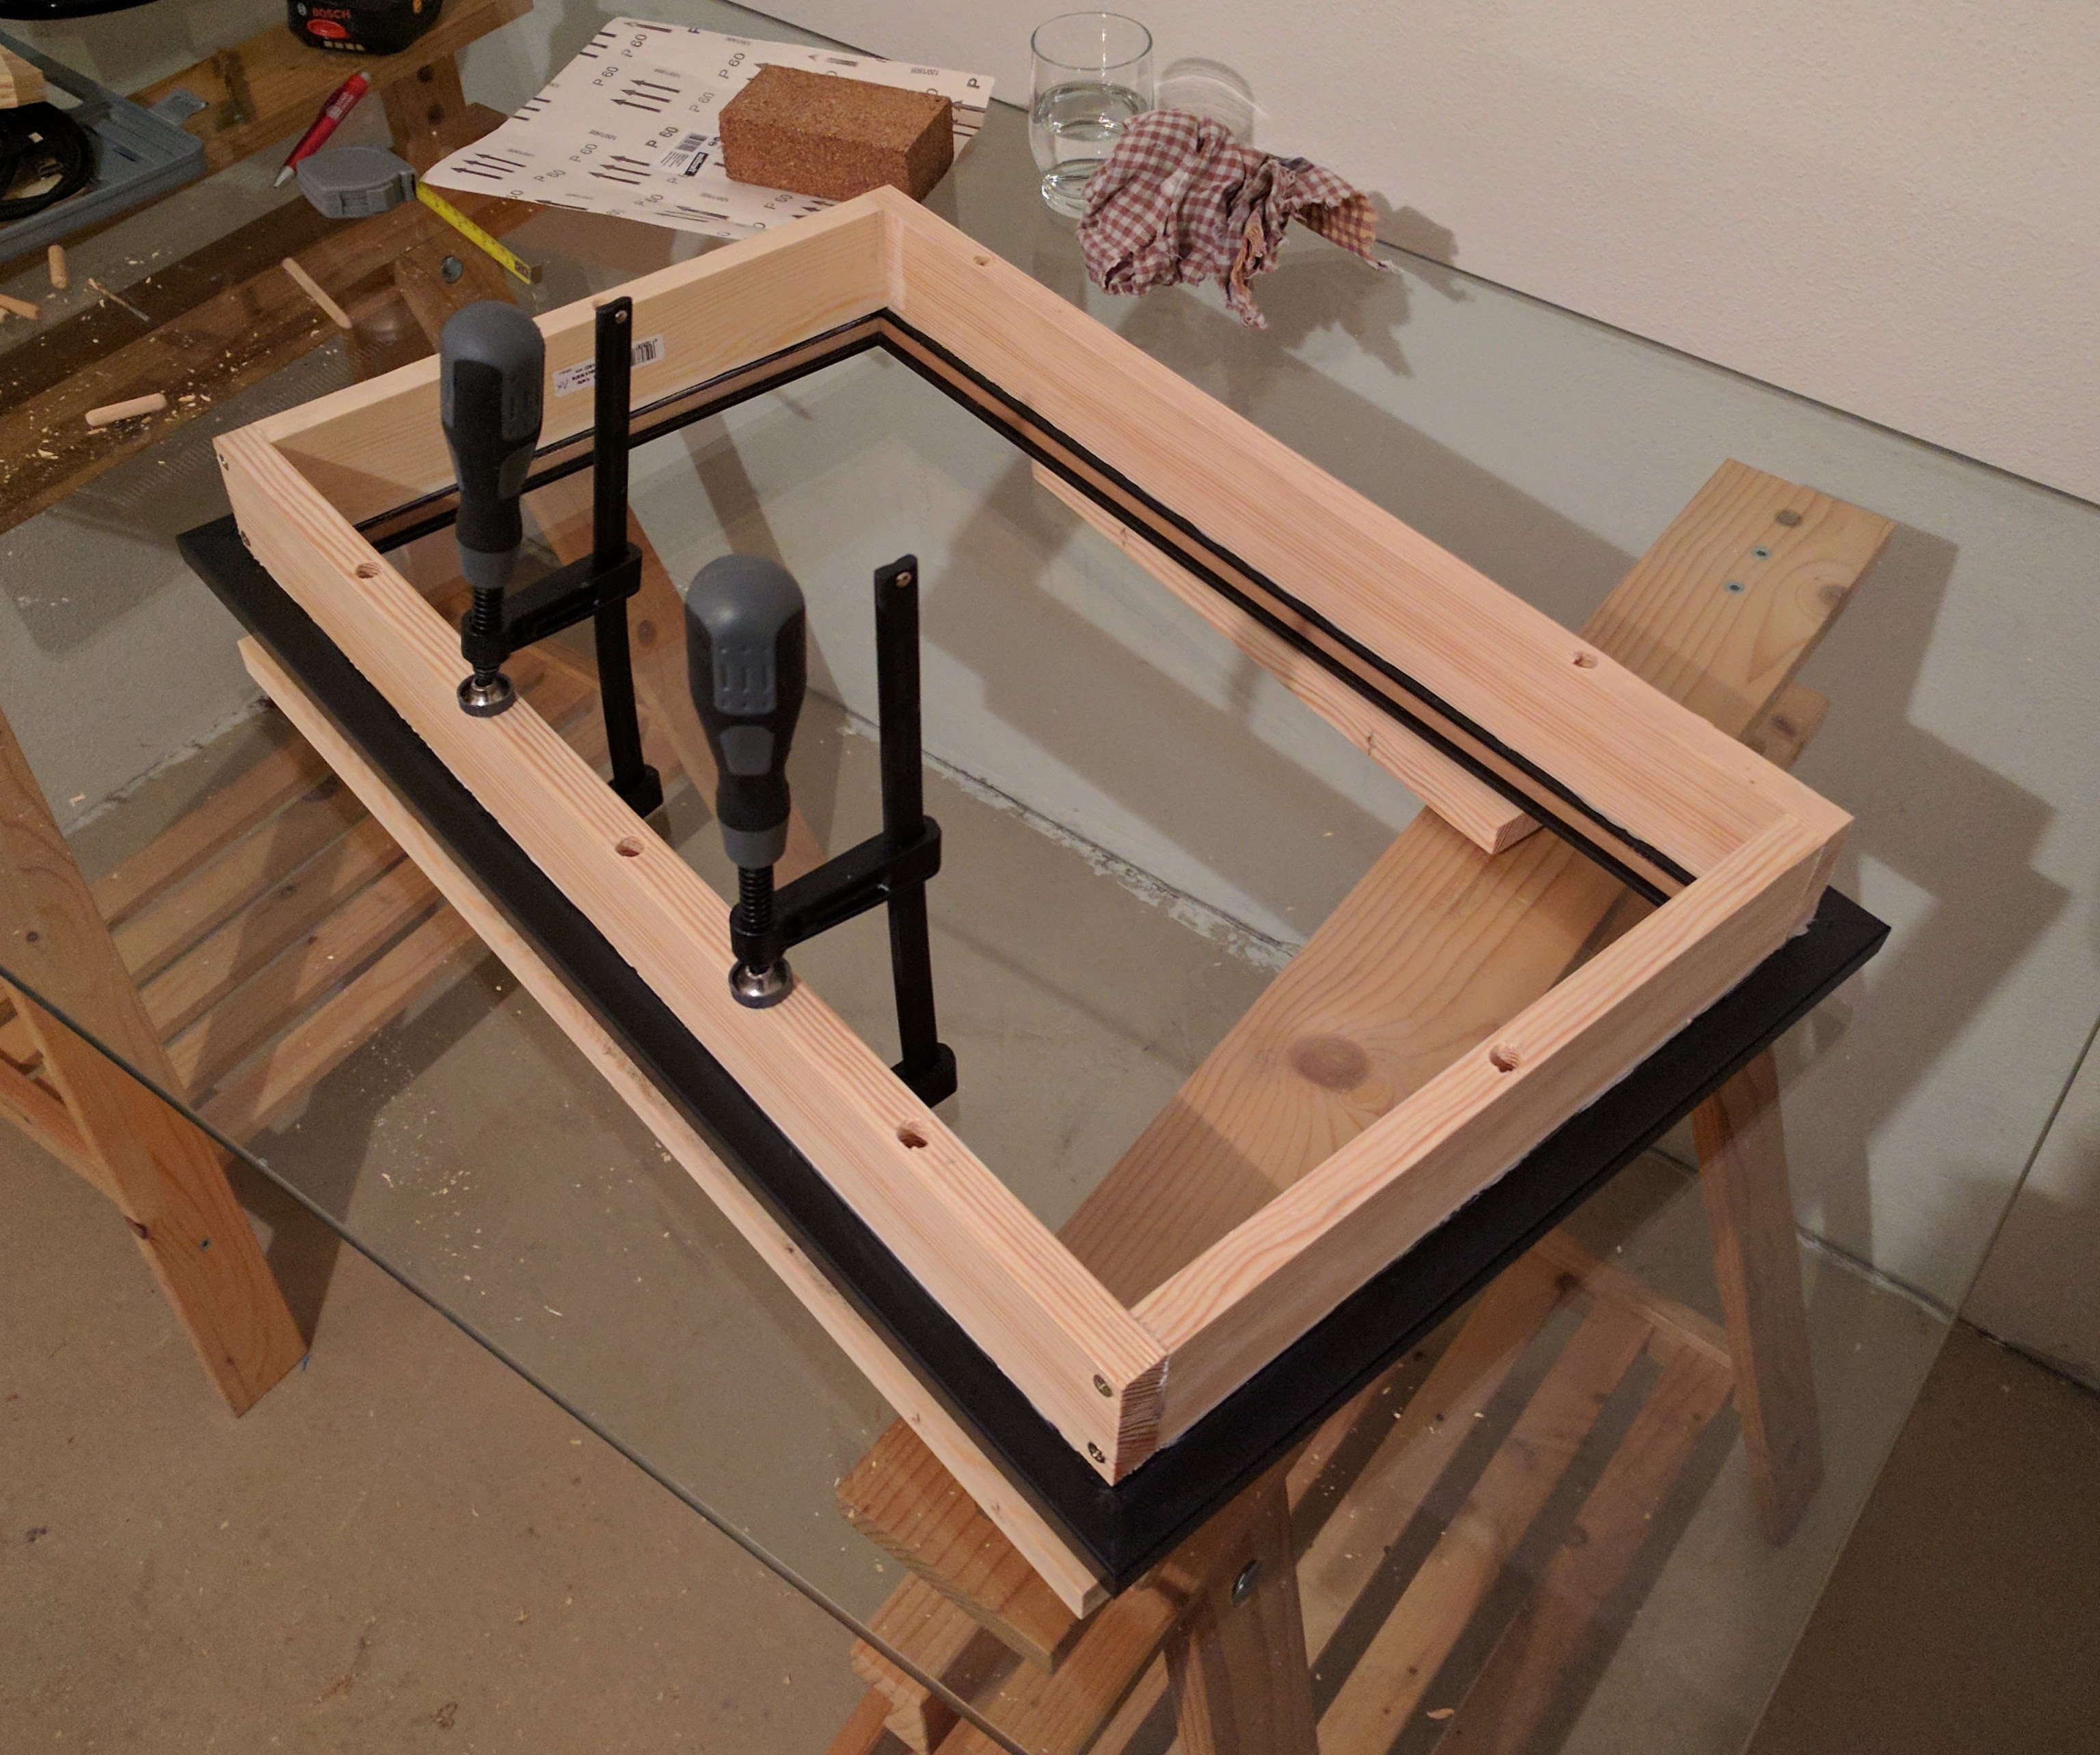
Once we know the right size of the monitor panel we can order the picture frame, the one-way mirror and the wooden slats. I ordered a picture frame and one-way mirror matching exactly together so the mirror is held by the picture frame. However, the monior must also be fixed so i created a border on the back of the picture frame that should contain the monitor.
I connected the wooden slats by wood glue, wooden plugs and screws to be save. The first picture shows two holes for wooden plugs in the picture frame. Be careful not to drill through the picture frame, that would look not that good. The second picture shows the holes for the screws, once again, be careful not to drill the screw through the picture frame.
The border also needs a hole for the outgoing cables as well as a hole for led strip, if you want to use one.
Putting Pieces Together
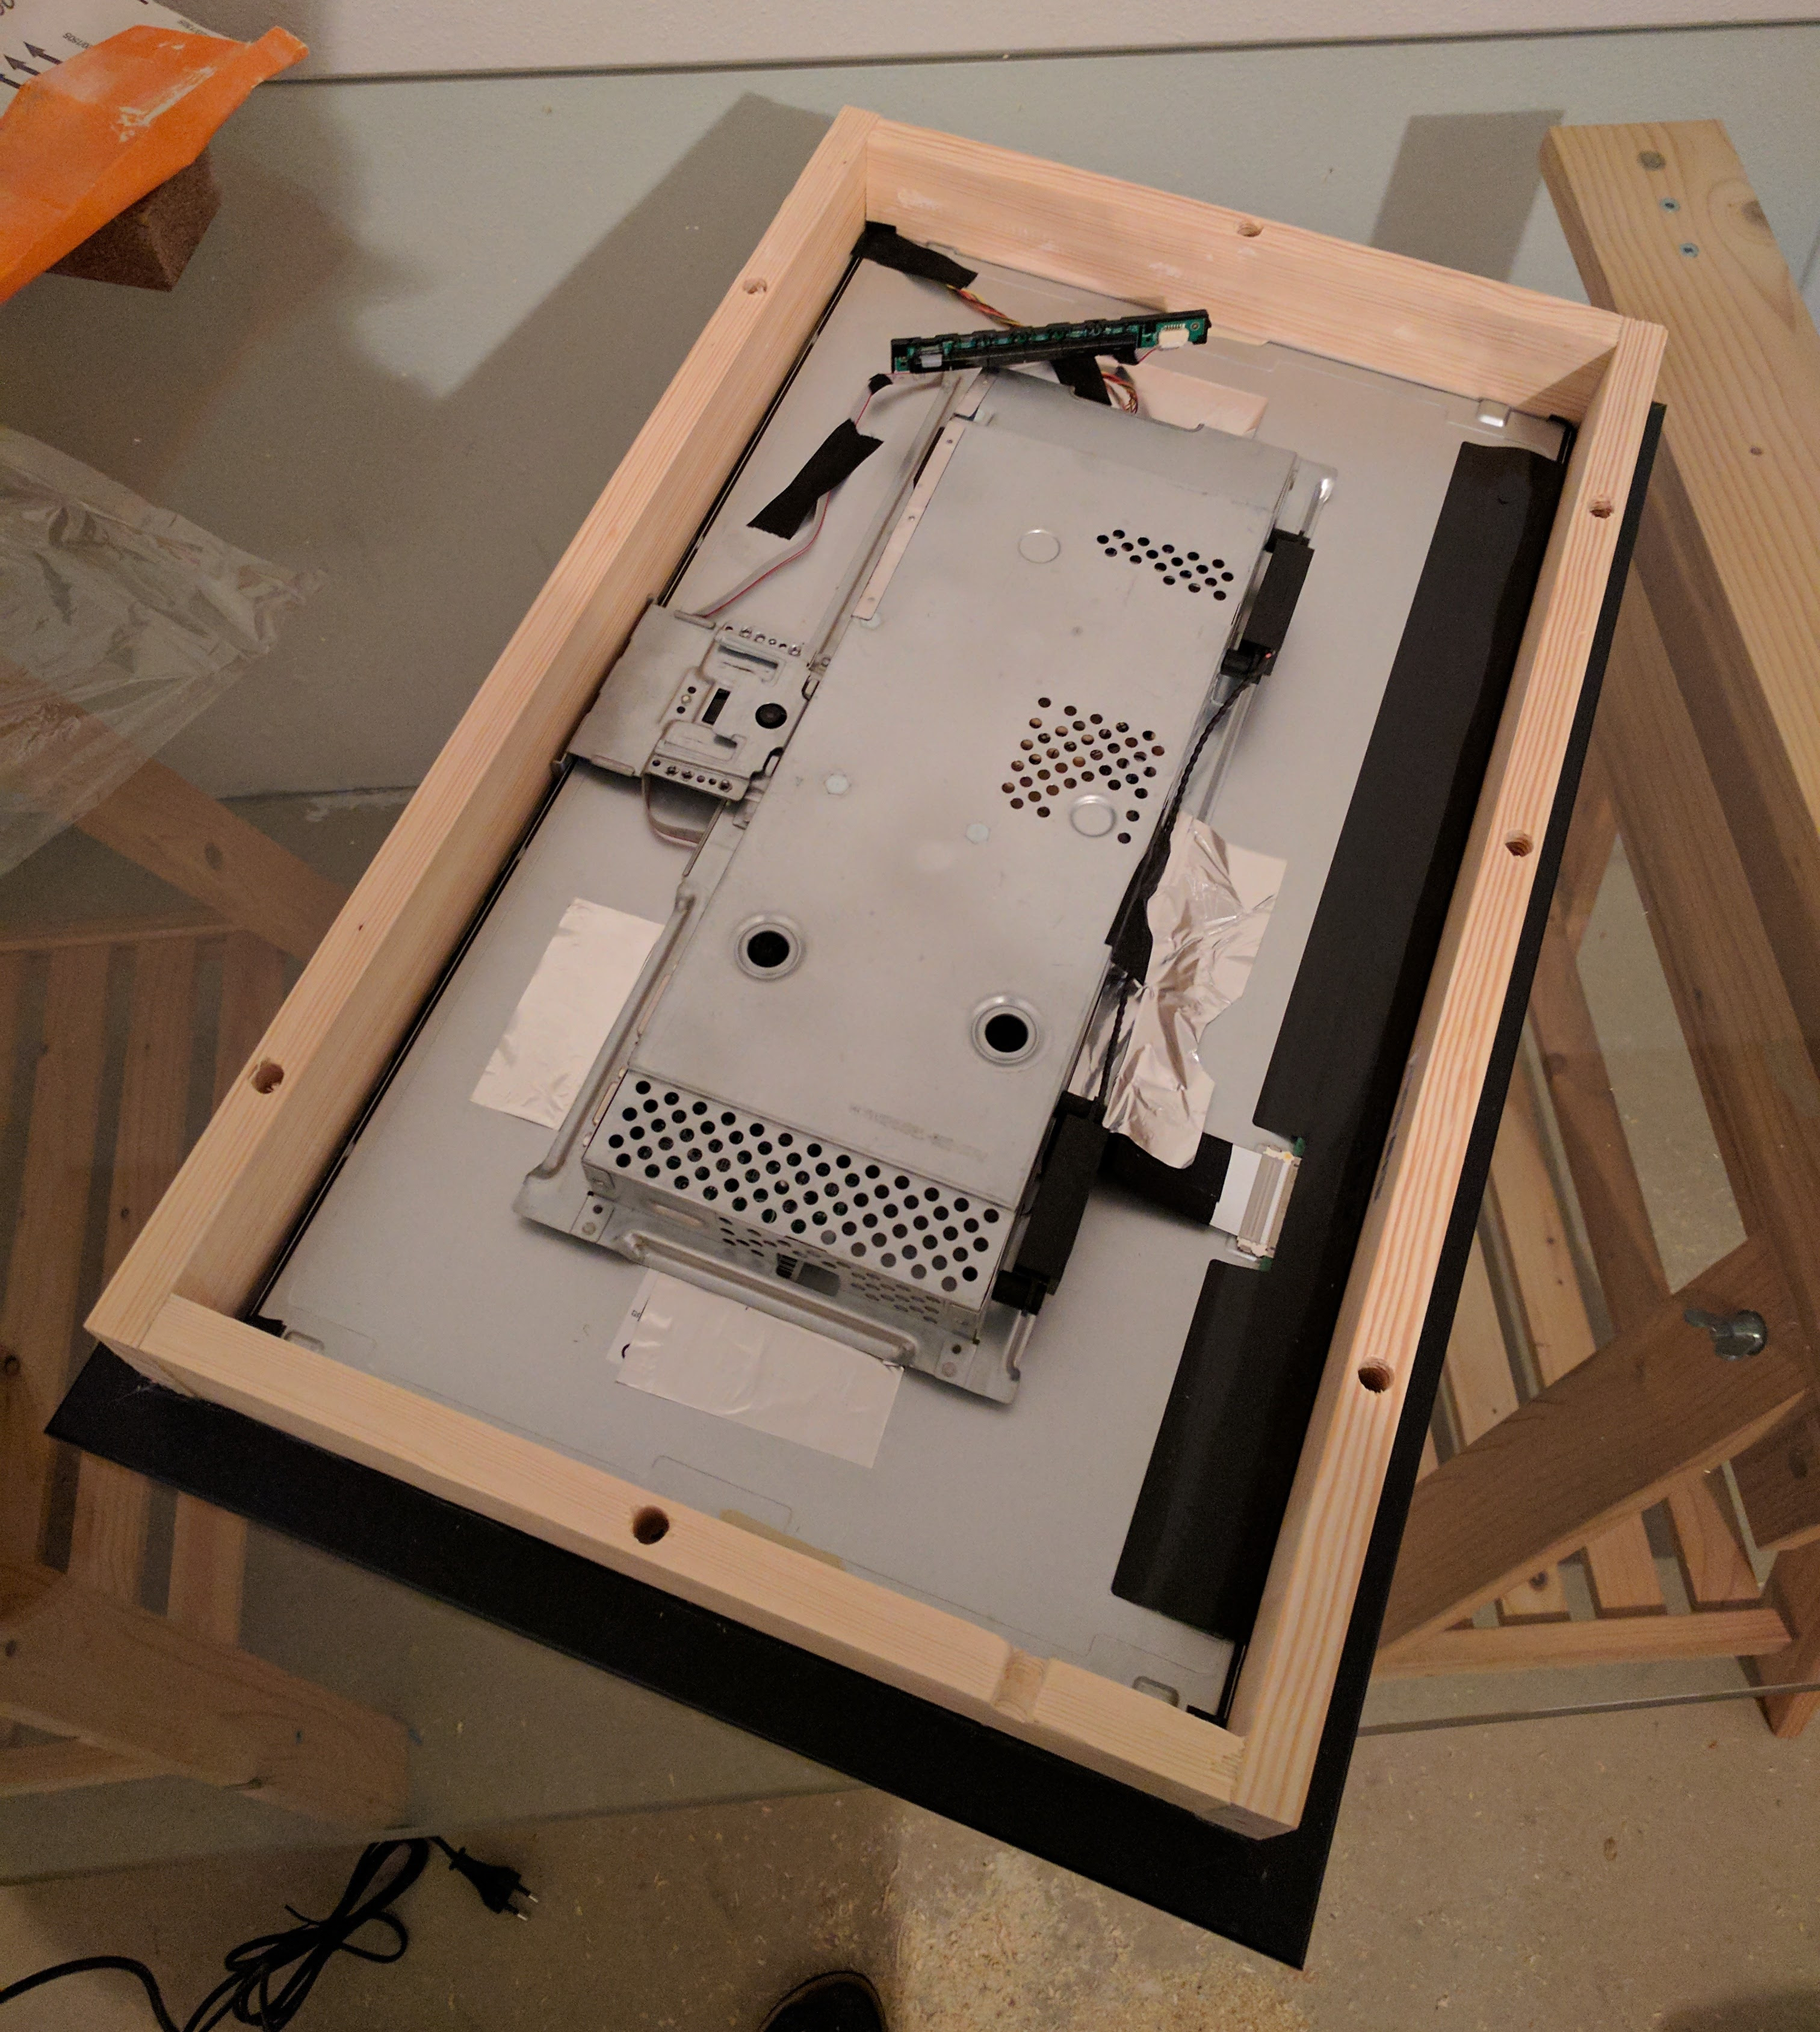
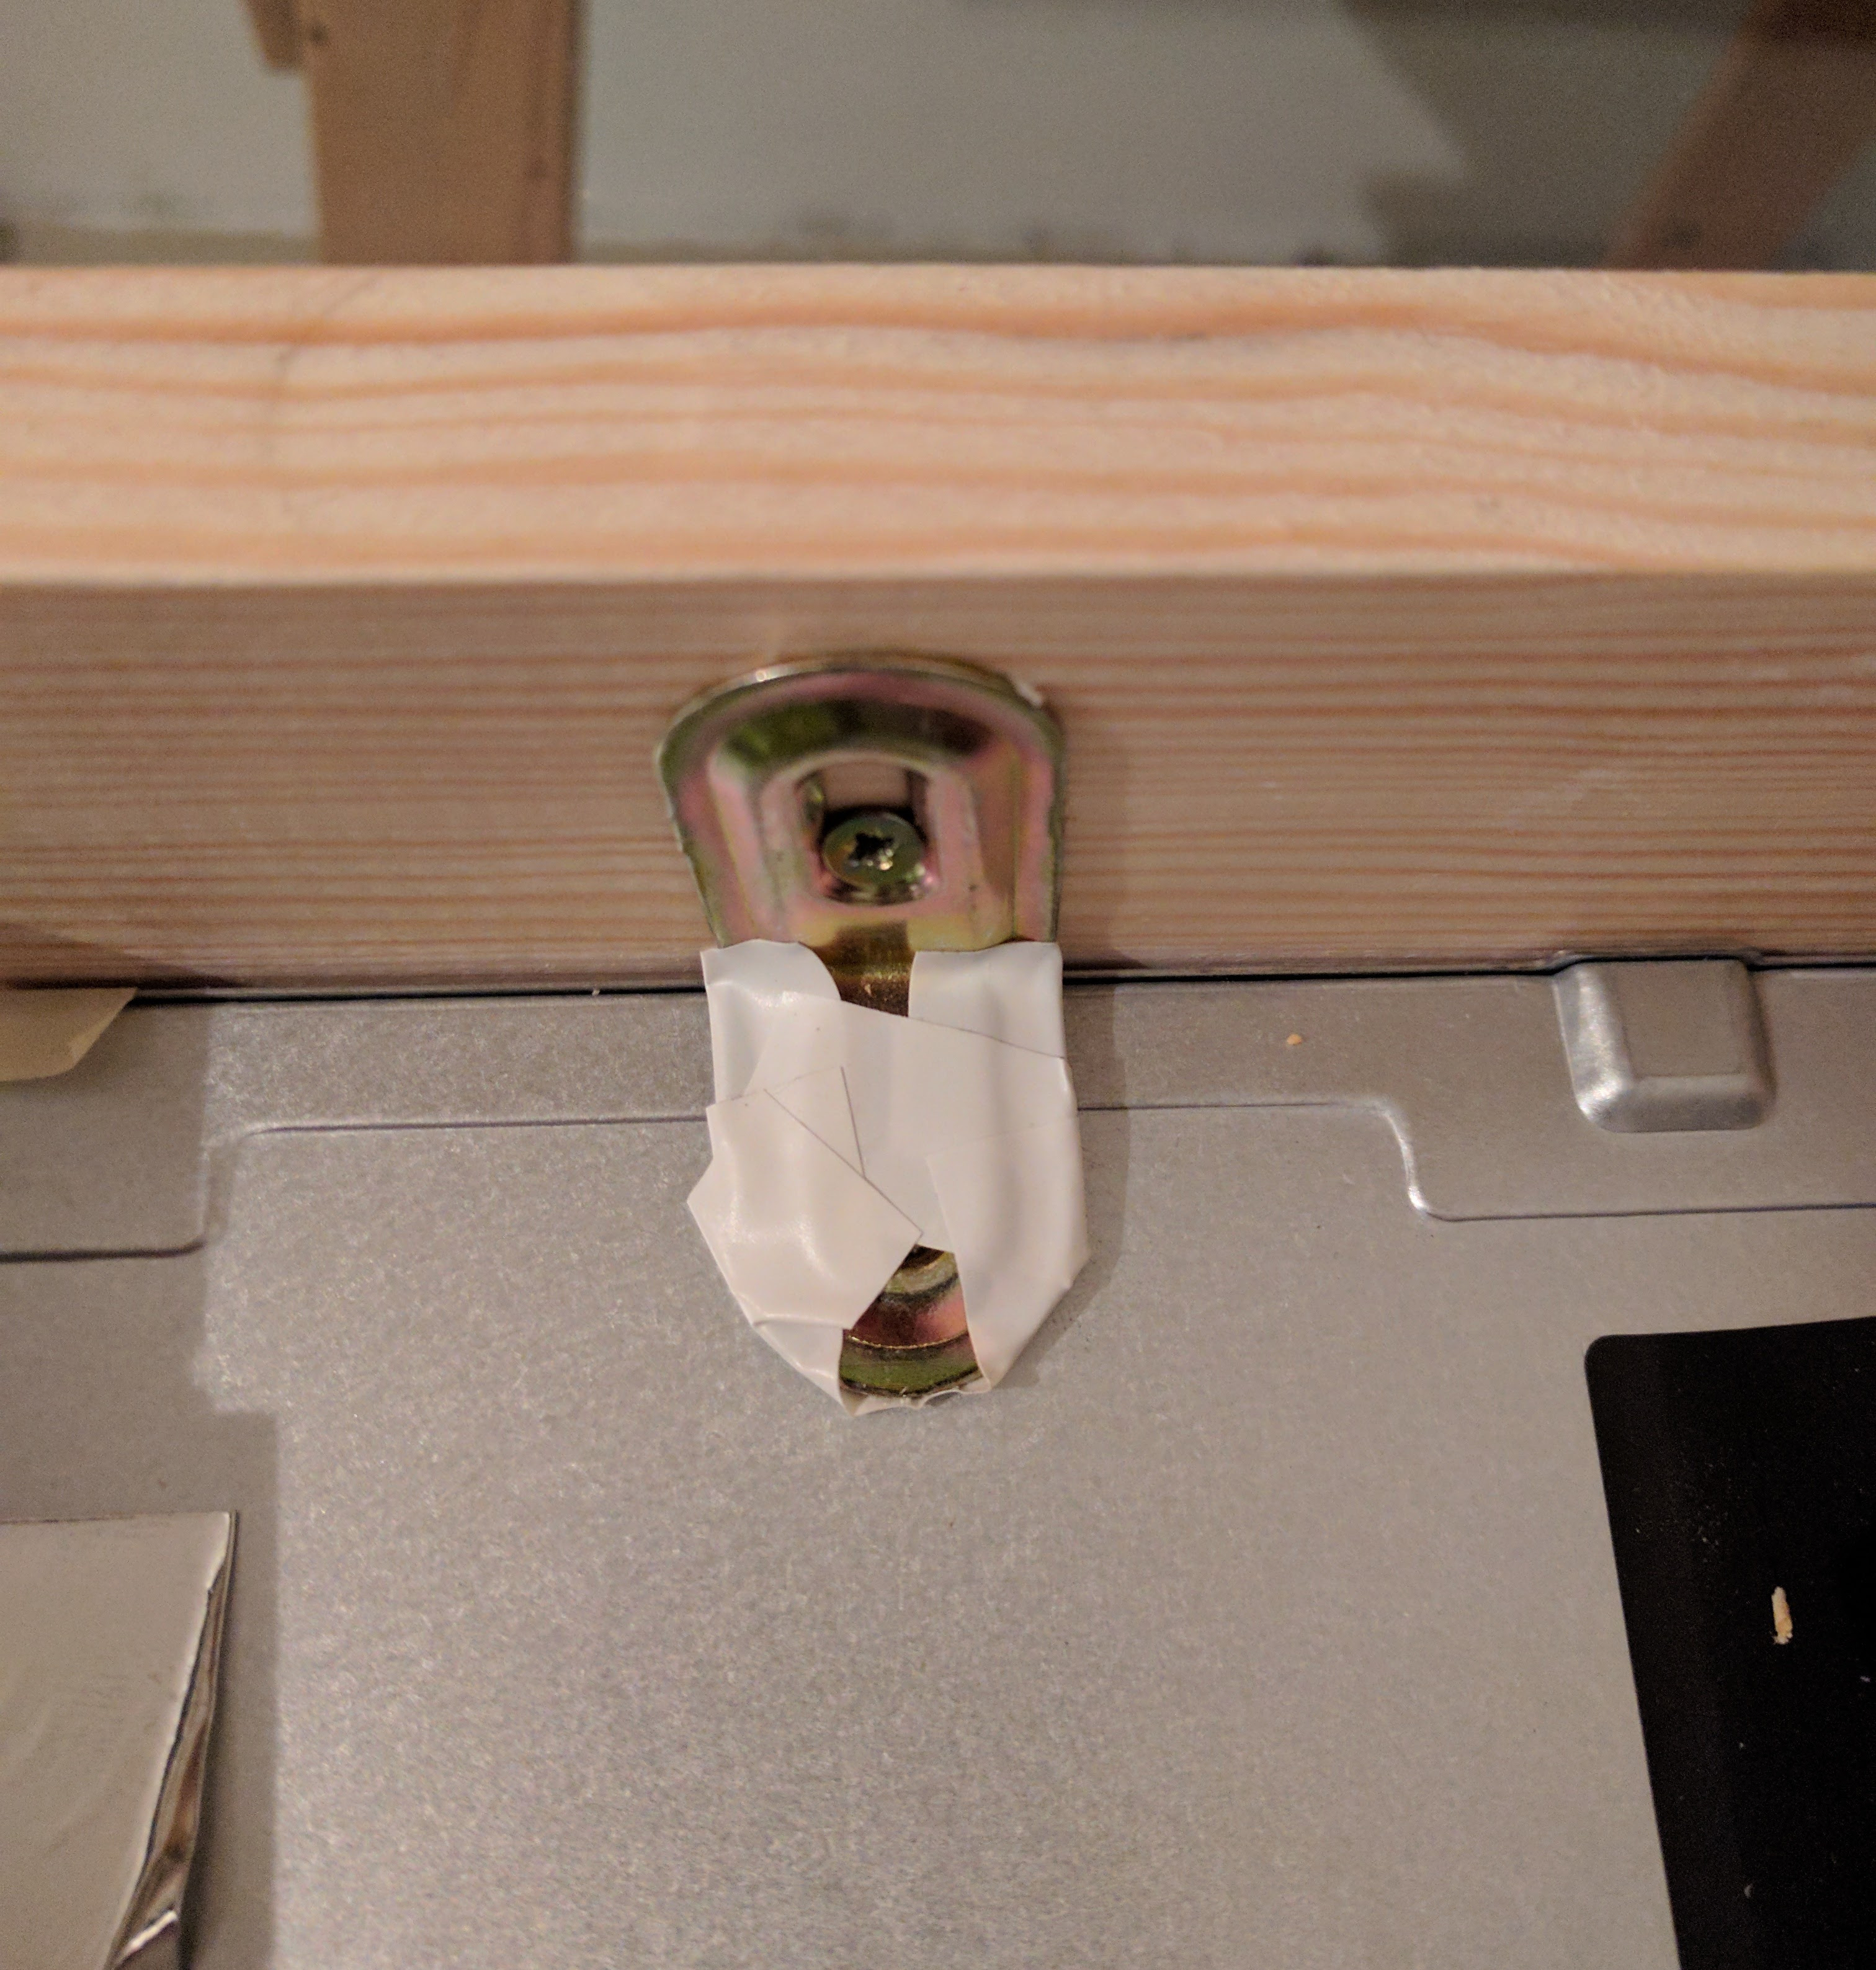
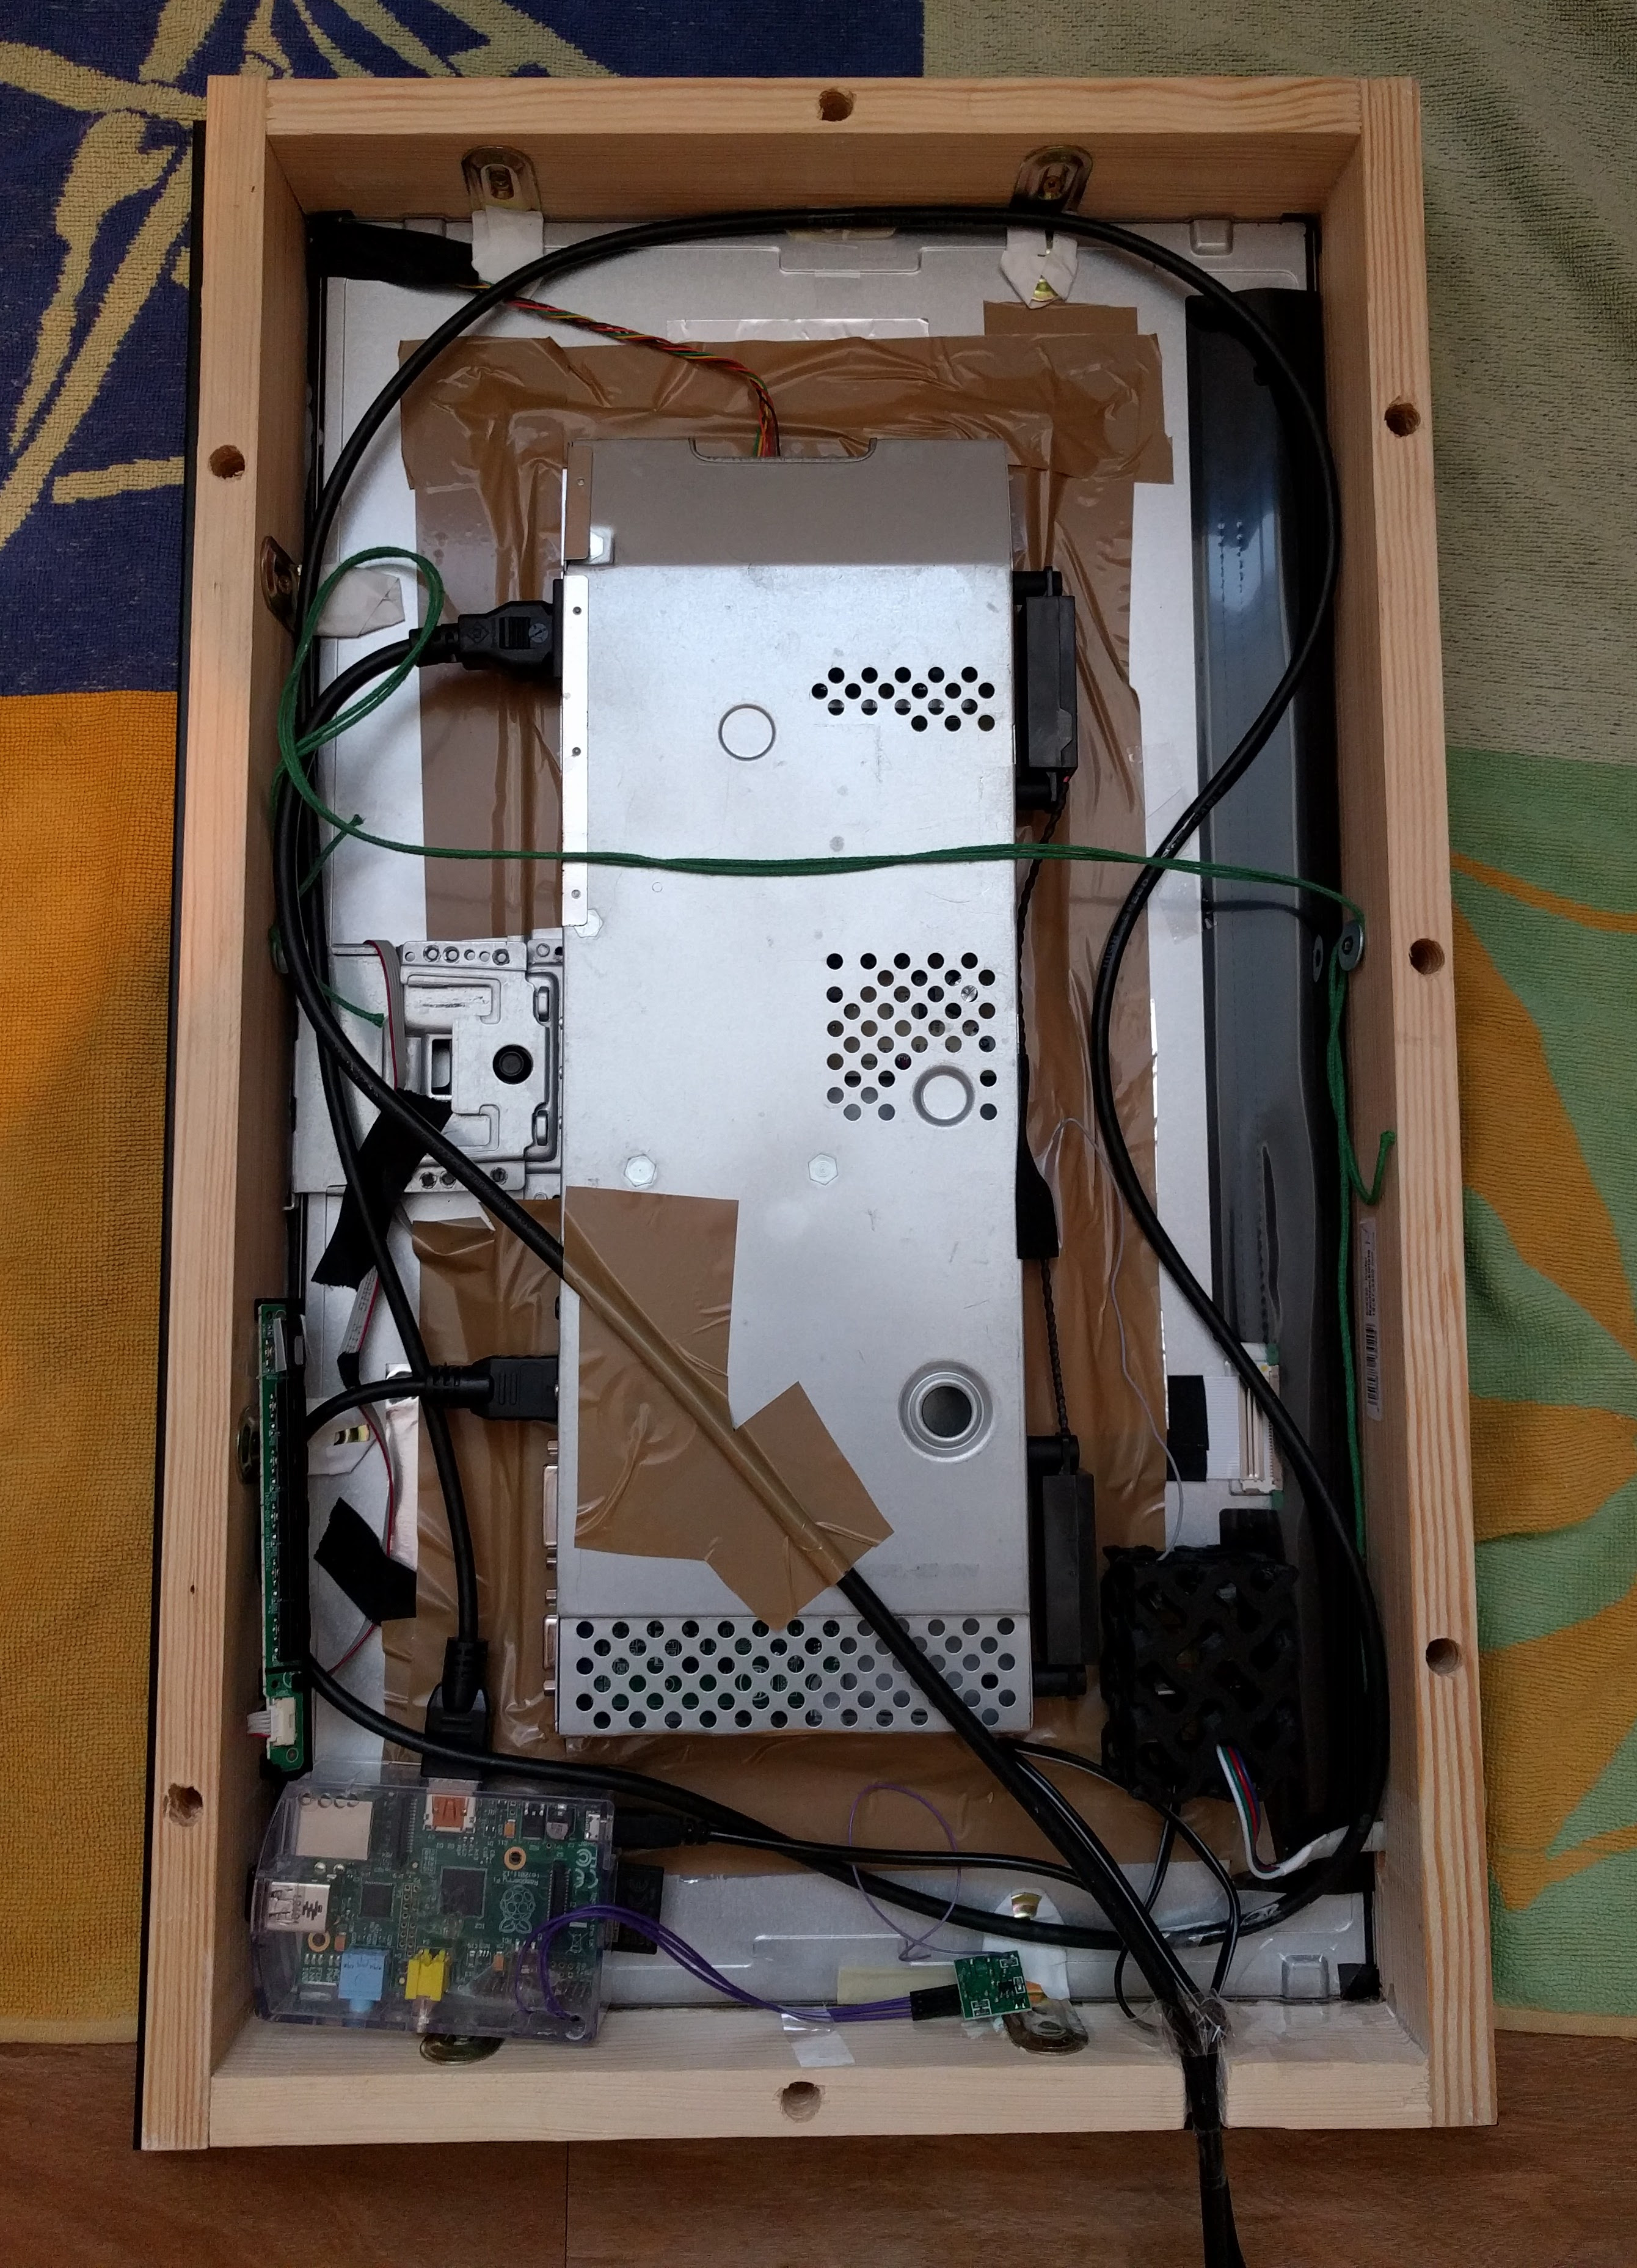
When the frame is complete, we can put things together. The mirror is fixed by the monitor. To fix the monitor onto the wooden frame i added two angle brackets on three sides, makes six angles. The fourth black side of the monitor panel is covered with a circuit board, so i skip this one.
The center metal box contains the electronic for the monitor panel and was originally fixed by the bezel of the monitor. Now without the bezel i added the brown tape to fix this box on the monitor. I connected a green cord on the left and right wooden slats by screws, this will be needed to mount the mirror on a wall.
I placed the raspberry pi in the bottom left corner and the led-strip controller on the bottom right. The GPIOs of the raspi are connected to a 433 MHz sender to set the color of the led-strip. But the sender can also have some more functionality for example, controlling some wireless sockets.
Install the Software
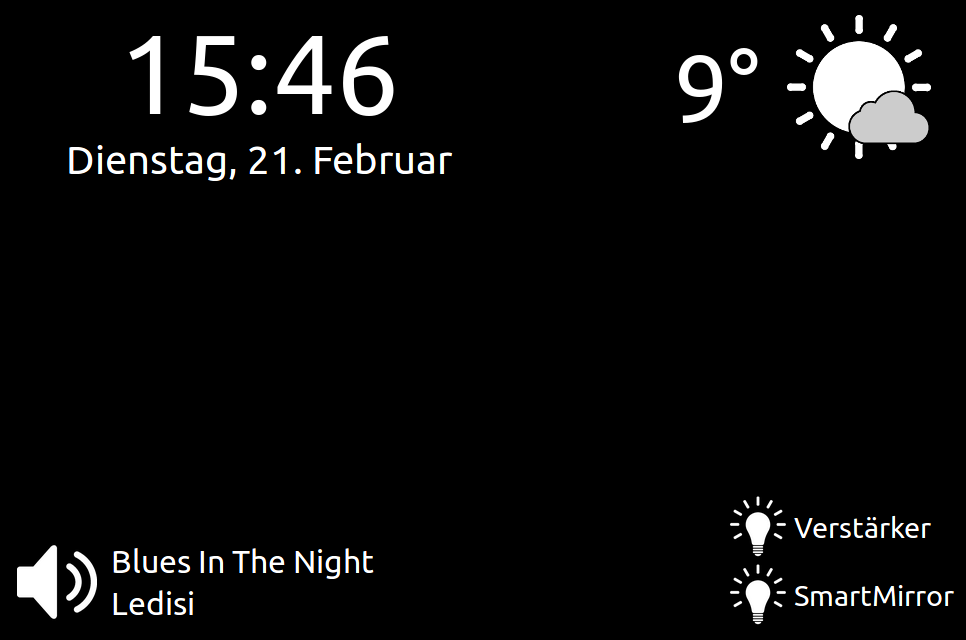
The software of the smart mirror is completely based on html, javascript and css. Everything you need is a browser. For a raspberry pi i recommend to use midori. The source code is hosted in a gitpub repo. This is a very minimalistic dashboard that just shows the time, weather, music and switches. Time comes from the system time of the computer. To show weather information i use http://api.openweathermap.org. Music and switch information comes from my smart home server based on this githup repo: https://github.com/dabastynator/RemoteControlSystem. This smart home solution defines several controllable units, for example media-server or wireless socket in a configuration-xml and makes all available via a restful web api.
To configure the raspberry pi you have to clone the github repo:
git clone git@github.com:dabastynator/SmartMirror.git
And edit the file ~/SmartMirror/smart_config.js to set the openweatherapi key and the remote-control-system security token:
var mSecurity = 'token=';
var mOpenWeatherKey = '';
Now the raspberry pi should show the midori browser on startup and also hide the mouse cursor on inactivity by unclutter. Therefore add following lines on ~/.bashrc:
sleep 20s
# Hide mouse on inactivity
unclutter -display :0 -noevents -grab &
log="/home/pi/magic_mirror.log"
mirror="file:///home/pi/SmartMirror/smart_mirror.html"
export DISPLAY=:0
midori -e Fullscreen -a $mirror >> $log &
Next i remove the default blank screen on 6 min of inactivity described on this page: http://www.etcwiki.org/wiki/Disable_screensaver_and_screen_blanking_Raspberry_Pi. Therefore modify the file /etc/kbd/config and changes this lines:
BLANK_TIME=0
BLANK_DPMS=off
POWERDOWN_TIME=0
And add this additional lines to the file /etc/xdg/lxsession/LXDE-pi/autostart.
@xset s noblank
@xset s off
@xset -dpms
To turn the screen by 90° i added the following lines into /boot/config.txt.
# Rotate screen into protrait mode
display_rotate=1
That's it. My experience now is to better use a real led monitor instead of a lcd monitor. That should produce less light on the black area, consume less power and should be lighter and thinner. My mirror weighs 10 kg.