Smart Home With Siri,iWatch,iPhone

.png)

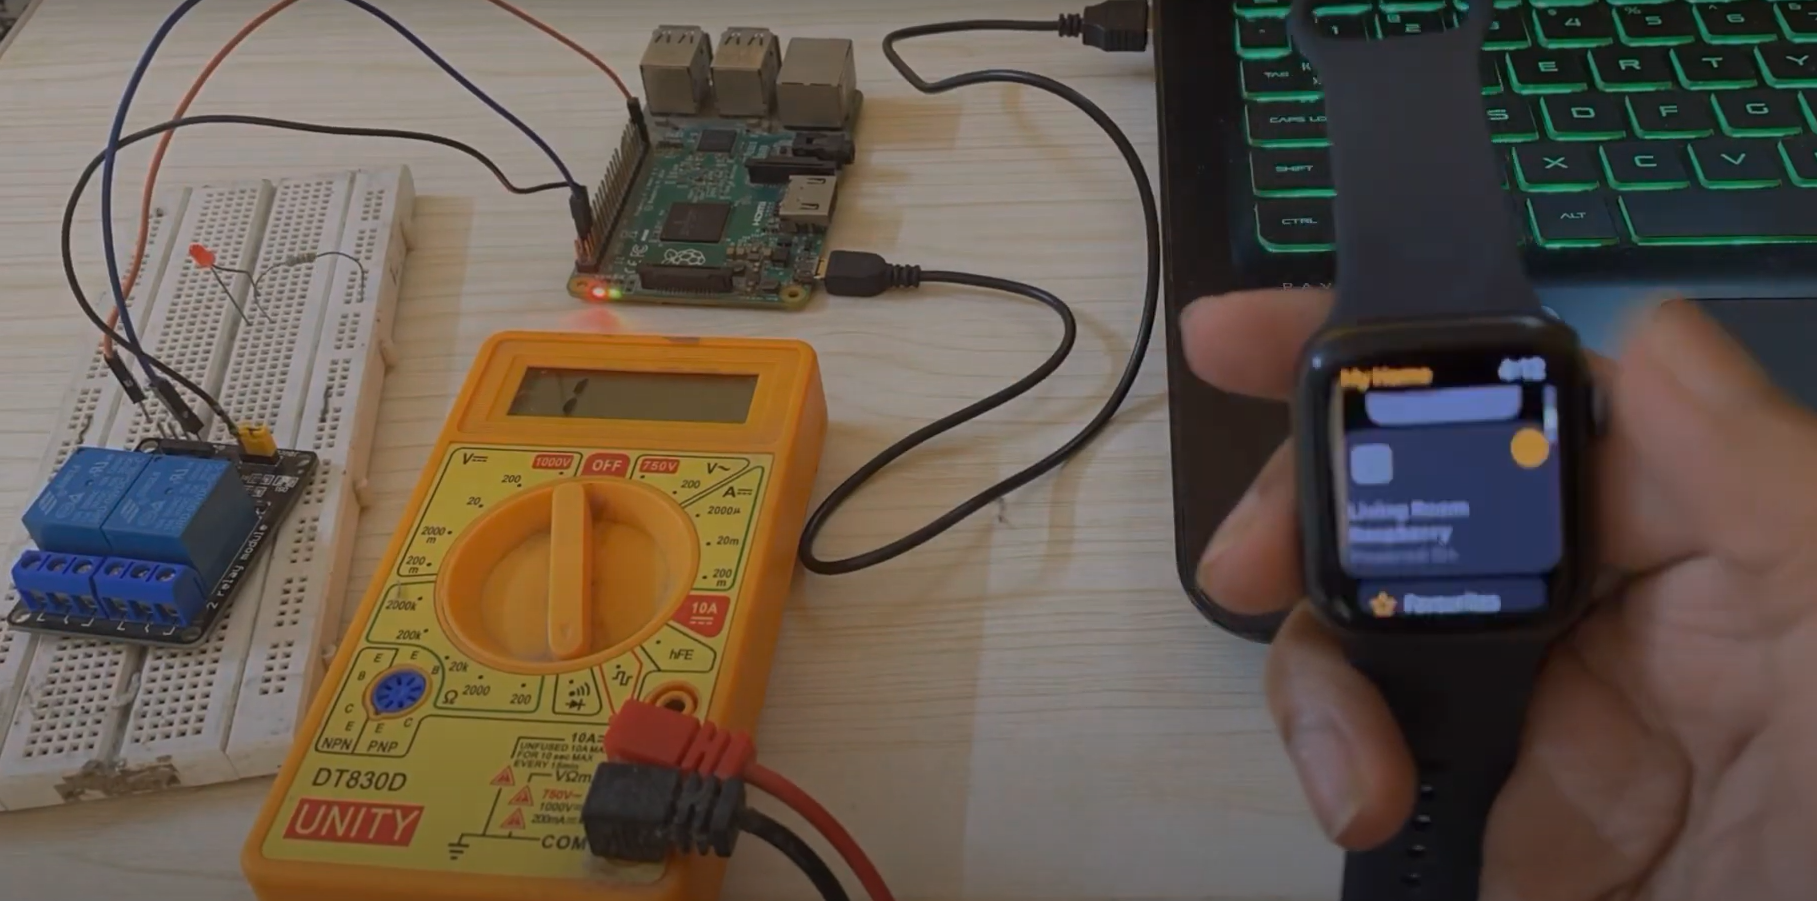
Smart homes are all about convenience and control, and with the release of the Apple Watch, controlling your home appliances has never been easier. In this blog post, we'll take a look at how to use an Apple Watch to control your home appliances using a Raspberry Pi, Homebridge, Apple Home.
First, let's start with the hardware. You'll need a Raspberry Pi, which is a small computer that can be used for a variety of projects. You'll also need an AC switch, which can be used to control your appliances by turning them on and off remotely.
Next, you'll need to set up Homebridge on your Raspberry Pi. Homebridge is a Node.js server that acts as a bridge between your home appliances and Apple Home. Once you have Homebridge set up, you can add your AC relay as a new accessory in the Homebridge configuration file.
Once your hardware is set up and your AC relay is added to Homebridge, you can use the Apple Home app on your iPhone or iPad to control your home appliances. You can also use Siri to control your appliances by saying things like "Turn off the living room lights."
But the real magic happens when you pair your Apple Watch with your iPhone or iPad. You can use your Apple Watch to control your home appliances directly, without having to take out your phone. This is especially useful when you're away from home, and you want to turn off a light or adjust the temperature.
In conclusion, using a Raspberry Pi, Homebridge, Apple Home, and an AC Relay, you can easily control your home appliances using your Apple Watch. This makes it easy and convenient to control your home appliances from anywhere, at any time.
Supplies
.png)
Here are following Items required:
- Raspberry pi
- AC 5/3V relay
- Led and breadboard for testing
- Any apple device eg iWatch, iPhone, iPad
Setup Raspberry Pi
.png)
I am assuming that you have basic knowledge of raspberry pi and its component.
If you are new to raspberry pi Please go through the quickstart with raspberry pi https://projects.raspberrypi.org/en/pathways/getting-started-with-raspberry-pi
Once you know the basic eg running a python code, Turning ON/OFF GPIO pins.
Then Follow below steps:
- Turn on raspberry pi and install homebridge
- HomeBridge is application which connect raspberry pi with any apple device.
- Follow this link to Install it (https://github.com/homebridge/homebridge/wiki/Install-Homebridge-on-Raspbian)
- Open the Homebridge server using a browser.
- Add a plugin Raspberry RPI in homebridge(Raspberry RPI plugin which used to control GPIO pin of raspberry pi)
- Open raspberry RPI plugin and add a device you have to provide the few fields eg. host name(localhost), device name, Device pin(GPIO pin in which Switch will connect mine was 14) .
Setup Apple Device
.png)
- Open Apple home and scan the QR of homebridge server and setup the device.
- Type a name of device eg Living room light, Fan etc.
- After that new icon get create for that device(created by Apple home).
- Click the icon: Turn ON/OFF and test the connection with led which is connected with raspberry pi pin 14
Setup Relay
- Once connection with apple home and LED works replace the led with Relay.
- To learn how the switch work check out this tutorial(https://raspberrypi-guide.github.io/electronics/control-electronics-with-a-relay)
- Turn off your home main power switch then open your switch board and connect the relay with that switch(which control the light or fan).
Test With Siri and Apple Home

- Once the connection is working you can ask Siri to turn on/off the device using iWatch or iPhone
- You can use the Apple home Icon to control the same.
If you have any doubt please feel free to ask me on Instagram.
I invite you to follow my YouTube and Instagram channels where you will find a wealth of information!
YouTube: https://www.youtube.com/@MolayKumar
Instagram: https://www.instagram.com/lets.make_it_/
Thank you for taking the time to visit my blog, I truly appreciate your interest in my project