Smart Home Prototype Controlled by Smartphone With Reuse Waste Material
by lechampion17 in Circuits > Arduino
566 Views, 2 Favorites, 0 Comments
Smart Home Prototype Controlled by Smartphone With Reuse Waste Material
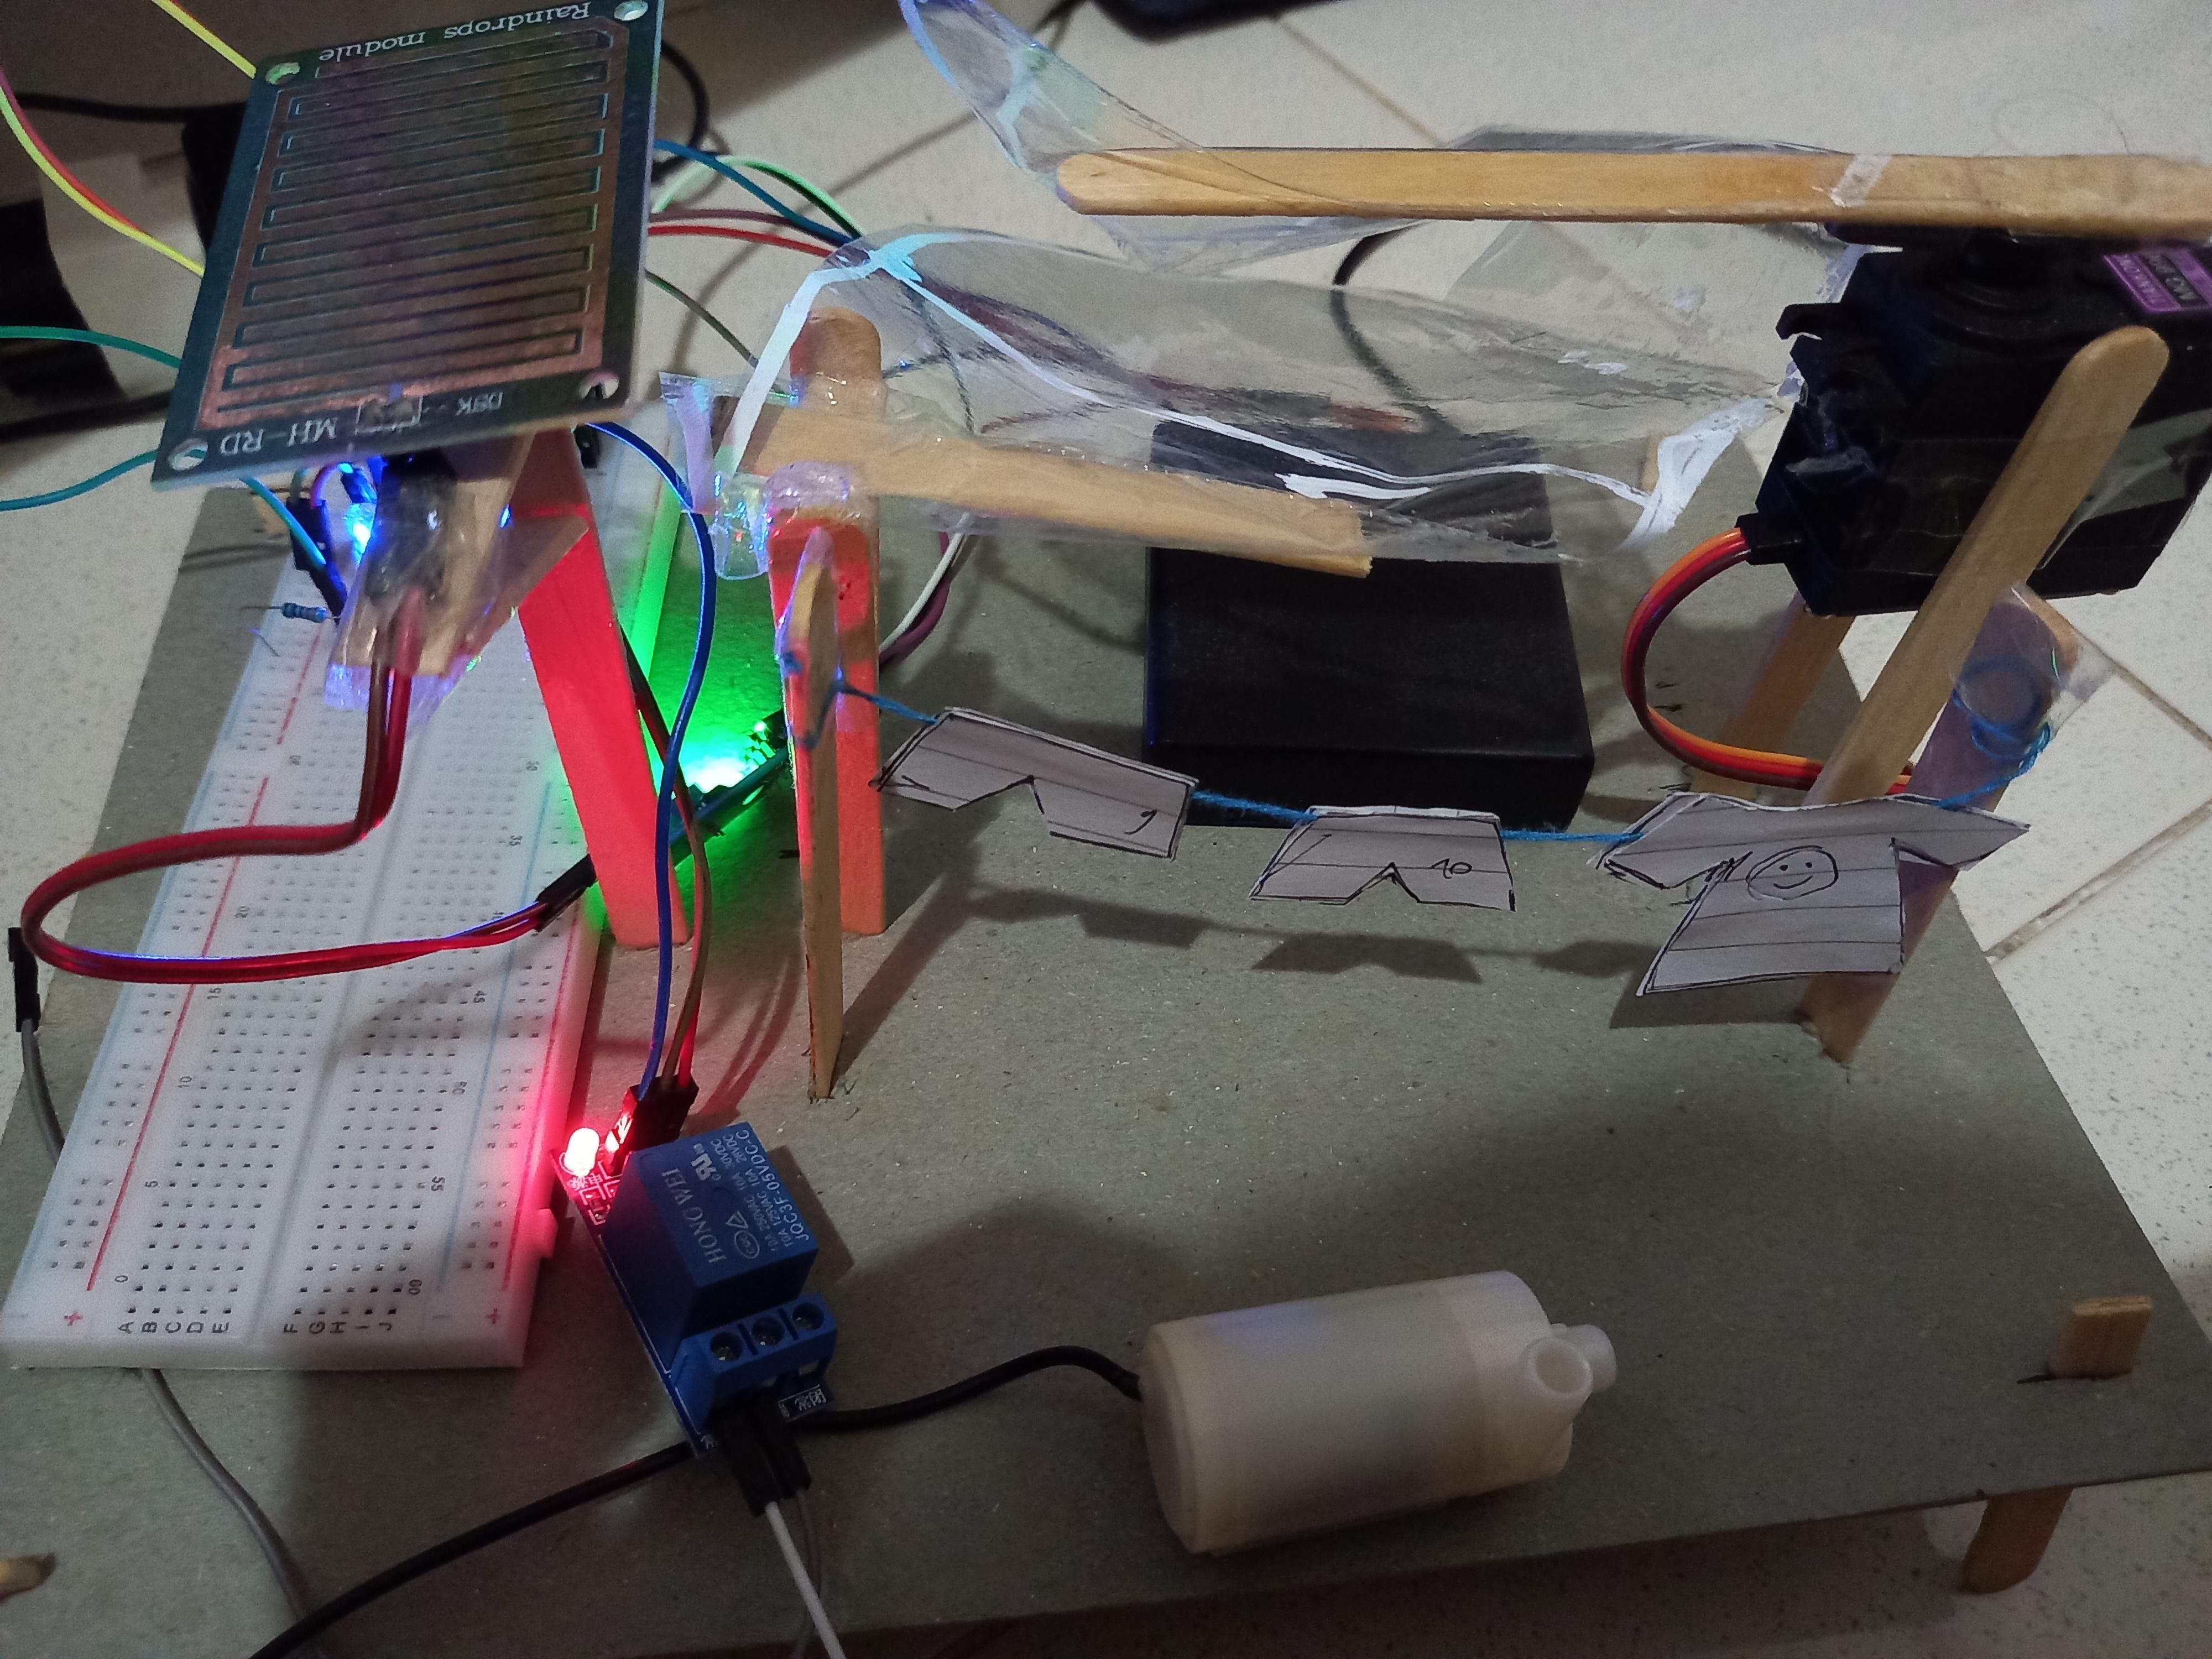
In this tutorial, we will make the smart home’s prototypes, we will use the reused waste material.
This smart home can control the lighting, sprinkler (we use the Submersible Water Pump), and may know the weather conditions, like will it rain or not, and the function will automatically control the shield of the clothesline. We can access all of the functions above only with the smartphone. For the application on the smartphone, we will make it with Android Studio, using prototype ESP8266 with Arduino IDE, and the communications between prototype and application use the Firebase
Supplies
- ESP8266
- Battery 1,5V x 4
- Submersible Water Pump DC 3V-5V
-
Servo Towerpro MG90s or MG996R
-
Rain Humidity Detection Sensor
-
LED 5mm
-
Relay Module 5V 1 Channel
-
Resistor 220 ohm
-
9 Ice Cream Stick
-
1 Cardboard Sheet
-
Glue and Masking tape
-
Clear Plastic Book Cover
Firebase
.png)
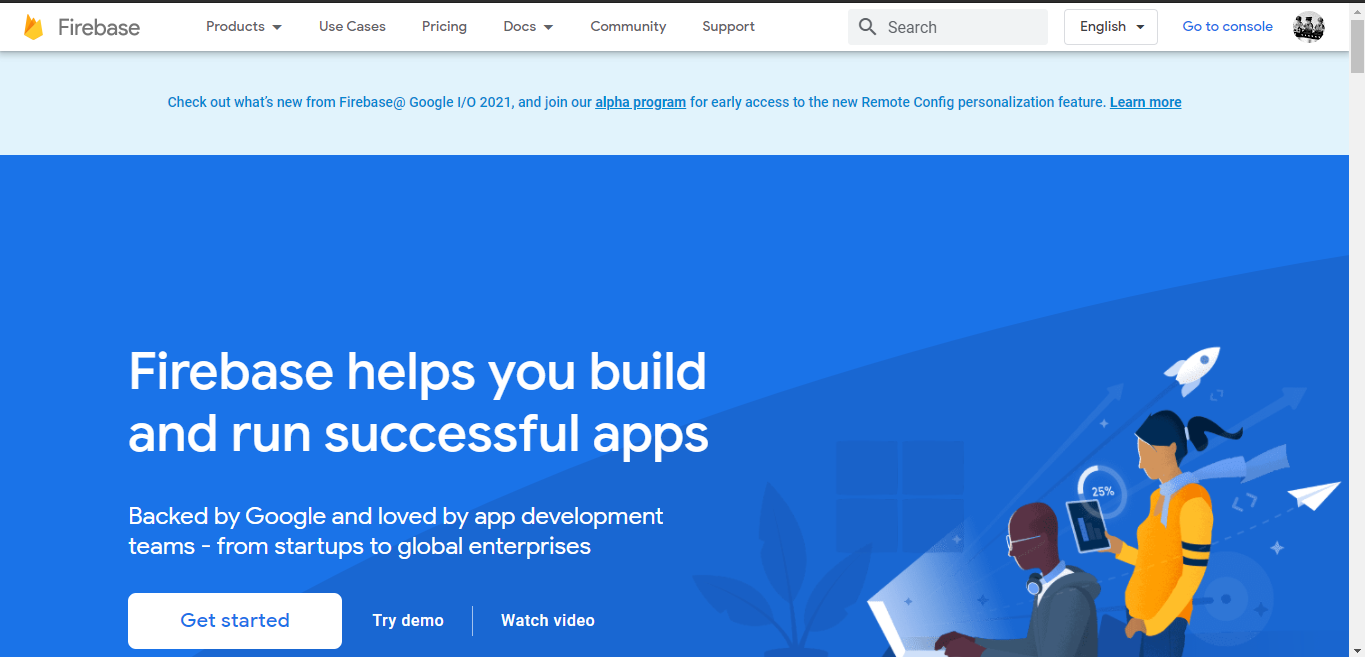
- Go to Firebase
- Go to Console
- Add Project
- Enter your Project Name (example: smarthome)
- Continue until 3 step done
- Create Project
Make Firebase Realtime Database
.png)
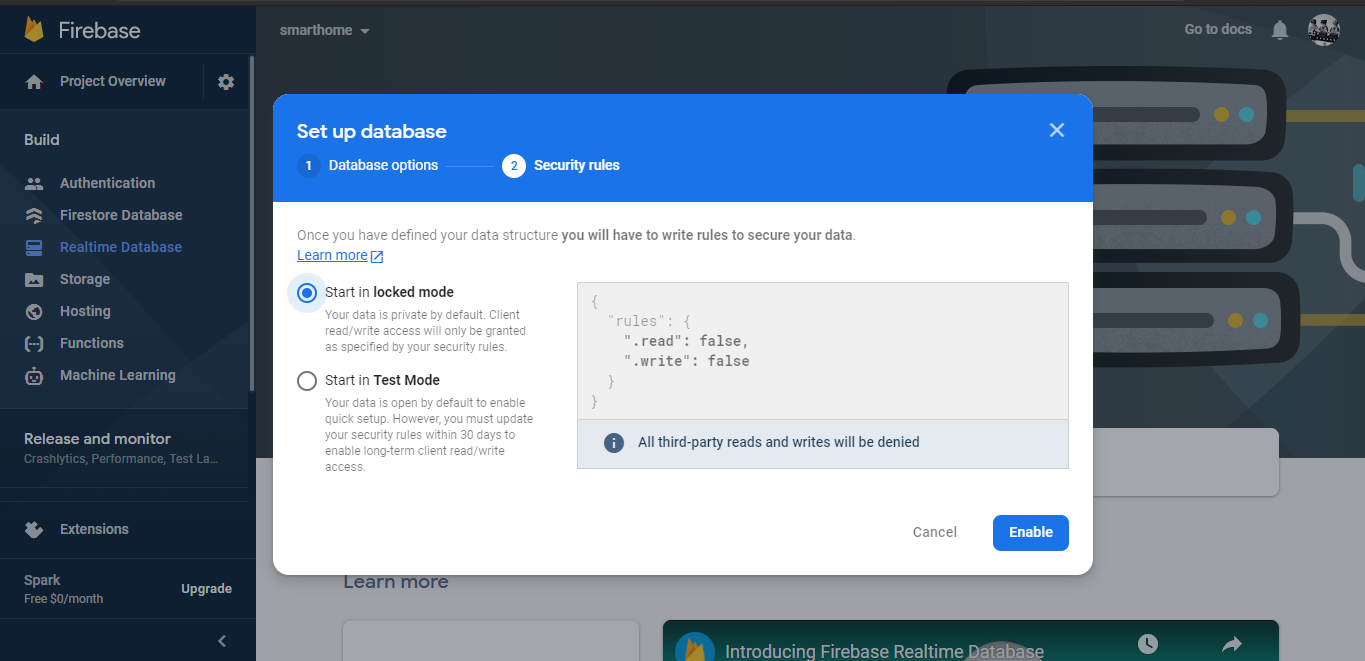
- Go to Realtime Database
- Create Database
- In Security Rules set "Start in Locked Mode" then click Enable
Change Rules Database
_LI.jpg)
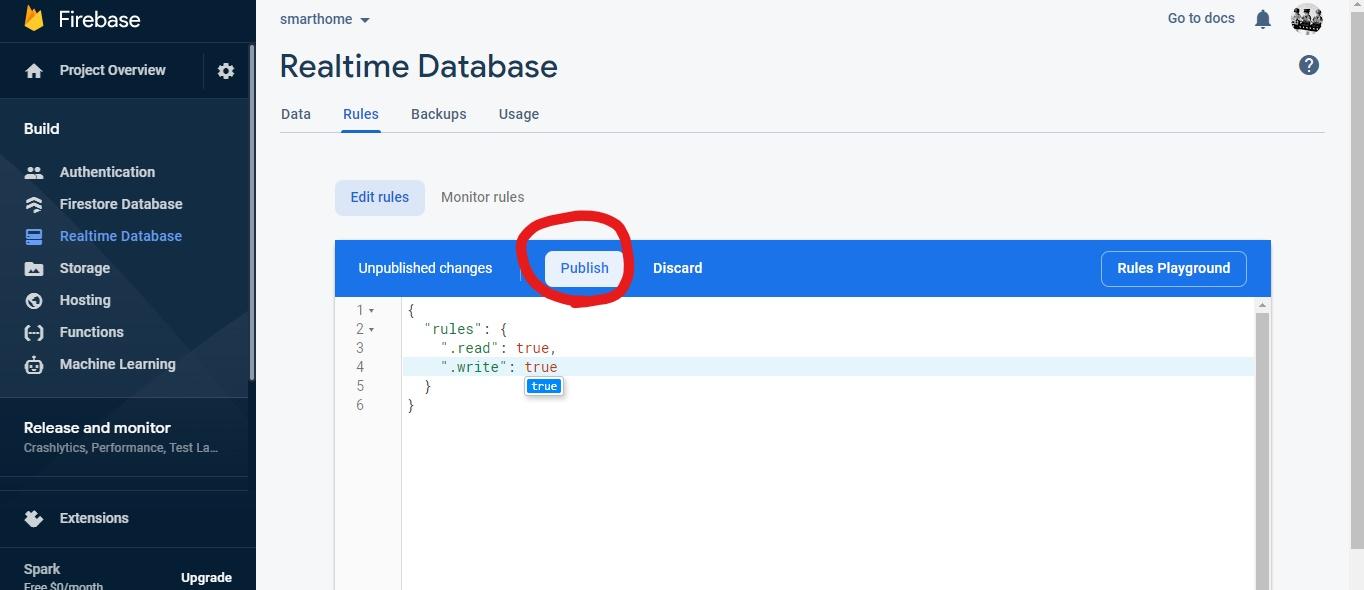
- Go to Rules
- Set .read and .write to true
- Click Publish
Make Database Child
.png)
- Go back to Data
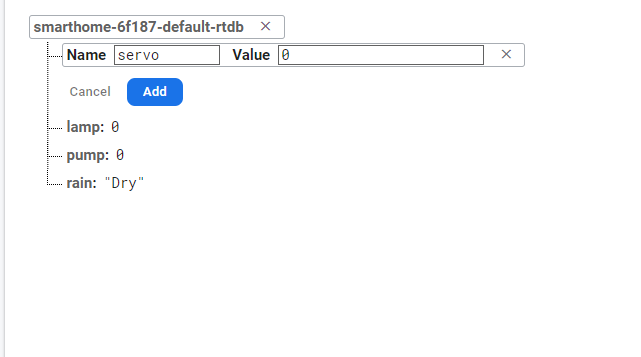
- Click + to add Child
-
Create 4 Child, named lamp with 0 value, pump with 0 value, servo with 0 value, and rain with “Dry” value
Make Smart Home Apps With Android Studio
You can download it from my GitHub
Connect Firebase to Android Studio
.png)
.png)
.png)
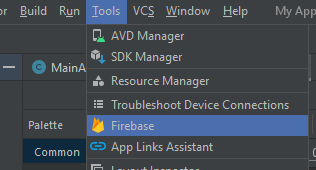
- Go to Tools
- Click Firebase
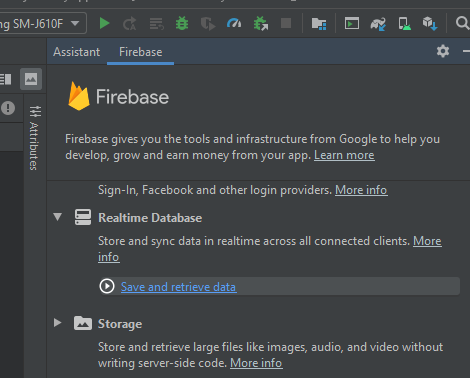
- Choose Realtime Database
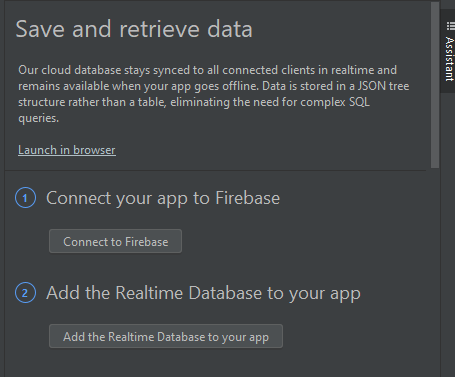
- Connect your app to Firebase
- Add the Realtime Database to your app
Connect Firebase to Android Studio Manually (if You Have Struggle to Connect Before)
Set Firebase Authentication in App
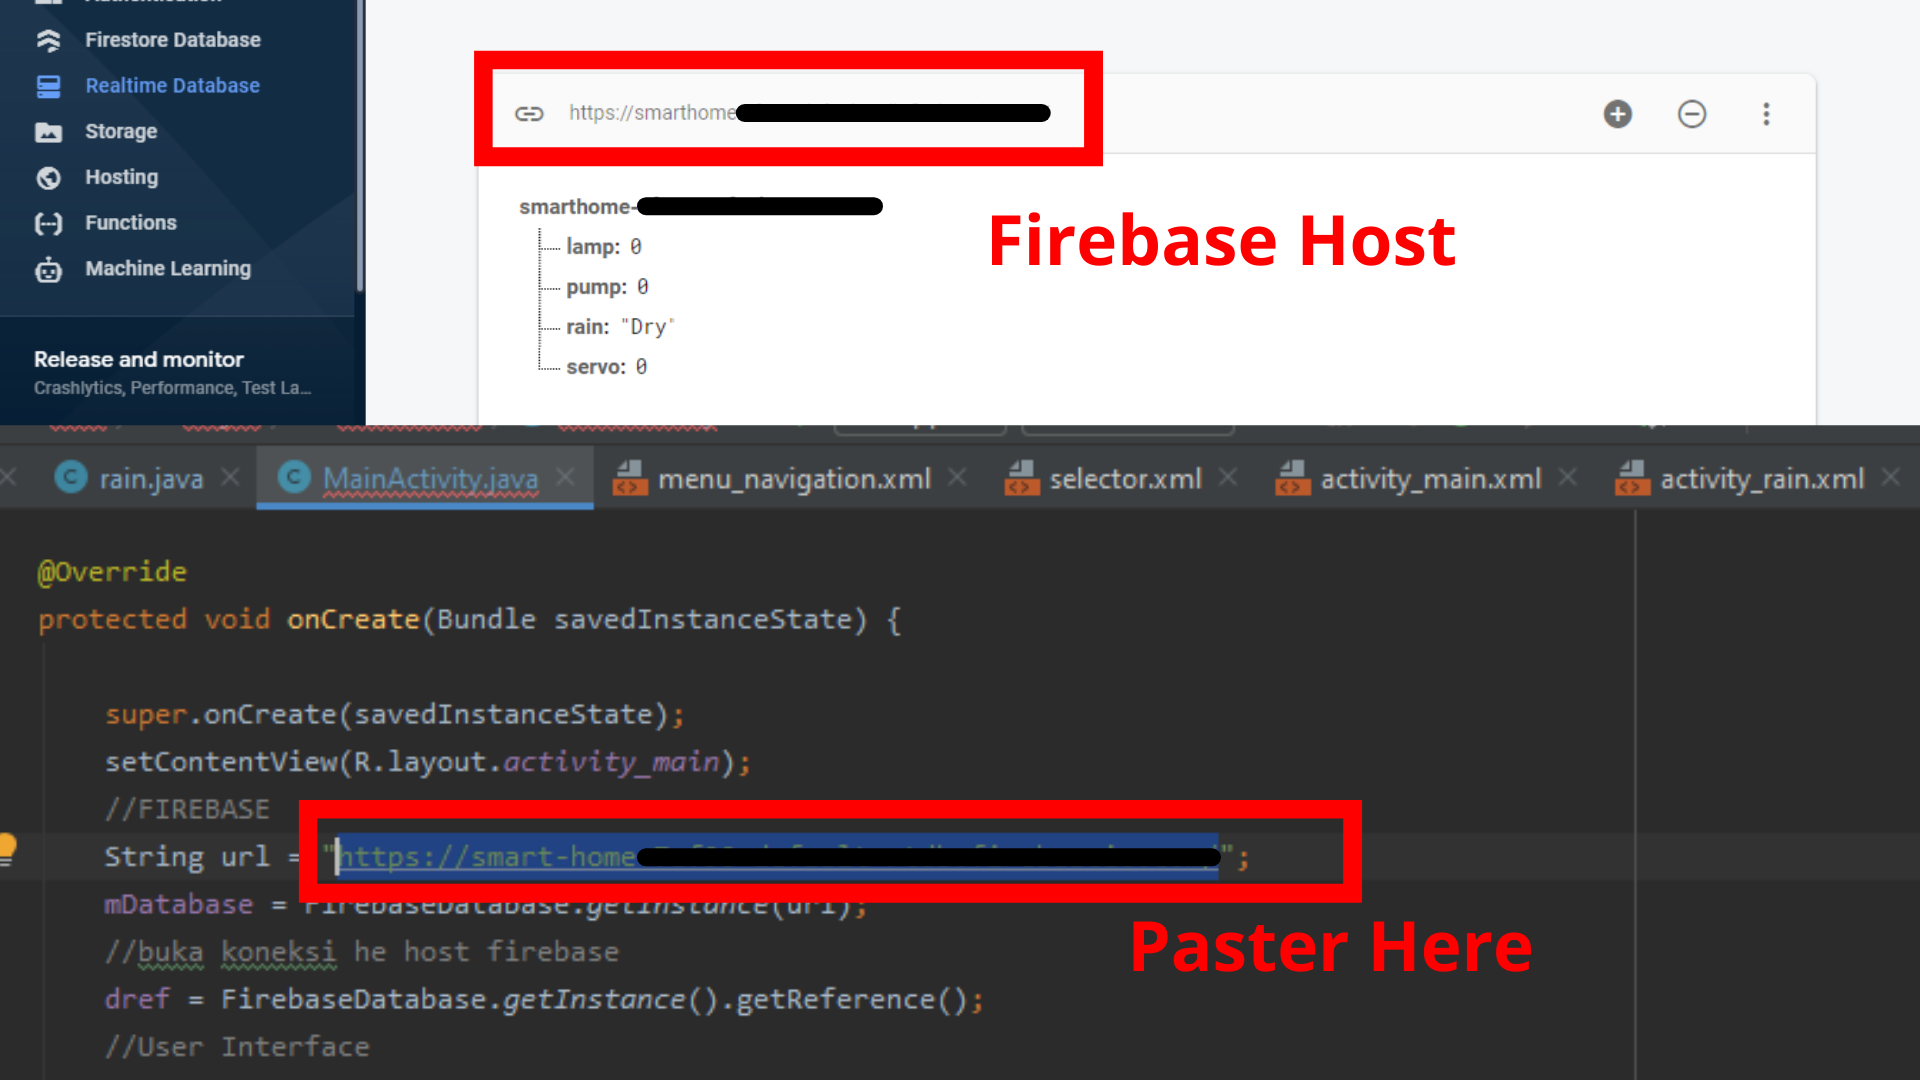.png)
- You can check your Firebase Host in Realtime Database
- Paste to String url = ""; in Pump.java, rain.java, and MainActivity.java
Upload to Your Smartphone
.png)
- Connect Your Phone using USB
- Click Run, after your device was detected
Hardware Connectivity
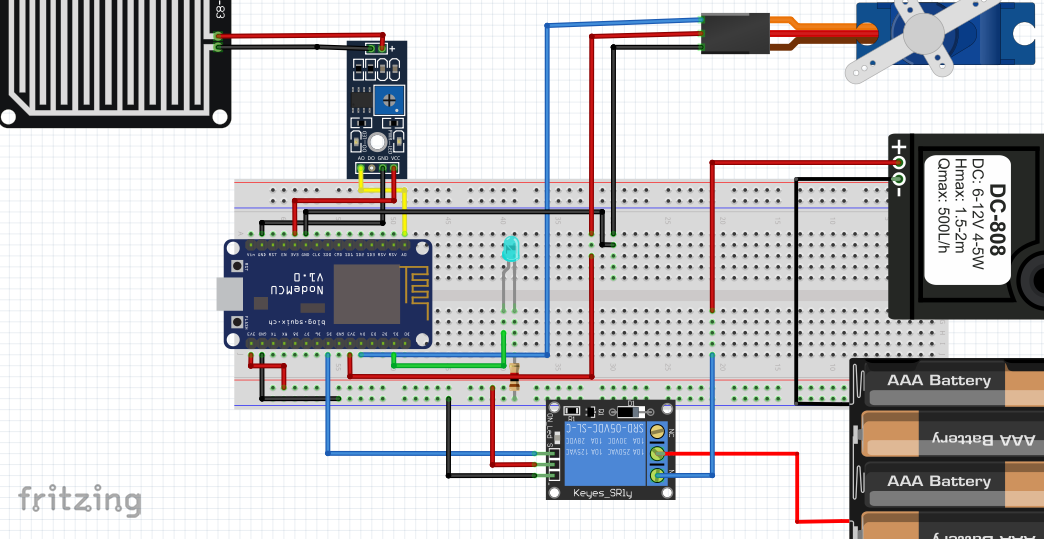.png)
Rain Sensor:
- AO --- AO
- VCC --- 3V3
- GND --- GND
Servo:
- Orange --- Pin D4
- Red --- 3V3
- Black --- GND
LED:
- + --- D1
- - --- Resistor 220 Ohm
Resistor 220 Ohm --- GND
Relay
- + --- 3V3
- - --- GND
Relay (COM) --- RED Battery Cable
Relay (NO) --- RED Pump Cable
BLACK Pump Cable --- BLACK Battery Cable
Make Prototype
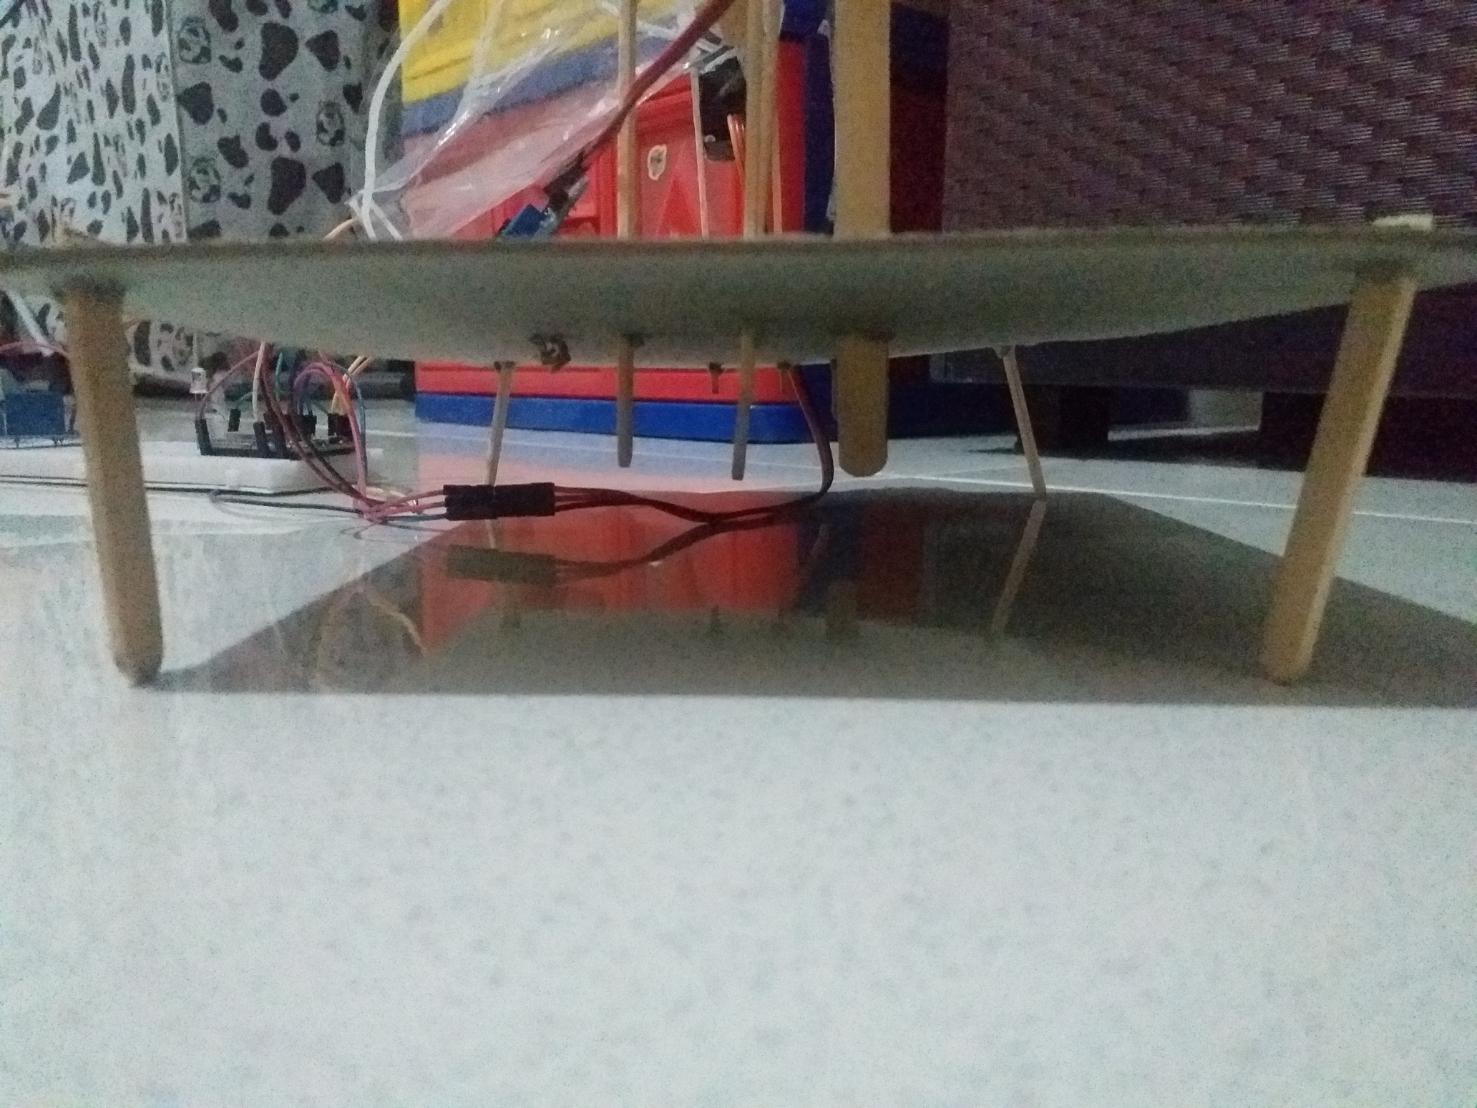
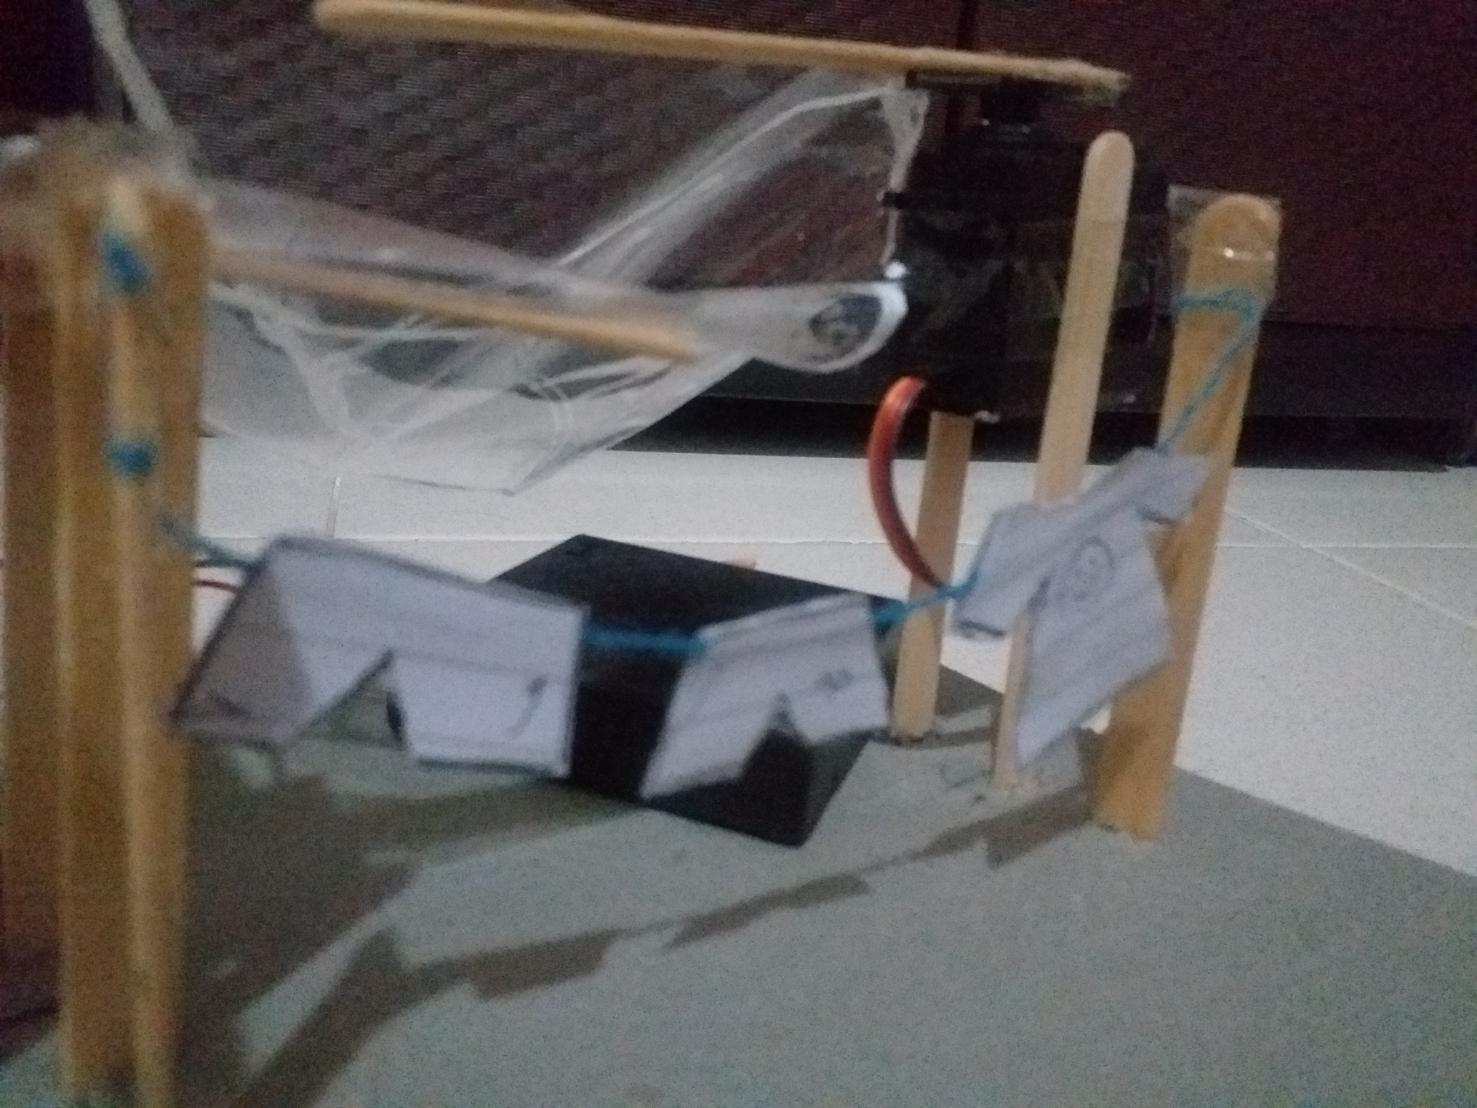
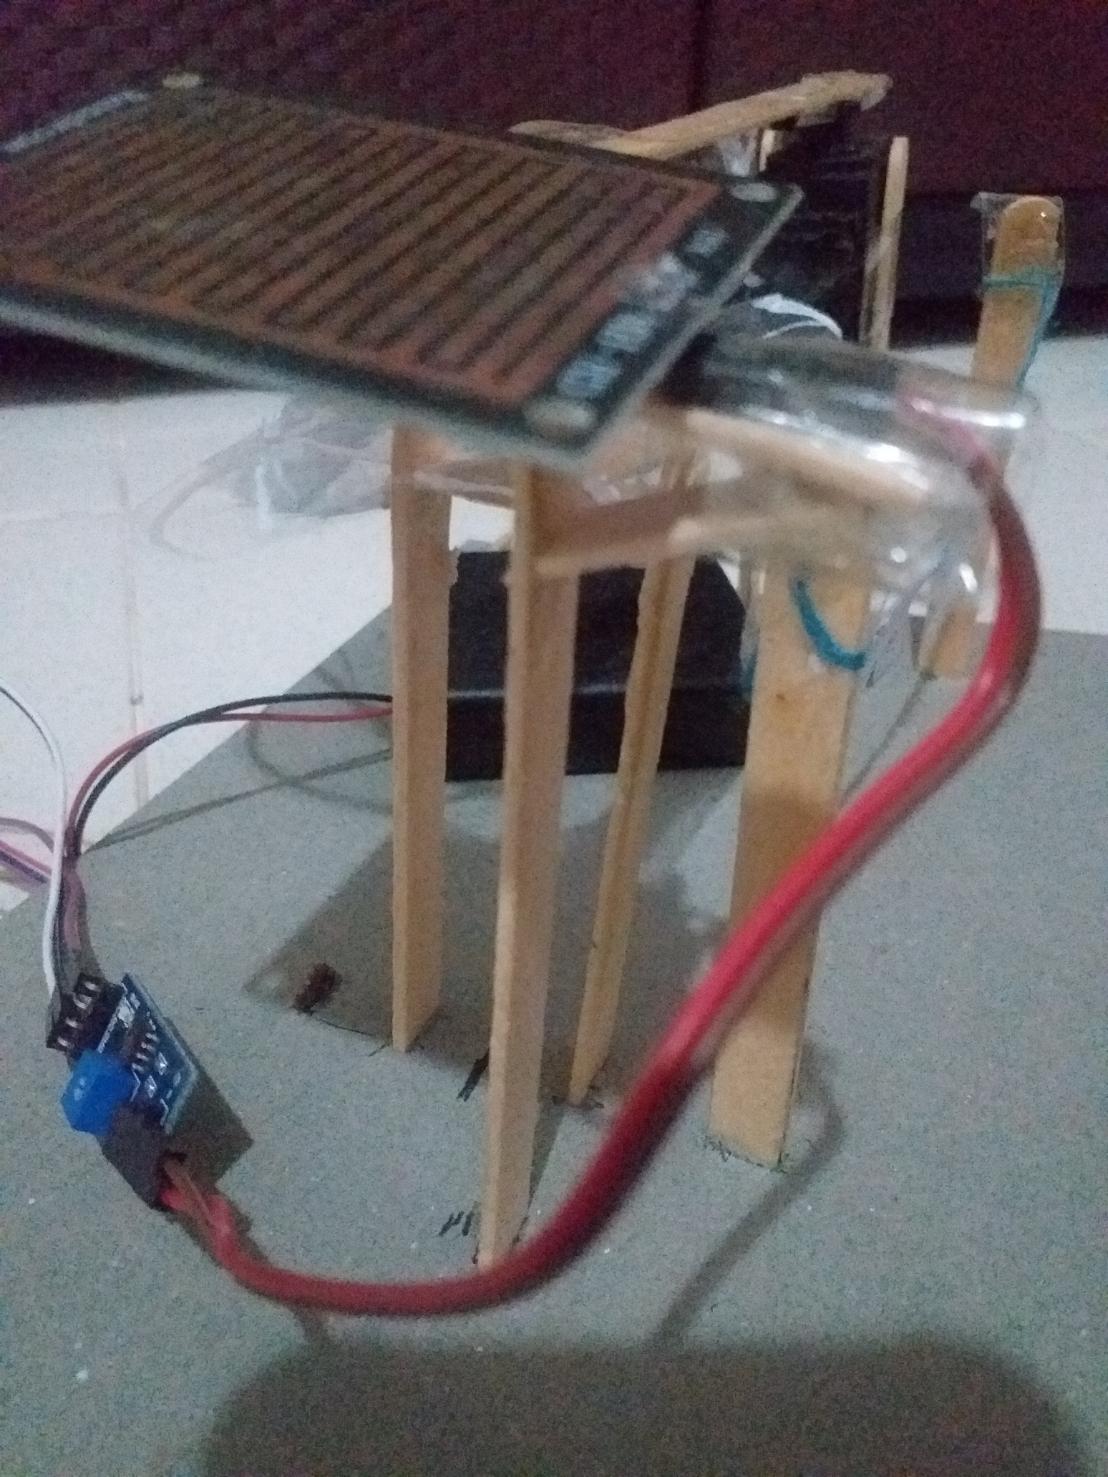
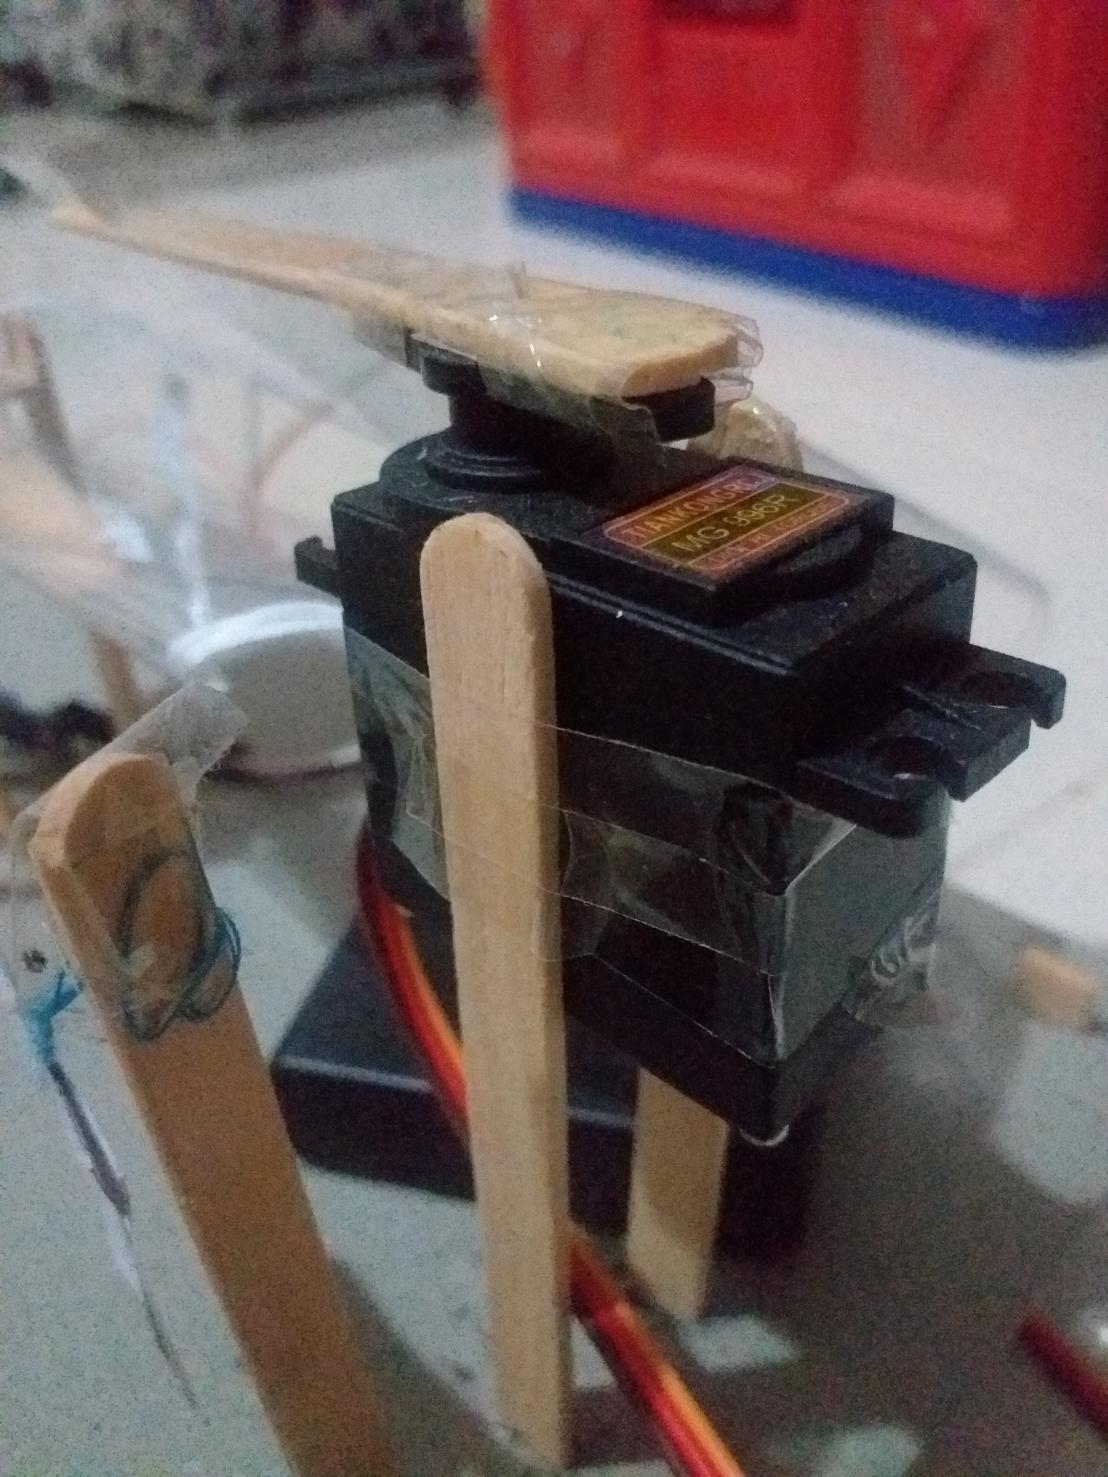
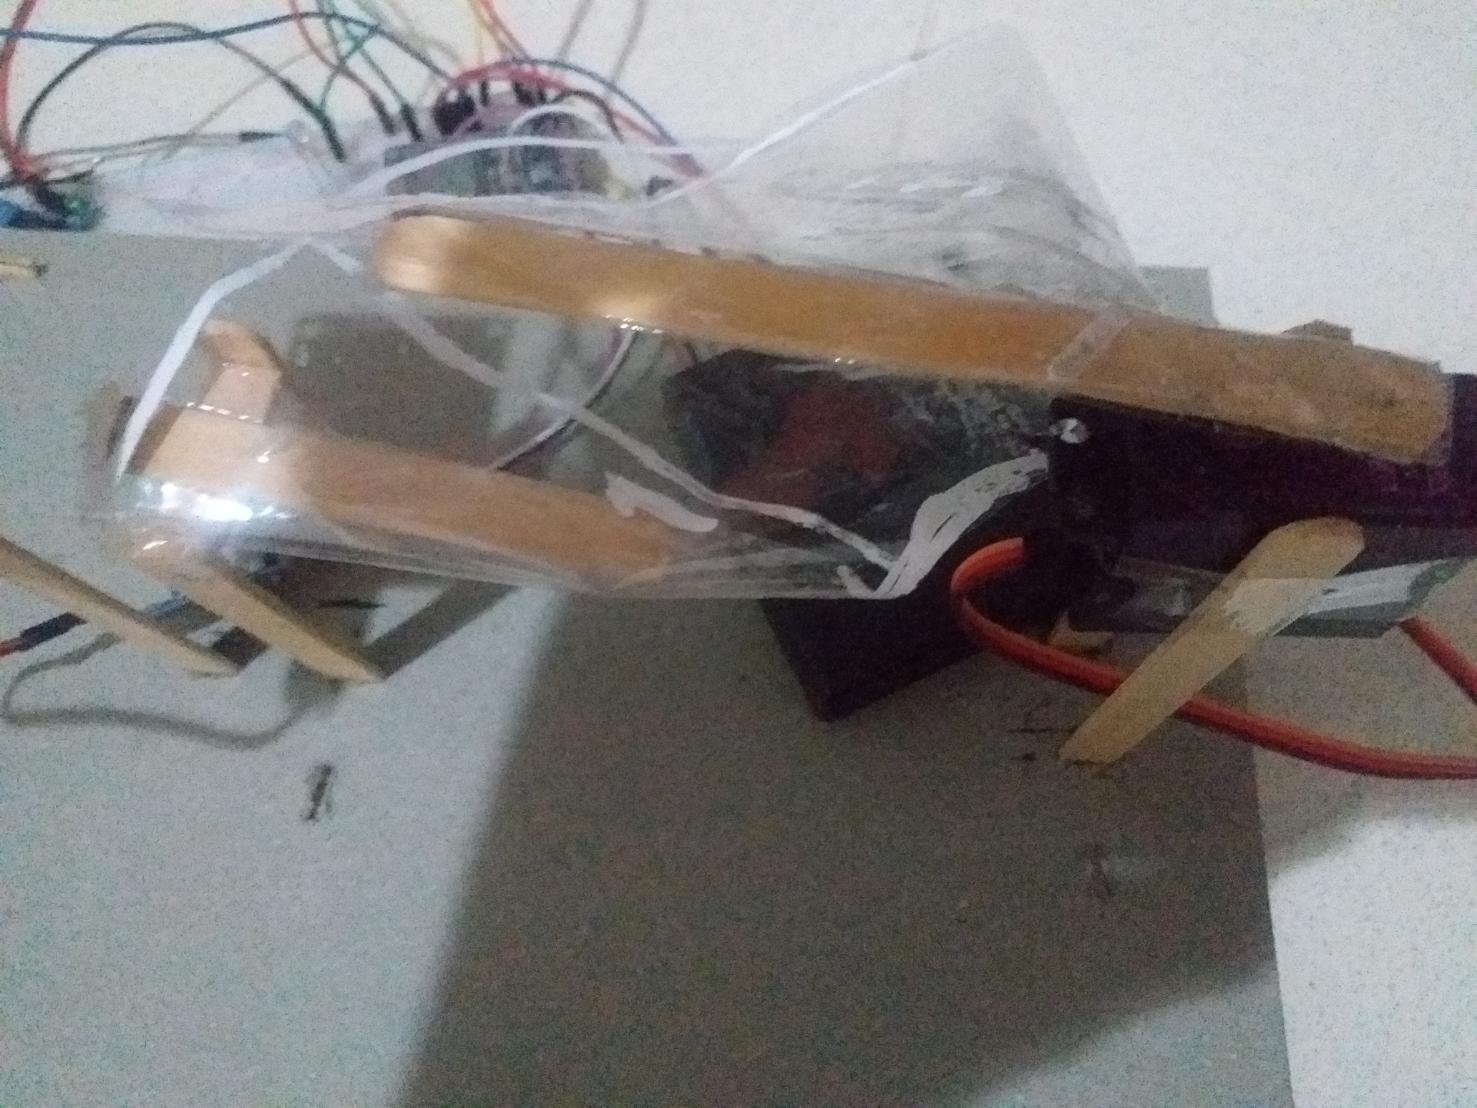
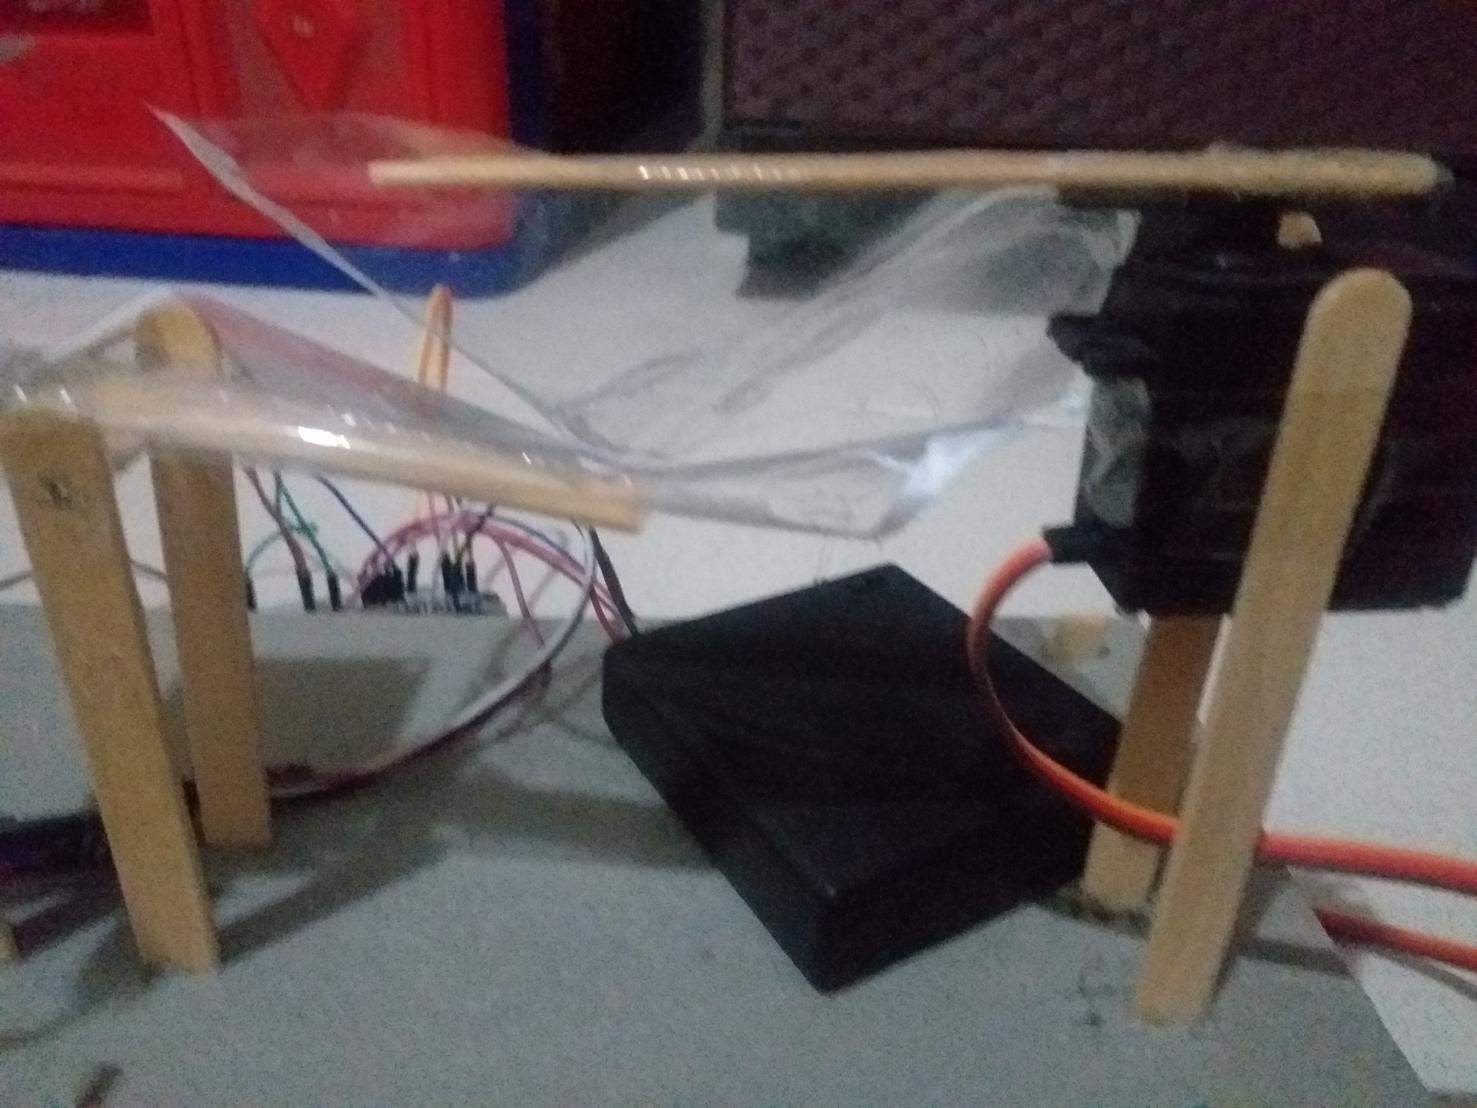
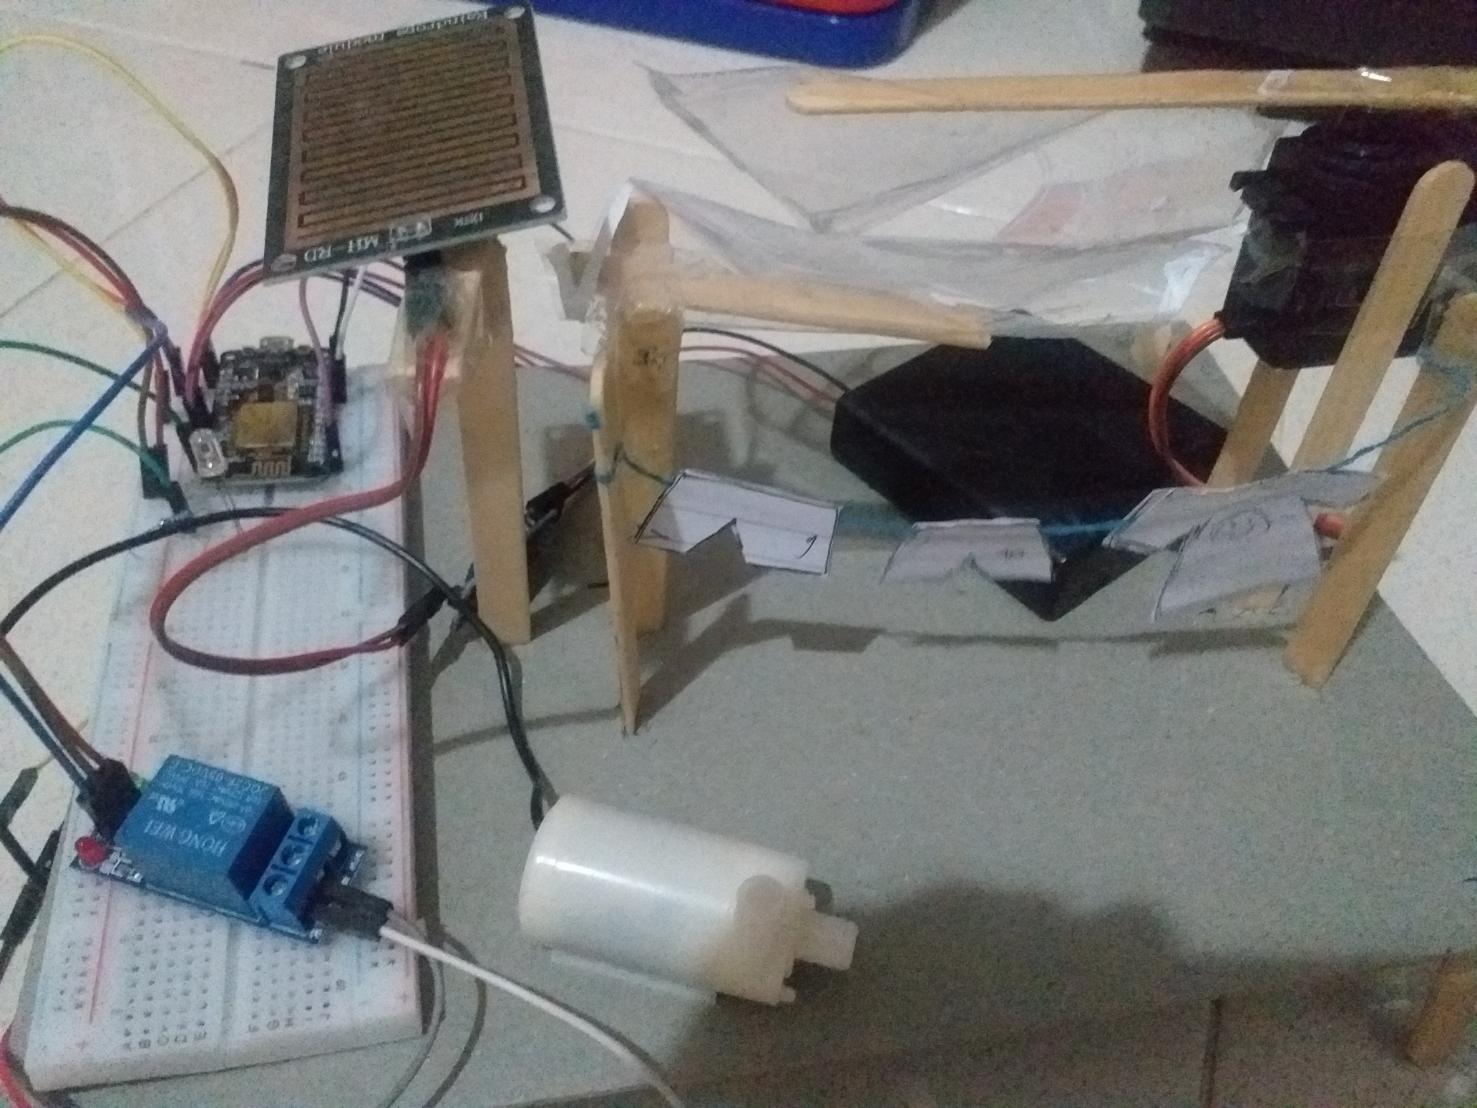
- Make 4 holes at the corner of the cardboard
- Cut 2 ice cream’s stick into 2, and put it in to the corner of the cardboard
- Make 2 holes for the hanger
- Make 1 hole, and put in 1 ice cream’s stick that has been stick together with rain censor
- Cut the Clear Plastic Book Cover with arched shape
- Make 2 holes on the right & left sides for the hanger’s cover
- Put in 2 ice cream’s stick, then connect it with the glue that has been stick together with clear plastic book, cover the things that has been cut on the left sides
- Put in 2 ice cream’s stick, then stick the servo with masking tape together
- Then stick the ice cream’s stick together that has been glued with the right sides clear plastic book cover that has been cut and stick it together with servo
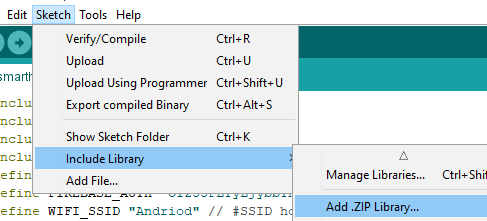
ESP8266 Program in Arduino IDE (add New Library)
.png)
- Download FirebaseESP8266 Library
- Click Sketch
- Click Include Library
- Click Add .ZIP Library
- Choose Firebase-ESP8266-master.zip
ESP8266 Code
Downloads
FIREBASE HOST and FIREBASE AUTH
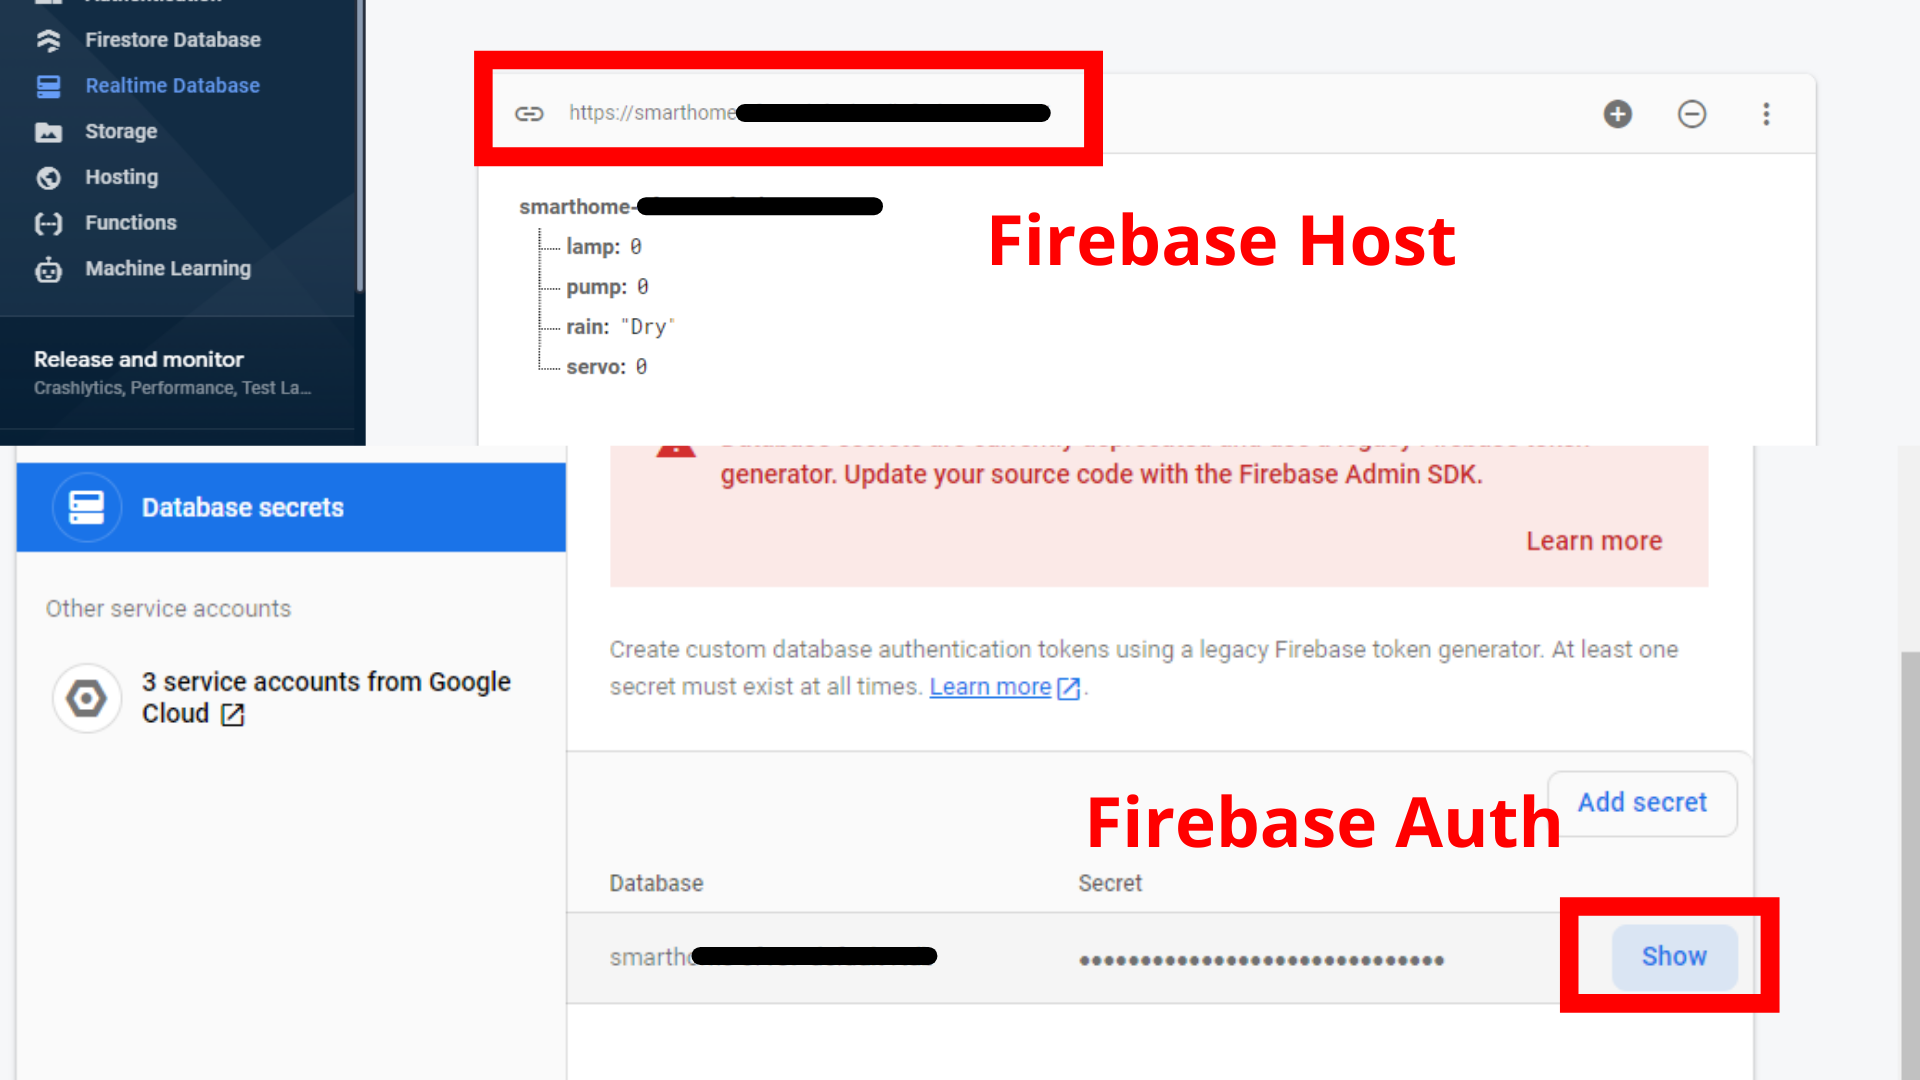
You can check your Firebase Host in Realtime Database
You can check yout Firebase Auth:
- Go to Project Settings
- Click Service Accounts
- Click Database Secrects
- Click Show