Smart Home - Arduino Trash Indicator With BLE
by Technovation in Circuits > Arduino
26639 Views, 109 Favorites, 0 Comments
Smart Home - Arduino Trash Indicator With BLE
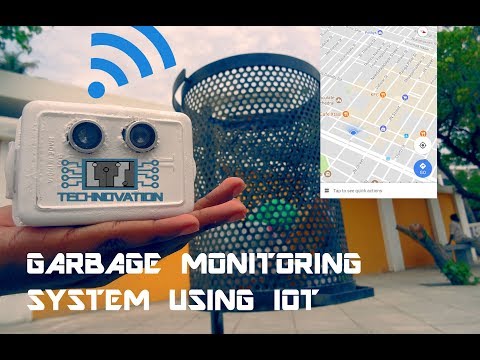)
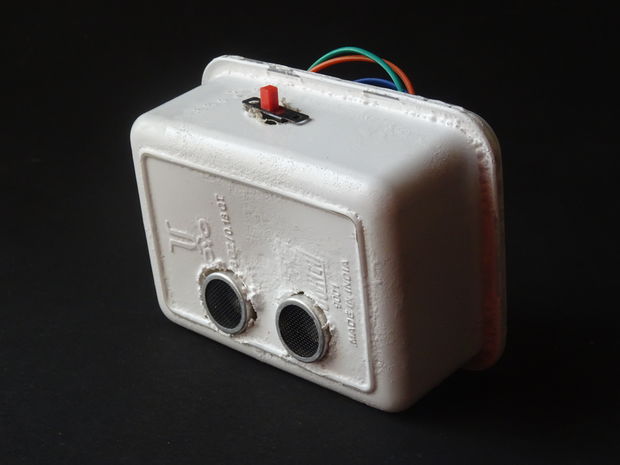
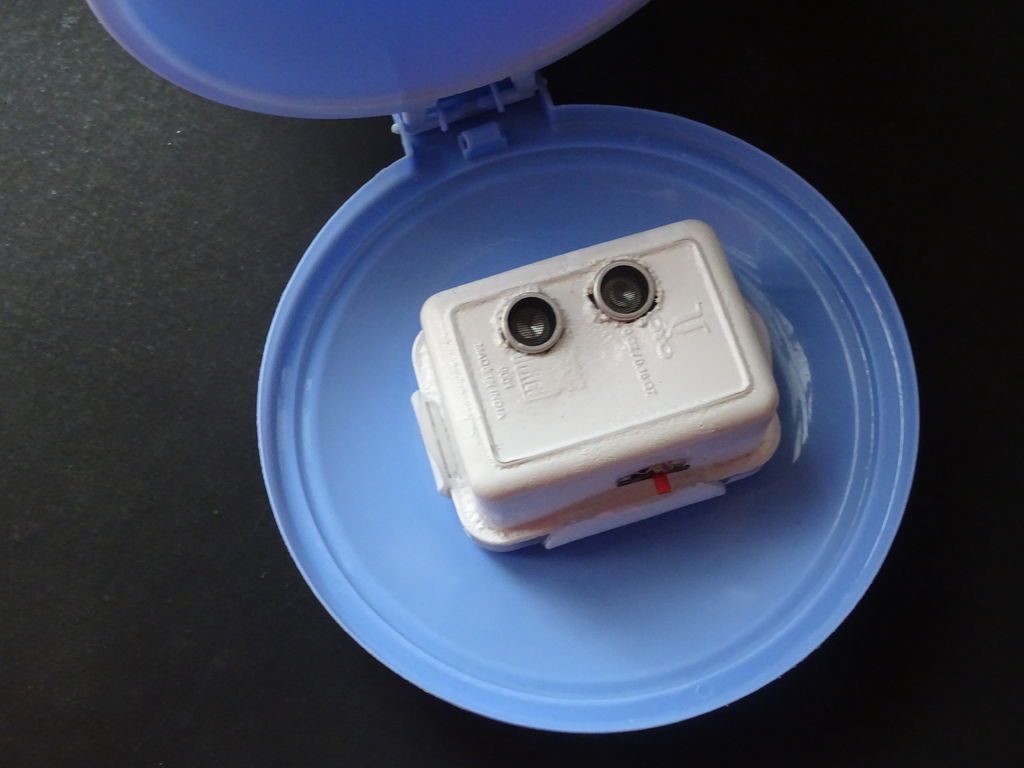
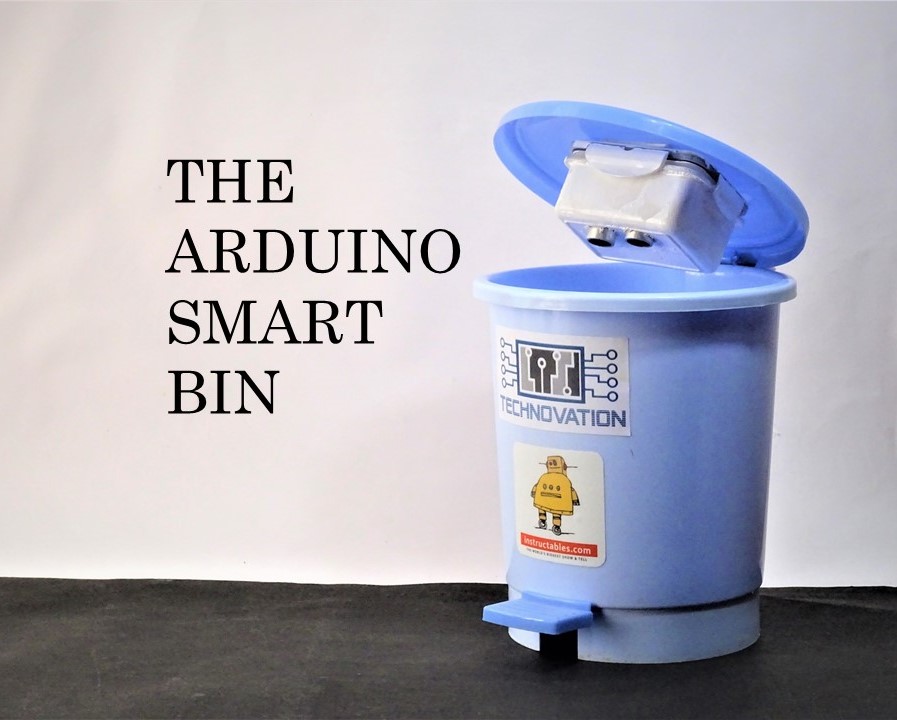
Nobody likes emptying the trashcan at home, especially when it's too full. Here is a device that indicates the level of the trash in the bin alerting everyone , with the use of a simple mobile app. This small home improvement has lead to a more efficient system.
Follow on to see how this simple device could make your home smarter, with basic skills in electronics, programming and hardware! Do check out the video to better appreciate the project.
If you like what we made, you might like our instrcutables which tackles this system on a larger scale, the bins of the city. Click here to see how we made it.
Do support us by voting for us in the contests, thanks!
COMPONENTS IN OUR SYSTEM
The basic Model works like so...
To start with you will first have to enter the height of the dustbin. This will help us generate the percentage of trash in the trashcan. We then have two criterias which needs to be satisfied to show that the particular bin needs to be emptied : 
- The amount of trash, in other words let's say if your bin is half full you don't really need to empty it. Our thresh, or maximum amount that we permit of trash, is 75% of the bin. (You could alter the thresh according to your preference.)
- If supposing a particular trashcan fills up 20% and then for a week doesn't change, it comes into our second criteria, time. With time even the little amount will start rotting leading to a smelly surrounding. To avoid that our tolerance level is 2 days, so if a trashcan is less than 75% but it is two days old it then will also need to be emptied.
With these criterias in mind let's understand the technical part:
- An ultrasonic sensor (A.K.A a distance sensor) will be placed on the interior side of the lid, the one facing the solid waste. As trash increases, the distance between the ultrasonic and the trash decreases.
- This live data will be sent to our micro-controller.Our micro- controller then processes the data and through the help of WiFi sends it to an app.
- What the app does it visually represents the amount of trash in the bin with a small animation.

This process will indicate all the bins which require attention, leading the user to take the most effective steps.
ABOUT US

We post all of our projects on Instructables, a place that lets you explore, document, and share your DIY creations. You can also subscribe to our YouTube Channel Here. We post lots of in progress photos and have conversation on our Facebook Page Here and Instagram.
If you like what we make and wish to support us, do it on Patreon here. For work related inquiries contact us on : technovationrobot@gmail.com
MATERIALS NEEDED


Hardware:
- Grover Base Shield v2 - this shield makes it very convenient to connect the sensor module.
- Arduino 101 - the brain of our system.
- 9v Battery ( Gearbest) - these batteries will power the Arduino board
- Plastic Container (Gearbest) - I found an old plastic container in which all the components could fit. The box is important as you can easily access the components and it's waterproof.
- Ultrasonic Sensor (Gearbest) - An ultrasonic sensor measures distance. It will be attached to the lid indicating the quantity of trash. Our system's key component.
- White spray Paint (Amazon) - turns your regular box into a more professional product
Tools:
Software:
- Arduino IDE
- Blynk - an android app that allows communication with WiFi compatible micro-controllers.
 Quick word about Gearbest, you can find all products especially for hobbyists.They have good quality products highly recommended, do check them out!
Constructing the Model
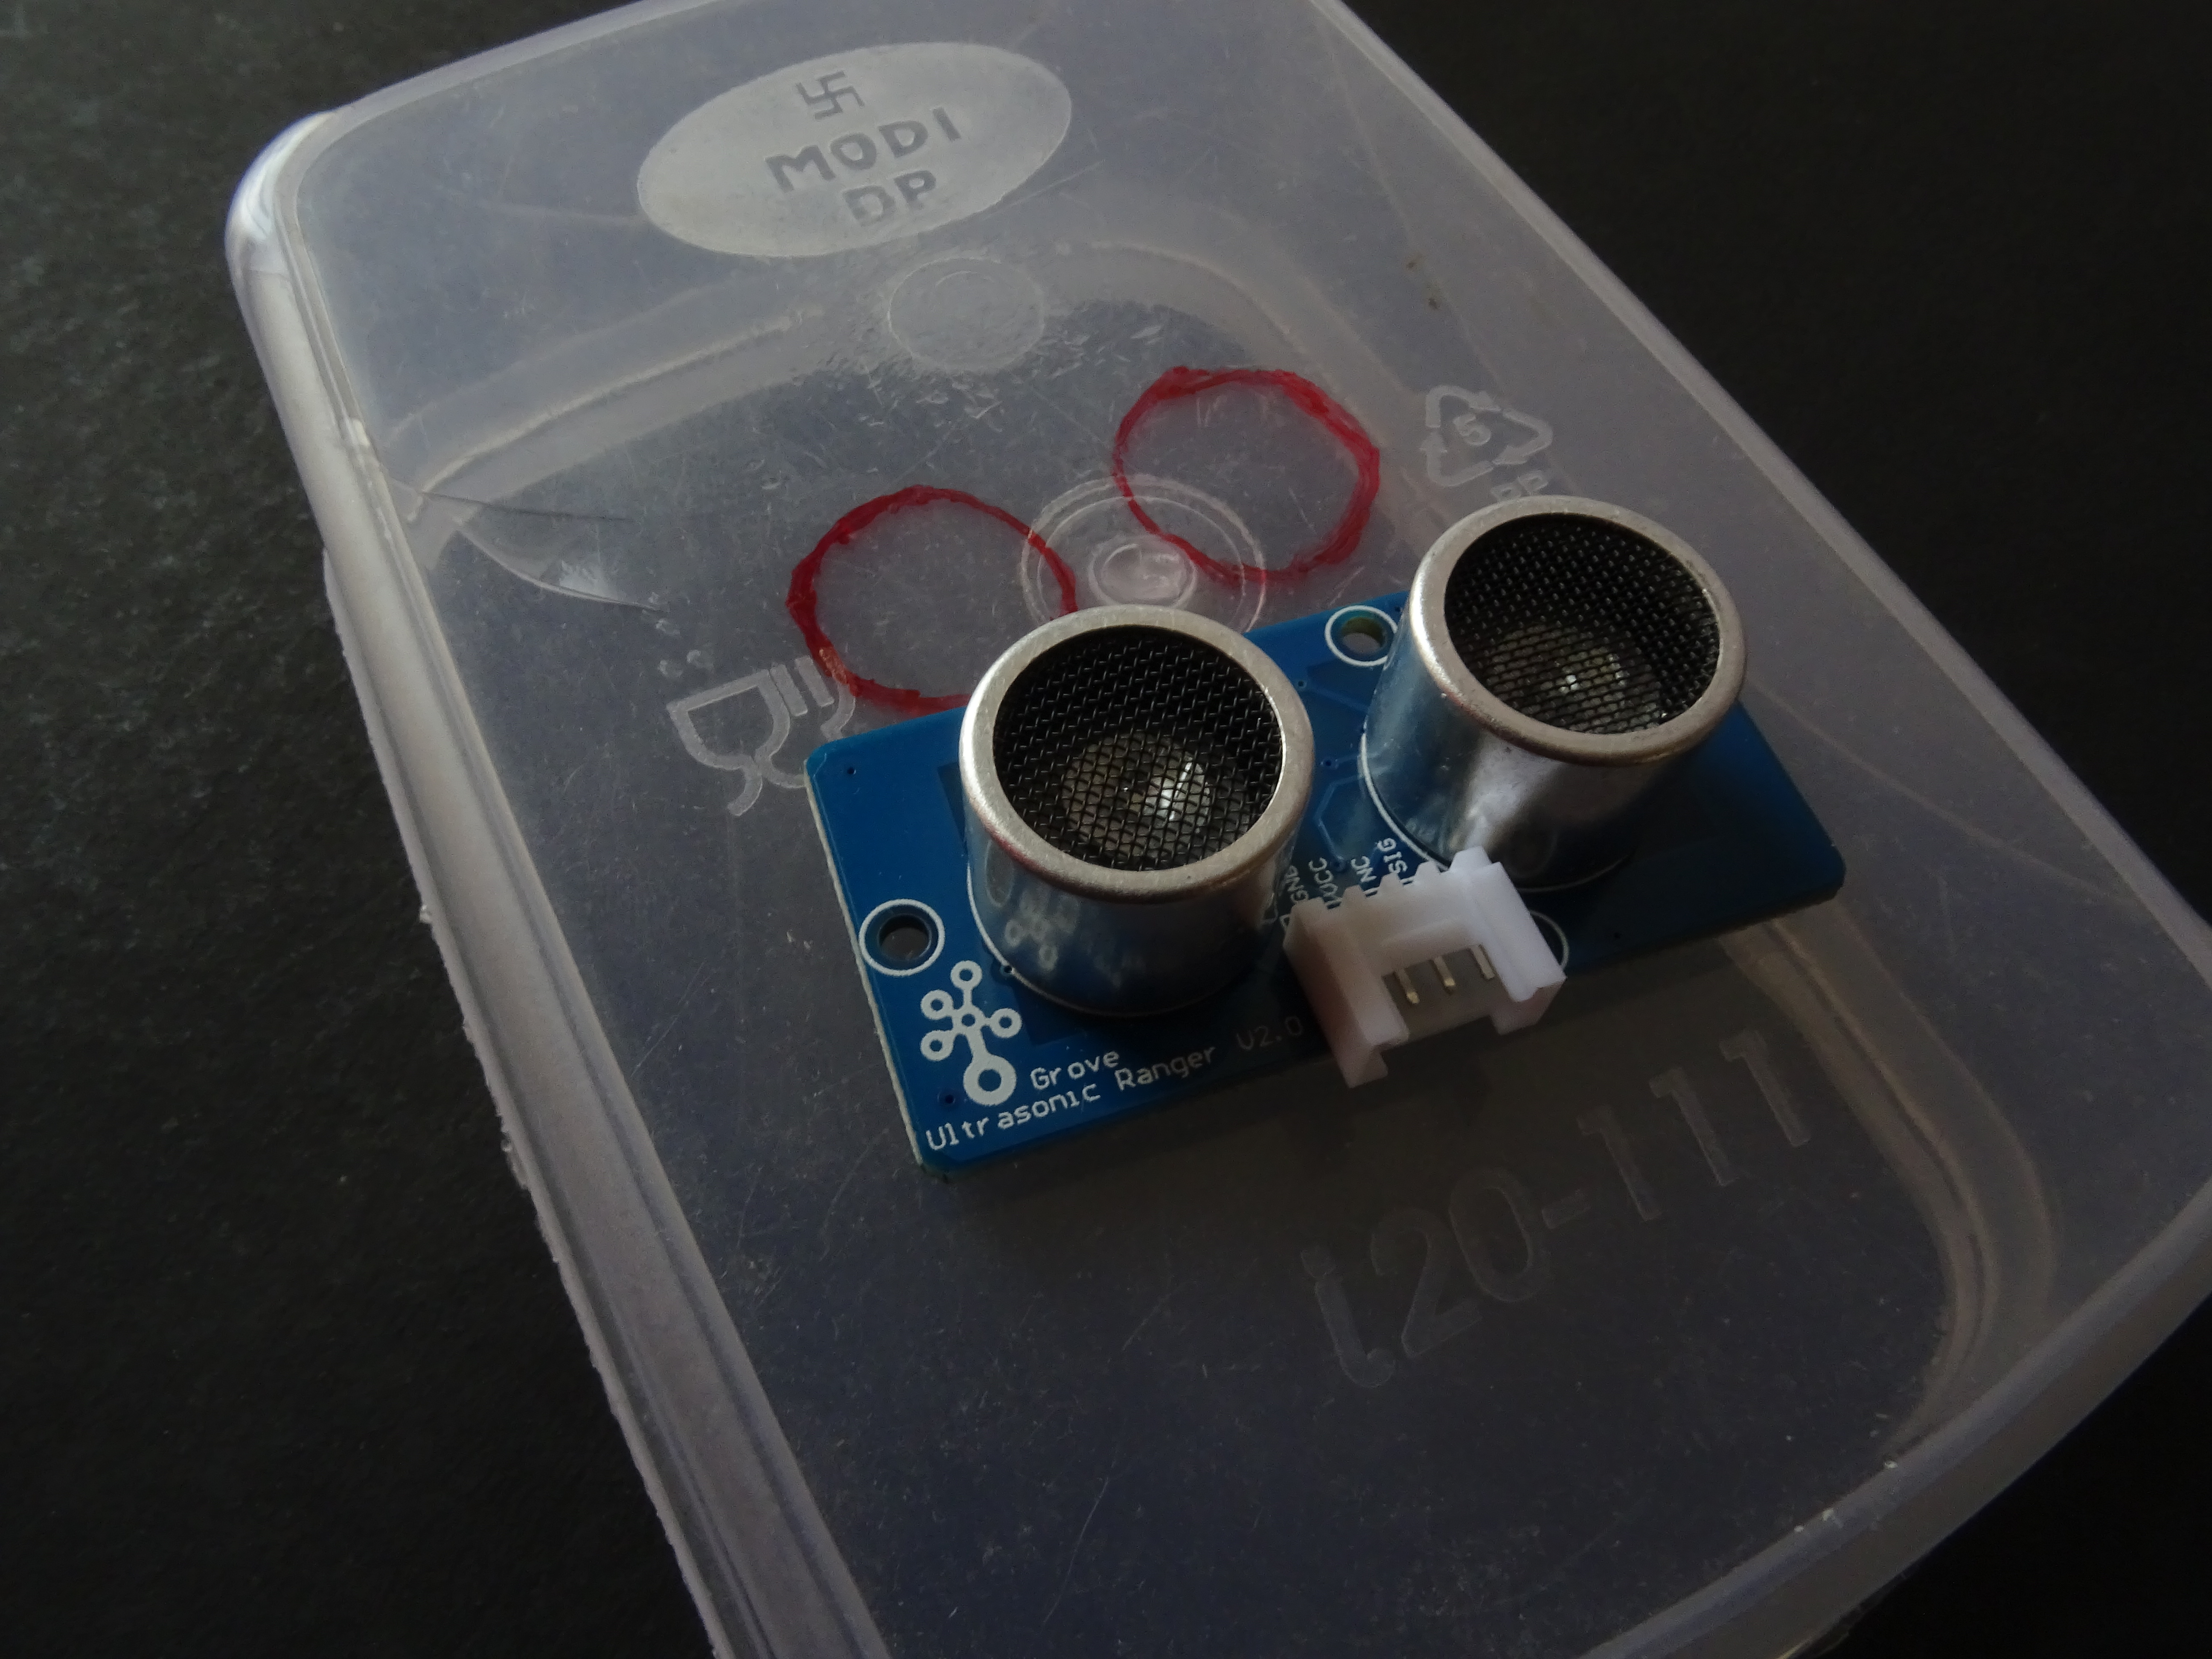
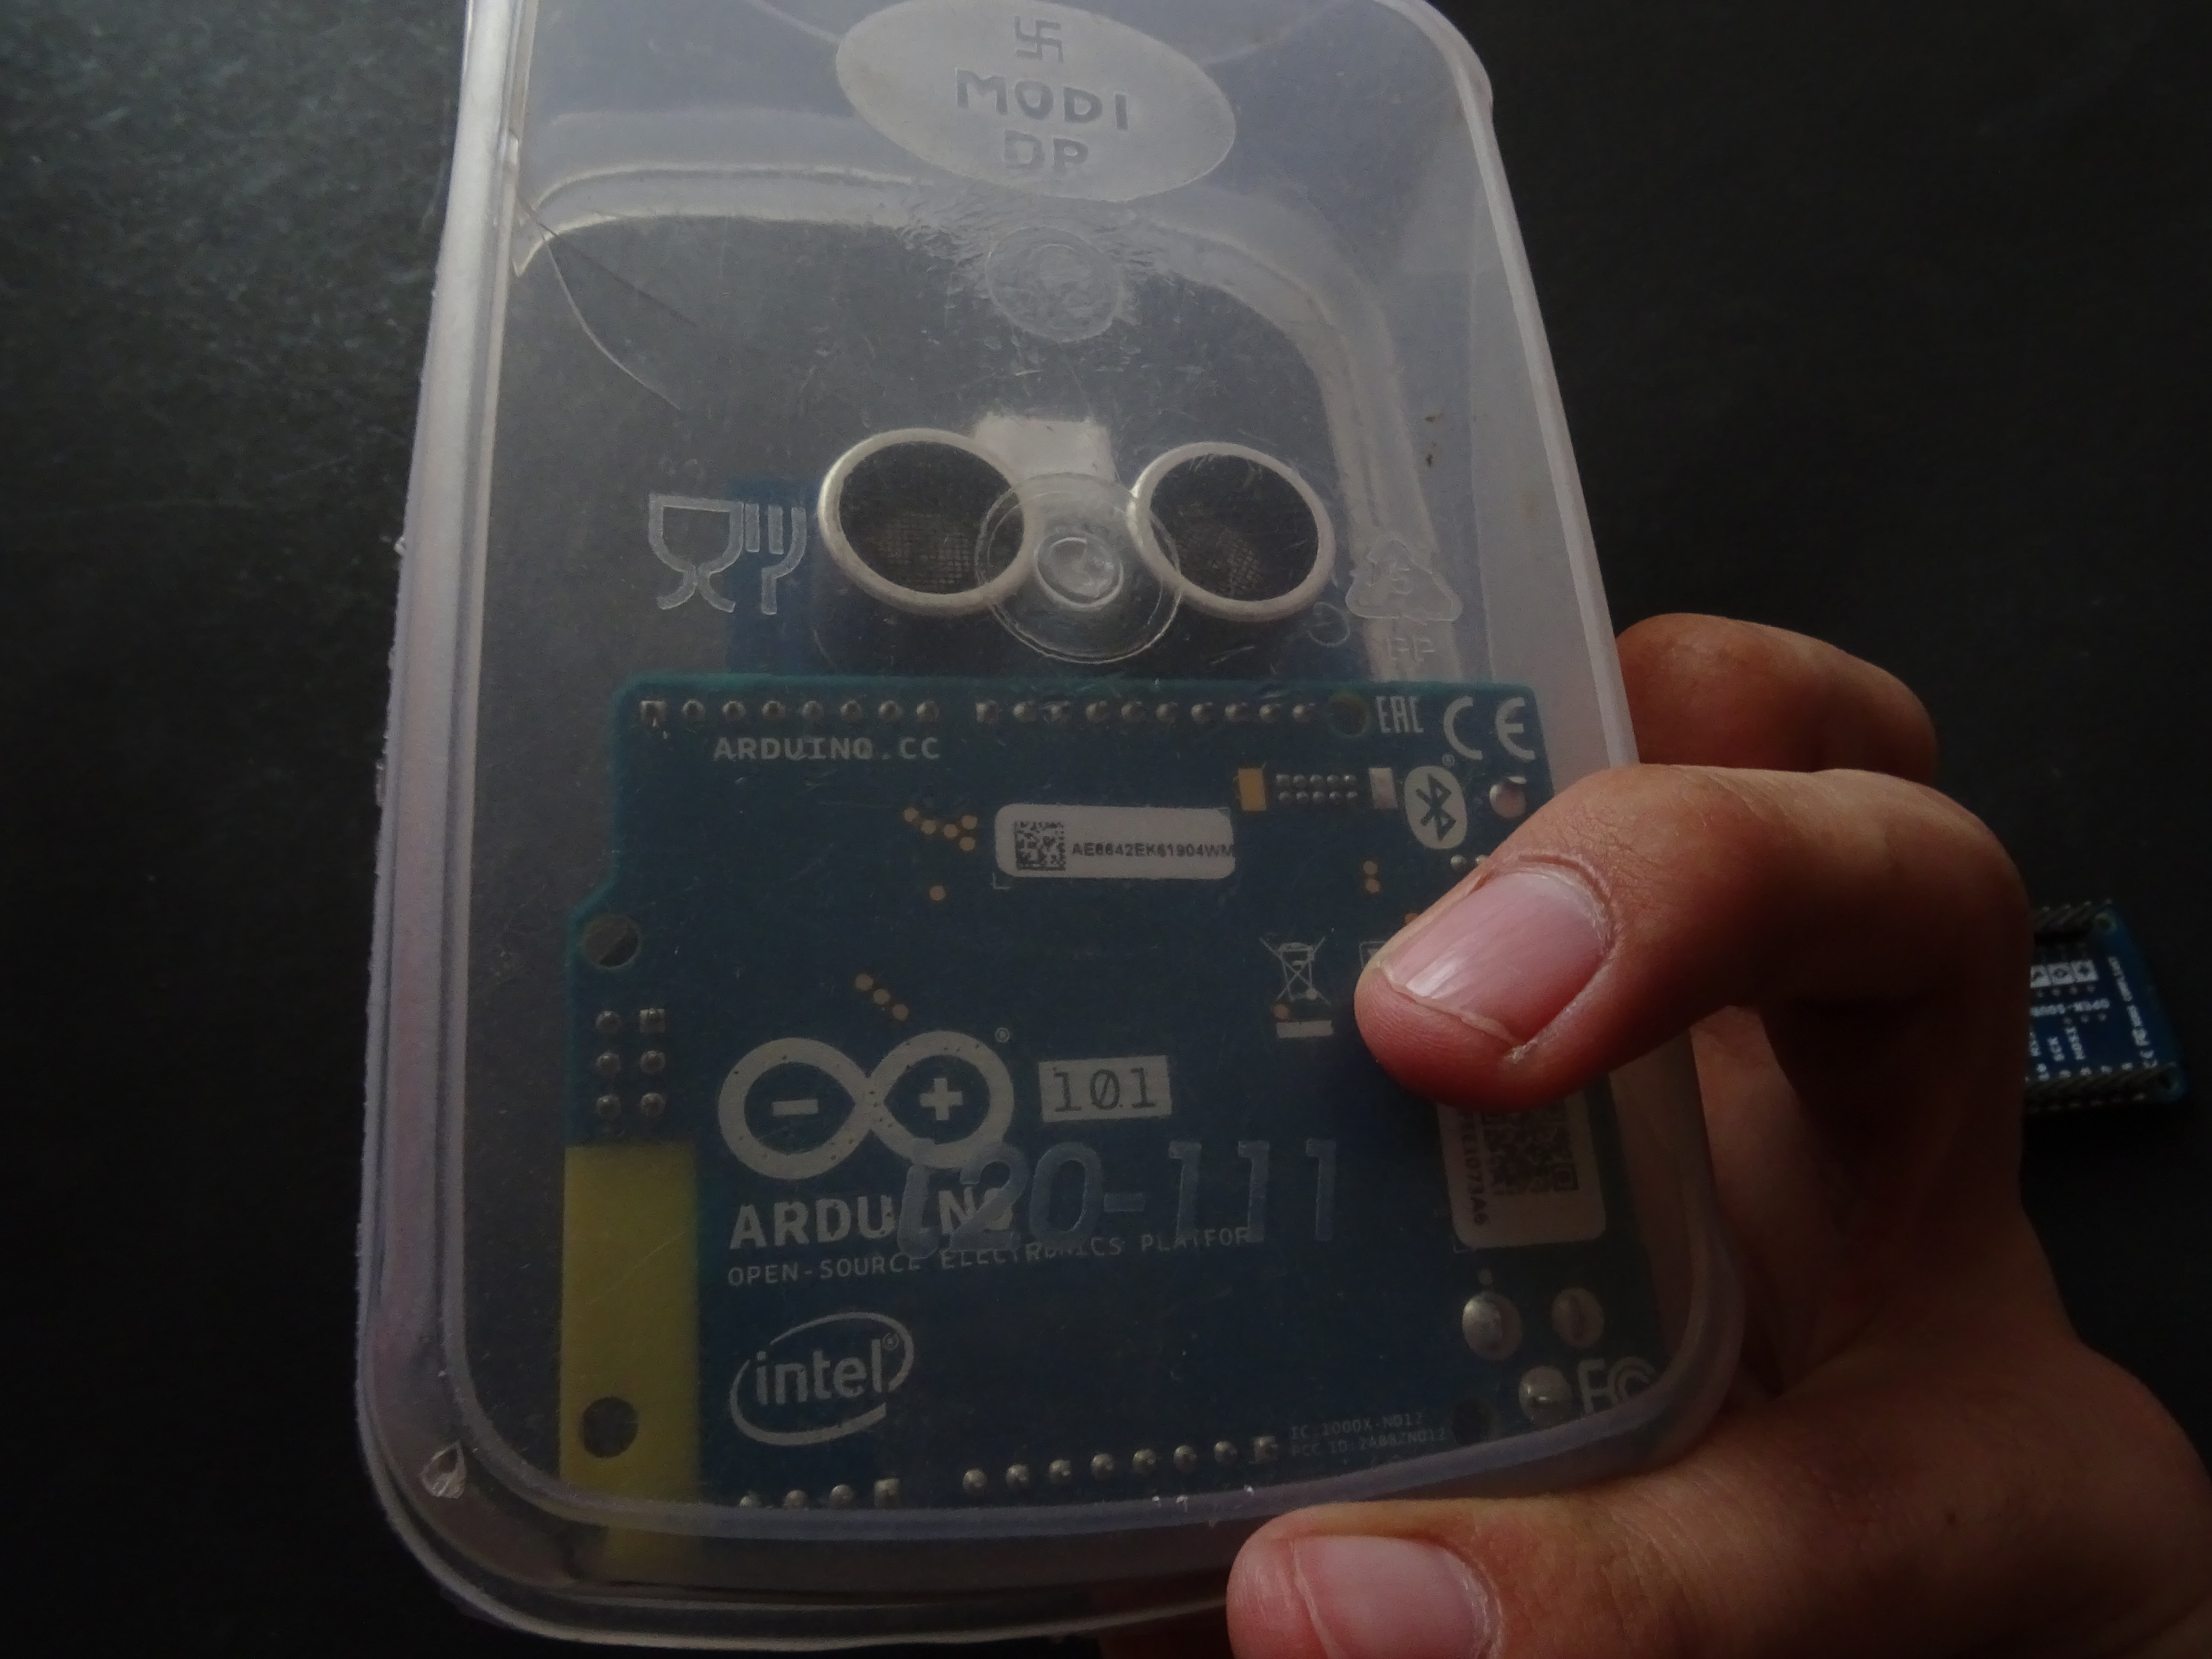
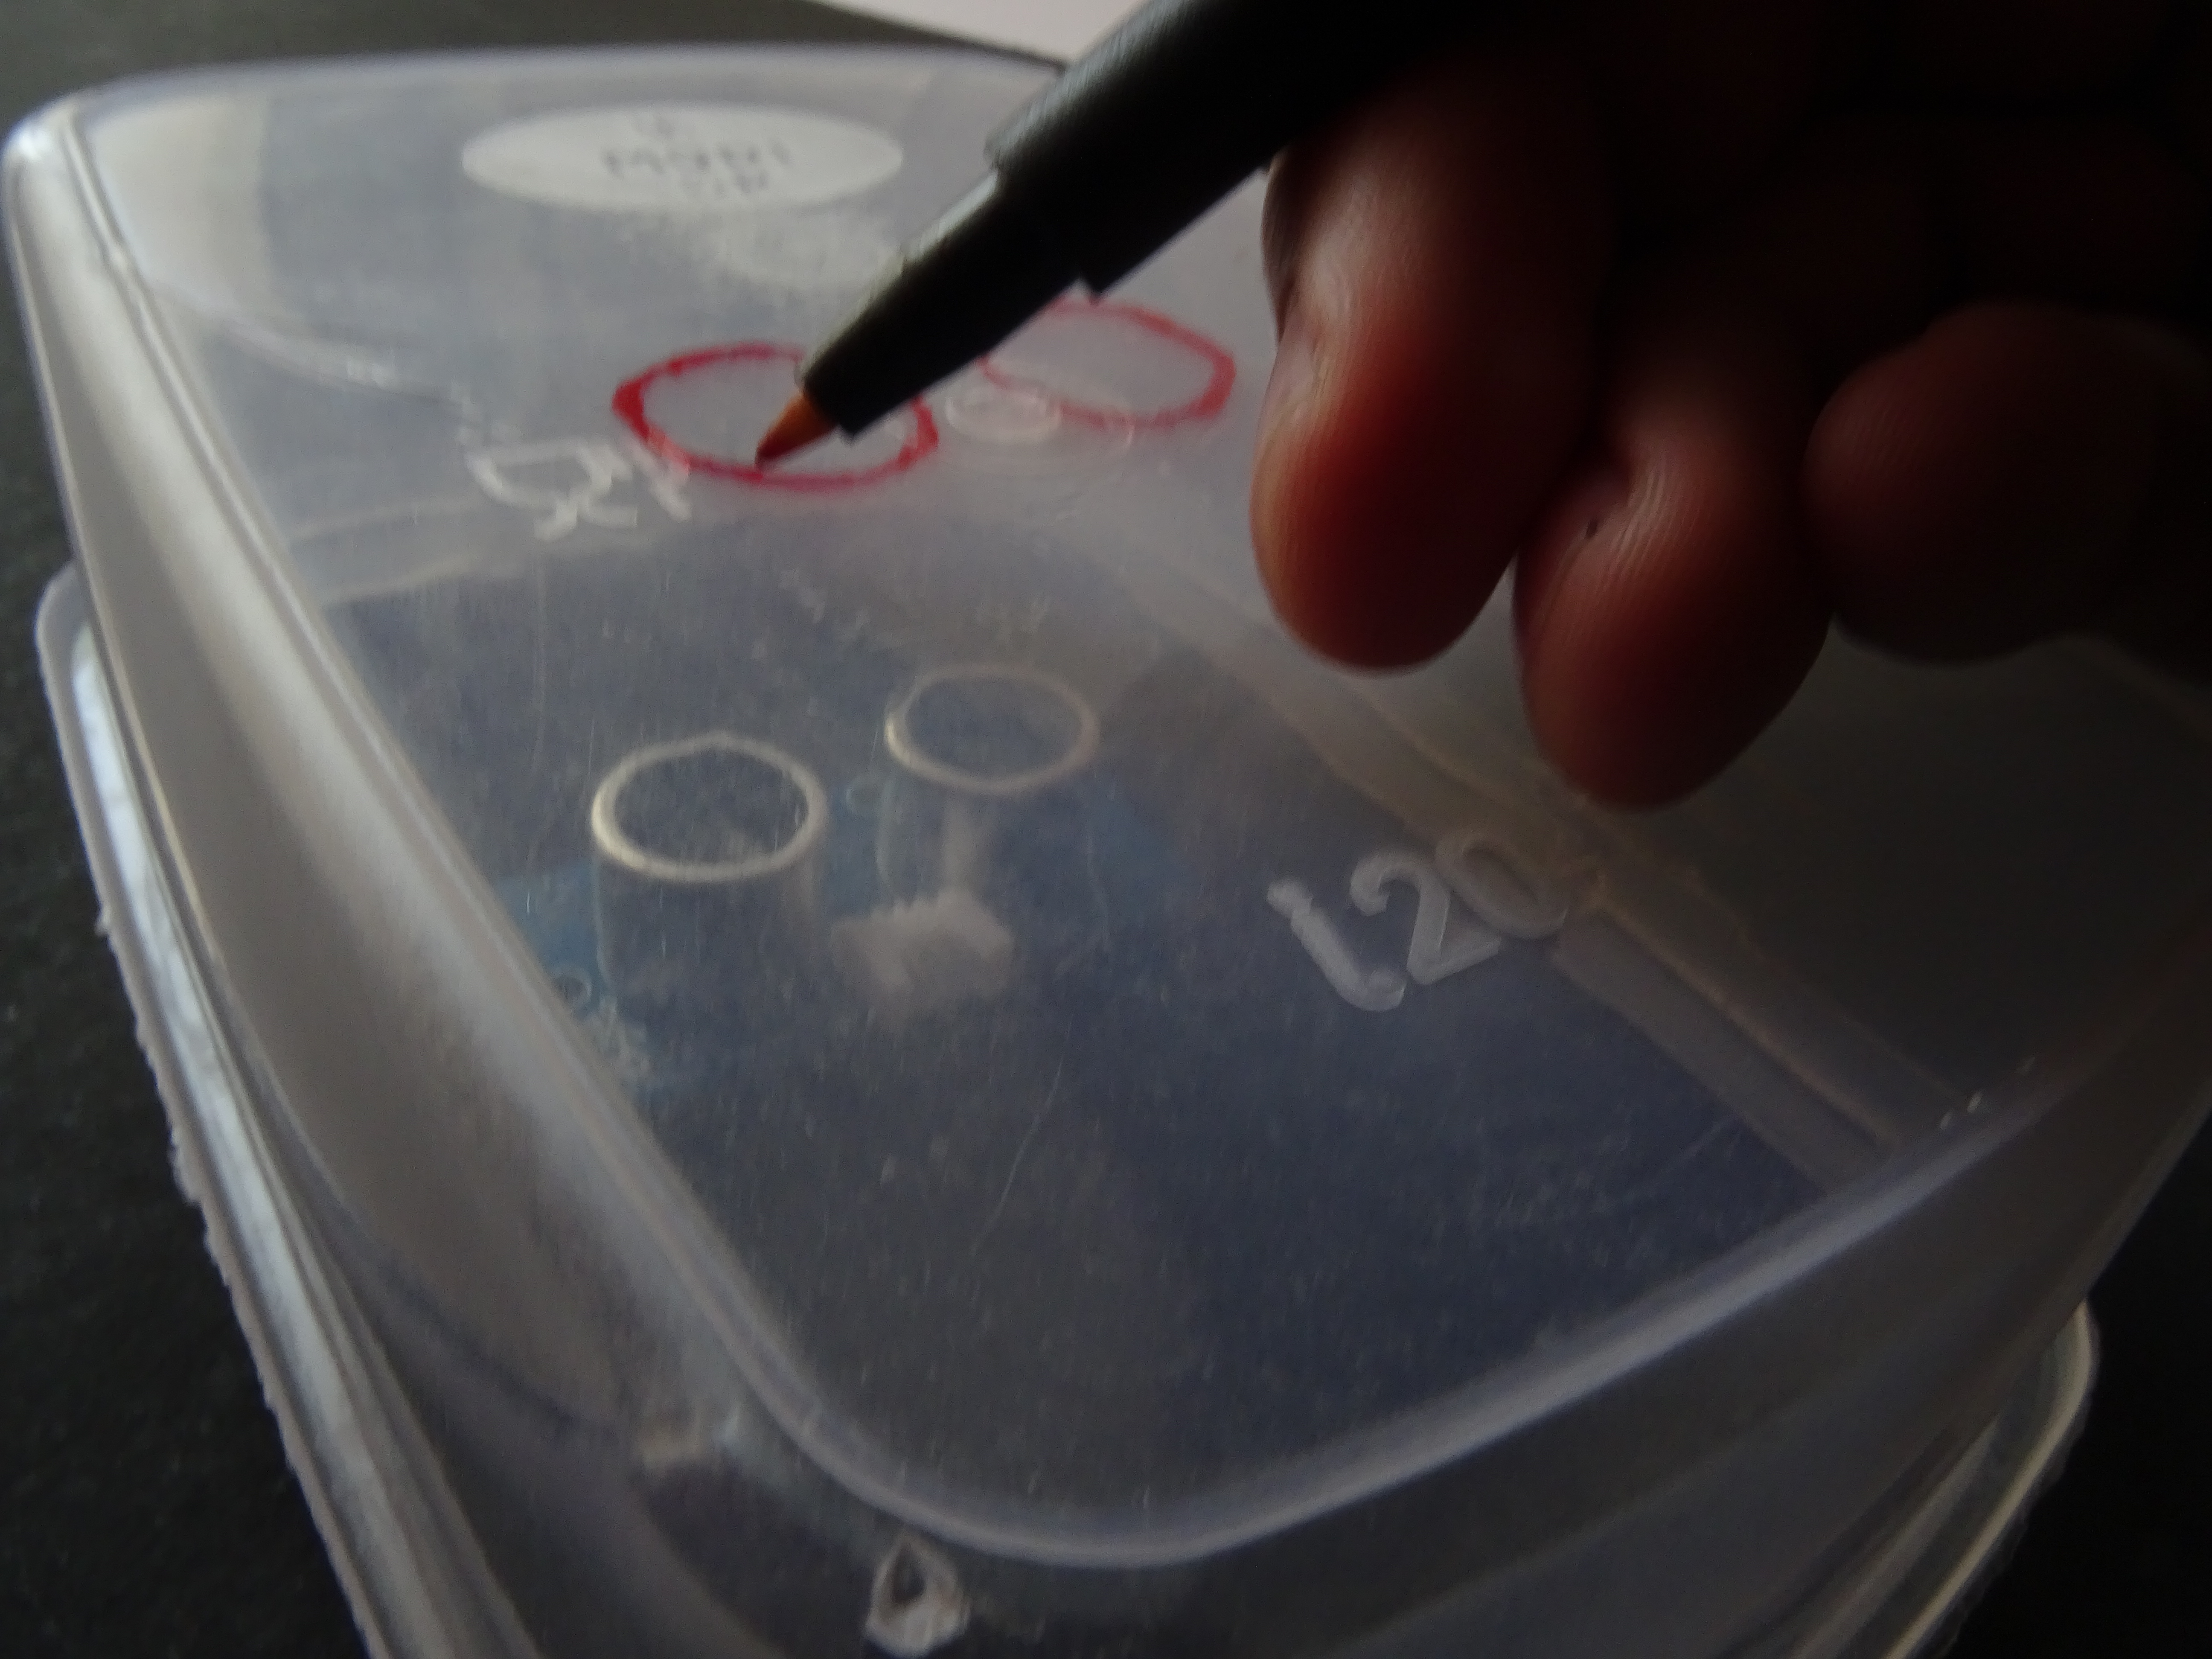
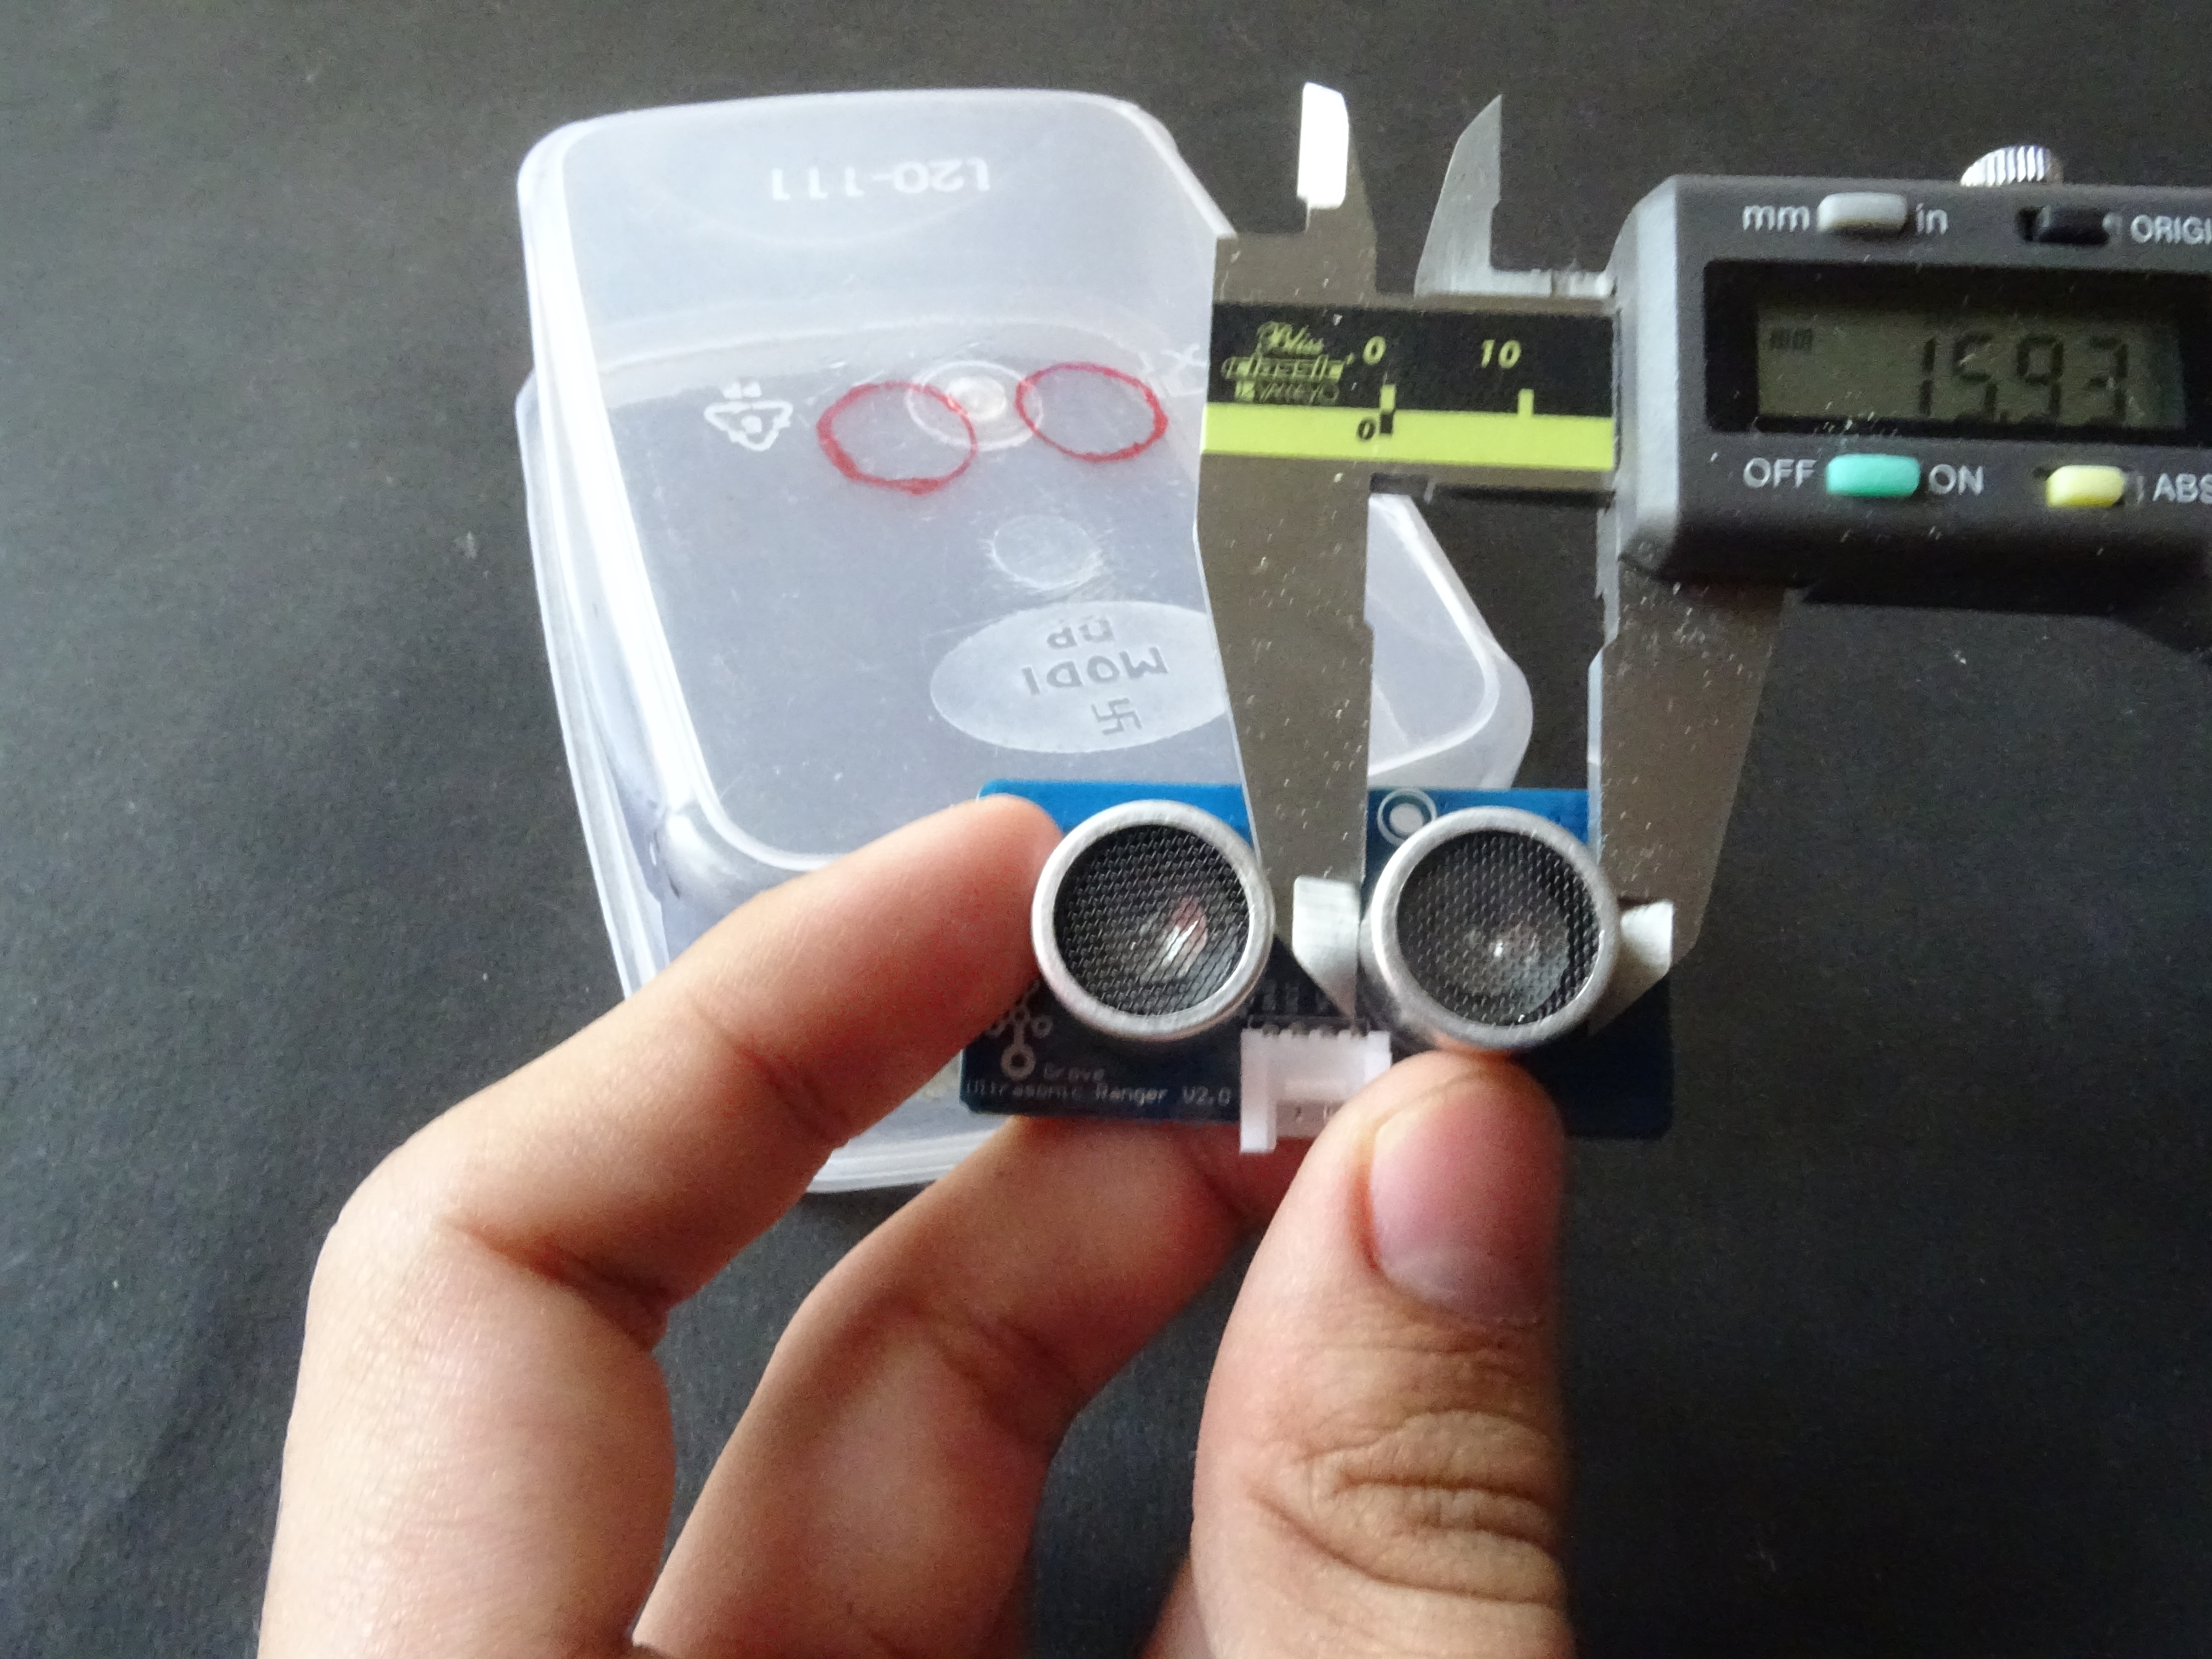
It's time to make our very own system to test our concept at home on a small scale! Look for an old small plastic container and make sure your components fit.
Now remove the lid and trace the two ''eyes'' of the ultrasonic sensor. this will be the side facing the bottom of the bin.
Drilling the Holes
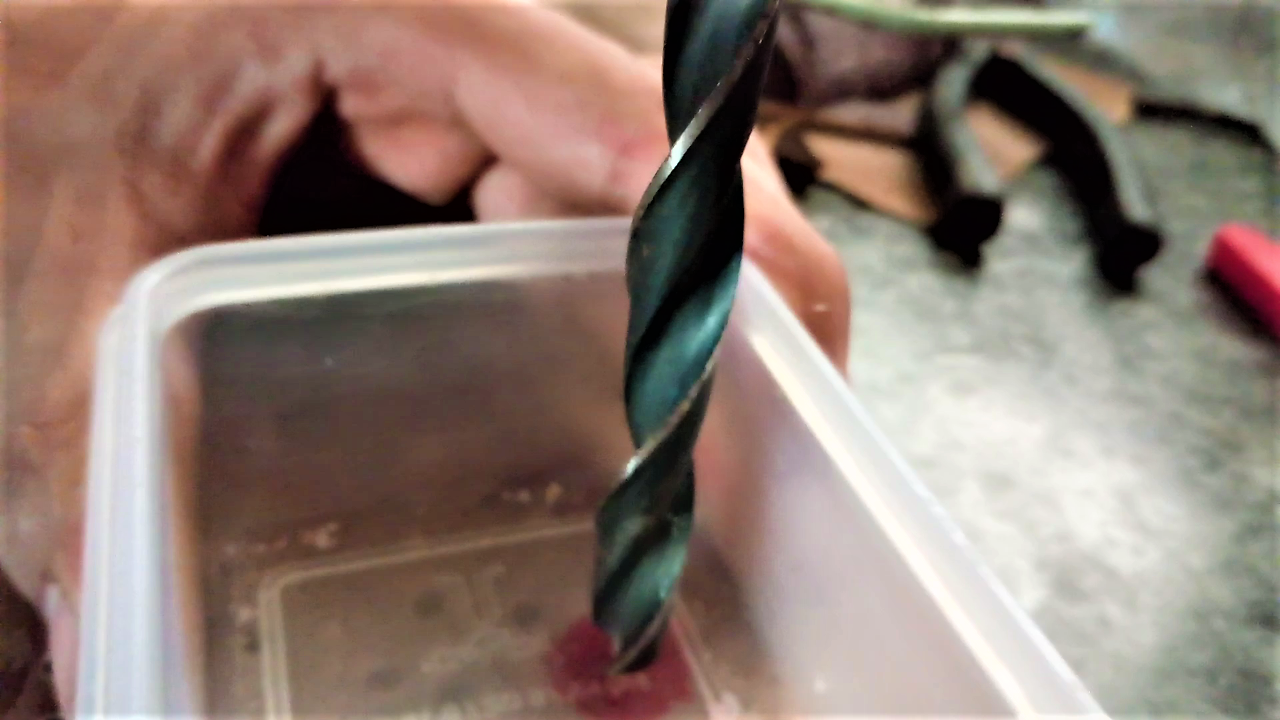.png)
Now with your biggest drill bit, mine was 10 mm, drill the two holes.If they still are a bit small lightly file them till the ultrasonic sensor snugly fits in, completely flush to the surface.
Fit Into the Box
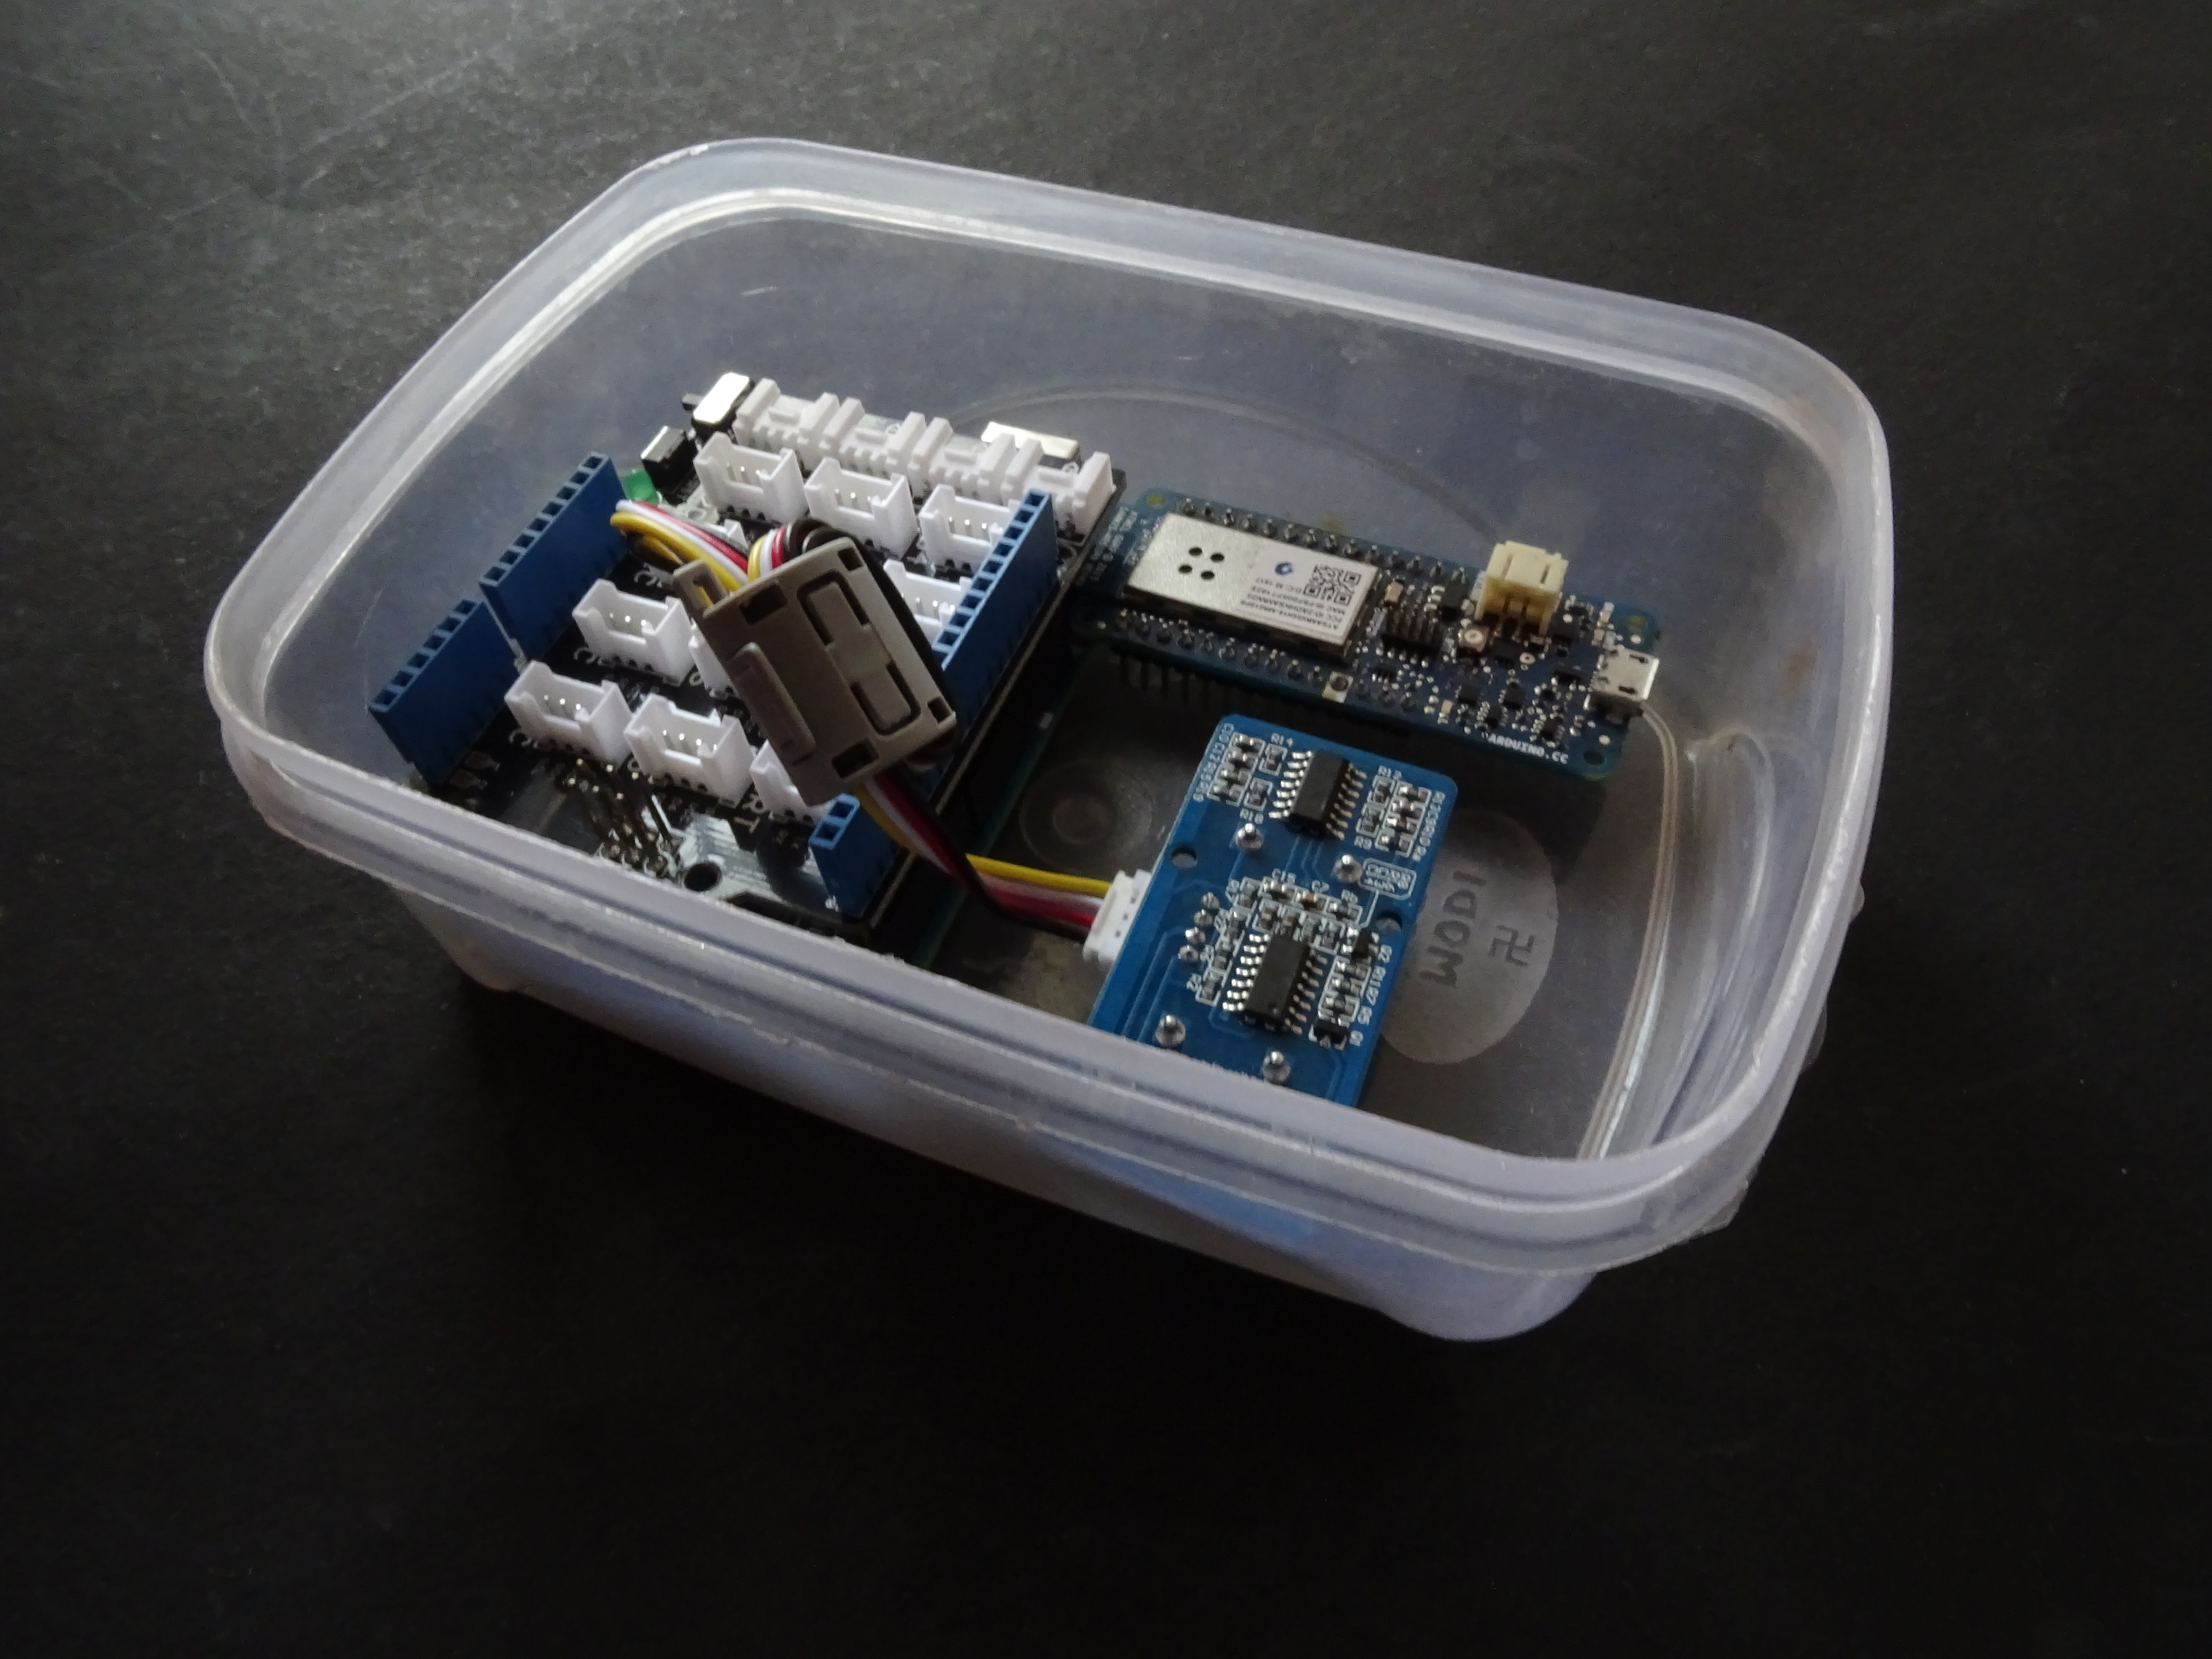
Now with the holes drilled, place all of the electronics into the box, to see if everything fits well. Keep in mind for a small space for the 9 volt battery. Once this is done you can beautify your box by giving it few coats of spray paint!
SPRAY PAINTING
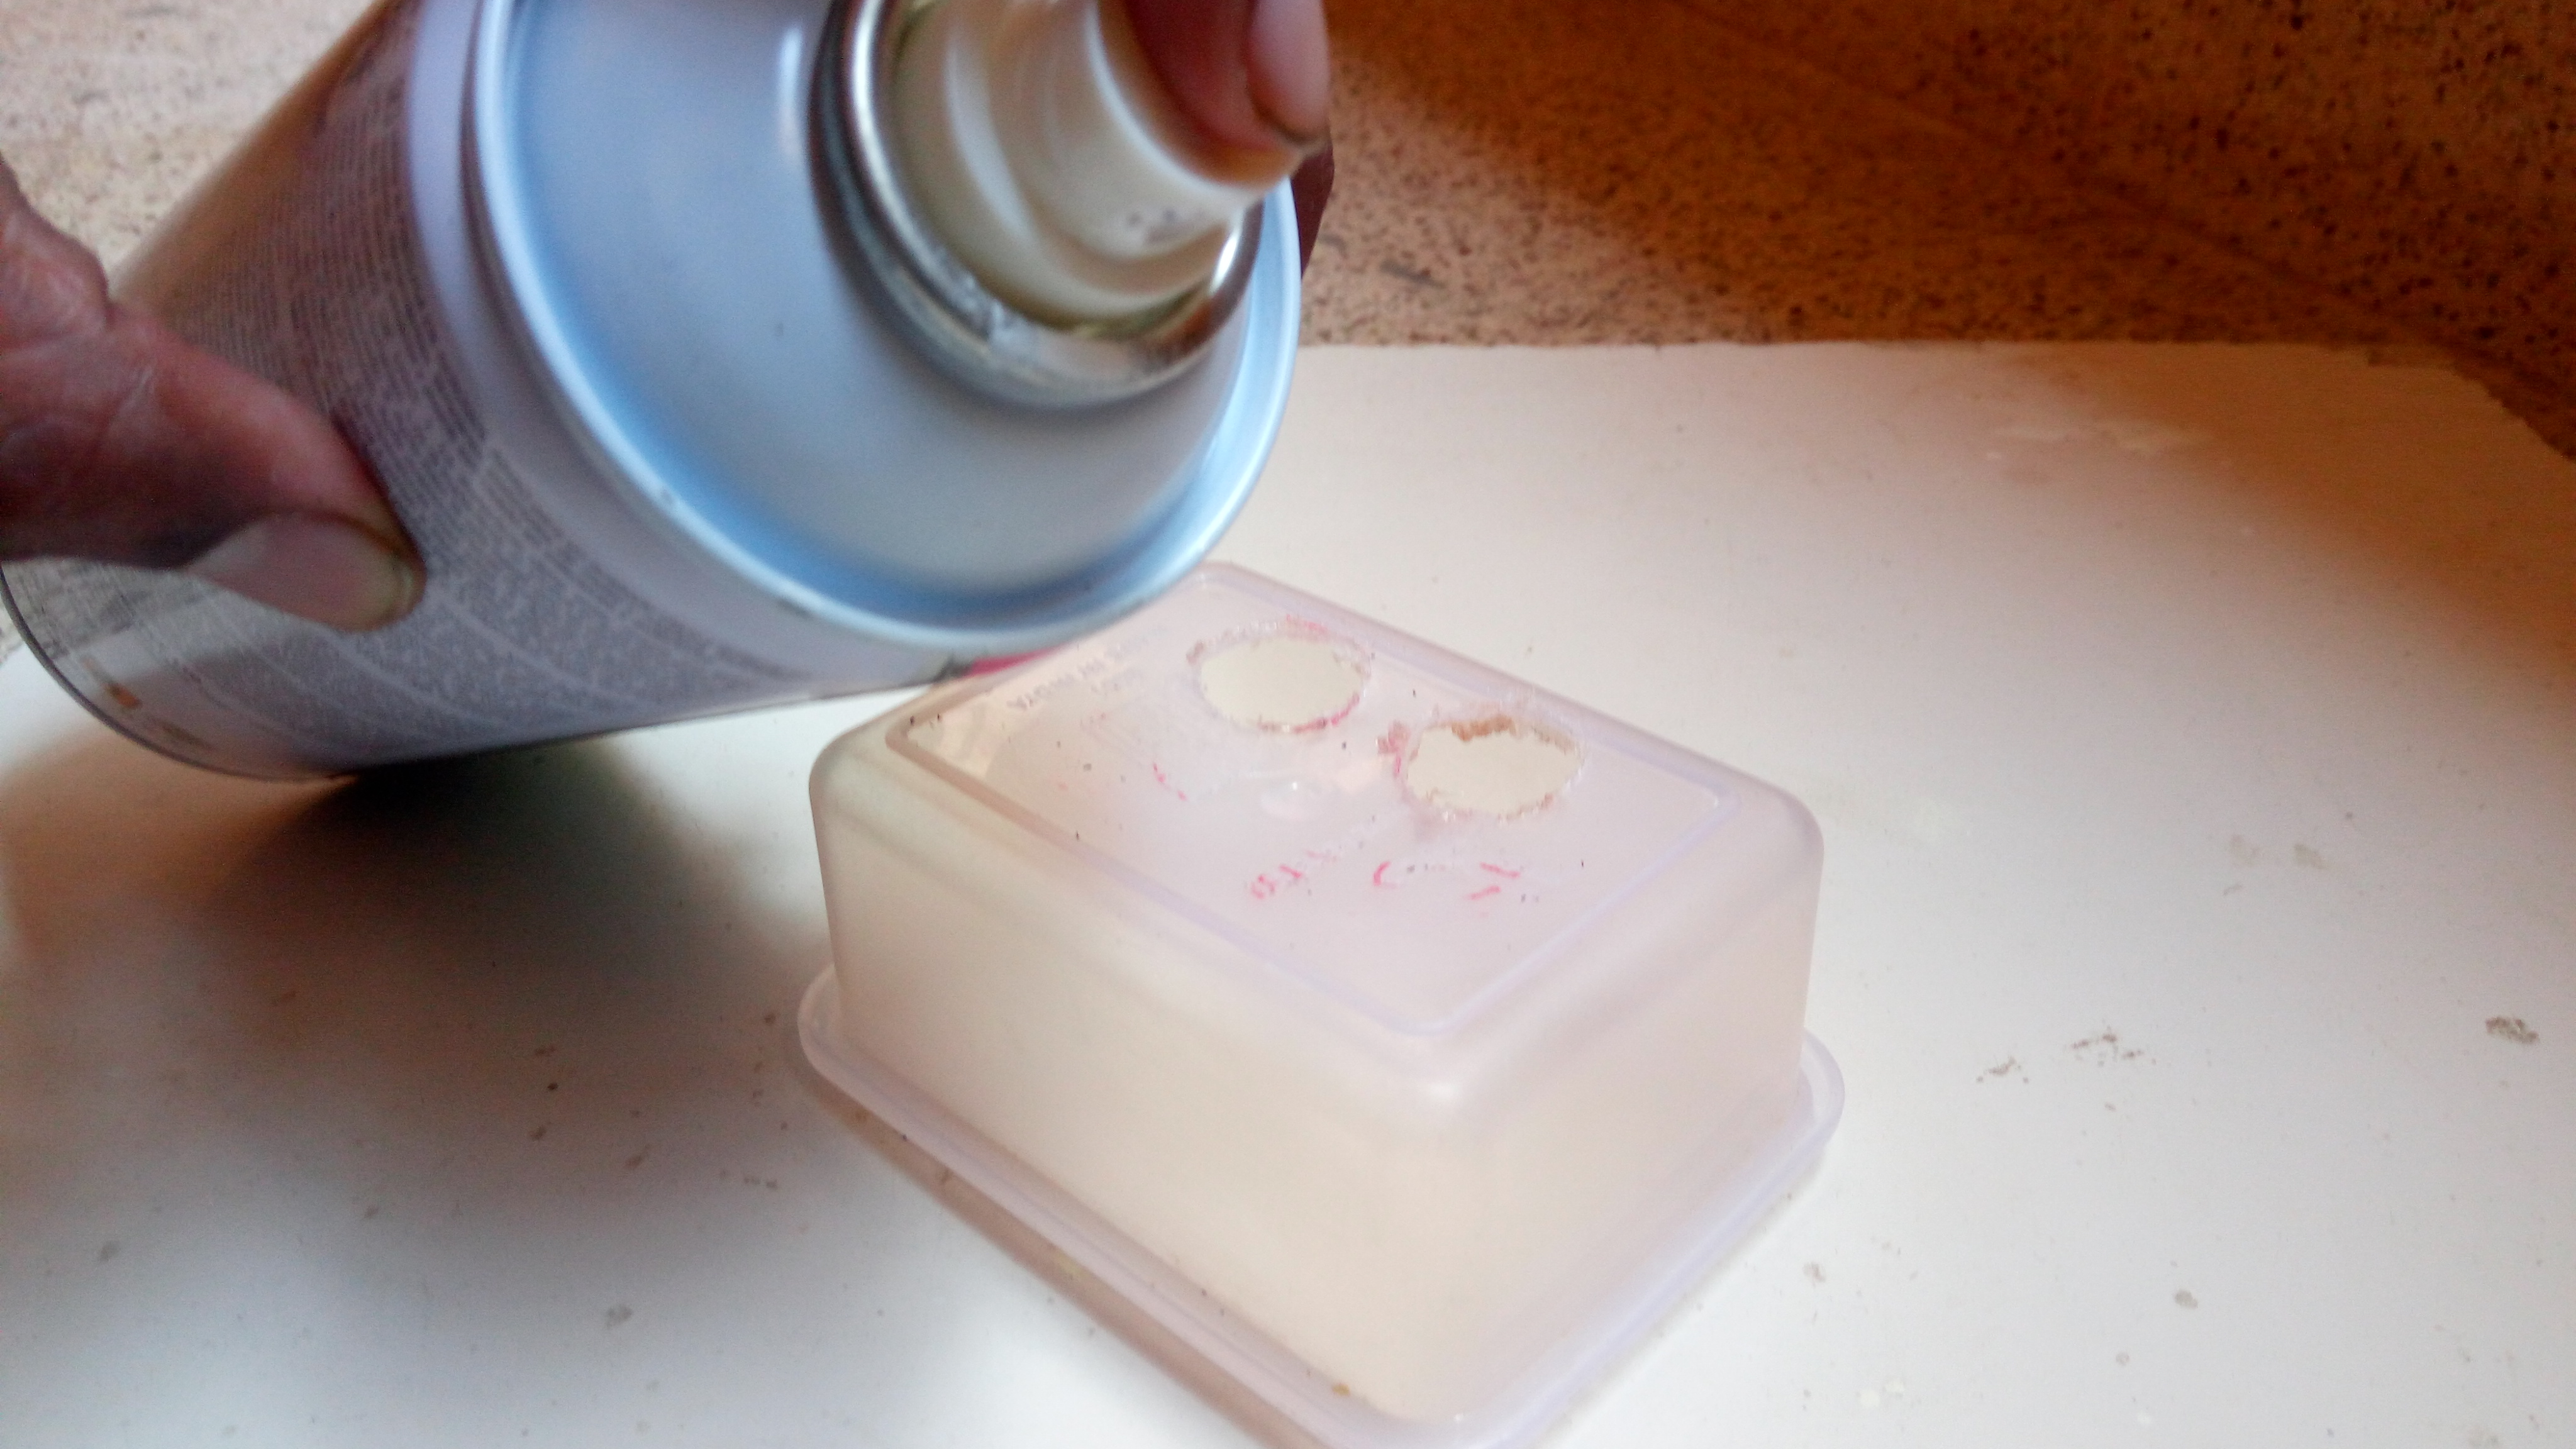
We chose white but you could choose whatever colour you prefer. Apply two coats of paint both inside and out, don't forget the cover.
Note: The fumes are toxic do it outside.
Installing Drivers and Libraries Necessary
To be able to program the Arduino 101, you need to first install the drivers needed. To check if you already have them installed open the Arduino IDE, click on tools, then boards and look if either Arduino or Genuino 101 in the list. If they are there, skip to next step, if not follow along…
To download the necessary drivers, to be able to use Arduino 101, open the Arduino IDE again, click on tools, boards, then boards manager.

Now in the search bar, search for "Intel curie boards", select your Arduino IDE version and download the one that appears (double check with the picture below)

Once your drivers are installed, go ahead and download the libraries now. For our program to run we need the WiFi101 library, the Blynk library and the ultrasonic library, all three can be found in Arduino IDE's built in library manager. Open to sketch then include library, then library manager.

Now in the search bar, search for WiFi101, Blynk and ultrasonic, choose your IDE version and install. (keep double checking with the pictures below if your not sure about what you are doing)


The Circuit
Once you've installed the libraries and drivers, connect the ultrasonic sensor to the arduino.


In our case we used a grove distance sensor which used just three pins to connect to the arduino.
- vcc on sensor goes to 5v on arduino
- gnd on sensor goes to gnd on arduino
- sig of sensor goes to pin 7 of arduino
- nc could remain unconnected
But if you are not using a sensor of this kind, and would like to stick with the regular types which have a trigger and echo pin, a.k.a hc sr04 or something, you need to connect it to the the arduino as shown below. And the code needs to be modified a bit, will explain the details in the next step.

- vcc on sensor goes to 5v on arduino
- gnd on sensor goes to gnd on arduino
- trig of sensor goes to pin 12 of arduino
- echo of sensor goes to pin 13 of arduino
Stick the System
Your project is almost complete, simply attach it to the lid by using double sided tape to secure it in place. And remember ultrasonic down!

Go and fetch your dustbin which is ready to be transformed. Any dustbin will do although keep in mind that this system needs a lid.

Cut two strips of double sided tape and stick it on the lid of the box.

Peel, and firmly press it against the lid, then clip your box on.

And there you have it the system now installed, let's move on to the code and the app.
The App
Once you've downloaded and installed the Blynk app on your mobile device, go ahead and open it then create a new project. Start by selecting the micro controller you're using, choose the "Arduino 101". And as connection type choose "BLE (Bluetooth low energy)".
(Follow along using the pictures below)


Once that's done you will be sent a mail to your registered email id containing the "Auth token", the Auth token needs to be copied and replaced into the program (explained in the next step)

Now click on the "+" icon on the top right of the screen and add three LEDs. The LEDs need to be assigned to virtual pins 0,1 and 2, and the colors of each led could be changed according to your liking, in our case we made the bottom one Green, the one in the center Orange and the top one Red, indicating the level of your trash from low shown with the Green Led lighting up to high being the Red one.

This is how it should finally look like!
The Code
The code is attached below, and like mentioned in the previous step, according to the kind of distance sensor you are using you need to modify the code a bit. If your using an ultrasonic sensor which has just a single signal pin (like the one we're using), there's nothing you need to change.
If you are using the other kind (with the trigger and echo pins) you need to change the "7" on line 17 of the program to "12, 13" (refer to the picture below for help)

Another thing that you will have to change is the Auth token, to the one you will be given through mail while creating the Blynk project (on line no. 9 in the program)
Downloads
Connecting It All Together, Testing!
Once the program is uploaded onto your arduino, and the app is setup, you can begin communicating between the Arduino and your phone. Click on the Bluetooth icon on the app you just created, your Arduino should now show up on the list of BLE devices around, select it and connect.
These are screenshots of my phone as I filled the dustbin. On the blynk application, Green ranges from 0 to 25% full, Orange from 25 to 65% and Red from 65 to 100%. Here are the successful results :

After having put 10% of trash and closing the bin we have the green LED that comes on the other two stay off.

50% full...

...and finally we put all the trash possible, and all three LEDs and a smile lit up! Congratulations the model works : )
Widespread of Opportunities
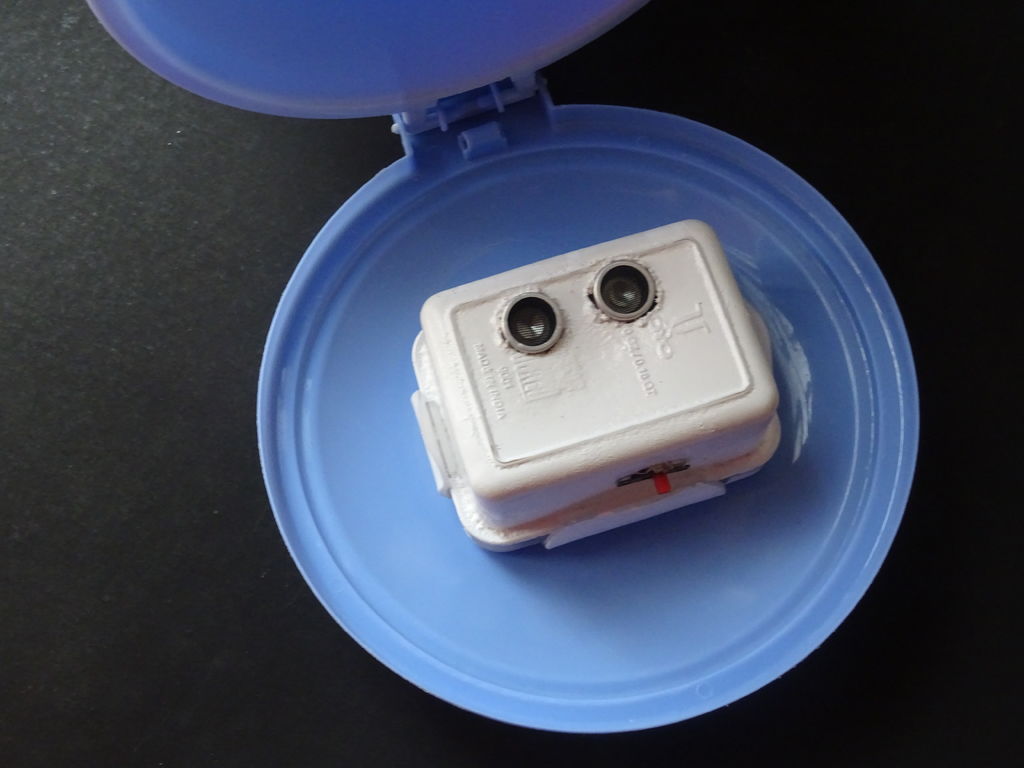
After having made one ourselves we realized how widely this system could be used to turn this rather horrible cumbersome chore into a really efficient one!
The way it can impact the city or even a country on a big scale is understandable, and hopefully in the future it is implemented. But other than that each individual can benefit with this concept. A community, an apartment complex or even a house can all use this powerful tool fueled by connectivity of devices to make their life a whole lot simpler!
To conclude, this project on the whole looks promising. We would love to see your versions, or even suggestions or ideas, do drop them in the comment section.
Hope you guys enjoyed this Instructables, let's continue working on ideas to impact our lives and environment. As usual like share, and subscribe so that you don't miss our next projects.
Last thing do vote for it in the HOME IMPROVEMENT 2017 CONTEST and the MAKE A BOX 2017 CONTEST to help us win!
HAPPY MAKING : )
POPULAR PROJECTS
If you like what we make check out some of our popular uploads!
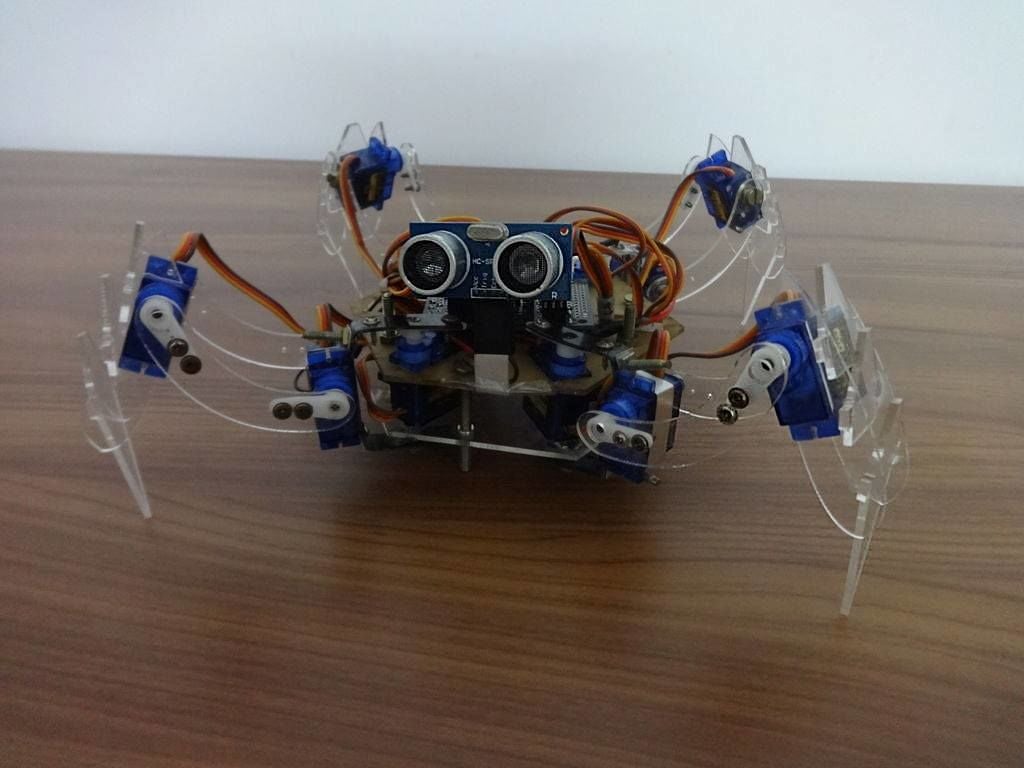
Quattro the quadruped robot, see the instructables
You must see the video the fully appreciate it WATCH the video HERE
Or the Cardboard Hydraulic Arm VIDEO
