Smart Door
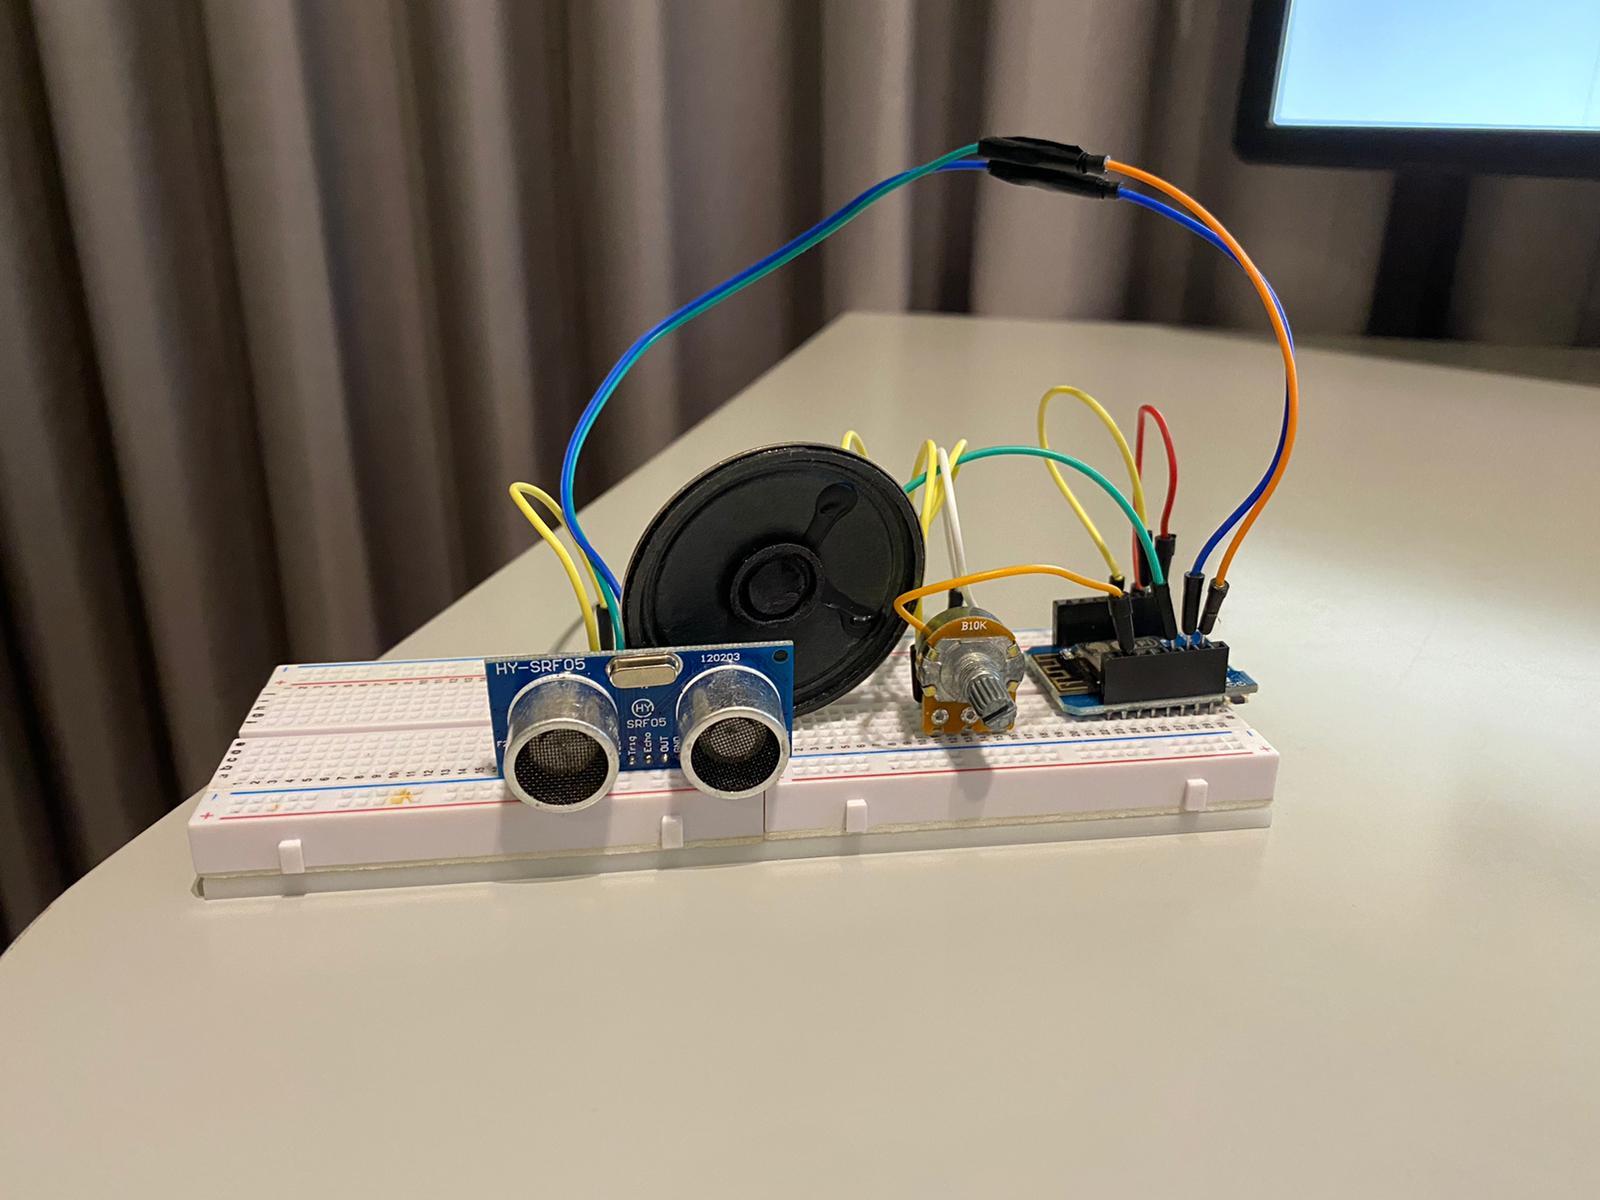
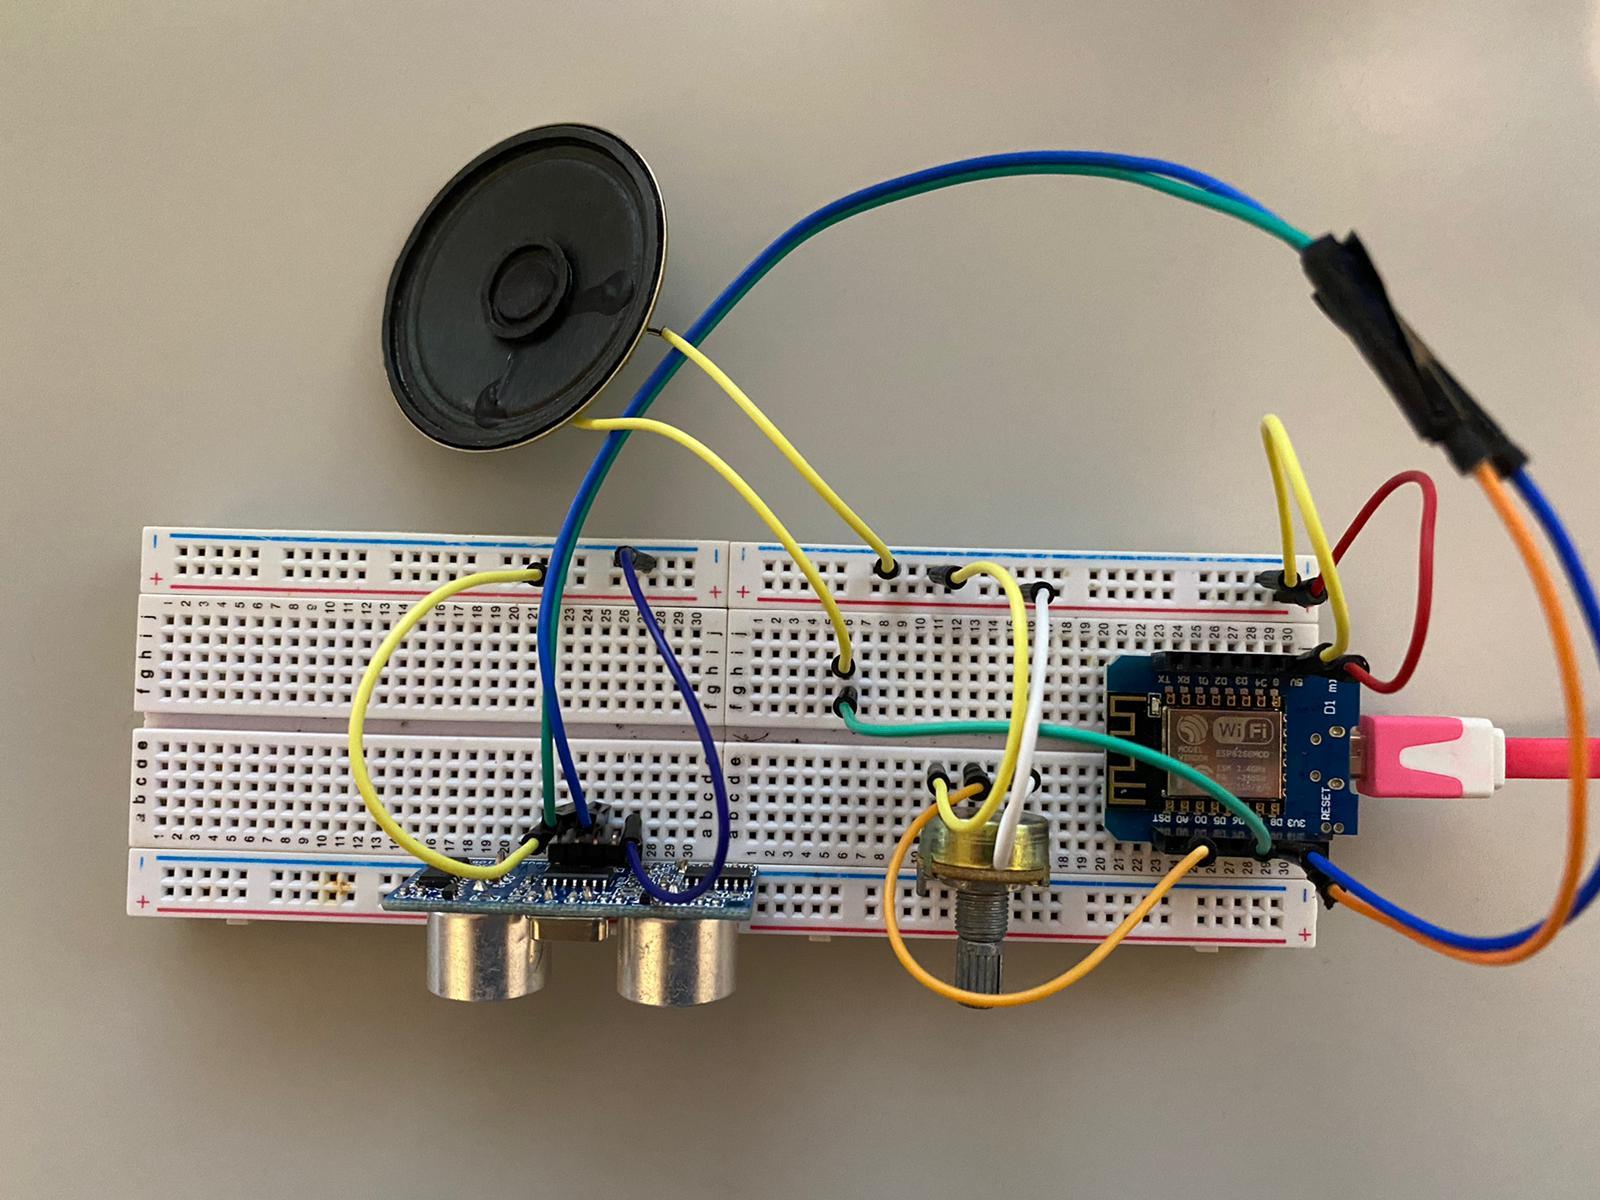
Smart Door is an easy solution to connect your door to the smartphone with a few easy steps.
Smart Door will notify you when you forgot to lock the door and when someone is approaching your door.
Who are we?
Two Computer Science students from the Interdisciplinary Center (IDC), Herzliya, Israel. This Smart Door system is our final project in “The Internet of Things (IoT)” course.
Tried our project? Let us know! We would love to hear from you if you have points to improve or any comments. Moreover, we would love to get some pictures!
Supplies
1 x ESP8266 board (We used Wemos D1 mini)
1 x Micro-USB Cable
12 x jumper cables
1 x potentiometer
1 x ultrasonic sensor
1 x speaker
The Circuits
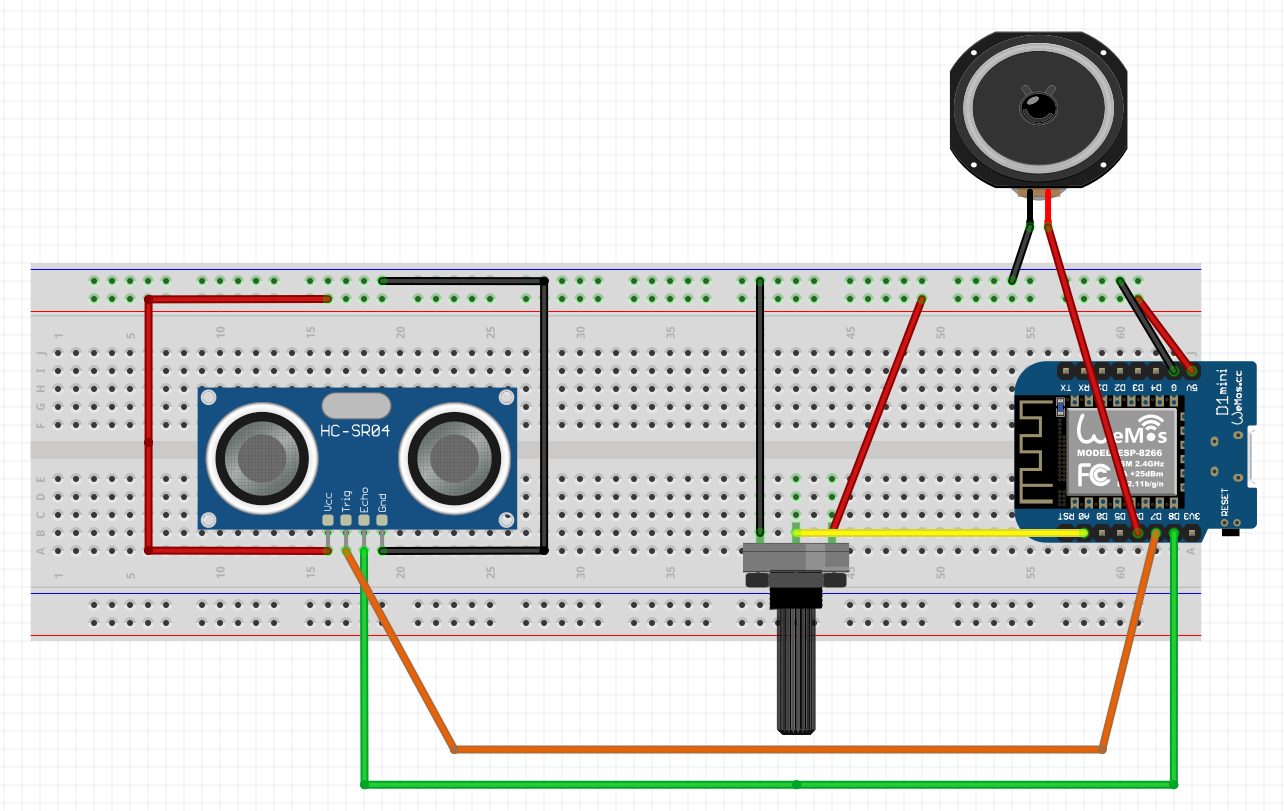
In this step, we will connect all the sensors.
Ultrasonic sensor:
- Connect Vcc to 5v
- Connect GND to G
- Connect Trig to D8
- Connect Echo to D7
Potentiometer:
- Connect GND to G (left leg)
- Connect VCC to 5v (right leg)
- Connect the middle leg to A0
Speaker:
- Connect GND to G
- Connect Vcc to D6
Installing Required Software & Dashboards
Arduino IDE
Install Arduino IDE:
https://www.arduino.cc/en/Guide/HomePage
Install relevant "drivers" for the ESP8266 boards to your Arduino IDE: https://www.arduino.cc/en/Guide/HomePage
Create an account: https://www.arduino.cc/en/Guide/HomePage
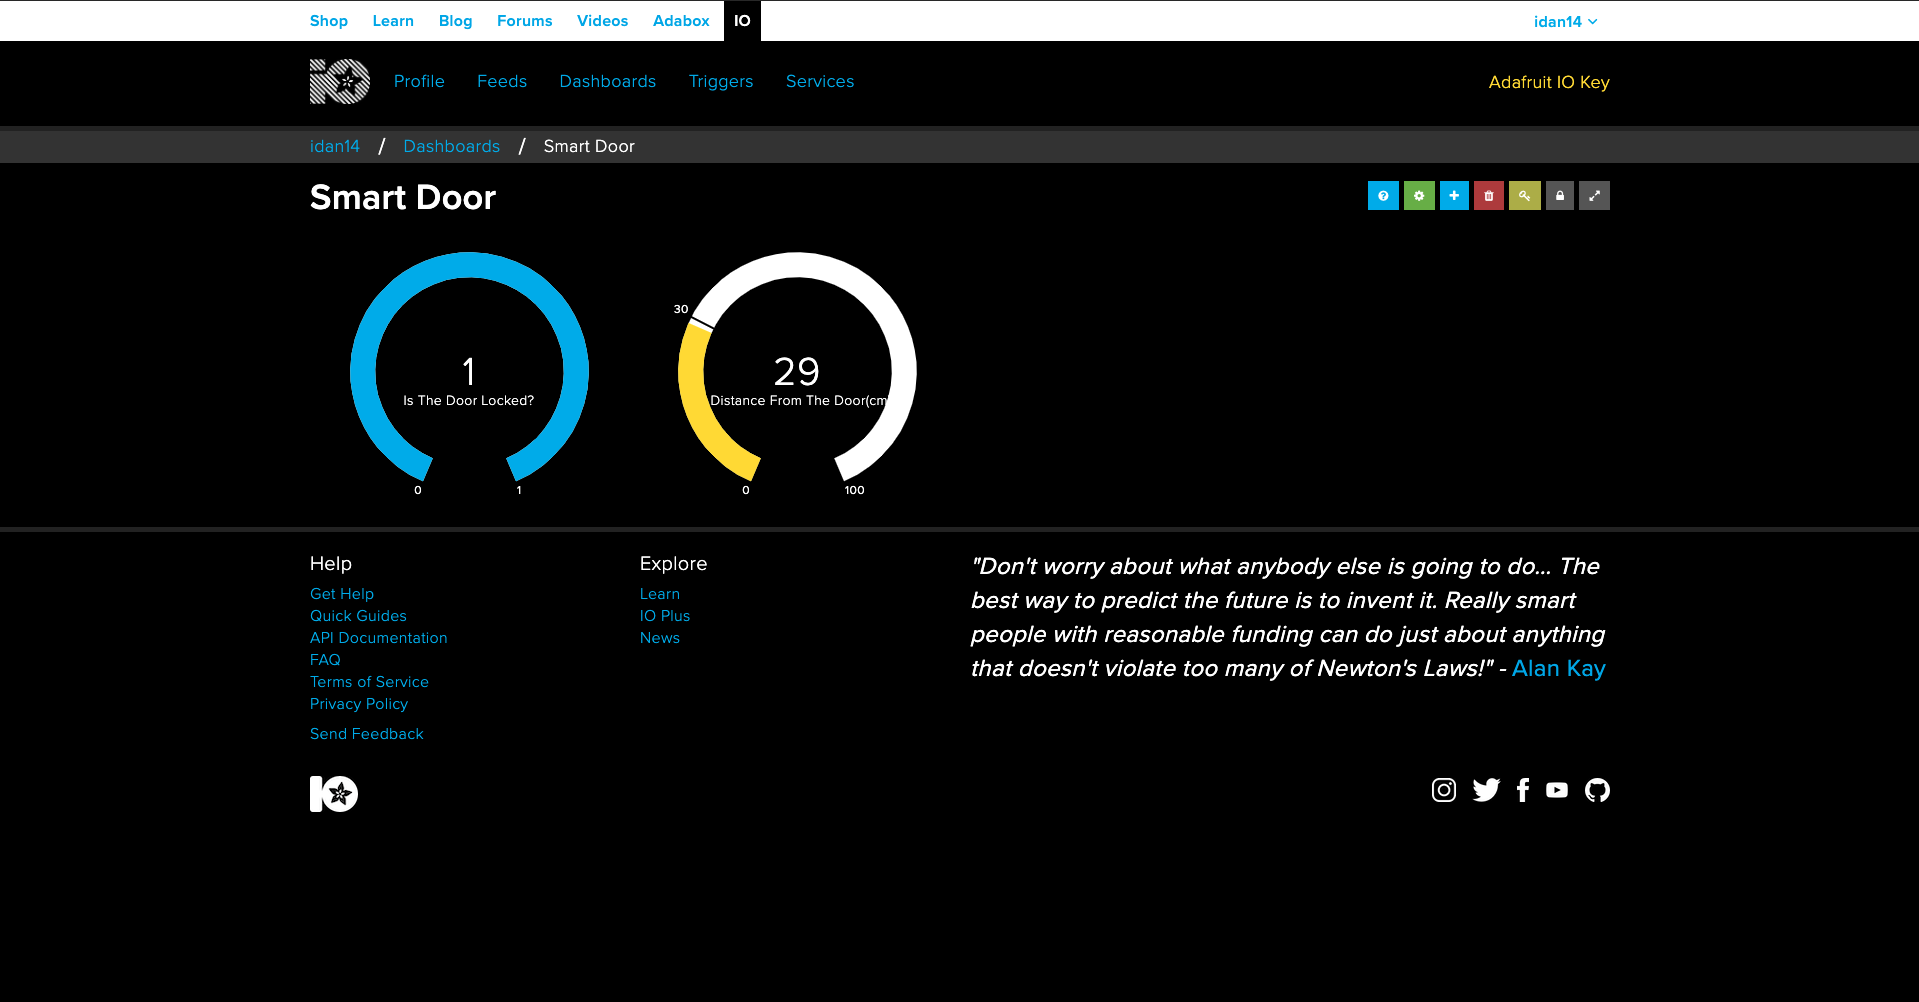
Go to the 'Feeds' and add 2 feeds:
- potentiometer
- ultrasonic
Then, go to the 'Dashboard' and create a new dashboard, then enter to the dashboard and add 2 blocks, using the plus sign at the right of the page:
- Add Gauge block, then choose potentiometer feed and make sure that the maximum value is 1.
- Add Gauge block, then choose ultrasonic feed and make sure that the maximum value is 100.
- Click 'Save'.
Blynk App
IOS: https://apps.apple.com/us/app/blynk-iot-for-ardui...
Google Play: https://apps.apple.com/us/app/blynk-iot-for-ardui...
Create an account and then:
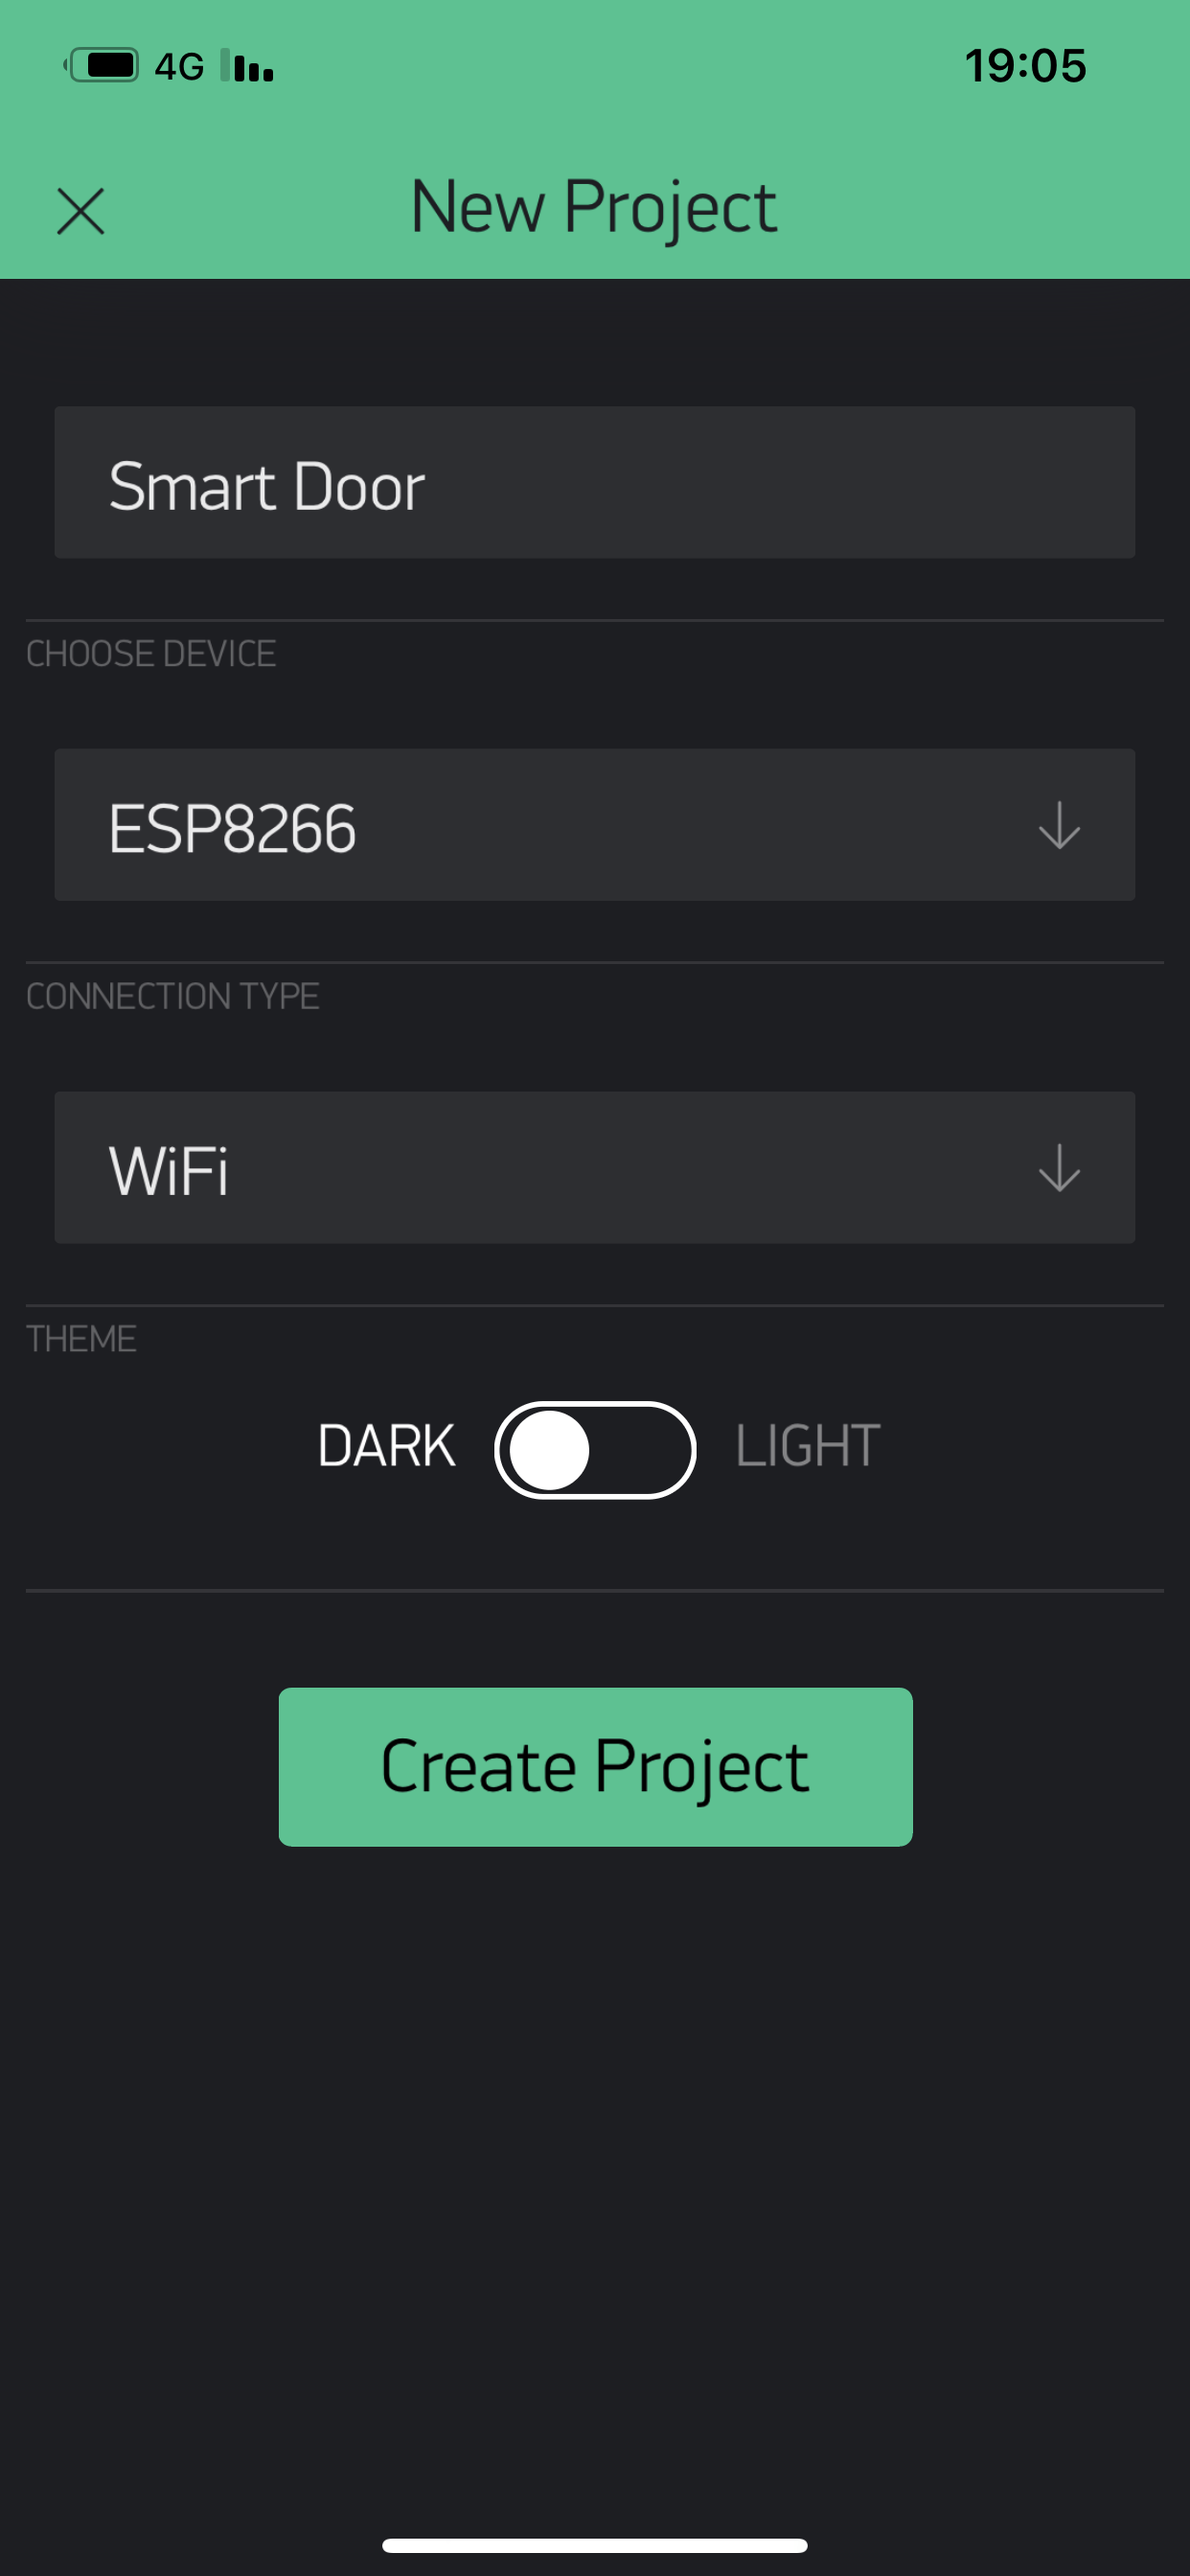
- Build a Blynk project. (when you will do it you will receive to your email authentication key keep it, we will use it in the next step).
- Configure the app to be based on your board (in our case, Wemos mini 1).
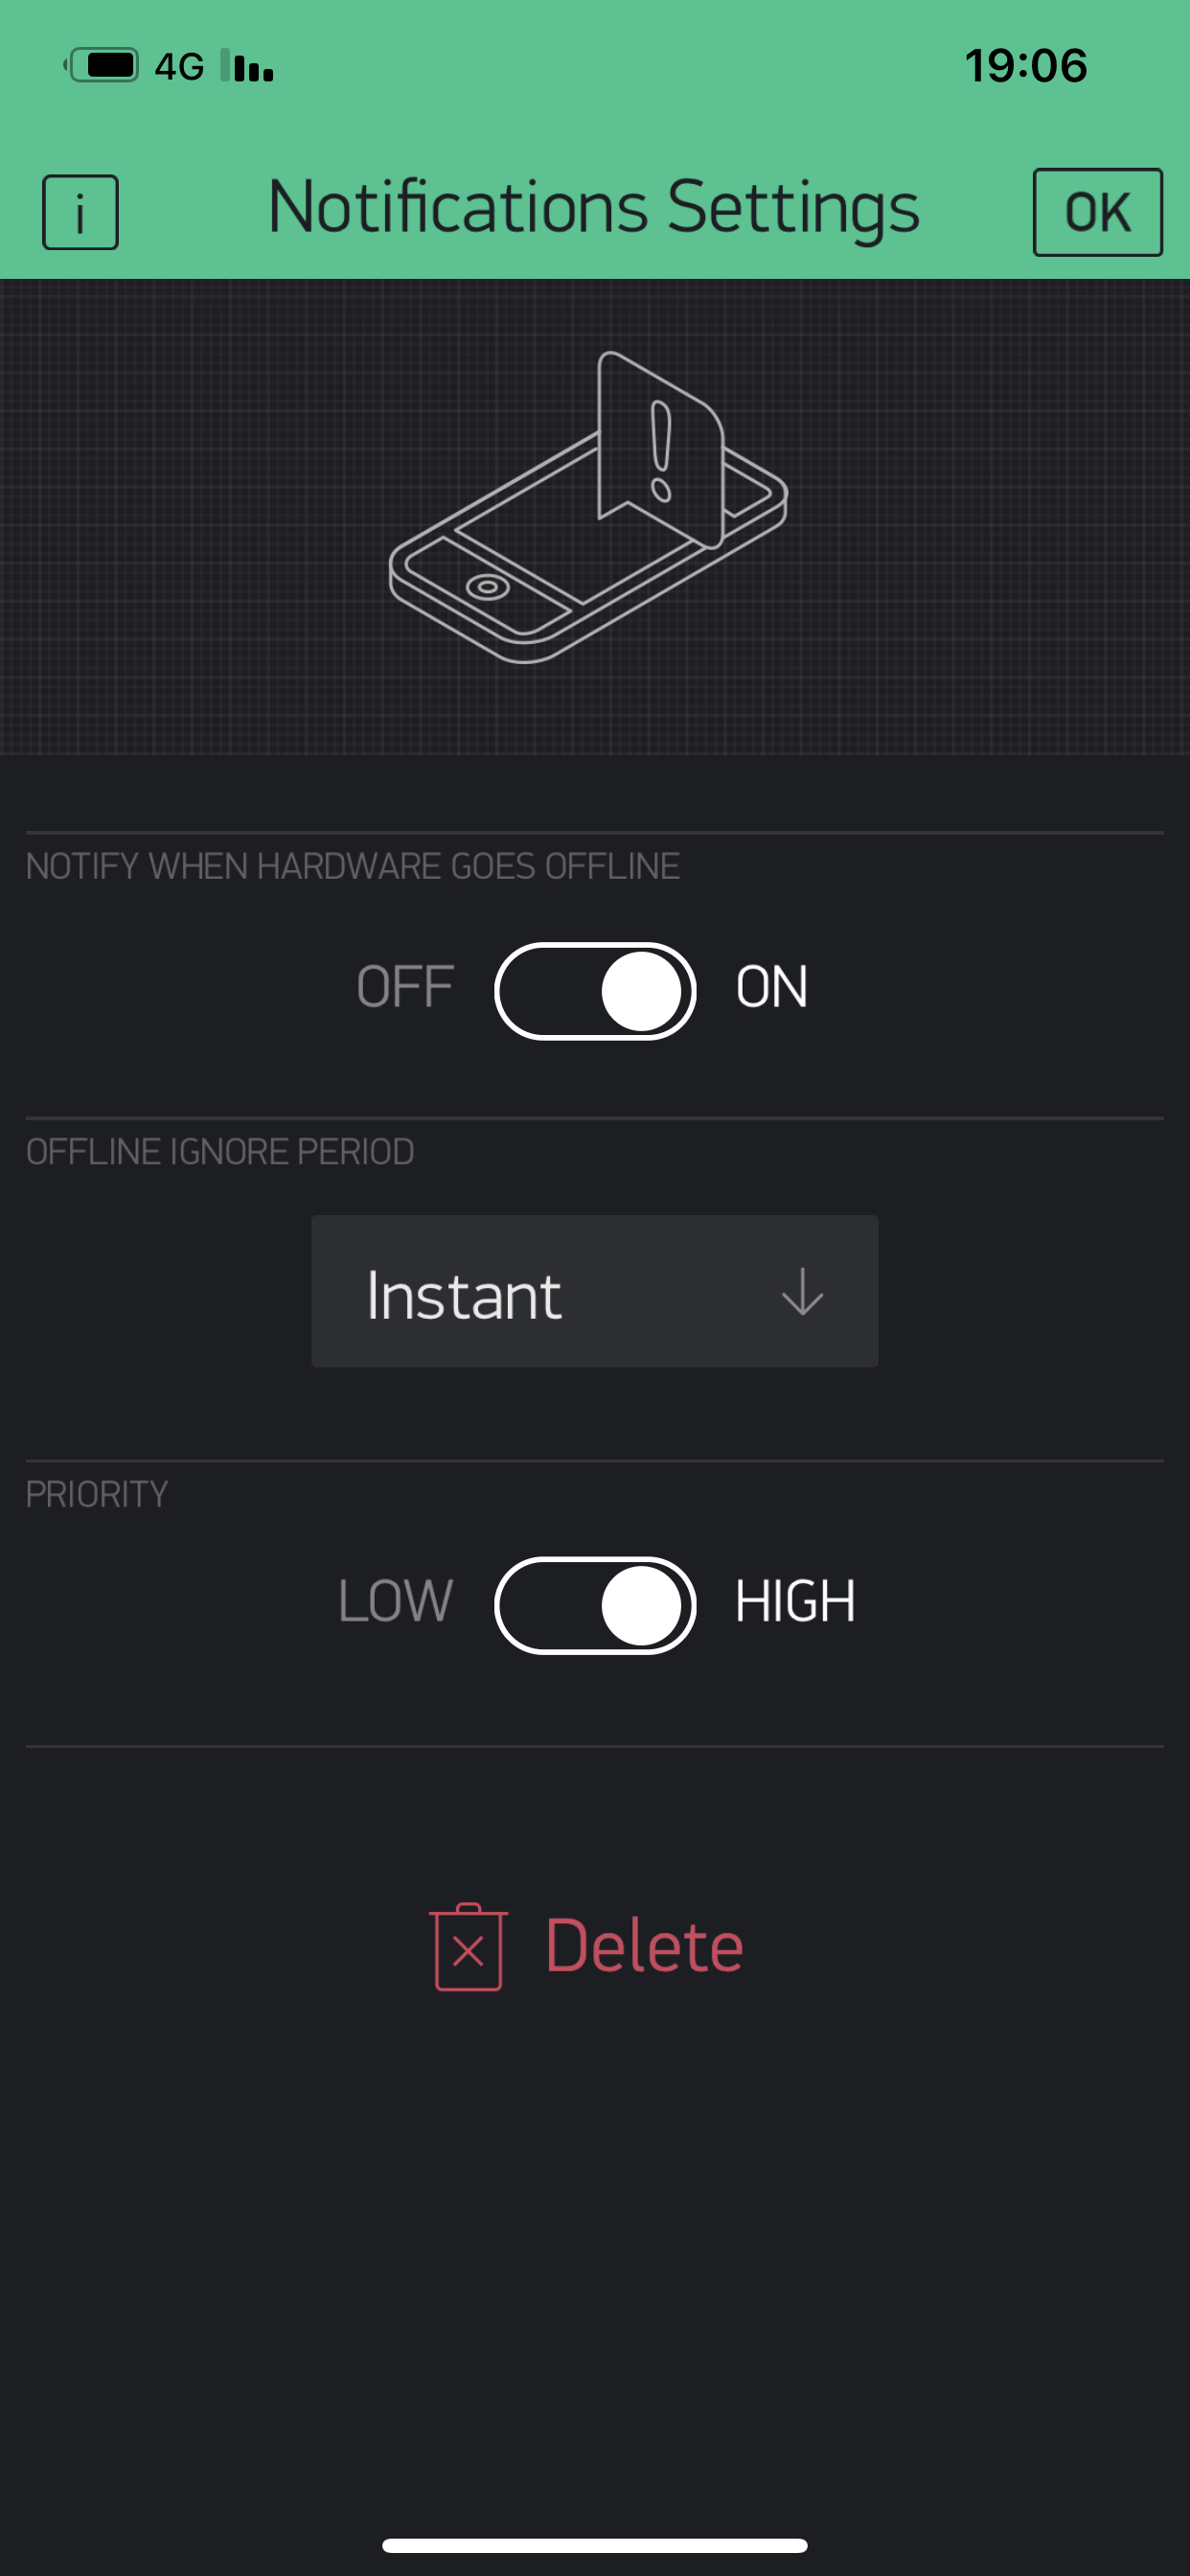
- Add a notification widget. (See attached photos for configuration).
The Code
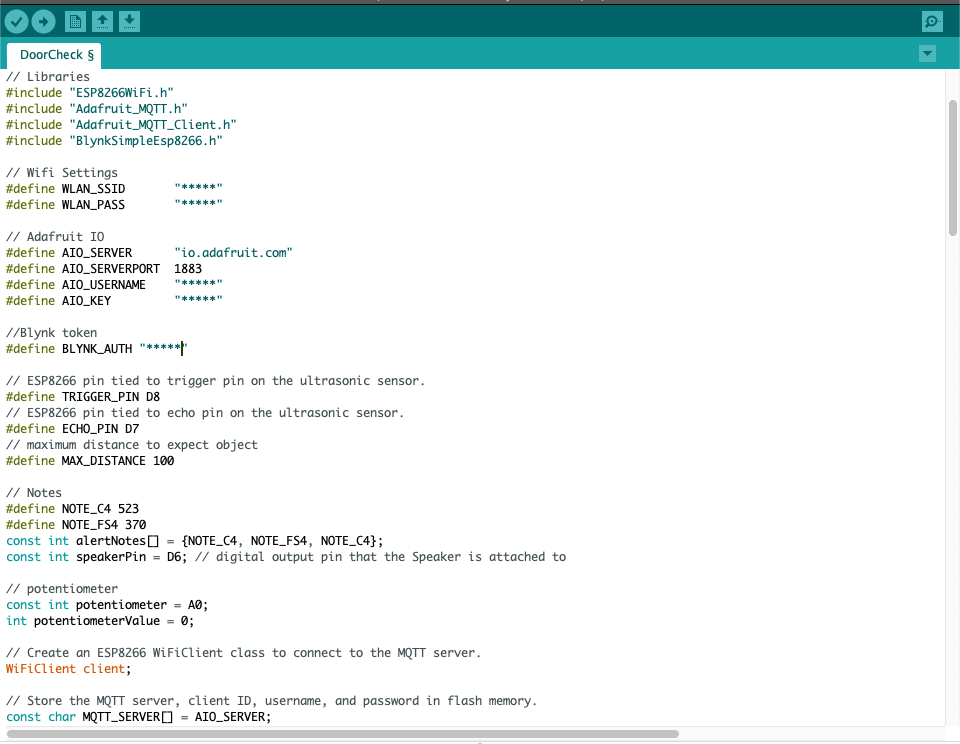
The code is attached and is well documented, for easy use.
Open the code in Arduino IDE, make sure that the board you are working on is indeed the right board.
When you are running the serial monitor, make sure you are on 115200baud.
Notice that there are places in the code you need to modify according to your project (such as your WiFi details).
All is written in the documentation.