Smart Cookie Magnets

After watching Rosanna Pansino making smart cookie magnets on YouTube, I thought itd be a lot of fun to show you my take on the project.
Grab Your Materials

To take on Rosanna's magnet project, you will need the following items:
- 5 blocks of oven-bake clay in the following colors: tan / black / white / brown / light pink
- hot glue gun or E6000
- small magnets
- clay modeling tool kit or fondant tool kit
- X-acto knife
- small paintbrush
- toothbrush
- 2 pieces of chalk in yellow and brown
- spray varnish
Make Tan Disks

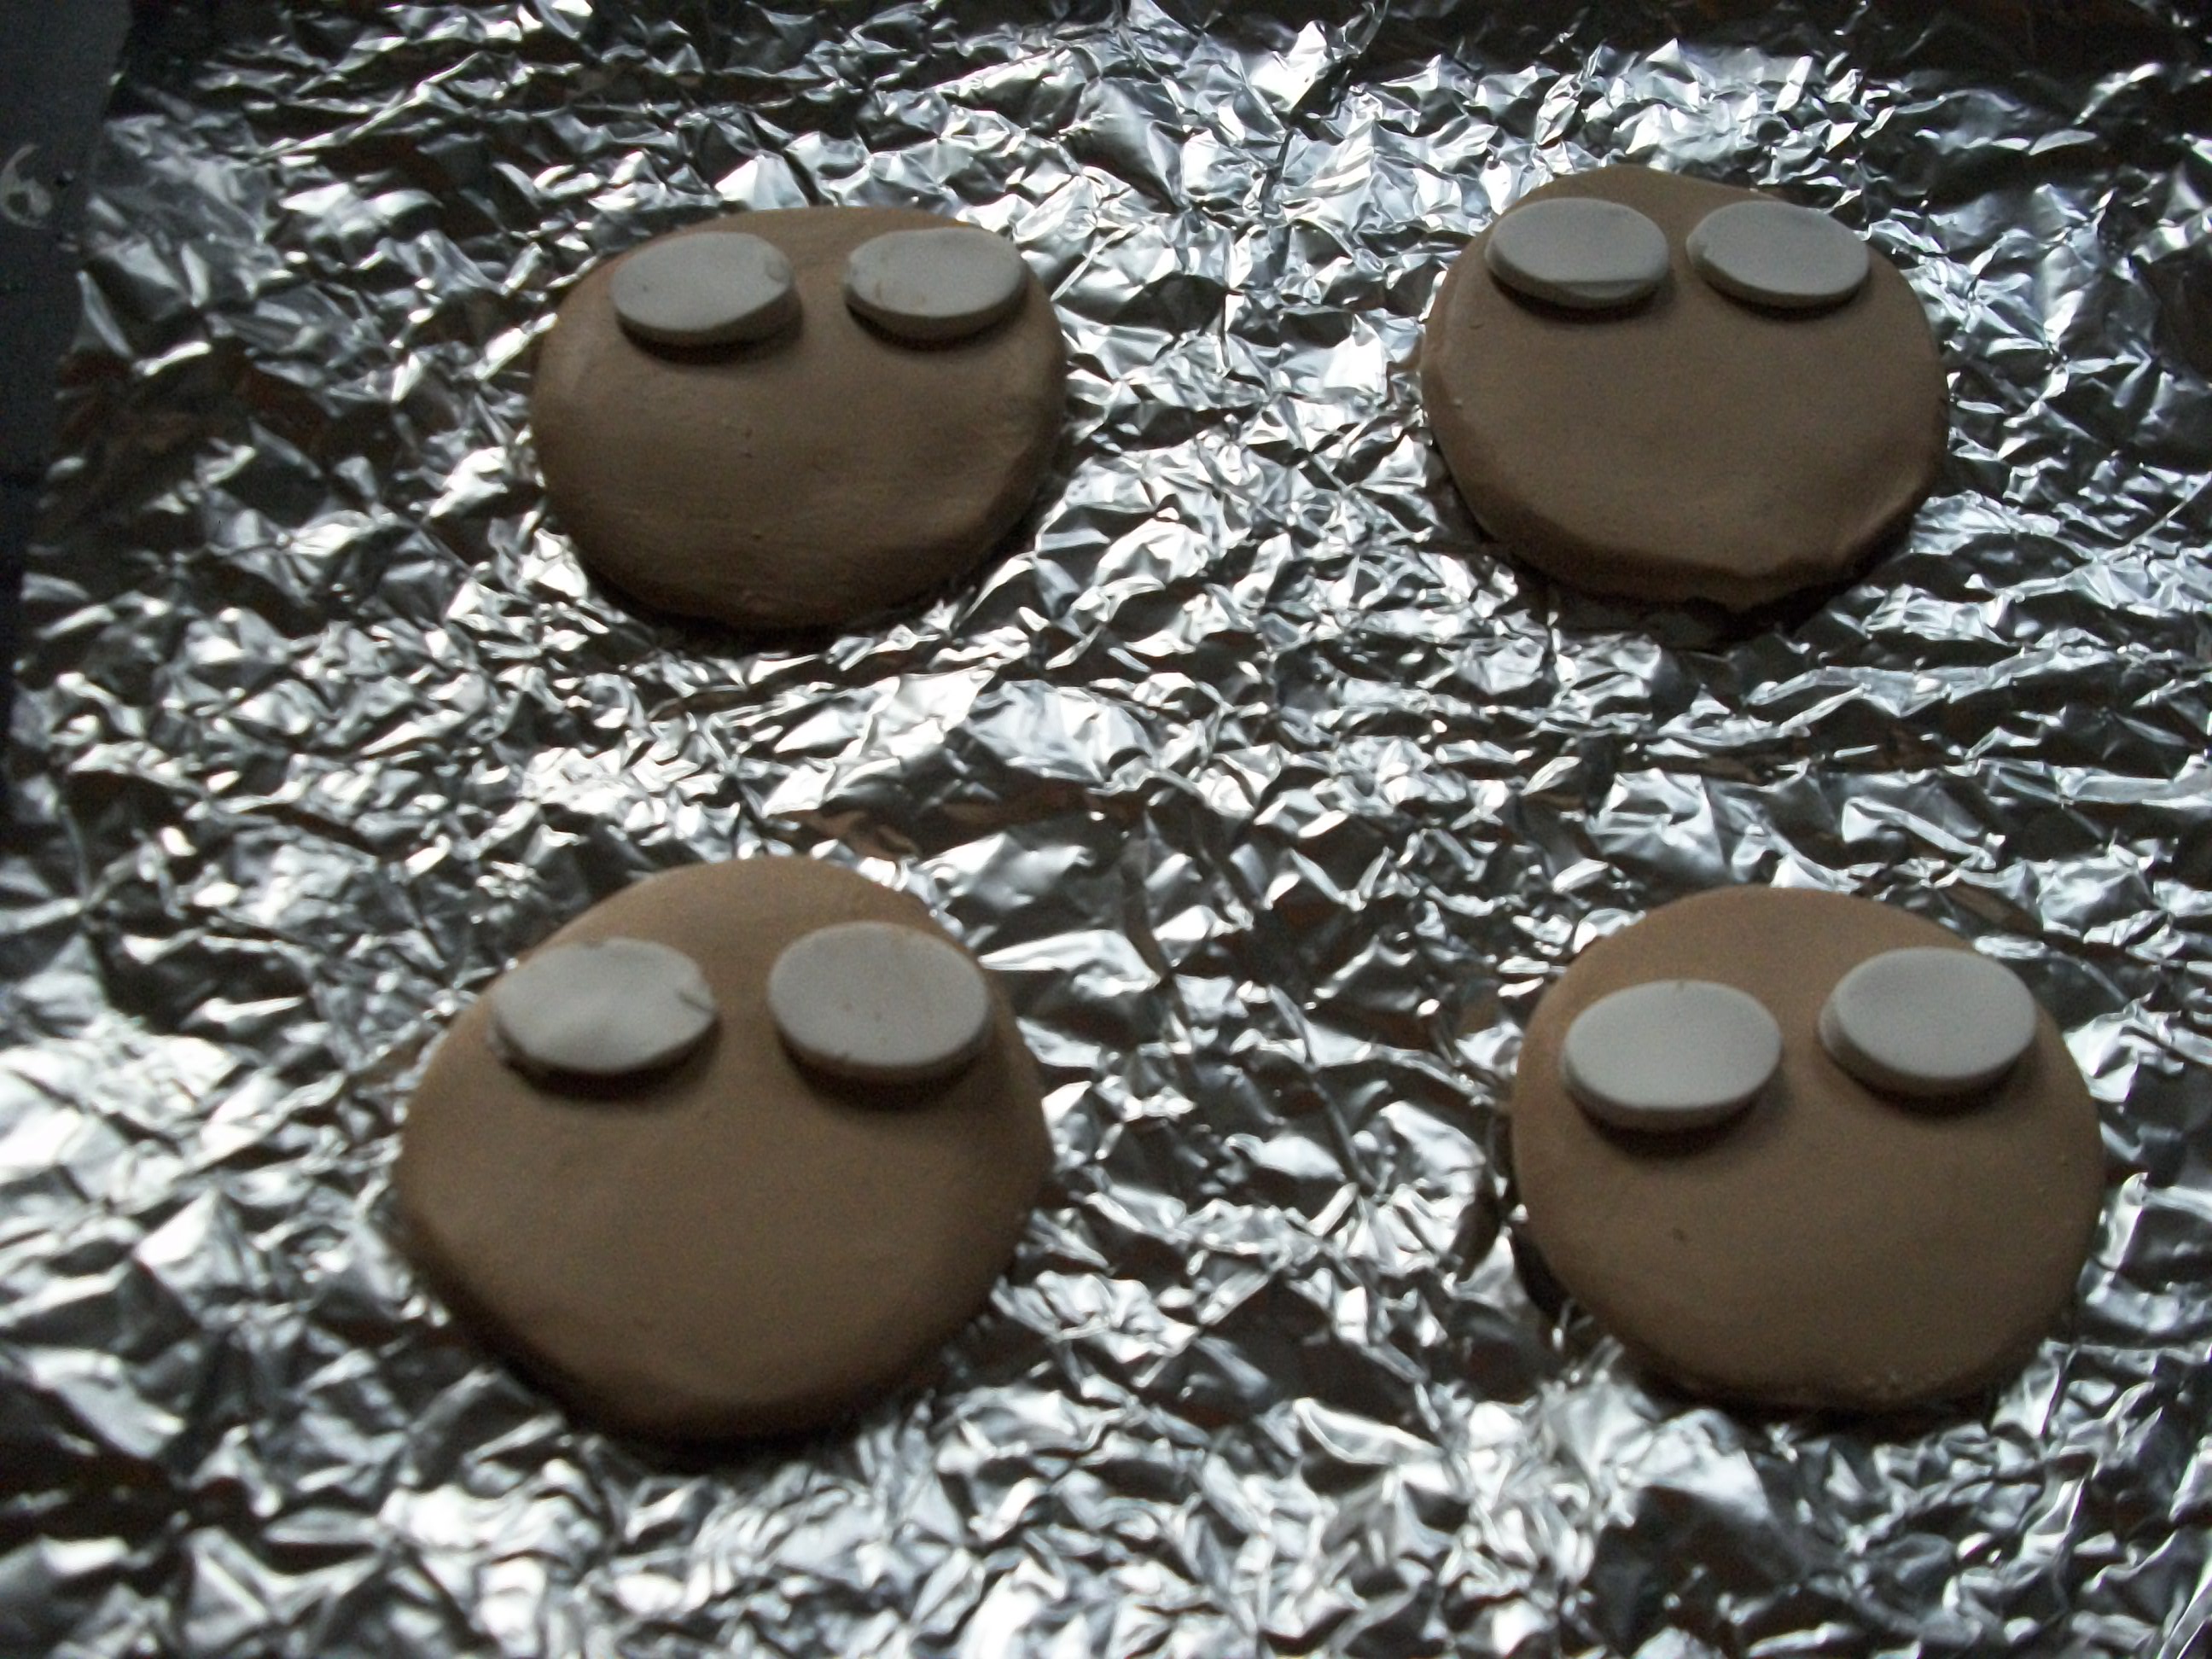
First, cut the tan clay into 4 pieces, roll into balls, and flatten them out into disks.
Scrape Off Edges

Then, using an old toothbrush, scrape off the edges of the tan disks.
Brush on Chalk


Next, use an X-acto knife to scrape off some yellow and brown chalk onto a paper plate. Mix together with a small paintbrush, and brush that onto the edges of the tan disks.
Make Eyeballs


Roll out the white clay and use a 3/4" inch oval cookie cutter to make the eyeballs.
Make Eyeglass Frames


Roll out the black clay and use a 1" inch oval cookie cutter to make the eyeglass frames. Place on top of the white eyeballs, and use the rounded end of a clay modeling tool to round off the frames.
Make Features


Now, do the following steps to make the features:
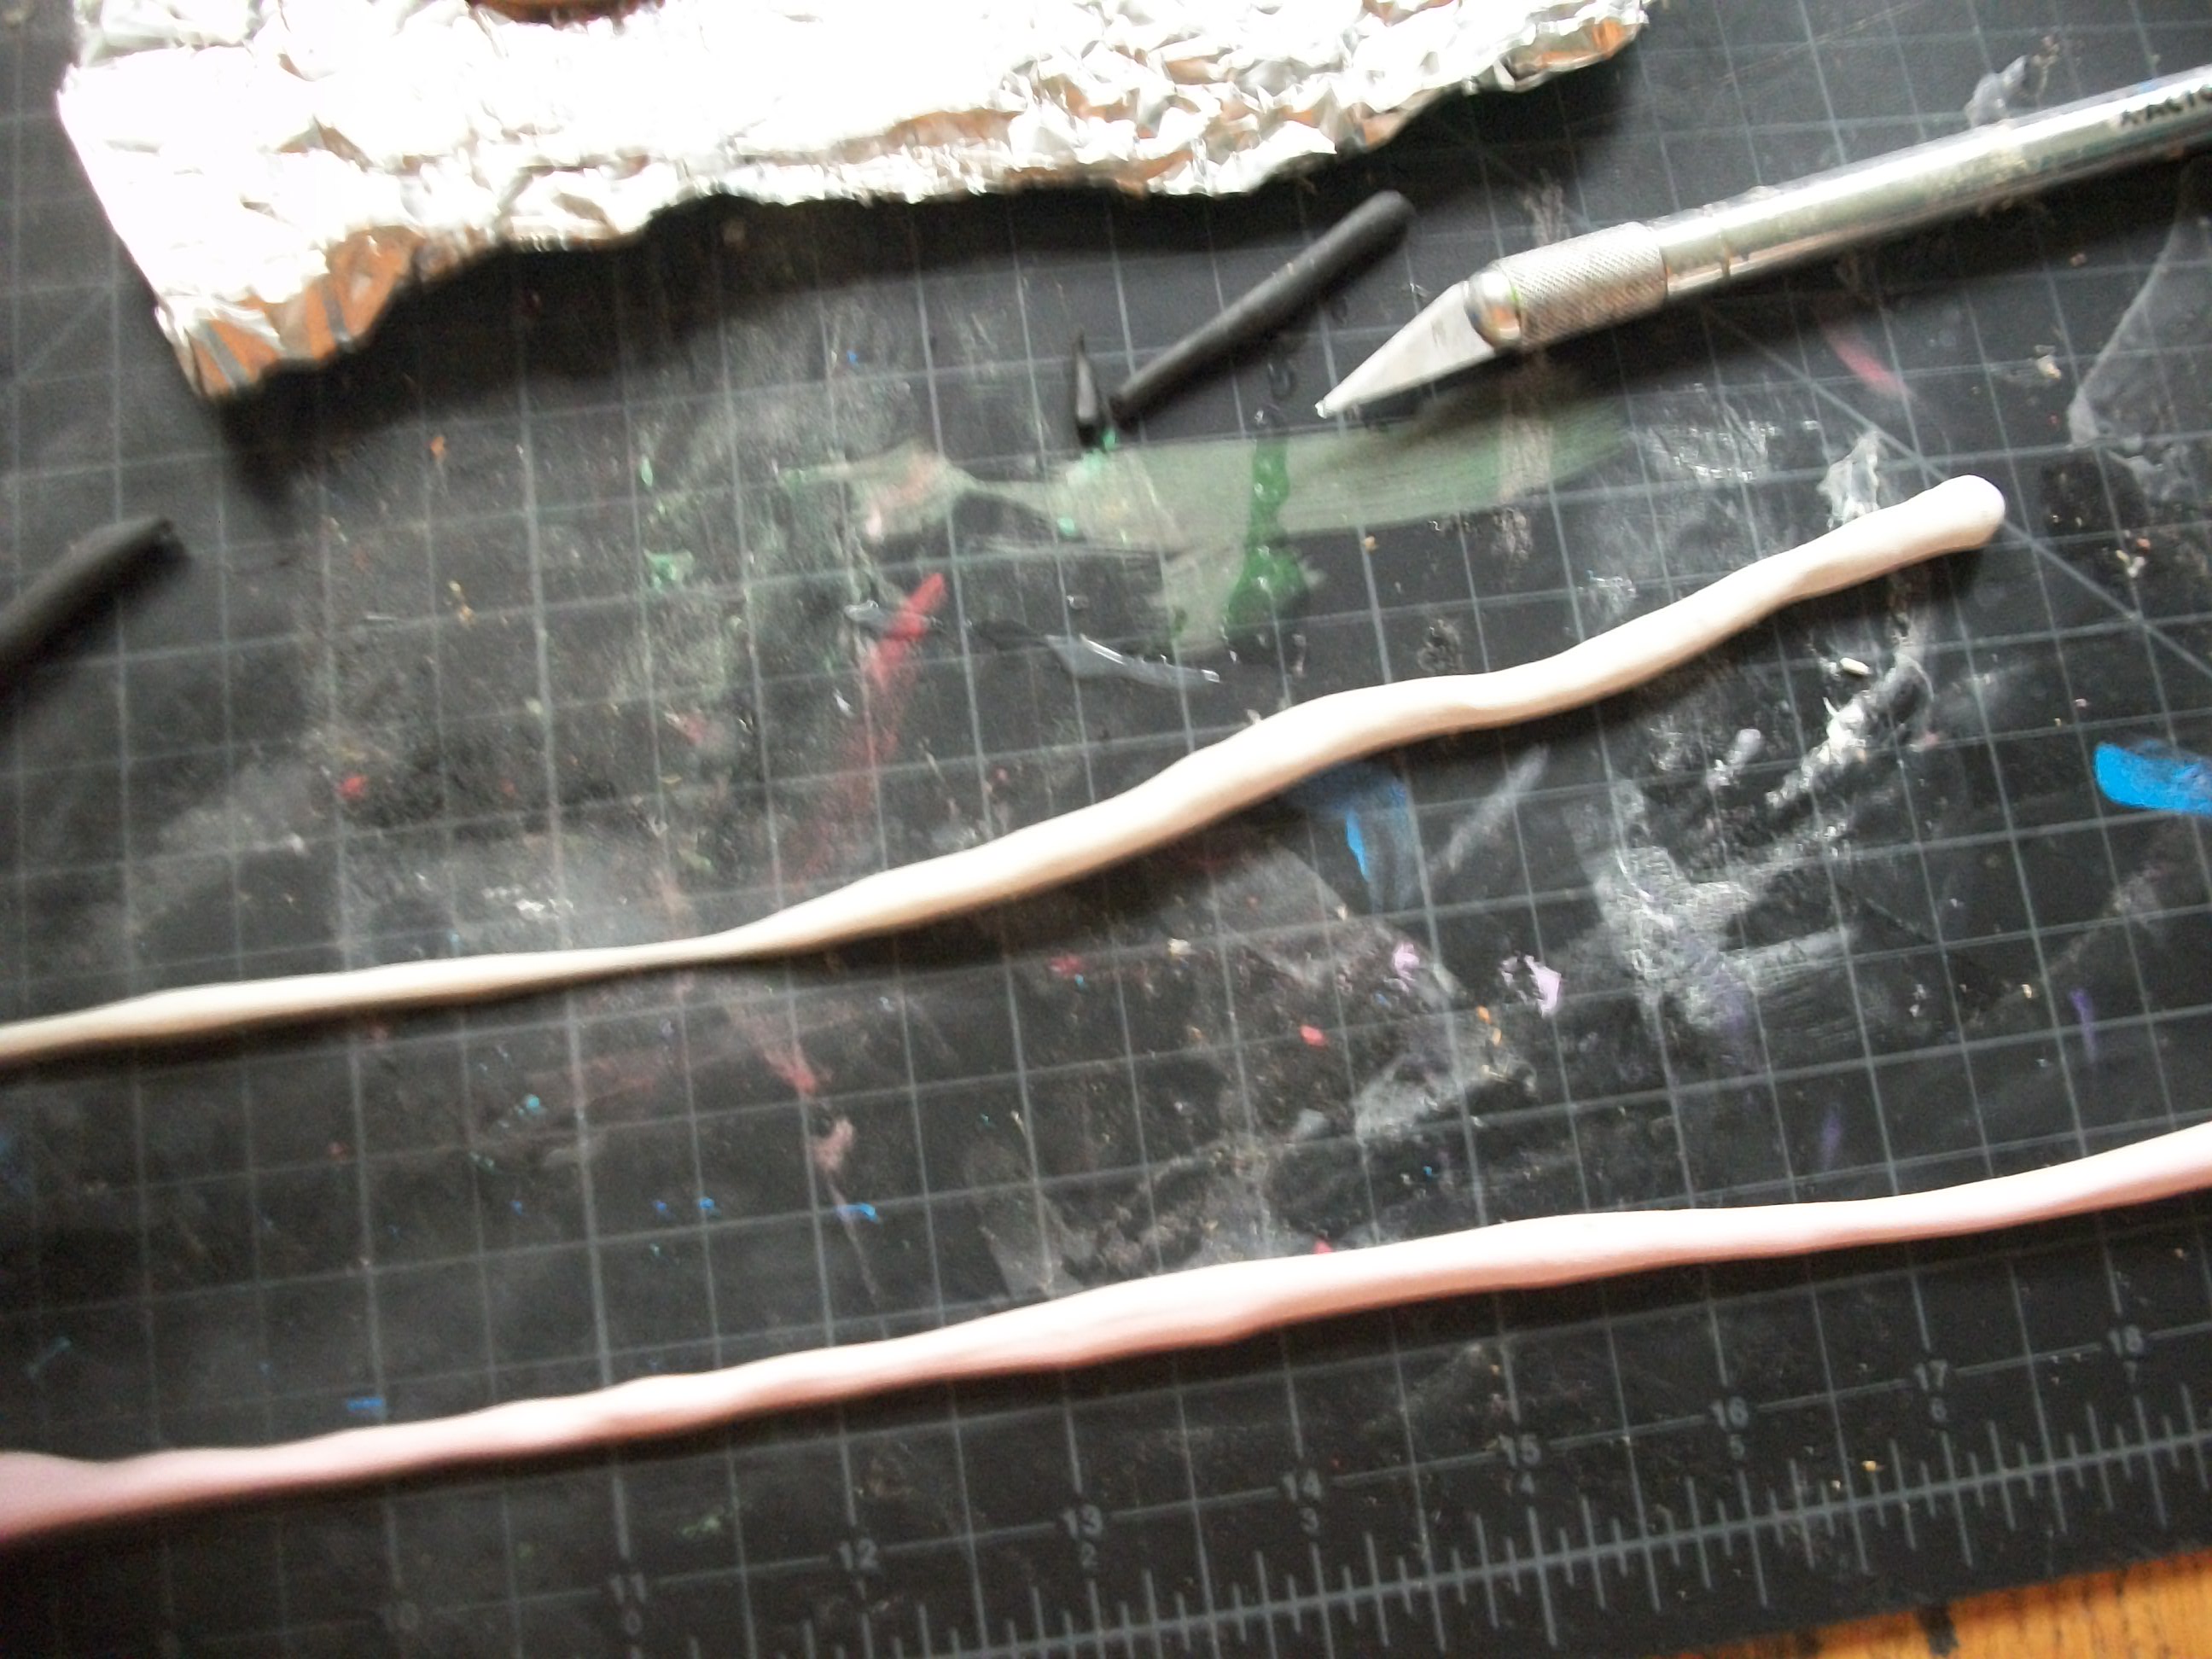
Roll out black, white and light pink clay into small thin snakes. Then, use an X-acto knife to cut off small pieces of each color.
Use the black pieces for the pupils, handles and bridges of the eyeglasses, and the smile.
Use the white pieces of the irises within the black pupils.
Use the light pink pieces for the cheeks along the edges of the glasses.
Make Chocolate Chips


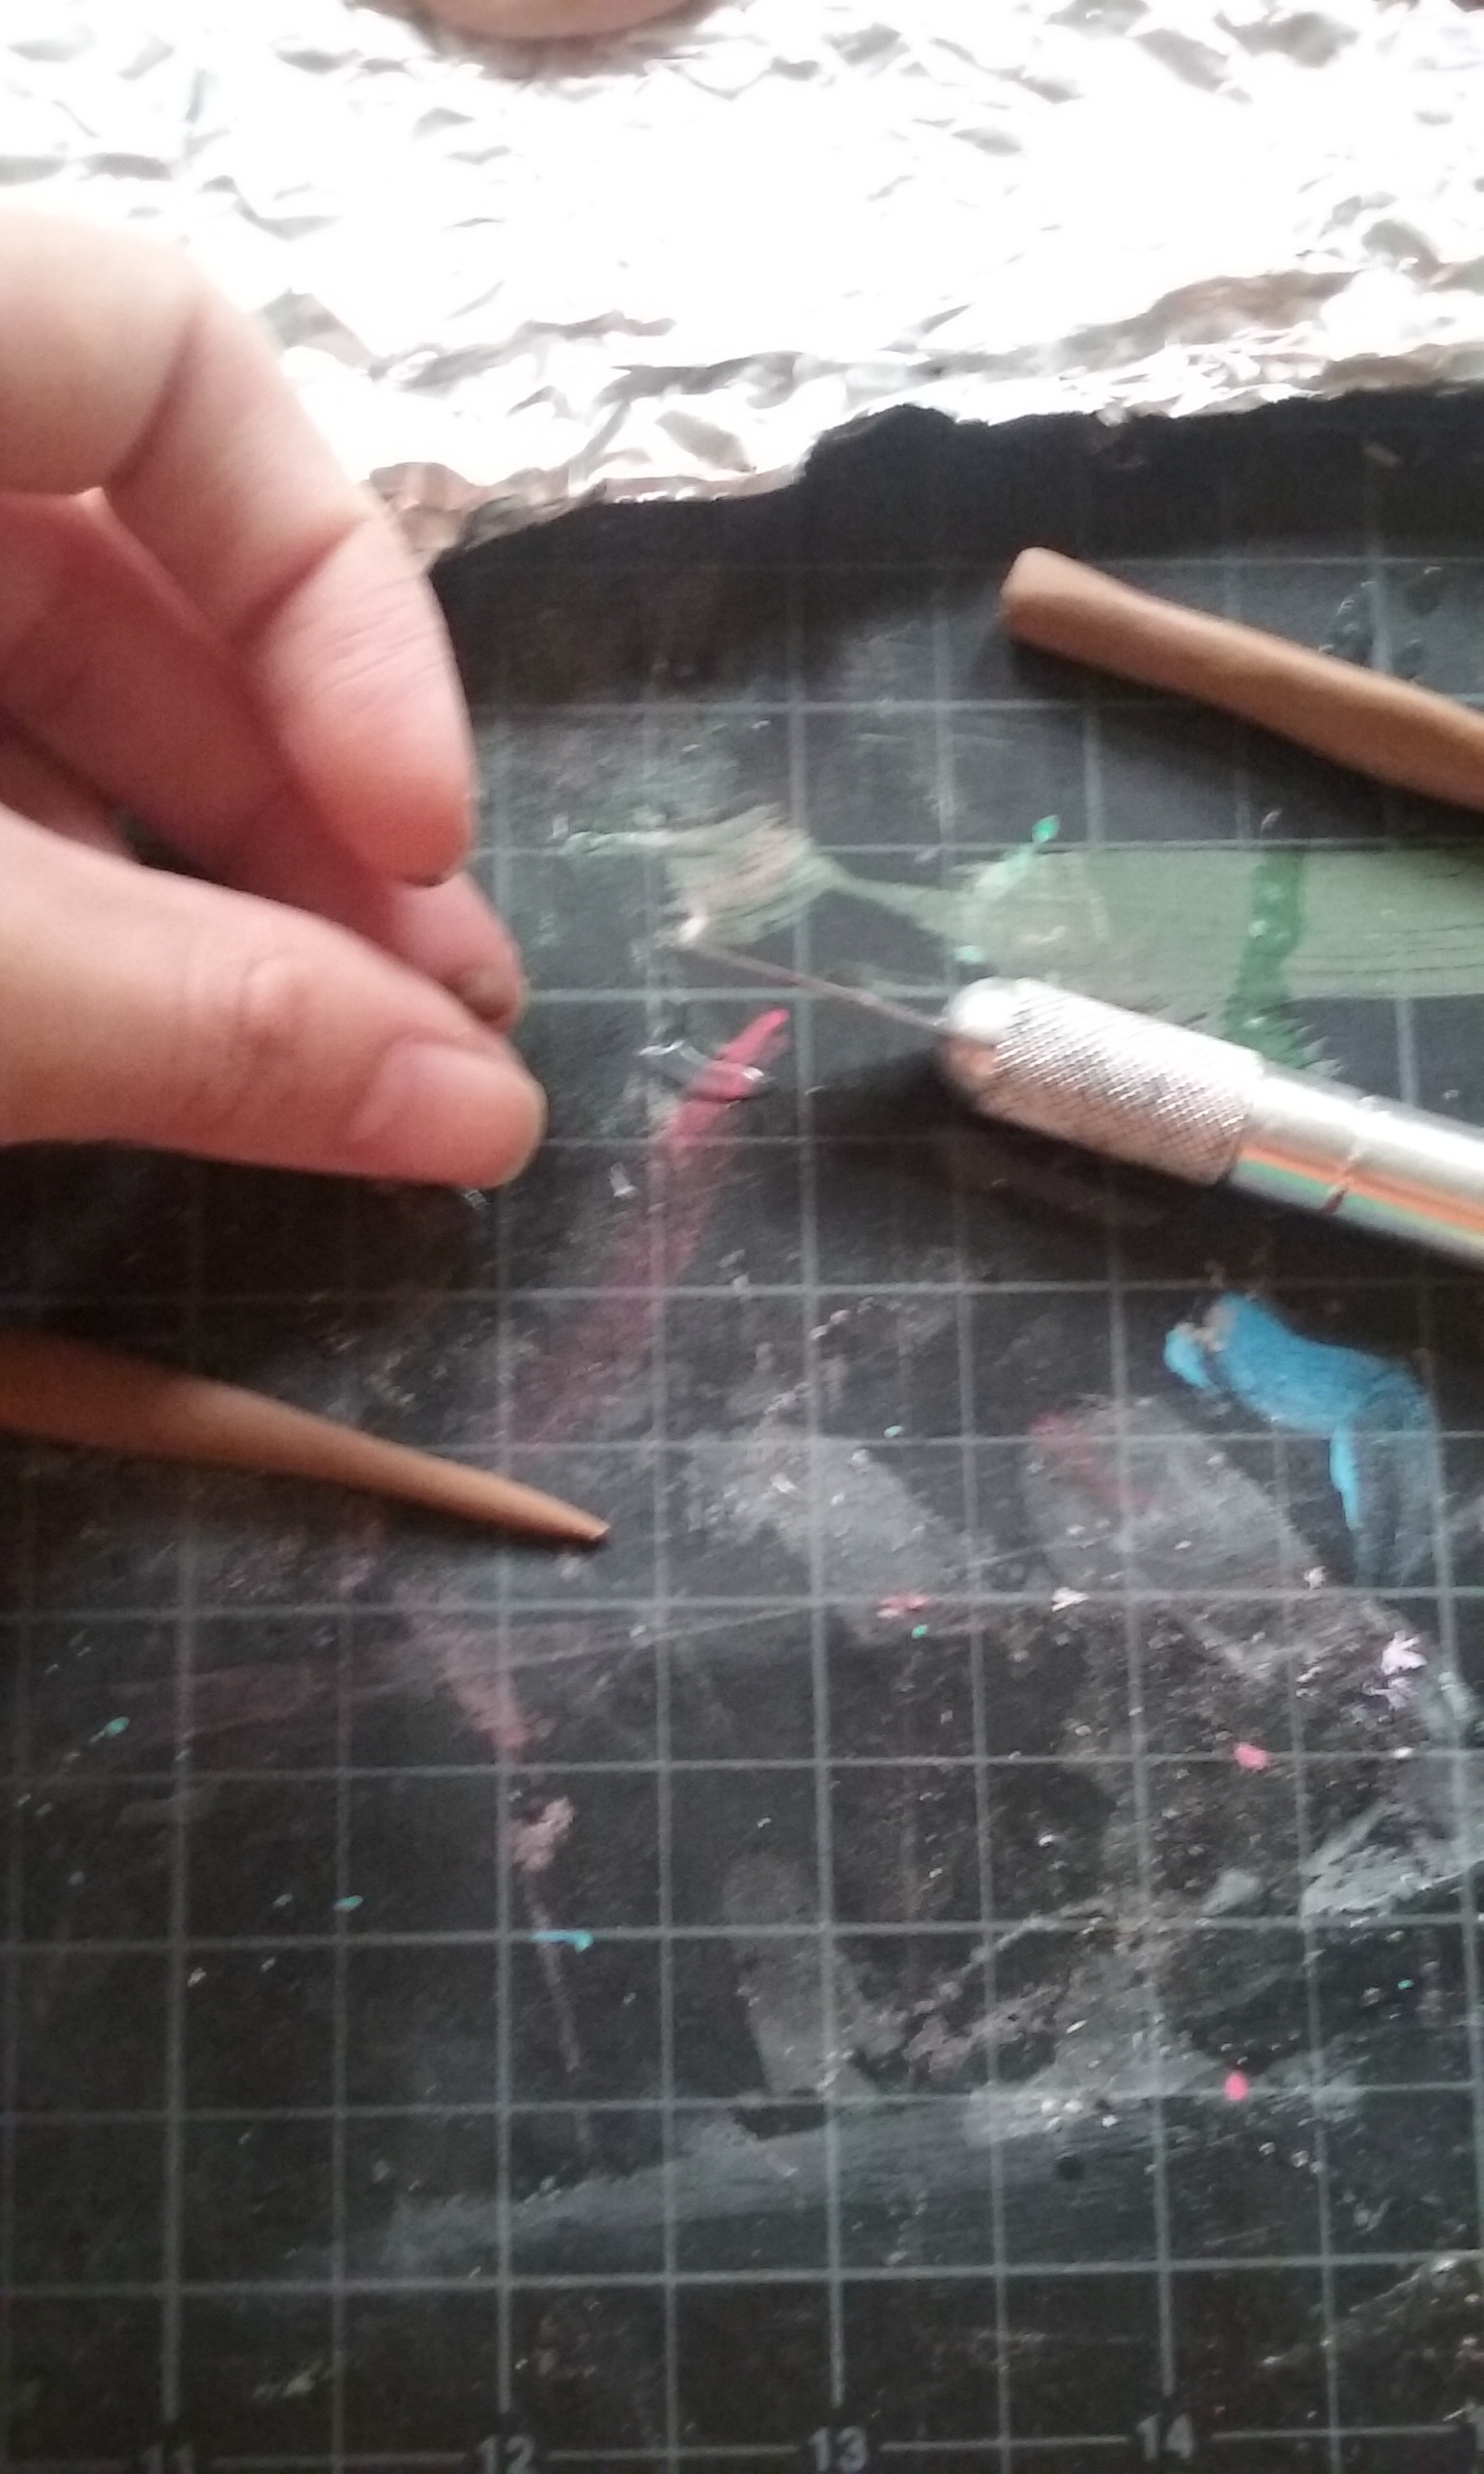
Finally, roll out the dark brown clay into a thin snake, cut up small pieces, and roll them into chocolate chips. Place them on the top and bottom of the cookie face.
Bake

Now, bake the clay cookies according the clay package directions. I baked mine at 275 degrees for 15 minutes. Once time's up, take them out and let them cool off.
Finish Off


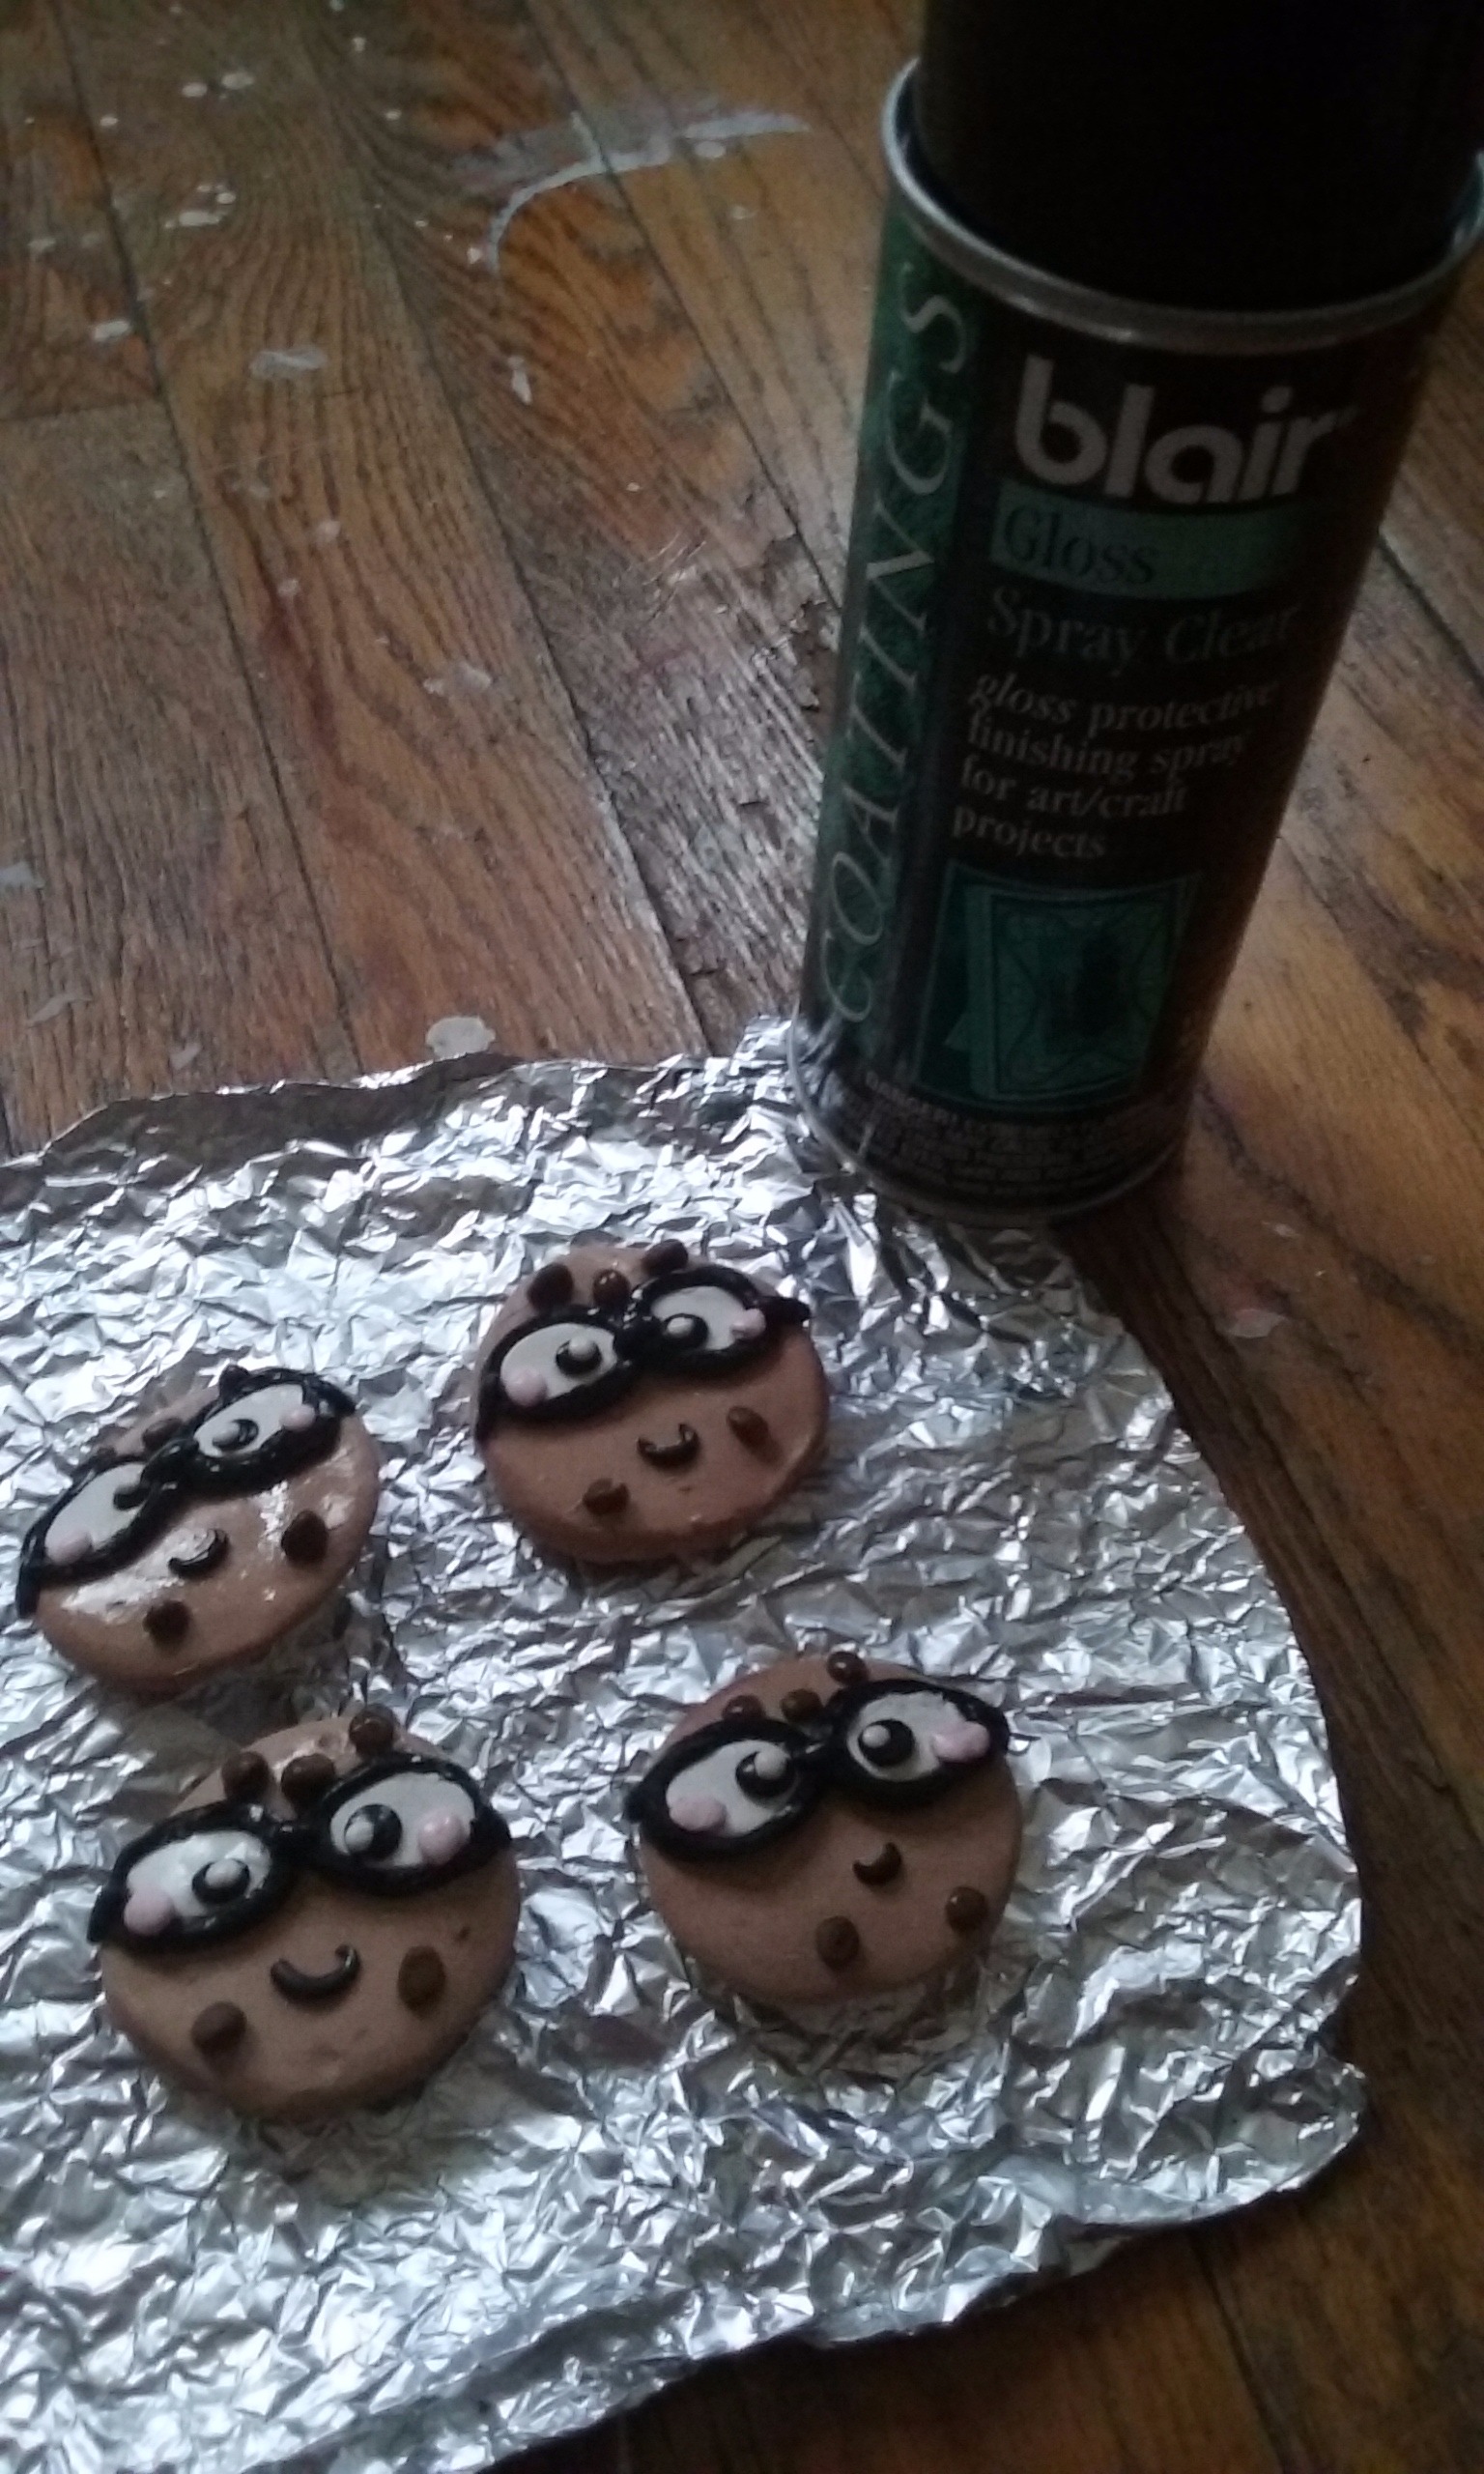
To finish off, use a dab of super glue or hot on the back of the cookies to attach a magnet. And, finally, add a spritz of gloss varnish.
Done!


These make for wacky additions to your magnets or as zany gifts for the geek in your life!