Smart Christmas Tree With CircuitPython
by rpt11 in Circuits > Arduino
496 Views, 0 Favorites, 0 Comments
Smart Christmas Tree With CircuitPython
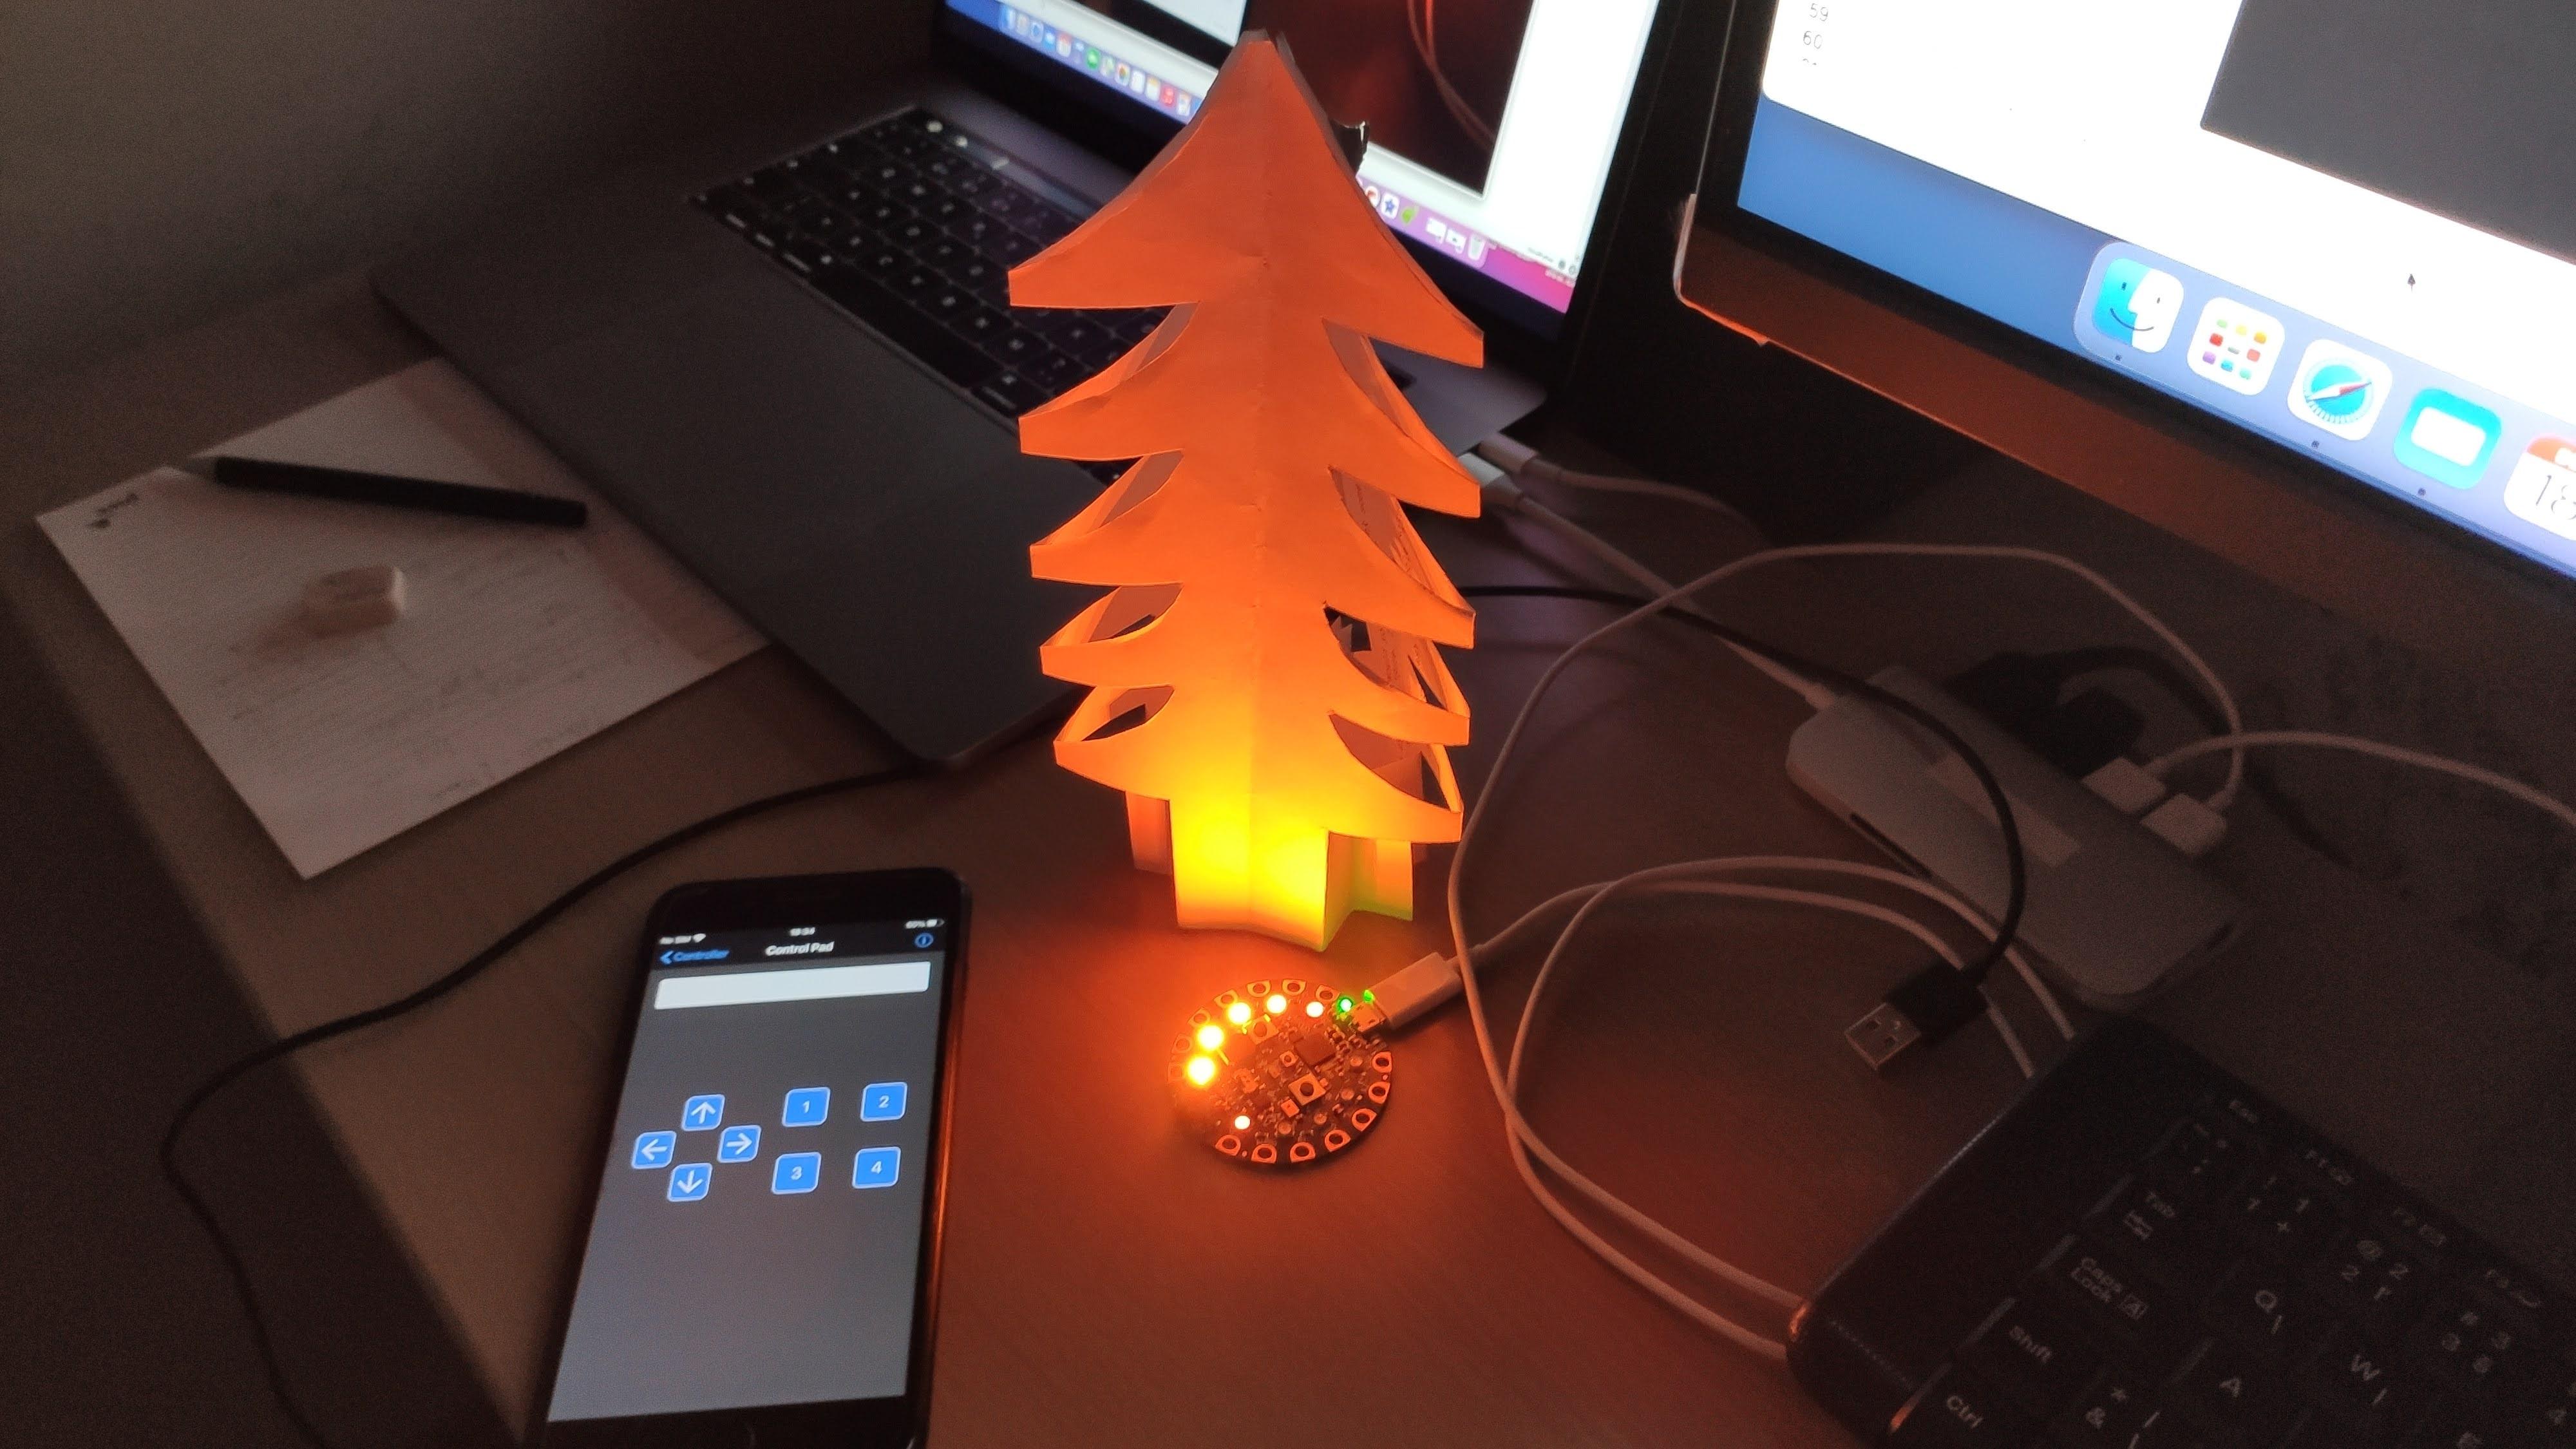
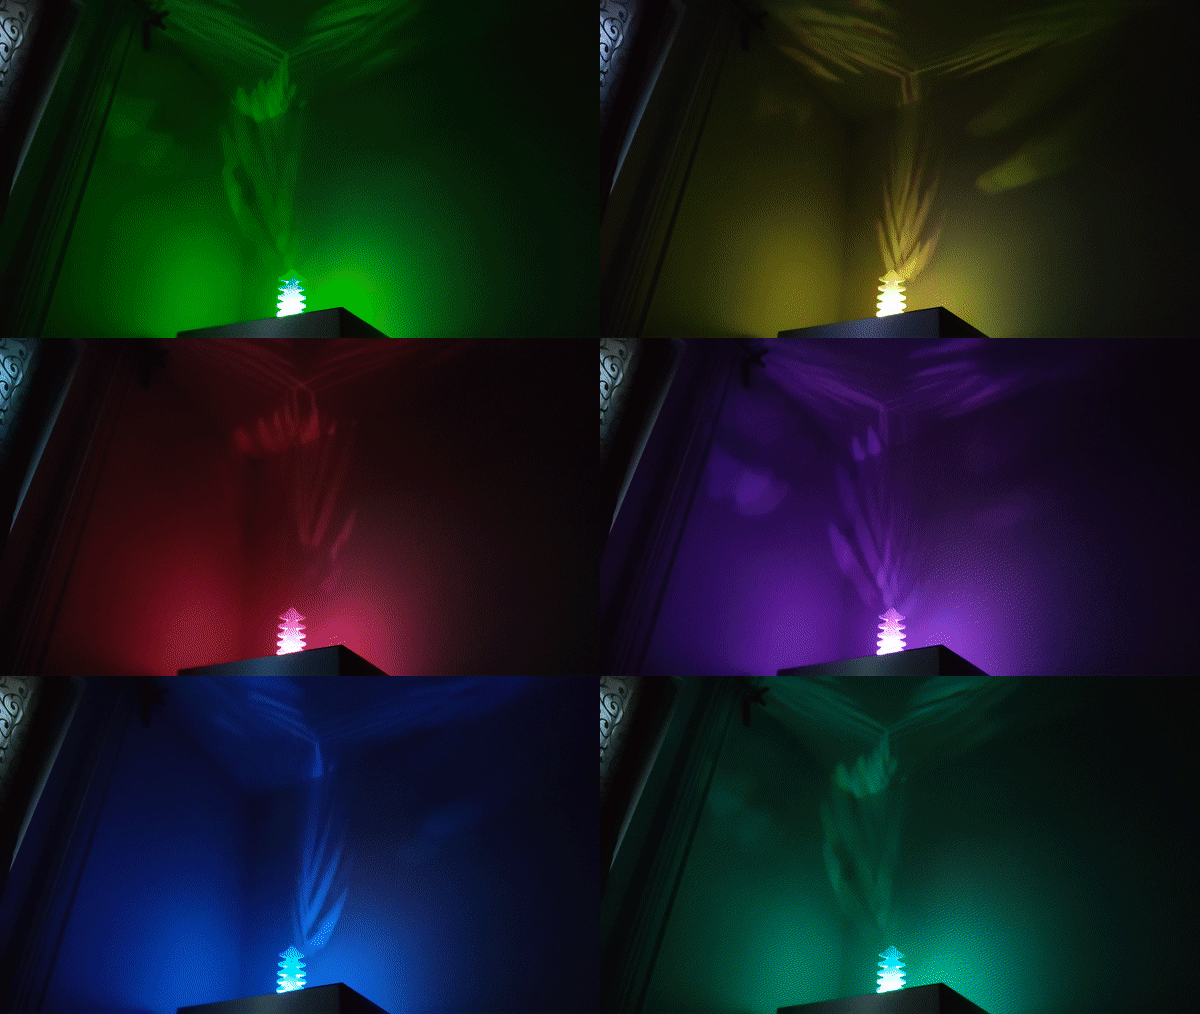
It's time for some holiday decoration with modern technology under the hood looking nice and simple from outside. Circuit Playground Bluefruit will manage this for us: 10 colorful NeoPixel LEDs will be smoothly updated 60 times per second by a powerful Cortex M4 processor running our program on CircuitPython.
It won't be just a Glowing Paper Christmas Tree, it will be a Smart one! Bluetooth connectivity gives a chance to modify the appearance from the phone using Bluefruit Connect application from Adafruit (iOS, Android).
Key features:
- Comfortable for eyes - overall brightness is constant, no blinks, no flashes
- Bluetooth connectivity allows to adjust animation type, speed and color from the phone
Actually there's not that much work as you might expect: make a paper Christmas tree and copy the program to the board.
Supplies
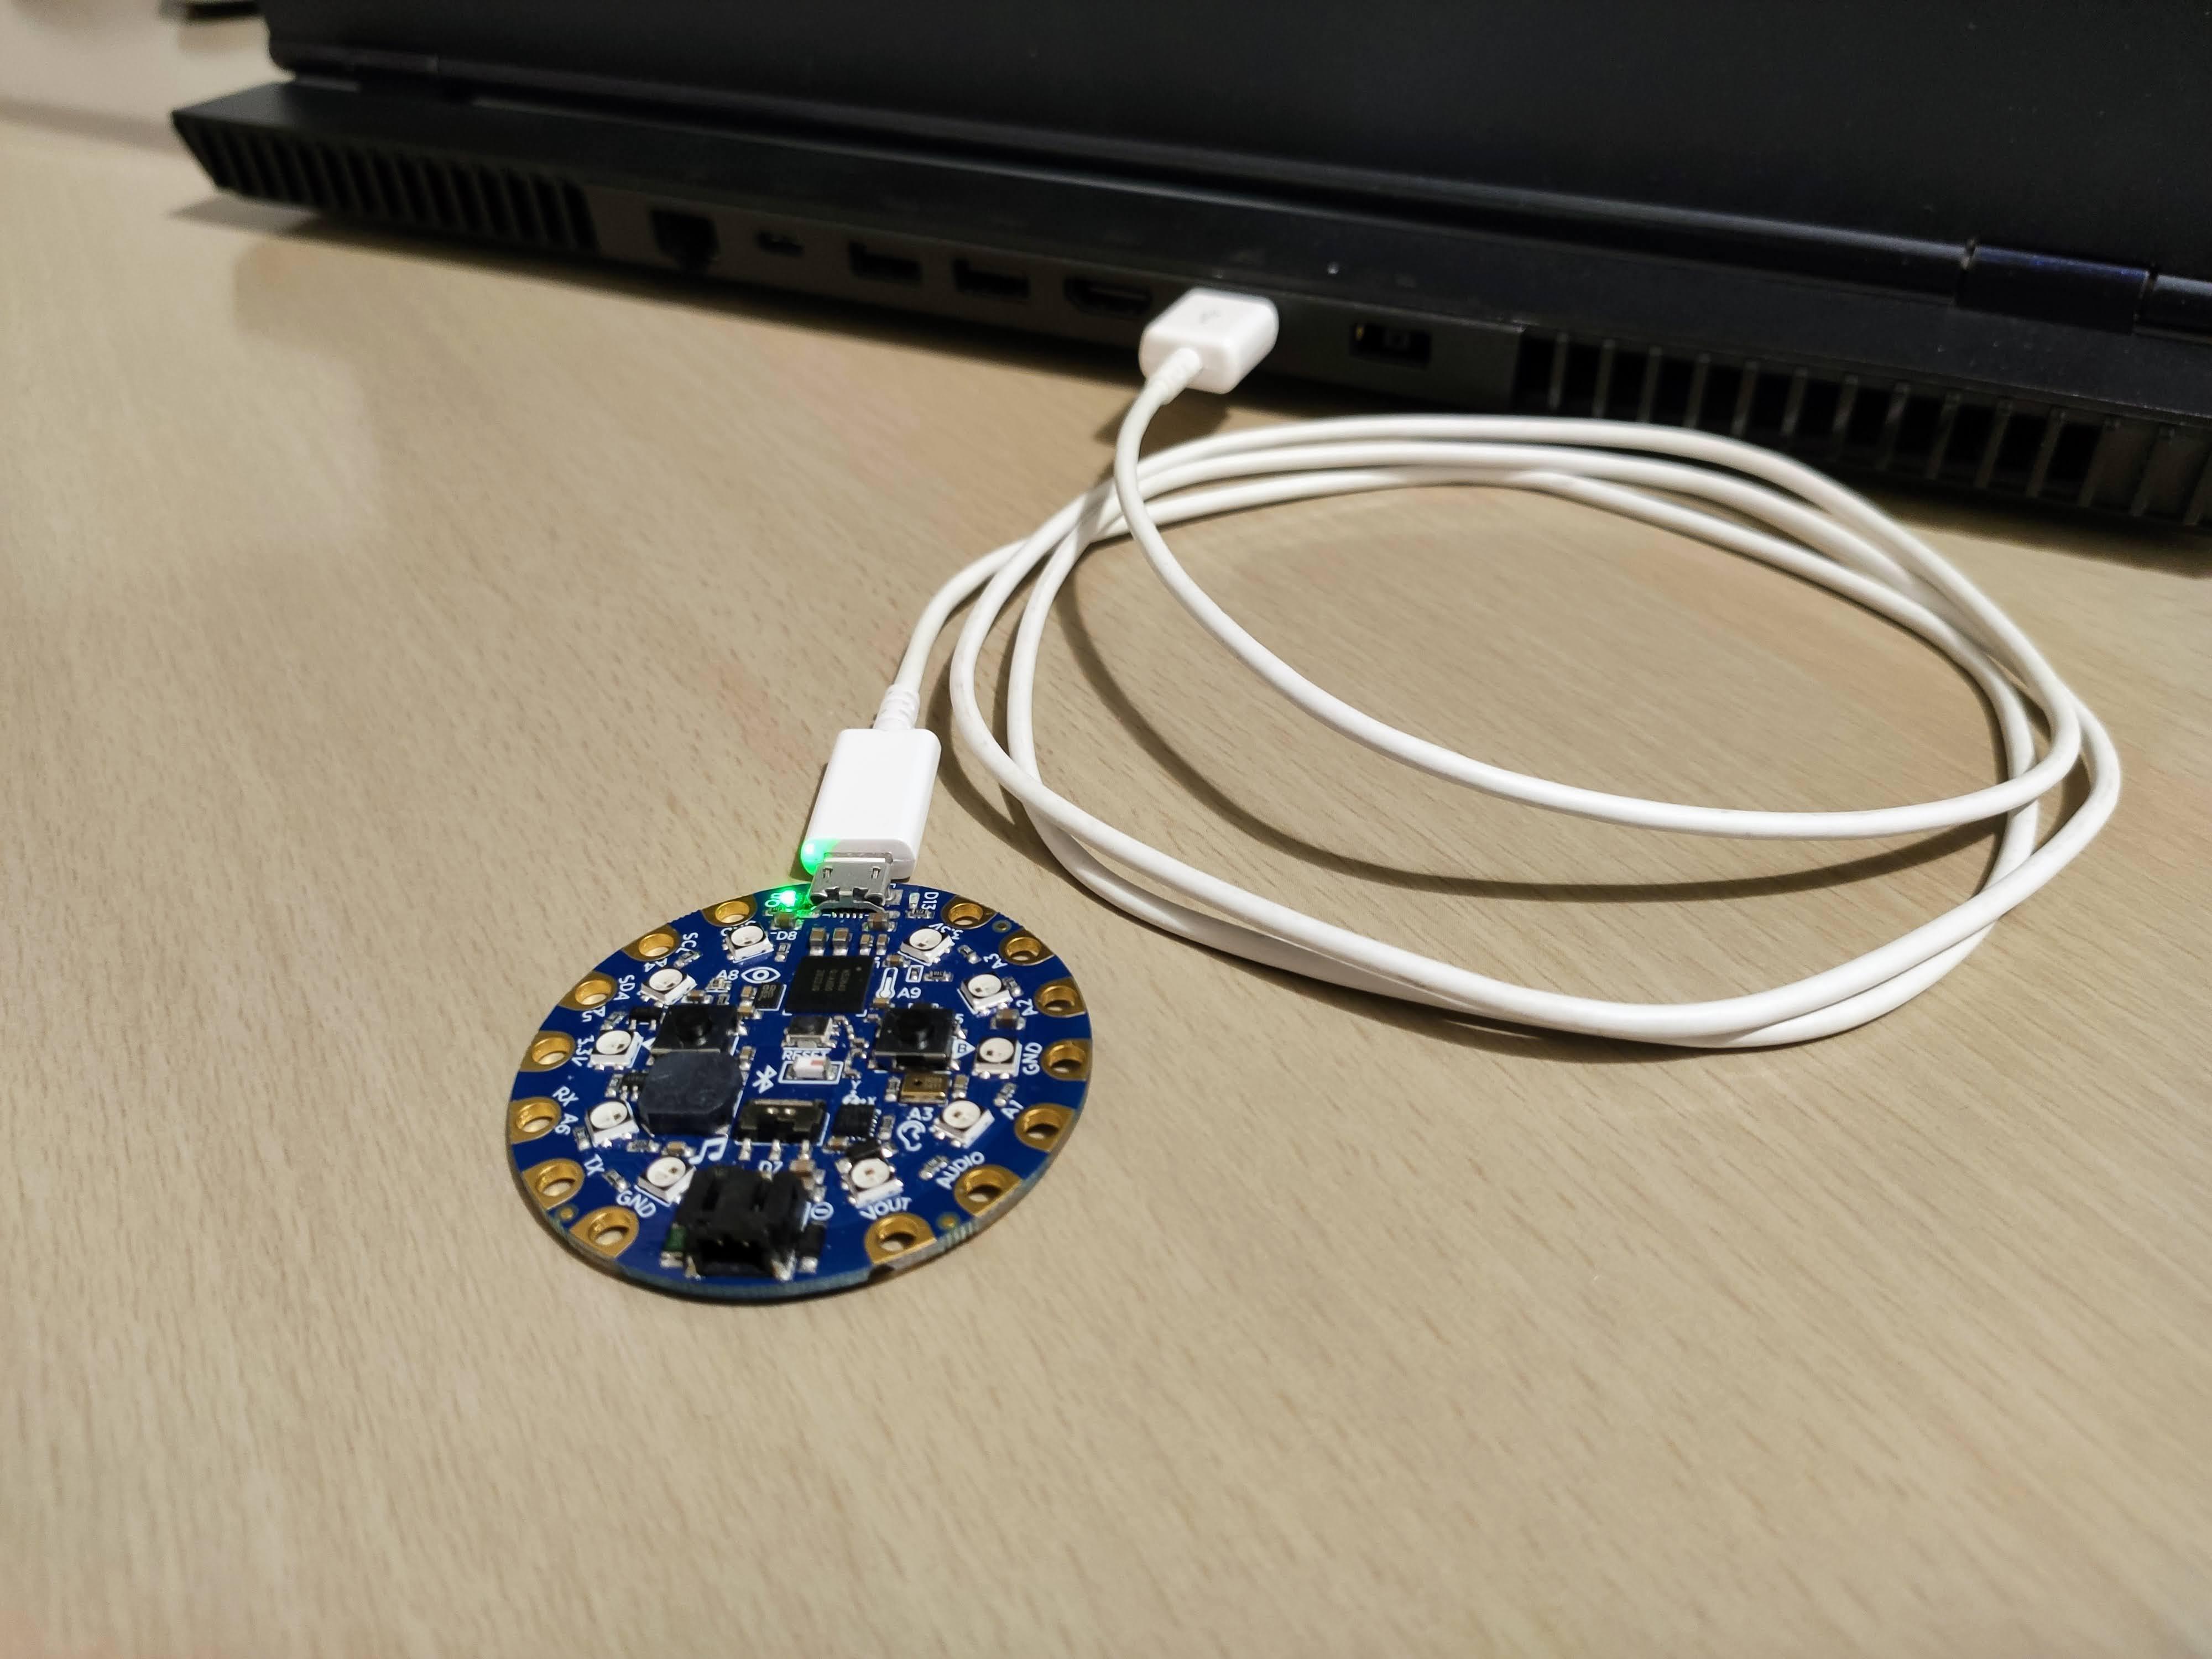
The microcontroller board with LEDs:
- Circuit Playground Bluefruit board from Adafruit (there are several products with name "Circuit Playground", this one is Bluefruit)
- Personal computer with USB port (no need to install programs, we'll just copy files to the board)
- USB data cable (the board needs Micro USB connector, the other connector must fit to your computer)
- (Optional) A phone supporting Bluetooth Low Energy, to adjust the appearance with Bluefruit Connect application
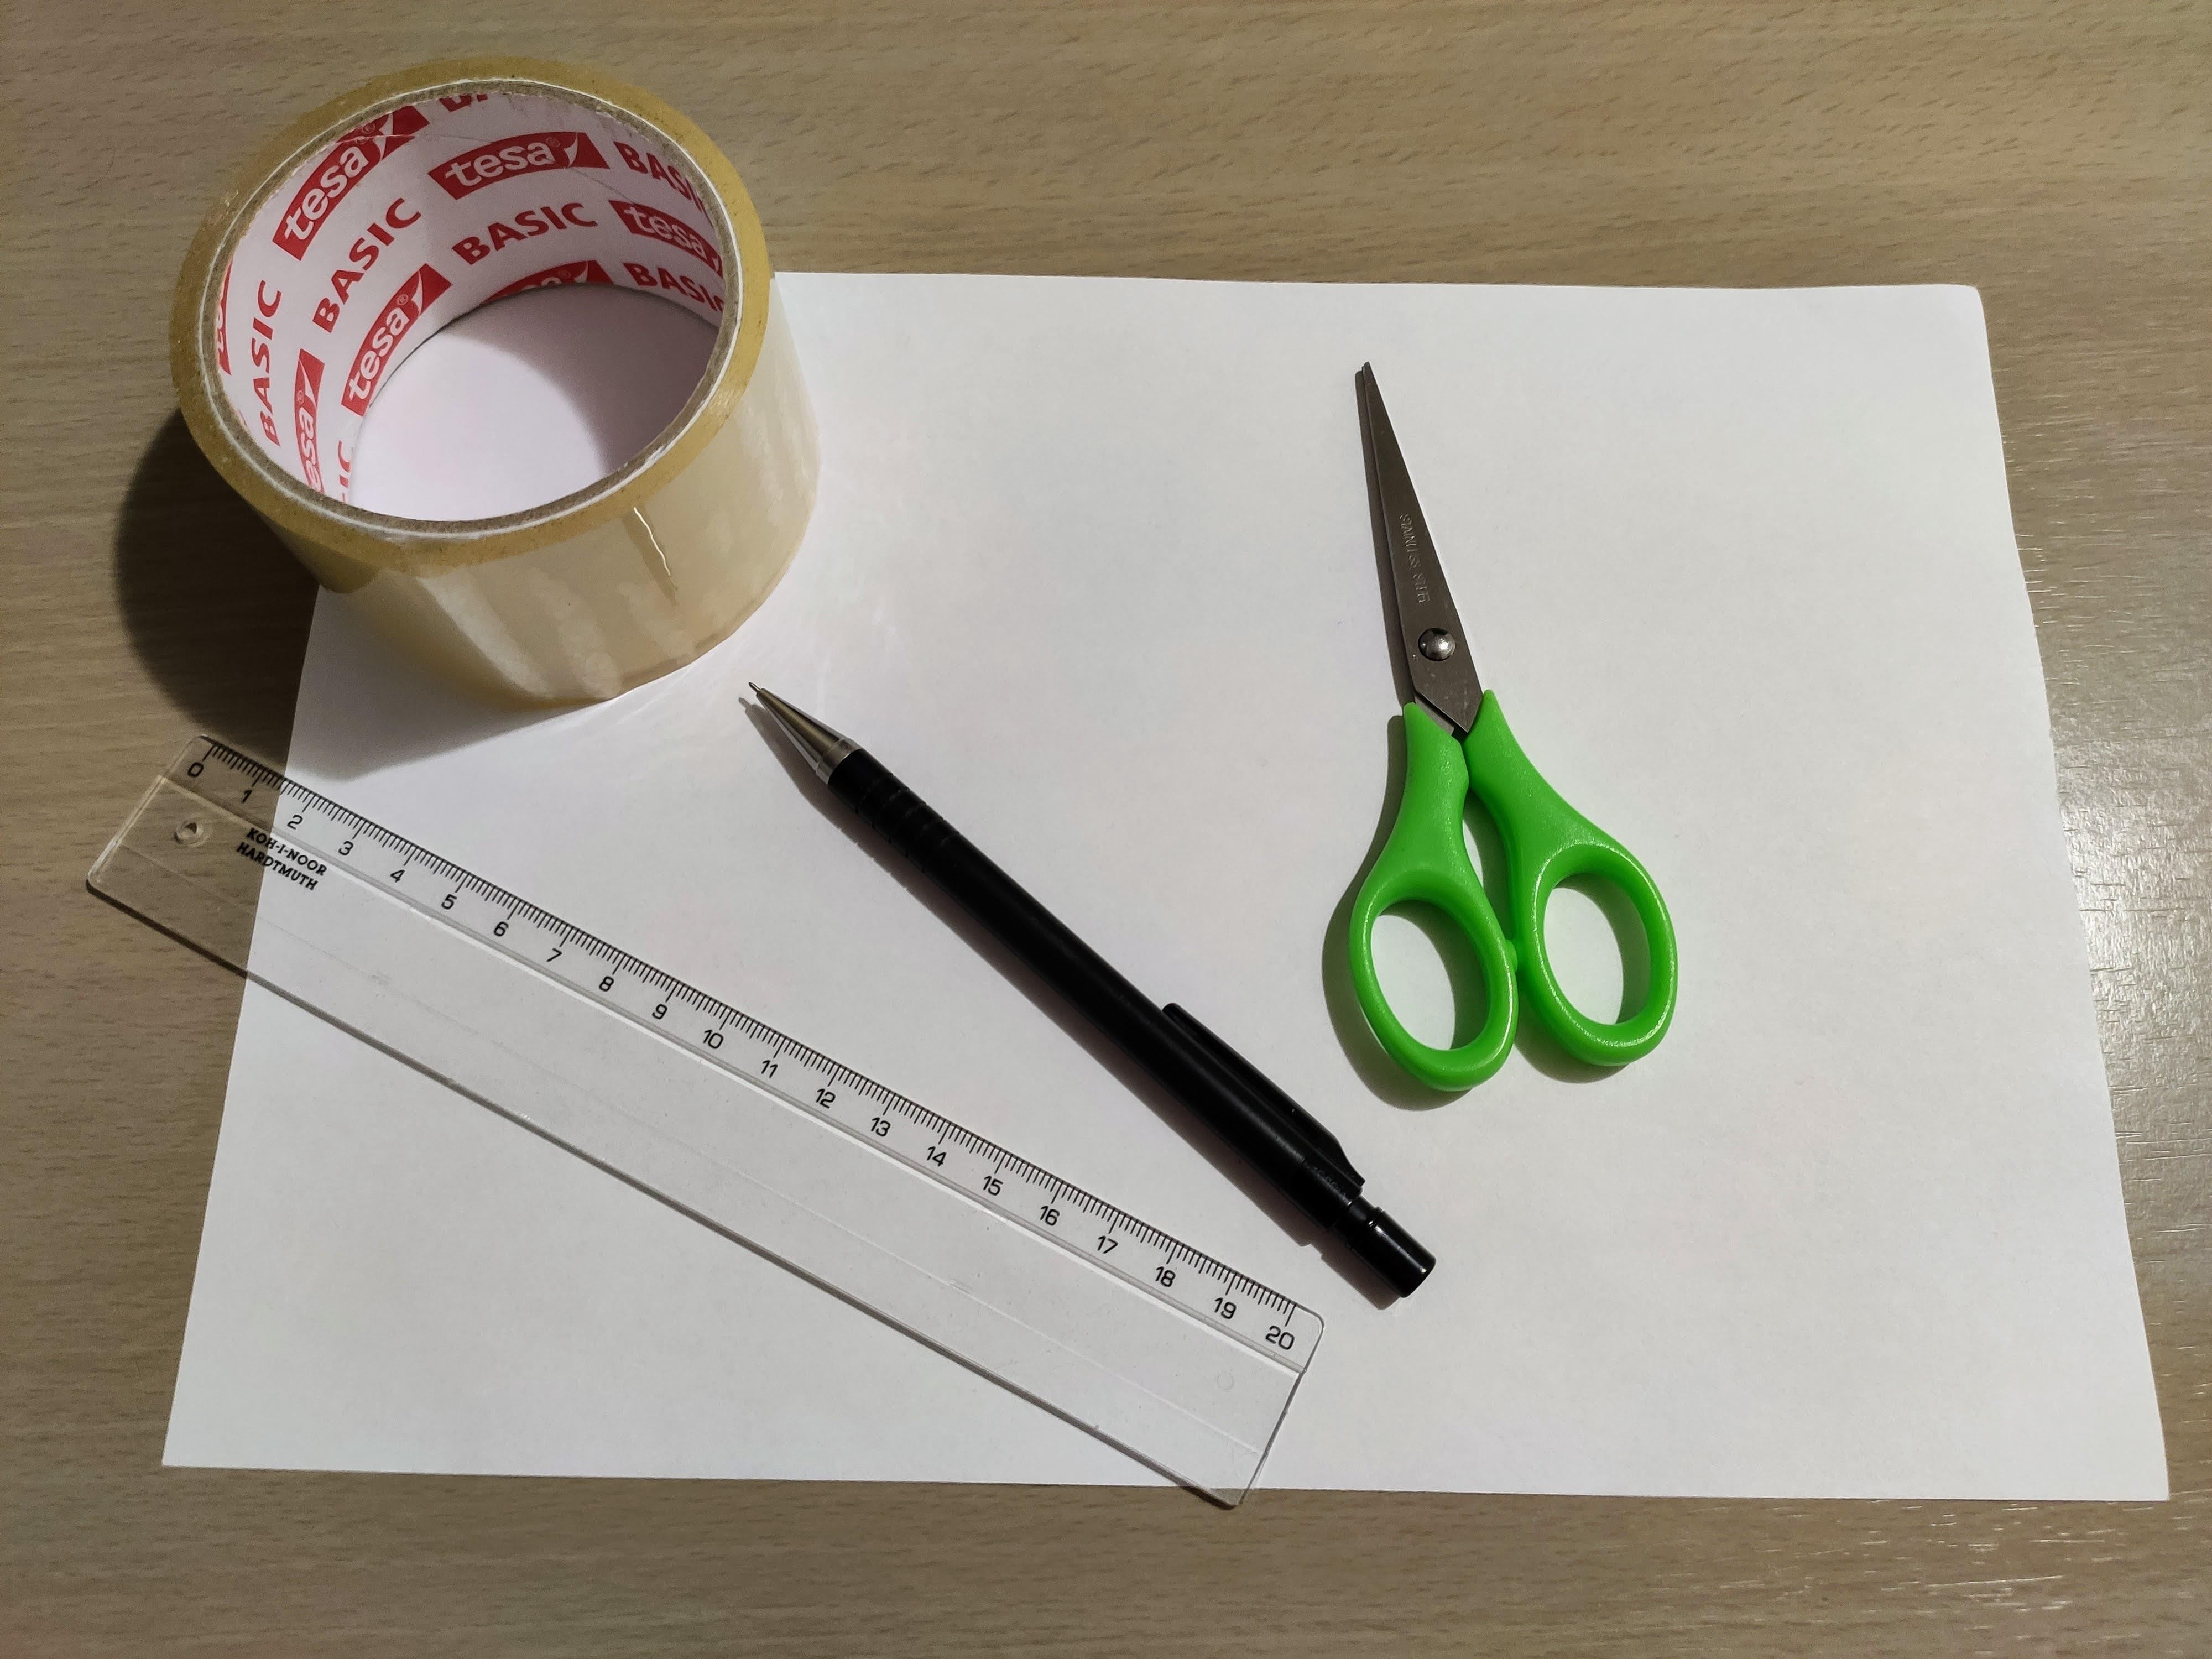
Paper Christmas tree:
- A4 paper sheet
- Scissors
- Transparent duct tape (regular, single-sided)
- Pencil
- Ruler
Copy CircuitPython to the Board
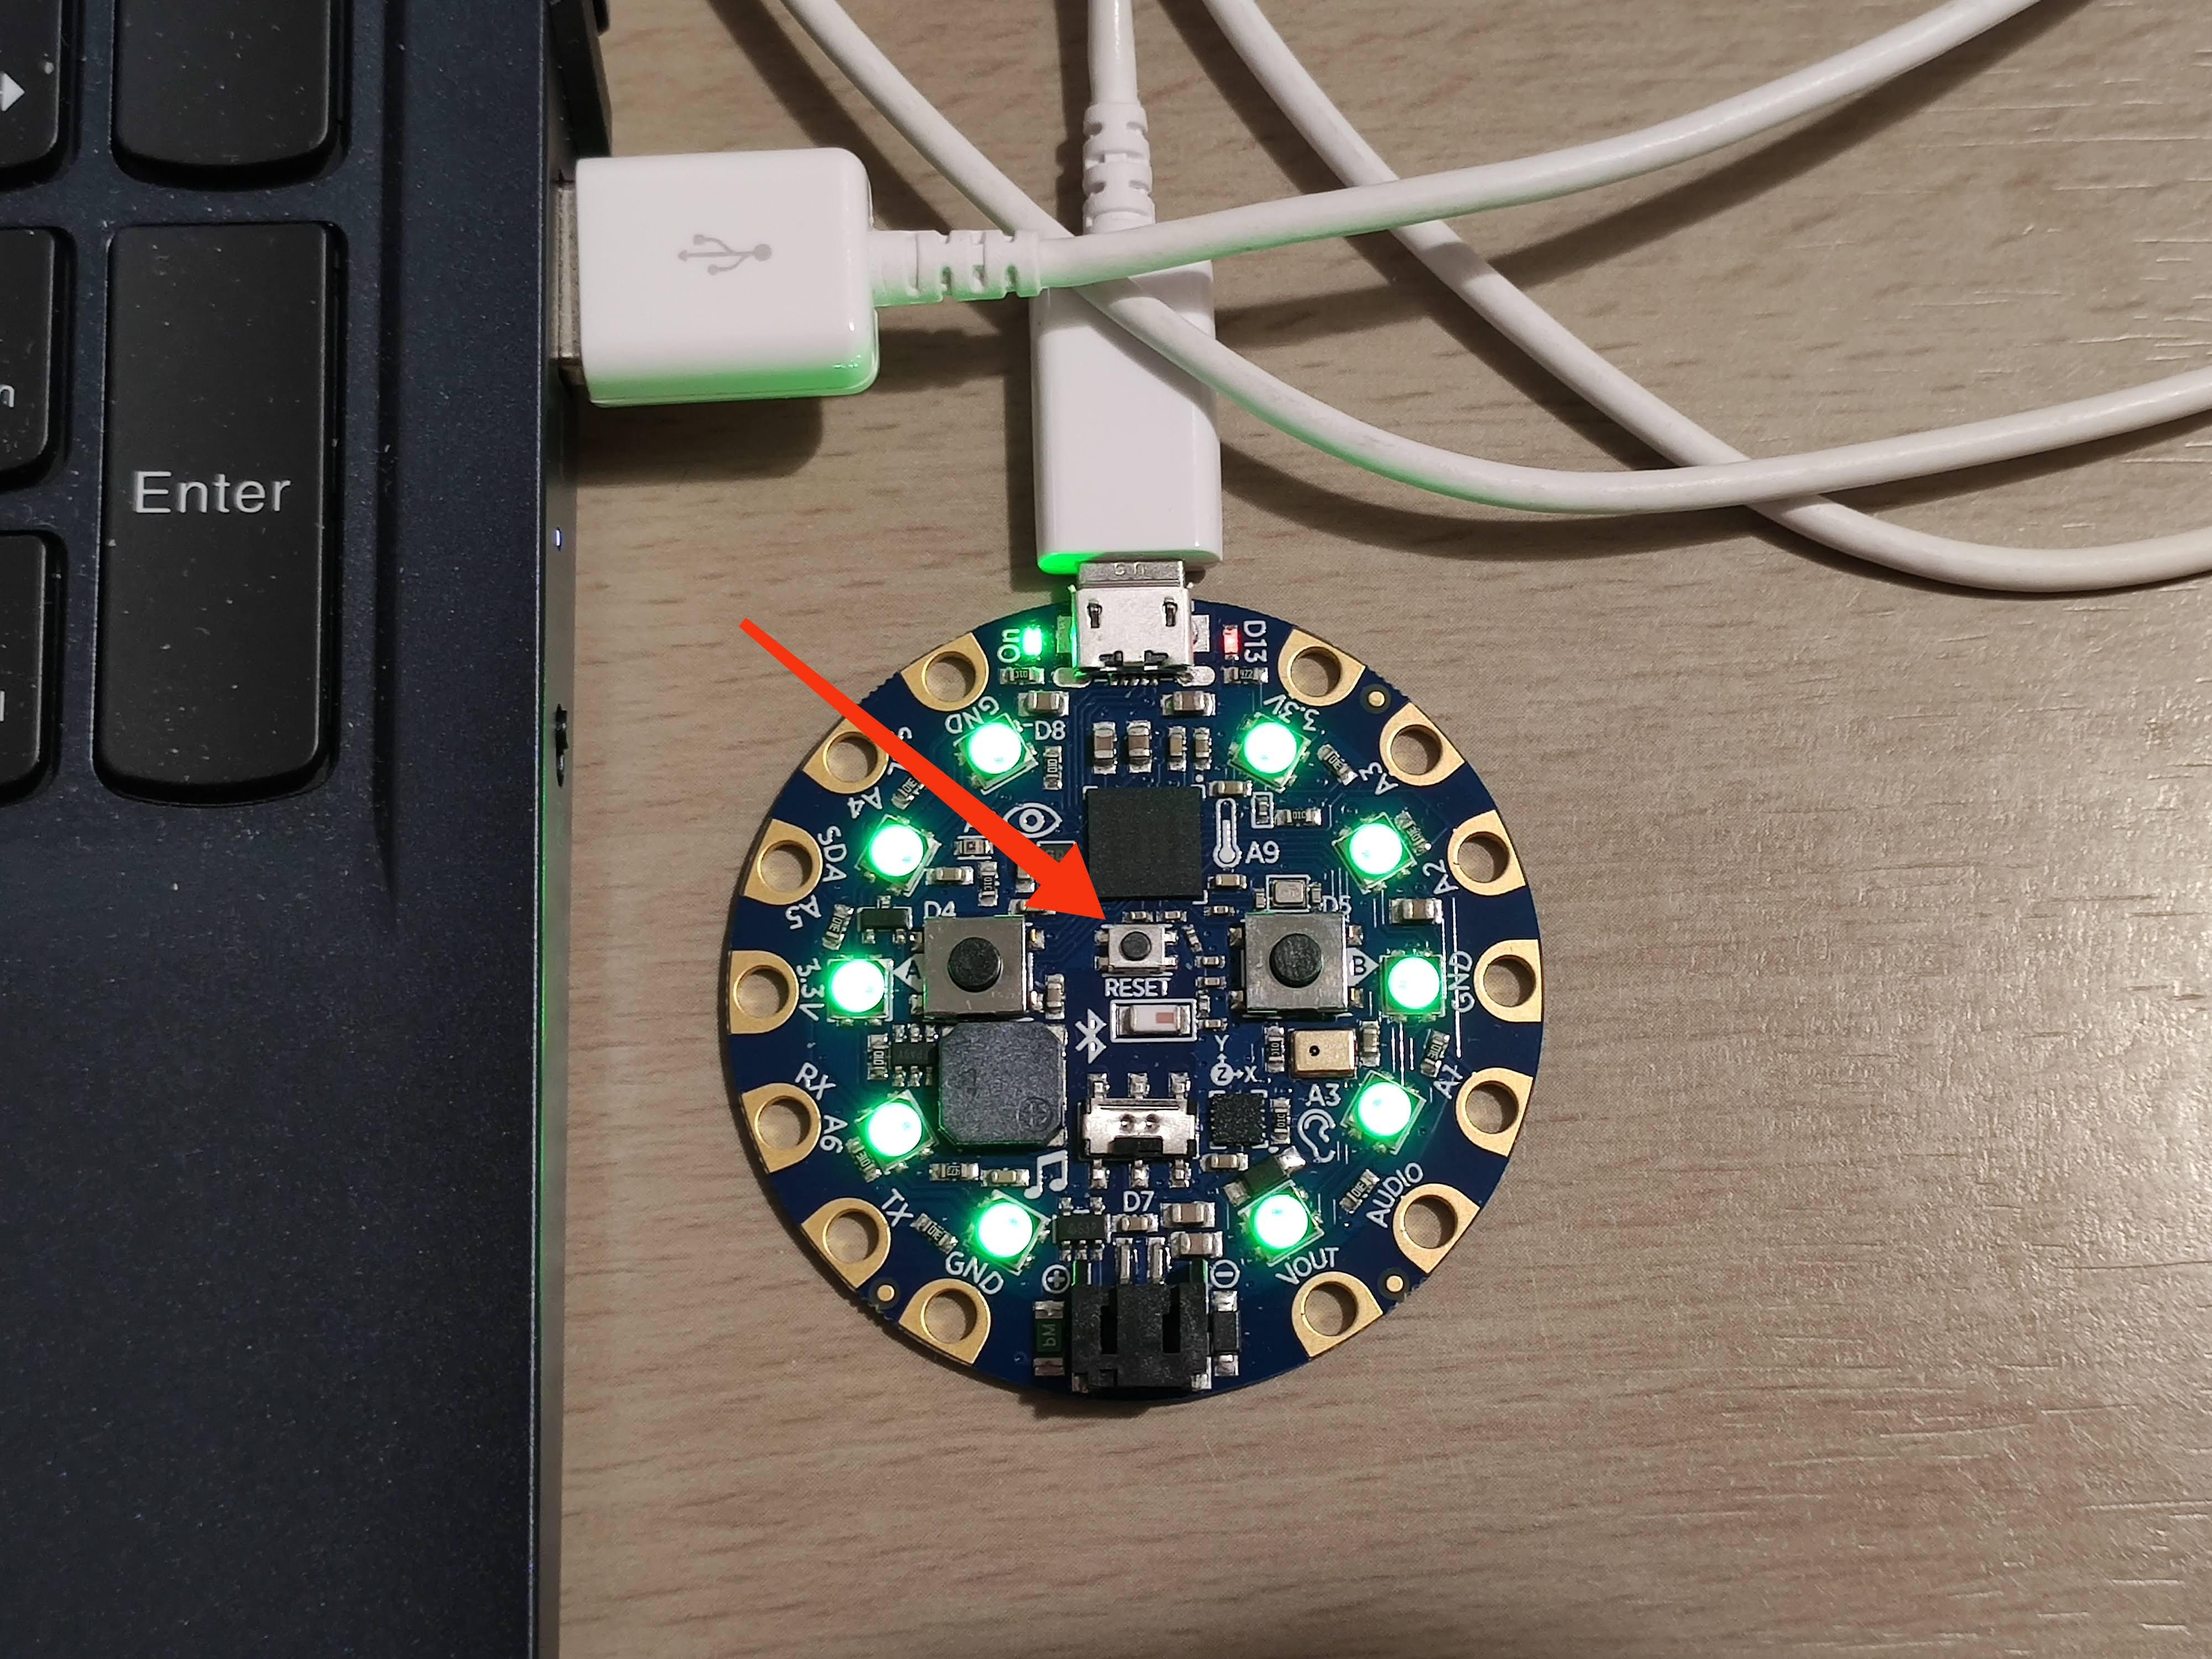
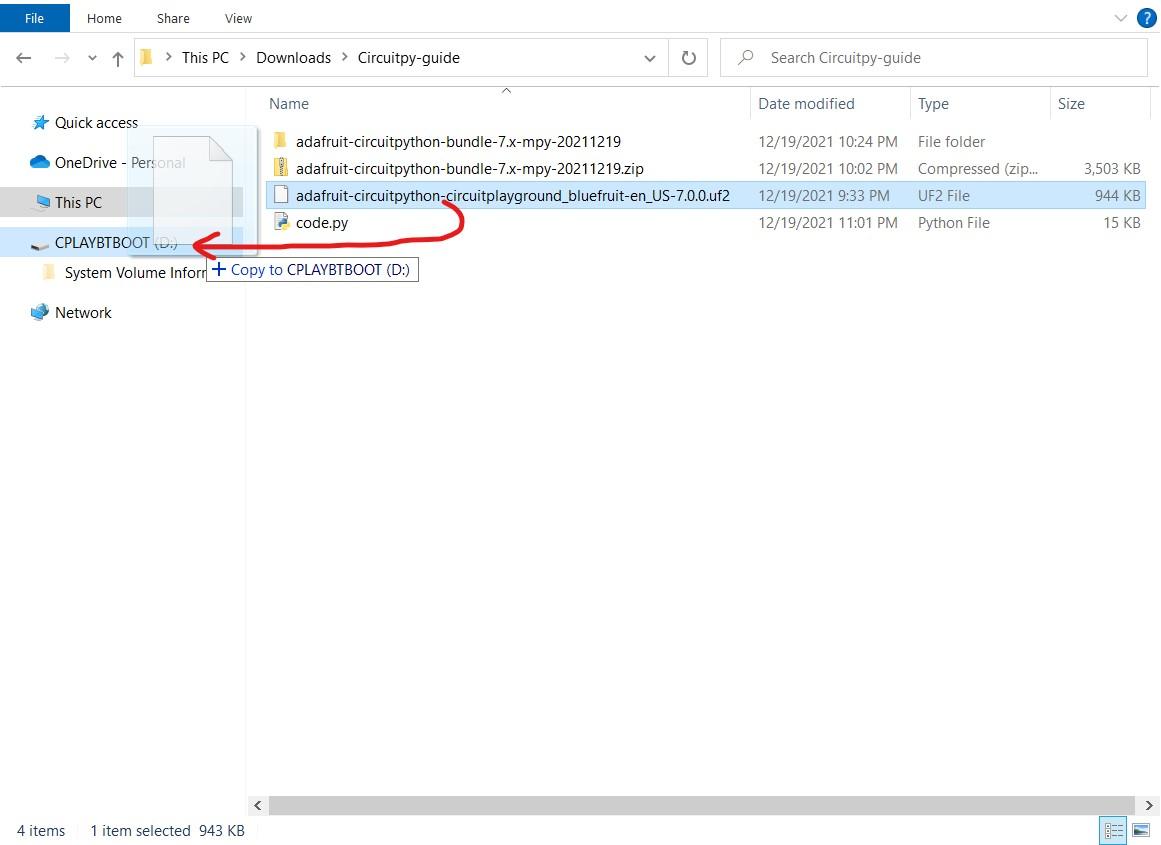
Before running a program, we have to prepare the environment on the board, so it will be able to run Python programs.
- Connect the board to the computer with USB data cable (must be able to transfer files, not only to charge)
- (Optional) If you have a previous project on the board, copy it to a safe place on the computer, because now we will overwrite it
- Double-click the small Reset button in the middle of the board (red arrow on the image)
- After this, all 10 LEDs should become green in a few seconds
- Also you will see a new disk drive CPLAYBTBOOT
- Download latest CircuitPython from circuitpython.org (in my case, I have version 7.0.0)
- Drag-n-drop the downloaded file to CPLAYBTBOOT
- Copying should take about 30 seconds
- After that CPLAYBTBOOT disk will disappear and new drive CIRCUITPY appear
If you have some doubts, check the full official CircuitPython guide.
Copy Required Libraries to the Board
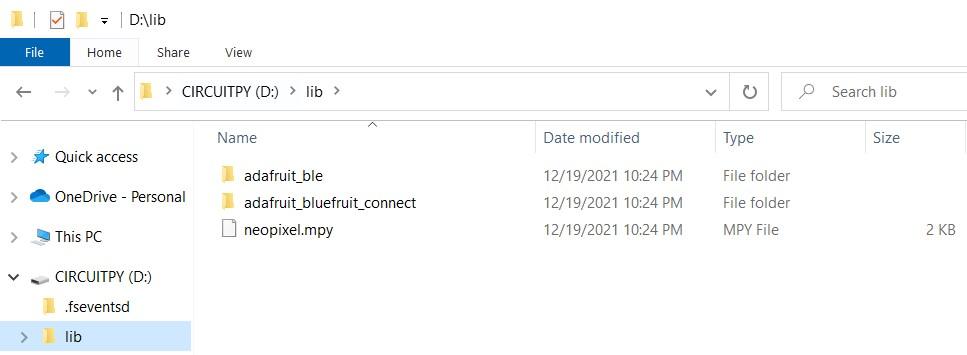
Our program will use Adafruit libraries for Bluetooth Low Energy communication and controlling NeoPixel LEDs, so we have to copy them to the board.
- Download latest libraries bundle from circuitpython.org
- Downloaded package is .zip archive - extract it
- Open the extracted folder, open lib folder inside
- In another window, open CIRCUITPY disk, open lib folder inside (if it doesn't exist, create it)
- Copy 3 libraries from the downloaded bundle to CIRCUITPY/lib folder:
- adafruit_ble (it's a folder)
- adafruit_bluefruit_connect (it's a folder)
- neopixel.mpy (it's a single file)
If you have some doubts, check the full official CircuitPython guide.
Copy the Program to the Board
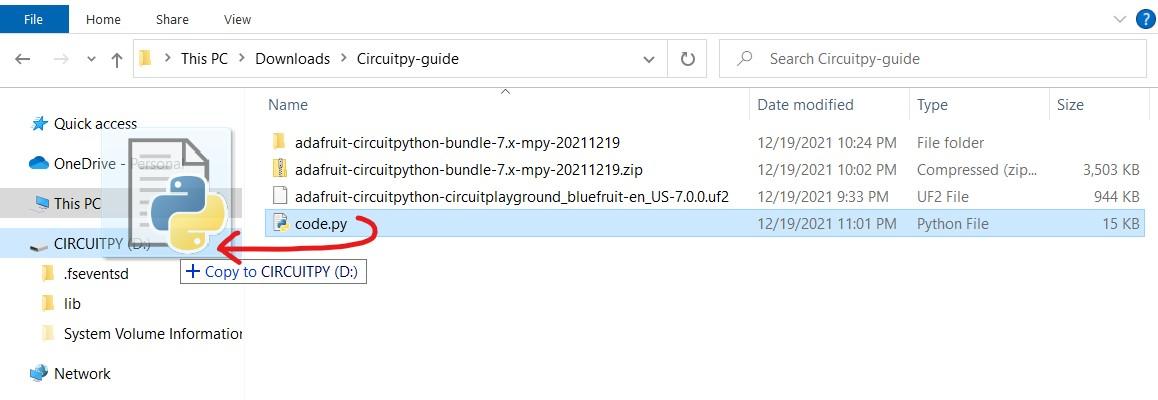
The last step is to copy our main program (written in Python programming language).
- Download the attached file code.py
- Copy code.py to CIRCUITPY drive (if there is another code.py, replace it)
- Note that the name code.py is important, because the board runs only the program with this name
- Note: before disconnecting the board from PC, always use "Safe eject" to ensure files are not corrupted
That's it, the board should now run some smooth animation and slowly change the color.
Downloads
Try Remote Control From the App
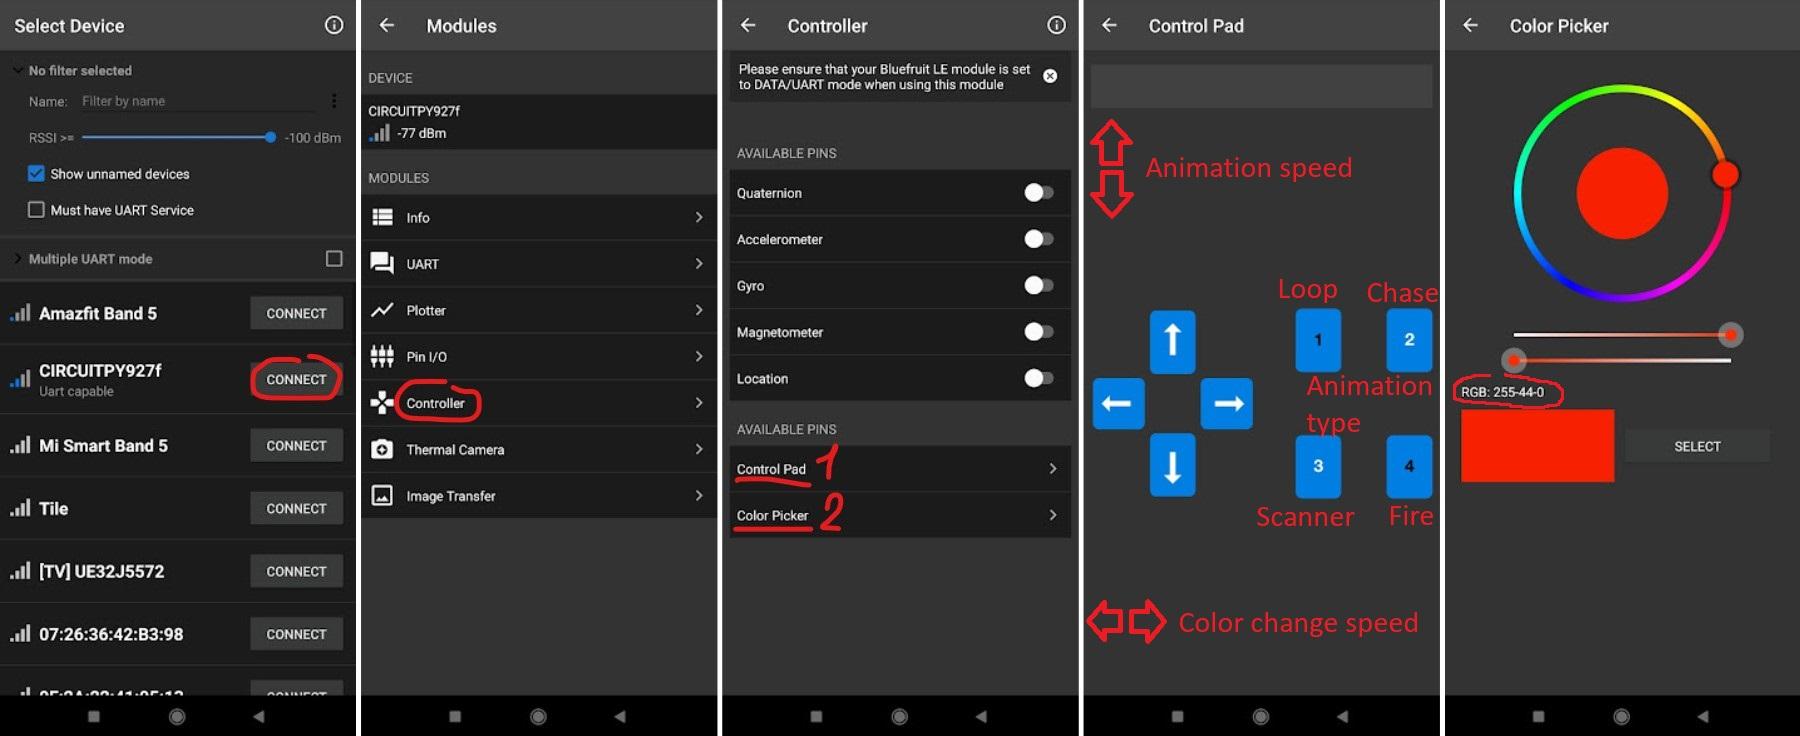
Install Bluefruit Connect application on your phone: iOS, Android.
Start it, allow it to use Bluetooth (on Android also allow location permission, it's necessary for Bluetooth on Android).
Connect to a device which name starts with CIRCUITPY.
In menu Controller => Control Pad:
- Buttons 1, 2, 3, 4 - set animation type, "Loop", "Chase", "Scanner" and "Fire" respectively
- Buttons Up, Down - speed up or slow down the animation movement
- Buttons Right, Left - speed up or slow down the color changing (value from 0 to 10, default is 1 - full palette is changed during 2 minutes)
In menu Controller => Color Picker:
- Choose the color and tap Send - it will set the current color, and automatically disable color changing
Just in case, here is the official instruction for the app. Note that the app is the same for all enthusiasts who use Adafruit products, so it's not designed for any specific project.
Paper: Bend and Draw
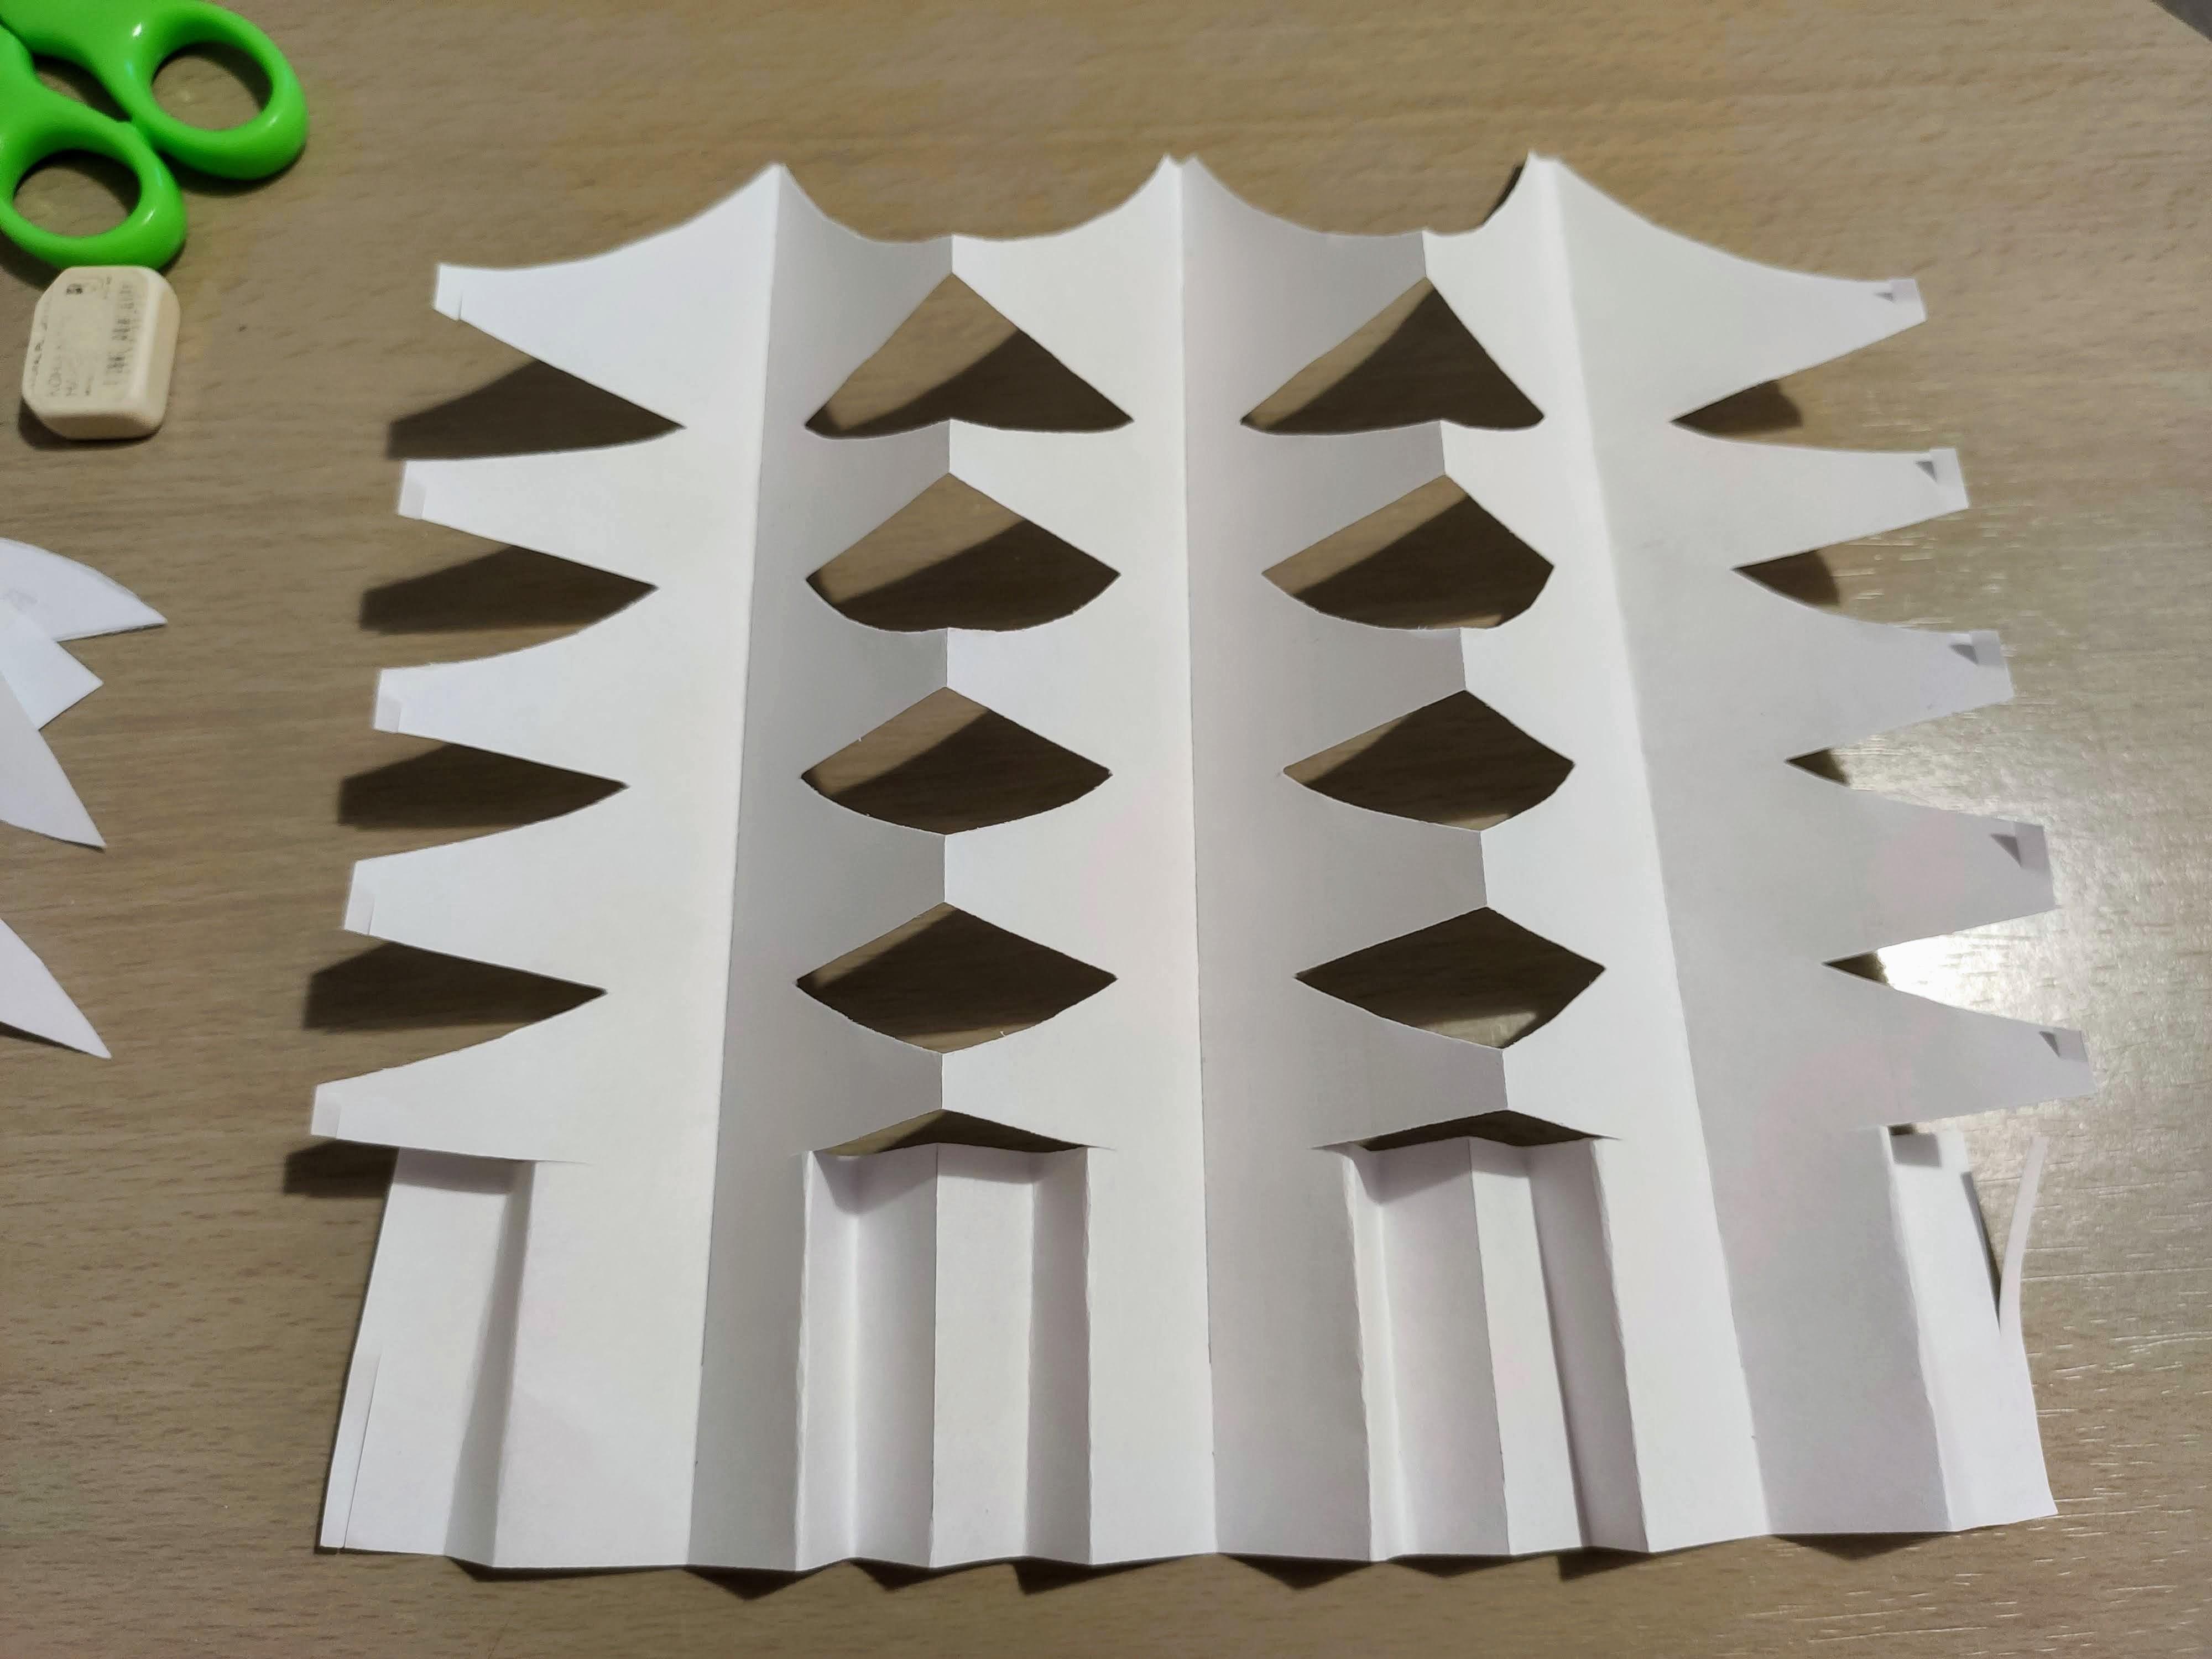
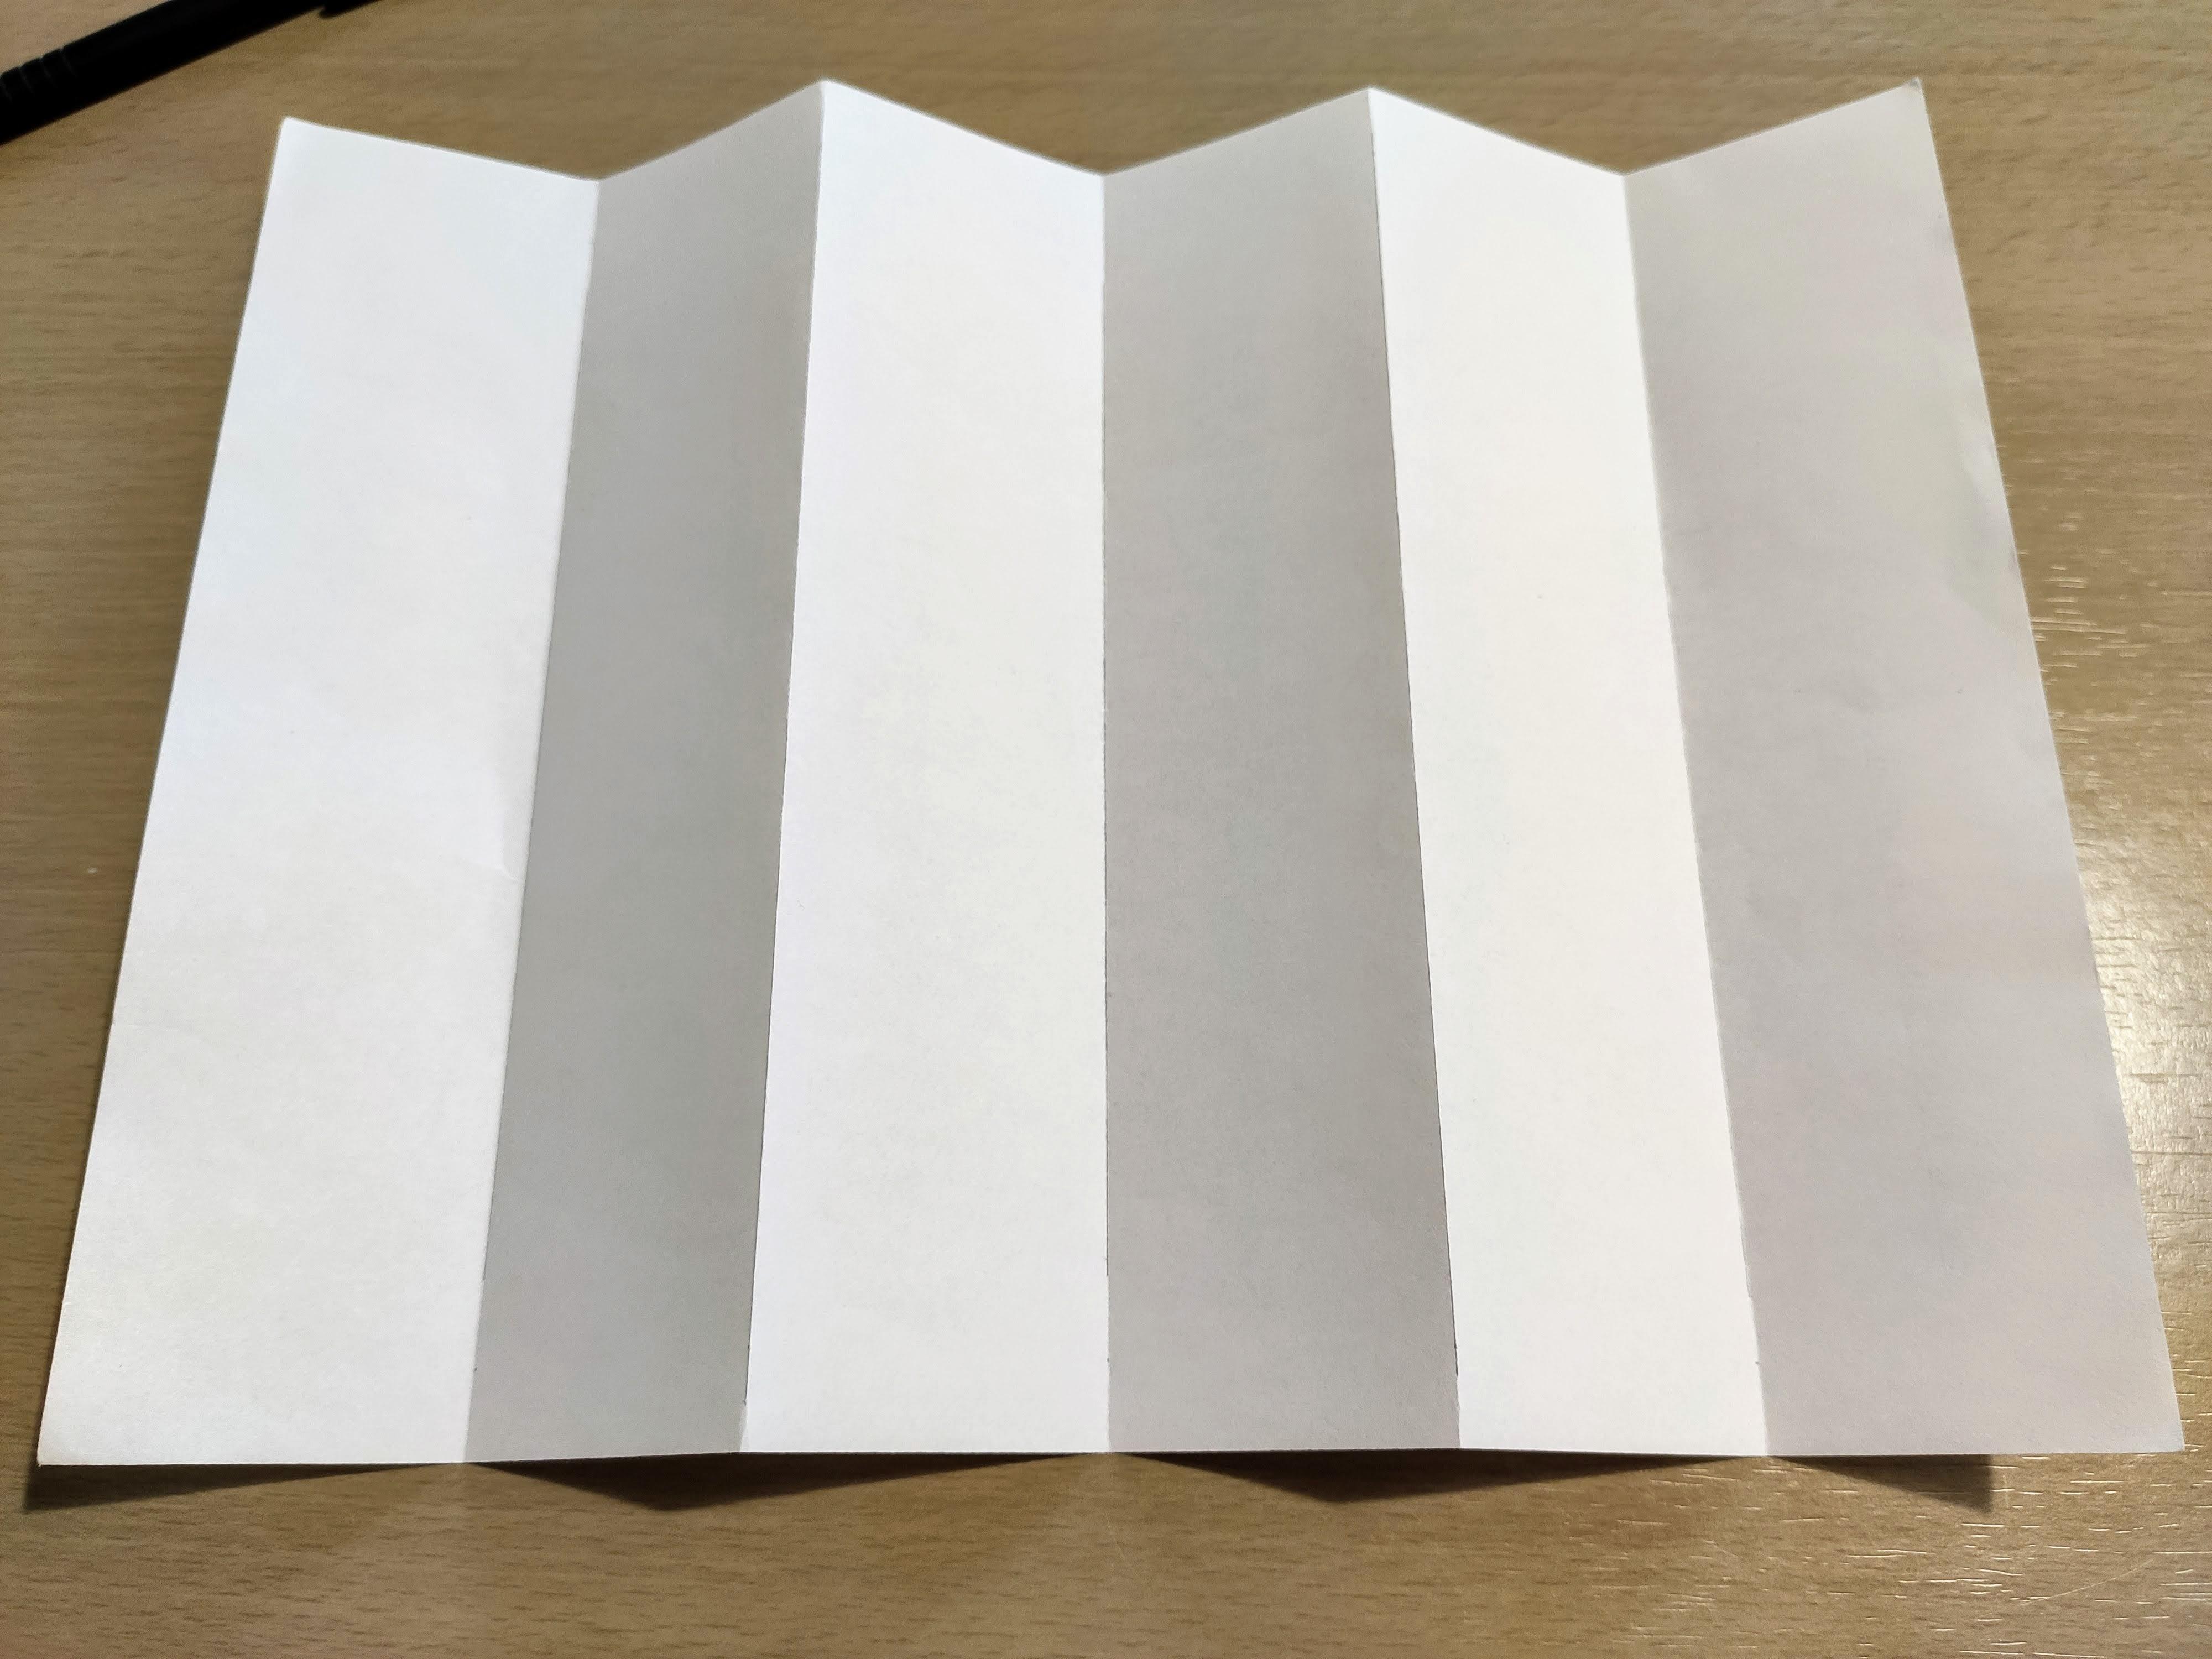
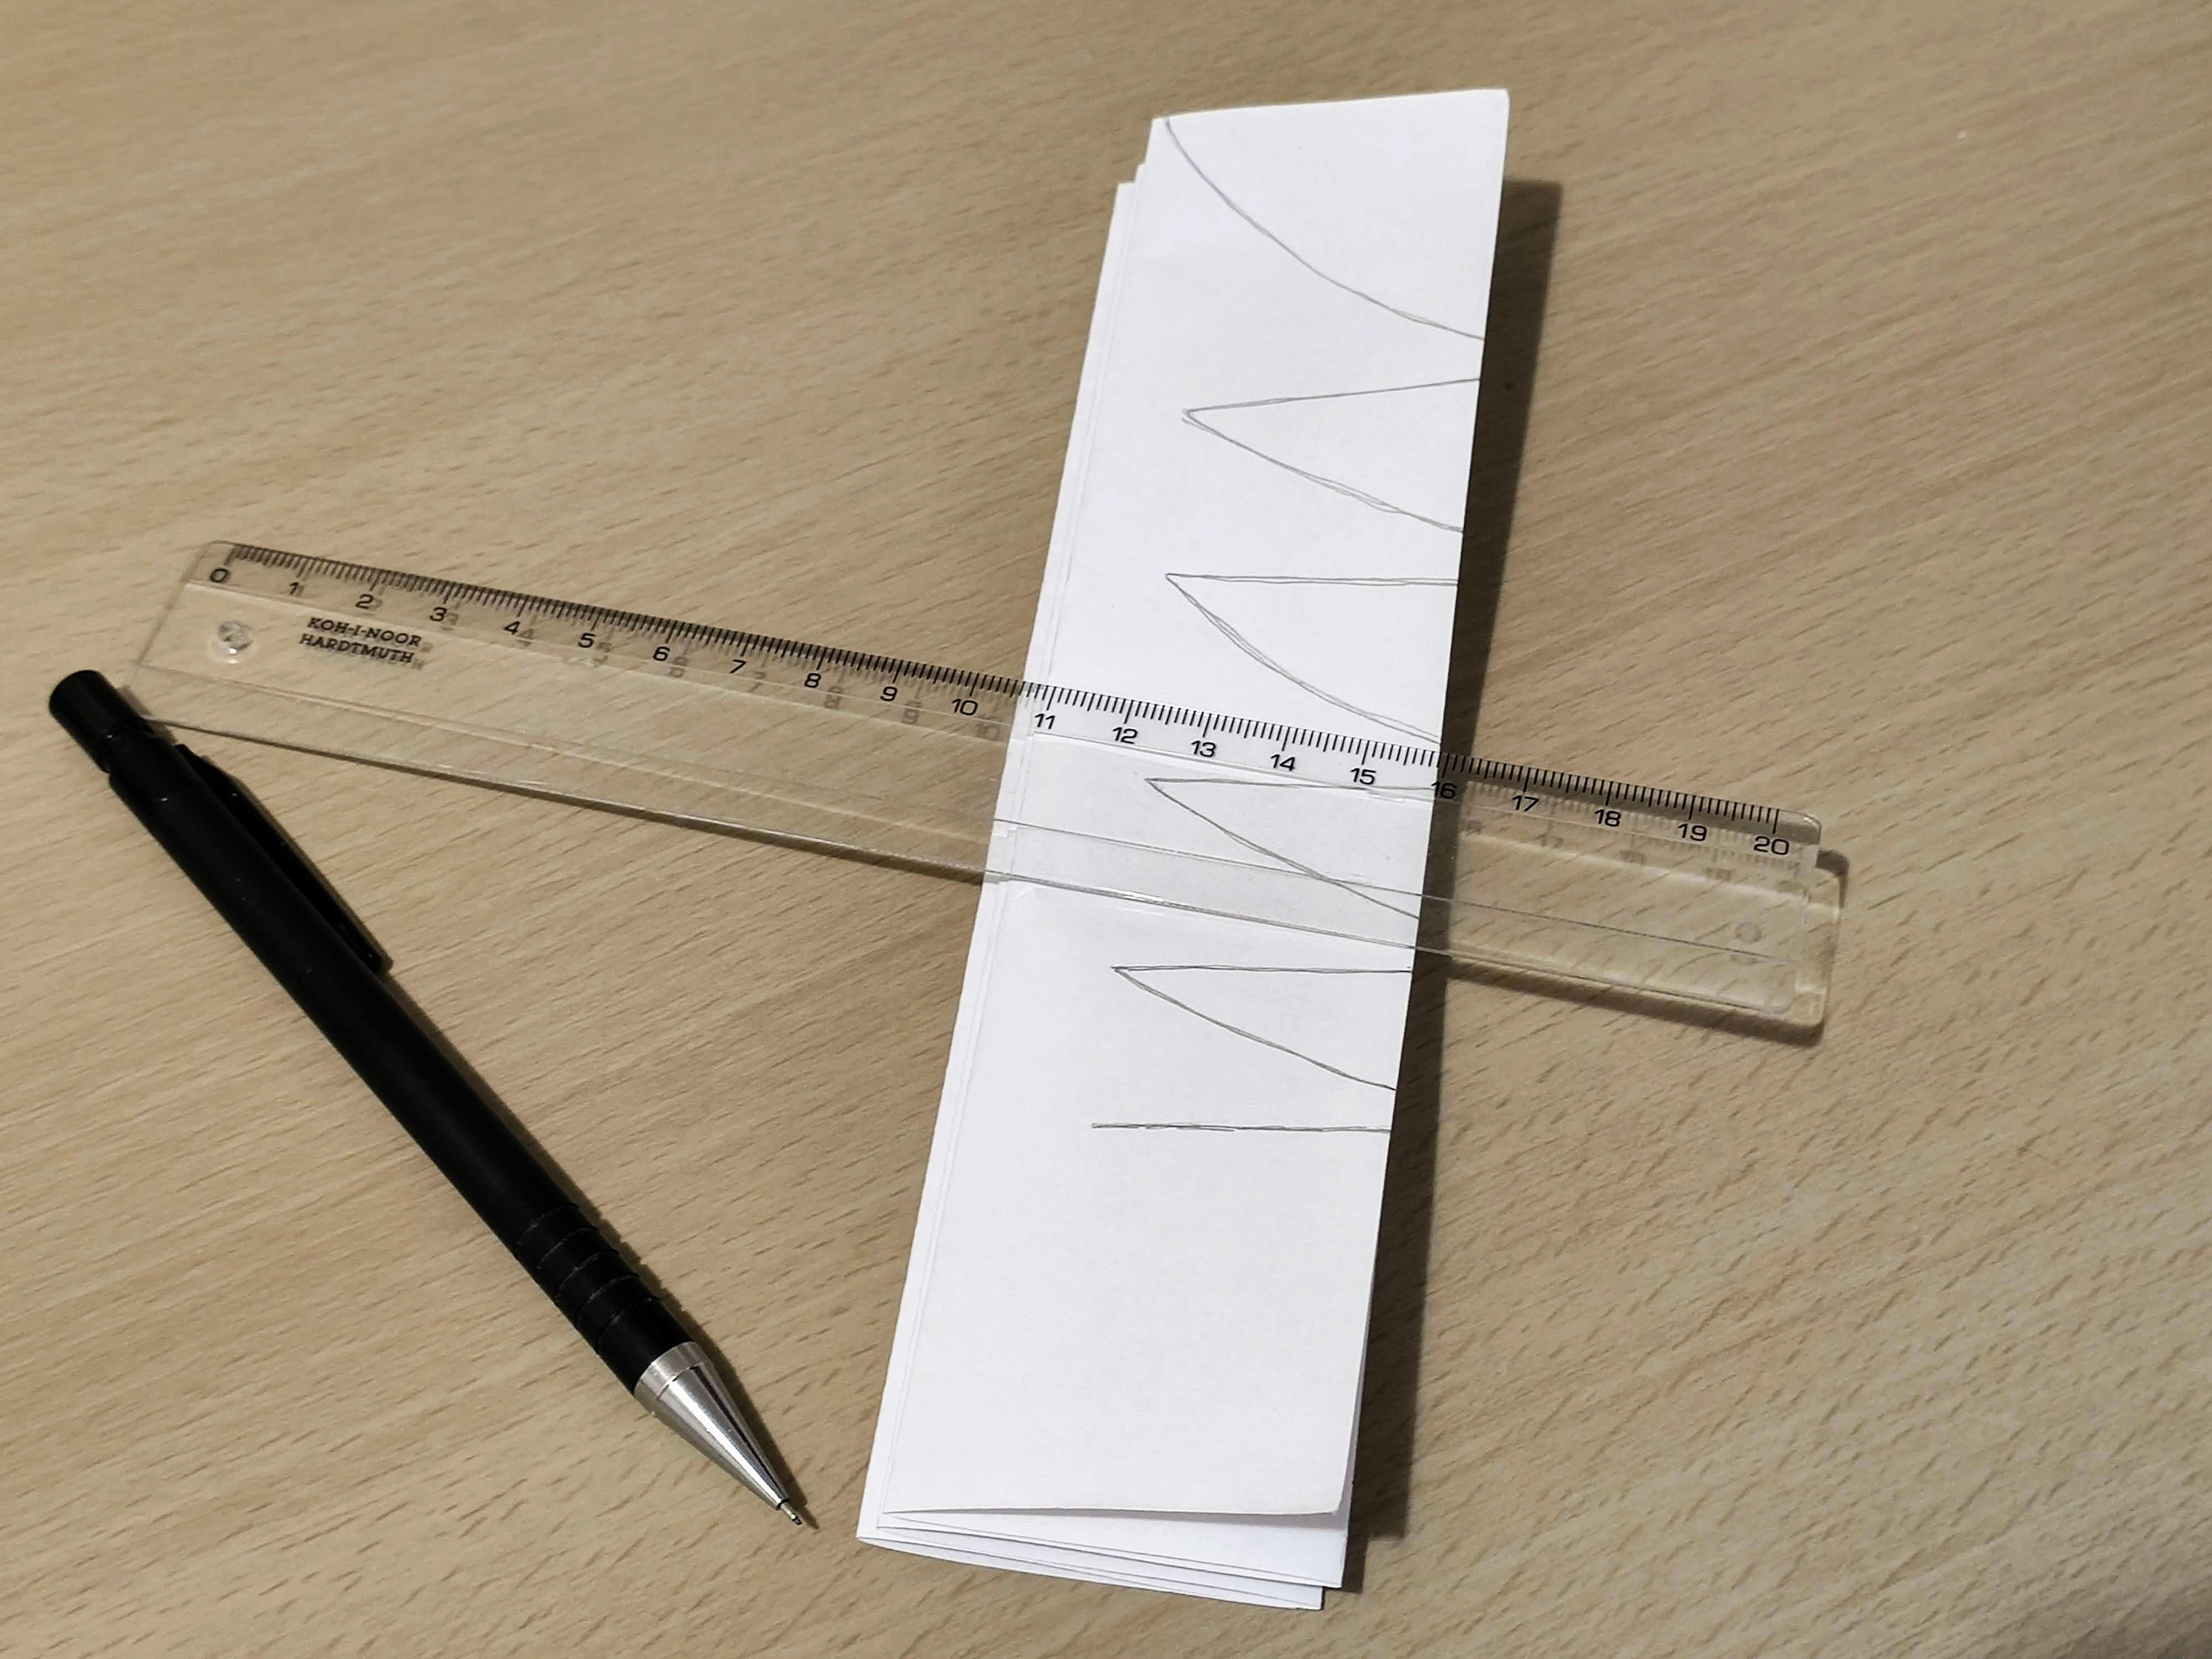
Take A4 paper sheet, bend it over into 6 equal sections.
Draw the cutting pattern on the last section (see the image).
Paper: Enforce the Edges
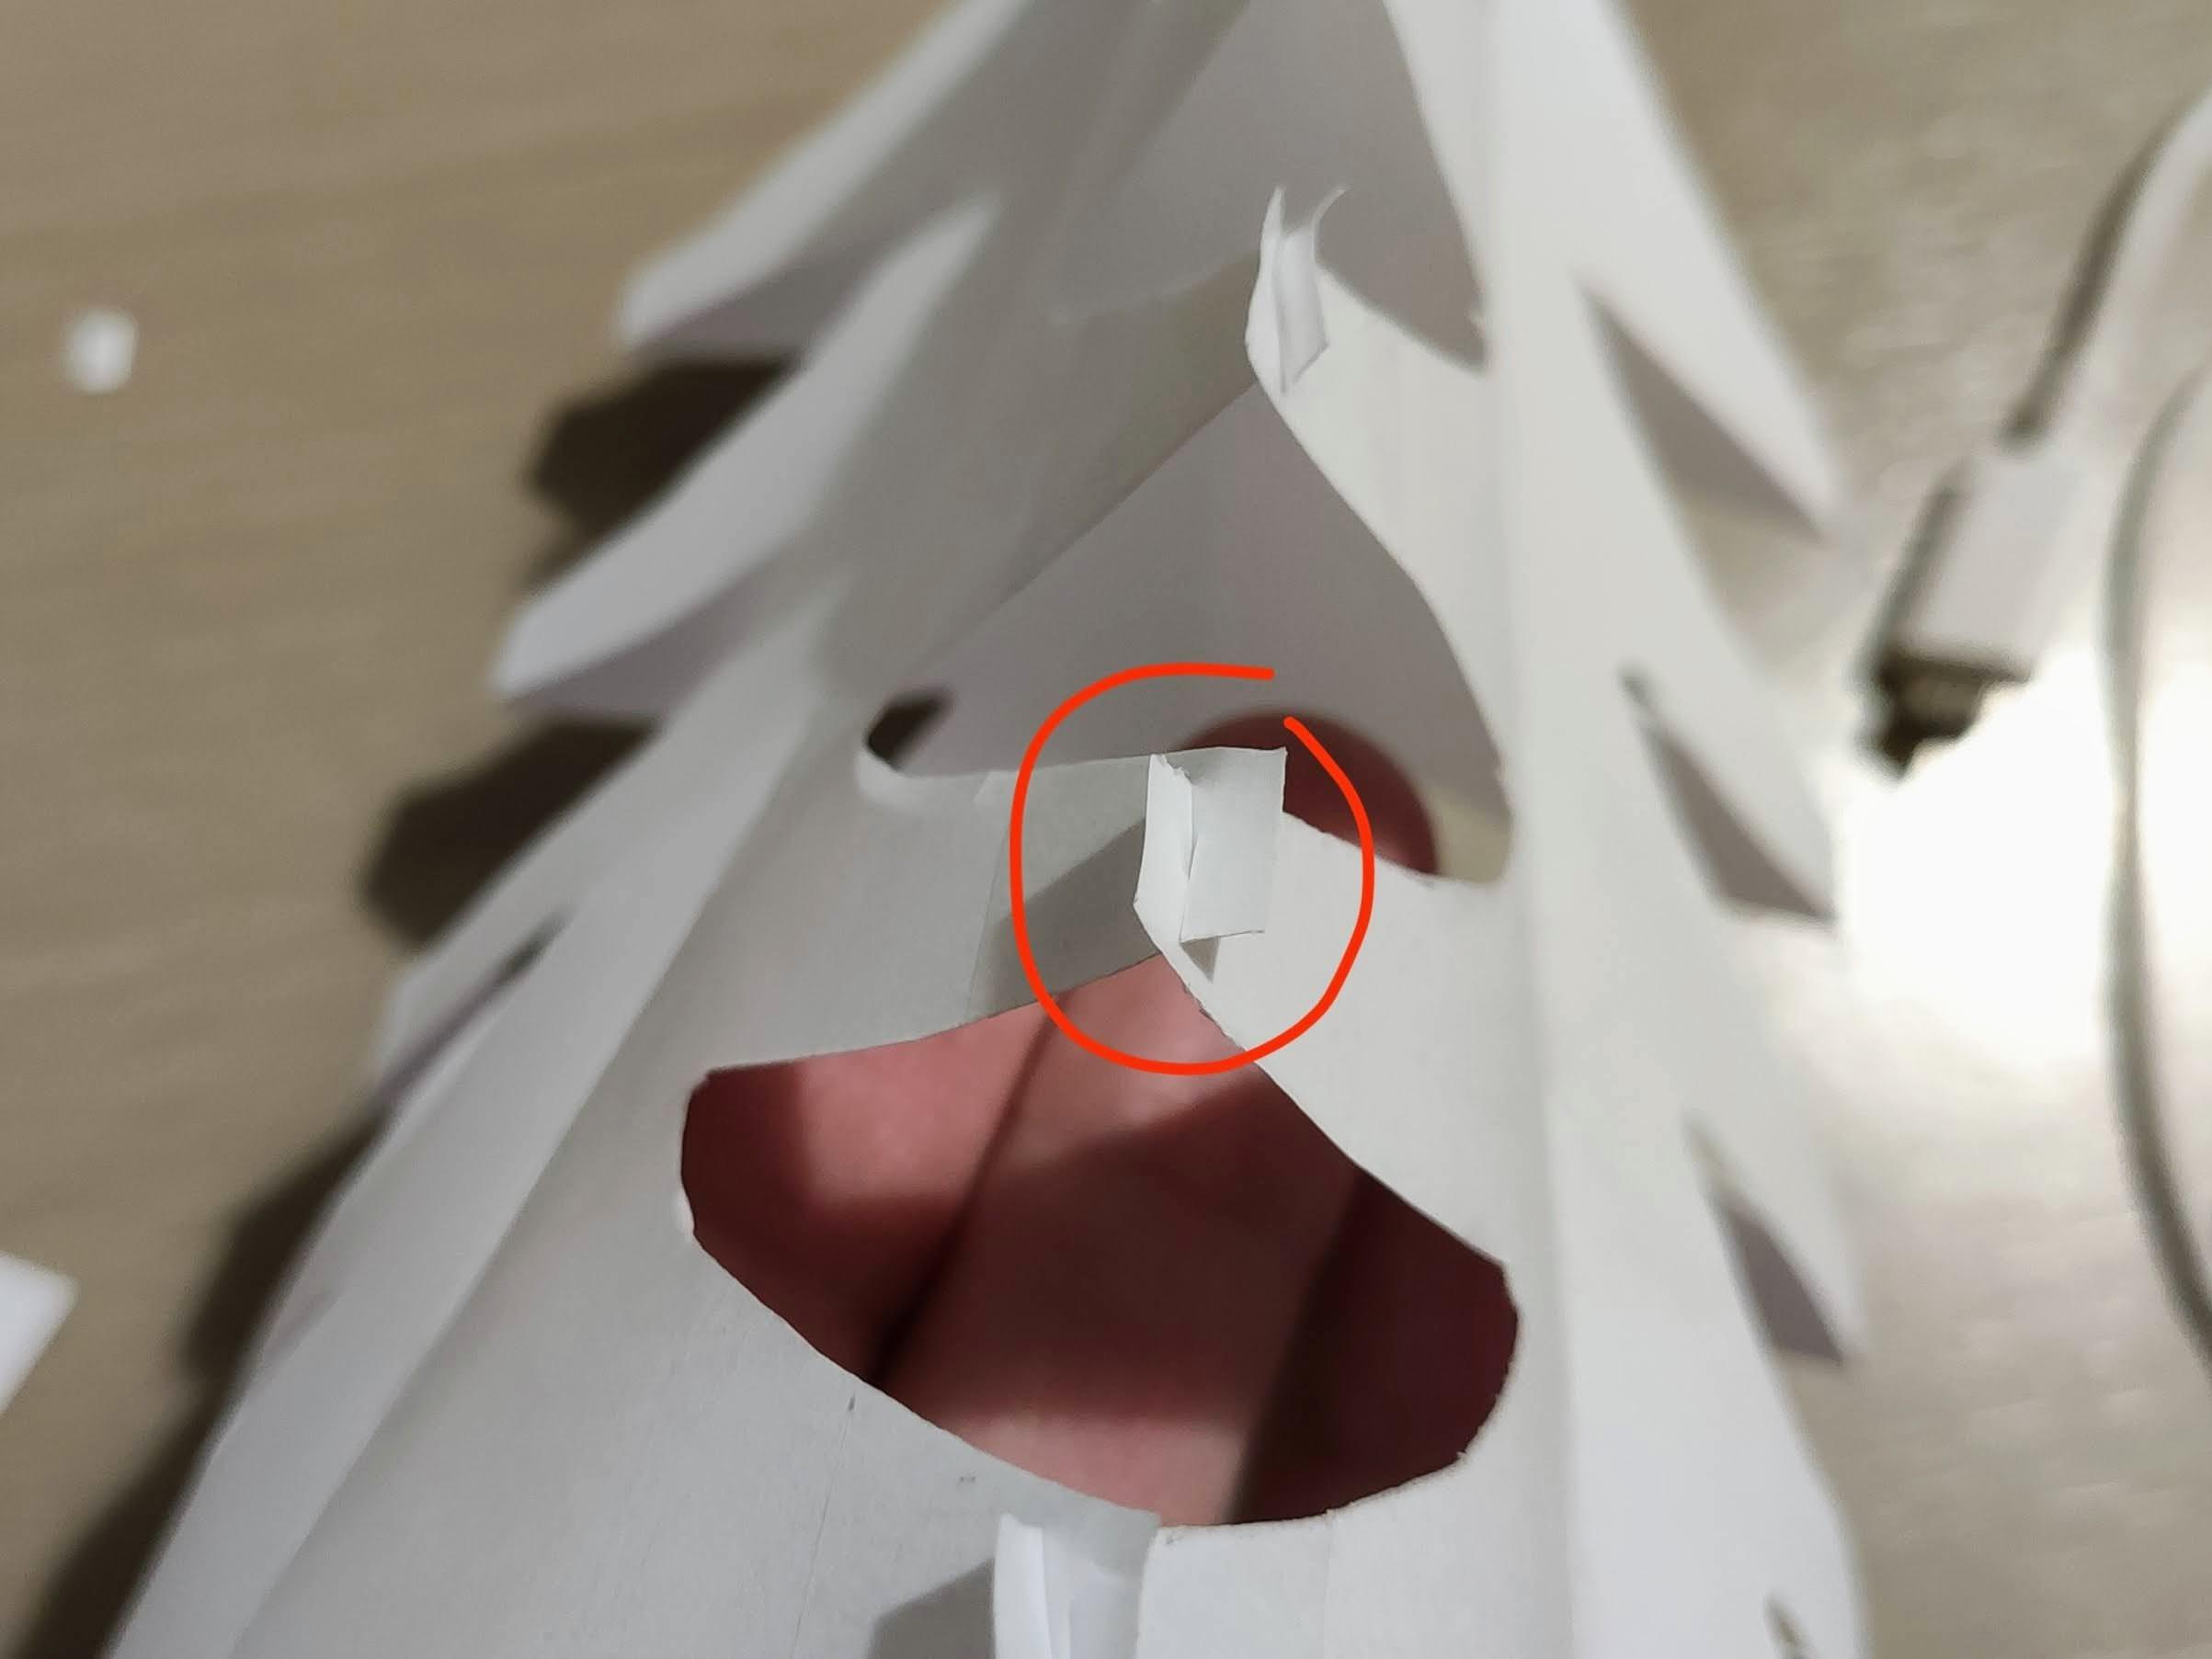
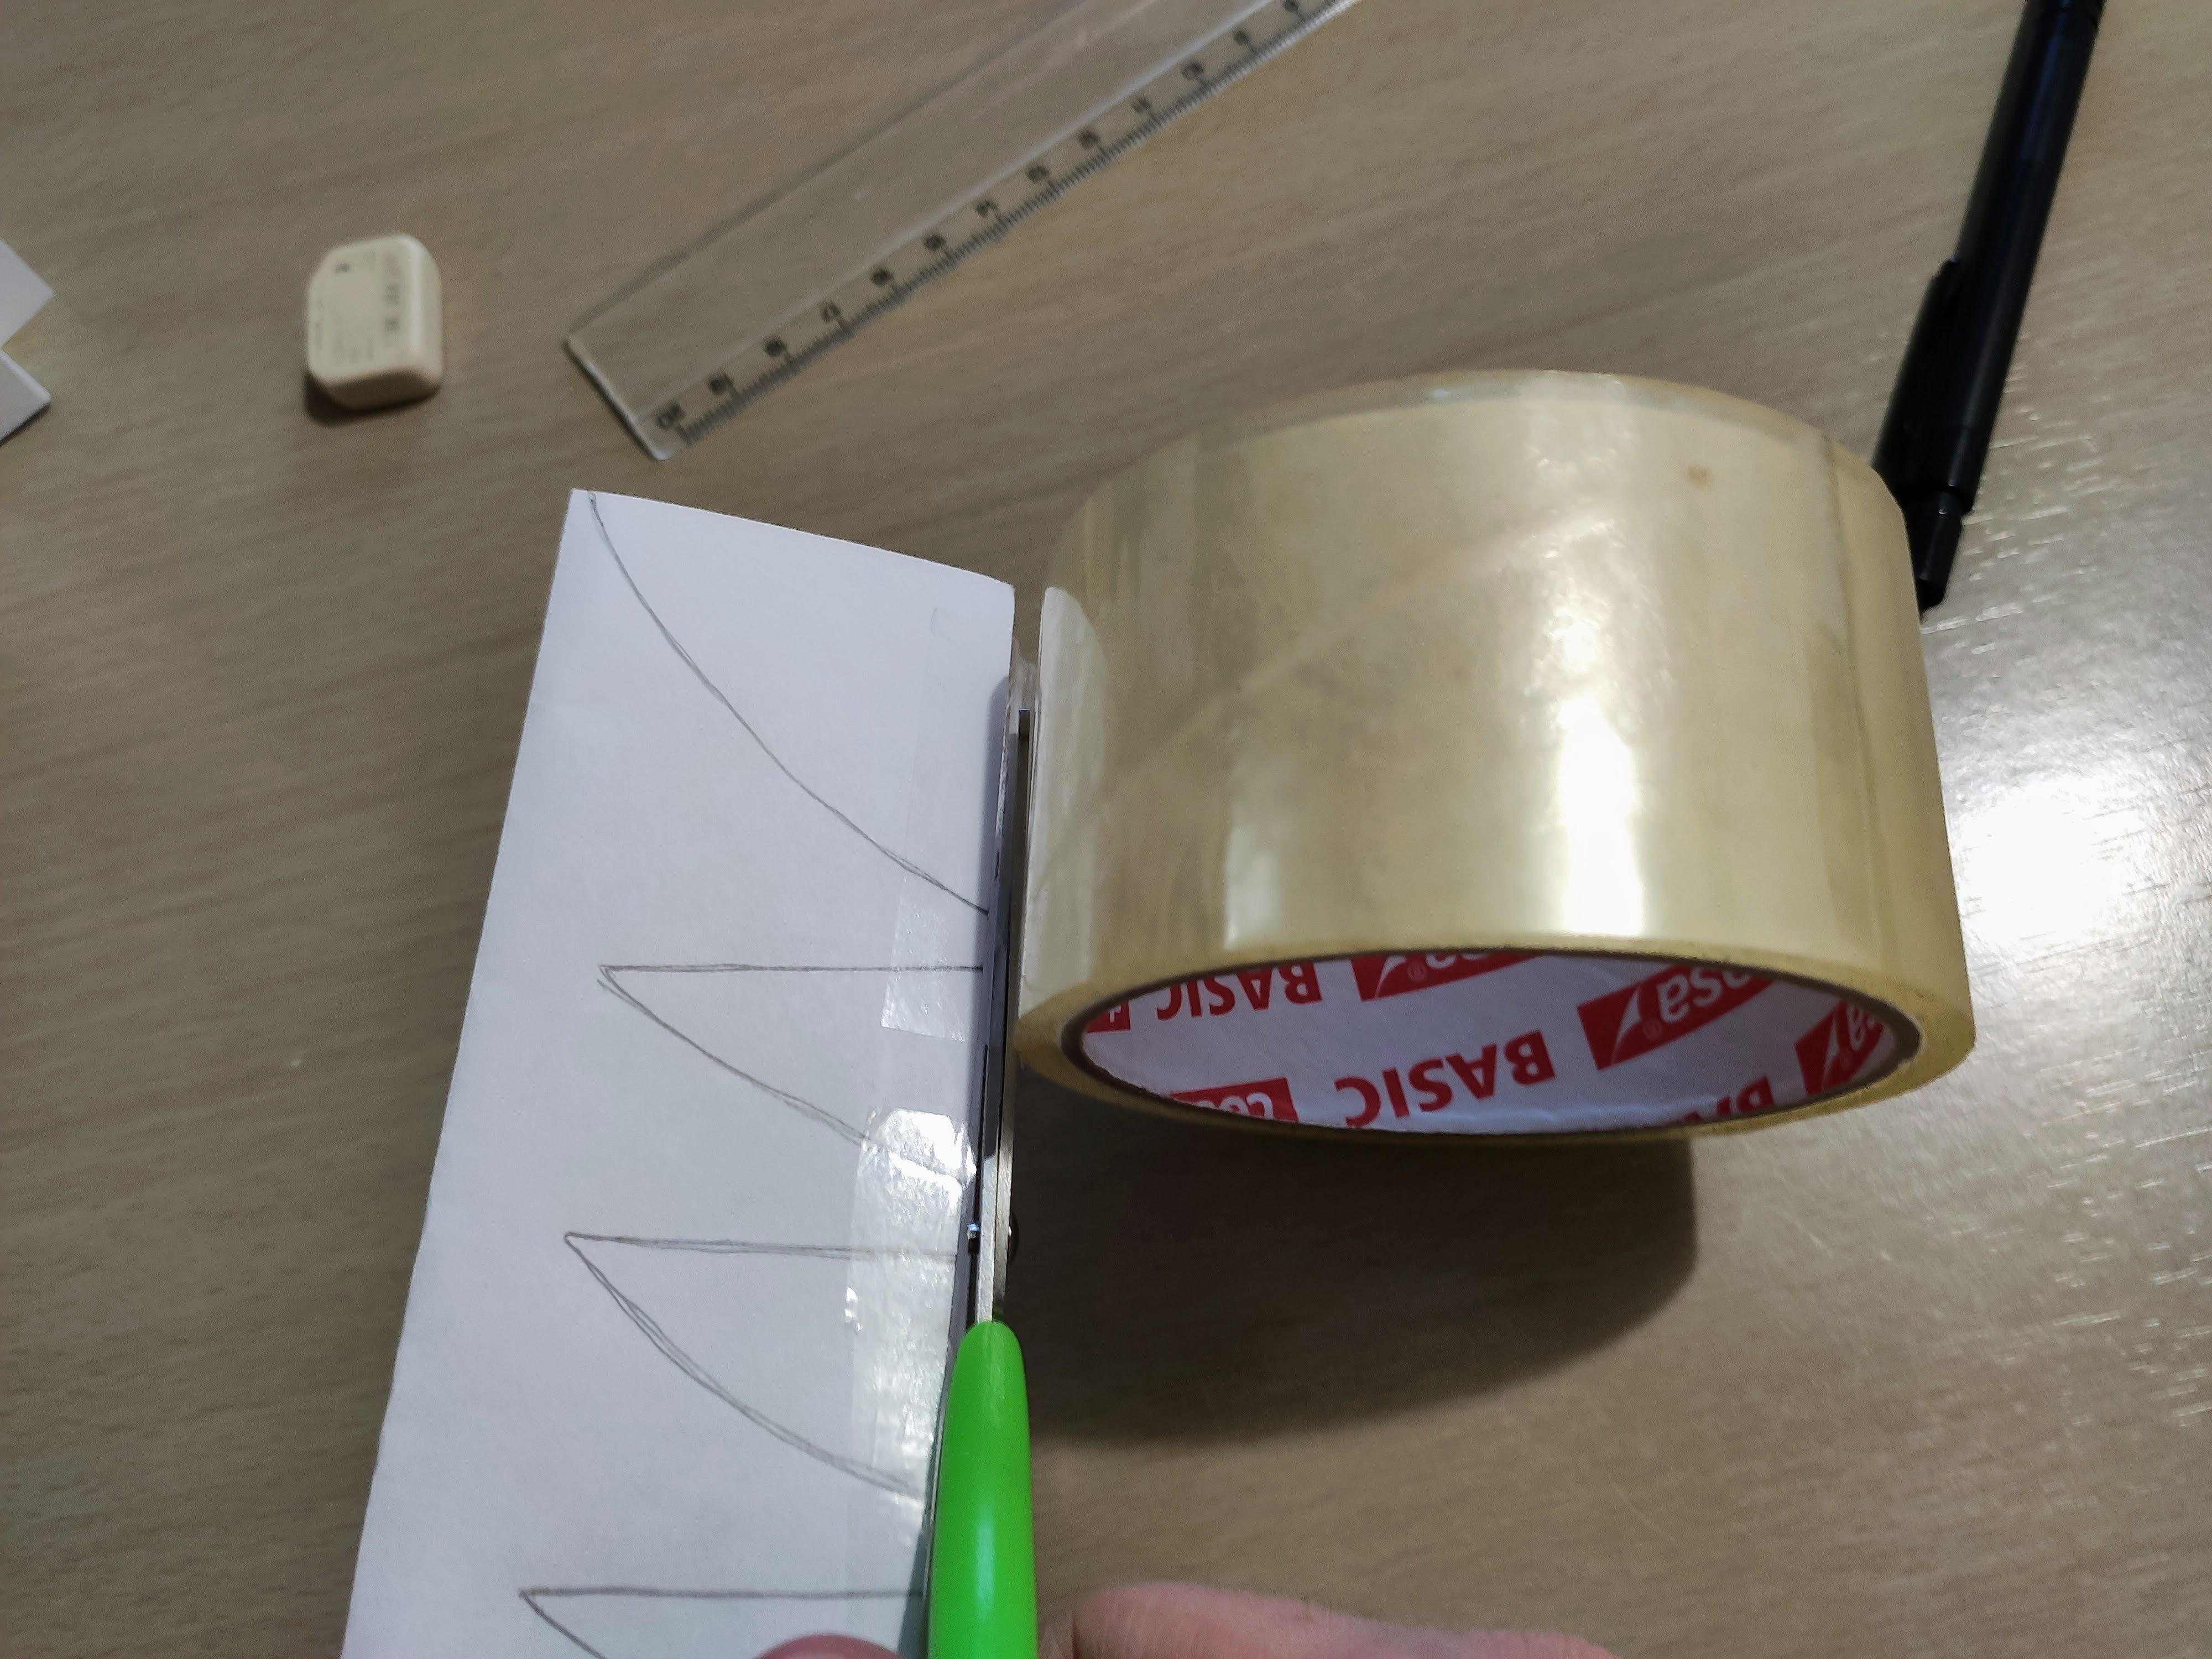
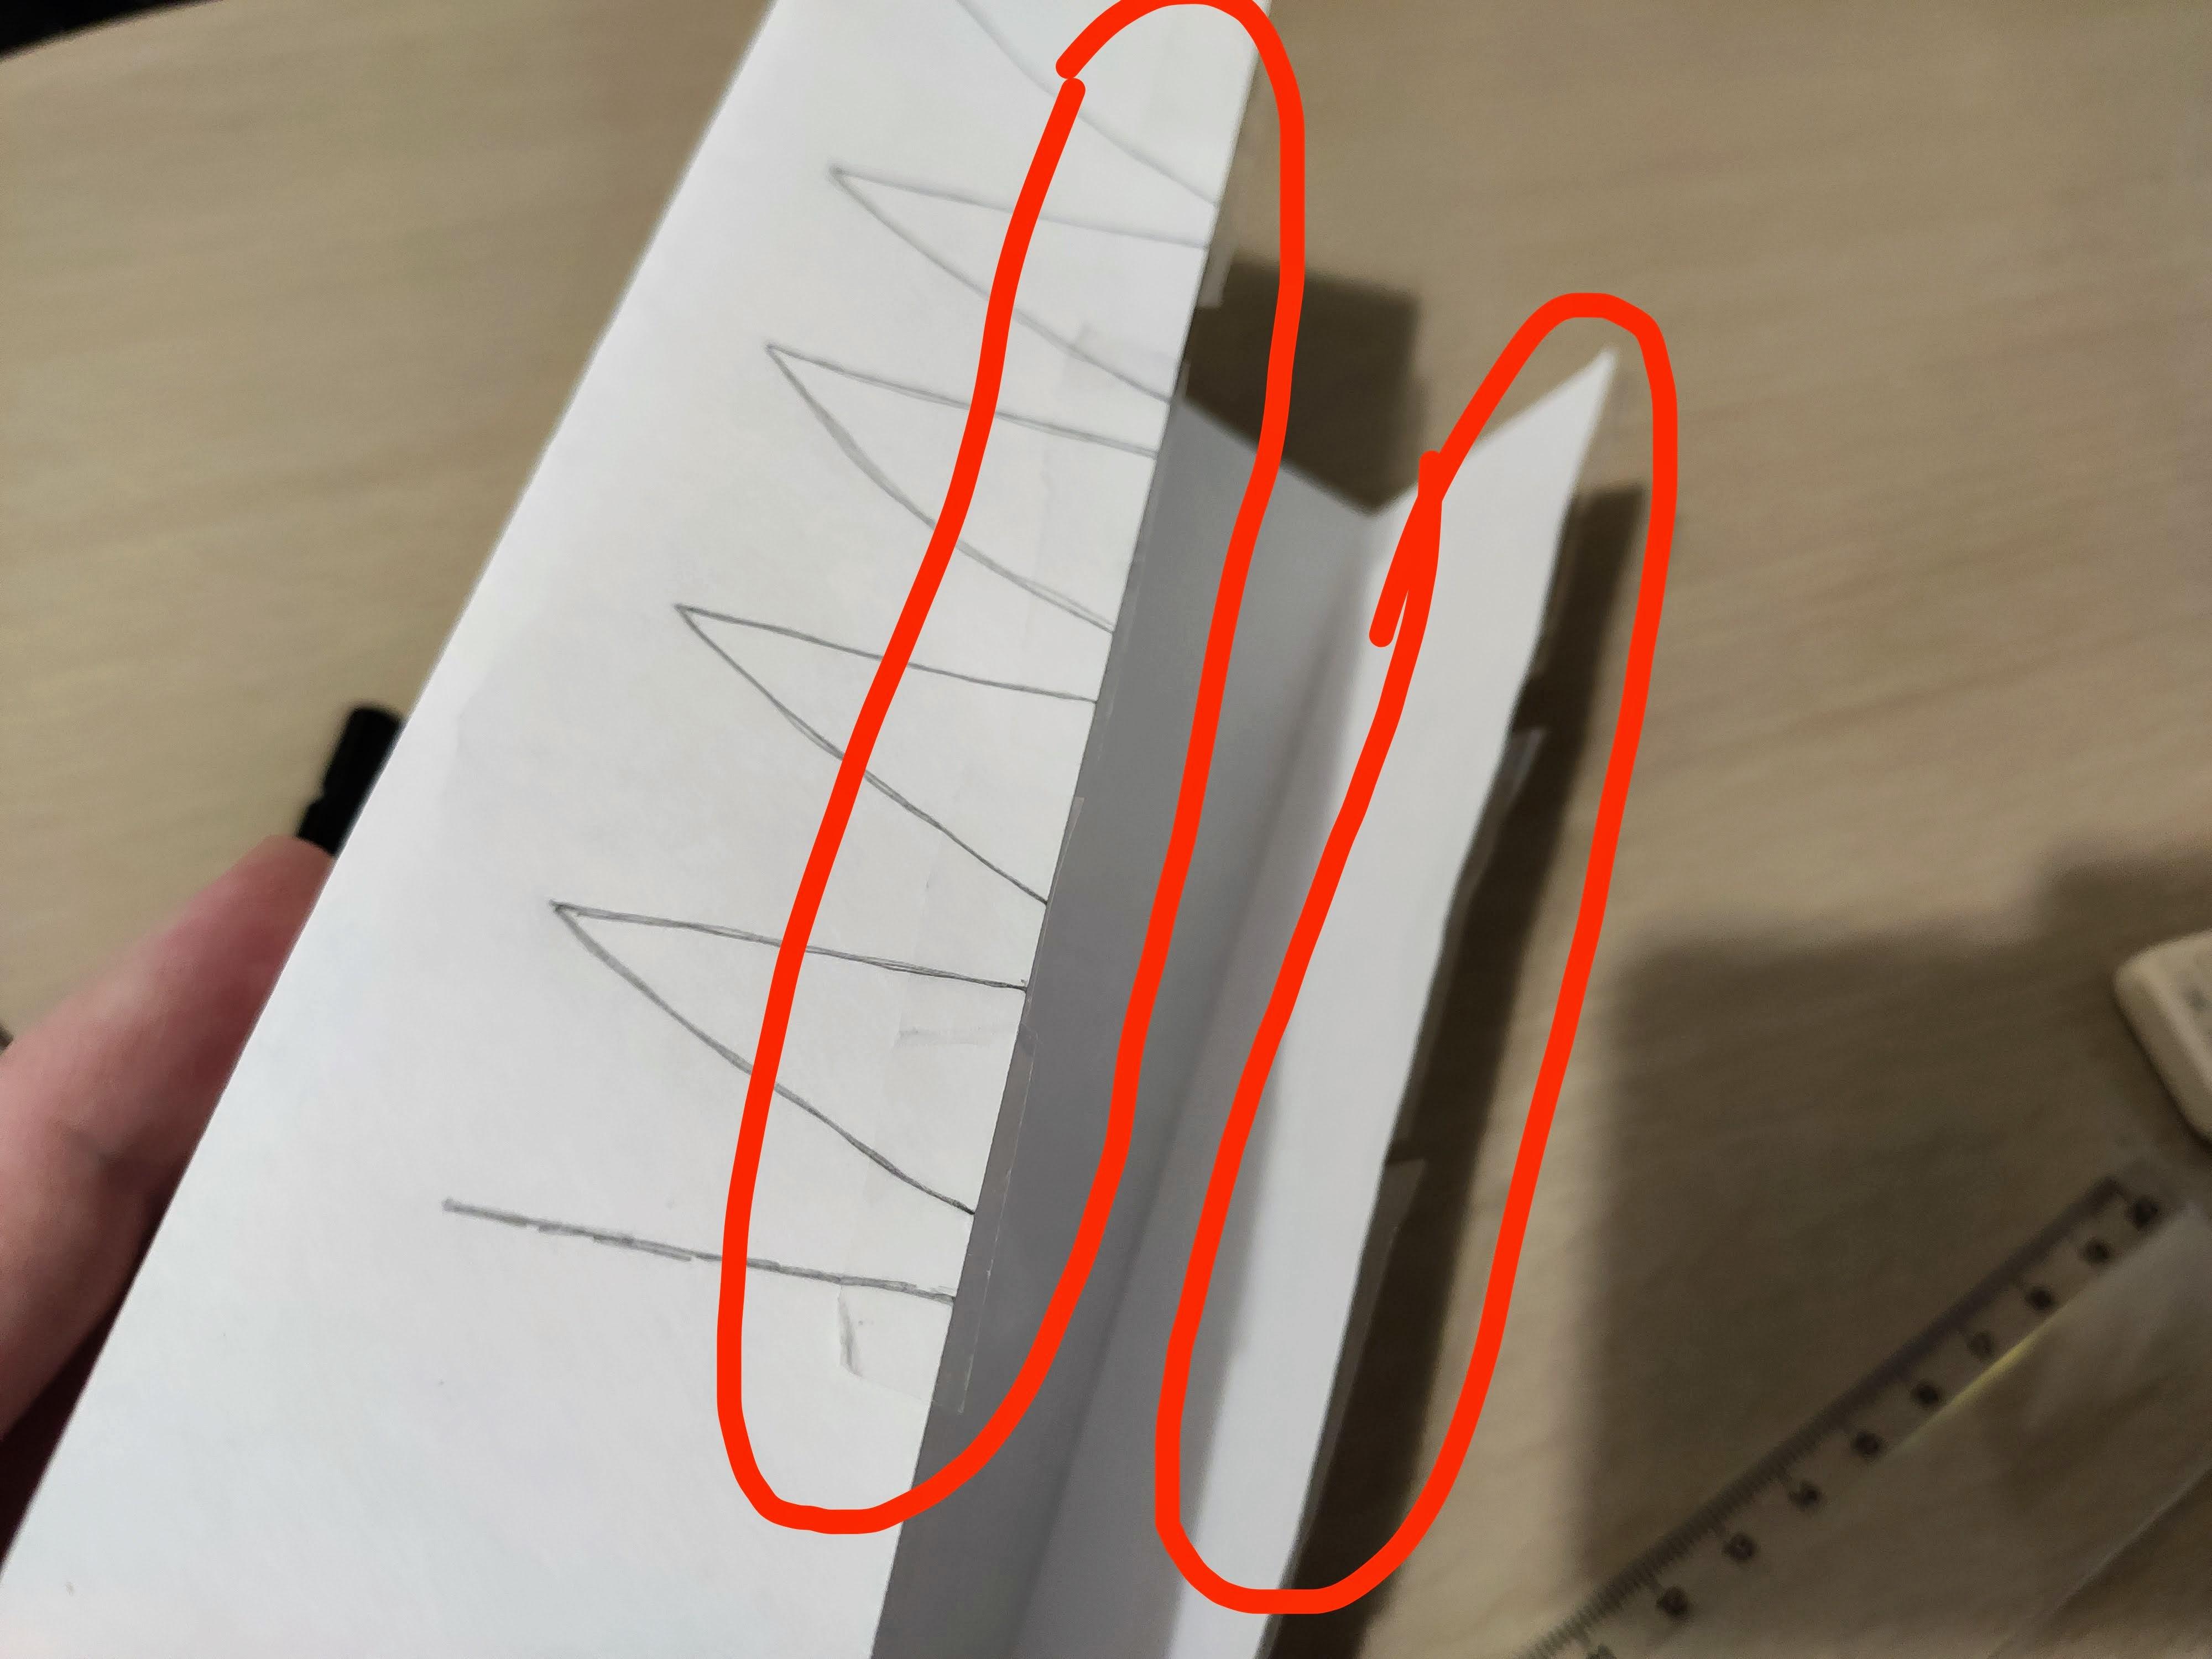
Use small pieces of transparent duct tape to enforce the edges of the sheet, later those enforced areas will connect with each other.
Paper: Cut
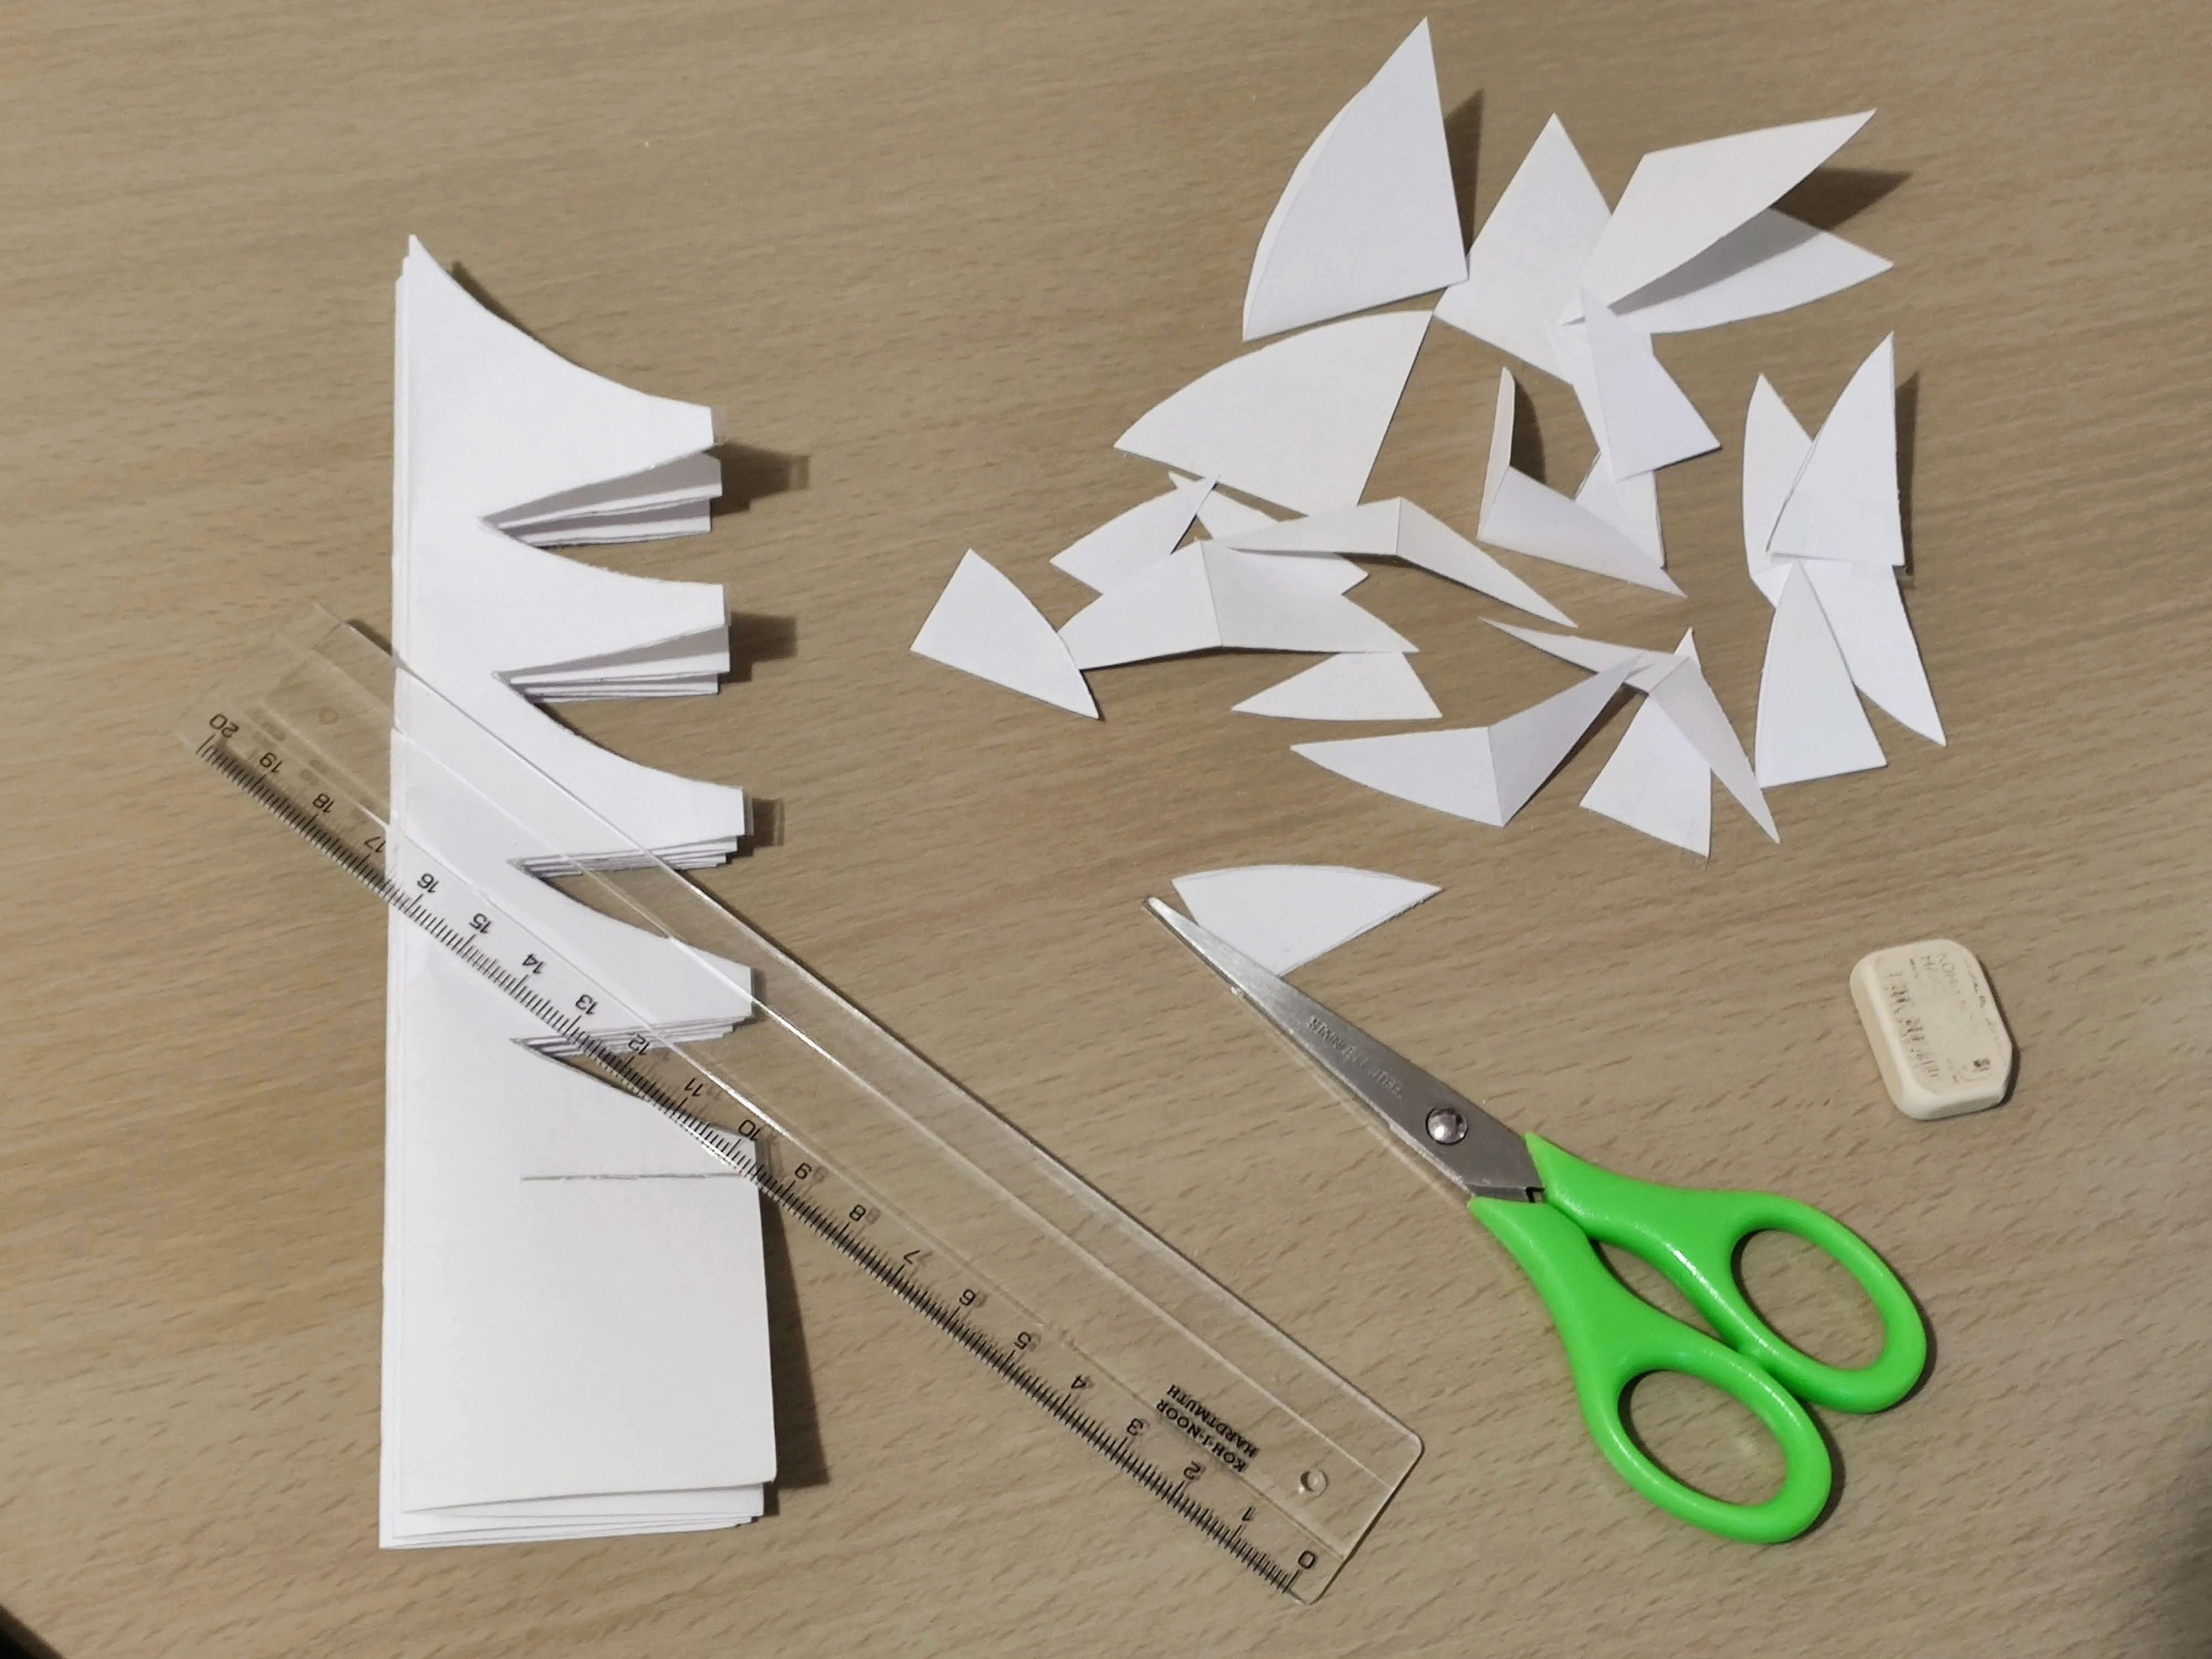
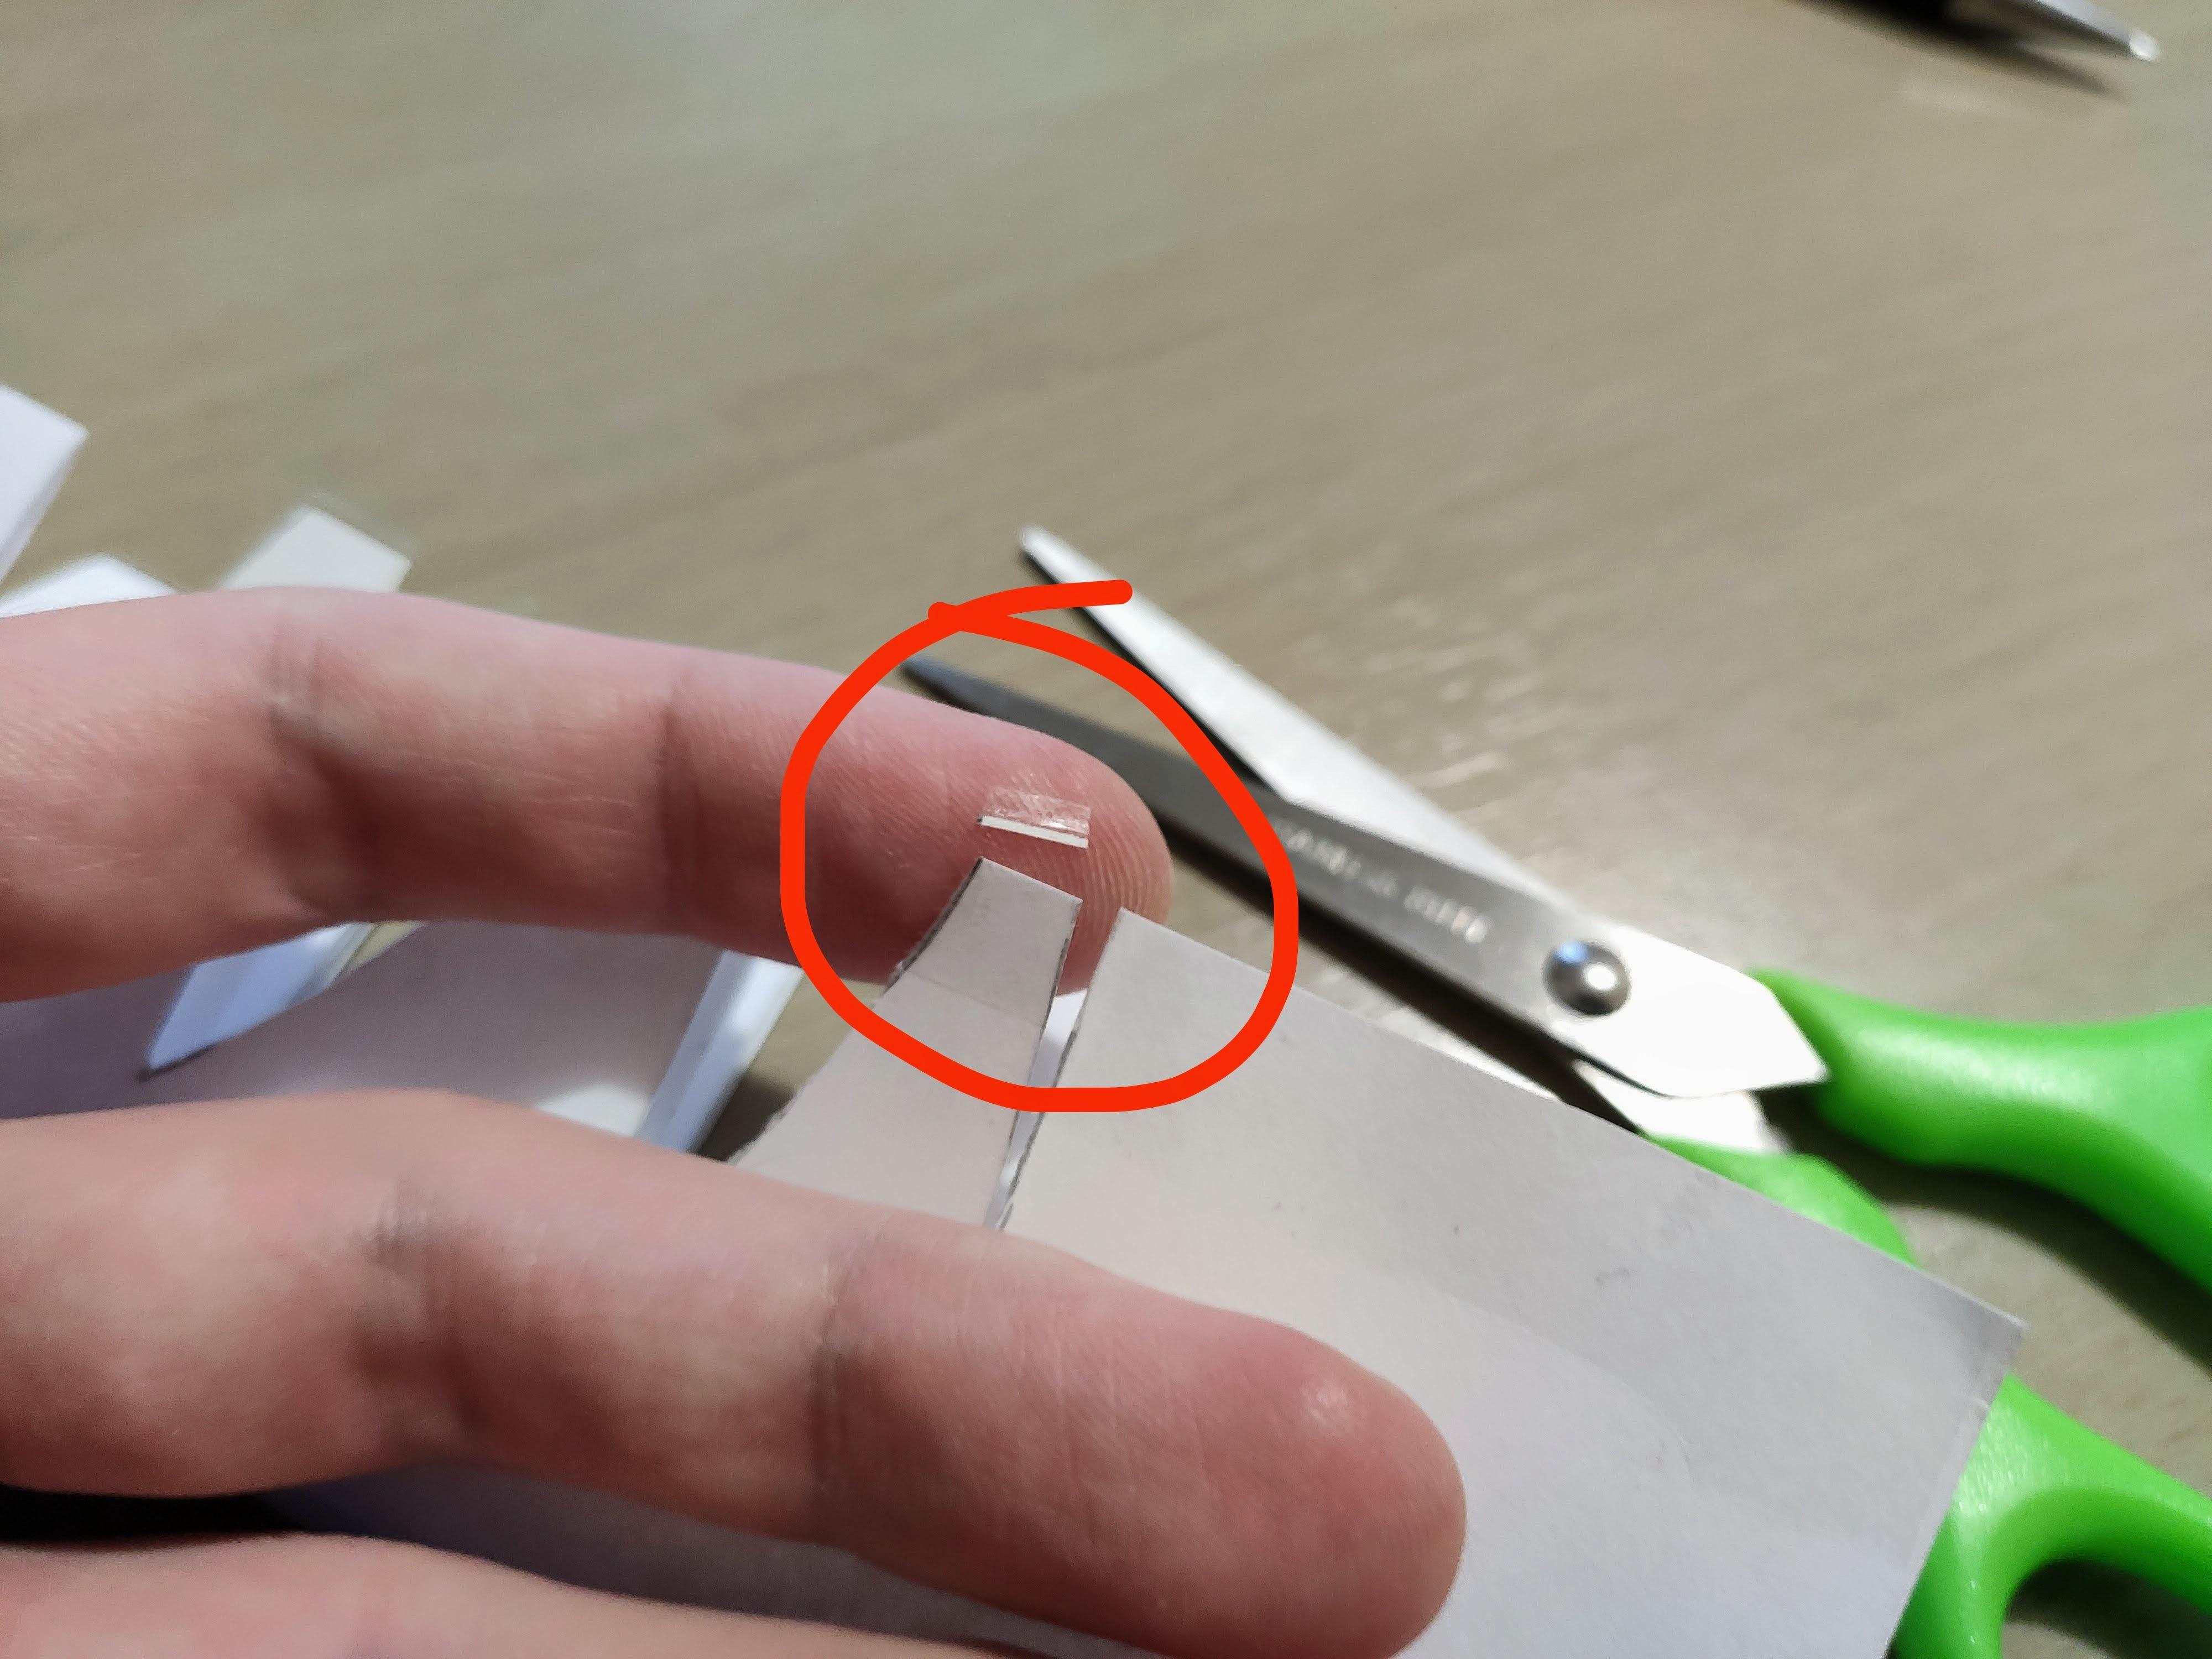
Cut the extra paper according to the pattern. Don't cut the bottom part (see the image).
Cut the extra duct tape on the sides. Note: it's more convenient to cut it together with a tiny stripe of paper.
Paper: Connect the Edges
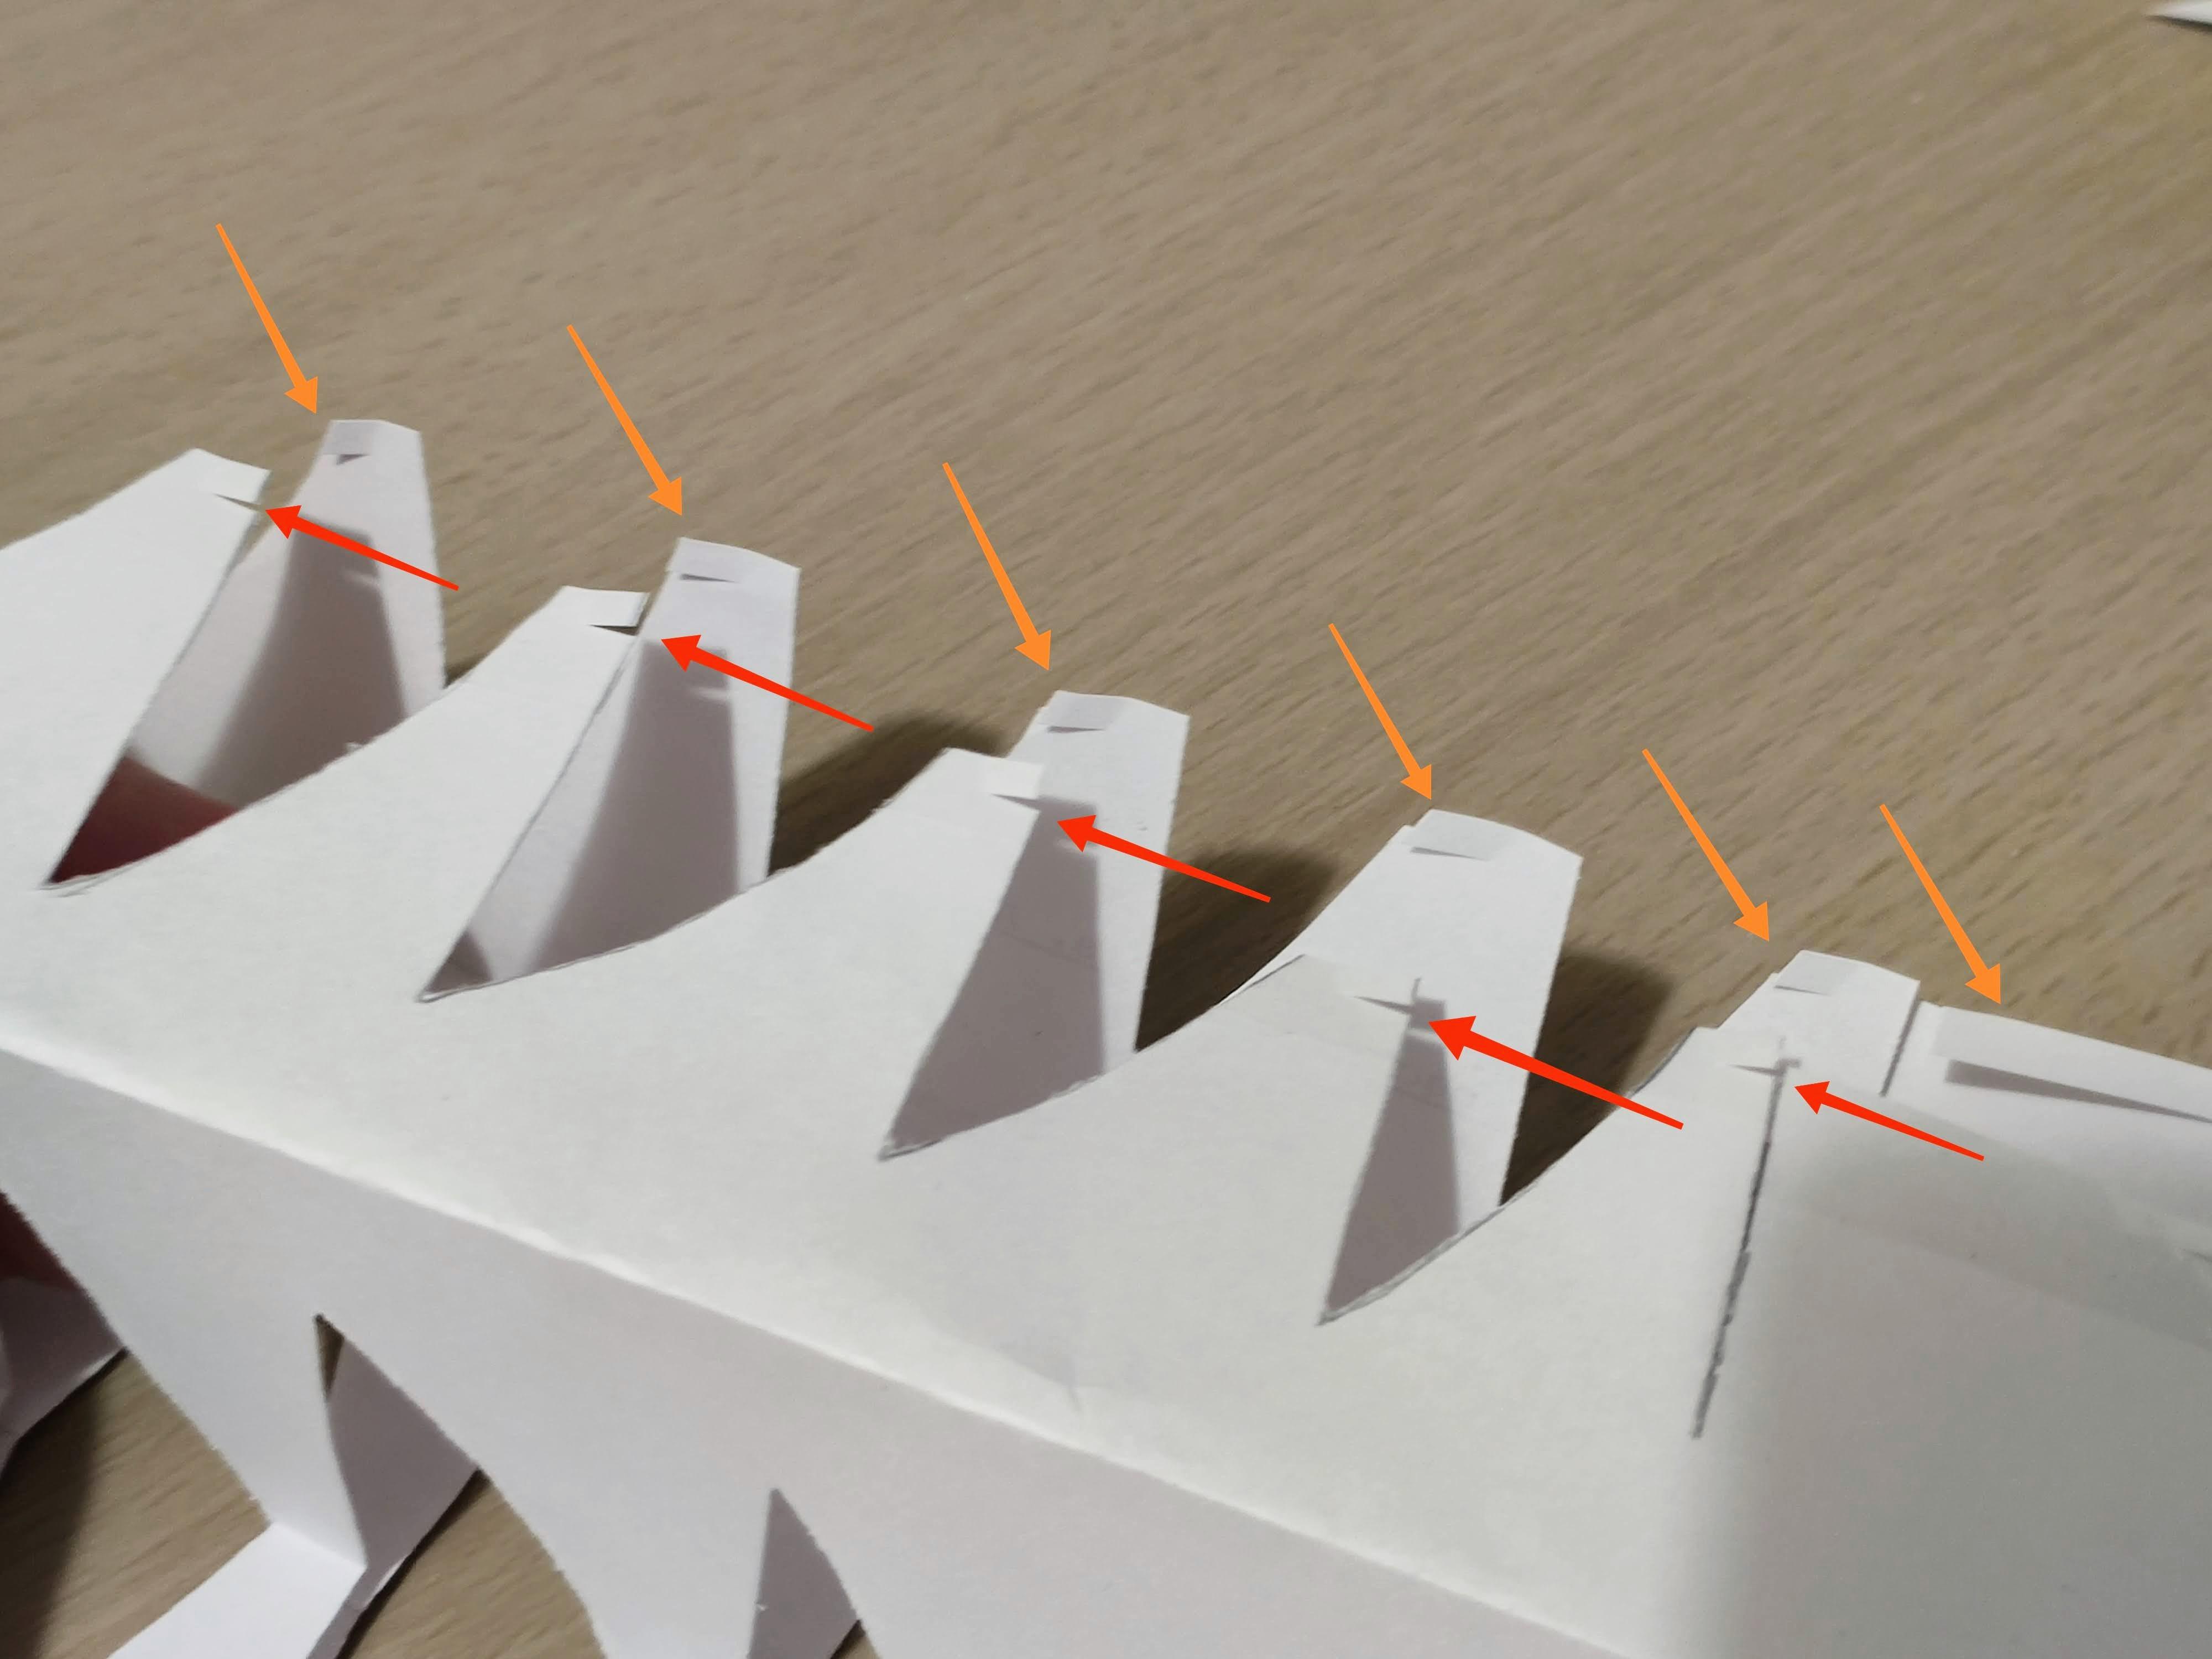
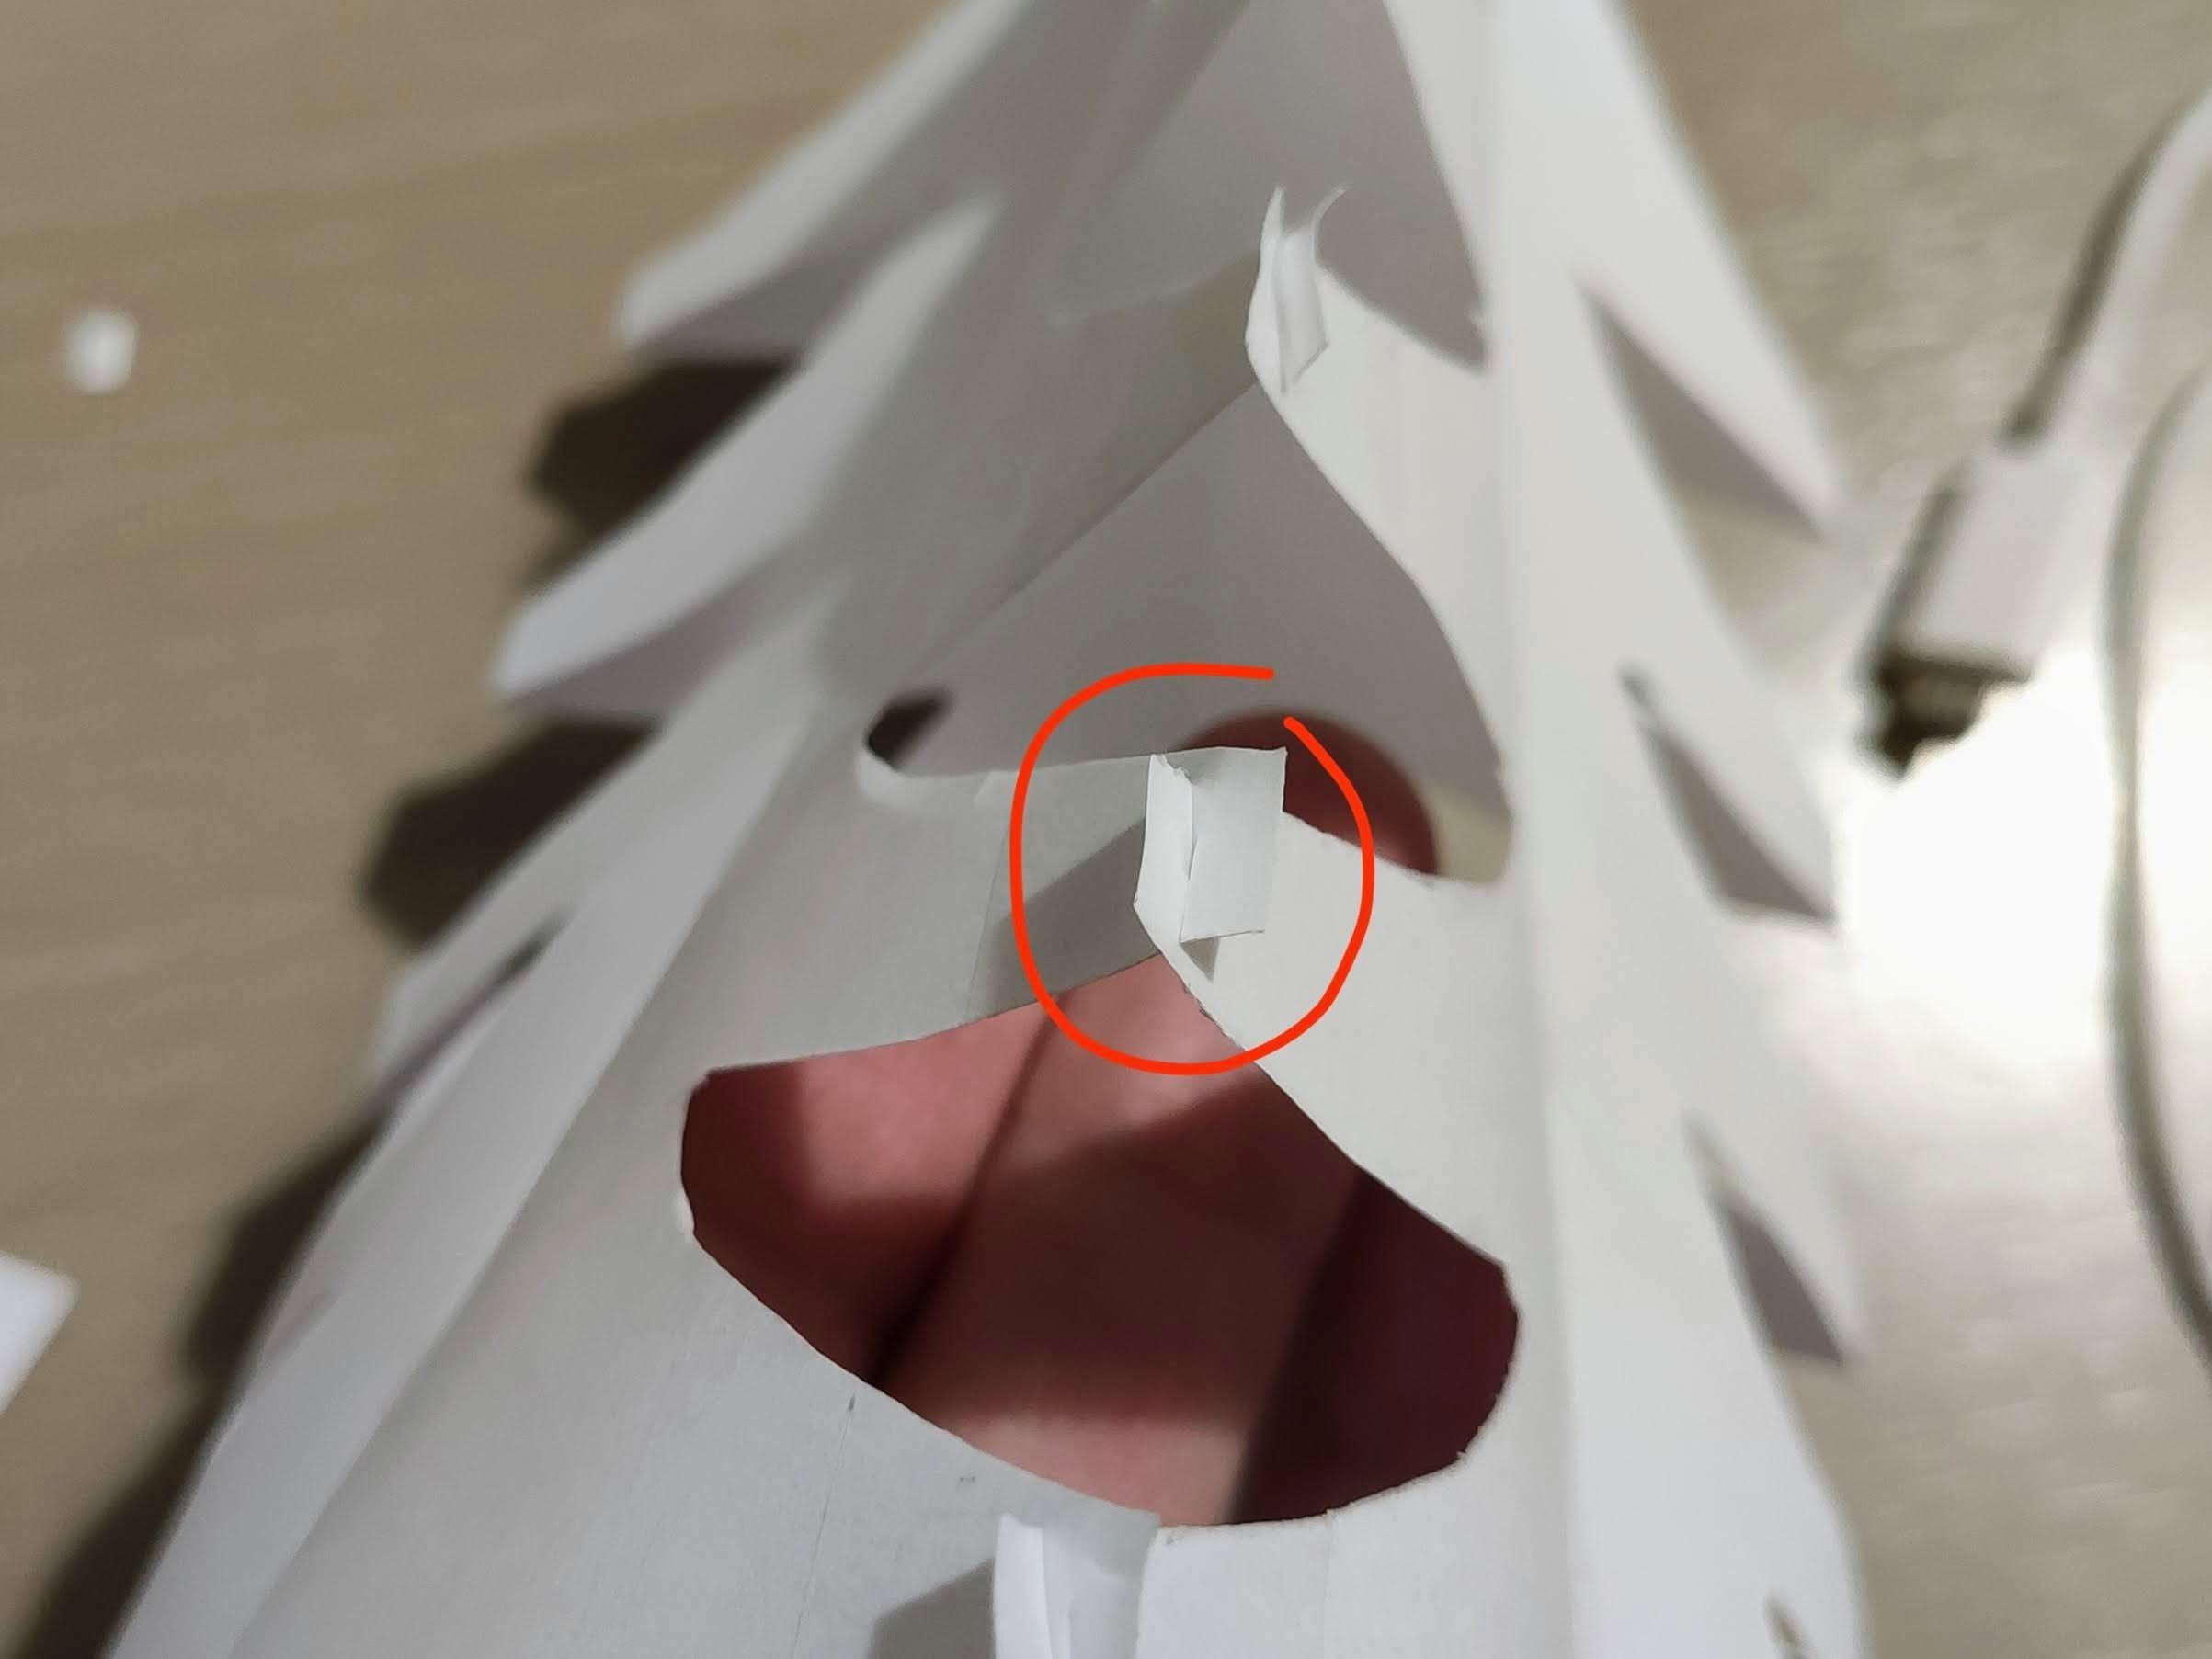
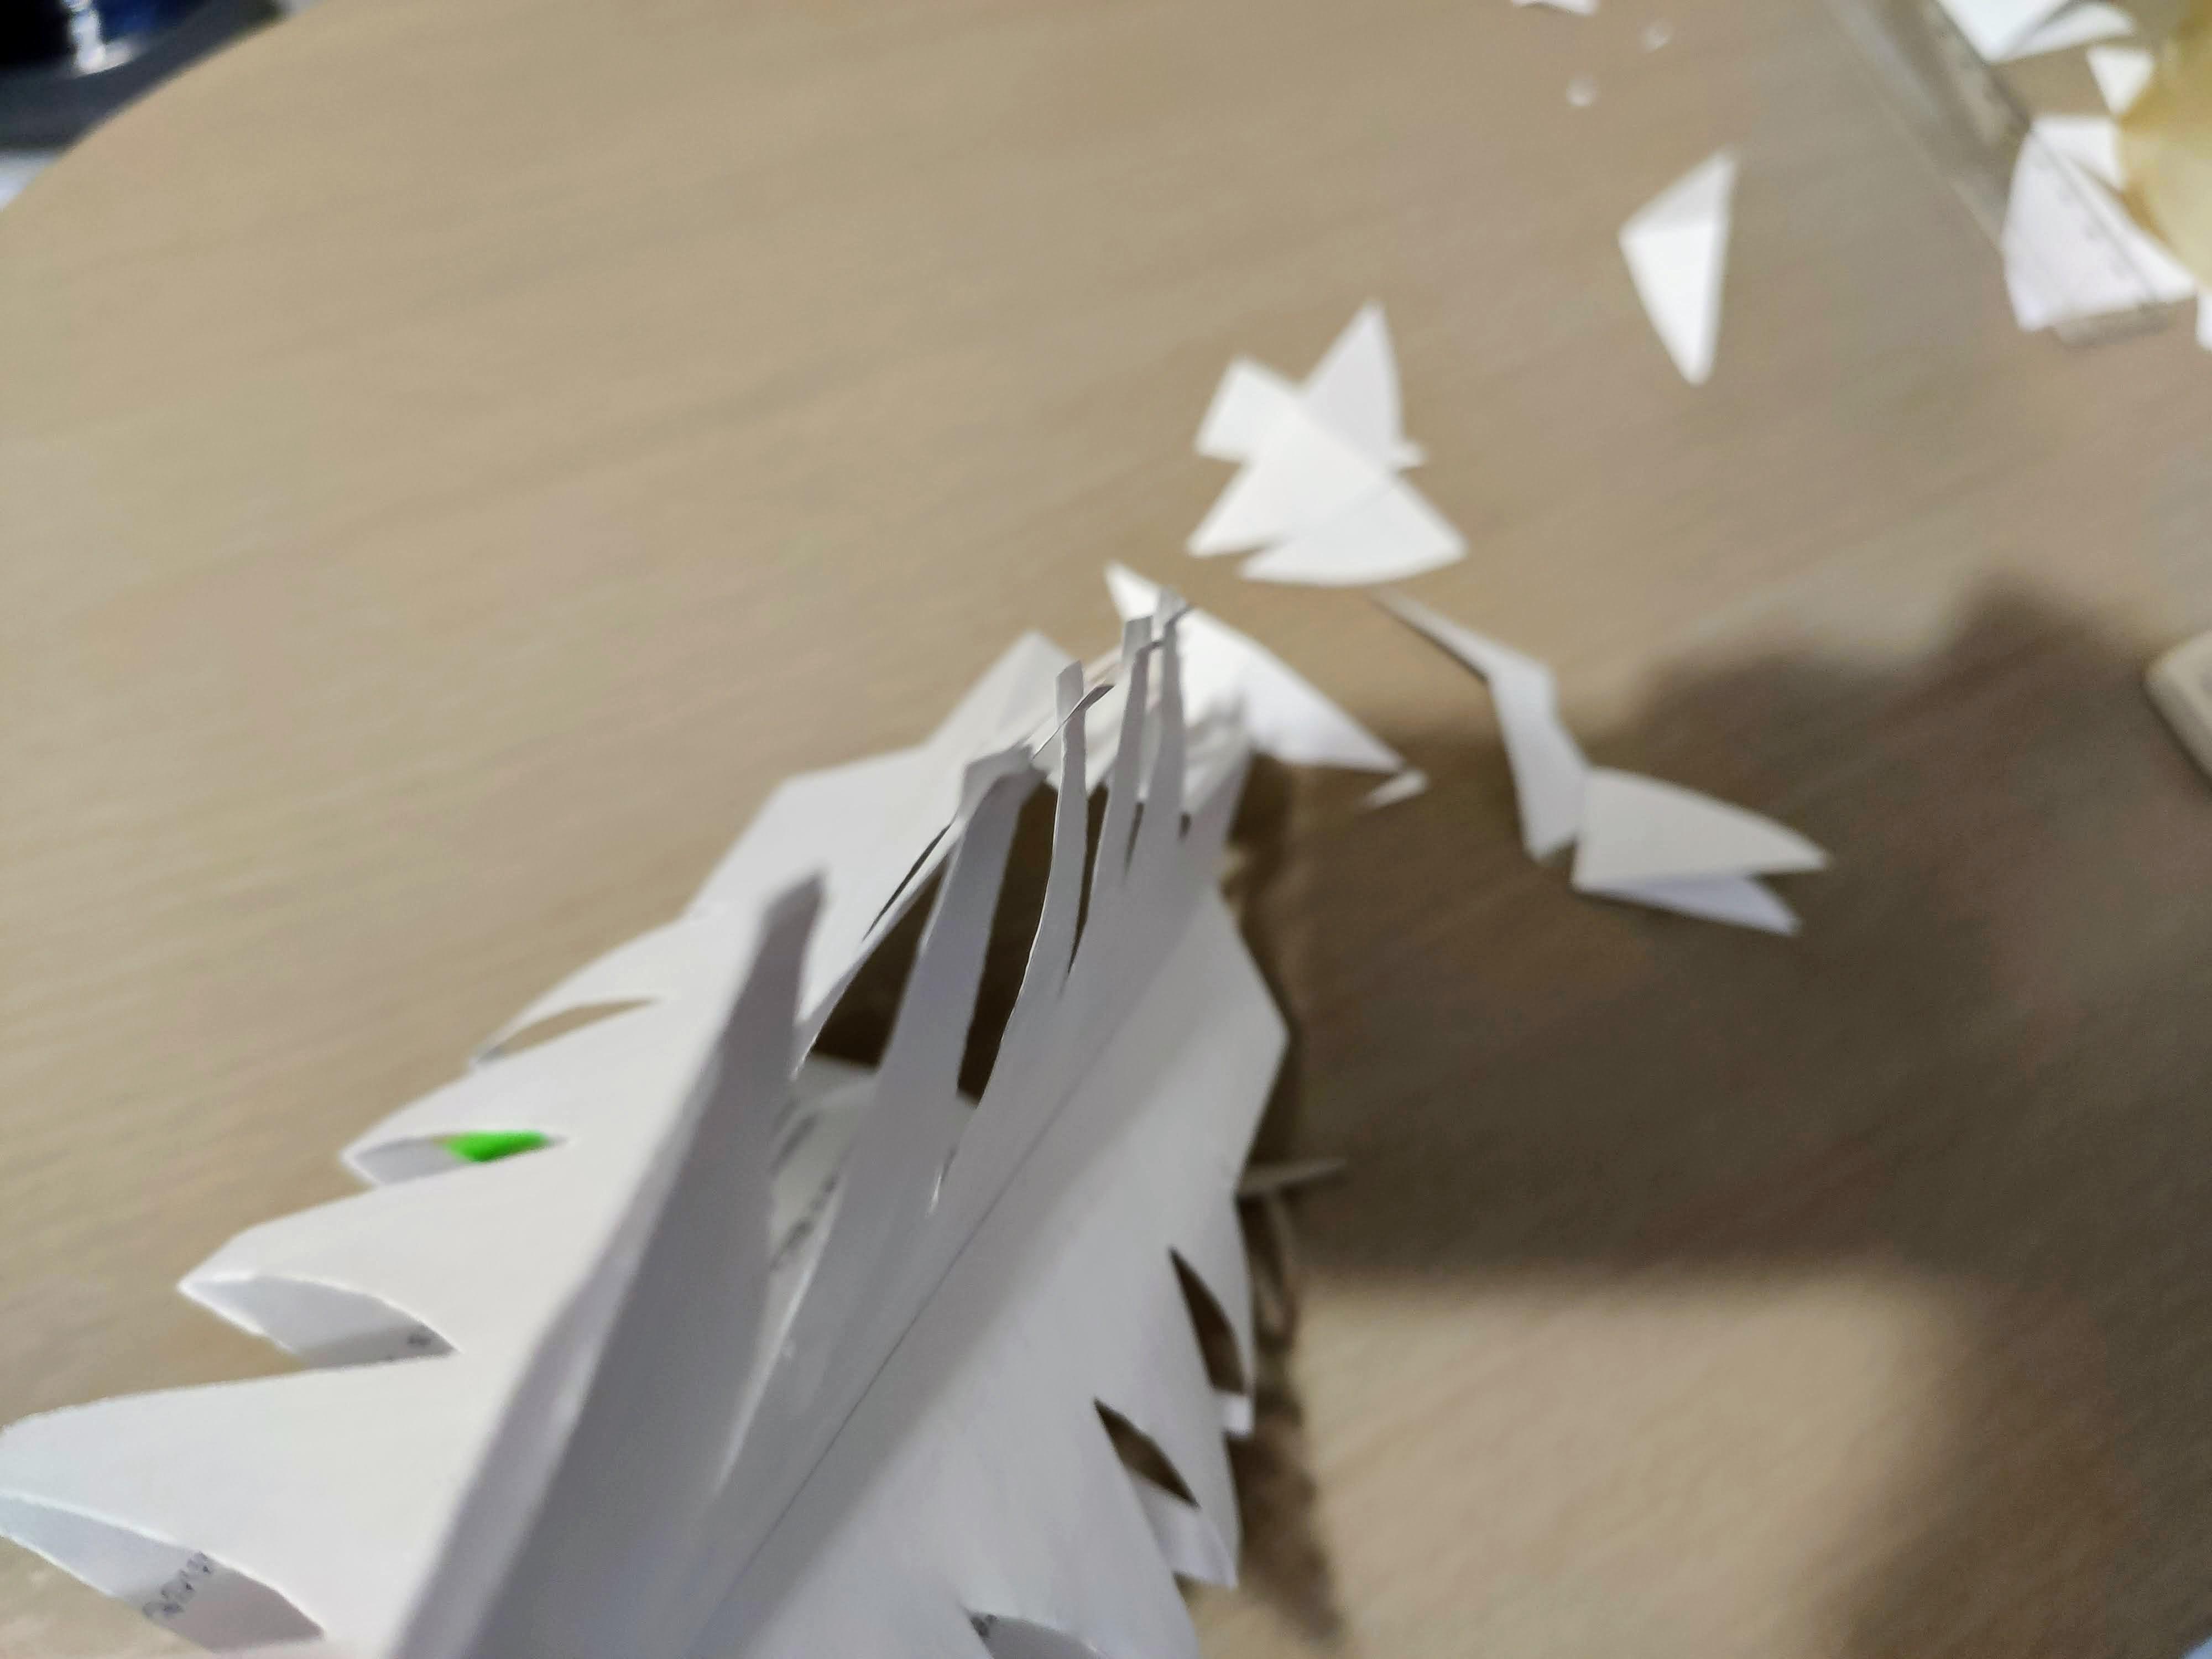
Half-cut the enforced areas: on one side cut from top, on the other side cut from bottom.
Connect the edges.
Paper: Final Adjustments
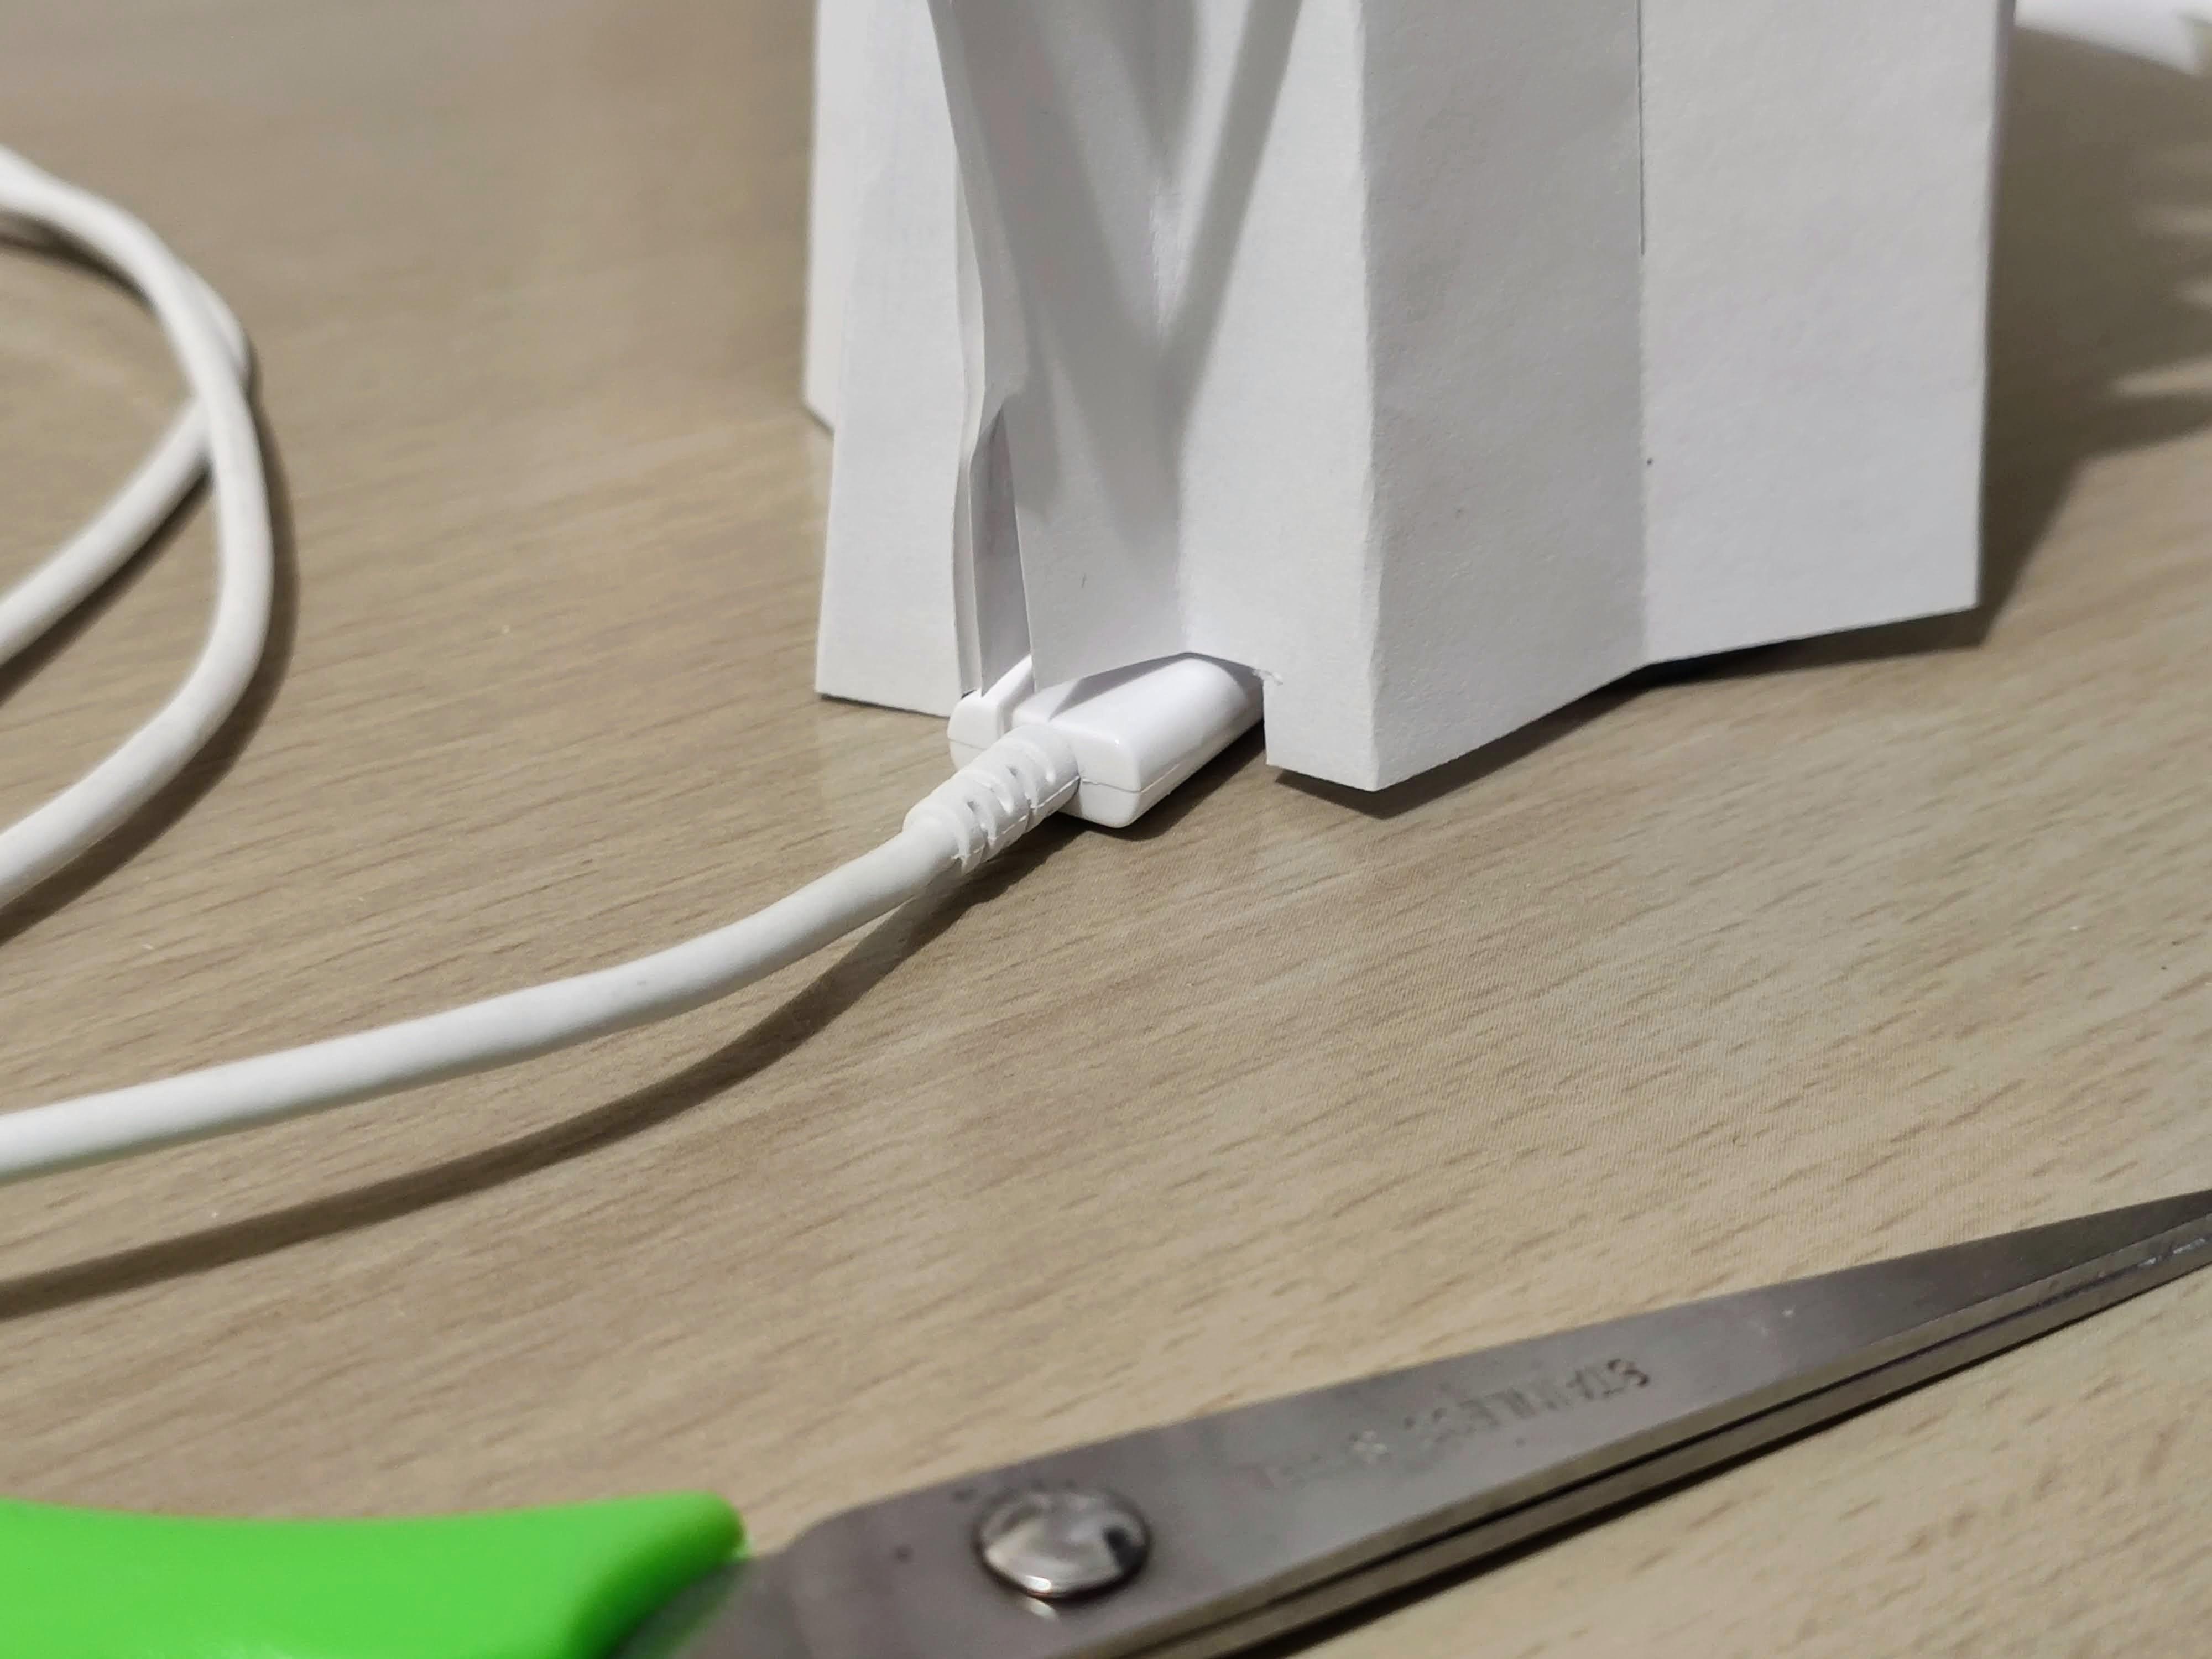
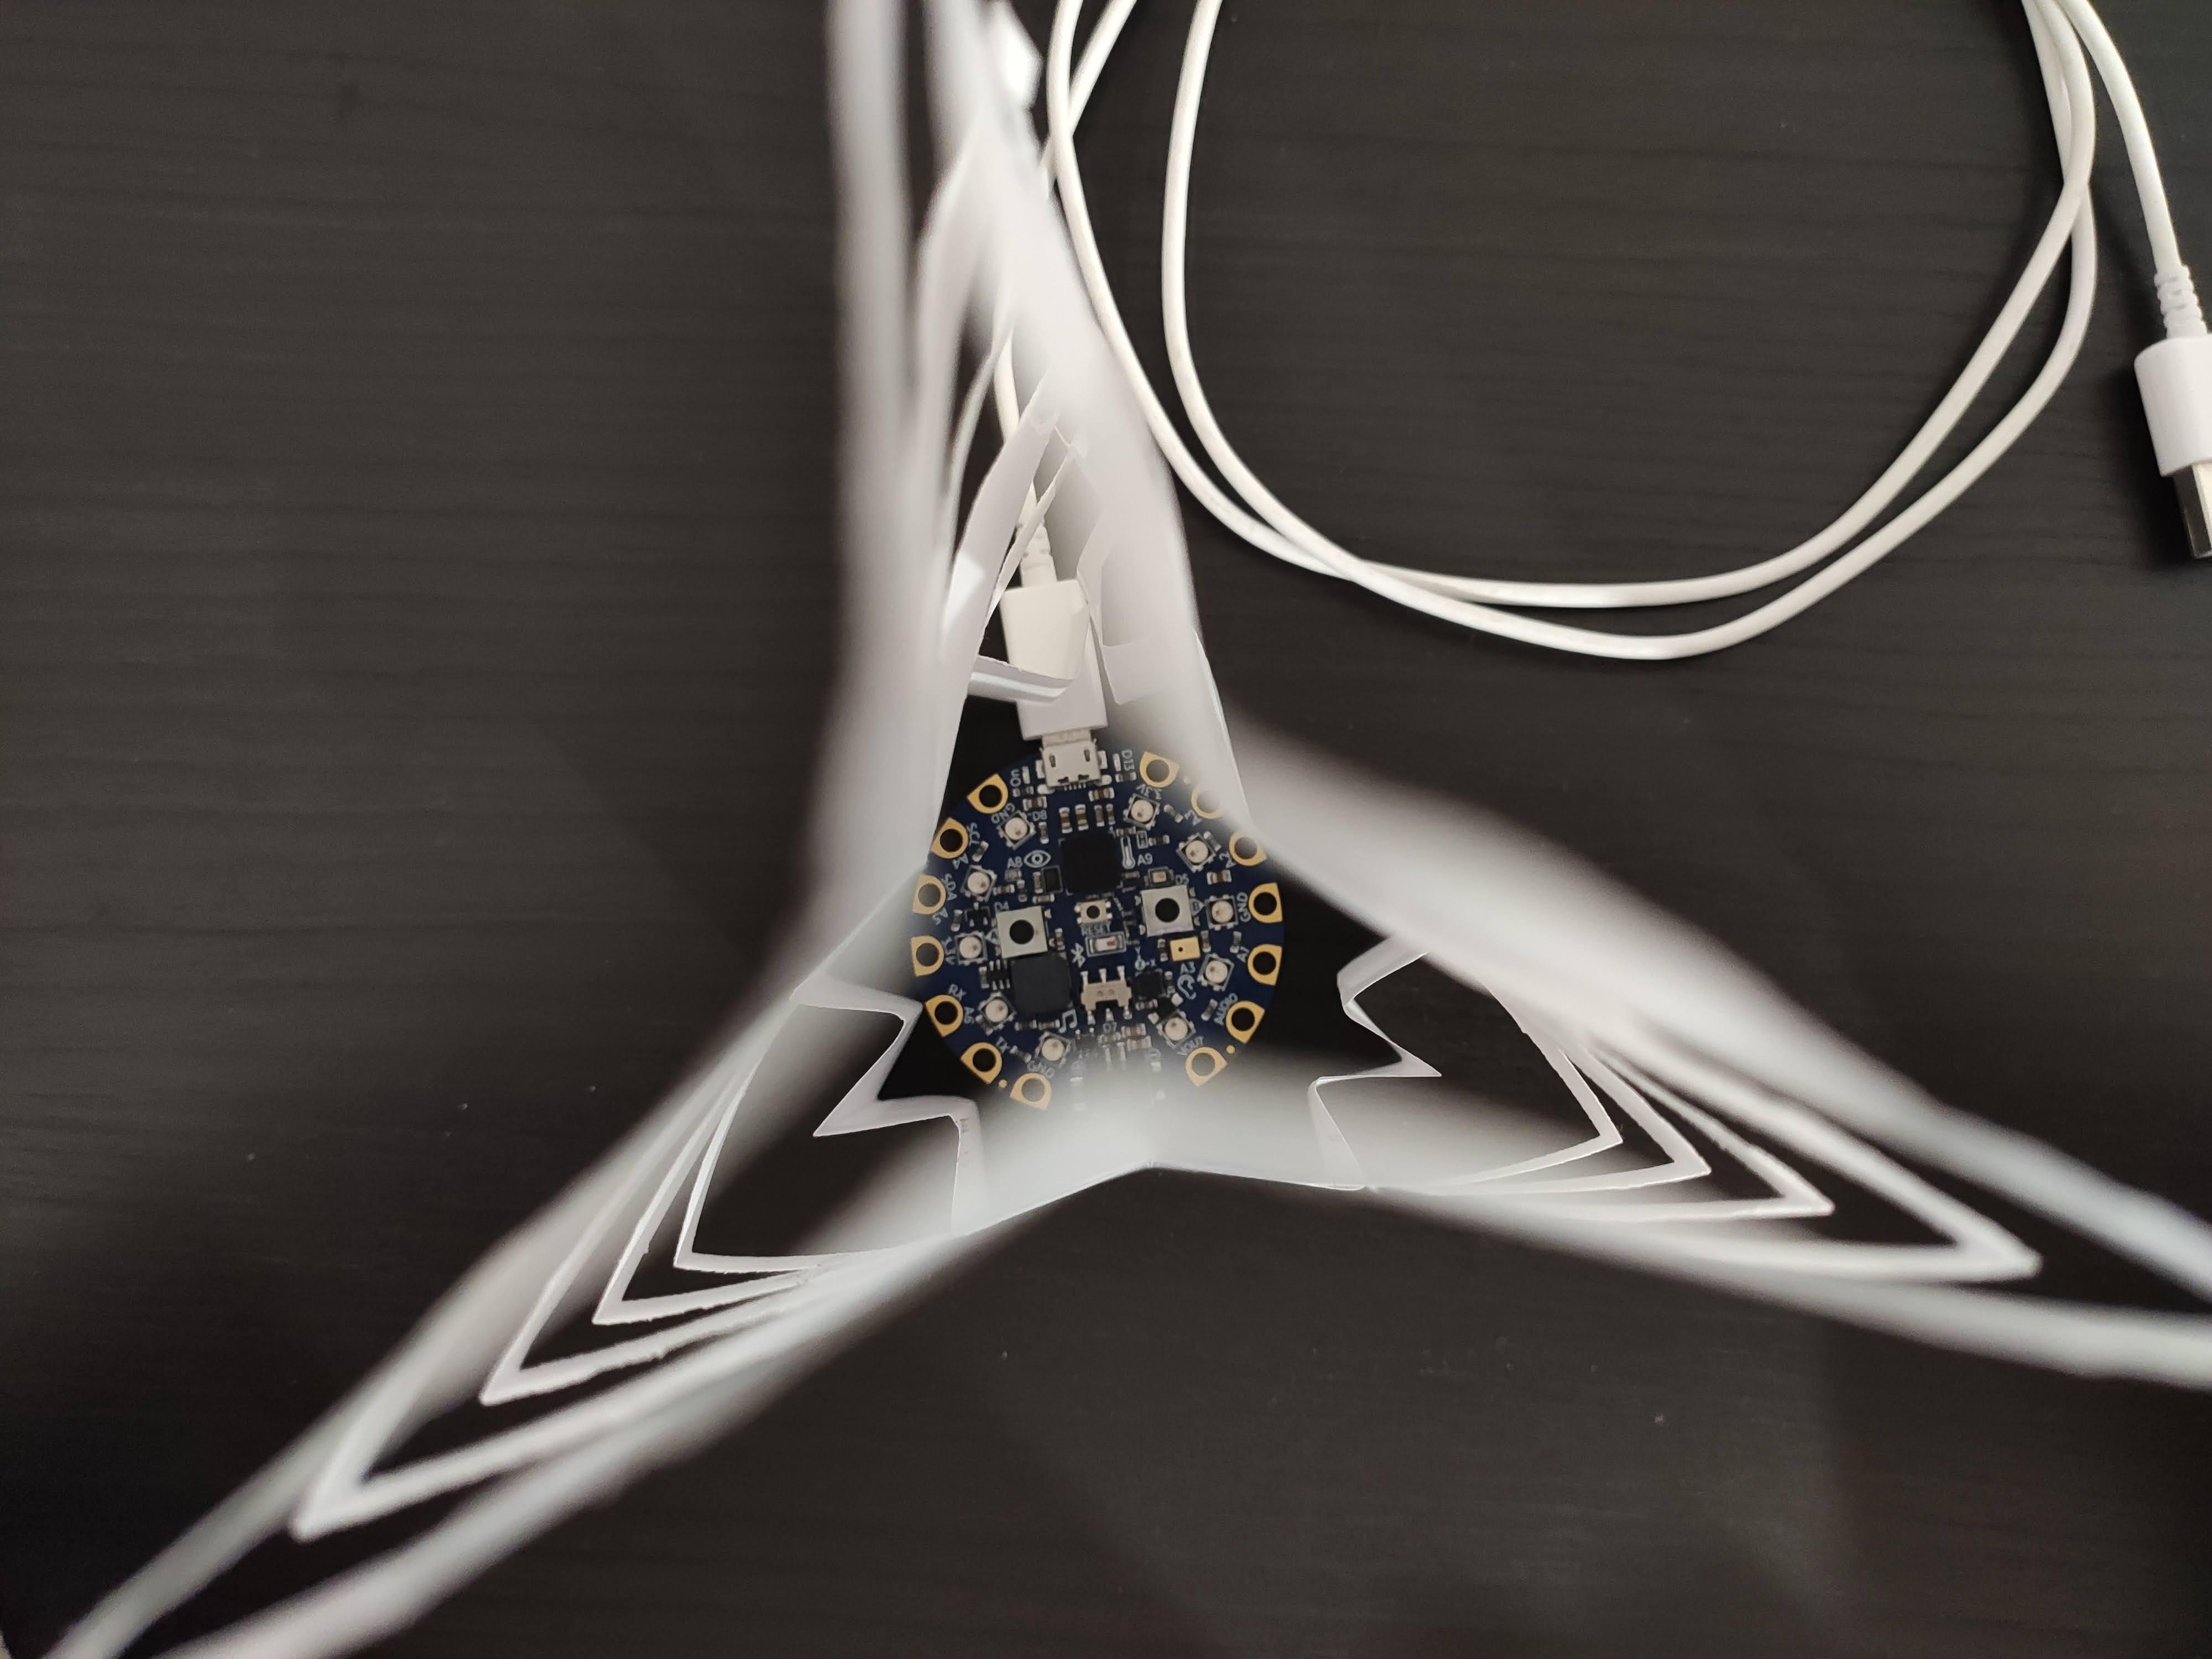
Cut a piece of paper to avoid conflict with USB connector, so the Christmas tree can be stable.
Place the Christmas tree on top of the board. Be sure all LEDs are inside of the paper decoration (otherwise it might feel like it blinks sometimes).
Power it up and enjoy the Christmas!