Smart Basketball Arcade Game With Score Counting Hoops Using Evive- Arduino Embedded Platform
by theSTEMpedia in Circuits > Electronics
4479 Views, 8 Favorites, 0 Comments
Smart Basketball Arcade Game With Score Counting Hoops Using Evive- Arduino Embedded Platform
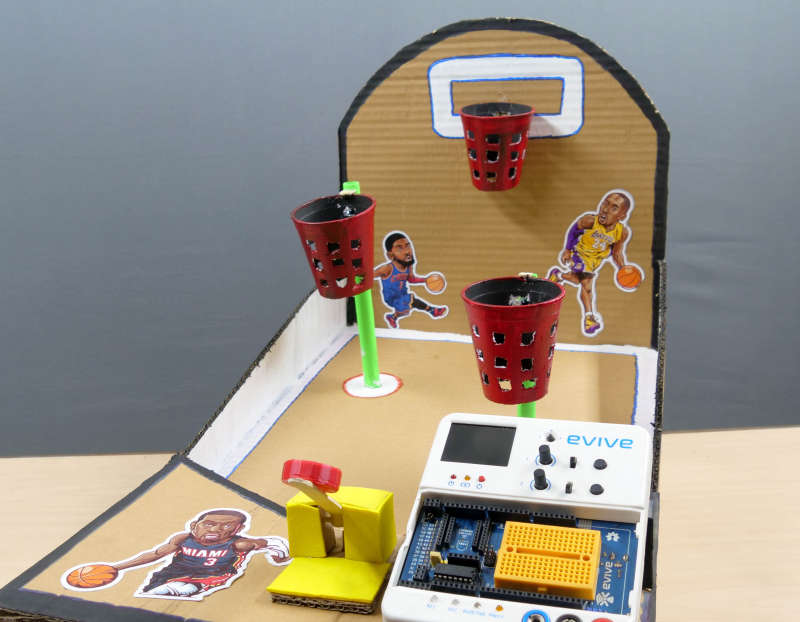
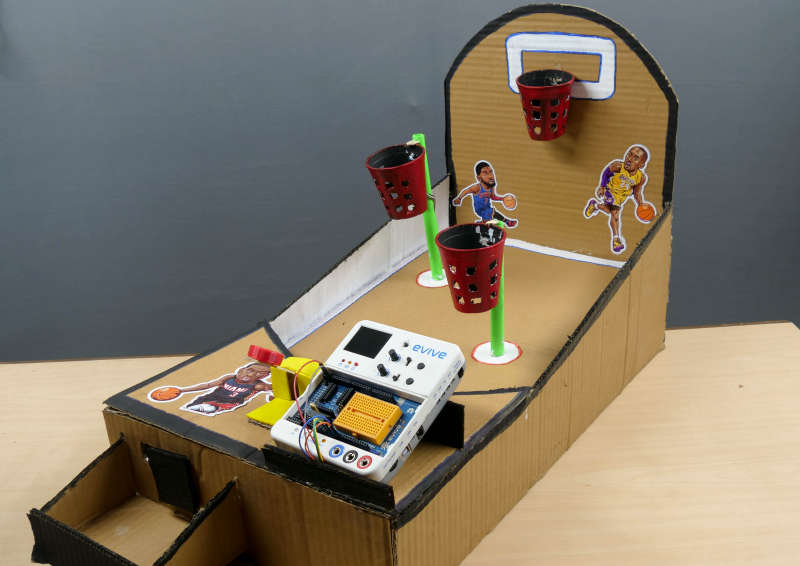
Of all the games out there, the most entertaining are arcades games. So, we thought why not make one ourselves at home! And here we are, the most entertaining DIY game you'd have ever played until now - the DIY Arcade Basketball Game! Not only is this game super fun to play but also super duper fun to make! With step-by-step instructions and easy programming in PictoBlox - a graphical programming software with advanced capabilities, this game is going to be the best game you will ever play!
So what are you still doing here? Download PictoBlox from HERE and get started!
List of Components Required
Hardware
- evive
- IR Sensor
- Micro Servo and its accessories
- Thick Cardboard
- Color Chart Paper
- Polystyrene Cups
- Glue Gun and Glue Sticks
- Jumper Cables
Software
All the above electronic components can be found in the Starter Kit.
Understanding the Design
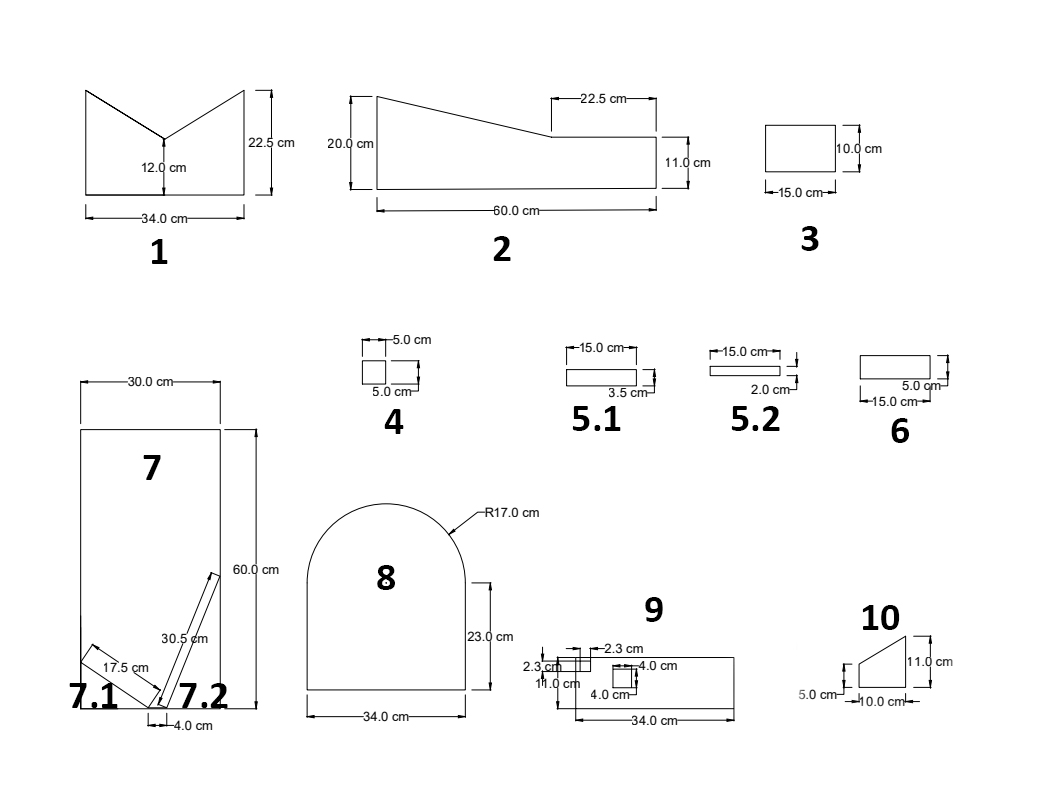
Take a cardboard sheet and cut the following pieces of the Arcade game according to the dimensions given in the image above. You can try making it using MDF sheets for more durability.
- The Roof
- The Side Walls of the Ground (x 2)
- The Base of the Ball Holder
- The Servo Door
- Stand for the Leaderboard
- Back Support
- Front Support
- The Base of the Ball Holder
- The Base of the Ground
- The Left V-Shaped Wall
- The Right V-Shaped Wall
- The Back Wall
- The Front Wall
- The Side Walls of the Ball Holder (x 2)
Downloads
Making of the Basketball Hoops
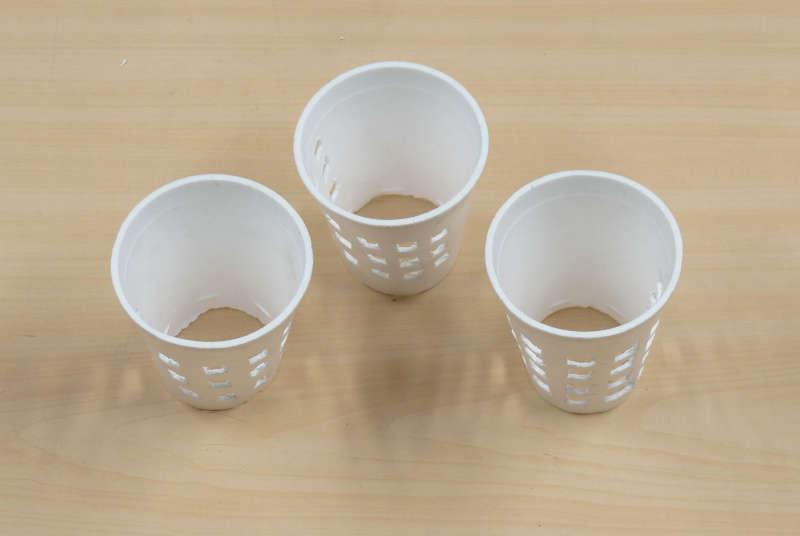
Let’s start with the easy part: The Hoops.
Take small cups of Polystyrene, you can take any number of the glasses depending on the number of hoops you want to have. Cut the base of the glasses so that when we shoot the balls in them, the balls can easily pass. Perforate the glasses using a cutter to make them look like the net.
Making the Hoops Smarter
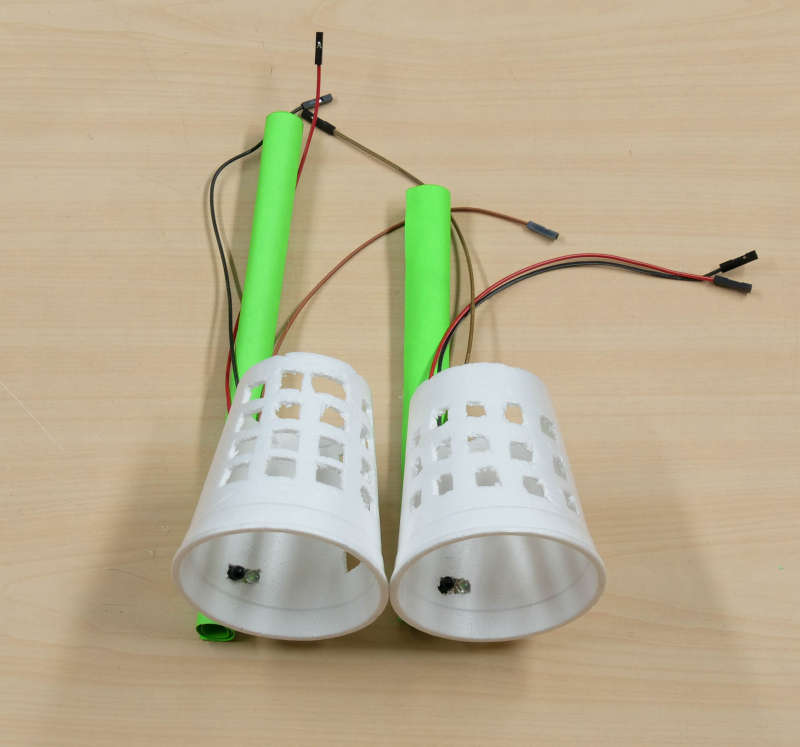
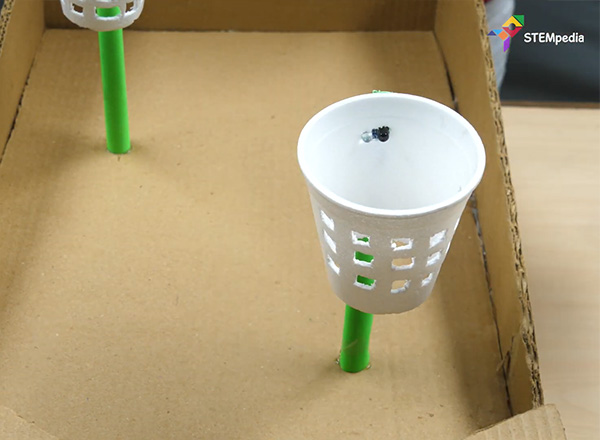
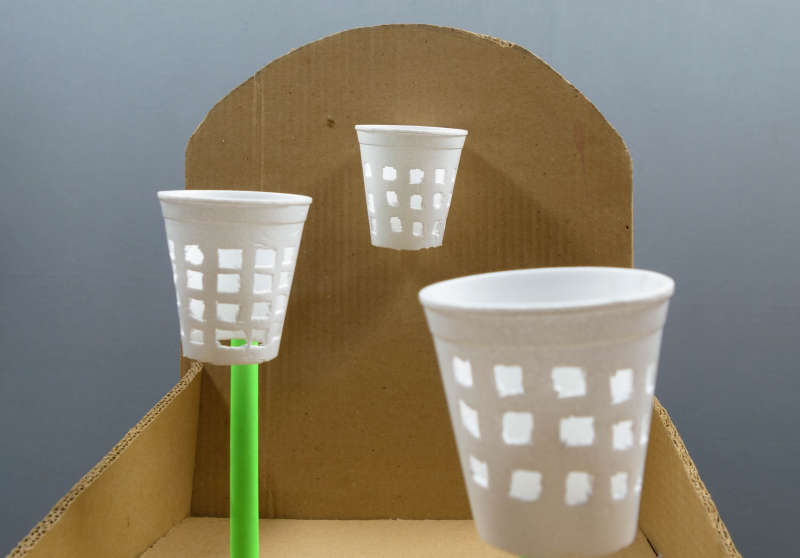
The nets that we made in the previous step are the dumb nets. They cannot count the shoots you did in each basket nor can give you the score. How about we make the nets that give us the score by multiplying the number of times the ball has passed through the nets to the score assigned to them.
We are going to use the IR Sensor for the same purpose. Test all the IR Sensor using the Pin State Monitor option of evive's firmware.
- Take a pair of ice cream sticks and stick them together in a way that they get transformed into a long one.
- Wrap a piece of colored paper around it tightly to make it look like a poll. We have to make a pole for each hoop.
- Now, onto these poles, attach I Sensor using Hot Glue and fix these IR Sensors into the holes on the glasses.
- Once done, fix the hoops on the ground. But, make sure you pass the wires through the ground. You can also attach one hoop at the back wall if you want to.
In our case, we are going to assign the scores to the hoops based on how difficult it is to shoot in them. The basket nearest to us will give us 10 points, the middle one will give 20 points, whereas the basket on the back wall will give 50 points.
Note: you can assign the score the way you want.
Making the Court
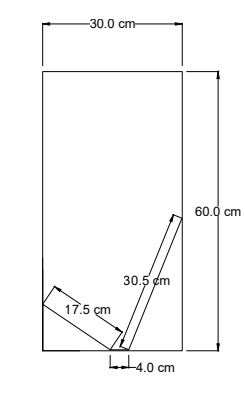
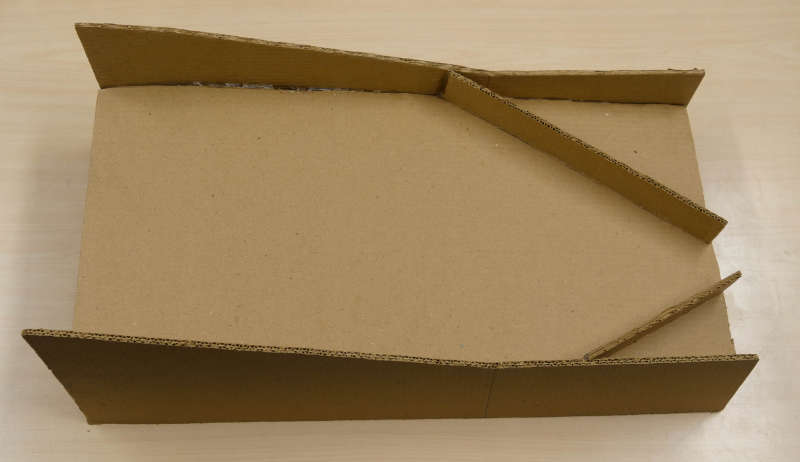
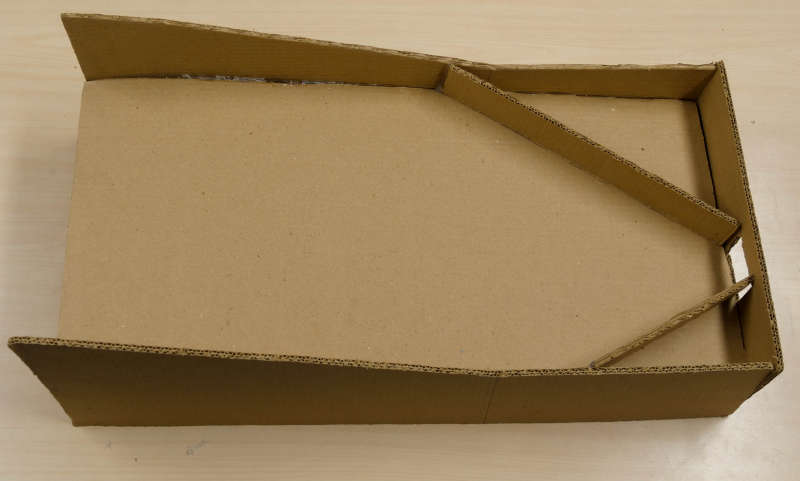
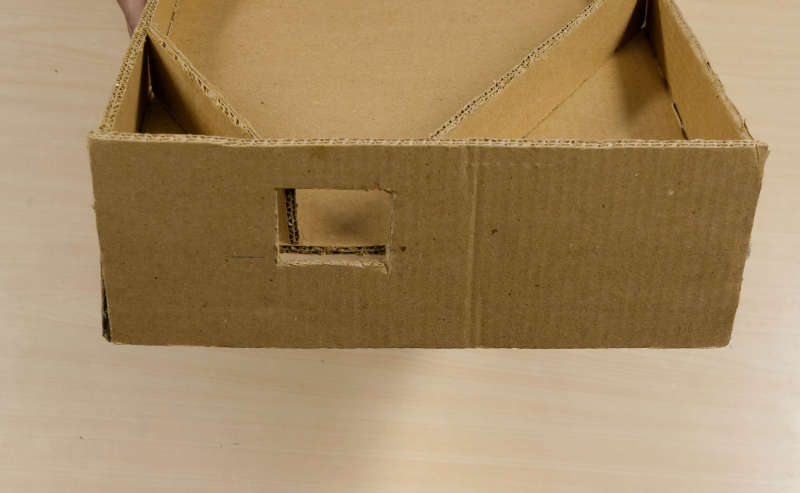
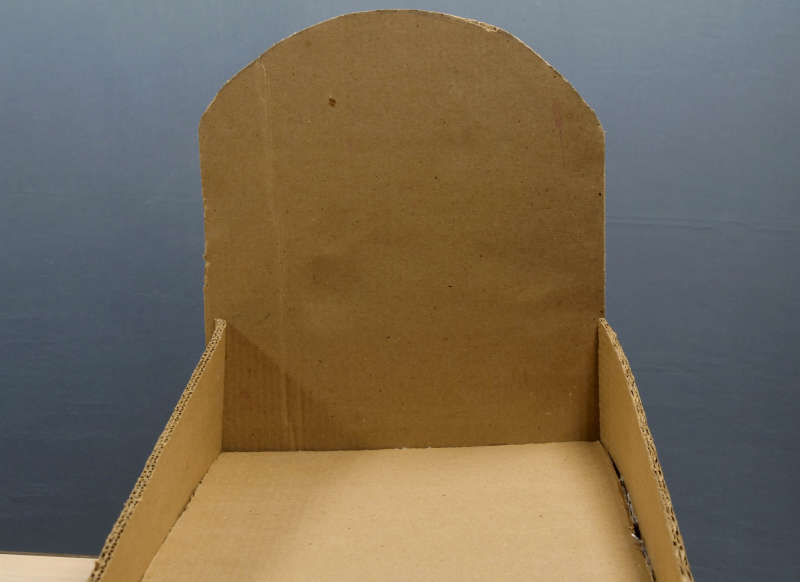
Let’s begin making the basketball court.
- Attach the V-shaped walls on the base using Hot Glue as shown in the first image above. These walls collect all the balls.
- Take the two side walls and draw a straight line in the center of each wall. Now, glue the base of the court to these lines(one on each side). Doing this will give elevation to your court and helps to collect the balls together at a single place.
- Time to cover the court from the remaining side. Glue the front wall to the base but make sure that the space in the front wall and the V-shaped walls are aligned.
- Finally, attach the back wall to the base.
Thus, the basketball court is done.
Fixing the Servo
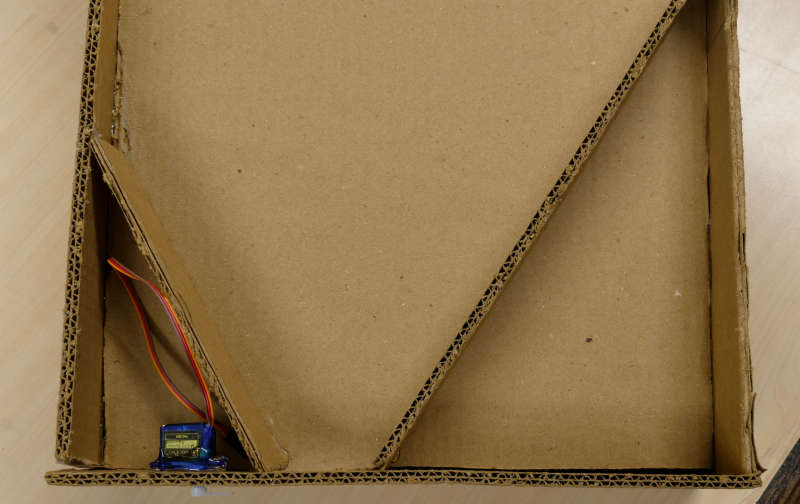
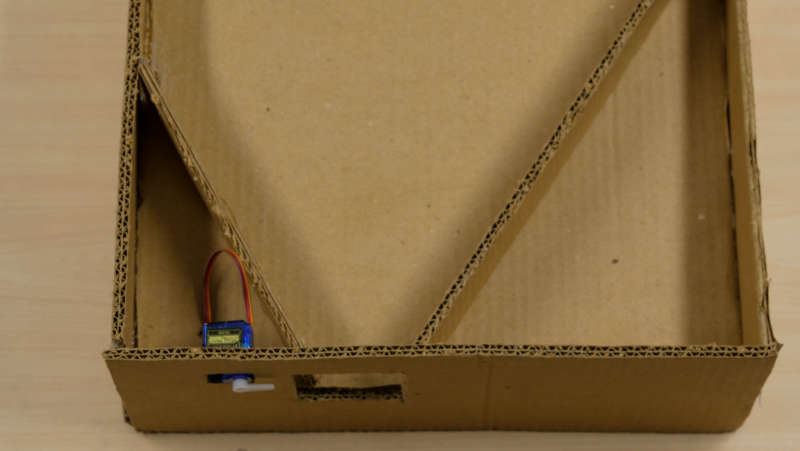
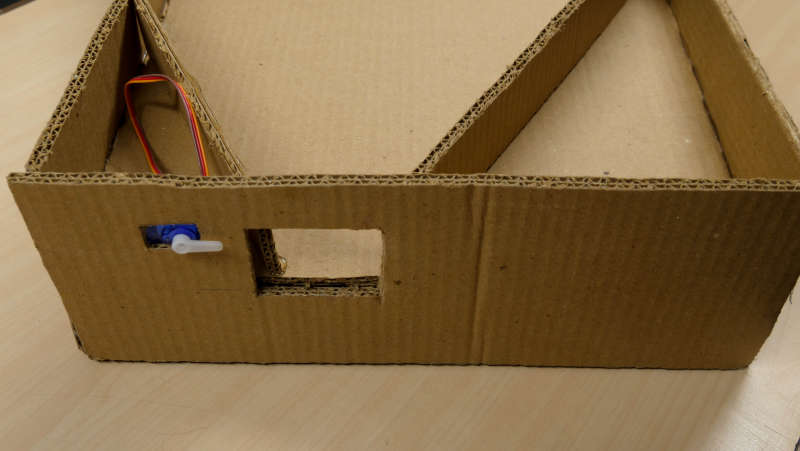
Fix the micro servo to the small space given in the front wall using hot glue. We will make most of the connections underneath the court. Thus, make a small cut besides servo on the base so that you can pass the wires through it.
Make sure, that you have tested the servo beforehand using evive's firmware.
Fixing the Roof and the Door/ Ball Stopper
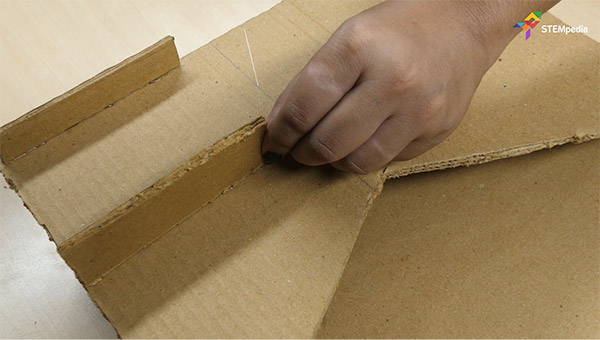
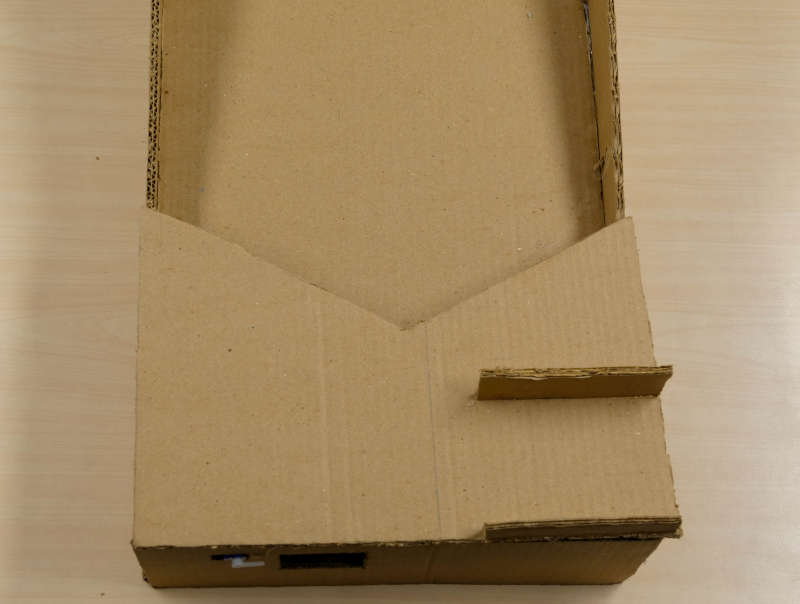
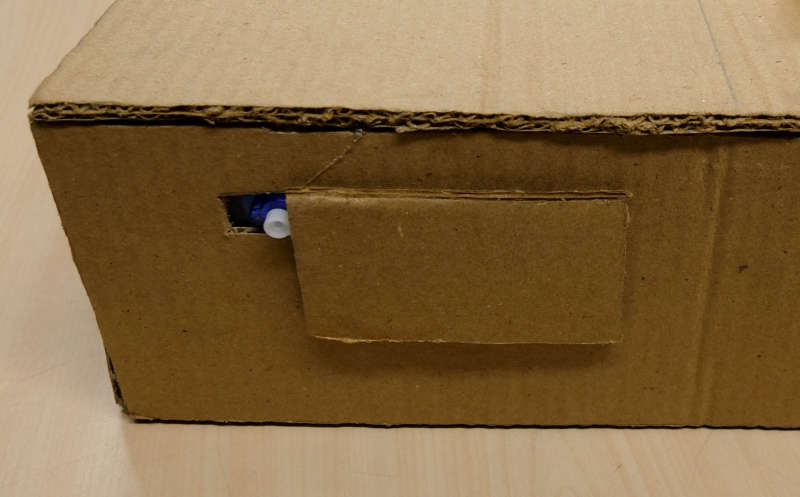
Take the roof piece and glue the walls that work as the stand to the leaderboard to it as shown in the image. Now, fix this roof piece to the court walls.
Once done, take the small cardboard door and attach it to the servo horn. This will give you a fixed number of shots. How? The balls collected won’t pass through the gates until and unless you open this door. Those, we will code it in a way such that the door opens only at the beginning of the game so that all the balls get collected into the ball holder. As soon as the game starts the door closes.
Assembly of the Catapult or the Launcher
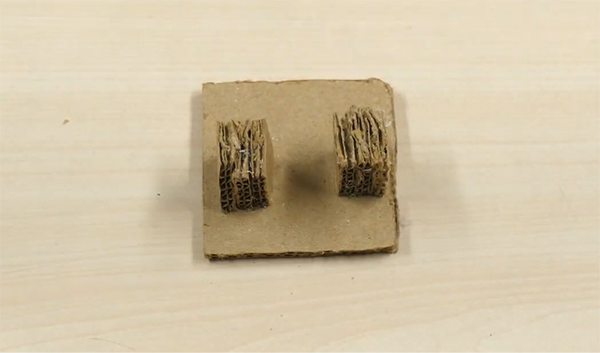
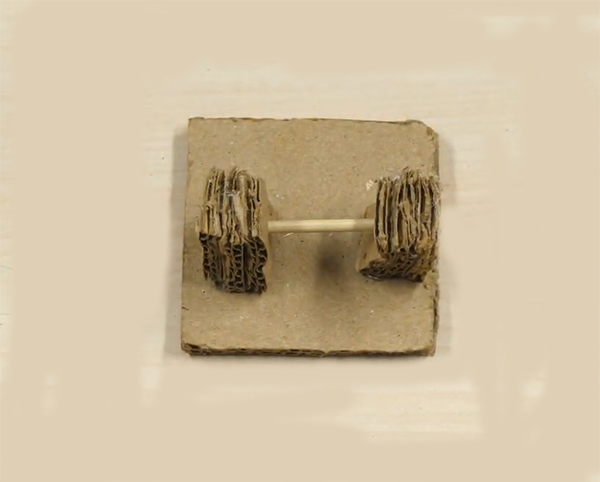
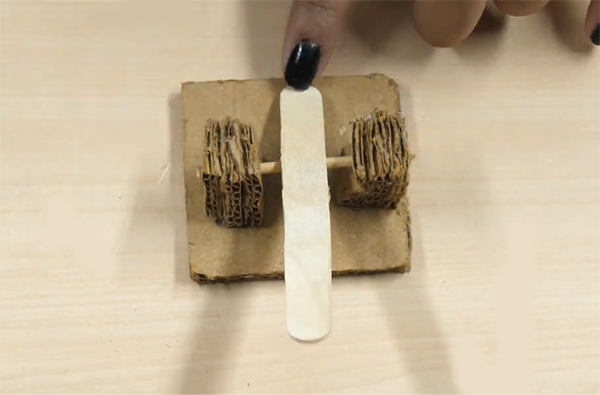
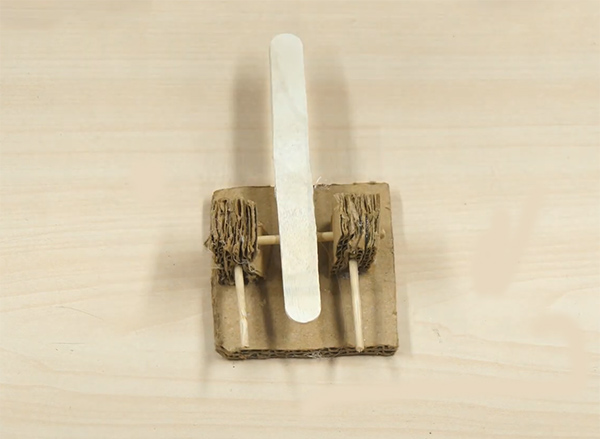
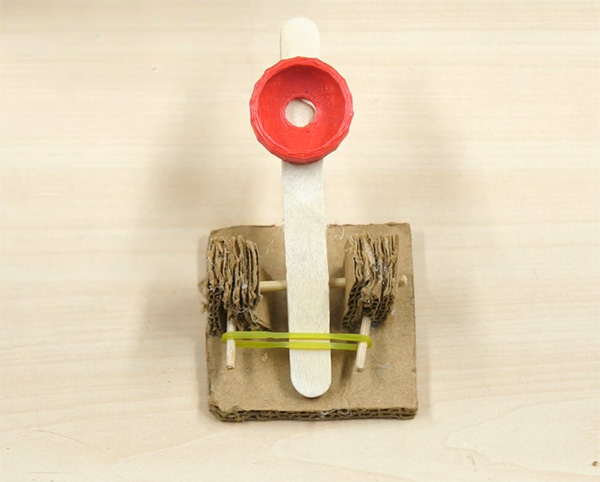
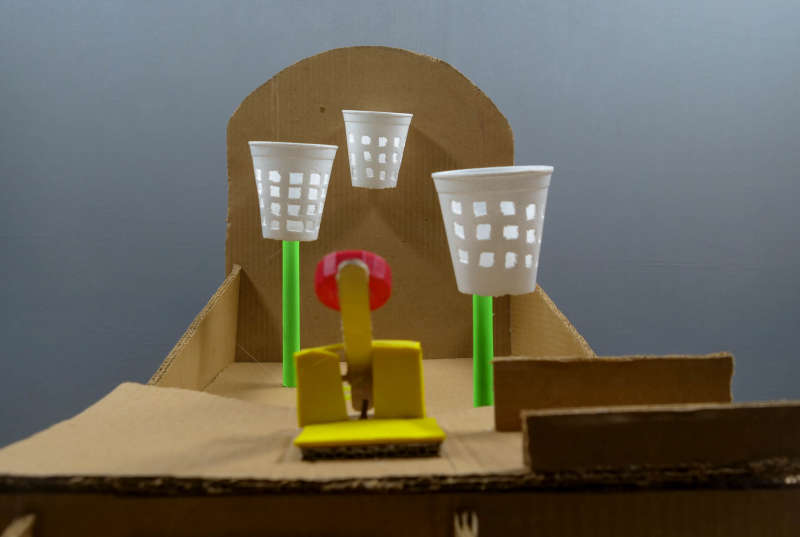
Now, its time to make the most important element of the game, the catapult or the launcher.
- Take six small cardboard pieces nearly 2 cm x 2 cm each and make two stacks out of them.
- Once you have the stacks, place them onto one cardboard piece leaving some distance between them.
- Pass a toothpick between them and paste an ice cream stick at the center of it.
- Now, fix two toothpicks in the stacks in such a way that they should point outward.
- Now, fix a small rubber band across these sticks.
- Finally, glue a cap on the ice cream stick to hold the ball.
Once done, decorate it the way you want. Place this in the center of the roof on the court.
Making the Box That Holds the Balls
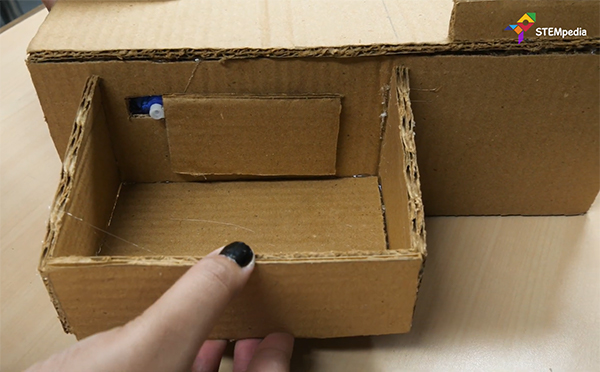
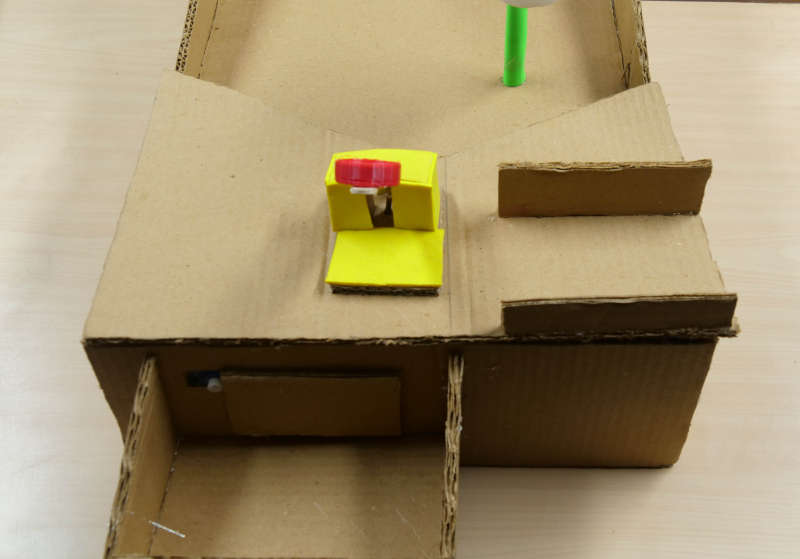
It’s time to make the ball holder. When all the balls slide through the door, we cannot let them roll around. Thus, we need a ball holder.
- Take the base of the ball holder and glue it to the front wall using Hot Glue.
- Next, glue the side walls to it.
- Finally, glue the front wall of the ball holder.
This is where the making ends.
Decorating the Arena
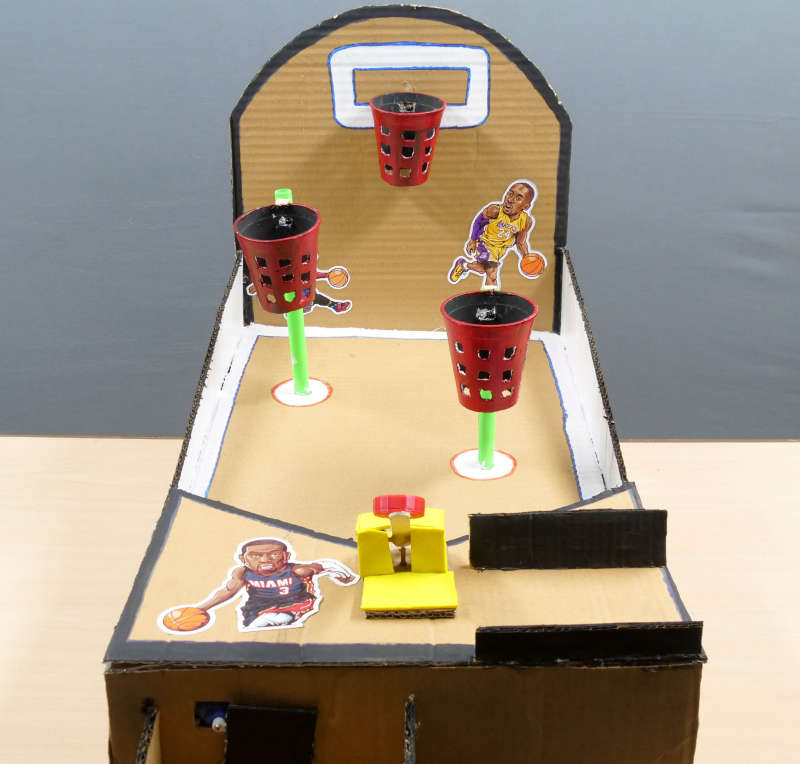
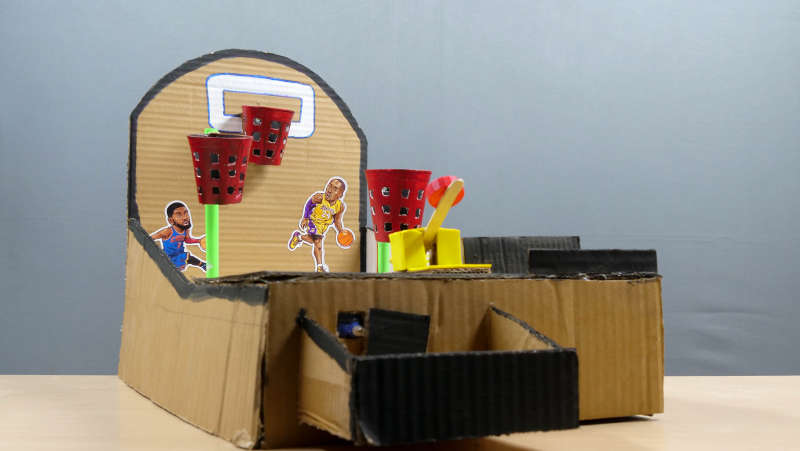
Now, you can decorate the basketball game the way you want.
Adding the LeaderBoard
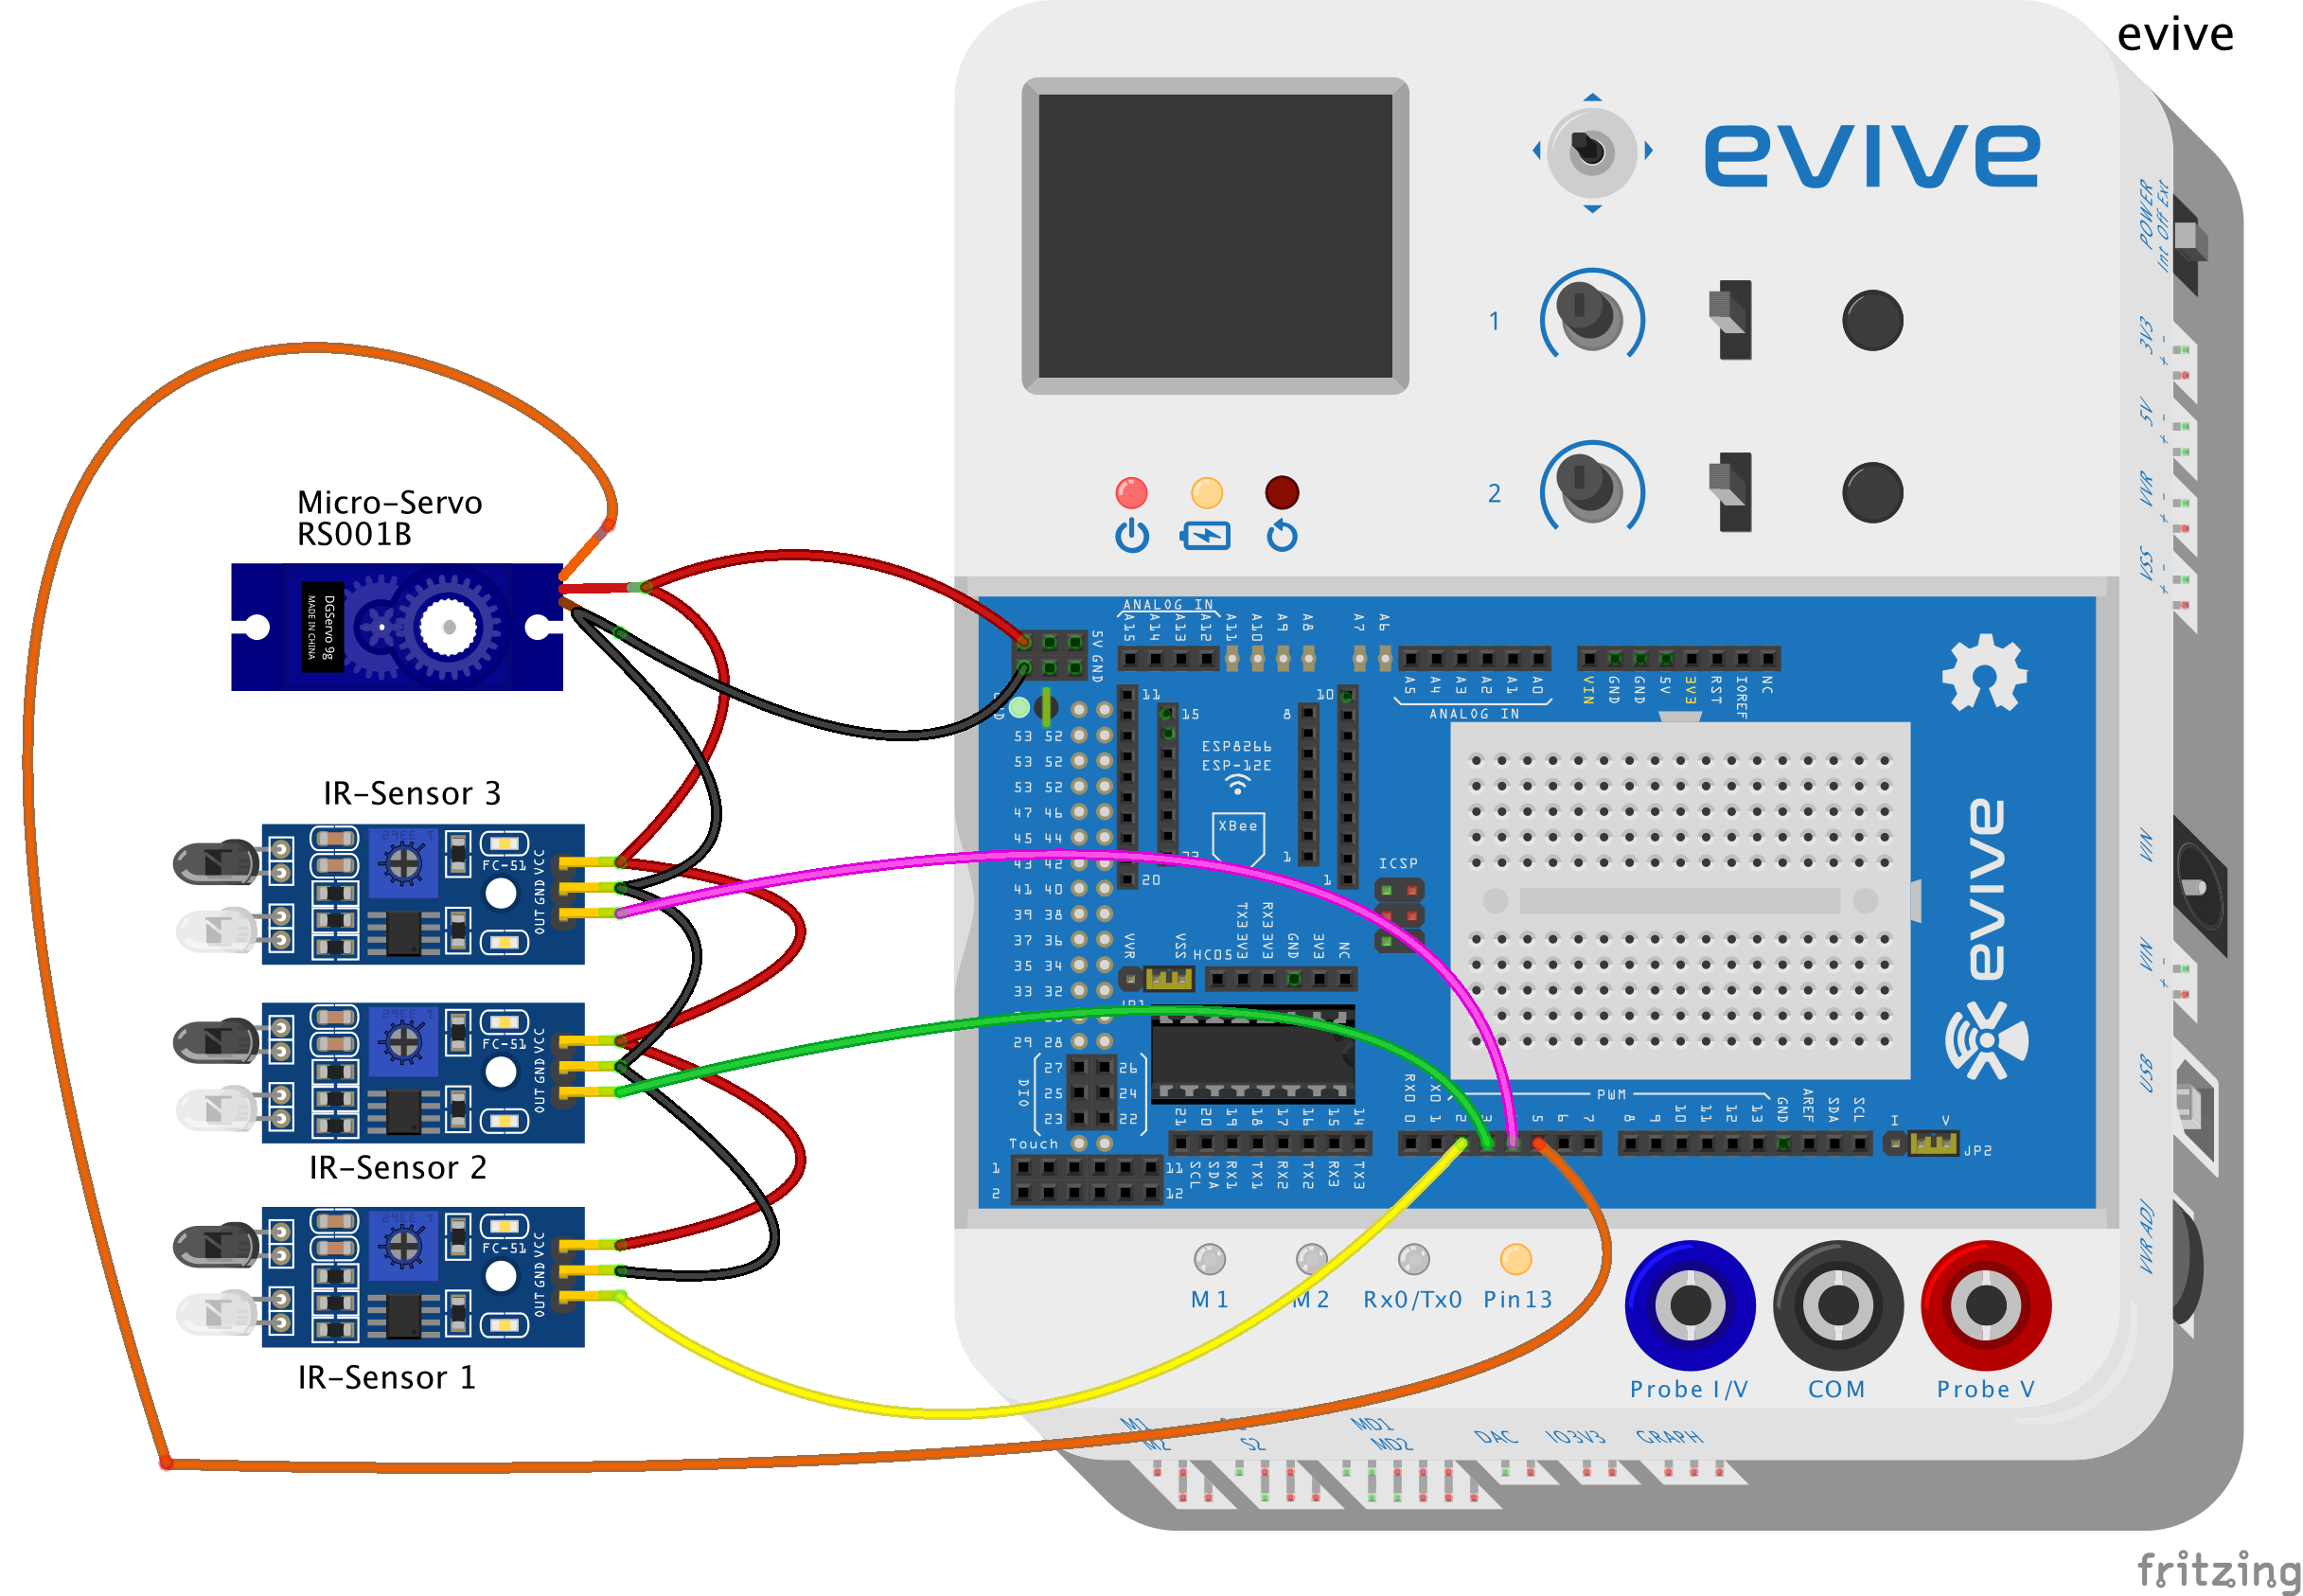
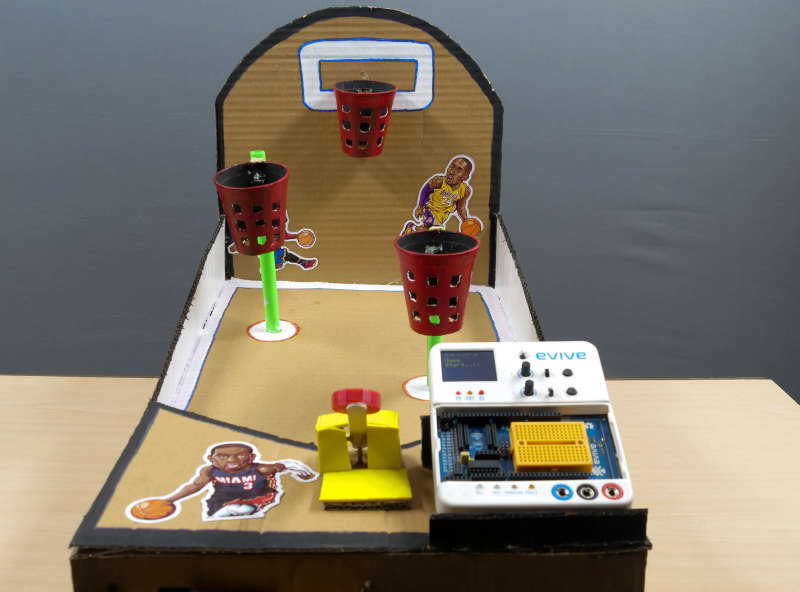
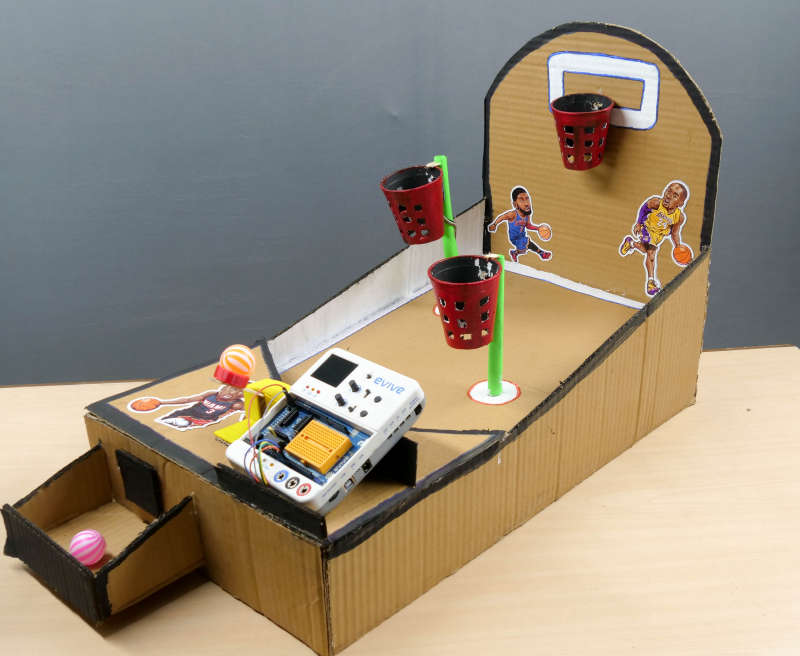
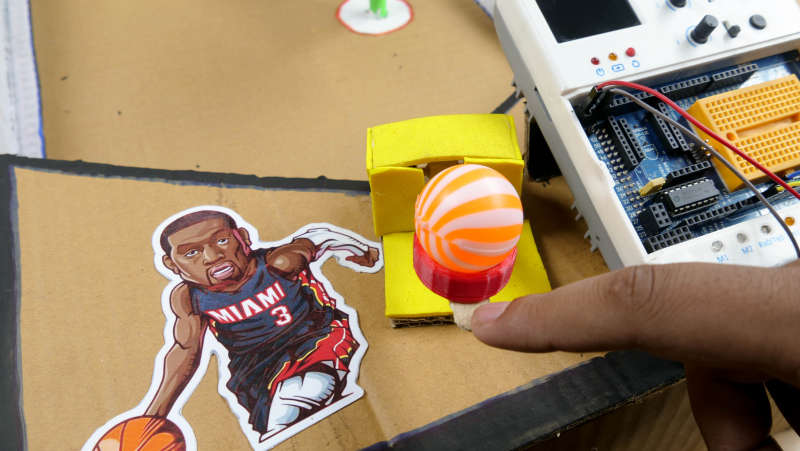
Time to add the leaderboard. We are going to use evive for the same. Before we place evive on the roof where we have kept the place for it, make the connections first.
- Connect all the three IR Sensors and the micro servo in parallel and connect their GND to evive’s GND pin and VCC to evive’s 5V pin.
- Now, time to connect the Signal Pins:
- IR Sensor 1 – Digital Pin 2 of evive
- IR Sensor 2 – Digital Pin 3 of evive
- IR Sensor 3 – Digital Pin 4 of evive
- Servo Motor – Digital Pin 5 of evive
We are going to display the messages, score, and timing on the screen.
Time to Code
To code it in a simpler way, we are going to use PictoBlox, a graphical programming software.
You can write the following script or directly upload the code given below:


Downloads
Conclusion
With this, you are all set to challenge your family and friends to an exciting game of Arcade Basketball! Enjoy! :D