Small House Render
Make It Small Architecture Student Contest
In this instructable, I will show my process on making these renders.
Supplies
Softwares Used:
- Autodesk Fusion 360
- Autodesk 3ds Max
Creating the Floor Plan
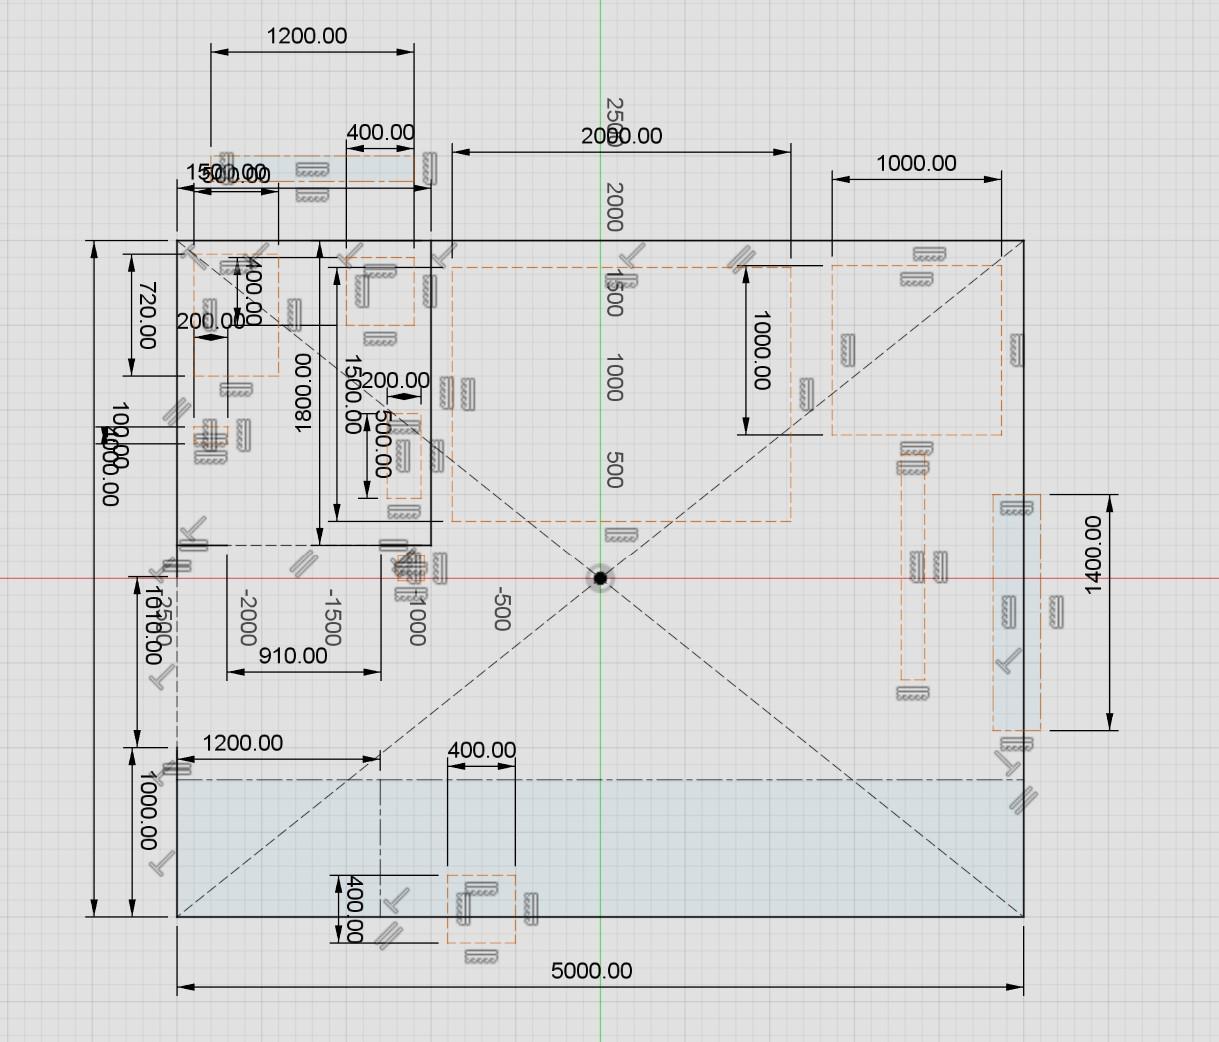
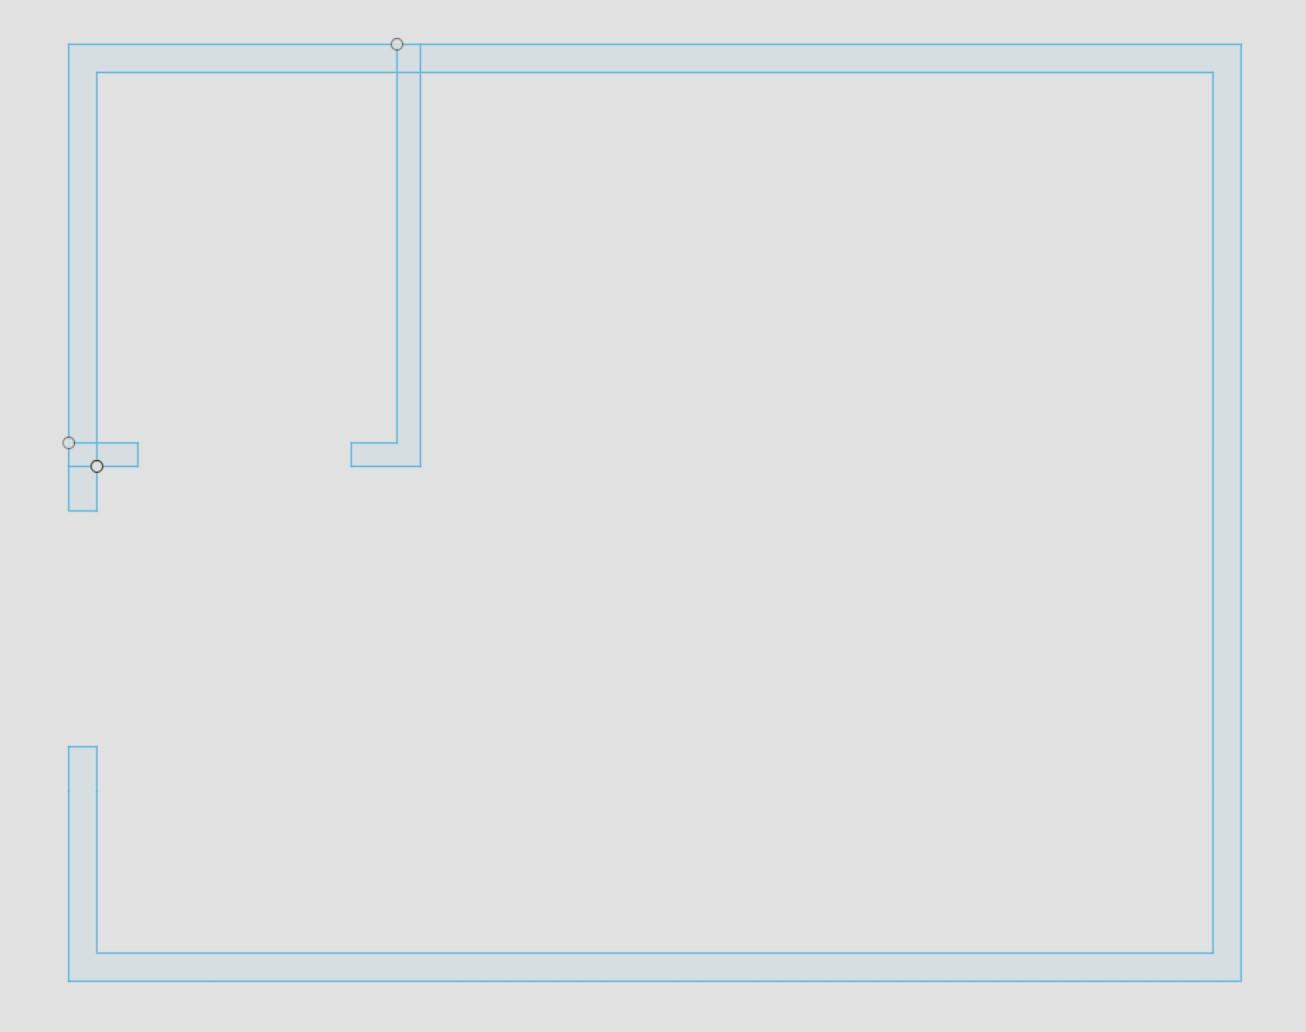
Using Fusion 360's sketch tool I created a boundary small enough to fit the necessary things people need to live in a house while still enabling extra space for comfort and modularity. Within this boundary, I created a wall to seperate the bathroom from everthing else. I also added rectangles to indicate where things should go. These rectangles include the windows and many other things like the bed. I made sure that the boundary wasn't too tight to allow for travel and moving the furniture if needed. I then duplicated only the walls and using the offset tool, I created the walls (120mm exterior and 100mm interior).
Walls, Windows and the Roof
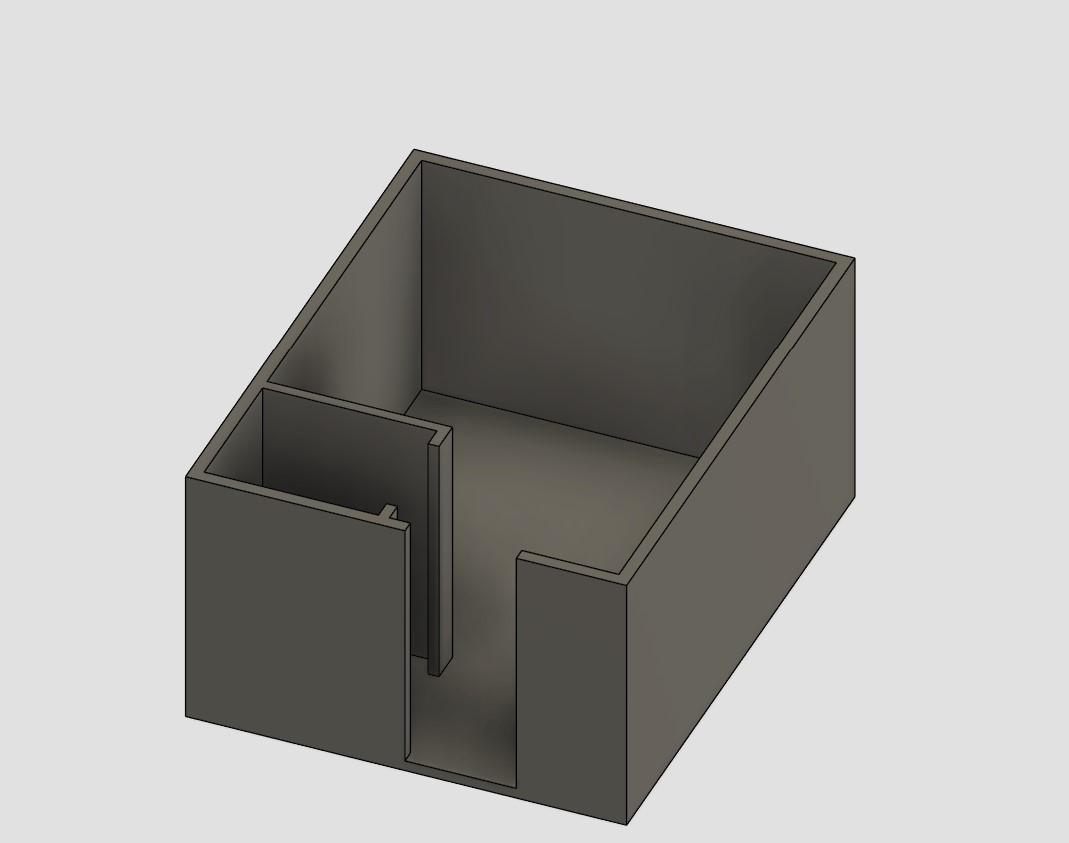
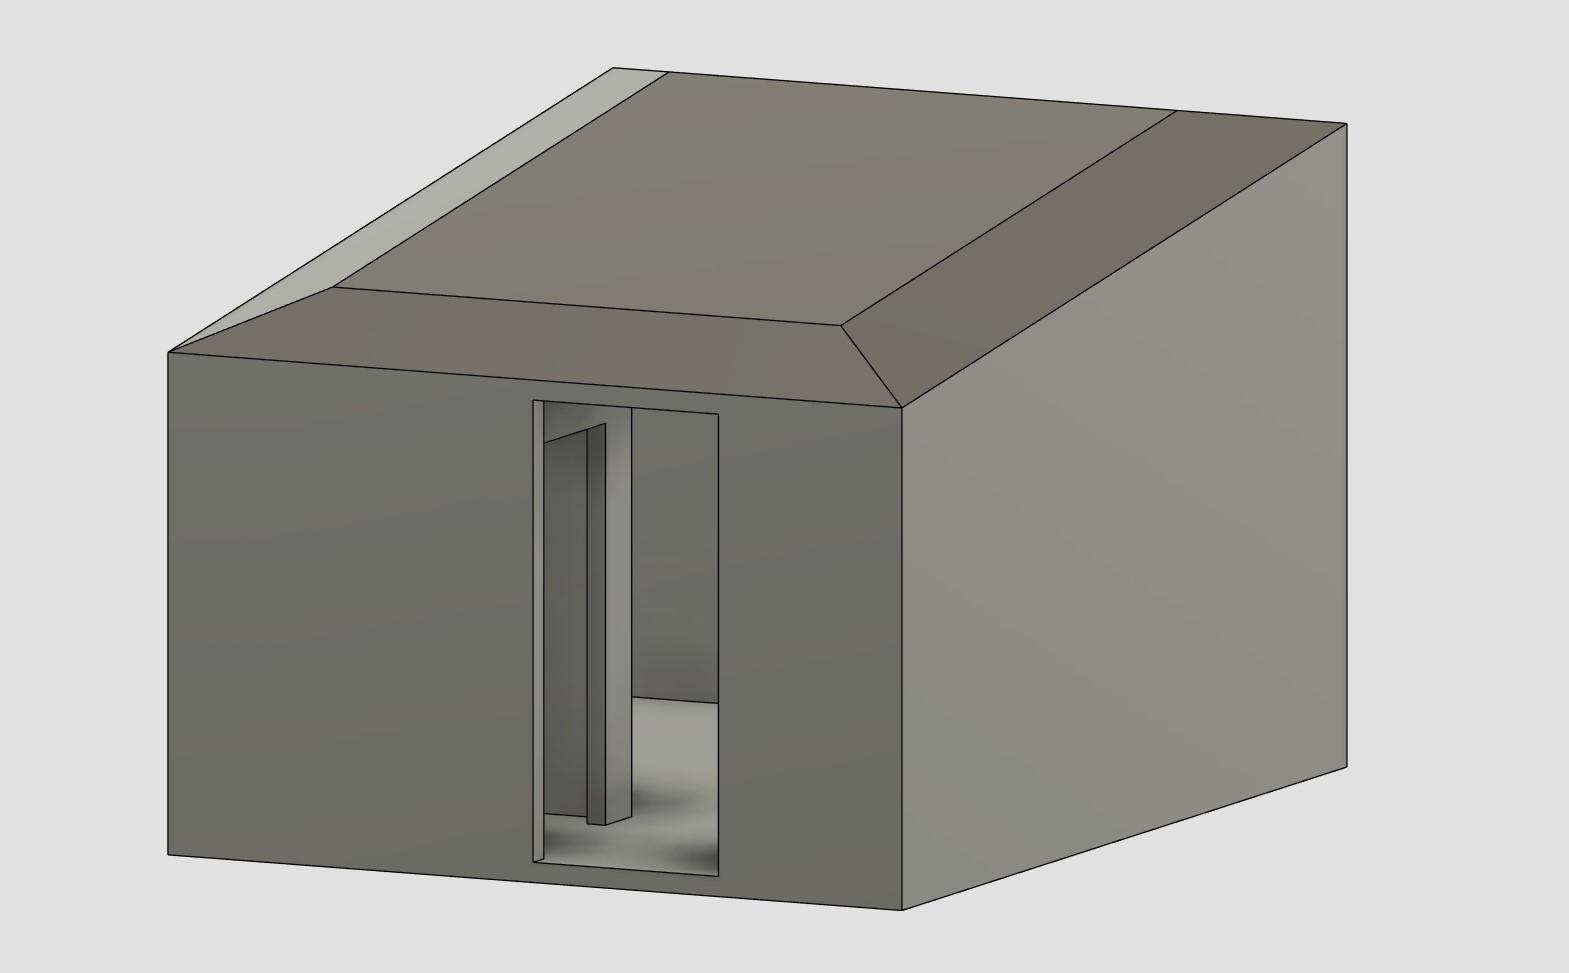
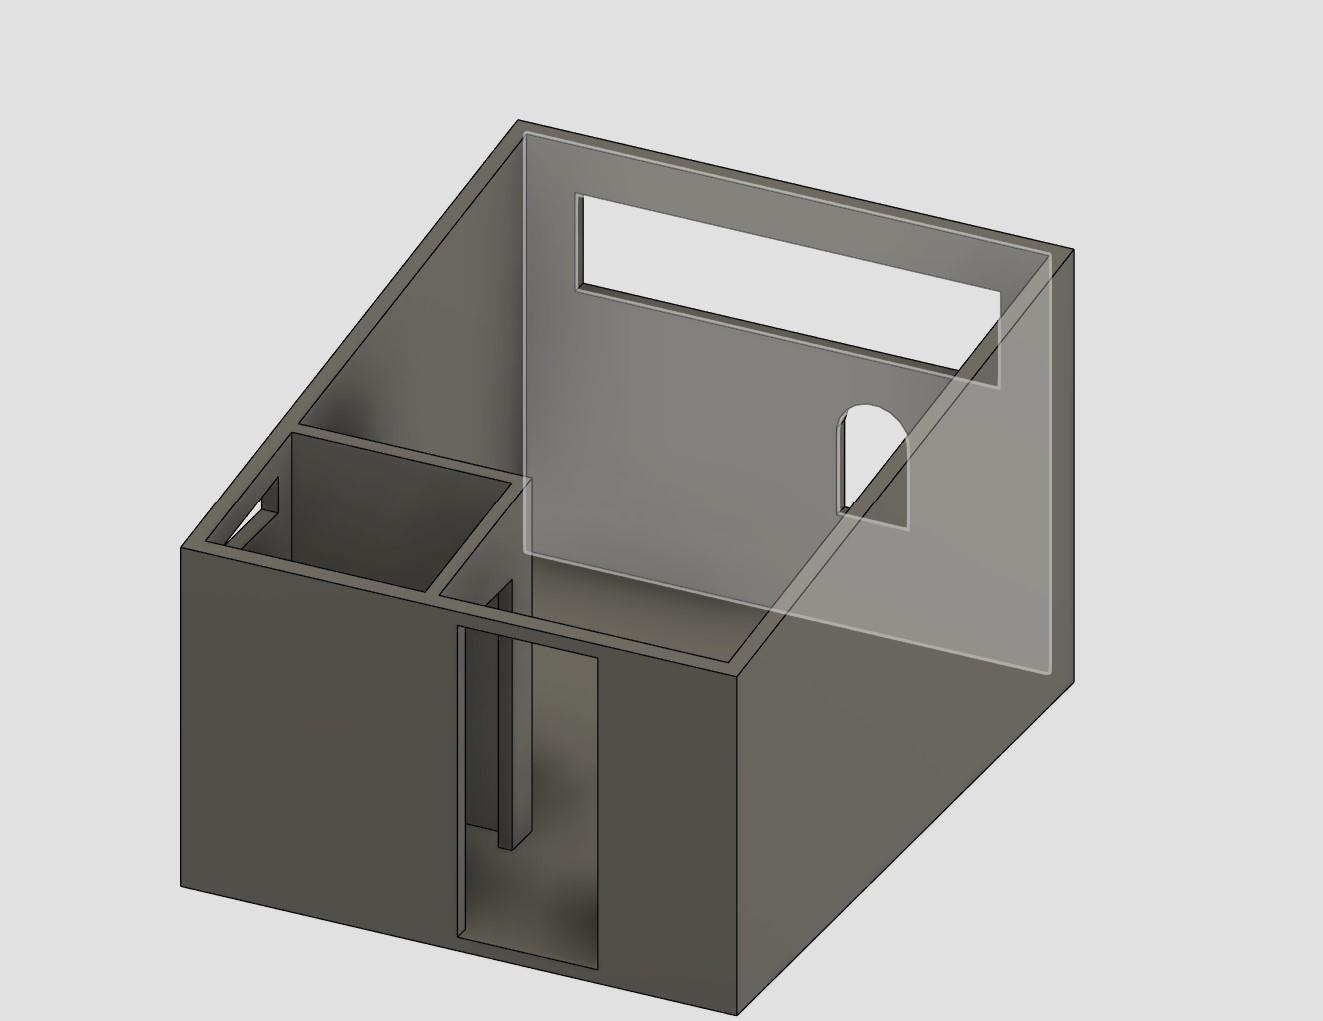
After the floor plan was finalised, I extruded the base 100mm up. The walls came next being 2400mm above the base. I created the roof by creating another sketch on top of the wall however, I didn't like the aesthetic from the outside and wanted a more interesting shape than a cube. So to fix this, I angled the walls from the side so that the front wall is 2400mm from the base while the rear walls are 3000mm from the base. I then recreated the roof from this new angle. The last part was to create the window openings and polish the door openings.
Adding Furniture
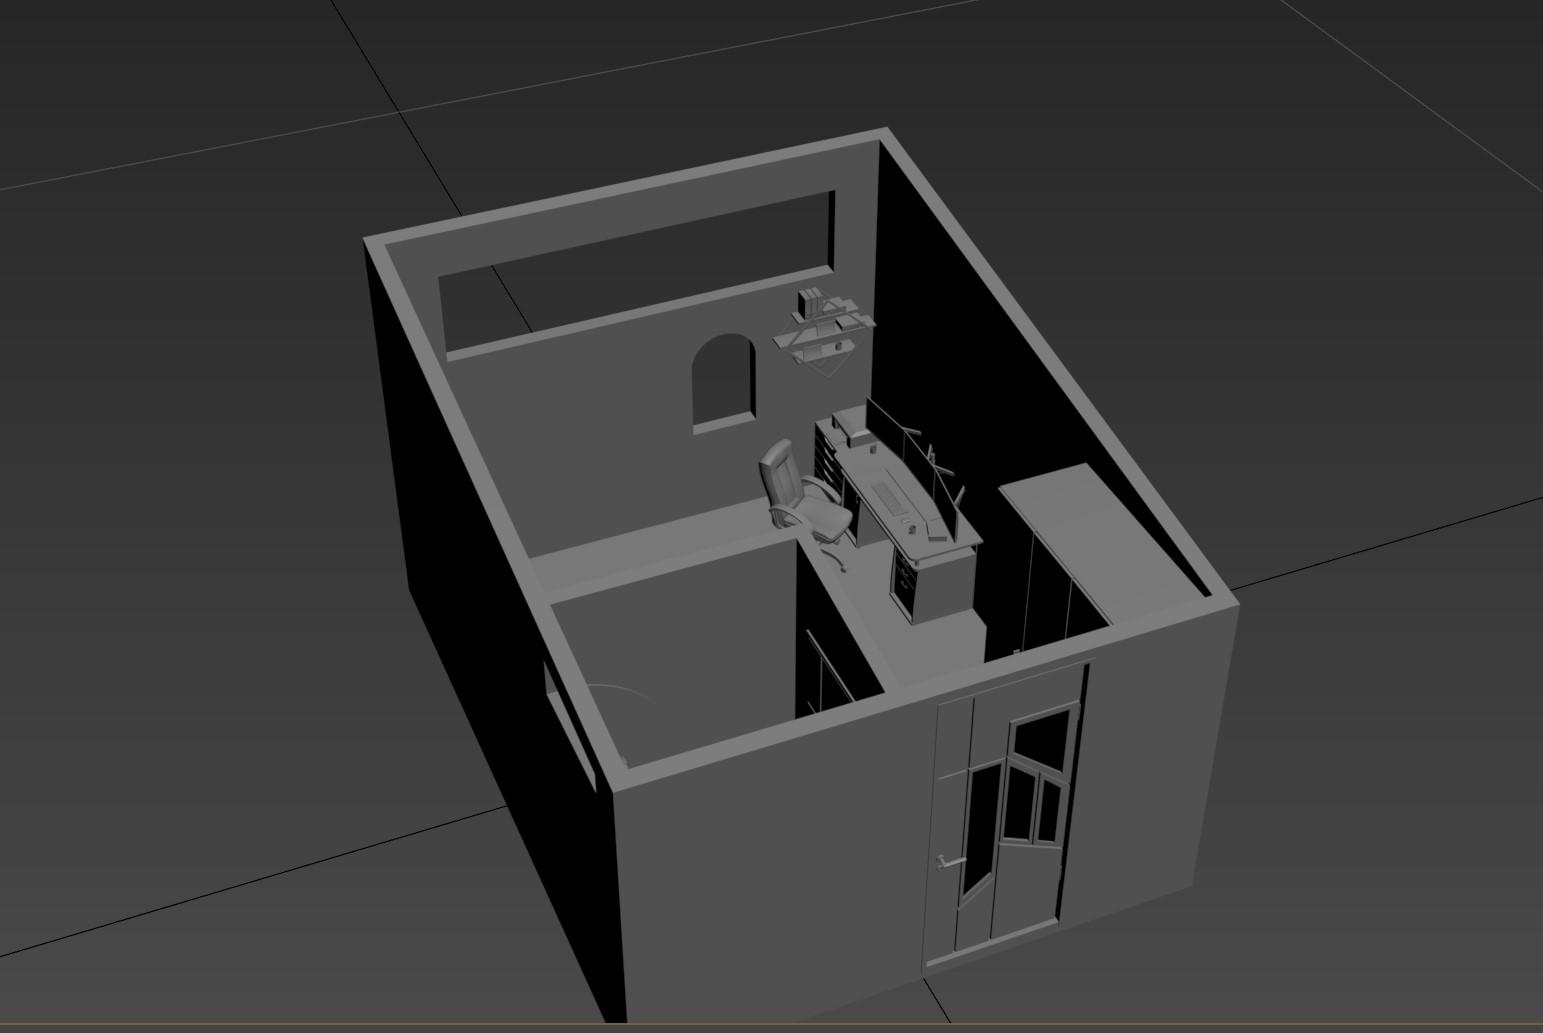
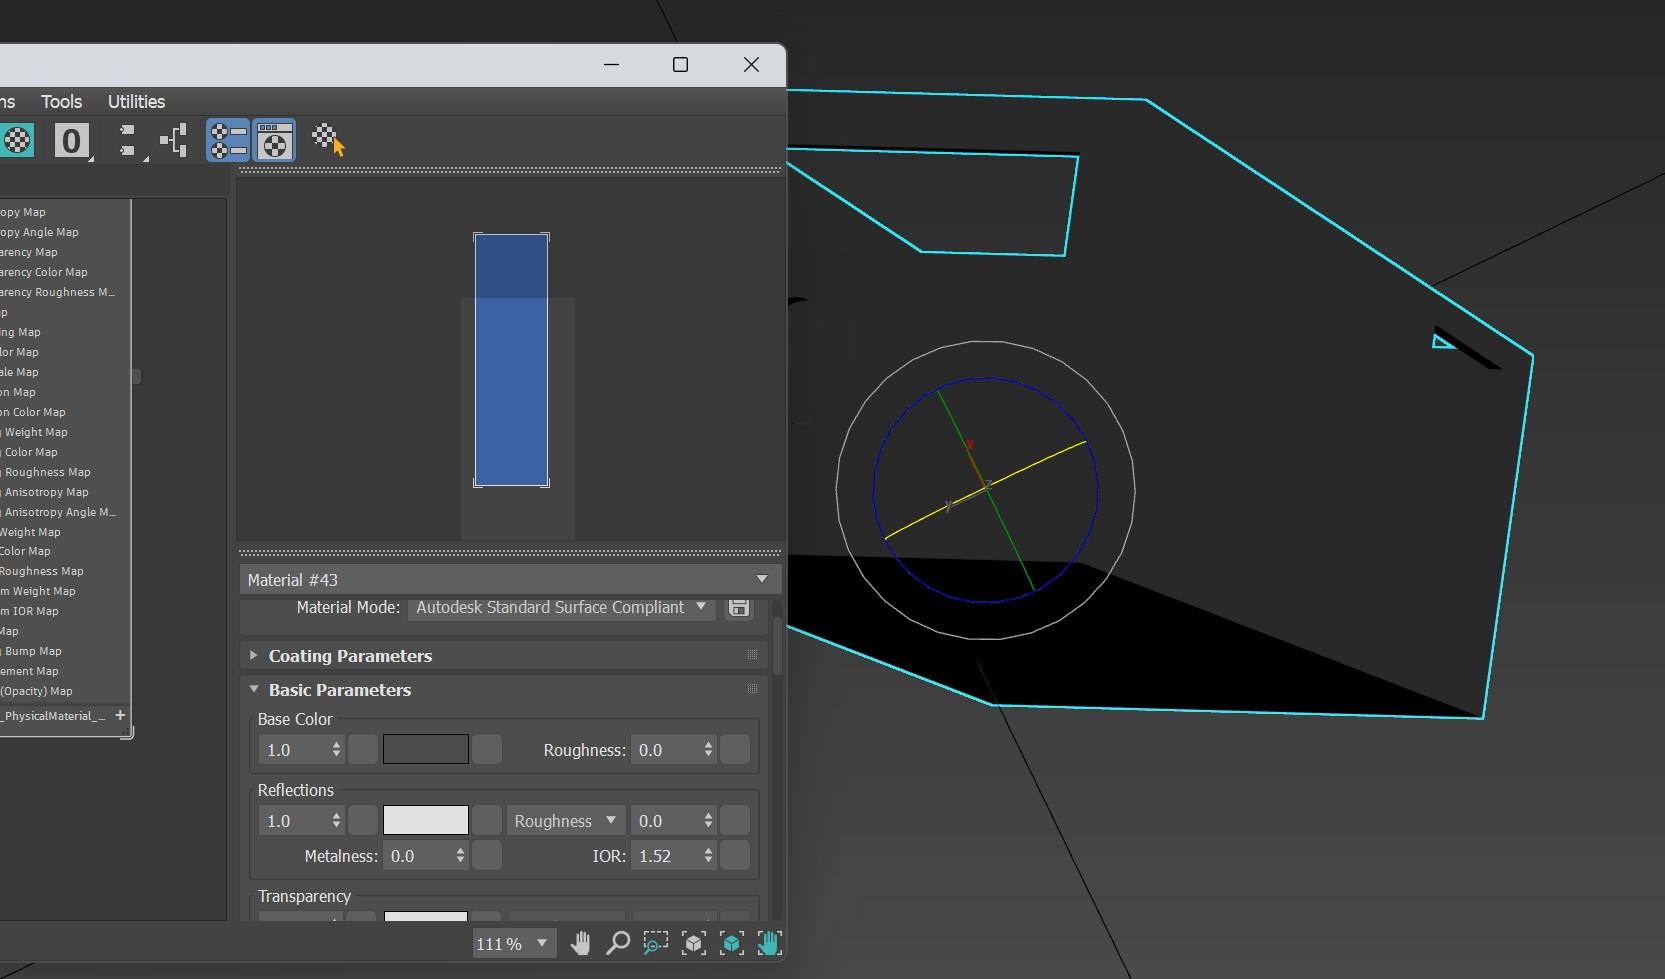
Now that I have a house model, I imported it into 3ds Max. I didn't want to spend a really long time modelling each individual furniture and decoration know that there are plenty of them online so, for the really time consuming ones I just downloaded them online. The smaller bits however, I modelled them myself. Some of these models come with broken materials unfortunately. For the next step of the project, I added the materials onto the models. Some are done using the material editor and others I used pbr materials I found online. All that is left to do is render.
Final Renders
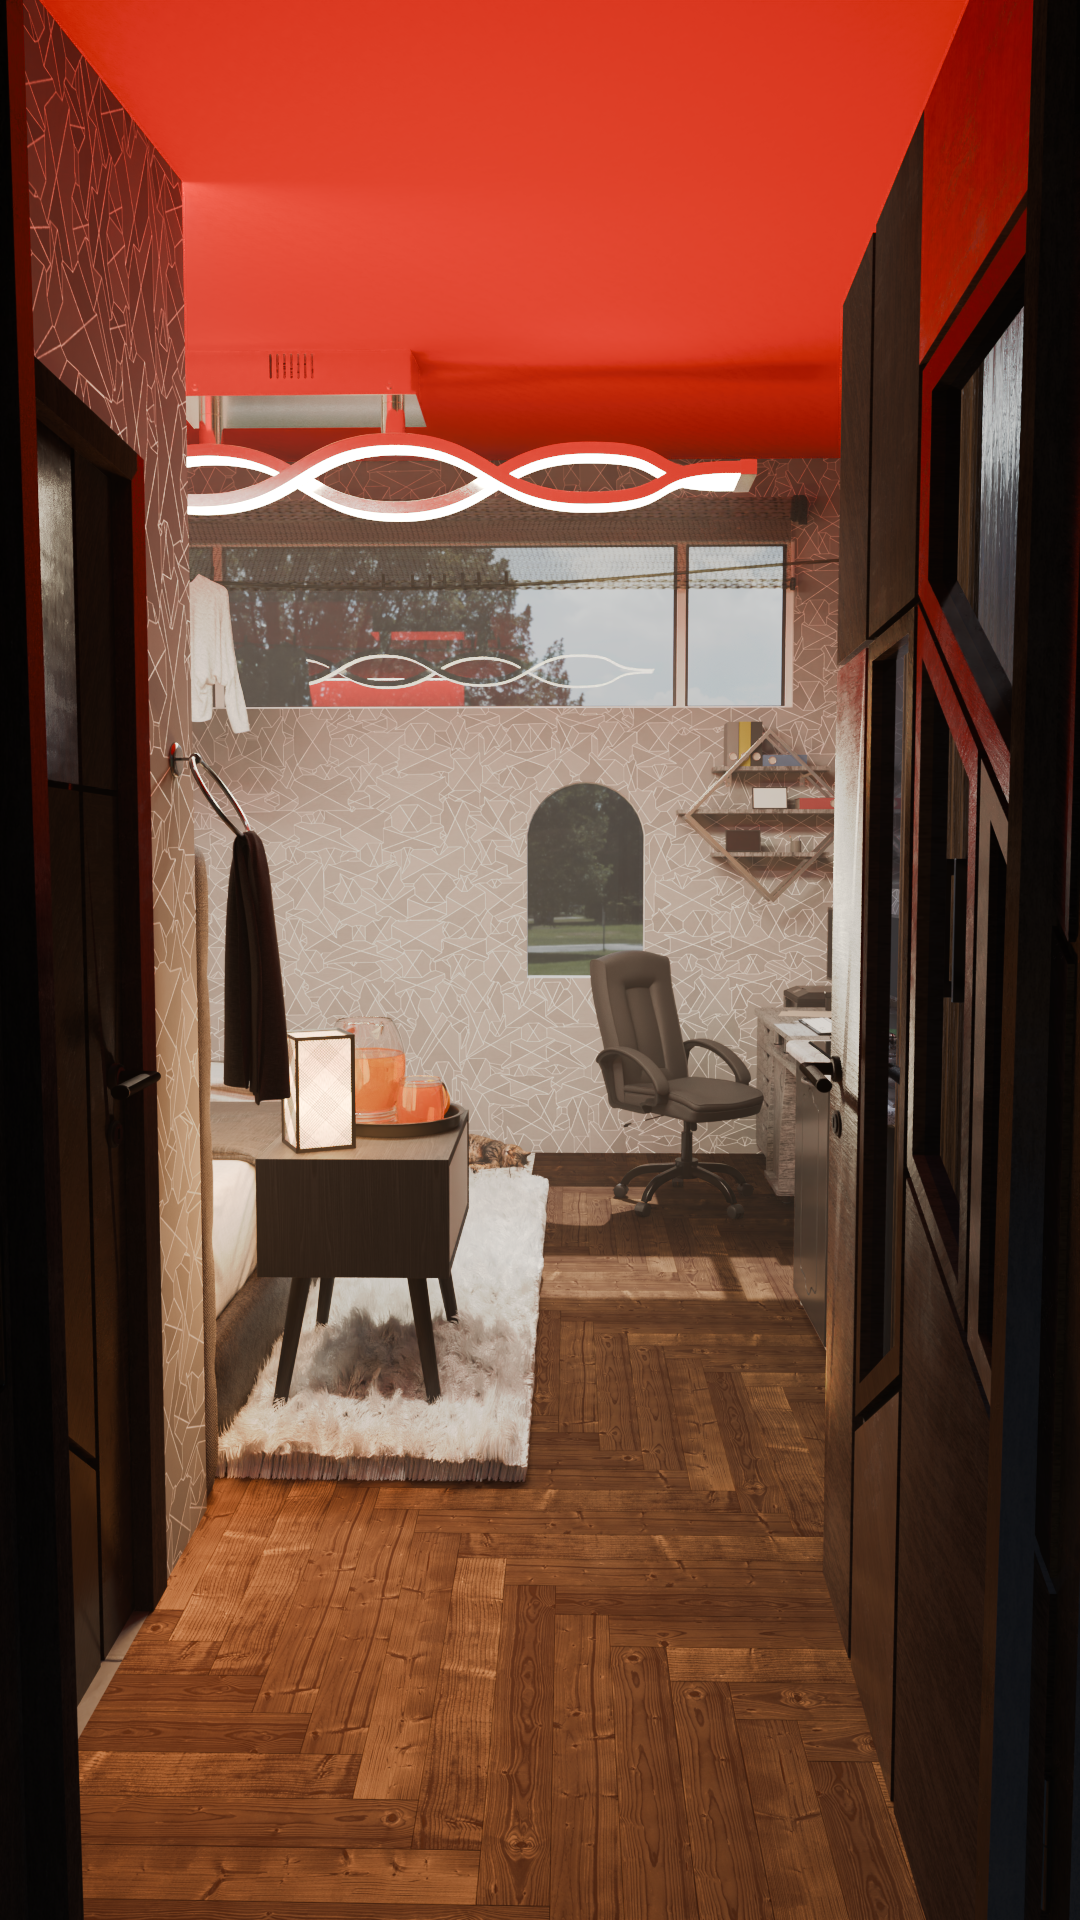
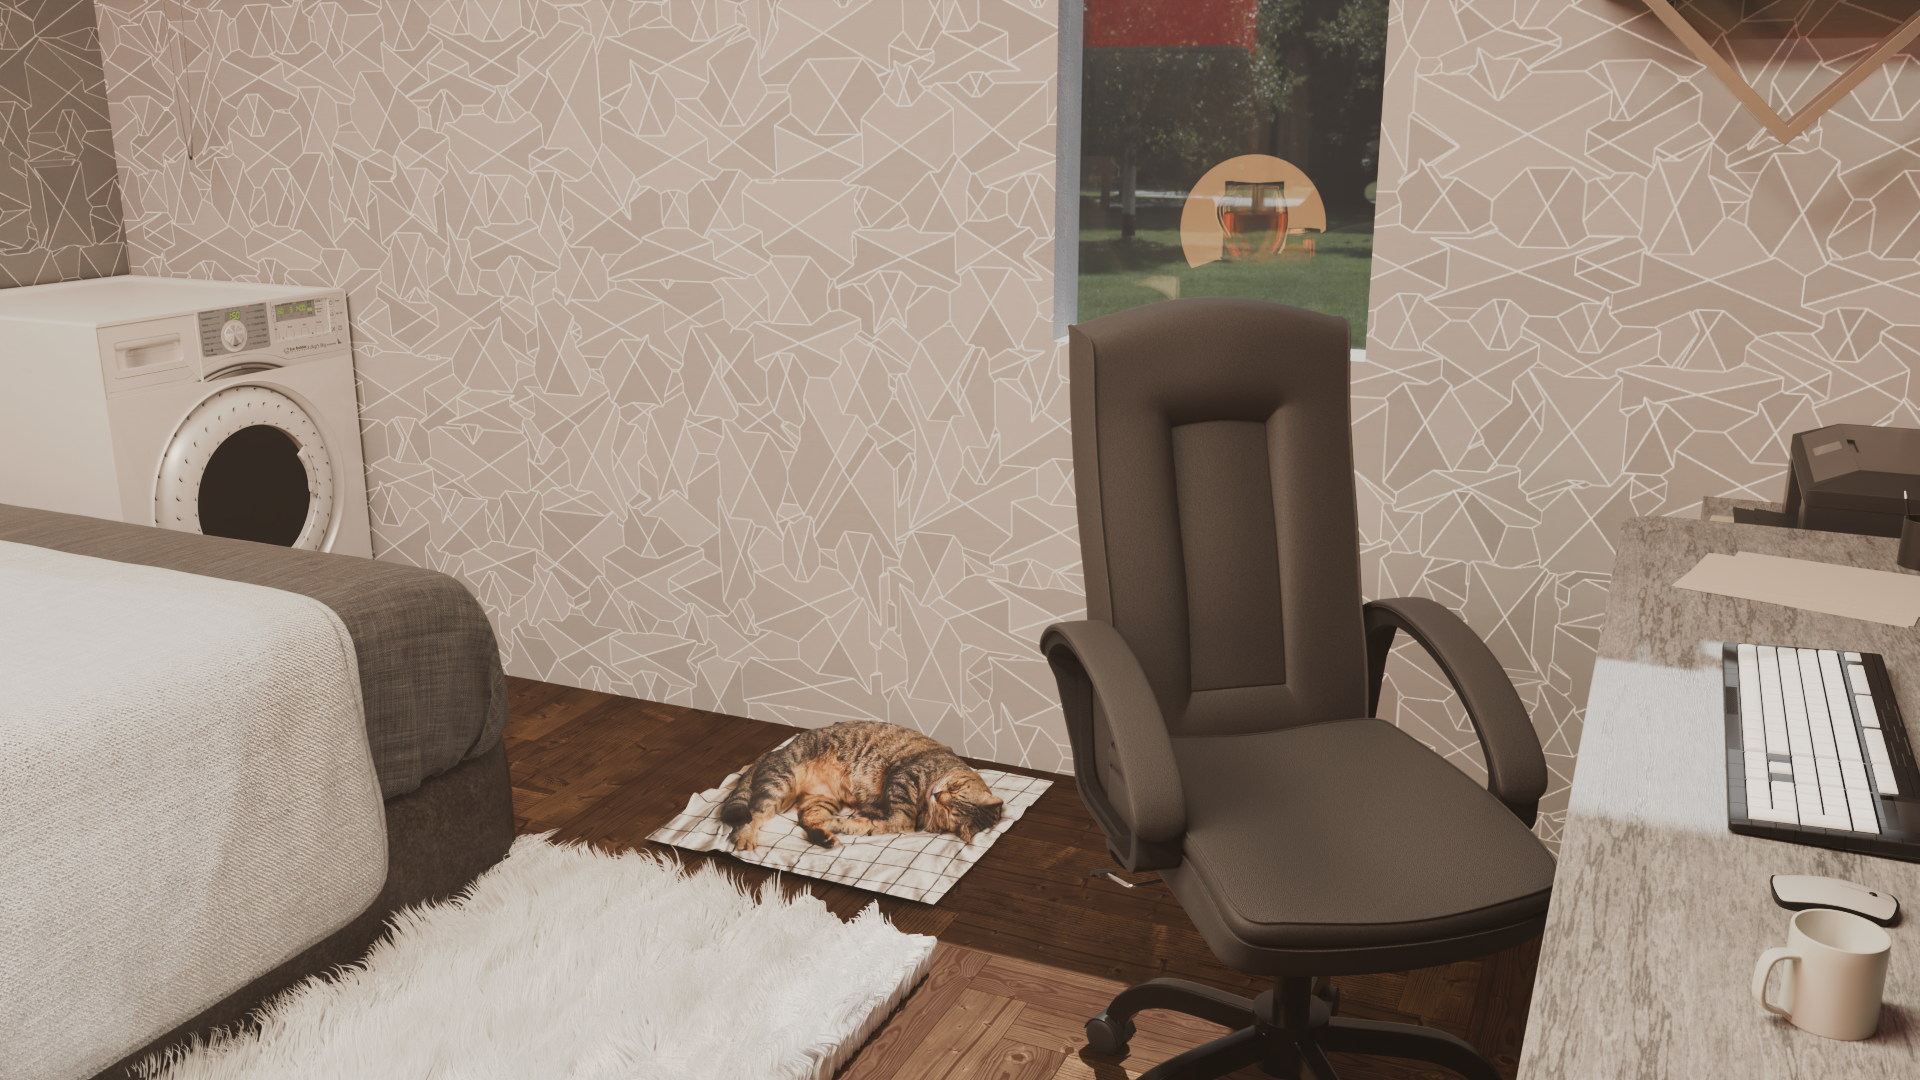
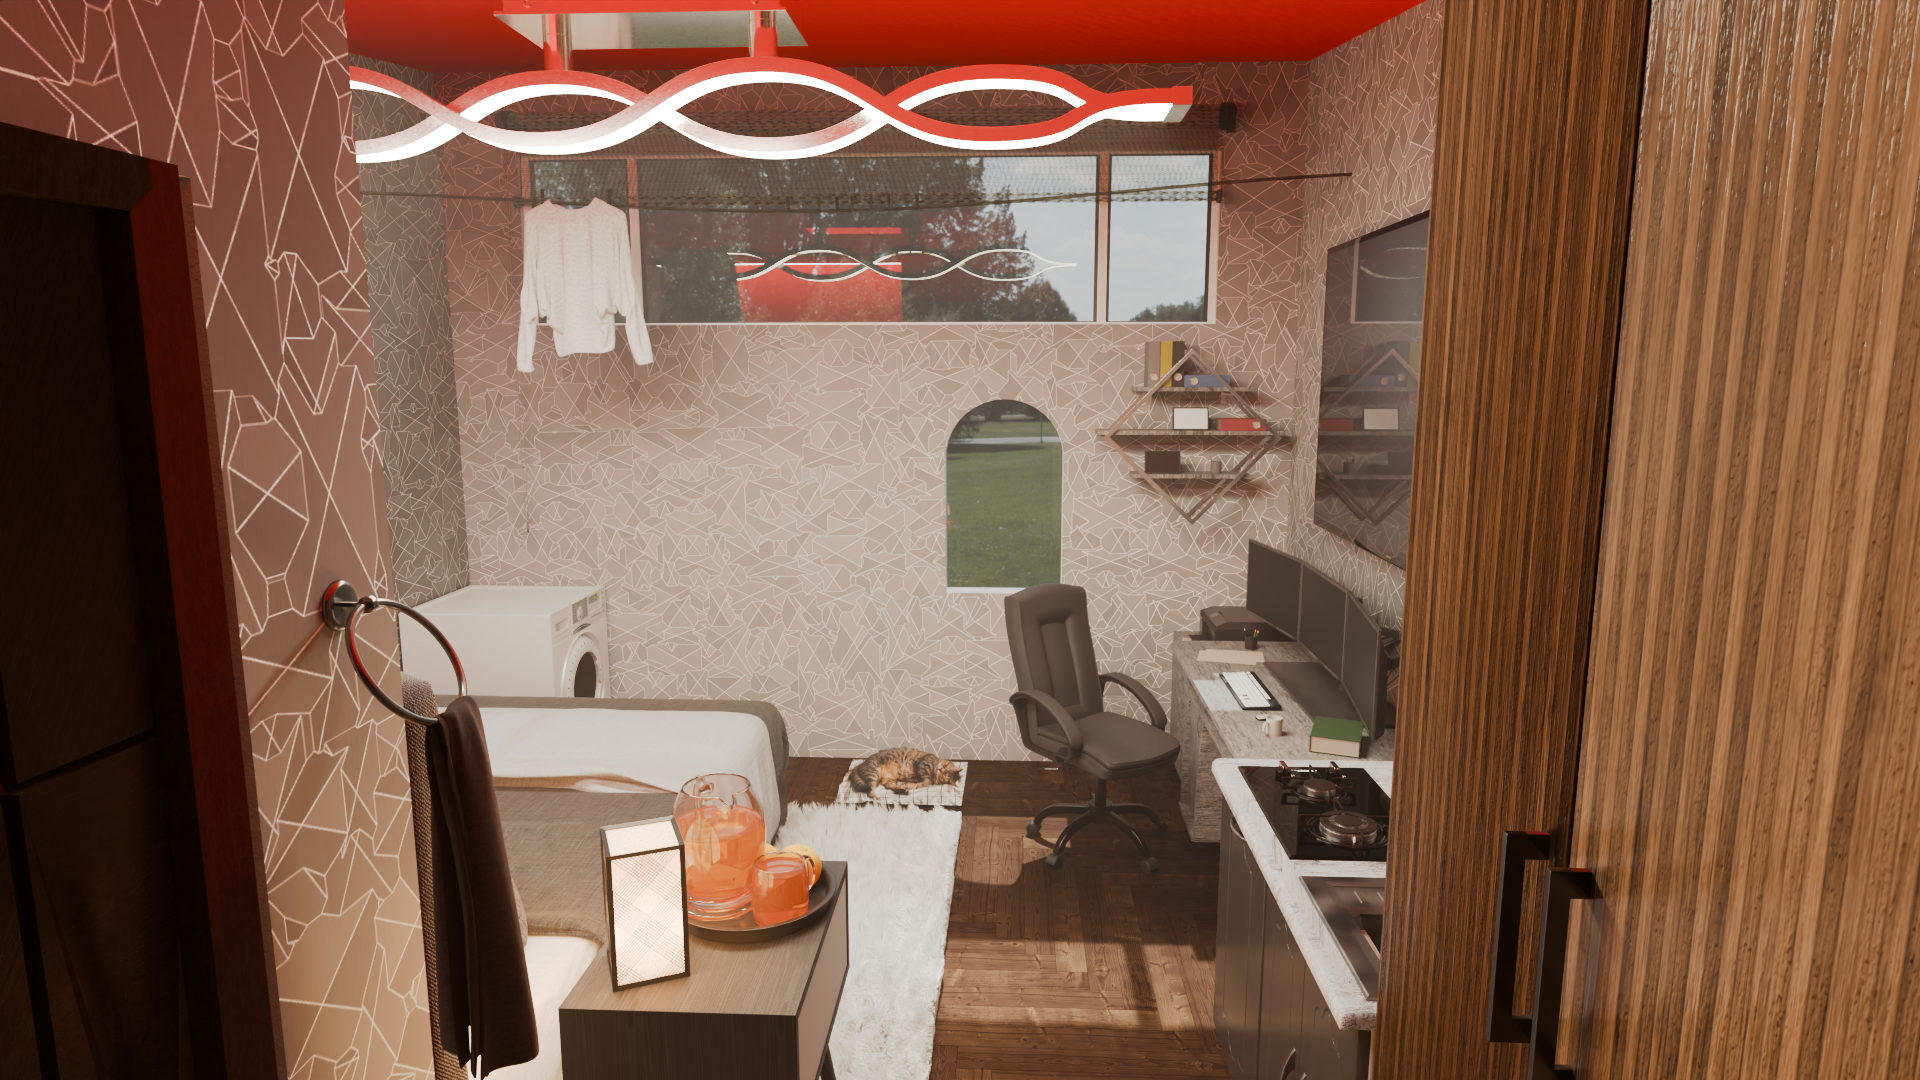

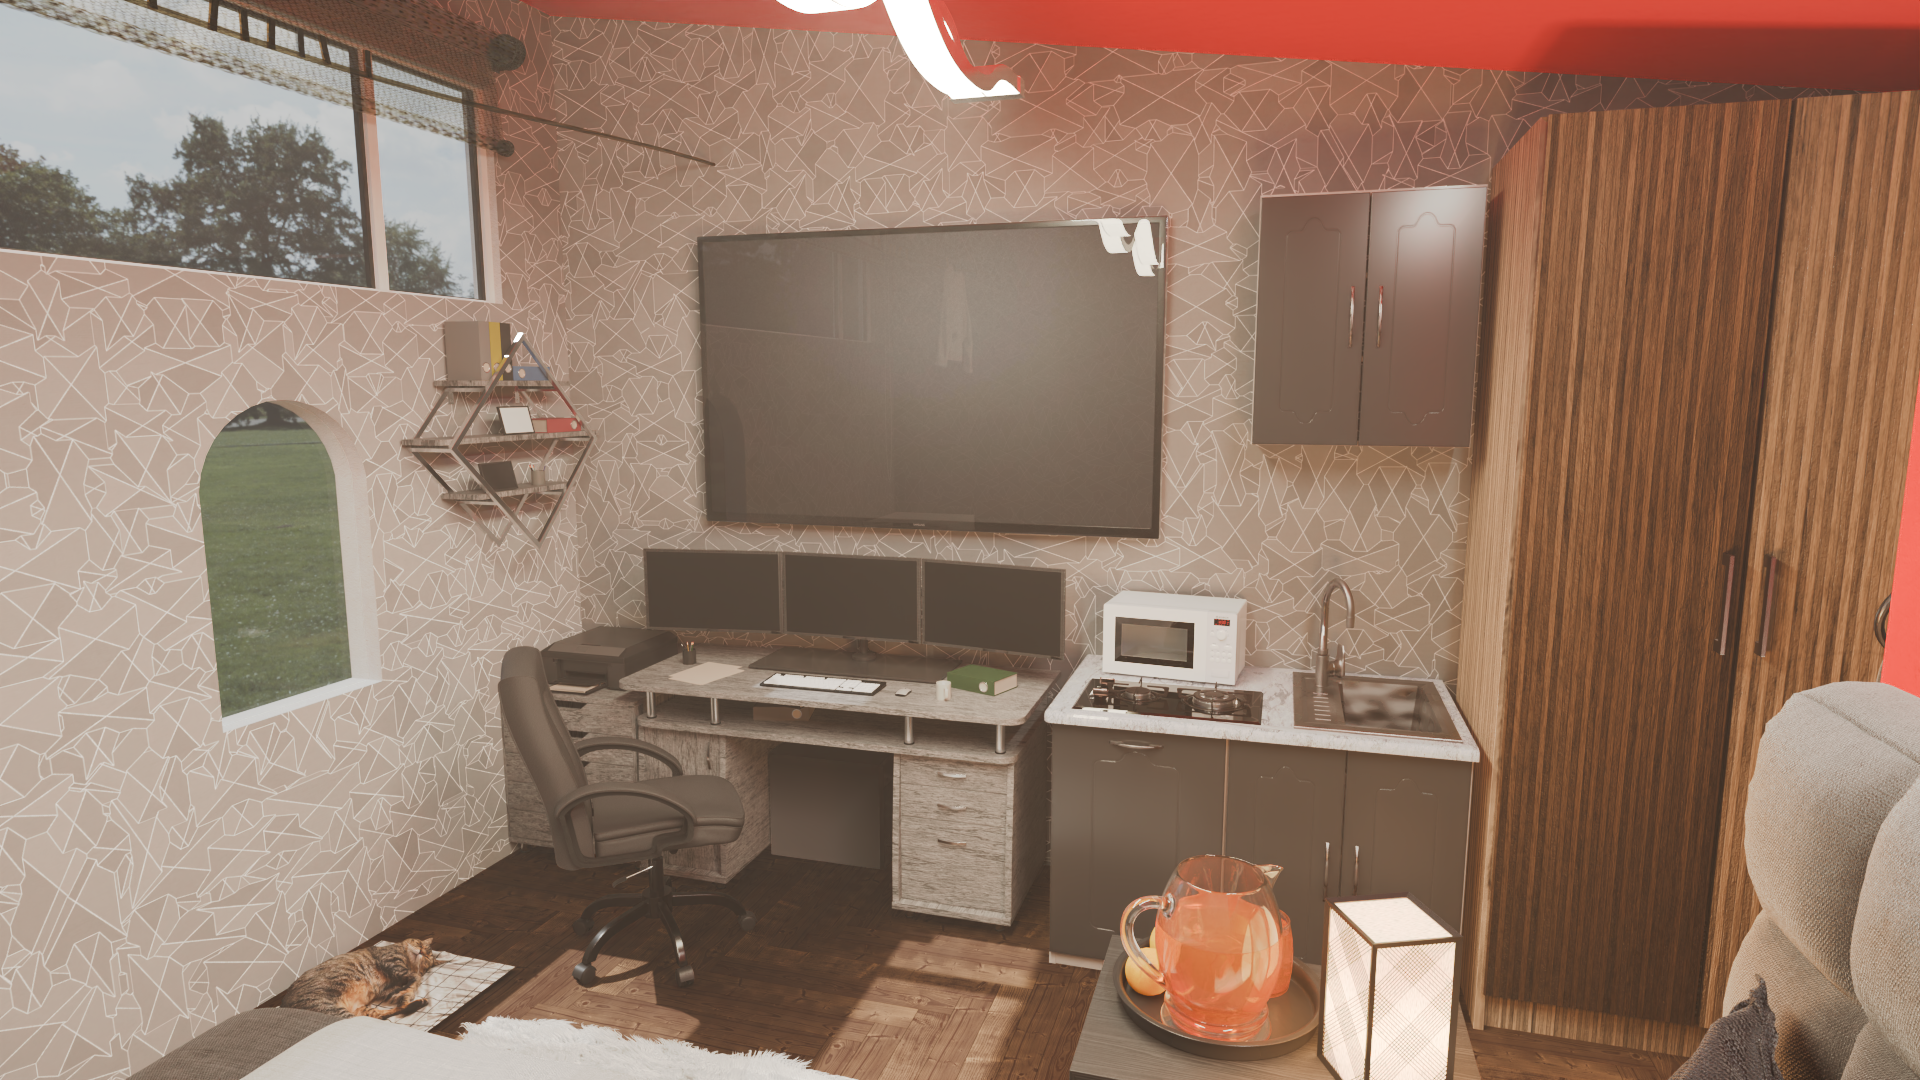
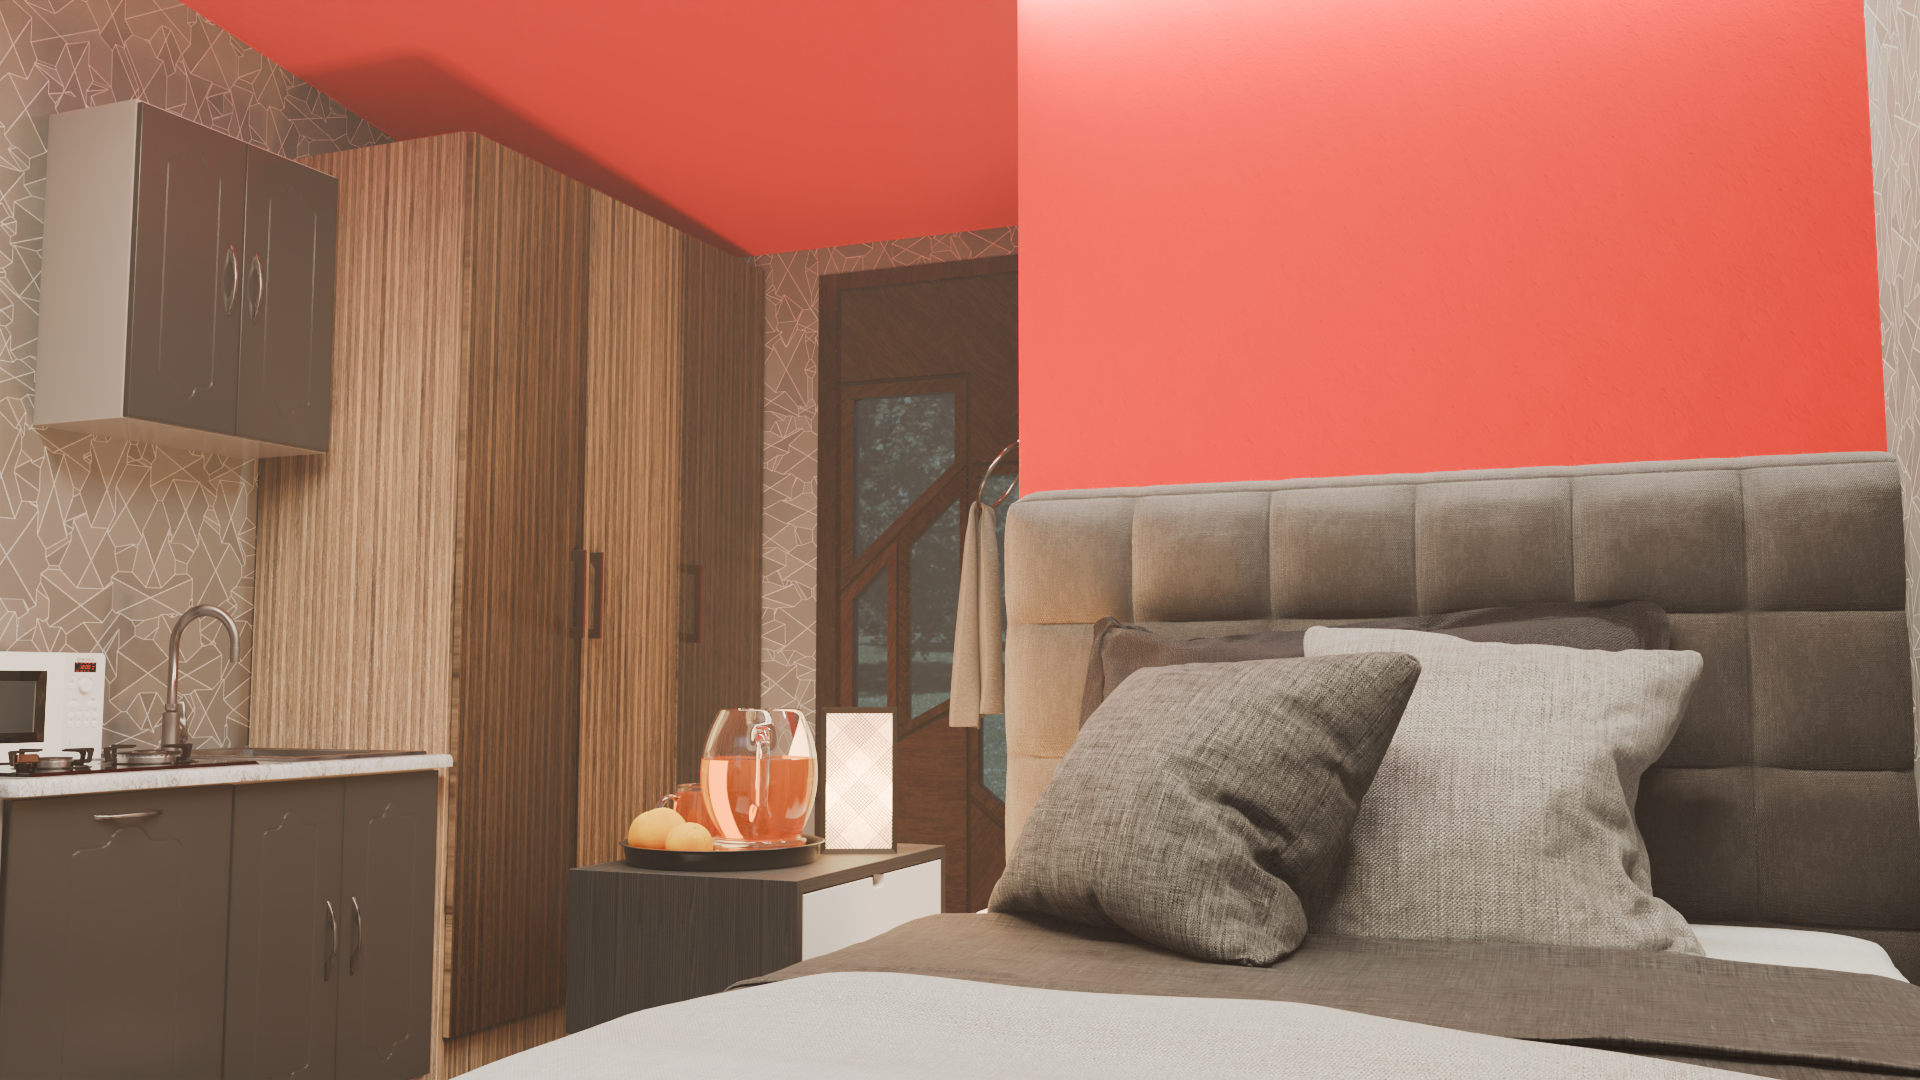
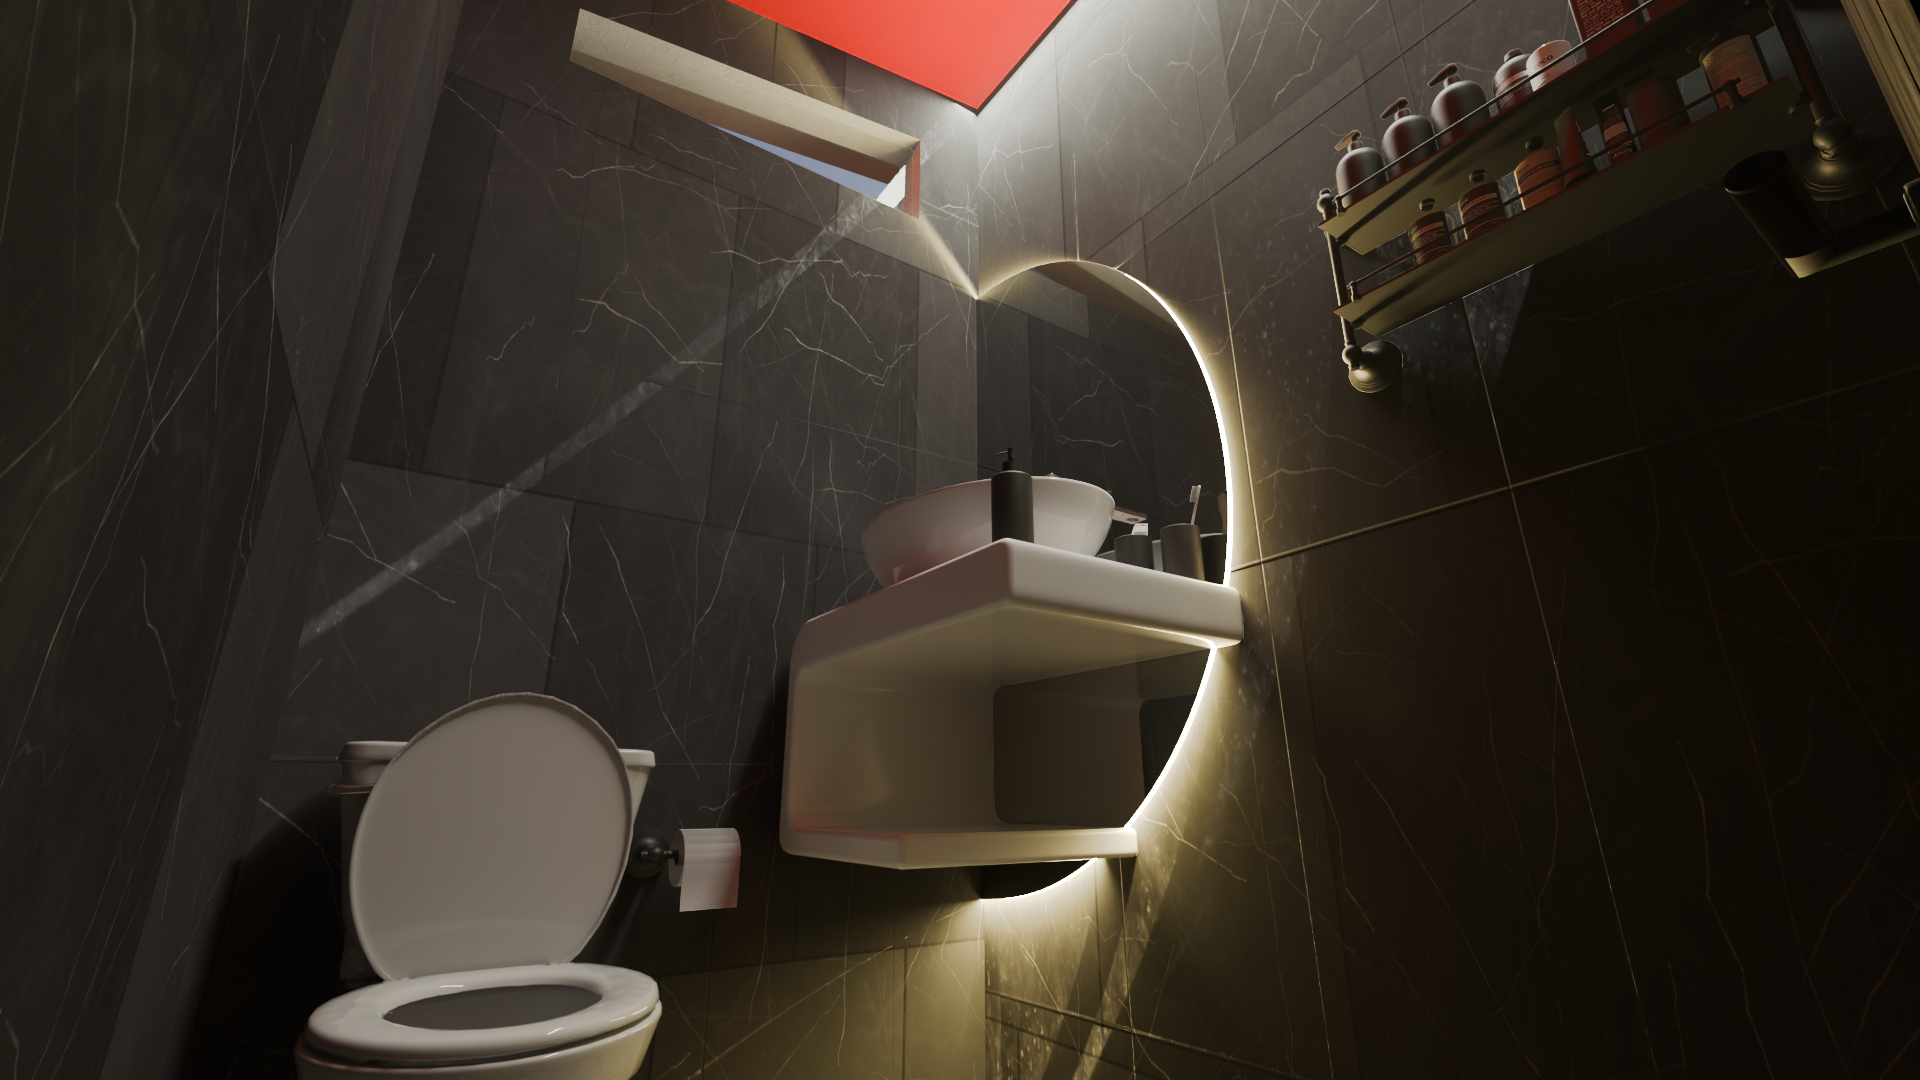
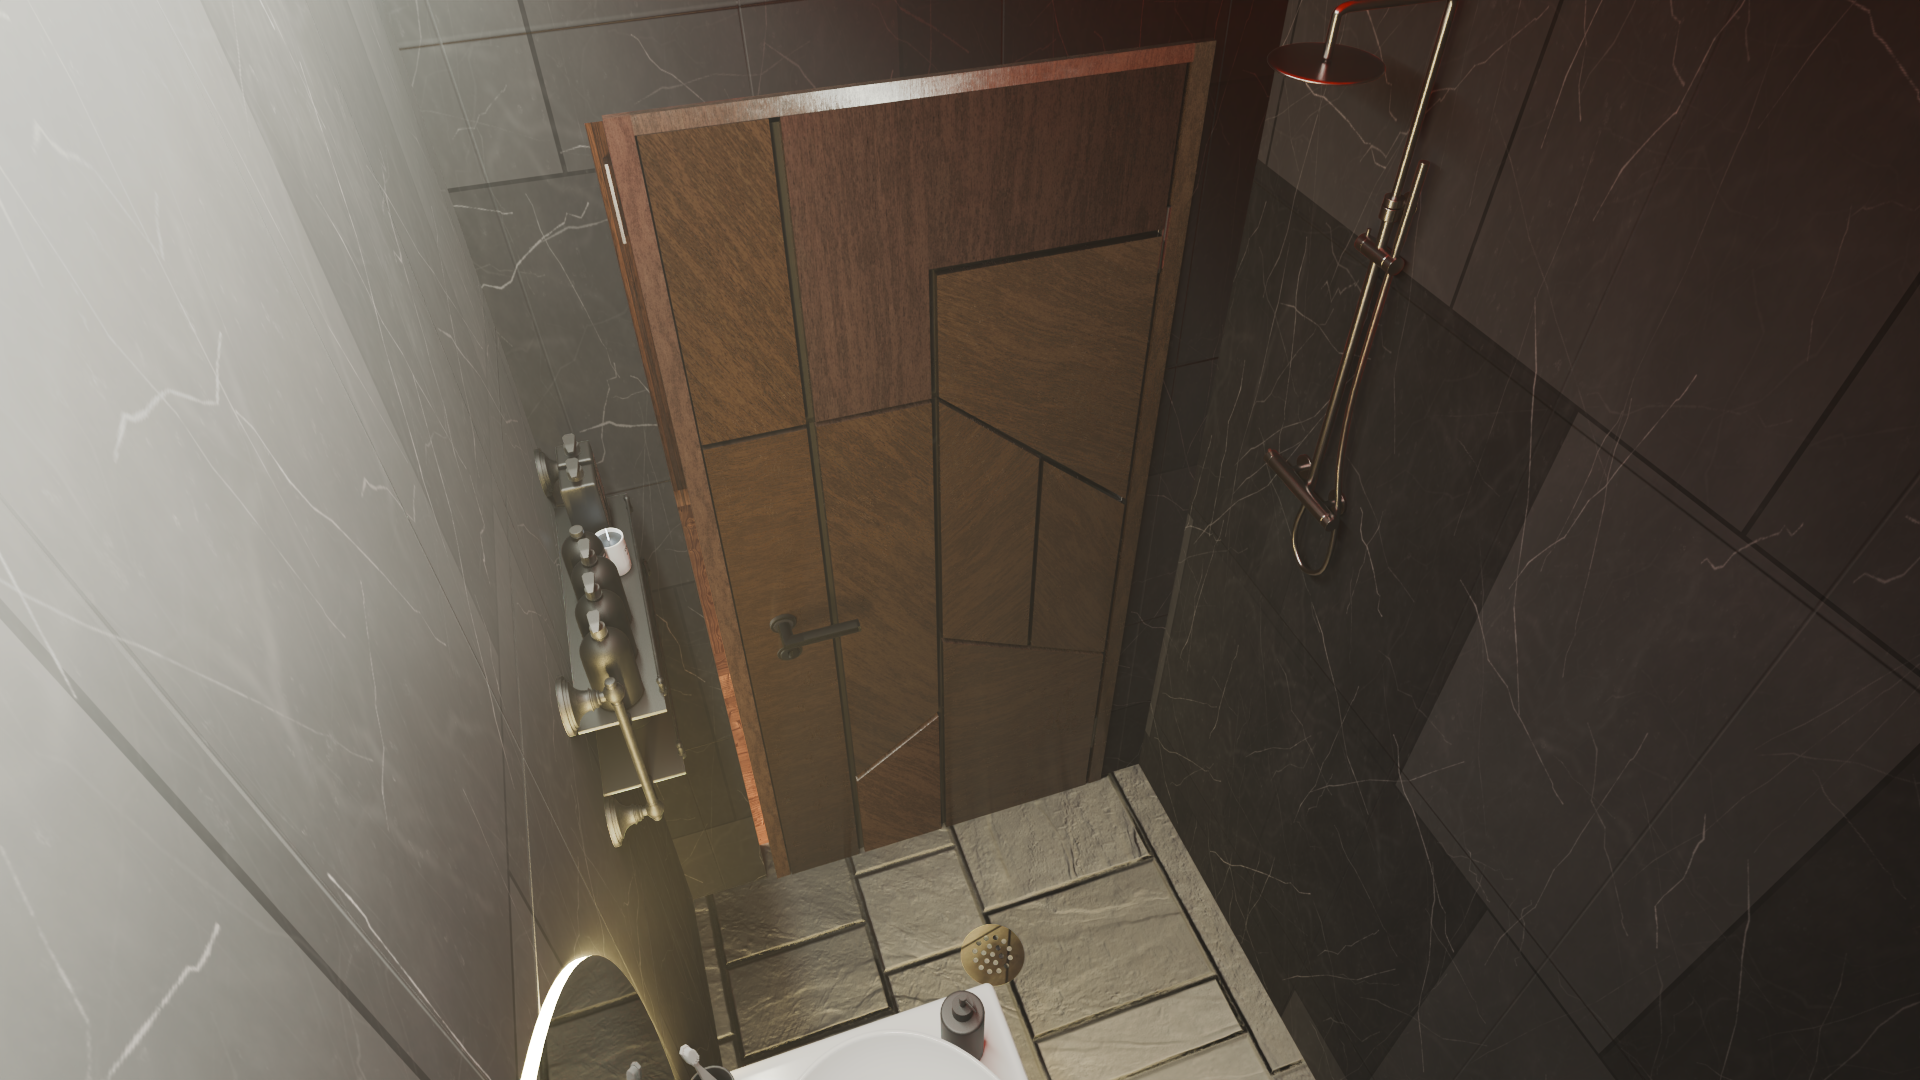
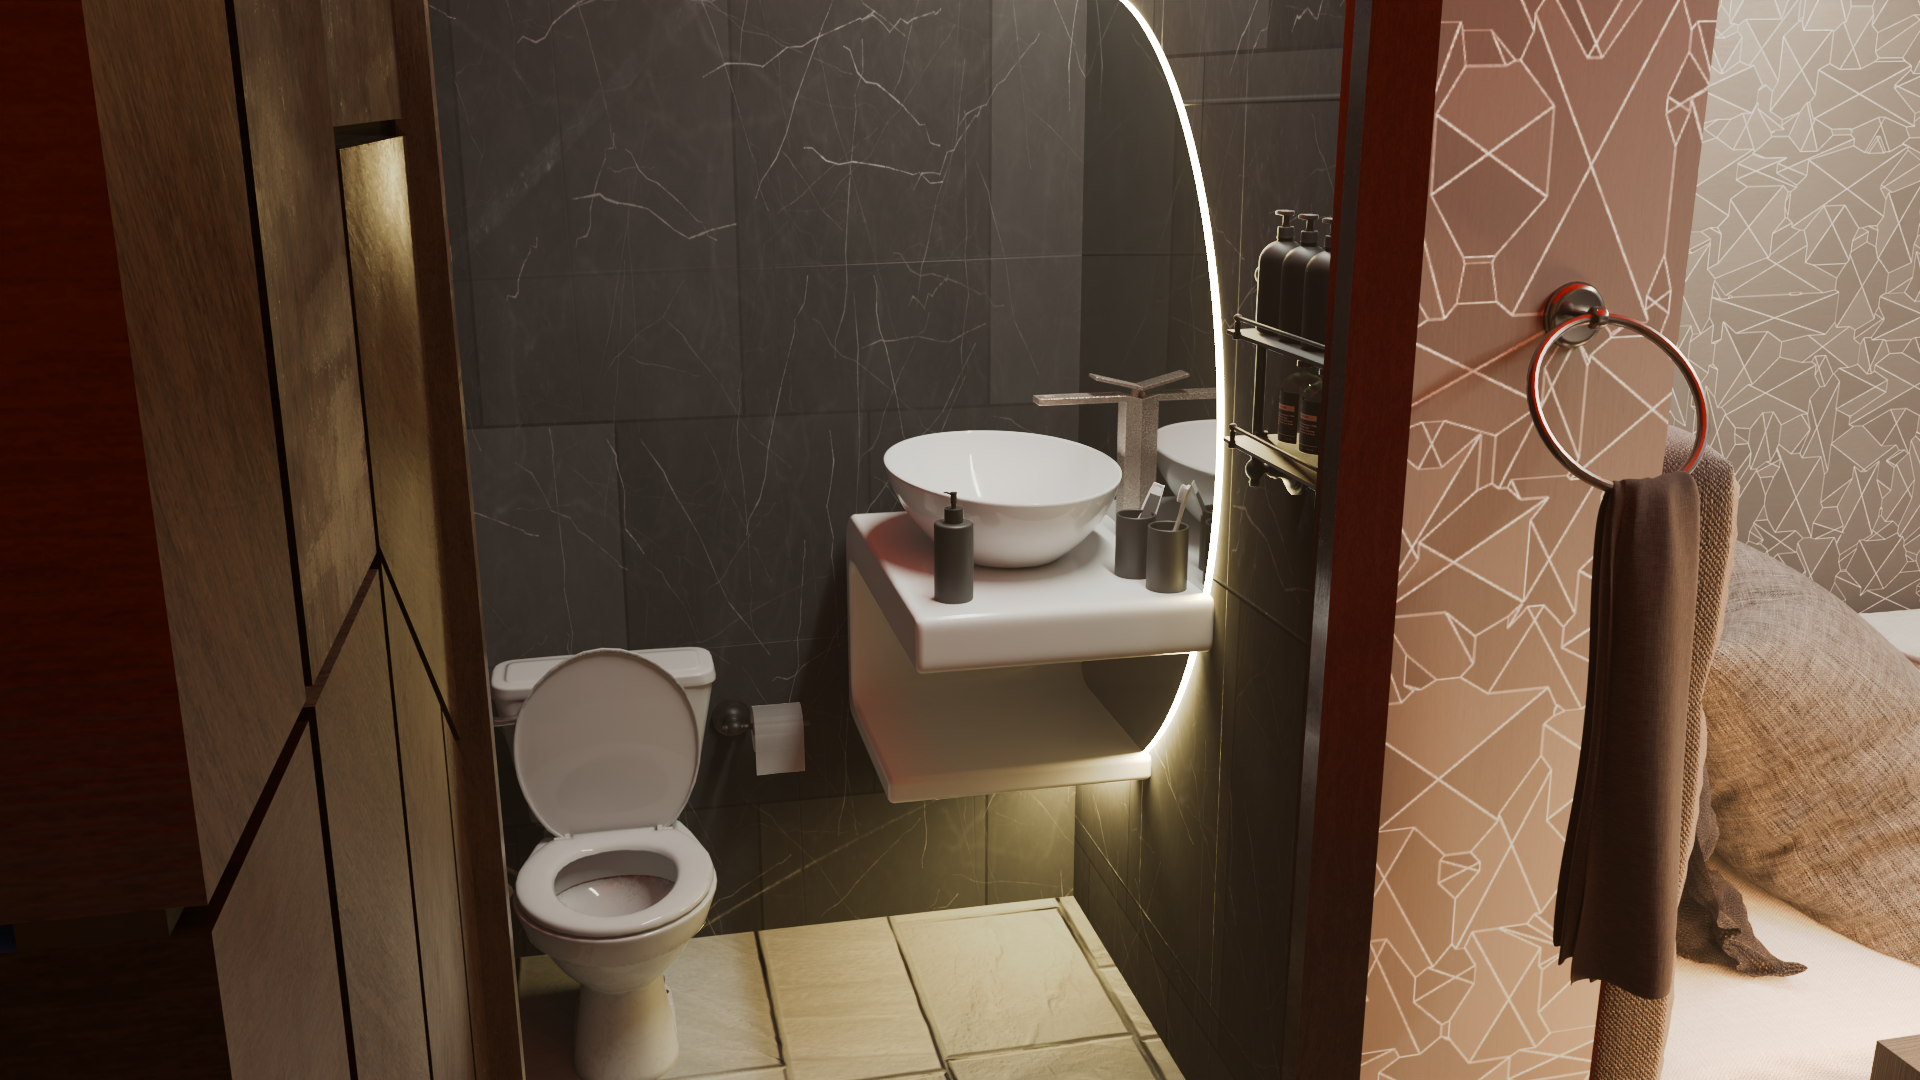
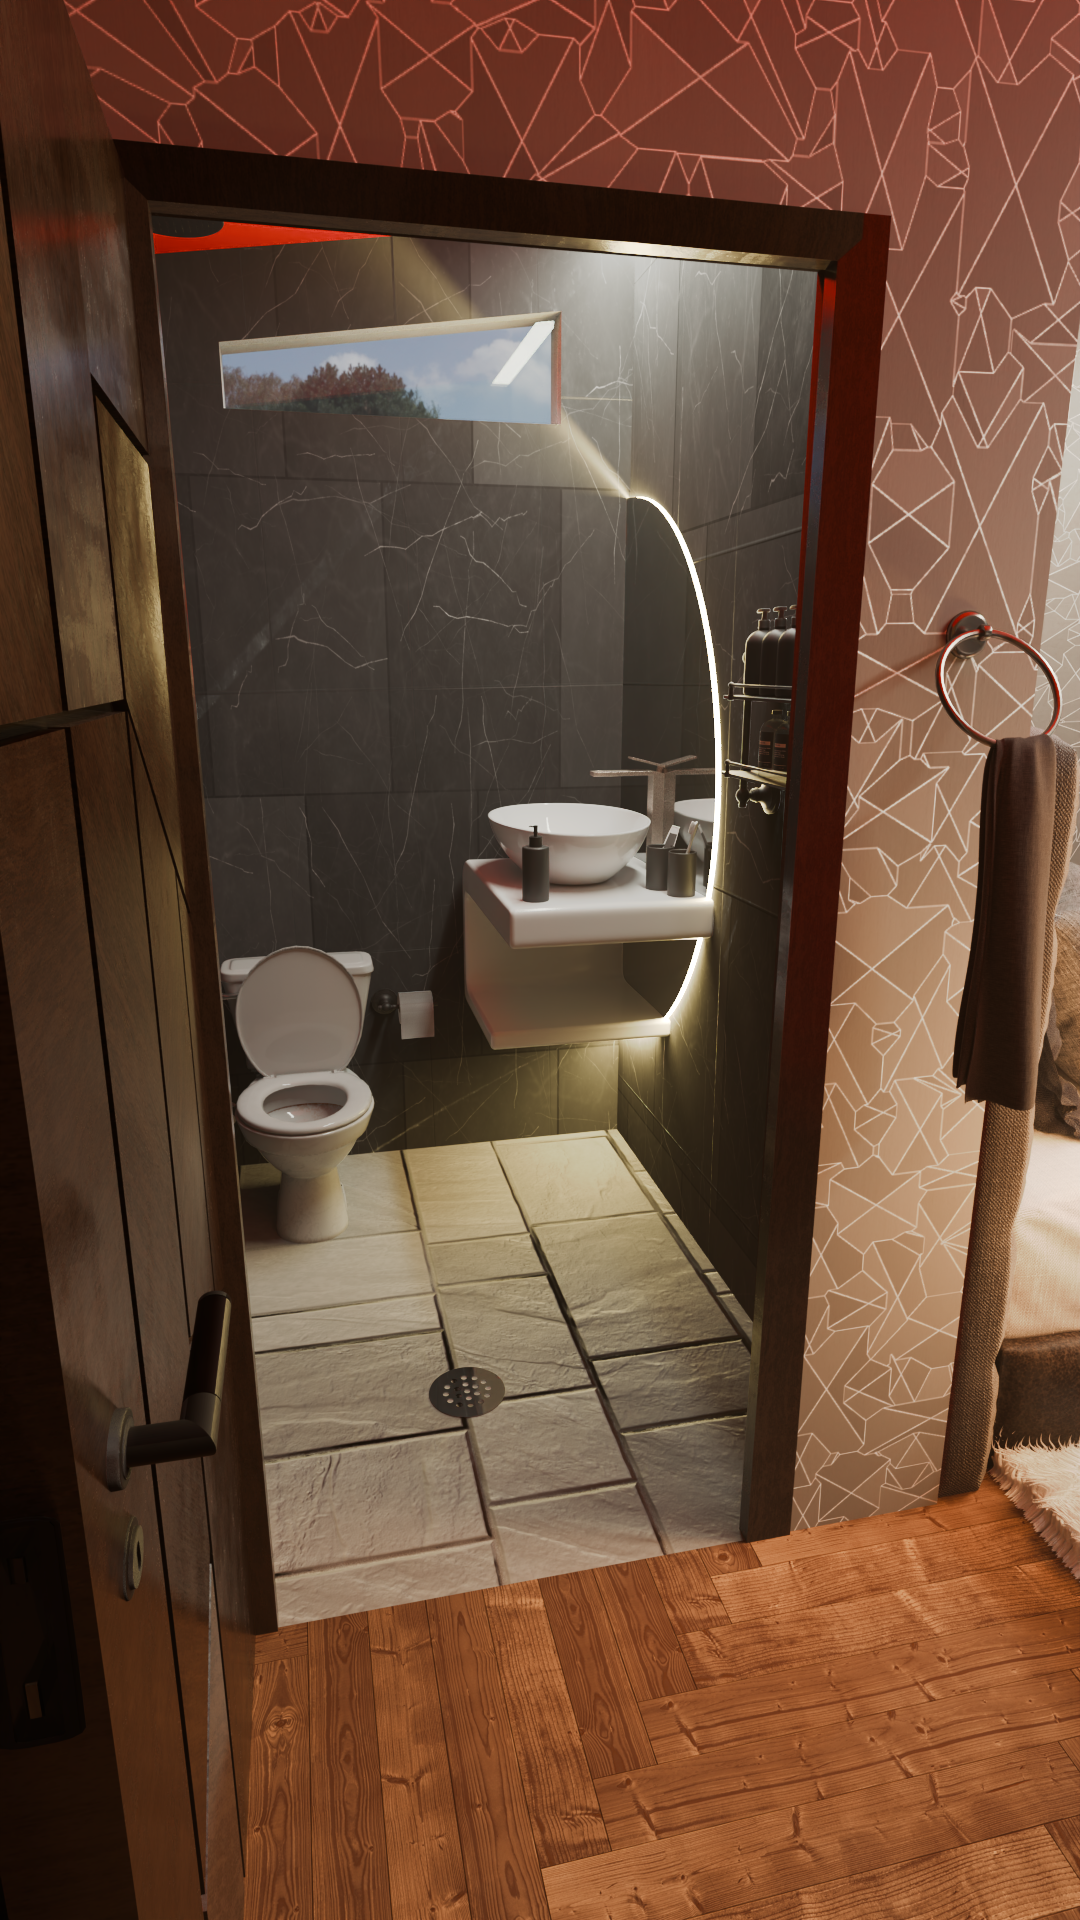
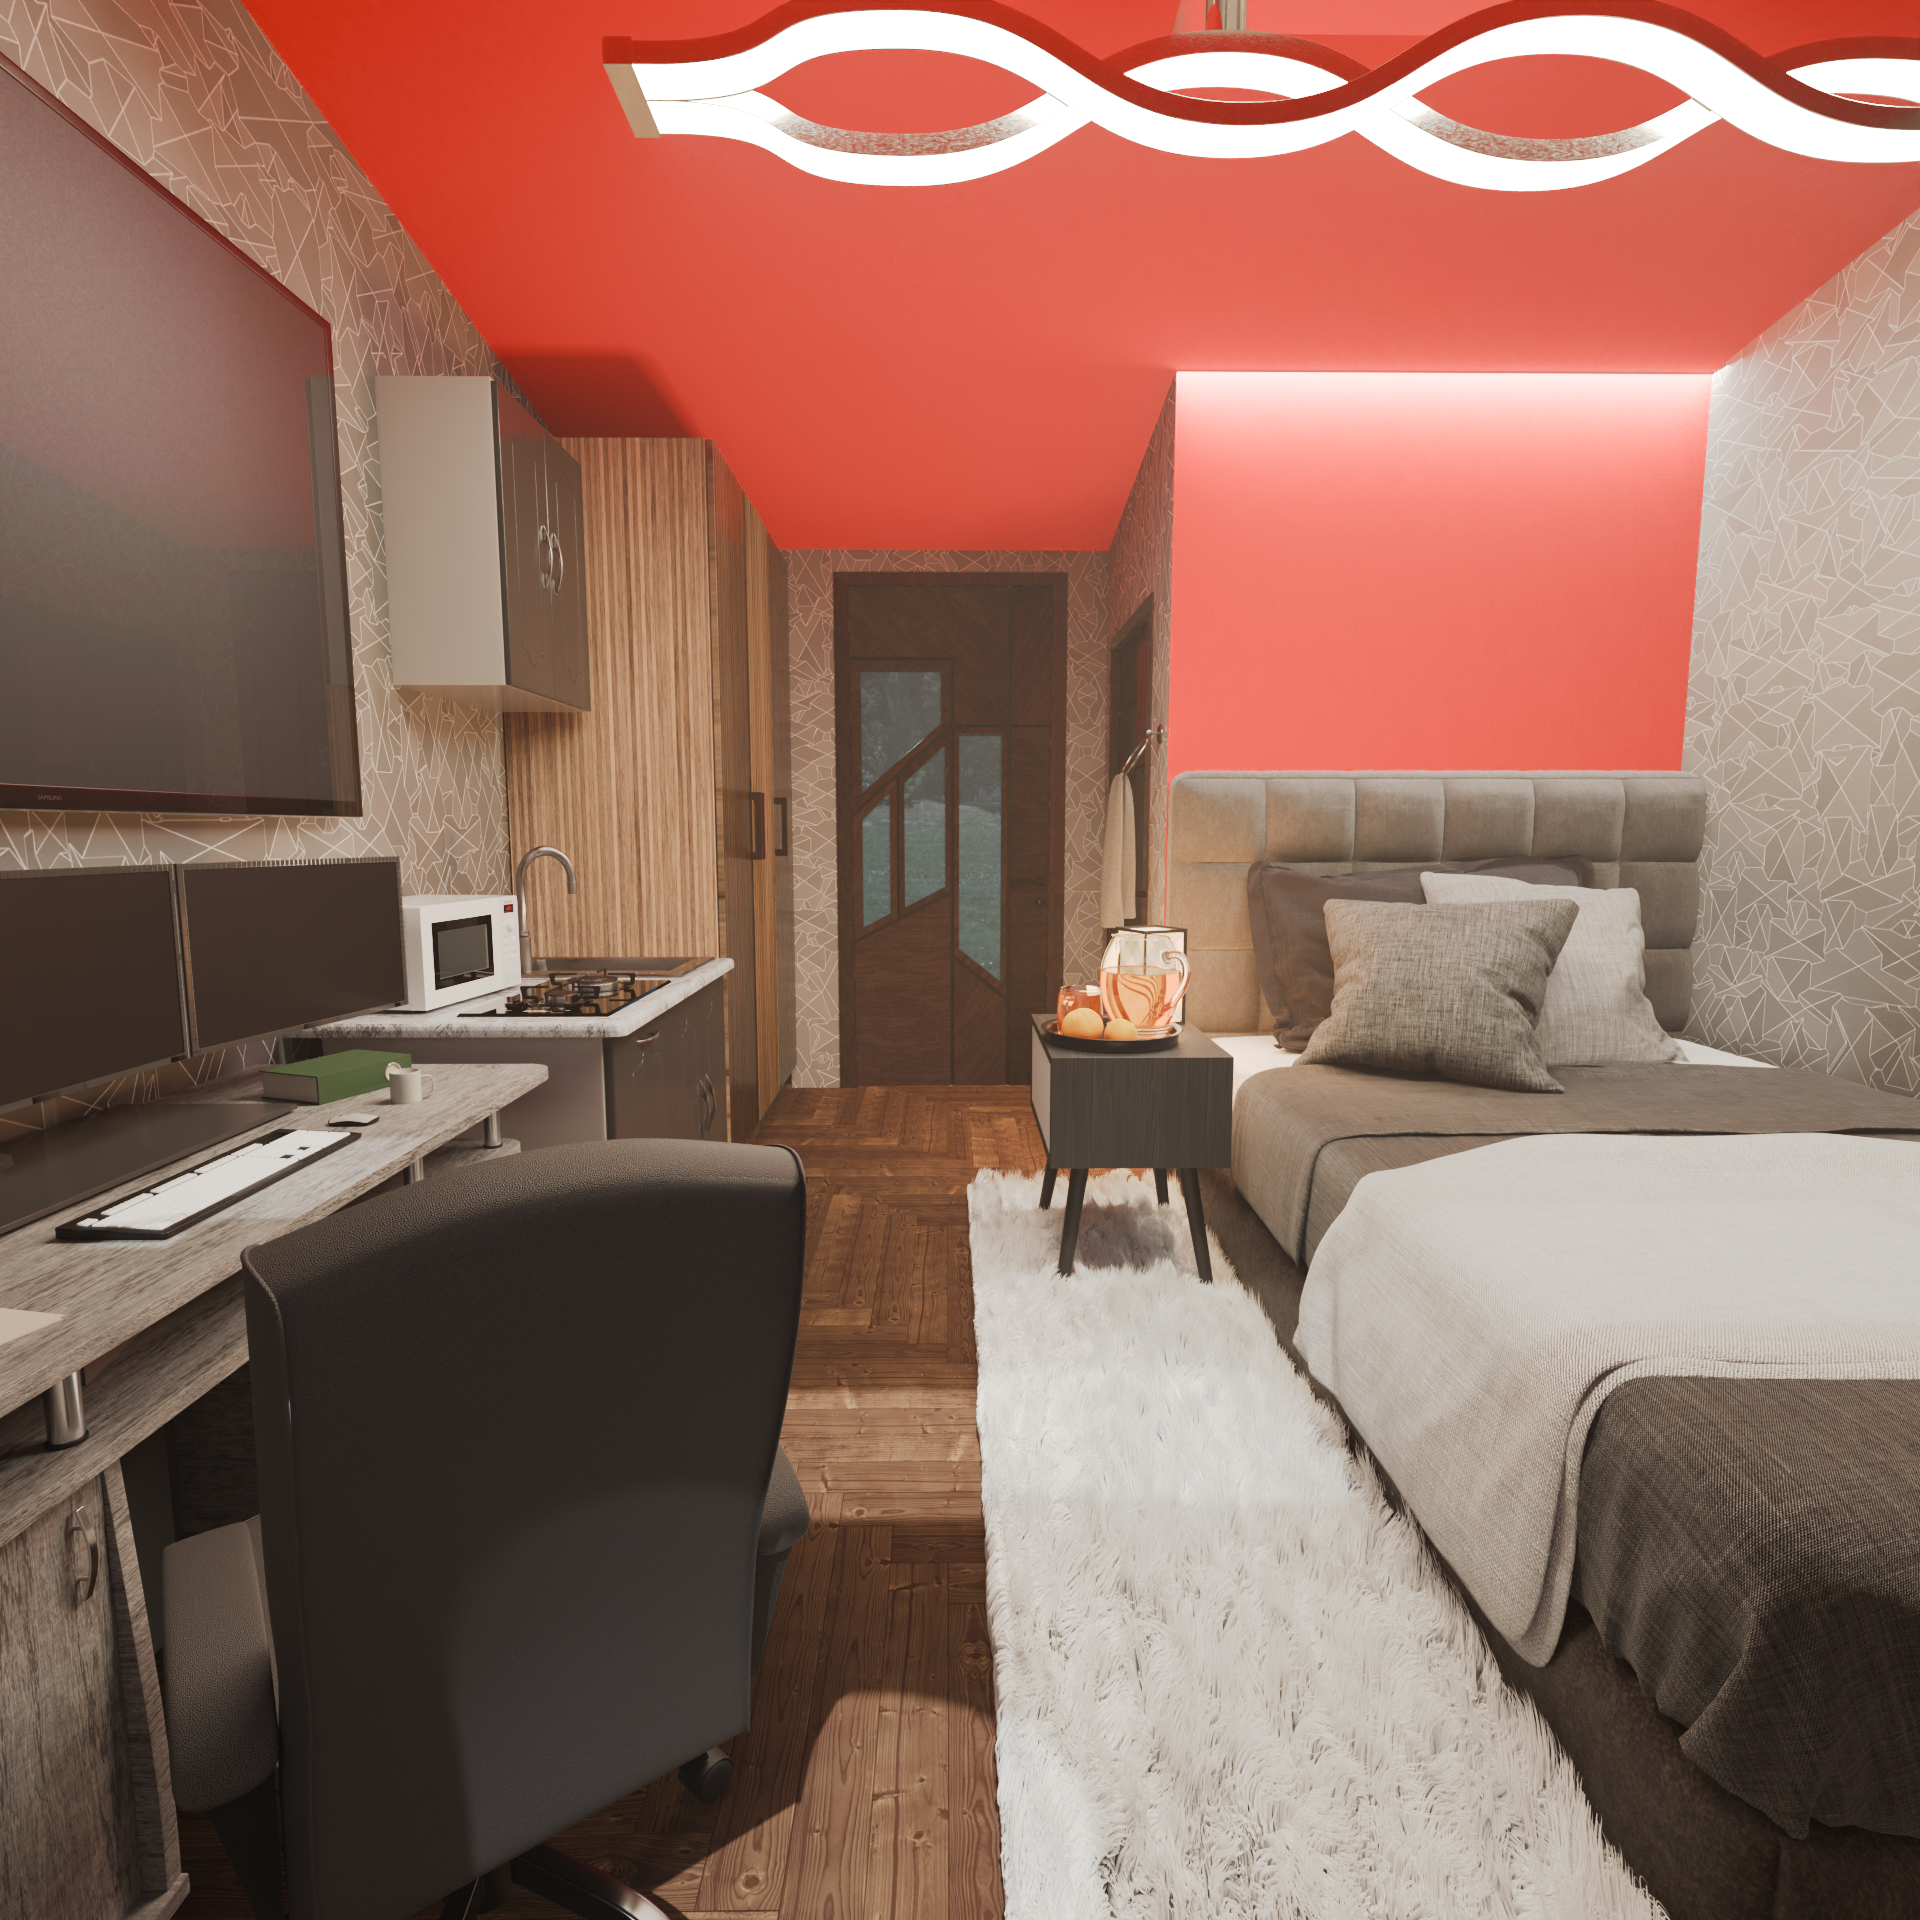
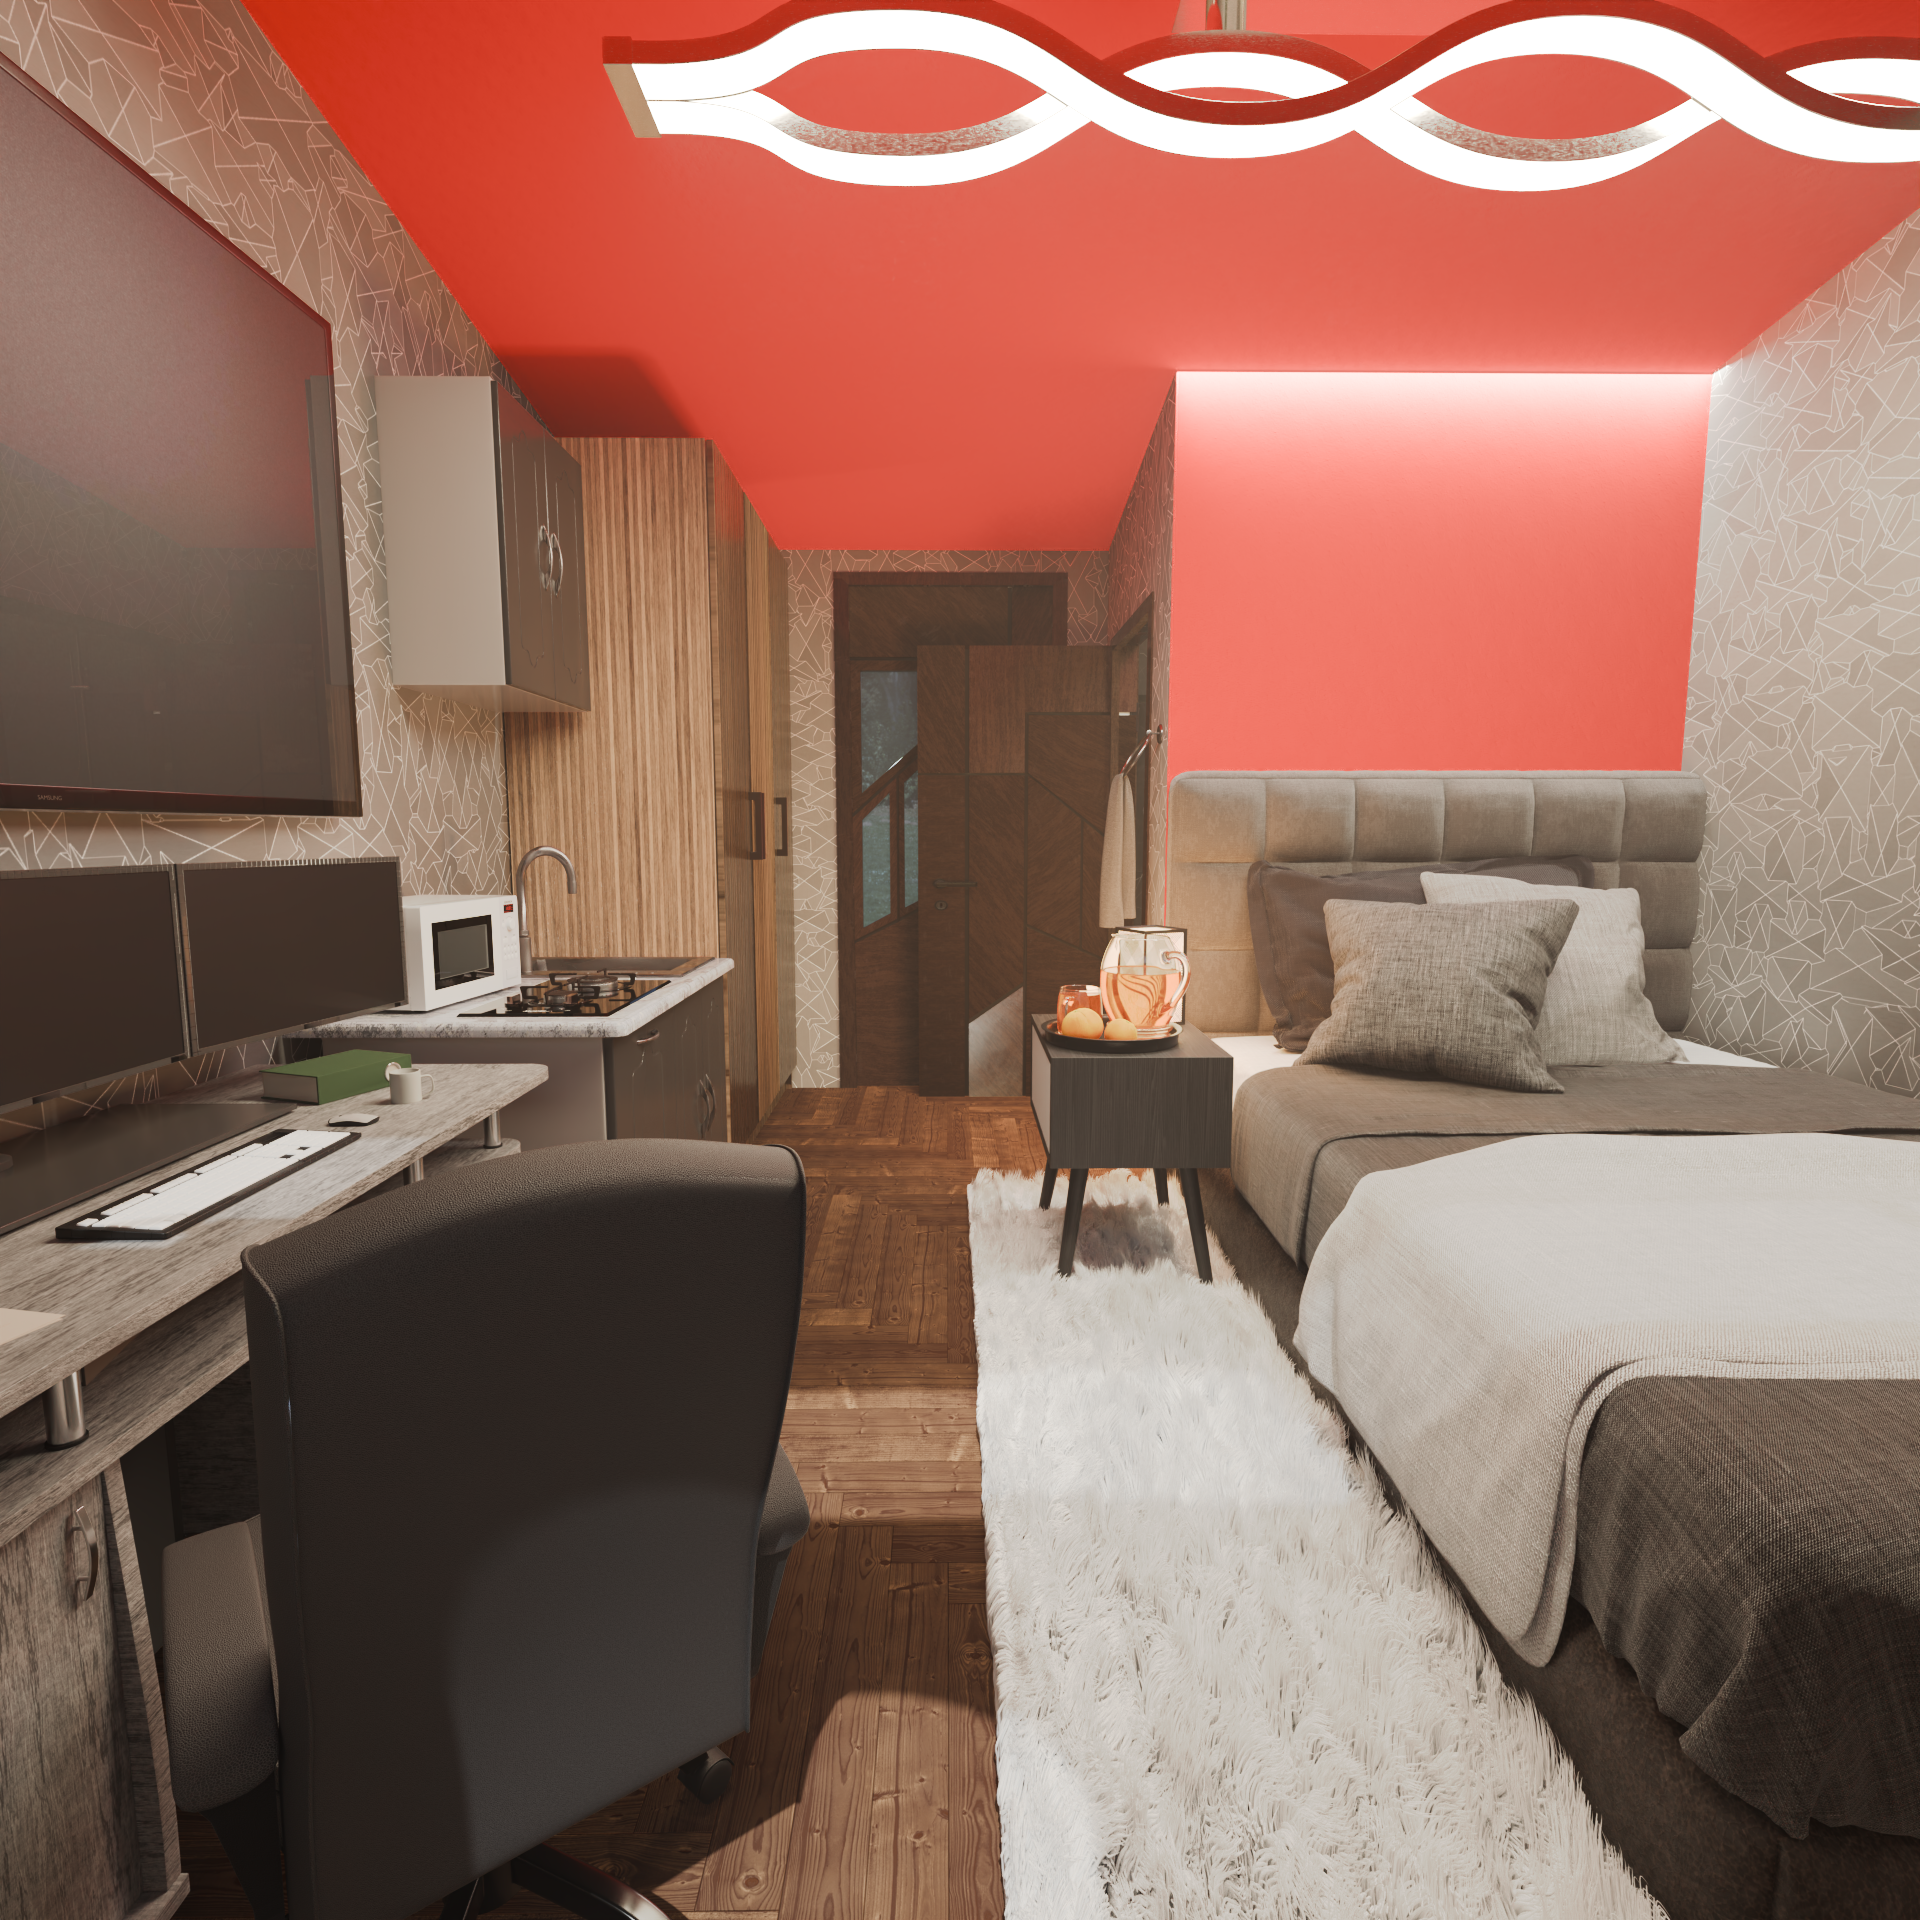
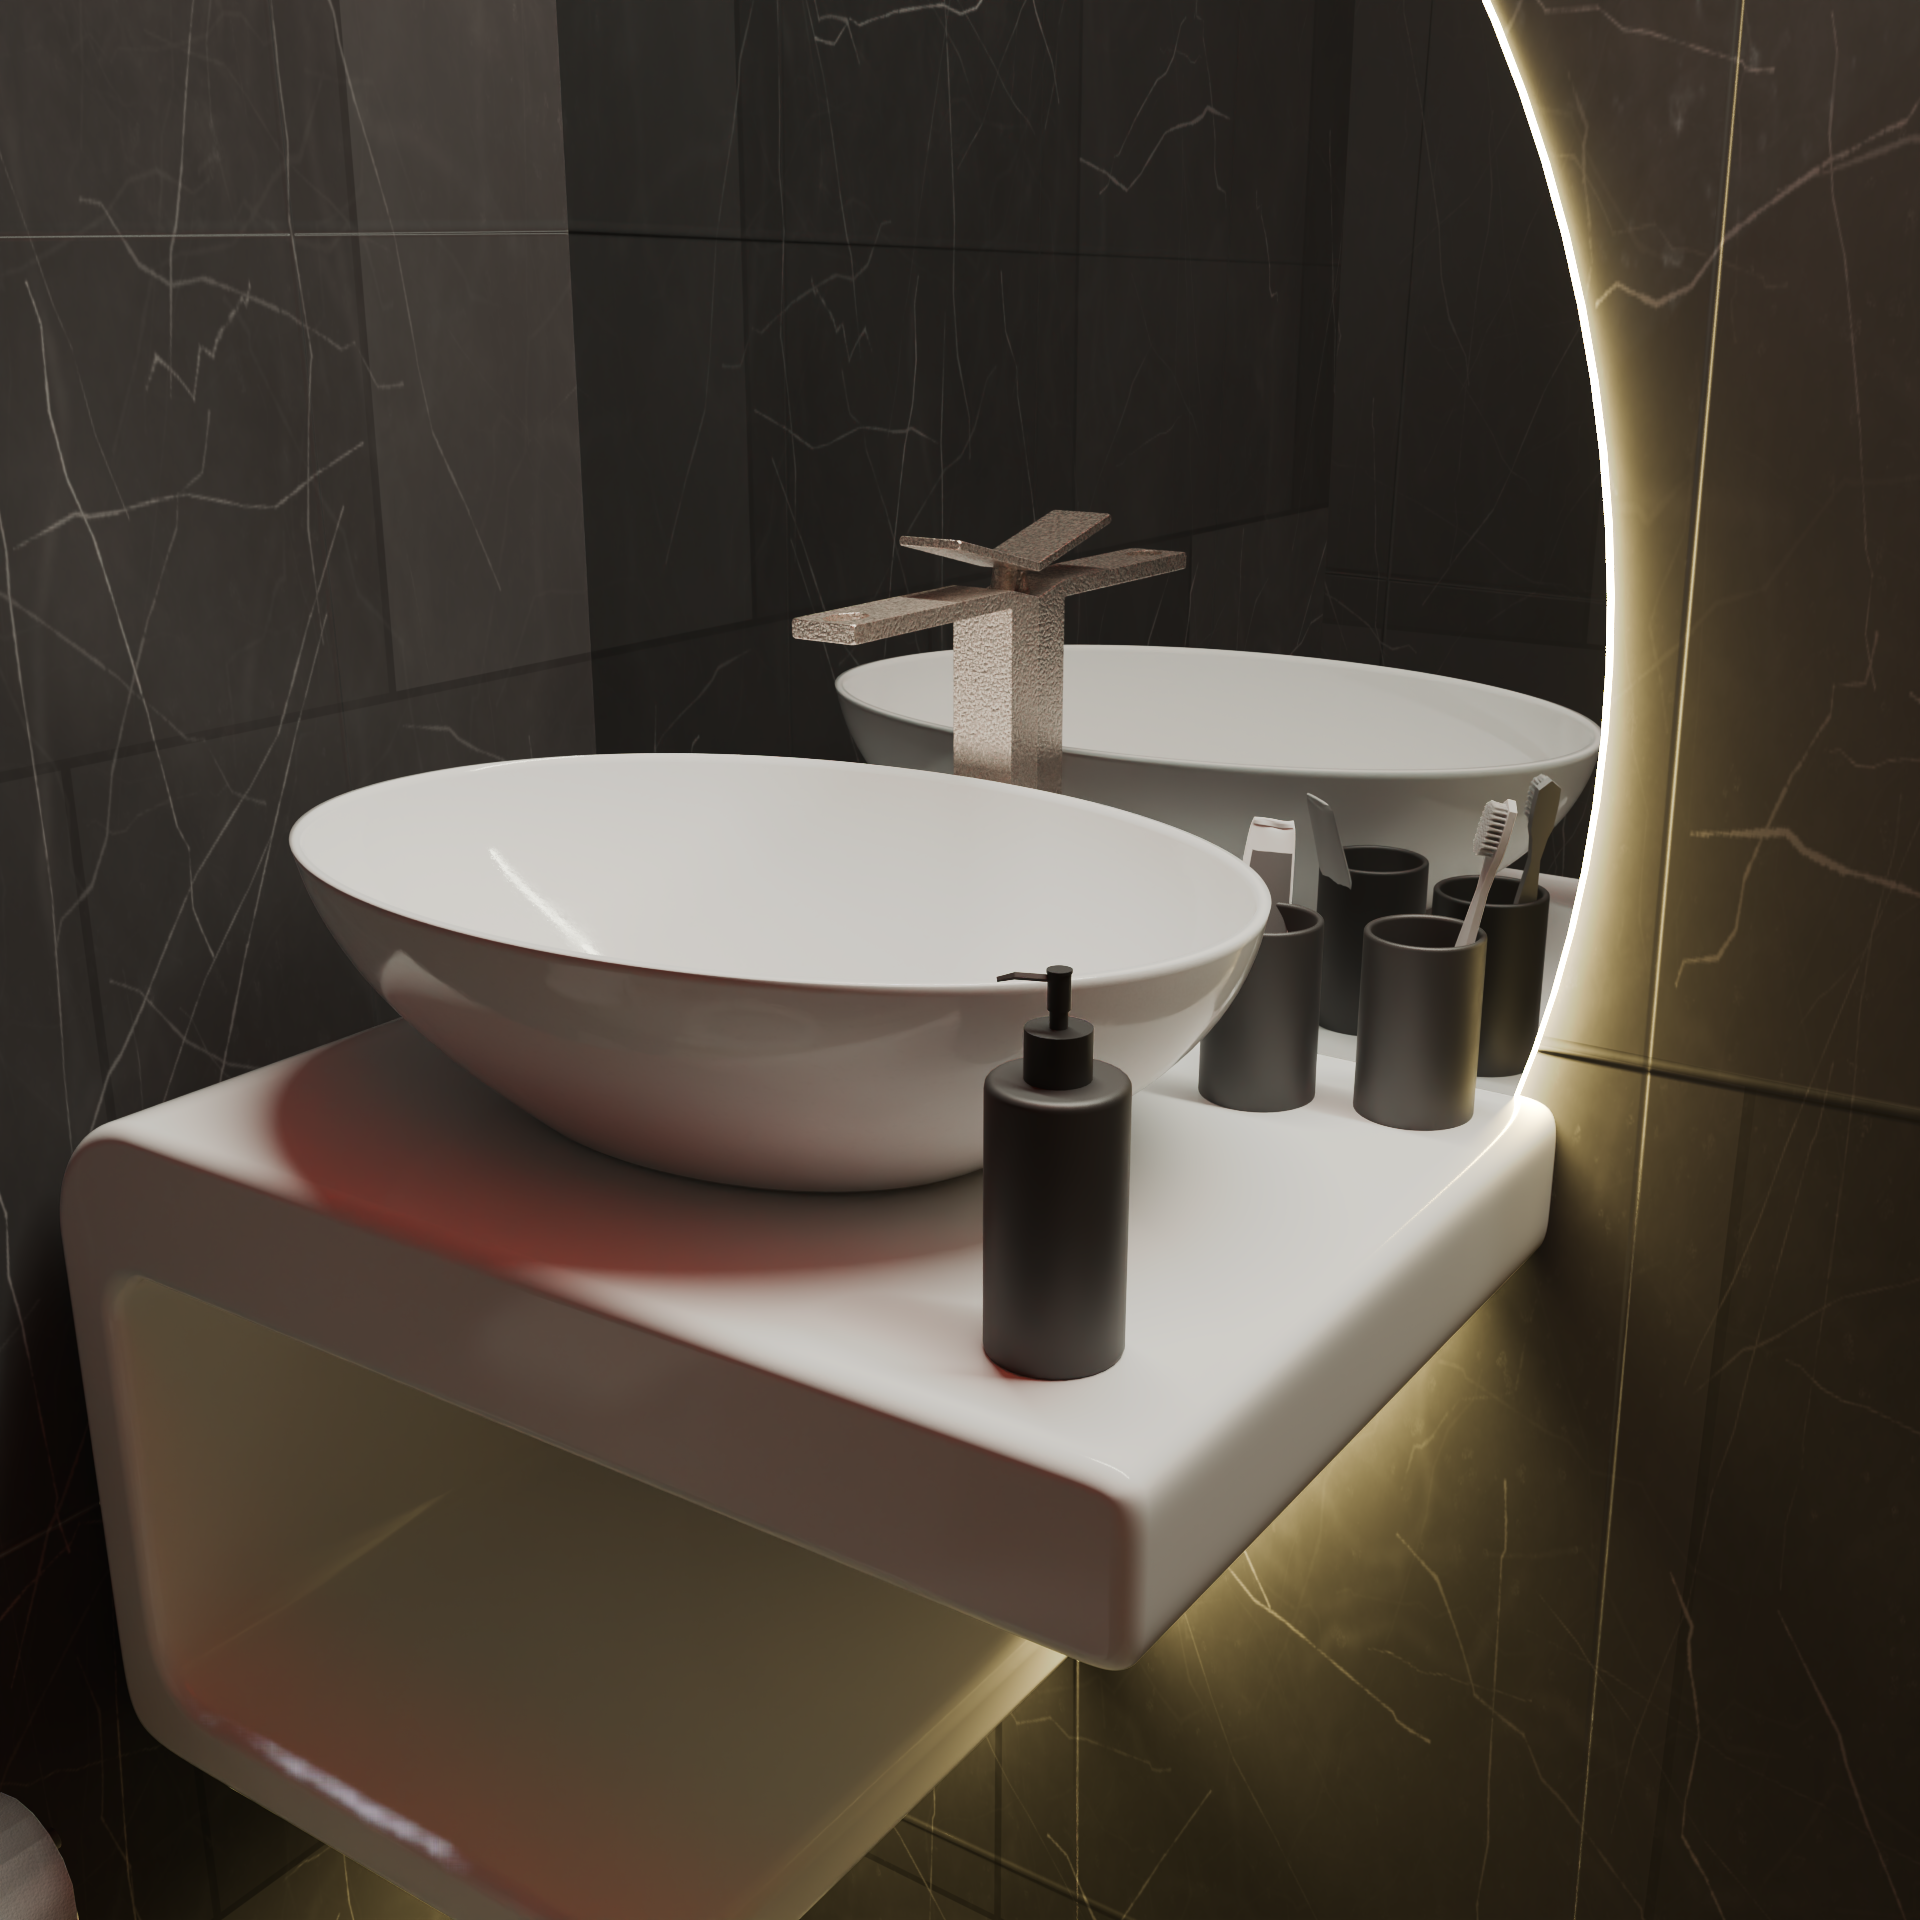
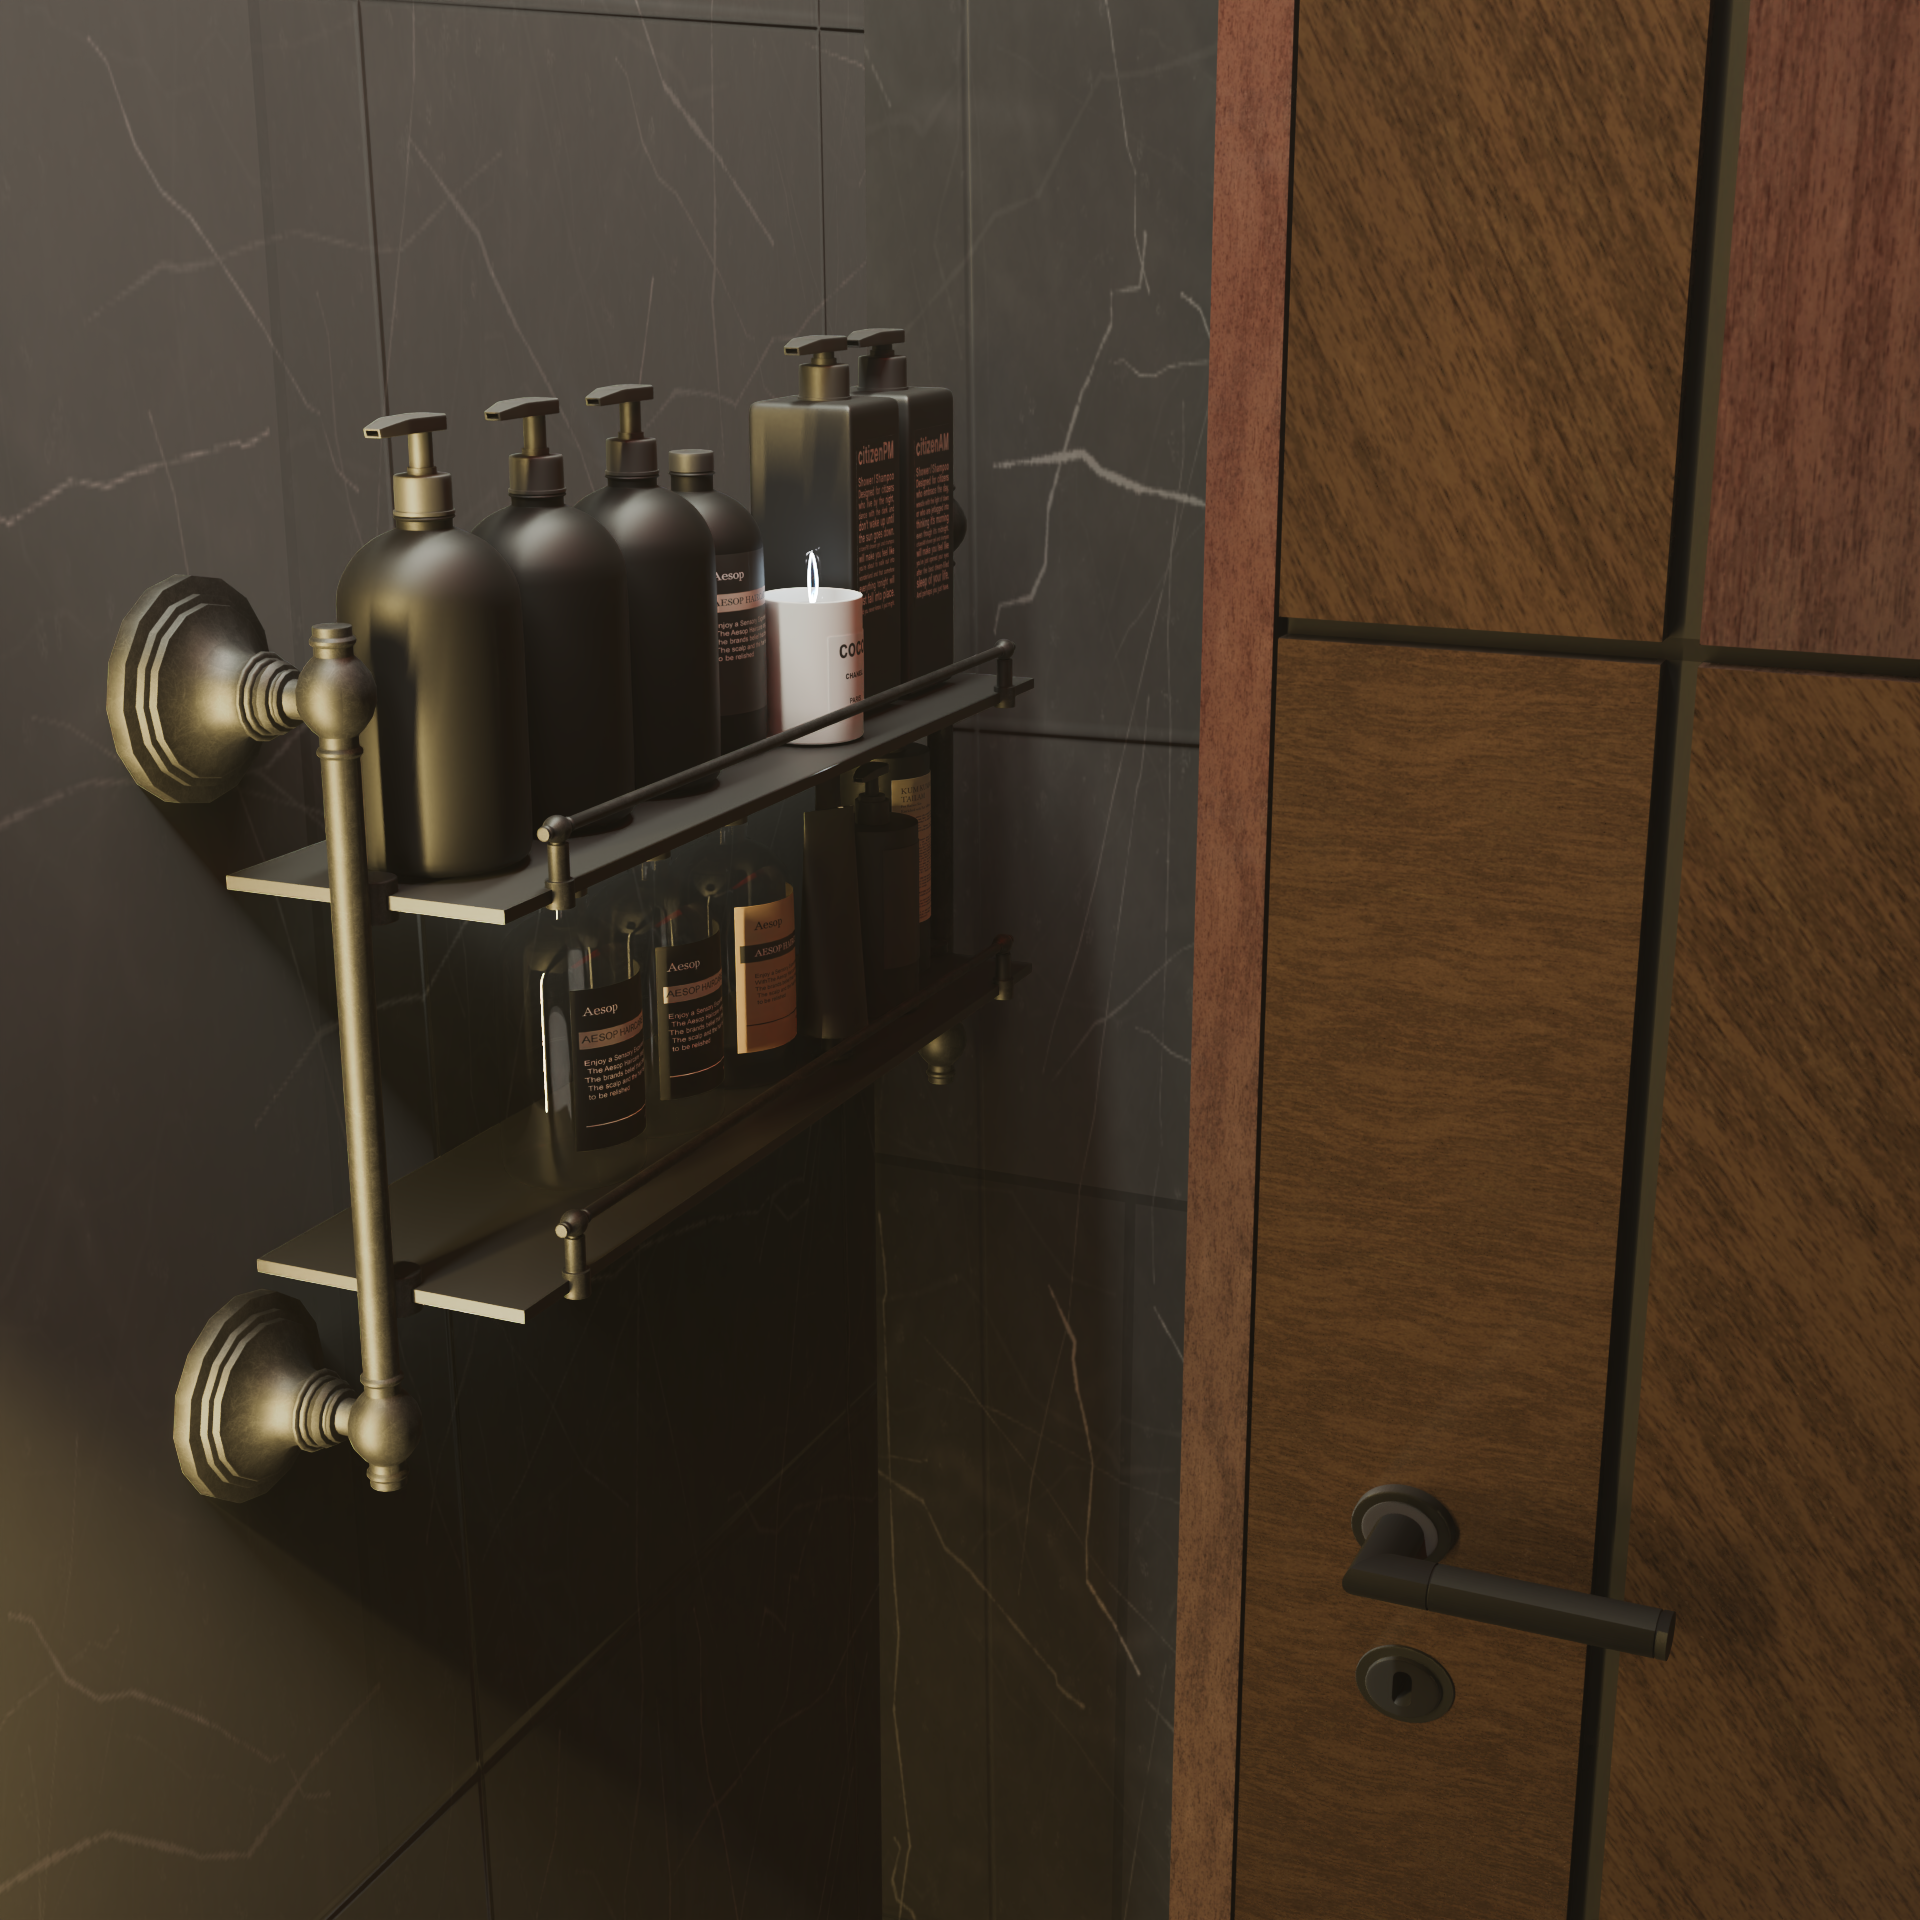
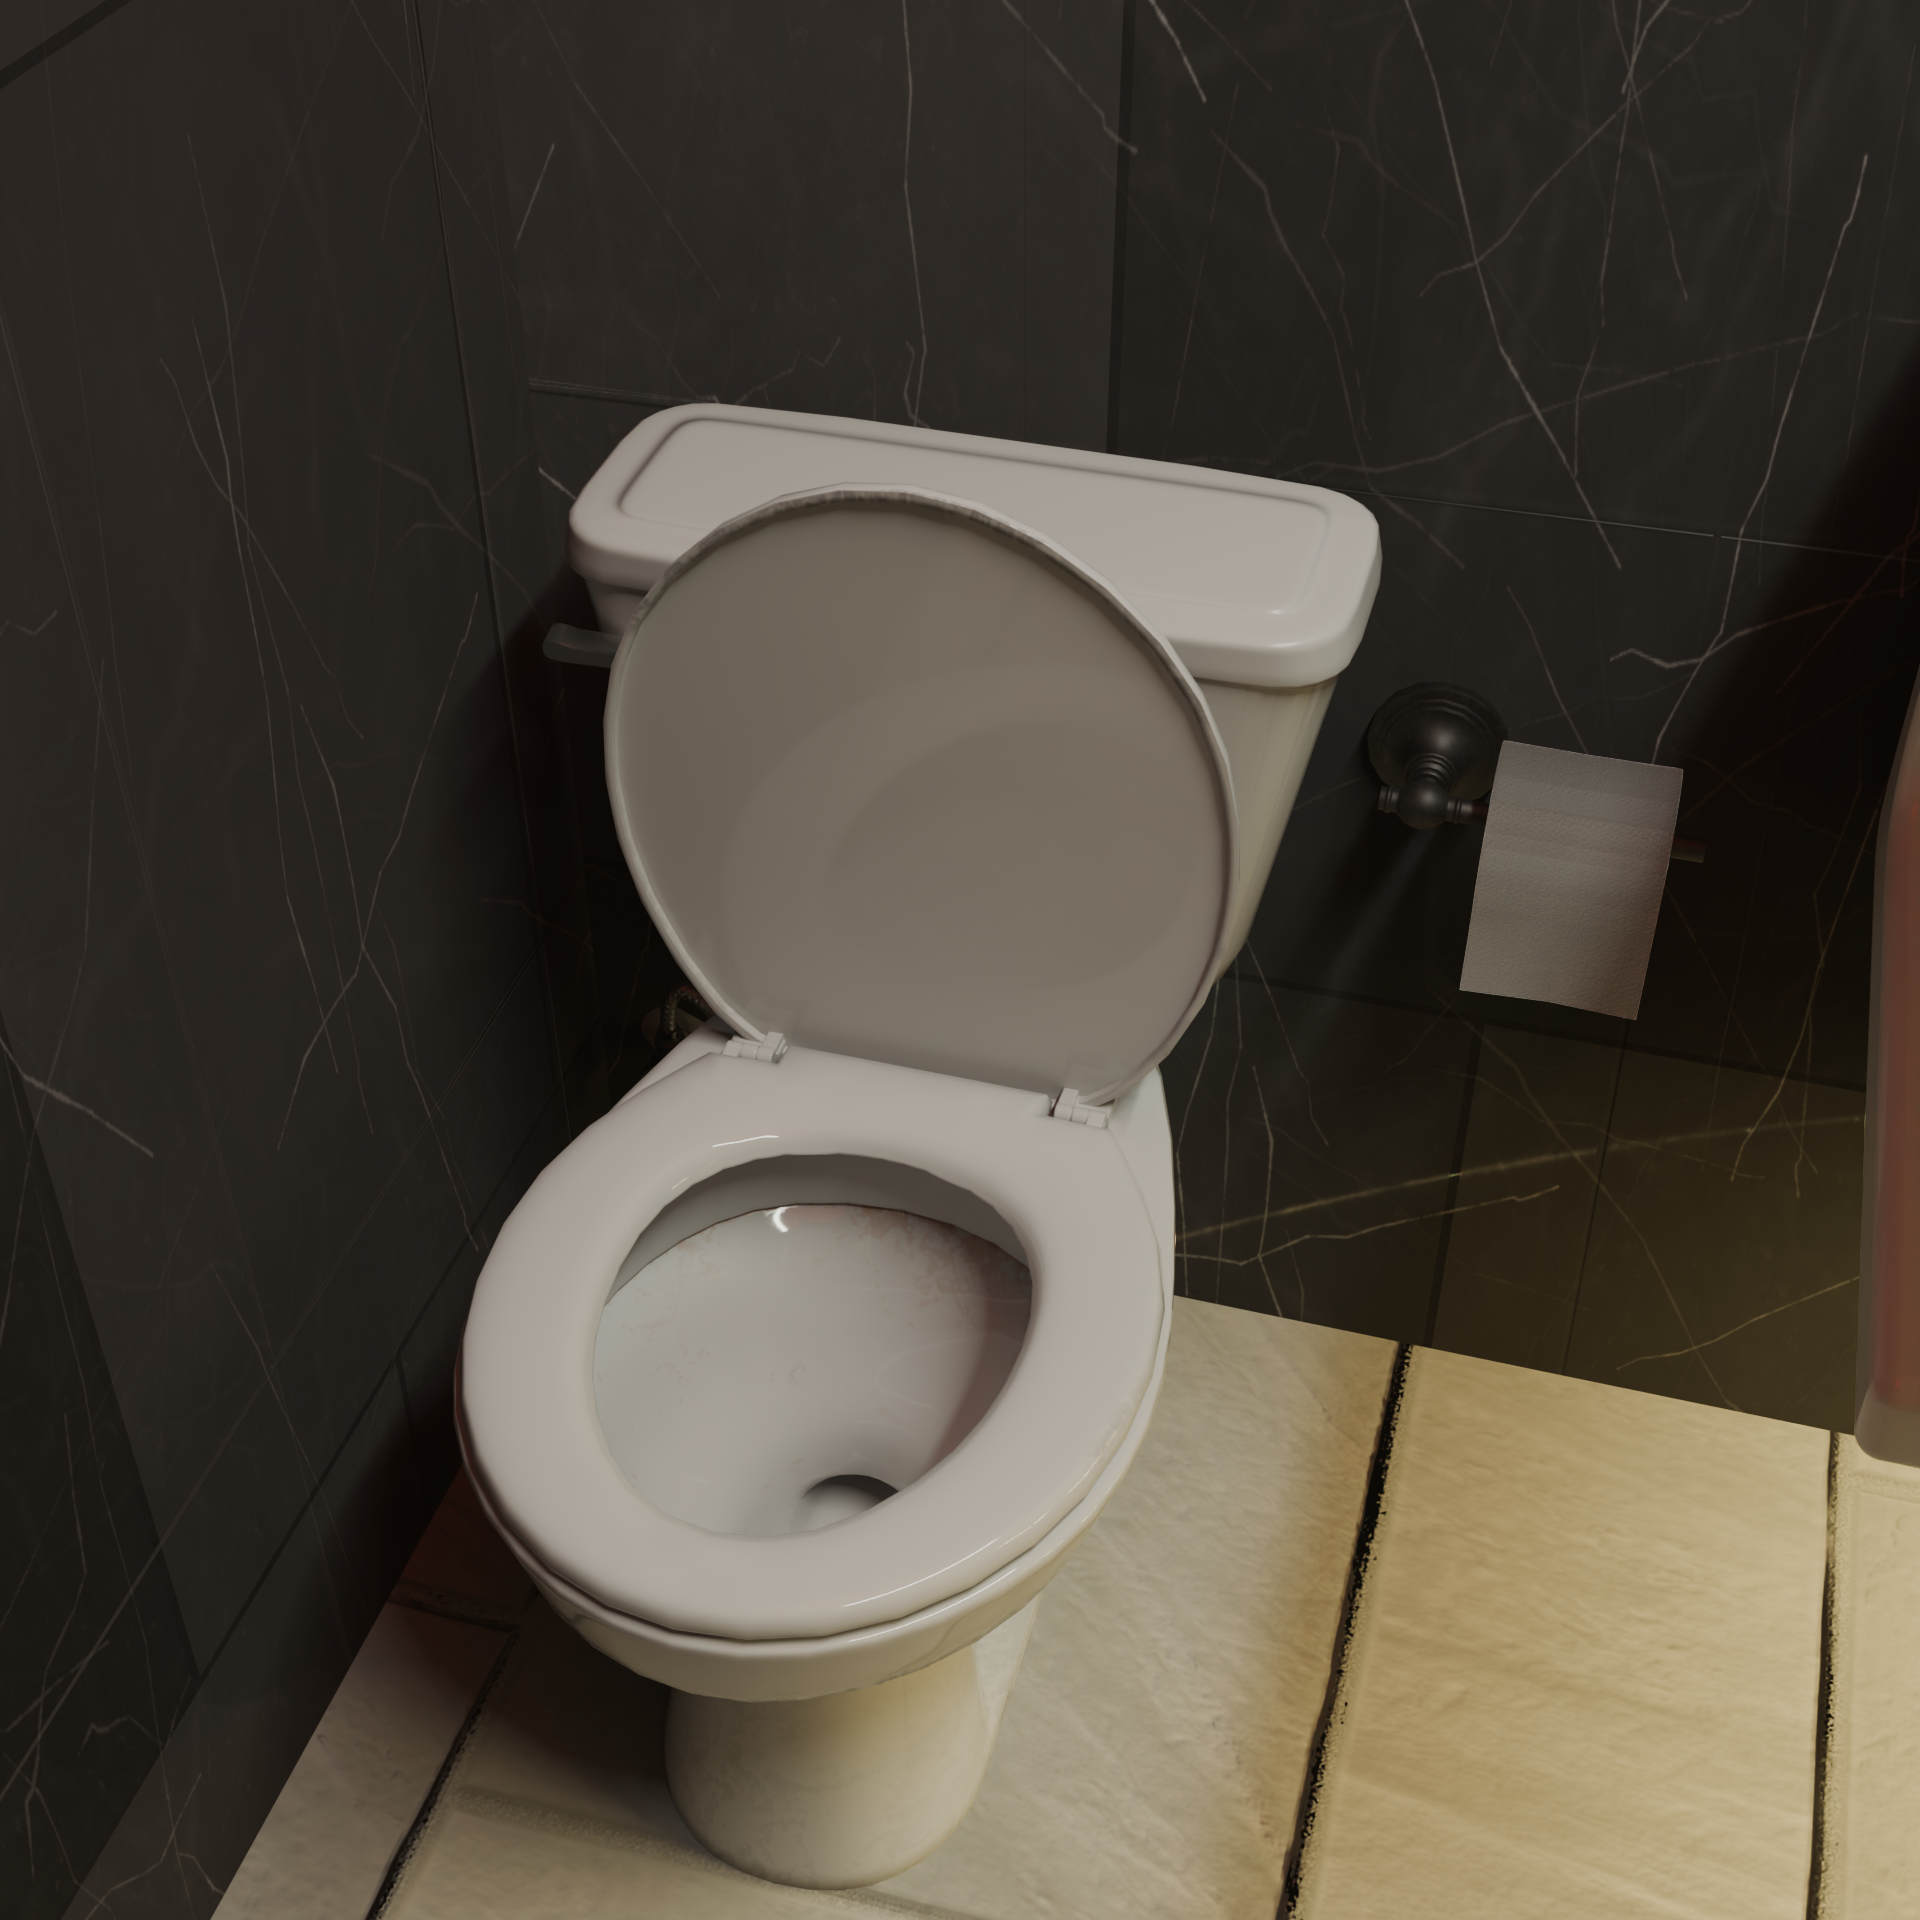
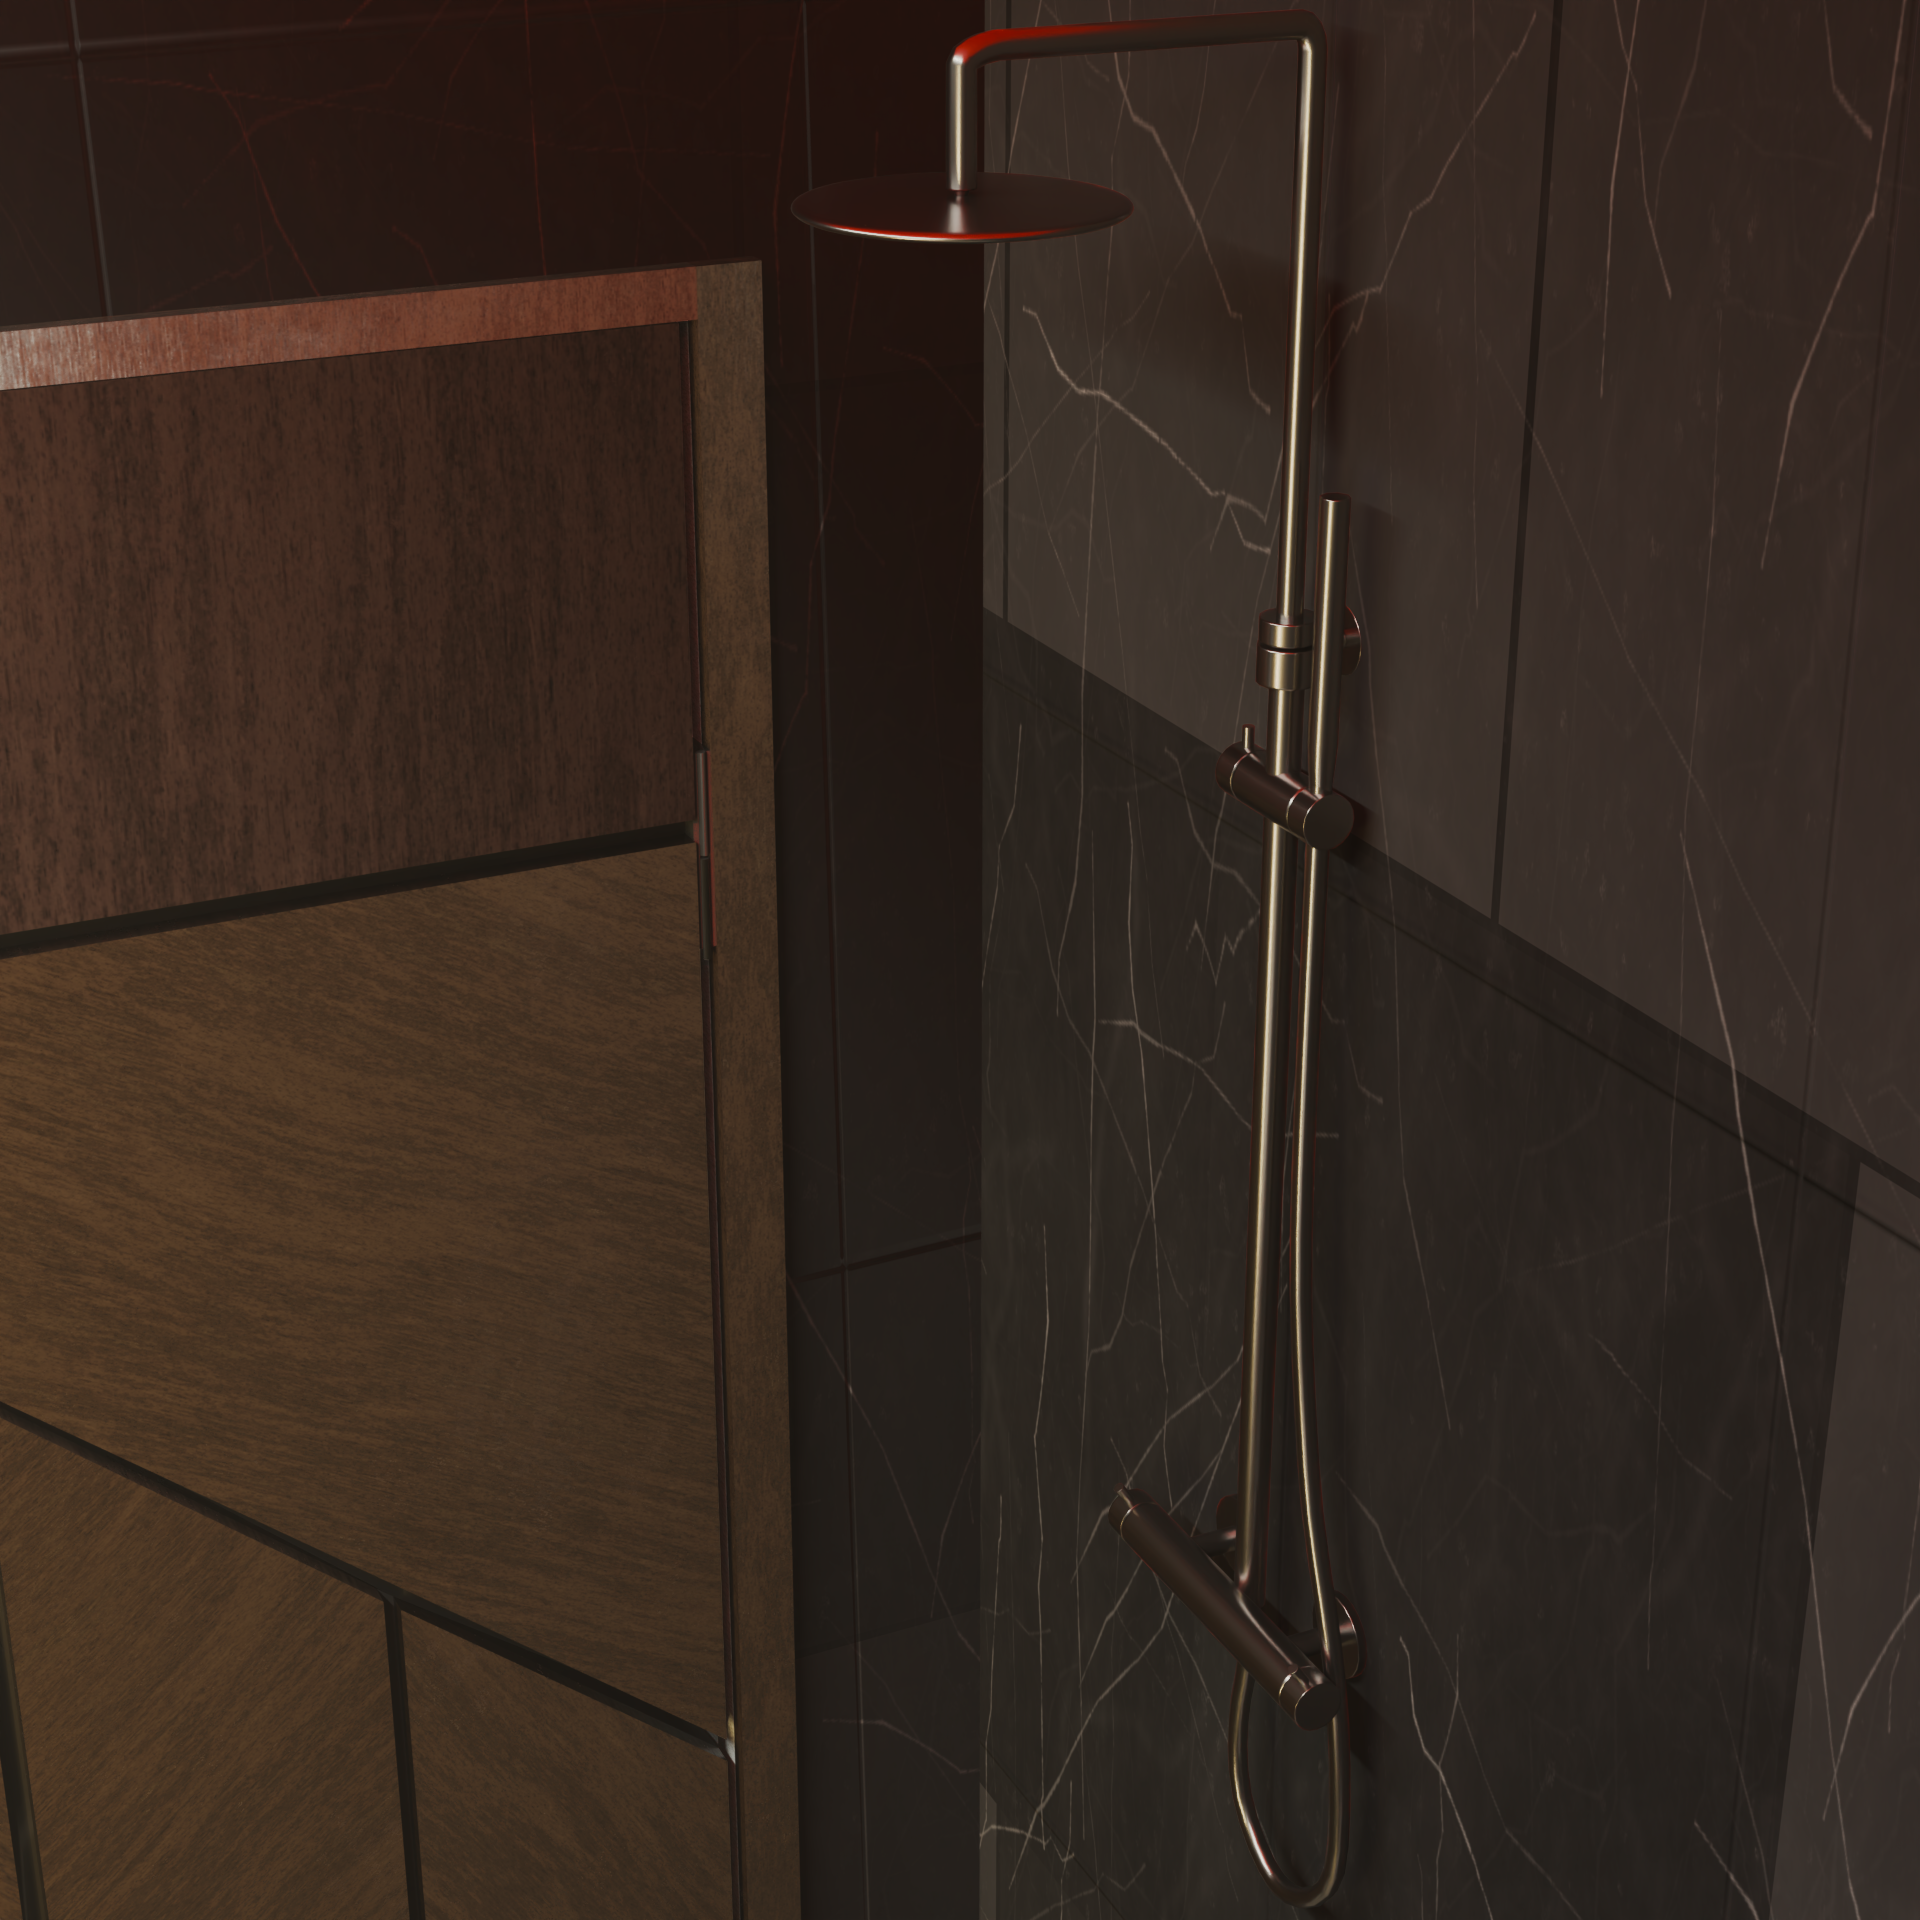
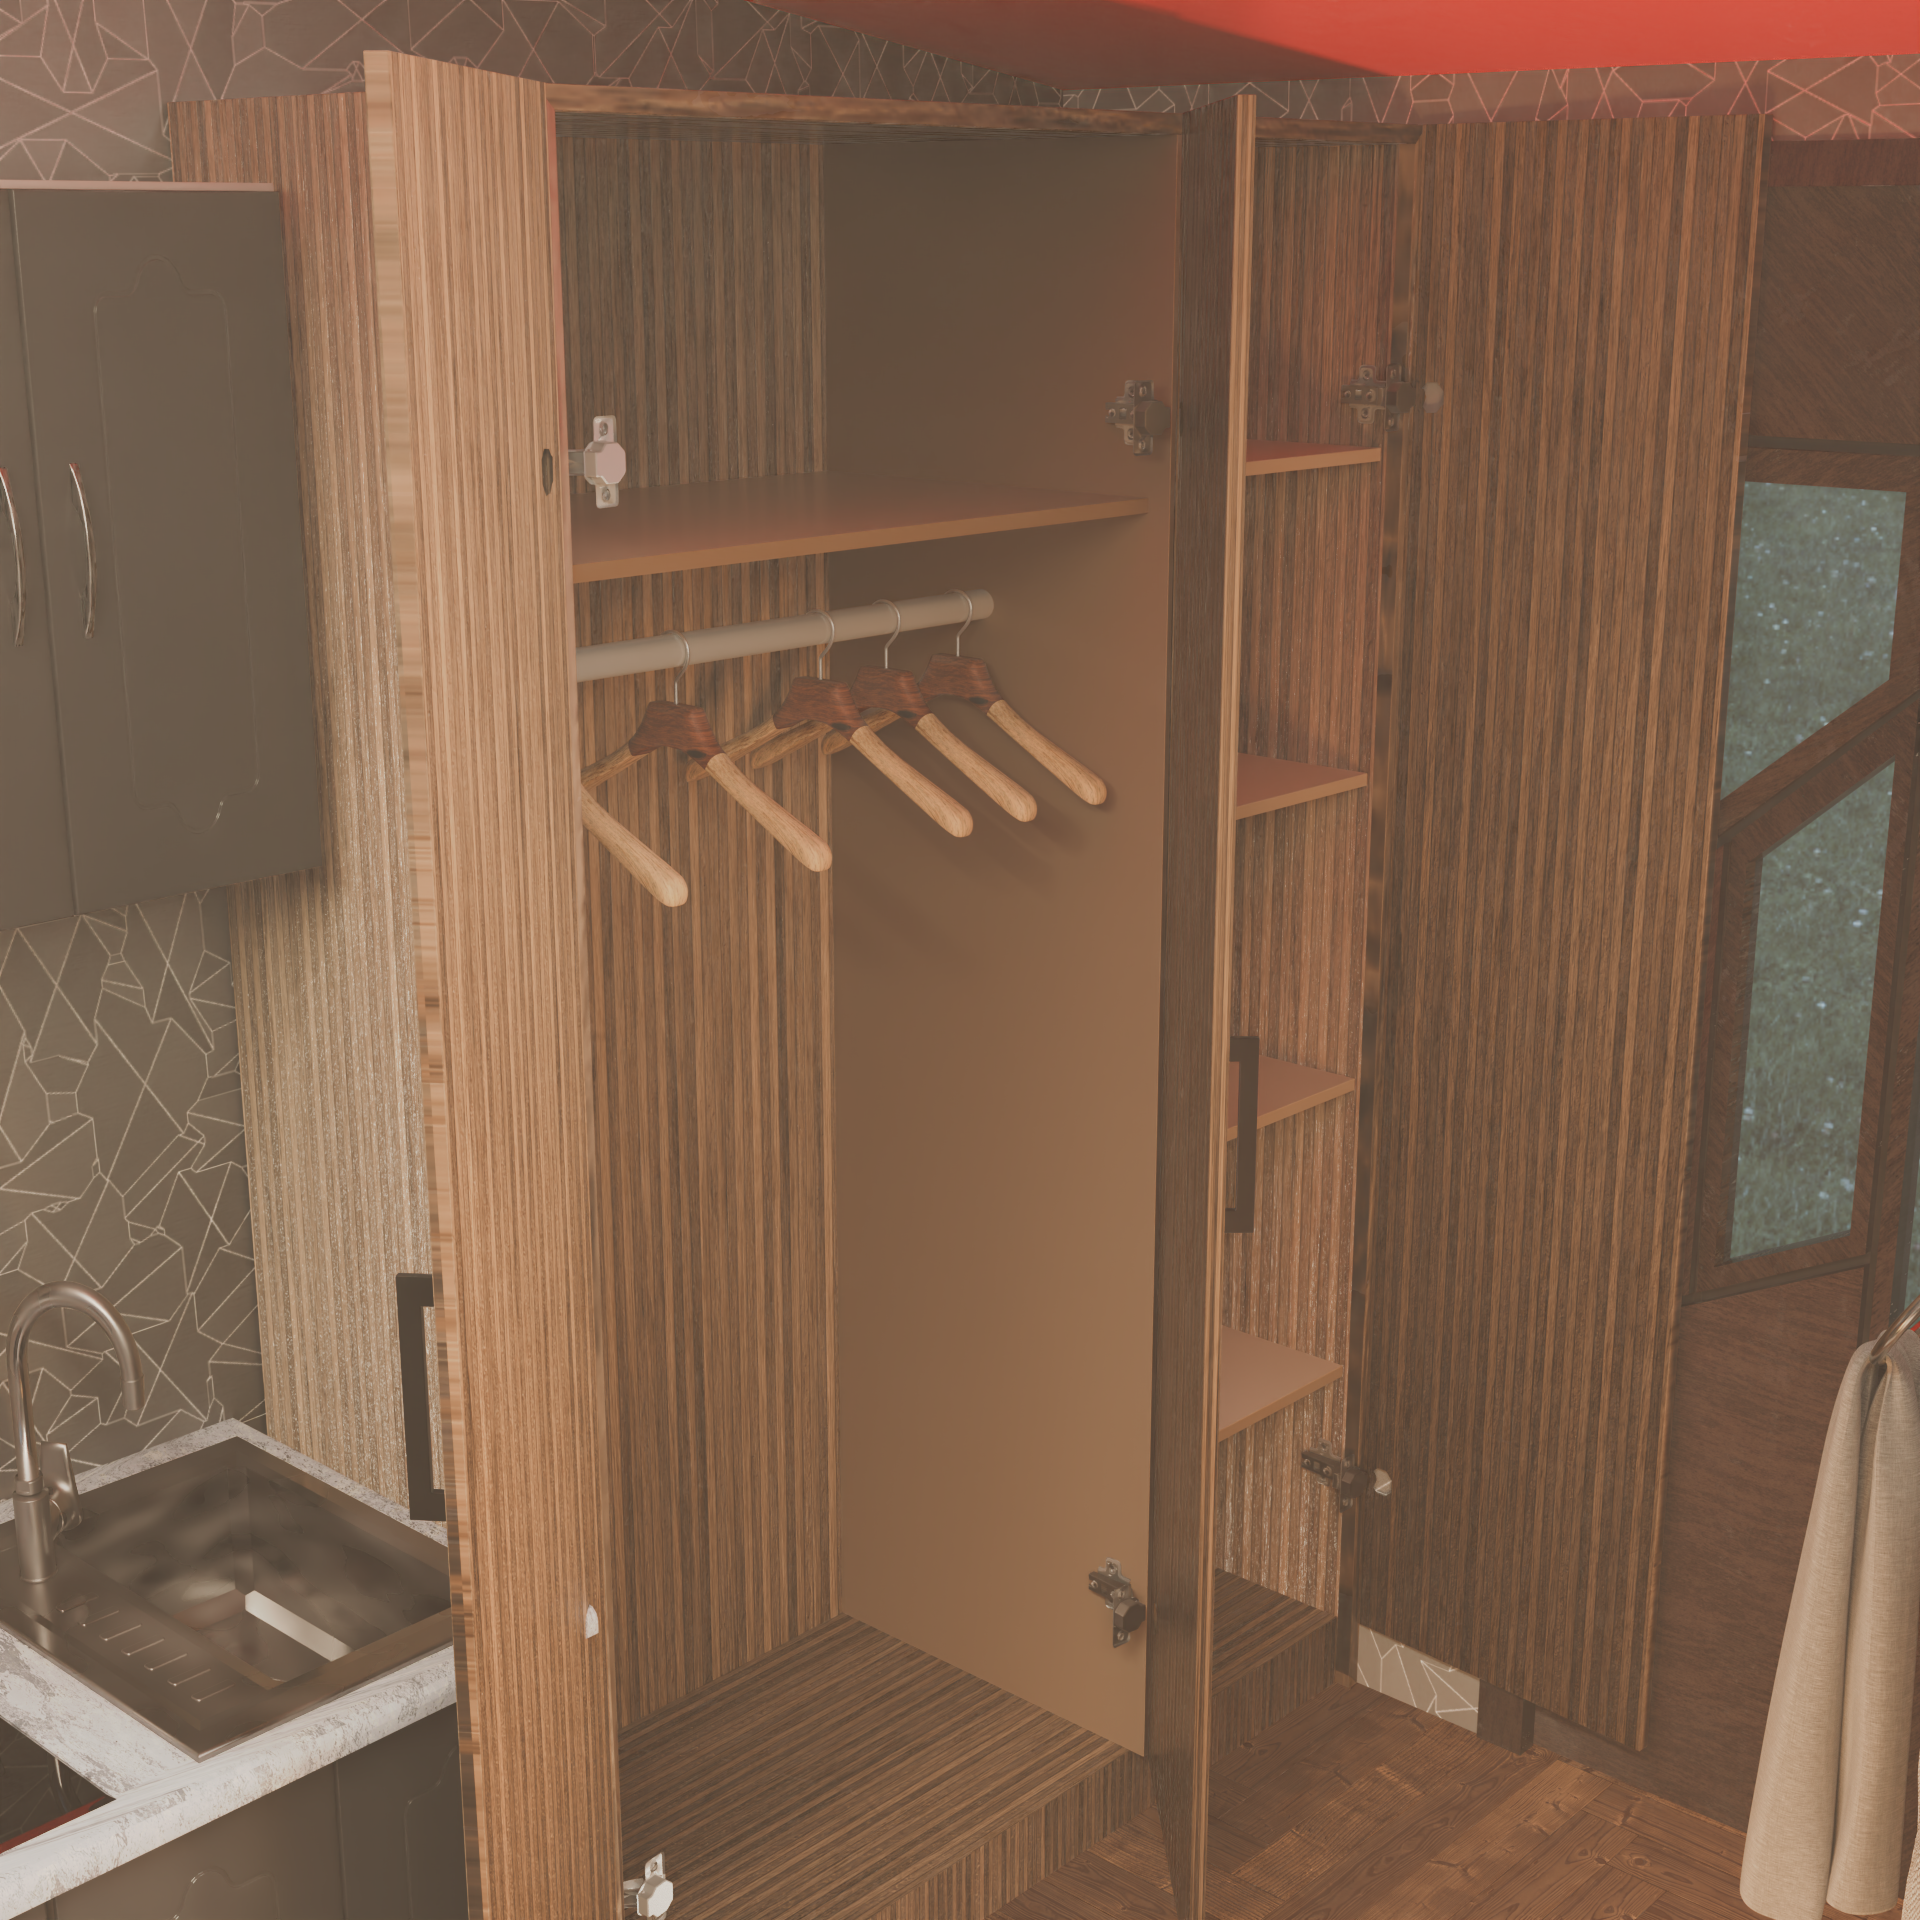
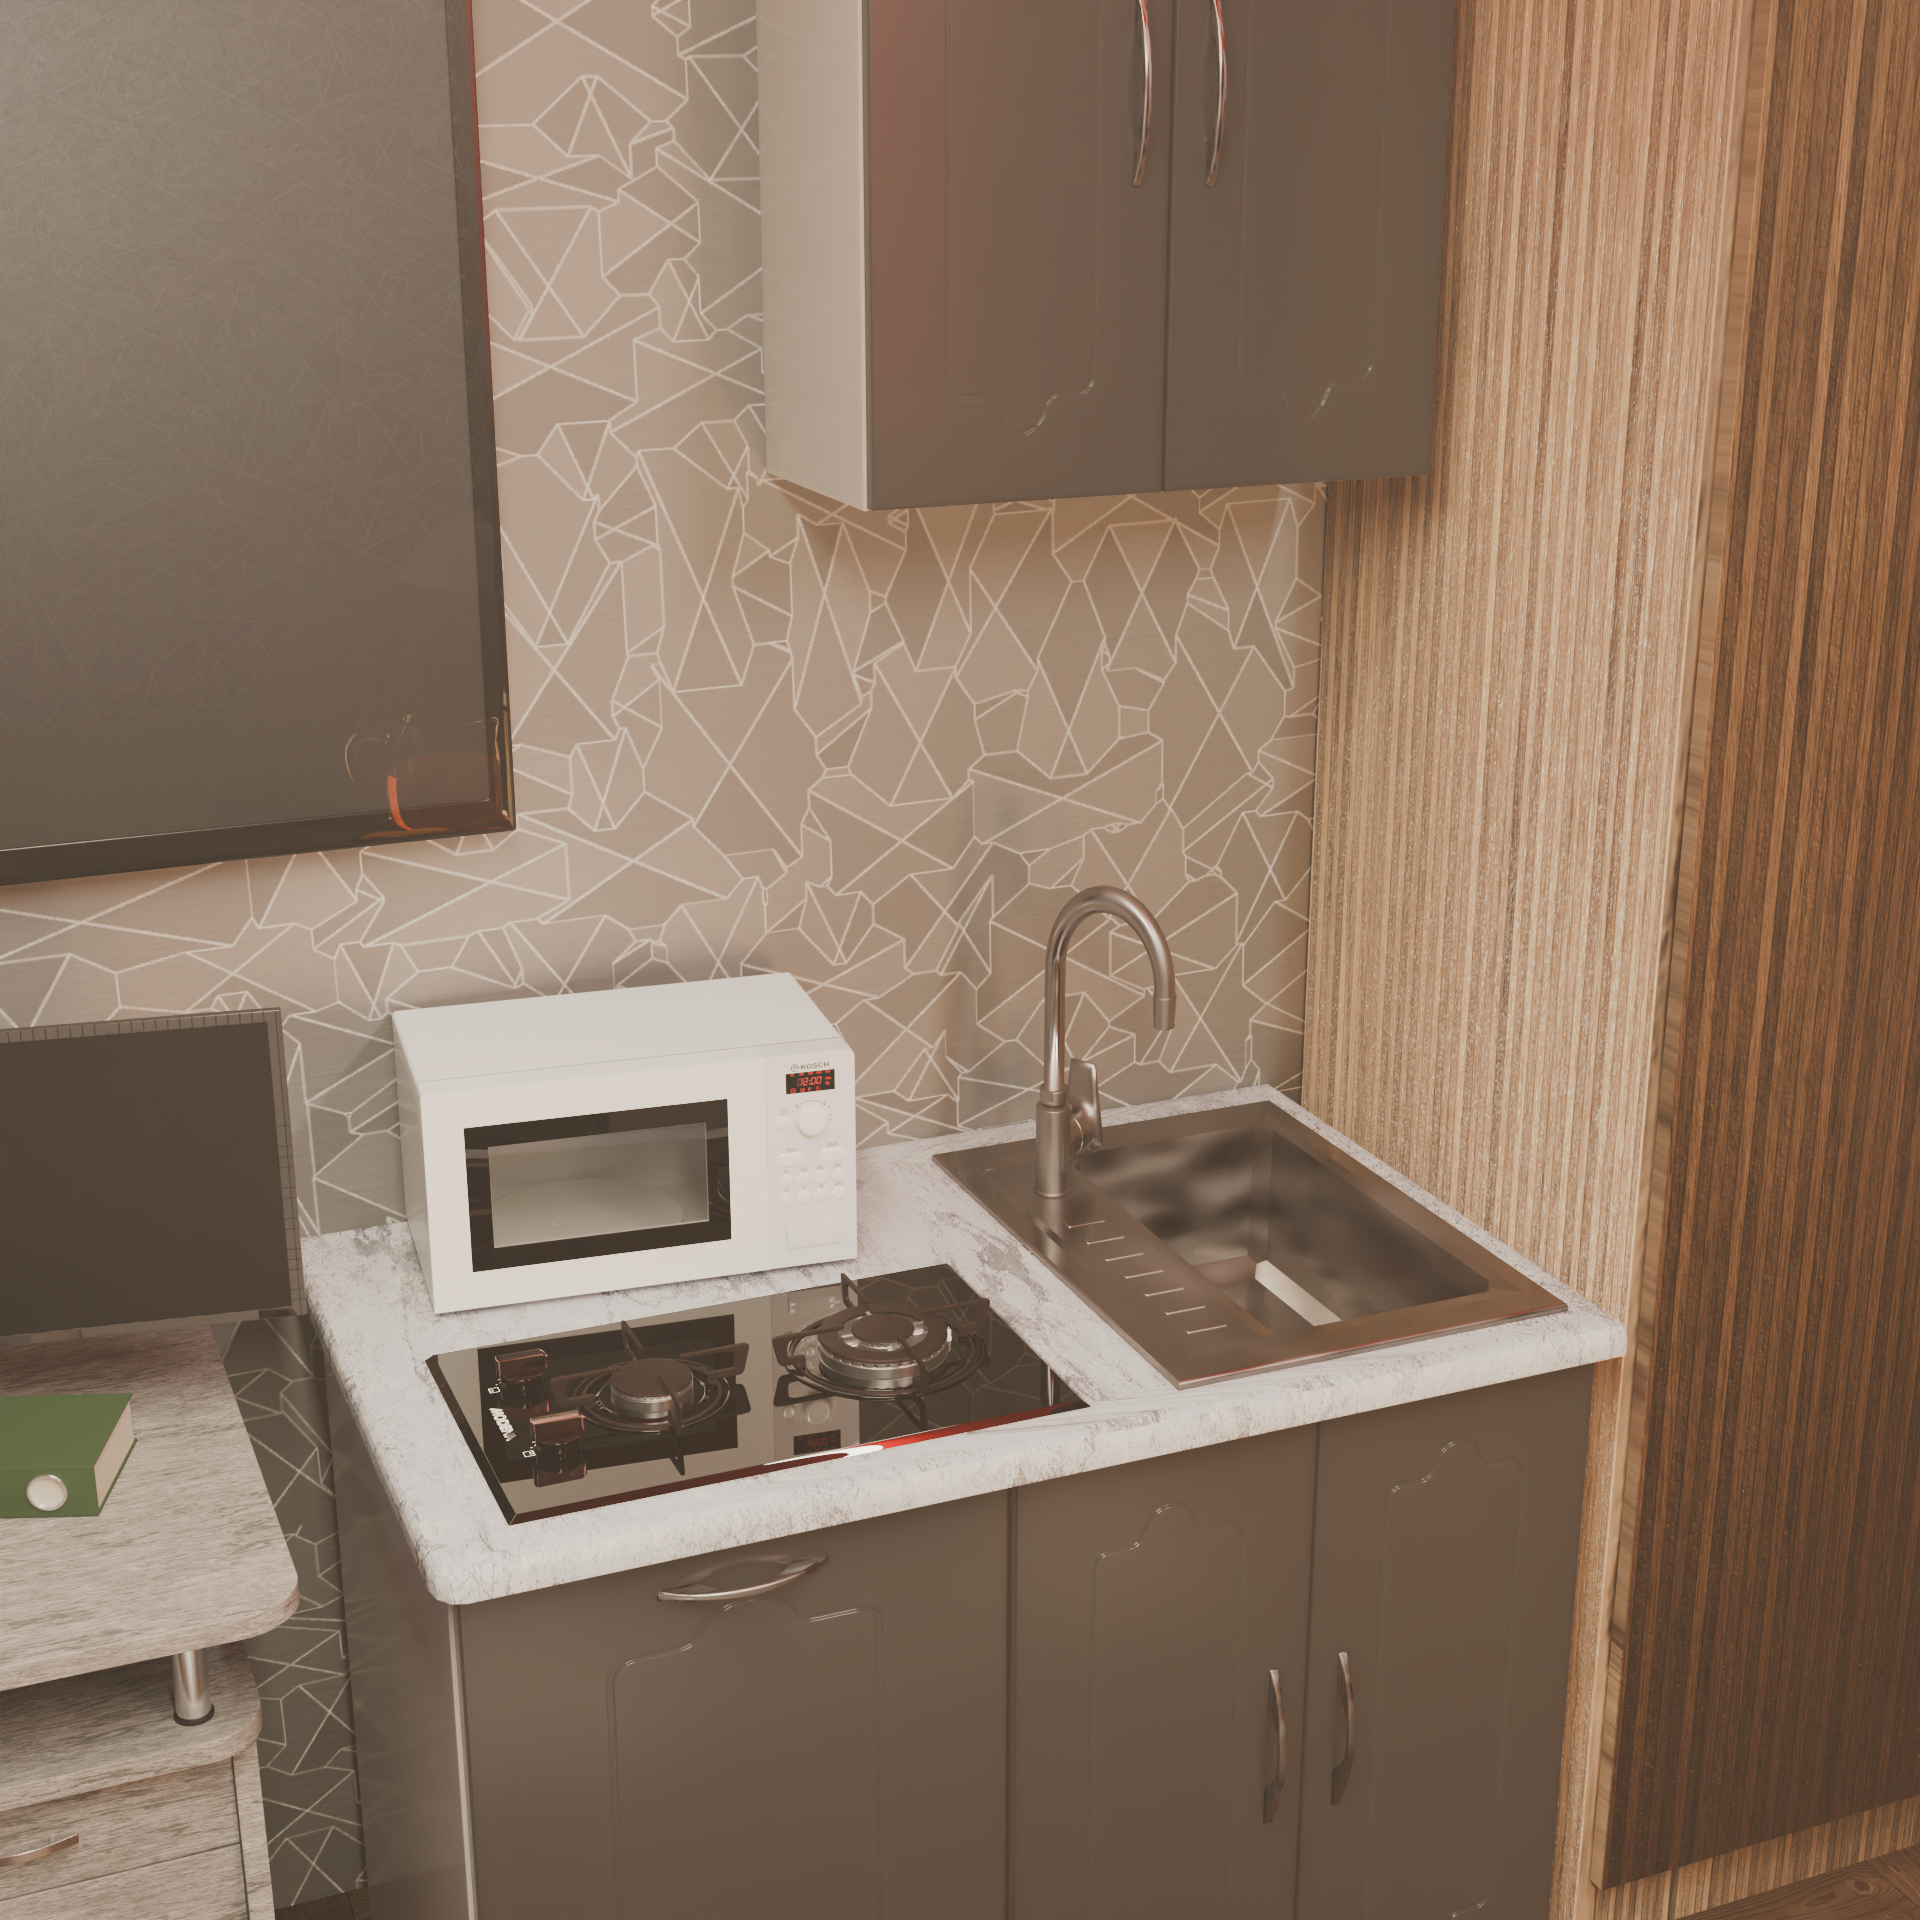
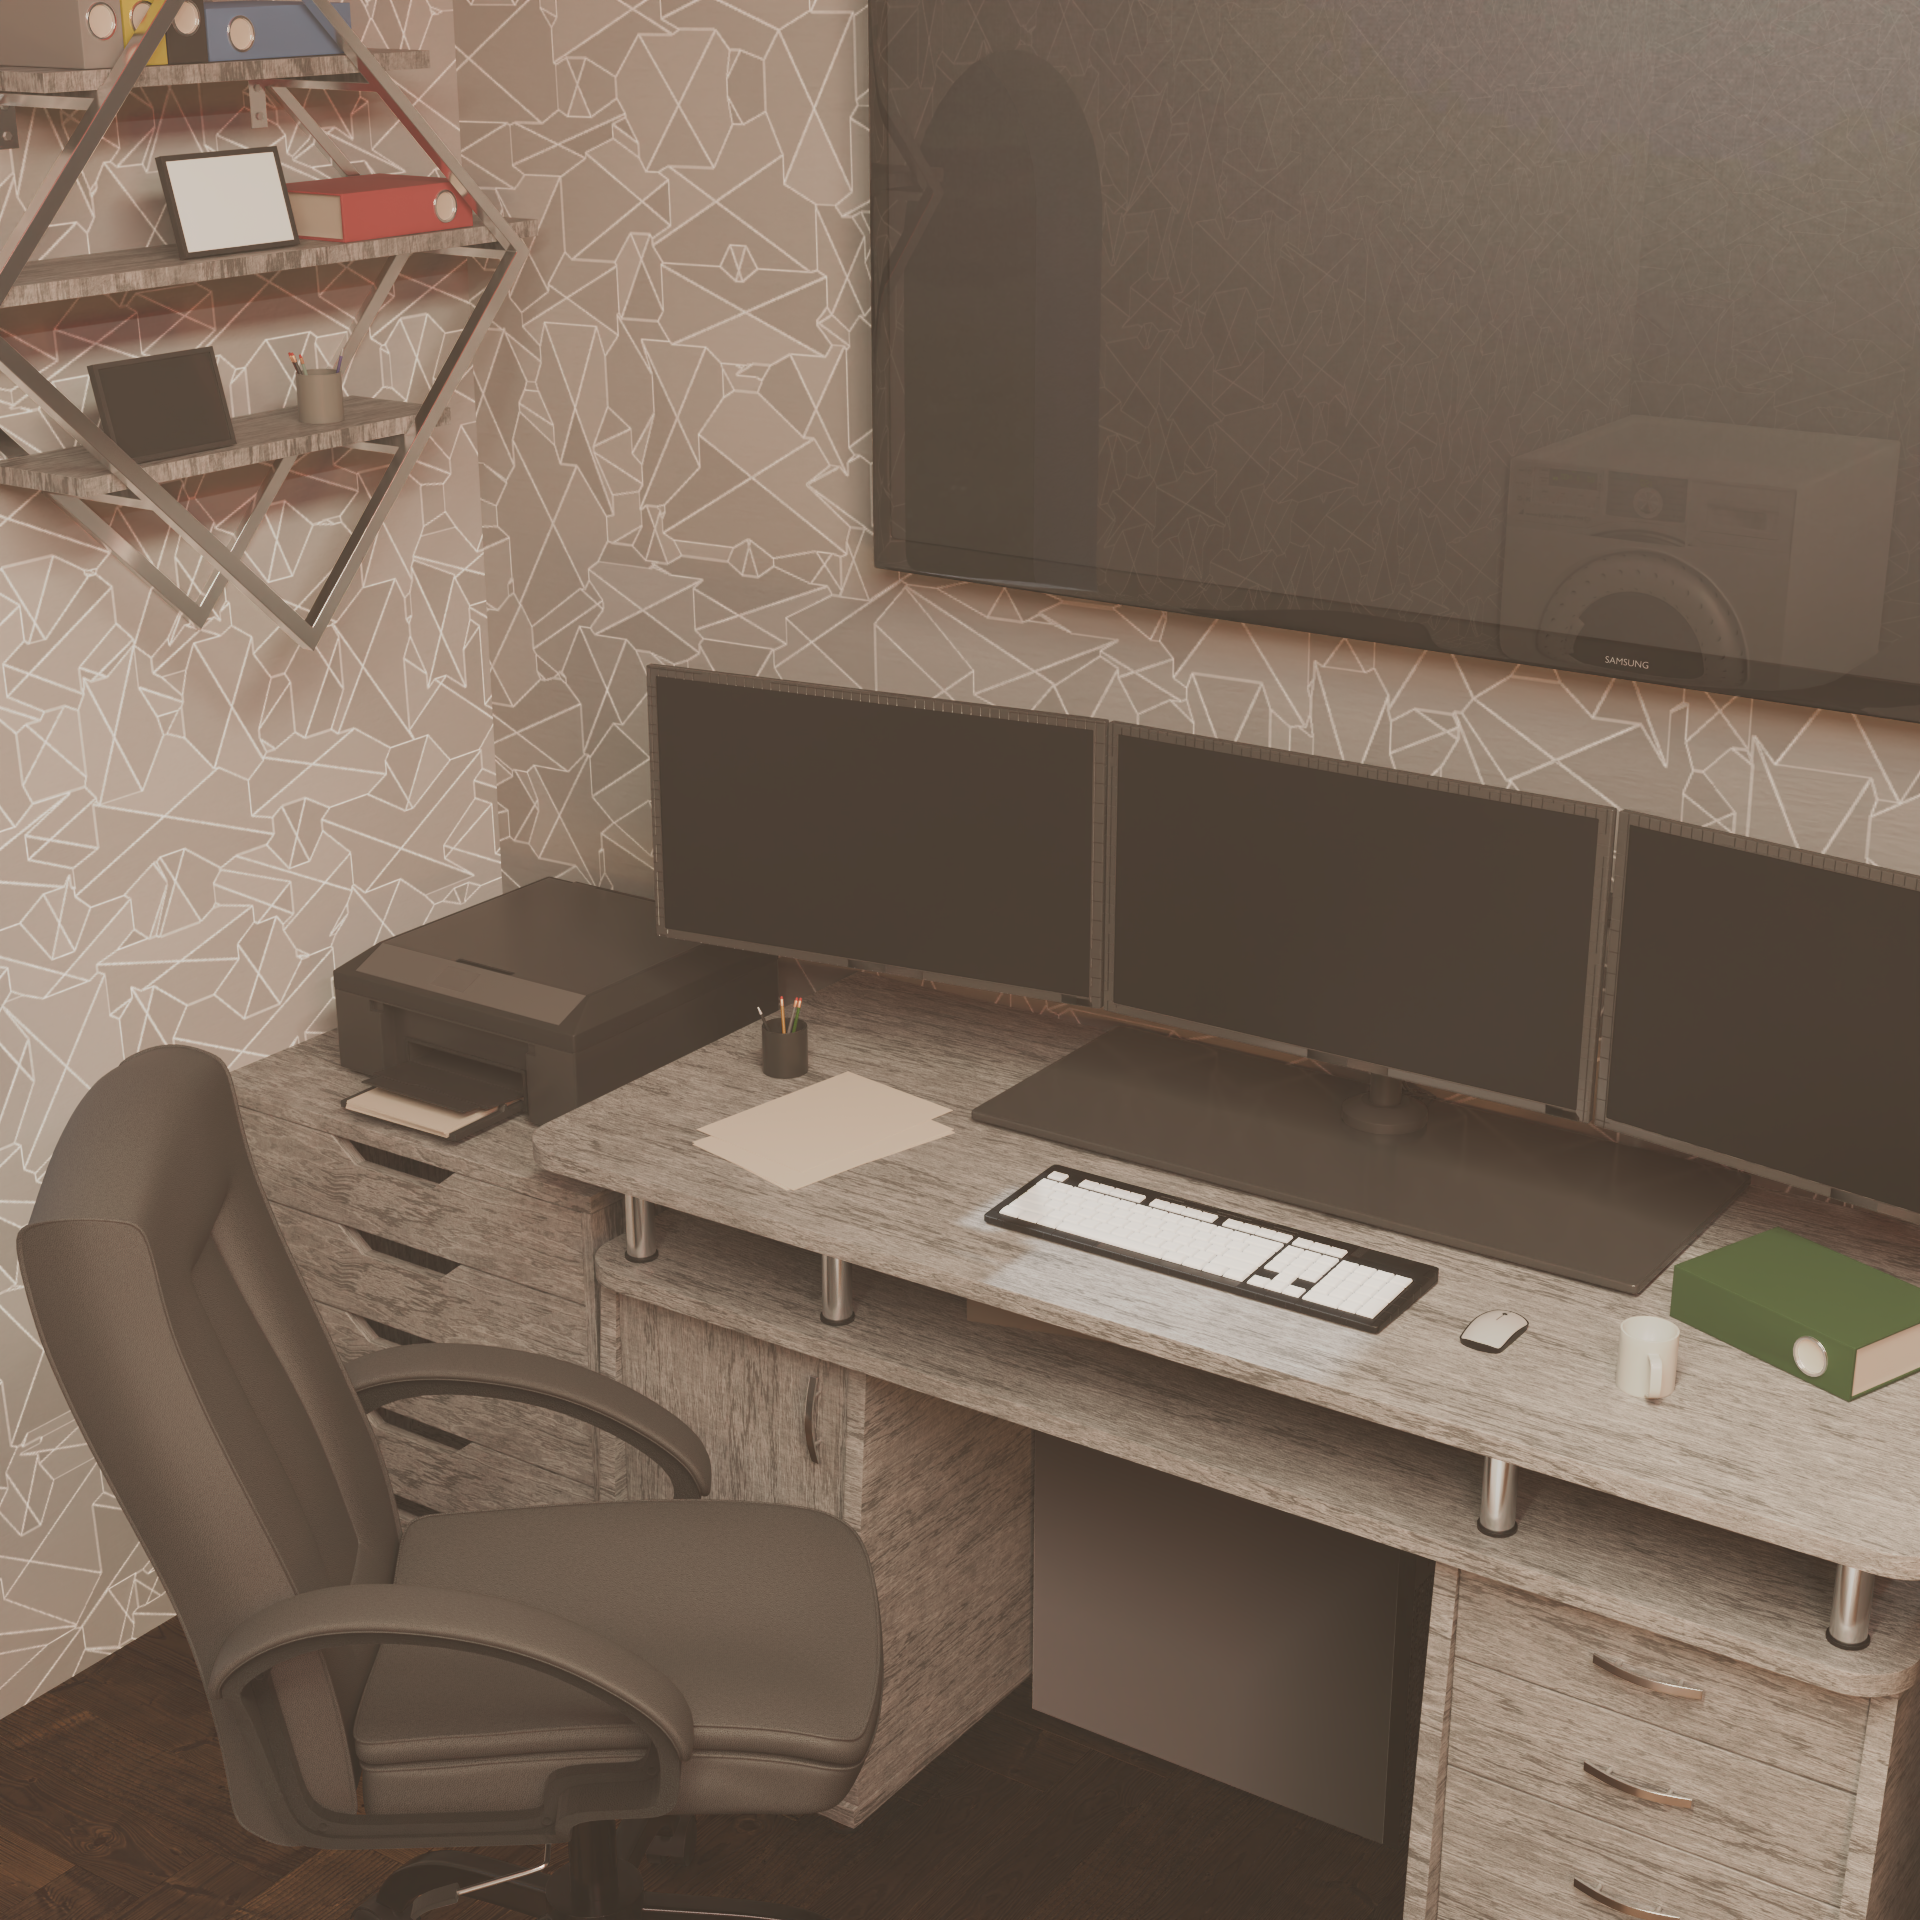
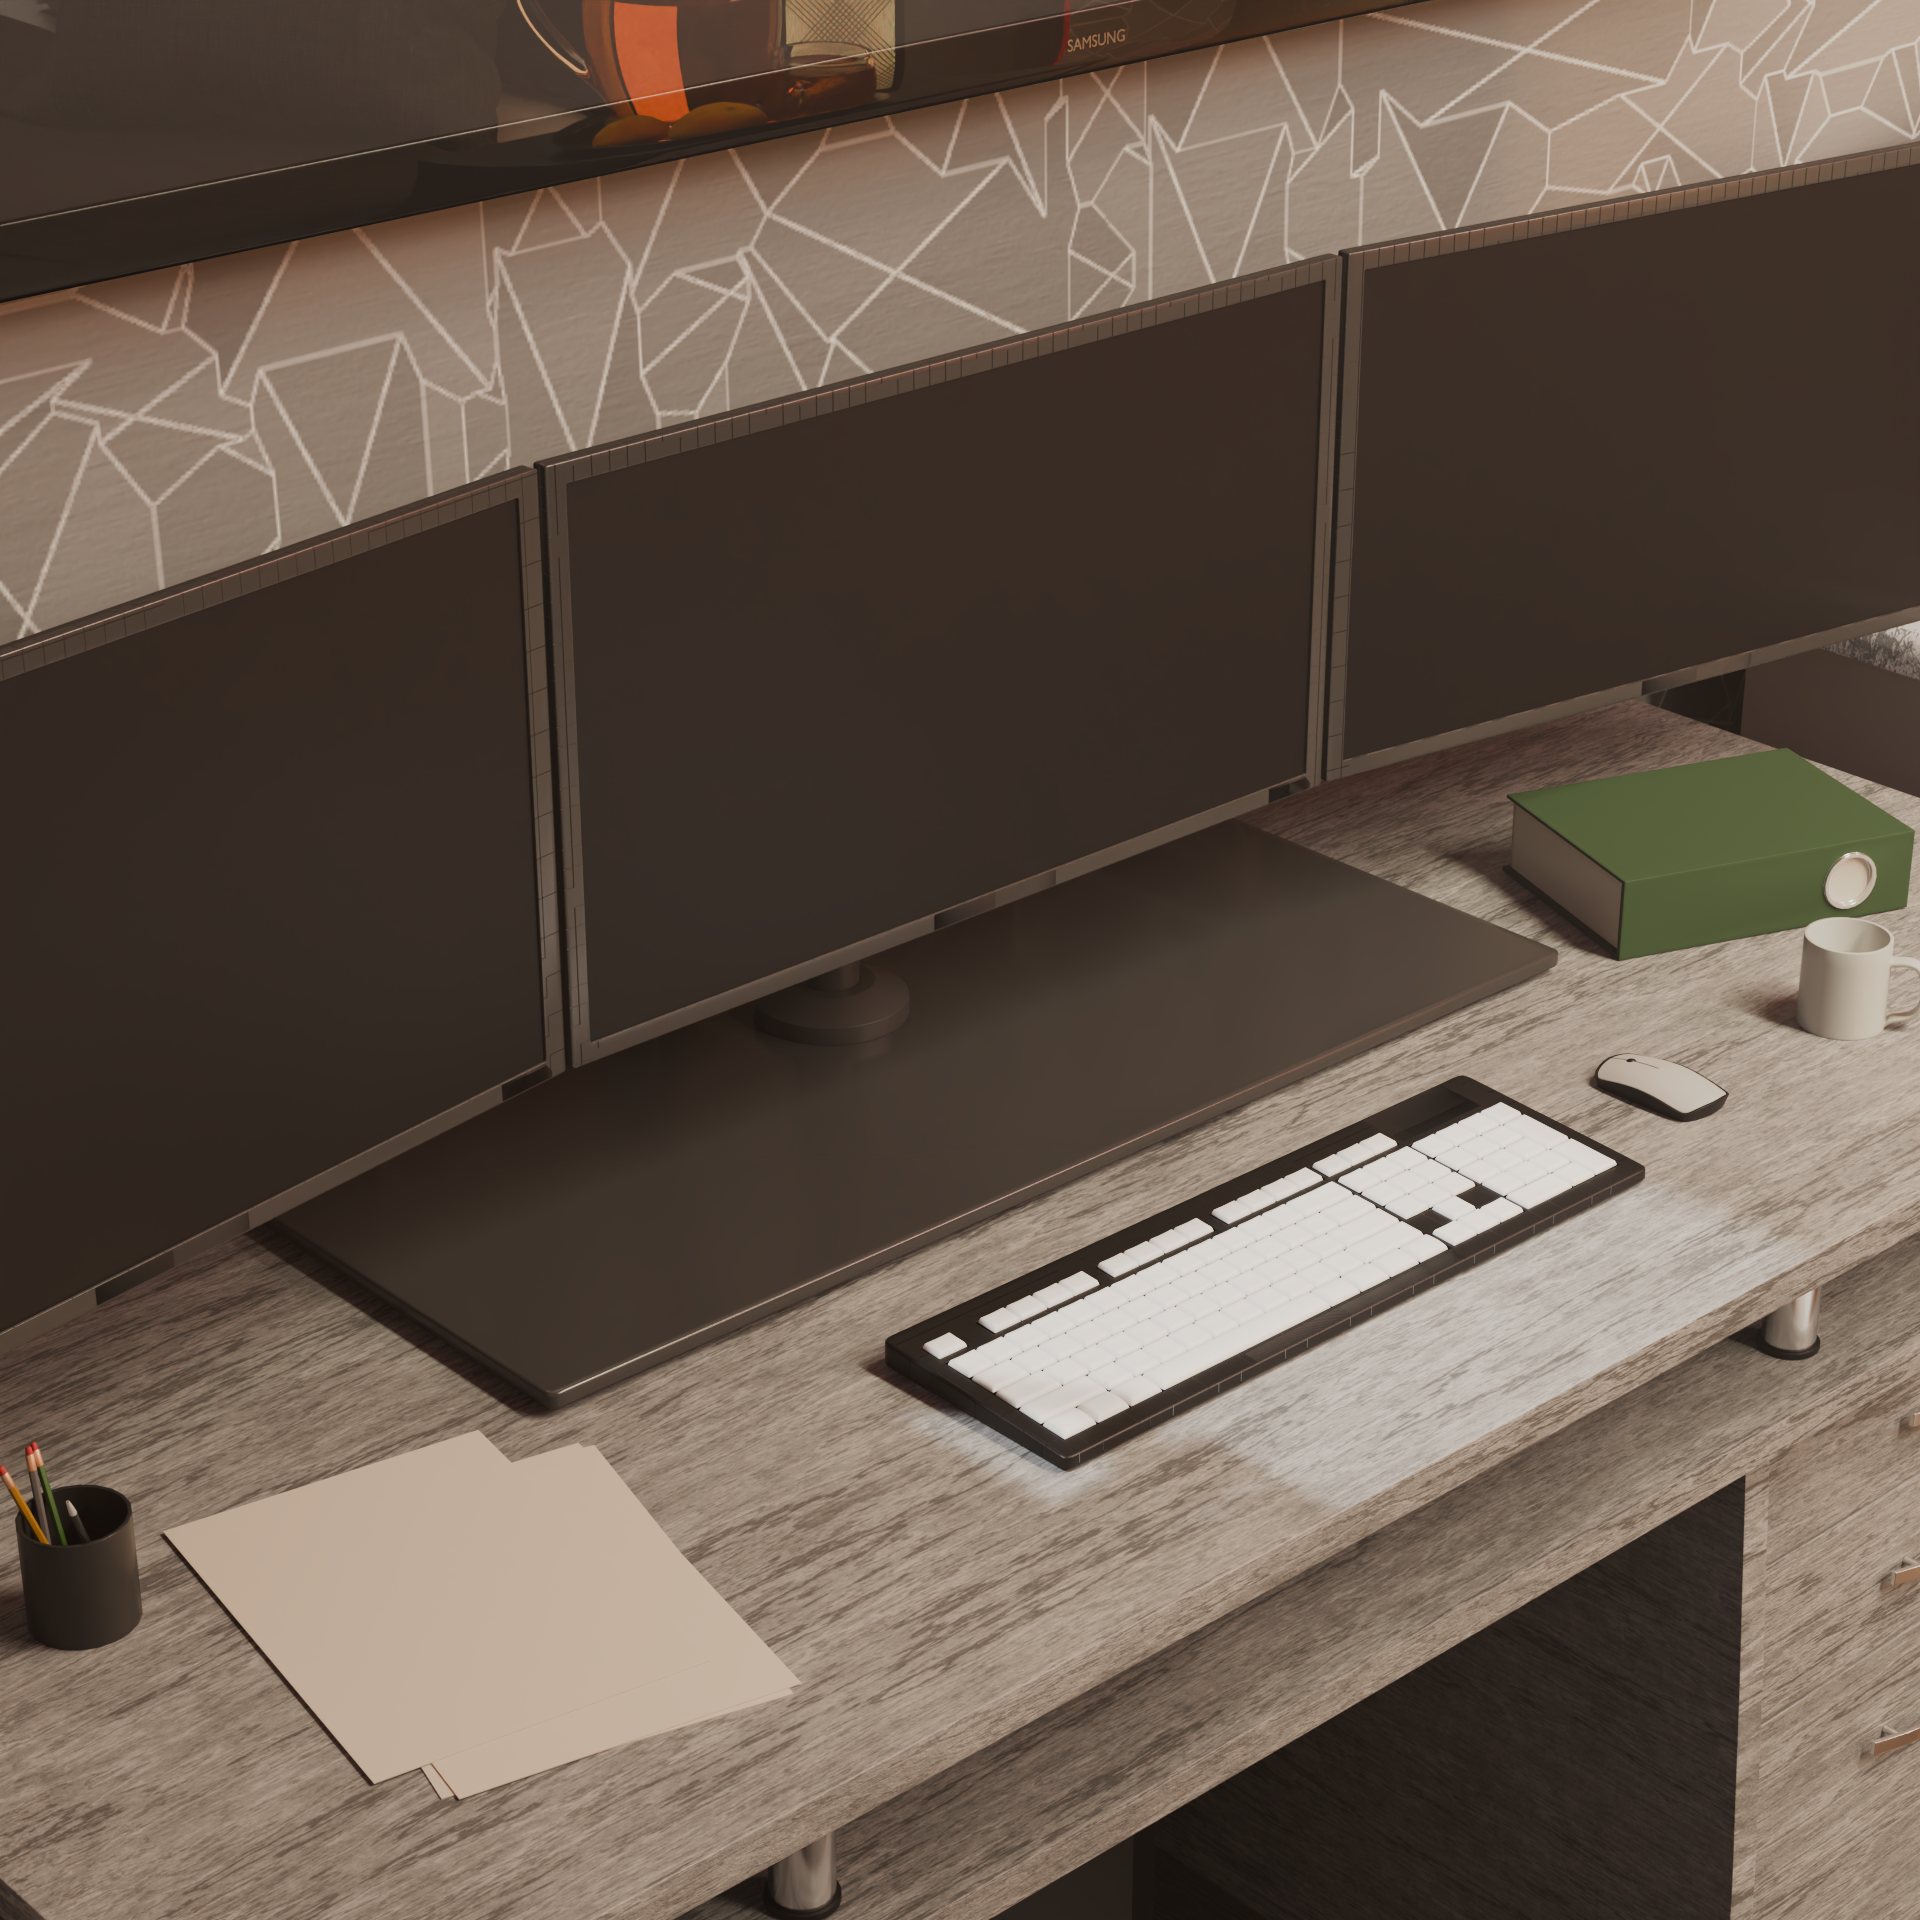
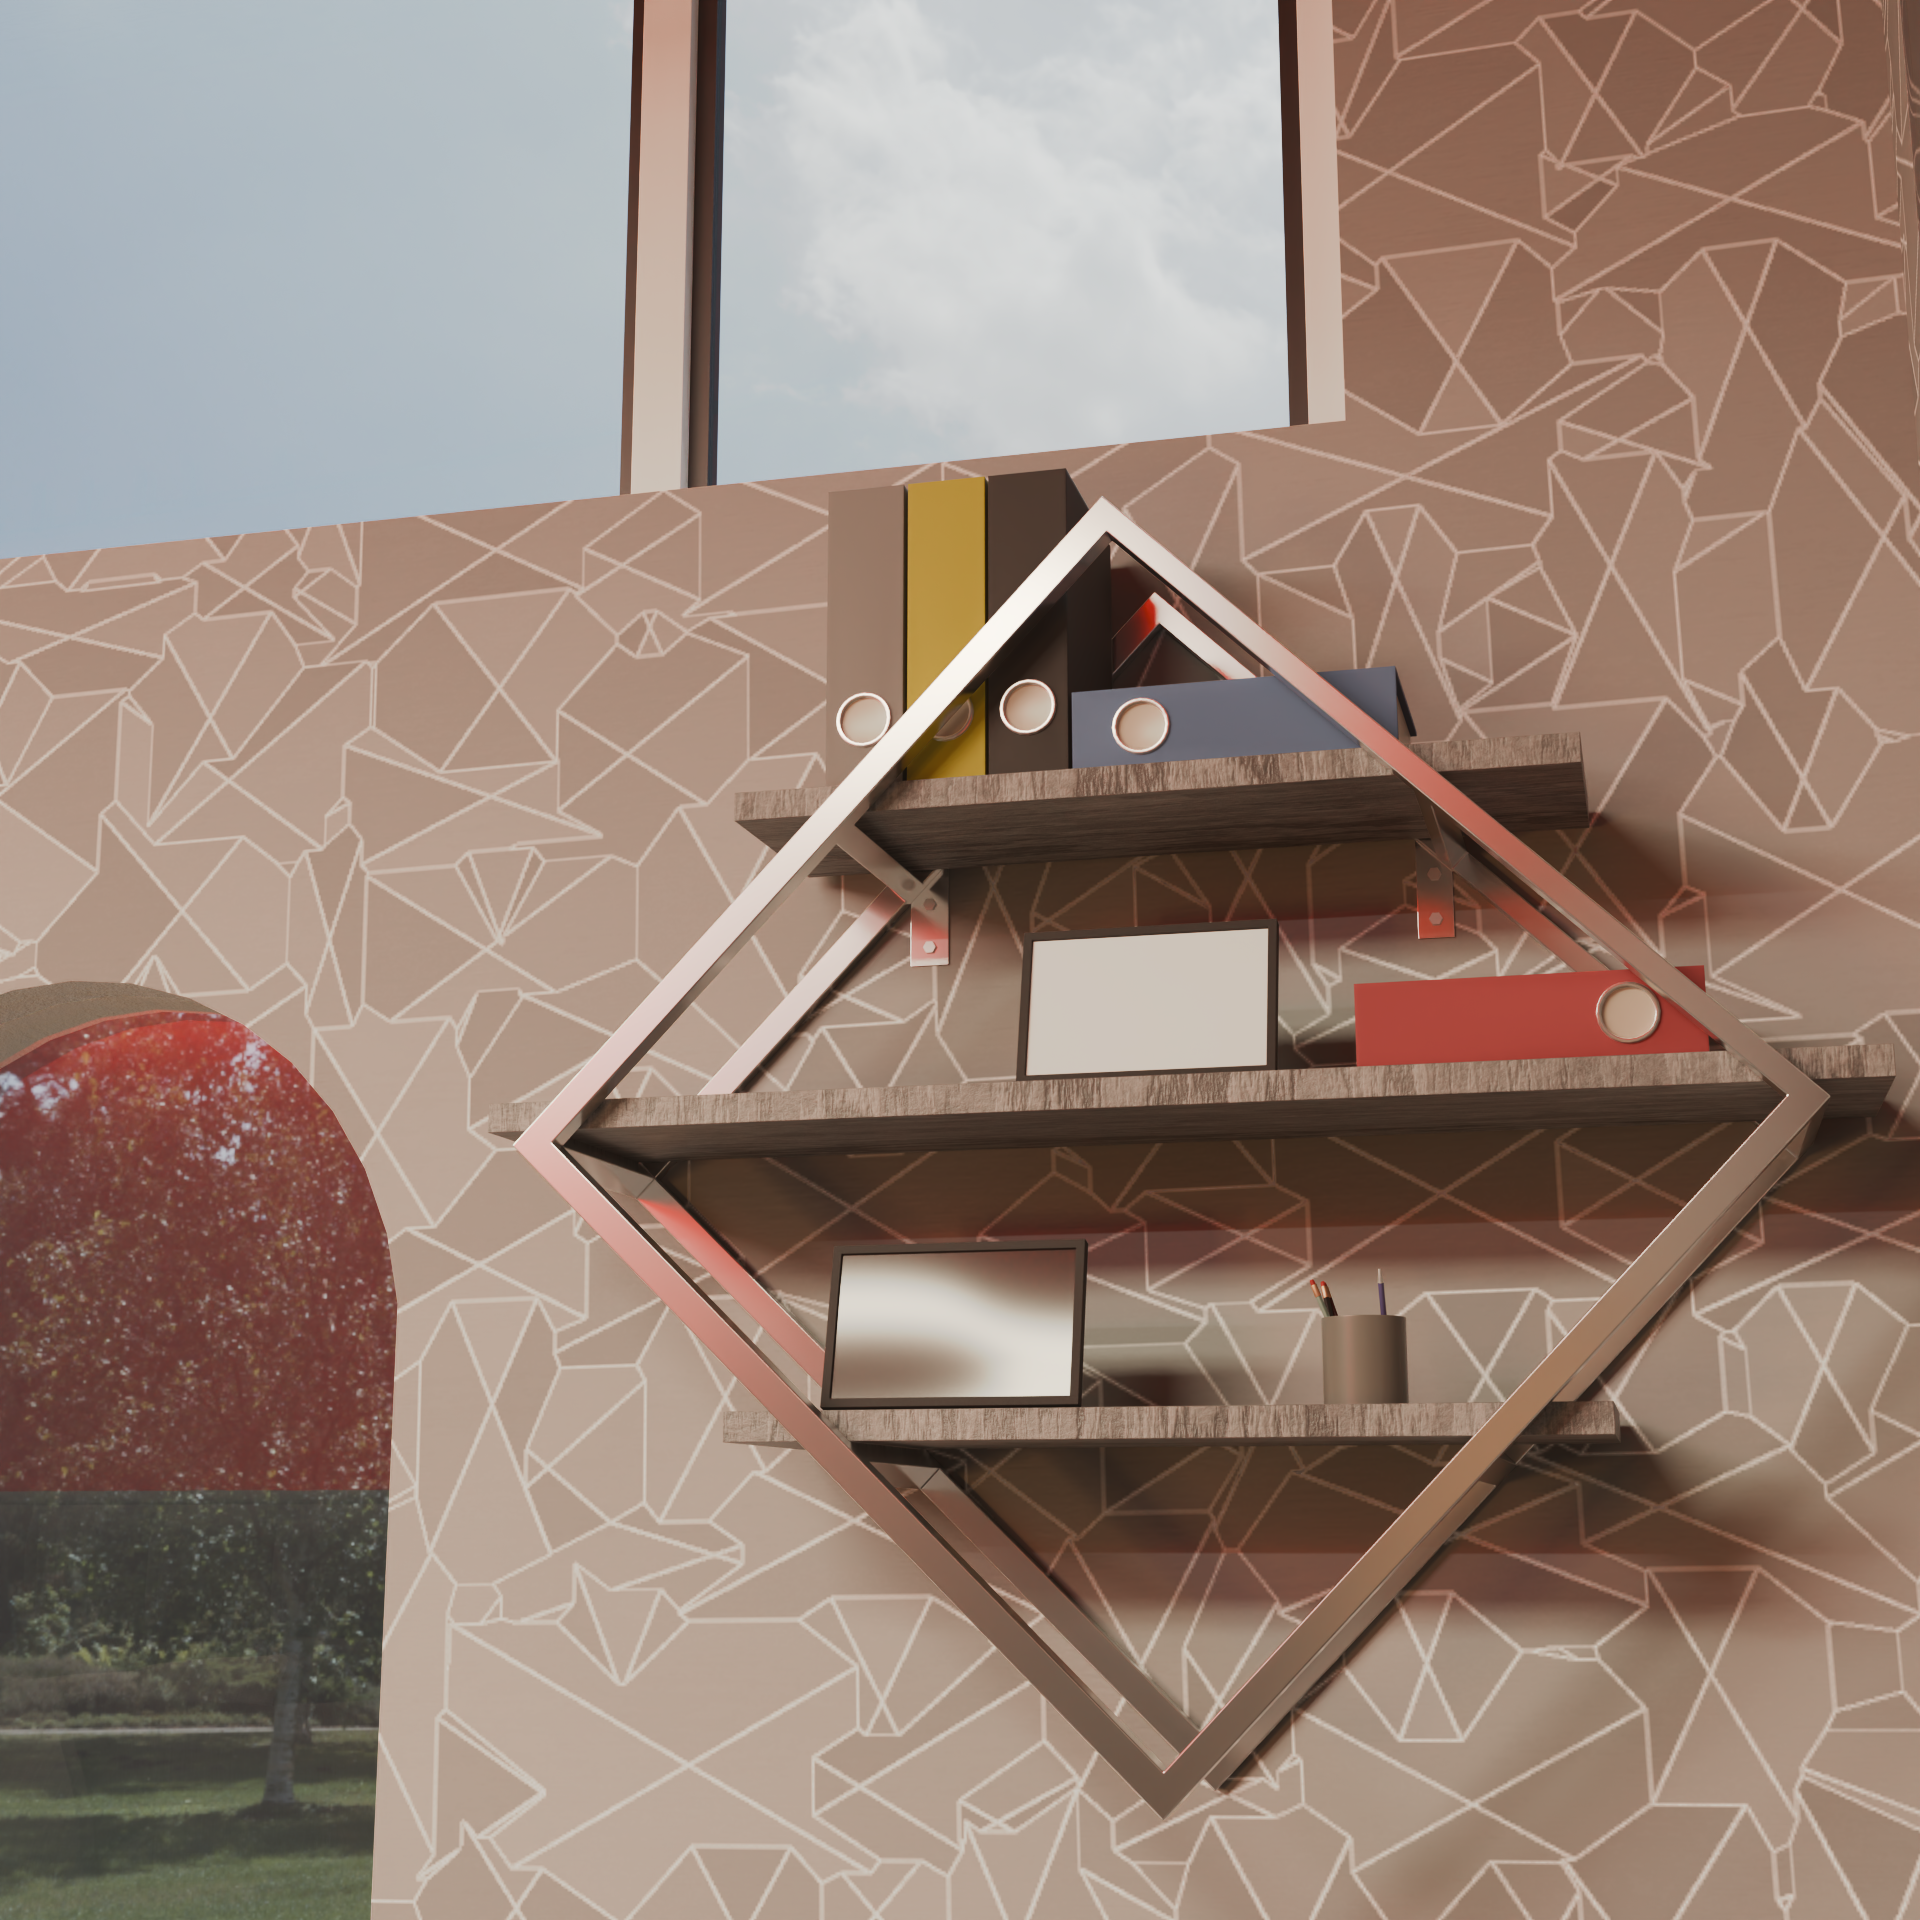
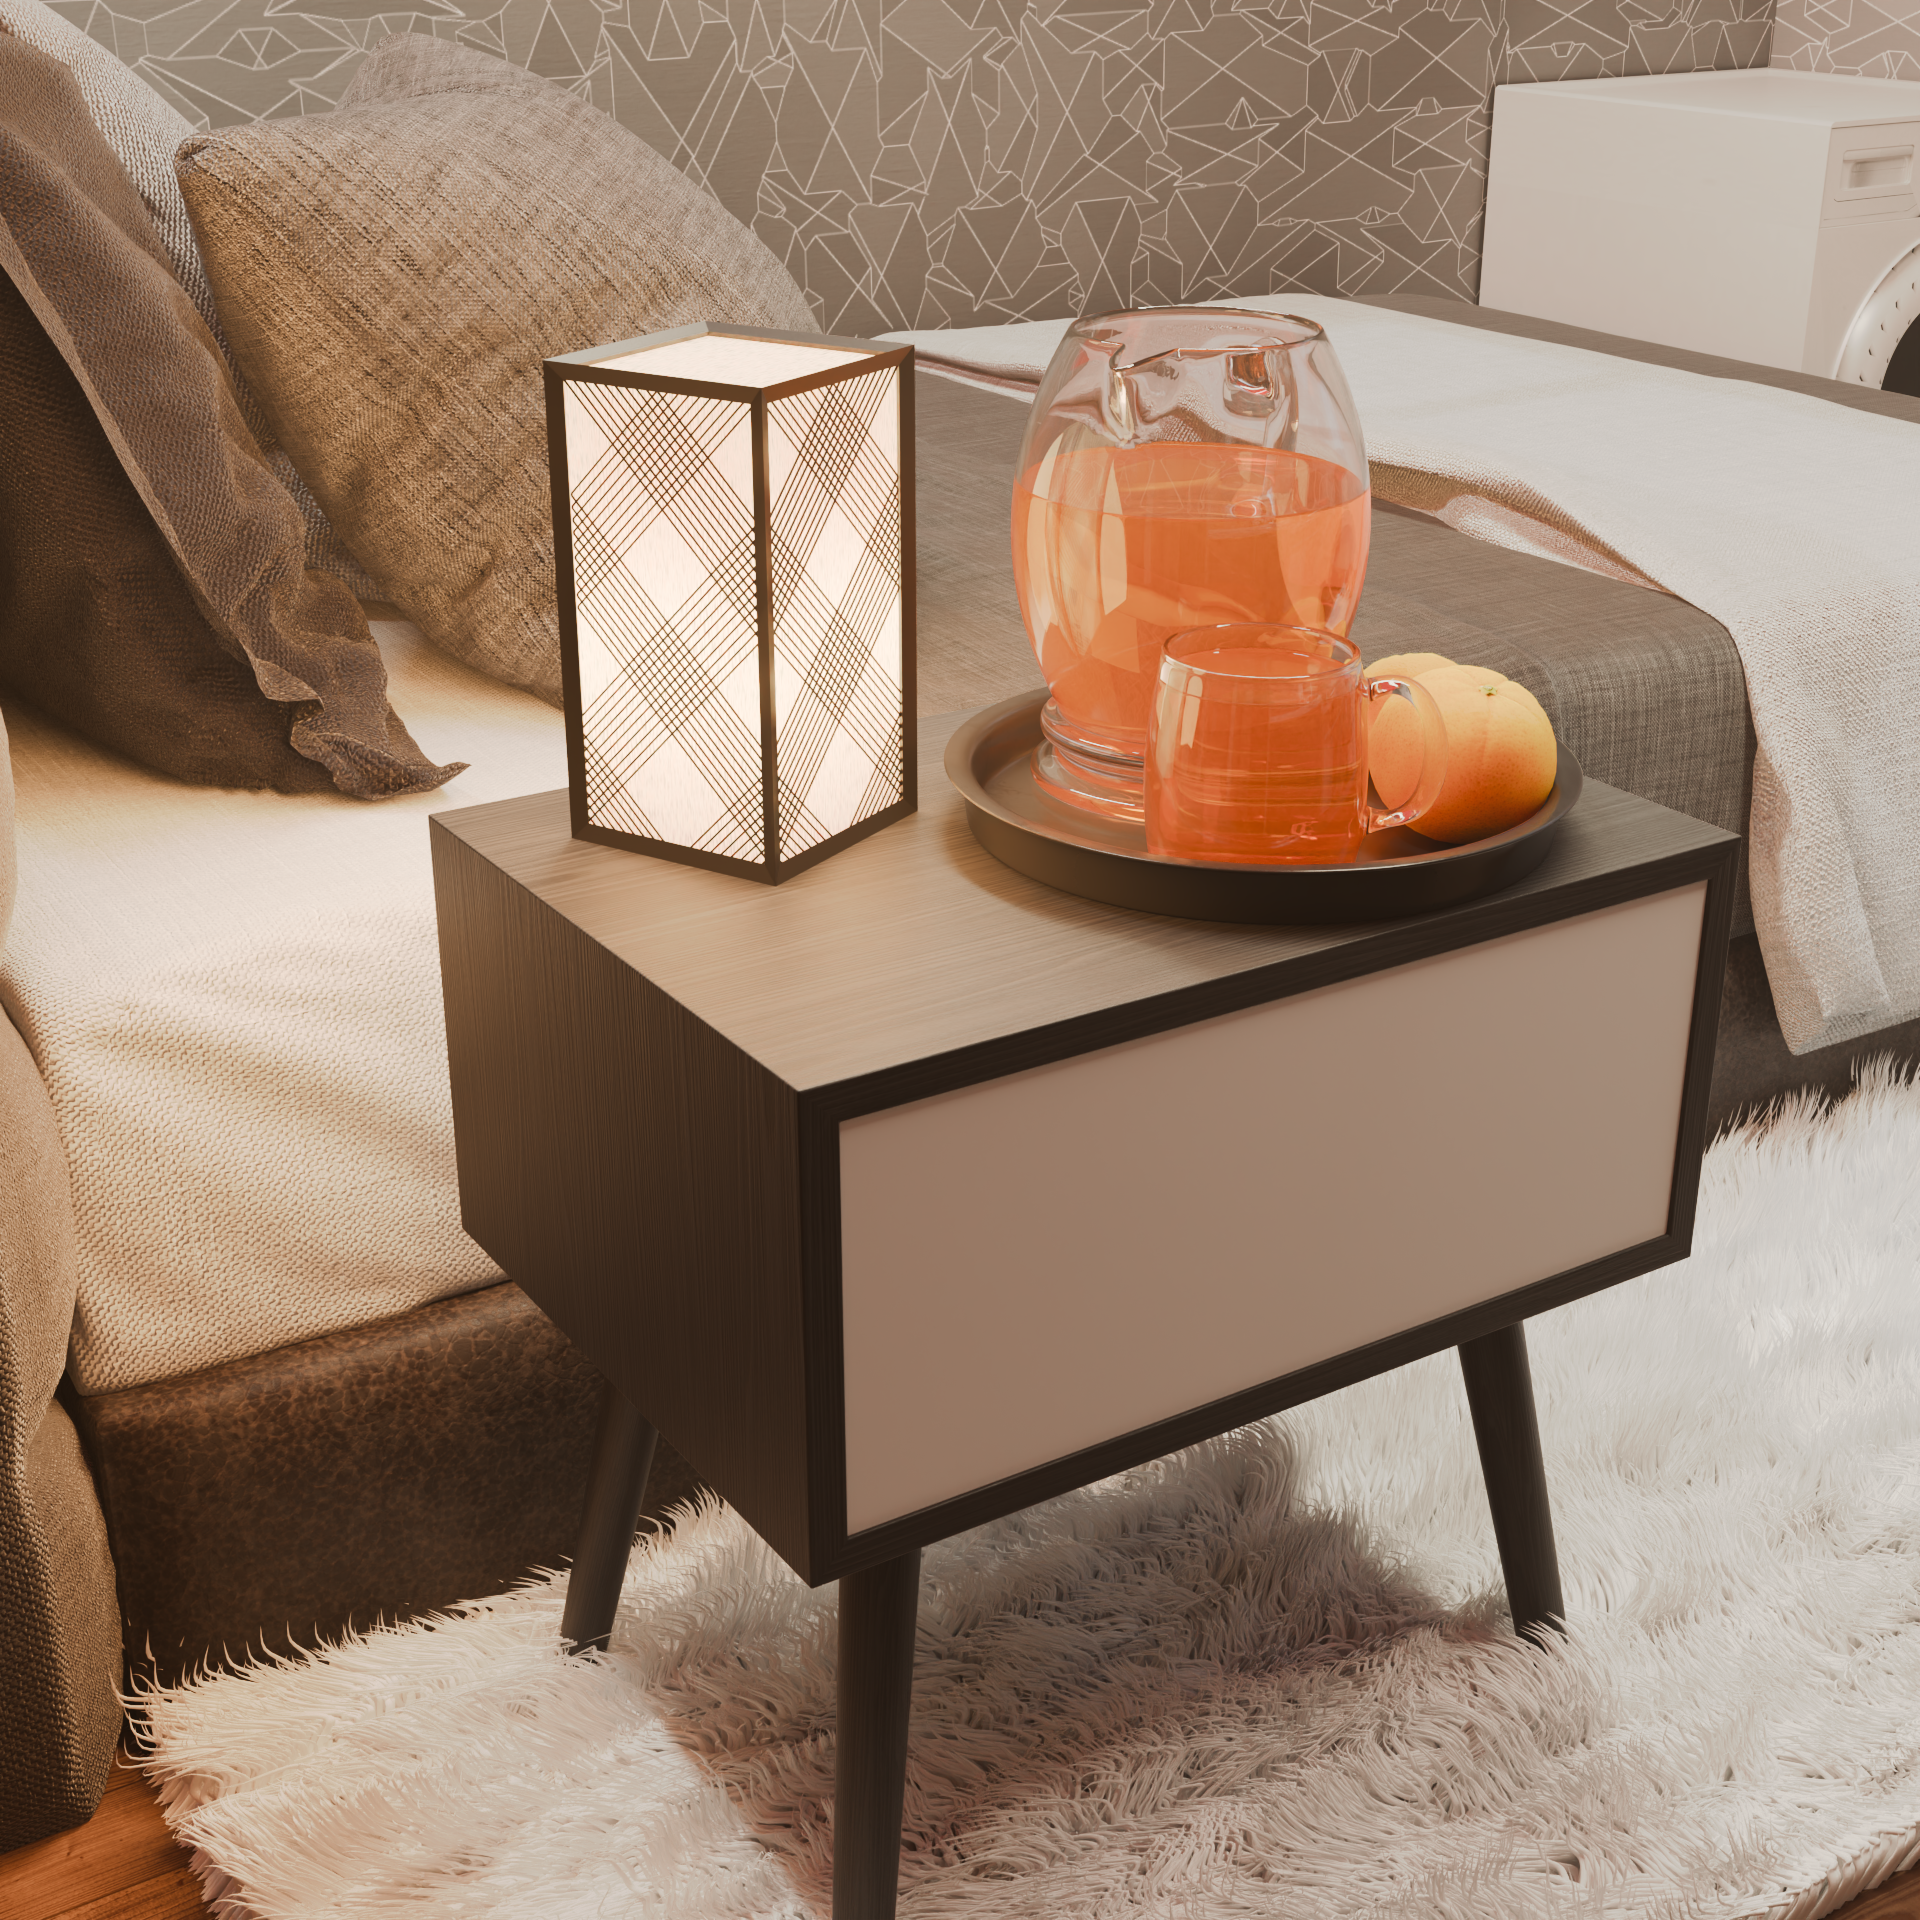
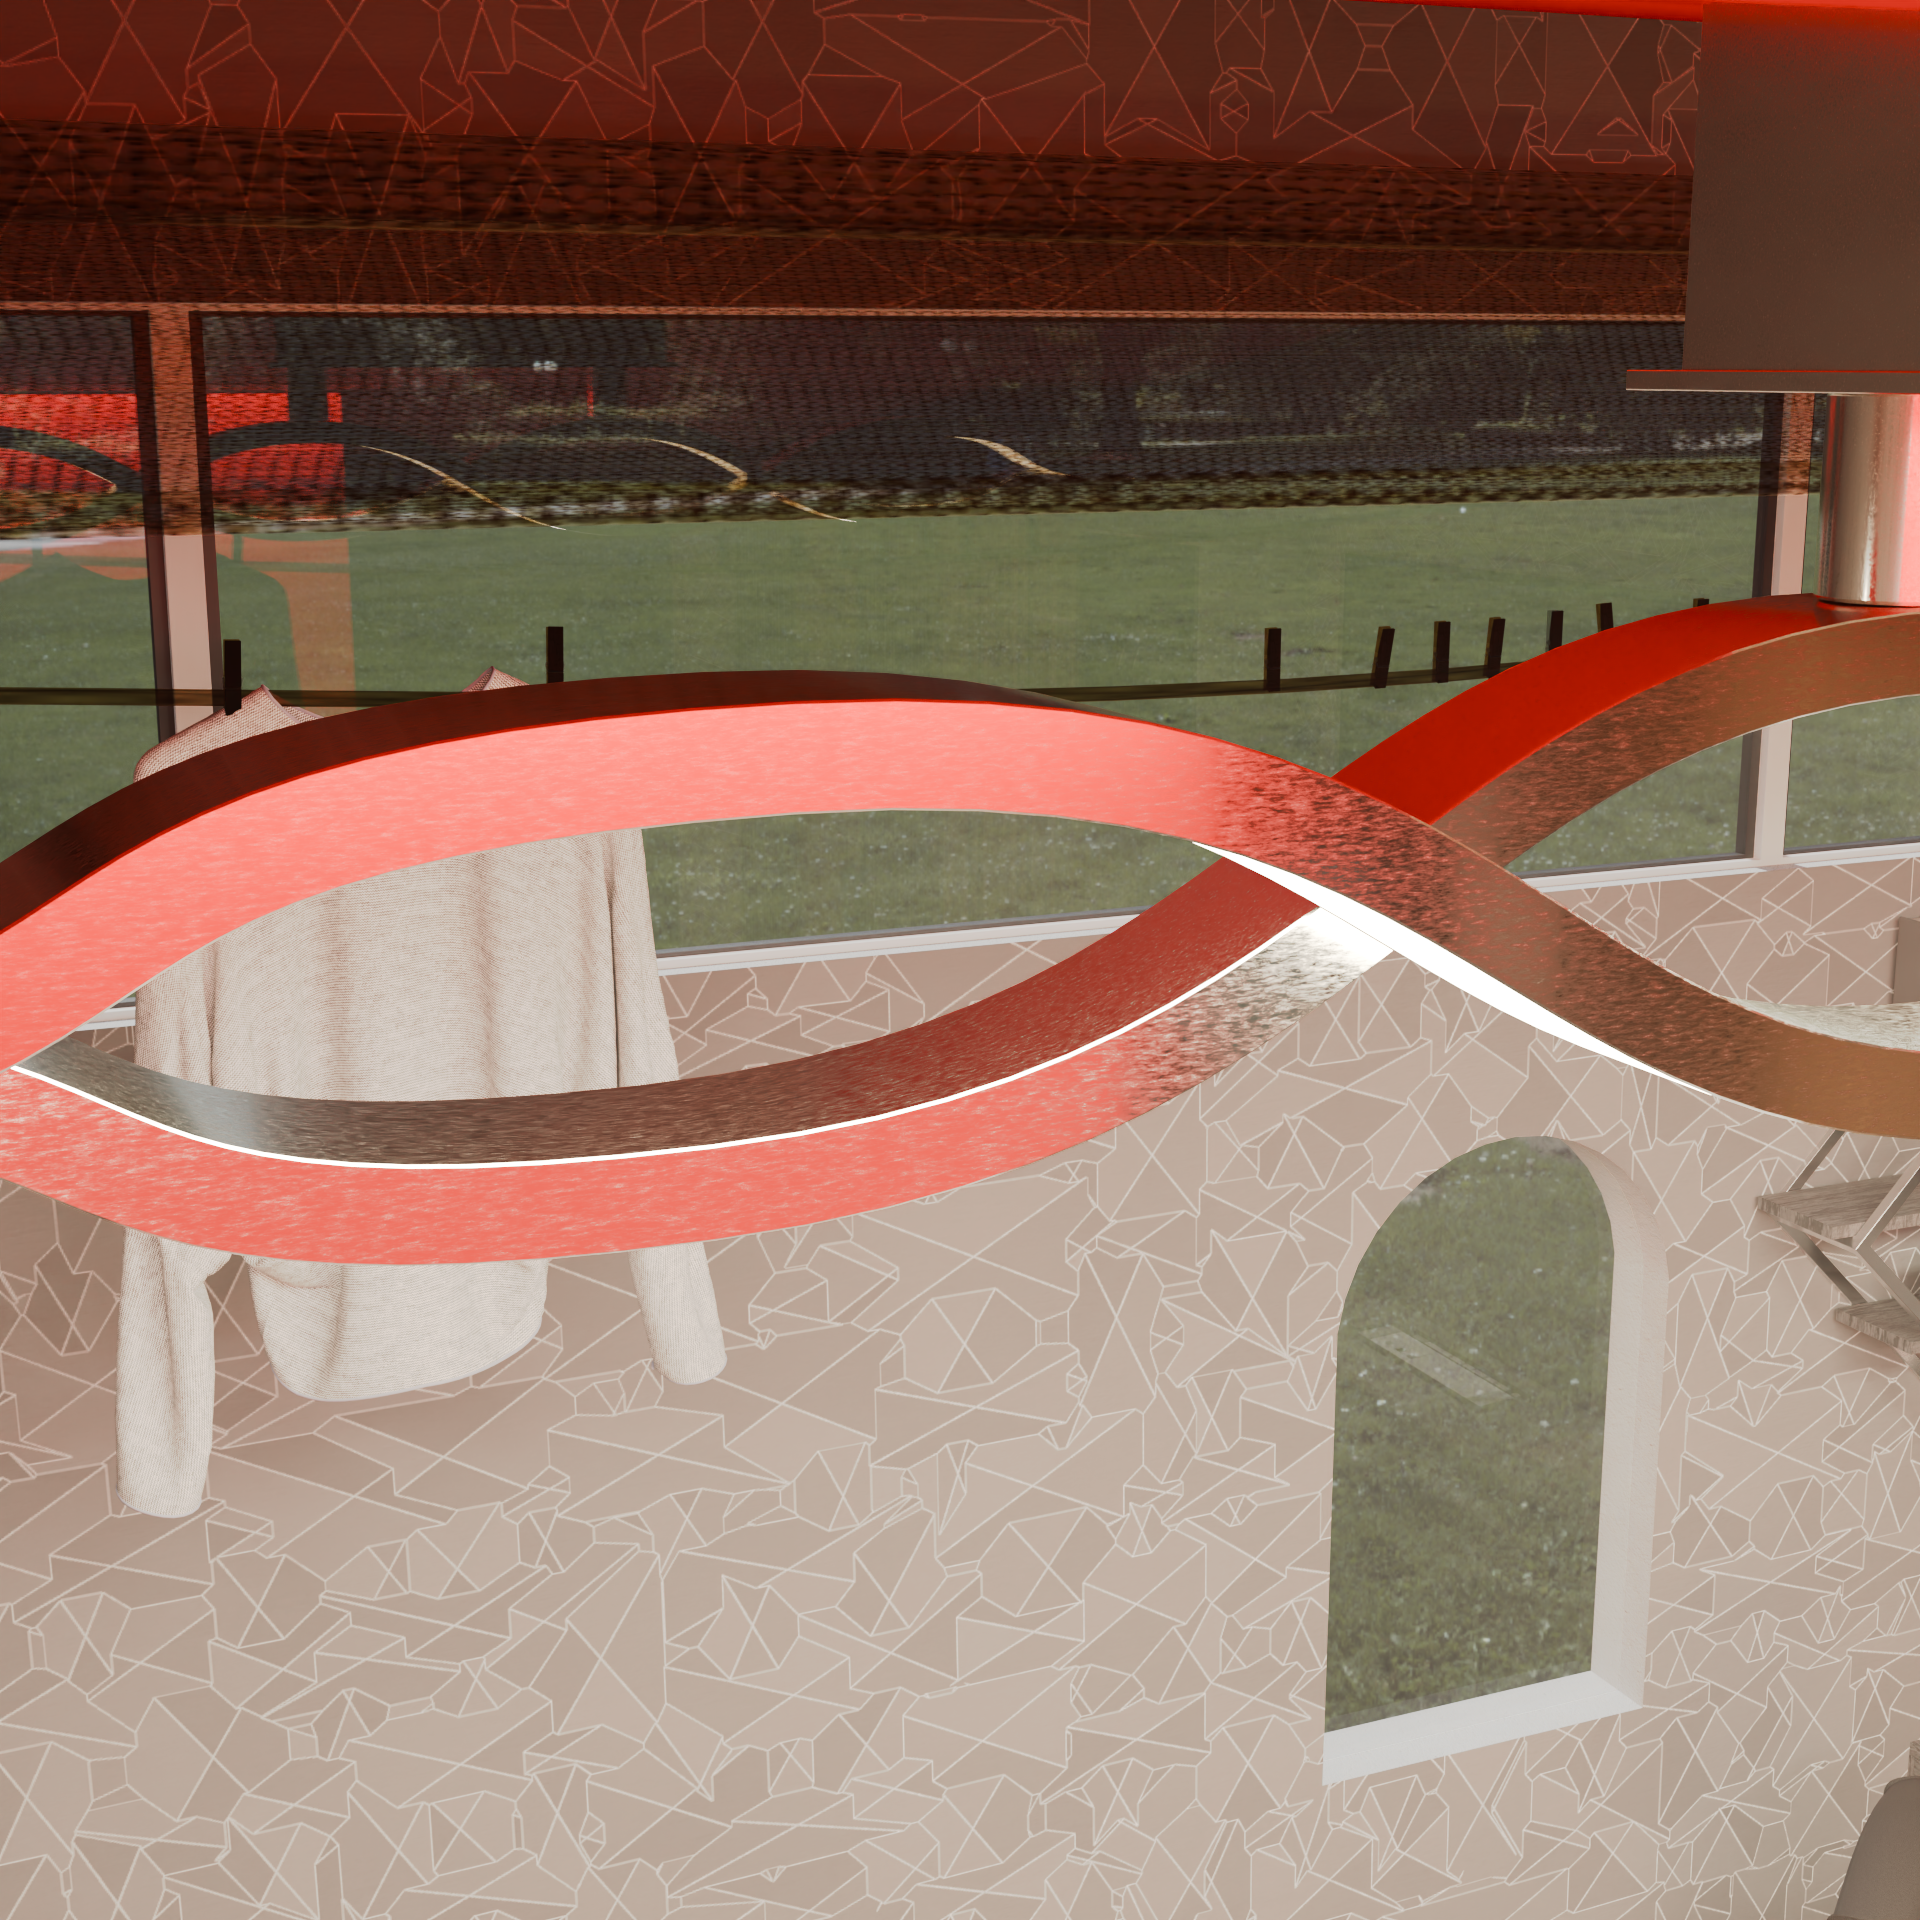
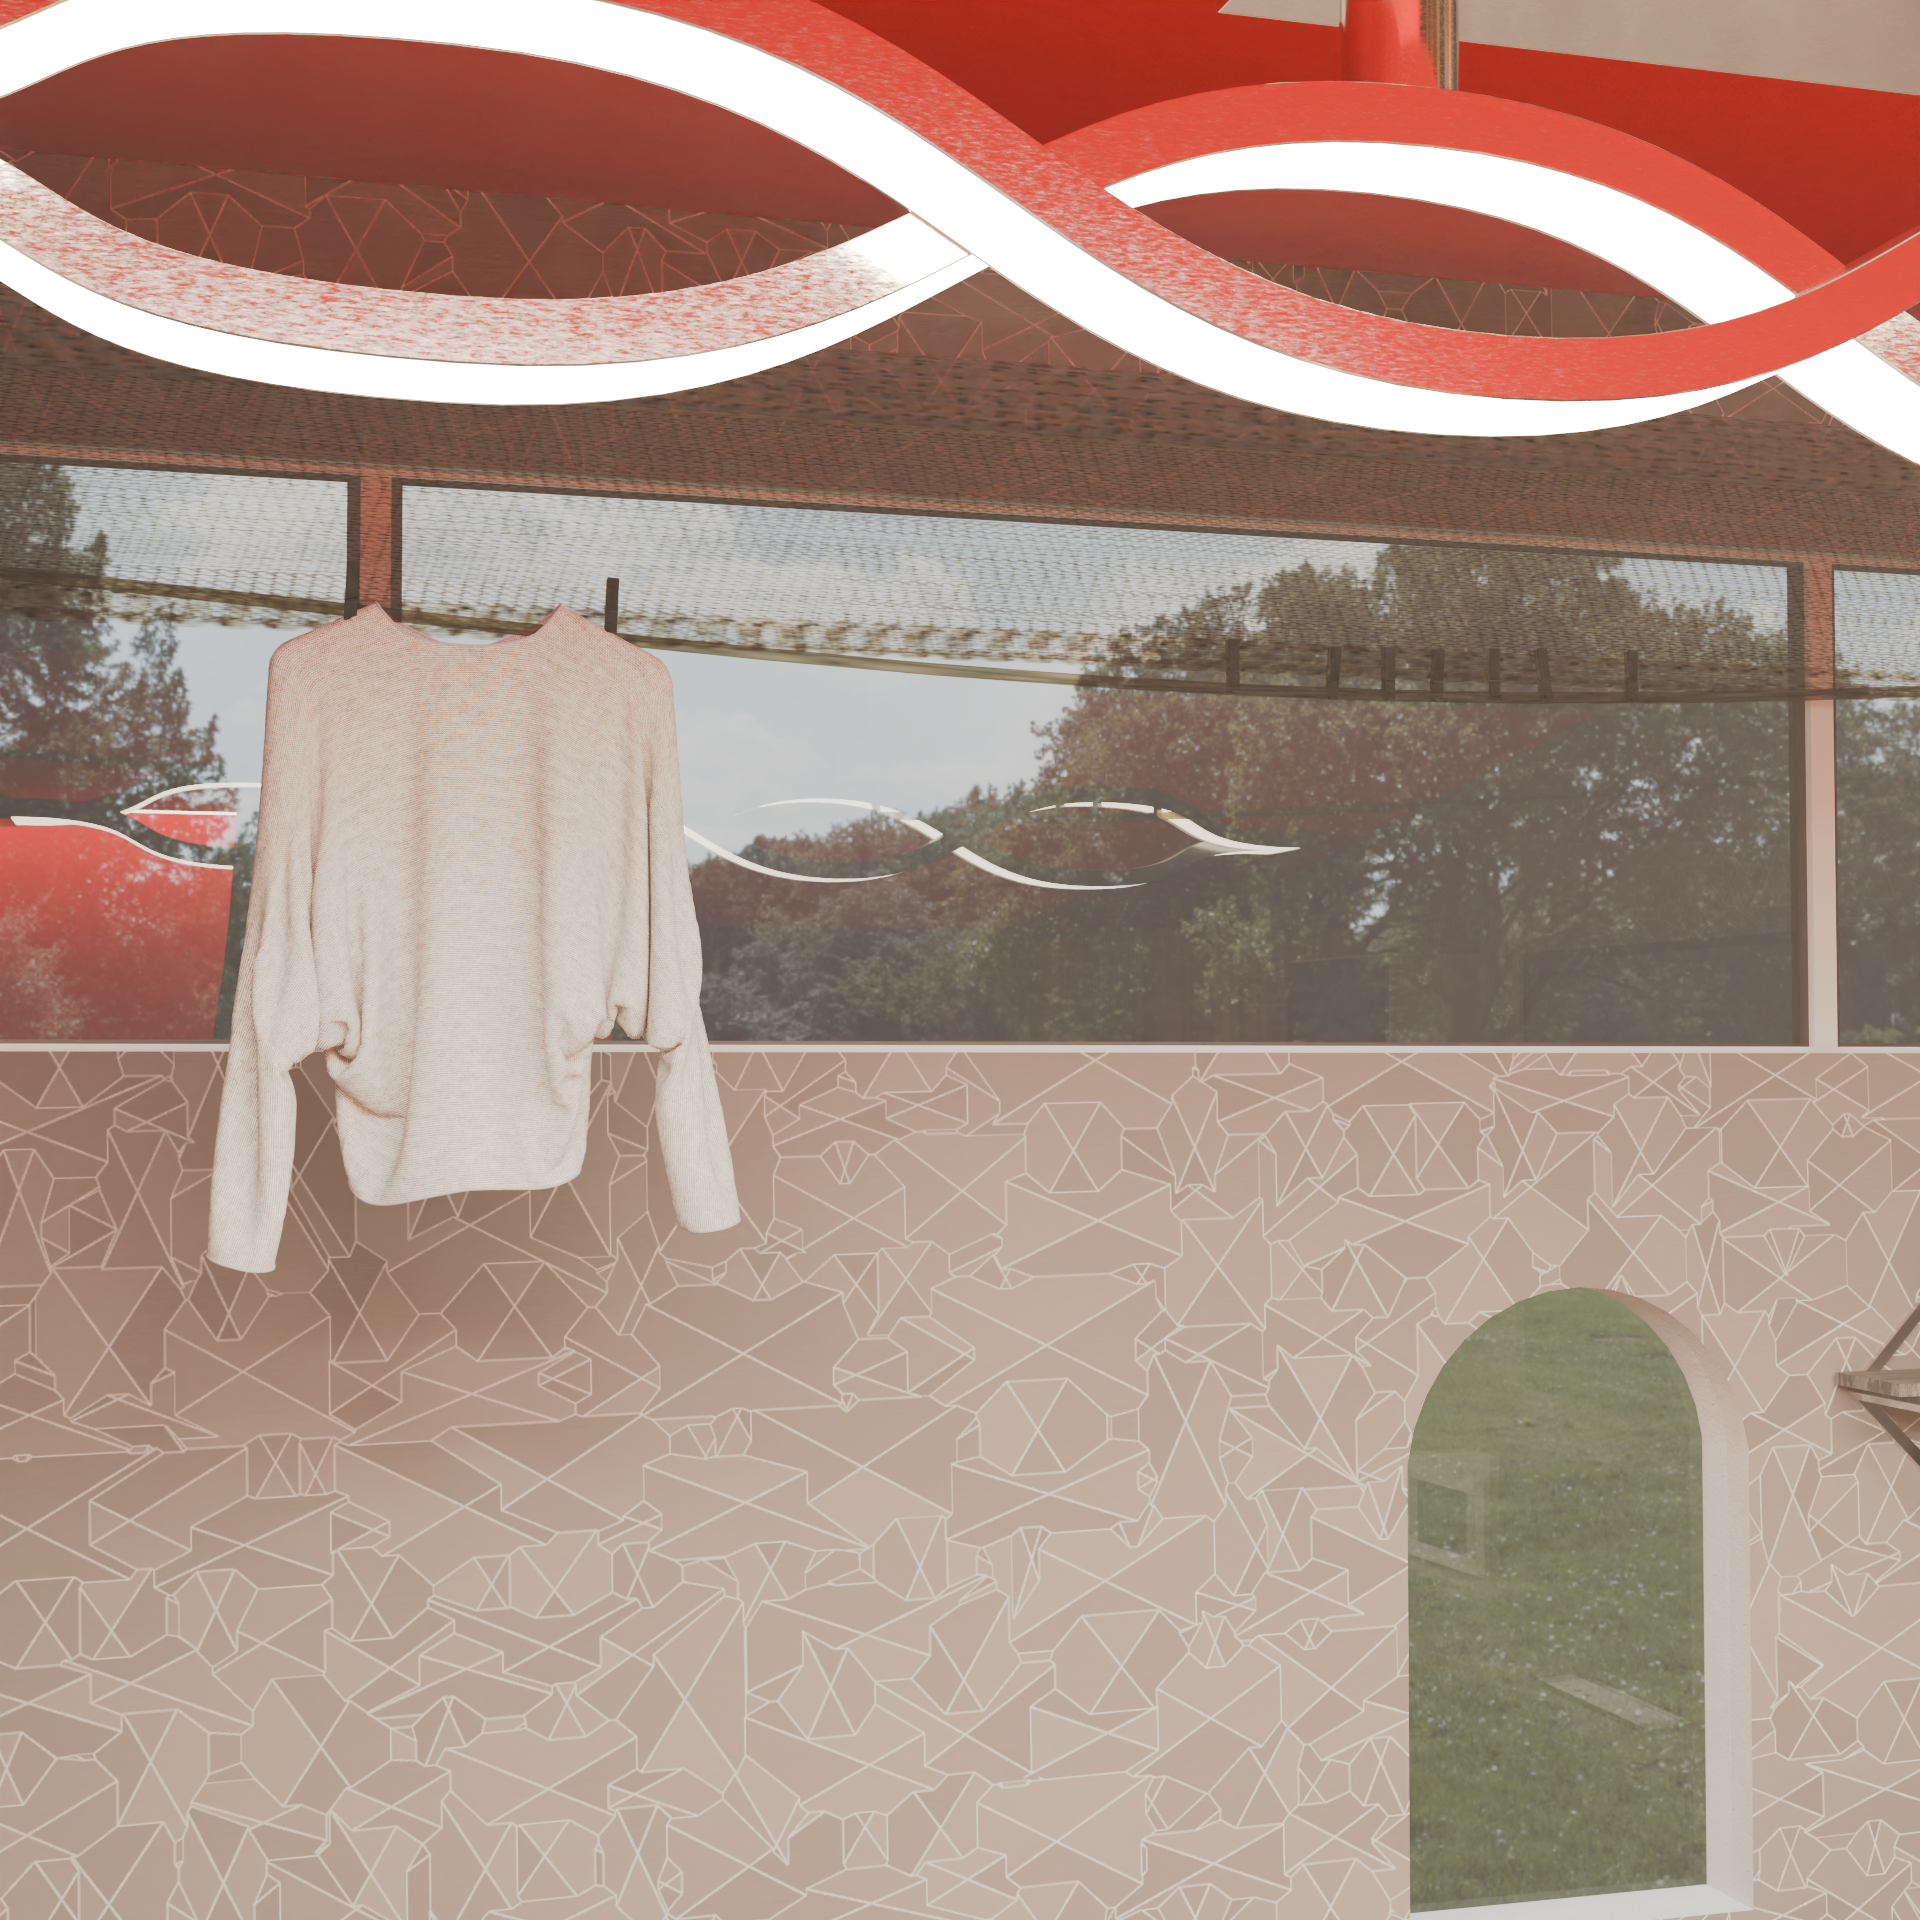
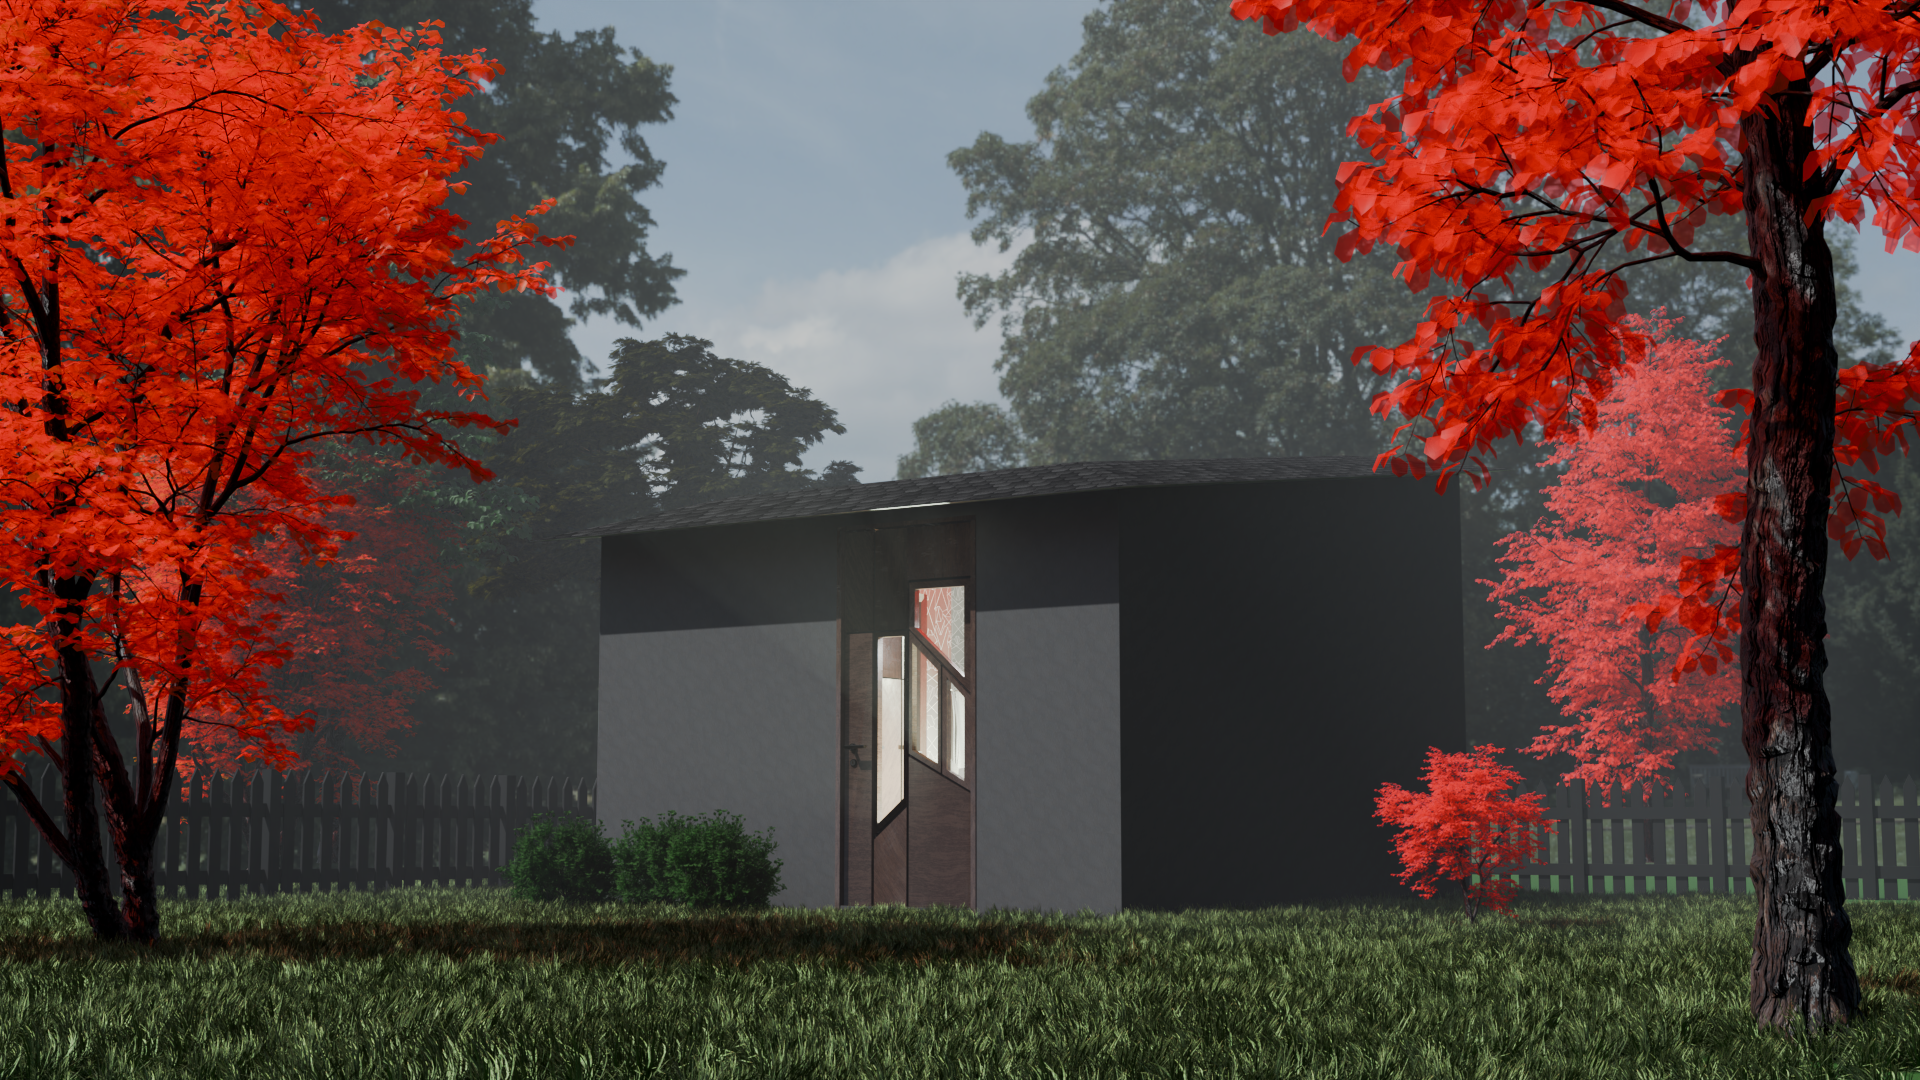
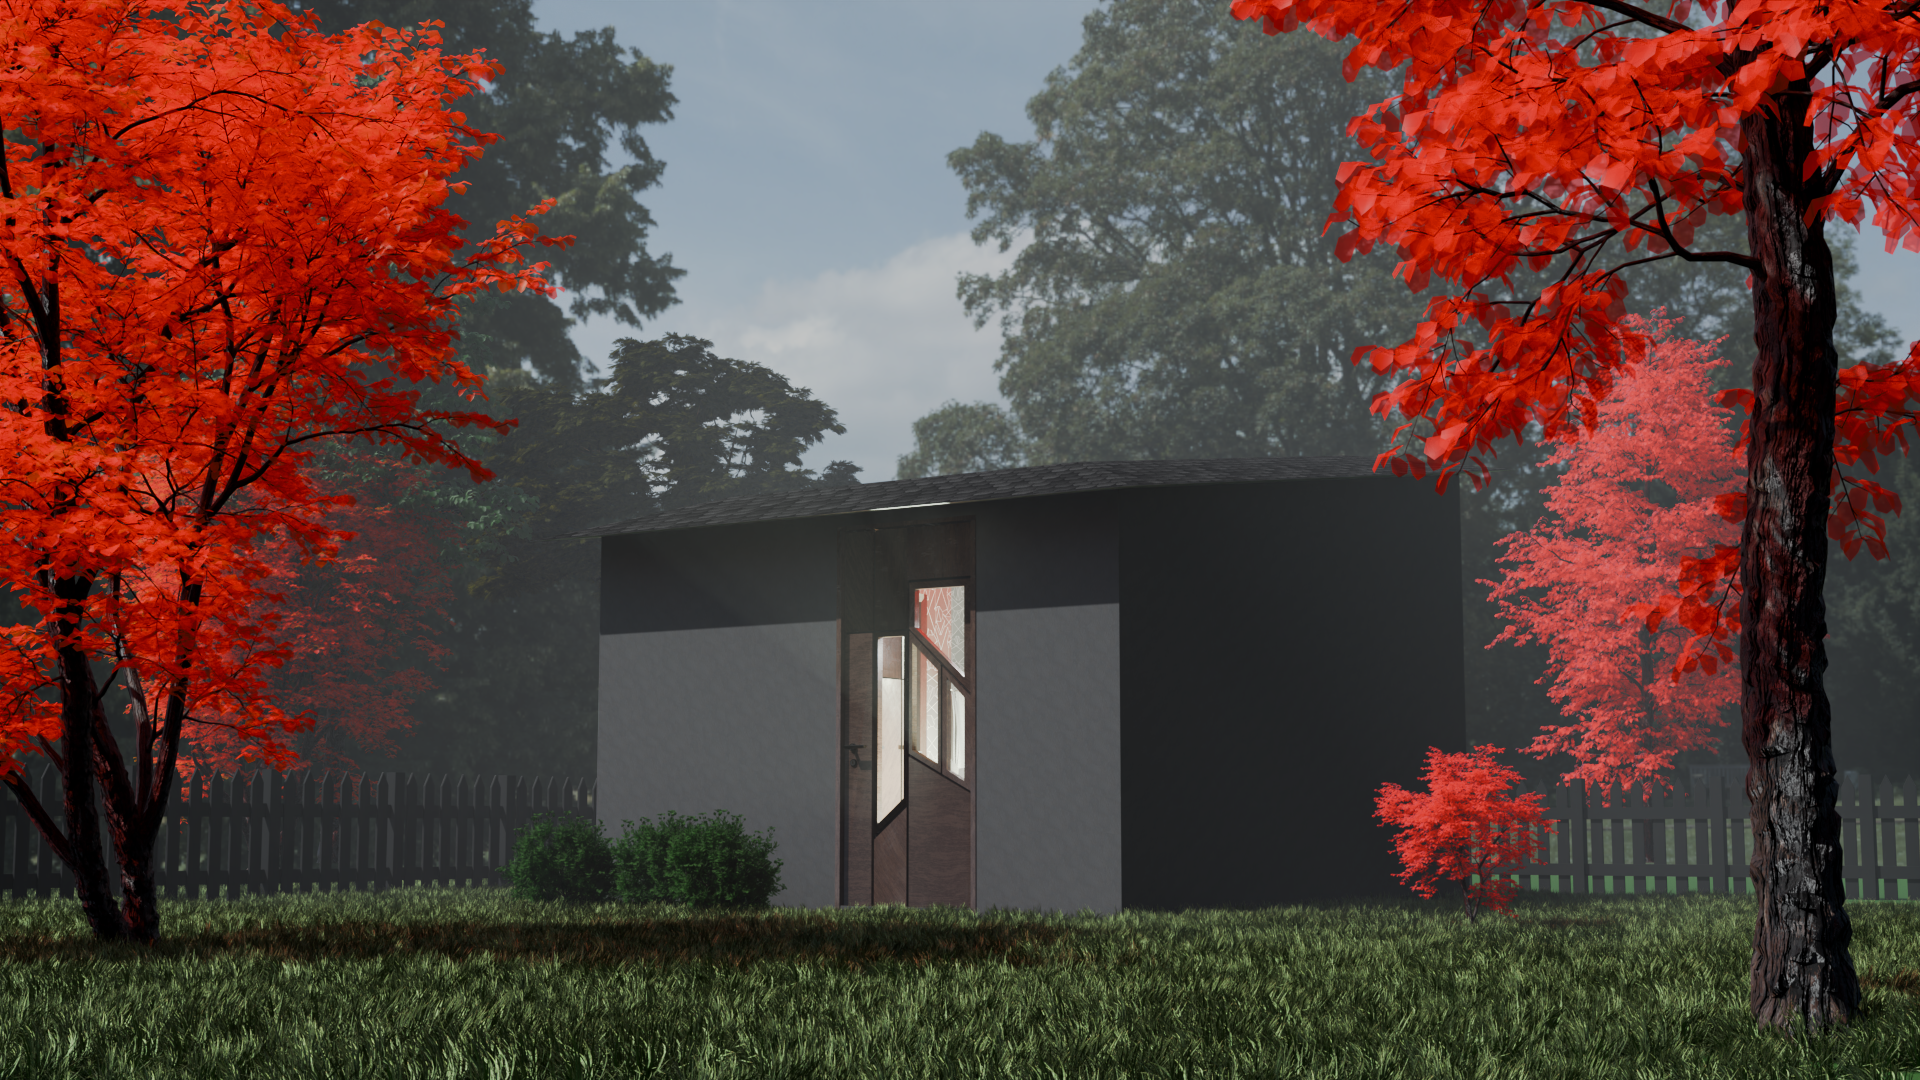
These are the final renders that I have done, enjoy!