Small Hand Knit Dog Bed - Easy
by Dessert Queen in Craft > Knitting & Crochet
4003 Views, 54 Favorites, 0 Comments
Small Hand Knit Dog Bed - Easy

I made a hand knit dog bed for my dog Brindle. This is a great thing to do if you are a beginner and your dog will love it!
Supplies
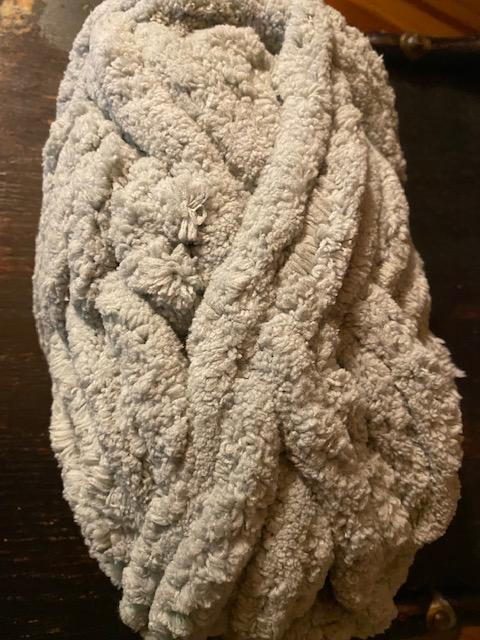
- 1 - 2 Chunky Yarn Skeins
- Needle
- Thread
Slip Knot


First, you are going to take your yarn and make a loop. Next, flip the loop over so the working string is under it. pull the working string up through the loop and gently tighten.
Making the First Chain


Now you should have a loop from your slip knot. Take the loop and flip it over so the working string is under it. Pull the working string through. keep going until you are satisfied with the length. This will be the width of your dog bed, not the length.
Second Layer


Once you have your desired width, make another loop, but this time pull it down instead of to the side. Rotate the working string so that it is on your right side instead of left. Next to the downward chain you just made, there will be two strings, one closer to you and one farther. Take the working string and pull it through the one closer to you to make a loop. Keep going down the chain. When you get to the end, make another downward loop and continue going the other way.
Attaching More Yarn


If you run out of yarn, then you can do a technique called the magic knot. This allows you to attache another piece of yarn, without hardly seeing it. Take the working end of the yarn, and take the beginning of a new piece of yarn and line them up. Cross the top piece over the bottom piece and pull the end under the bottom piece. Wrap the piece you just pulled through over the top of the top piece. Then wrap it over and under through the loop. Tighten.
For the other side, do the exact same thing, but instead start with the bottom string.
Finishing Up


Once you are done, you need to secure all of the loose ends. Start where you just finished your last chain. Take the loop and go on top of the string next it. Pull that through and continue until you are down the line. Sew the last loop into the others. Sew the loose end at the beginning into the rest, and you are done!