Small Coke Bottle
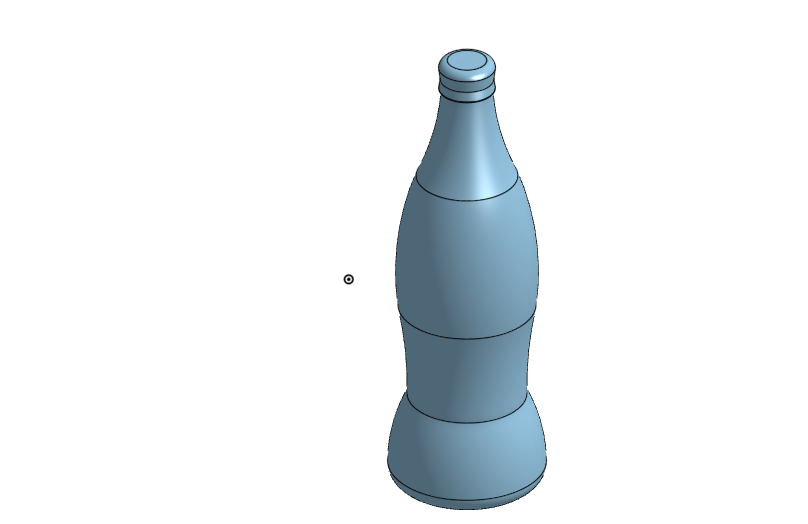
For this submission, I designed and made a miniature coke bottle. I made this coke bottle because I like coke a lot, and this print would give me something that I could display to my friends and family to demonstrate my knowledge in 3D printing and design.
Supplies
I used the 3D design engine Onshape, a 3D printer with PLA filament, printer paper, markers, and tape.
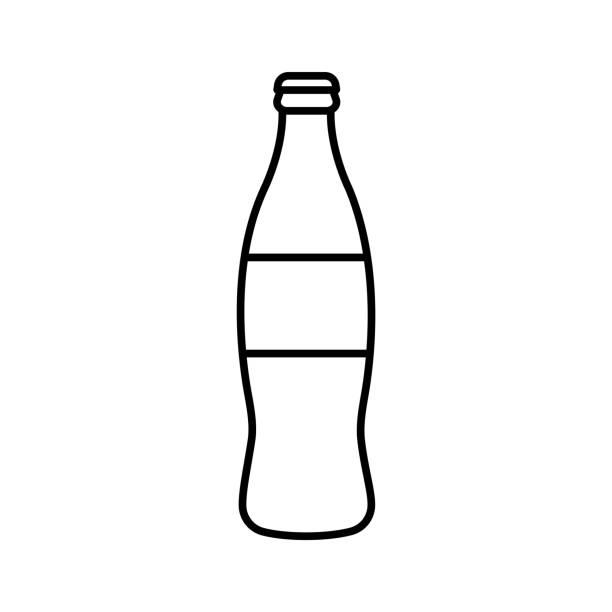
To begin with, go onto the internet and find a good reference image to create the initial sketch. Make sure the image is a .jpg, and import it into Onshape. To do this you must click the plus in the bottom left of the document you are in. Click import, and select the jpg file.
.png)
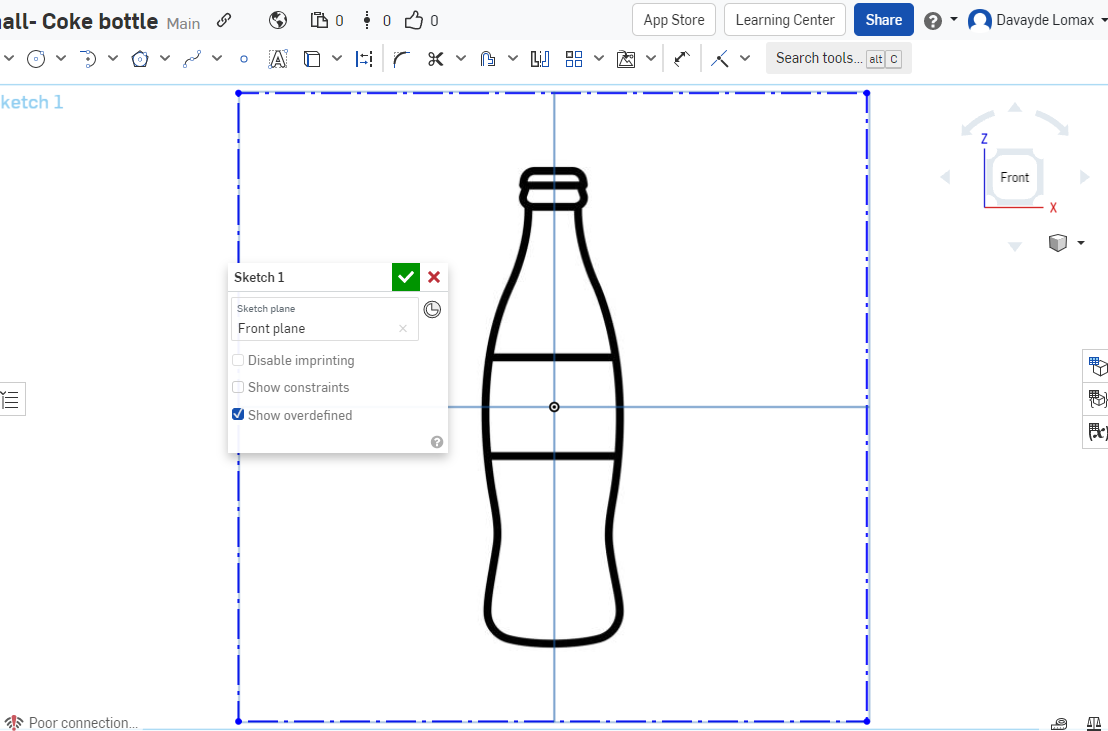
Next, you have to go to your main element at the bottom of the screen, and create a sketch and select the front face. With this sketch, you then look for the insert tool on the tool bar at the top of the screen, and select insert image. Select your file and place it on the front face and center the image.
.png)
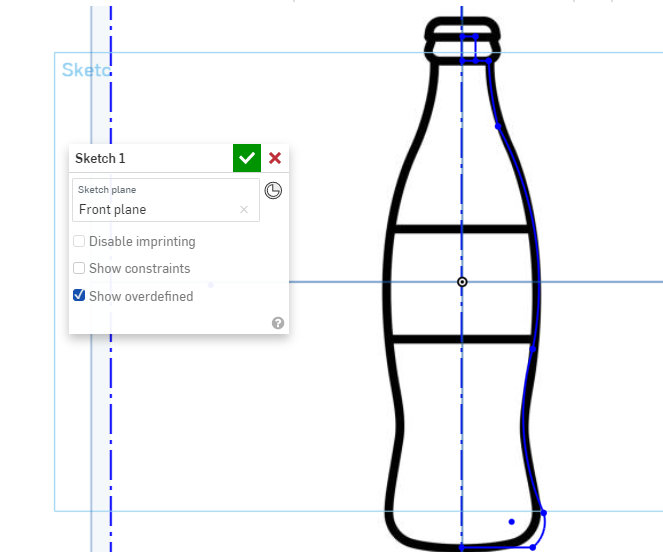
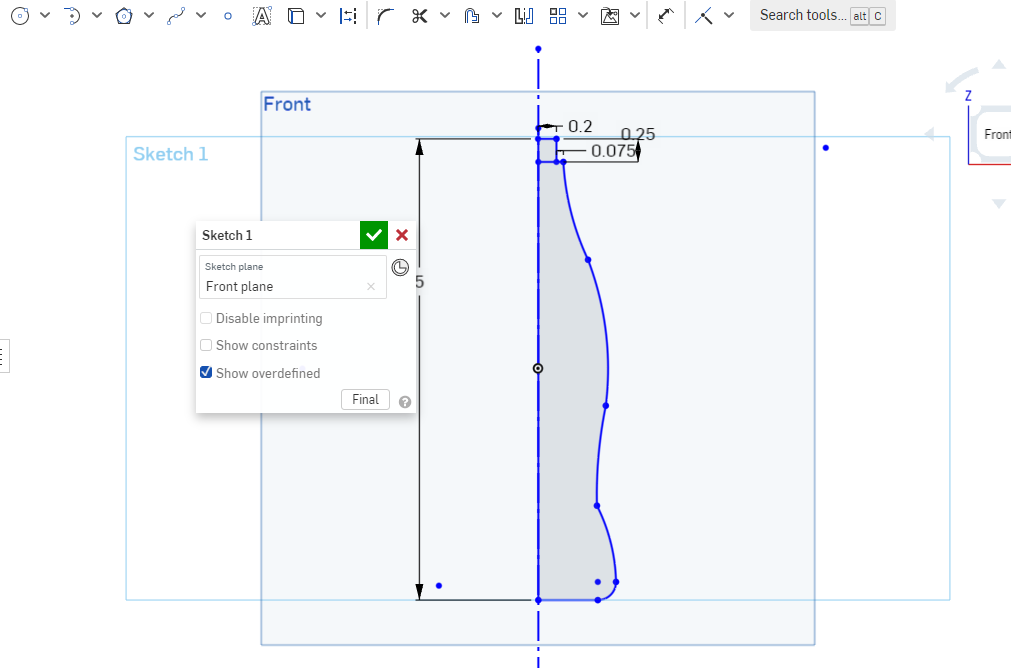
Now that you have your reference image on your sketch, create a vertical construction line that passes through the whole image. With this construction line in place, select the drawing tools, and use line, curve lines, and arcs or any other tools you require, and trace over half of the image using the construction line to show where half is.
.png)
After you complete this half of the image, create a line from the top of your bottle, to the bottom of your bottle. Make sure to modify the top of the bottle and exclude the bottle cap and make a small extension form the top of the bottle to use to put on the cap. This should measure 0.2 inches wide, and 0.25 inches tall. Then set the edge of this extension to 0.075 inches from the main part of the bottle. When you finish this sketch, remove the reference image and select the measure tool. With the measure tool, select the top line of the sketch and the bottom line, and set the height to 5 in.
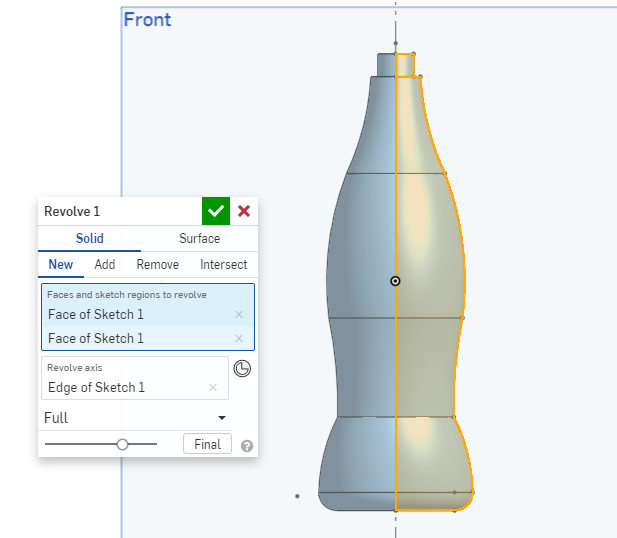
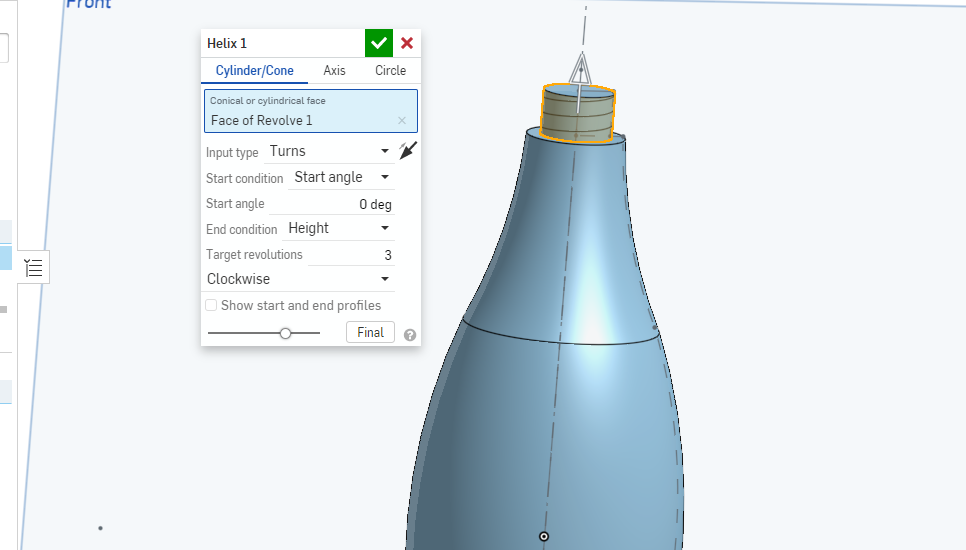
Now you confirm the sketch, then select the "Revolve" tool. With the revolve tool selected, click all of the shadowed areas of the sketch that should appear as half of the bottle. Make sure that it is set to a full rotation. Then after you have made the bottle 3 dimensional, select the "Helix" tool and select the extension at the top of the bottle. Set the target revolutions to 3.
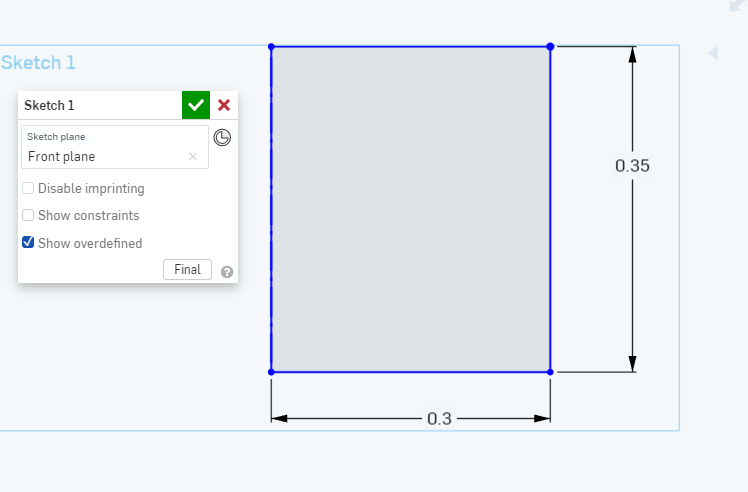
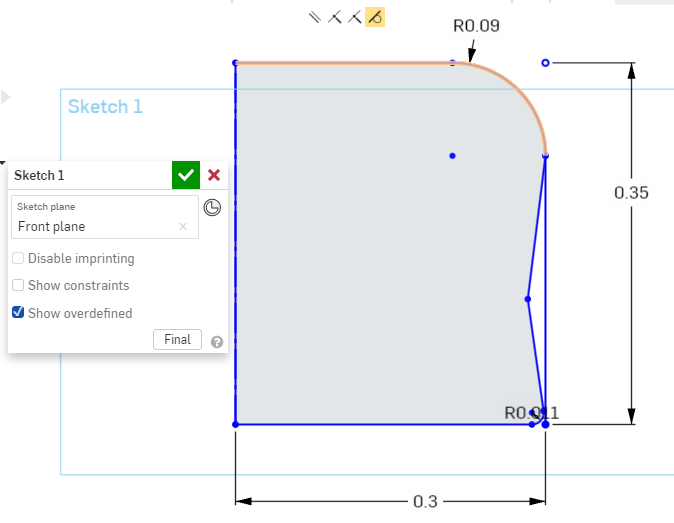
The next step is to create the bottle cap. Firstly, create a new element and make a sketch on the front face. With this sketch, make a rectangle attached to the construction line, and make the width 0.3 inches, and set the height to 0.35 inches. Next create some details in the cap using lines and rounding the edges, so that it does not look awkward and blocky.
.png)
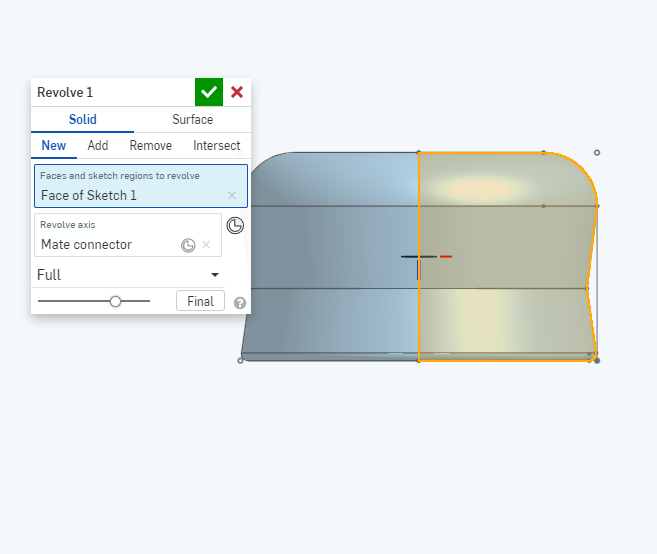
With the sketch of the bottle cap complete, select the "Revolve" tool, and select your sketch, then select the construction line again as the line of the revolve to make this sketch 3D.
.png)
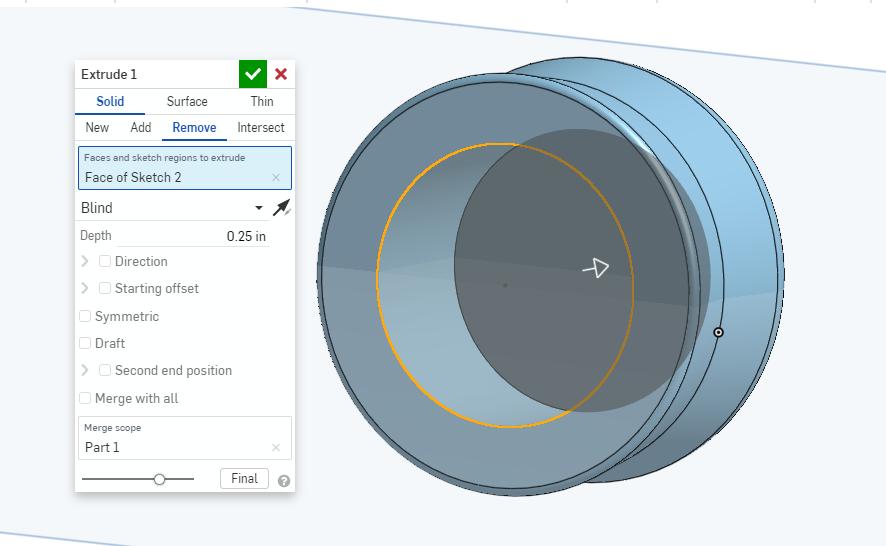
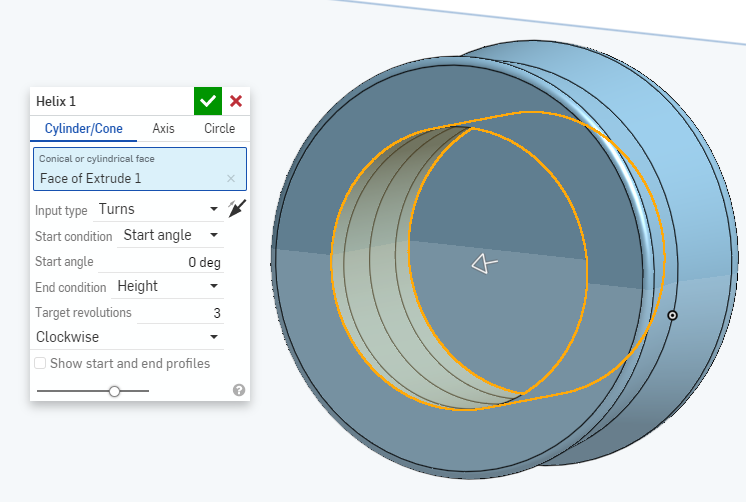
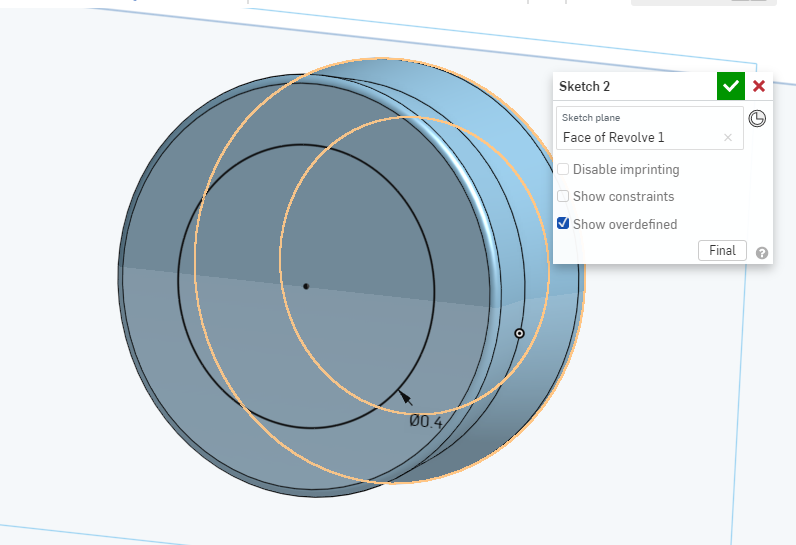
The next step is to create another sketch on the bottom face of the model. Create a circle from the center that is 0.4 inches in diameter. Next you select the "Extrude" tool and select the circle that you just made. Set the extrude to remove, and set the depth to 0.25 inches. Confirm this extrude, and then select the "Helix" tool. With the helix selected, click the inner wall of the extrude you just created, and set the target revolutions to 3.
.png)
.png)
.png)
.png)
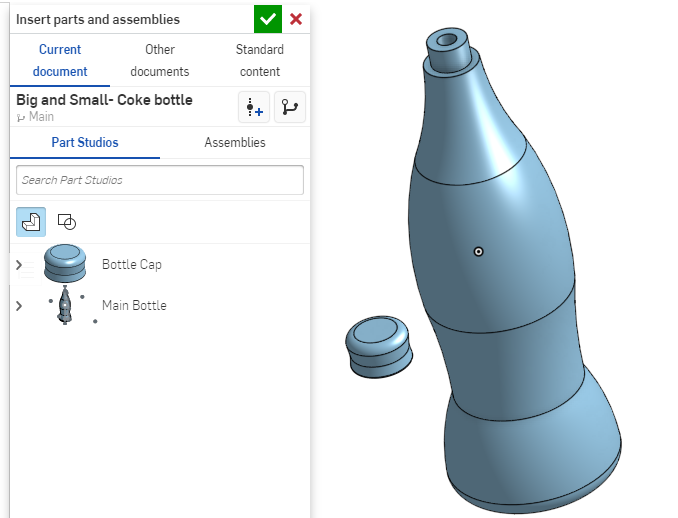
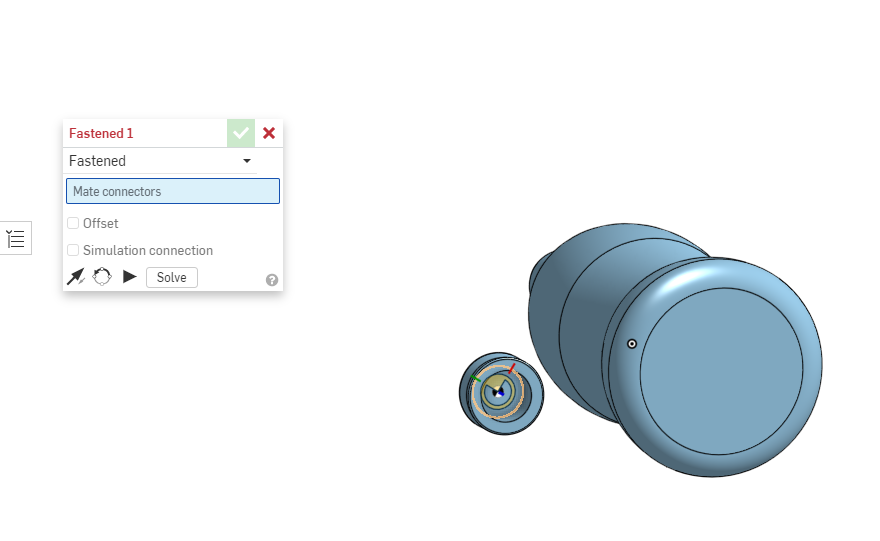
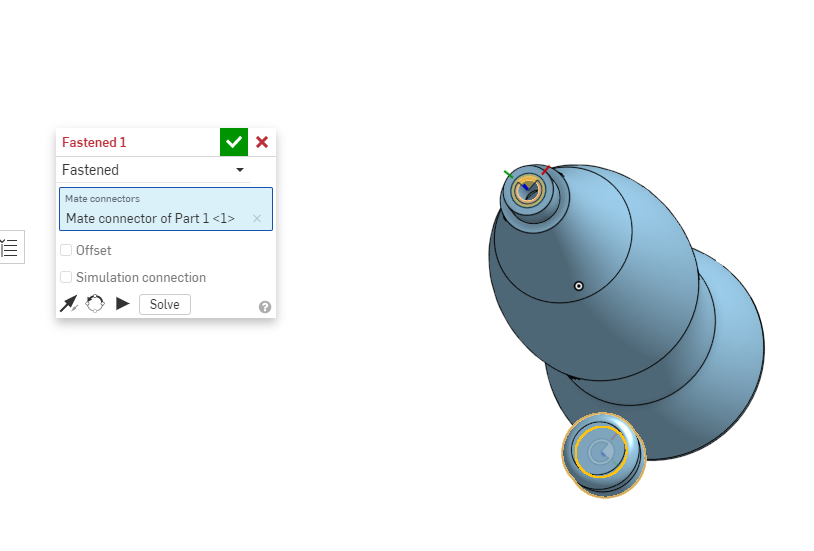
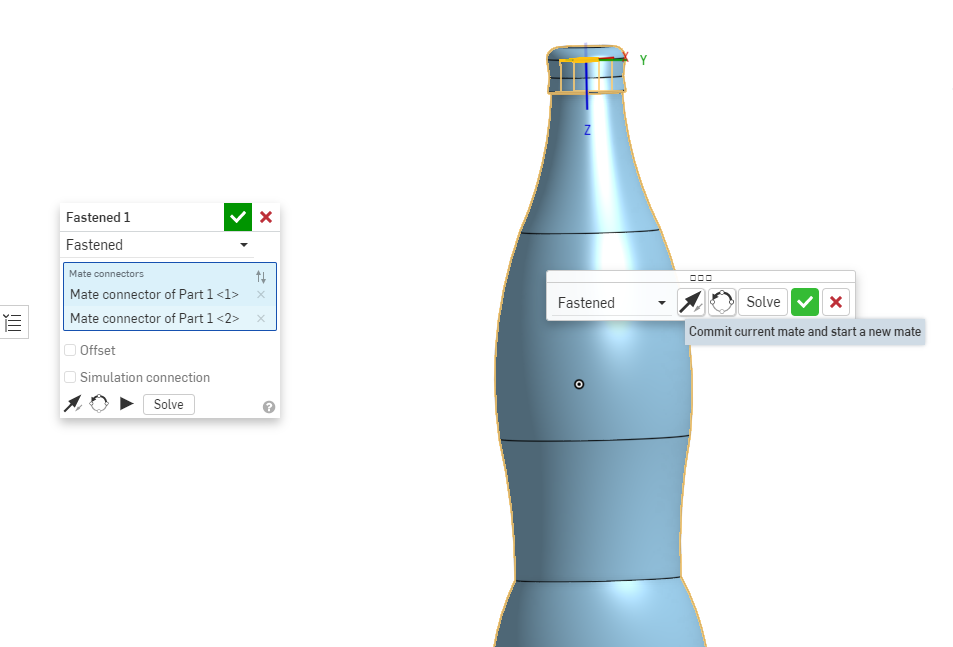
Now that you have both the bottle and bottle cap complete, Create an assembly in the bottom left of the screen, and with this assembly, insert both parts of the bottle, then confirm the addition of these parts. Now use the "Fastened" tool, and select the top most face of the bottle, and the inside face of the bottle cap.
With these steps complete, you are ready to 3D print.

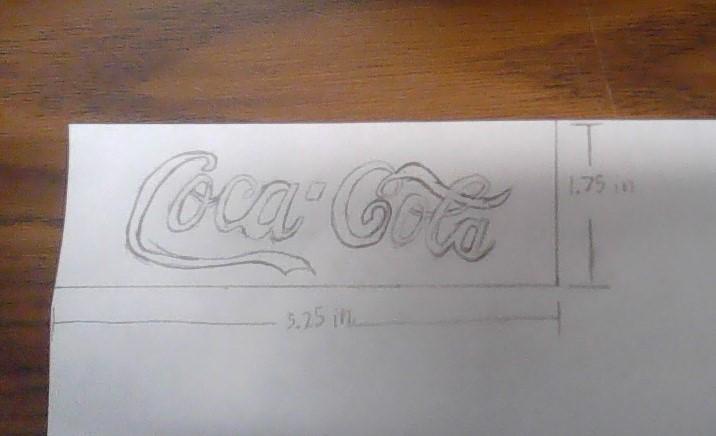
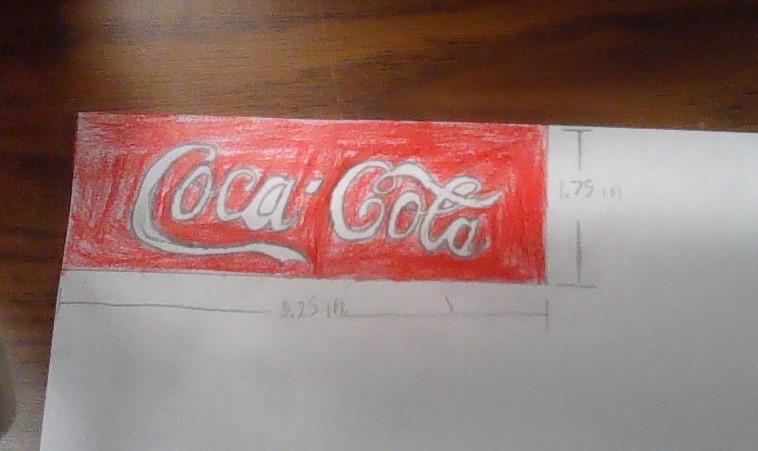
Now you are ready to move onto creating the label for this coke bottle. For this step, you can either print out a picture of the label, or draw it yourself. If you are going to draw it, grab a piece of plain printer paper and make a rectangle that has the measurements of 5.25 inches, by 1.75 inches. (This will be the same measurements for printing as well. If you are drawing the label, first make the sketch on your piece of paper. Then with the sketch complete color it to your liking.
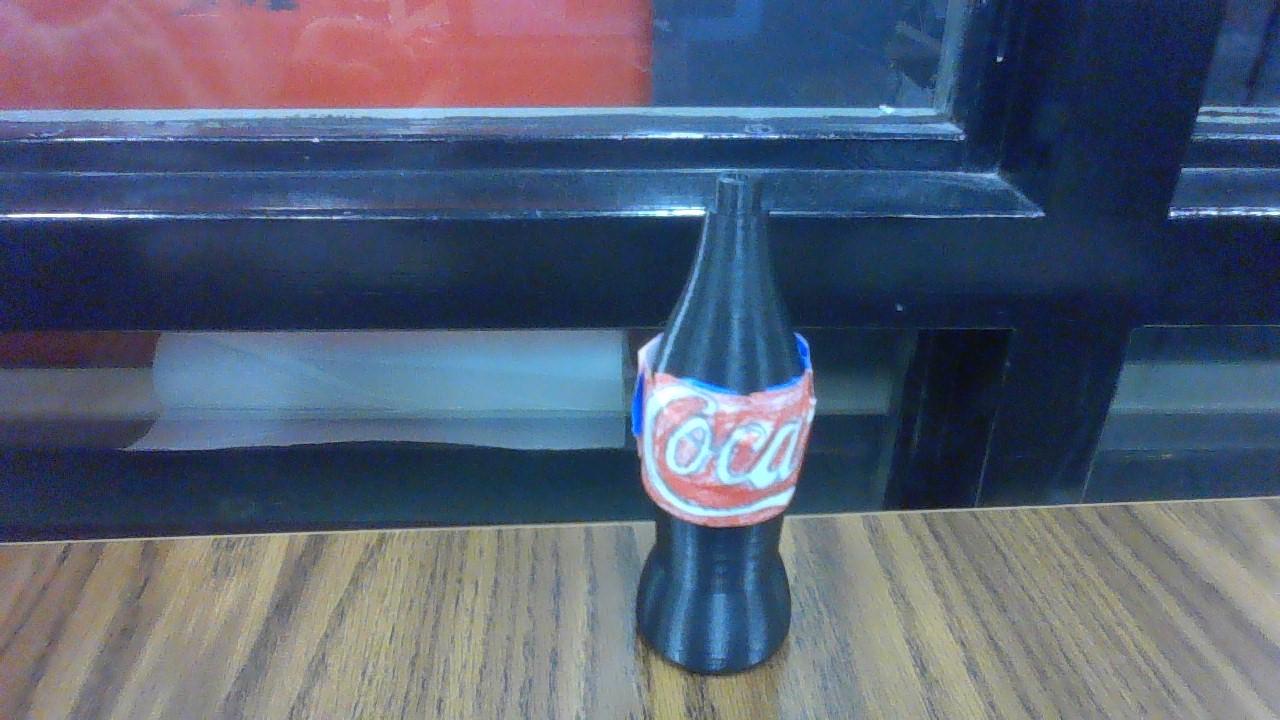
With all of your pieces complete, and label cut out, get any kind of tape you would like, and apply the label to the 3D printed bottle, and place the cap on top and screw it on. With all of this completed, your miniature coke bottle is finished.