SmaVeCo
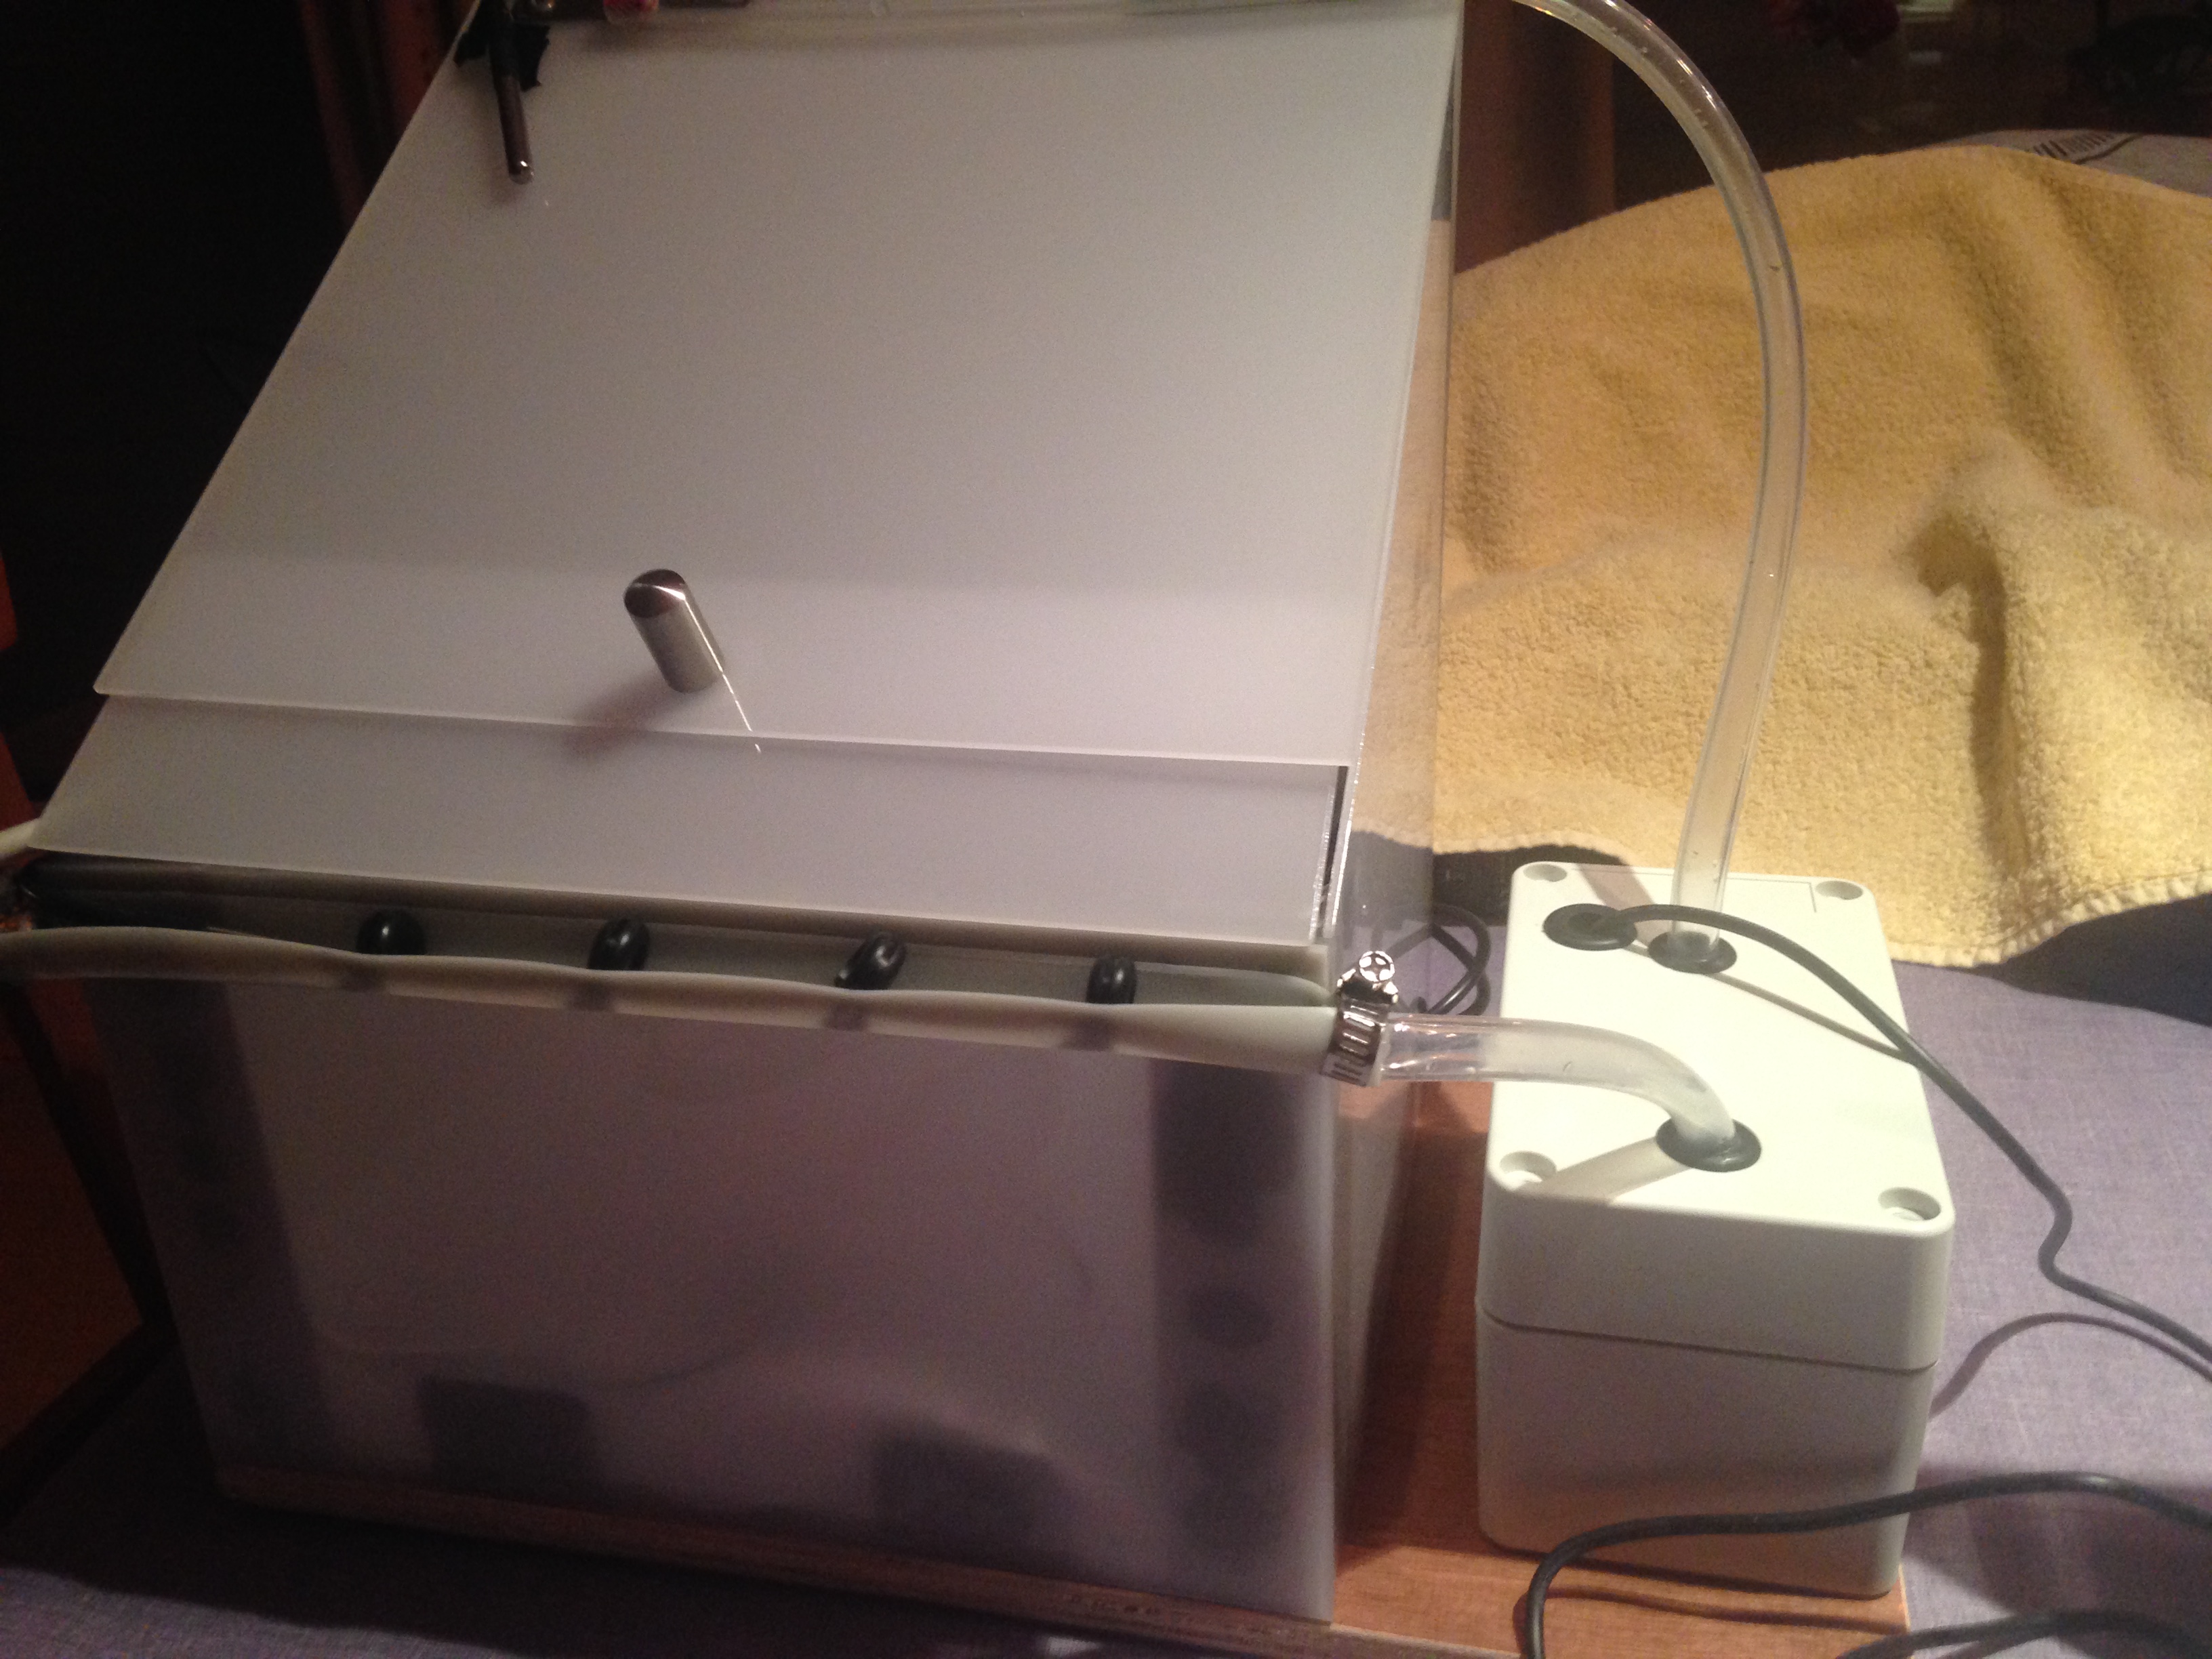
Welcome to SmaVeCo your smart veranda cooling. I will show you how you can make your own smart veradna cooling with your Raspberry pi.
Step 1: Materials
1. Rapsberry Pi
2. Water pump
3. Water hose
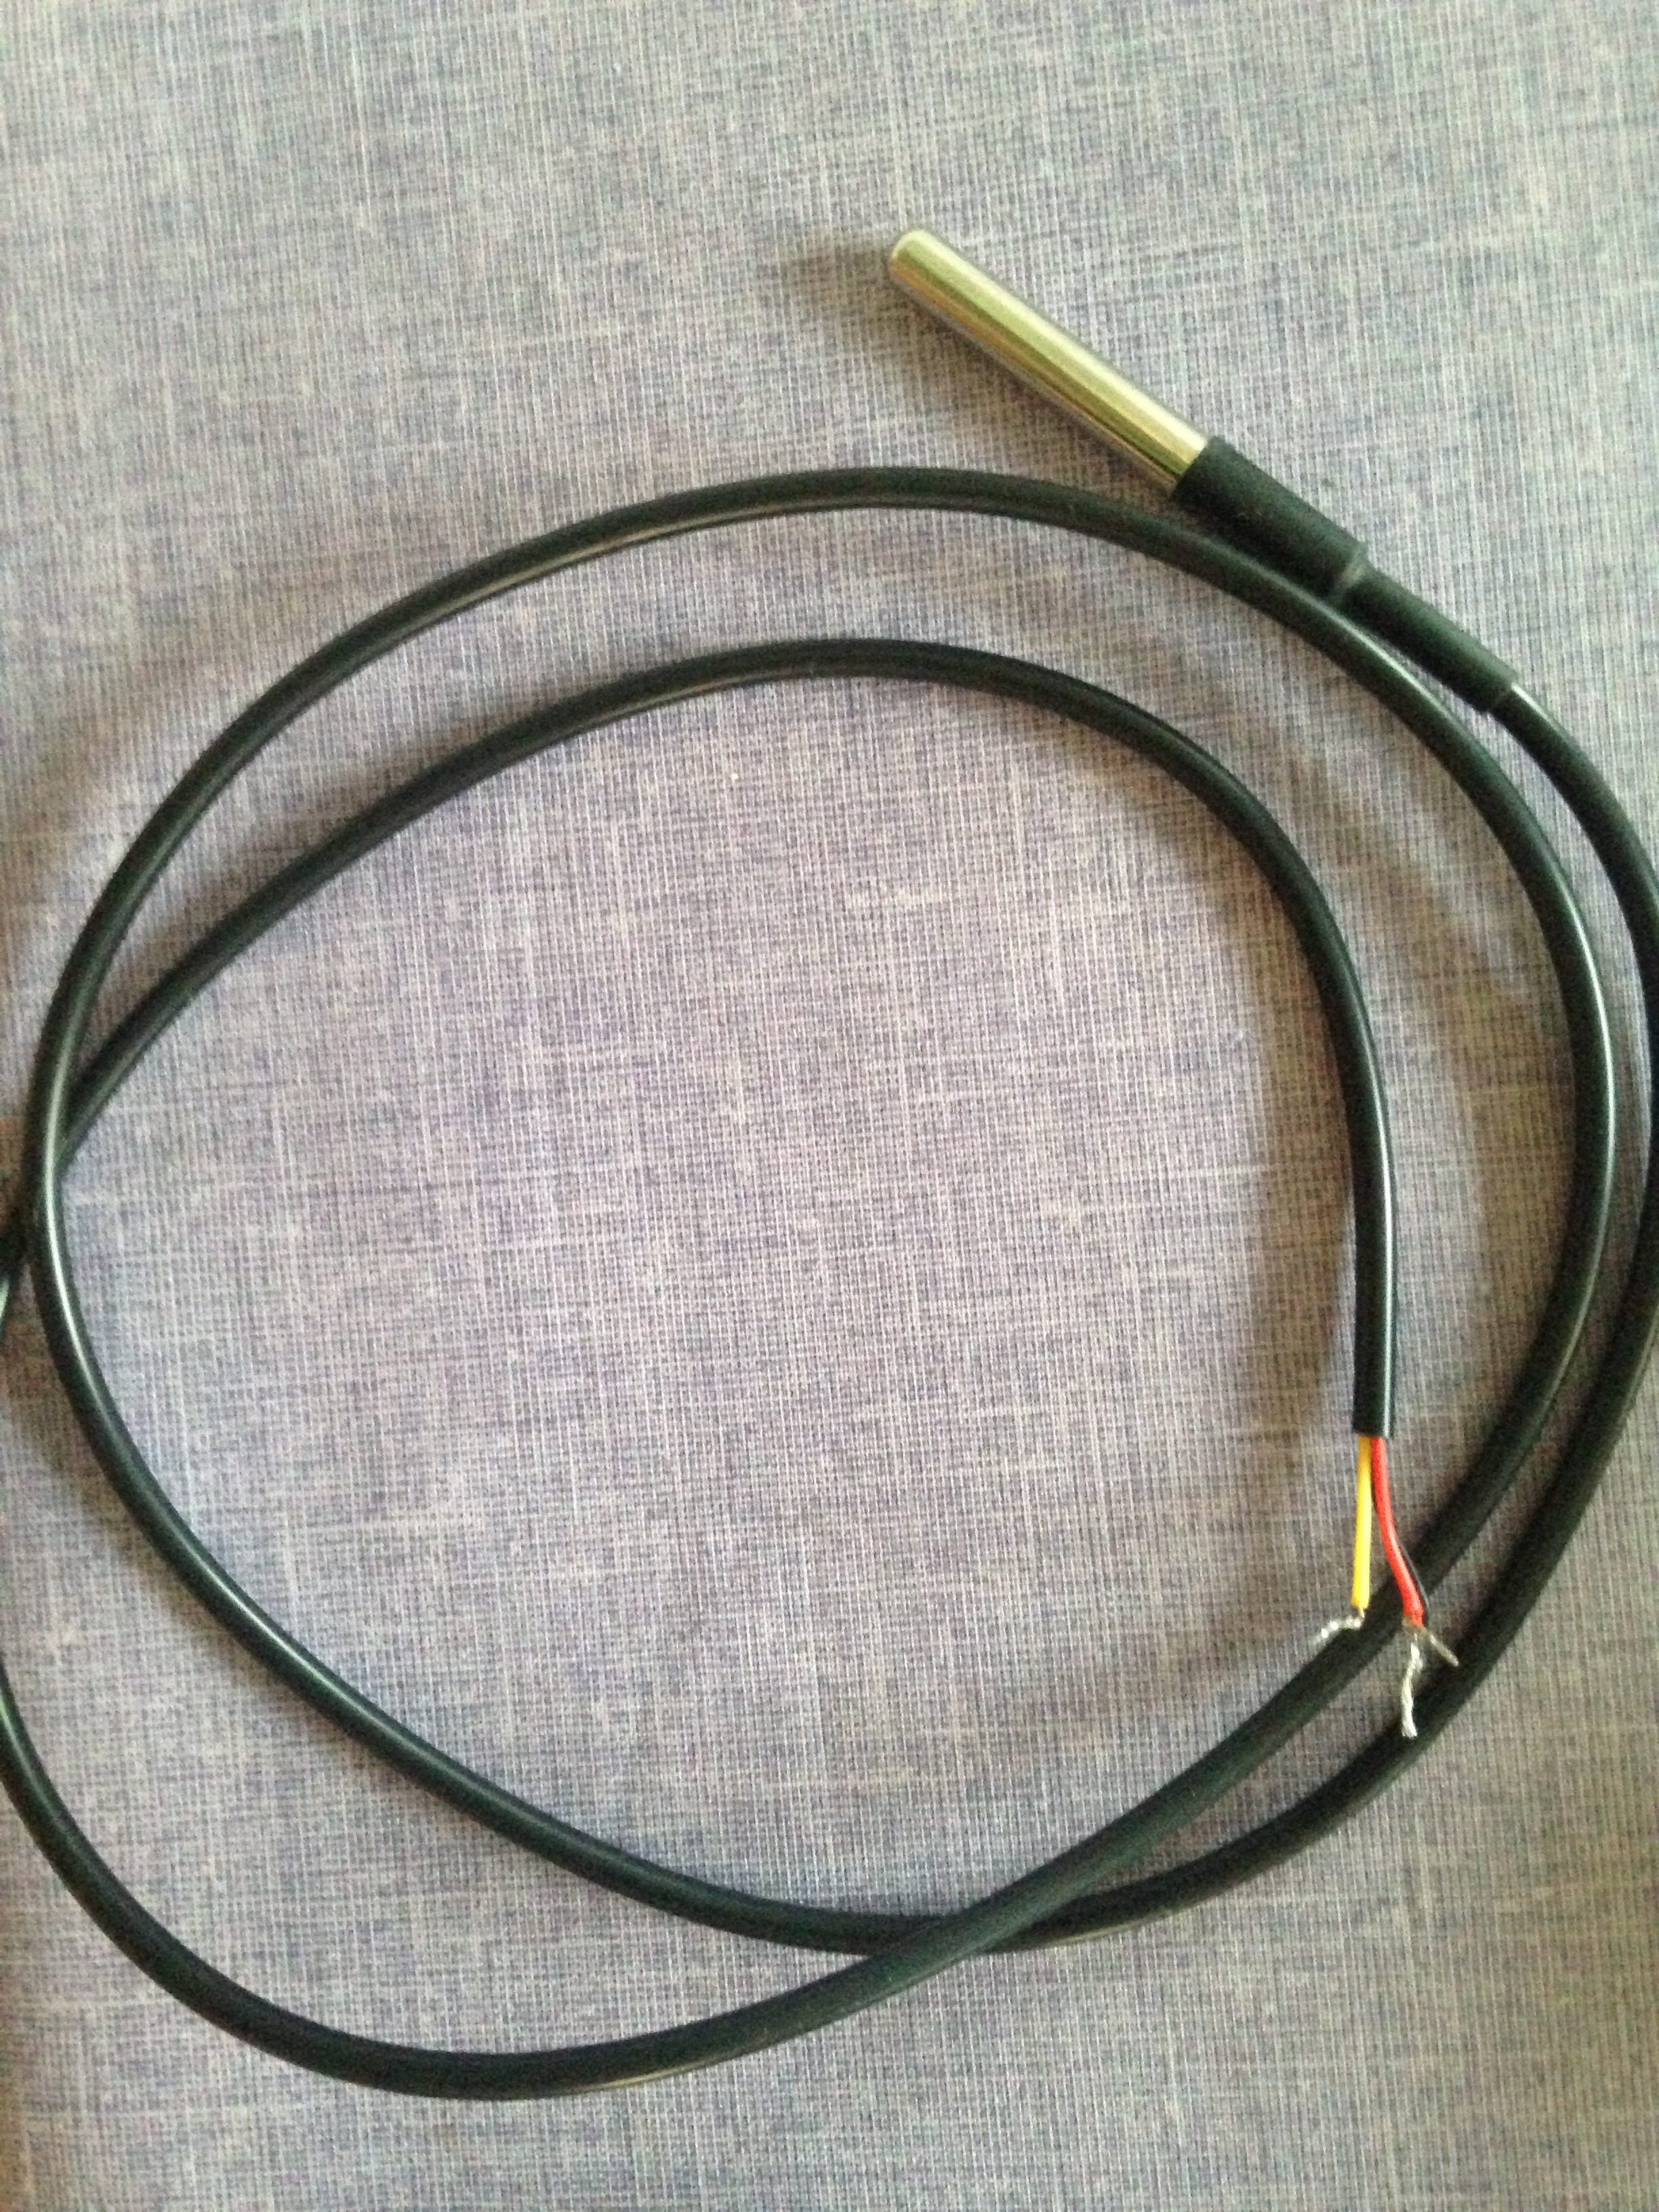
4. Waterproof temperaturesensor
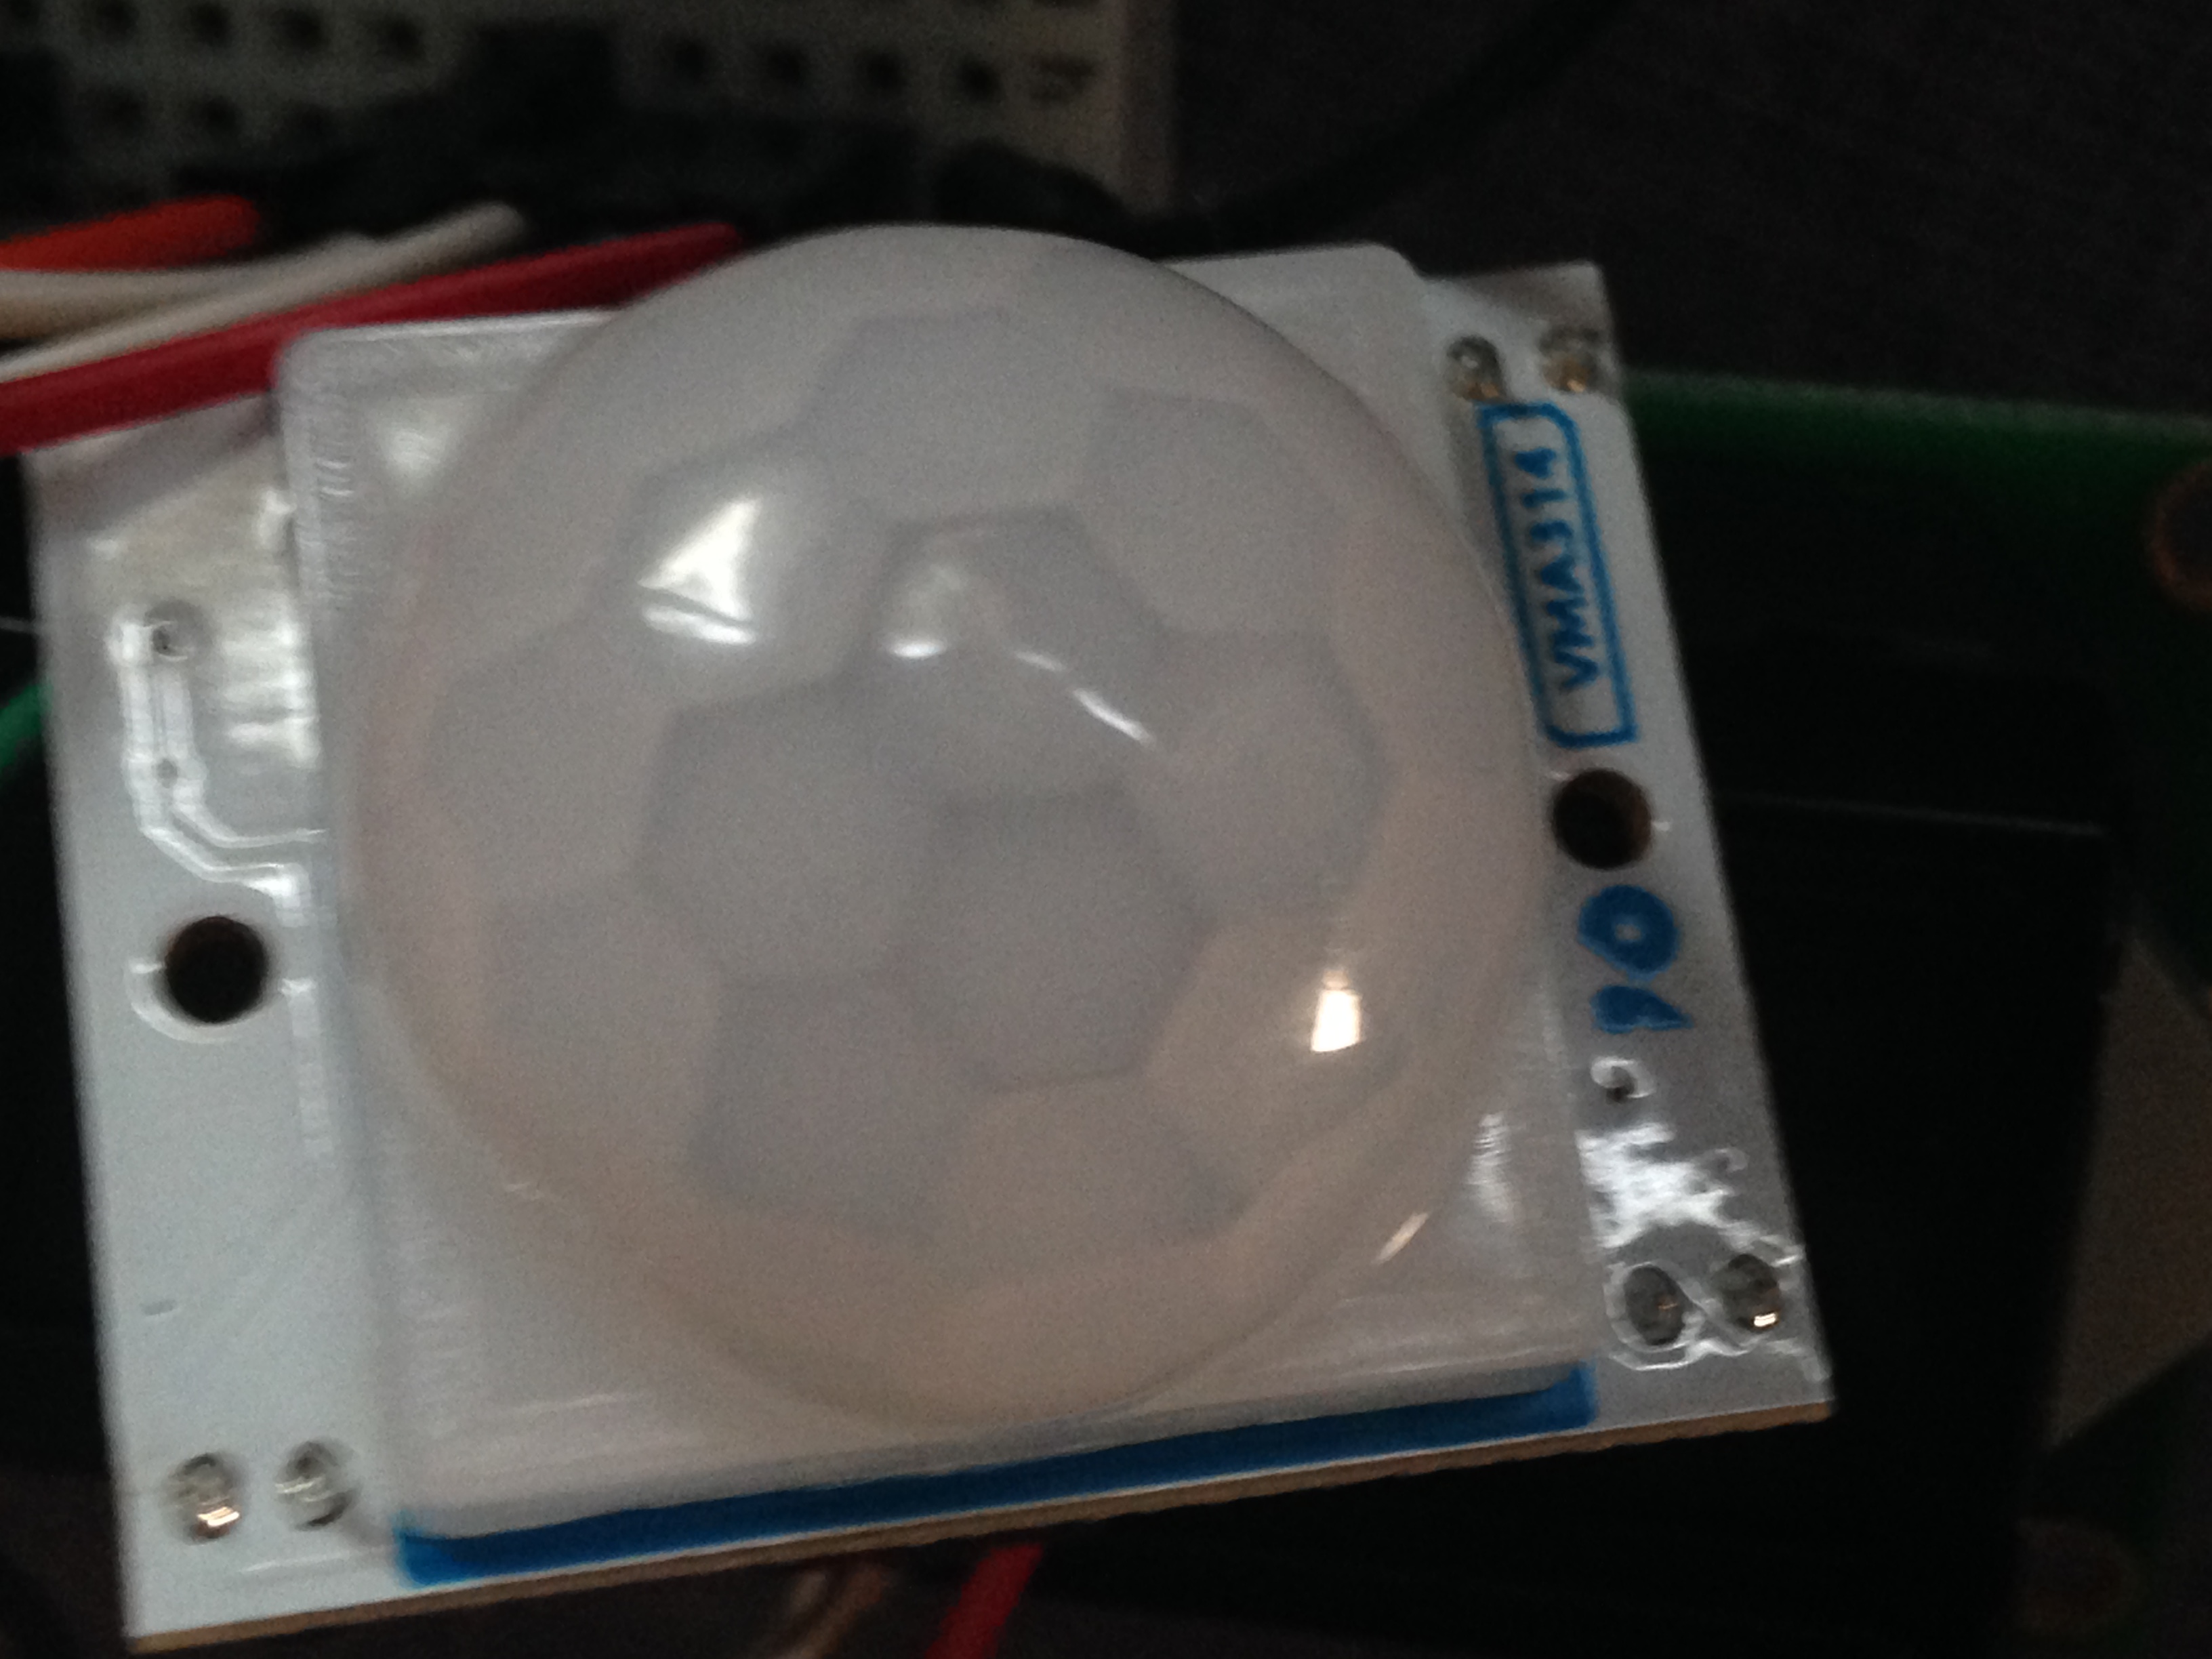
5. Pir movement sensor
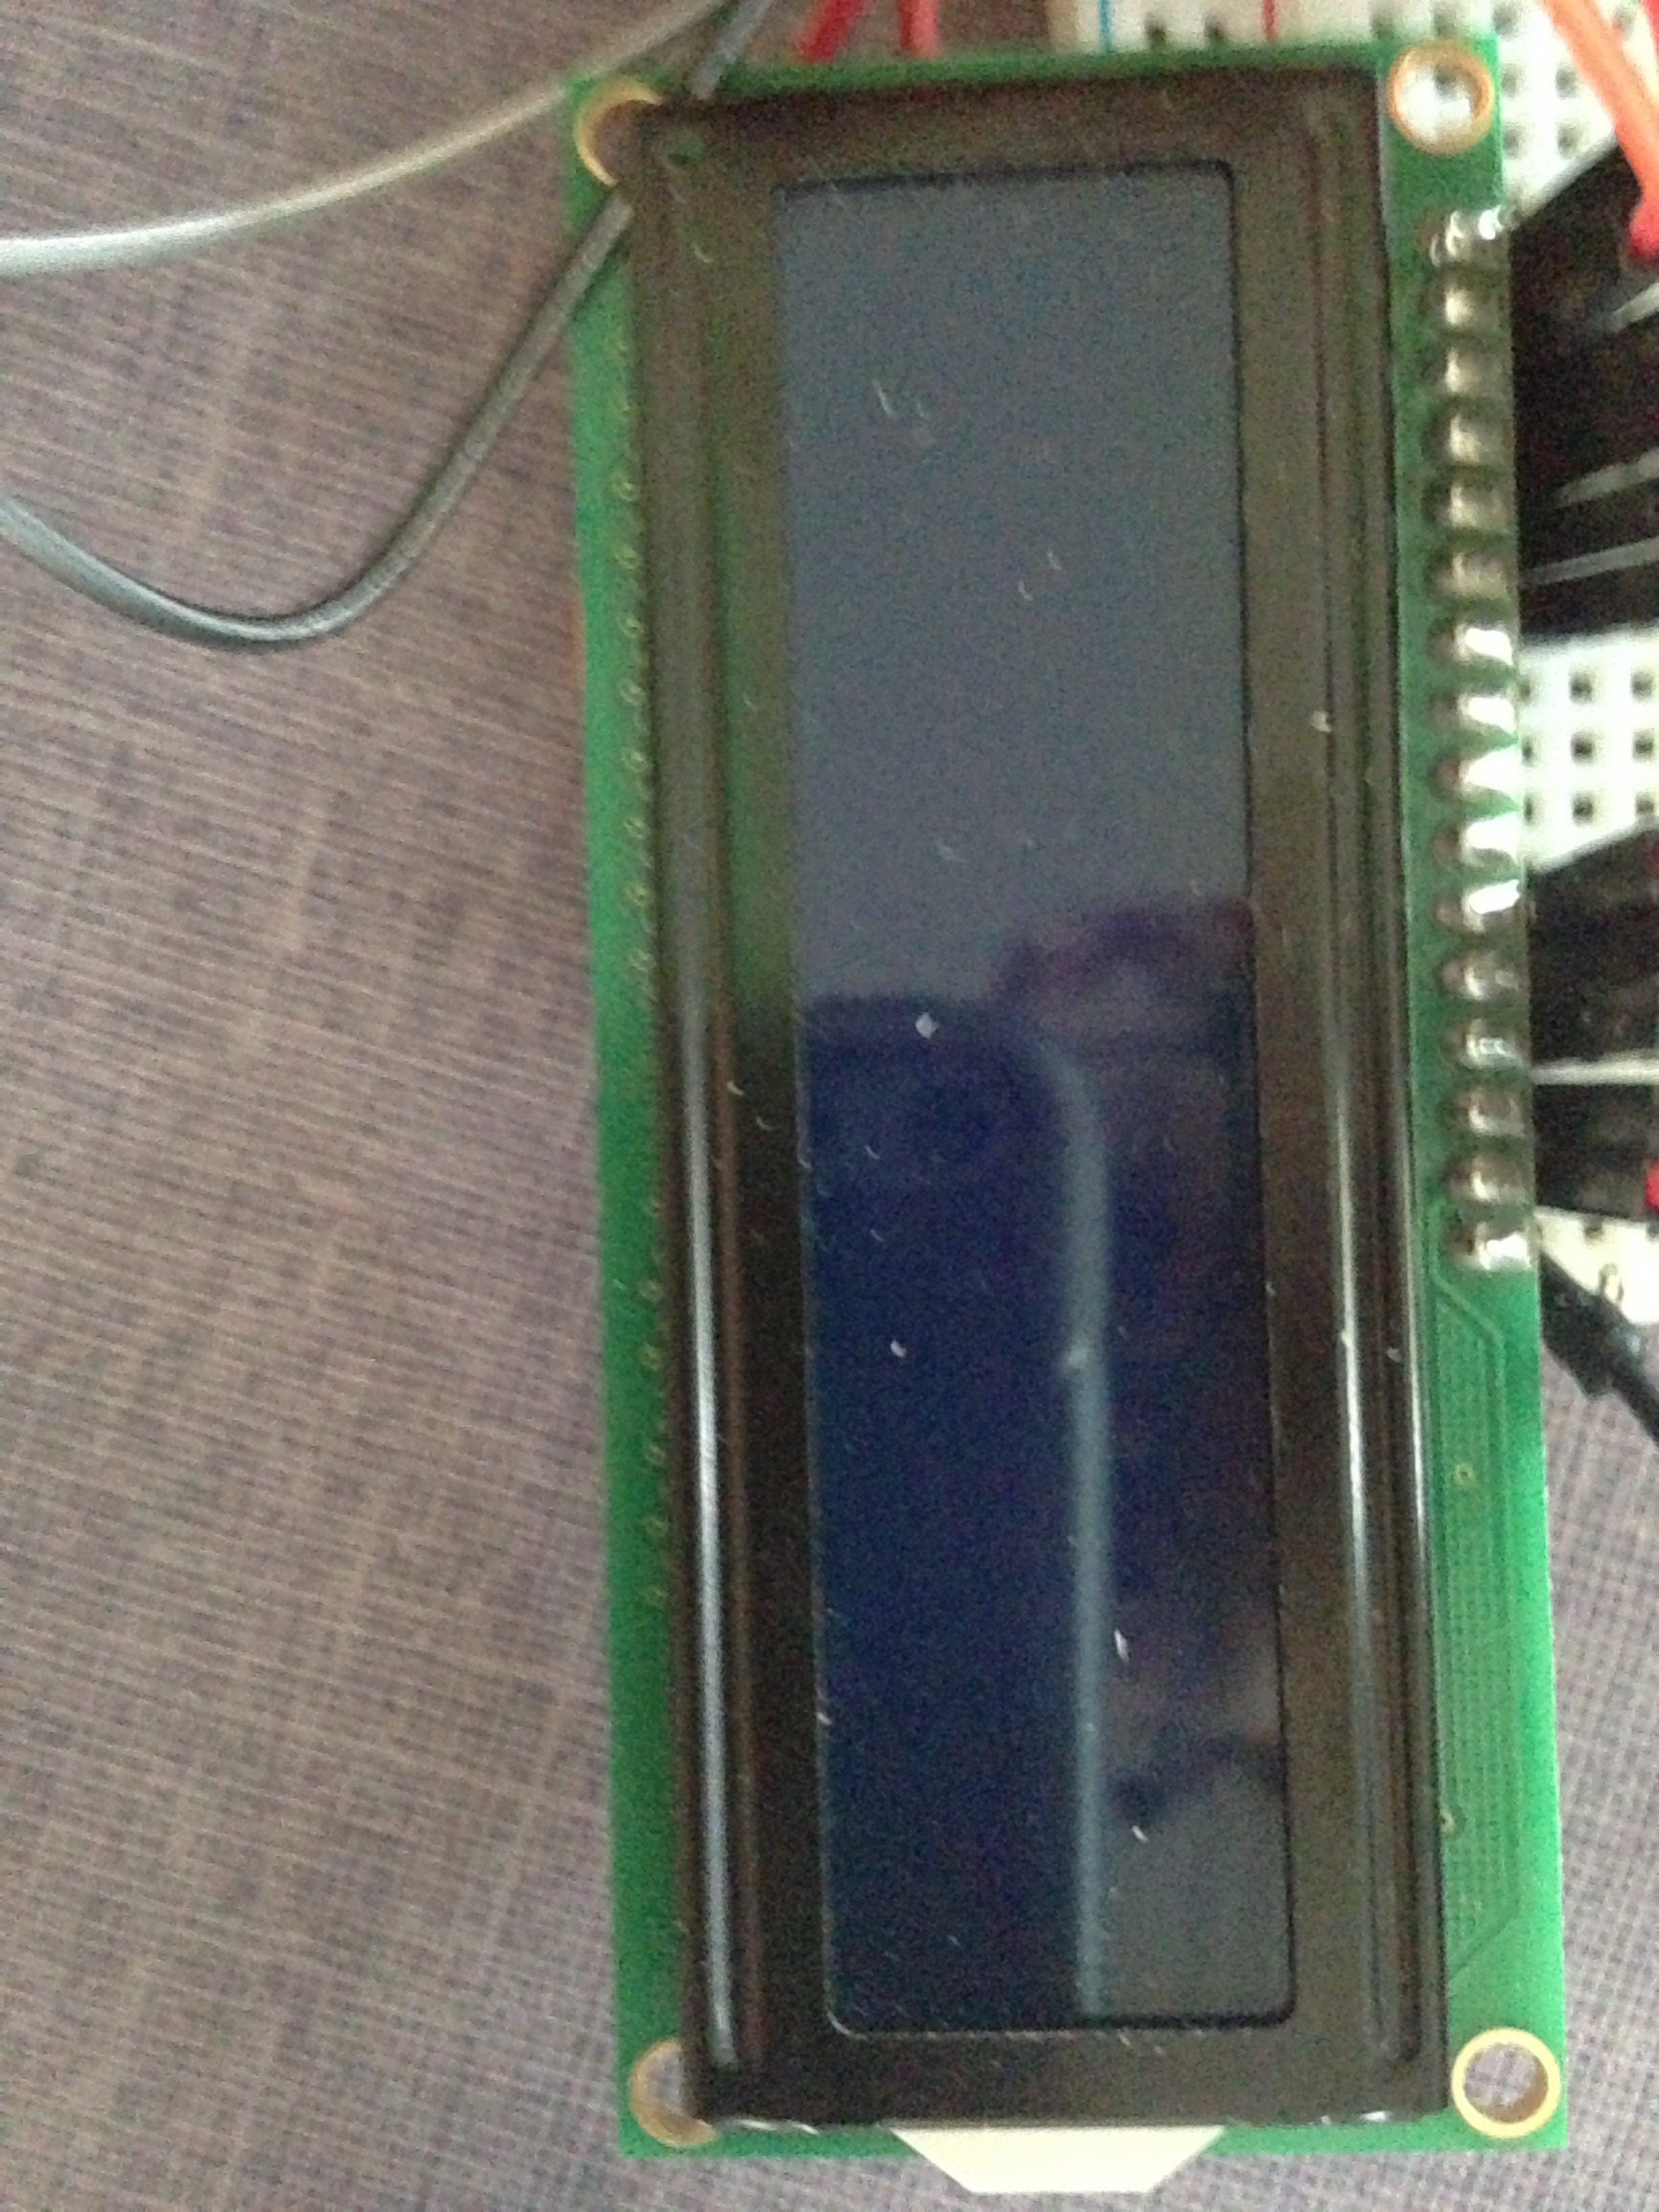
6. LCD display 16x2
7. Plexiglass clear XT
8. Electrical wires (M-M, M-F, F-F)
9. Resistors (330Ohm, 10KOhm
10. 12V Adapter
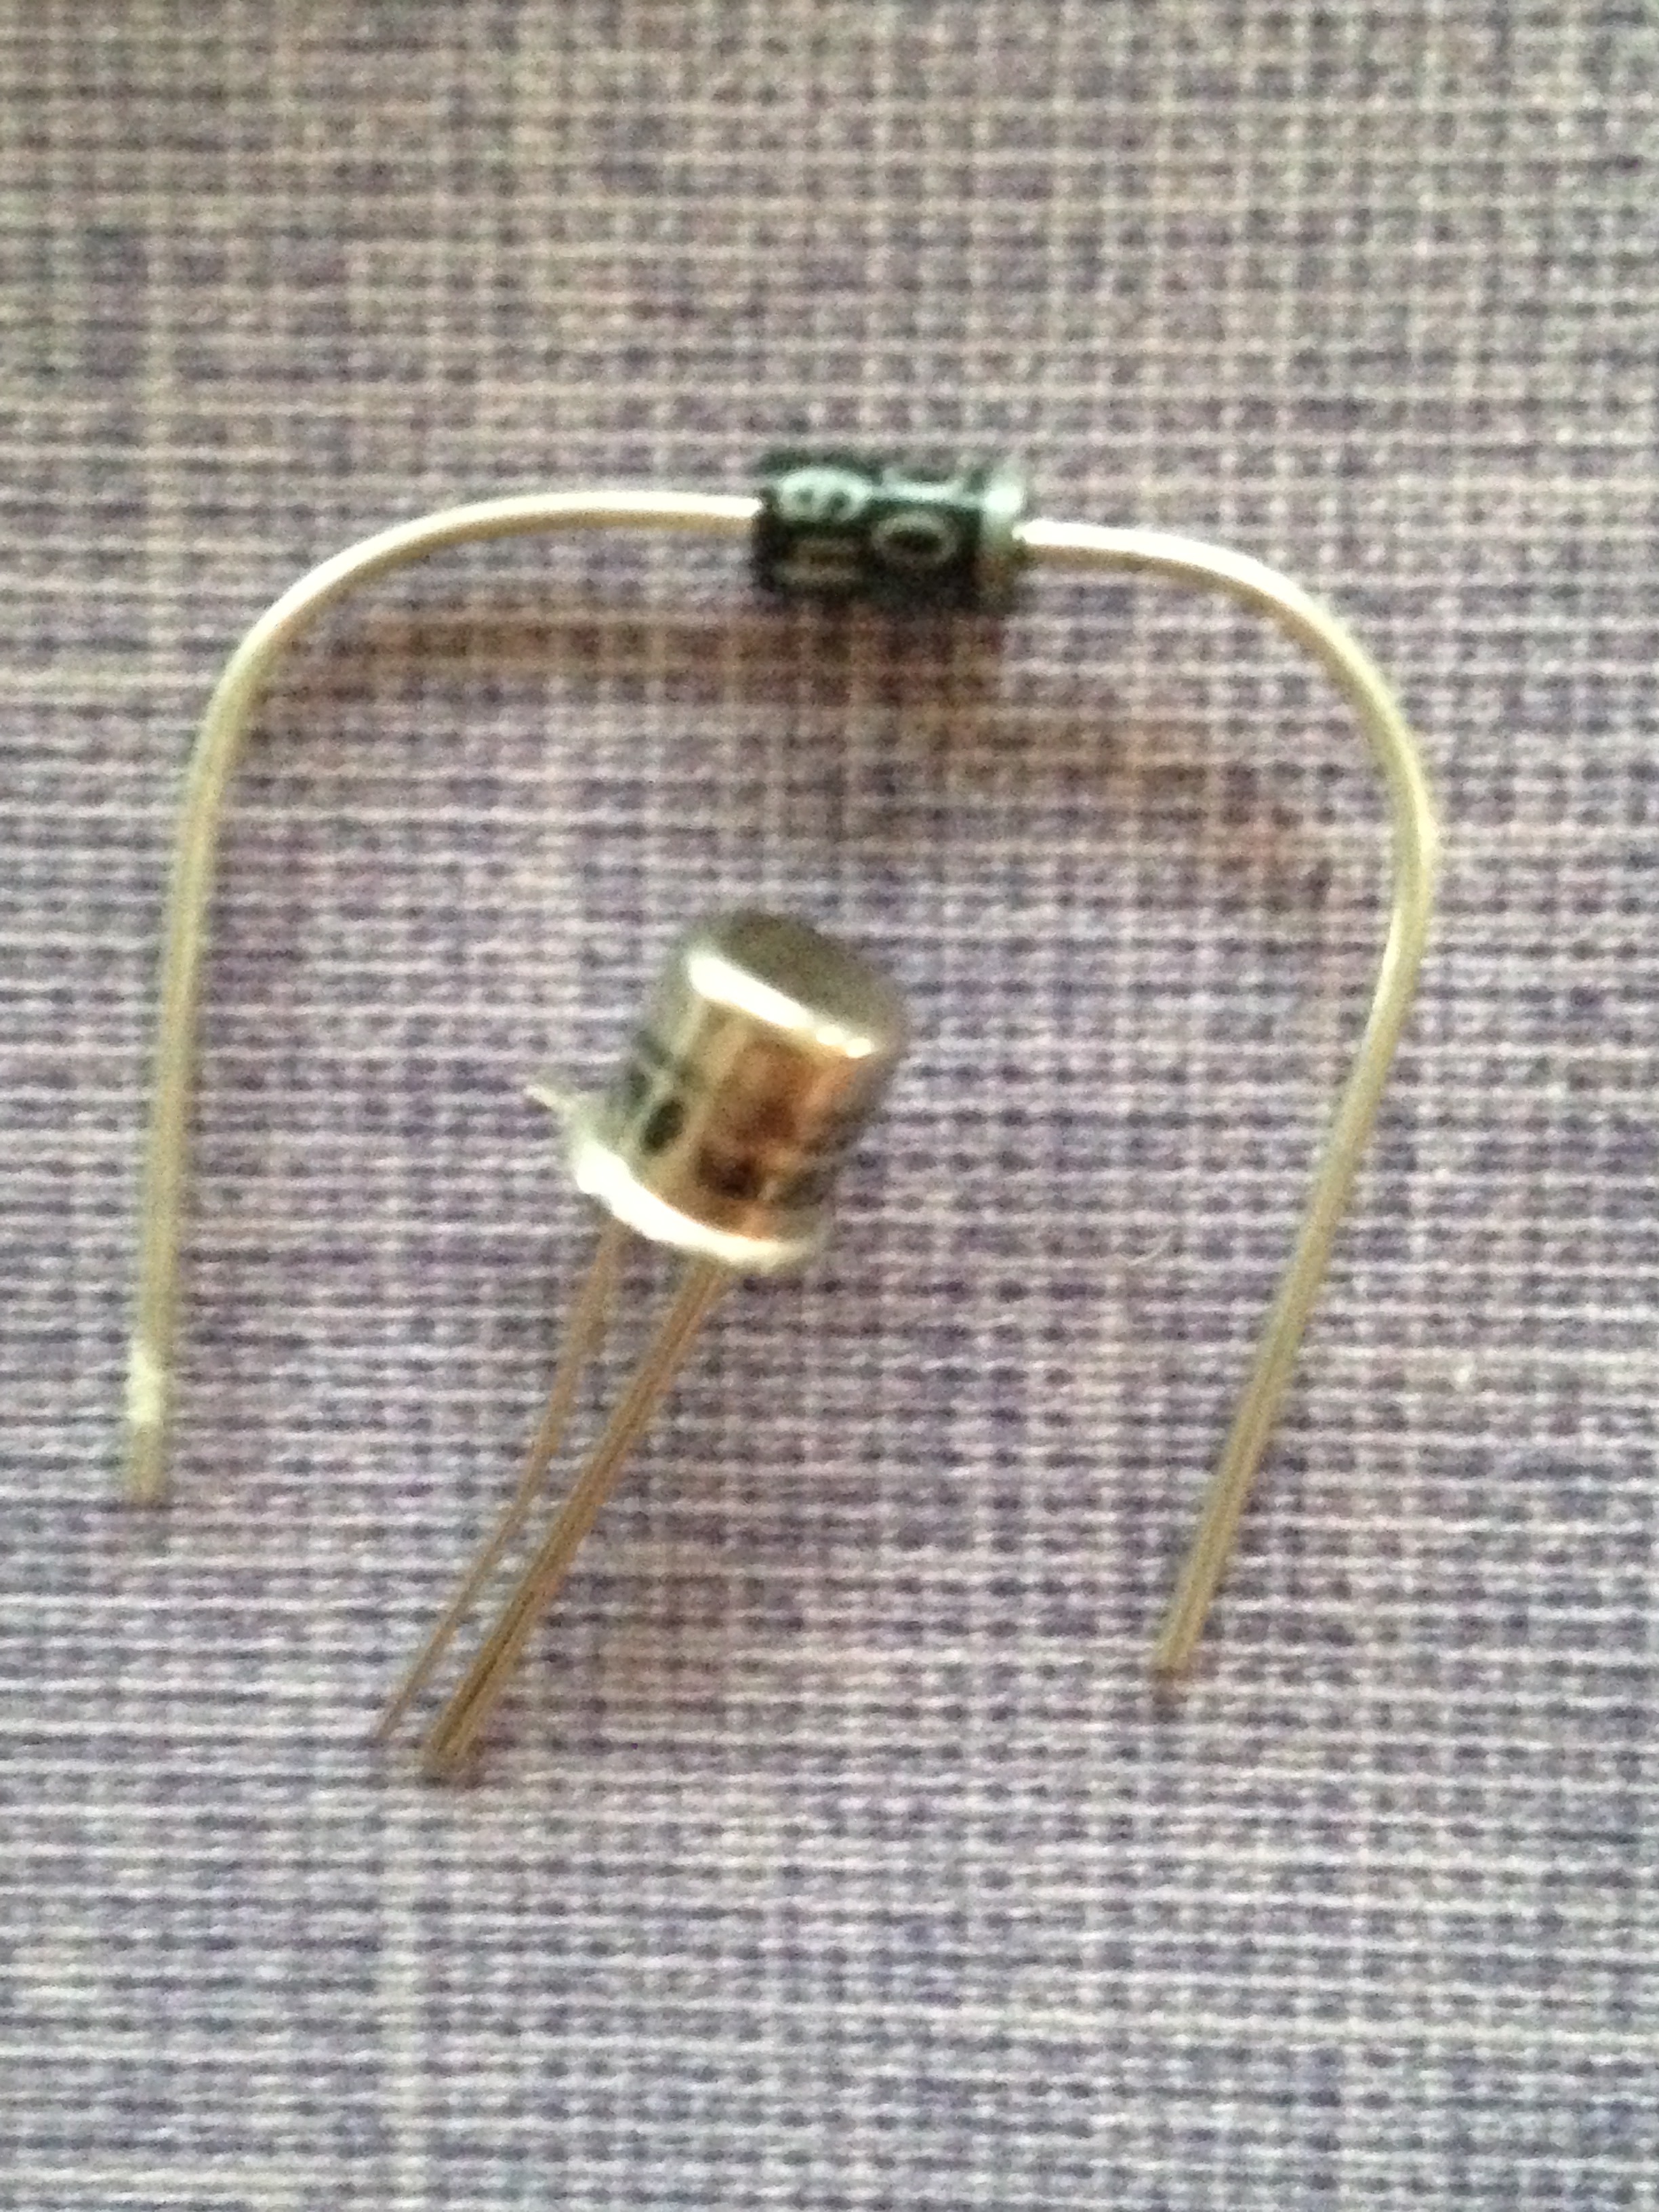
11. Diode (1N4007)
12. Alu L-plates (90°)
13. Hybrid Polymer Glue (200ml)
14. Screws
15. Hinges
16. NPN Transistor 2N2222A
17. Multiplex plate (36x22 cm)
18. Waterproof electrical box
19. Fridge door seal
20. Rubber bushing
Step 2: Connecting Everything ...
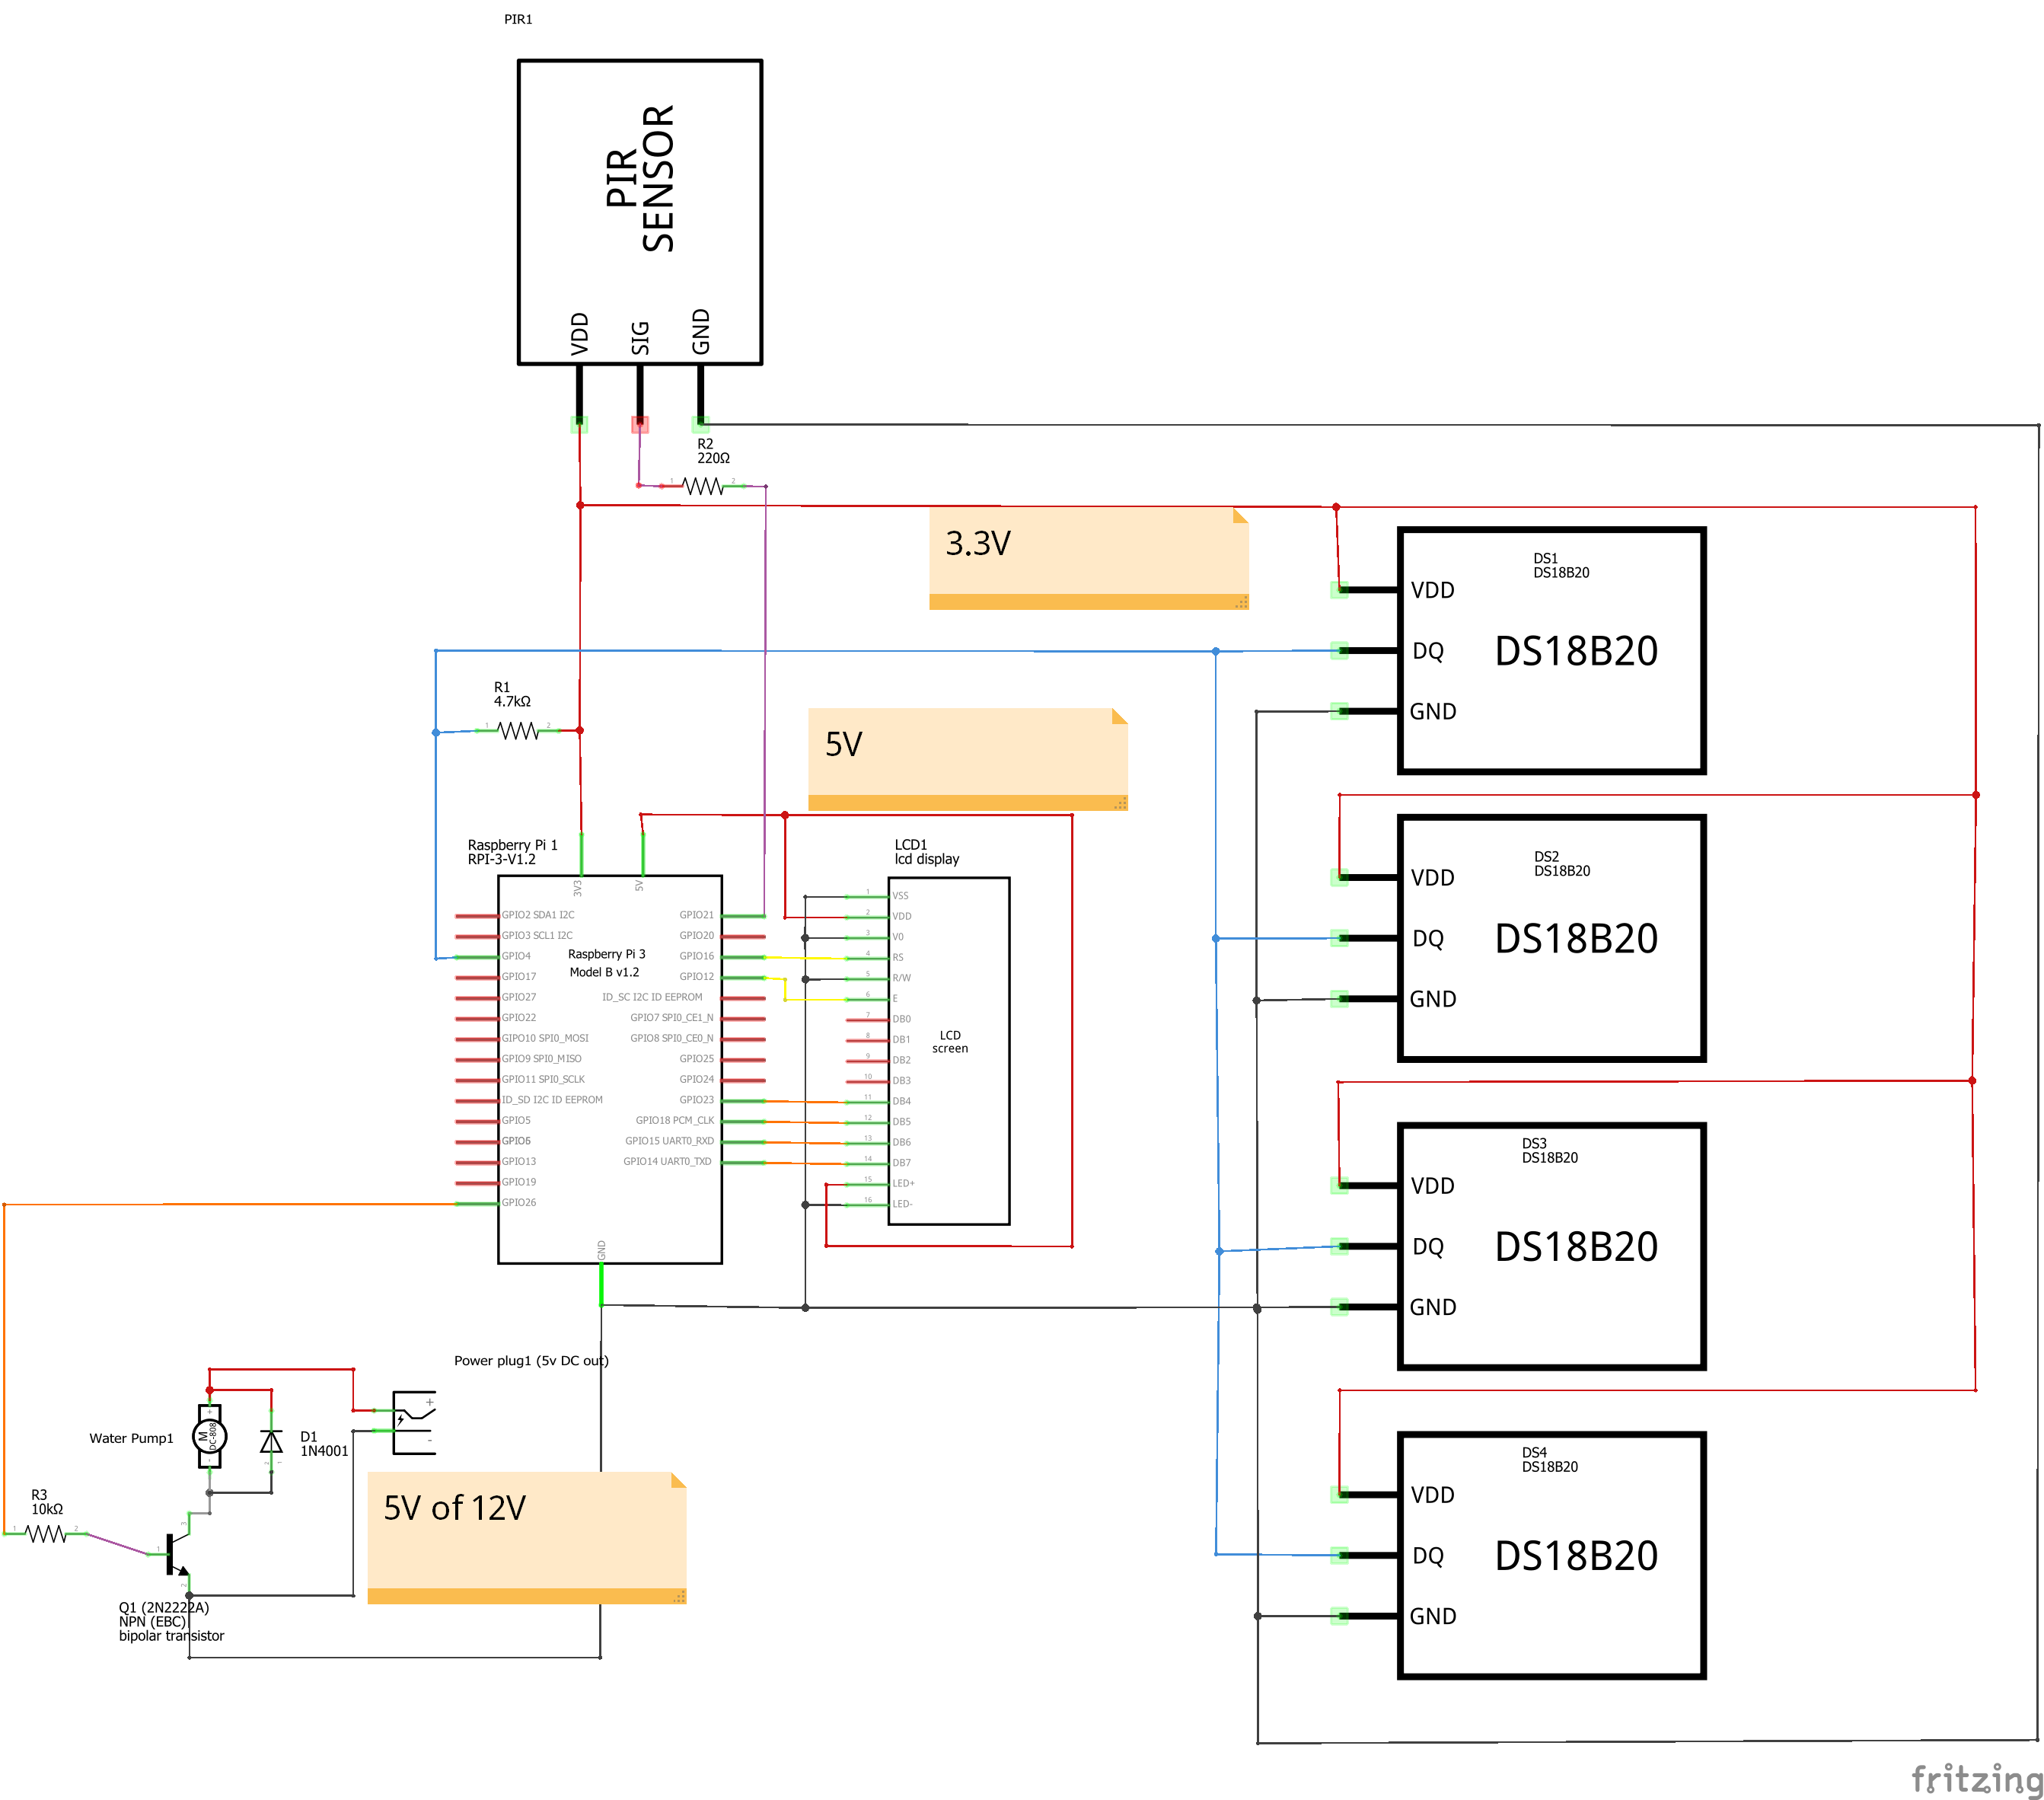
Notice: all the pins are BCM.
- Connect 3V3 to PIR sensor and to all temperature sensor (DS18B20 are the ones I used)
- Place a 4.7KOhm resistor between GPIO pin 4 and 3V3 (this is needed for the temperature sensors to work)
- Connect the ground of the temp. sensors to a ground pin of the raspberry pi. Connect the yellow wires to pin 4 in serie.
- Connect the middle pin of the PIR sensor to GPIO pin 21 with a 220 or 330 Ohm resistor in serie. Connect the ground to a ground pin on RPi.
- For connecting the LCD display you can follow this tutorial from Adafruit:
https://learn.adafruit.com/drive-a-16x2-lcd-direct...
- Connect the base (middle leg of the transistor 2N222A) to a GPIO pin with a resistor of 10KOhm in series on the RPi. I used pin 26.
- Connect the collector (to the ground of the pump and the ground of the diode)
- Connect the the red wire (+) of the diode to the red wire (+) of the pump. Then connect that wire to the red wire (+) of the power supply.
- Connect the ground of the power supply to the emitter of the transistor. You should also connect a wire from the emitter to a ground pin on the RPi.
Here you can find the datasheet of the 2N2222a transistor:
Step 3: Code
Here you can find the link to the code that drives the sensors and let them work together (using threading).
Upload the code to your Raspberry pi and run it. If you've done everything right so far and you plugged in the RPi power cable you should see the LCD display light up.
Link to the code.
Step 4: Housing

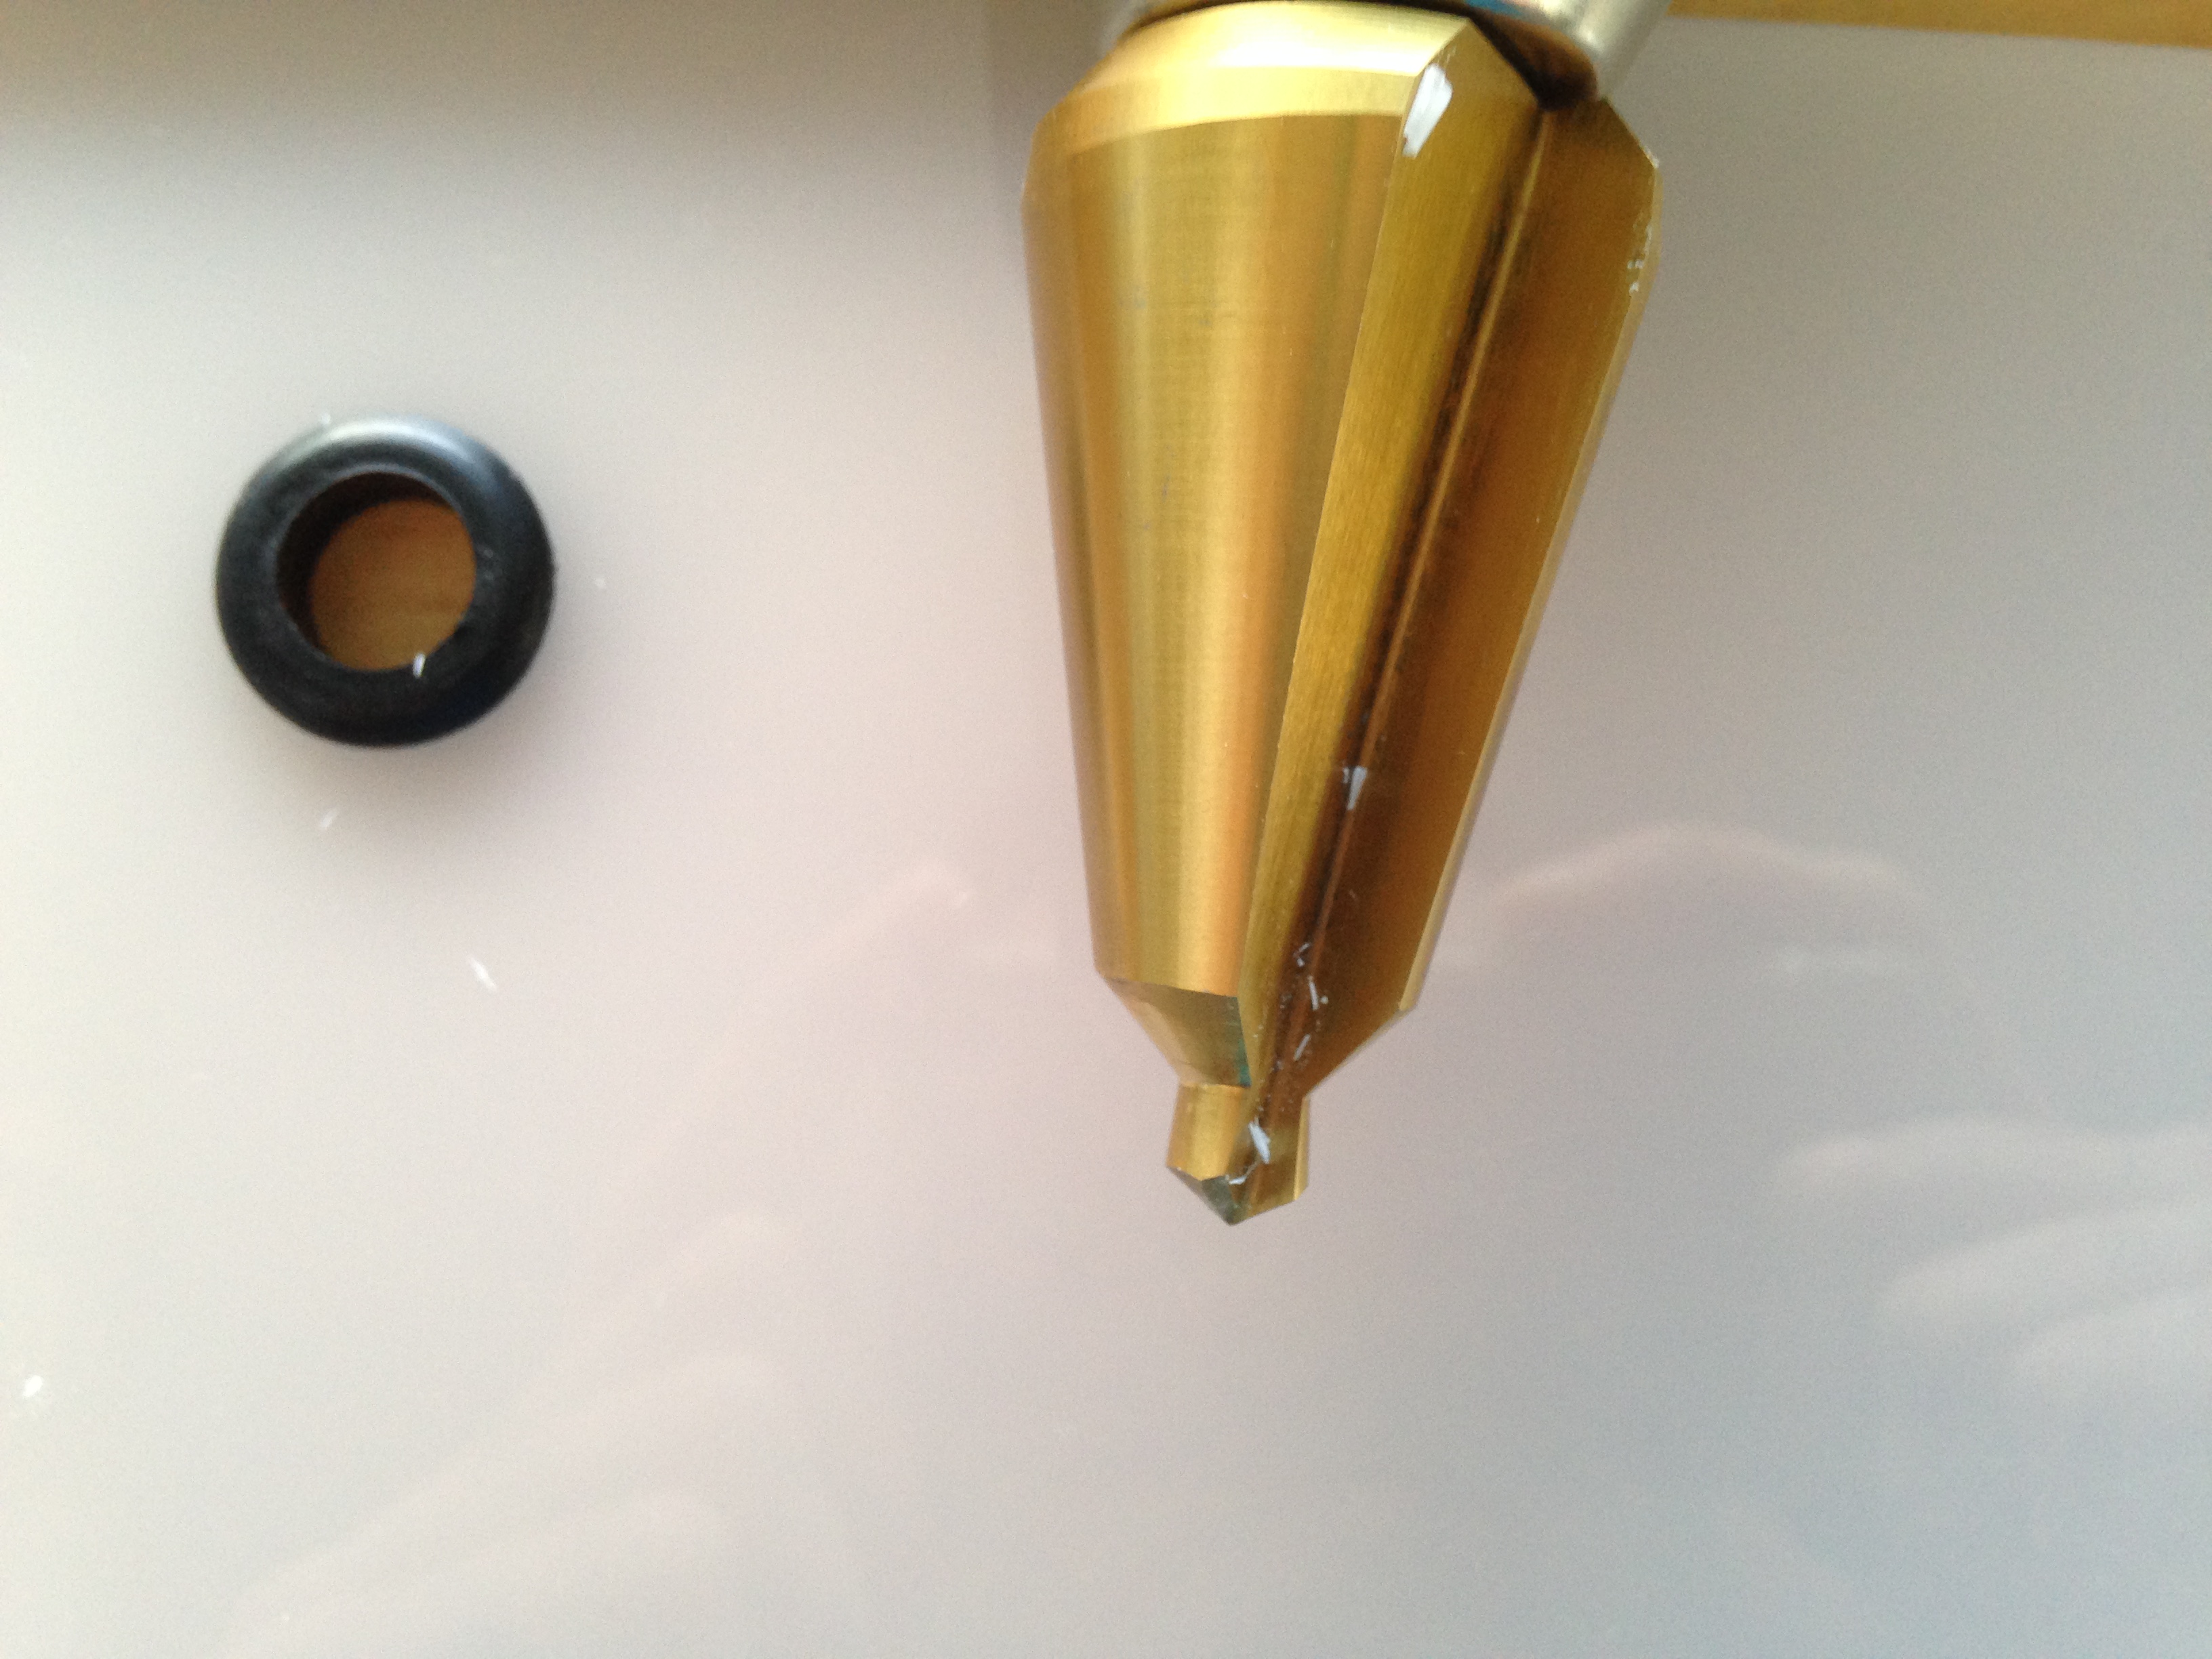
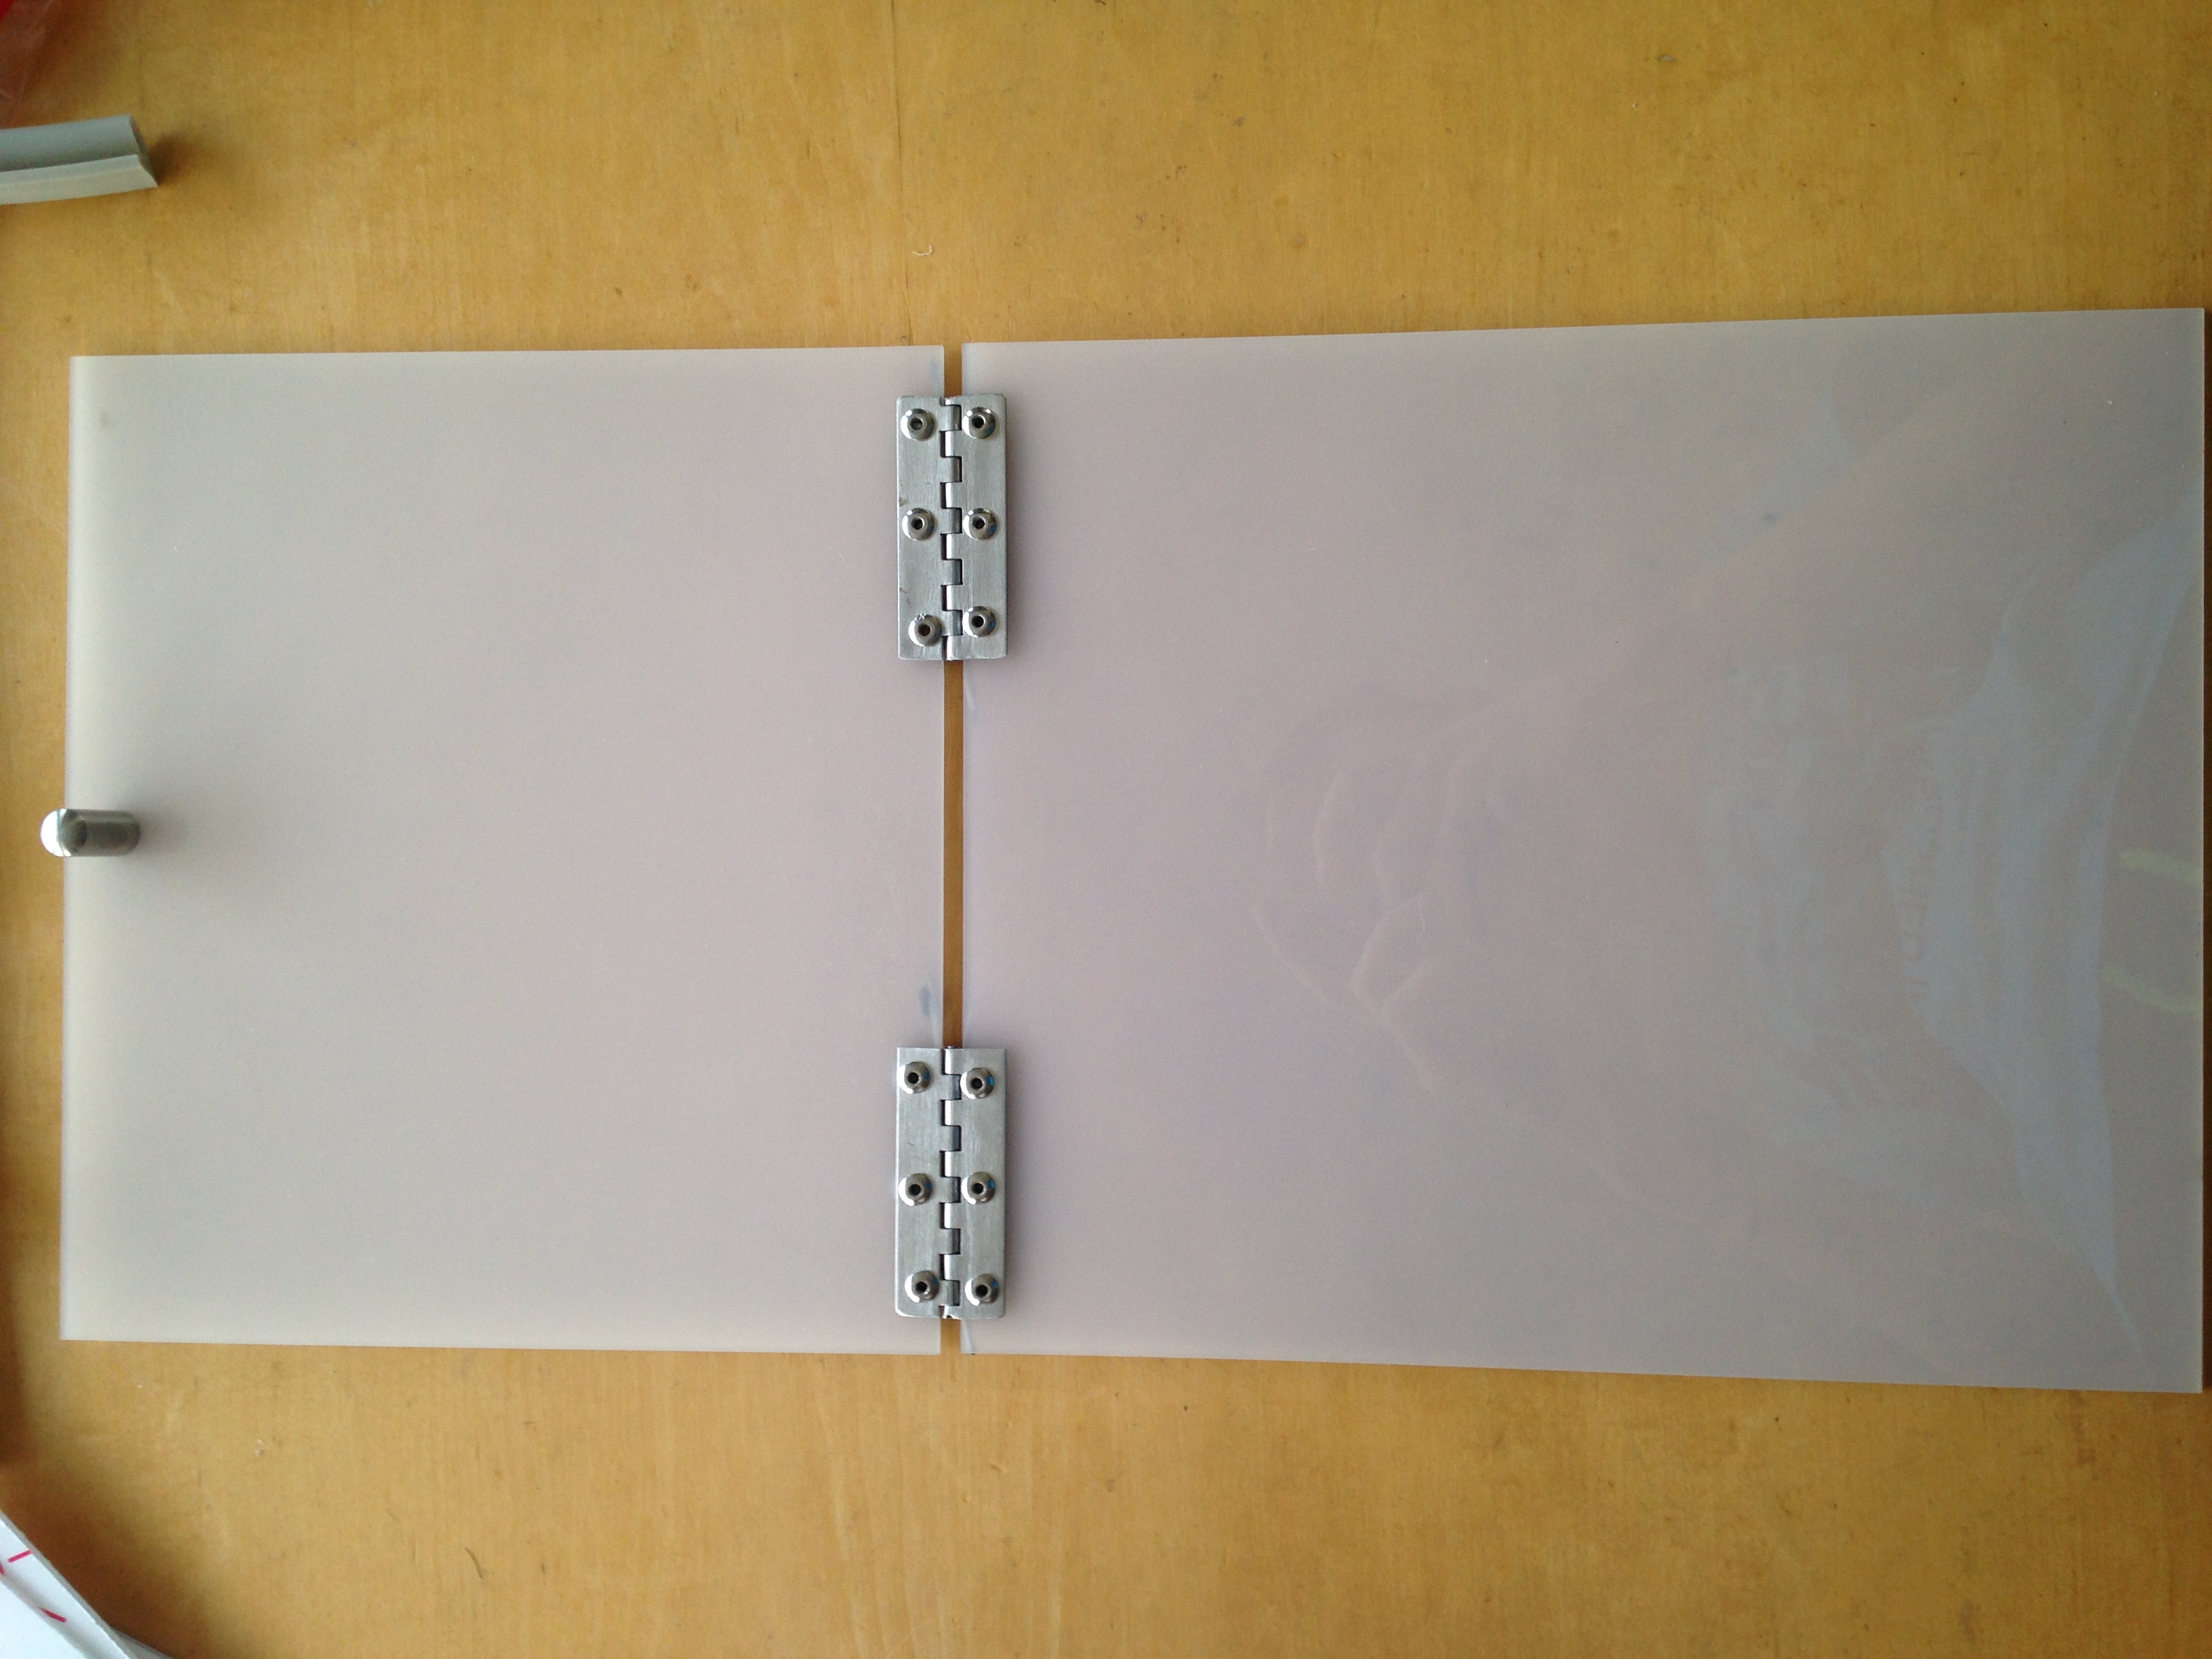
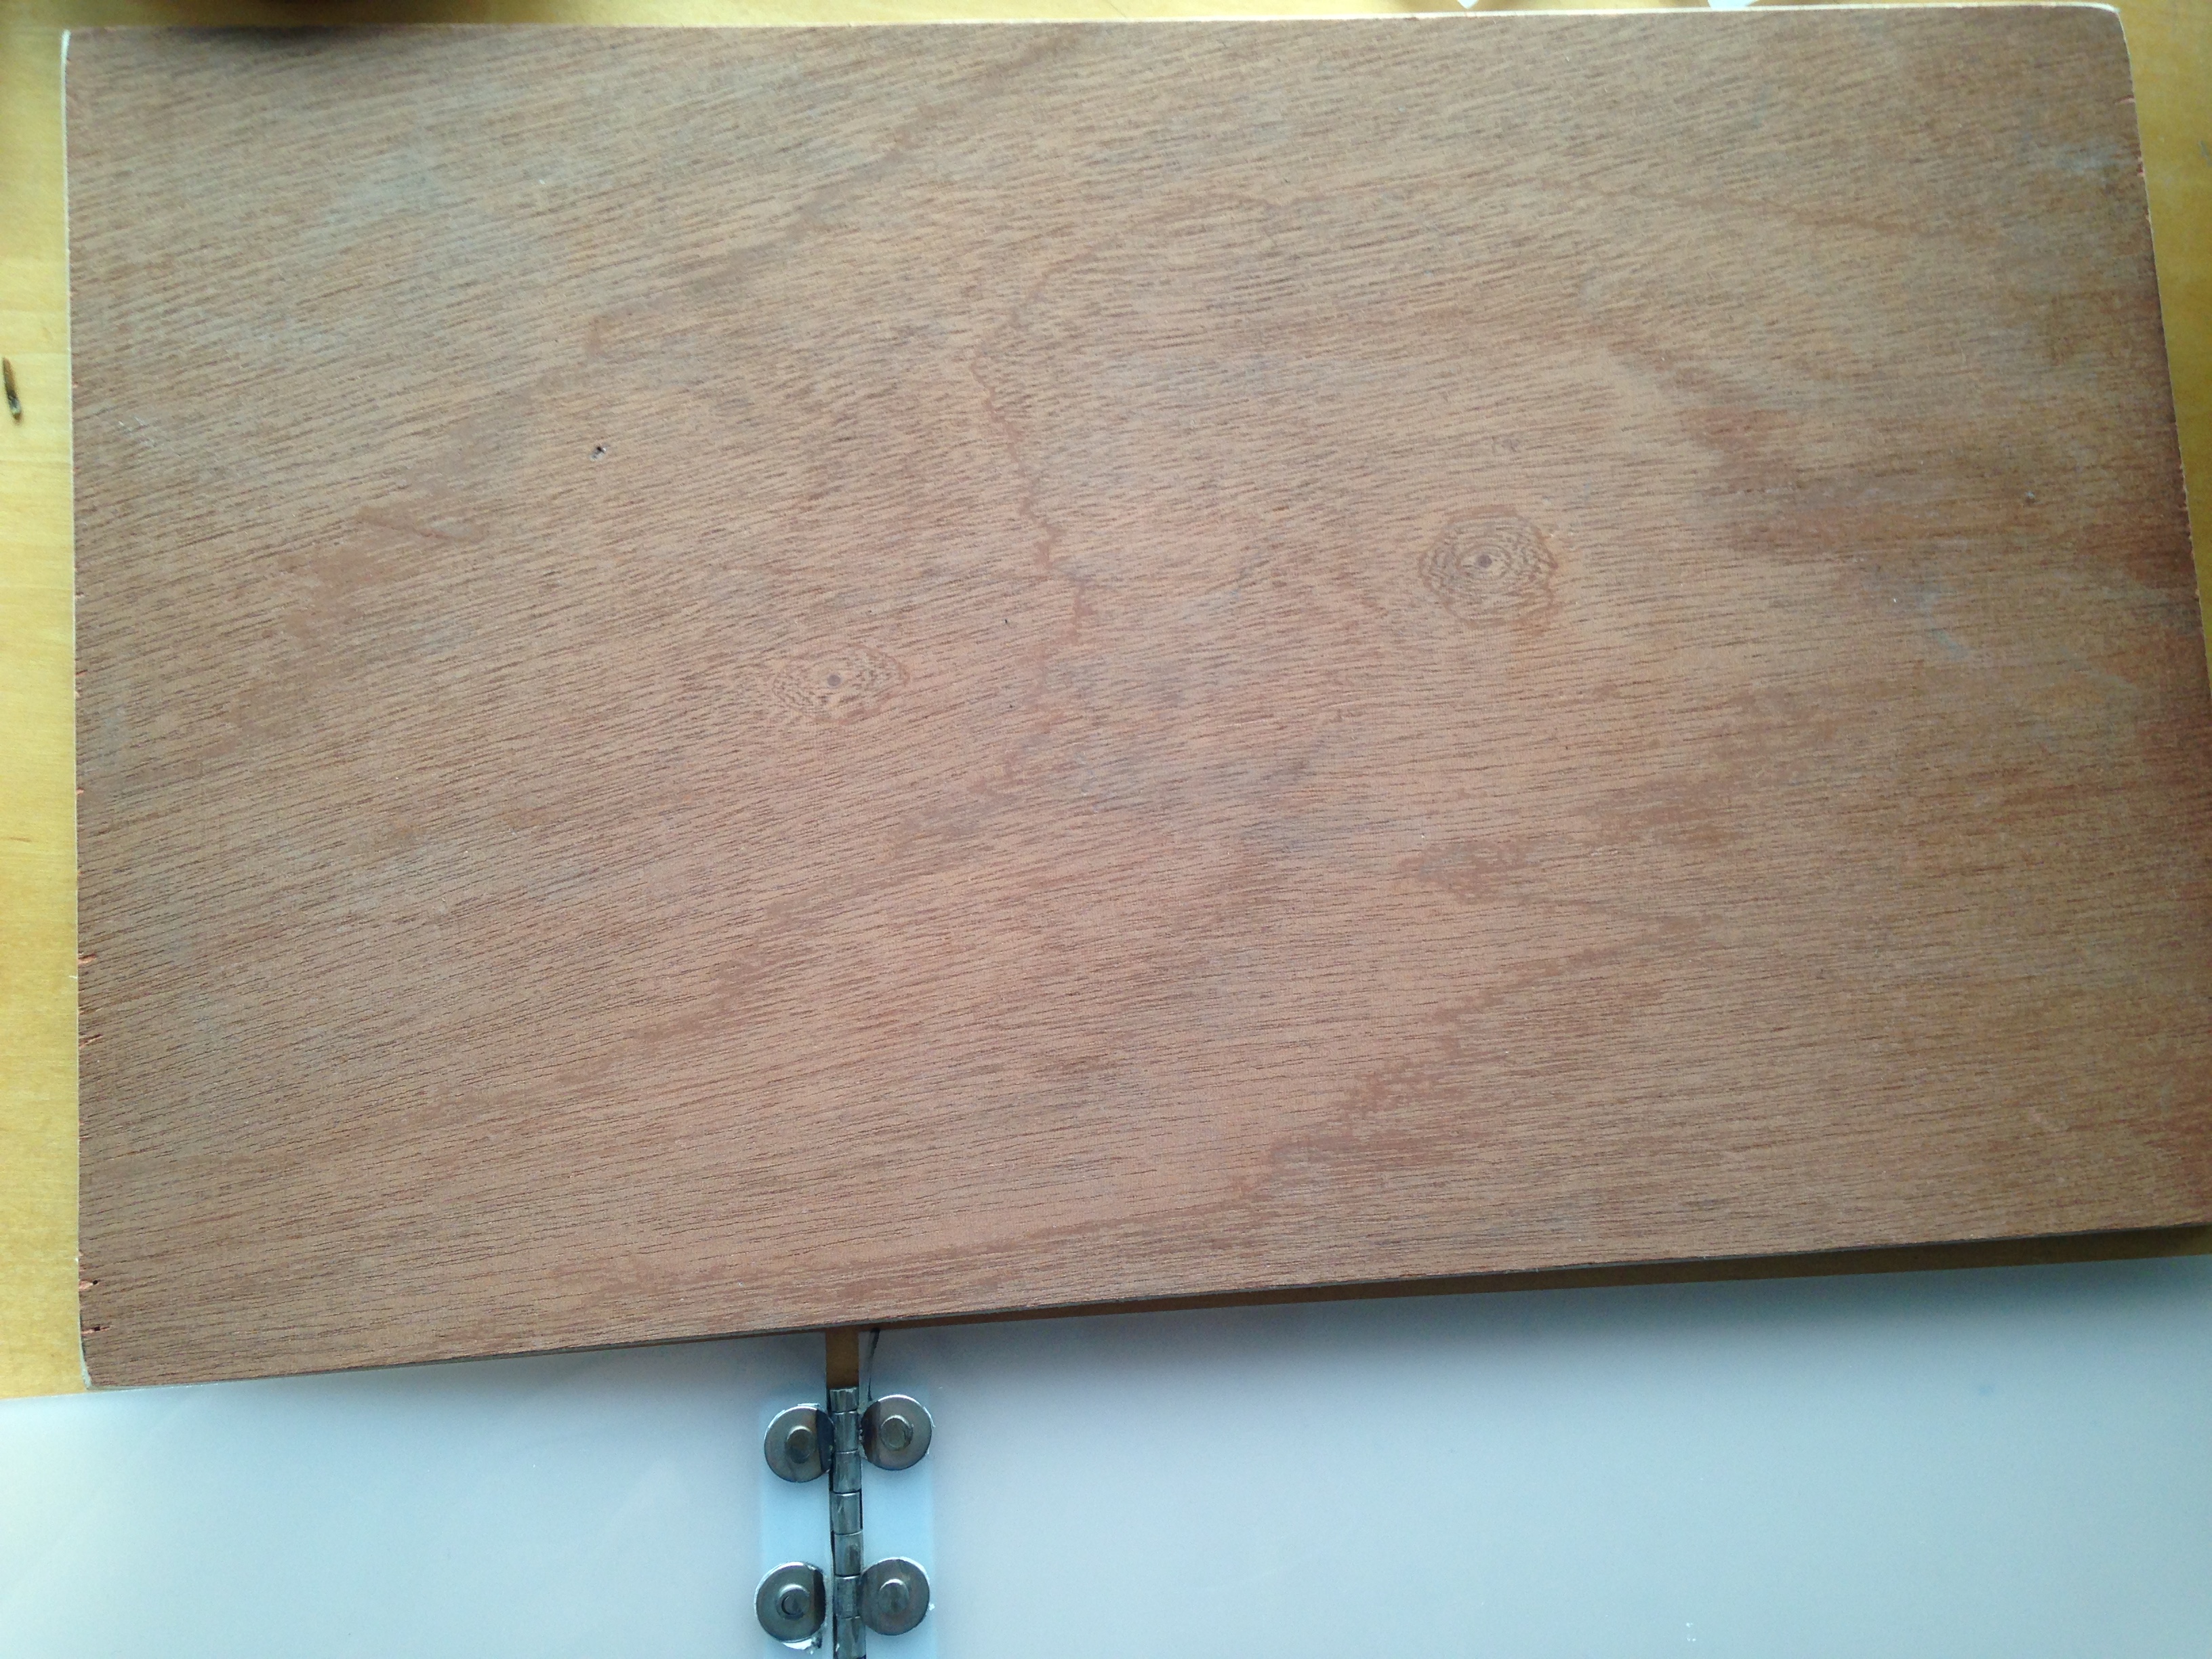
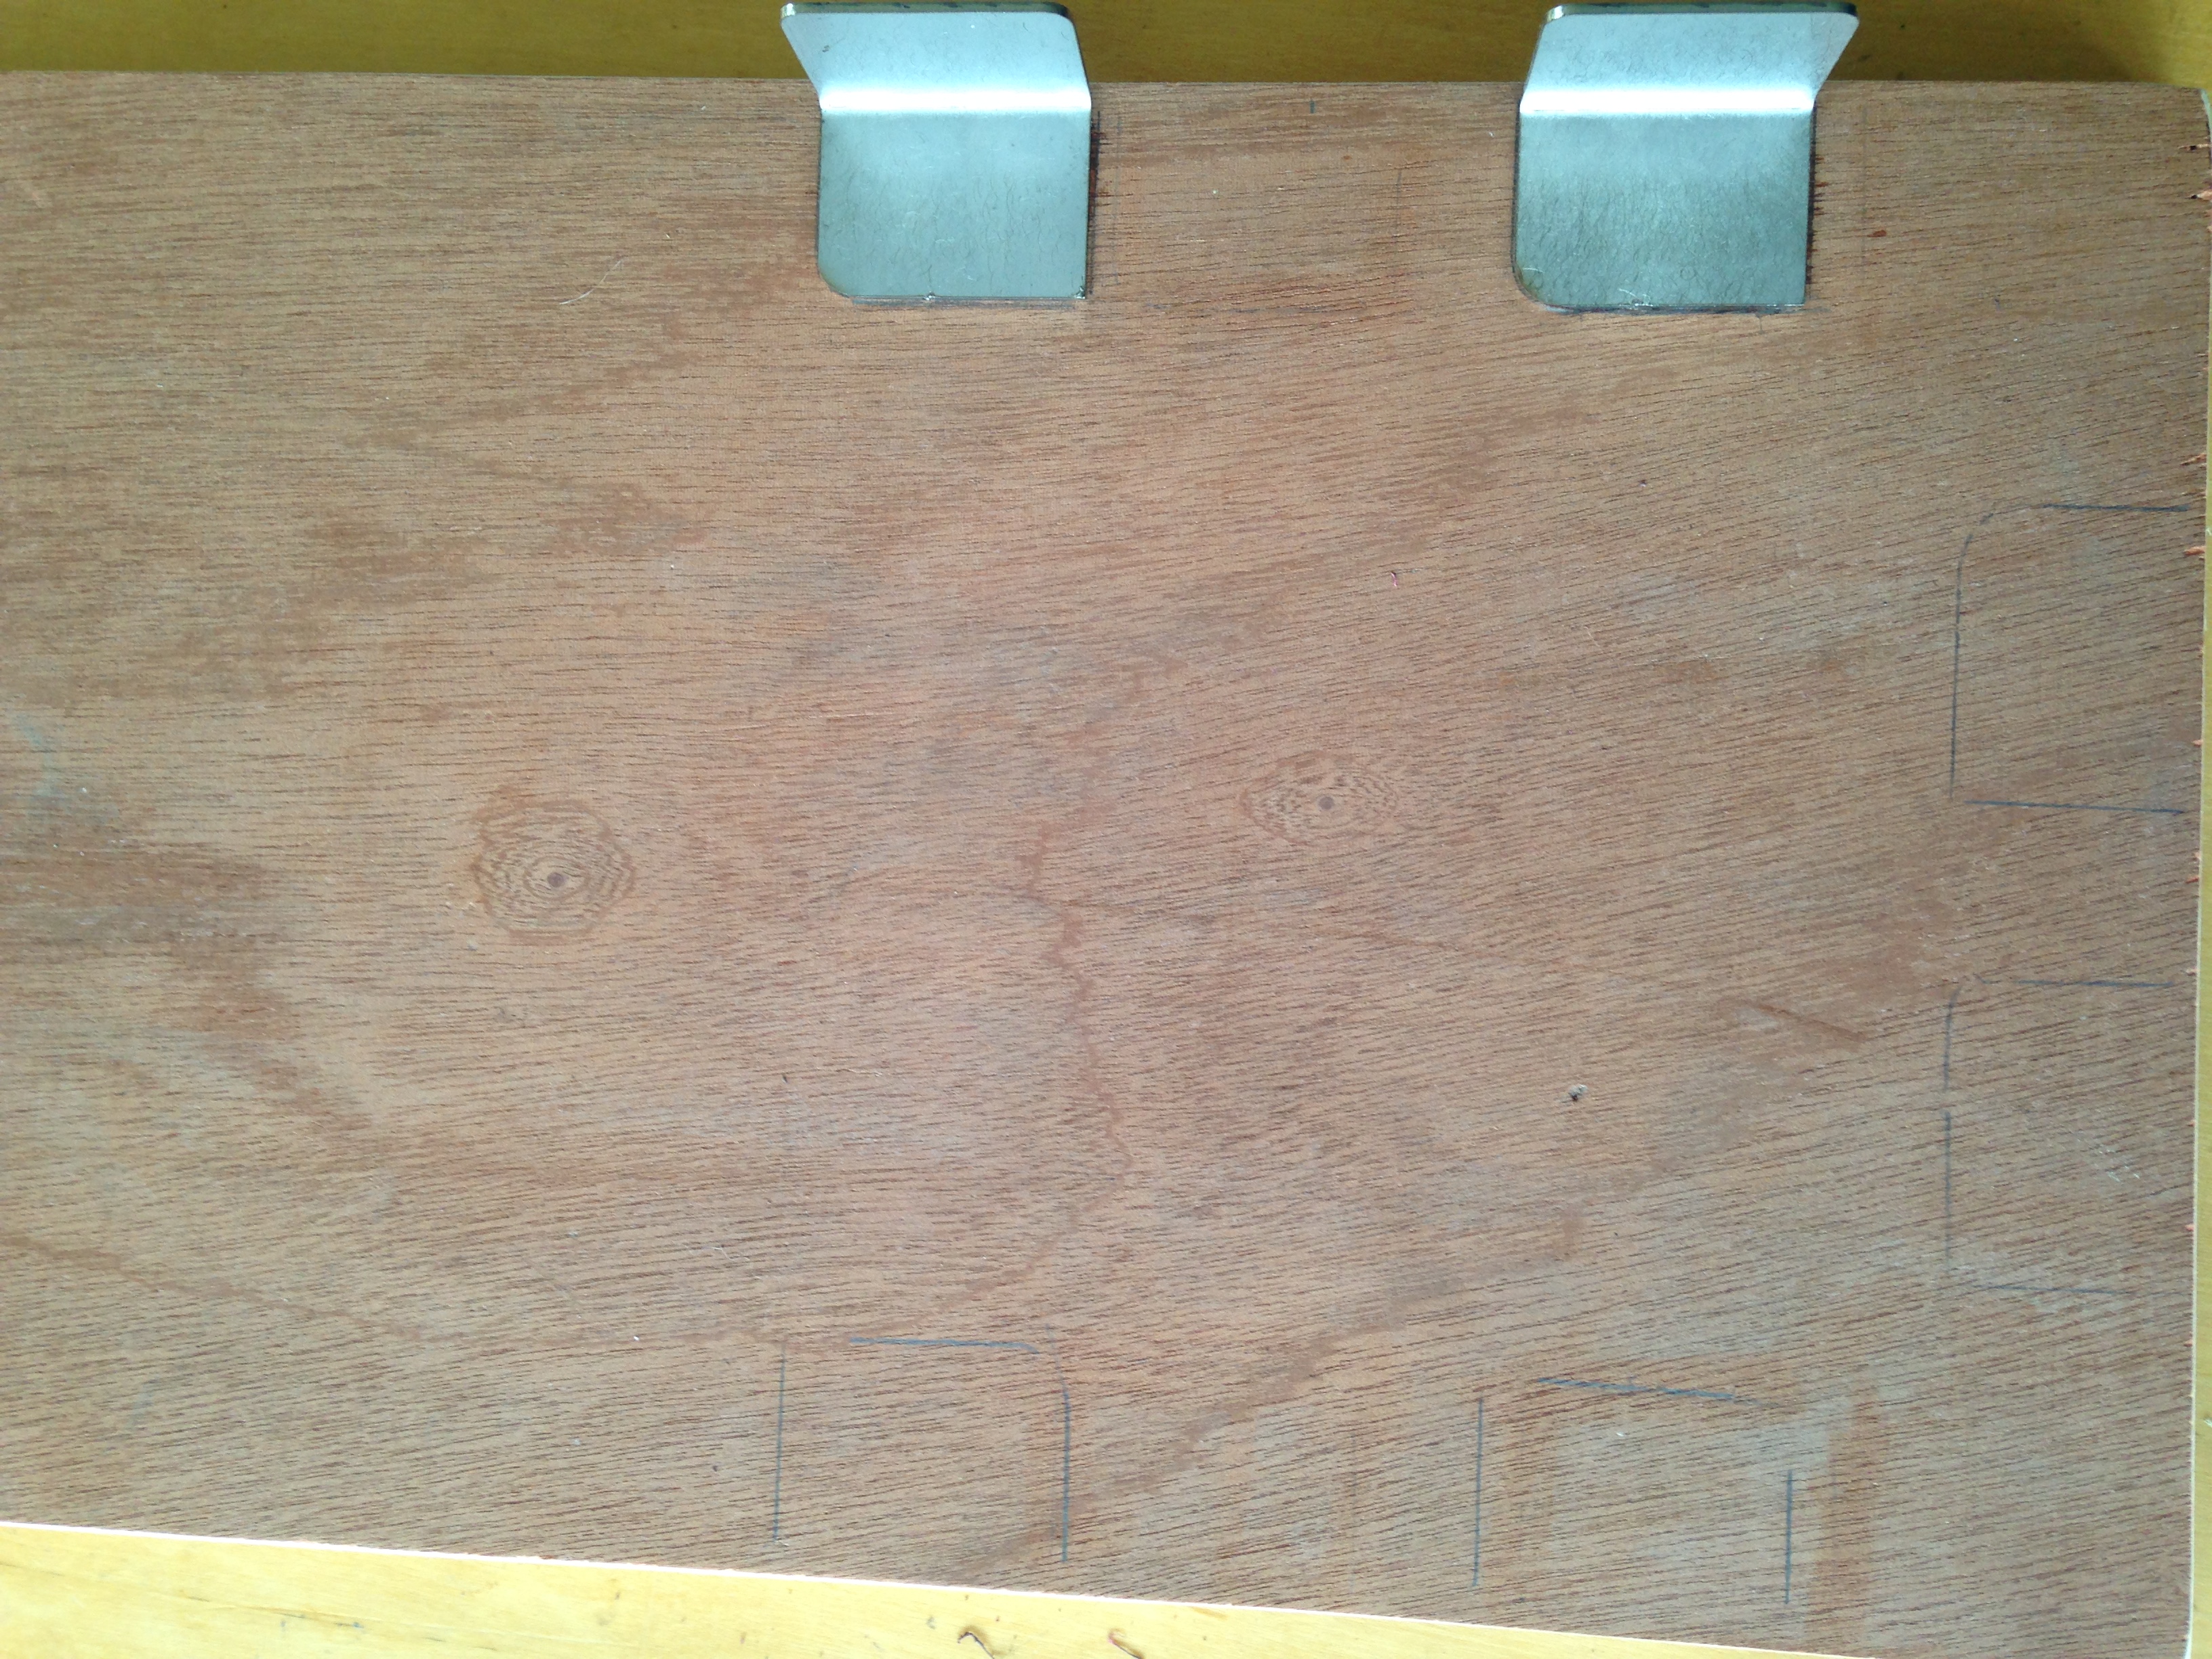
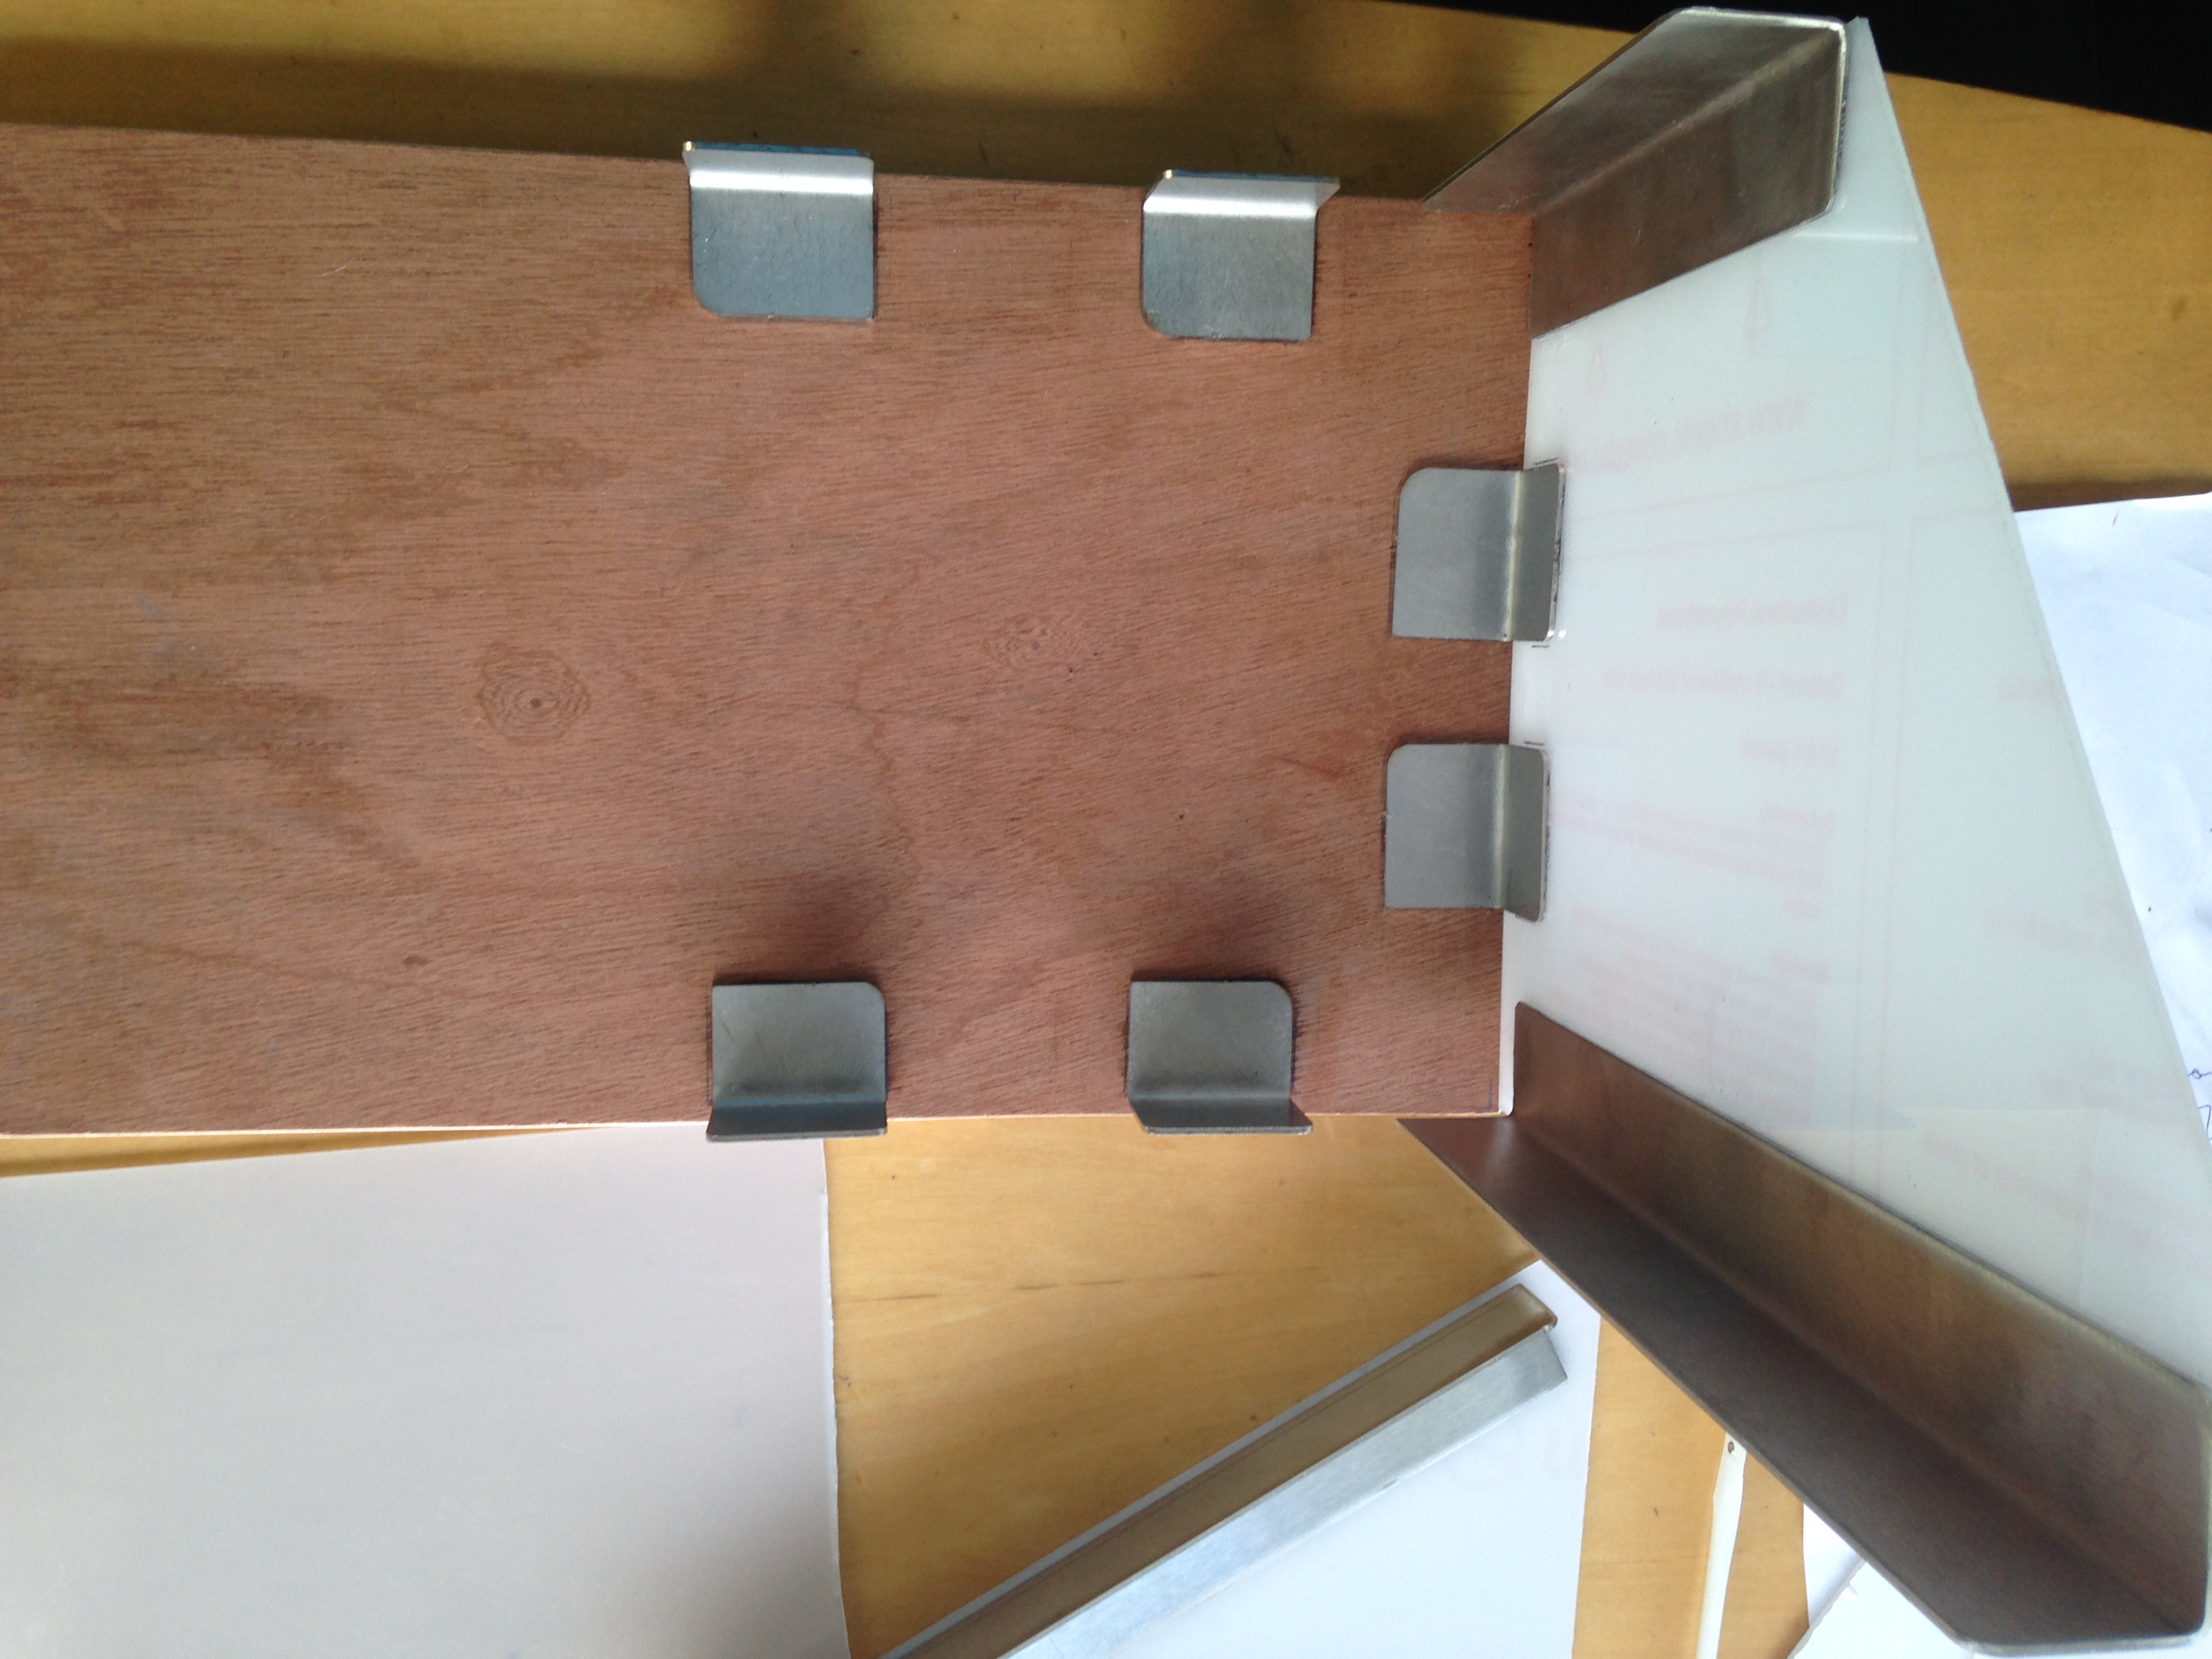
- Cut 2 plexi panels where one side is 29cm high and the other side is 15cm high. The length of the bottom line is 21.5cm. Cut a hole in one these panels to pass through cables. Put a rubber bushing in it when drilled.
- Cut one panel at 25cm x 15cm (front wall), another panel 25cm x 29cm (back wall) and the last panel 25cm x 26.5cm (roof).
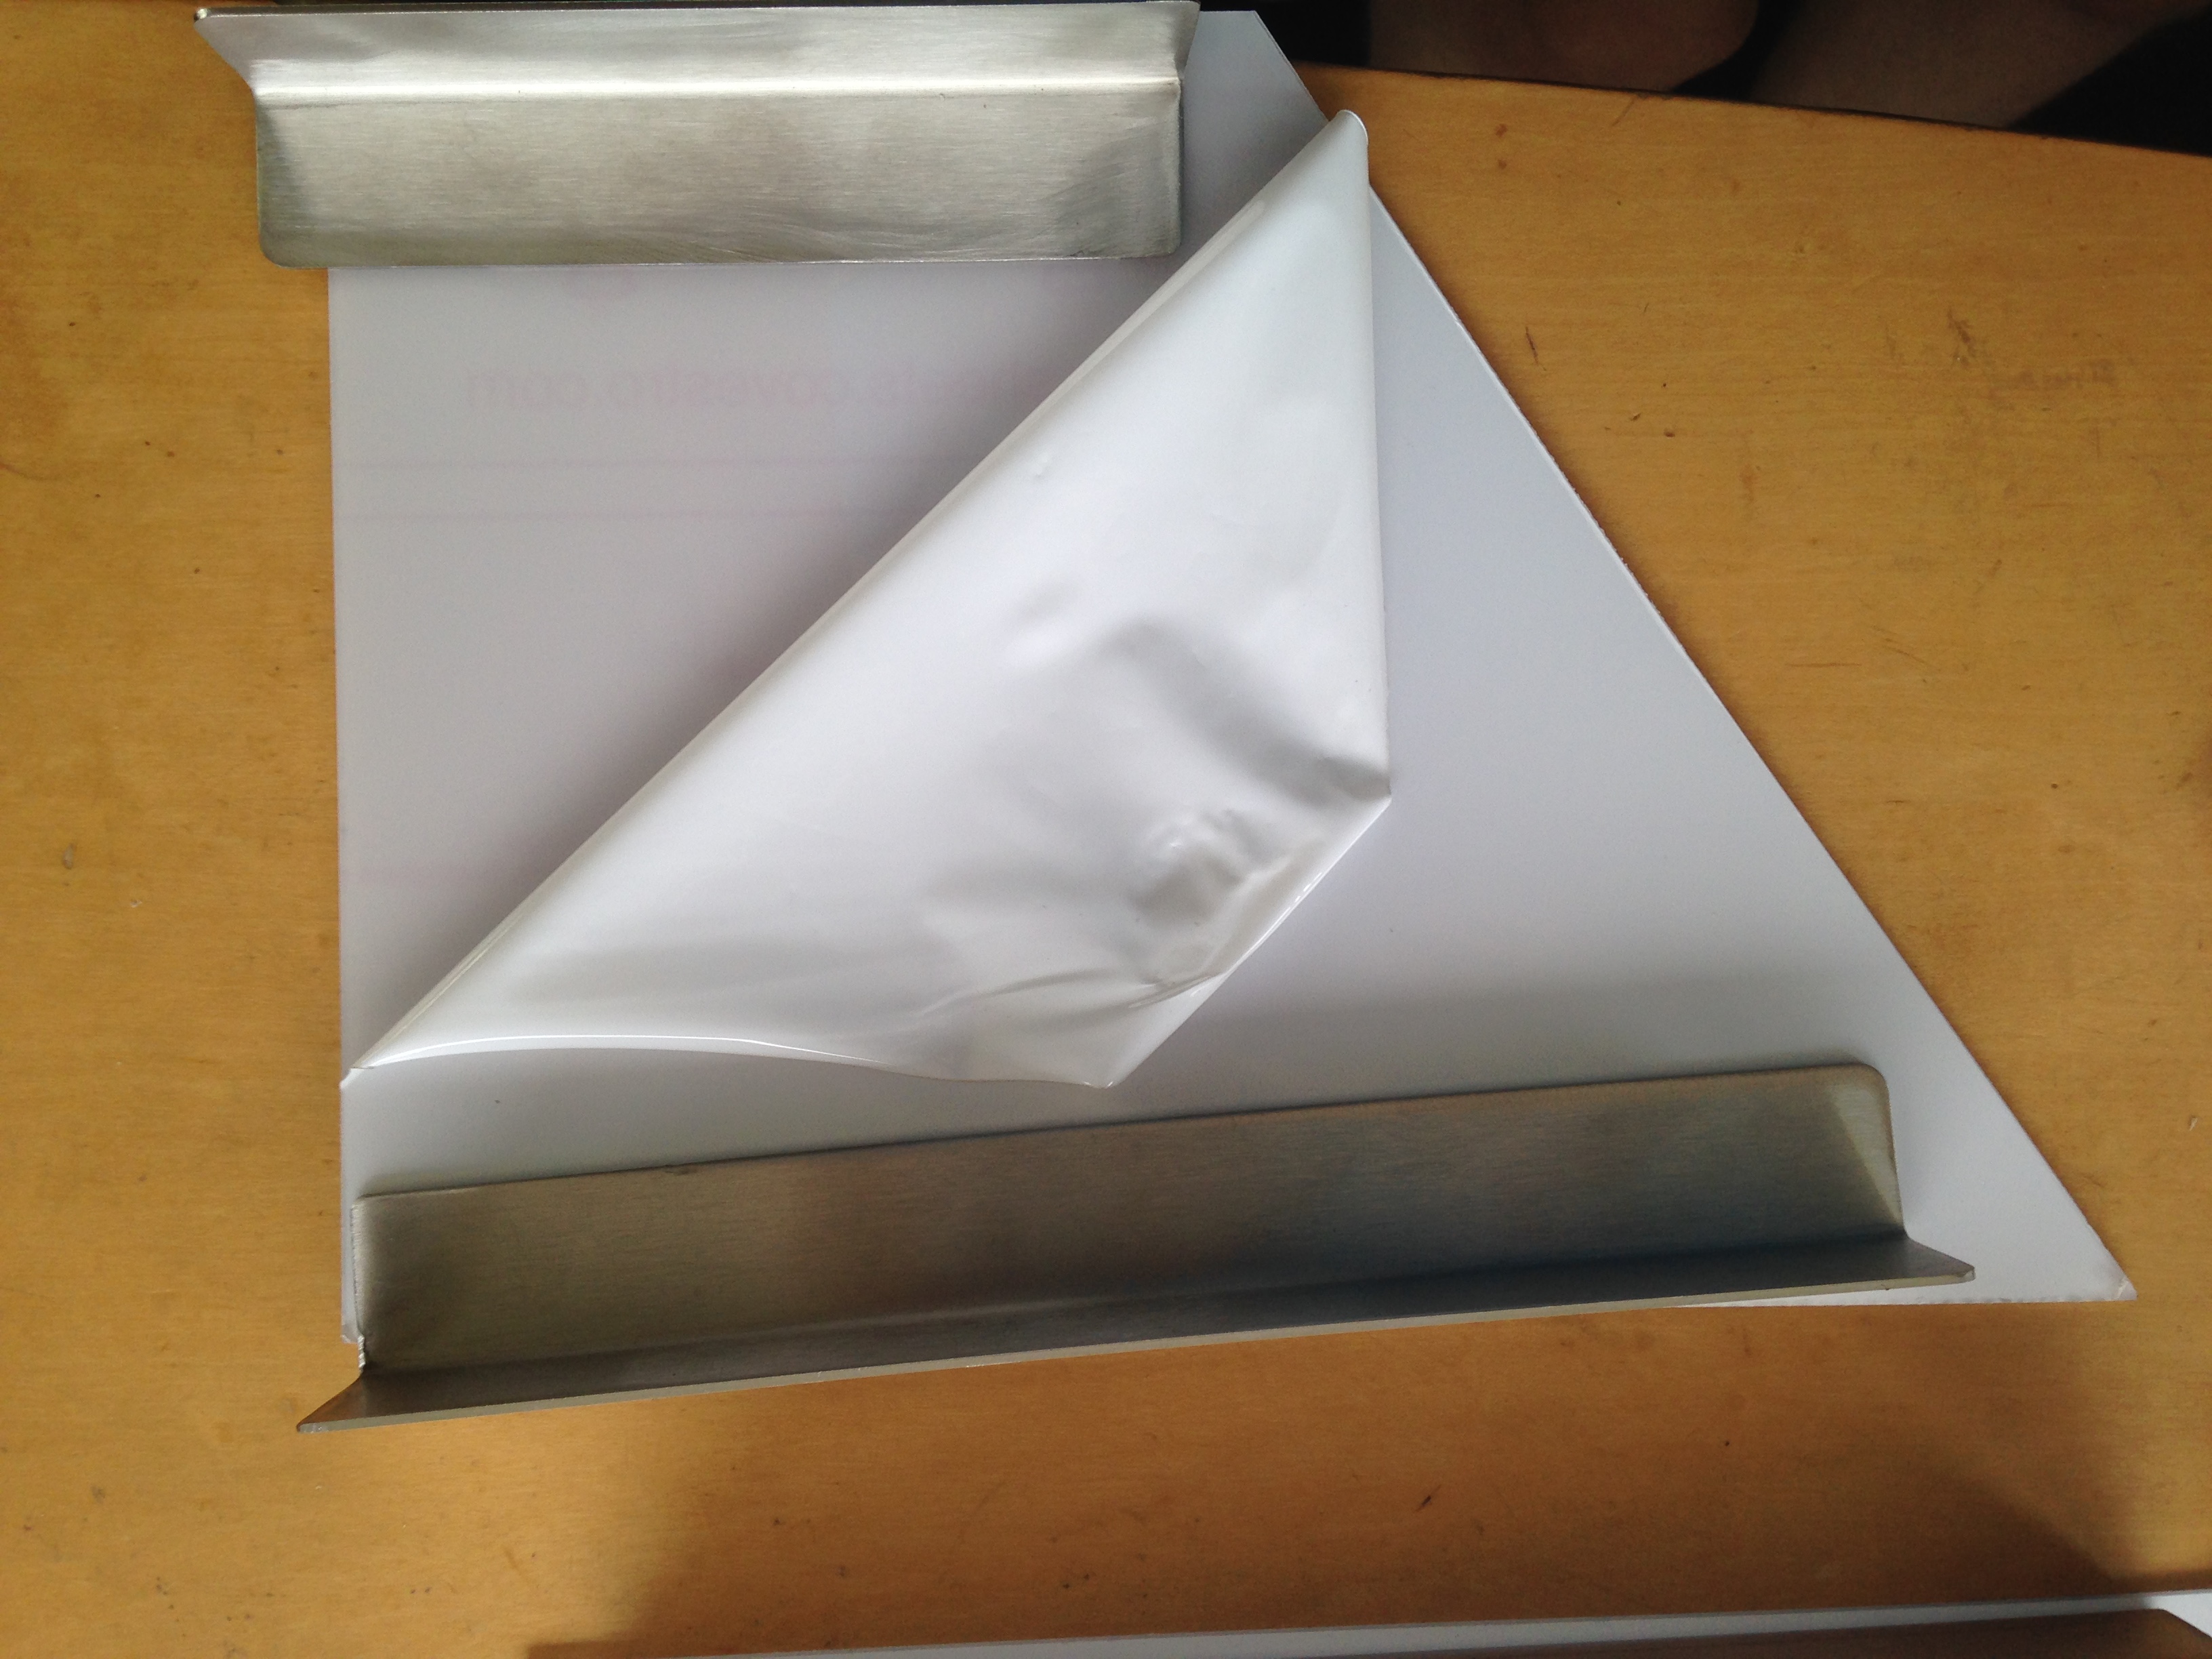
- Remove the protection and align the align L-plates (same length as height panel but approx. 4mm shorter) nicely to the border of the panel as you can see in the picture. Use instant glue to glue the plates to the plexi panels. Do this for all panels.
- Connect the roof to the back panel with the hinges.
- Align the small L-plates on the wooden floor with 2.5cm space in between the plates. Glue them.
- Glue the plexi panels with the larger L-plates to the smaller L-plates on the wooden plank.
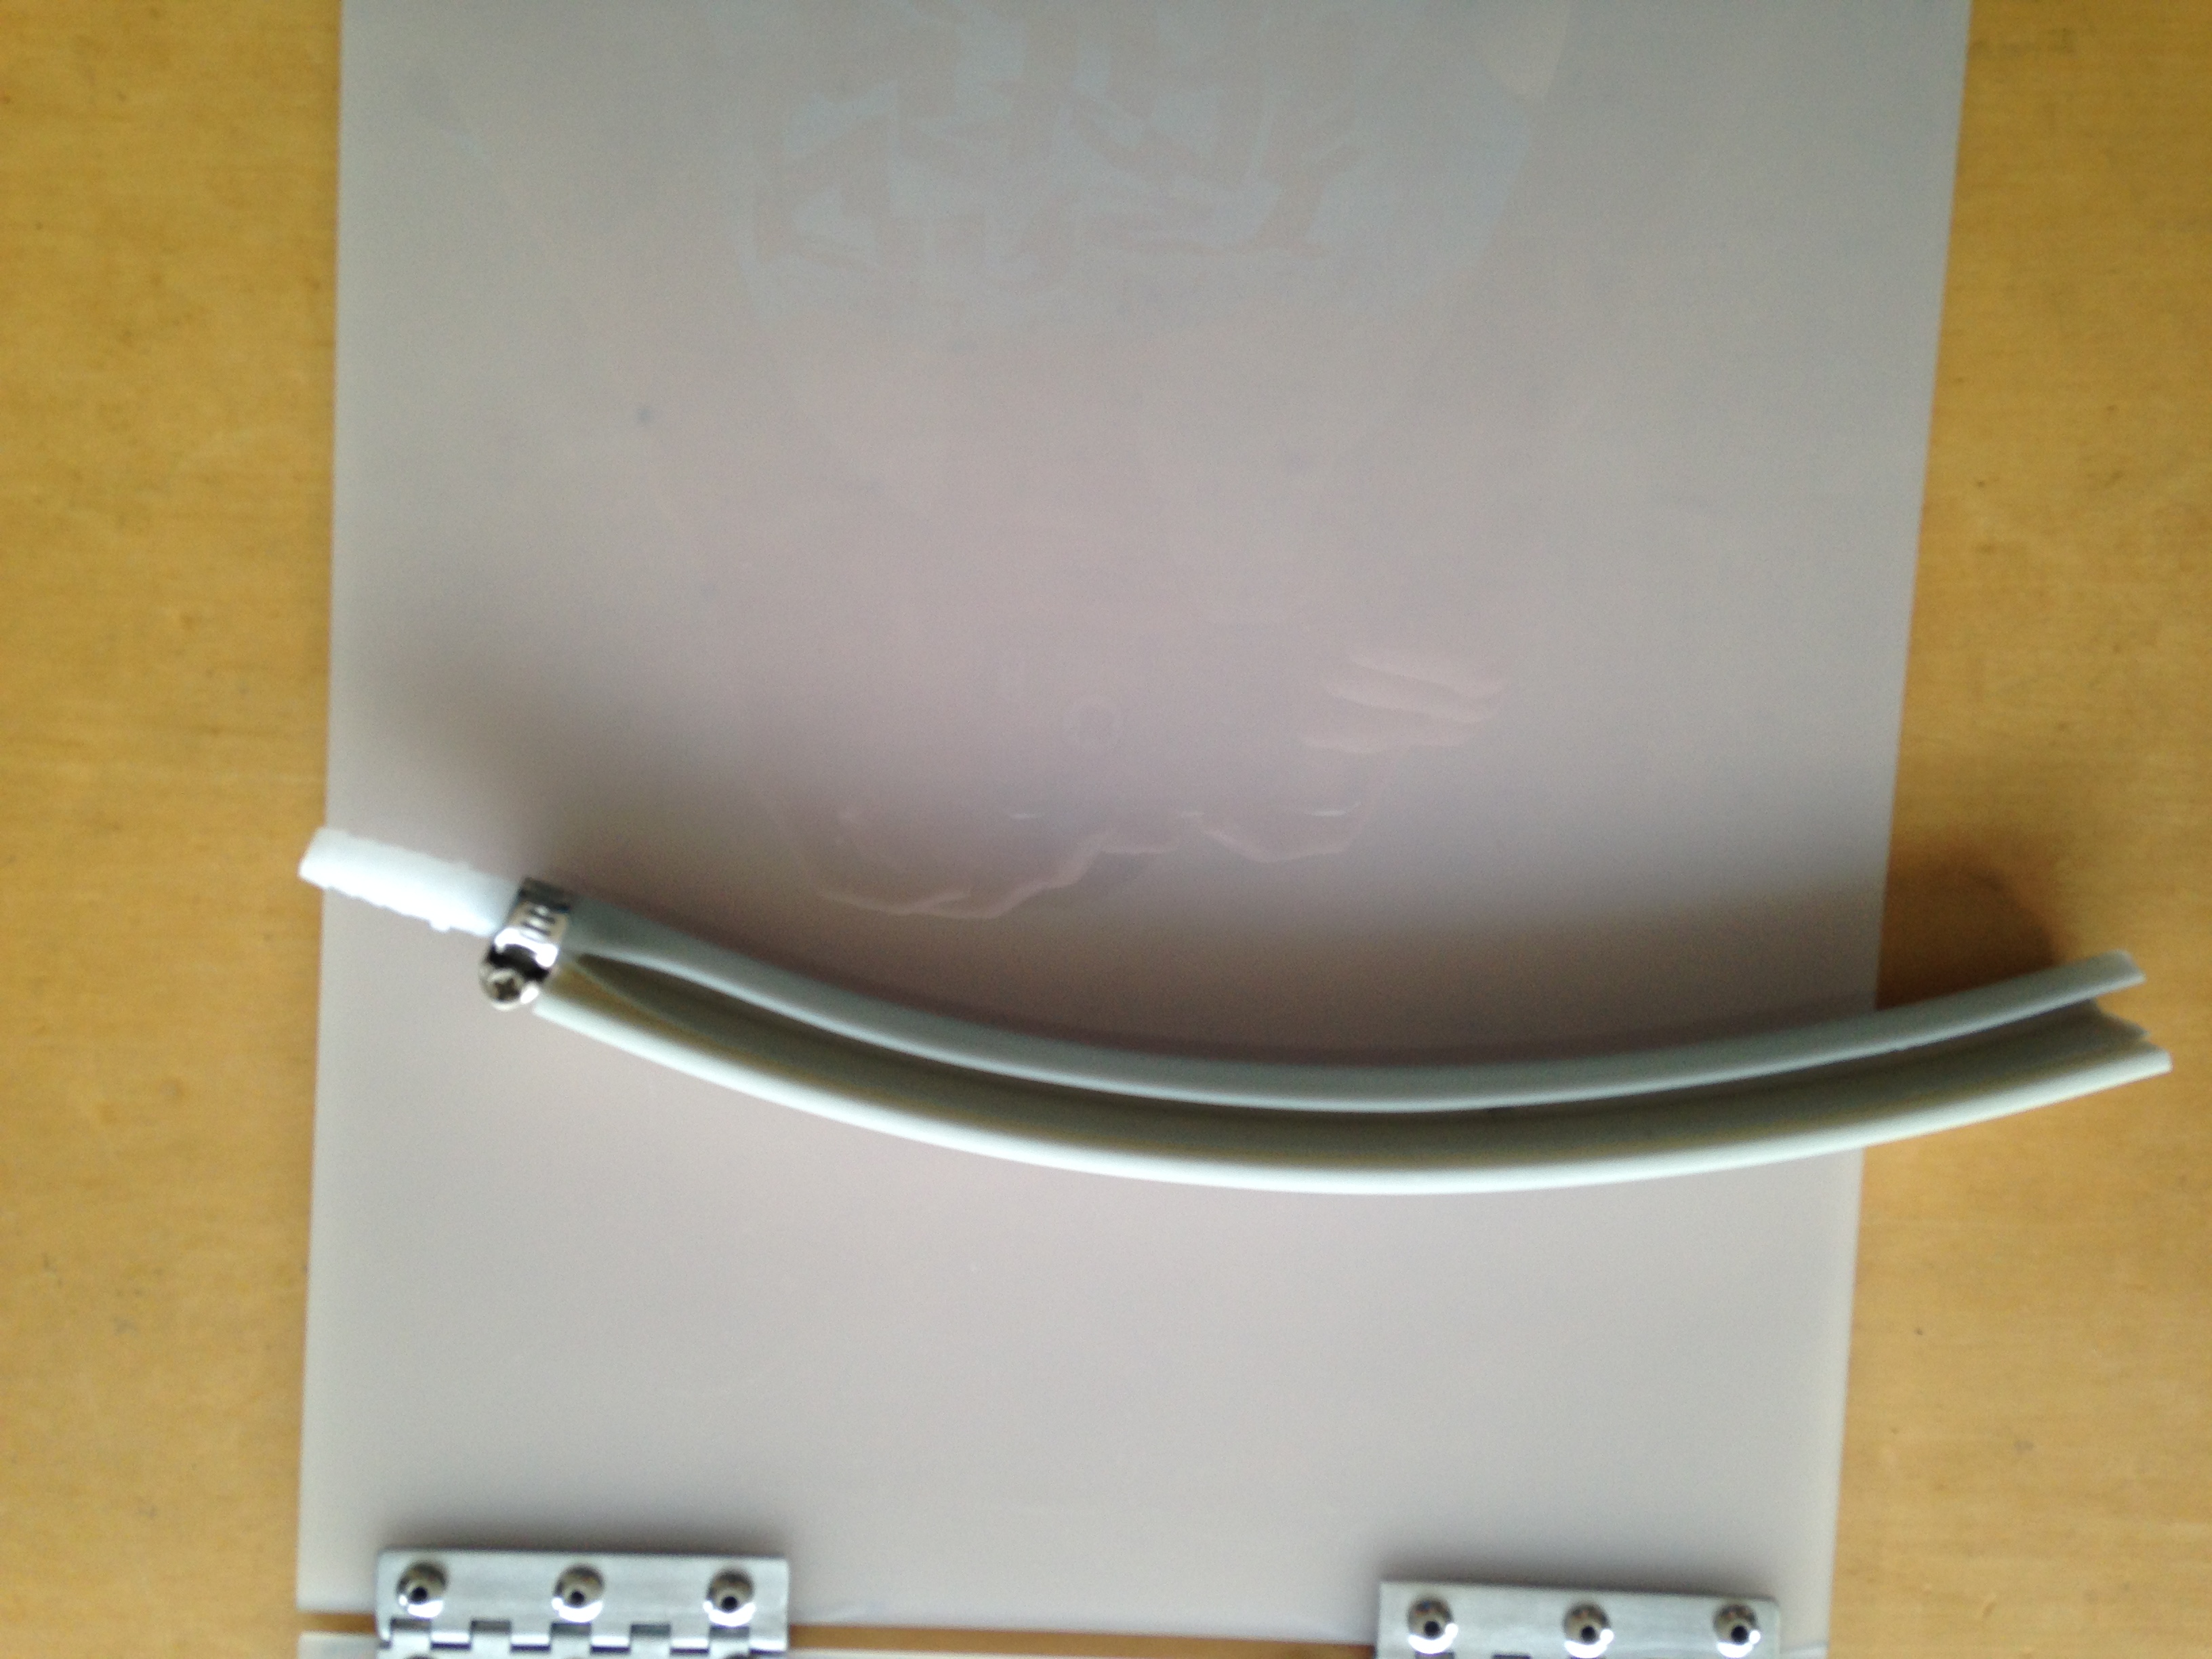
- Take the fridge door seal and make a cut and form it so you have something that looks like half a tube. You can also use a water hose and cut in half, you can normally glue it to the front wall with instant glue. You could also try it with double sided tape if instant glue won't work.
- Put a stop at the end of the tube so the water can only go out at one side. At the other end (the end that is still open) attach a water hose to it and use zipties or something similar to hold it together.If you wish you can also put some silicone into it for better sealing.
- For the water tank you can use any box that is waterproof. I used a waterproof electrical box as a water reservoir. Drill some holes of about 12.5cm diameter and put a rubber bushing in it so the cable of the water pump and the hoses won't damage too much by bending too much.
You can use double sided tape to keep the water tank in place on the wooden board.
Enjoy your self-made mini veranda!
Step 5: Connect Everything With Electricity and Enjoy

If everything is connected to the Raspberry pi and plugged in the wall and your sensor script is running you can enjoy your Smart Veranda Cooling.