Slither: Visual Pedometer
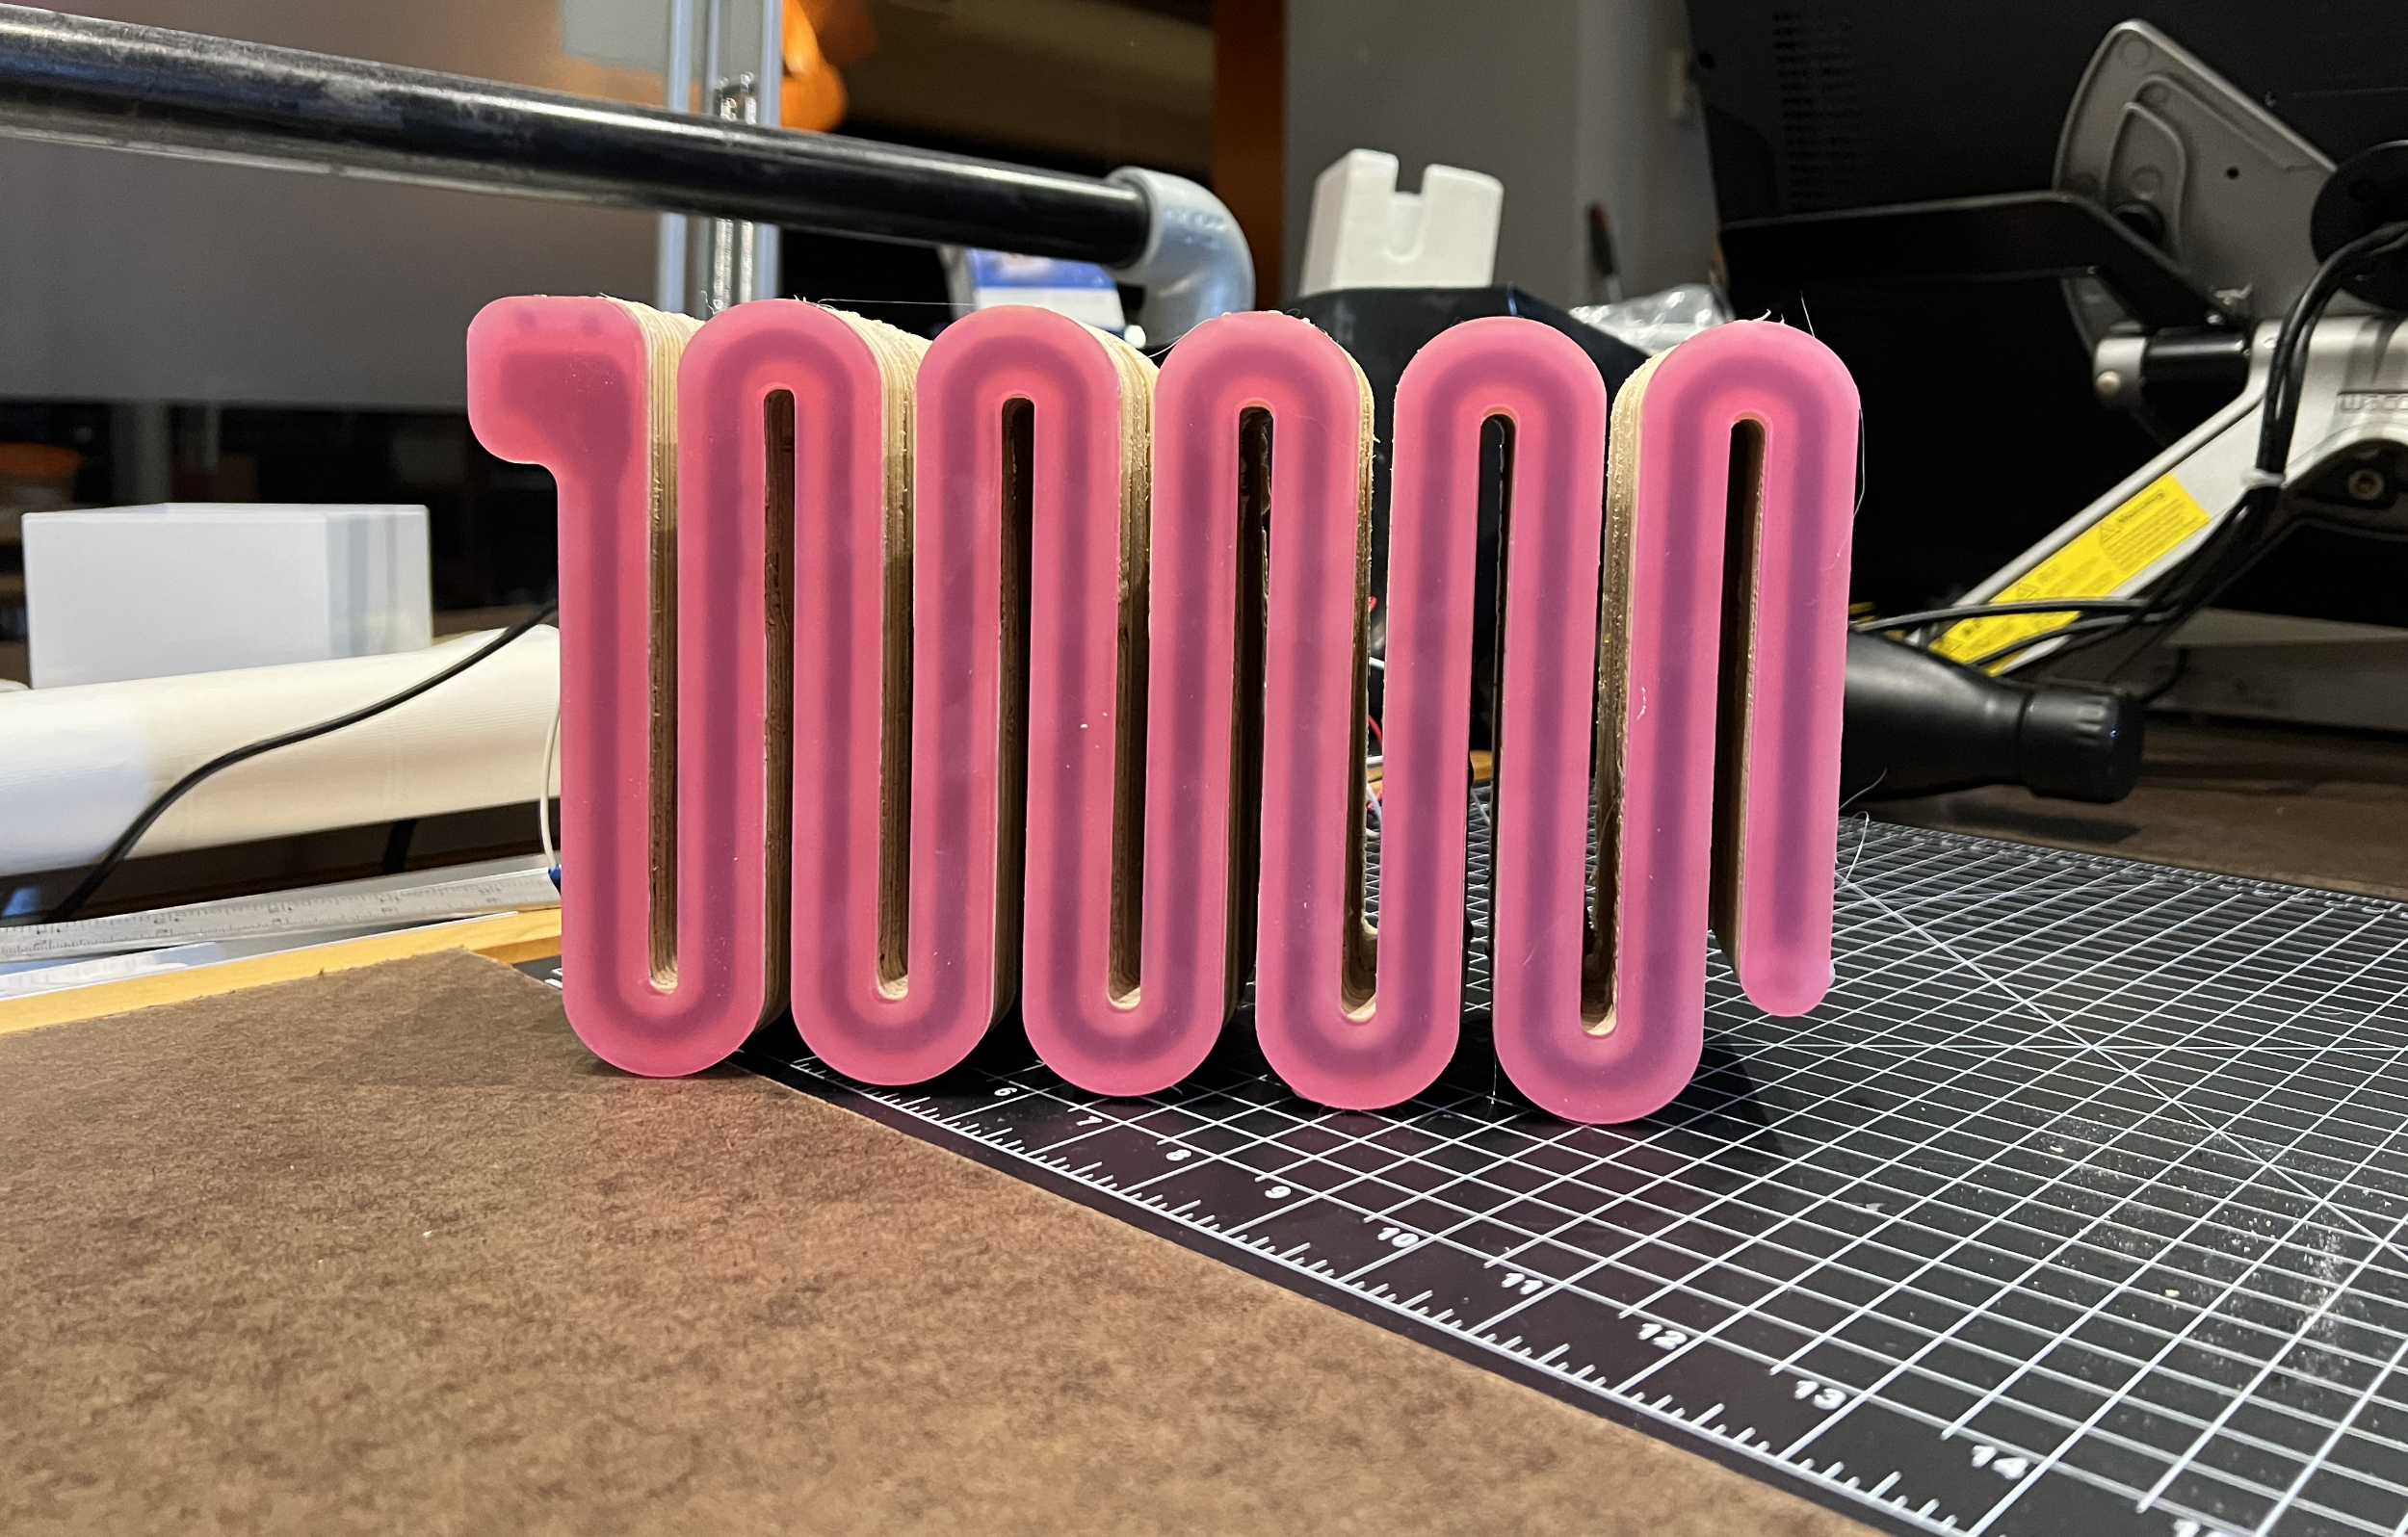
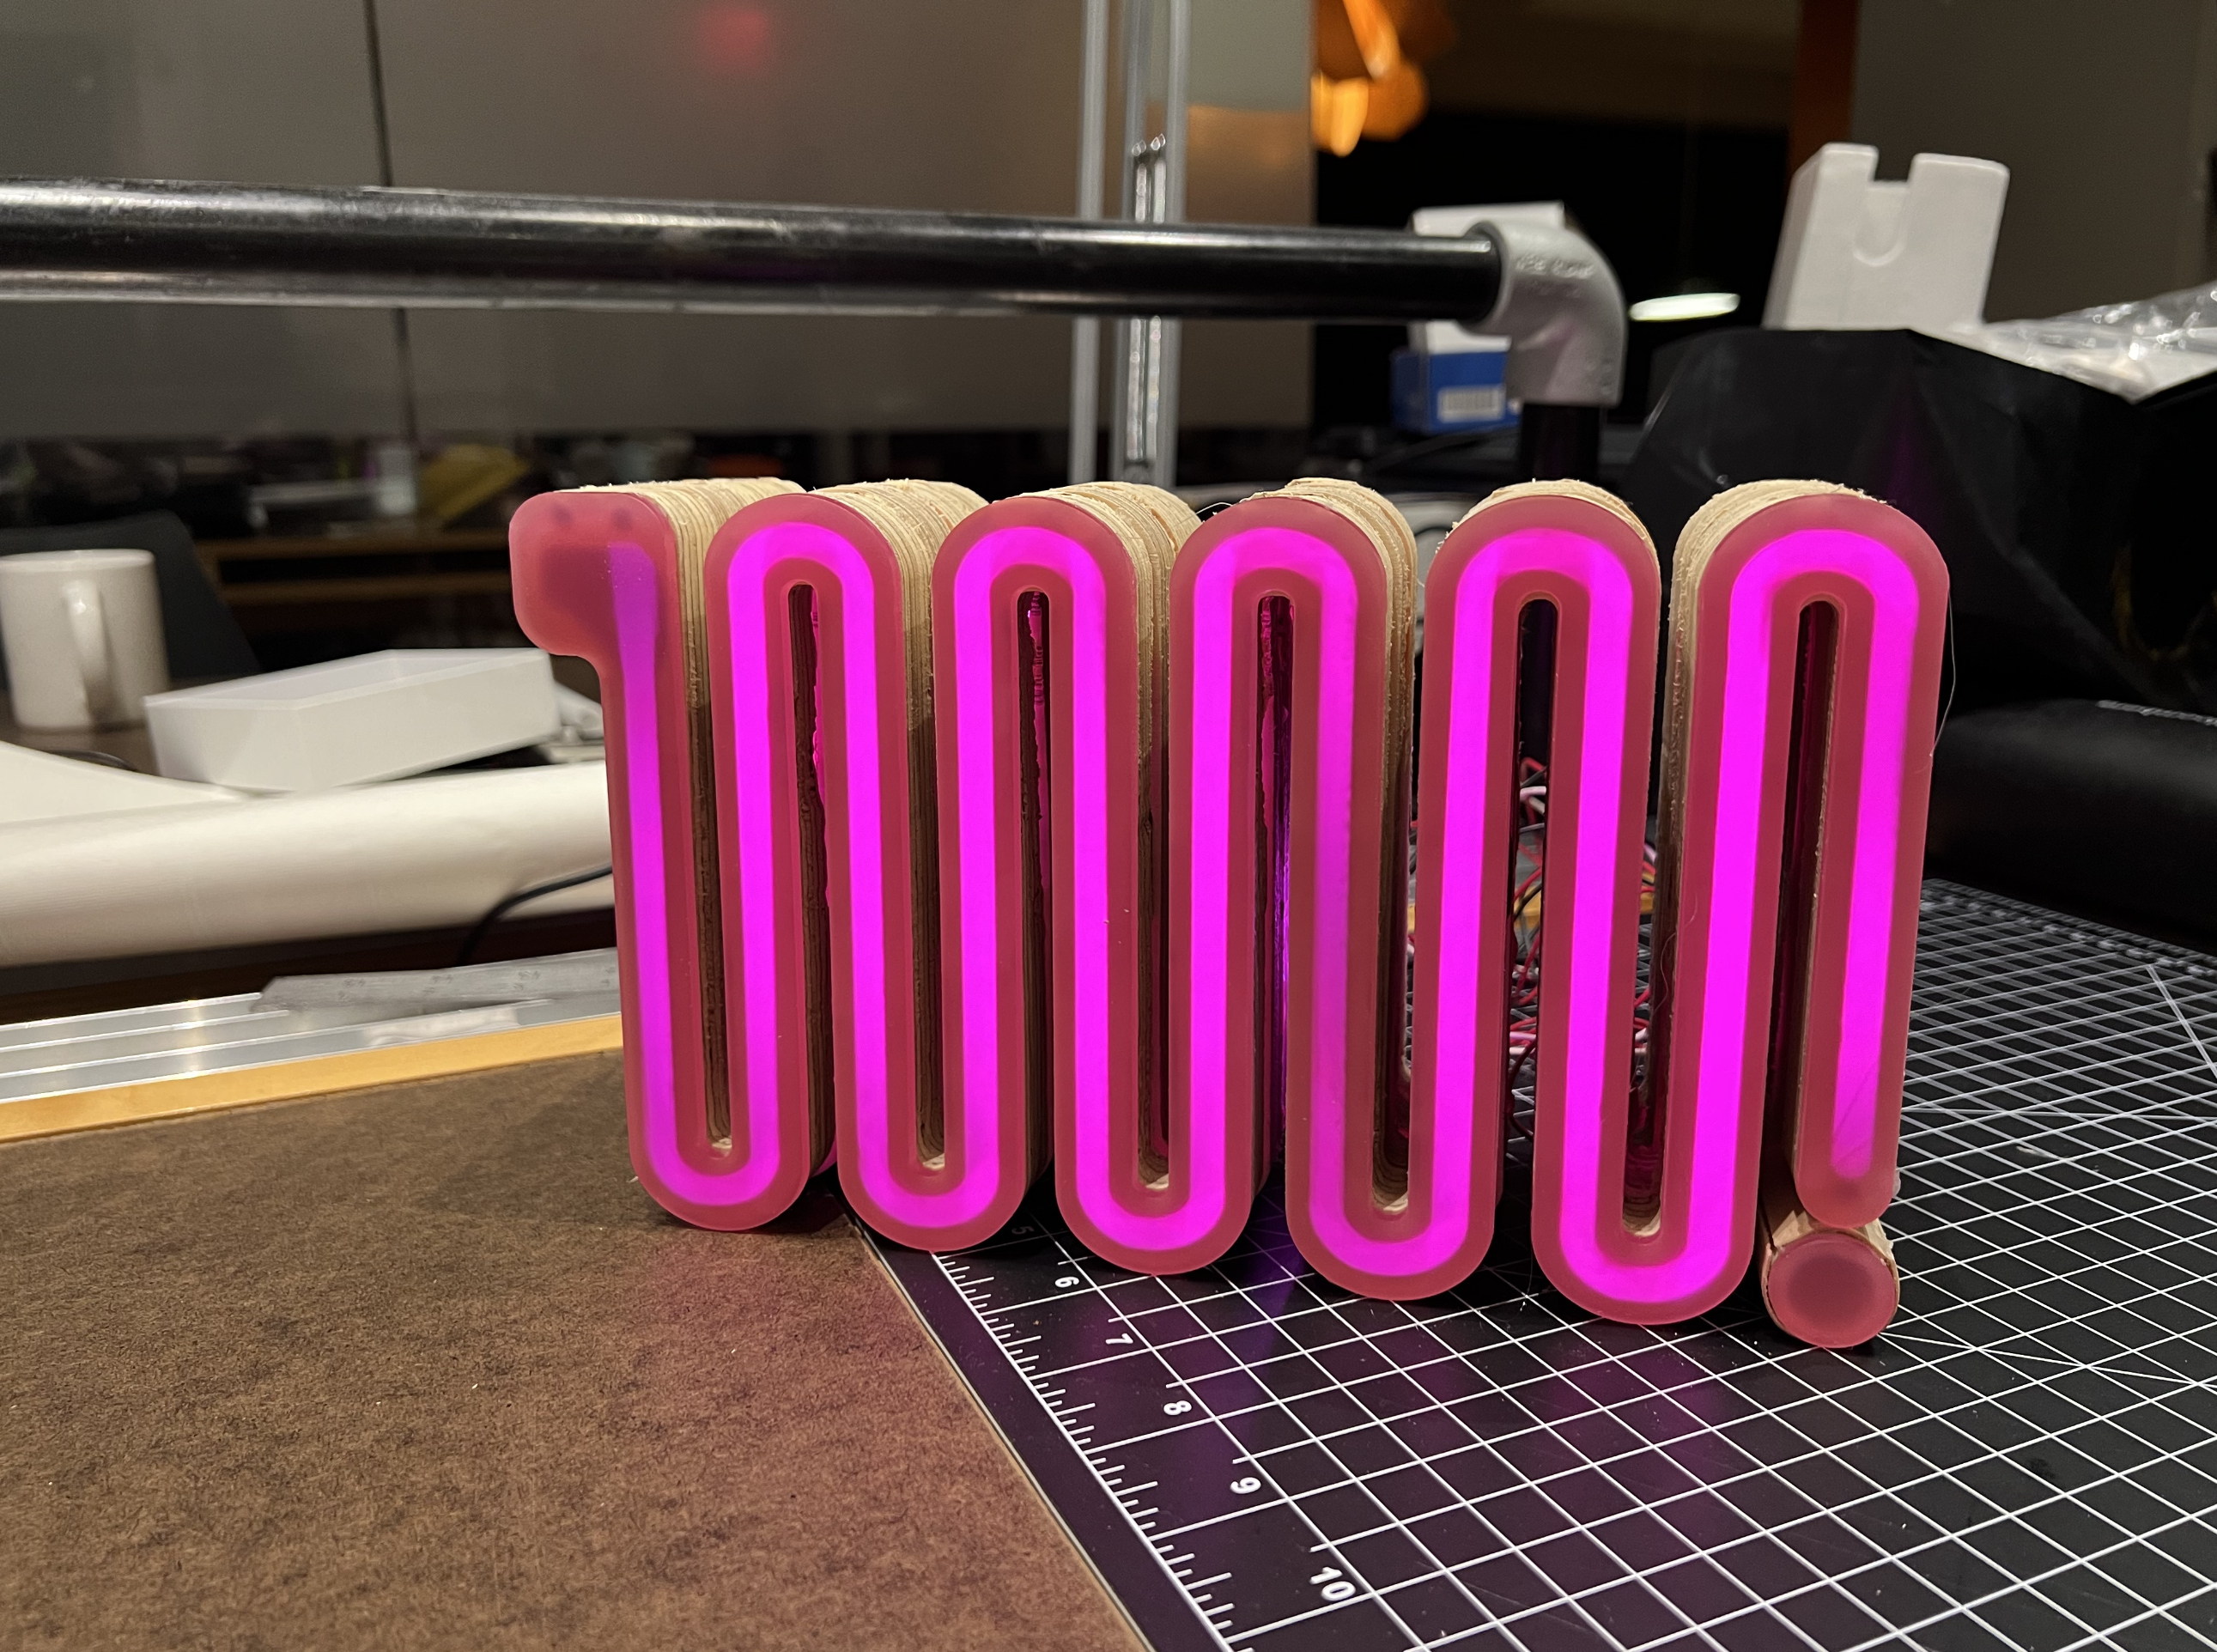
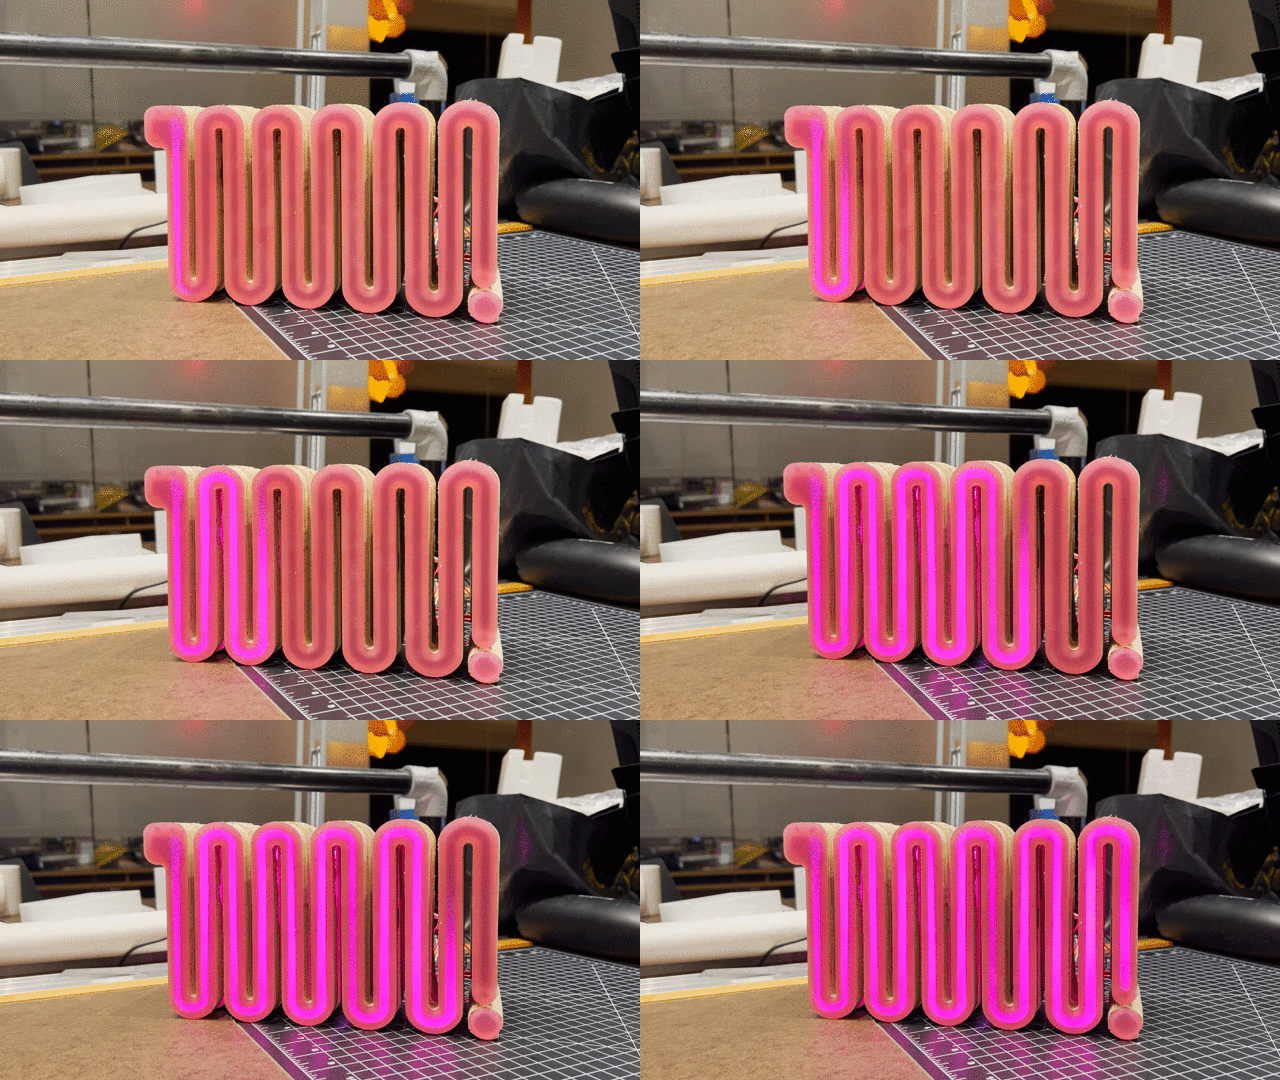
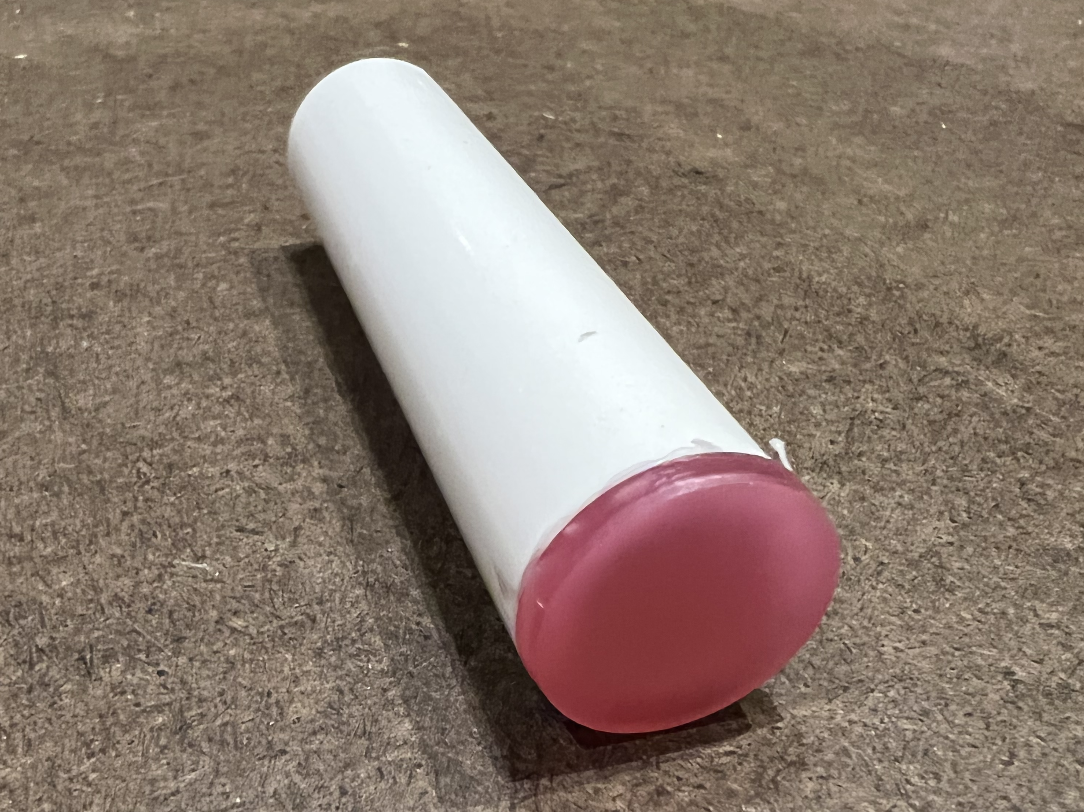
SLITHER is a desk accessory that acts as a visual pedometer, tracking your daily steps. Instead of relying on an apple watch or another wearable device SLITHER uses the Fitbit app on your smartphone to track your steps. As your steps increase SLITHER will light up from front to back until your weekly 50,000 step goal is achieved and the reset. SLITHER has a magnetic on/off switch. A magnet are hidden in SLITHER's cylindrical tail shape. When SLITHER is not in use, the cylinder can be placed elsewhere on your desk and slither will remain off.
Supplies
Materials
- Passion fruit Acrylic
- Hall effect sensor + Magnet
- Adafruit HUZZAH ESP8266 wifi Breakout
- Wires
- Soldering Kit + solder
- 2 x Adafruit NeoPixel LED Side Light Strip - Black 90 LED
- Hot Glue gun (with glue) + Gorilla glue
- IFTTT + Adafruit IO accounts
- Plywood (or MDF boards)
- Birch edge tape
- ¾ in PVC tube
- 5V 2A switching power
- Chisel and hammer
- 1/8 or 1/4 inch wooden dowels
Machines
- CNC (for wood)
- Laser Cutter (for acrylic)
- Sander
- Bandsaw (Chisel and hammer can be used instead)
Electronics & Coding
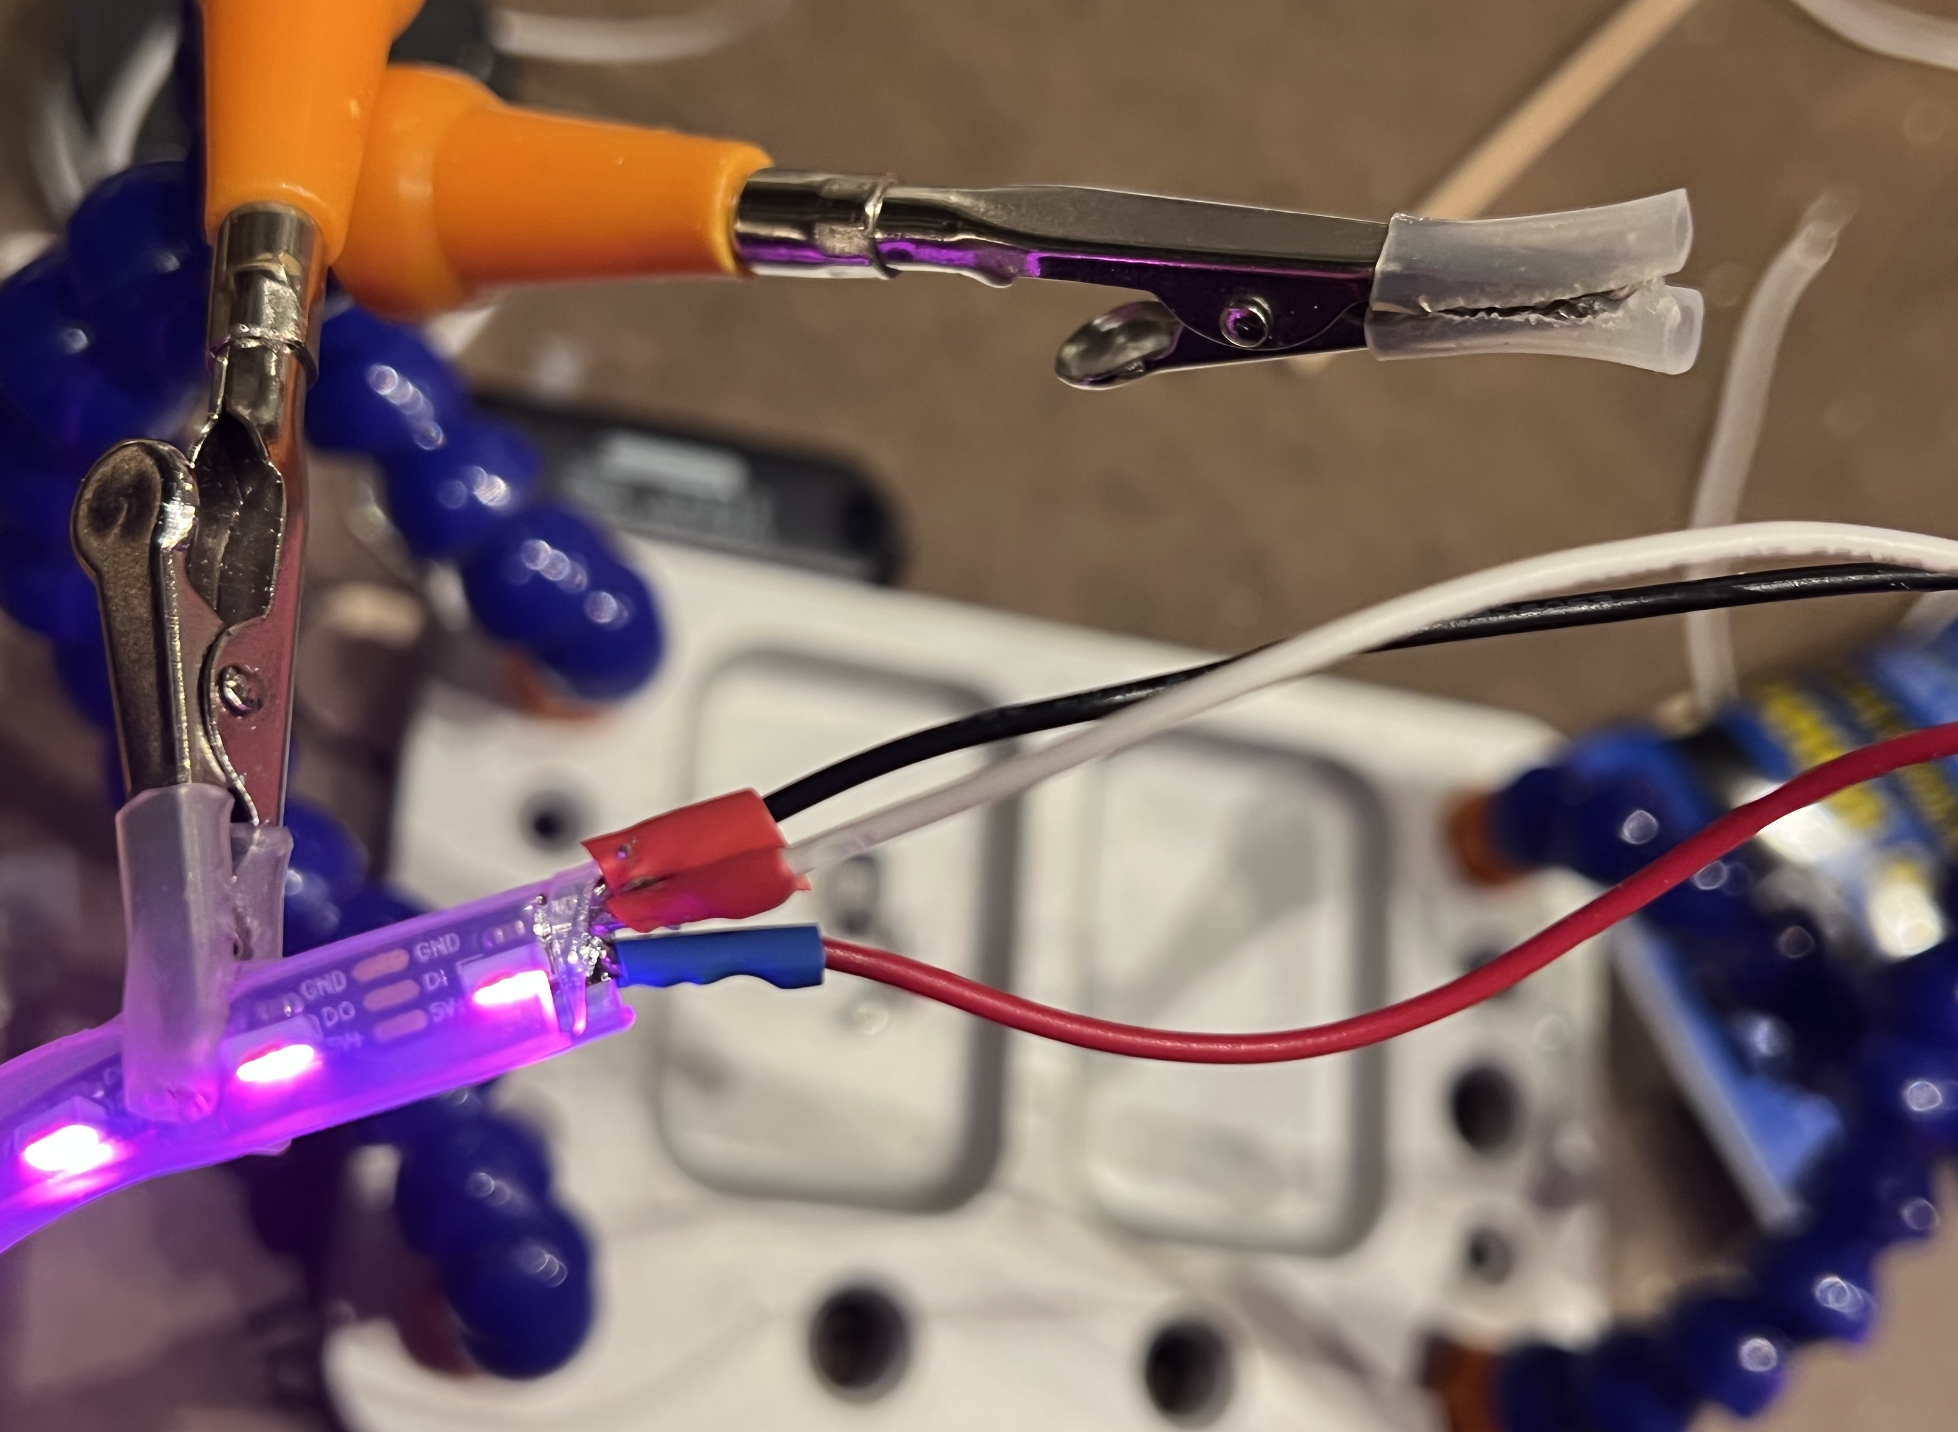
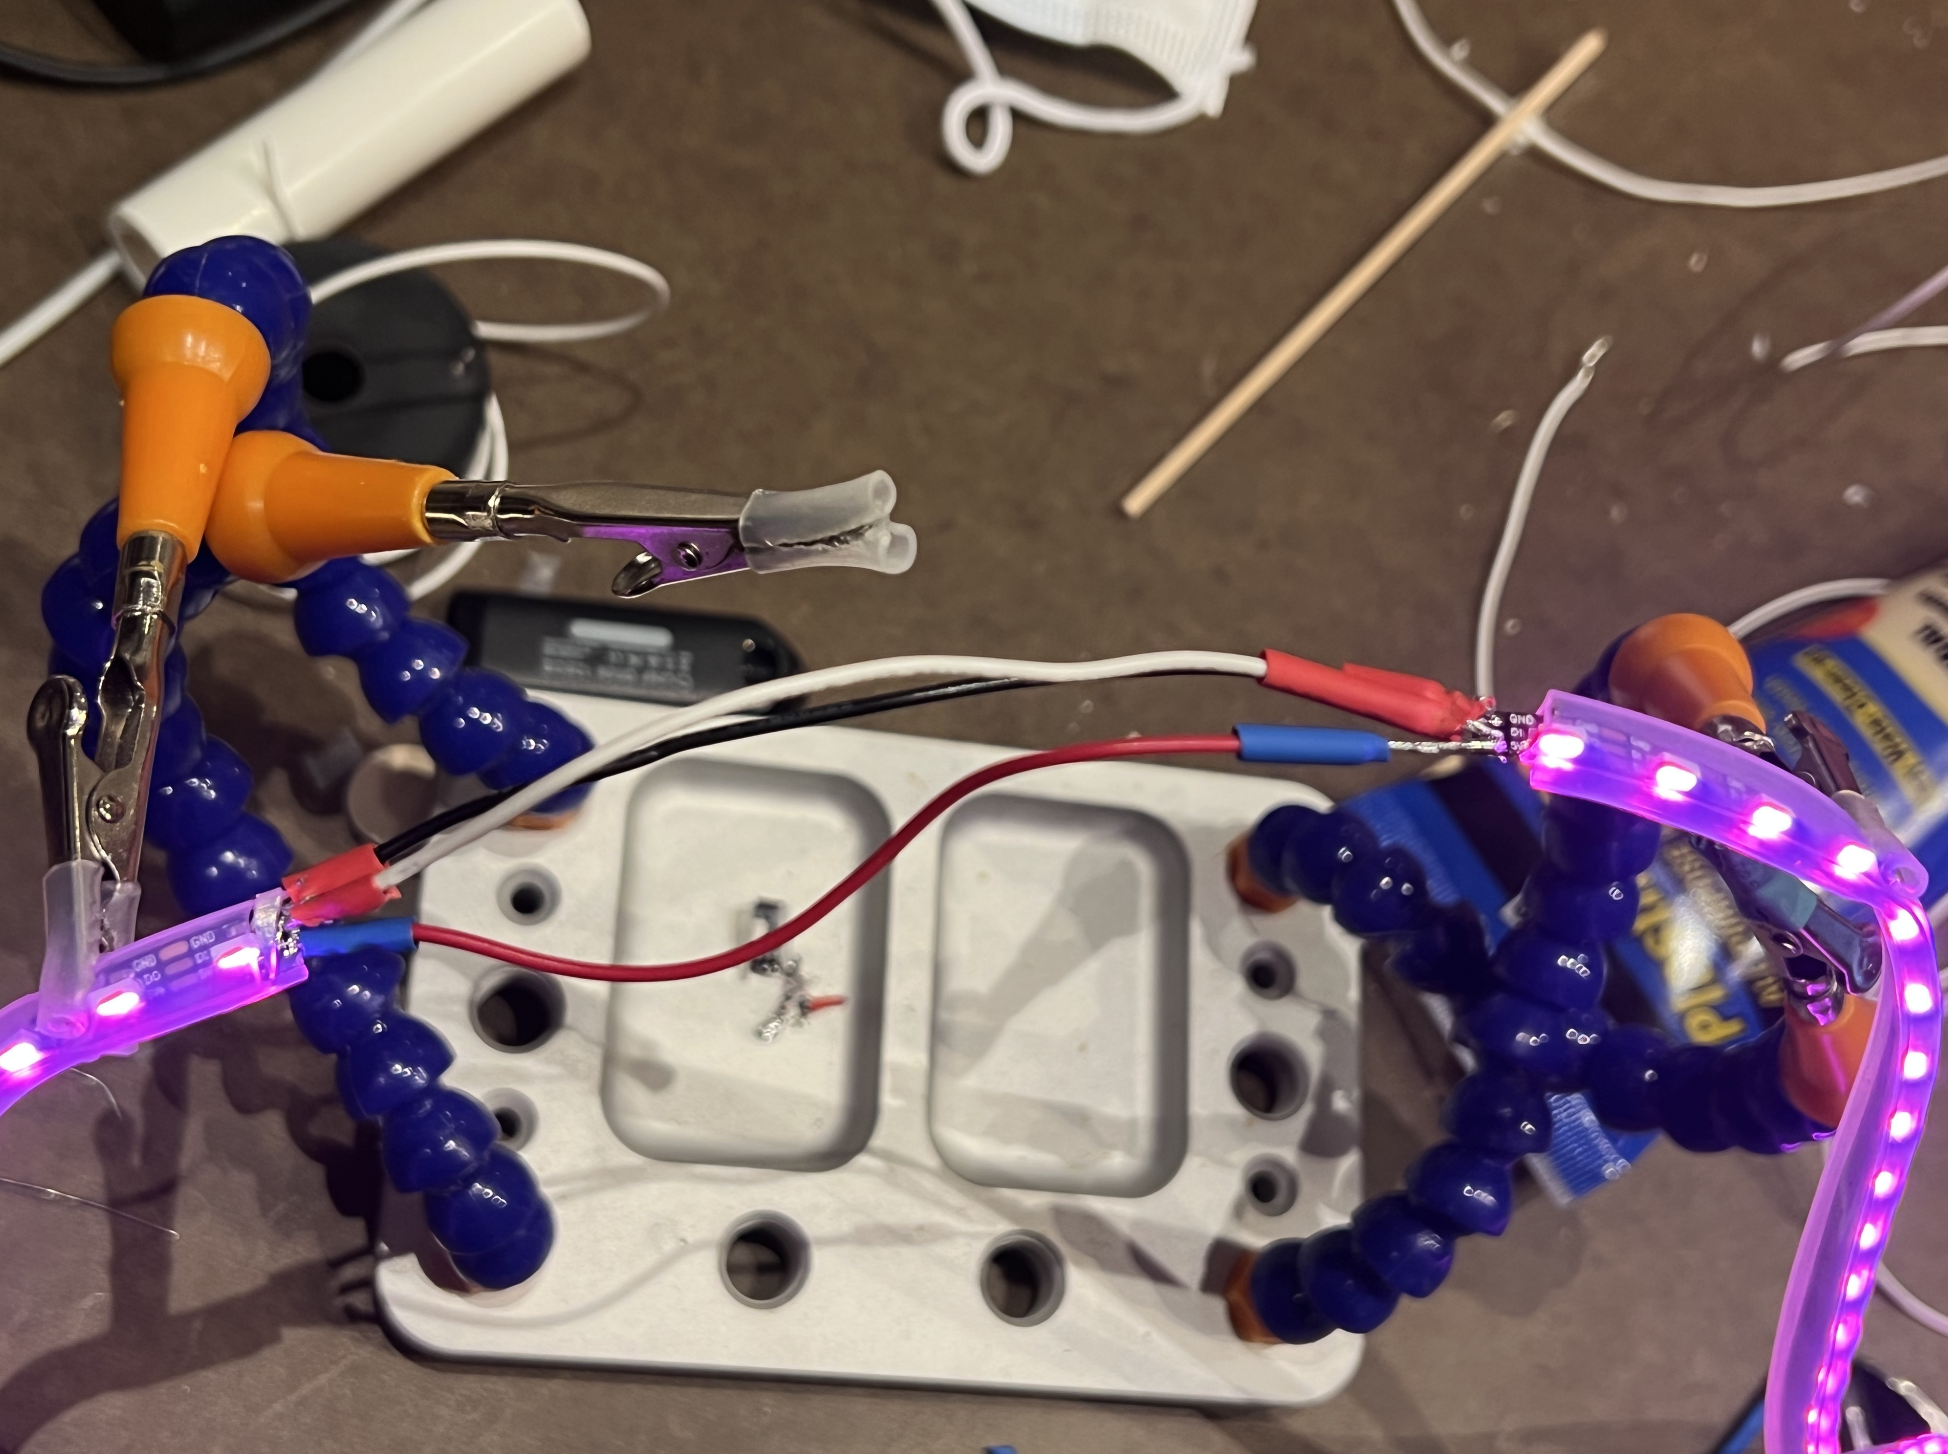
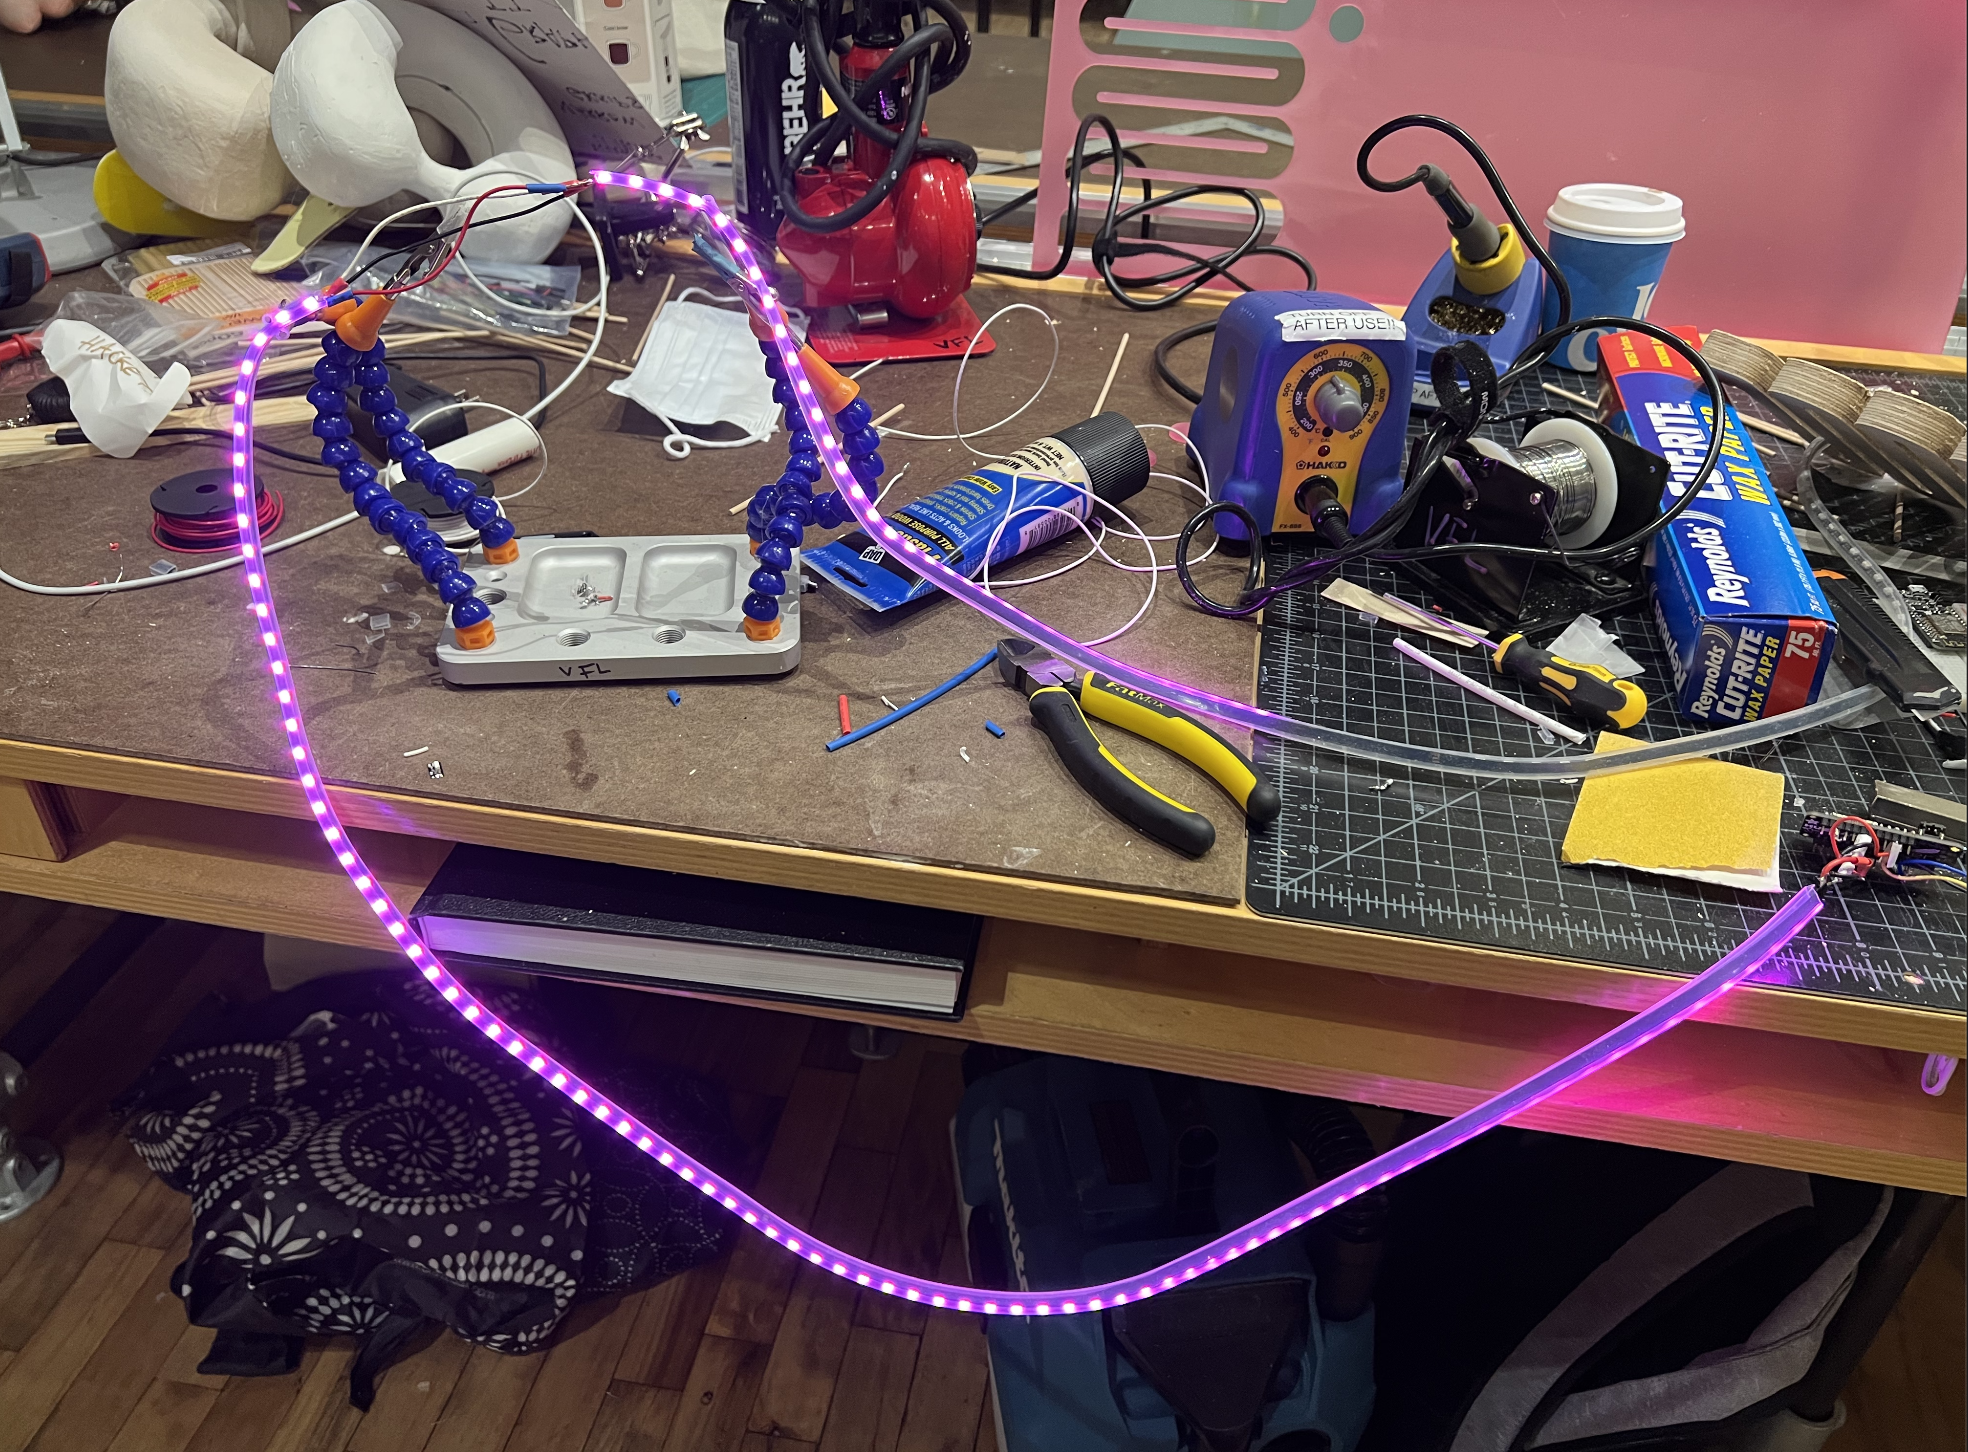
- Connect your 2 strips of LED’s by soldering wires between the two
- Solder together your Feather Huzzah USB, GND, and Pin 15 to the LED inputs
- Next, solder USB, GND, and Pin 2 to hour Hall effect sensor
- Set up your accounts on IFTTT and Adafruit IO. You will also need an active account on FitBit and have your iphone/android set to
- Create a feed on Adafruit IO called ‘Slither”
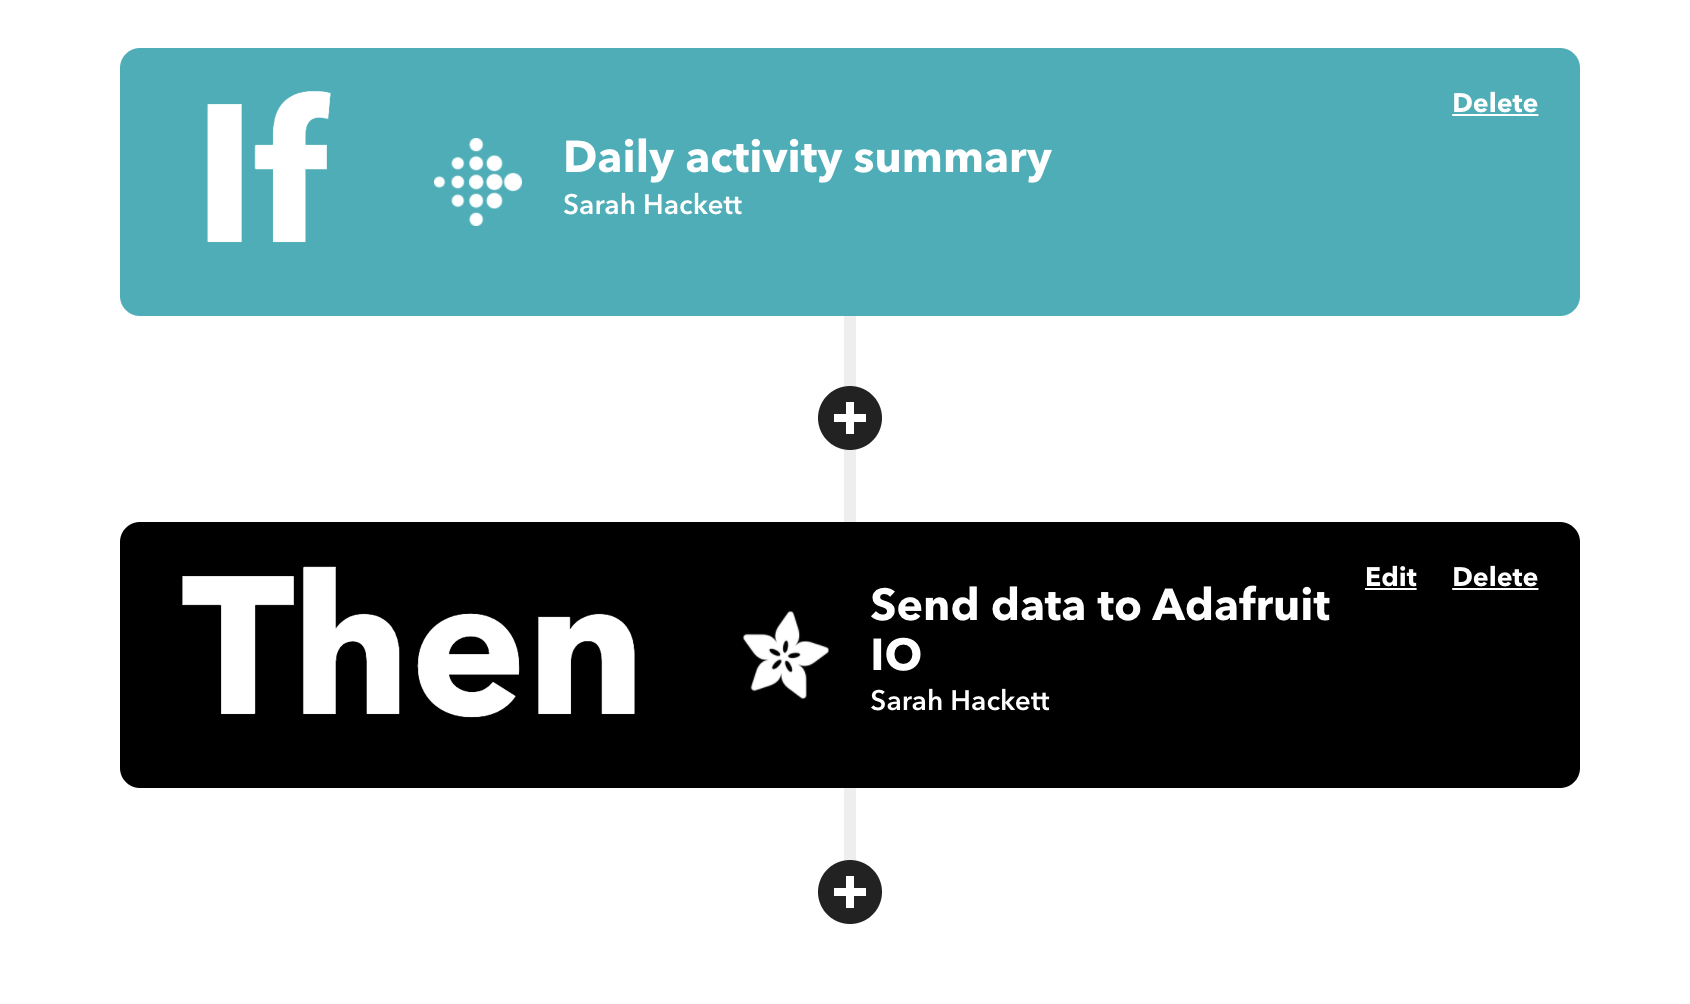
- Next on IFTTT create a new Applet with the If/Then set up: “IF Daily activity summary THEN Send data to Adafruit (Feedname: Slither, Data to save: TotalSteps)
- Upload 'Slither Instructable' code (download below) to your Feather Huzzah board
- You will need to add in your own Adafruit IO username and key and Wifi info into the code
Downloads
Set Up Files for CNC & Laser Cutting
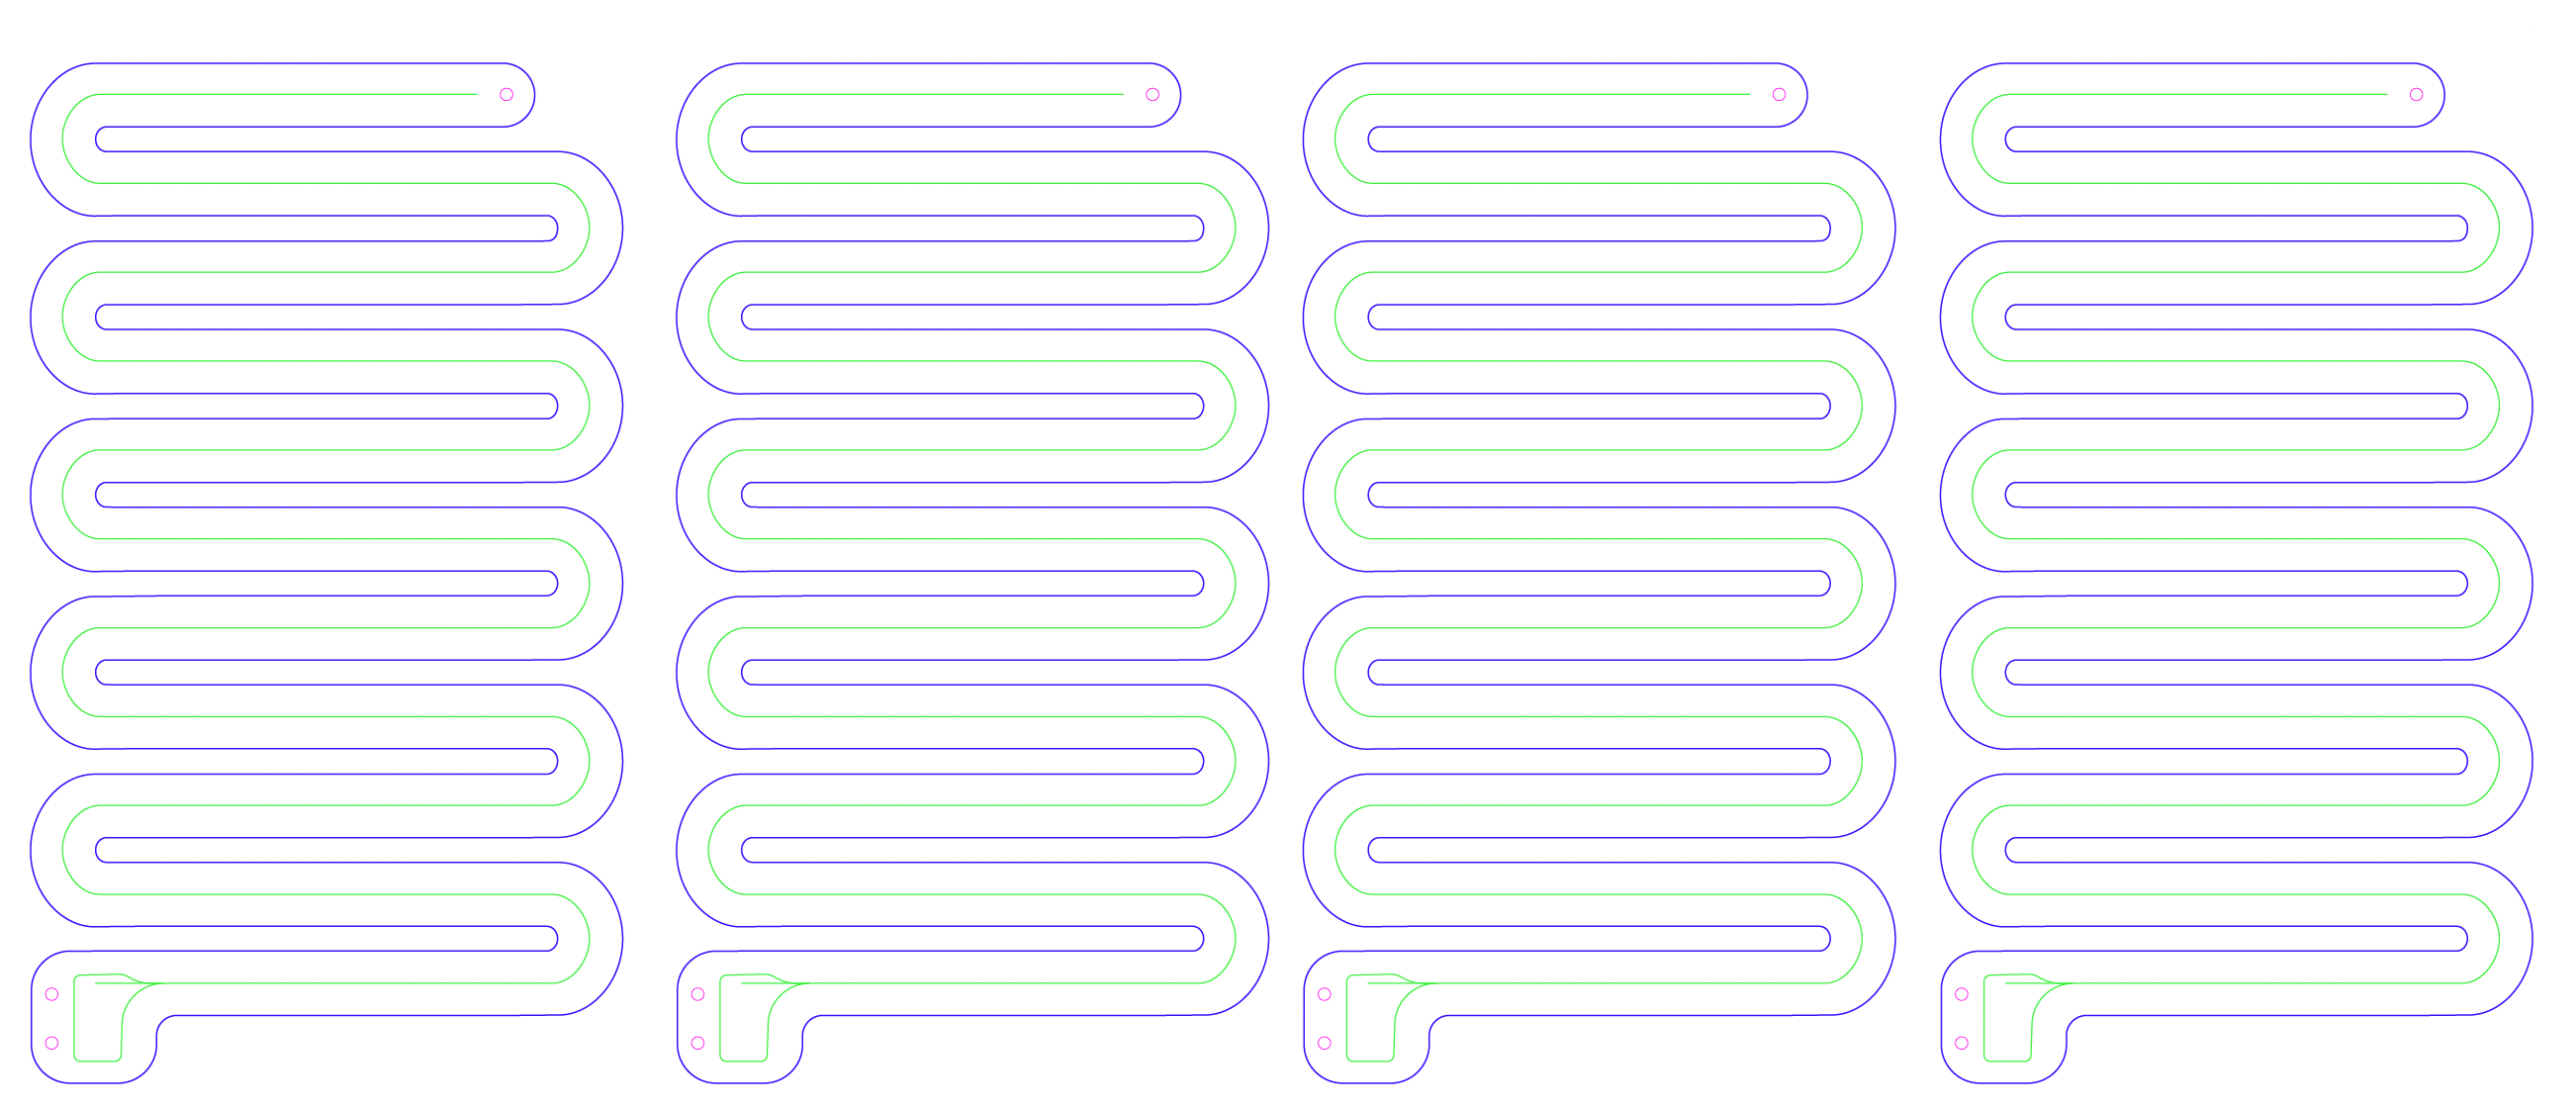
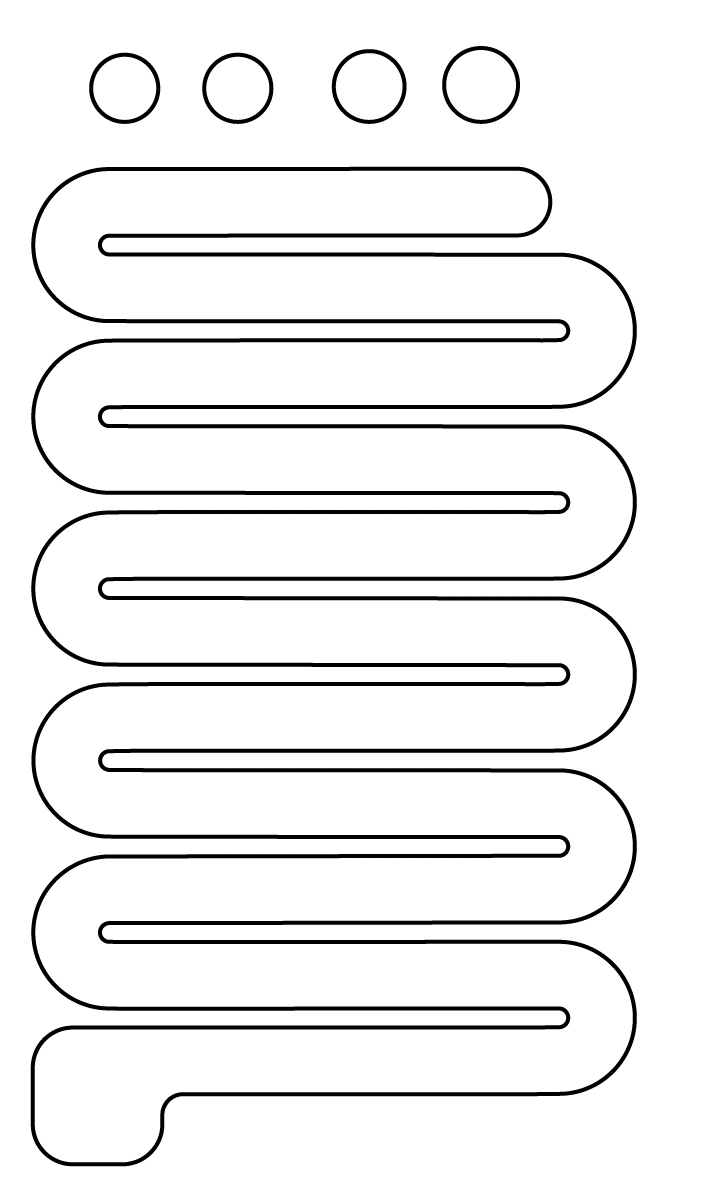
- Create a illustrator file with the cut lines you will use for the CNC and laser cutter
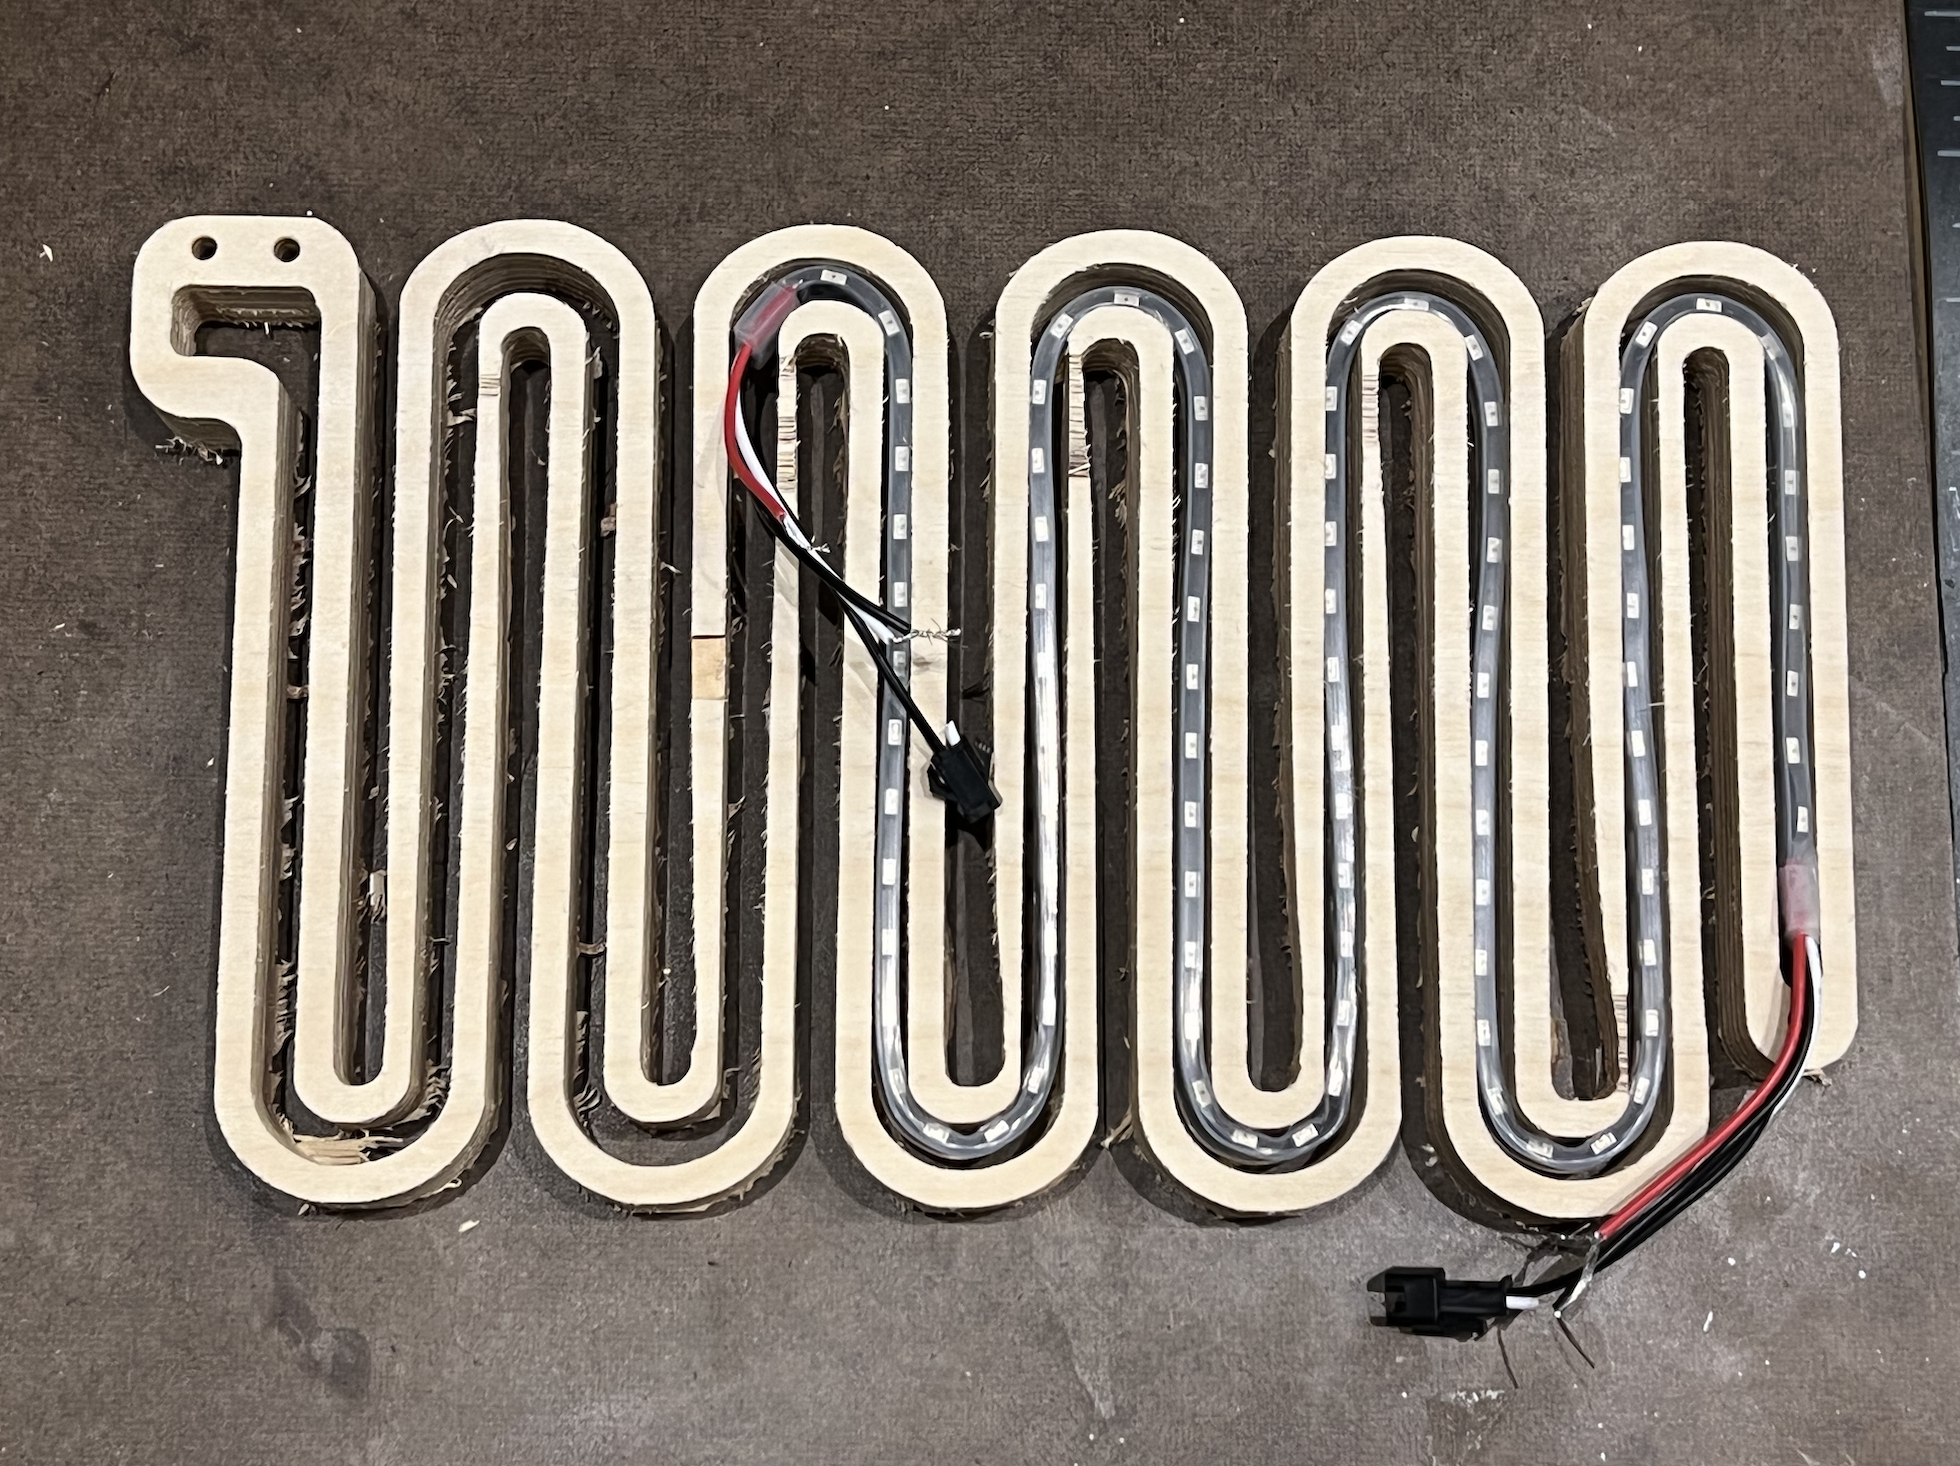
- For CNC: Be sure to include a ¼ inch interior channel on your CNC files where you will place the LEDs. Make a hole large enough in the head to fit the feather Huzzah board. Add dowel holes into either end of the body shape for alignment. Add tabs for the CNC machine exterior edges of the slither body to prevent it from slipping during cuts.
*A note about the included files: I would suggest making slither's body larger to accommodate a larger gap for the Feather Huzzah board. I had to expand the hole in order to make the board fit. If you don't care about everything being contained inside Slithers main body you can build a small case for your board that can attach to Slithers back frame.
I would also suggest using MDF boards instead of wood. I experienced a lot of wood chipping using plywood.
You should have:
- 4 wooden frames with channels
- 1 acrylic body shape with no interior channel + circles for PVC
- 1 wooden frame have no interior cuts and will act as the back of the object
Cut Your Shapes
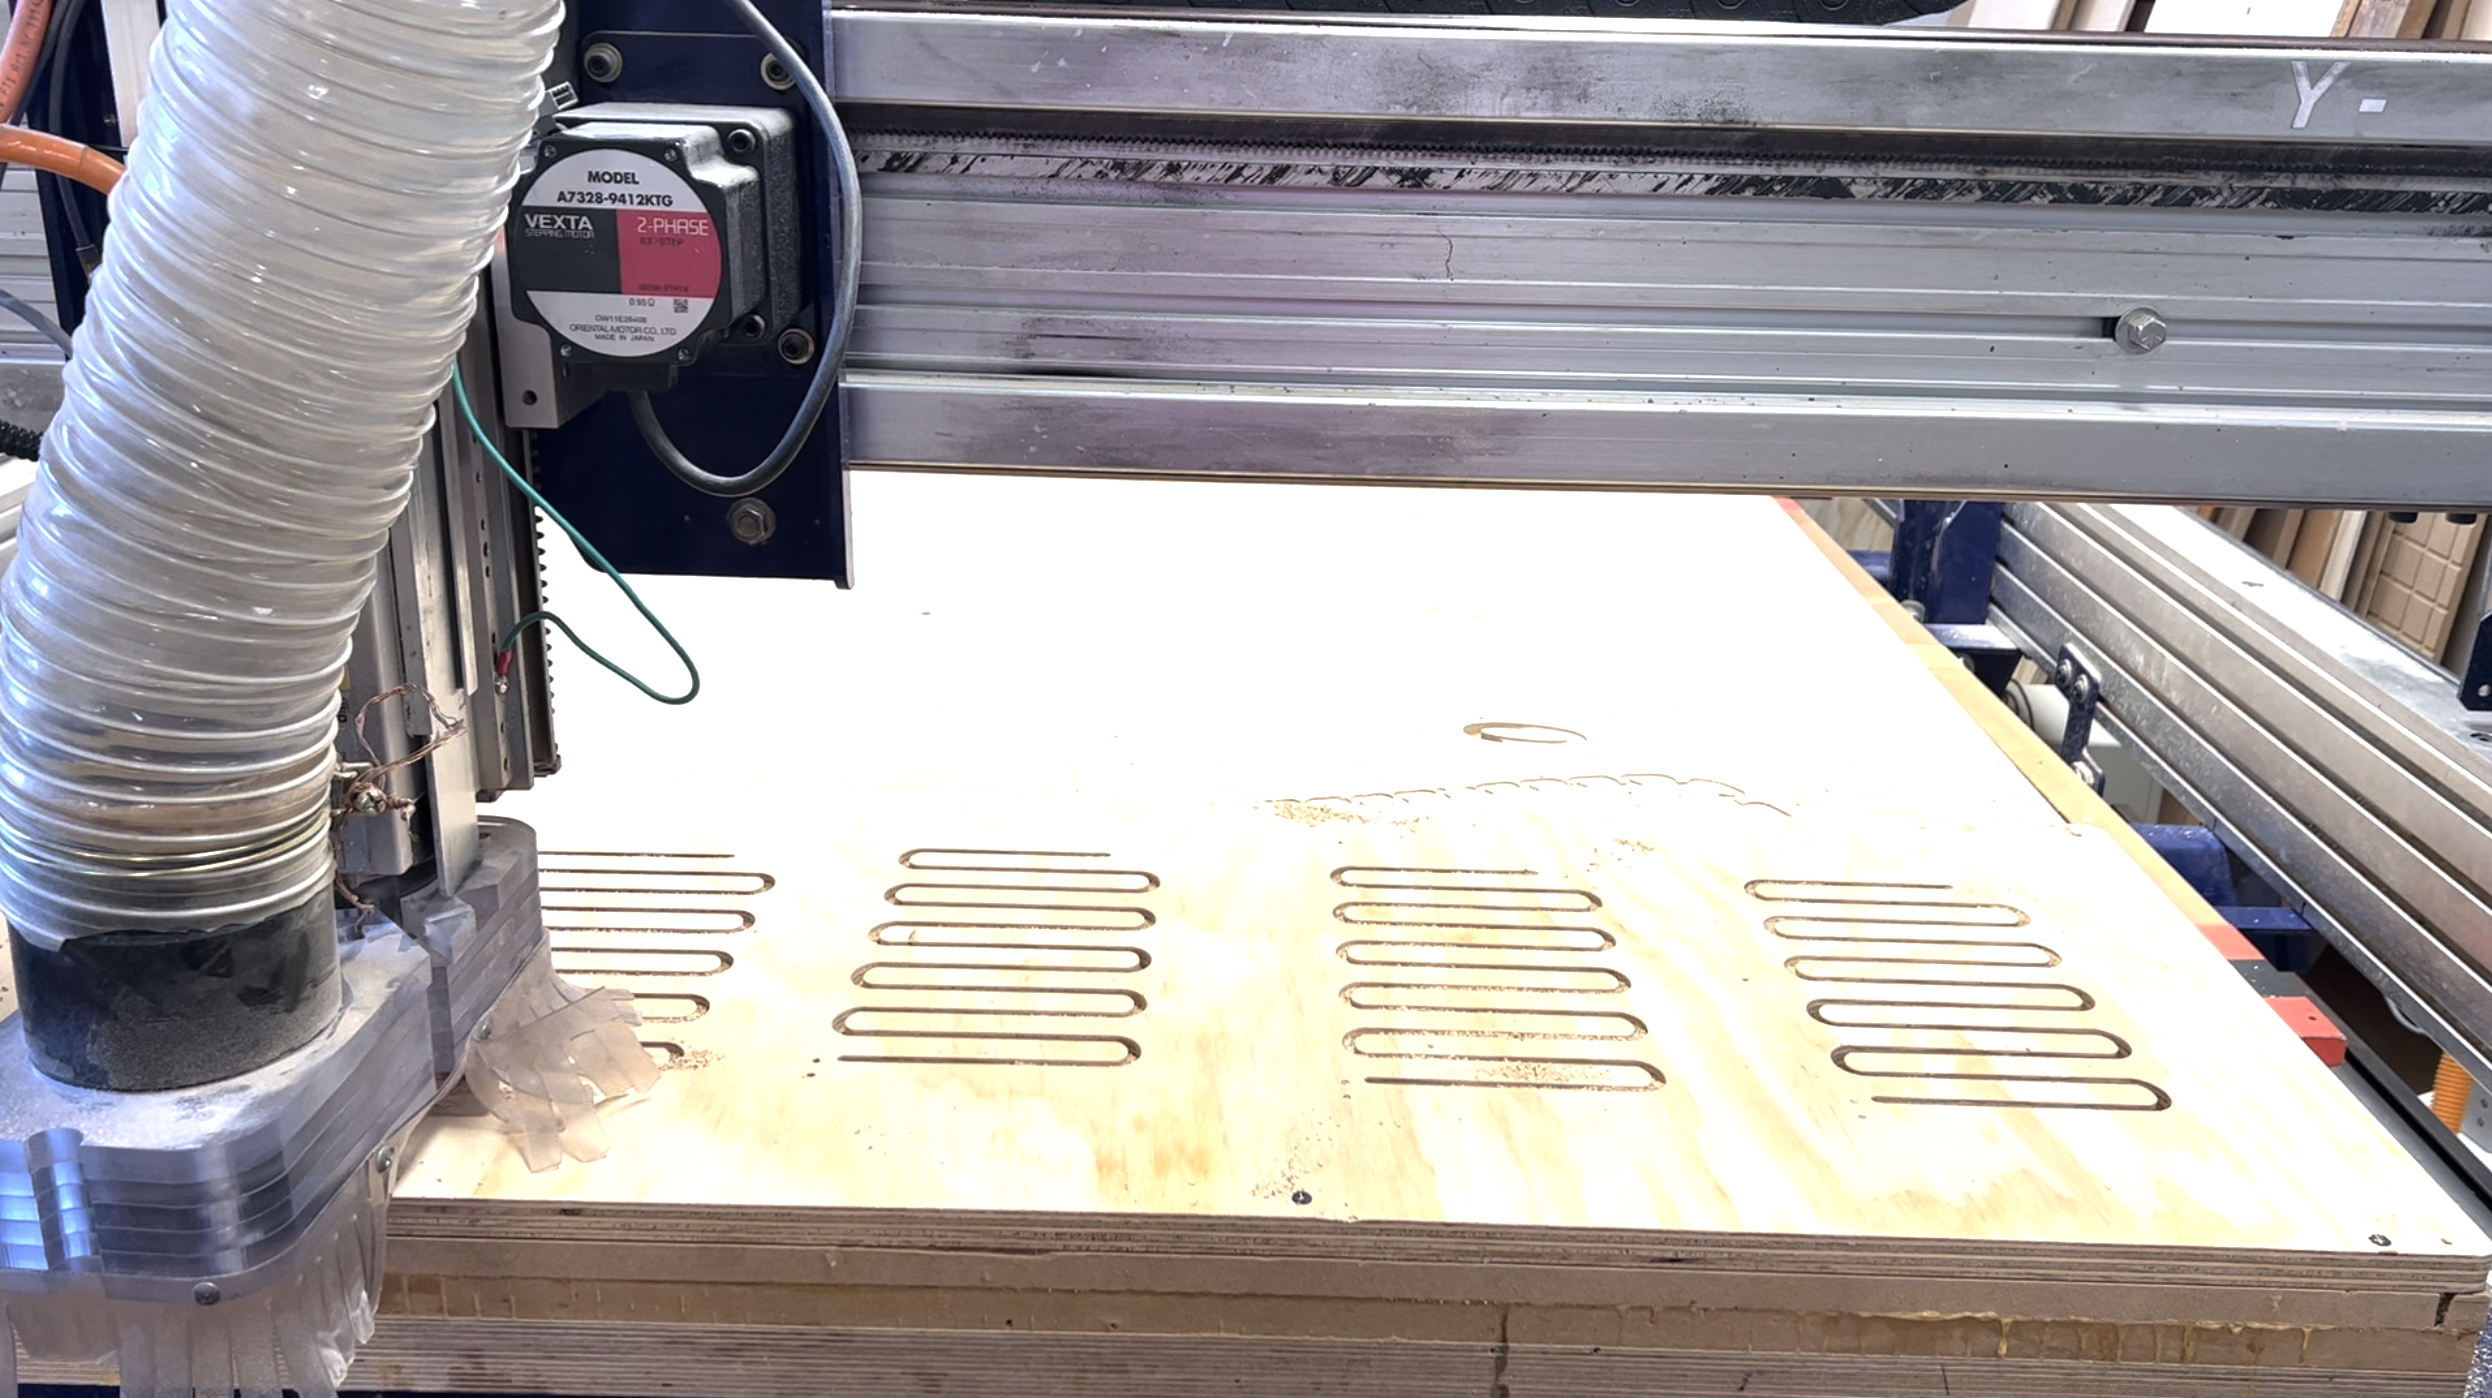
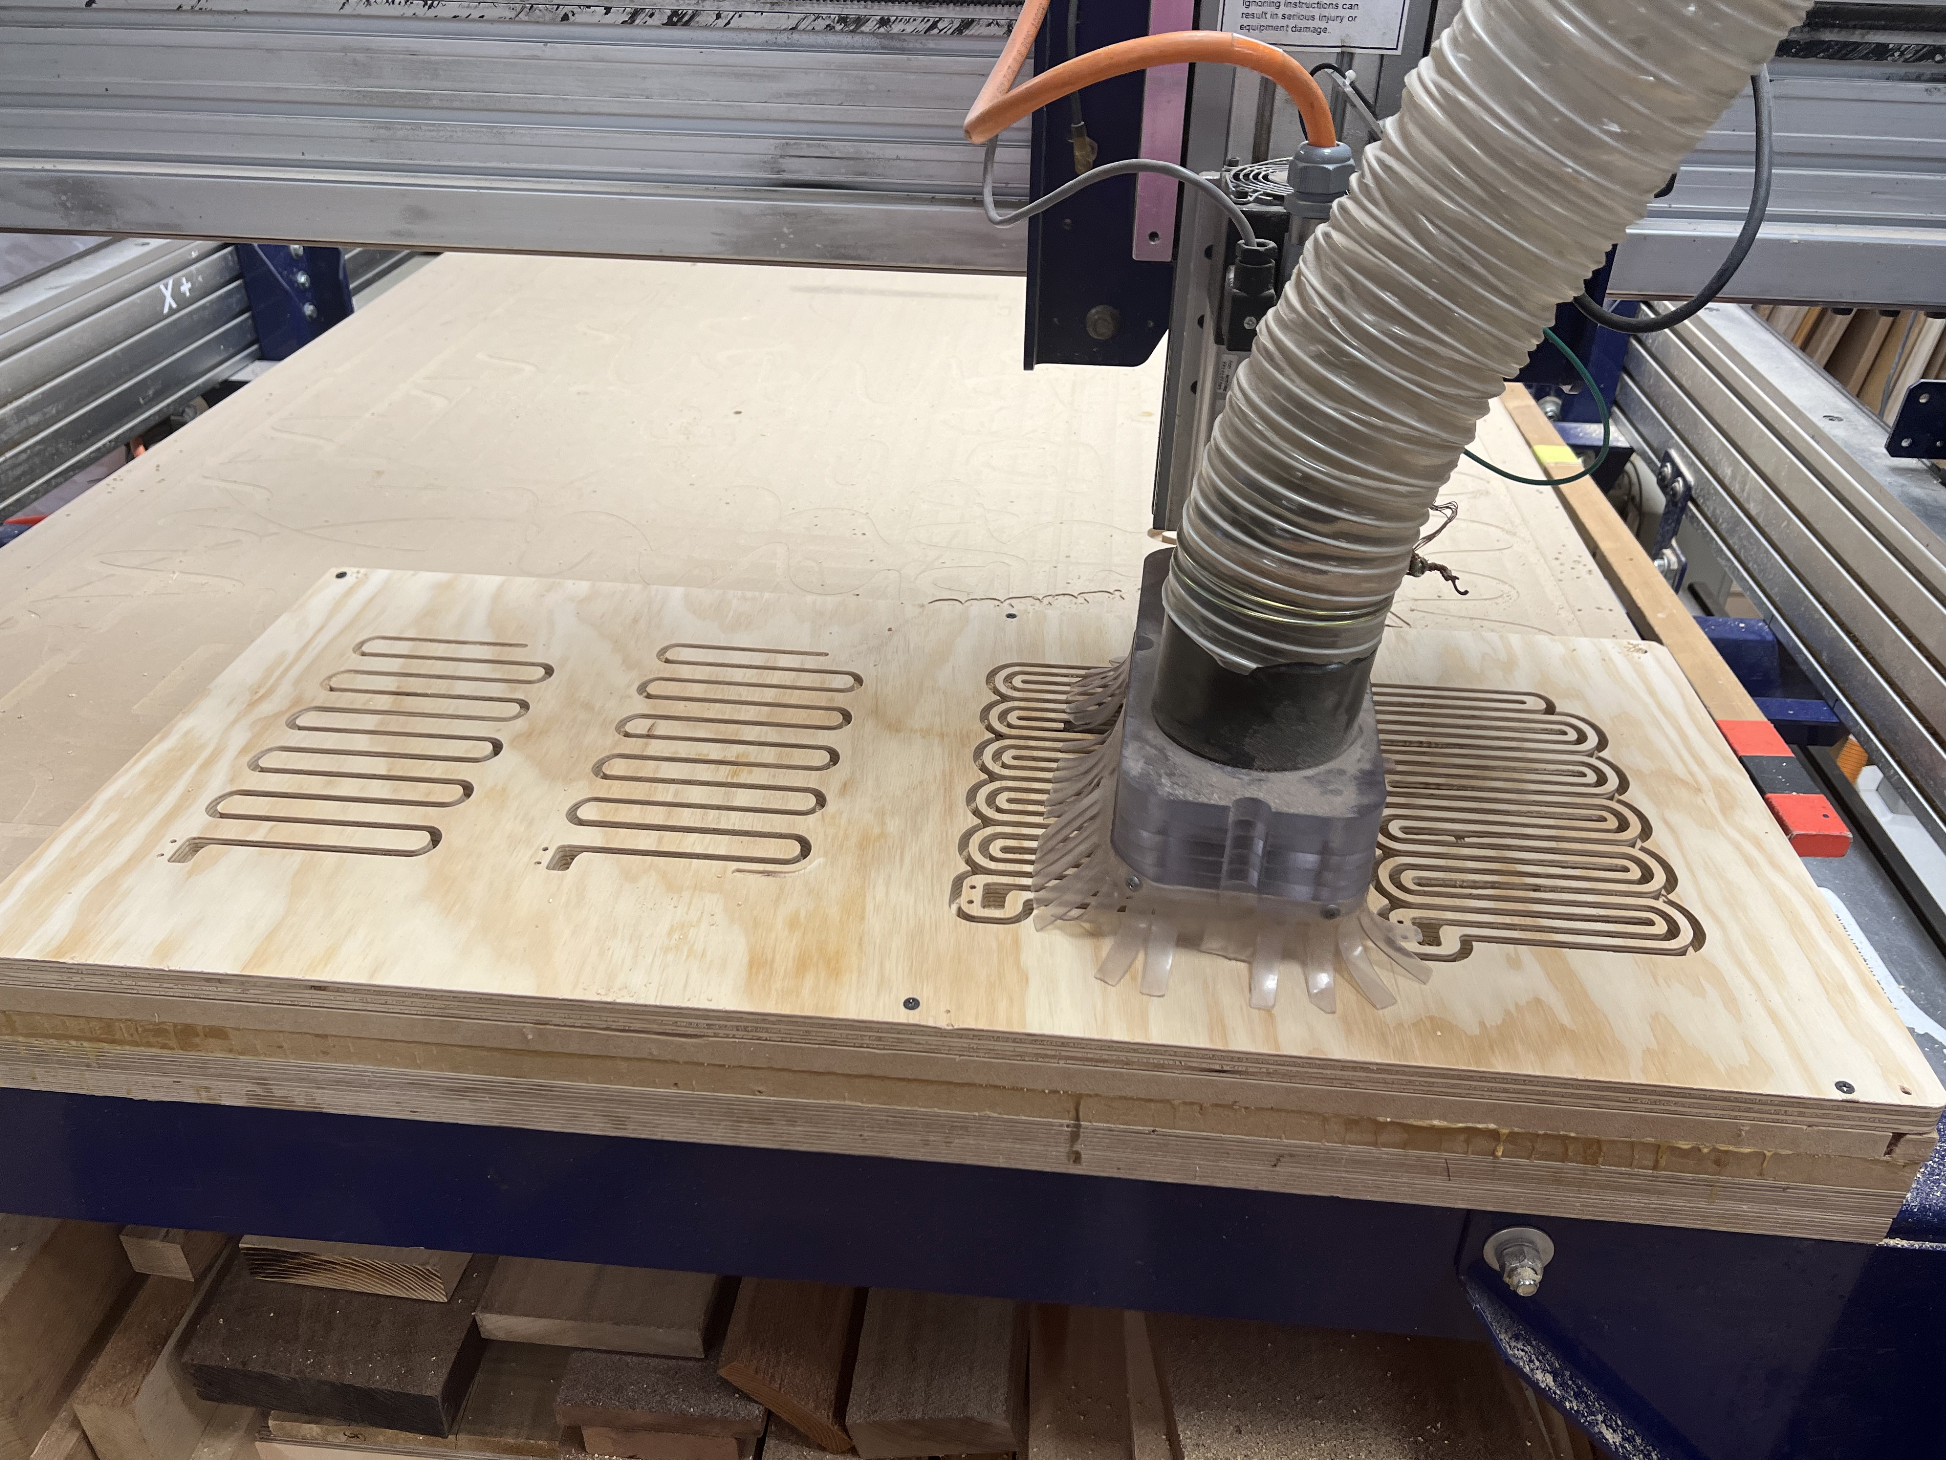
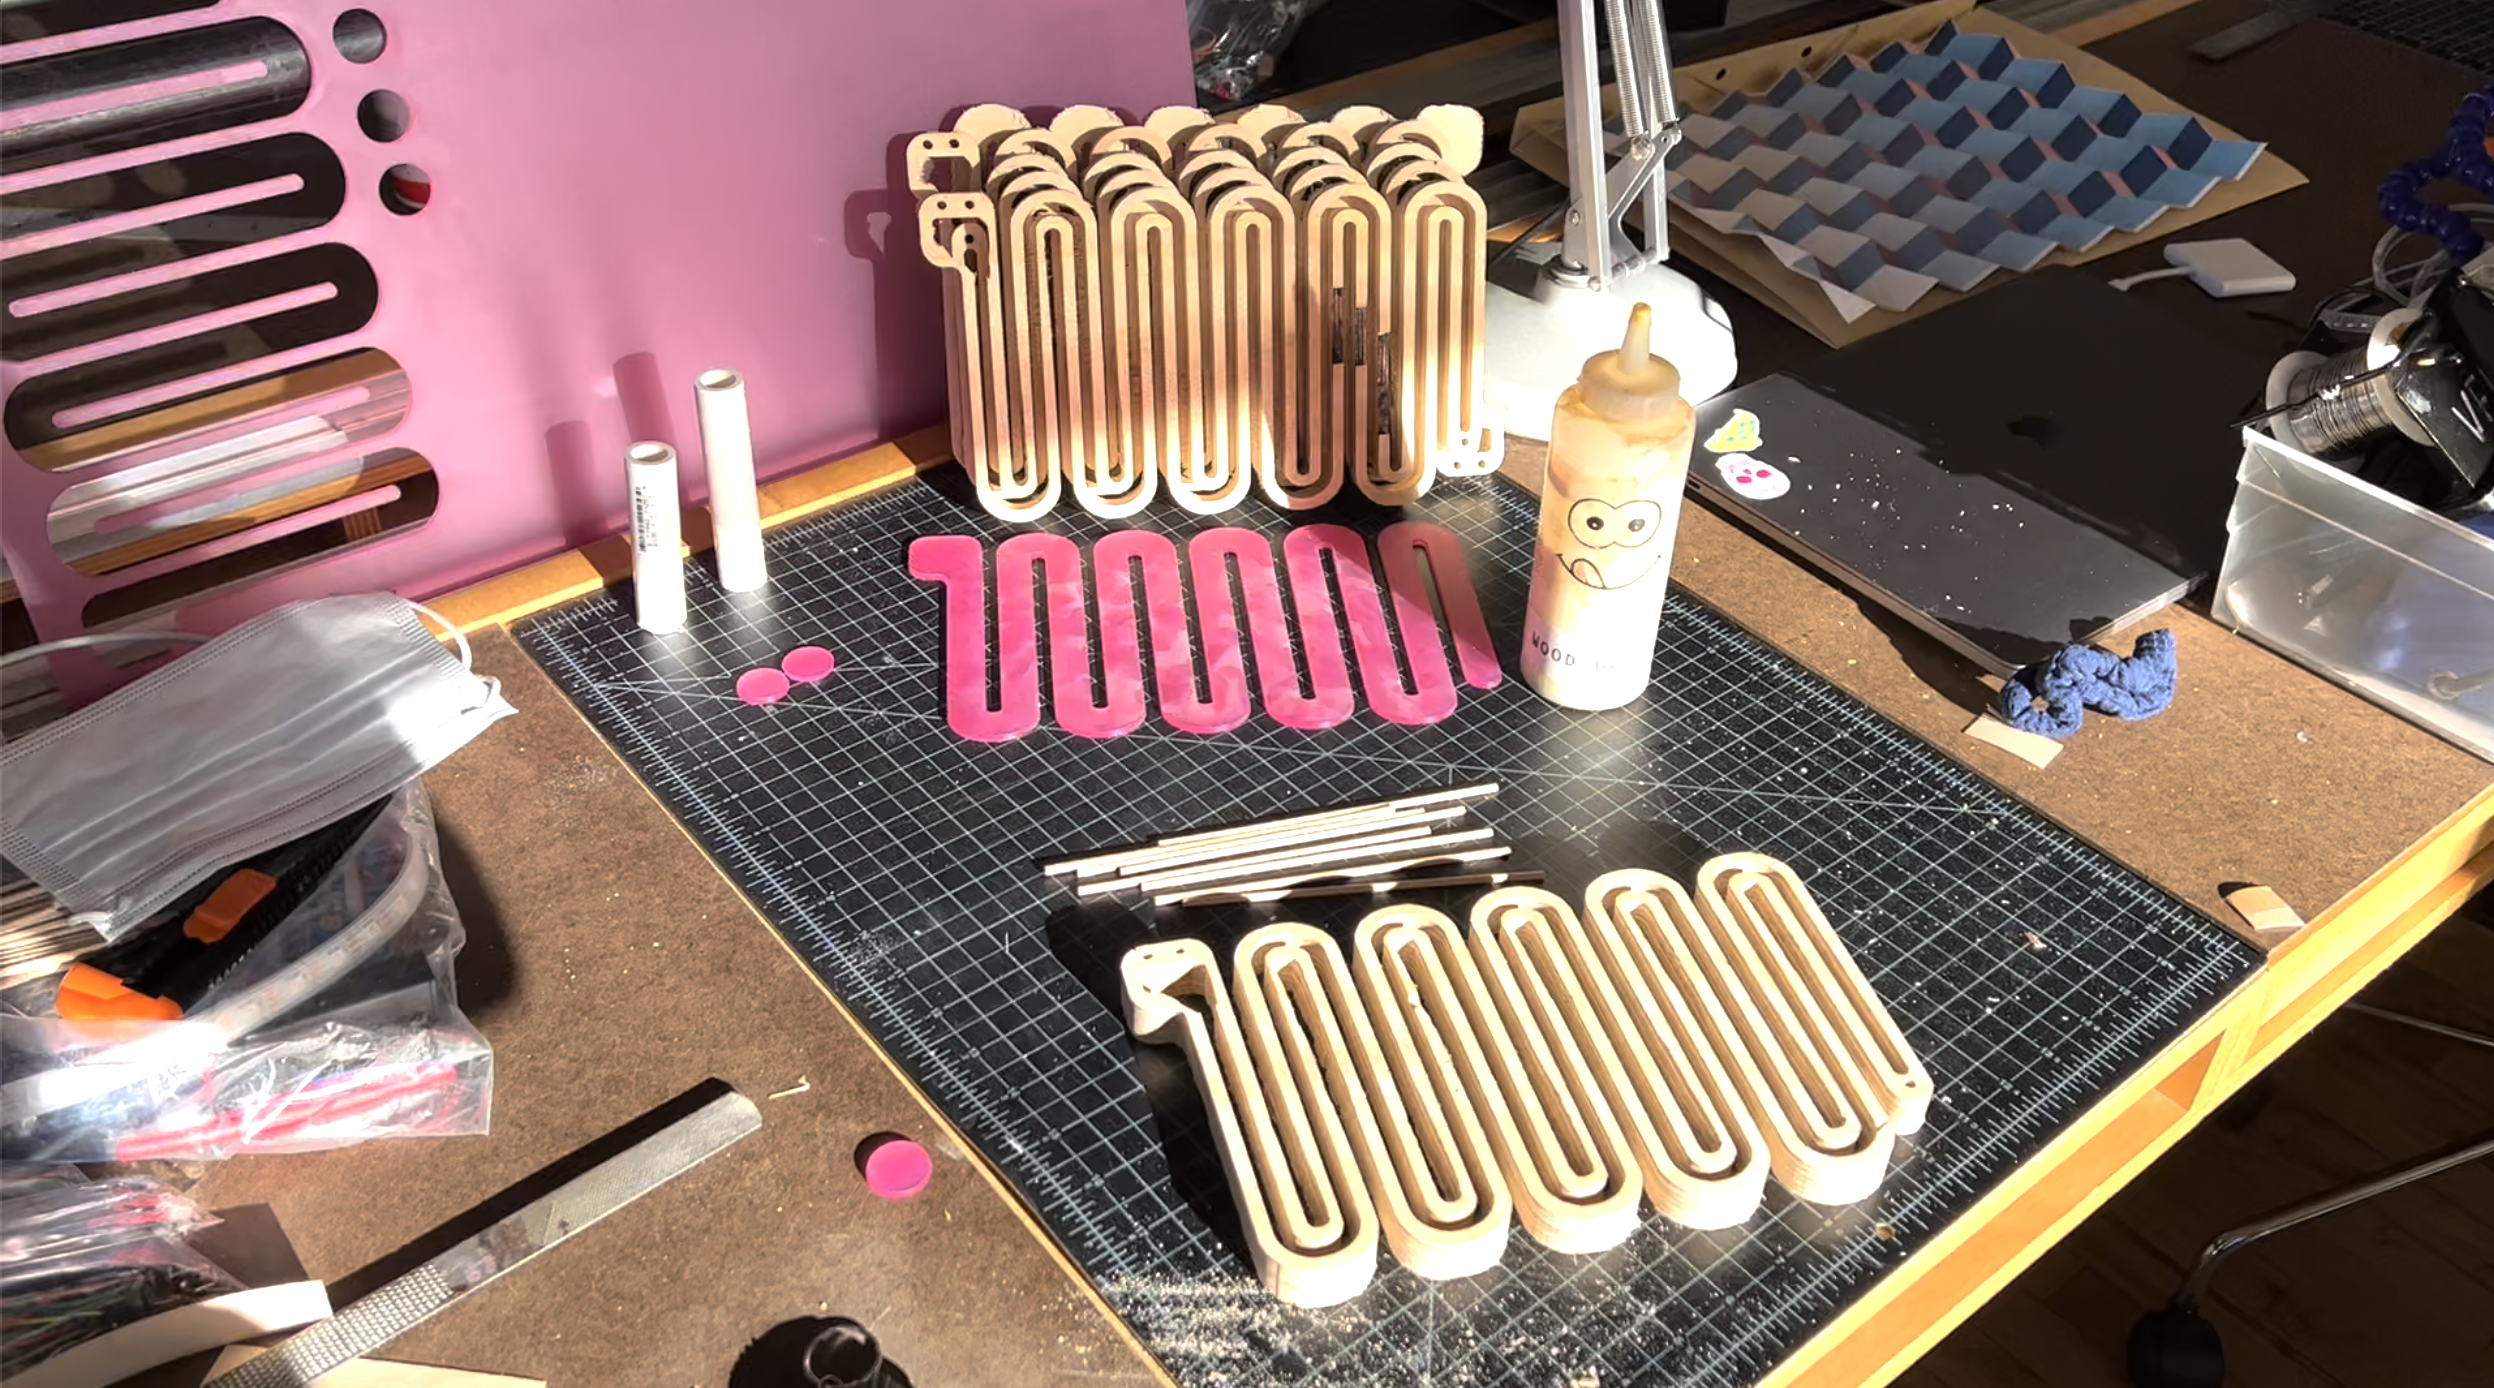
- Use CNC machine to cut 5 body shapes into your wooden boards and holes
- After the shapes are cut you will need to use a chisel and/or a bandsaw to cut out the shapes
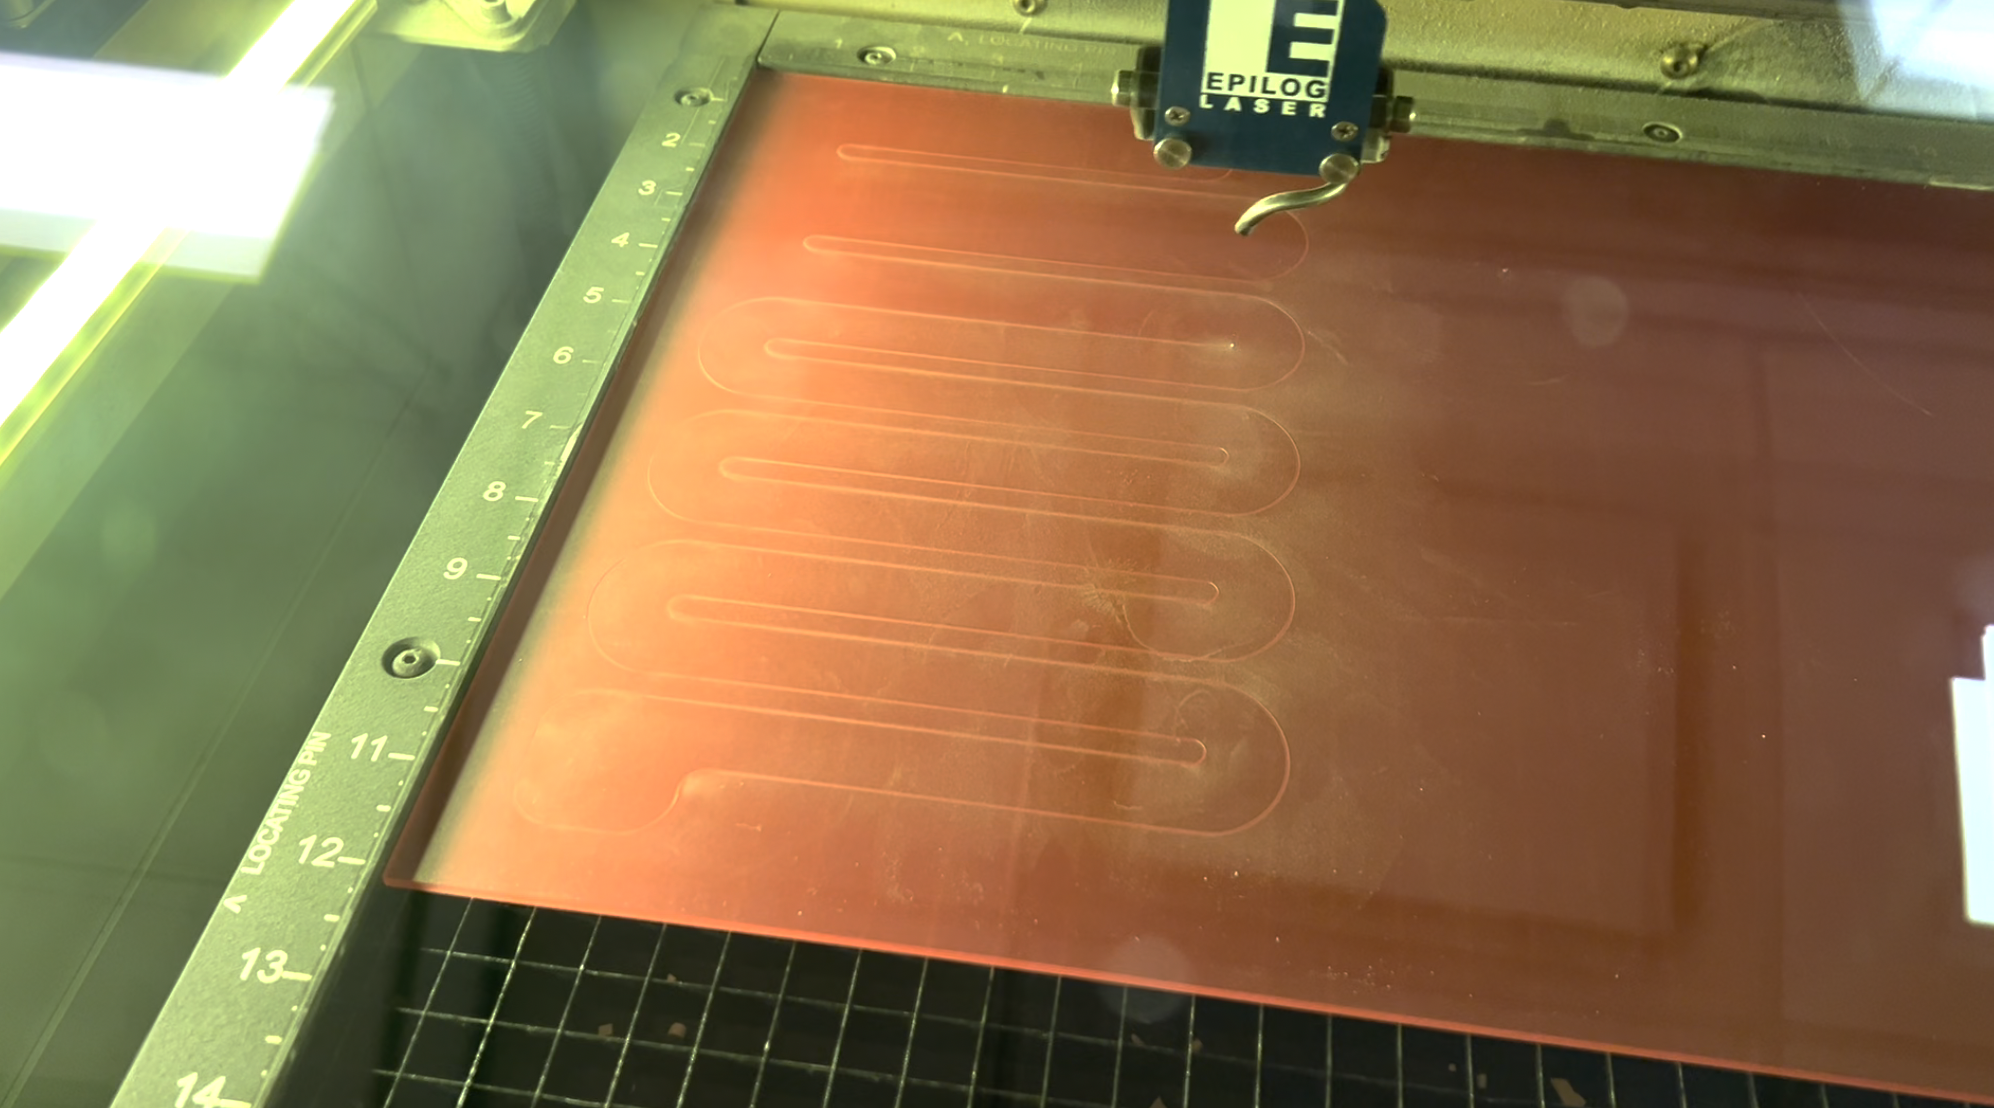
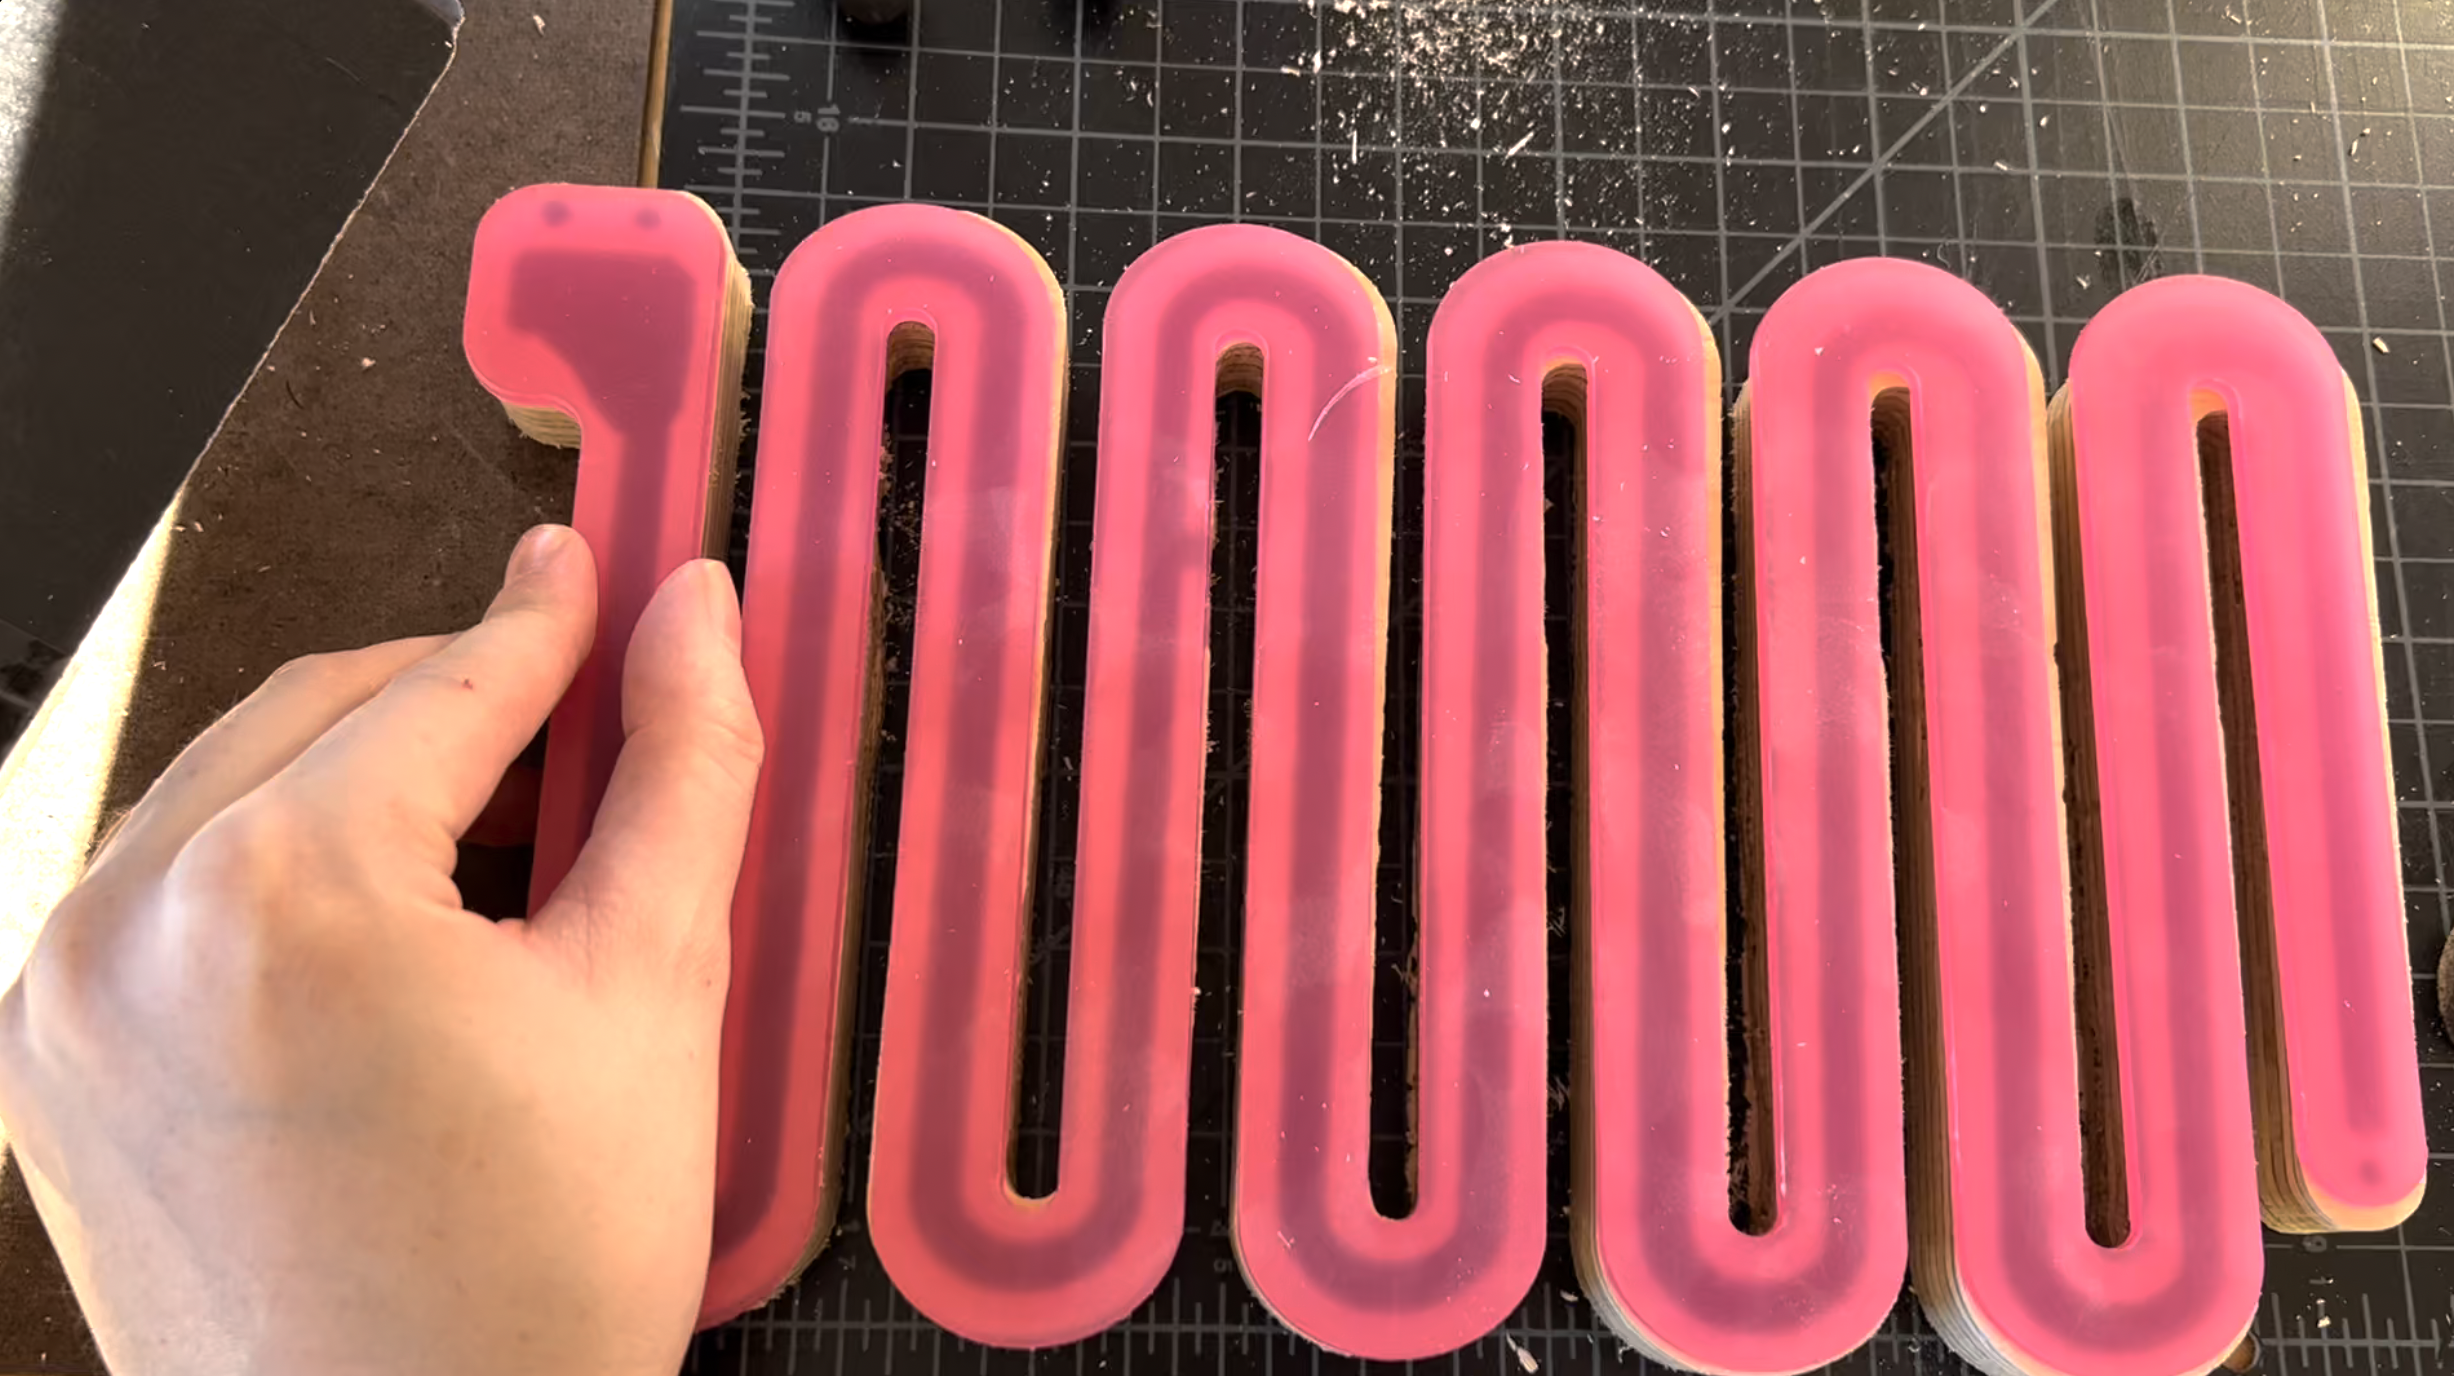
- Use illustrator file to cut 1 body shape into your acrylic
- Cut your PVC pipe to the same depth of your stacked wood frames
Start Assembly
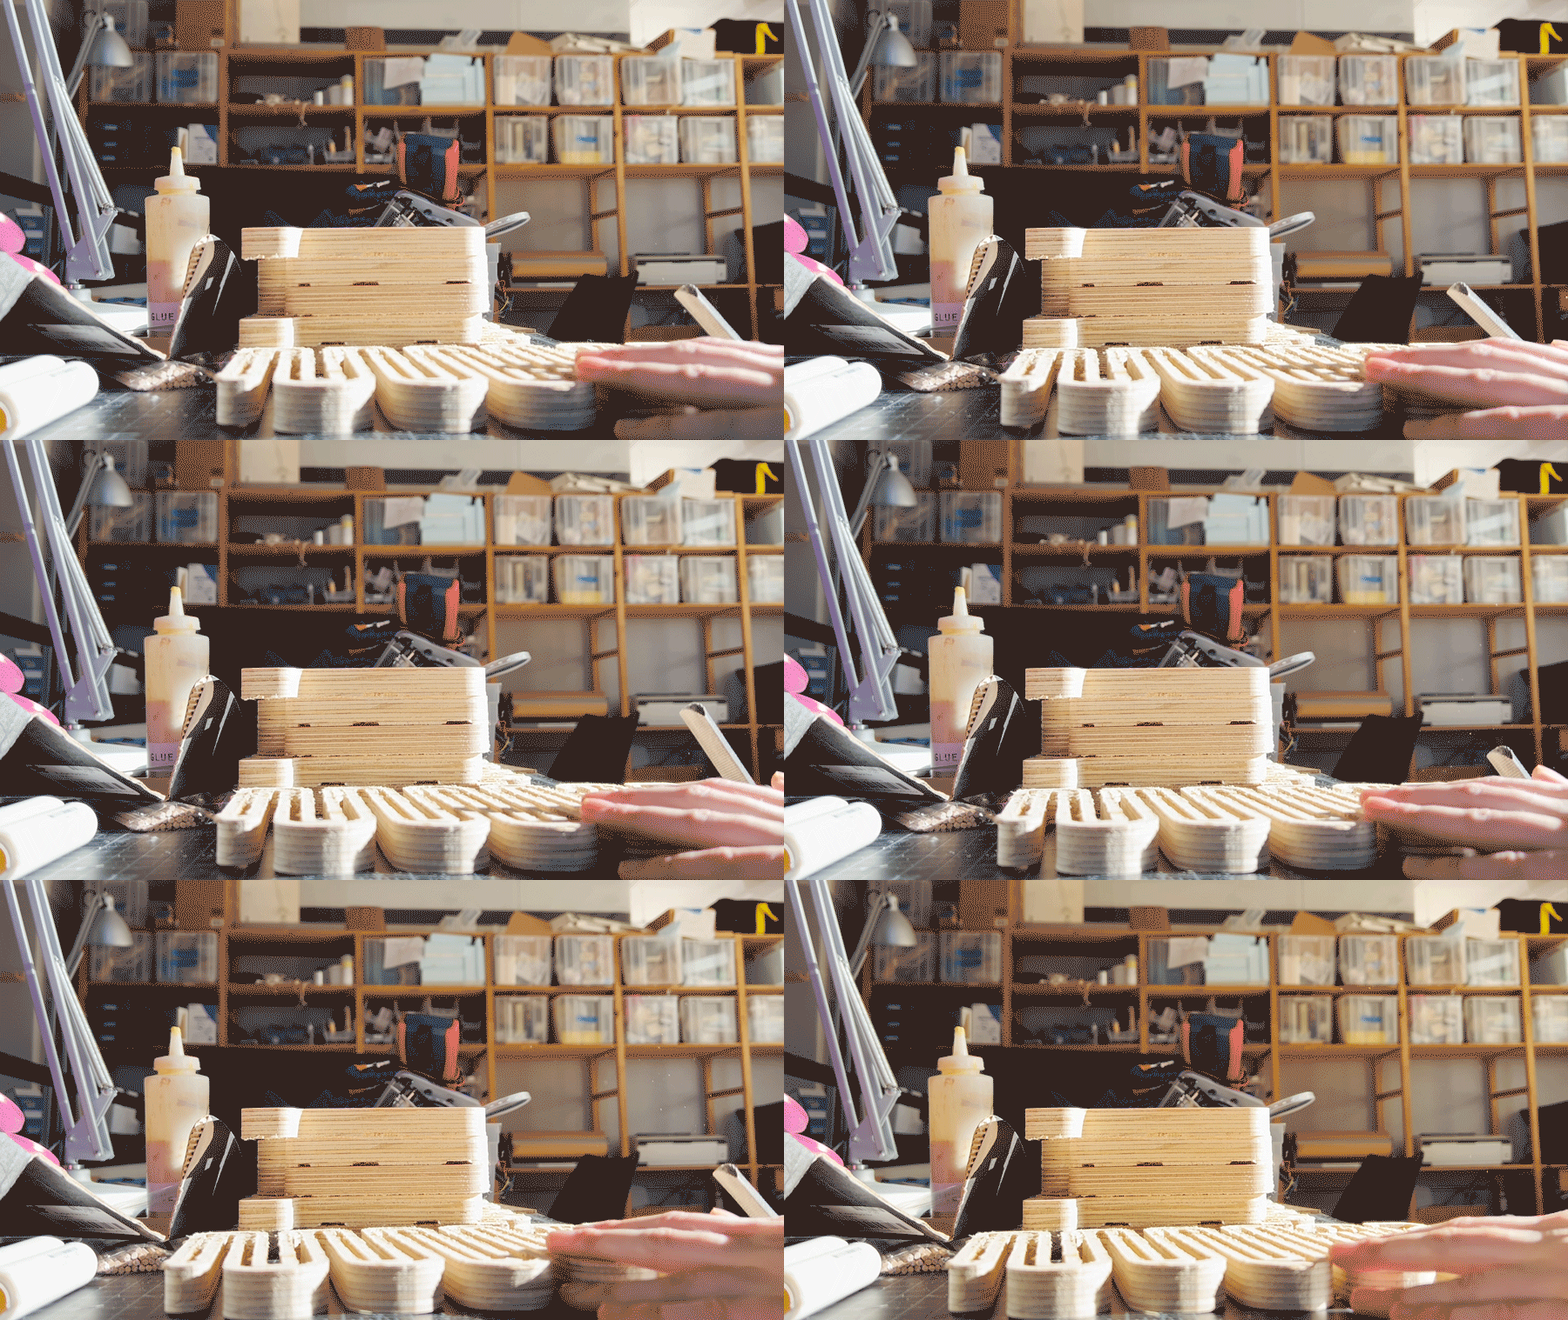
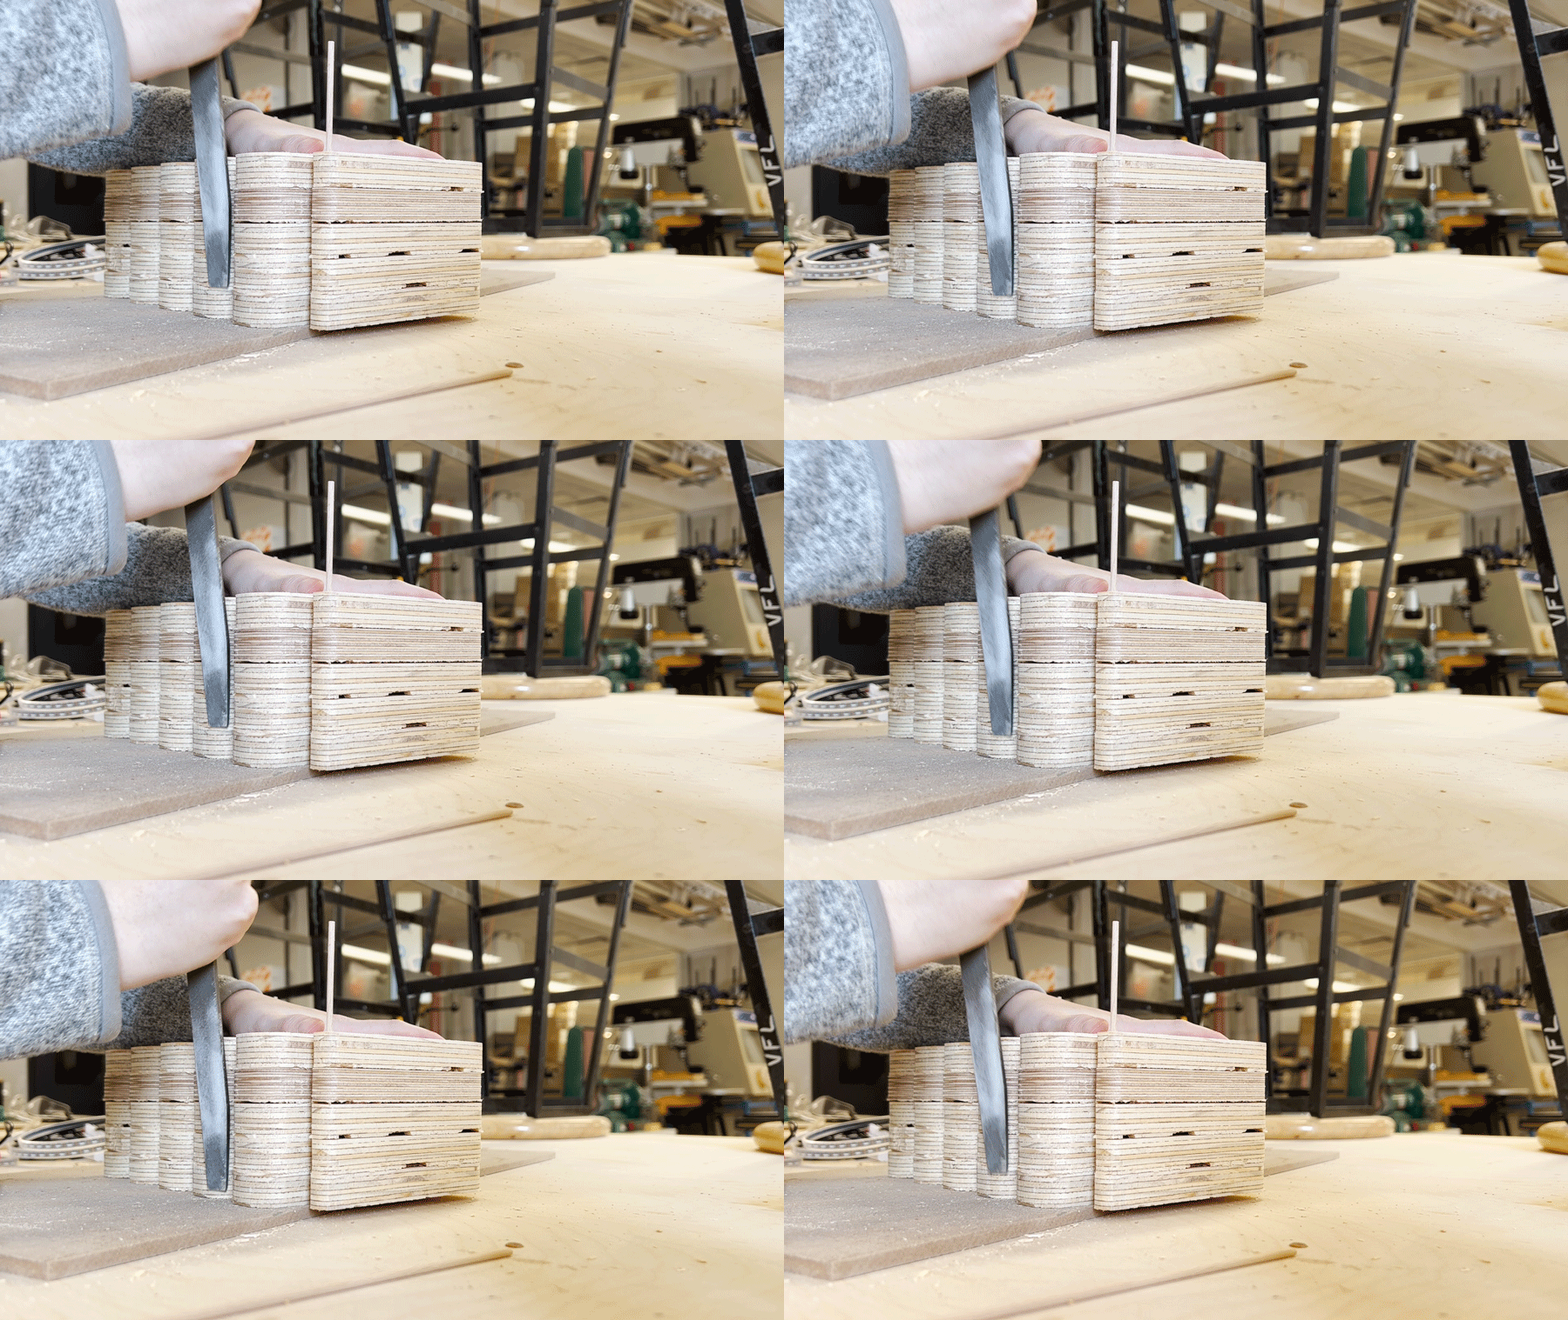
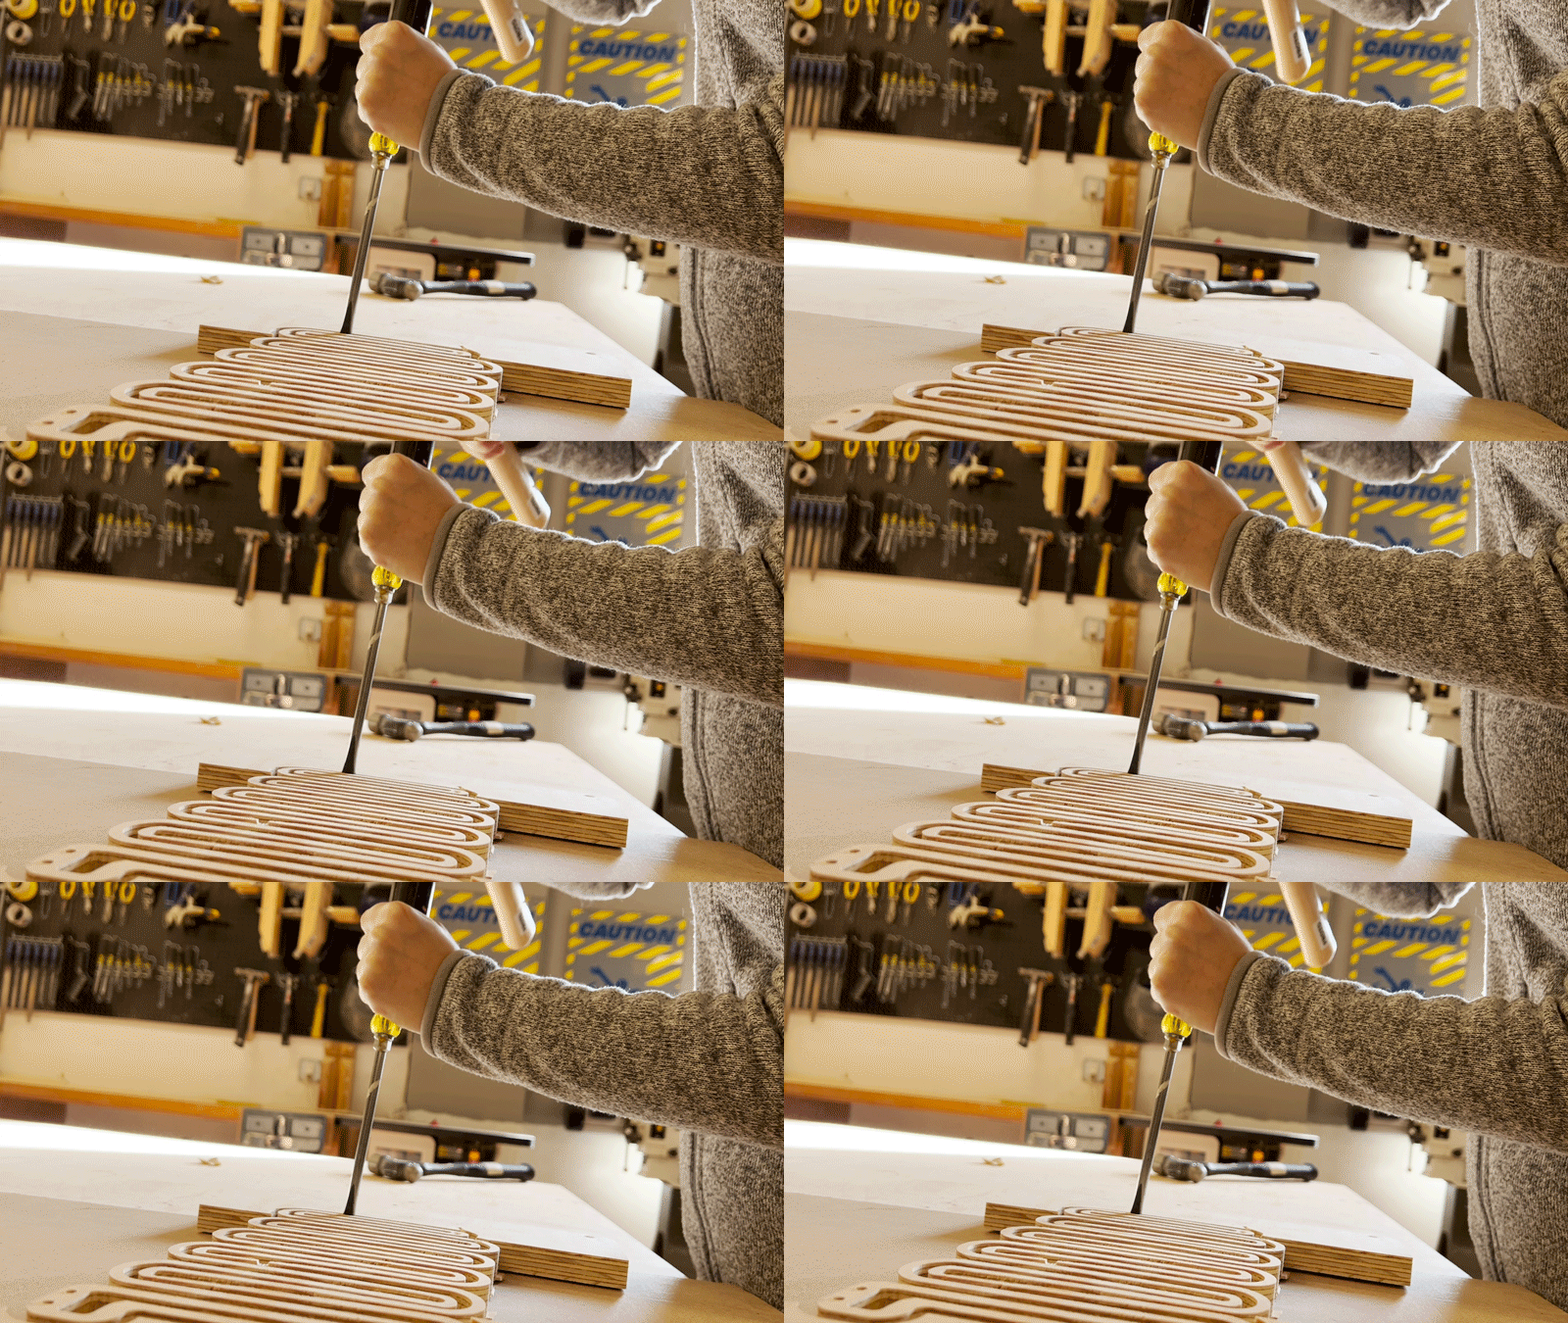
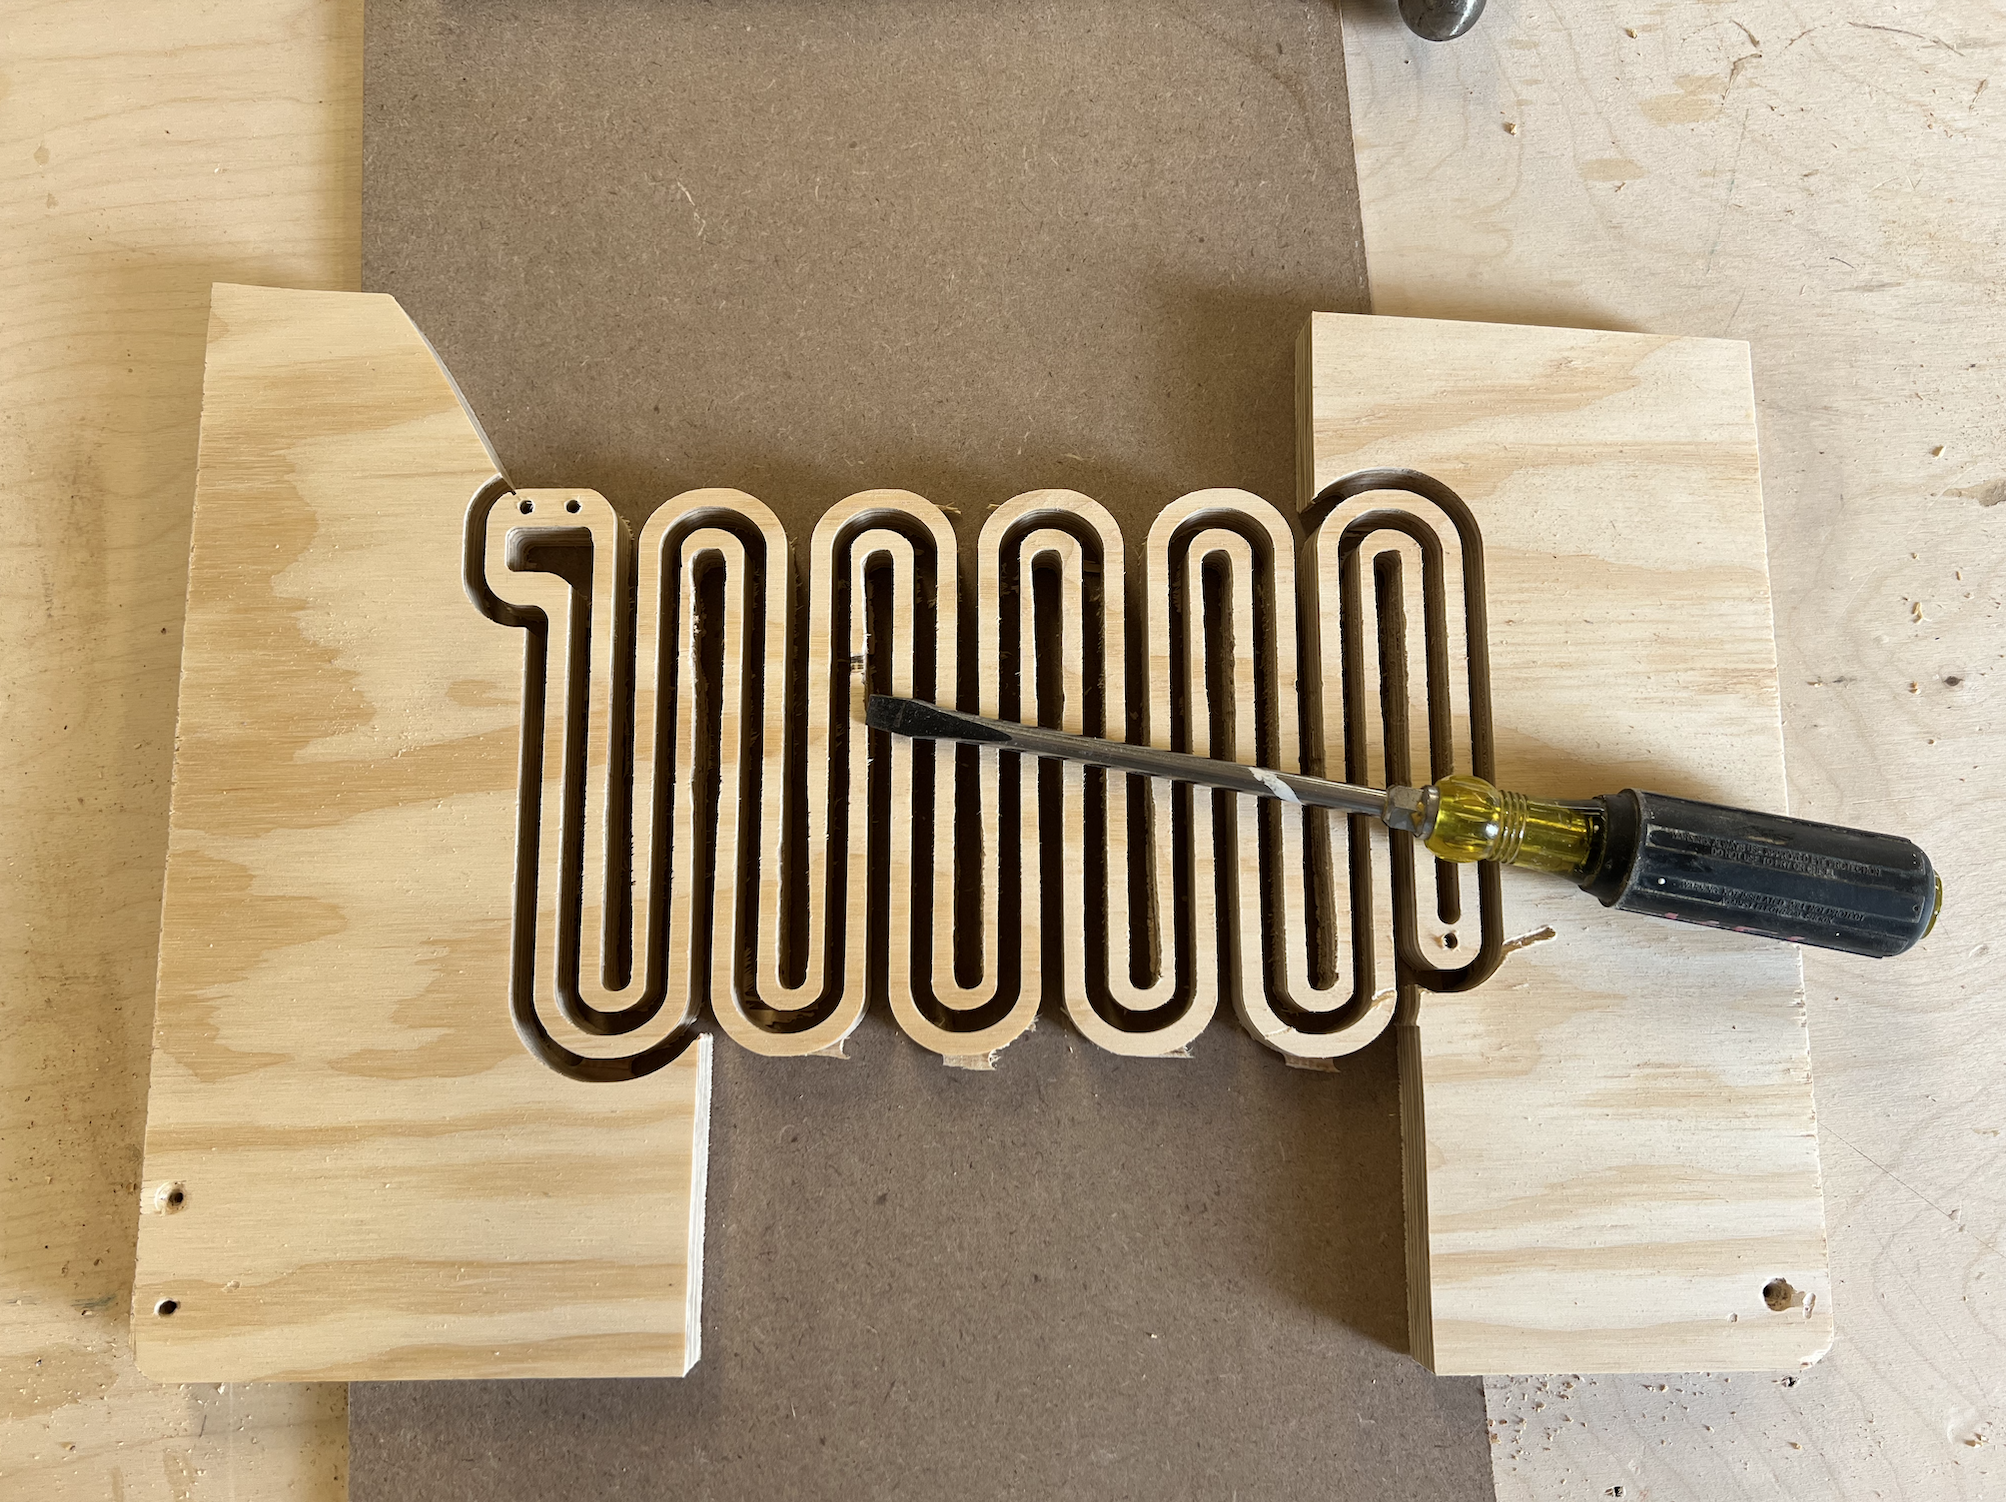
- After the shapes are cut you will need to use a chisel and/or a bandsaw to cut out the shapes
- Sand your wooden and acrylic shapes
- For the body:
- Insert wooden dowels into the wood frame holes
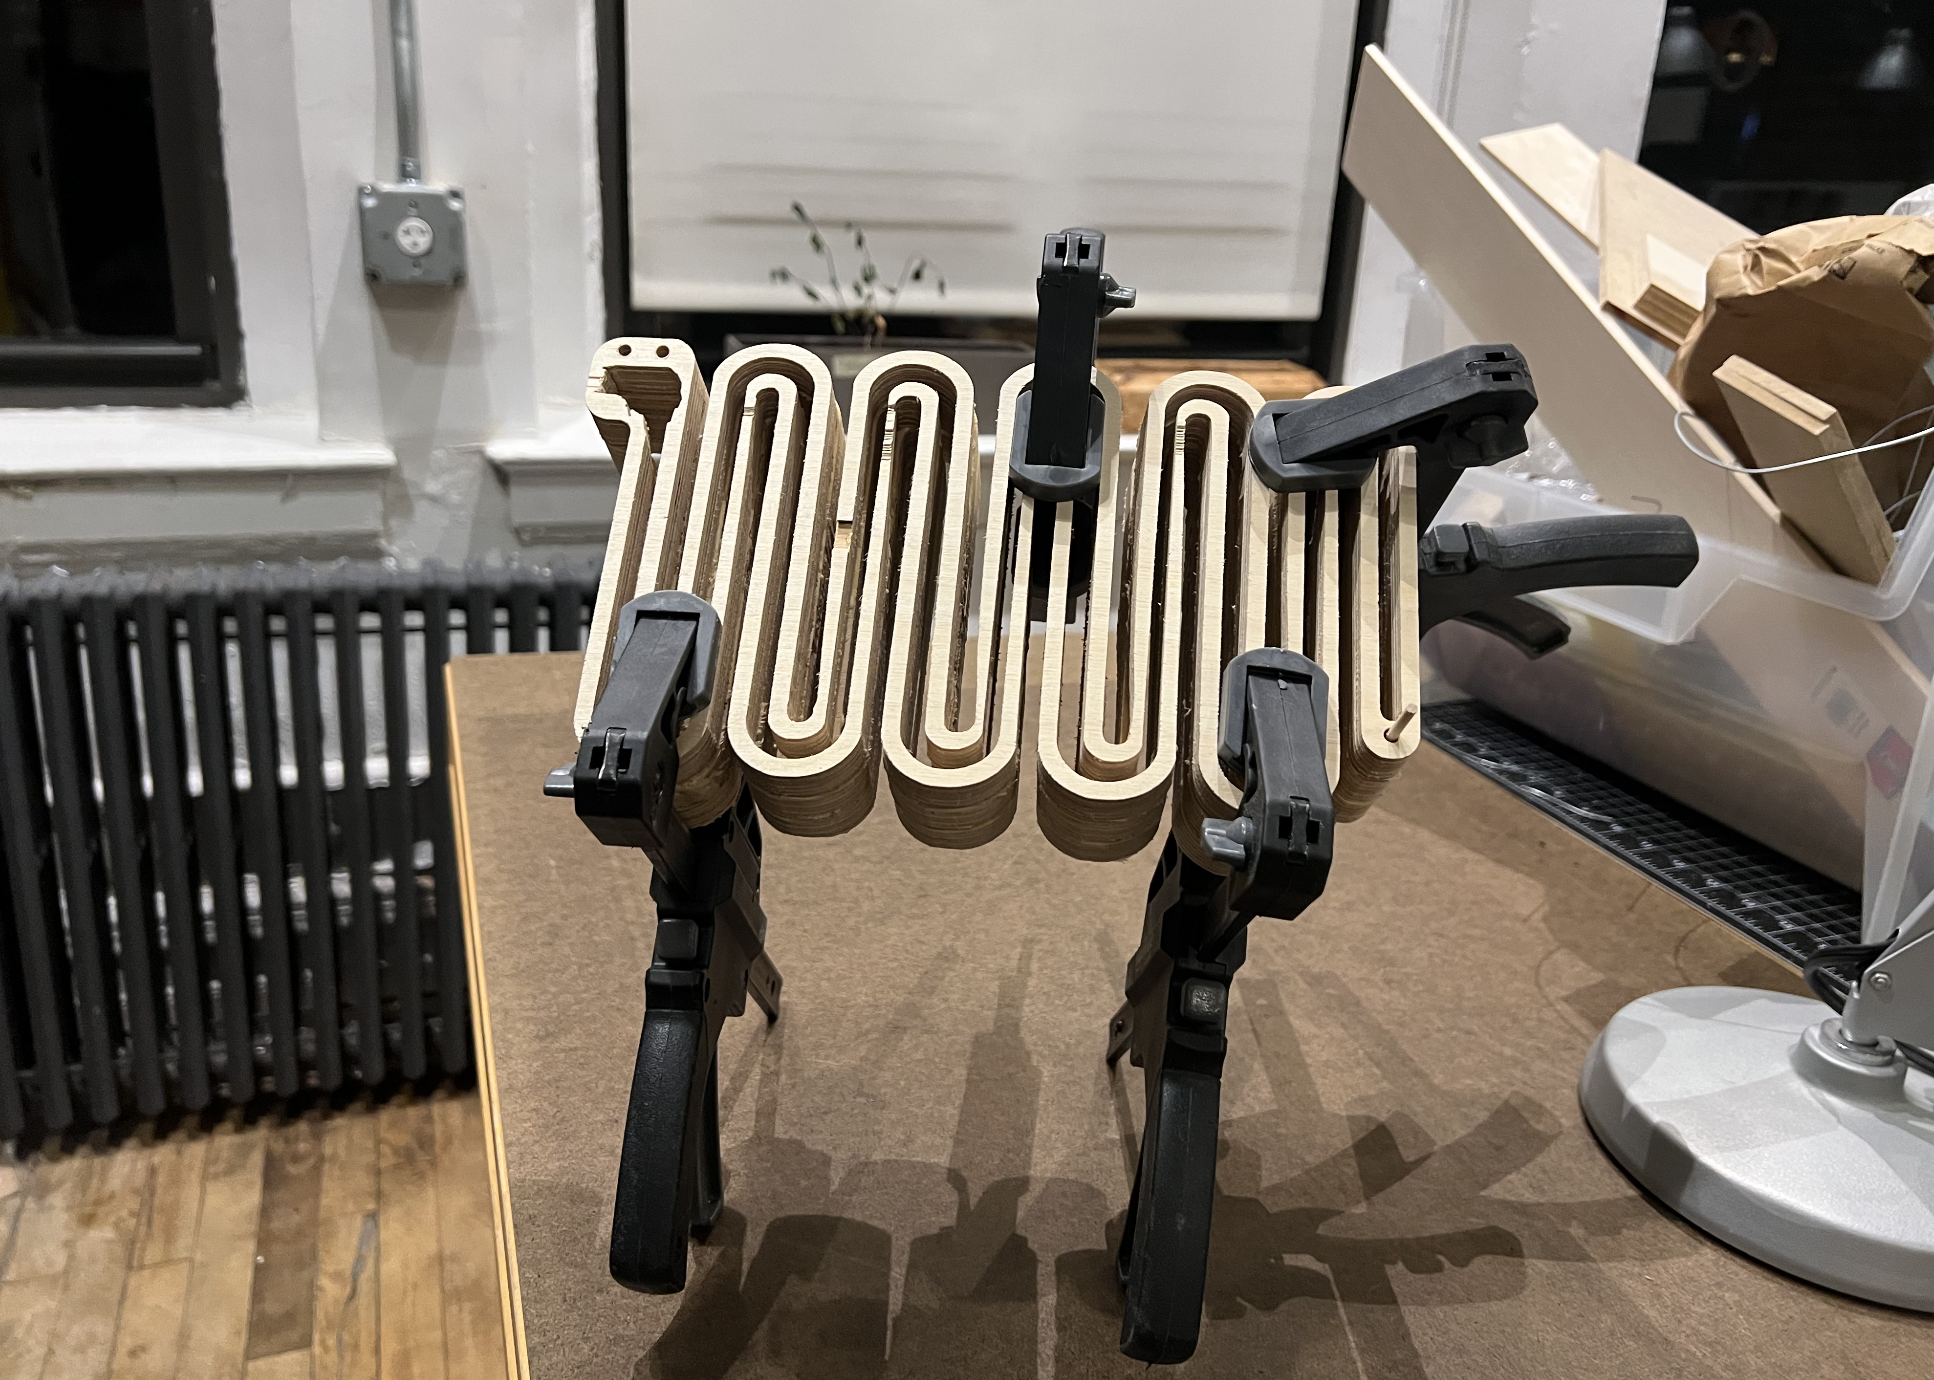
- Next, spread a layer of wood glue on the 4 body frames with the interior channels. Do this one at a time. Align and and stack the frames using the wooden dowels.
- Clamp this stack of wooden frames and let it dry for an hour
- When they are done drying, put on rubber gloves and add Gorilla Glue to the interior edges of the wood body and PVC cylinder. Add the acrylic pieces to their associated frames.
- For the magnet holder:
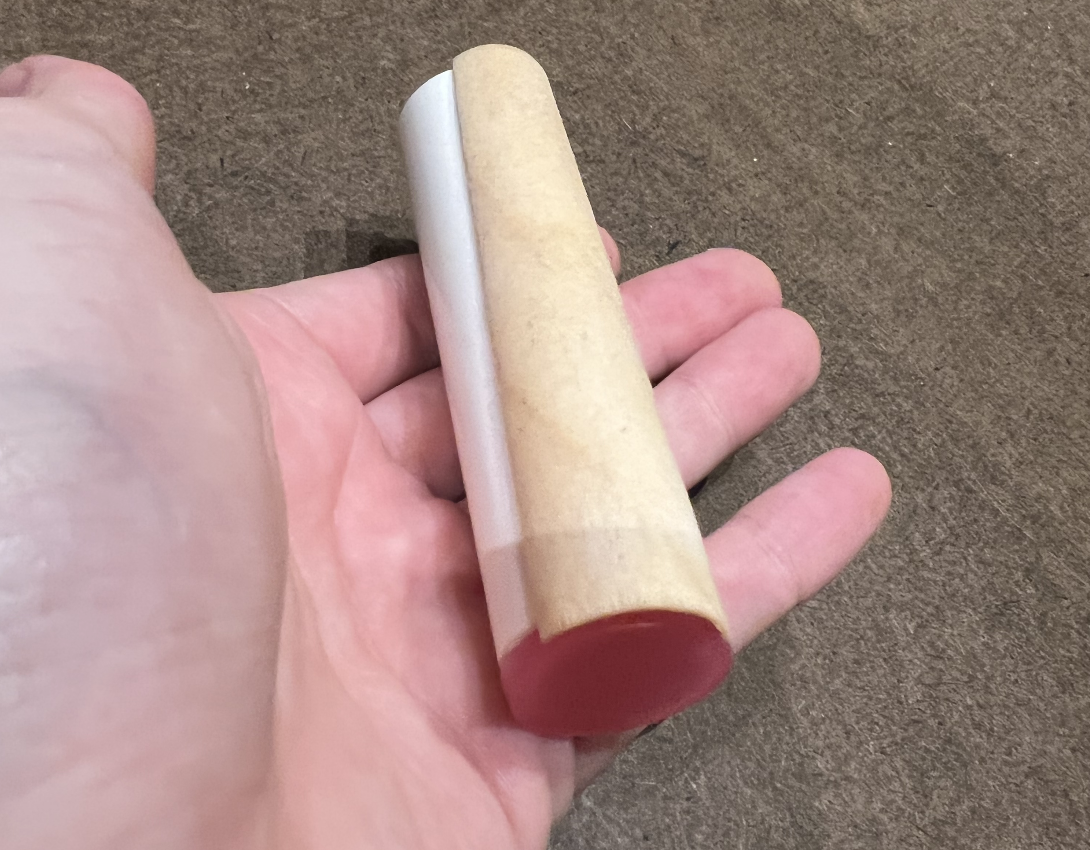
- Cut several pieces of bridge edge tape to the length of your PVC pipe. Wet the edge tape and start to mold it to the pipe, this will prevent it from splintering. Once dry glue it on with gorilla glue
- Place the magnet into the pvc pipe
- Glue the circular pieces of acrylic onto either end
Insert the Electronics
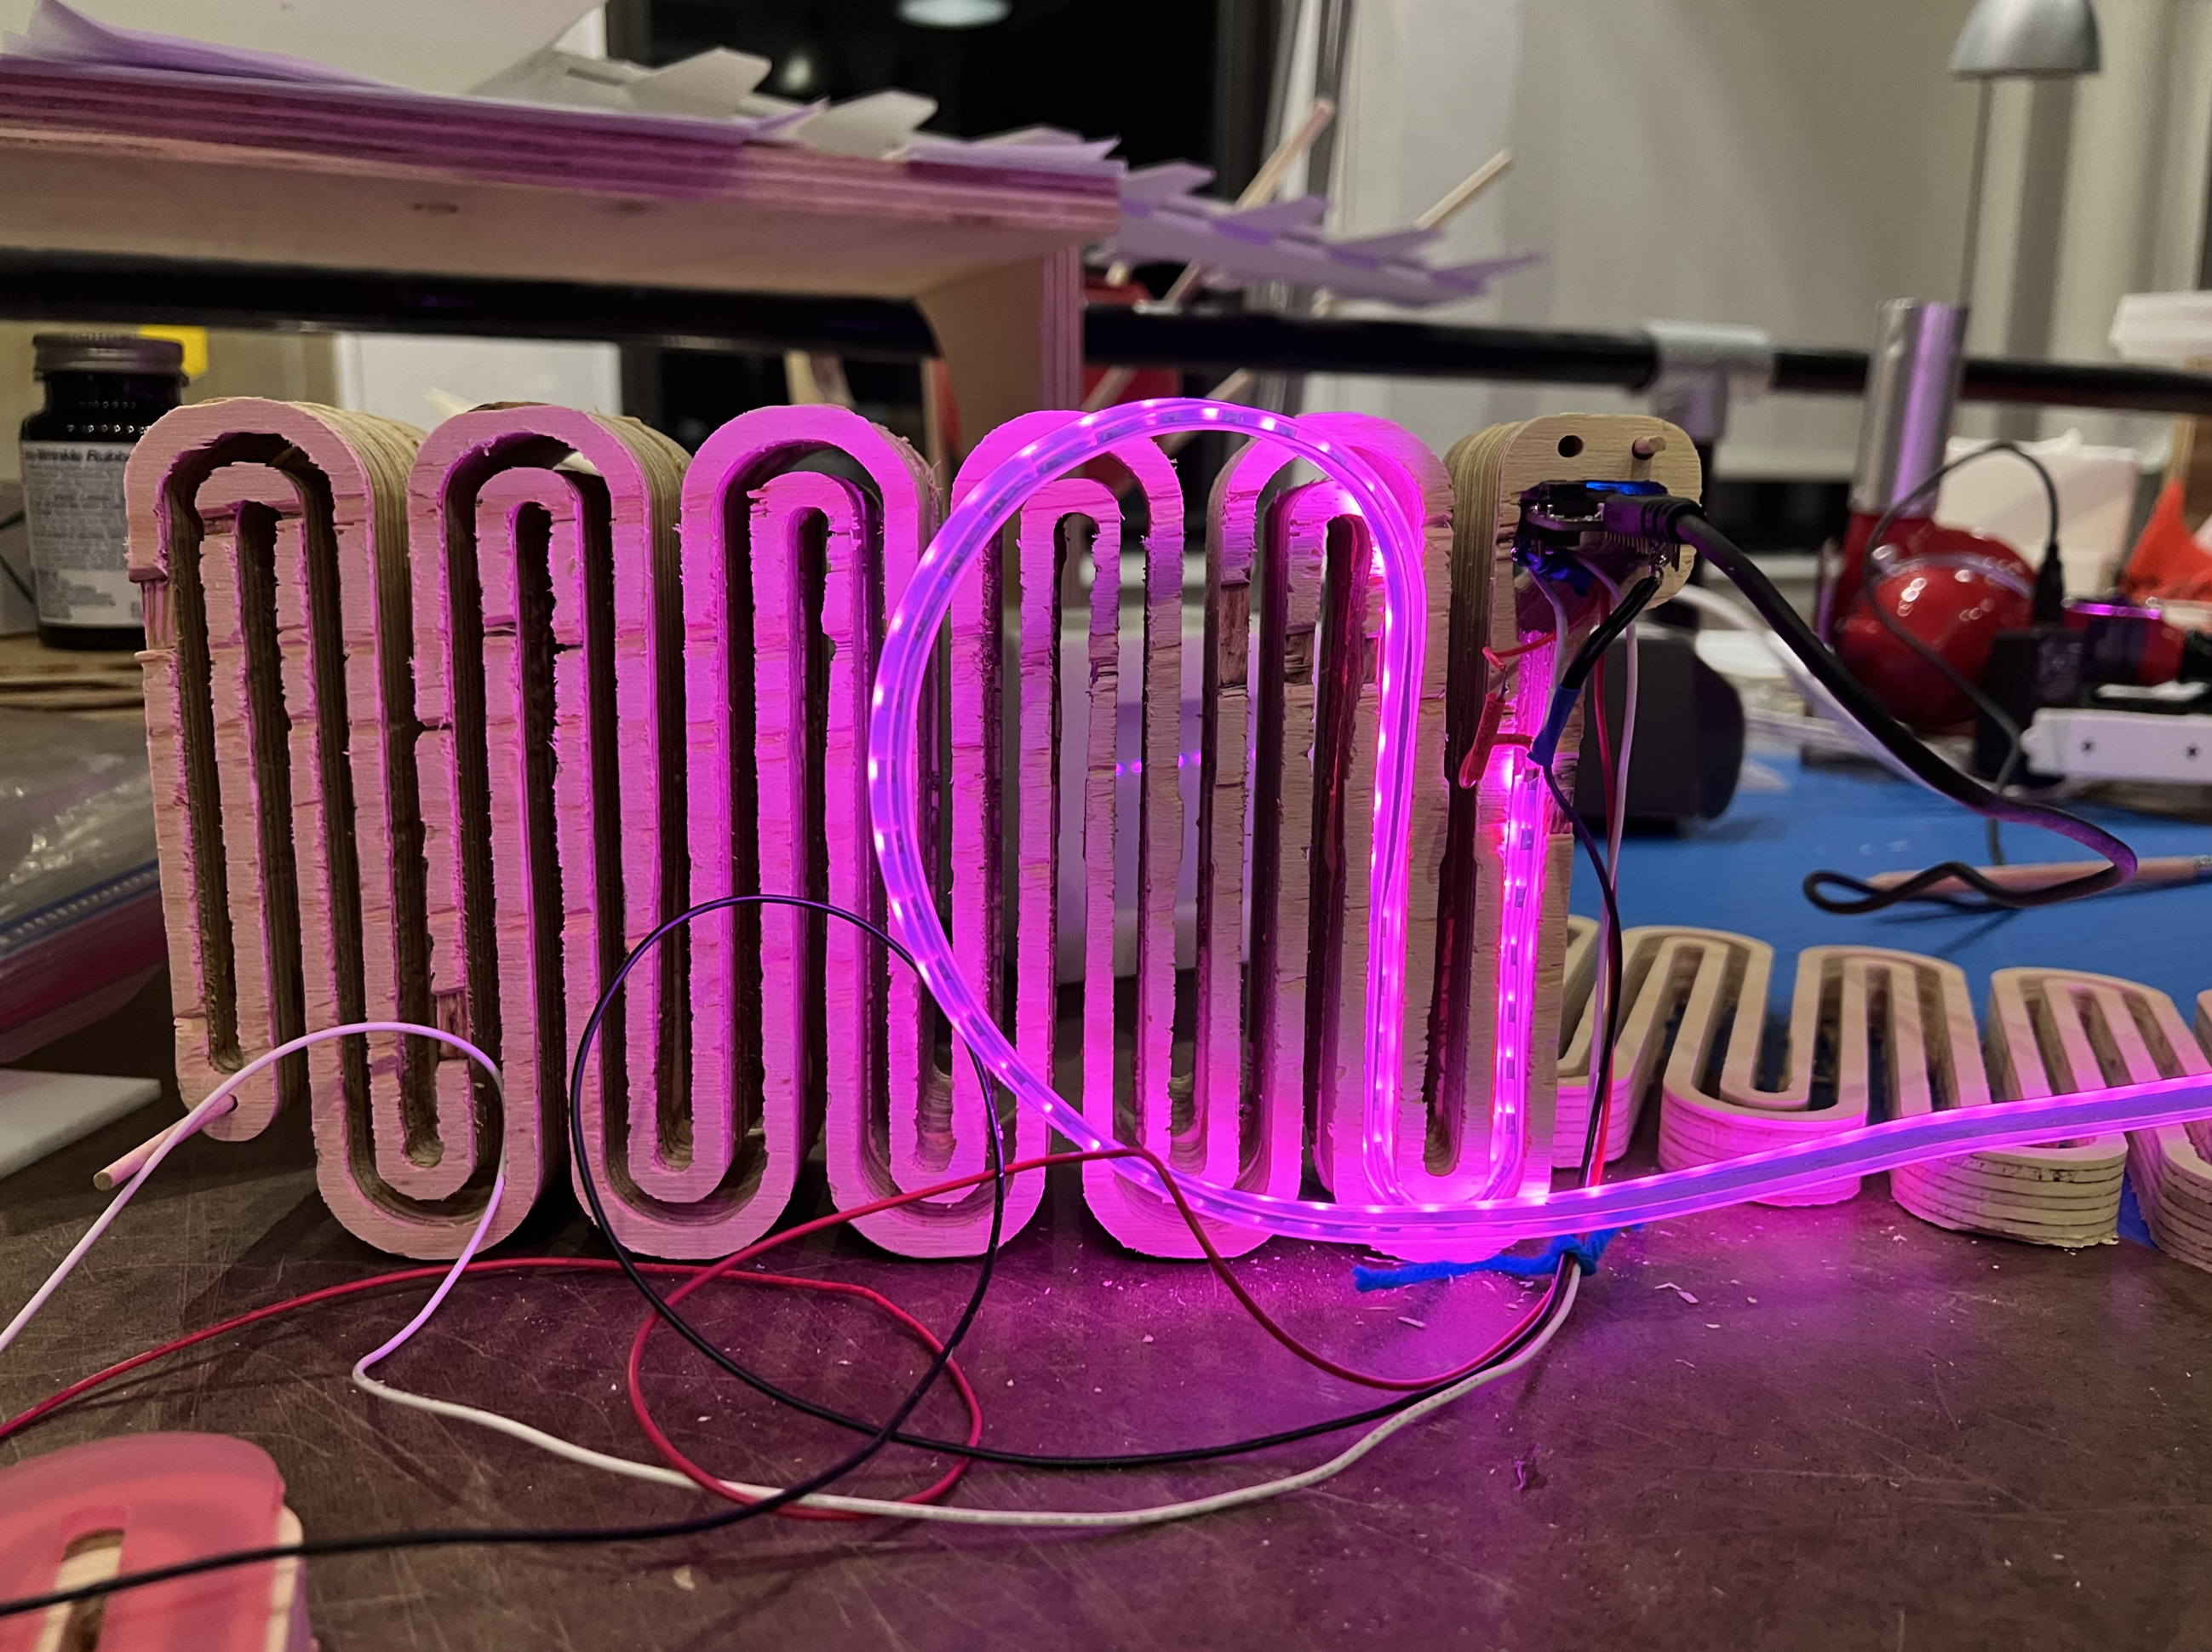
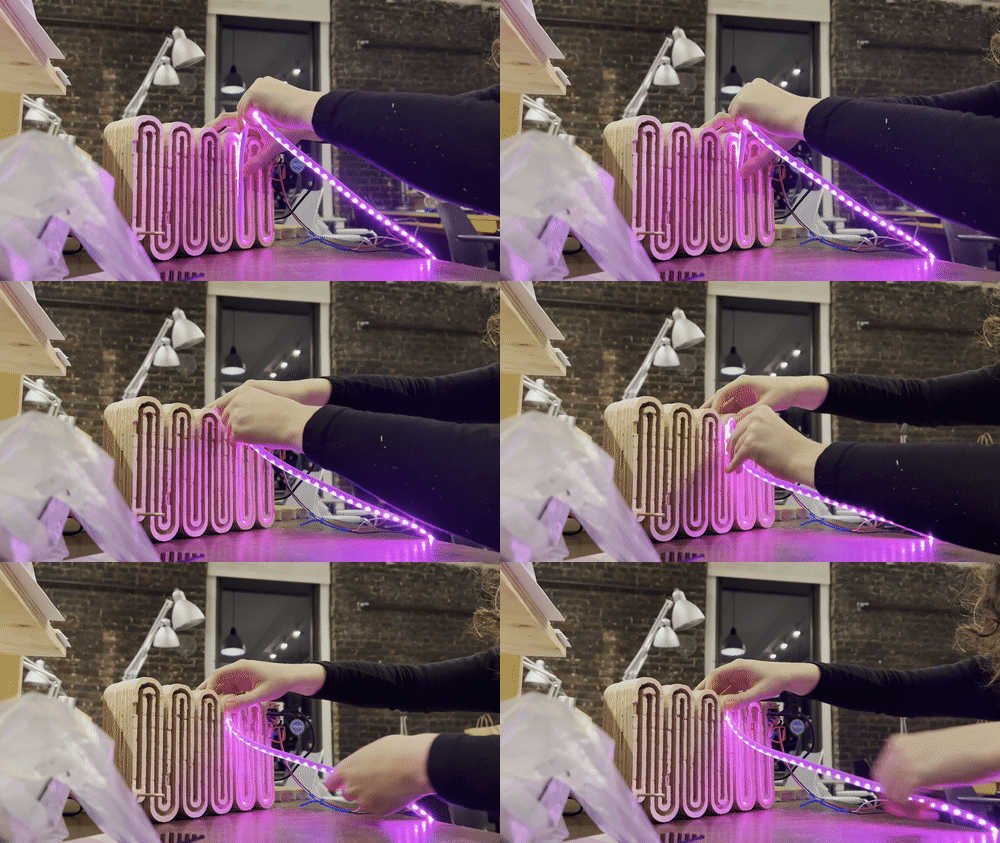
- Place LEDs in the interior cuts of the main body. Cut off extra LEDs if needed.
- Plug in 5V power into feather Huzzah and place Feather Huzzah into the space in the head. Run the wires up Hall effect sensor behind the LED’s towards the back end of the main body
- You may want to tape or glue the hall effect sensor in place to make sure it doesn’t move. You also need to get the sensor as close as possible to where the magnet sits. You may need to drill a hole in Slither's tail for the sensor to sit closer to the magnet.
- Drill a hole in the back frame for the plug to go through. Screw the back frame in place on the main body
- Plug 5V adaptor into outlet
- Place your magnet under the hall effect sensor
- You will need to enter step data into your Adafruit IO Slither feed in order for the LEDs to light up. Once all the LEDs have lit up it will reset and your steps will start to begin to count as normal when the Fitbit data is sent to the IO feed.
Enjoy
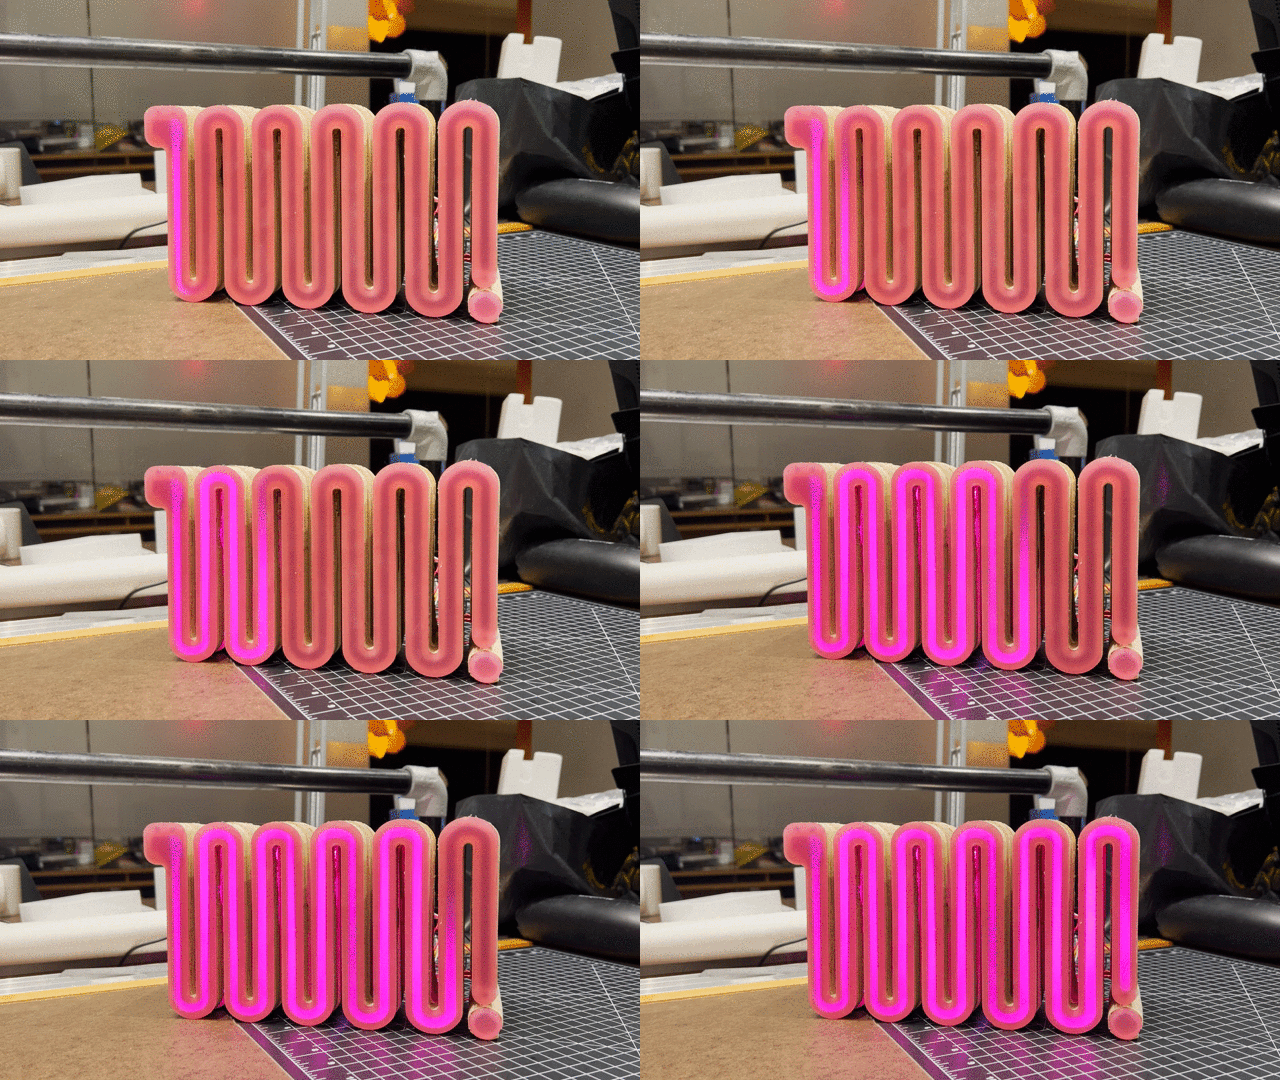
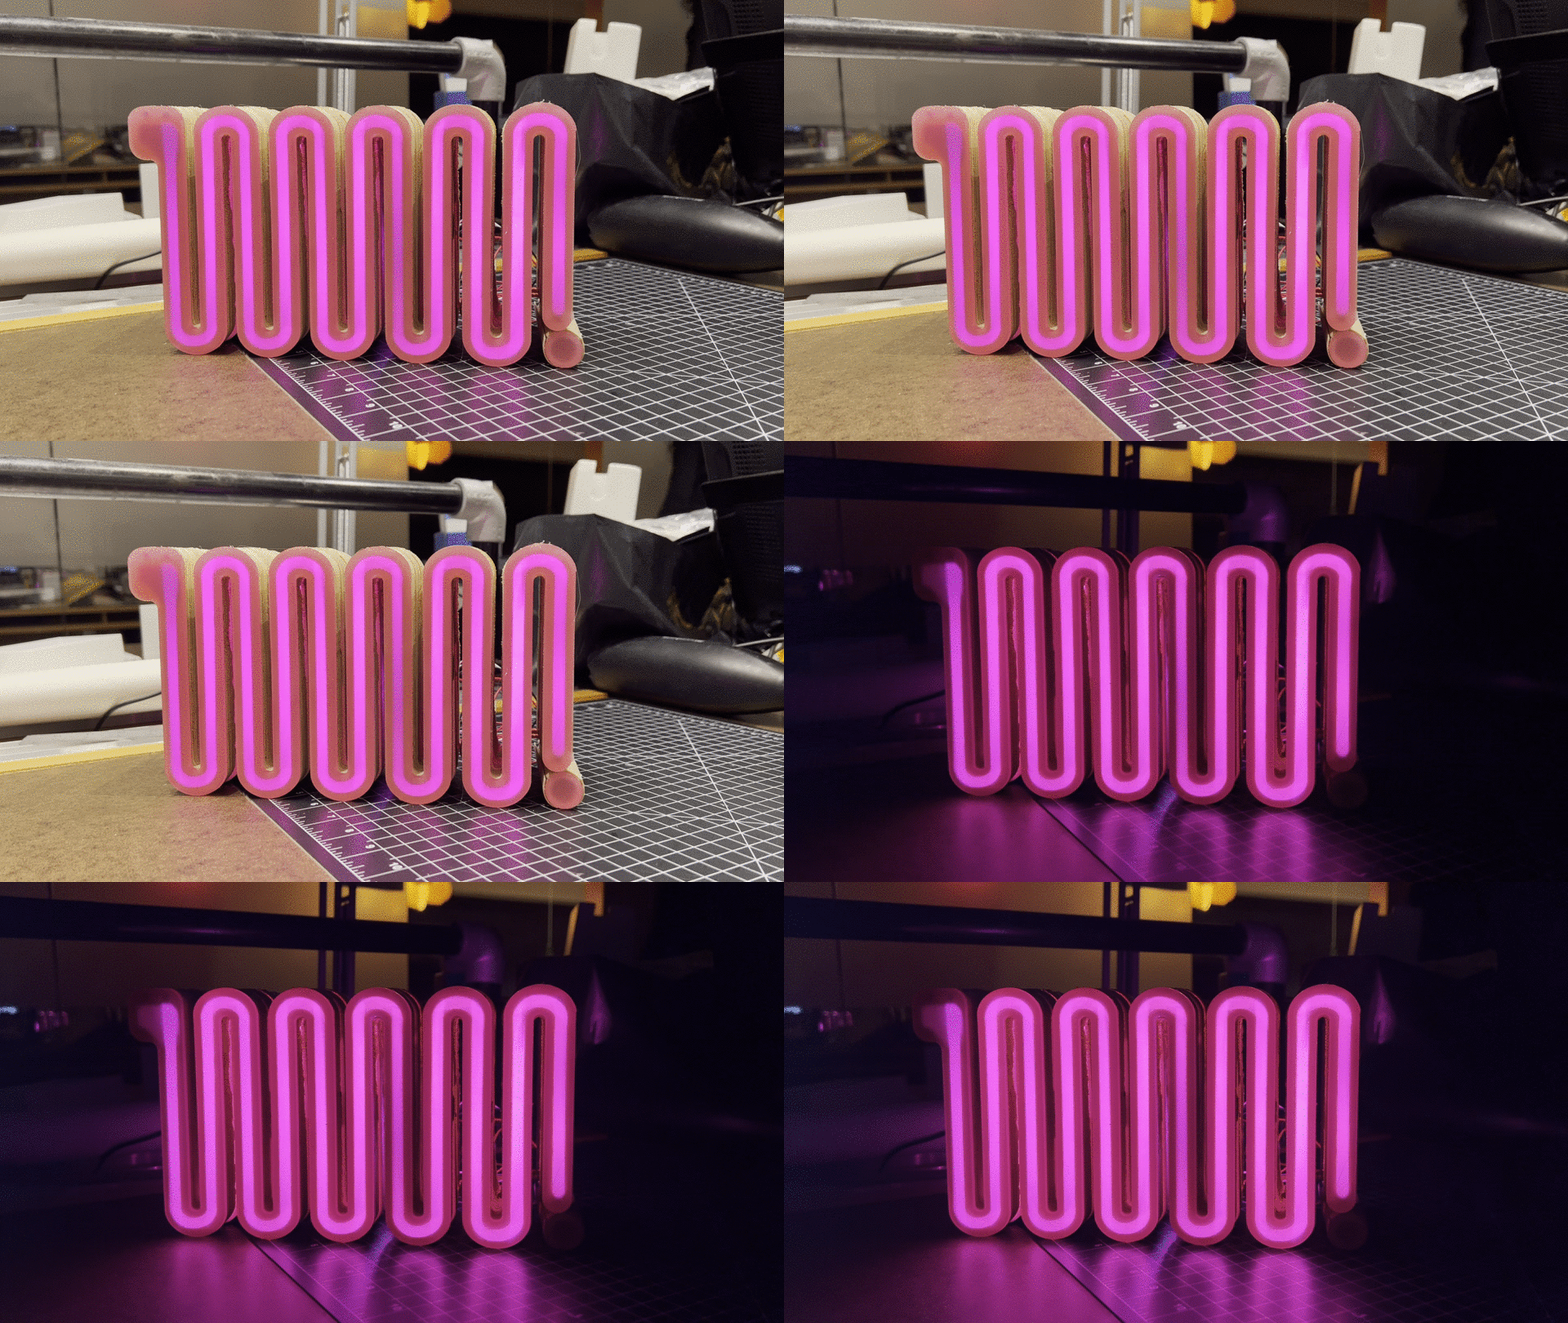
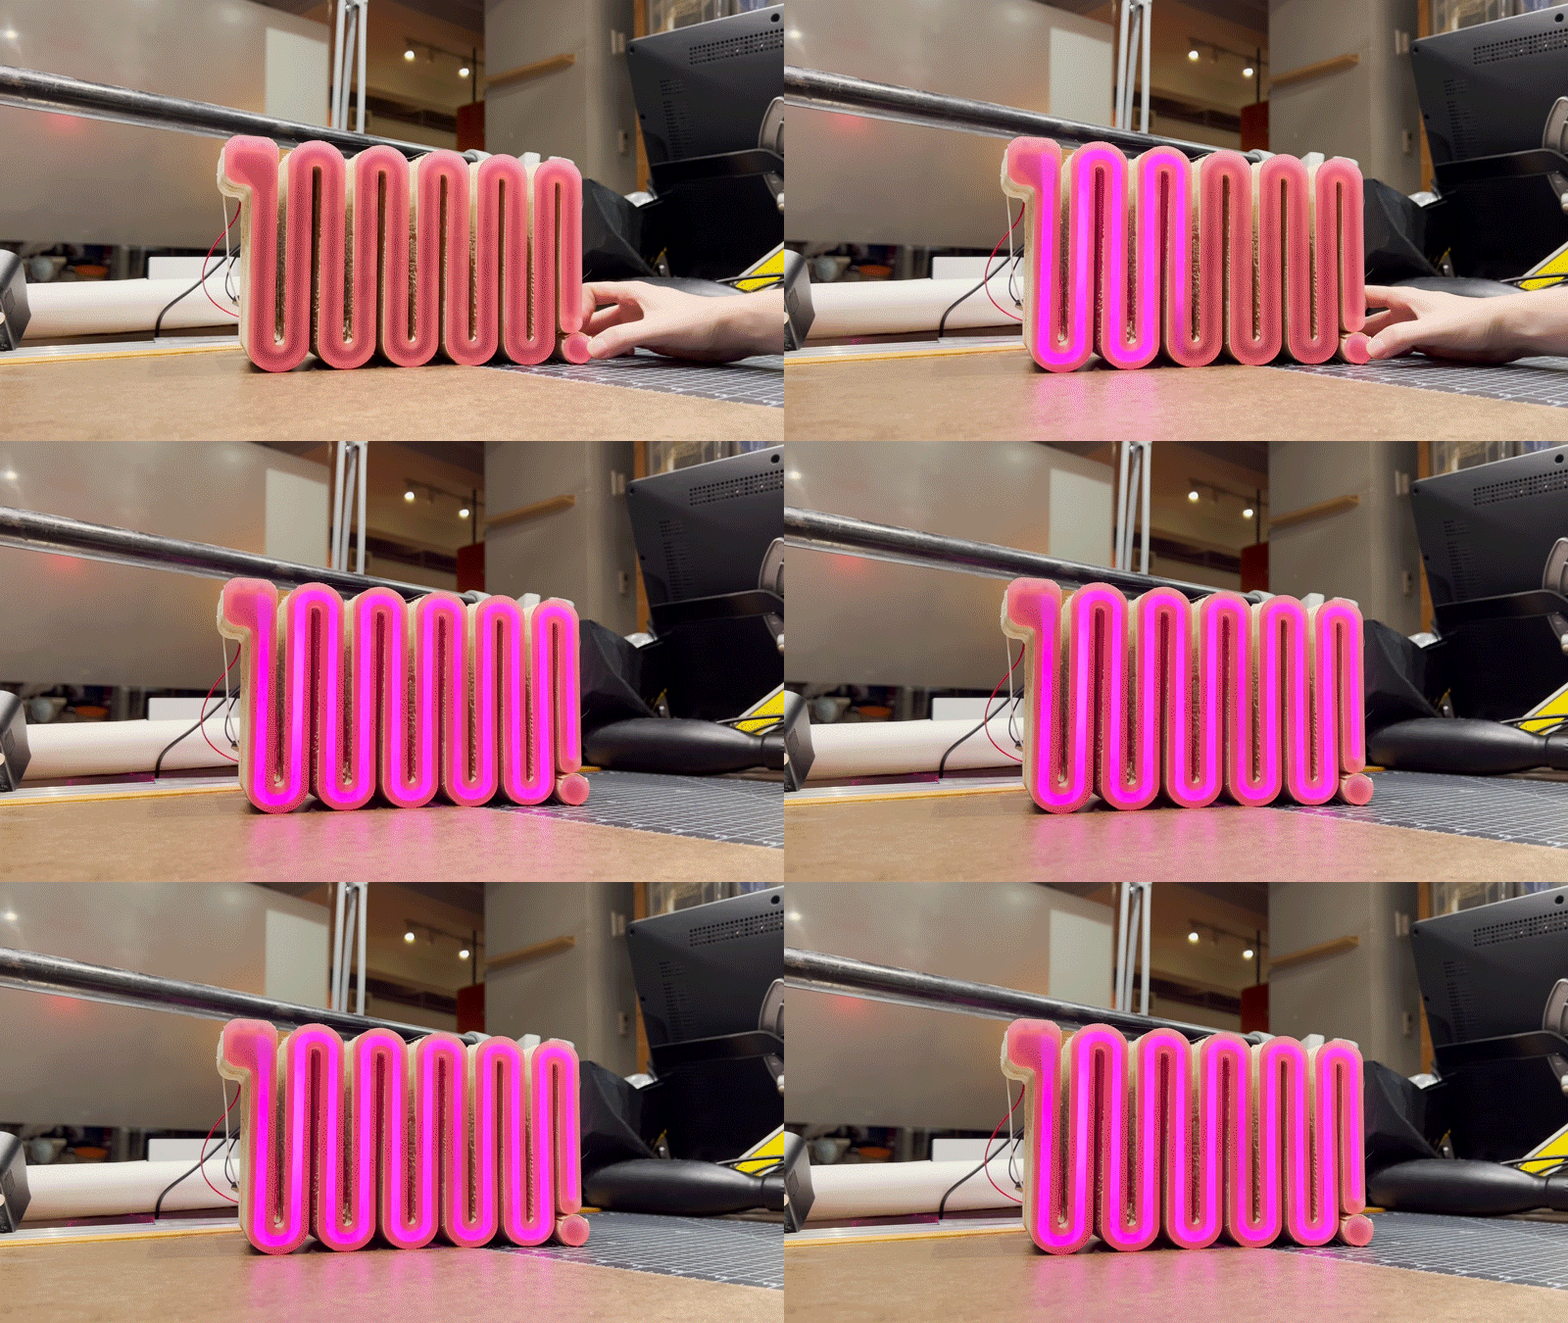
You now have an awesome new desk accessory that will remind you to stay active and take breaks from your desk life. Don’t forget the magnet turns on your SLITHER!
If you made your own SLITHER what would you change?